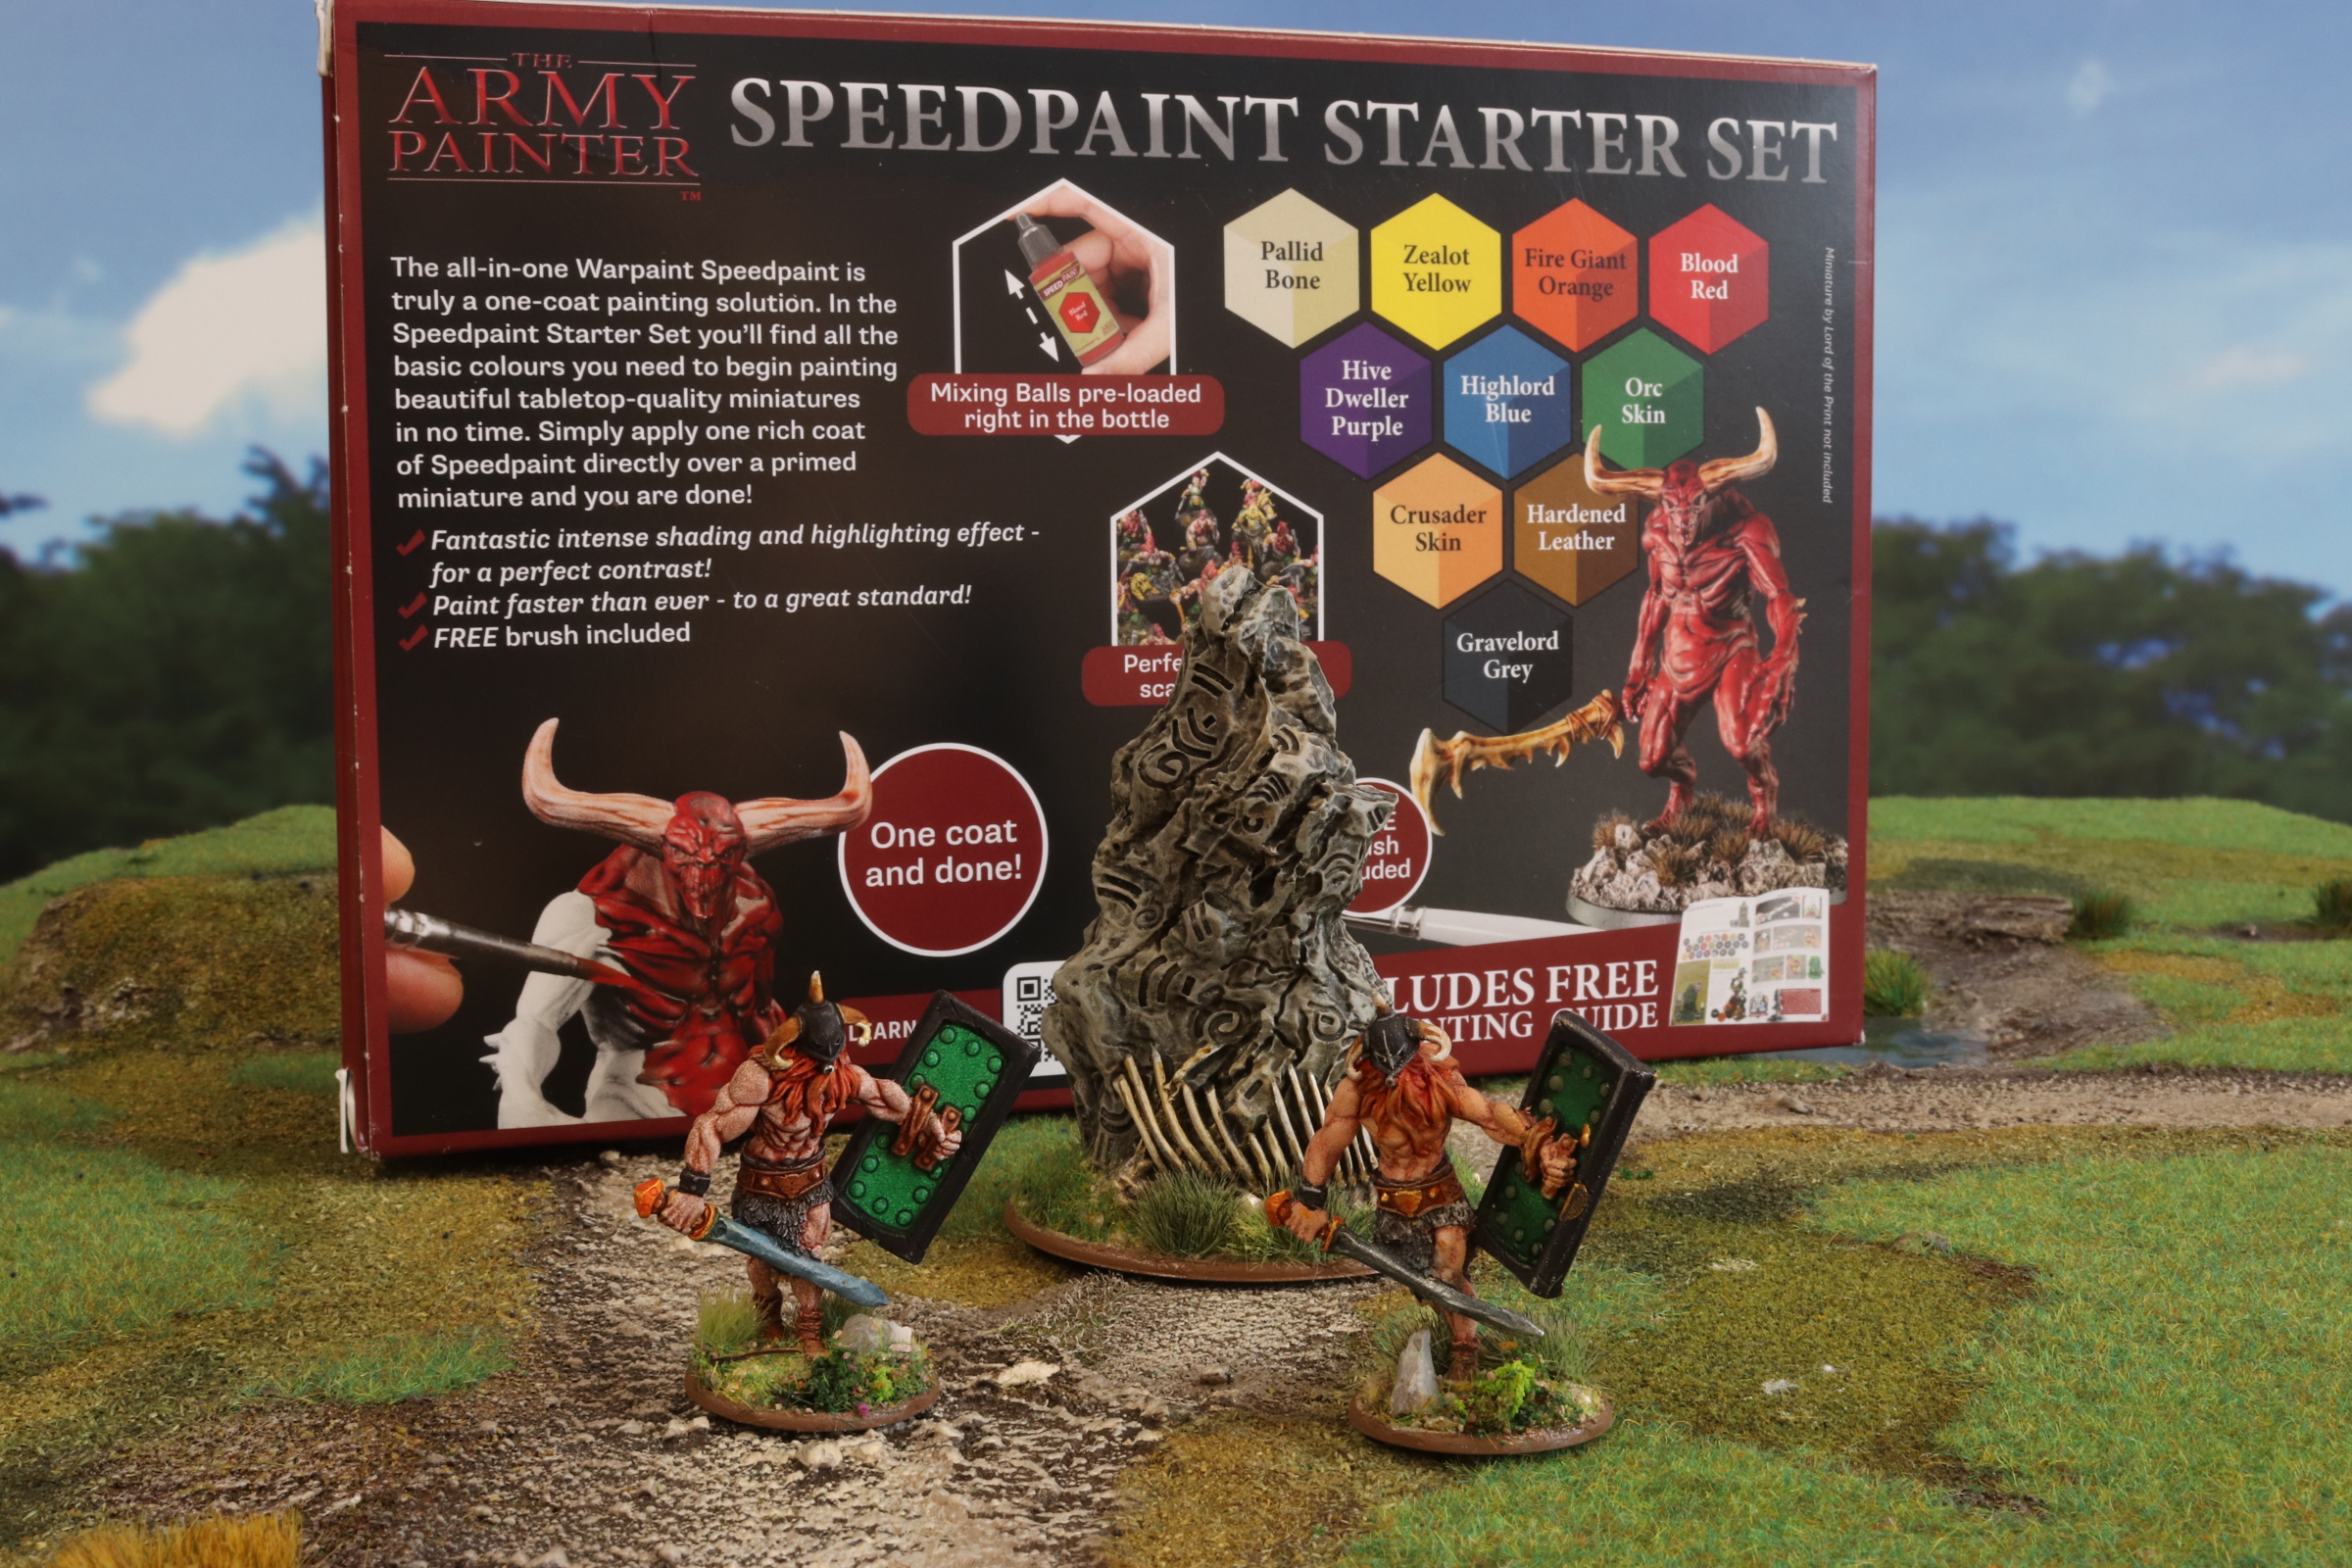
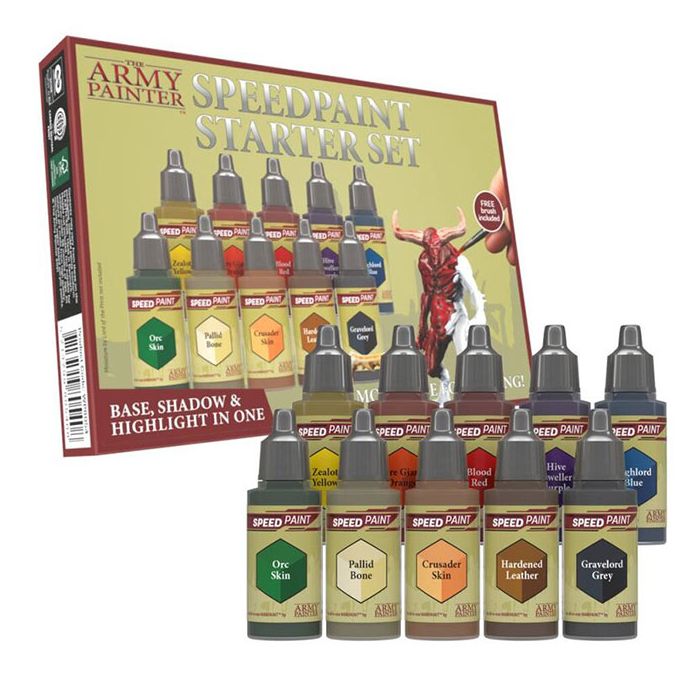
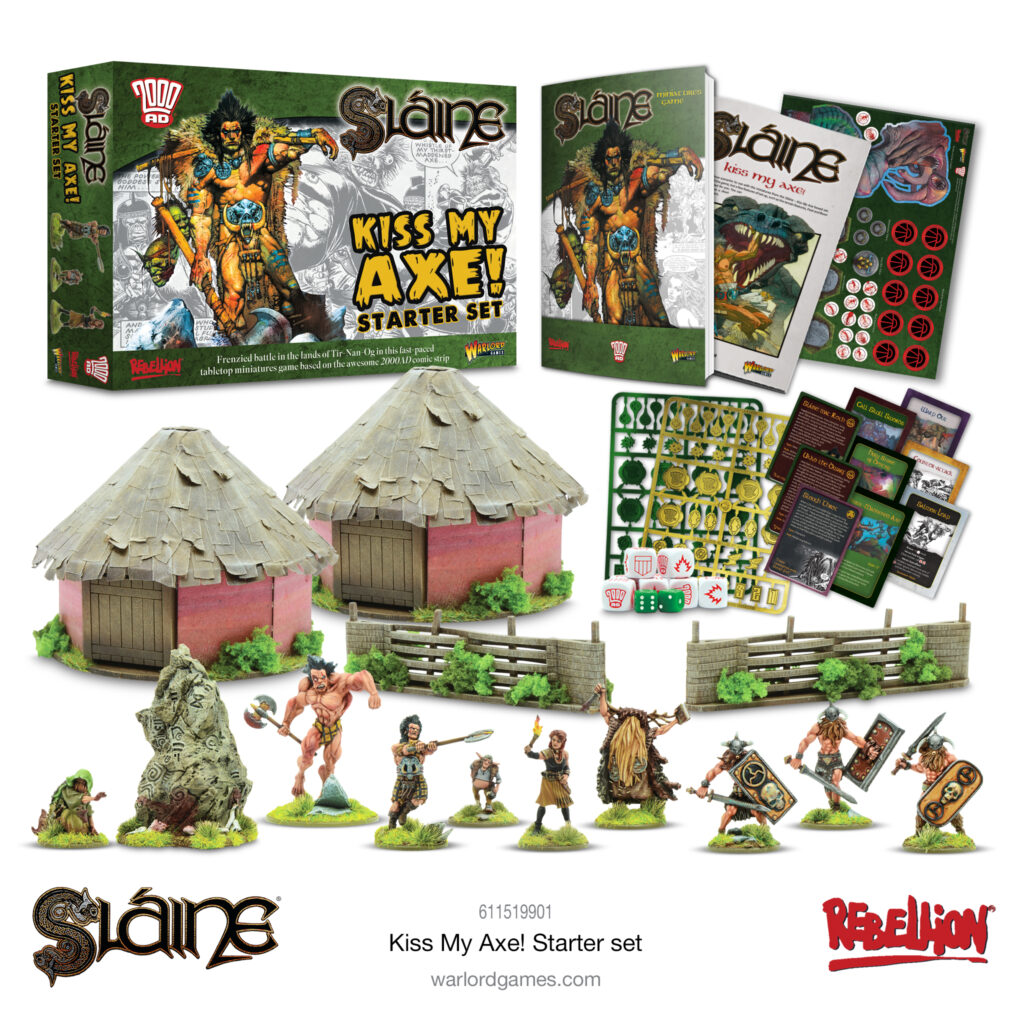
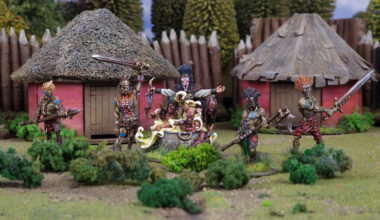
Speedpaint is a new line of paints by Army Painter which is an alternative to Citadel’s Contrast Paint which allows painters to get a good tabletop finish to their miniatures quickly.
Army Painter says: simply apply one coat of Speedpaint to a prepared miniature and you’re done! With this information, I quickly gathered my supplies and headed for my hobby station, in my man cave, as a plan had been formulated. Anyone would think I was The Lord Weird Slough Feg at some cave drawings but it is slightly more detailed than that as I had decided to paint two of the same Drune miniature… One I would simply apply Speedpaints to, but the other would be a Speedpaint+ miniature, using Speedpaints as a base and then adding layers, highlights, etc in the traditional manner, thus taking the miniature to the next level.
Step 1 – Preparation
The first task was to clean up the miniatures which are cast in Warlord Resin. The best way to remove mould lines and excess material, known as flash, is to use a sharp hobby knife rather than to file or sand it. Once this was done I attached the models to their bases with some Super Glue and left it to completely cure before heading outside and priming the miniature.
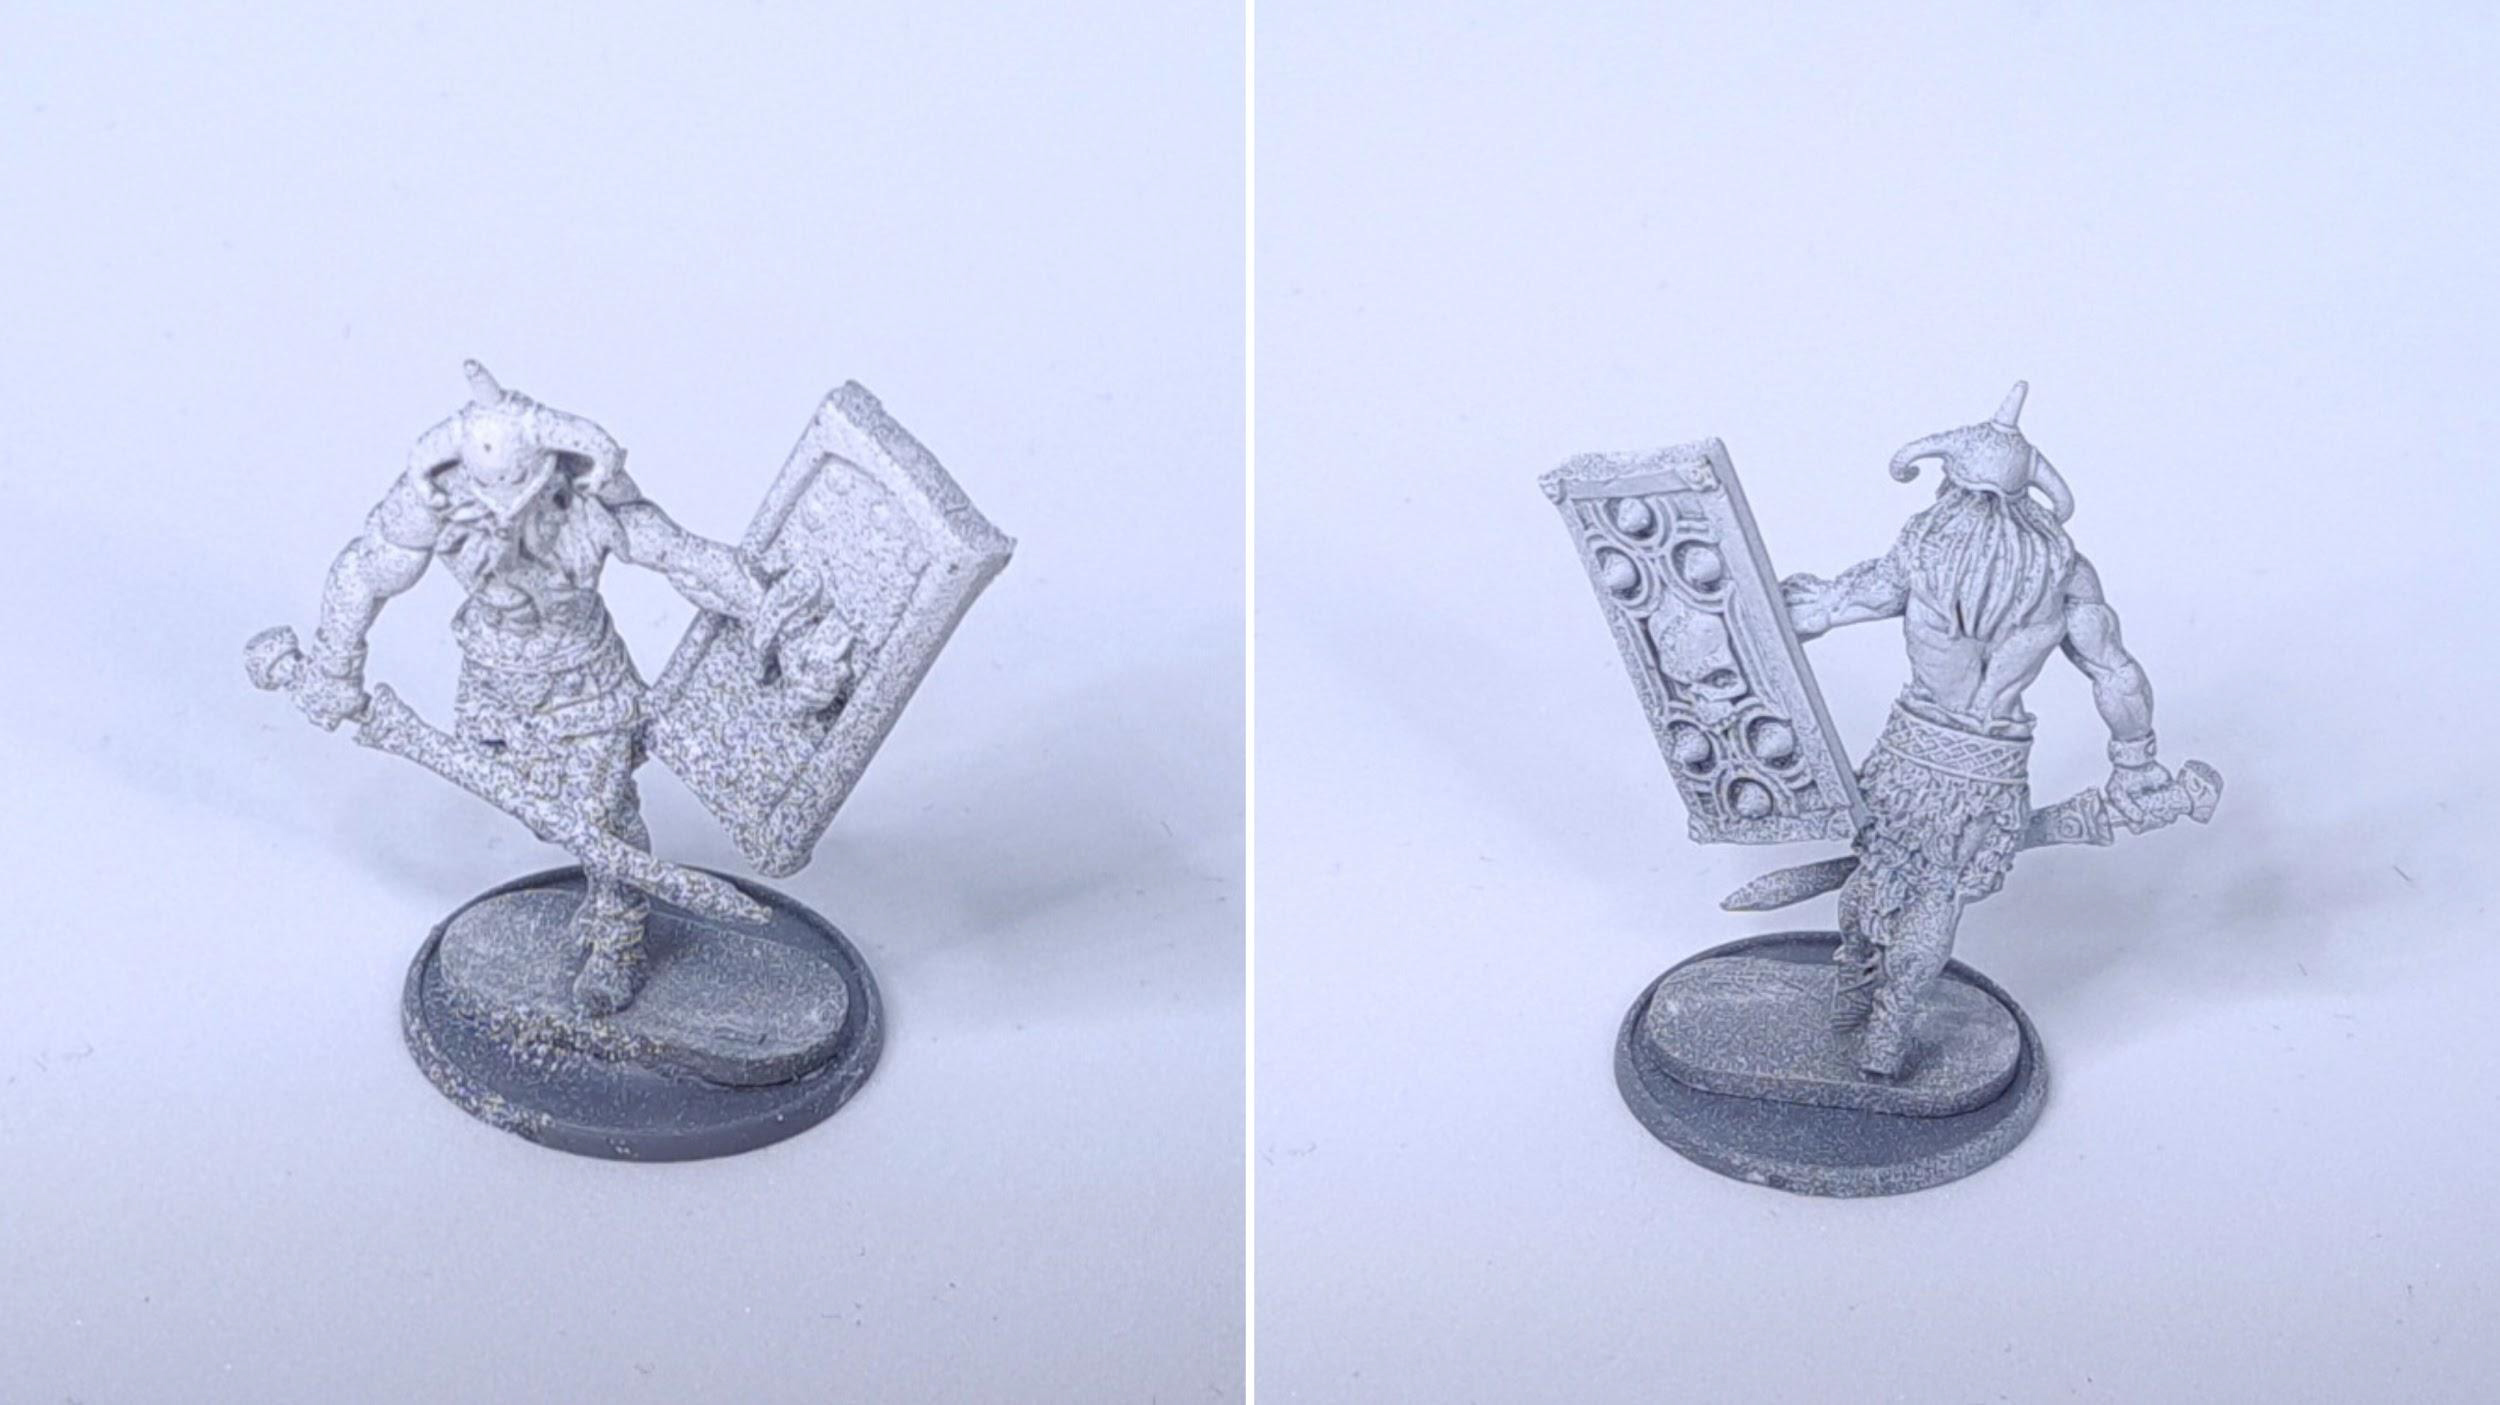
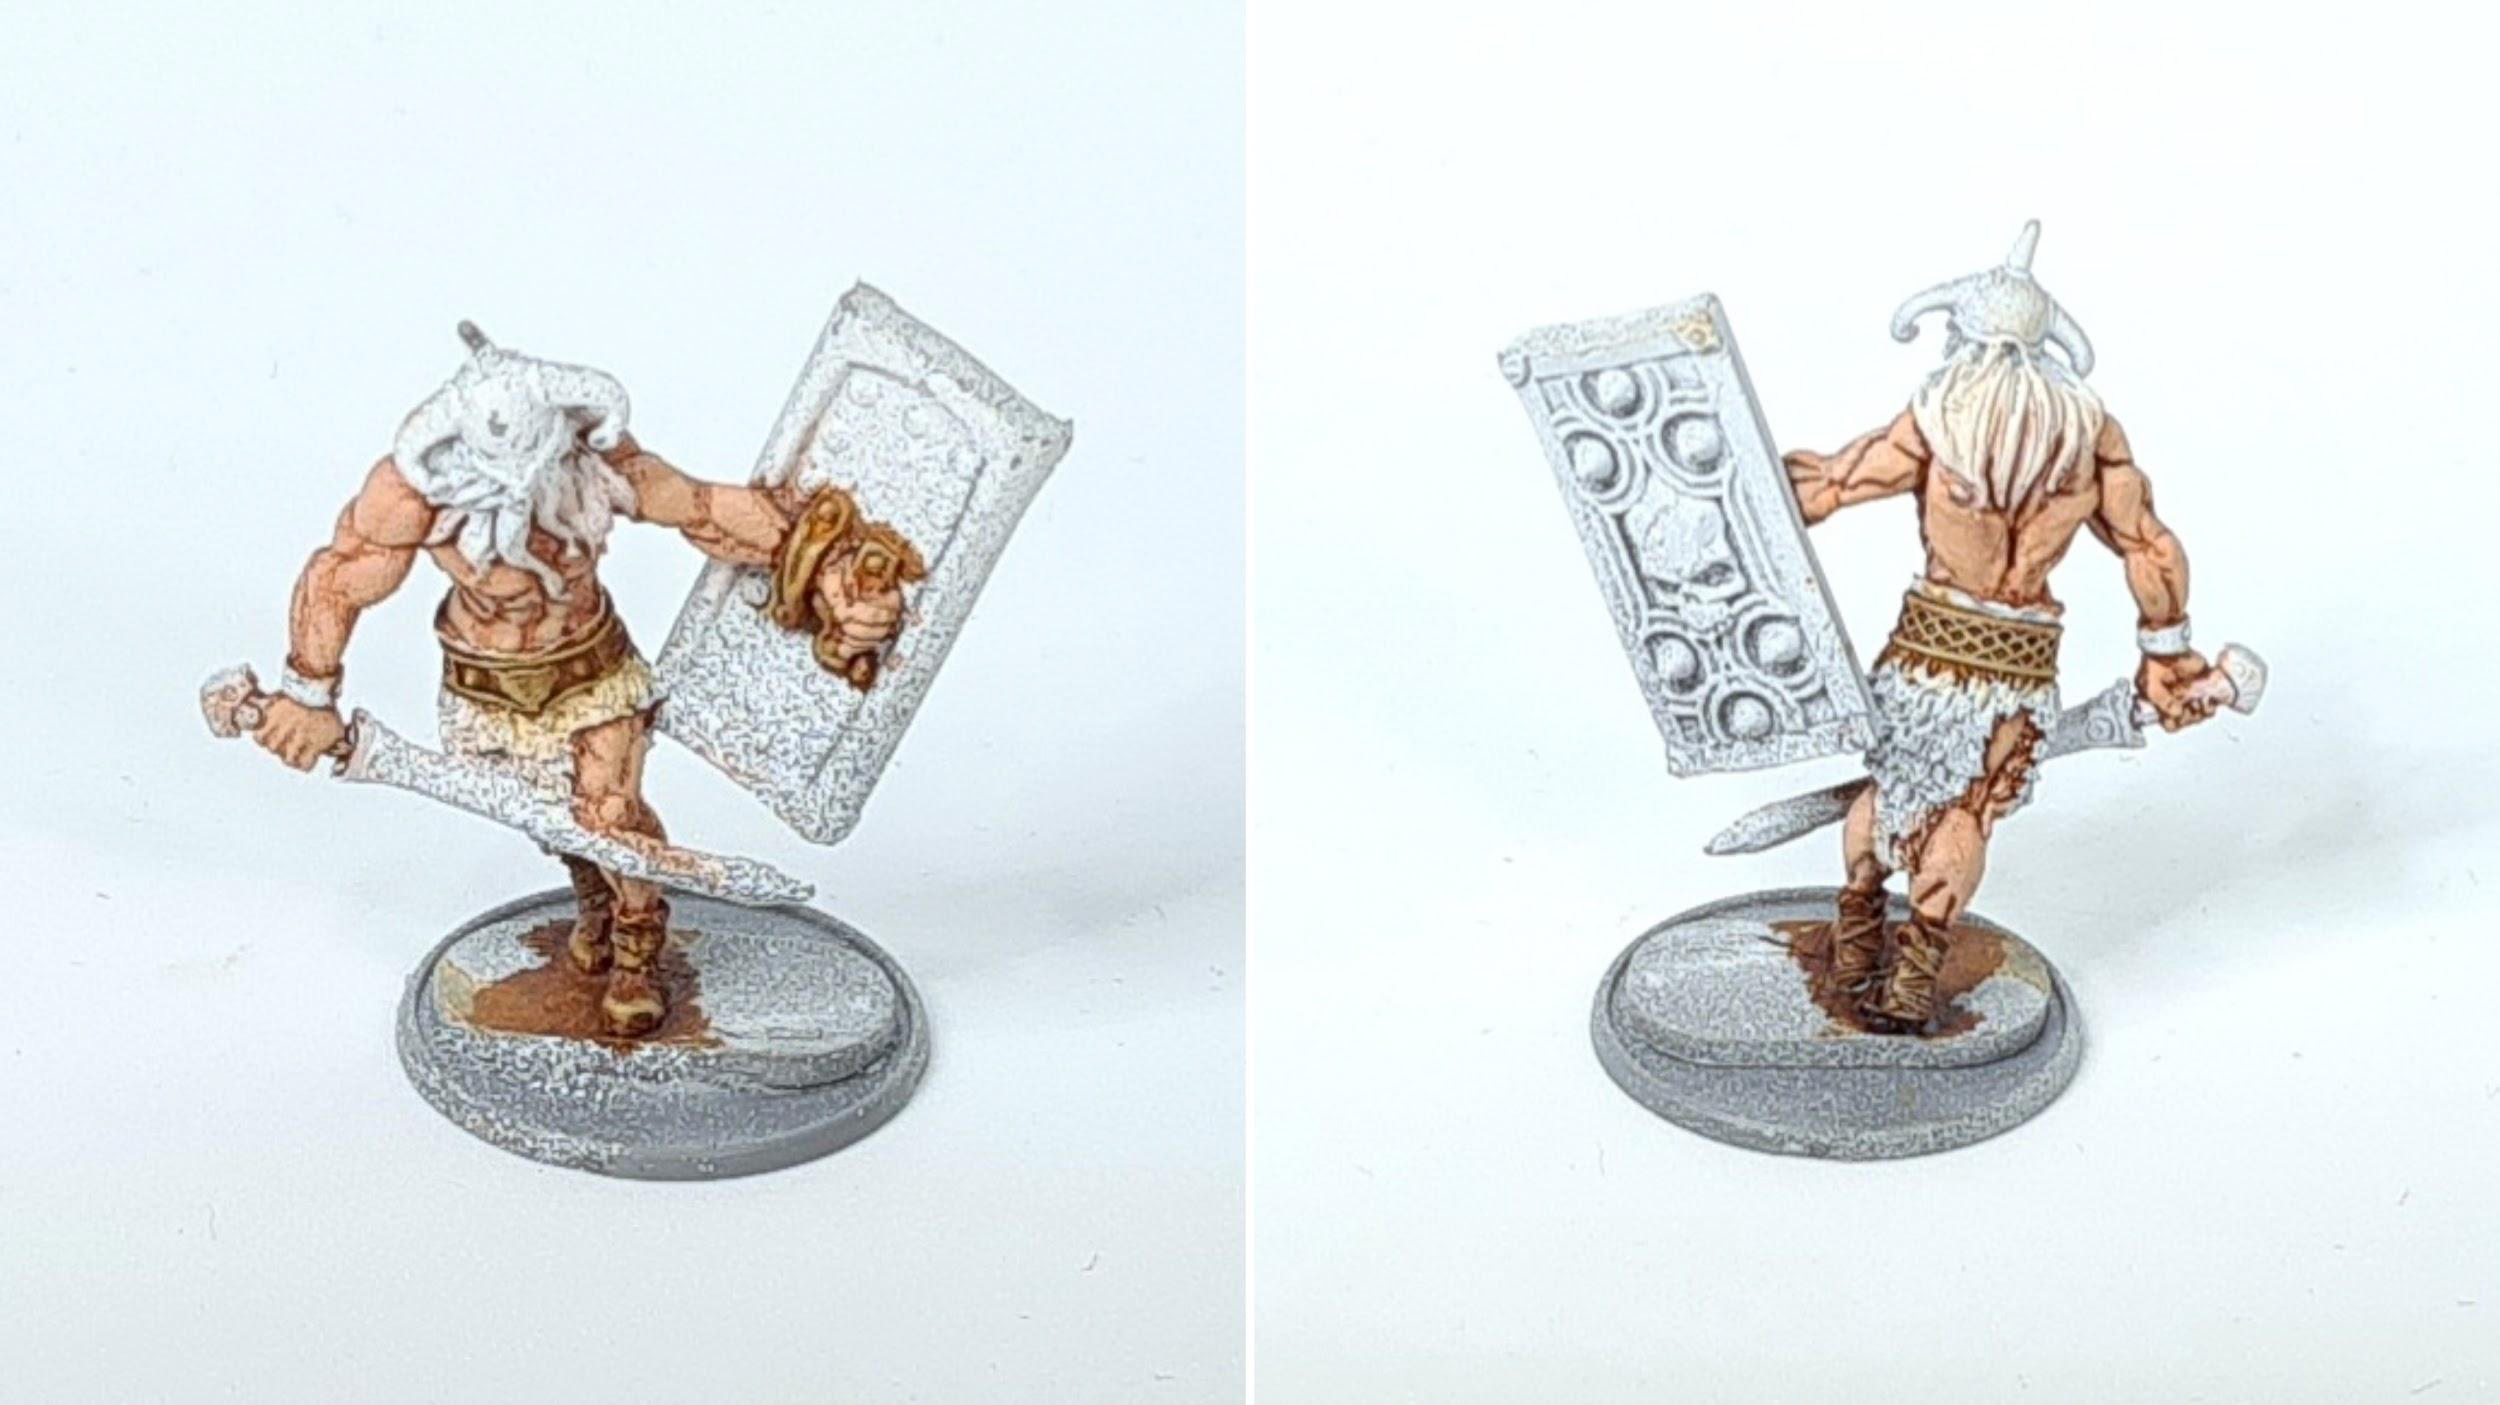
When it came to priming the miniatures, I actually used two spray paint colour primers, the first which I laid down as an all over coat was Army Painter’s Colour Primer: Uniform Grey. Once this had completely dried I used Army Painter’s Base Primer: Matt White to create a Zenithal Highlight on the miniatures. This is achieved by spraying from above the miniature at a slight angle catching the raised areas and creating shadow in the recessed areas. This will give a preshaded appearance to the overall finish of the Speedpaint which effectively works similarly to a shade and a glaze.
Stage 2 – The Skin
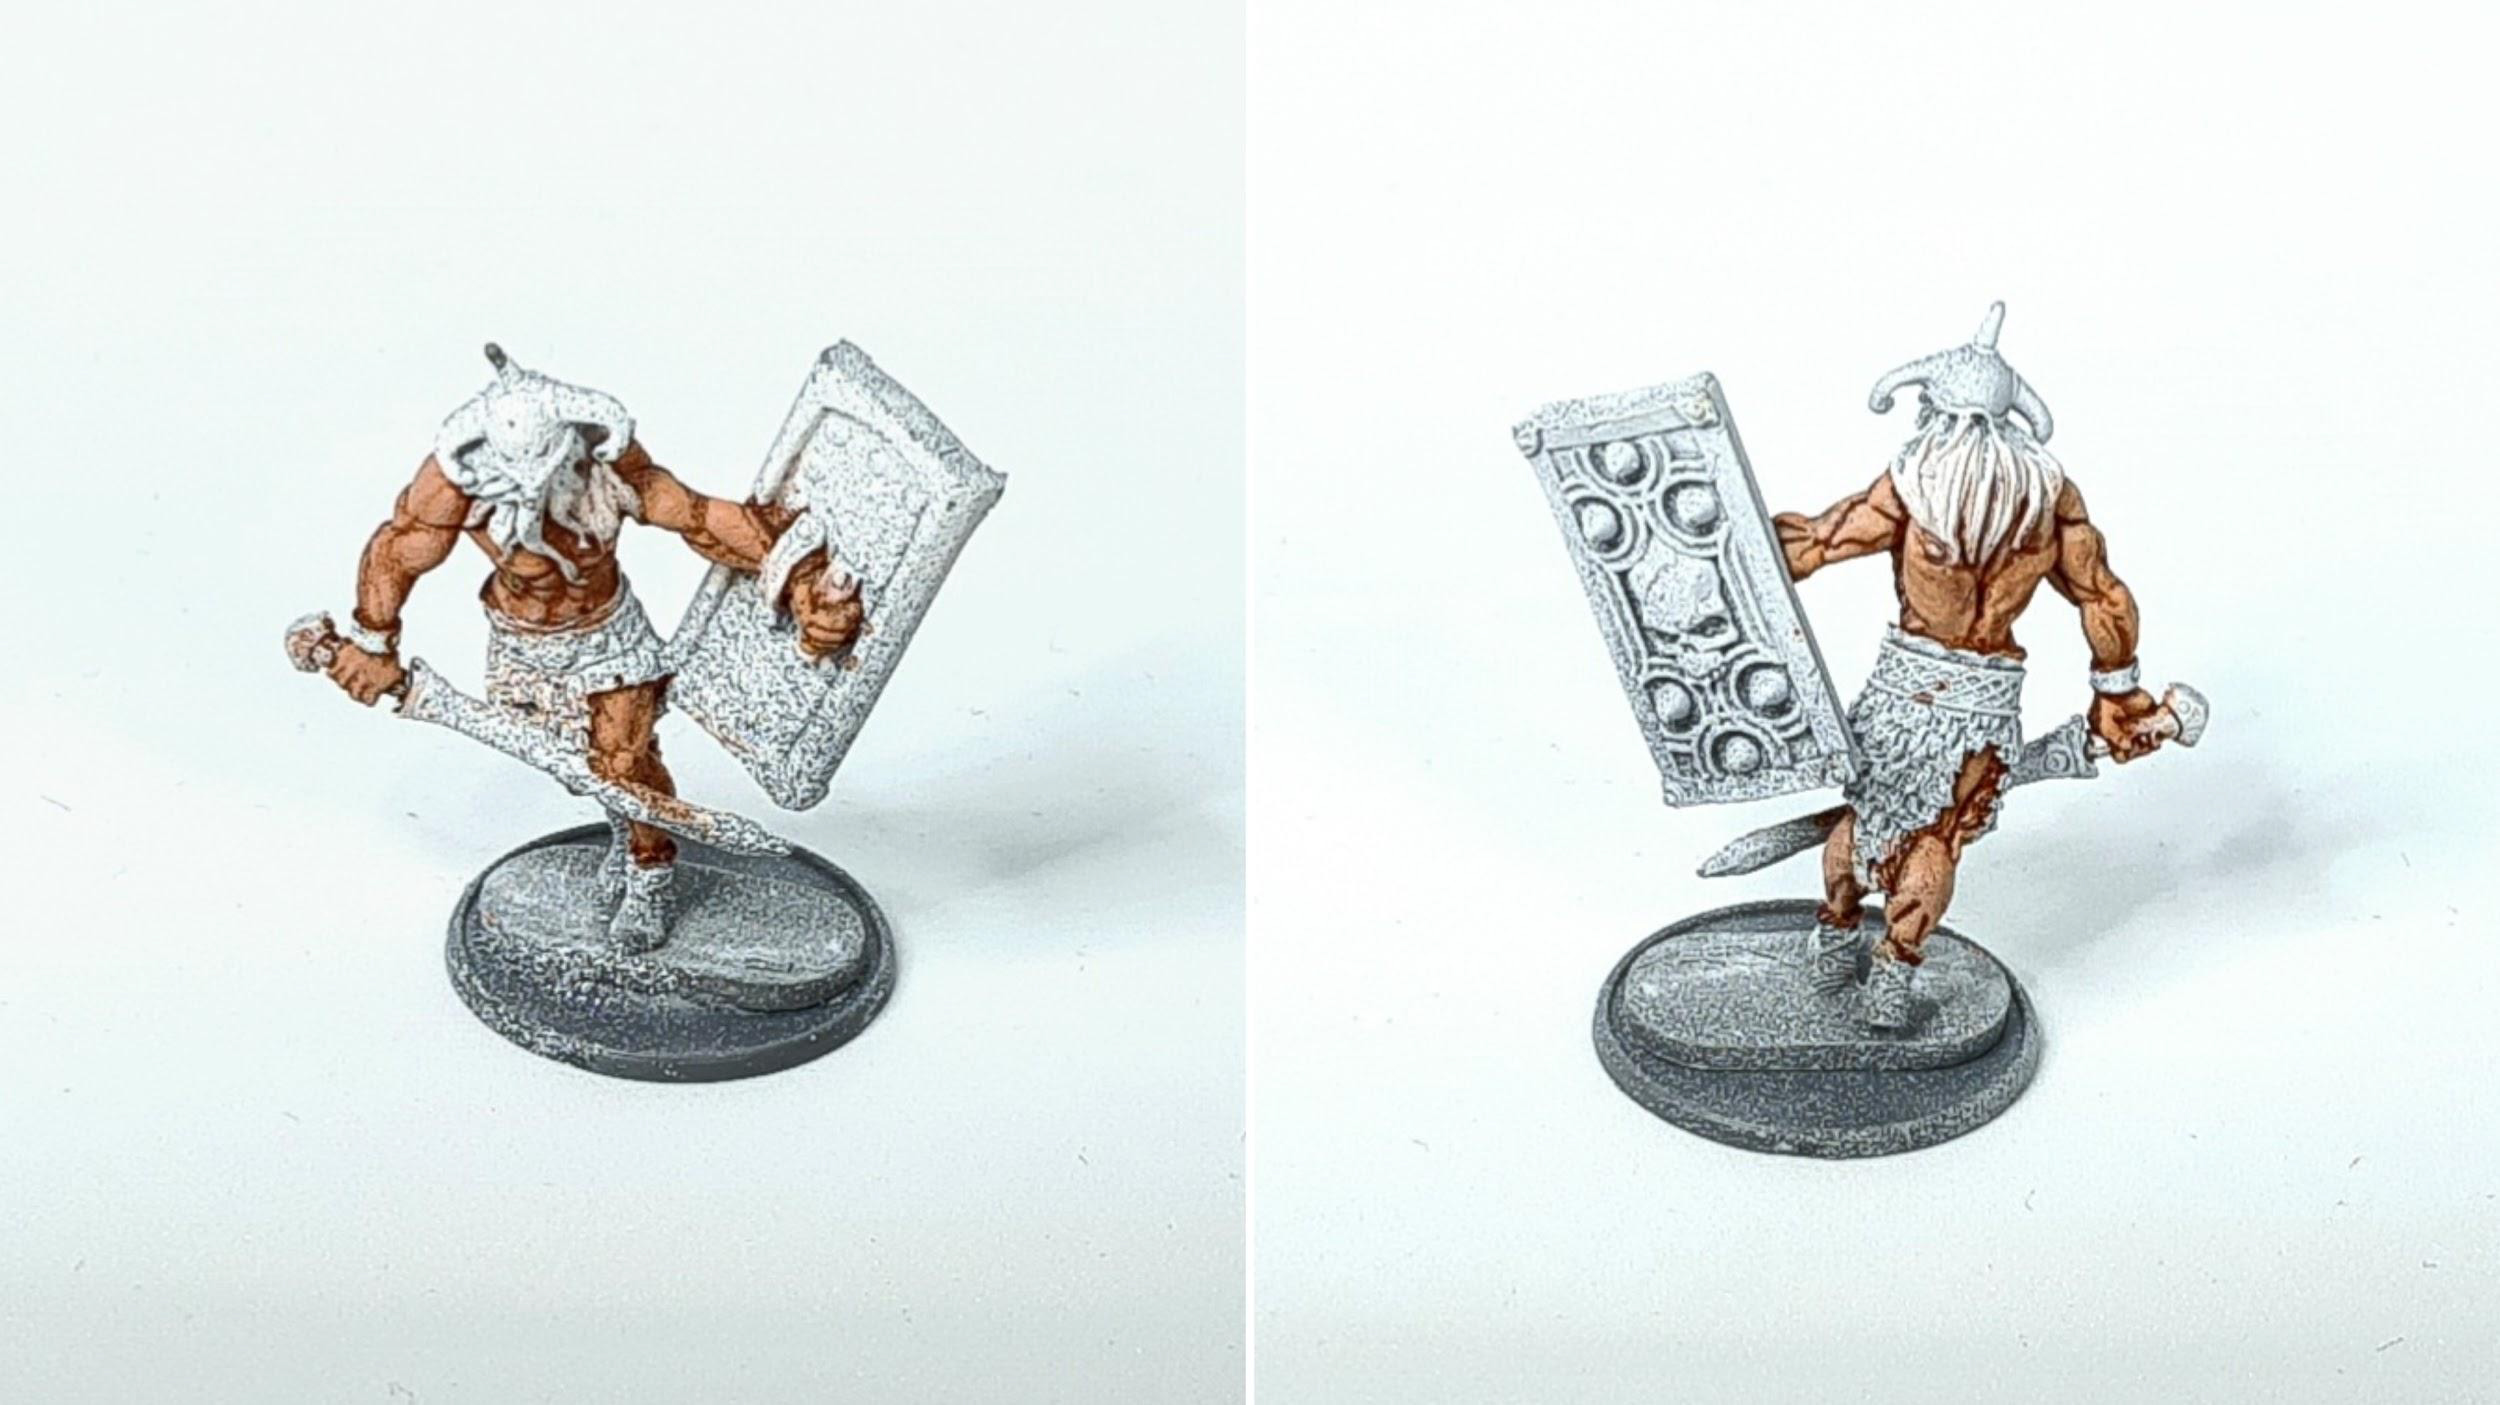
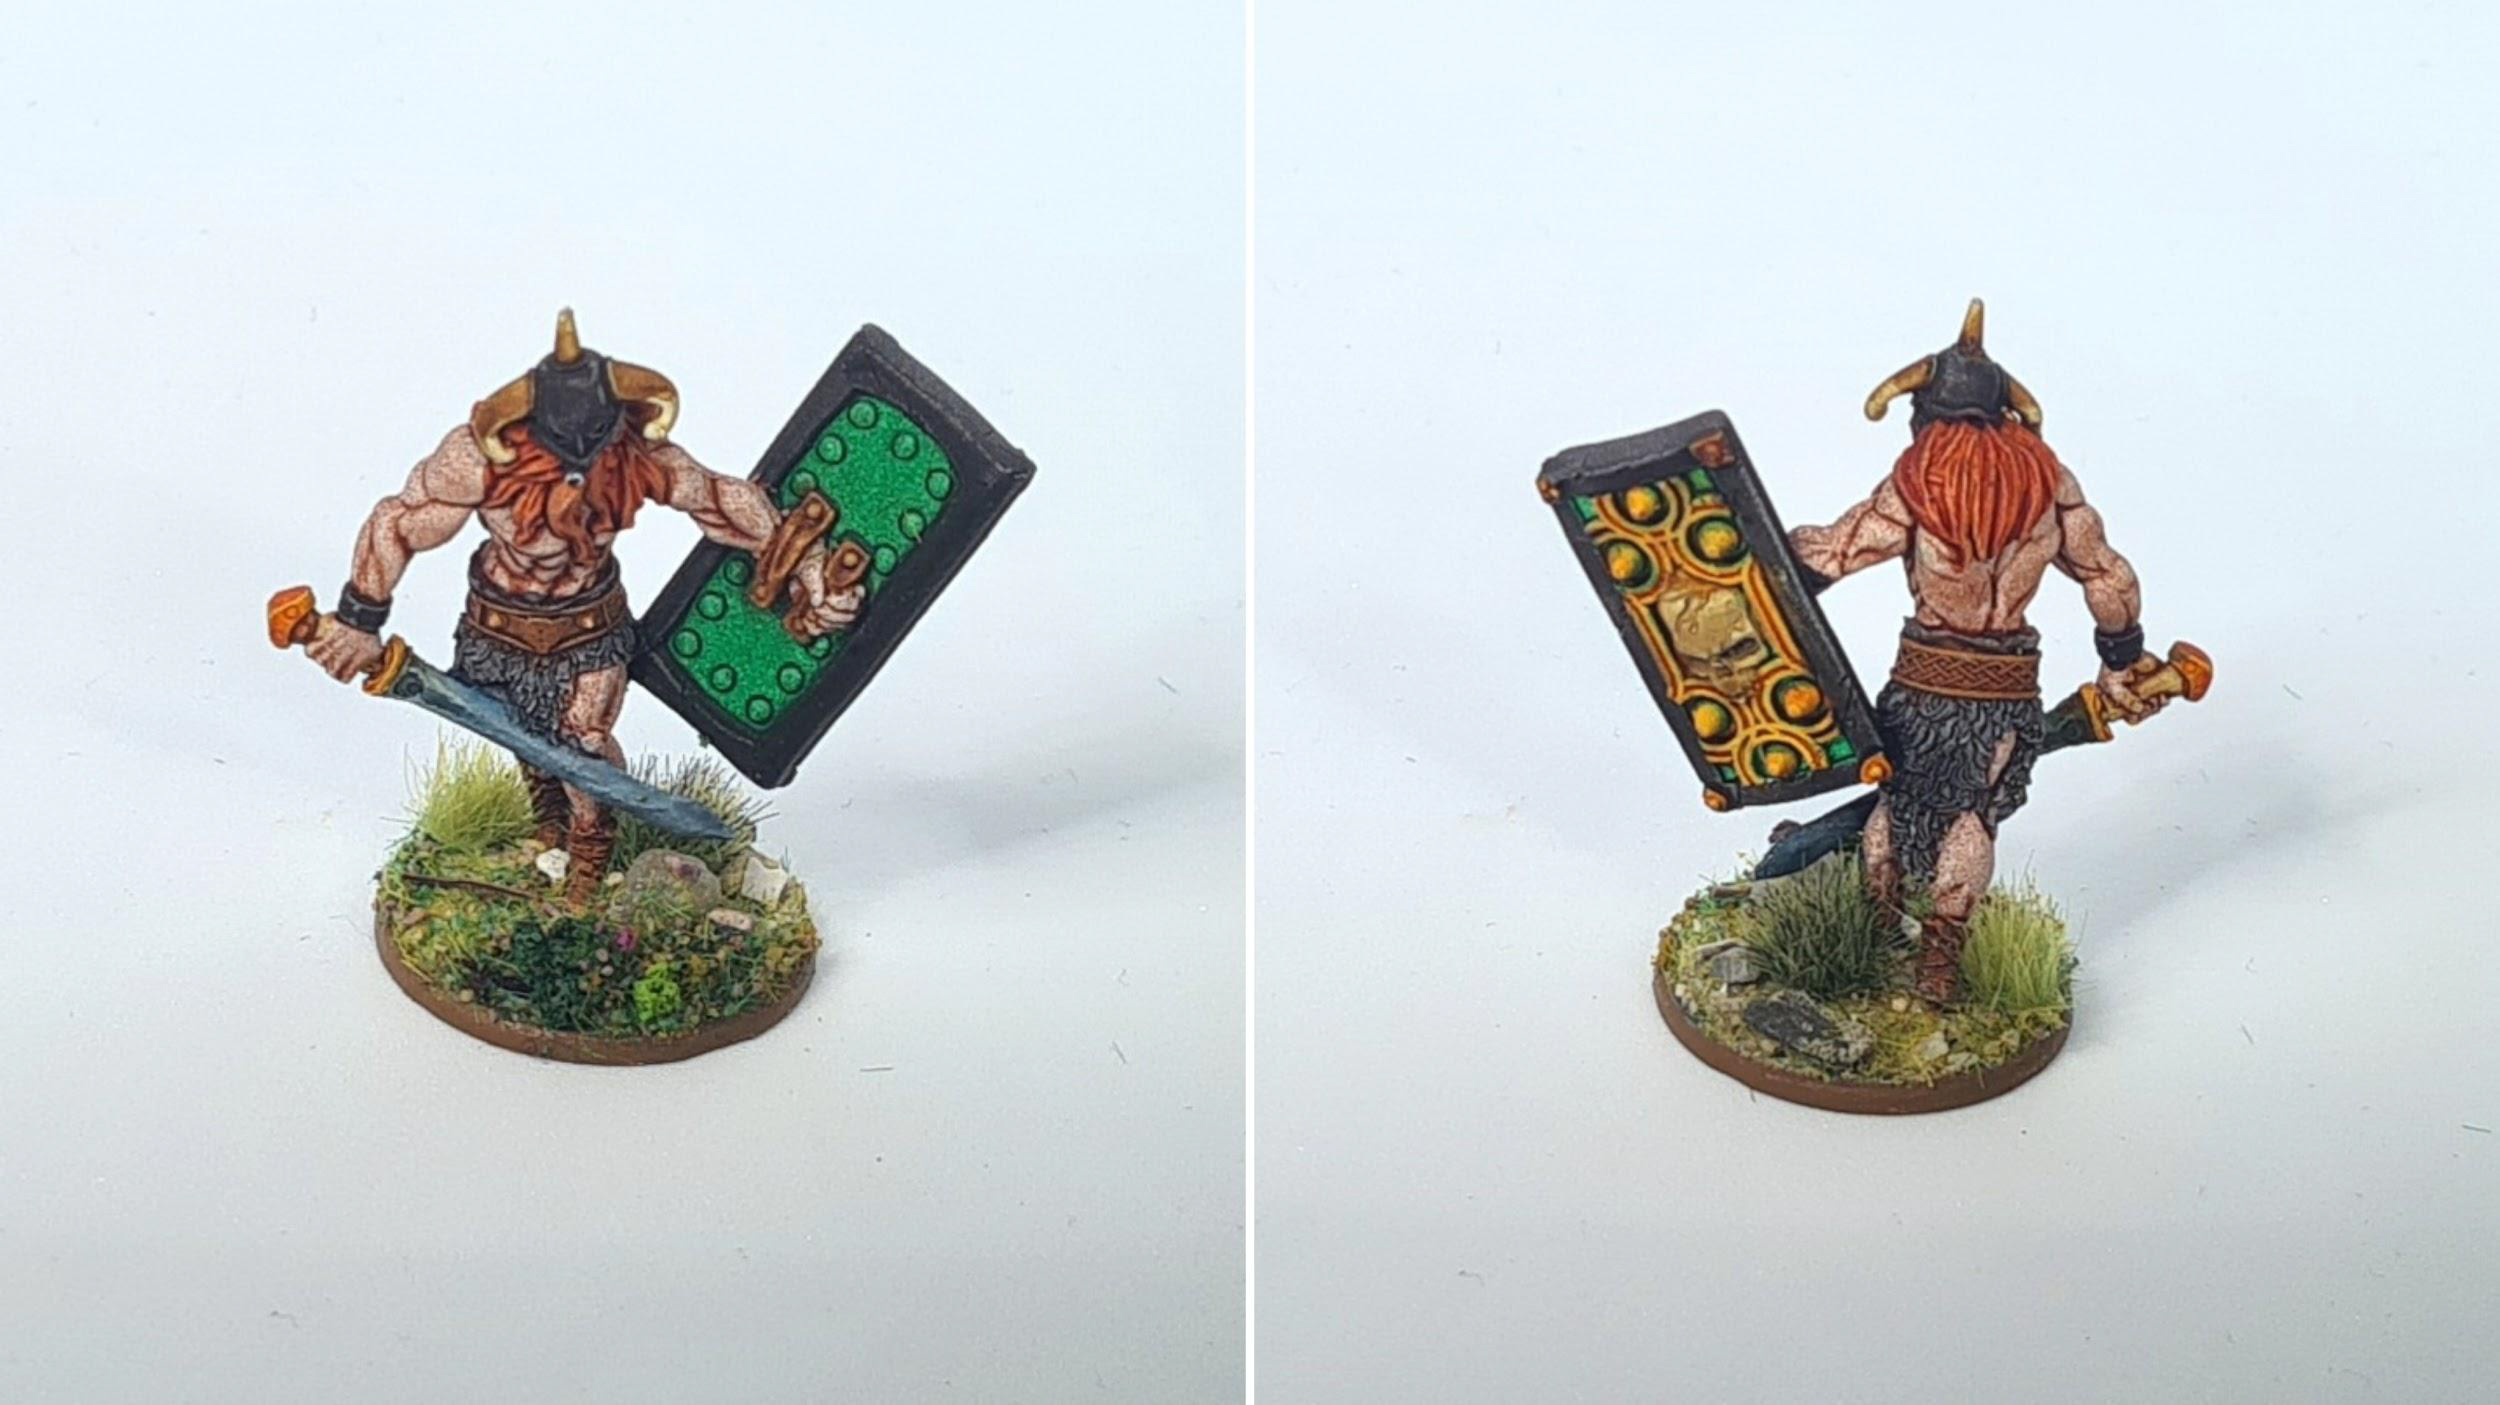
So the first area that I tackled on these miniatures was the skin, a detail that many painters struggle with. I set about applying a generous layer of SP: Crusader Skin using the brush found free in the Speedpaint starter set (Wargamer: Monster). Applying it, I allowed the paint to flow and pool in the recessed areas – trying not to go over the same area twice while also not stretching the paint too thinly. For the Simply Speedpaint miniature, that was the flesh done!
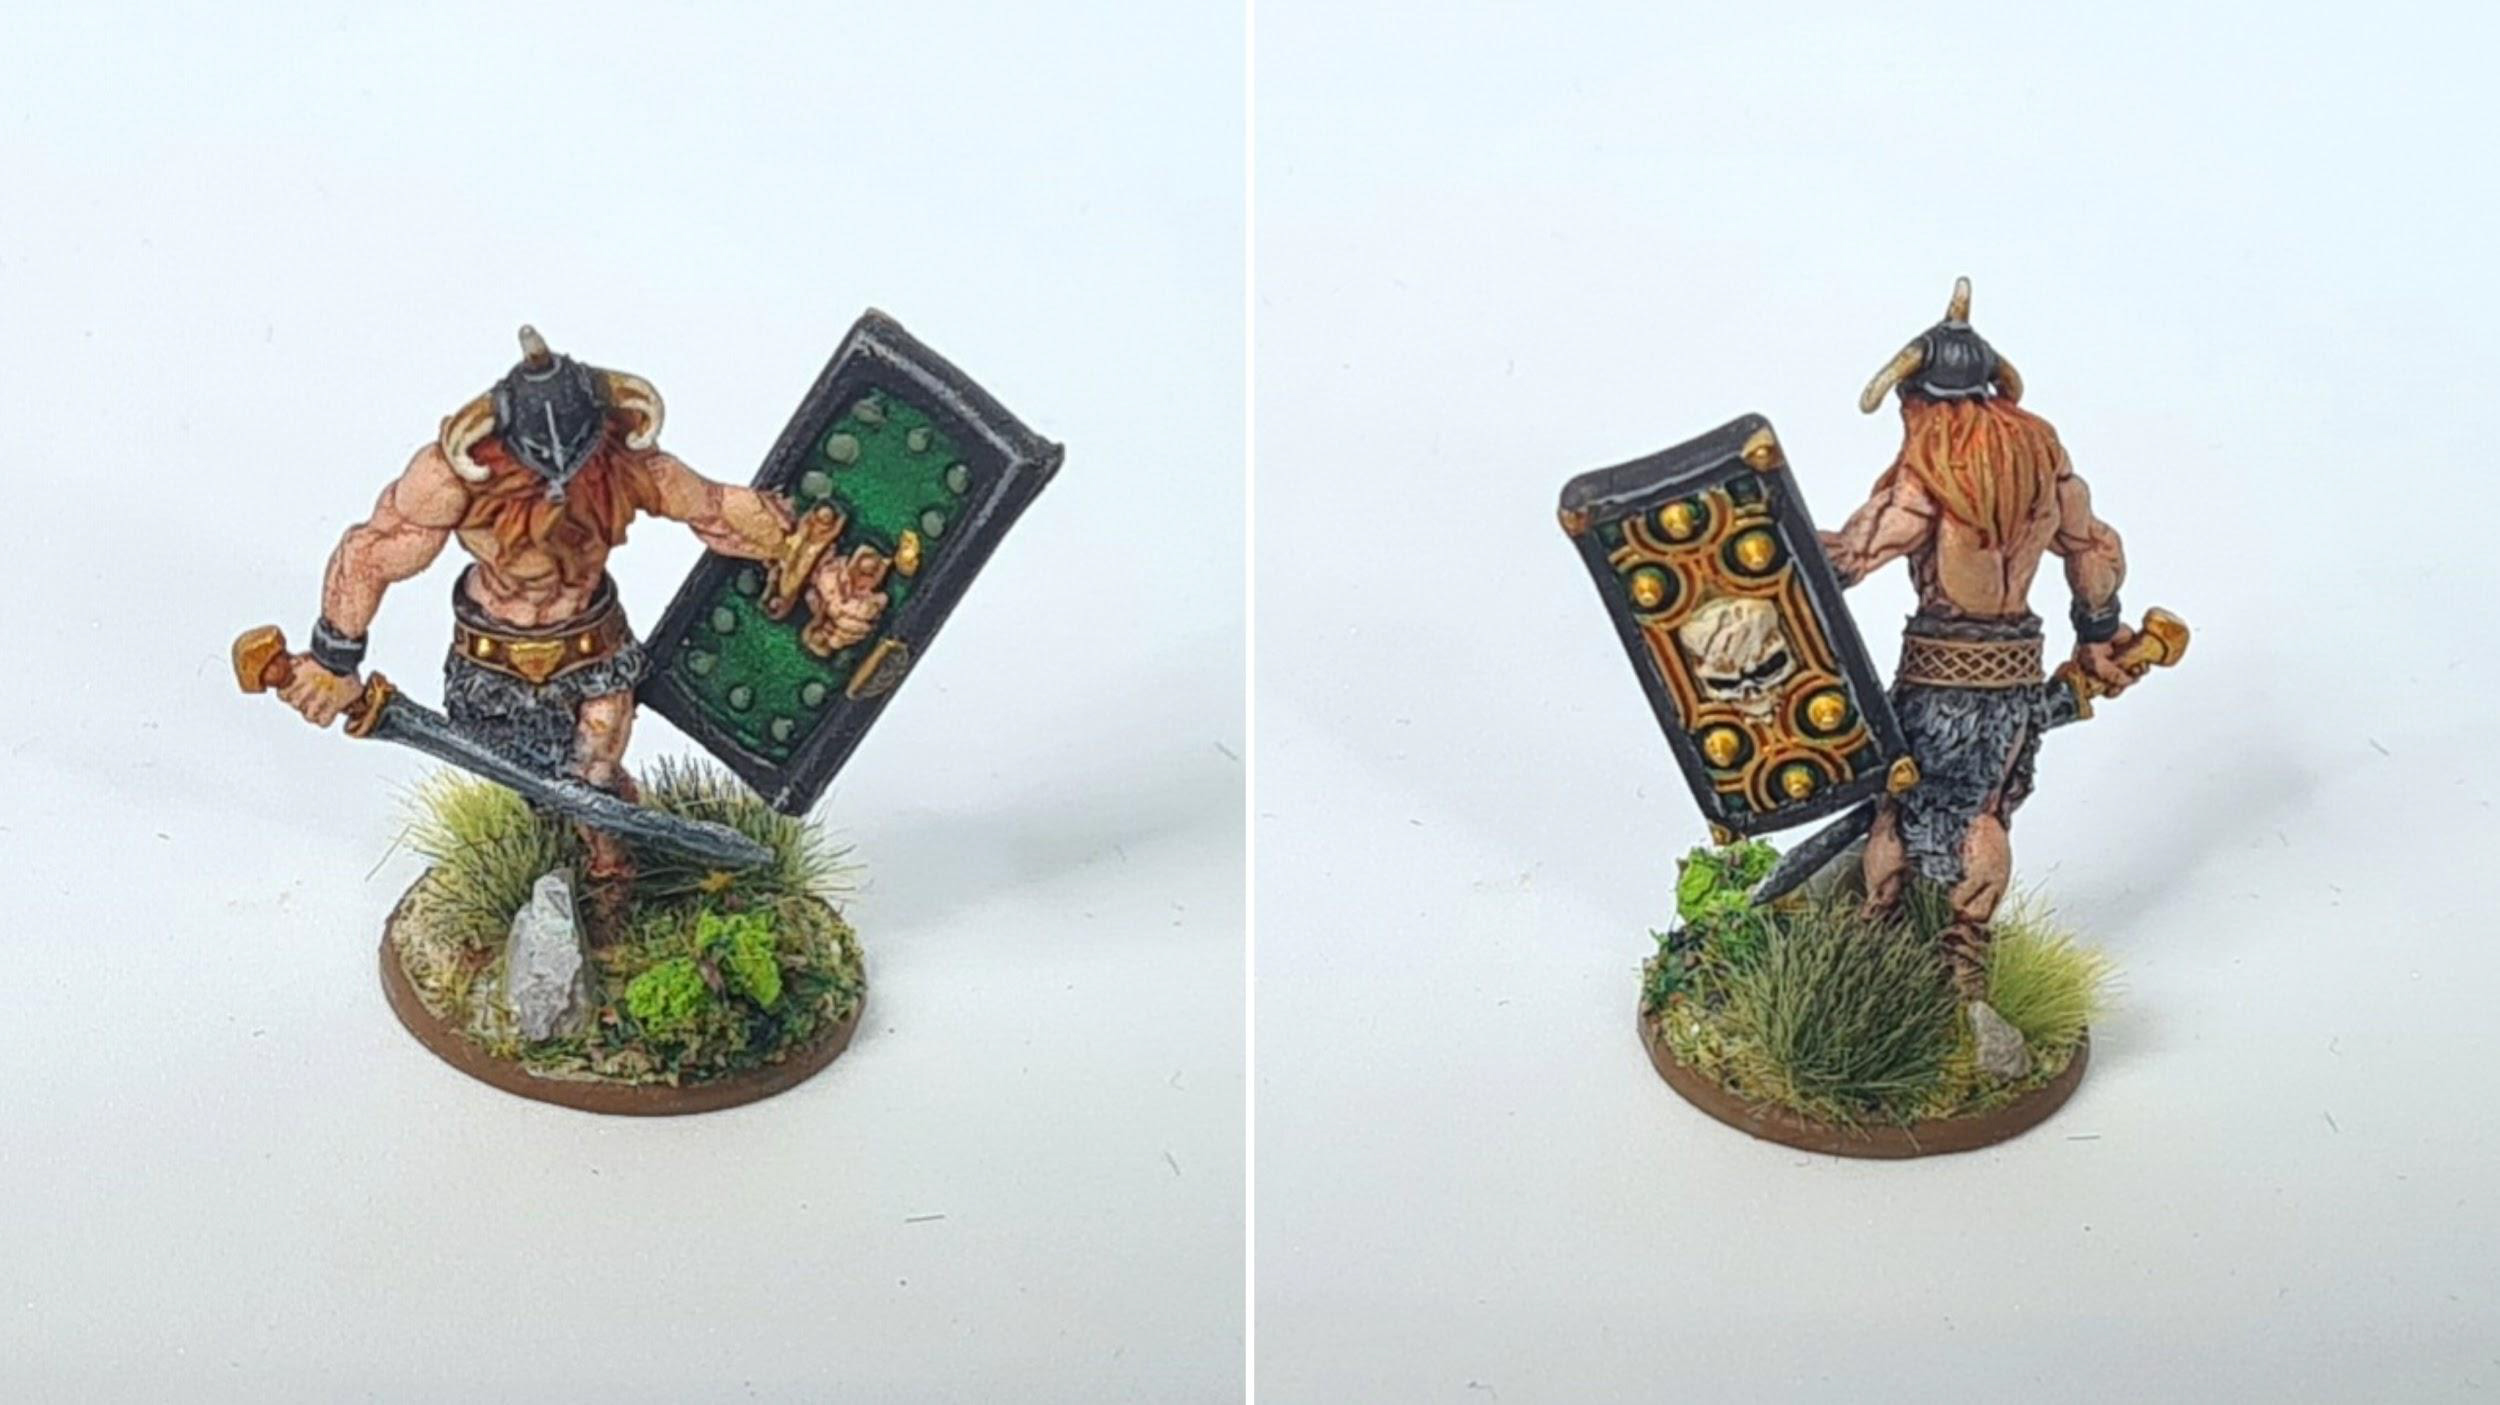
For the Speedpaint+ miniature I allowed the SP: Crusader Skin to fully dry before applying an overbrush of Barbarian Skin which was then highlighted with Kobold Skin using a Hobby: Standard Brush.
Step 3 – Leather
After the previous step had fully dried (with the helping hand of a hairdryer on low setting for extra speed) it was time to tackle the brown leather areas on the miniatures. For this it was as simple as applying a layer of SP: Hardened Leather with a Hobby: Standard Brush, in the same way as I did for the flesh.
Speedpaint+: The highlights I used for the leather was Fur Brown followed by a further refined highlight of Desert Yellow: Matt White (2:1 ratio) mix.
Step 4 – The Shield PT.1
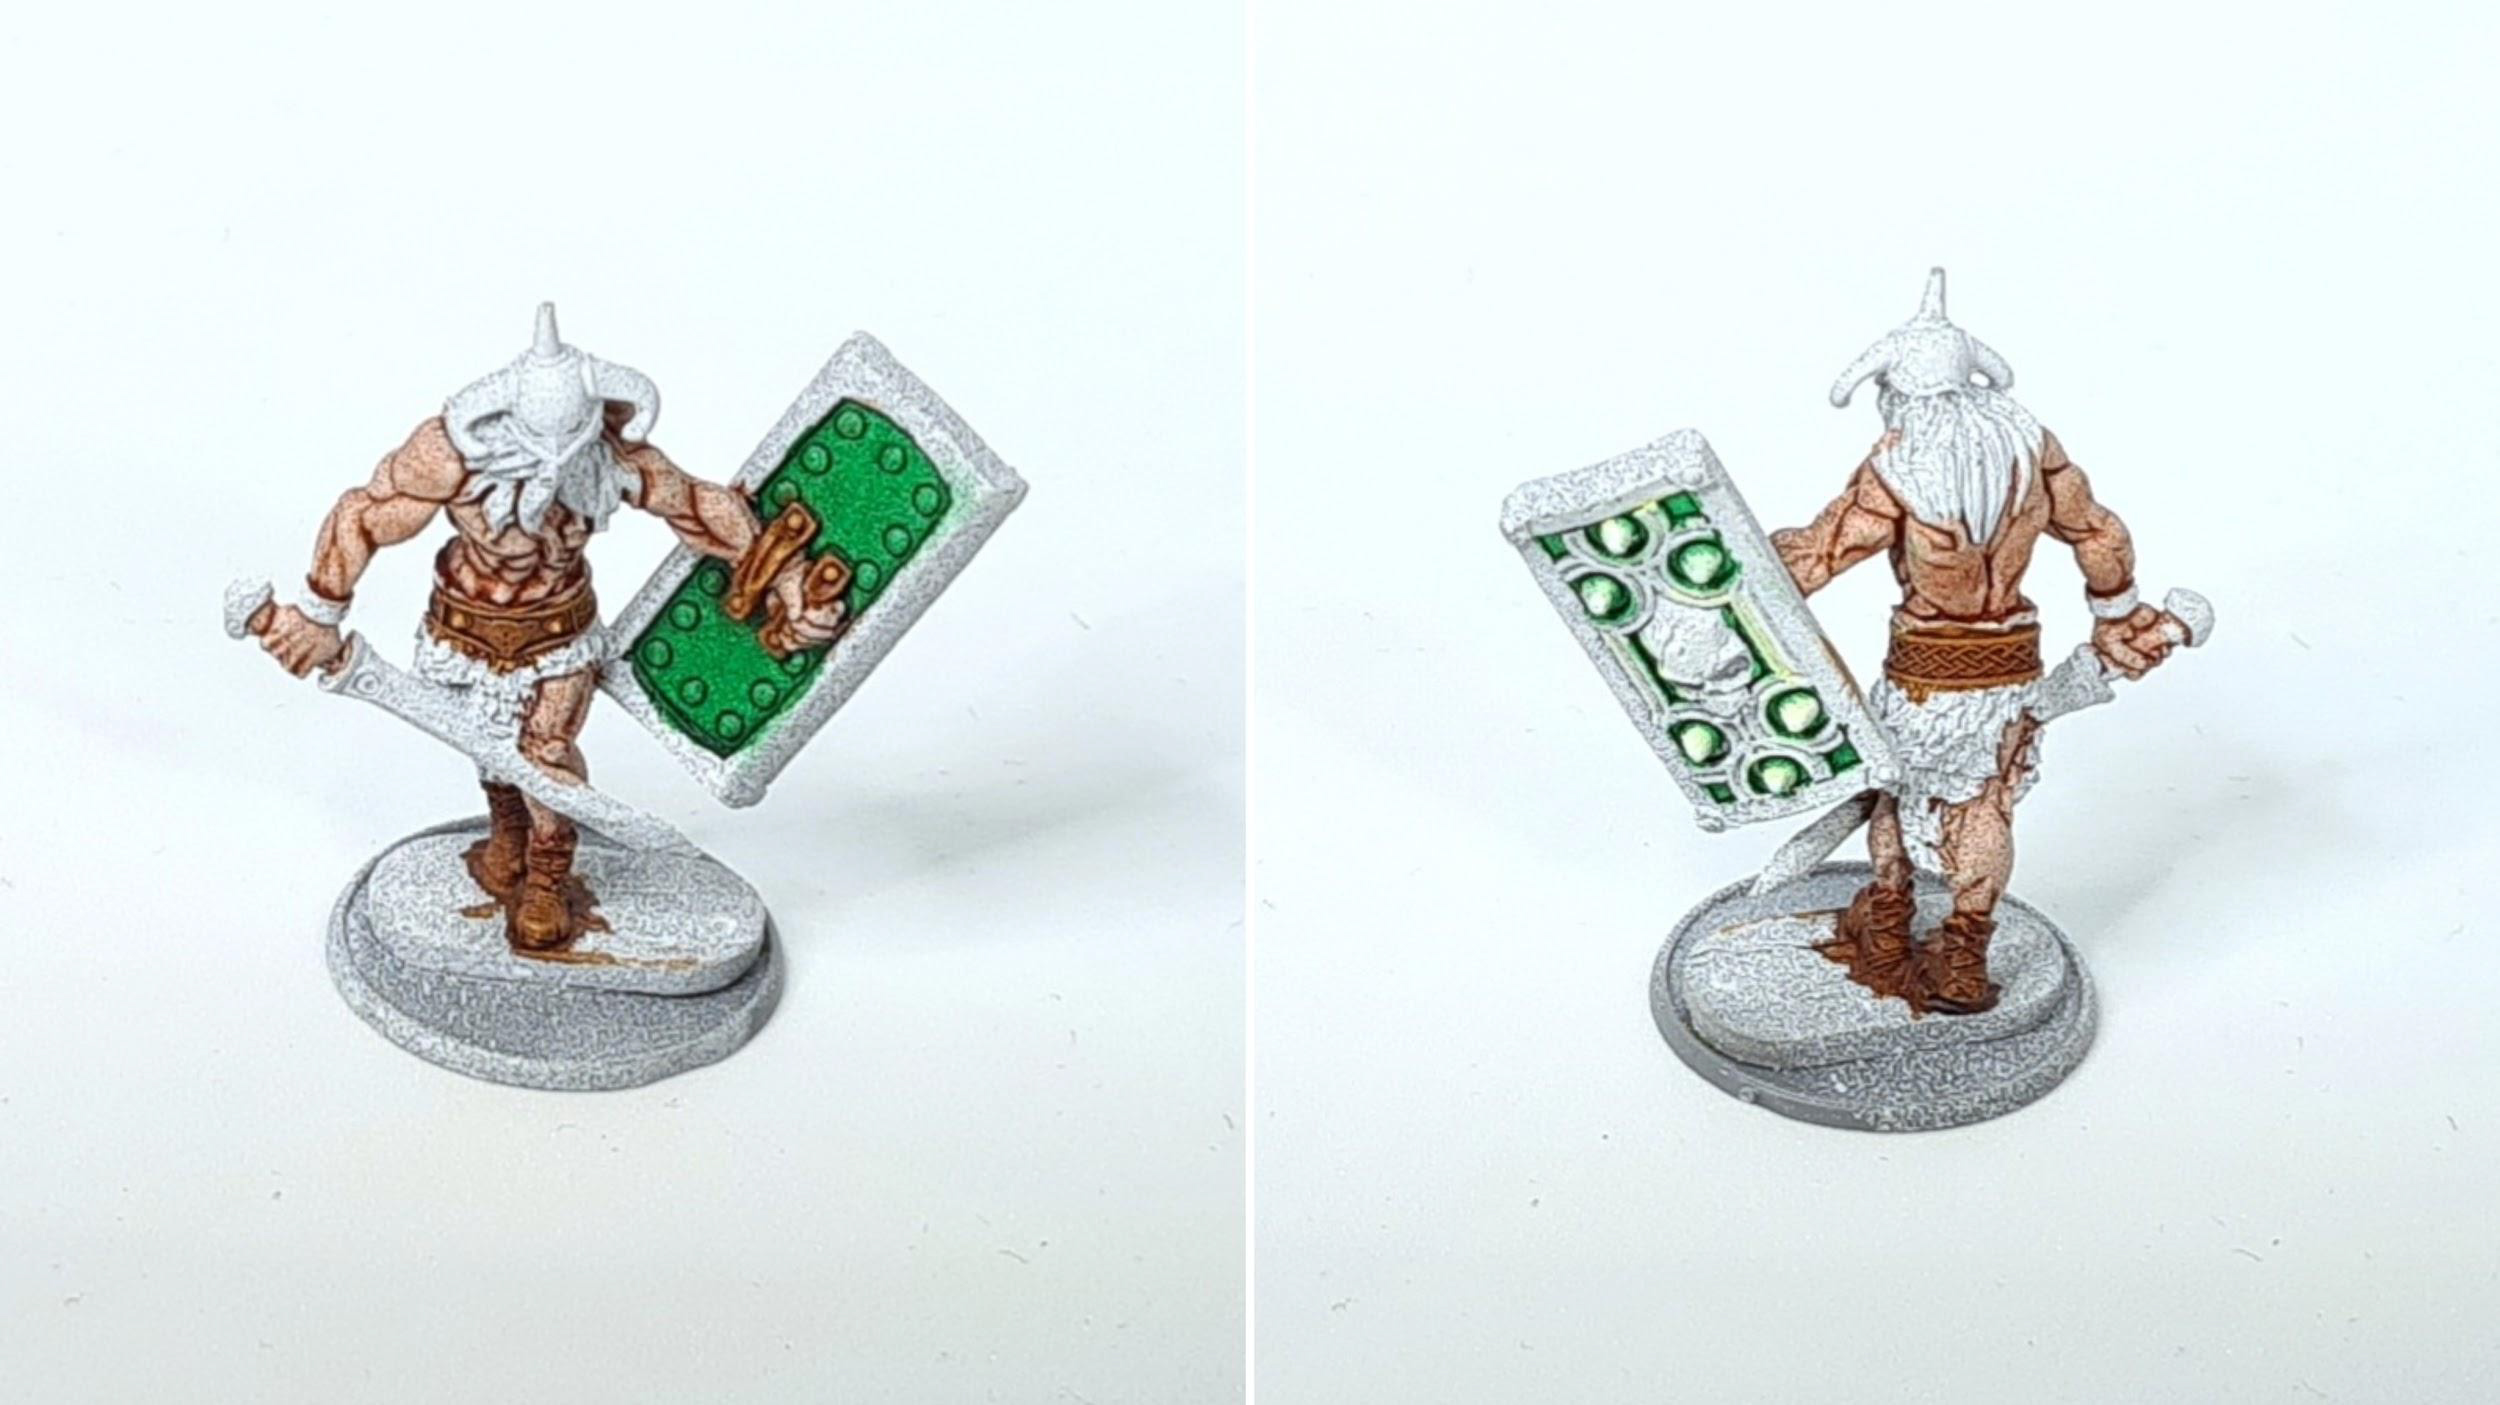
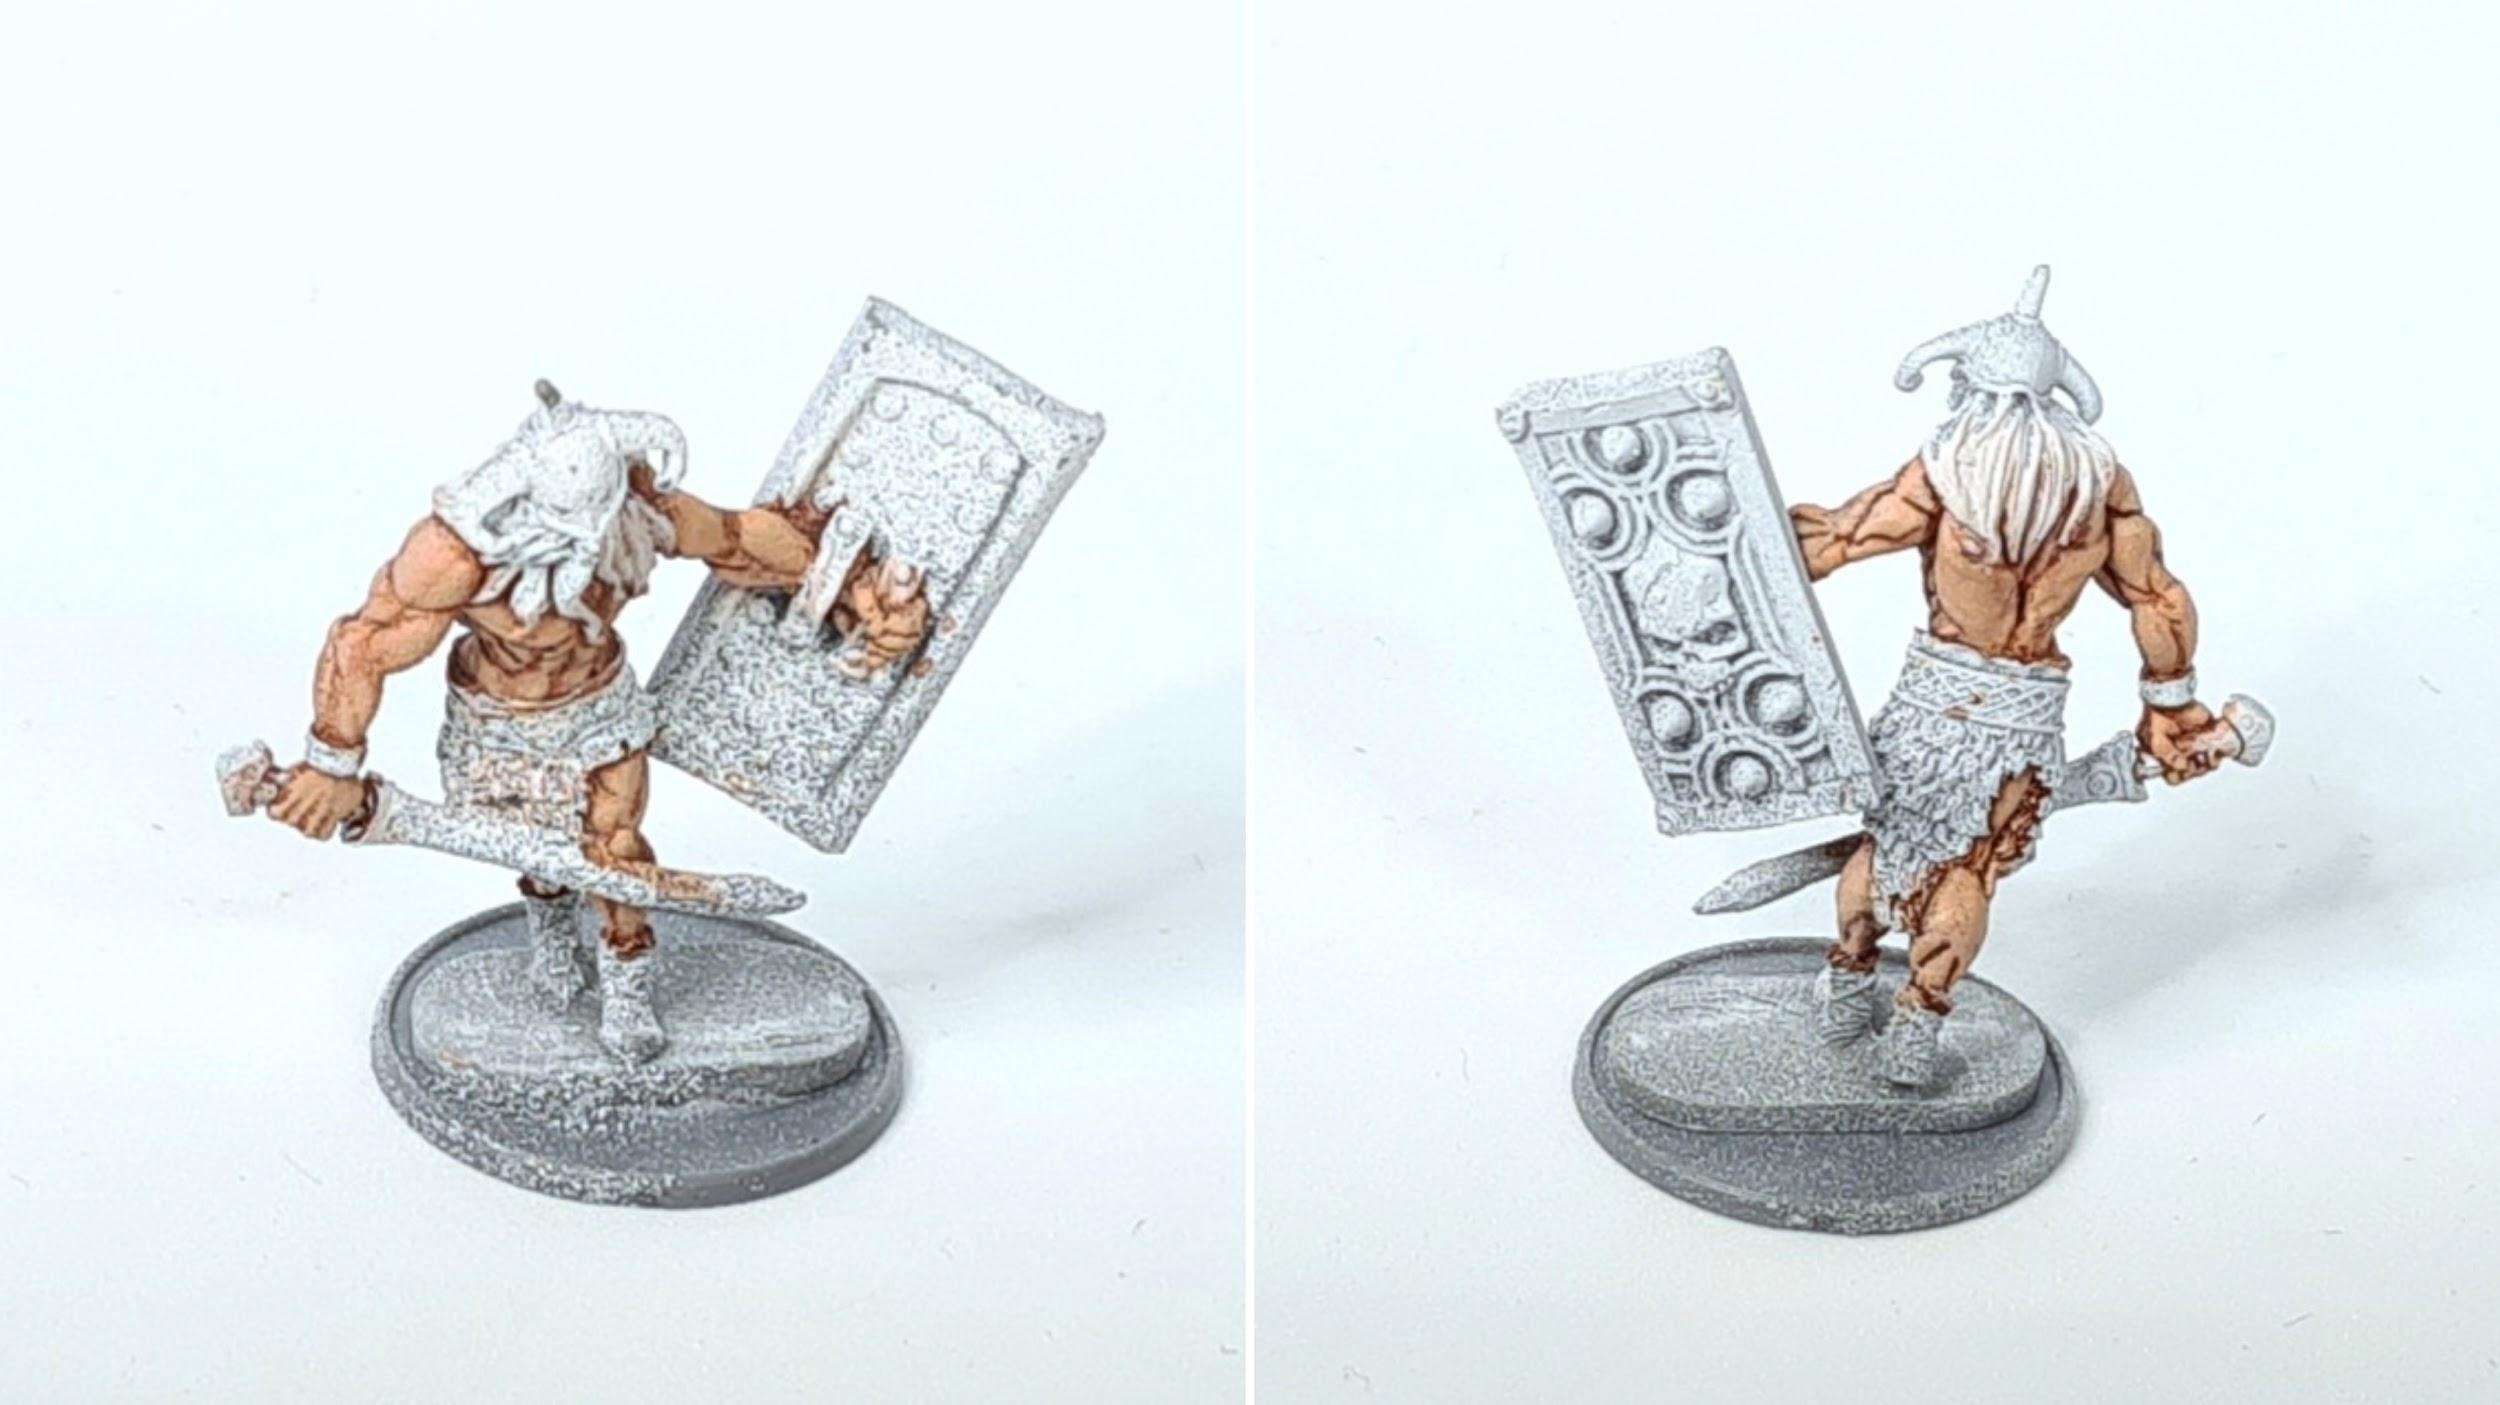
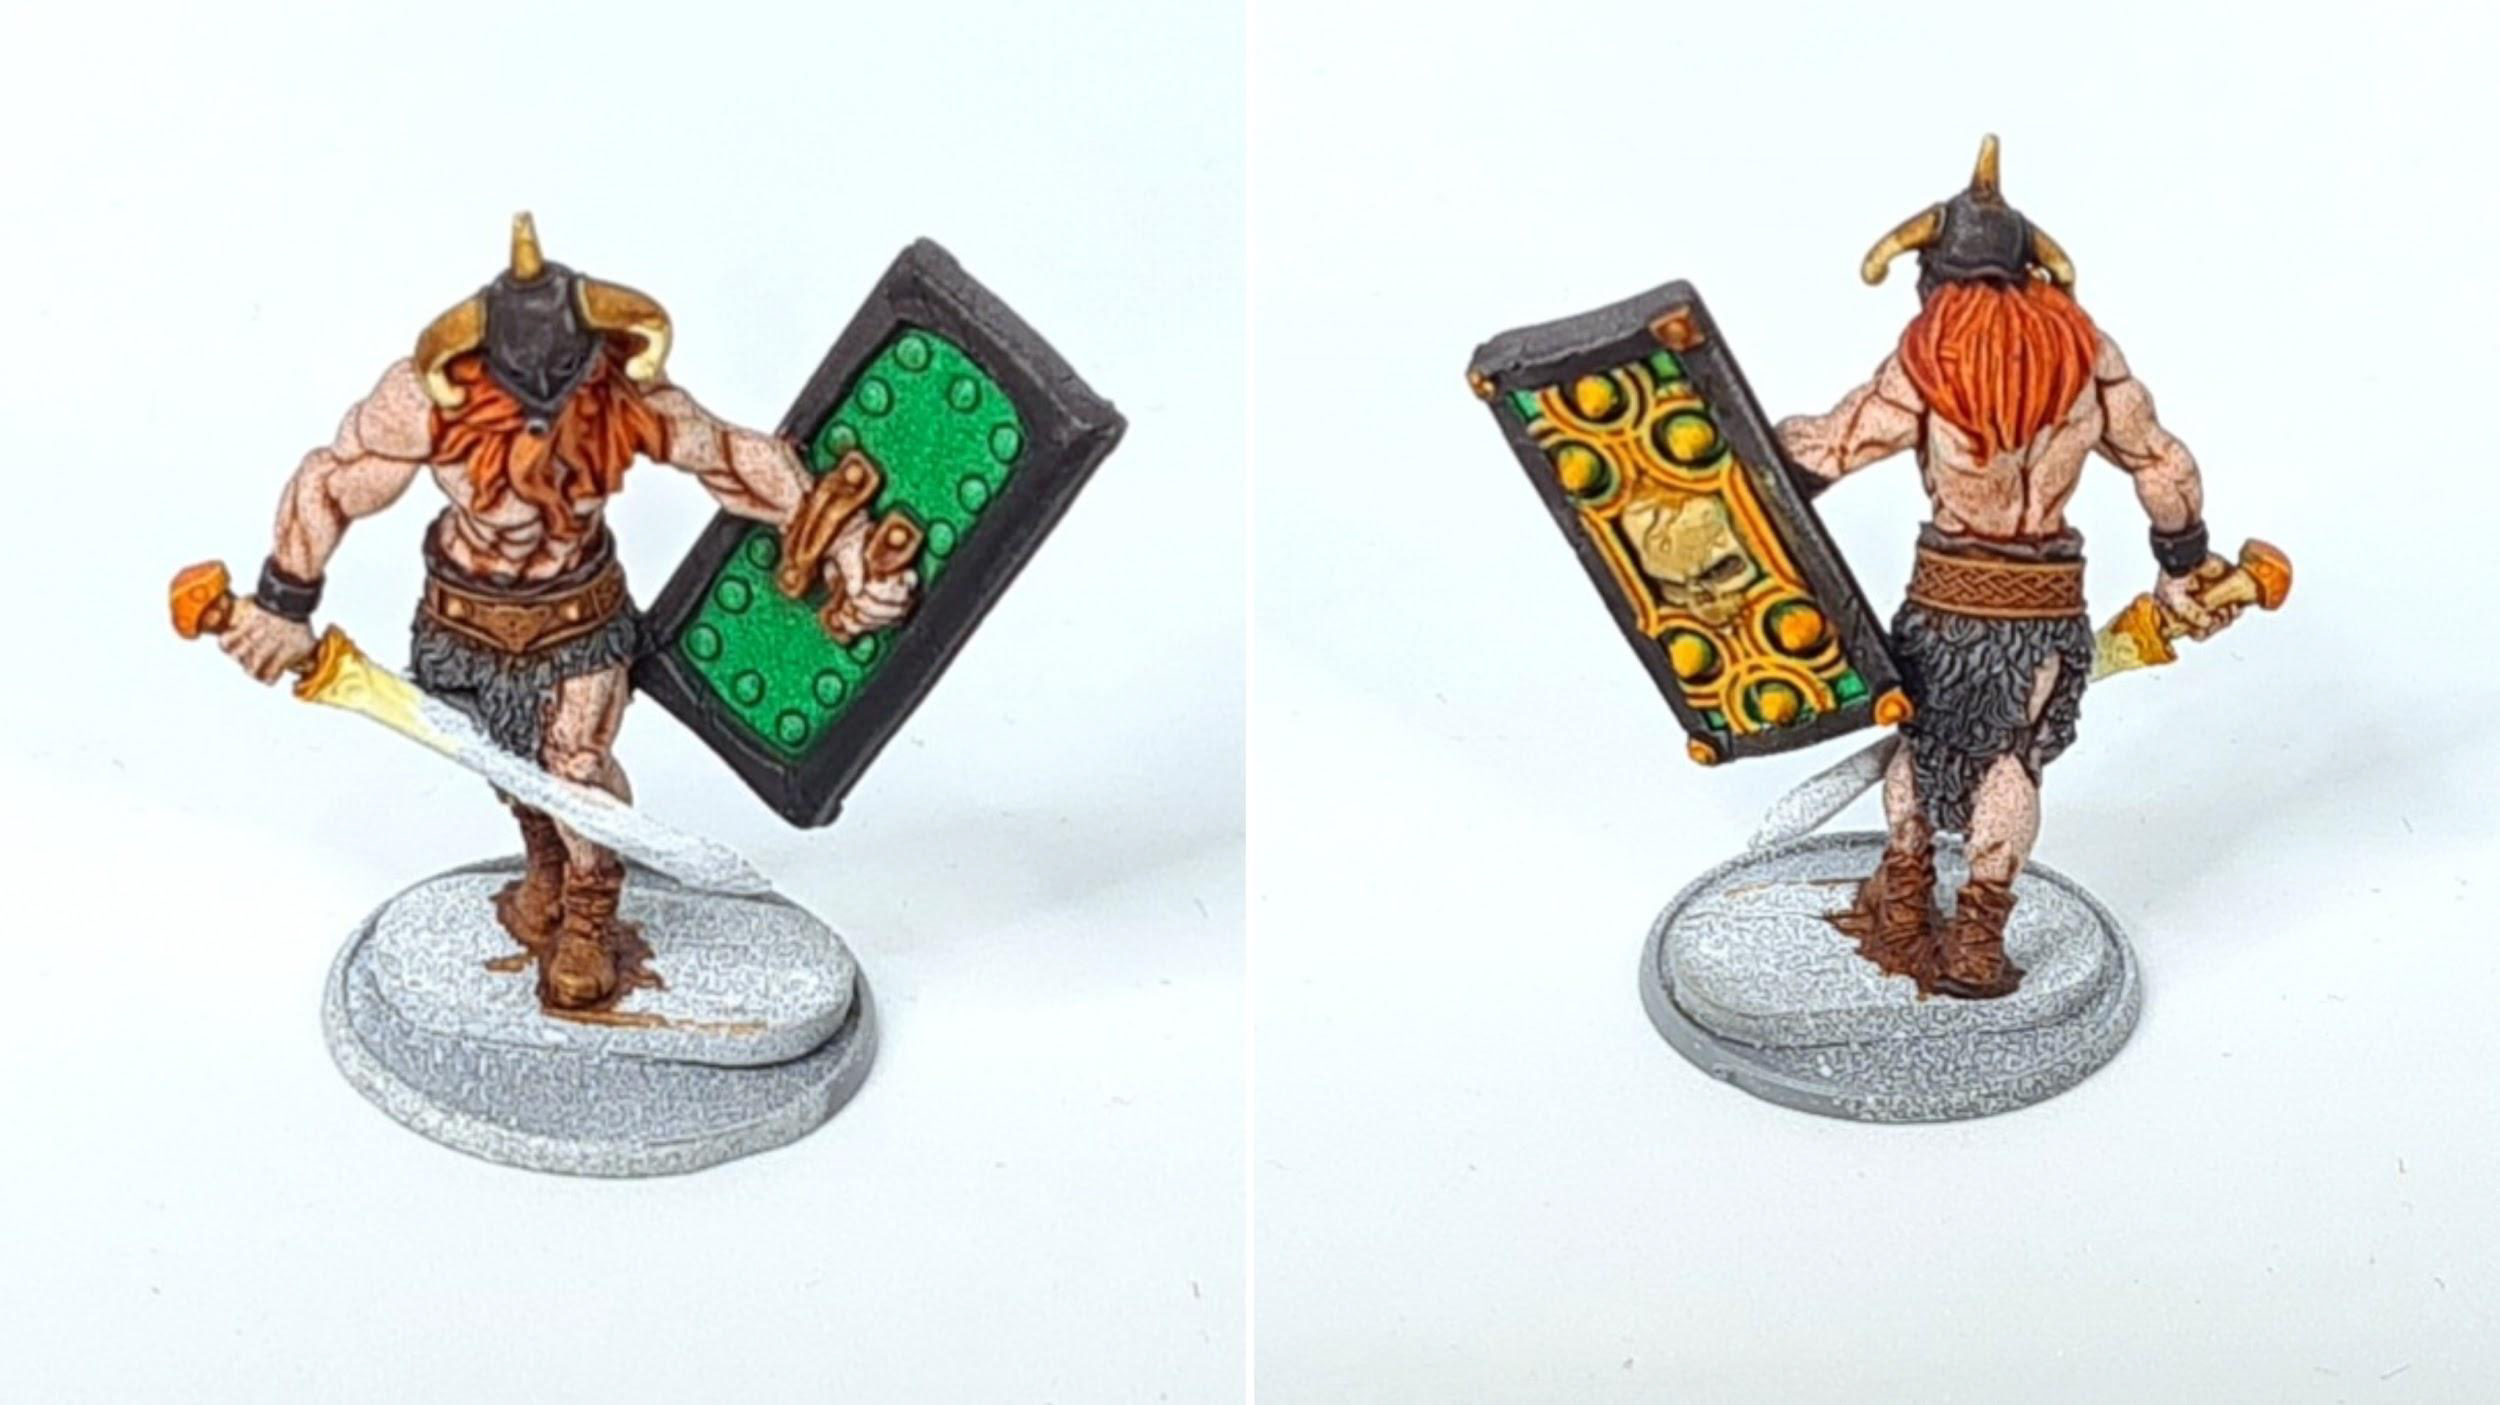
Using the Monster Brush for the inside of the shield and the Standard Brush for the detail on the outside I applied a coat of SP: Orc Skin… I found I was enjoying how quickly this is progressing and the overall result!
Speedpaint+: Once the Speedpaint had dried I moved on to adding a decent wash of Military Shader to the green areas to give it more depth and then using Army Green I picked out the rivets on the inside of the shield. Try to be as neat as possible unlike me who got the green on the helmet…oops! You could always apply a layer of Matt White to tidy up any areas if you do make a mistake.
Stage 5 – Oh those Fiery Locks

Having only the Speedpaint Starter set I had limited colours to which I can call upon for use on these miniatures (however in the not too distant future there will be a wider variety of Speedpaint colours available). For now, however we will make use of the Fire Giant Orange from the set for this Drune’s hair!
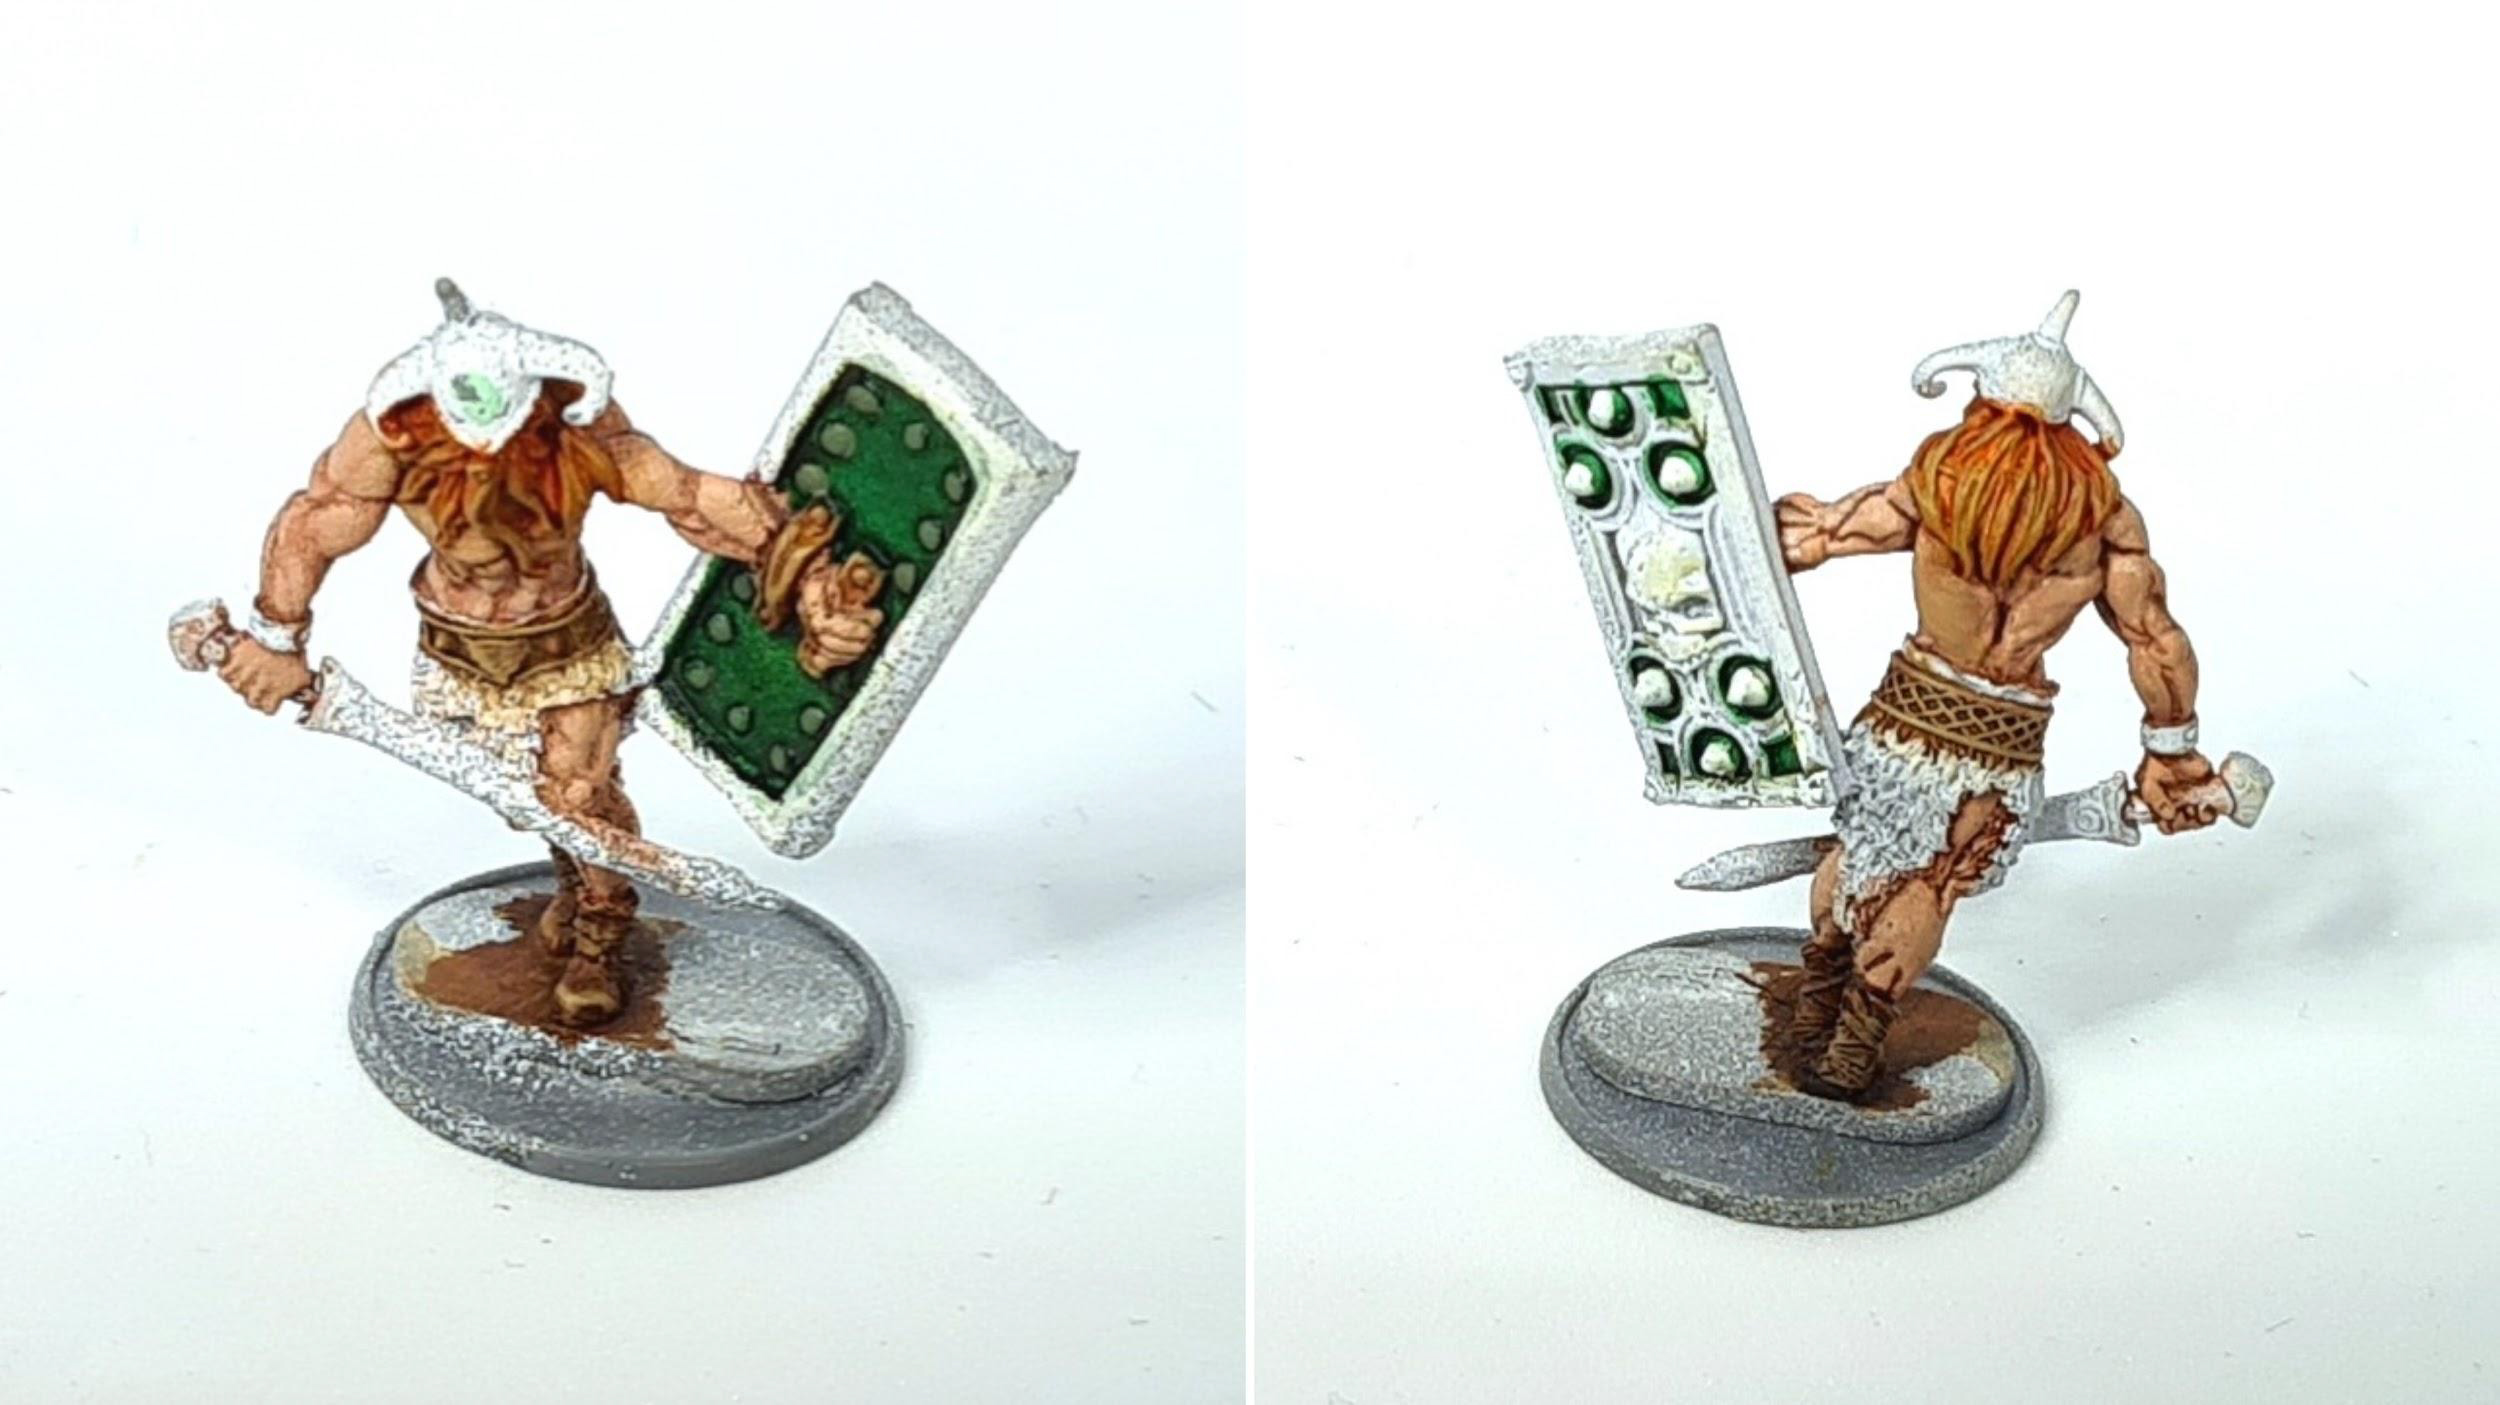
Speedpaint+: Once dry I tackled highlighting the hair using a mix of Desert Yellow: Banshee Brown: Lava Orange (roughly 1:1:2 to start then adding more Banshee Brown to the mix for a second highlight).
Step 6 – Shield PT.2, Black Leather, Fur & Bone

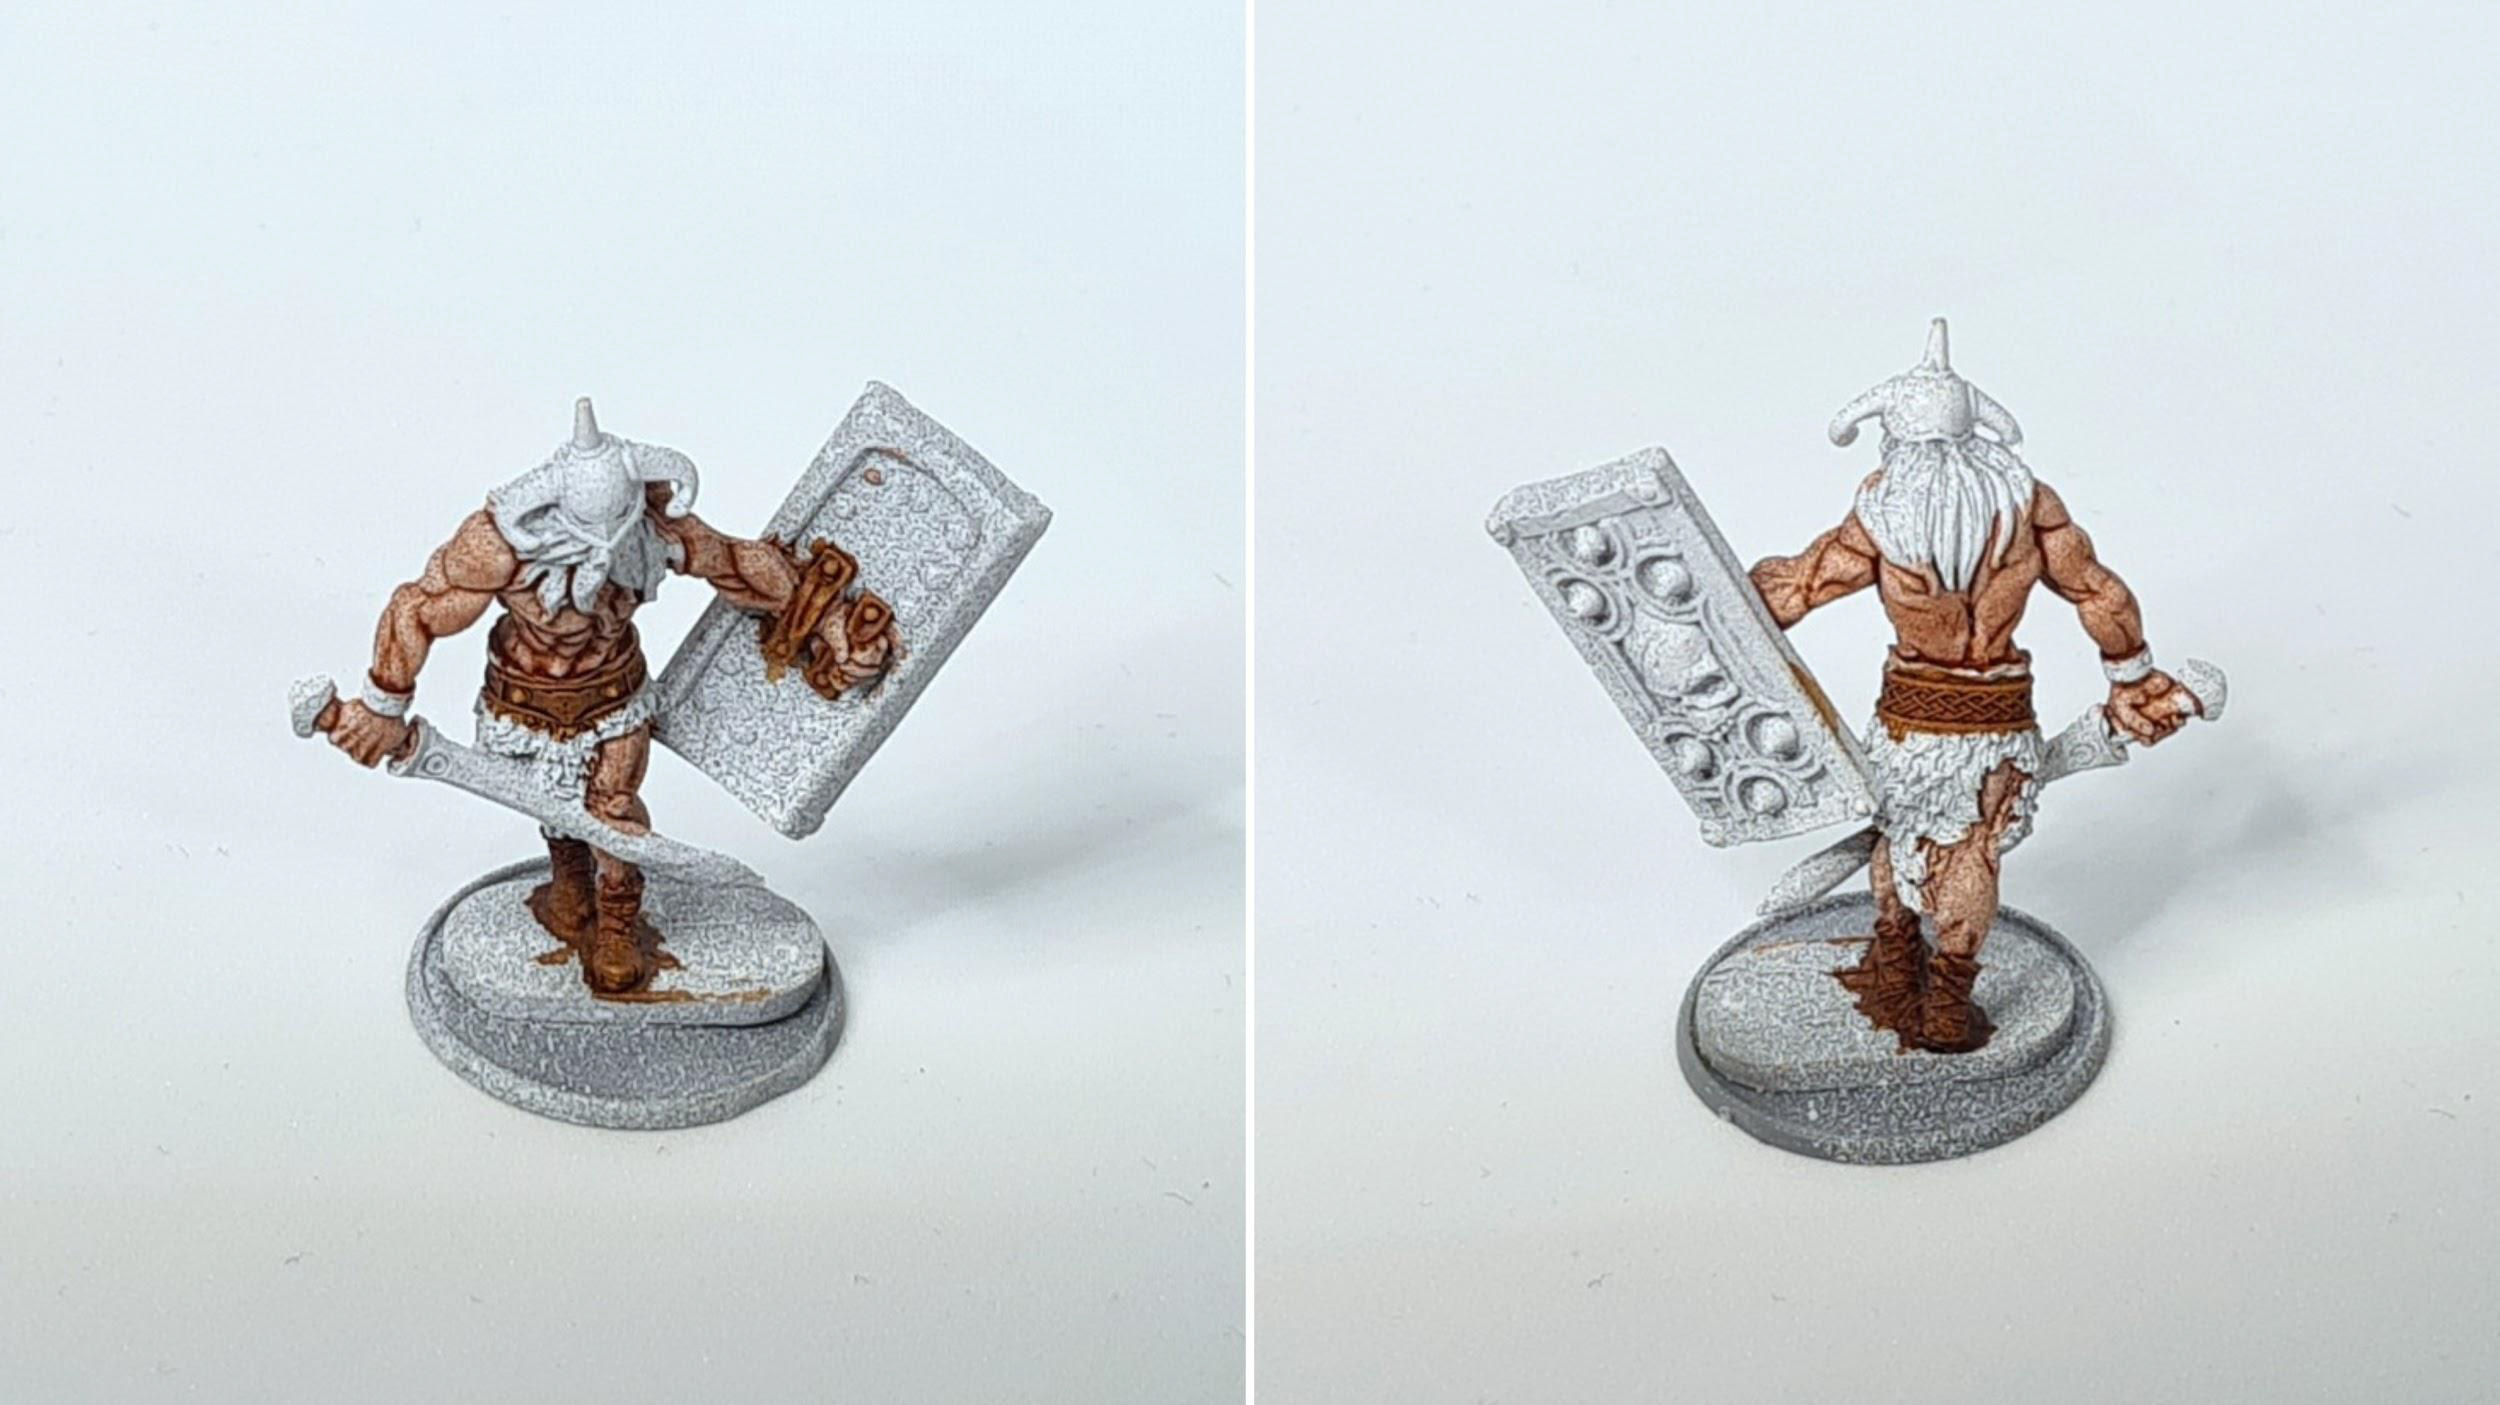
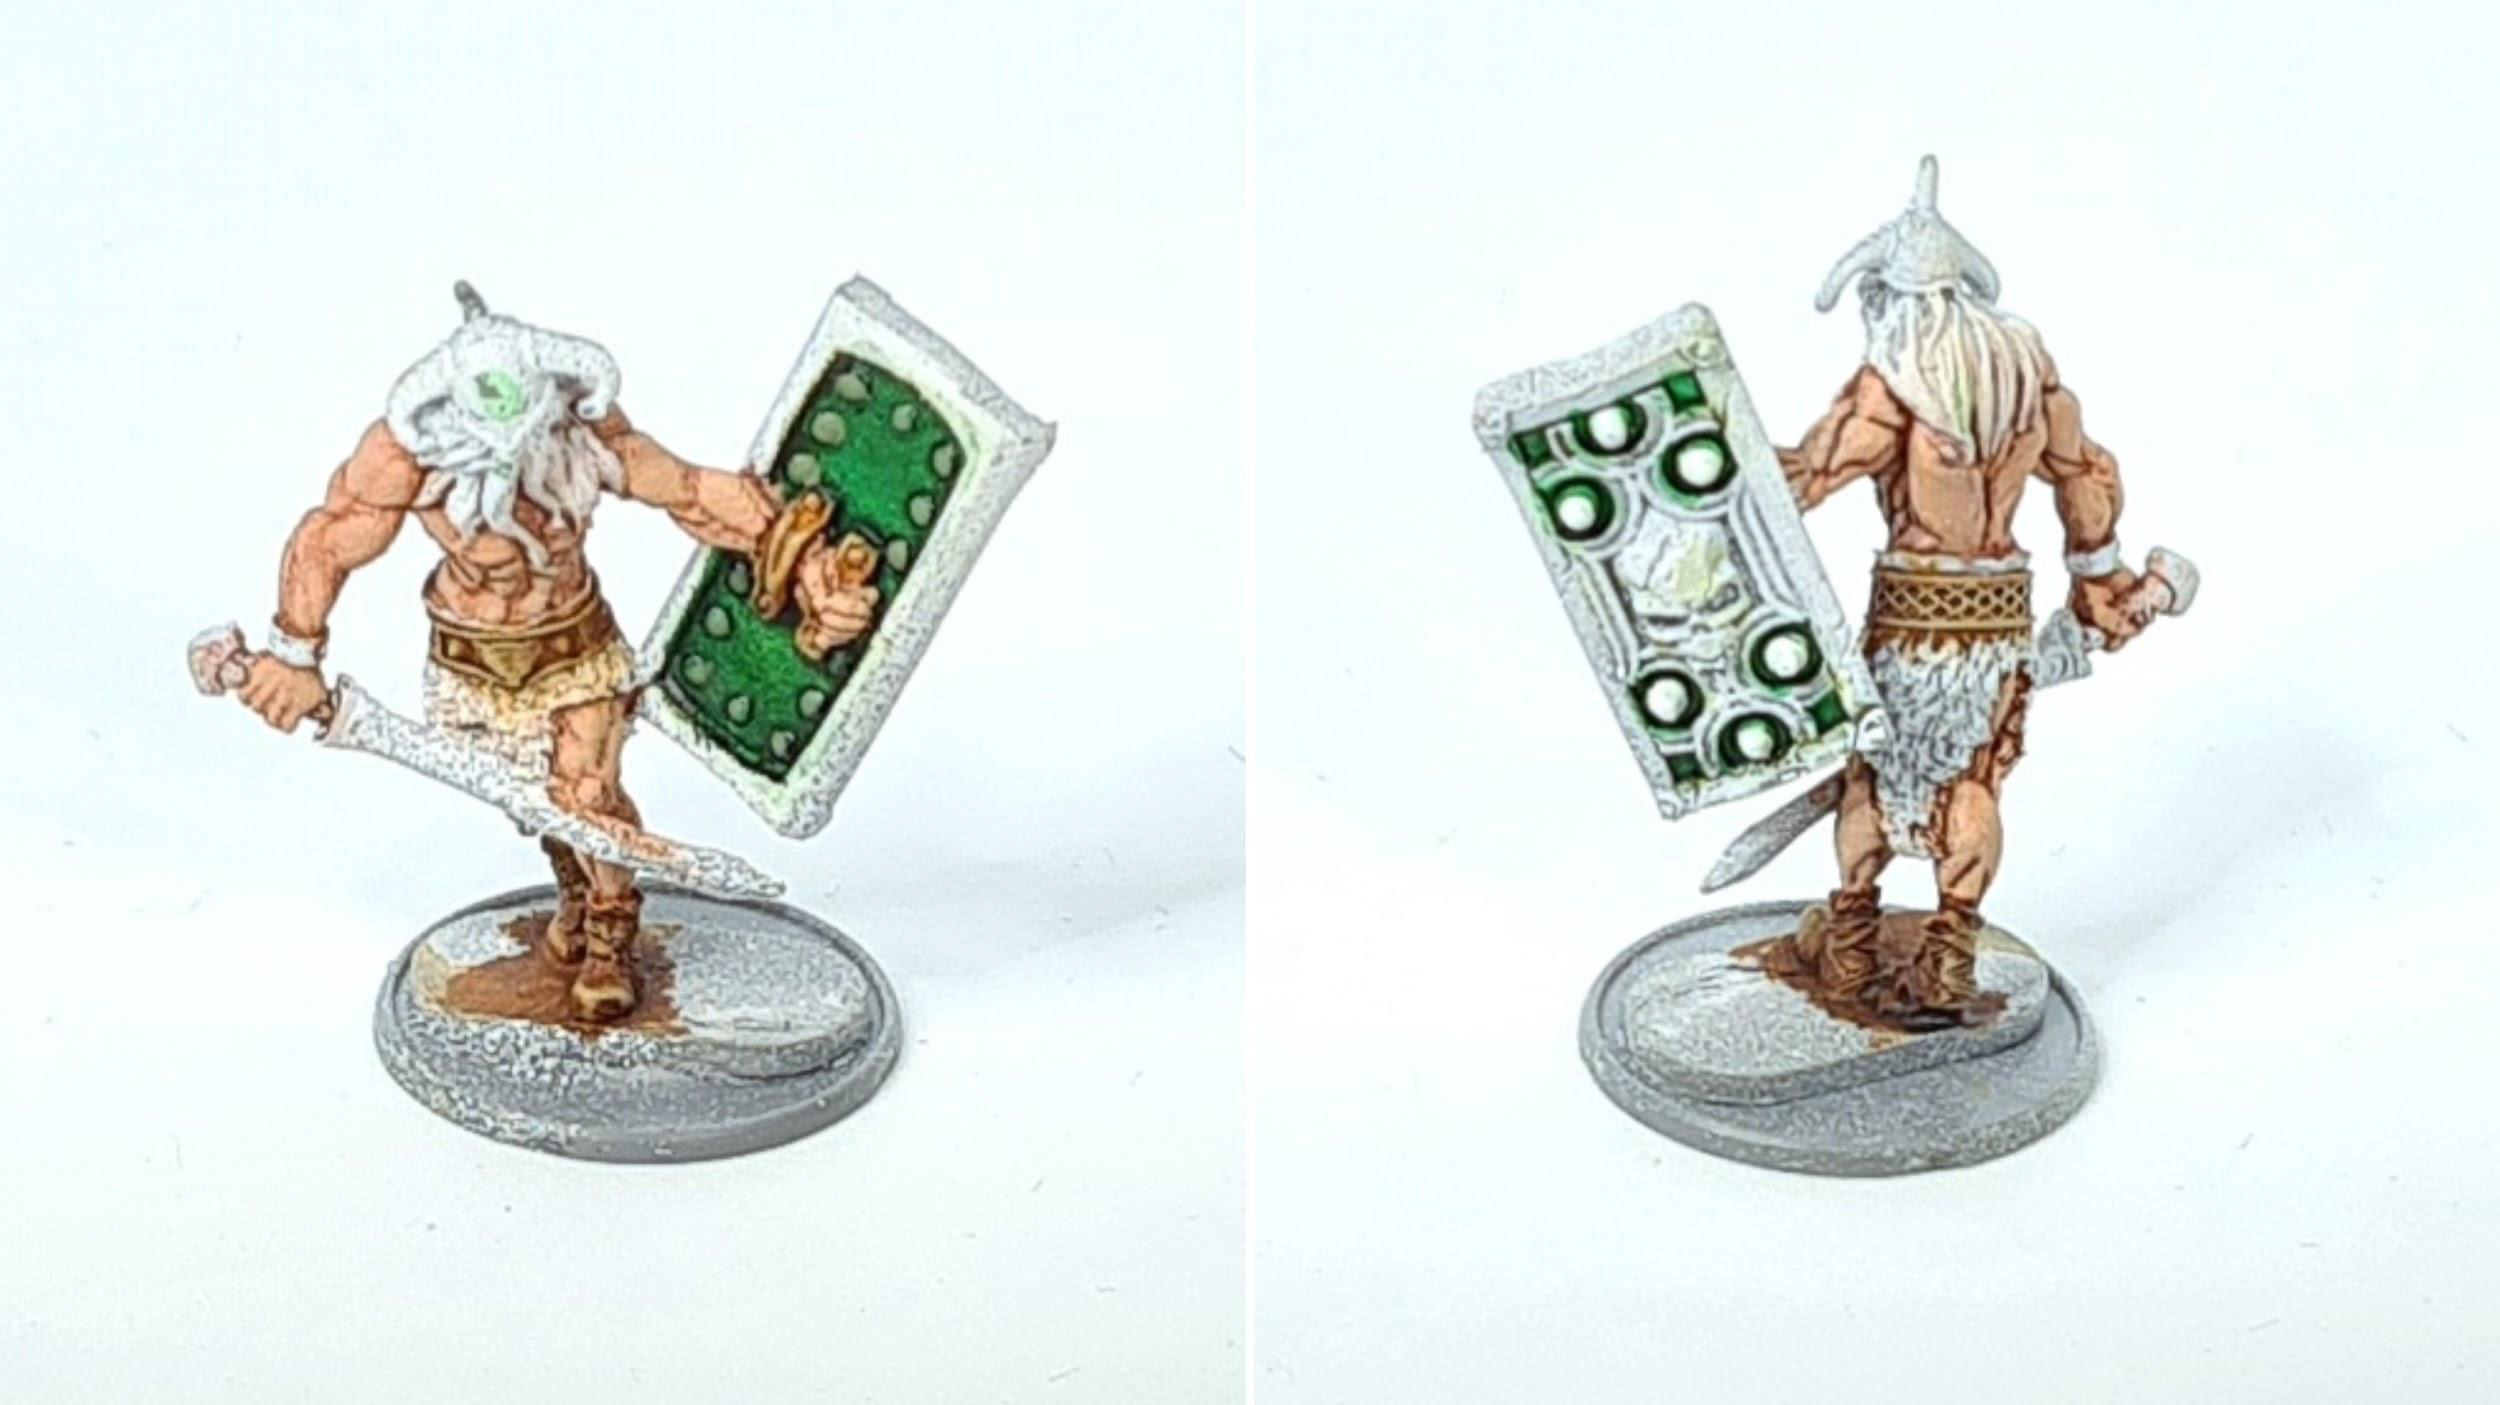
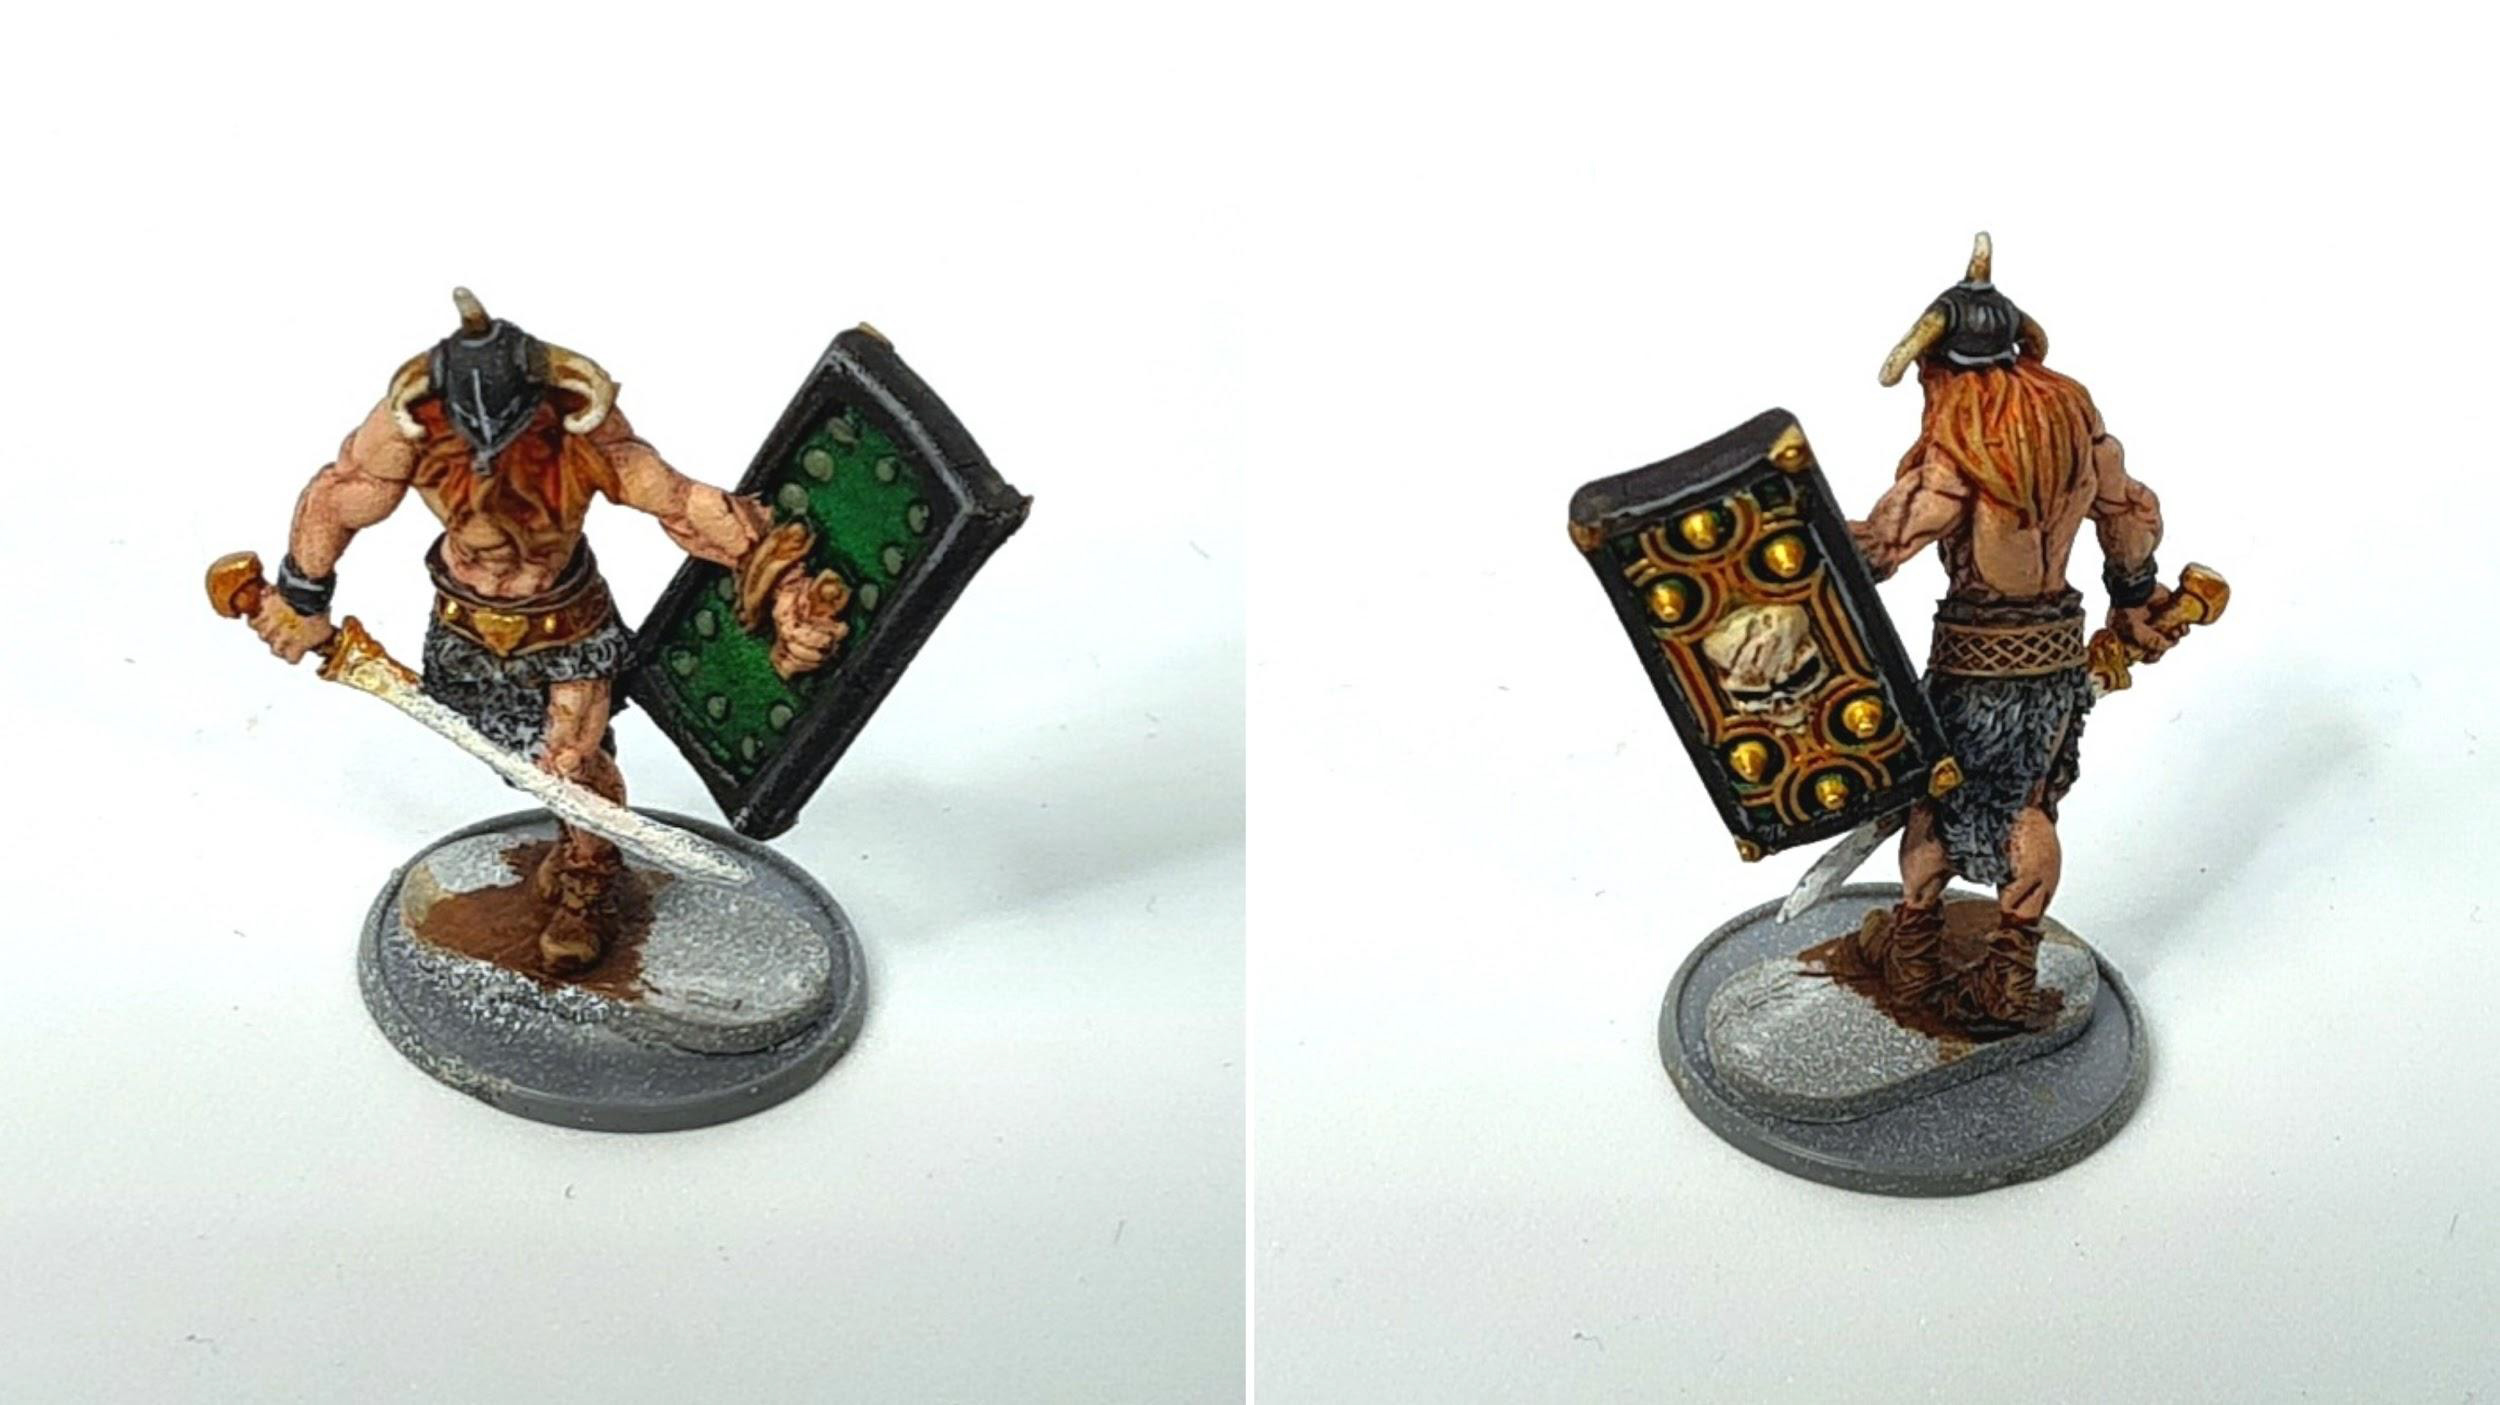
So it’s time to move on to the other darker areas of the miniatures, the grey fur, the black leather cuff and the shield rim. For this I used SP: Gravelord Grey, applying one coat to the fur and 2 coats to the shield and cuff. For the bone areas (including the sword grip) I first applied a layer of SP: Pallid Bone then when dry, focusing on the areas nearest the helmet and around the deep recess of the skull on the shield I applied a layer of SP: Hardened Leather.

For the Speedpaint+ miniature I highlighted the bone areas using Banshee Brown then mixed Matt White (1:2 ratio) creating thin lines on the horns and focusing the highlights along the raised areas of the skull on the shield. The black leather cuff and shield rim were all highlighted with Ash Grey and then the fur, extreme edges of the shield and visor of the helmet were highlighted with Spaceship Exterior.
Step 7 – Gold…it’s the detailing that shows Warrior Prestige
For the gold areas I applied a coat of SP: Zealot Yellow on the Simply Speedpaint version as the challenge was to only want to use colours from the Speedpaint Starter Set.
Speedpaint +: Being able to use the Metallic range from Army Painter in conjunction with the Speedpaints meant I was able to apply a highlight of Greedy Gold!
Stage 8 – The Cut of my Steel
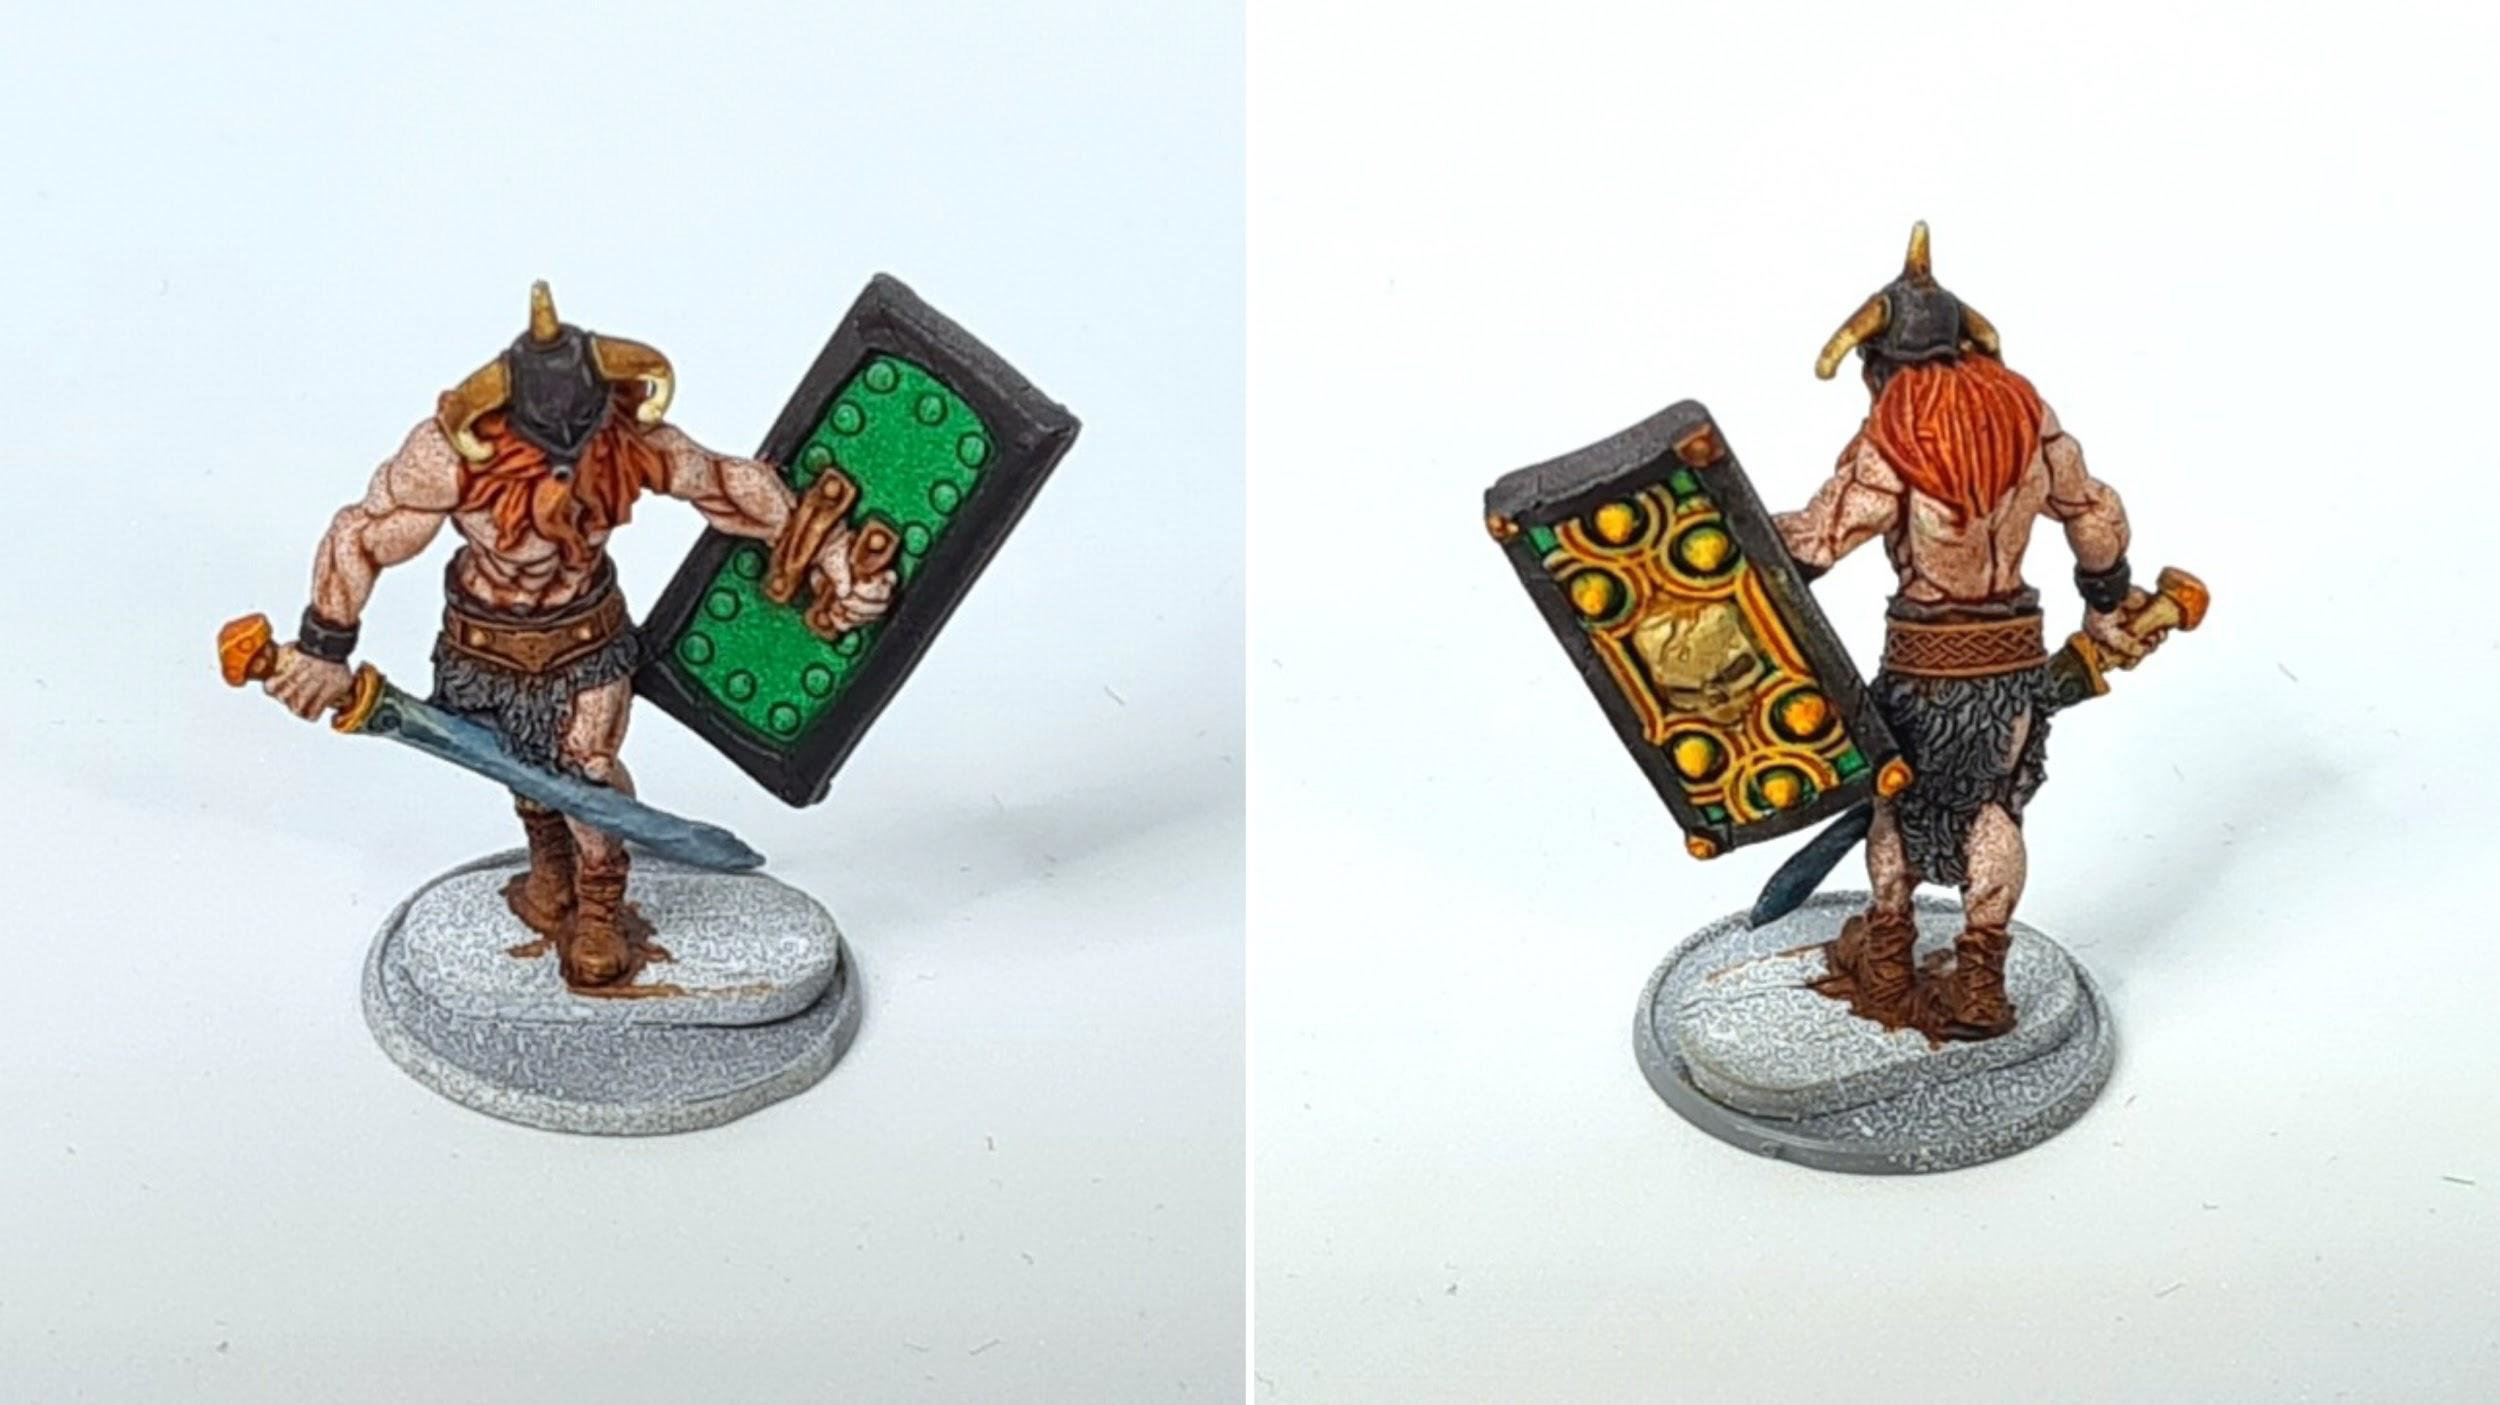
So for this I actually tried mixing a fair amount of water to a mix of the SP: Gravelord Grey and SP: Highlord Blue at ratio of 3:1:1. This was then applied to the sword as I was trying for a mystical steel look.
This was then highlighted on the Speedpaint+ miniature using Plate Mail.
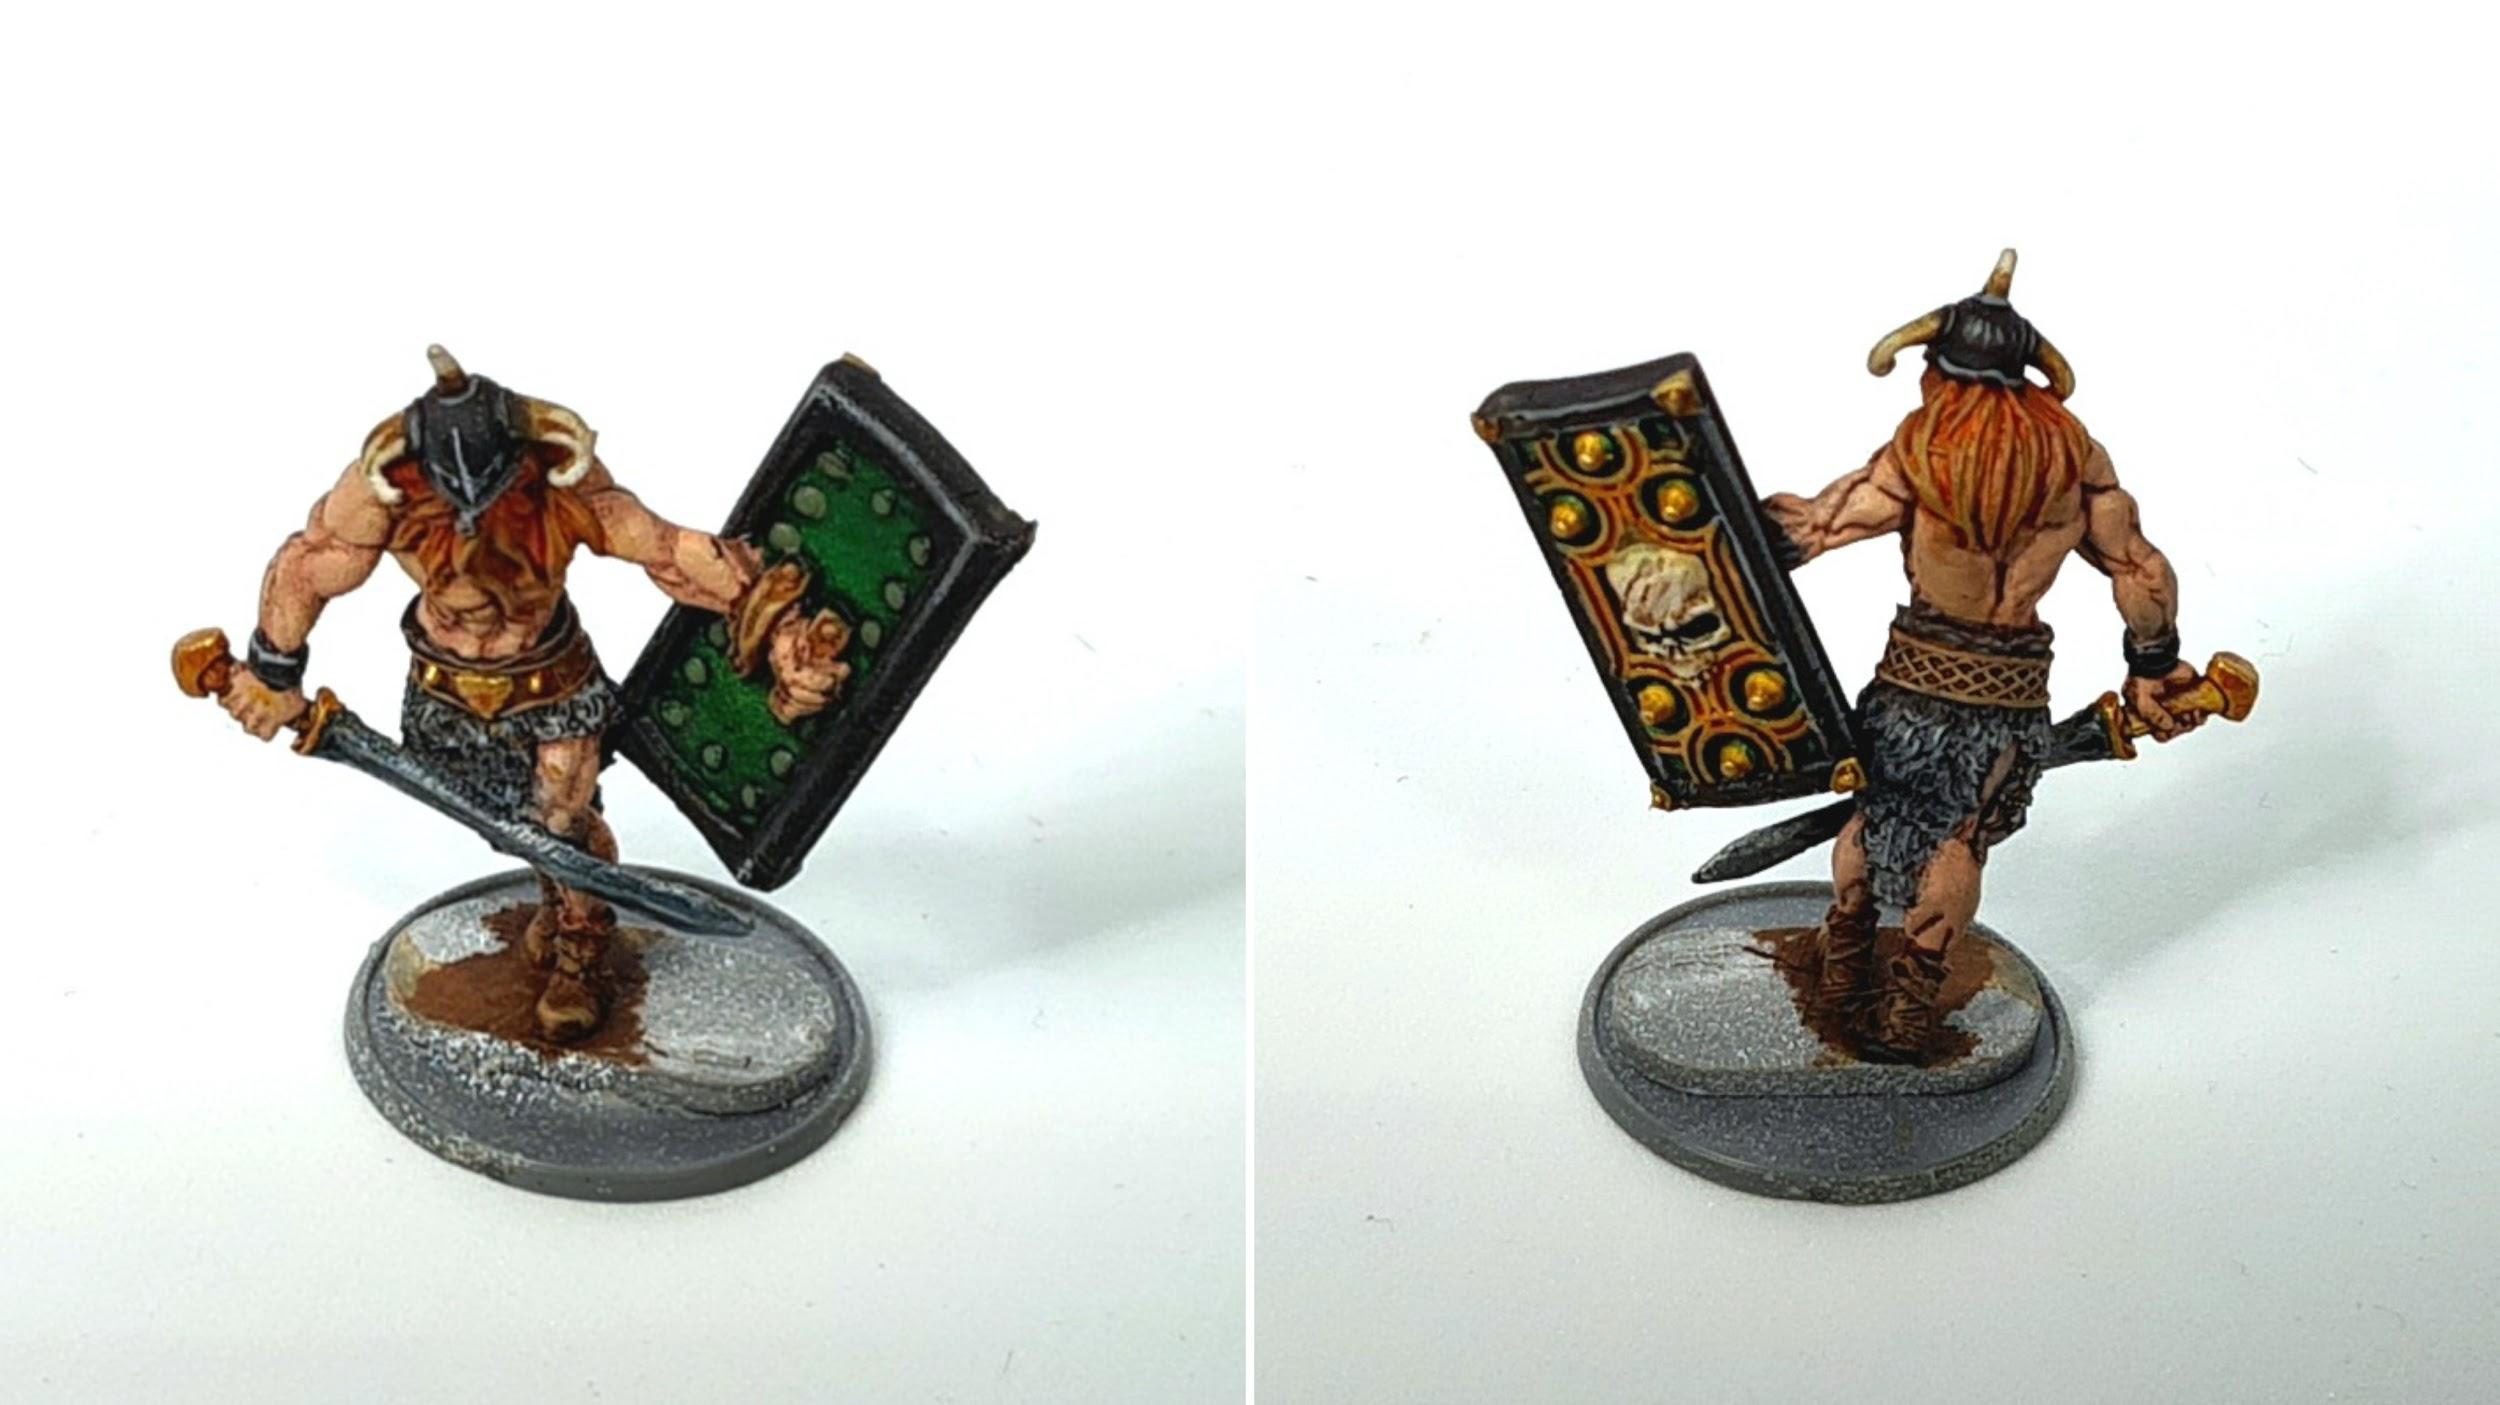
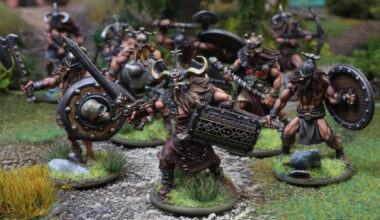
Stage 9 – Basing
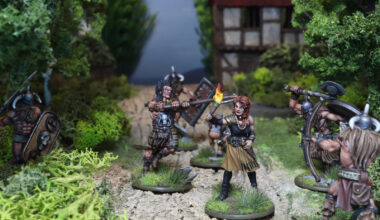
So that just leaves you to base your models to fit your collection… Here’s both versions finished and in honesty there are only subtle differences between them, the Speedpaint only version, did however, only take roughly half the time to paint!
Summary
I have to say I am really loving the Speedpaints! They are so quick to use, cover well and dry to a really good finish allowing you to get your armies on the tabletop quickly! These are really great value for money and if you don’t want to use them as a “one coat does all” then they will double up as really great glazes when the medium is released soon!
Let us know how you’re finding the Army Painter Speed Paints!
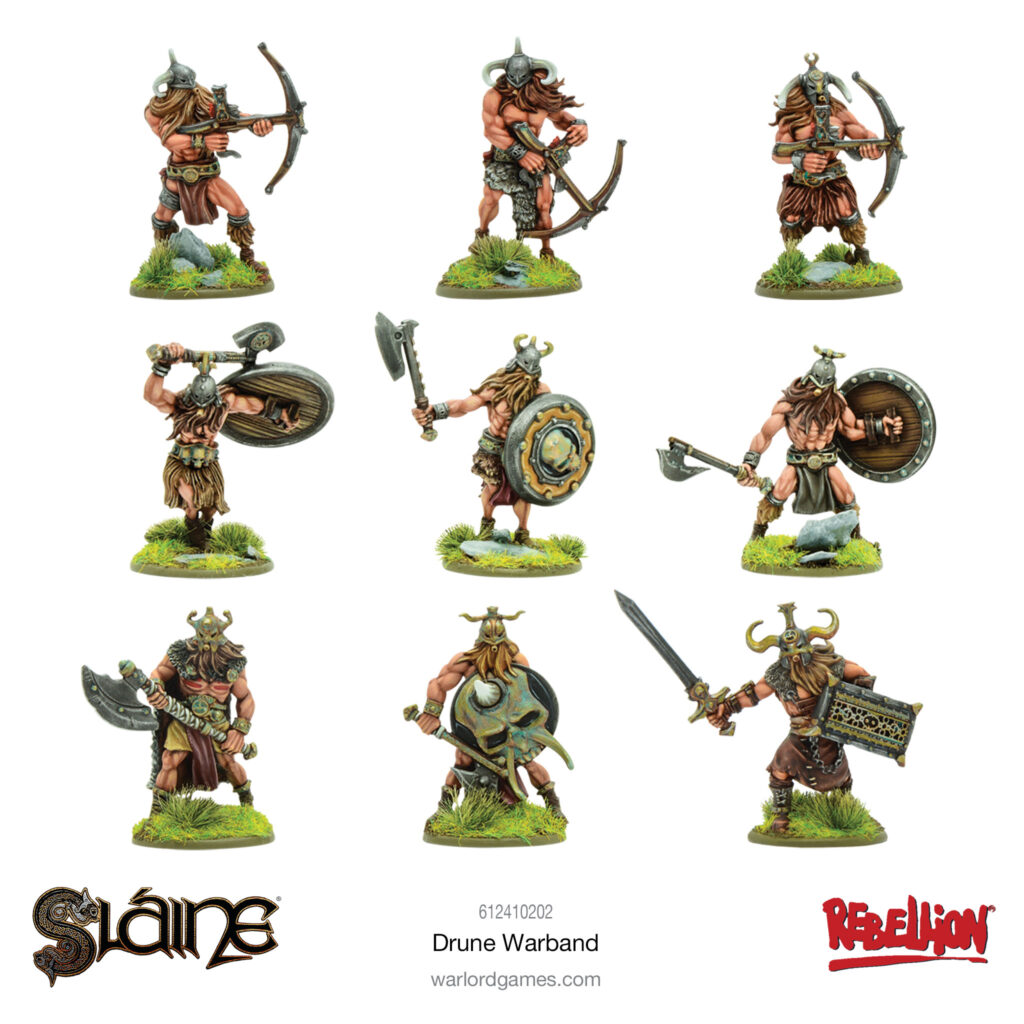
In this article, I was painting the yet to be released Slaine Drune Miniatures. They are now available for pre-order. Find them here:
3 comments
For the Speedpaint+, did you have any issues when going over the speedpaint, i.e. did you get any reactivating of the base layer? Did you do anything to try and prevent that?
Hi, thanks for your comment. I didn’t find any problems of reactivation on these miniatures and I didn’t use any varnishes in between the layers to prevent that from happening. Hope that helps.
Nice article.
I’ve found reactivation an occasional issue if applying very wet coats on top of some colours, but being gentle and allowing plenty of time for the base to dry minimises the risk.
Comments are closed.