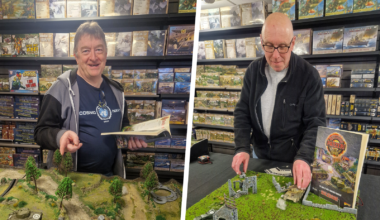
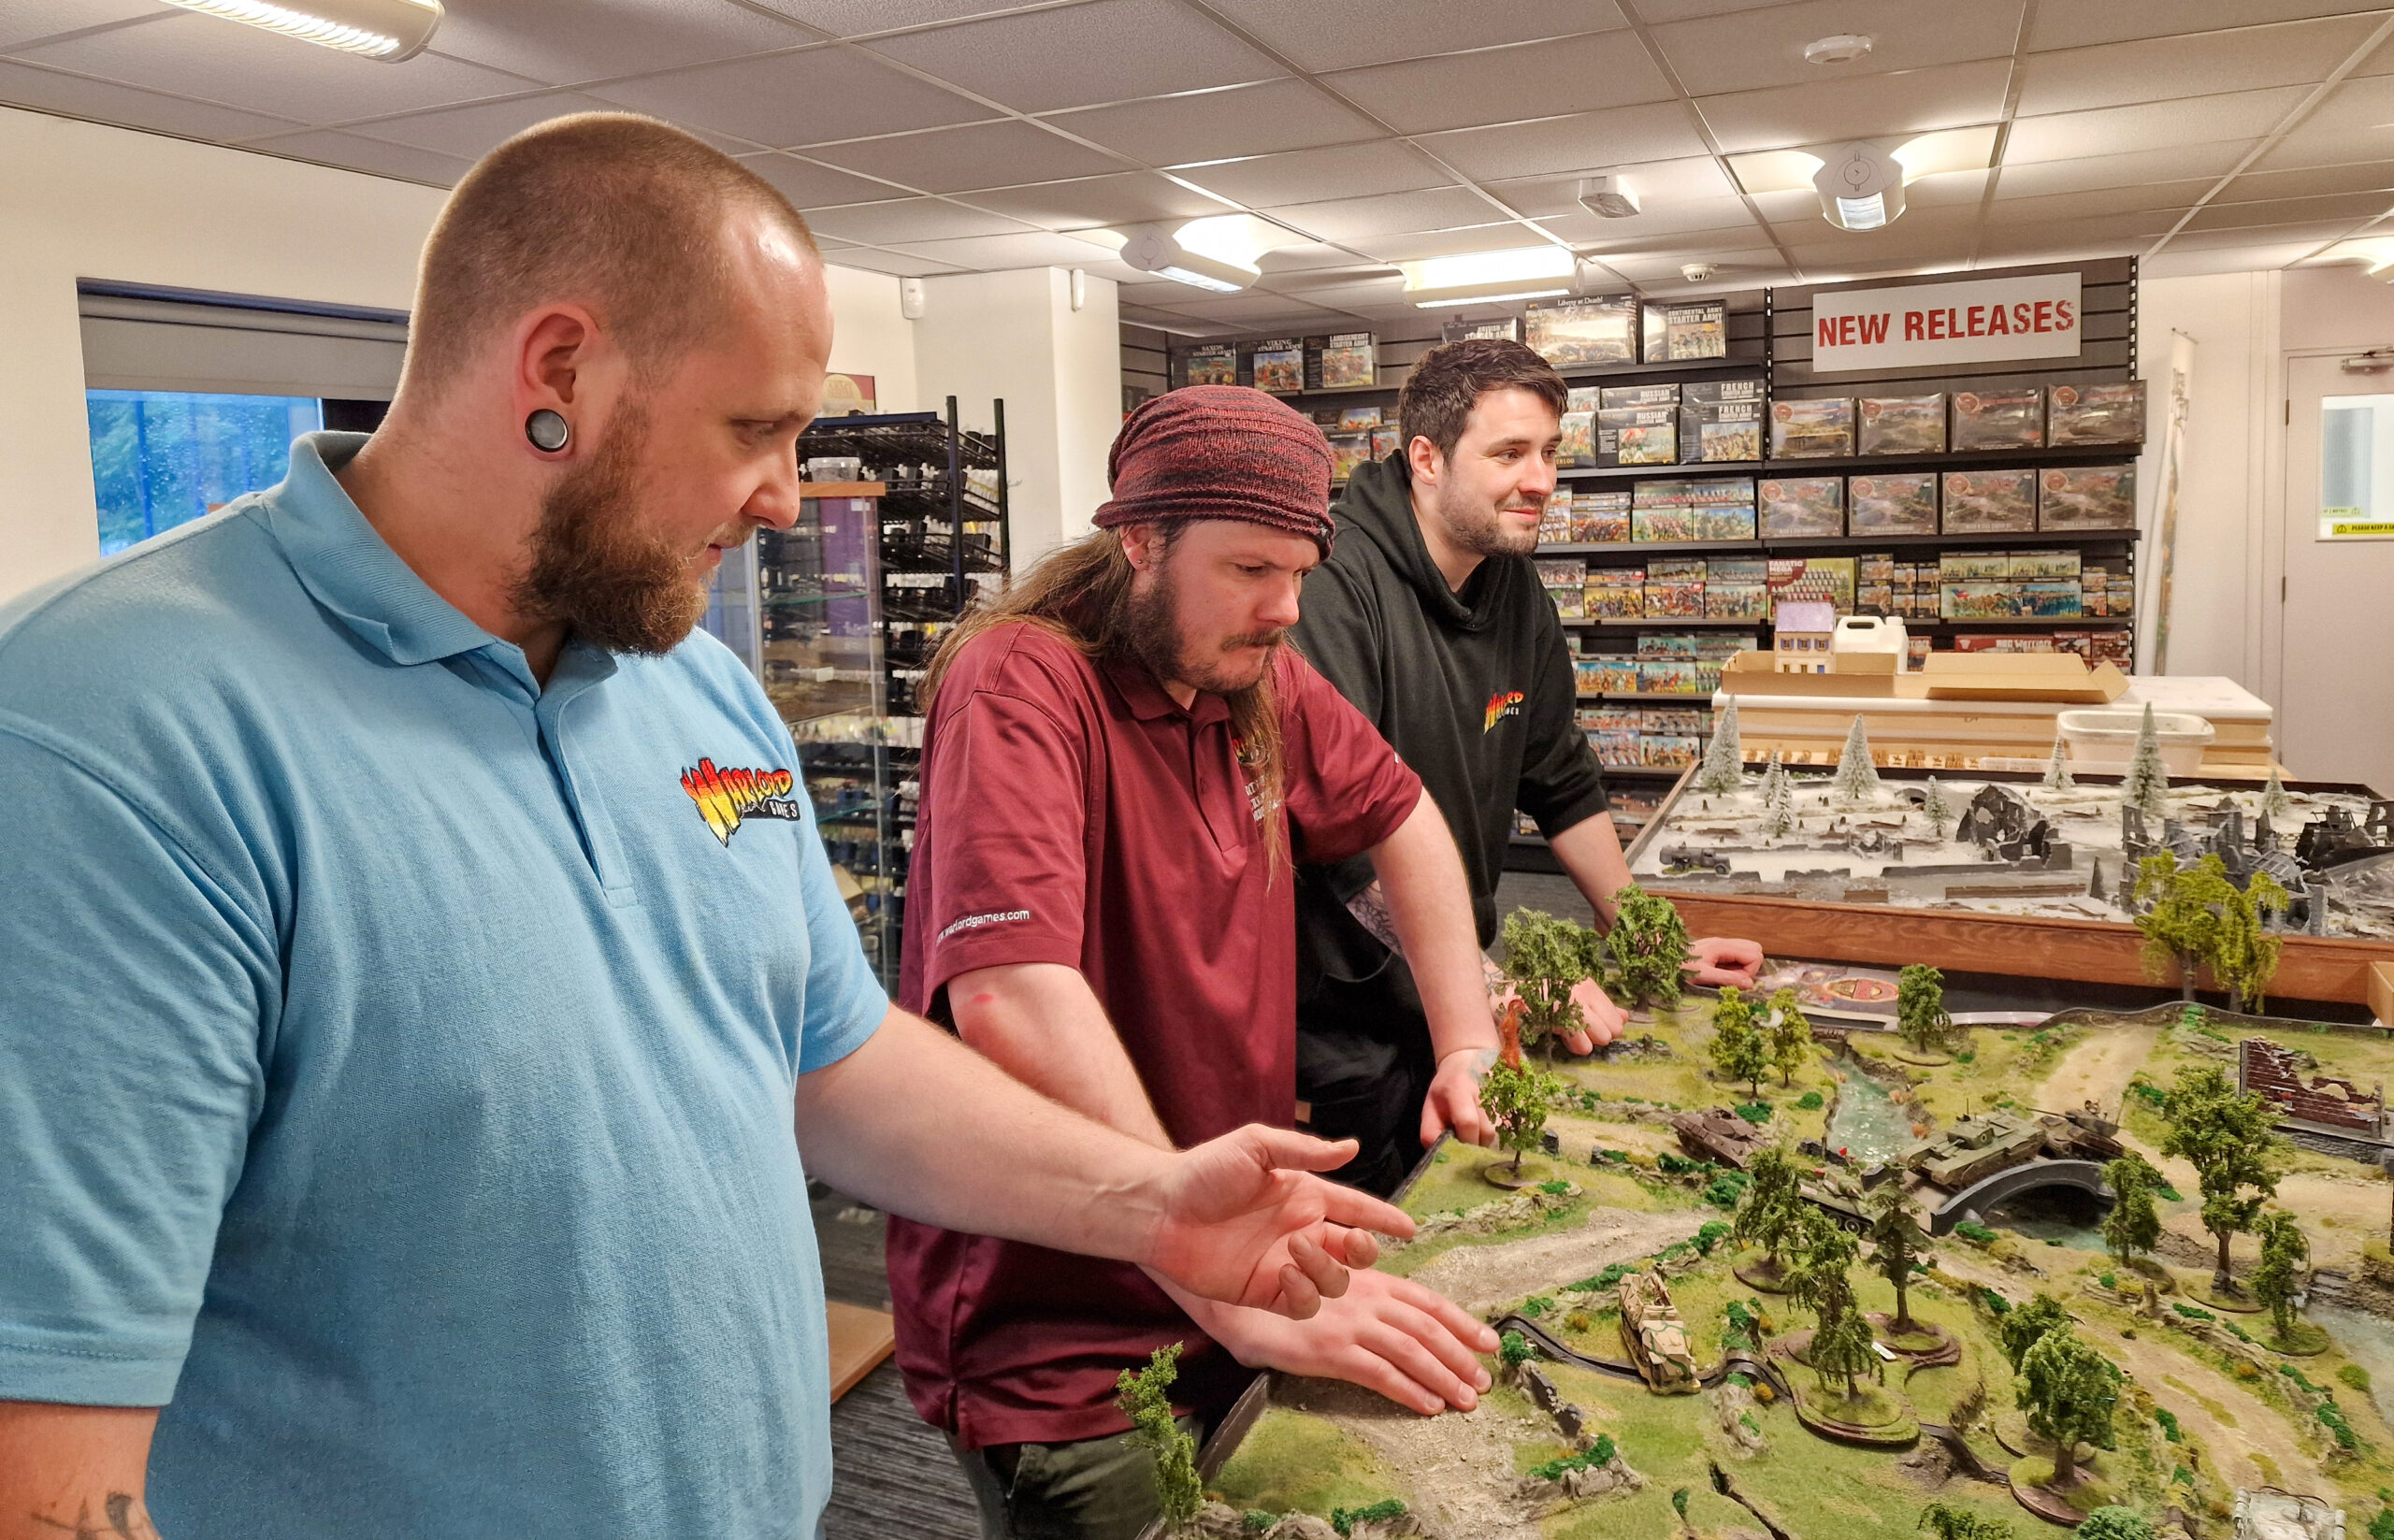
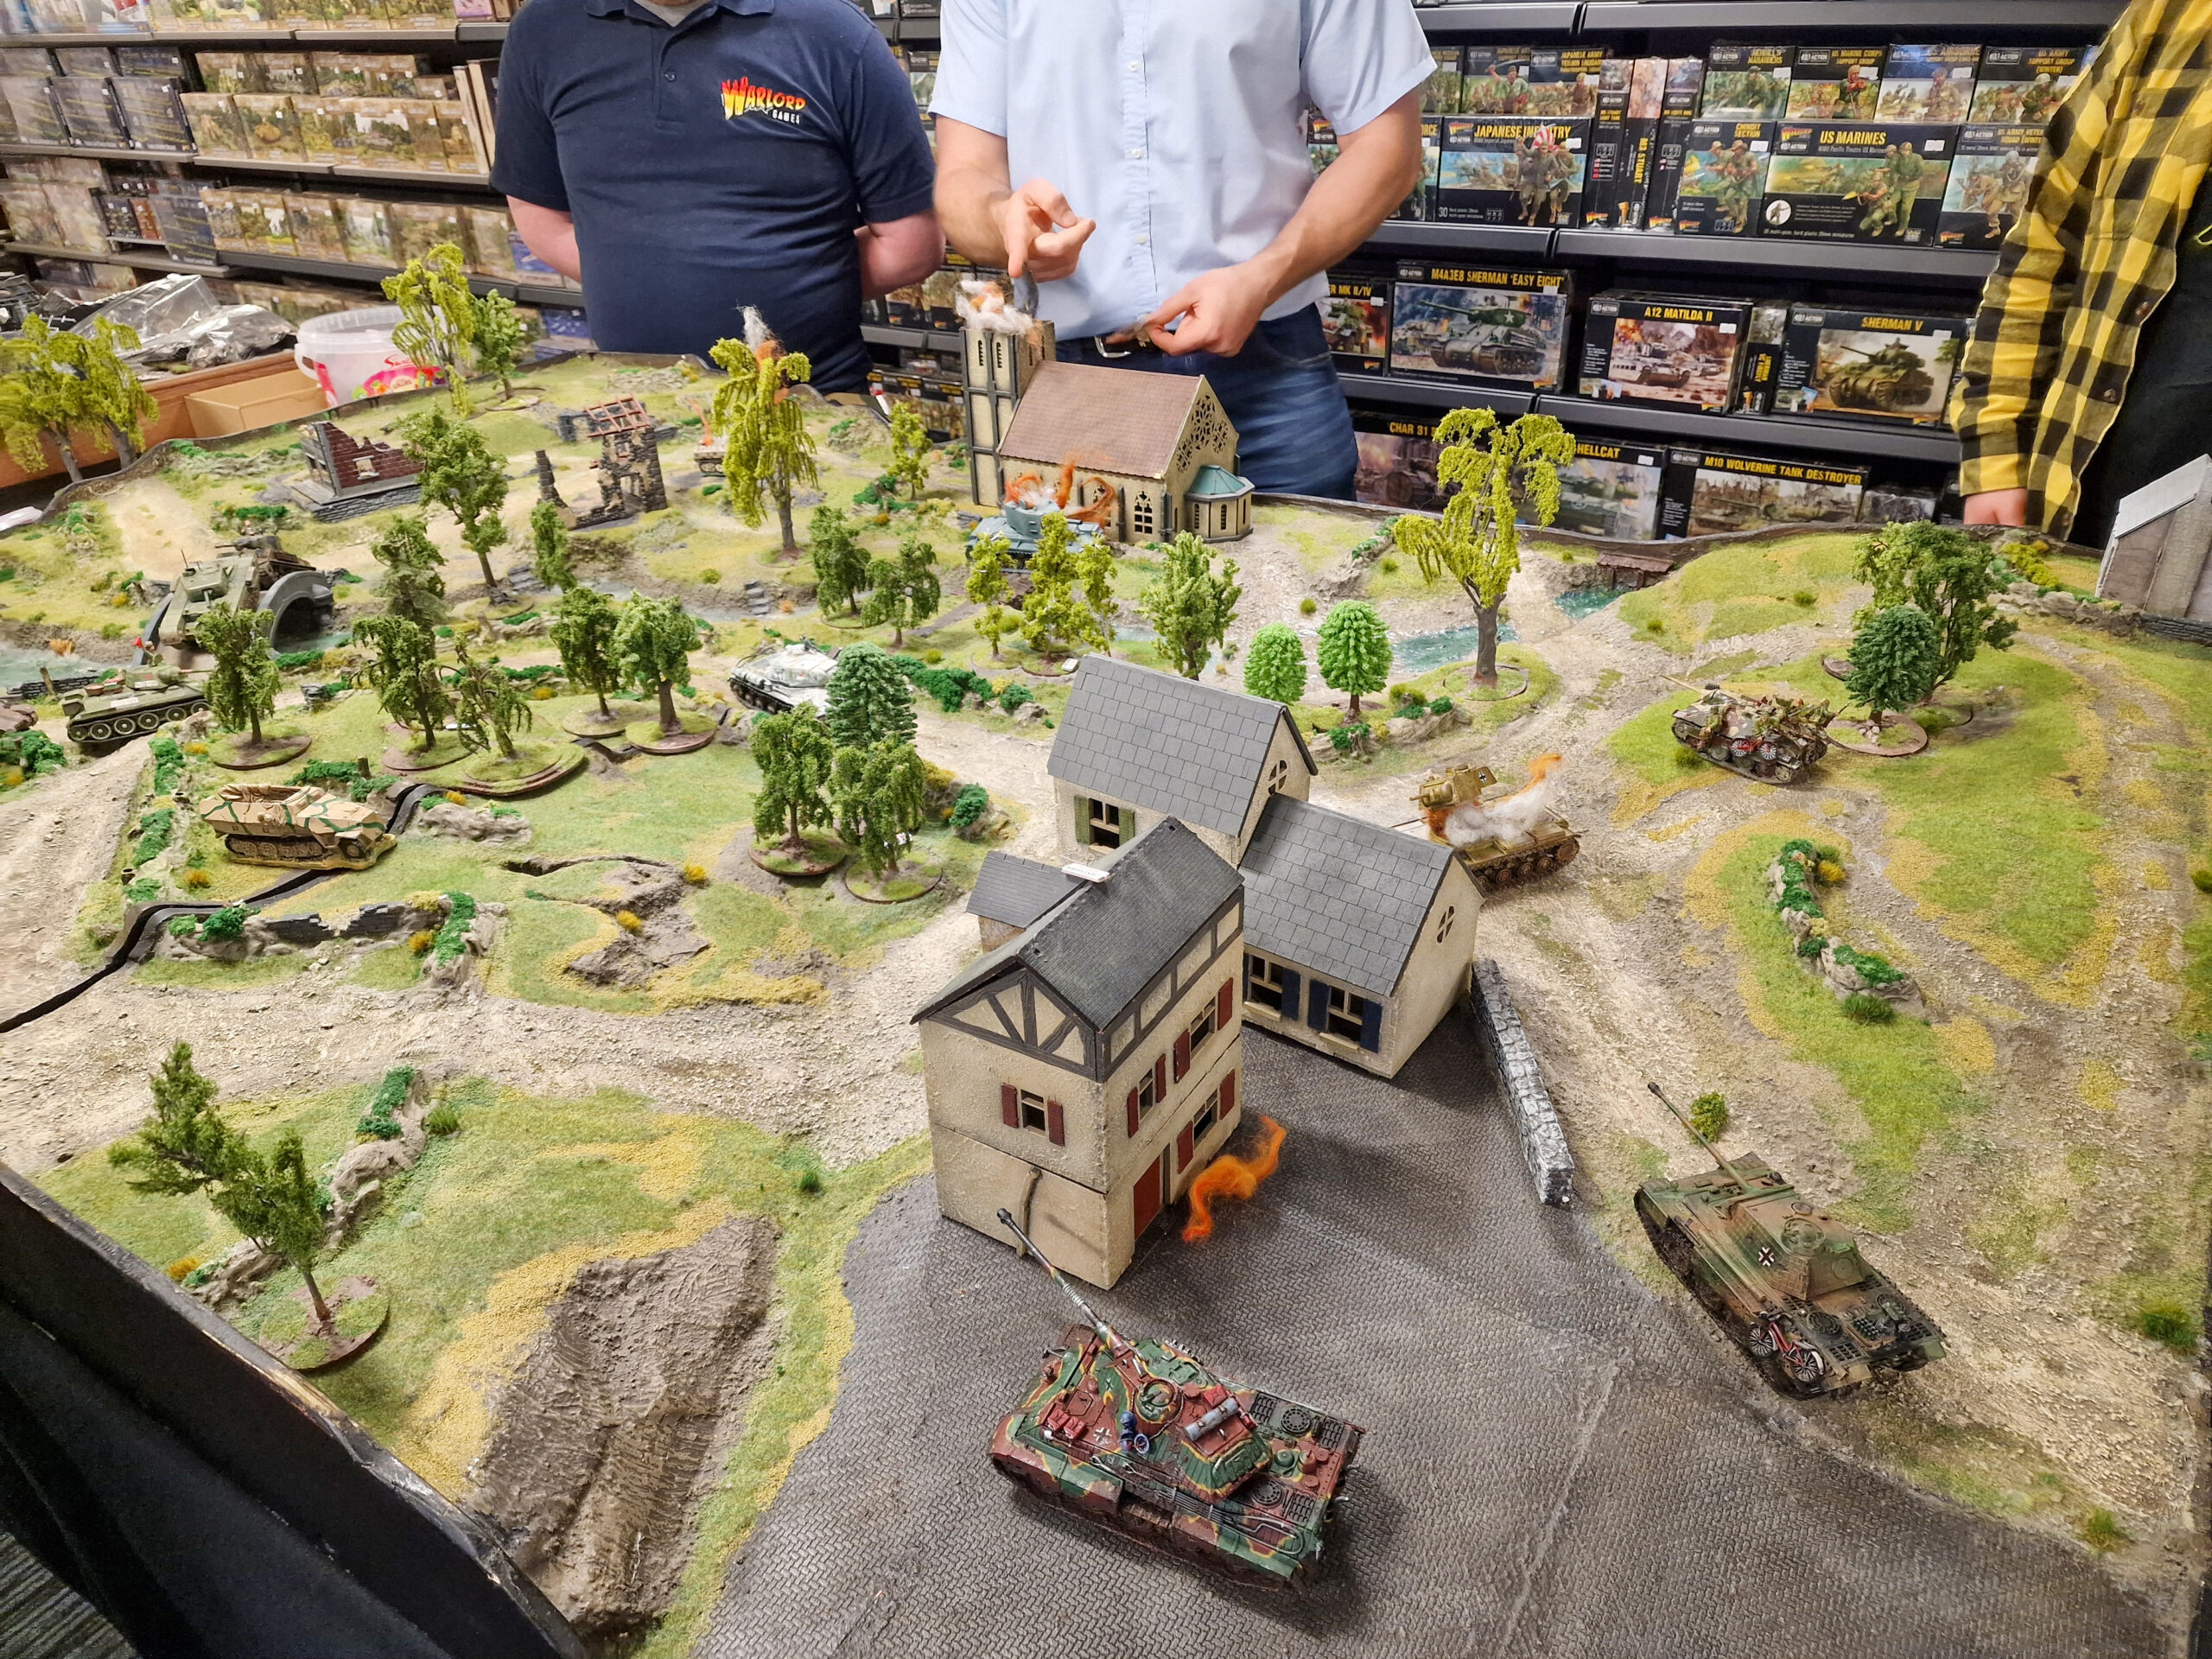
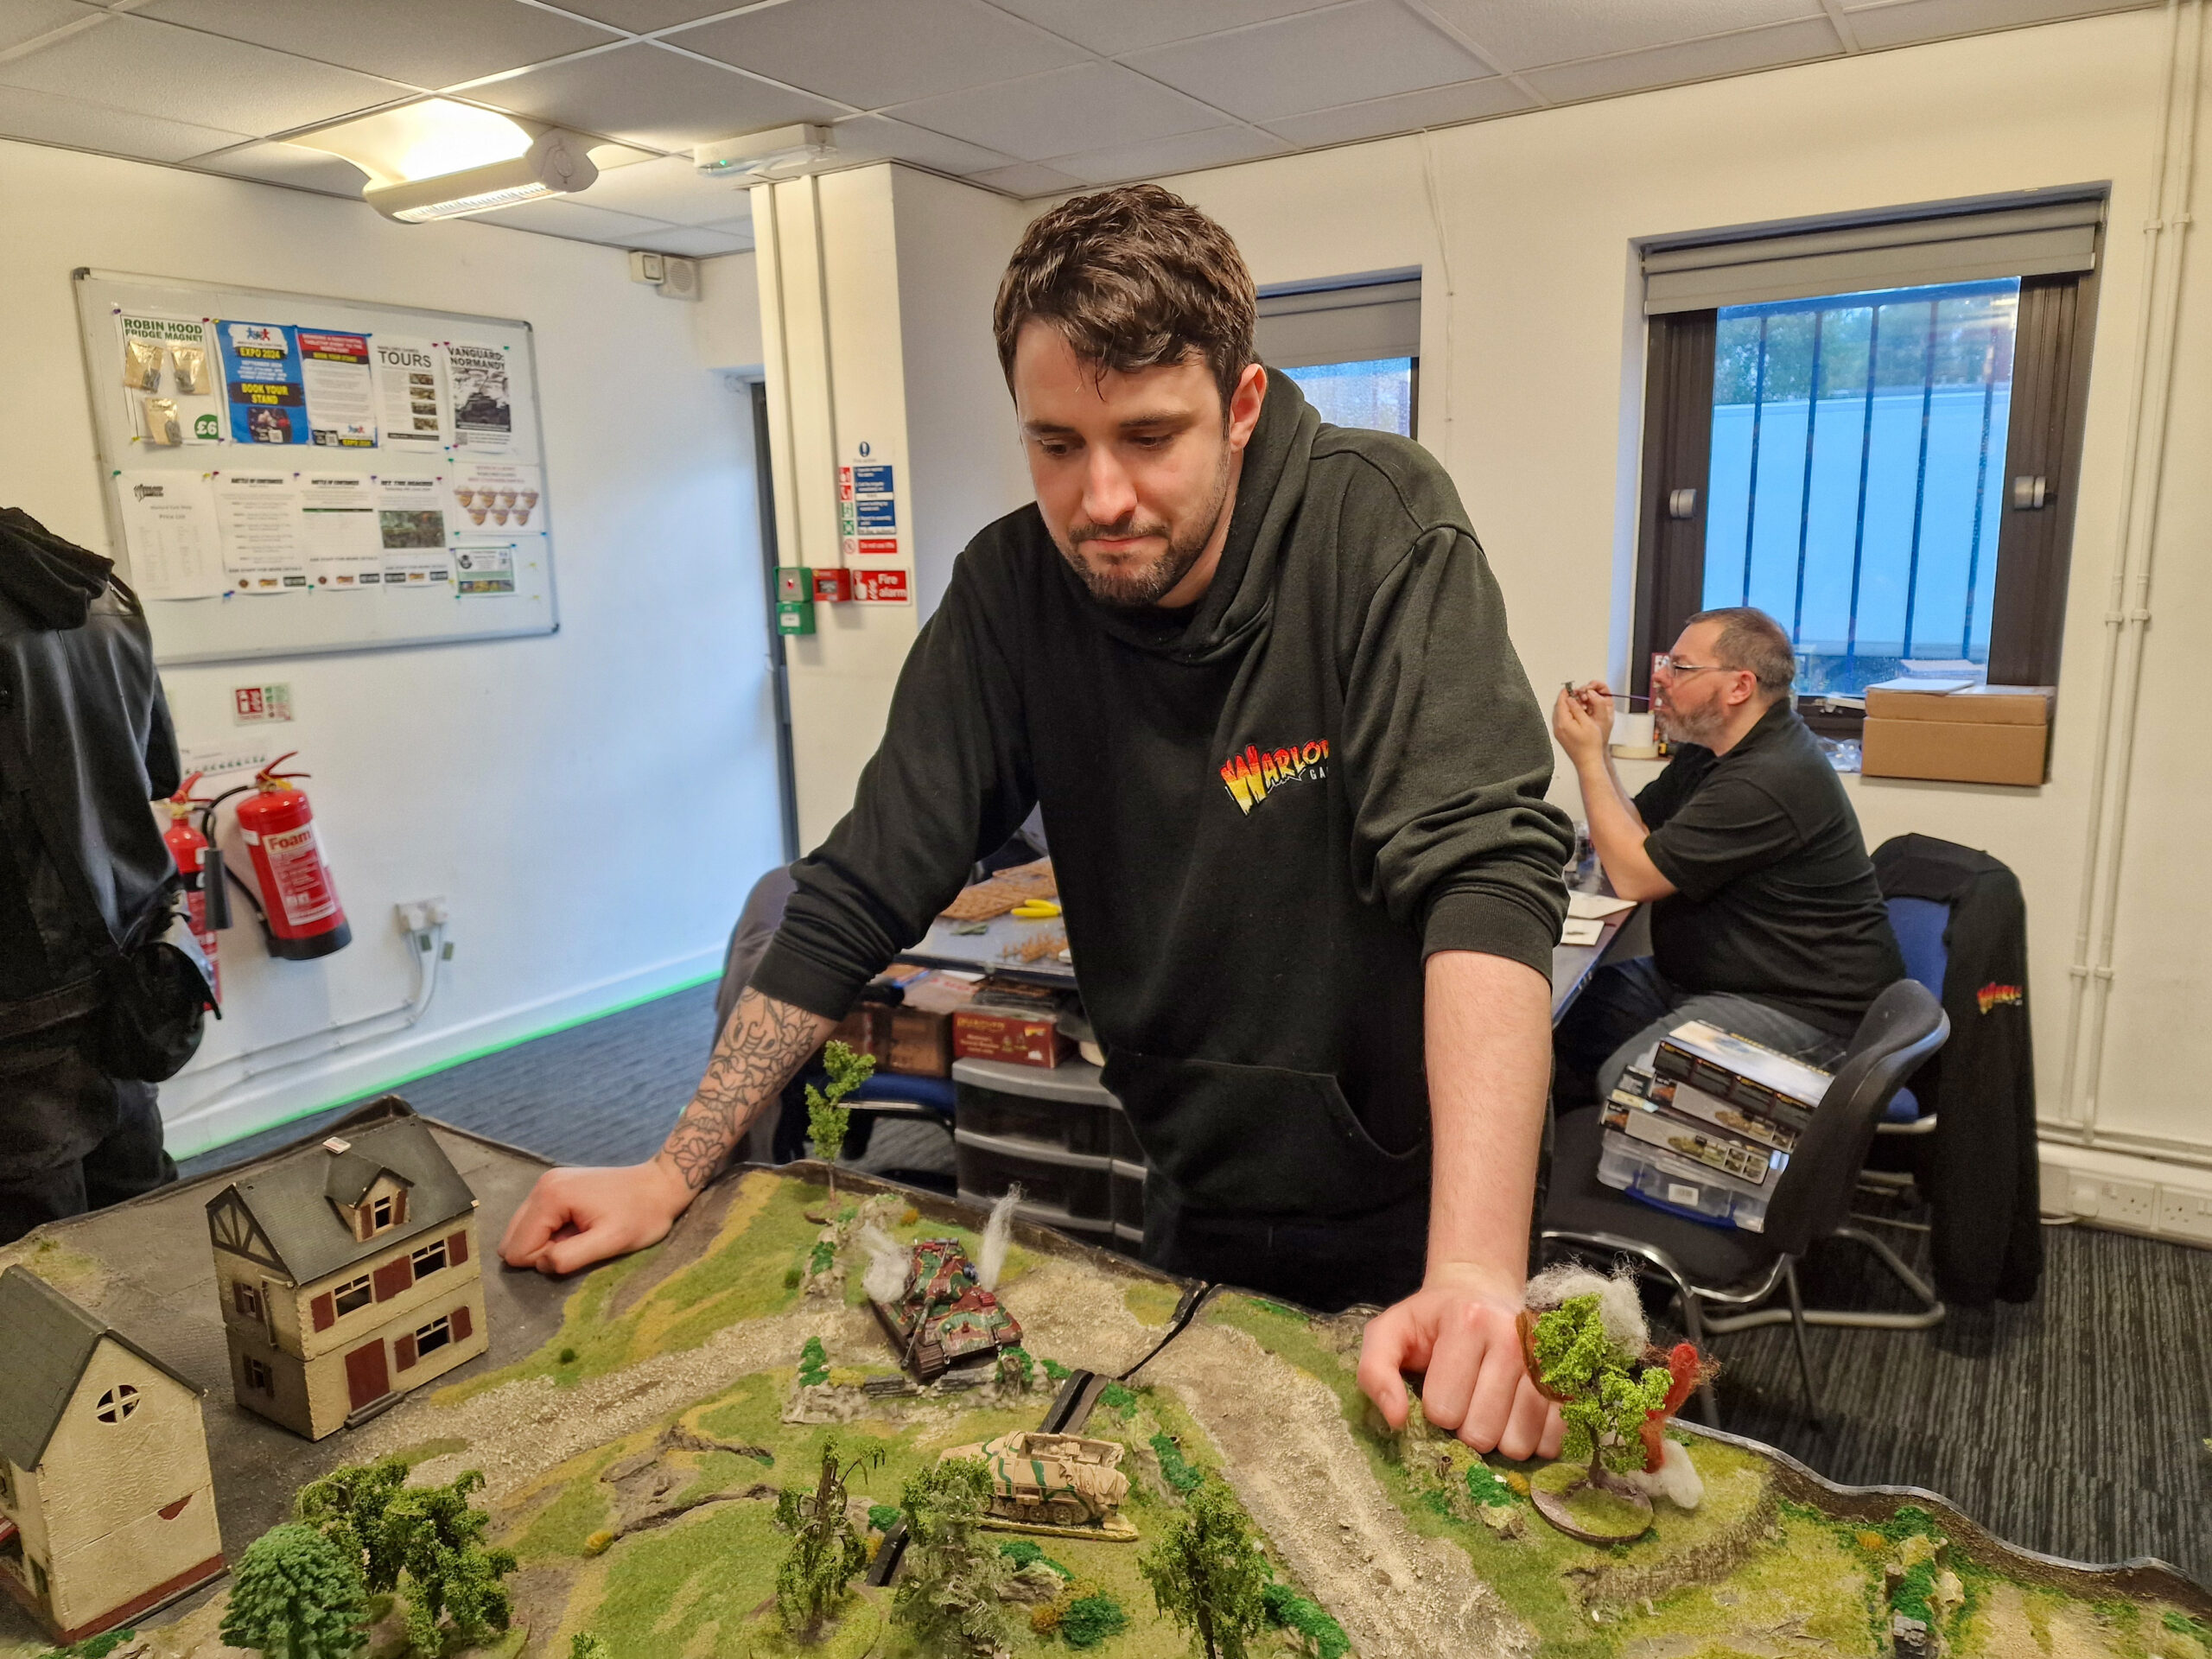
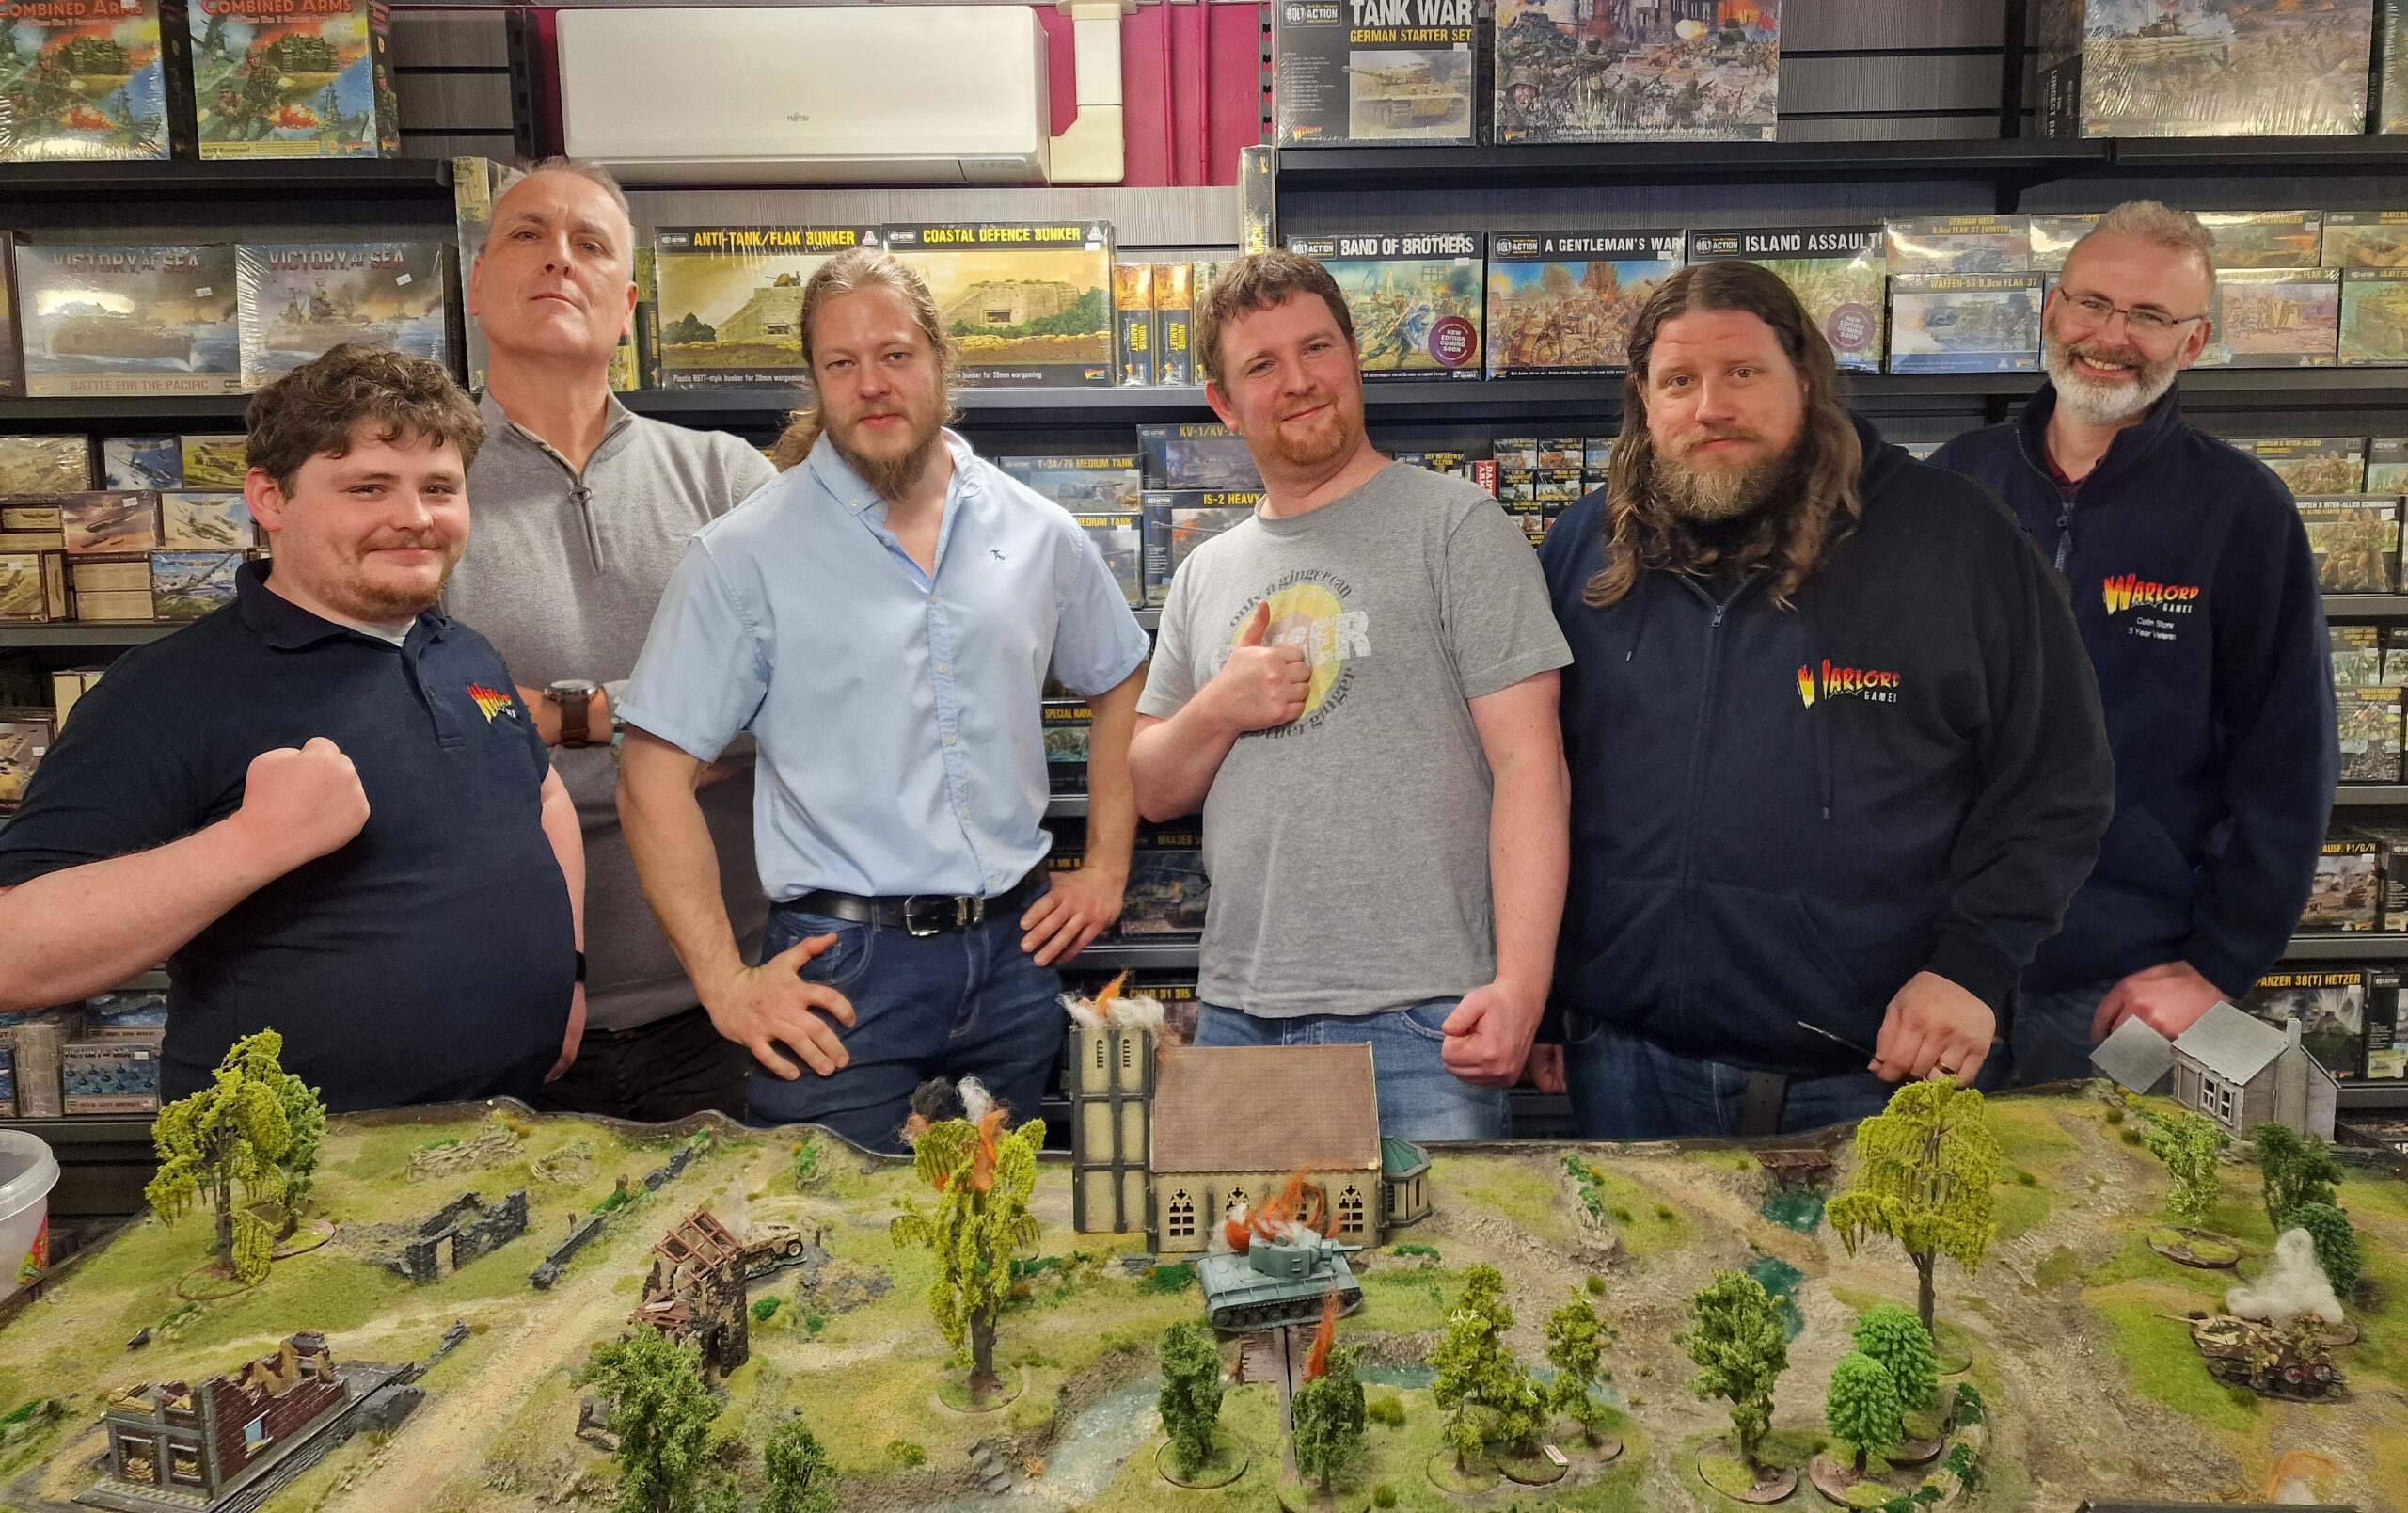
Ever since the advance copies of Achtung Panzer! landed here at Warlord HQ, we’ve had tanks on the brain! Many of us have been feverishly working on tanks of our own over the last couple of months, in preparation for a staff-on-staff mega-game – and recently, the moment arrived! Eleven of us had mustered our armoured might, and we commandeered (okay, we asked the Store team nicely!) the HQ store’s awesome Bocage board for our battle. The field was set, and the game afoot! Before we get into the meat and potatoes of this battle report, let’s look at the teams, and take a look at the tanks!
Allies

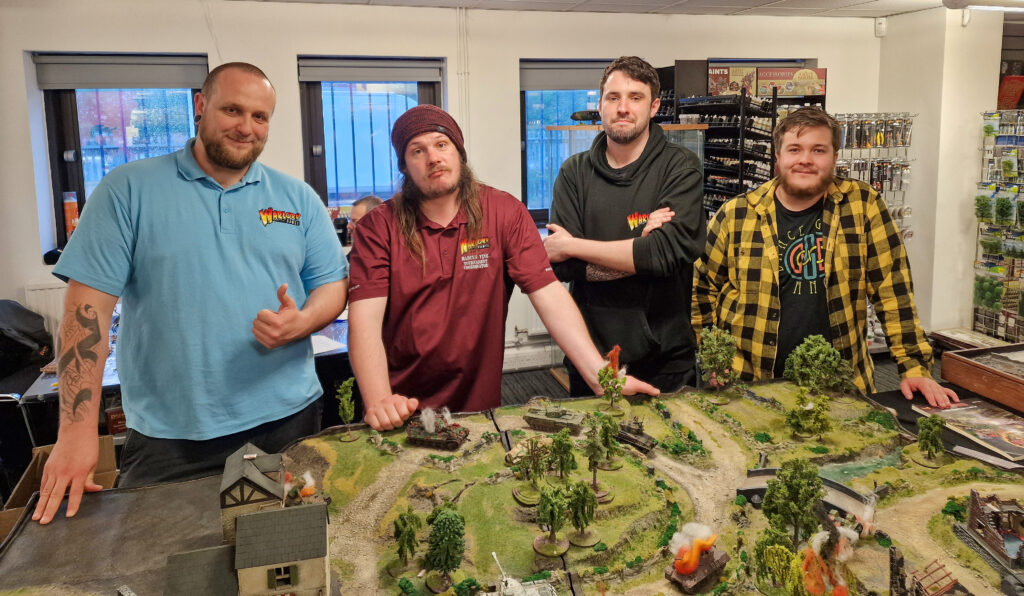
Axis
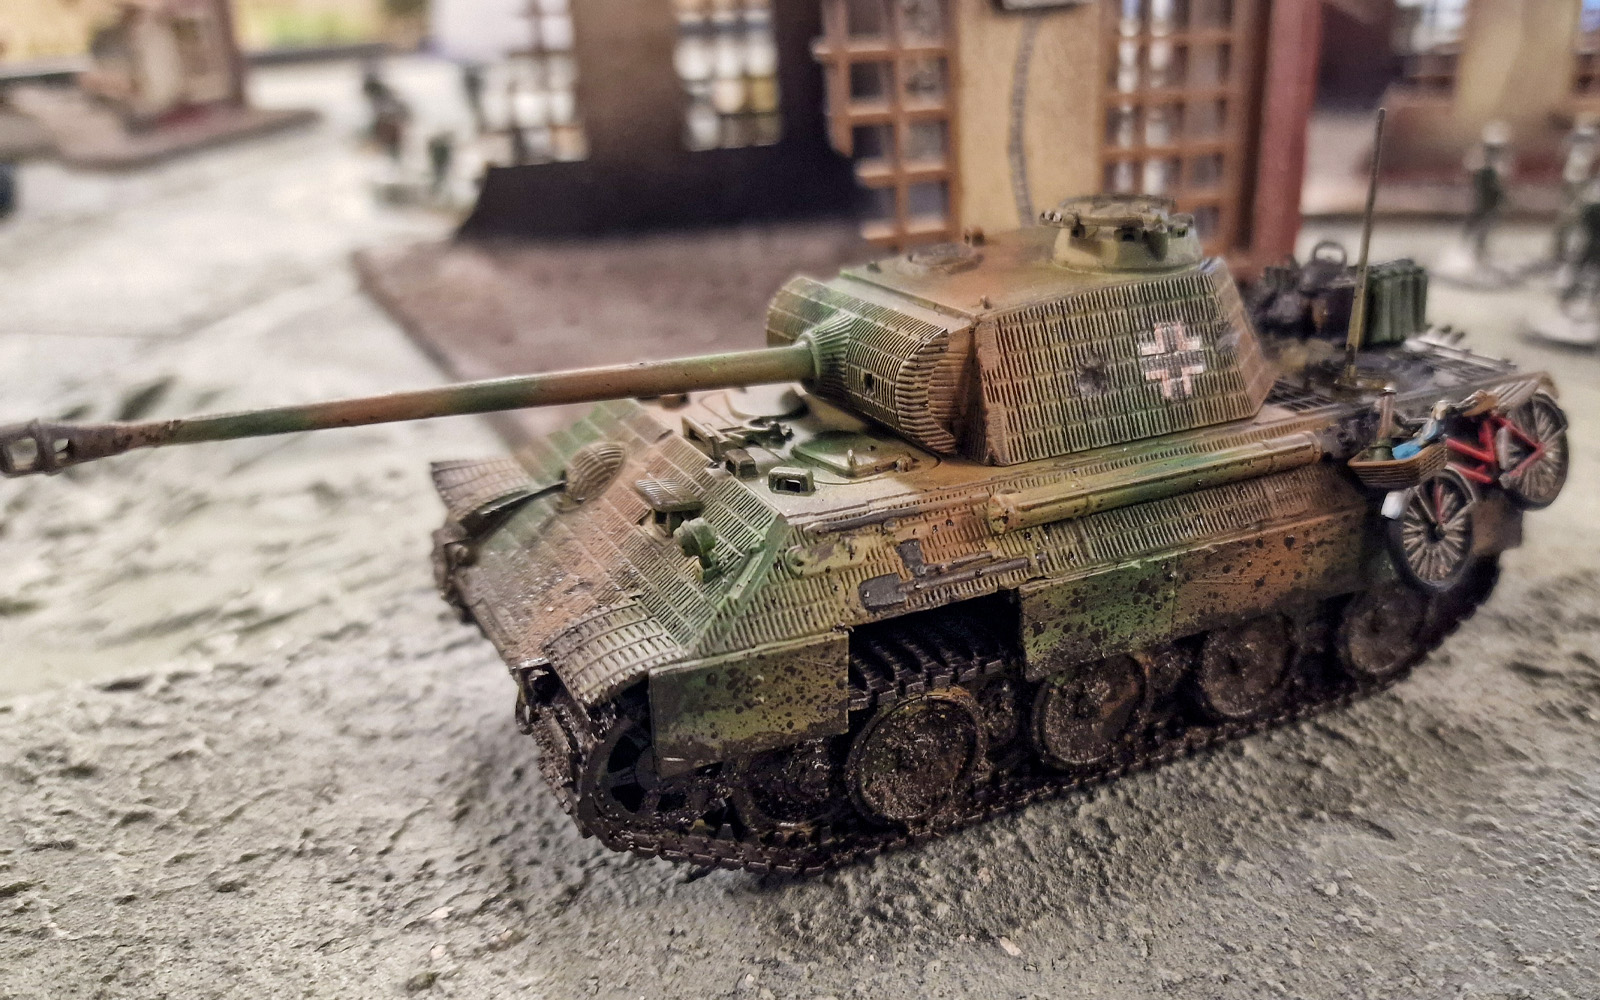
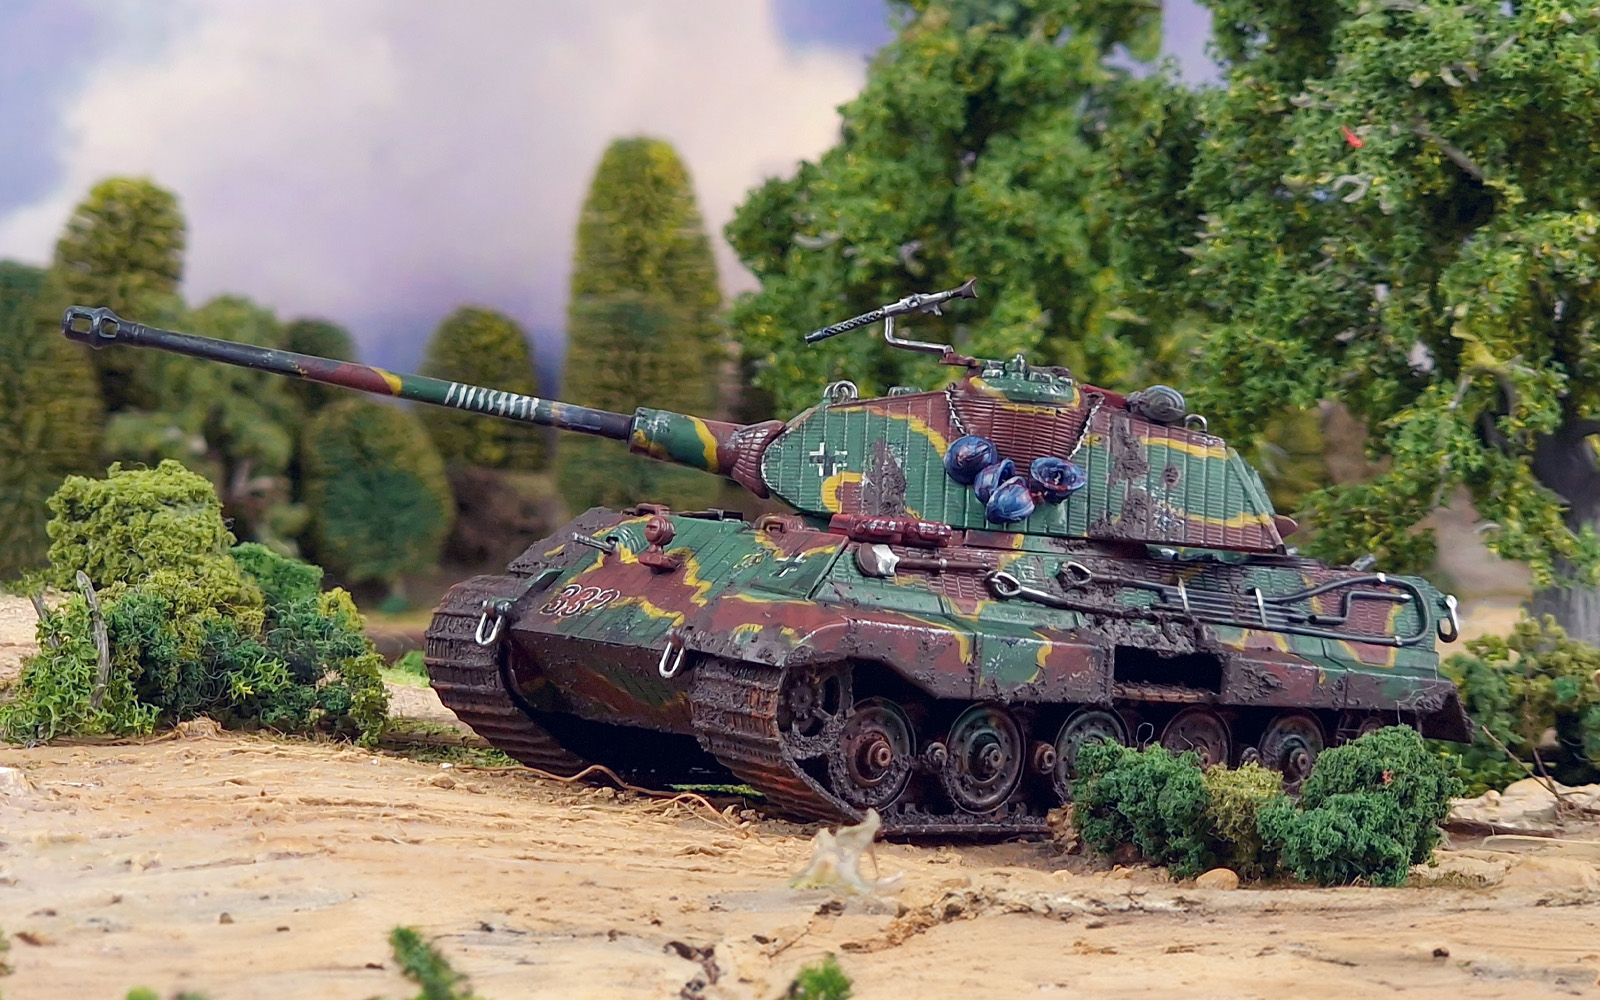
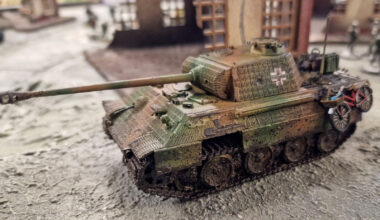
You’ll notice one thing right away – there seem to be rather more Allied players than Axis! Well, that’s what people wanted to build and paint, and the will of the people cannot be denied – it just meant we needed to get a little bit creative with the mission! Luckily, Achtung Panzer! is perfect for this kind of shenanigan, being more than adaptable enough to cope with a little situation like a 2-to-1 numerical imbalance! The mission we came up with was brutally simple – the Allies aimed to wipe out the Axis tanks, while the Axis needed to hang on until the end of the game, while inflicting as much damage on the Allies as possible. In order to ensure that both sides could gain a win, we decided that the Allied team would receive 2 victory points for each enemy tank destroyed, while the Axis would only receive 1. As a ‘kicker’ for a bit of interest (and given that Jon Heeney was busy gloating about how huge and scary his Tiger II was!) we also decided that if the Tiger II survived the game, the Axis would receive an extra victory point – ‘fat chance!’, declared the entire Allied team!
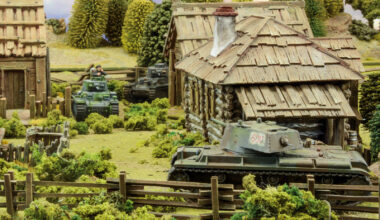
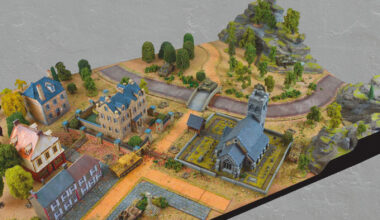
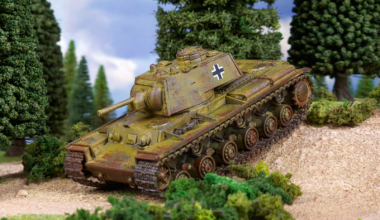
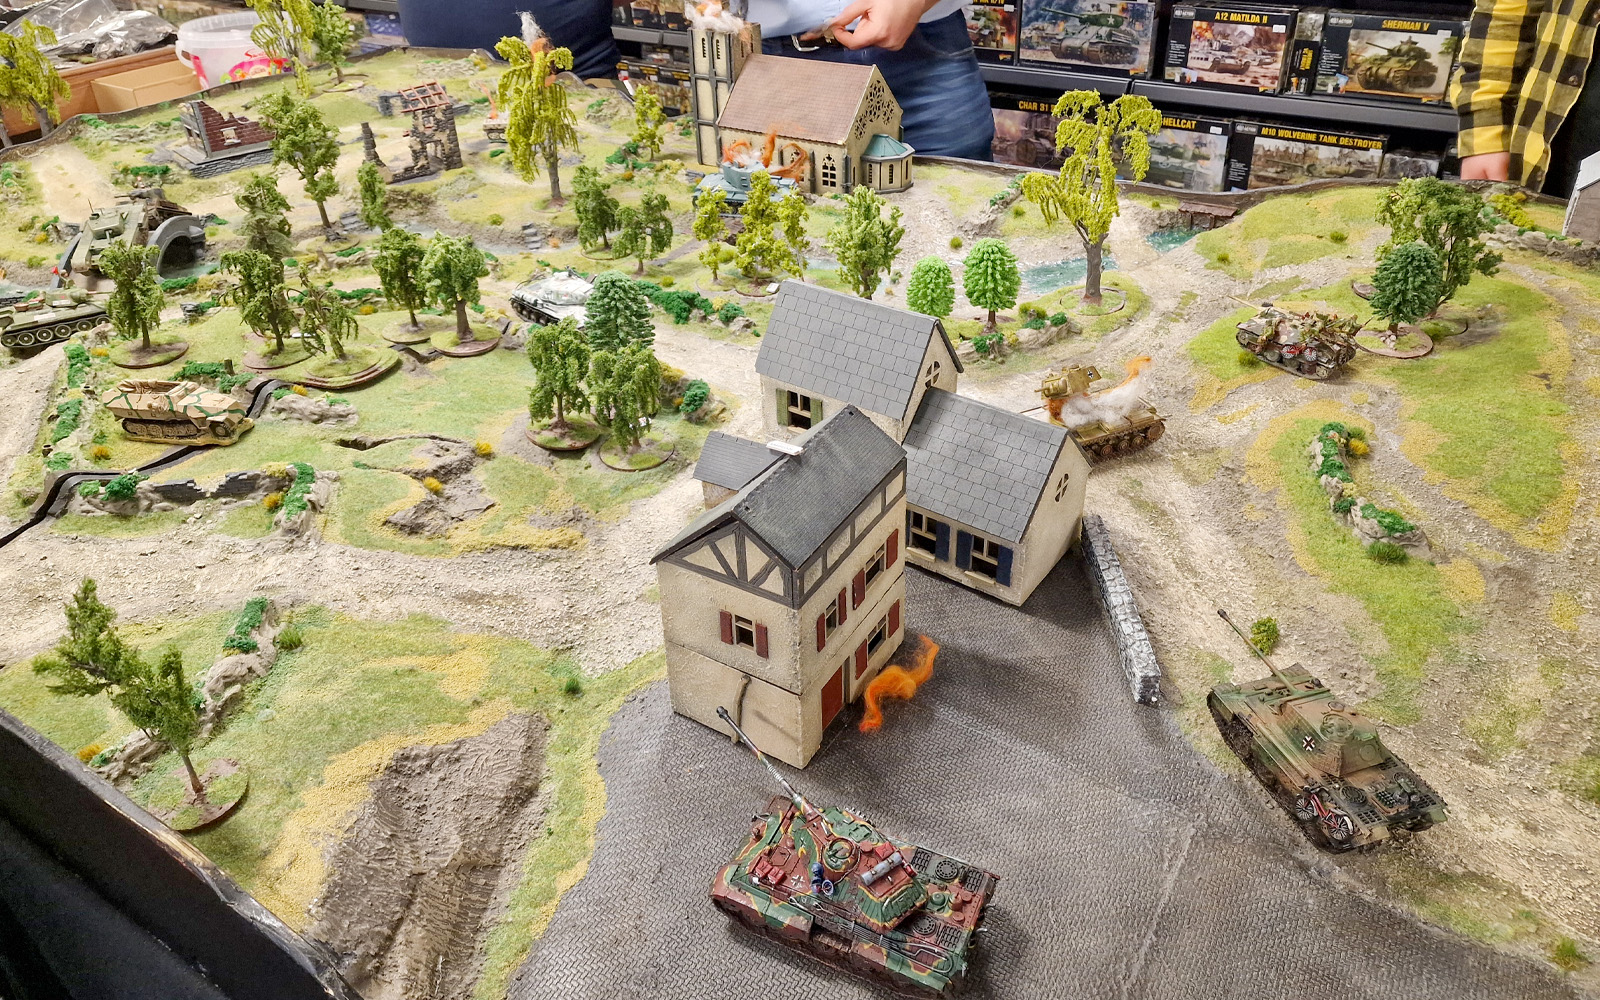
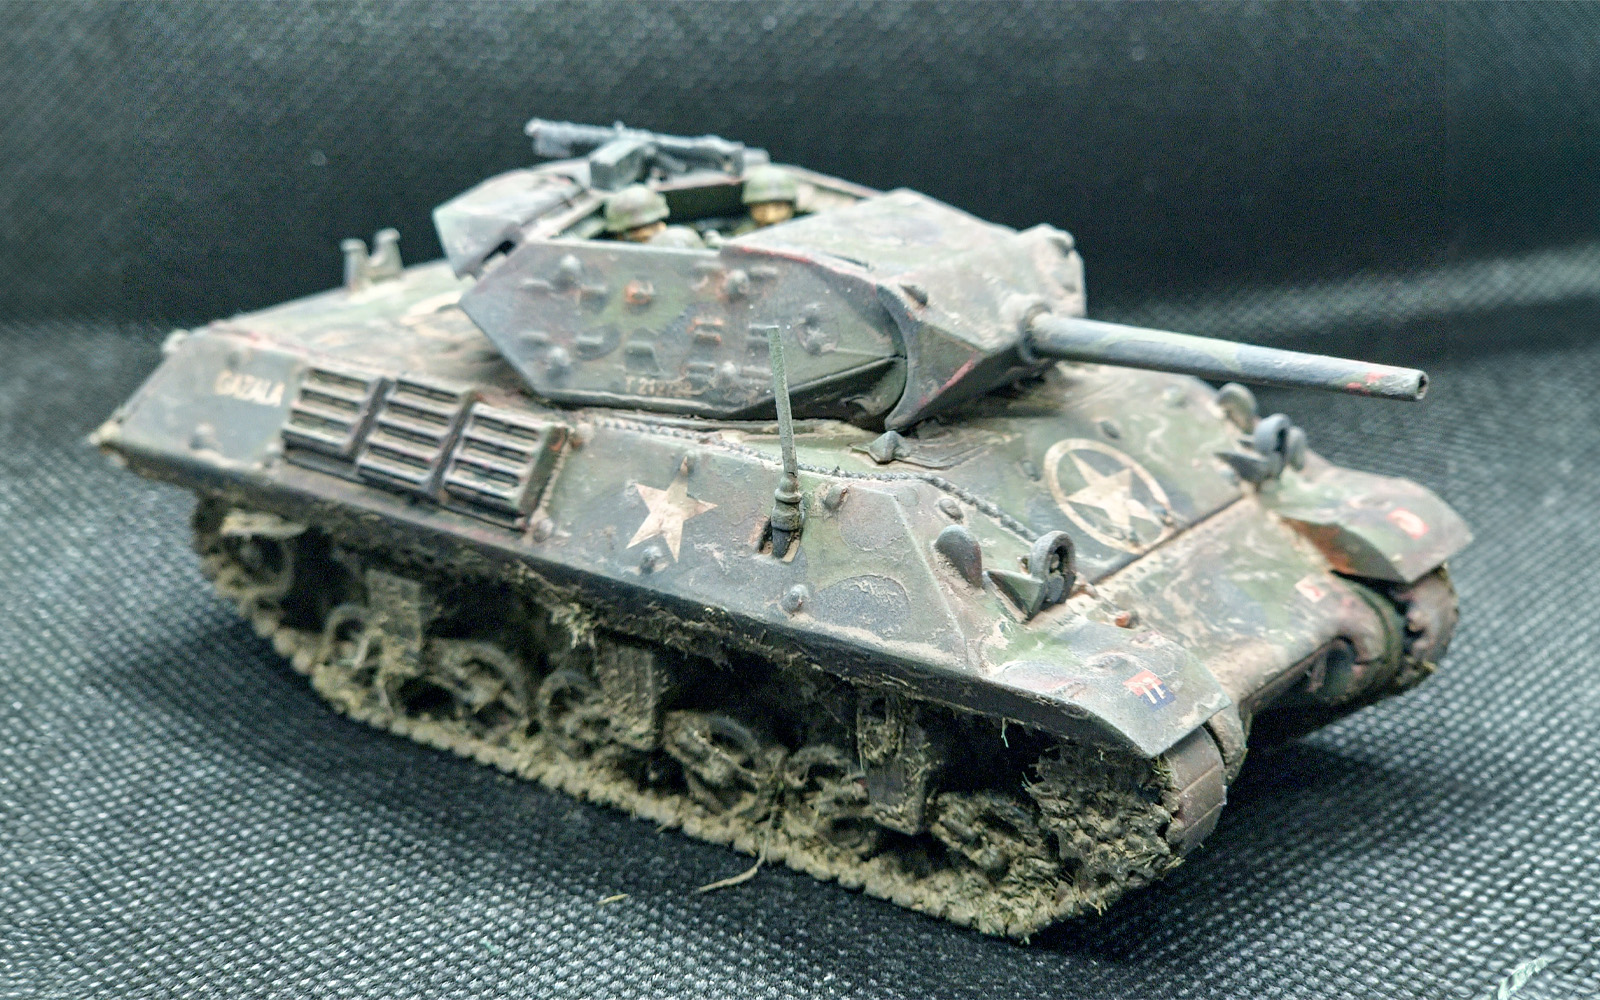
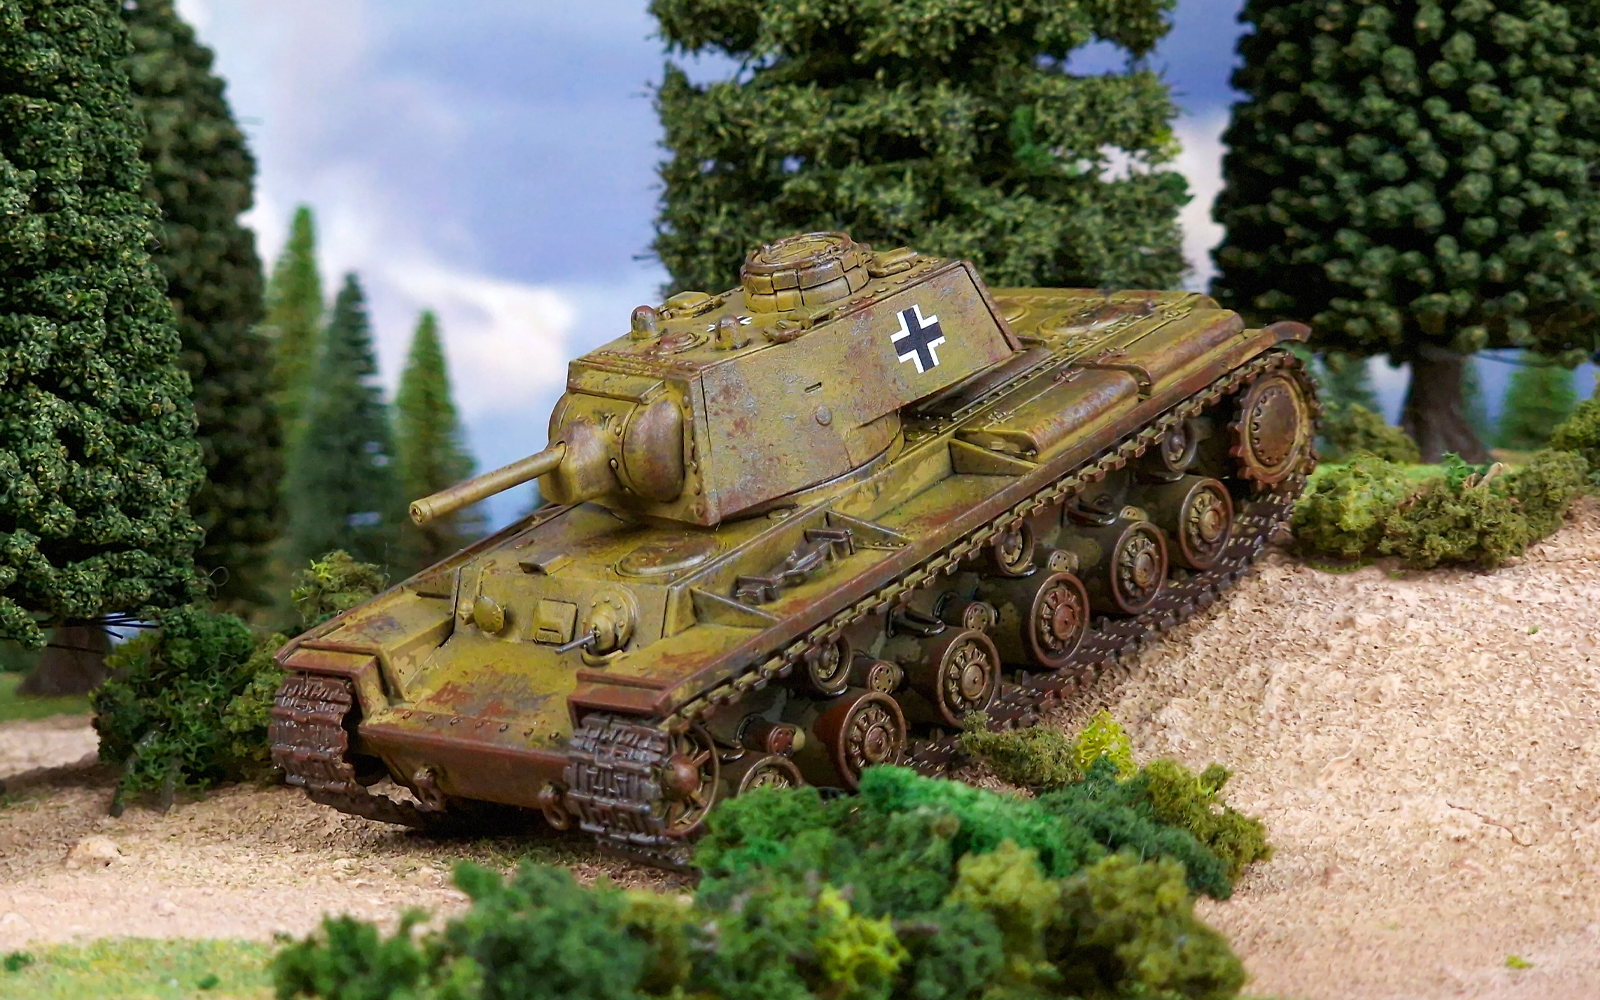
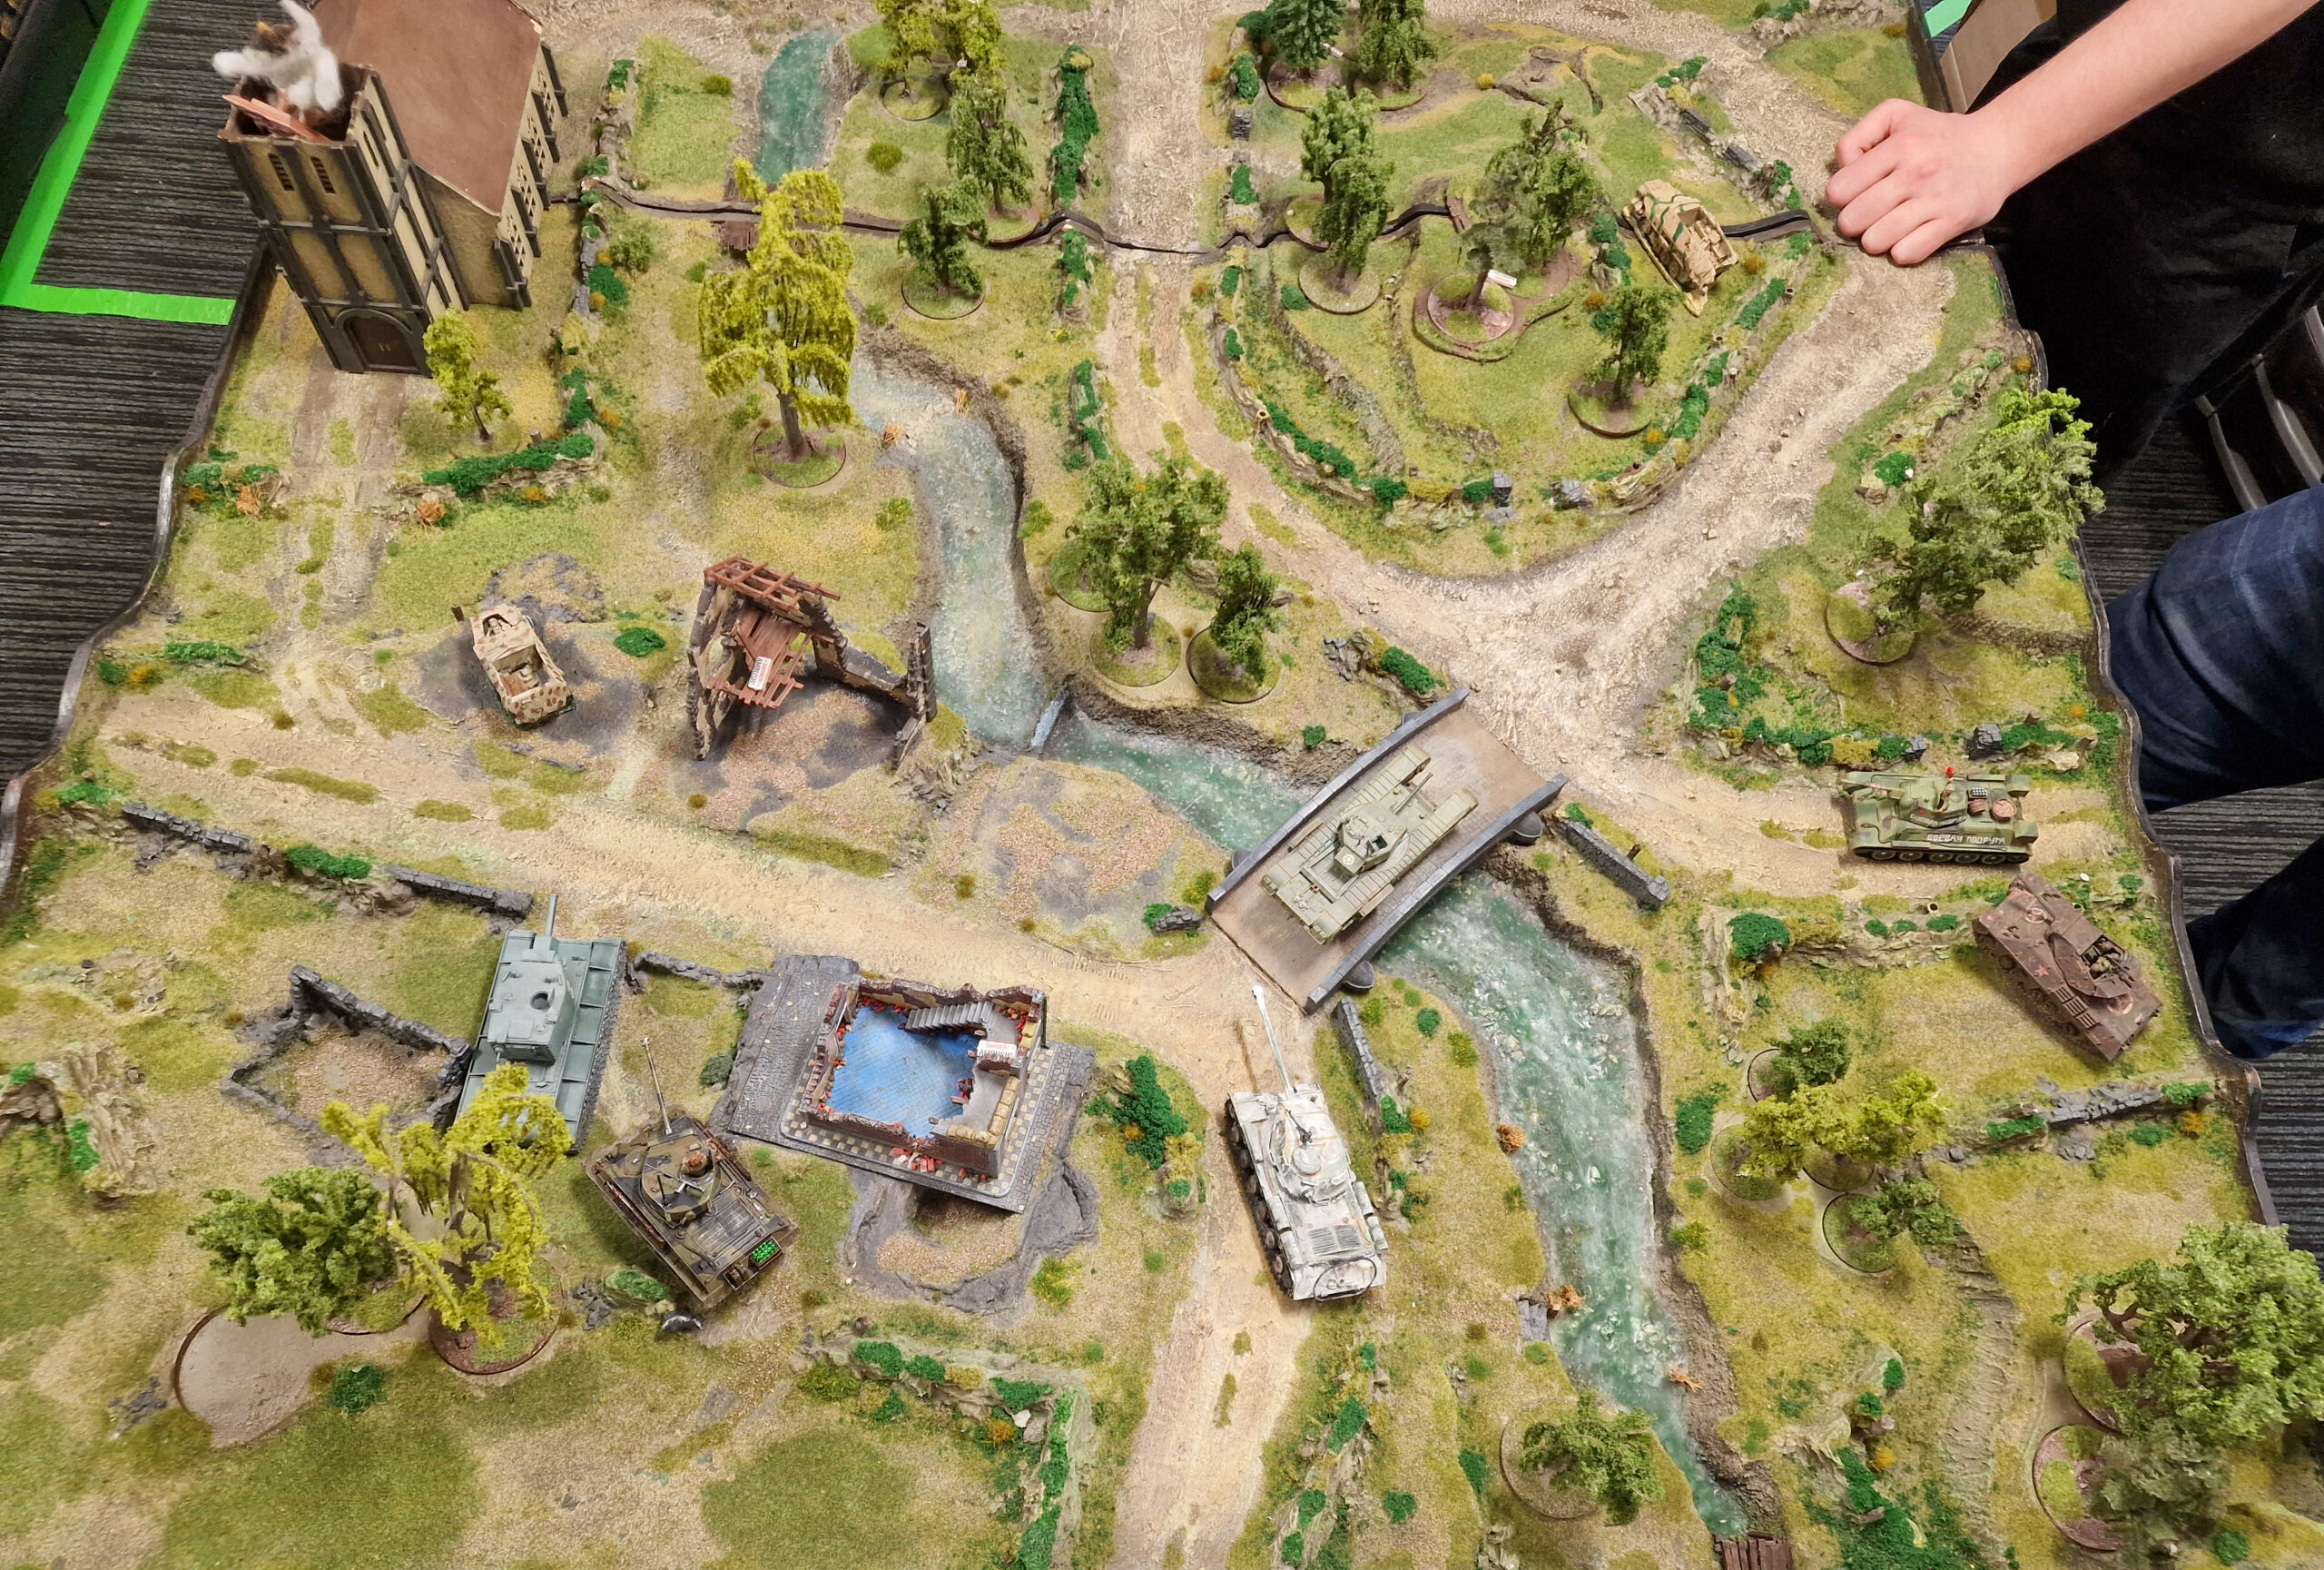
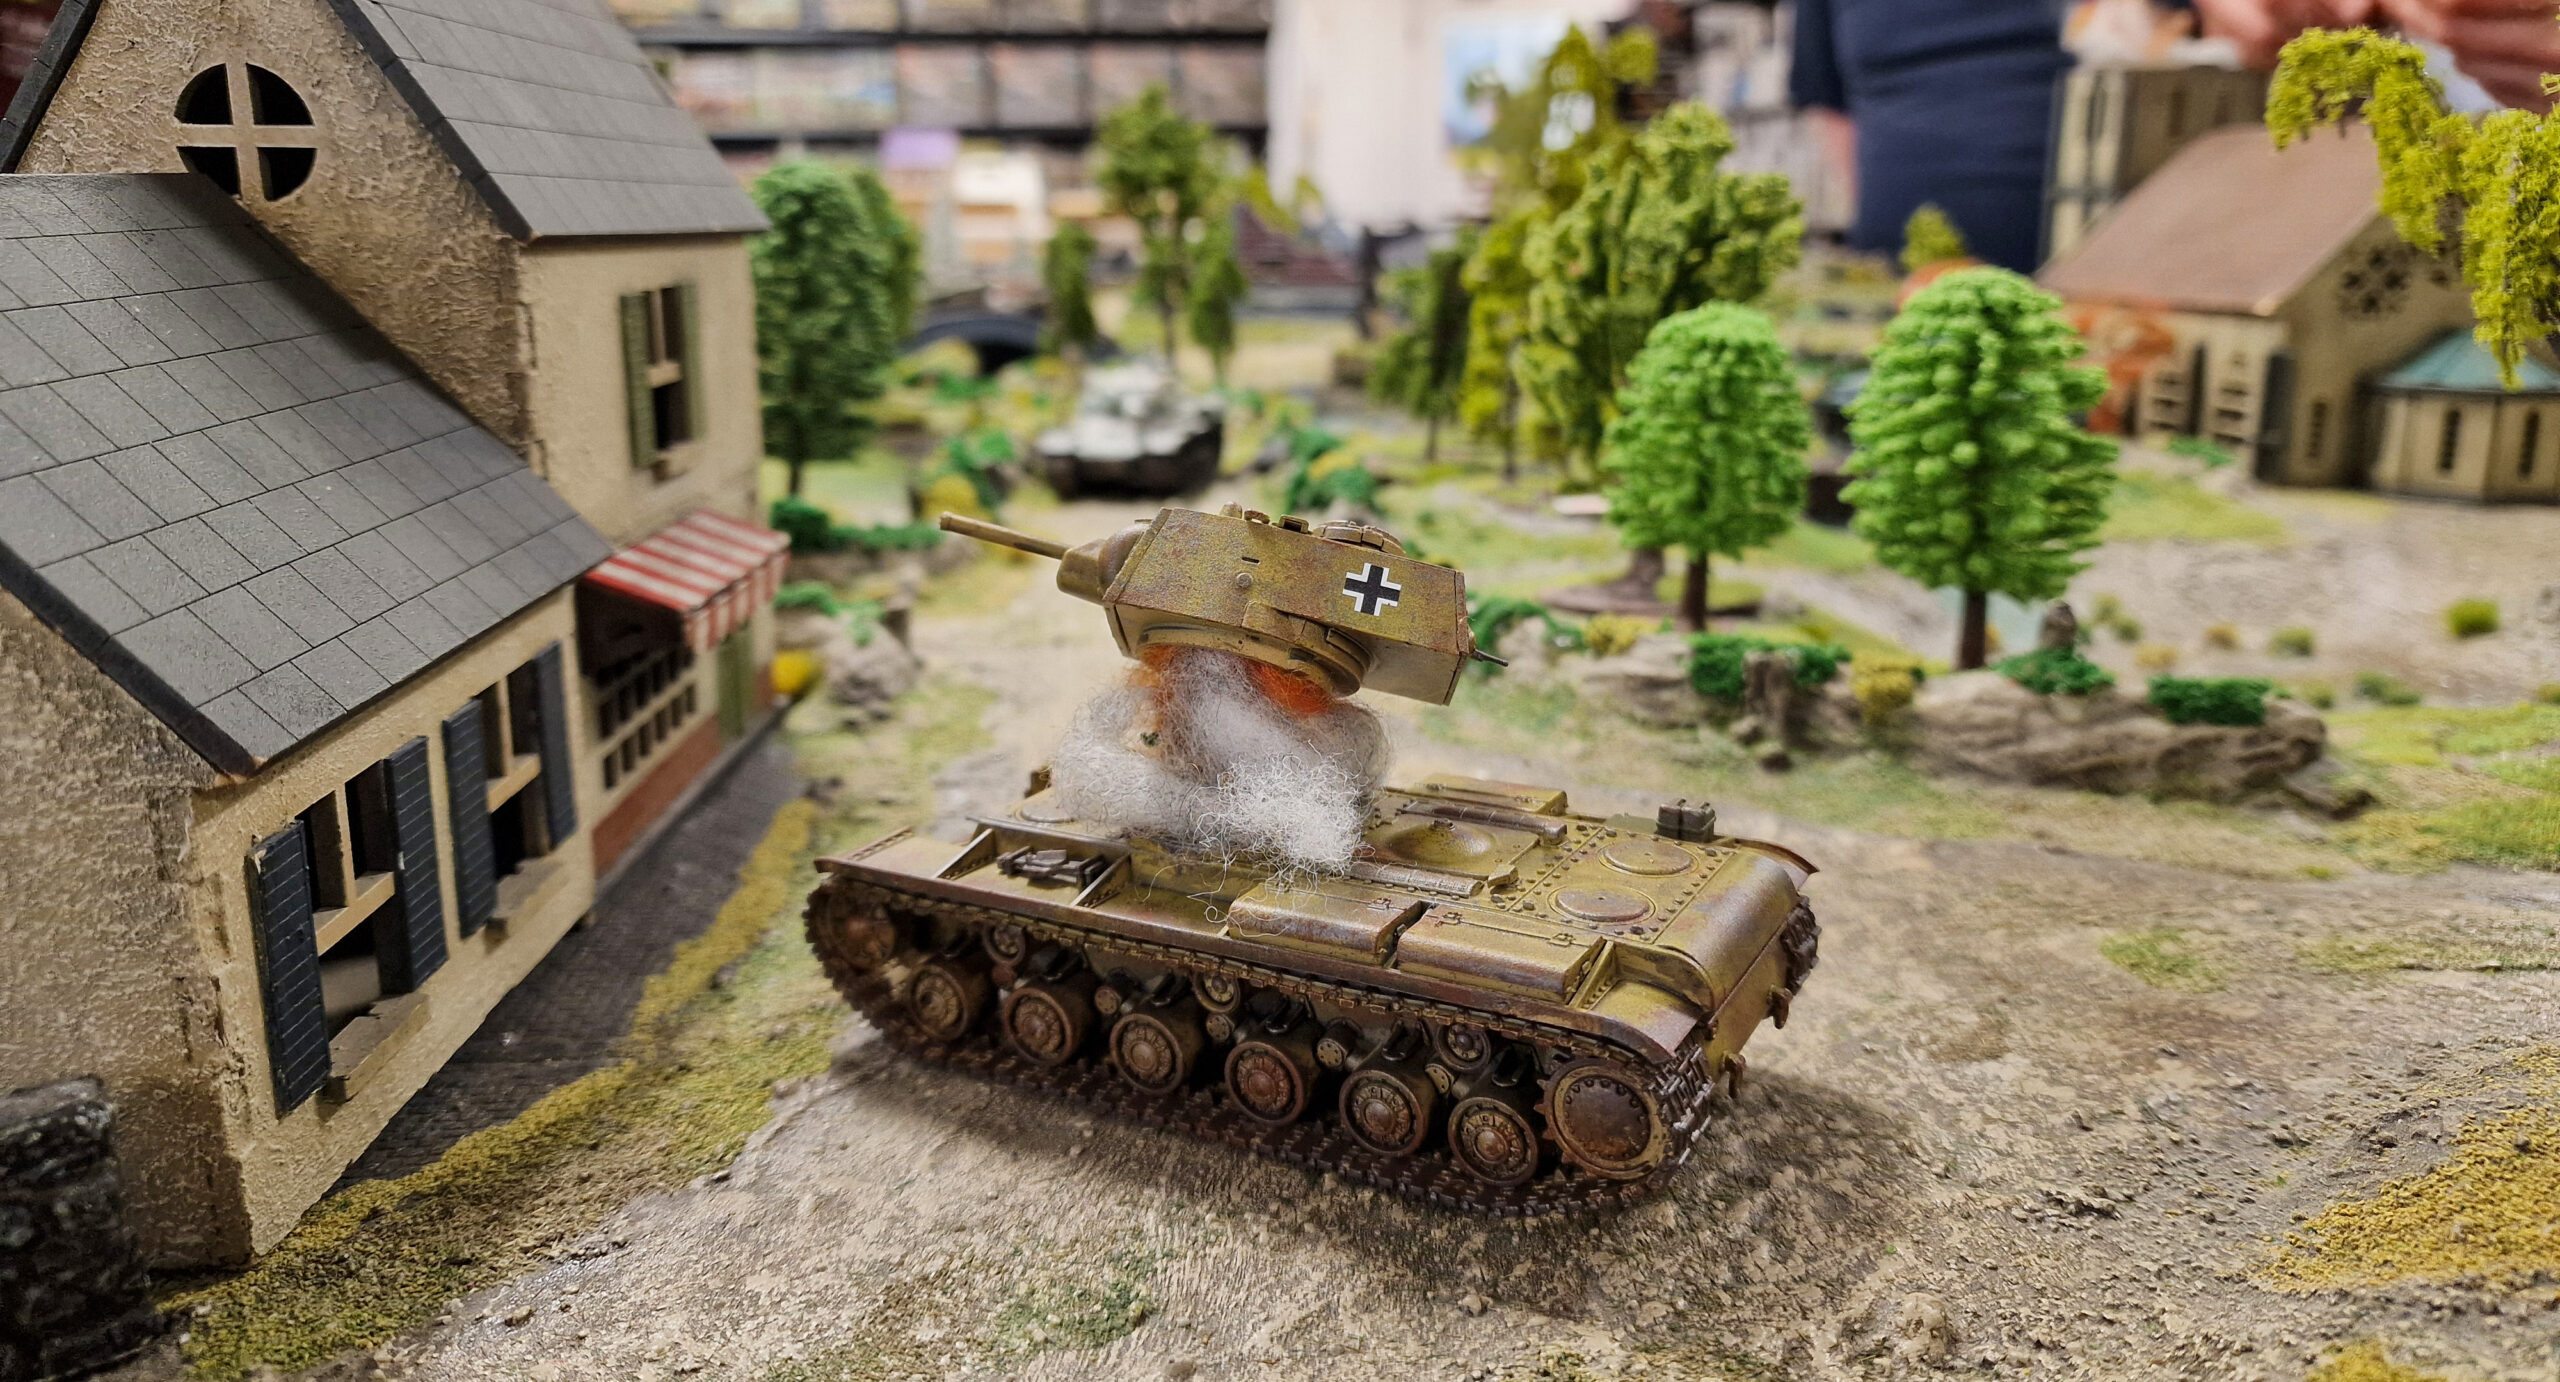
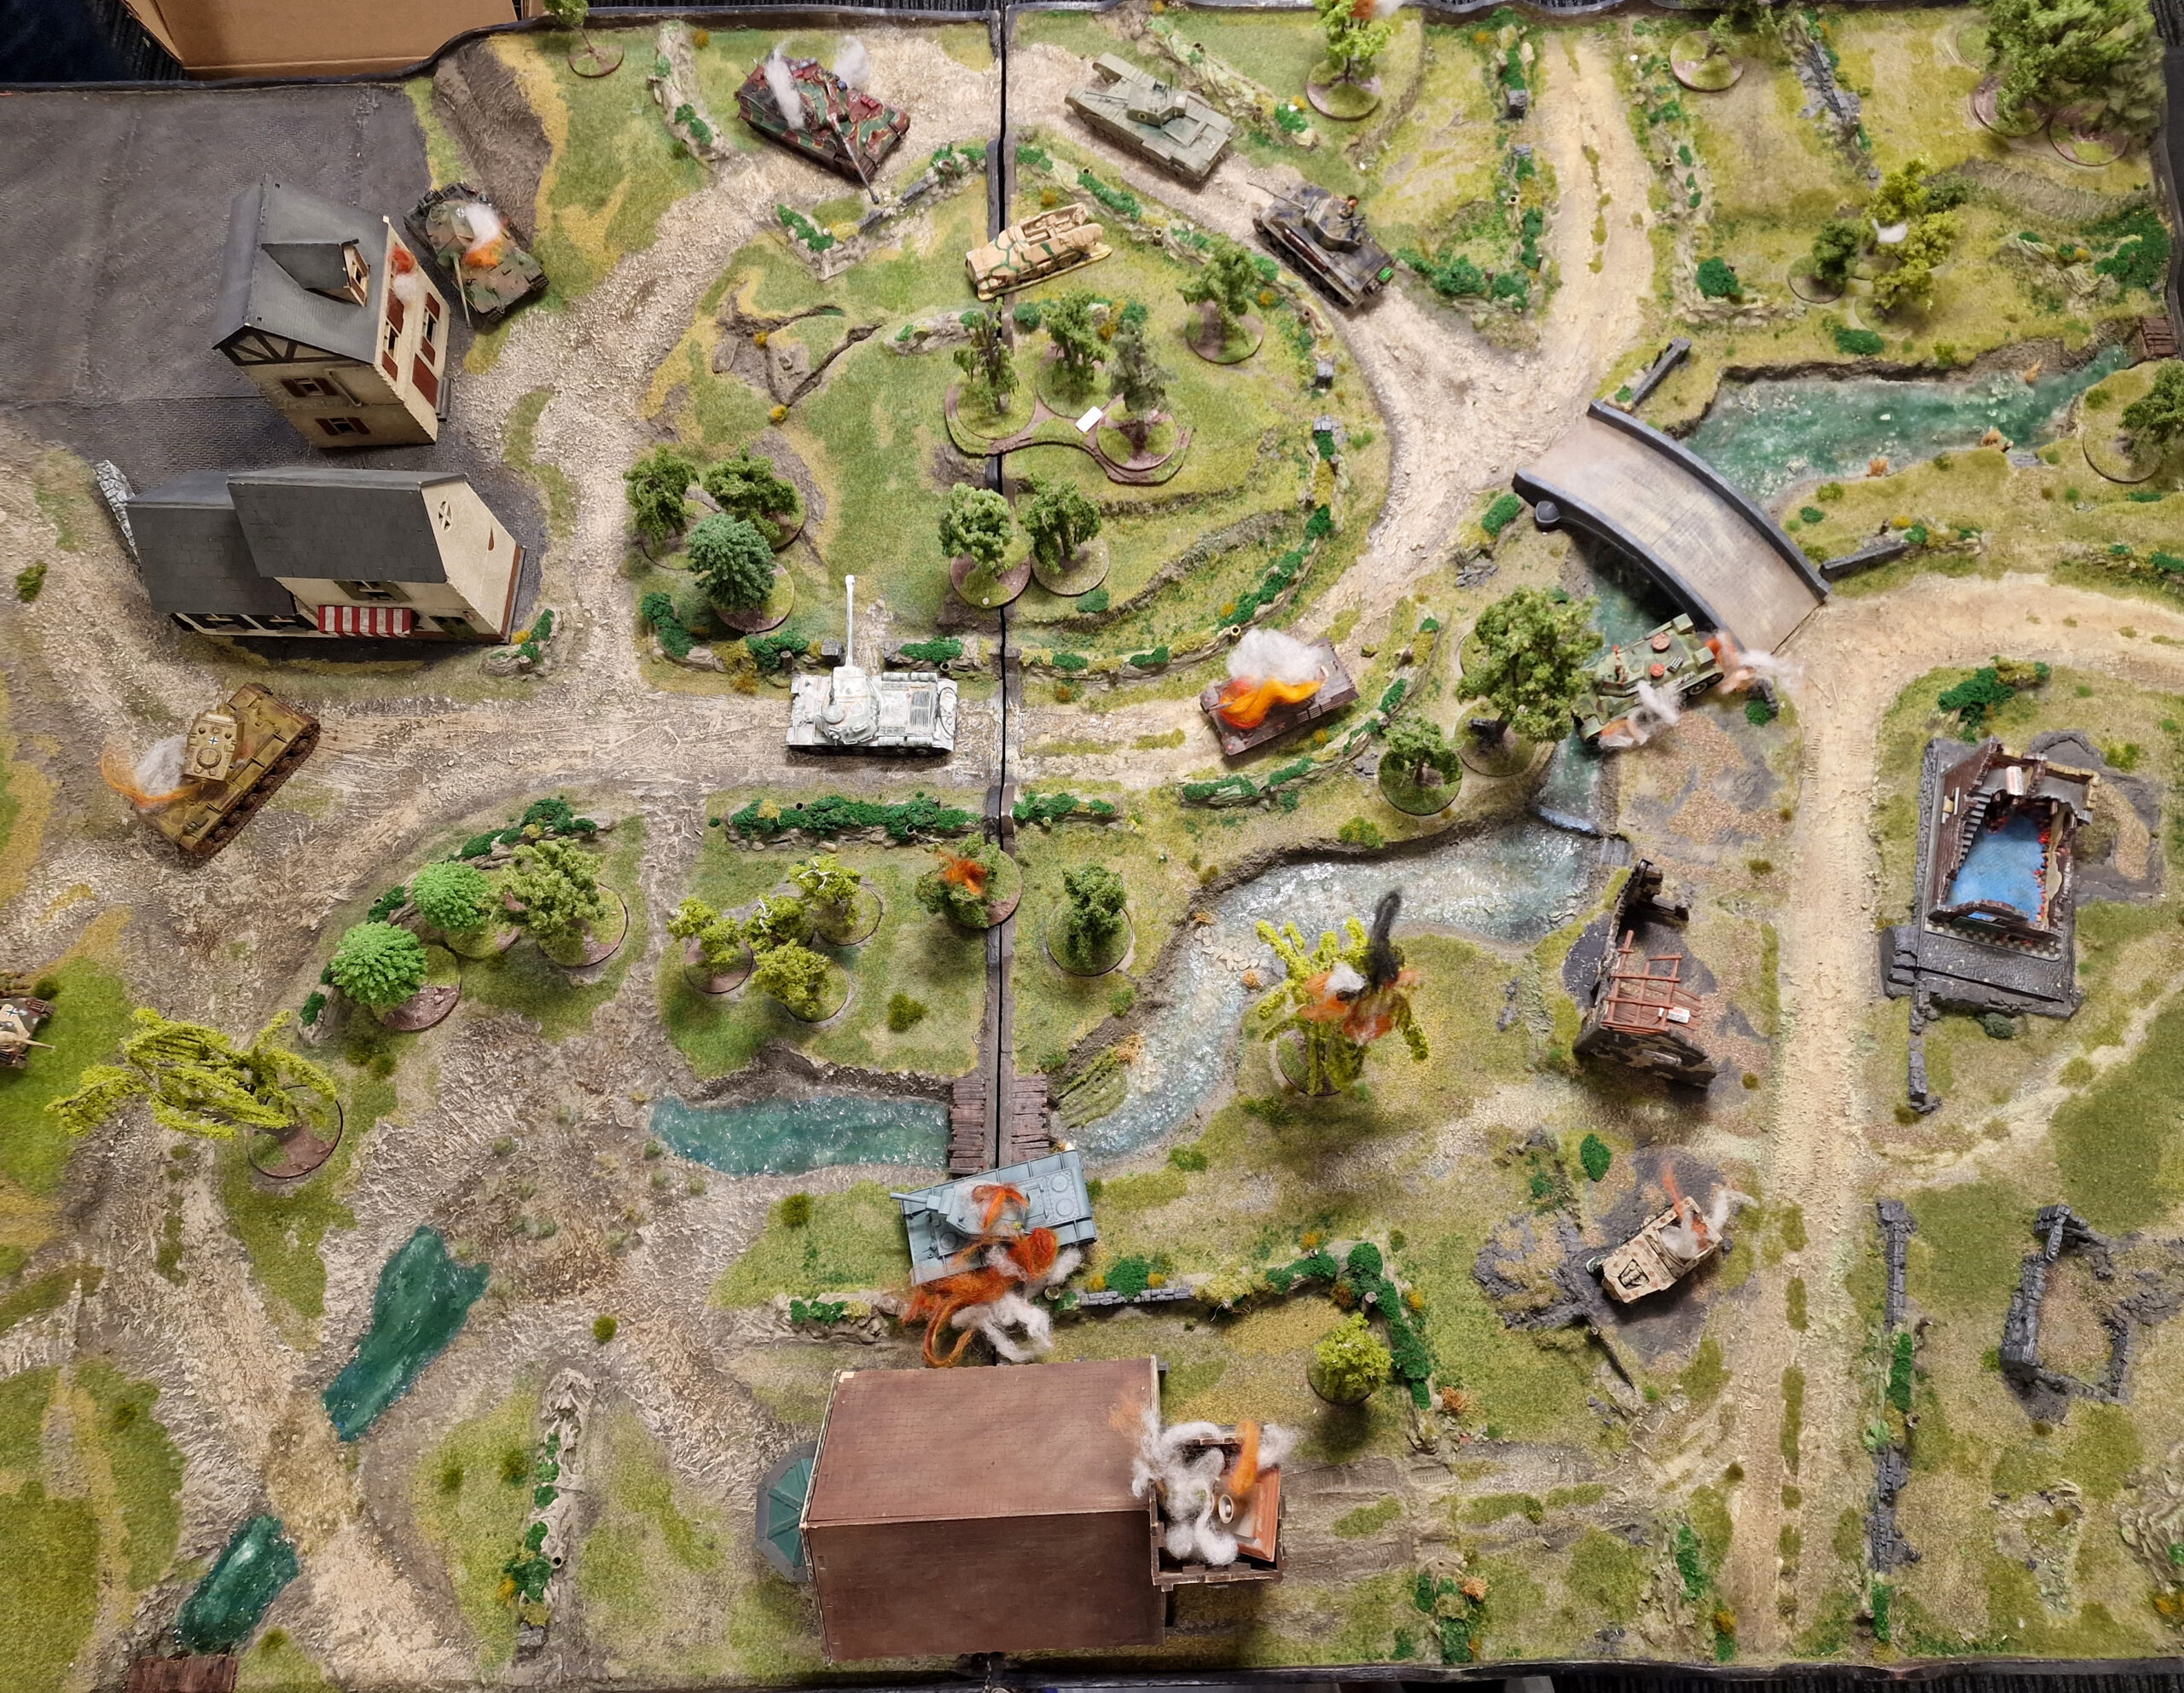
For the rest of the mission specifics, we decided that 45 minutes of in-game time would be plenty, and that the Ambush Terrain should be pretty dense, to prevent the Allies from simply rushing the Axis players with their superior numbers – luckily, the Bocage board is perfect for this, particularly when played lengthwise! The roads and river of this table meant that the Allied players would need to choose their lines of advance carefully, or the Axis team would be able to pick them off one by one in the dense terrain! I should of course note at this stage that I was one of the Axis players, fielding my captured KV-1 in German colours… but that’s no reason to suspect that this battle report will be anything other than scrupulously impartial, of course!
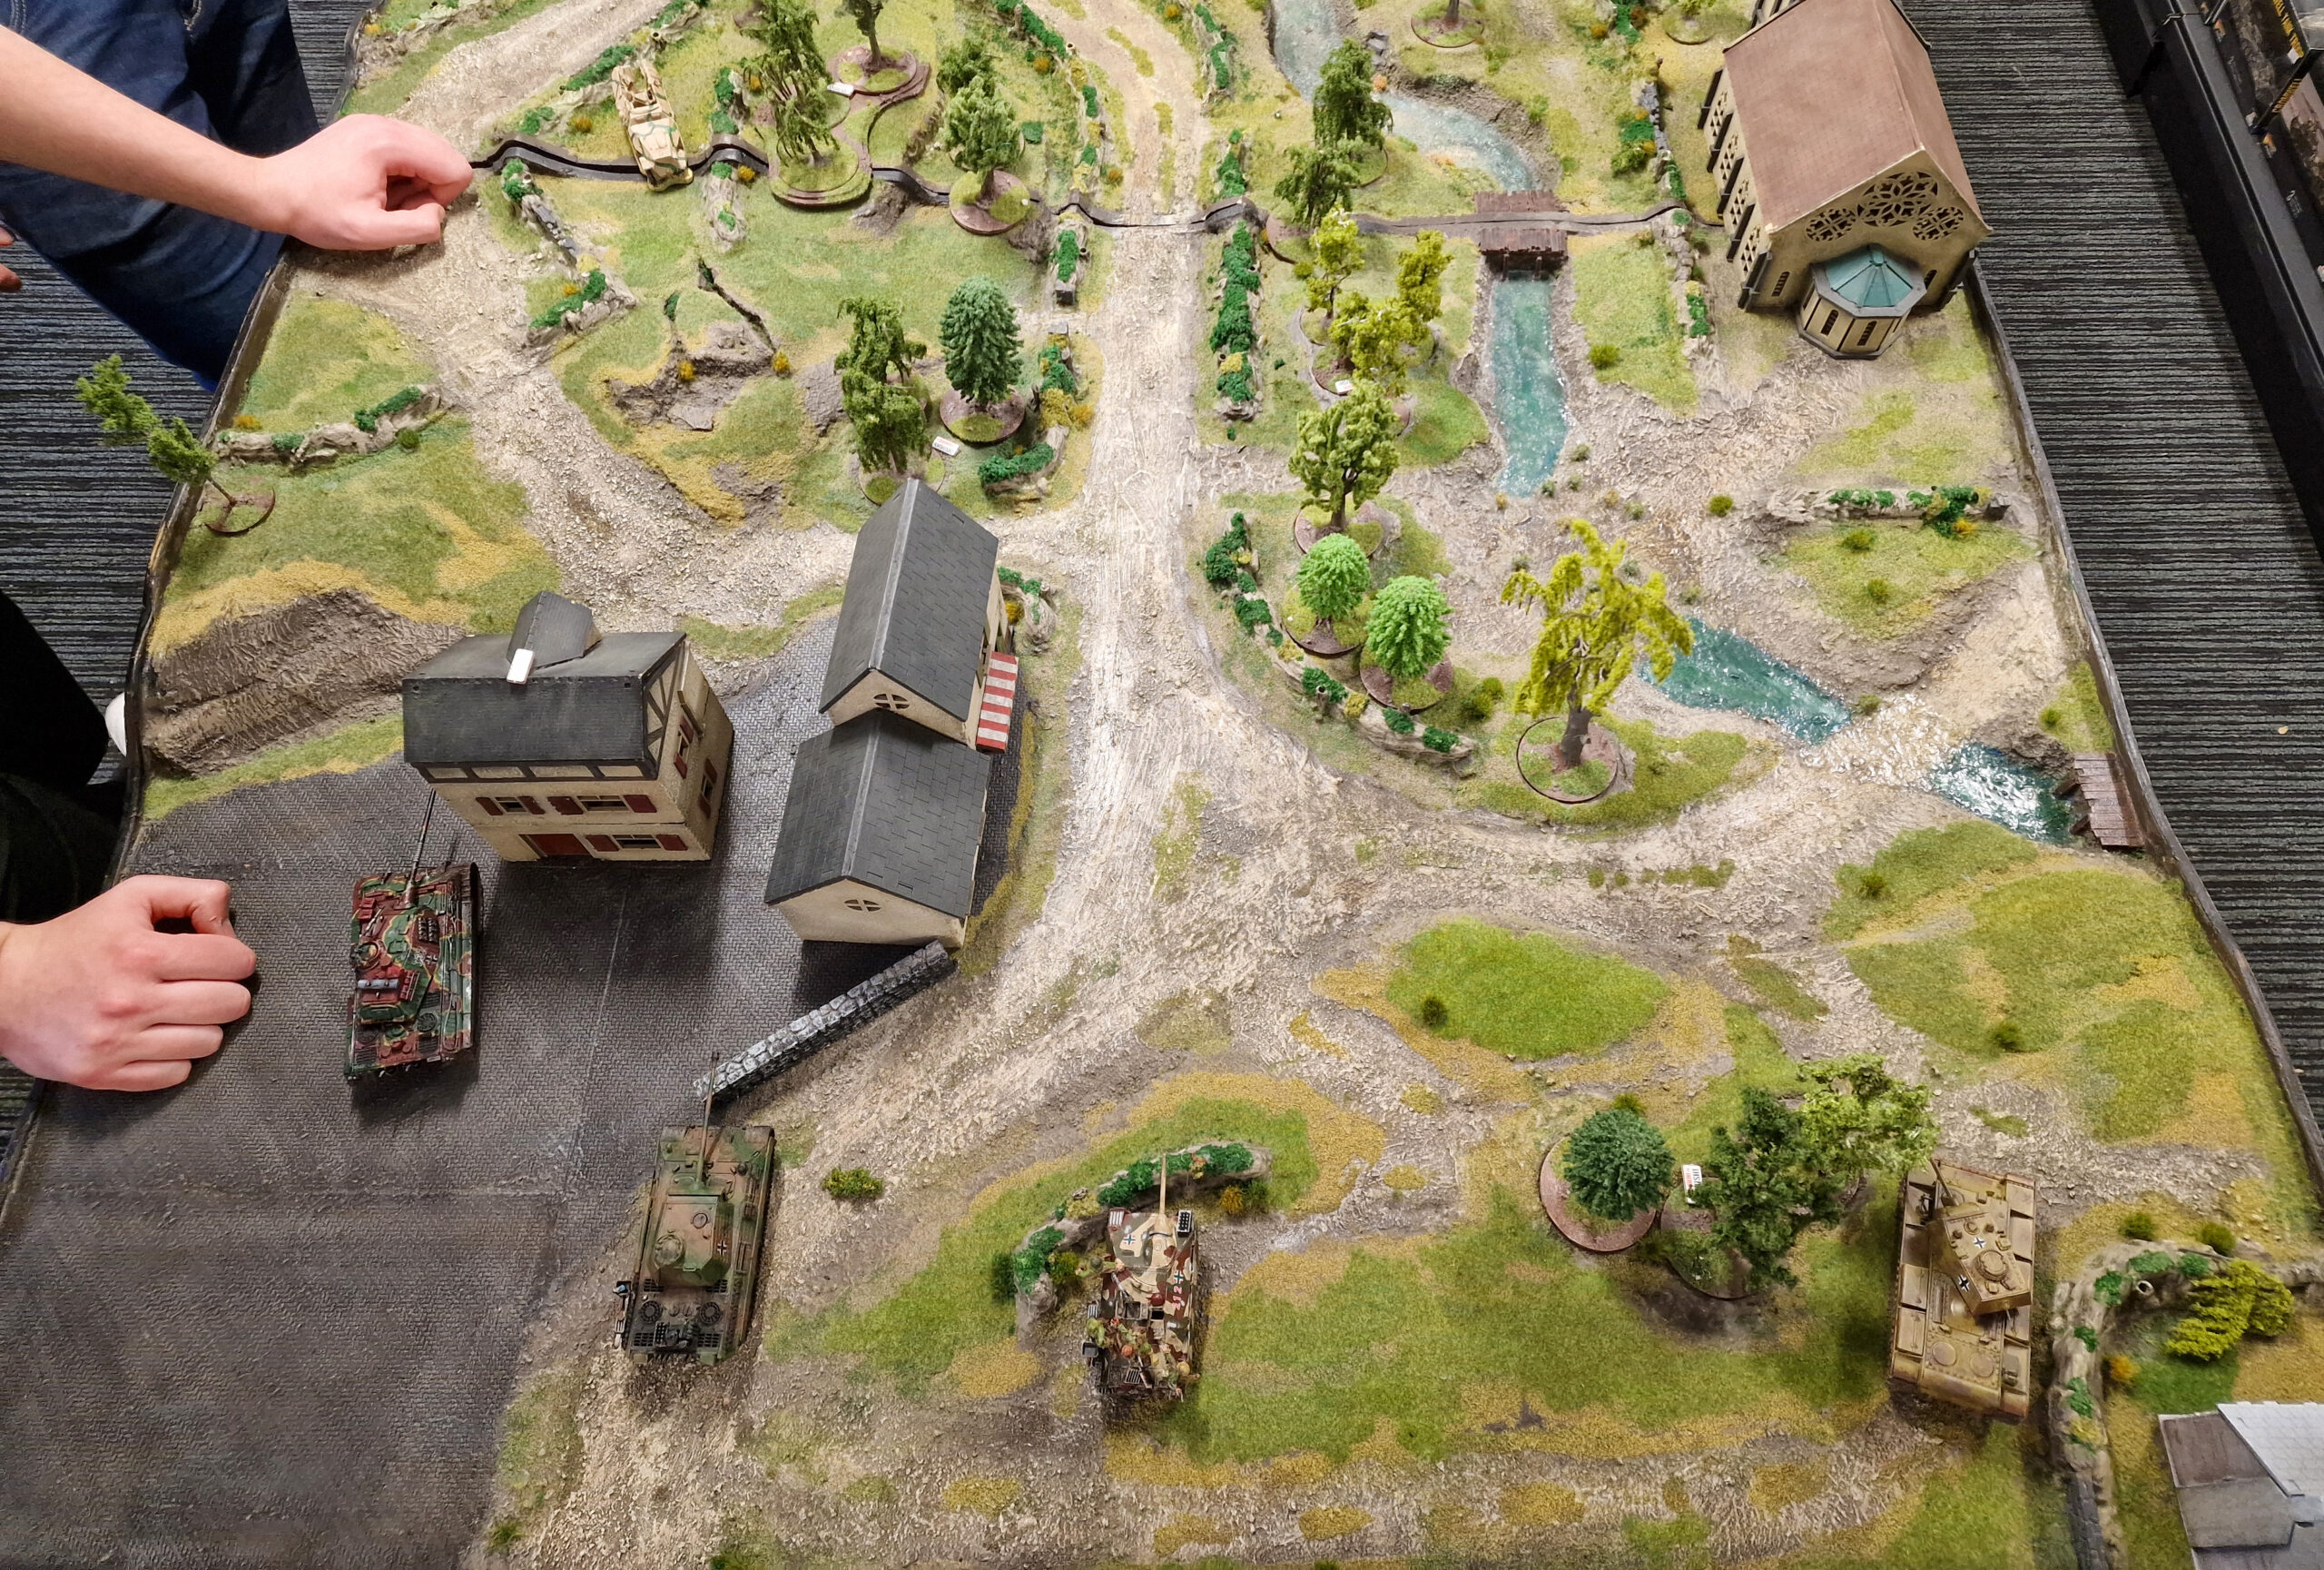
With the scene (and table) set, it was time to begin! The Allied team deployed in a three-pronged formation, aiming to use their numbers to overwhelm the smaller Axis force, while we divided our formation into two groups – Jon’s Tiger II and Dave’s Panther taking cover in the village on the left flank where they would try to pick off any unwary Allied tanks, while my KV-1 and Kieran’s Hetzer took the right-hand side of the table, with strict instructions to draw the Allies’ fire away from the ‘big cats’ – cheers, guys, it’s nice to feel appreciated!
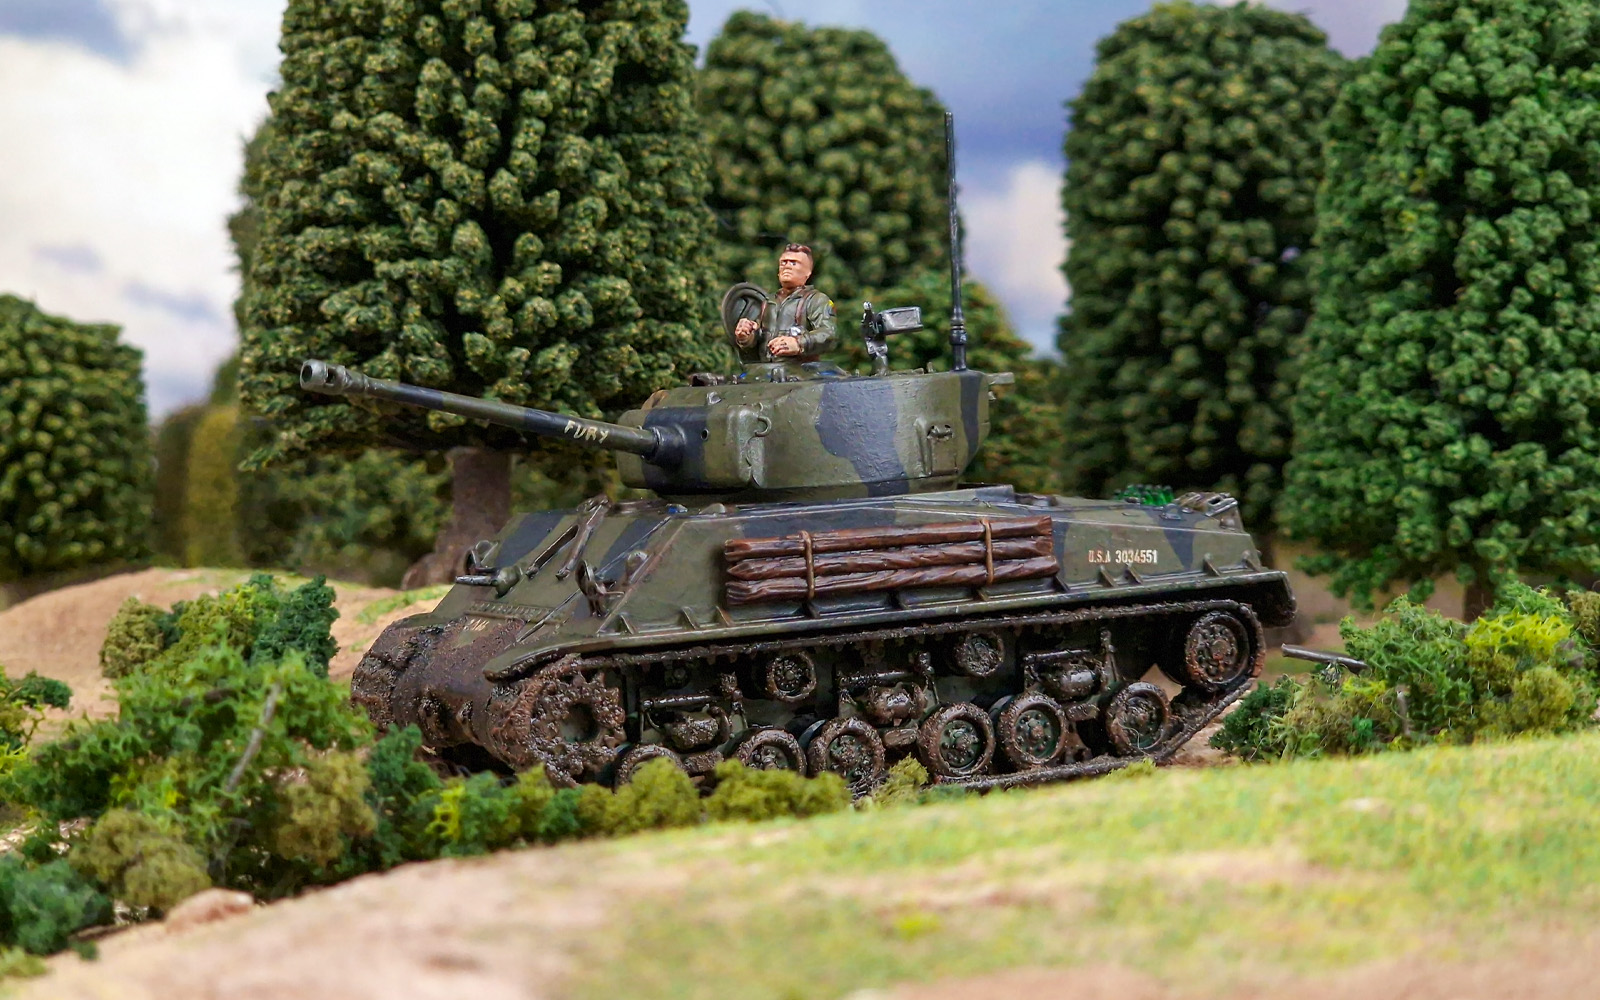
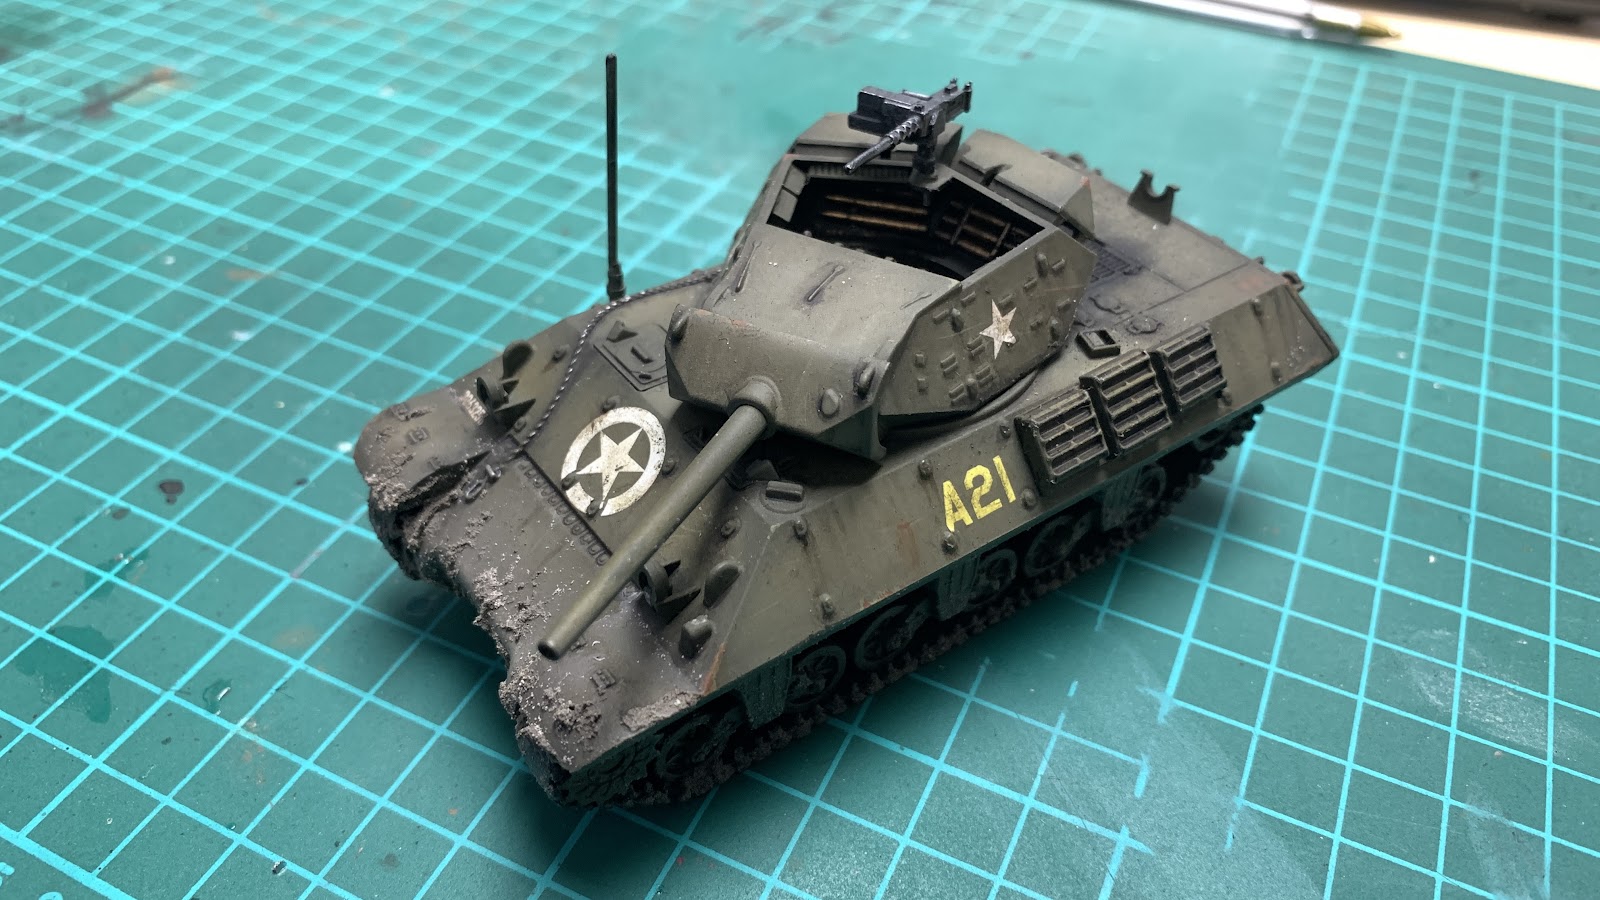
The game started with plenty of cautious tactical play from the Allies, who were rightly scared of the massive firepower wielded by Dave and Jon! Pete’s M18 and Dan’s Easy Eight led the advance, trying to clear as much Ambush Terrain as they could with HE shells, but Pete had made a crucial error. While using his Scoot move to get out of the way of friendly tanks to his rear, he stumbled right into the line of sight of Dave’s Panther! While not Sighted or Spotted, Dave decided to seize the moment, and take a Snap Shot! Needing to hit twice on two dice, but with ice-water in his veins, Dave lined up the shot and fired – to Pete’s dismay (and our joy!), absolutely nailing the hit! Against the Panther’s 75mm gun, the M18’s armour might as well have been tissue paper (that’s the price you pay for mounting a big gun on a fast chassis!), and for Pete the war was over – first blood to the Axis!
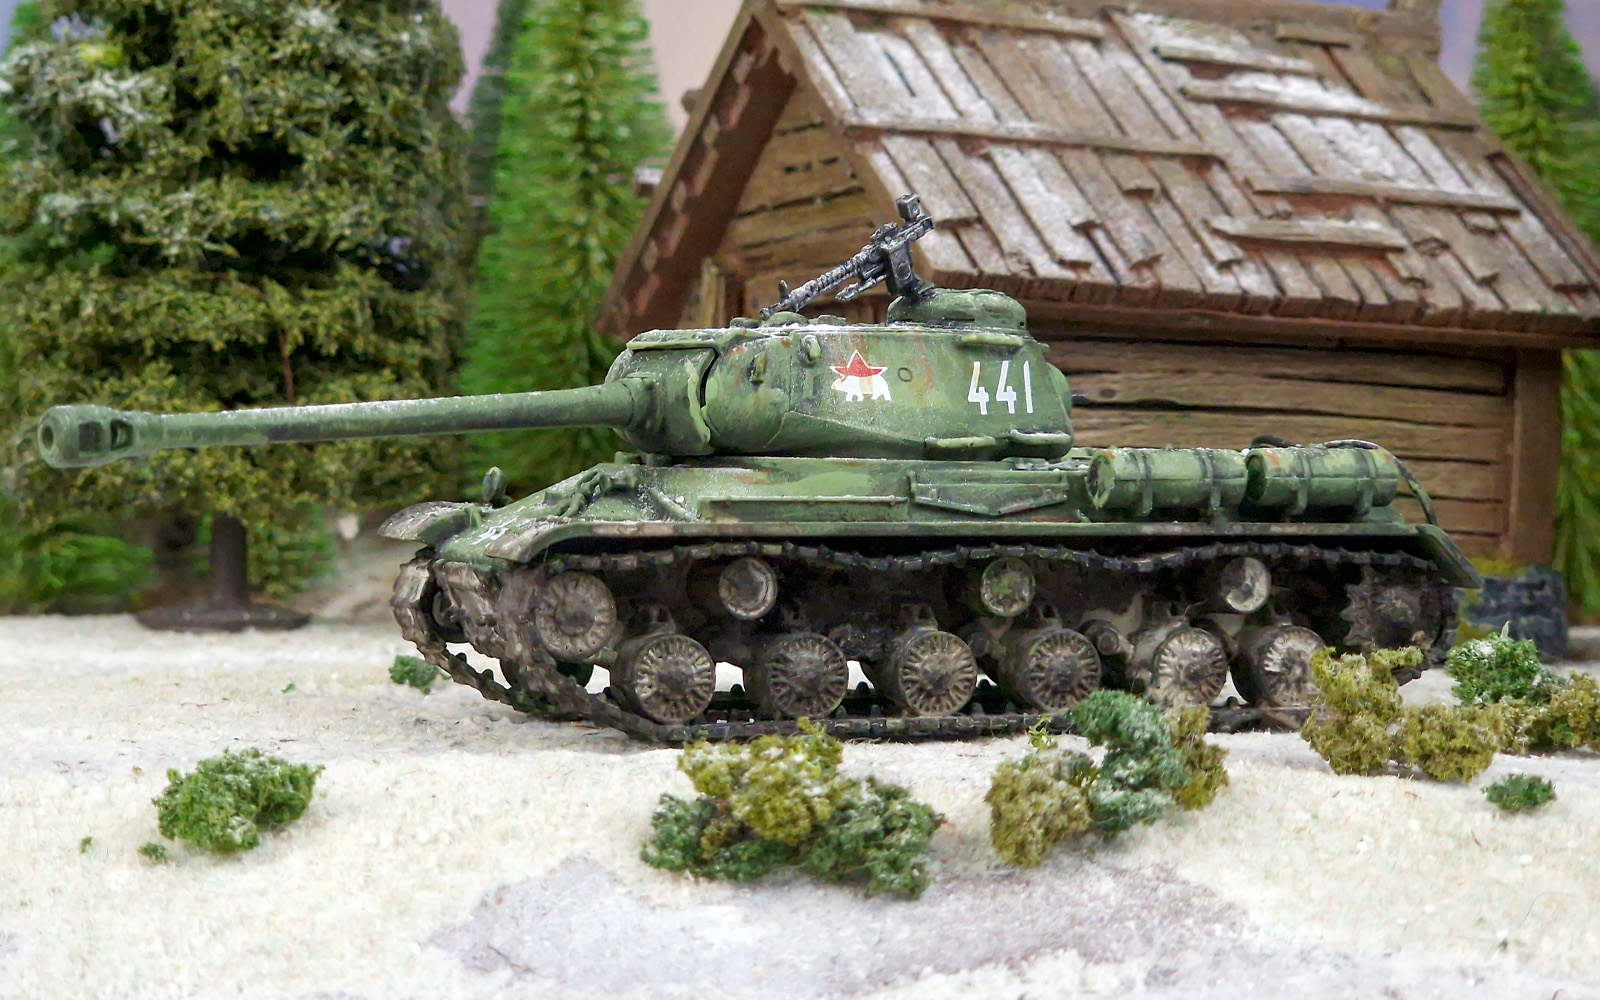
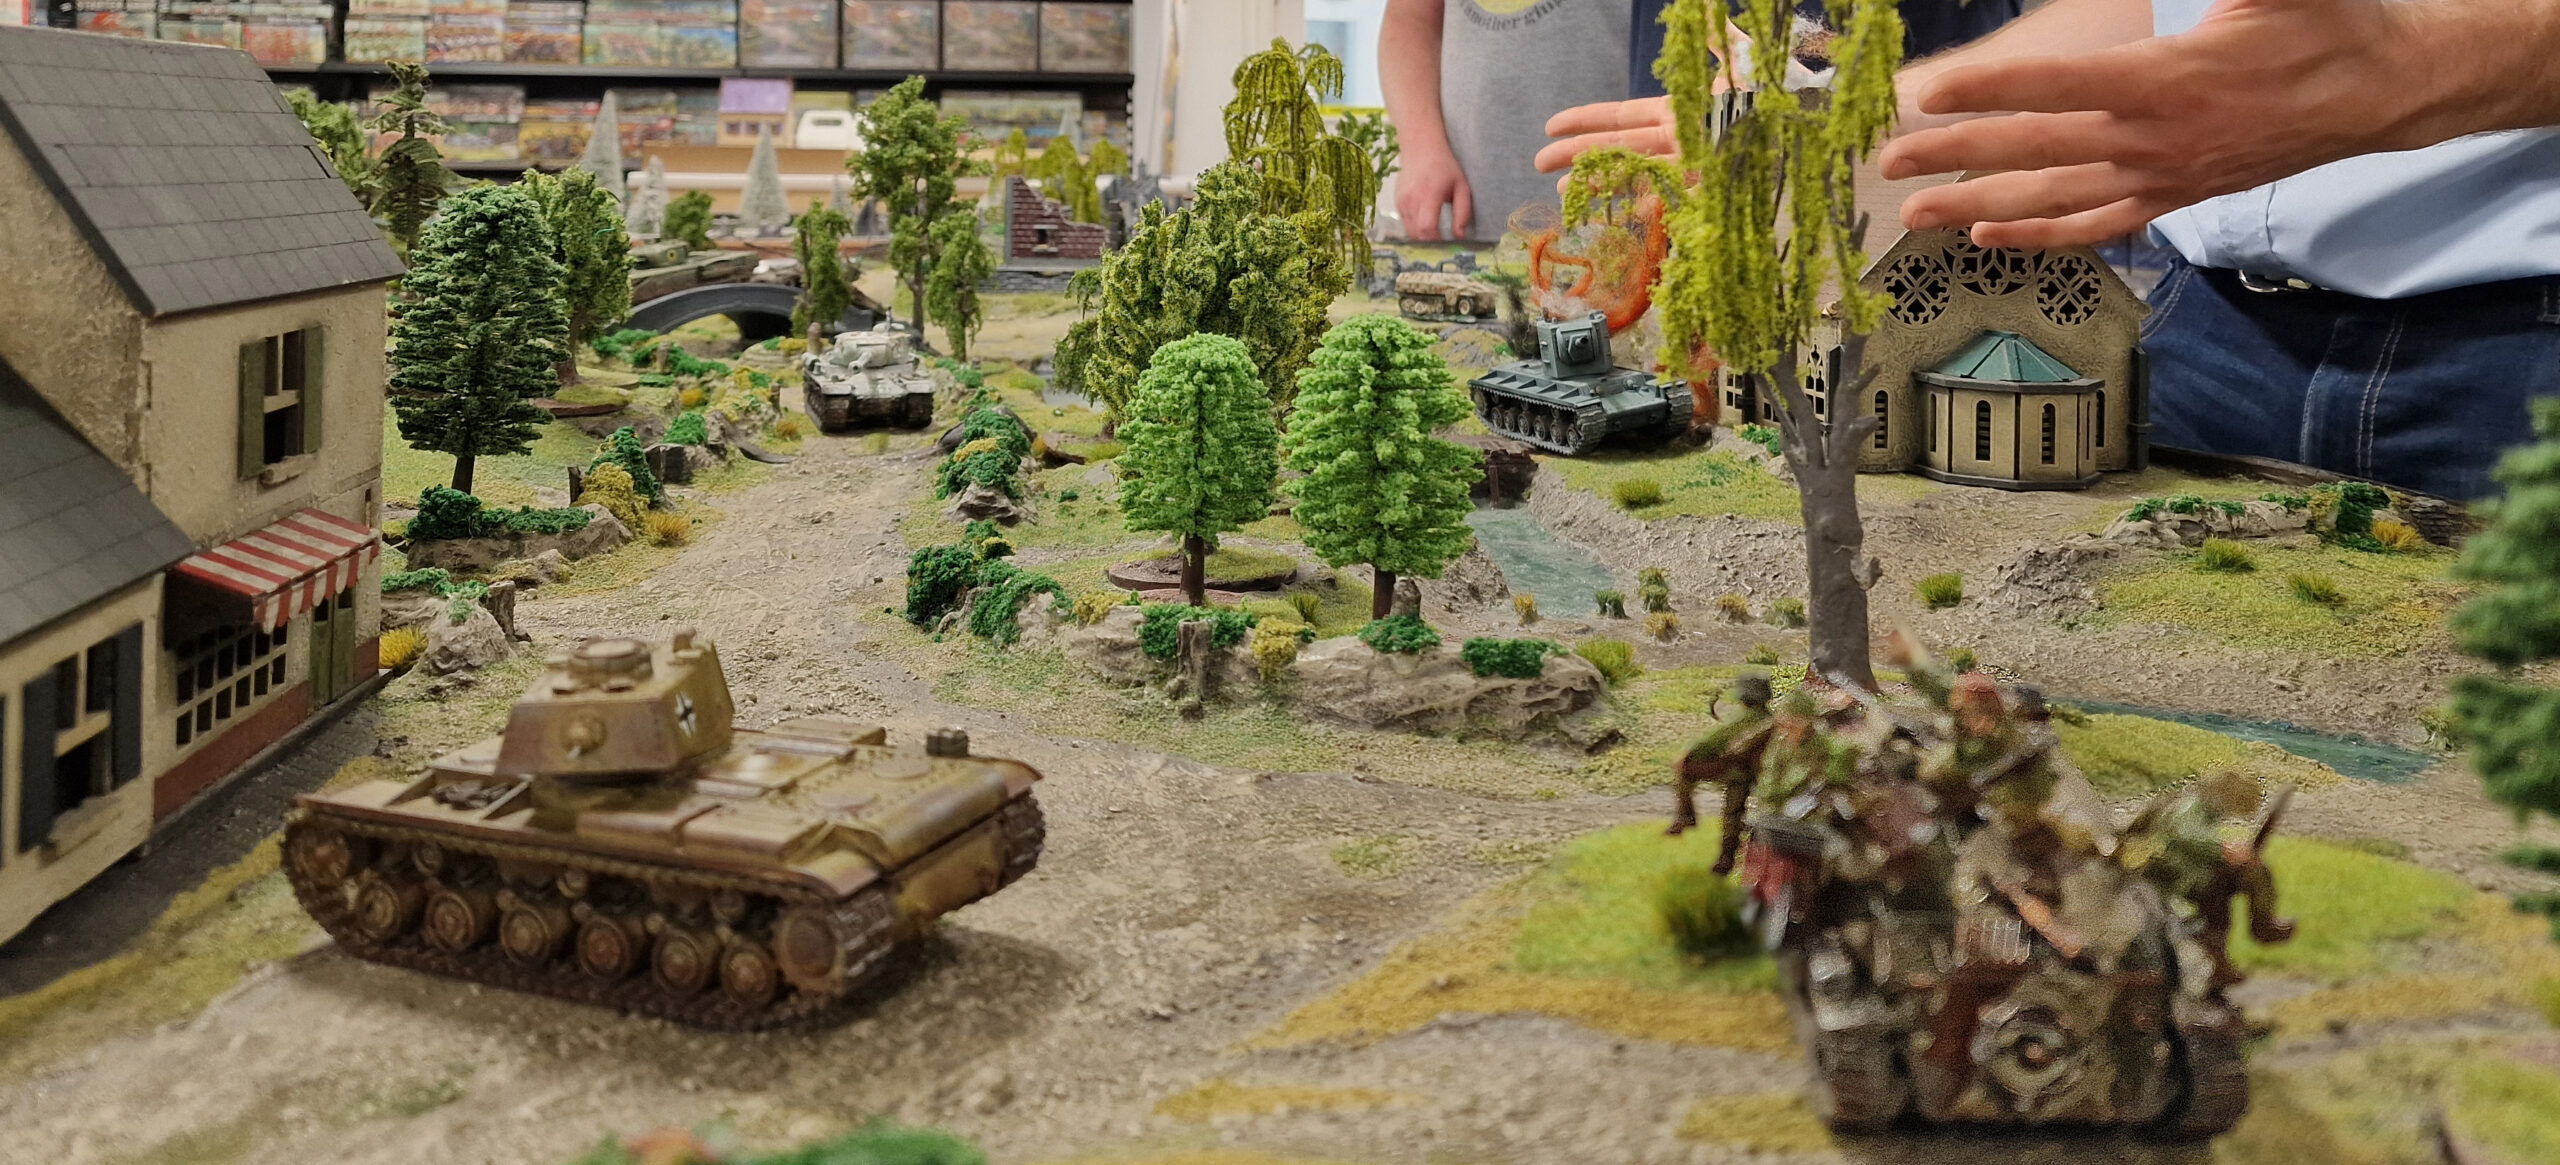
Dismayed but not dissuaded by the sudden conversion of Pete’s tank destroyer to a rapidly expanding fireball, the Allies pressed forward, with Melissa making good use of the Engineers card to clear a pesky stand of trees, and it was all starting to look a bit concerning over on my side of the table! While my captured KV-1 had a reasonable amount of armour, I was staring down the barrel of Colin’s frankly monstrous IS2, backed up by Rich’s KV-2 – it looked like the Soviets were coming to take their tank back!
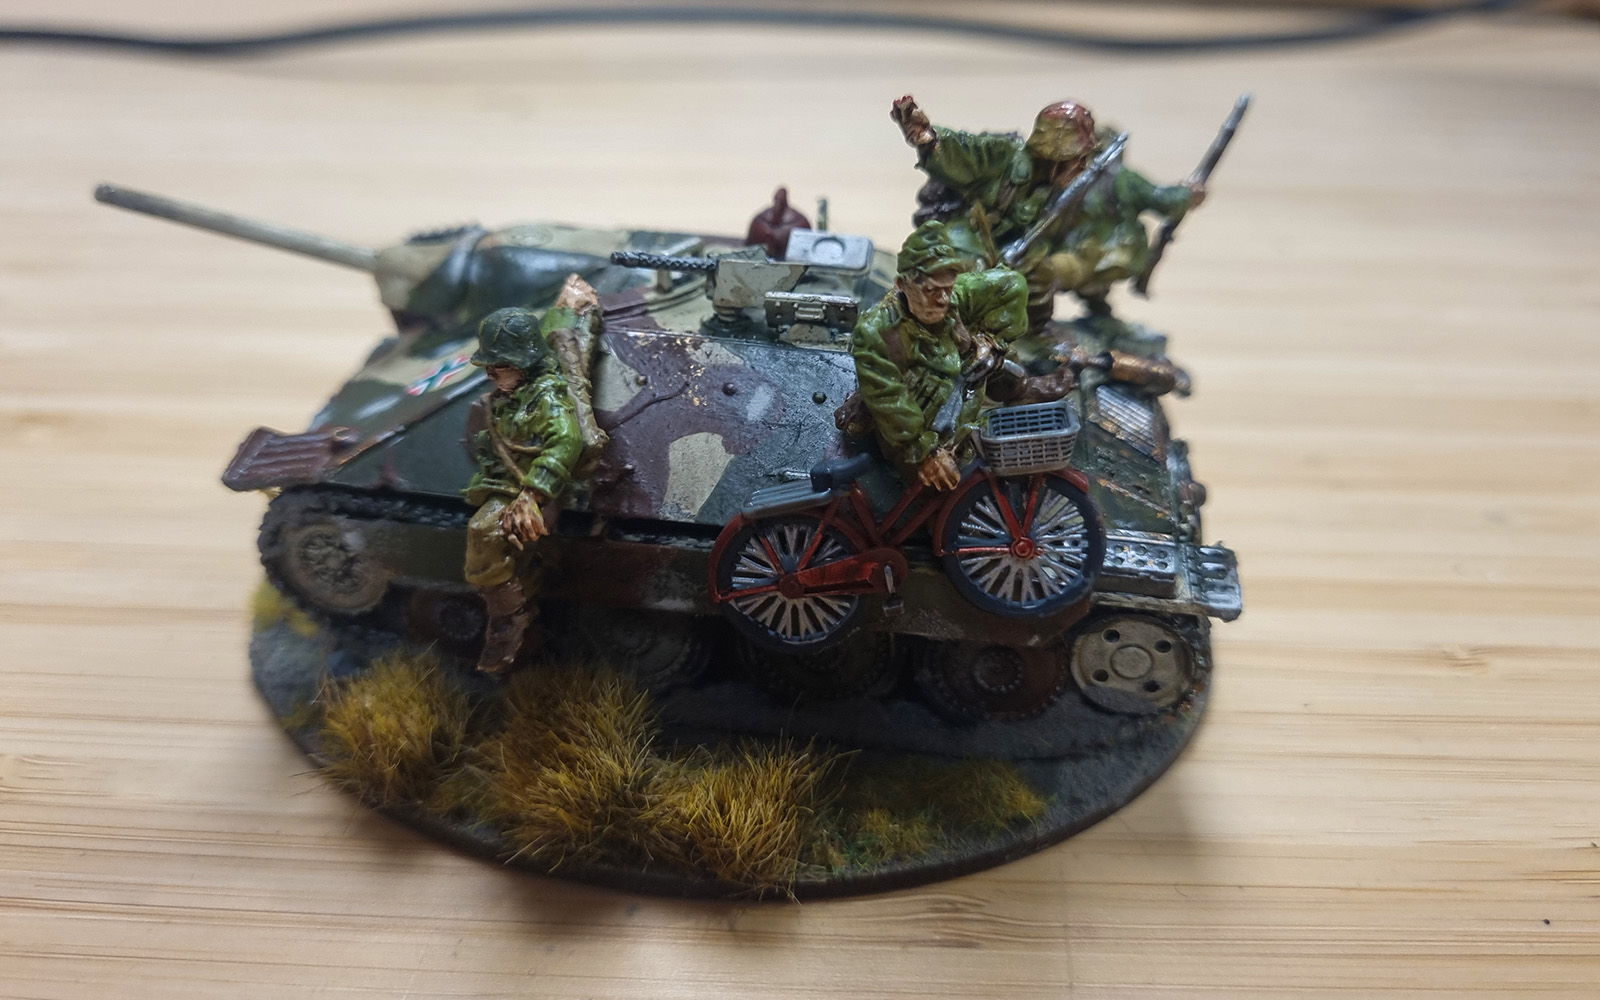
Fortunately, I wasn’t alone! Kieran had my back (well, my flank, to be precise!) with his Hetzer, complete with a much bigger gun than mine! As the turn rumbled on, he was taking careful aim at Rich – and he had Special ammunition in the gun! With Colin distracted by my cunning tactical plan of trying to reverse and get as small as possible, Kieran decided the time was right to have a whack at the KV-2. With the extra punch of his Special round being very much a one-time proposition, we (and I!) really needed him to get a good hit in….
Thankfully, he did, absolutely drilling a shell through the KV-2’s thick frontal armour. For a second, nothing happened, then the hatches clanged open, billowing smoke as the crew hastily abandoned the tank, which was rapidly becoming a boiling inferno as fuel and ammunition cooked off – or at least, Kieran got really good at rolling dice for a very short period of time, and knocked Rich’s KV-2 out with a single shot!
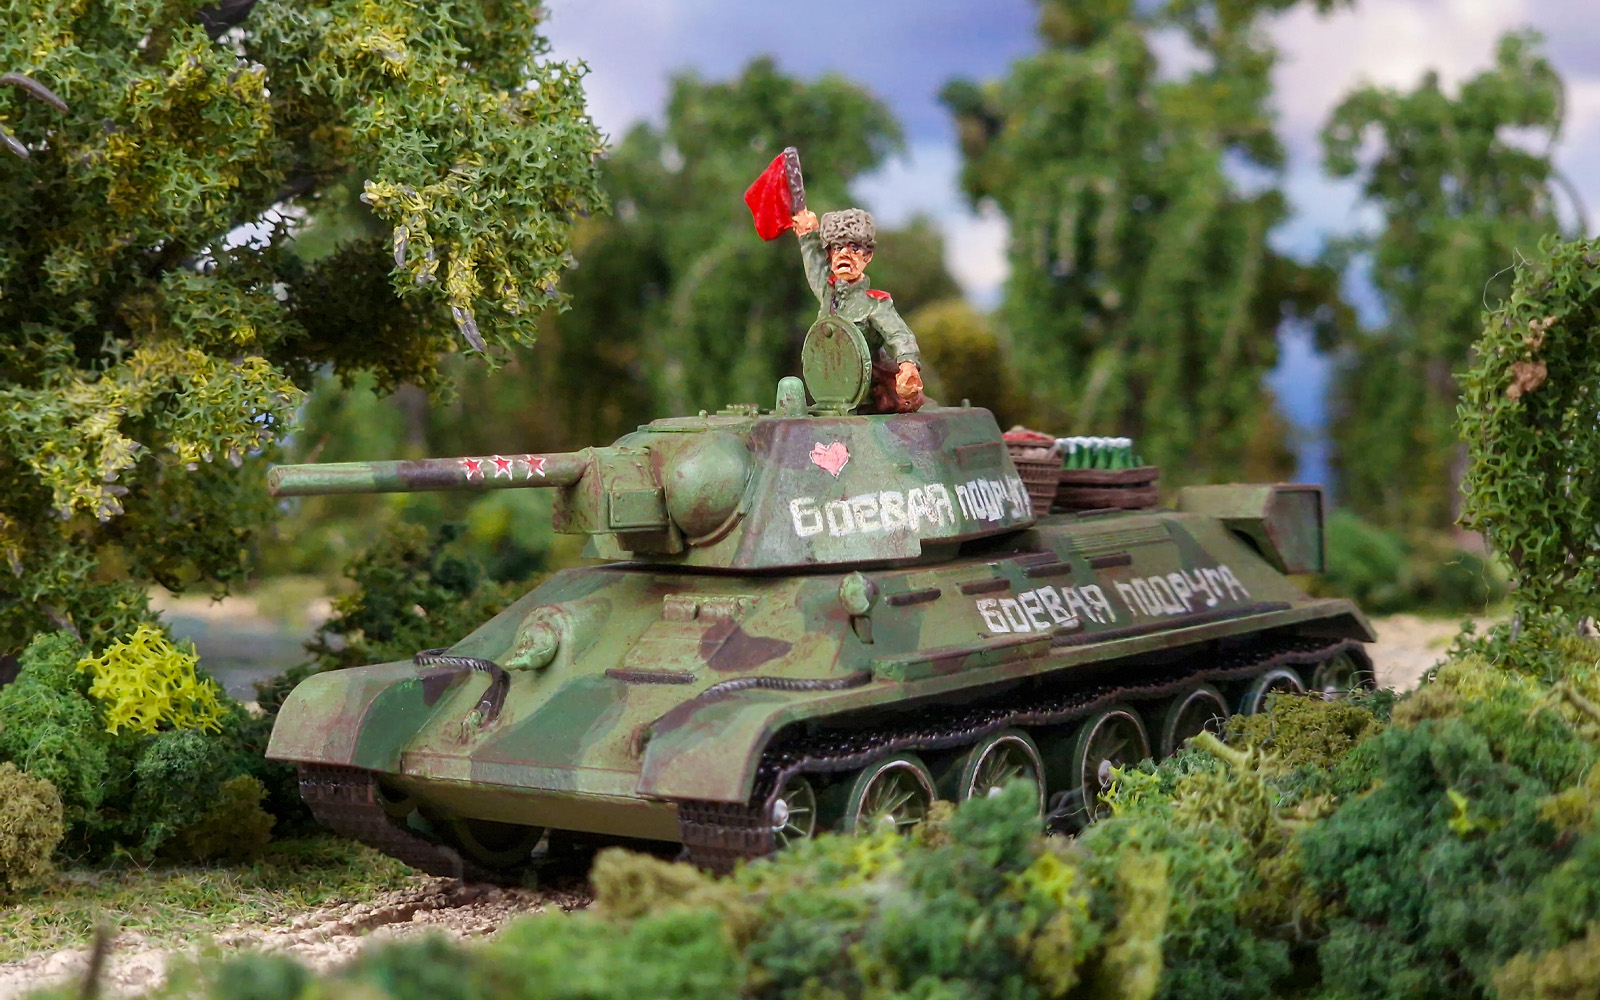
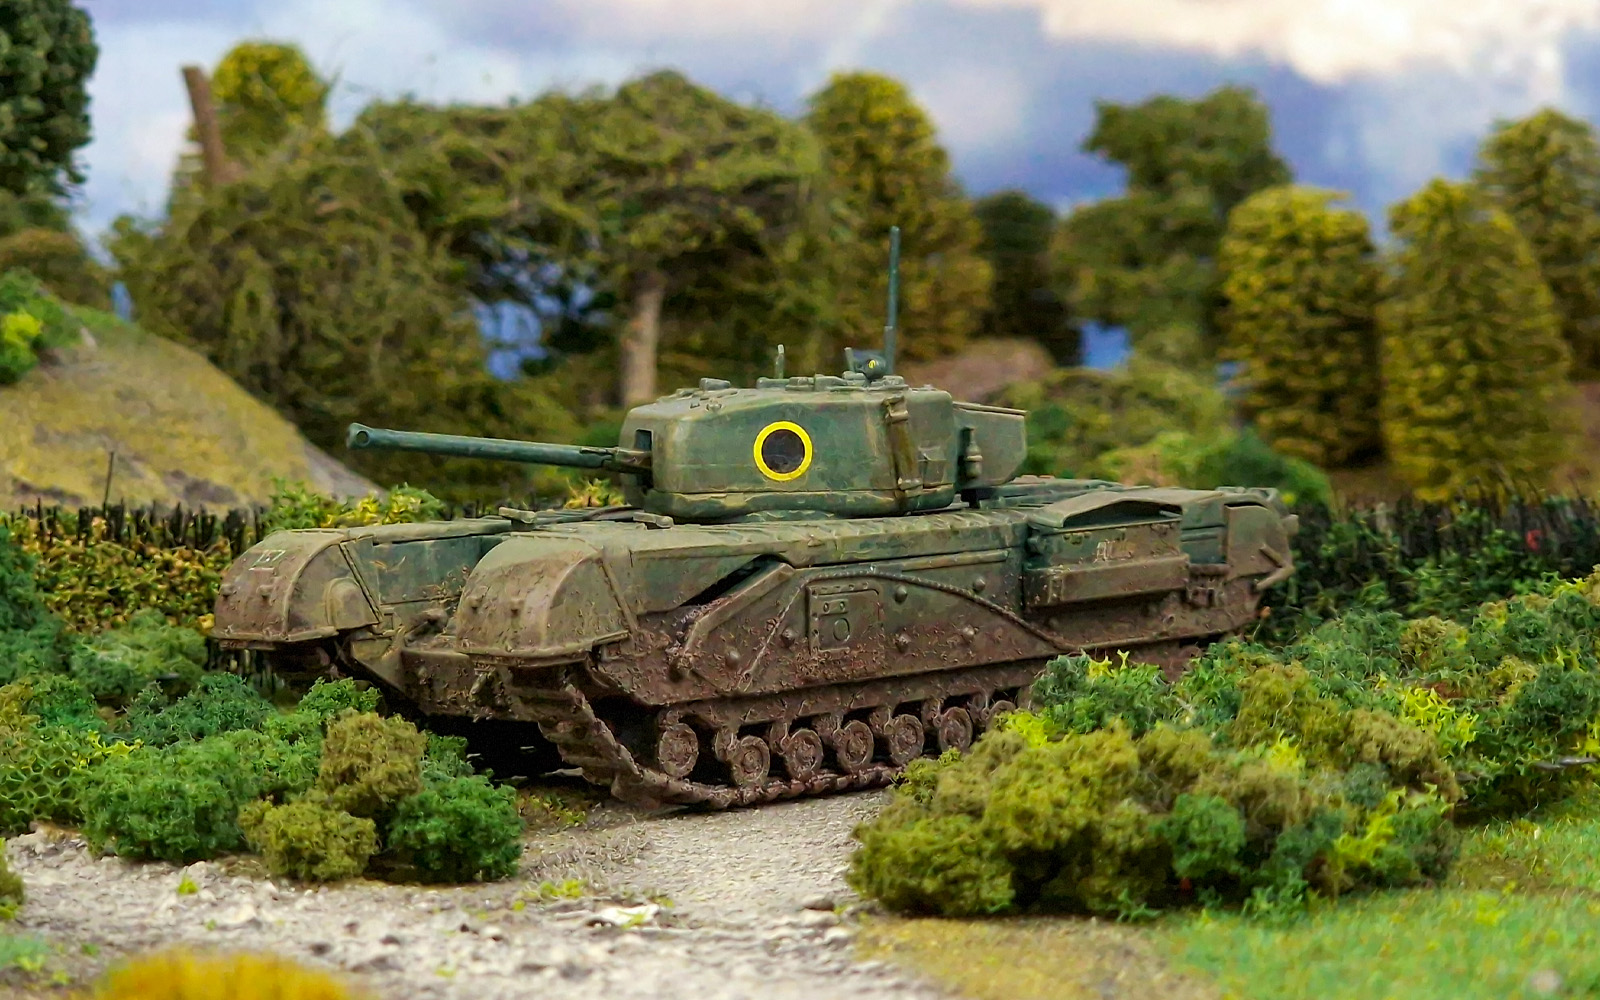
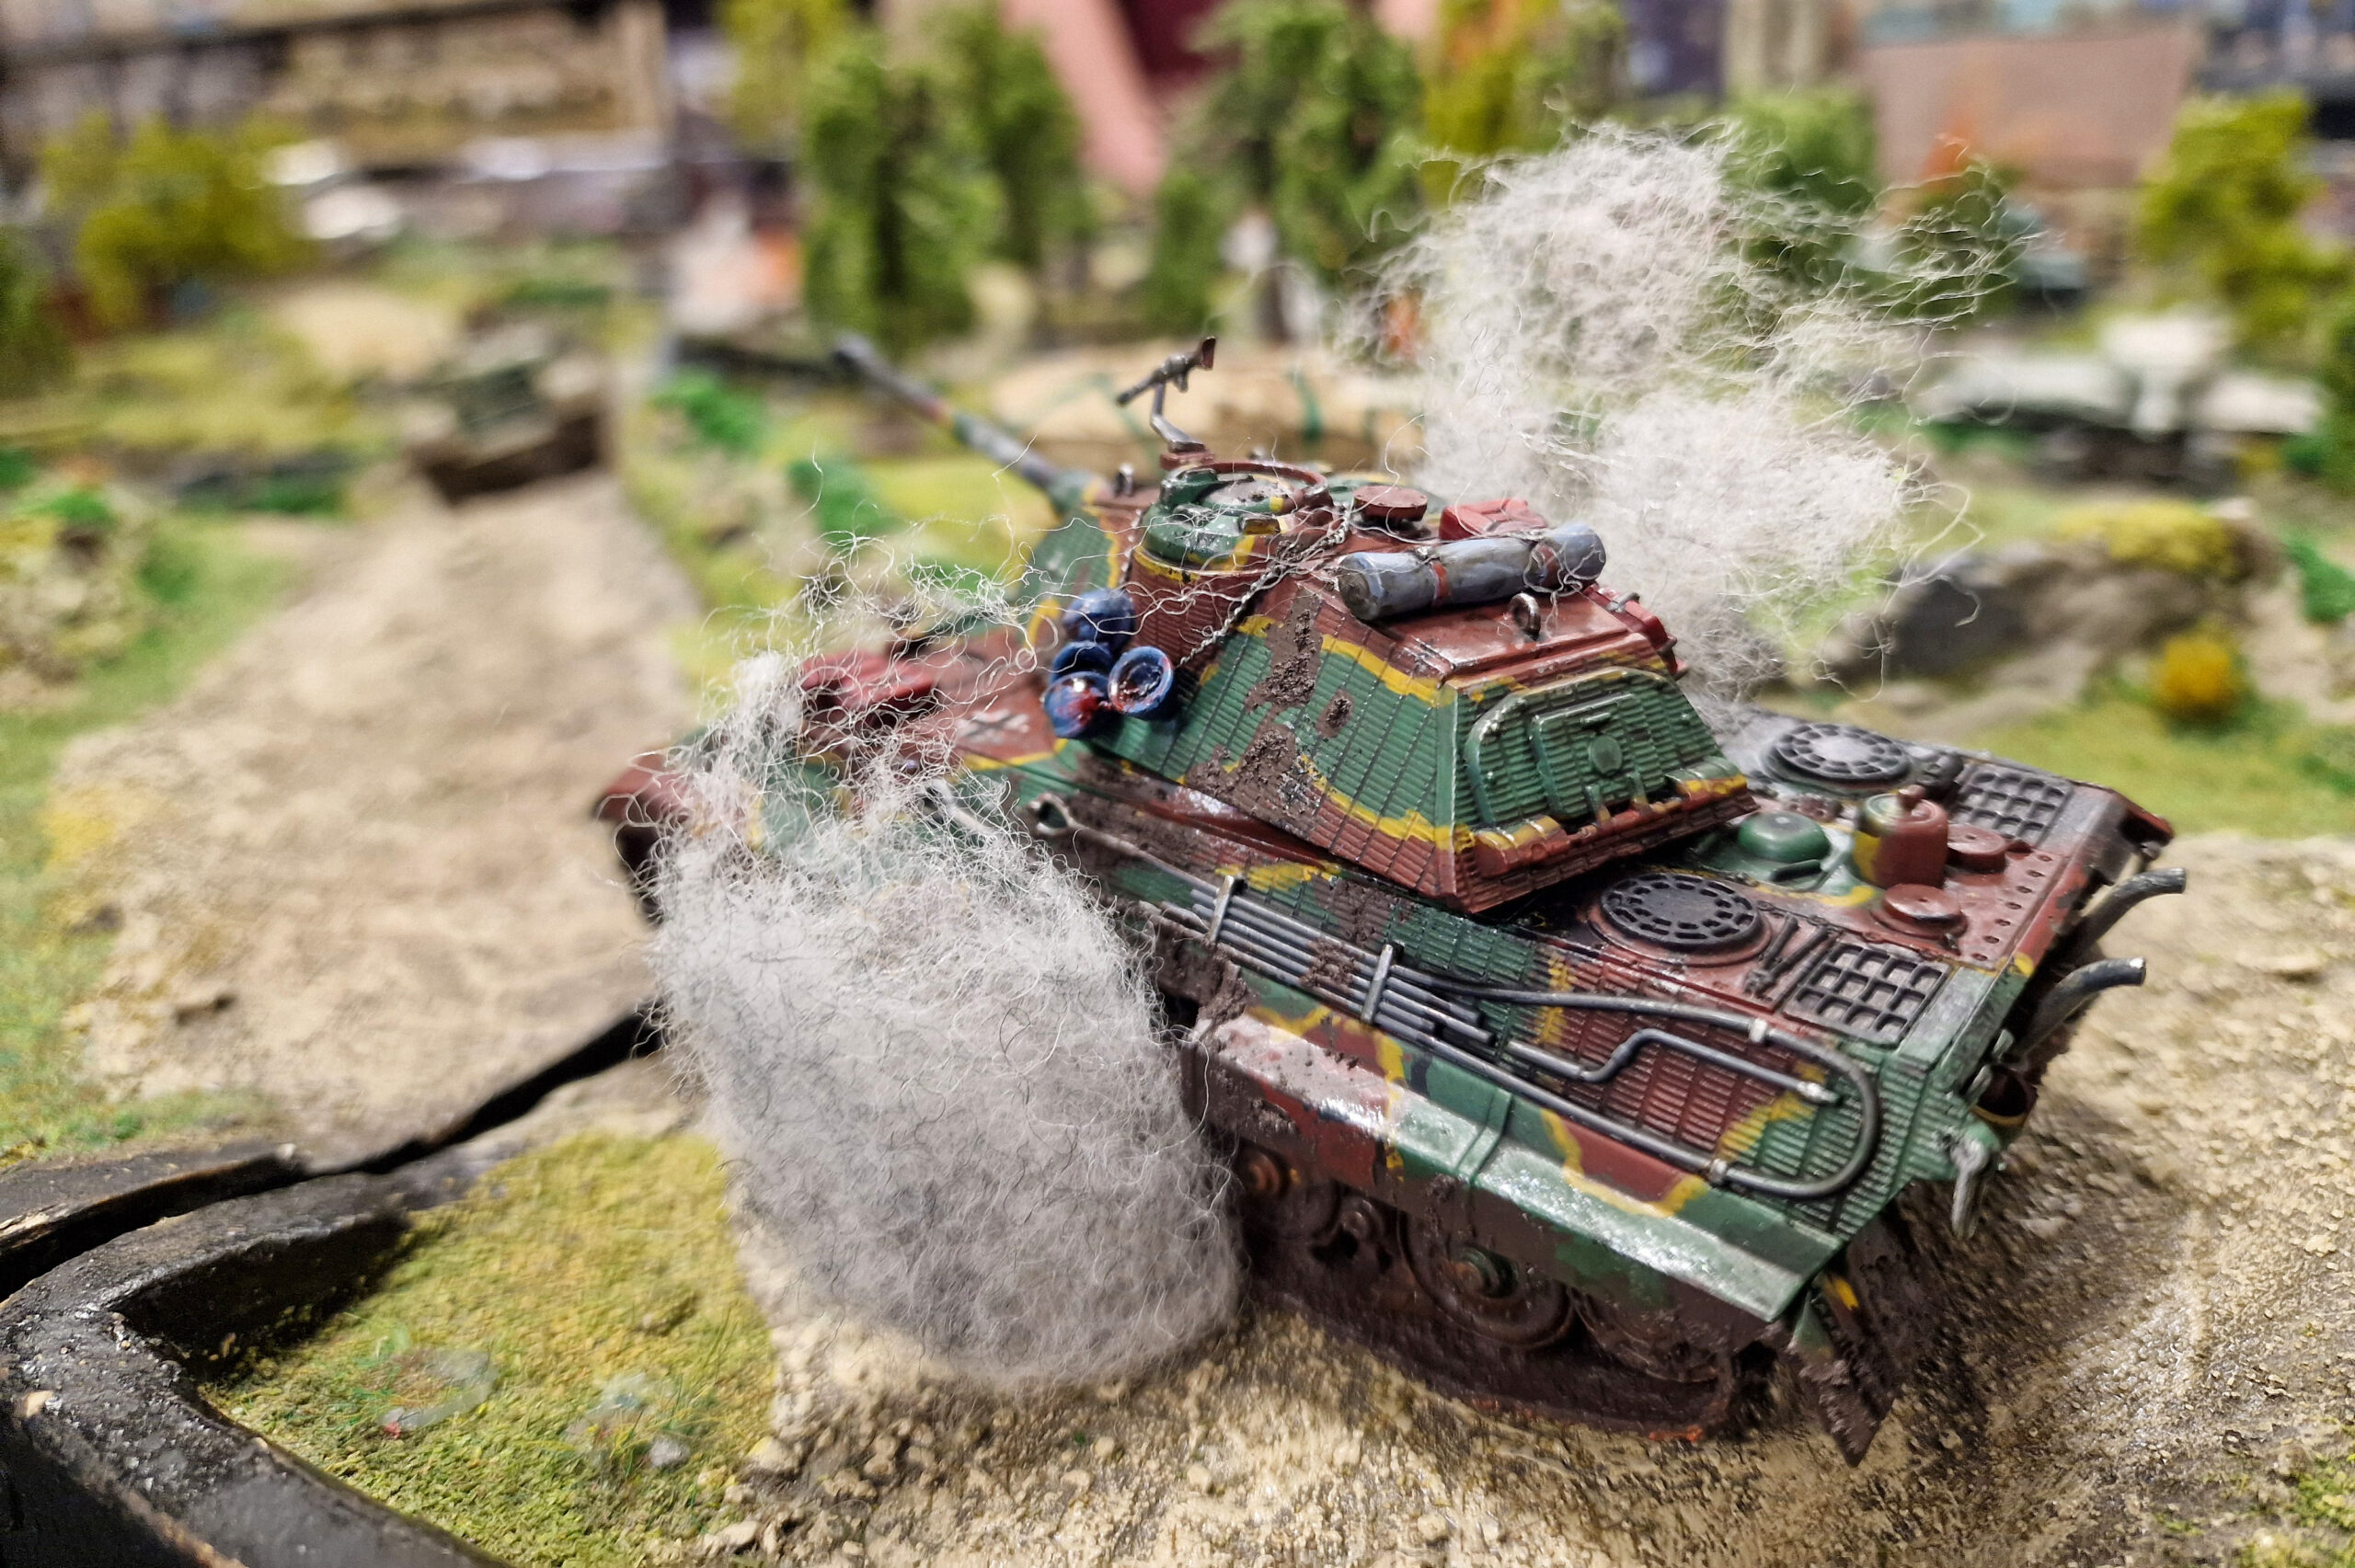
This triumph was short-lived, however, as a well-placed shot from Melissa’s T-34 slammed into Kieran’s Hetzer, causing heavy damage – he was still in the fight, but only just, the lightly-armoured tank destroyer just about managing to keep its crew safe. Meanwhile, I was still doing my best to keep Colin’s ridiculous IS2 busy, whilst Jon’s Tiger II played a distinctly un-Tiger-II-like game of hide-and-seek with Dan’s Easy Eight and Steve’s Churchill, using the building to screen its flanks and keeping its monstrously thick frontal army facing the enemy!
The Allied advance was beginning to reach a series of bottlenecks in the middle of the board, playing into our strategy nicely – we thought! As the game timer ticked past the halfway point of our allocated 45 minutes of ‘game time’, we were tentatively hopeful, and the second half of the game started well enough. I managed to get a hit in against Colin, but against his frontal armour there was basically nothing I could do – I’d need to outmanoeuvre him somehow!
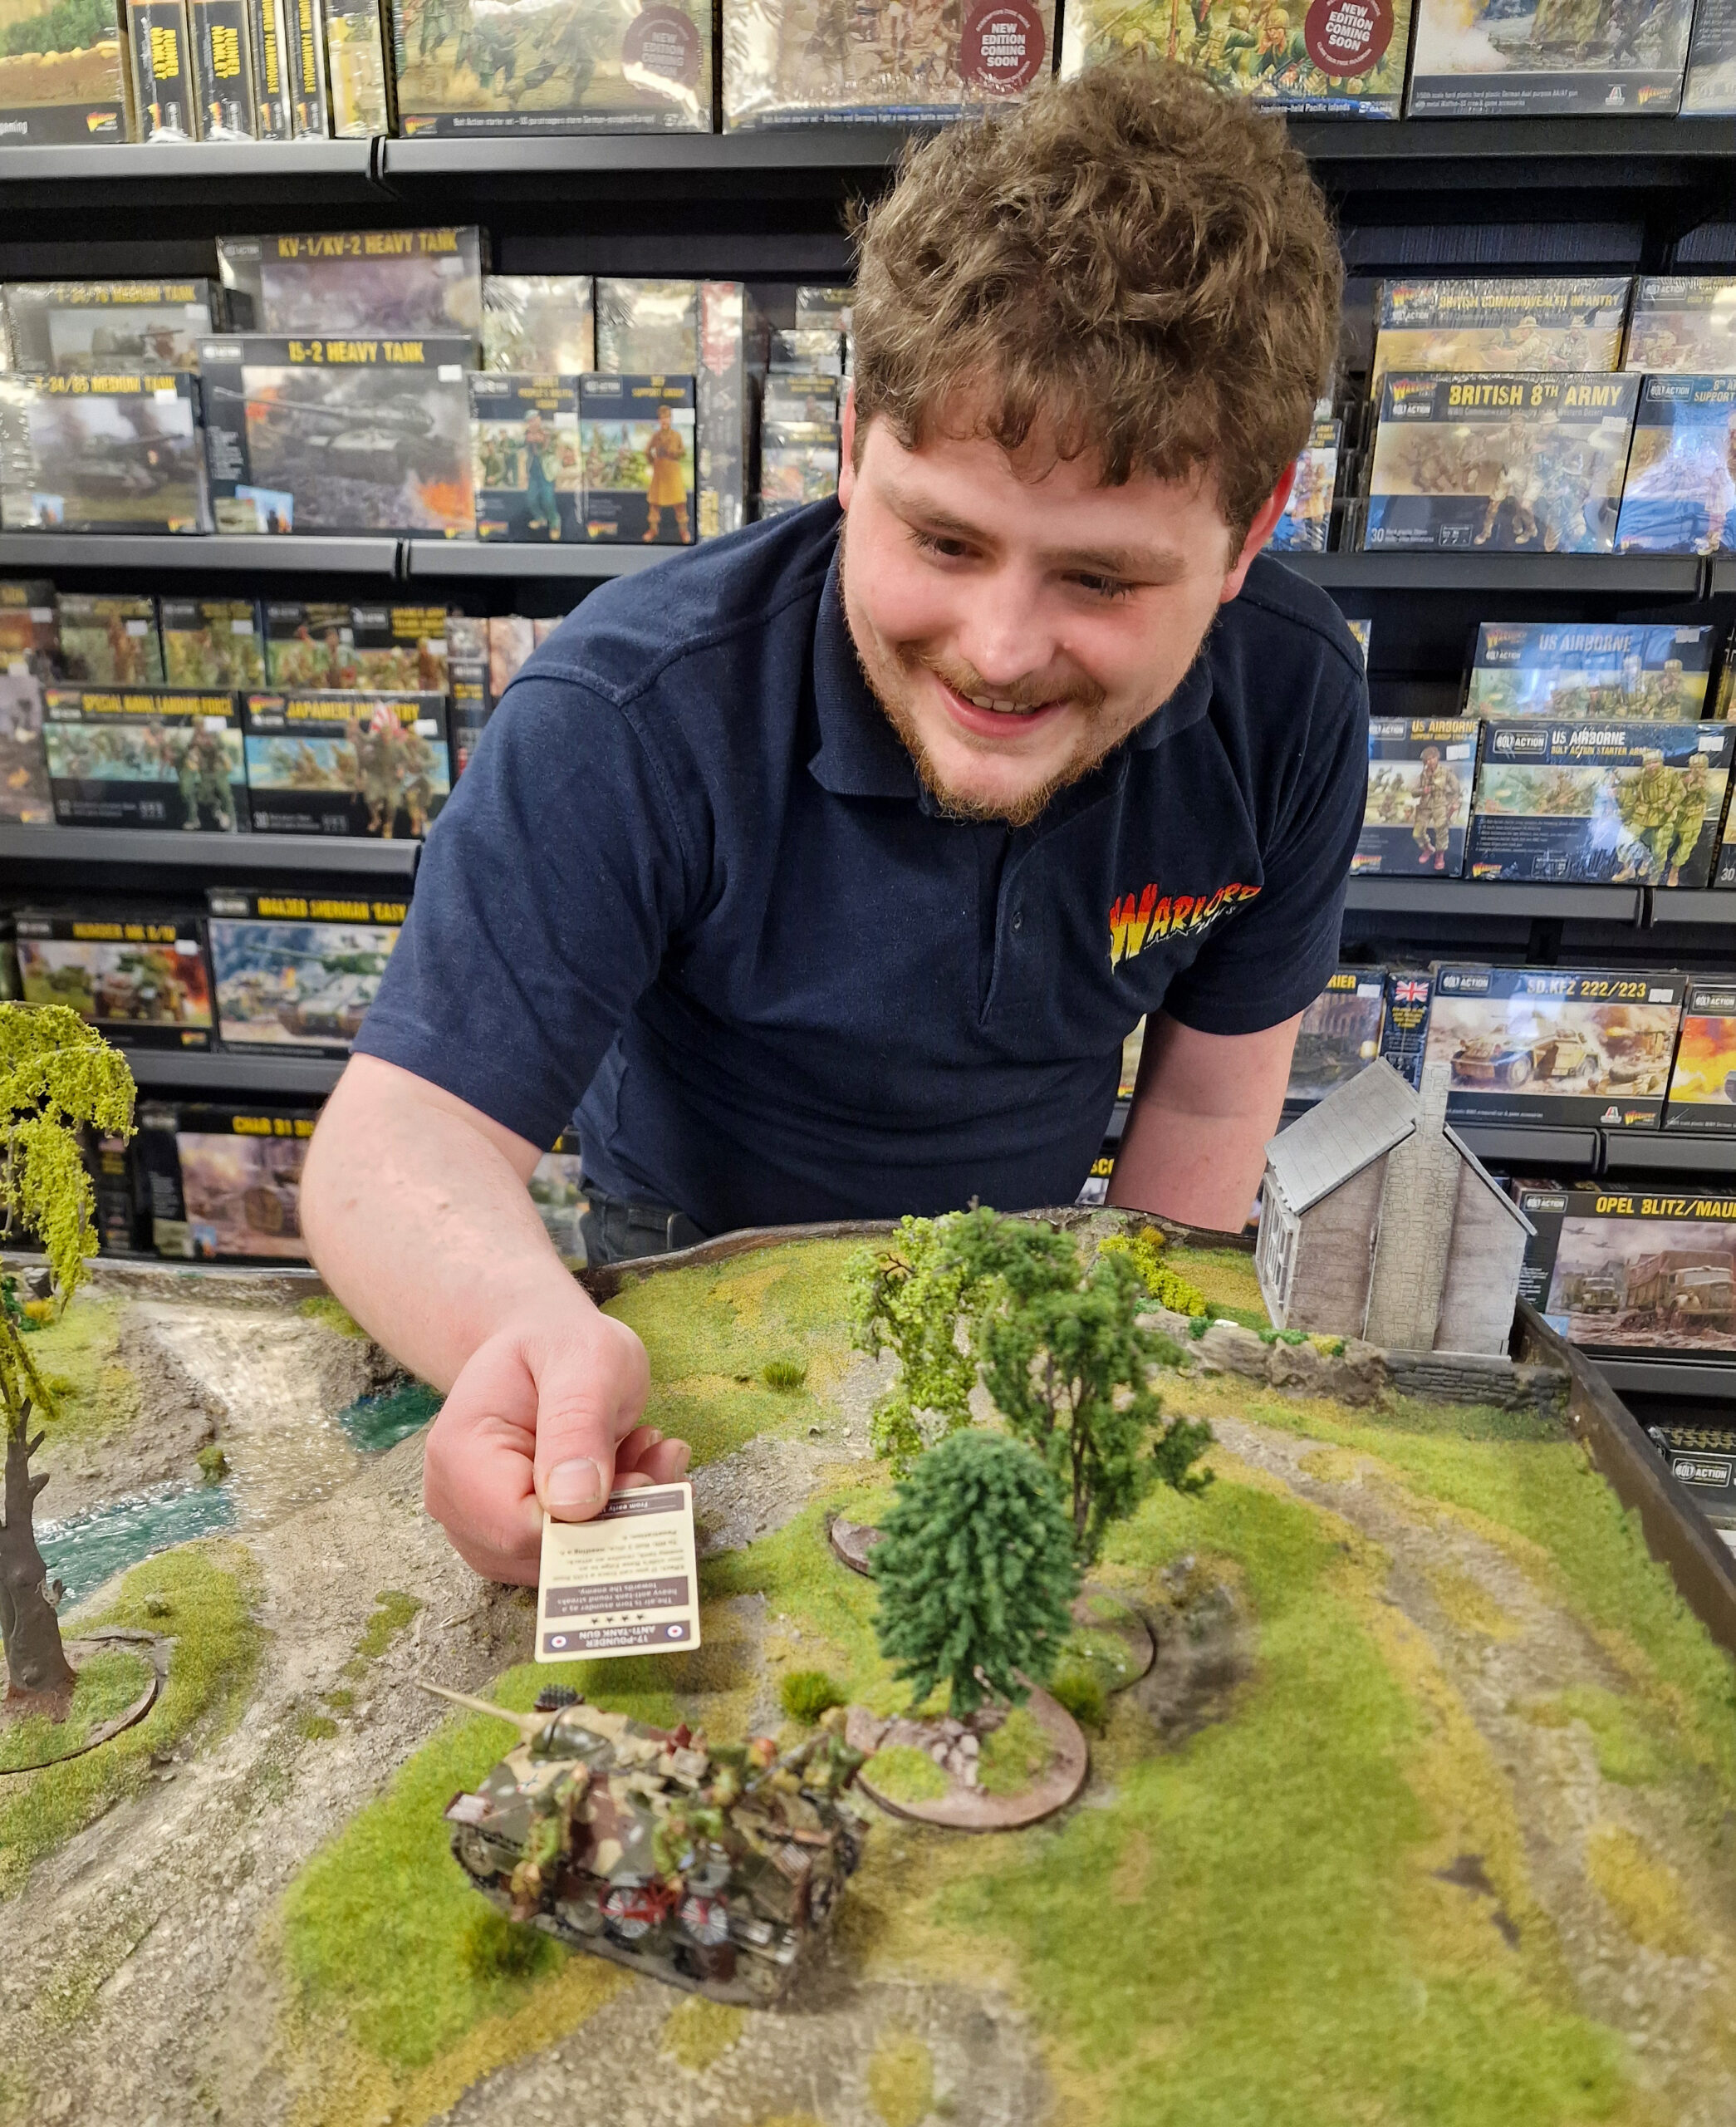
While I’d managed to keep Colin’s IS2 distracted, Melissa and Kieran were engaged in a duel to the death – both ranged in against each other and slinging high-velocity death with no thought for taking cover or evasive action. Unfortunately, the damage Kieran had already taken was starting to tell, and when the Allies deployed their Anti-Tank Gun Asset card, it didn’t need to do much at all to put Kieran’s plucky Hetzer down for good! Suddenly, I was in big trouble!
It was all starting to look a little bit grim, so I resolved to die with my boots on, and tried to order a Forced Load with my single Special round, hoping to at least finish off Melissa’s battered T-34 before my KV-1 inevitably caught a round. Unfortunately, my Crew Check roll was not what you might describe as ‘good’ – in fact, it was a complete calamity, with the Special round dropped and lost in the bowels of the turret! Thus, unarmed, unsupported (but definitely not unafraid!), the next Action Phase I found myself staring down the barrel of the IS2 and on the receiving end of a very concerning smile from Colin! Mercifully, Mr Stone made it quick, if not painless, sending me to join the pile of dead Axis players with a brutal shot through the side armour. If only I’d managed to roll that Forced Load…
Deciding that now (as opposed to last turn!) was the time to act, Jon exacted swift revenge, pummelling Melissa’s T-34 into flaming scrap. While this didn’t make my bailed-out crew feel any better, it did mean that the Allies were starting to run a bit low on tanks! Led by Steve’s slow but heavily armoured Churchill, Dan’s Easy Eight tried to find a good firing position, but suffered somewhat from the enormous lump of British steel in front of it! Dave and Jon would need to take down Colin’s IS2 – and fast – before it could bring its gun to bear.
With the game time ticking down to the last few minutes, the Allies needed to get a kill, and fast, in order to avoid the worst of all wargaming fates – a draw! If possible, taking out Jon’s Tiger II would be the best result, but given how thick its armour was, Dave’s Panther was beginning to look like the easier option! Grinding forward, Steve’s Churchill opened up on the big cats – with such poor accuracy that it was impossible to tell who the target actually was (Steve having tried a Snap Shot at Jon, and rolled double ones – presumably there was now a large hole somewhere in the French countryside!), prompting much jeering from the peanut gallery of defeated players.
With only a few minutes remaining, it became clear that the game was heading to its dramatic conclusion. Seizing the opportunity to remind everyone that he, too, was playing, Dan decided that he’d had enough of being stuck in a traffic jam behind Steve. Using his Scoot move to great effect, he managed to clear himself a good line of fire and take aim at Dave’s Panther. Not wanting to risk a Snap Shot, he’d have to weather some serious incoming fire before he could put a round downrange – the game hung in the balance!
Meanwhile, Colin had managed to get a bead on the Tiger II, and Jon had returned the favour – after weeks of banter, it was finally time for the big guns to put their money where their mouths were! Steve attempted to crash this party, walloping another shot with far better accuracy than before at Jon, but the massive beast simply shrugged off the impact – at this point Steve may have uttered a bad word or two! A shot from Colin caused heavy damage to the Tiger II’s running gear, while Jon’s reply ricocheted from the IS2’s glacis. With both ranged in on each other, the next (and final) turn was going to be a true test of survivability versus firepower!
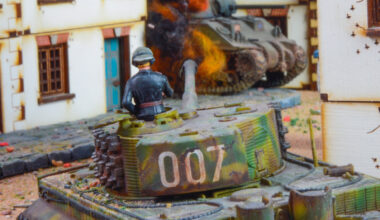
As the last turn began, Dan managed to get the first activation out of the bag. Wasting no time whatsoever, he lined up on Dave’s Panther. Needing a kill to lock down an Allied win, he went for his patented ‘no look’ dice roll – or at least, that’s what he claims! We think he was too scared to look at the result! Fortunately for him, and the Allies, his technique worked, and the Panther was reduced to a blazing wreck with Dan’s first (and only) shot of the game – talk about clutch! Colin and Steve tried to finish the job, hammering rounds into the Tiger II, but despite the battering the big cat simply refused to die! Knowing one more good hit would finish him off, Jon knew his only hope was for the game to finish at the end of the turn – mercifully for him, the timer ran down, and that was that!
With only one Axis tank left alive (‘in the fight’ being too strong a term for the barely-functioning Tiger II), and the Allies firmly in control of the board, it was a pretty clear win for Colin and the gang, who politely refrained from too much gloating until the defeated Axis players had left the room. Despite the result (a very close Allied win), a fantastic time was had by all! This of course means that at some point… we’ll have to do it all over again!
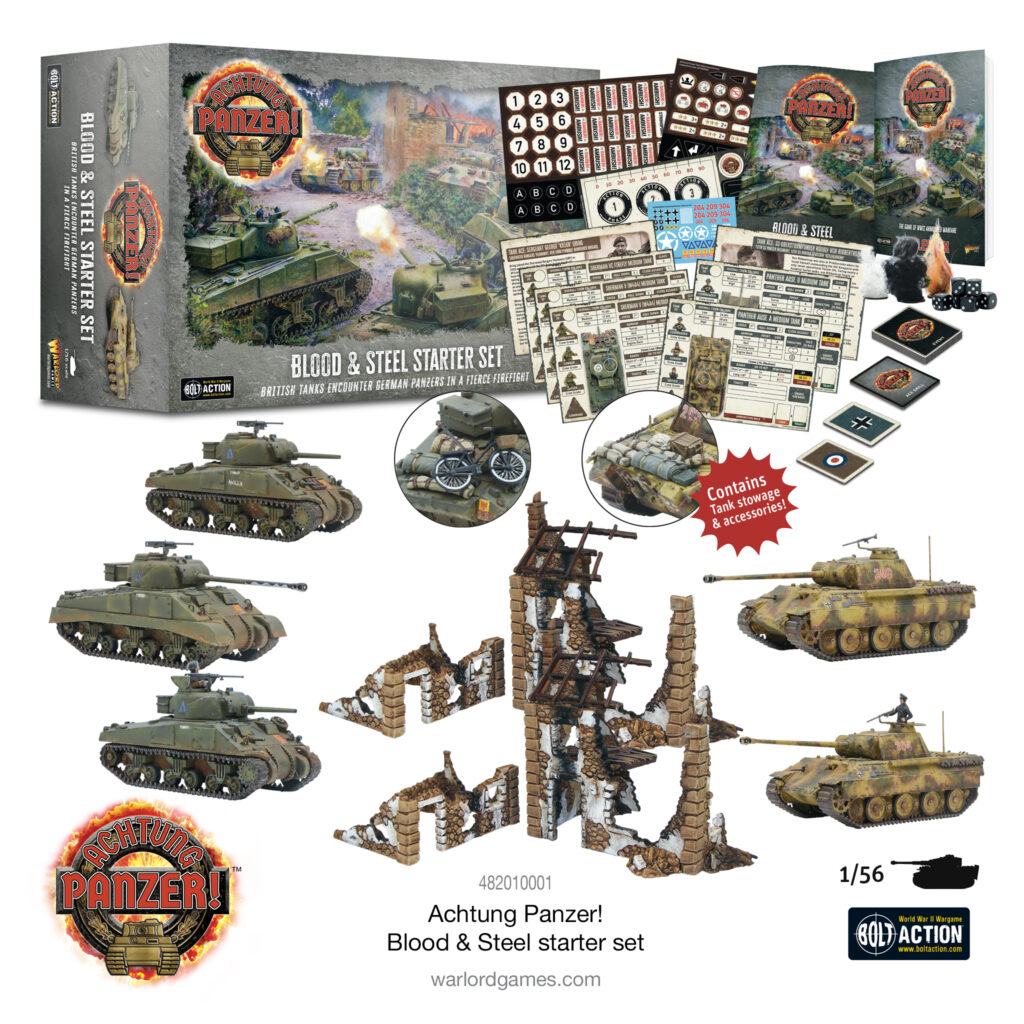
Blood & Steel!
Command a platoon of armoured vehicles on the battlefields of World War II in Achtung Panzer!
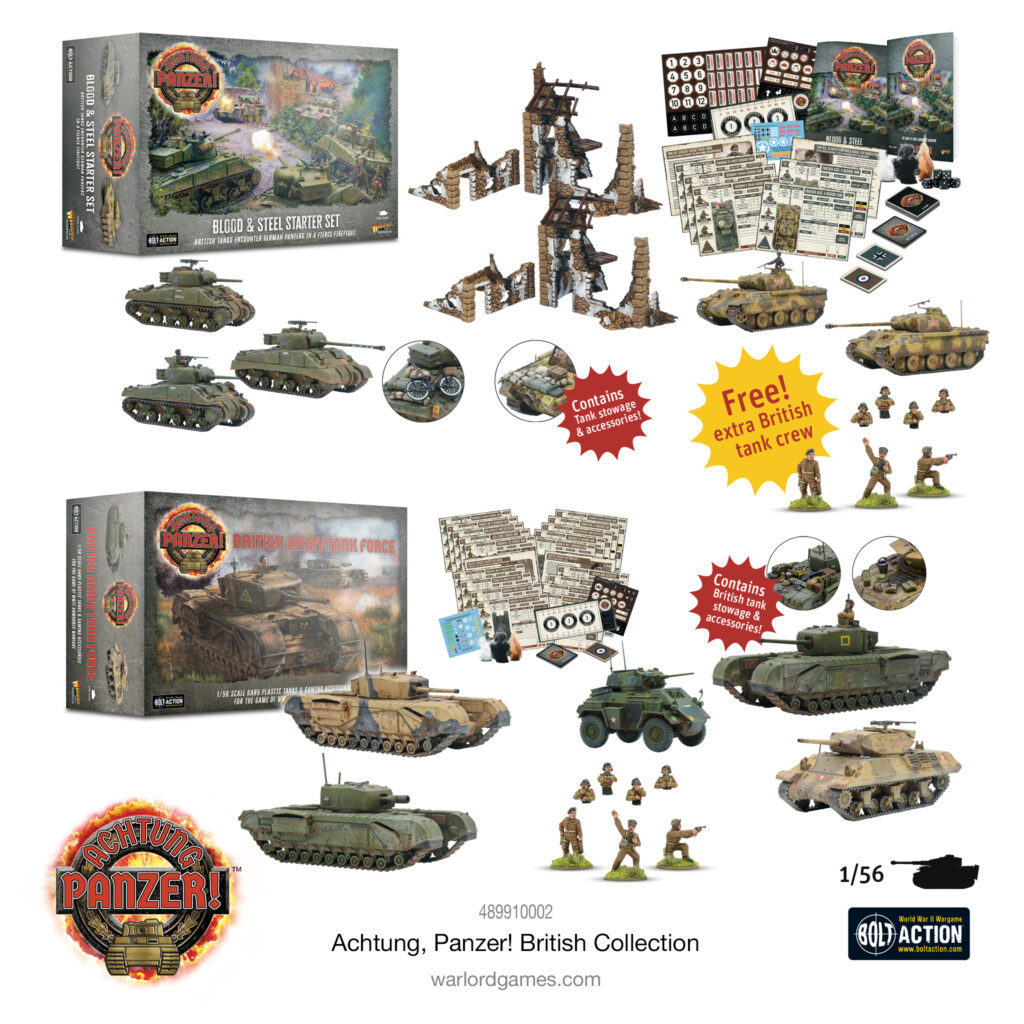
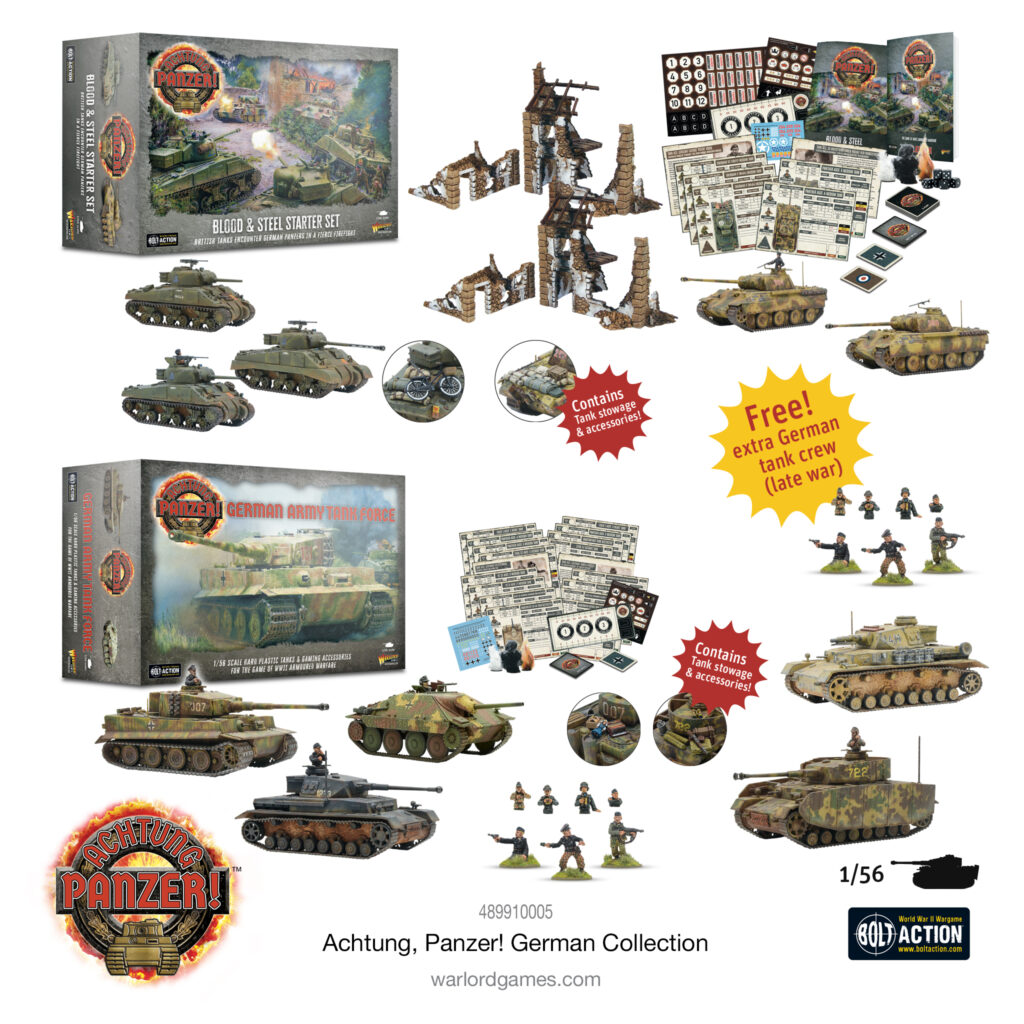
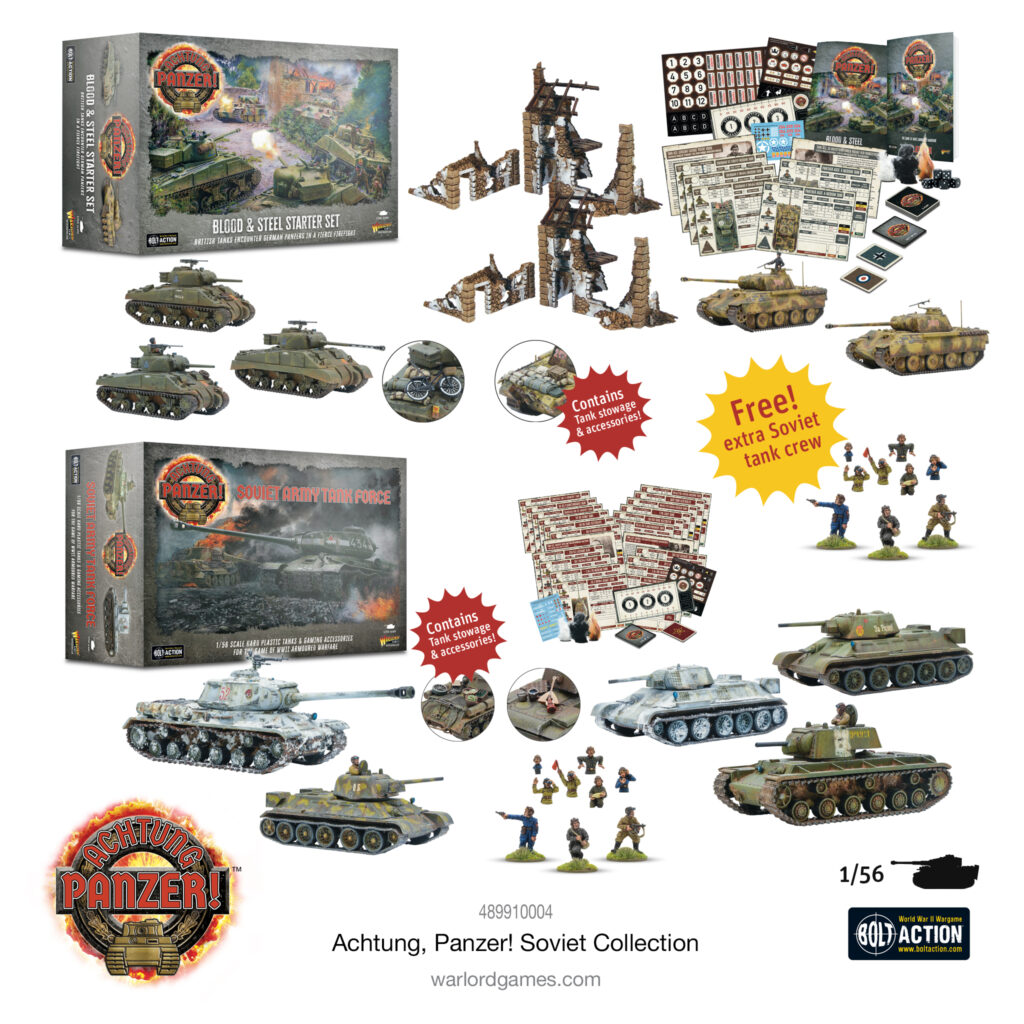
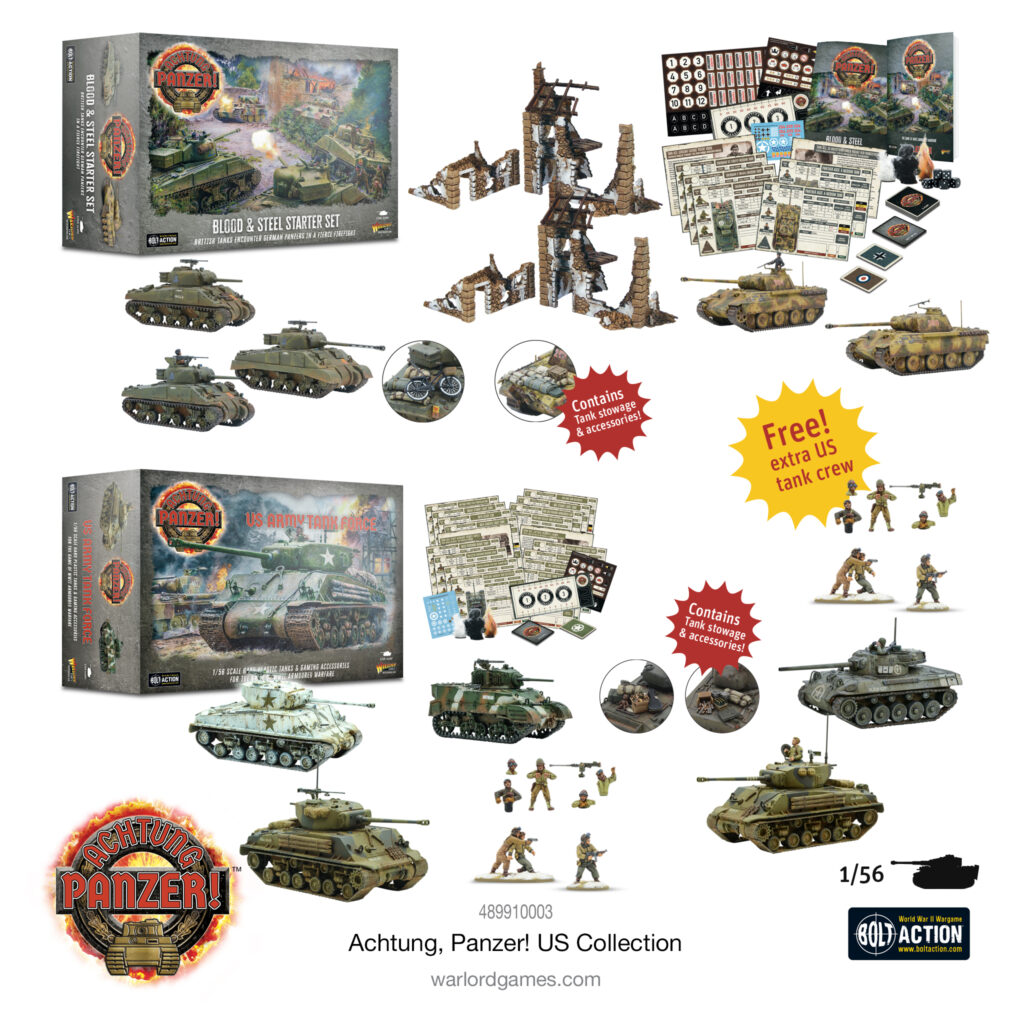
The Blood & Steel starter set contains highly detailed plastic tanks for British and German forces, plastic ruined scenery and a host of event and asset cards add further atmosphere and jeopardy to your games. The rulebook explains how to recruit your crew, select your tanks, assault guns or armoured cars and introduces a campaign system that allows your crew to progress after each encounter and your tanks to be upgraded to be more effective in the next battle.
Missions are close-quarter engagements between opposing armoured vehicles on battlefields dominated by buildings, ruins, woods and other terrain – battles are close and deadly firefights!
The player who best exploits the strengths of their tanks and crews, who plans their movement carefully and uses the terrain to their advantage will prevail – will your tactical prowess and the fighting aptitude of your tank crews win the day?
Kickstart your Achtung Panzer! campaigns with a money-saving national collection, which arms you with a starter set, a tank force and an additional tank crew pack for added customisation. Or opt for the All-In Launch Collection and have all four of the nations initially represented in the game under your command!