It’s been all systems go at Warlord HQ as staff set to churning out tanks left, right, and centre in preparation for the launch of Achtung Panzer!, and the inaugural staff-on-staff mega-game. We’ve seen some great work so far, and now it’s time for Pete Gosling, Head of Marketing, to bring the might of the US Army to the tabletop with his M10 tank destroyer. Take it away, Pete!
Pete: After seeing a preview of the game, I was really keen to get involved in playing Achtung Panzer! I’d painted some British Shermans and Churchills before, so thought I’d add to my Allied forces and do something American. With such a wide range of options, it was a little hard to choose what to field at first, but I figured that in a game all about tanks, why not bring a tank destroyer – hopefully it can do what the name suggests! With that, I decided on the M10 ‘Wolverine’!
Assembly:

Having rushed through kits in the past and suffered for it, I’ve started reading the instructions before I begin, to get an idea of the stages of assembly. This is important as there may be some parts that shouldn’t be glued, or, if the kit makes multiple variants, there may be optional parts to be aware of – I’ve made mistakes with all of these in the past! I always have a look over the sprues before I start as well, As this helps with identifying parts during assembly. Grey plastic components in real life can look different to the illustrations!
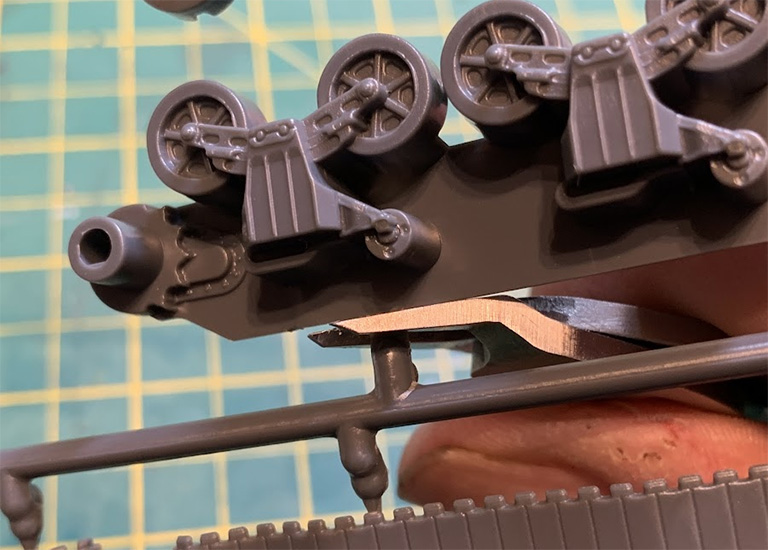
Flat-sided clippers (sometimes called ‘sidecutters’) are absolutely essential to get a nice close cut next to the part, which minimises cleanup later on. I only clip out the parts as I need them, as I’ve lost too many parts to the cruel and uncaring carpet gods by not doing this in my early days of building model kits! Once they’re clipped out, I clean up where the connection to the sprue was using a hobby knife or file. Another tip I was given many years ago which has helped me out no end is to ‘dry fit’ the parts. This is simply placing the two components together and checking that they fit as intended before gluing. Some parts have locator pins to ensure that they are in the right place and are also useful as gluing points to hold the parts together, while others require you to reference the instructions and ‘eyeball’ that they’re in the correct position – thankfully, there aren’t many of these!

The tank tracks all need to connect with each other so that they form a complete loop. The kit would look odd if there was a gap, unless of course you’re going for that ‘battle-damaged’ look! The best way to do this is to get all the parts ready and cleaned up to test fit before applying any glue.
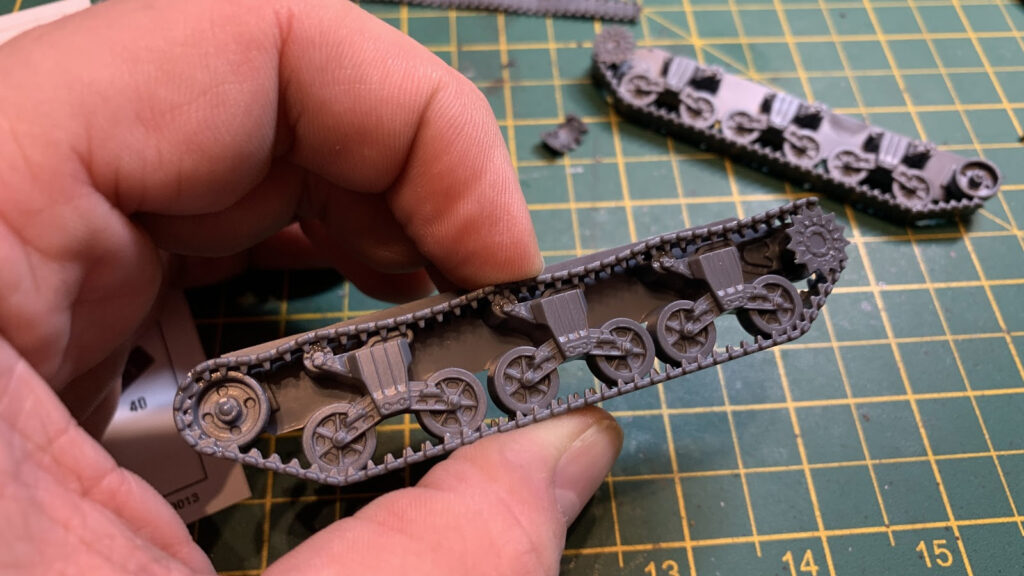
The top track didn’t quite sit on the wheels so needed to be held down while the glue dried. This is especially important on this kit as the designer sculpted the tracks to sag in between the wheels, giving a sense of weight. It’s always worth taking a little bit of extra time on details like this, as they really add to the overall look of the finished model.
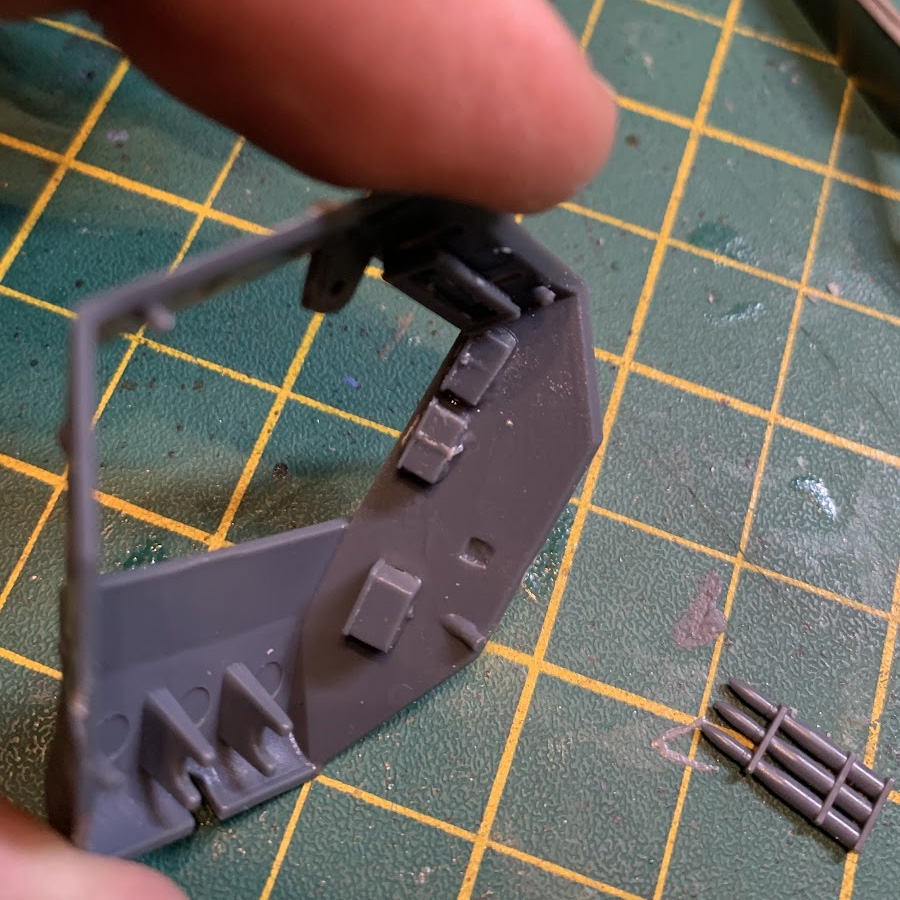
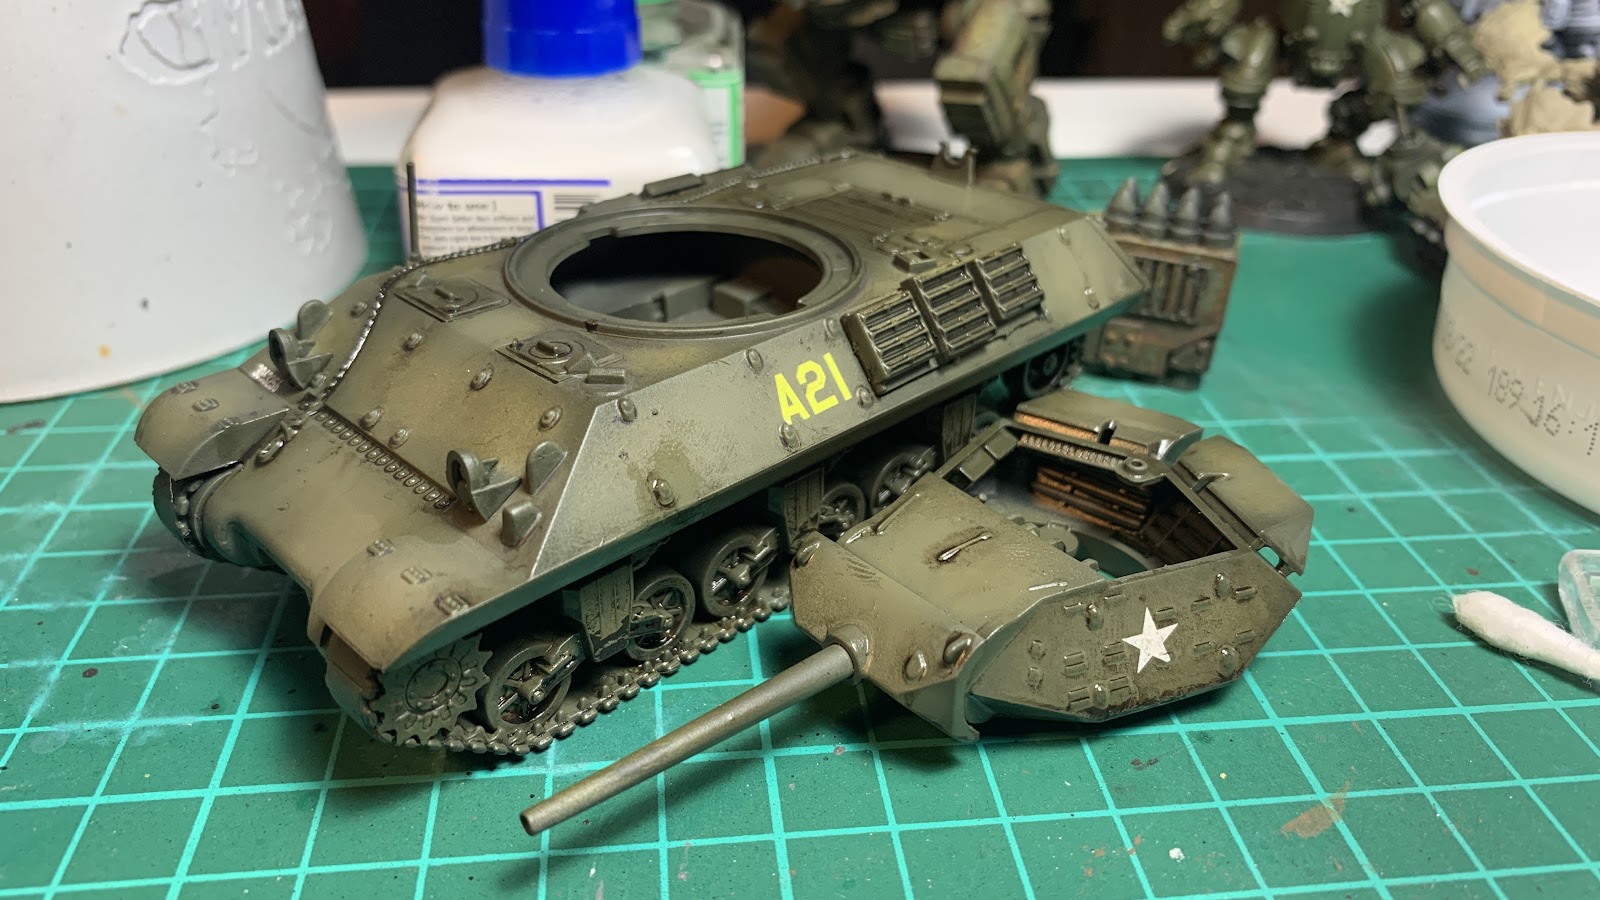
The inside of the turret has loads of great details to put in. Make sure you put the storage boxes the right way up!
Some of these small parts I found a bit tricky to see on the instructions. Here’s how these components should sit. The same goes for some of the parts in the turret. Remember to dry fit where possible before gluing – it saves a lot of heartache and sticky fingers!
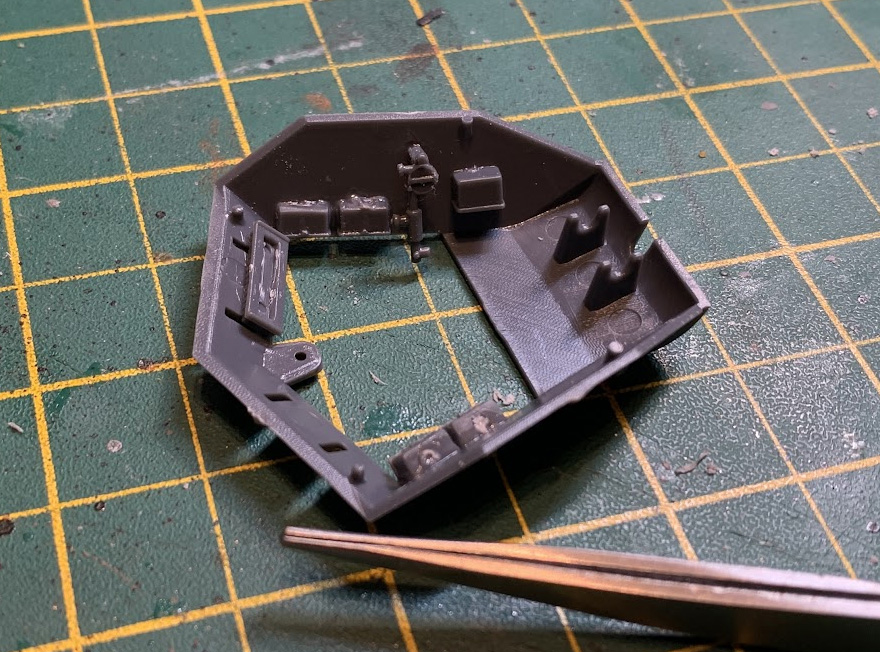
With all the internal details done the turret is ready for final assembly. Tweezers made getting some of these parts in place much easier – if you don’t already have a pair, I’d certainly recommend it!

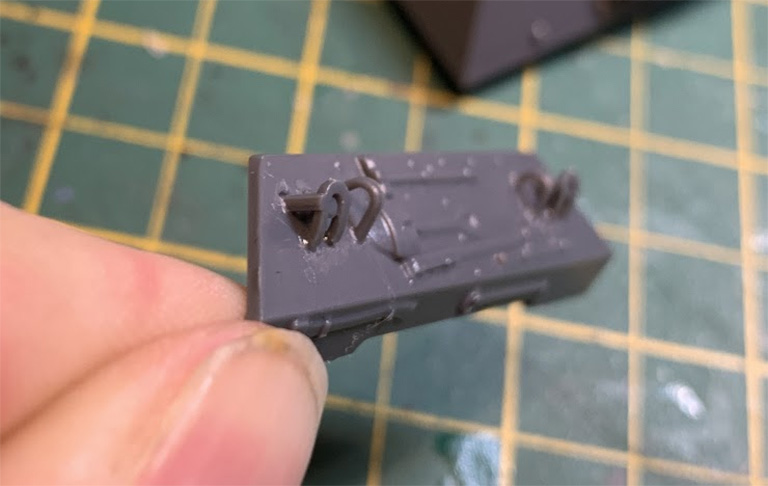
The hook on the back of the tank is quite delicate. I drilled a small hole using a pin vice (also known as a hobby drill!) so I could insert part of it and ensure that there was more contact between the hook and the hull, making the overall join more sturdy.

Despite all my preparation, I misread the instructions on this part! I put the raised transverse panel at the back, instead of where it should sit as shown above. I only realised once I’d glued it as well – typical! Thankfully, I was able to get the part separated again and position in the middle. It’s easy to make mistakes like this if you lose concentration – slow and steady wins the race when building tanks!
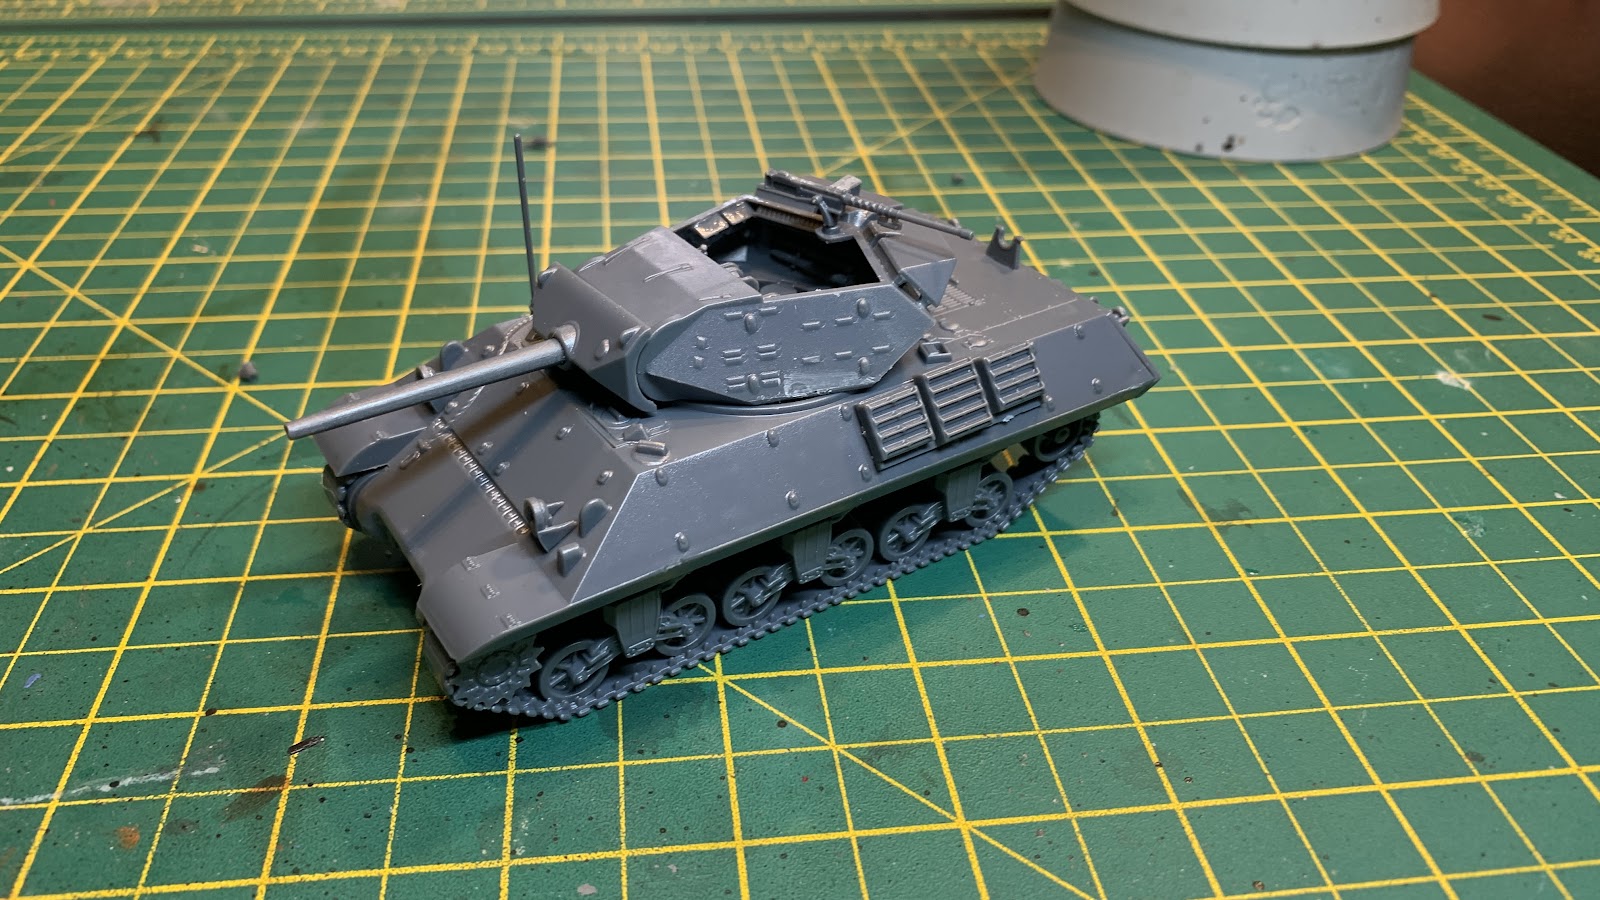
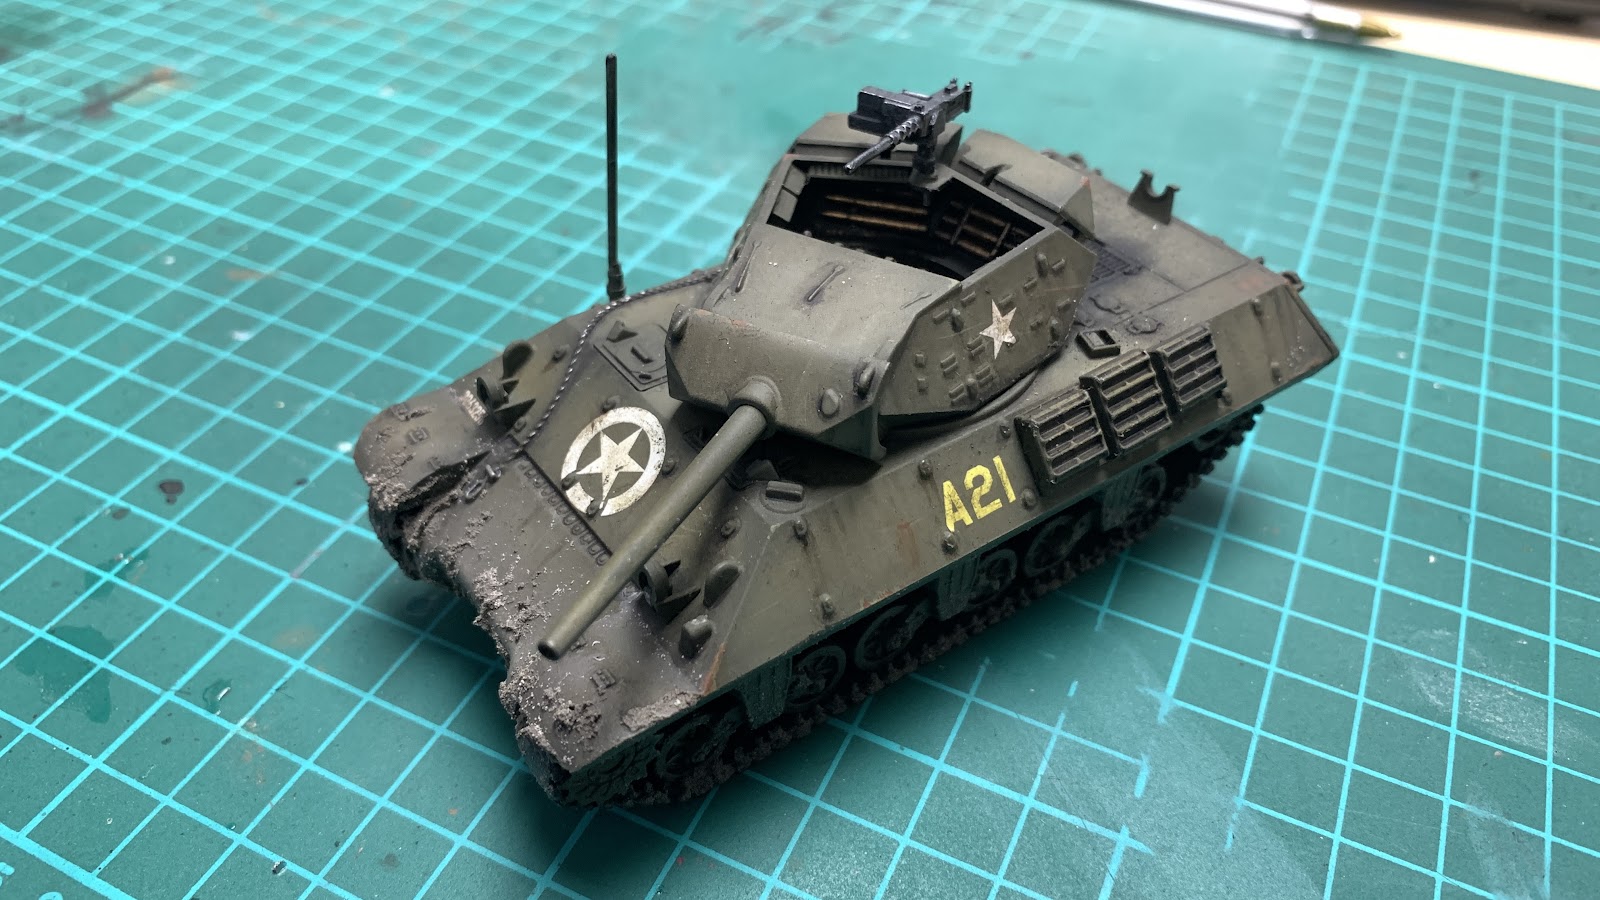
The completed M10 Wolverine! All in all, a good kit to put together. Now onto the part that I really love, painting!
Painting:
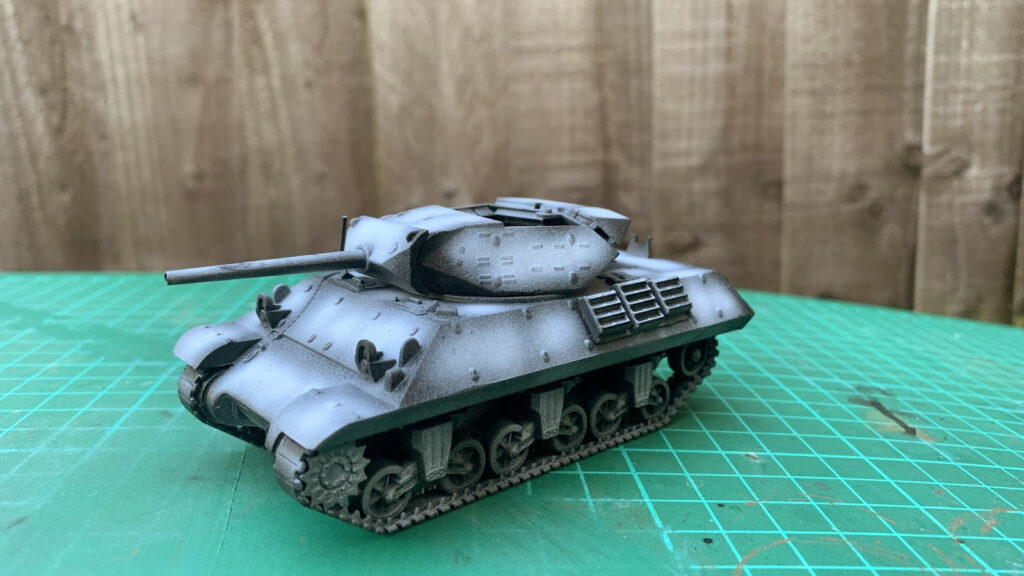
To start off, I primed the whole tank with black primer from a spray can. Once it was dry, I loaded up my airbrush with acrylic white paint, and started to ‘pre-shade’ the model. This process is basically painting the areas towards the middle of the panels and sections with a lighter colour so that there is tonal variation. This means that when I apply the base colour, I will get more areas of darker colour, which helps make it look more natural, and also helps create more ‘volume’.
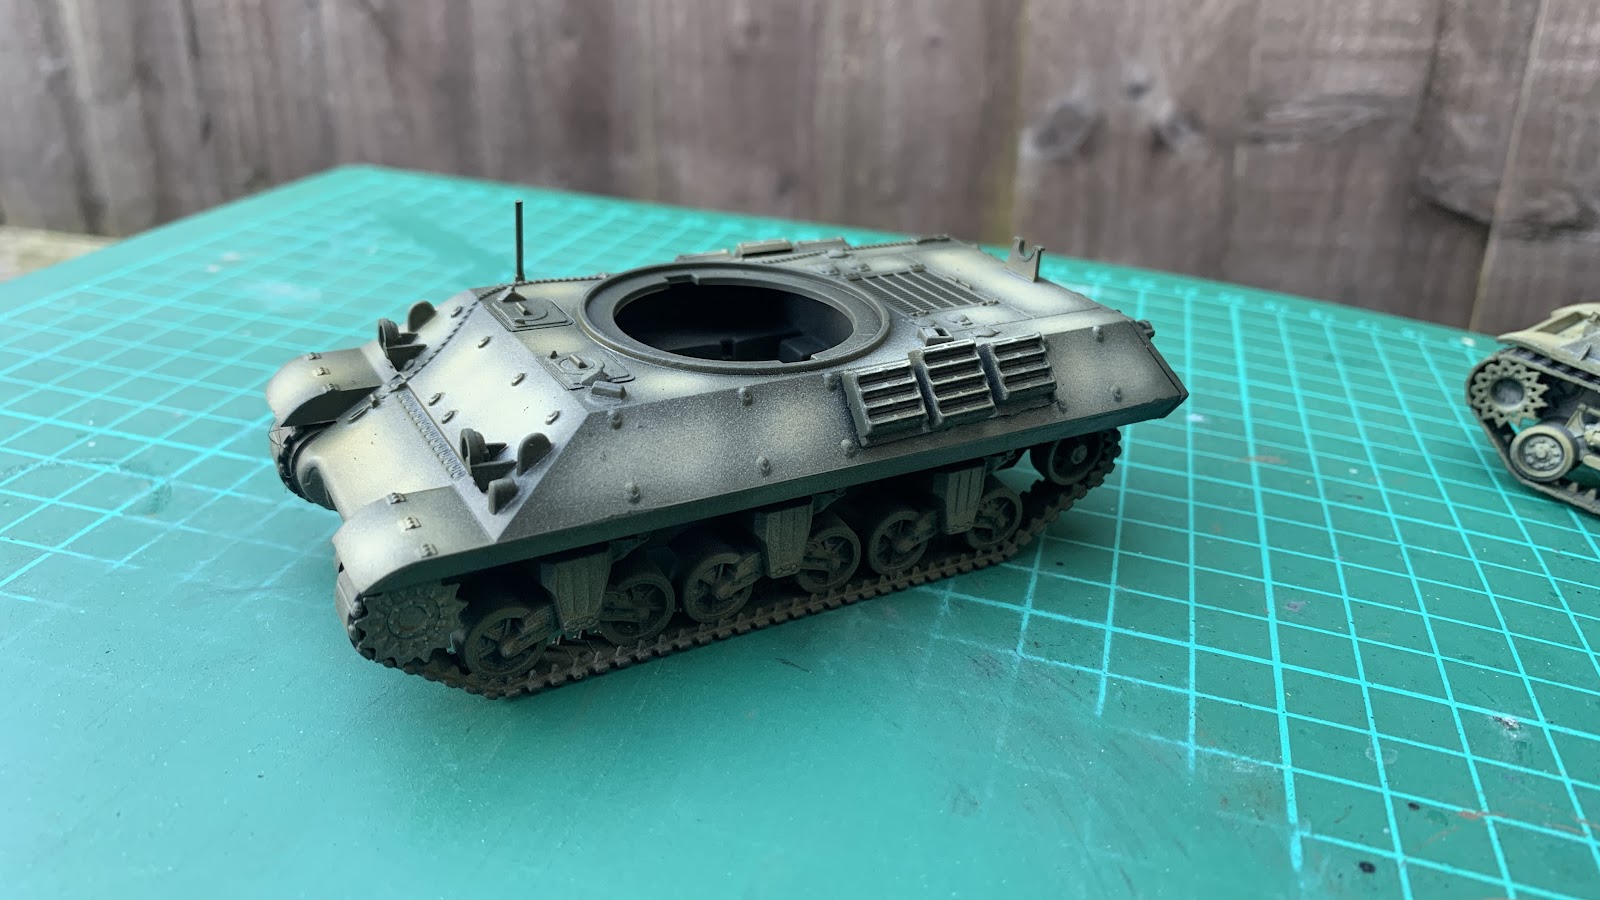
This initial coat of Olive Drab green is very thin and barely covers the black and white pre-shading. I used Vallejo Model Colour US Olive Drab thinned with Vallejo Airbrush Thinner at a ratio of 60:40.
By building up the colour slowly you get a smoother finish. Take your time, the results really are worth it!

The crucial thing for me when painting armour is the multiple thin, semi-transparent layers that build up to create coverage whilst maintaining the variation in value across the armour. As the coats are so thin, they dry really quickly so this doesn’t take too long either.
Once this is done, I mixed some Vallejo Pale Sand into the green to create a lighter shade. This was done gradually moving from a ratio of 2 parts green to 1 part sand to 2 parts sand to 1 part green. This was used to create highlights towards the centre of the panels and again to get slightly more variation in the colour whilst looking consistent. These are done in very thin, light coats so that they don’t overpower the base coat.

With the base coat laid down it was time to apply the decals. The first step in this process is to varnish the model with a gloss coat, which gives a nice flat surface for the decal to be applied to. I used a product that is popular in scale modelling, Future Floor Polish, through my airbrush for my gloss coat but you can use any gloss varnish for this.
Once the gloss coat was dry, it was time to apply the decals. I cut out the design and numbers I wanted to use from the sheet. Whilst the decals soaked in lukewarm water to release them from their backing, I applied decal softener to the area that I was going to be applying the decal to. I use Mr Mark Softer but products like Microsol or Vallejo Decal Softener work well too.
Once the decals are ready to slide off the backing paper, they are applied to the model. Using a soft paint brush, I nudge them around until they are all in the right place and are level to each other. Then, I remove any excess decal solution using an earbud (Q-Tip for our friends across the pond!) by rolling it across the surface. You need to be careful and firm. Too hard and you may damage the decal, too gentle and you may not smooth the decal out and it won’t sit flush against the model.
Once it was dry, I applied a thin coat of decal fixer. There are several brands available, but I used Mr Mark Setter. This helps to protect the decal, and is really useful to get it to conform properly to surfaces that aren’t flat.

Once everything was dry, I gave the entire model a coat of gloss varnish, ready for the weathering process! If you wanted a really ‘factory fresh’ look you could omit most of the next steps, but I like my vehicles to look well-used and battle-hardened!
For the first stage of weathering, I used thinned oil paint to create washes. Even though oil washes are worthy of an article in themselves, they are actually just as simple to use as acrylic washes. The main difference is that oil washes can be ‘reactivated’ using the same thinner as you used to make them. This means you can apply them liberally, let them dry and they clean up any areas you are unhappy with. If you’d done this with acrylics, you’d have to paint over the area again. The gloss coat of varnish stops the thinner from affecting the paint job you’ve done already, meaning that all your hard work is safe! I used Abteilung 502 oil paints which are designed for painting miniatures (as they have less linseed oil), but you can absolutely use traditional ‘artists’ oil paints – they just take longer to dry!
I applied a dark black/brown oil wash to the panel lines, and around the bolts, rivets, and stowage to help create contrast between these areas. This really brings these details out and makes them ‘pop’ compared to the flat armour plates.

I also used oils to create streaks where dirt would have accumulated and run down in the rain. These were blended using a clean brush, damp with thinners, brushed gently downwards to create the streaks. I also wanted to blend in the decals so that they looked more ‘painted on’, as they would be in real life. This was done by very subtly stippling and dry brushing the base coat green over the areas to create a painted look.

I wanted the grill to be dirty from use so I applied some Black Smoke pigment from Abteilung 502 with a brush. As I was going to be varnishing the models again, I didn’t use any pigment fixers.
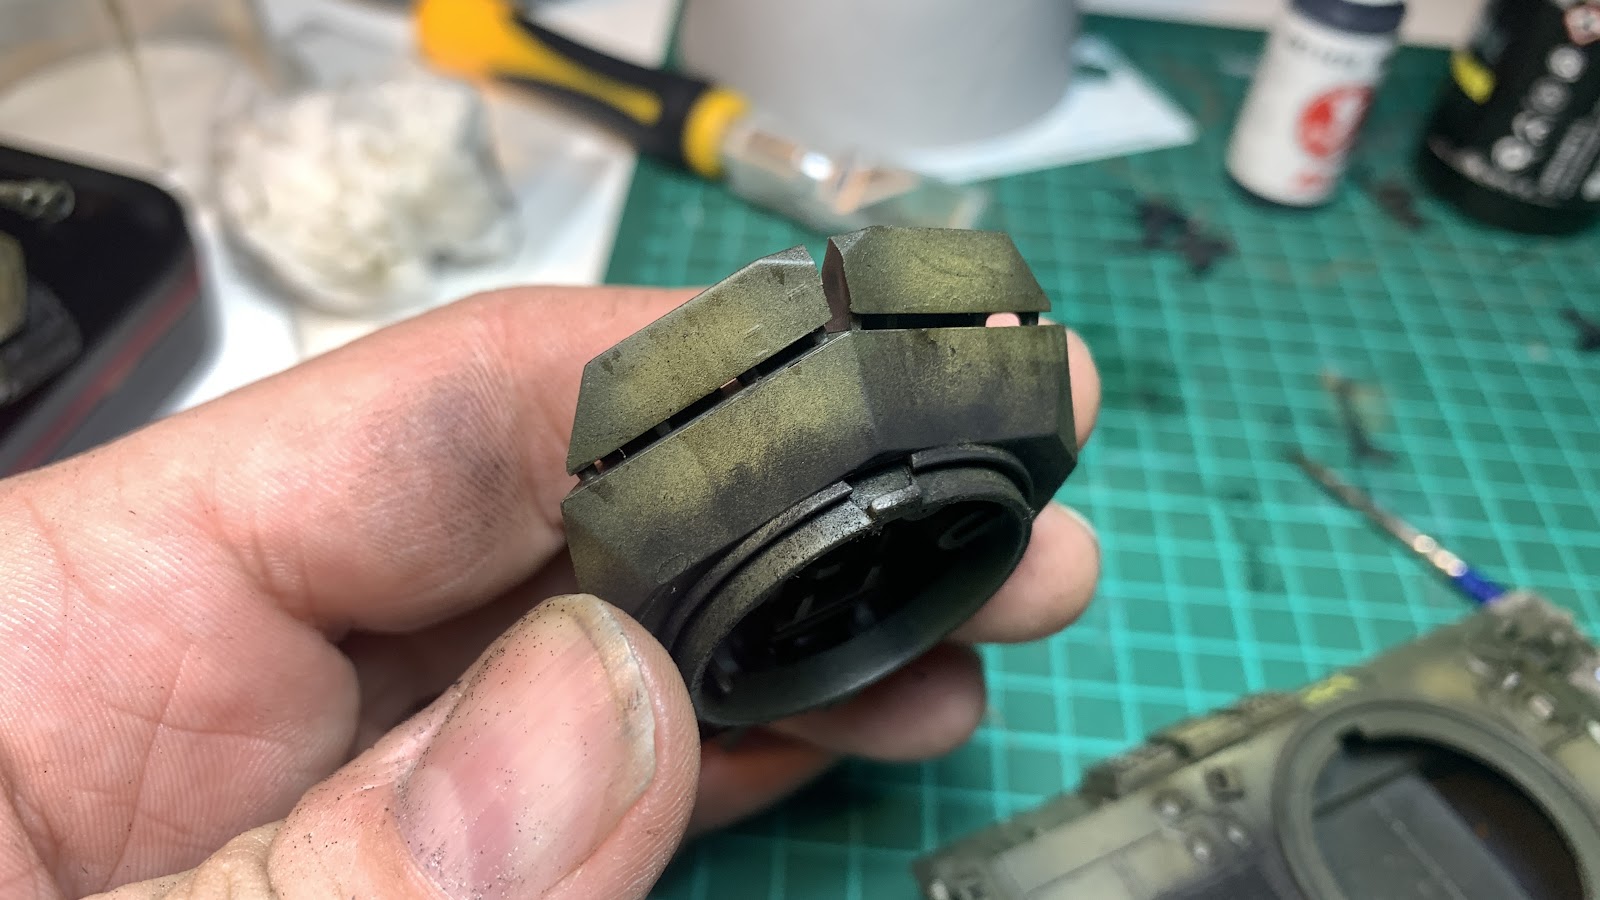
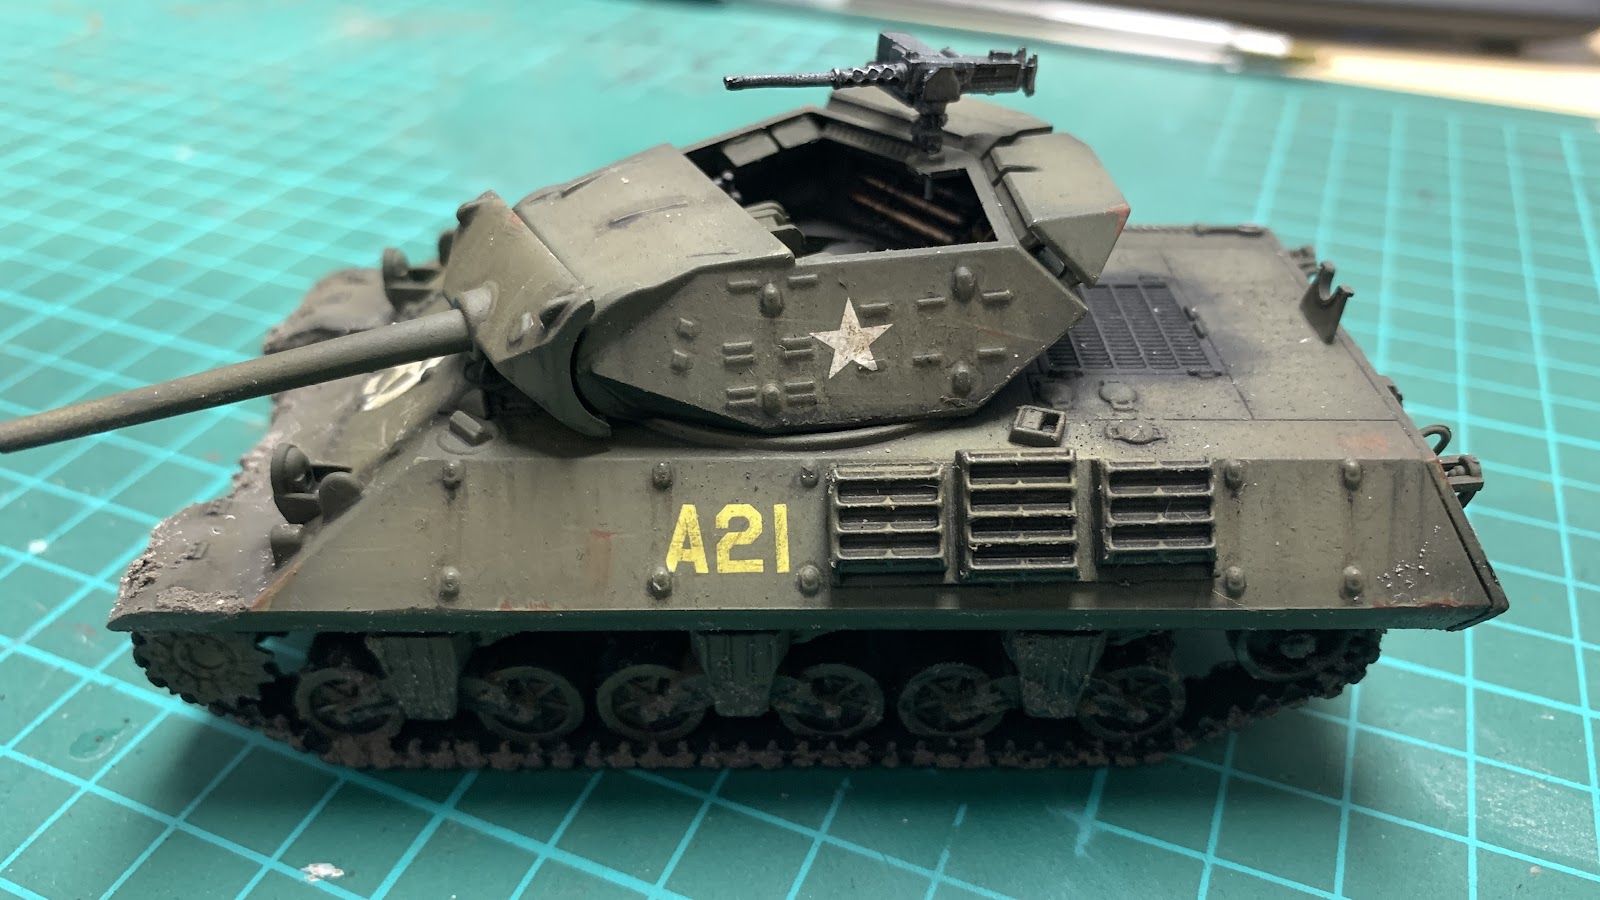
I also applied the same pigments around the turret where it overlaps the grill. You can see how all the effects mix together on the armour plate. Variation in colour, the oil washes, the dirt streaks and the engine dirt all combine to give a much more realistic appearance.
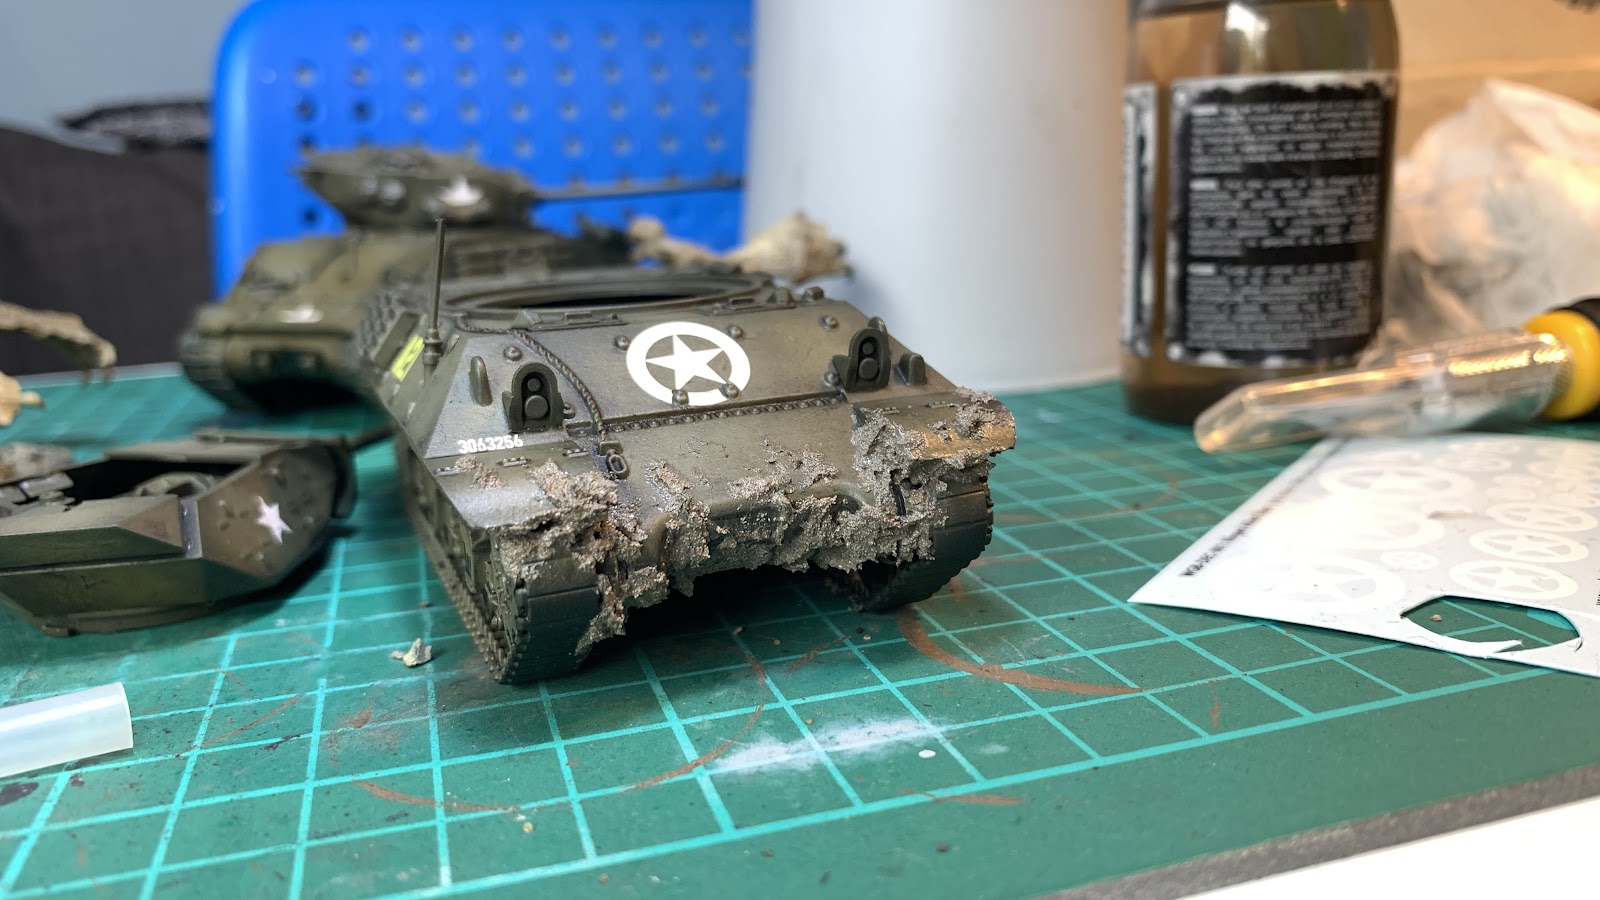
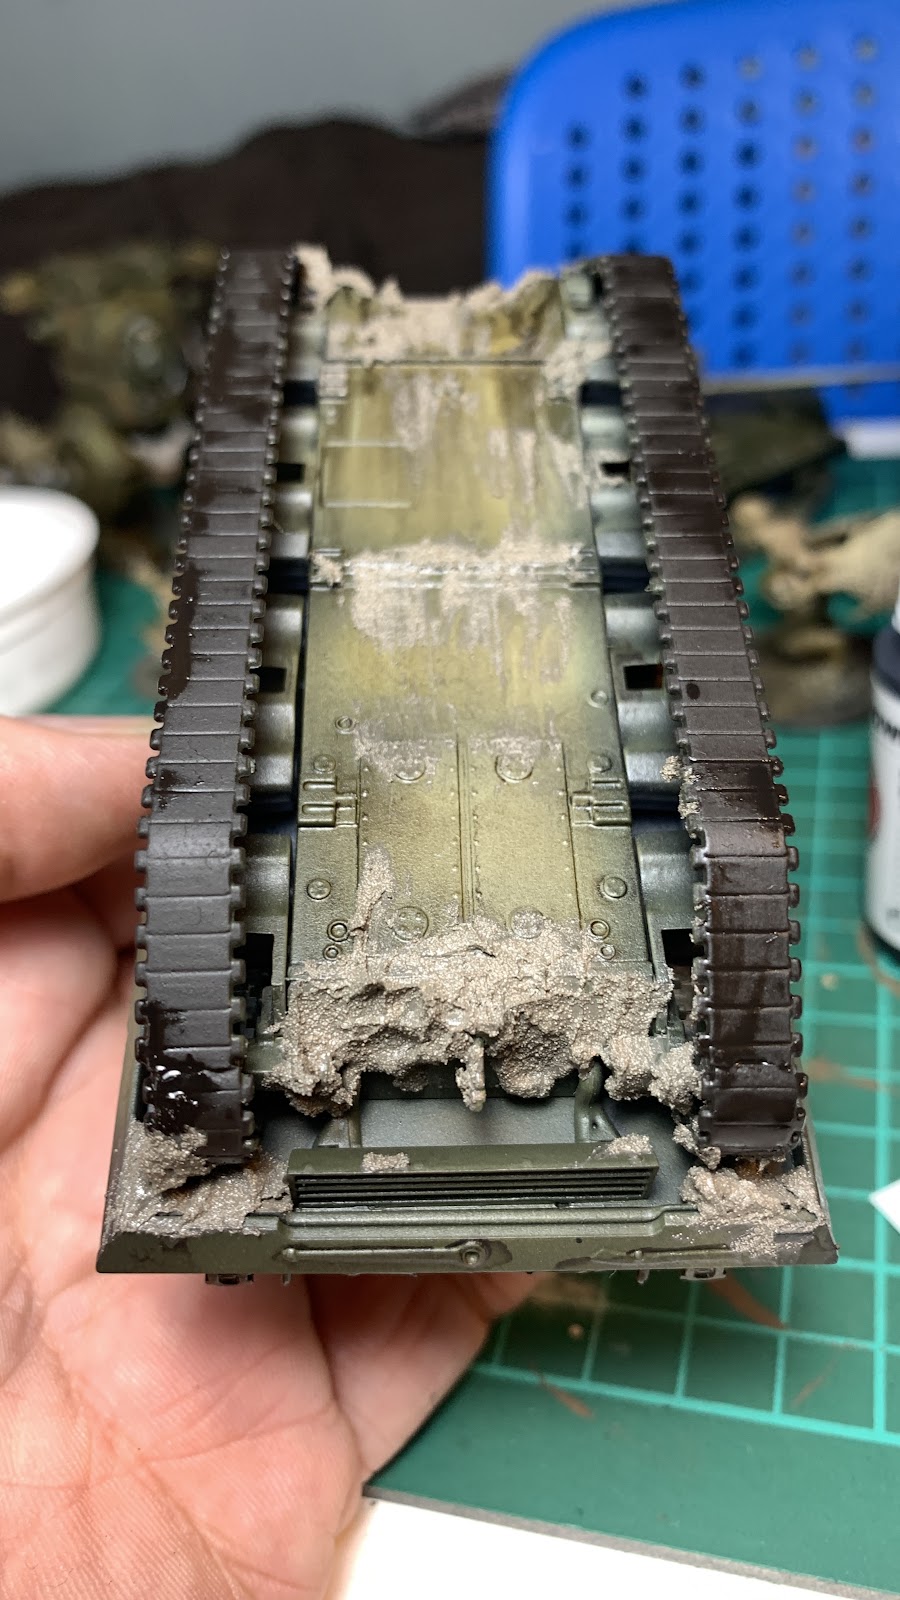
The next stage was to apply the mud! I applied Vallejo Earth Texture, using an old brush, to the areas where the tank would have come into contact with mud and where it would have accumulated. Then, with a paintbrush and some water, I smoothed it down and blended it onto the armour to make it look more ‘naturally’ accrued.
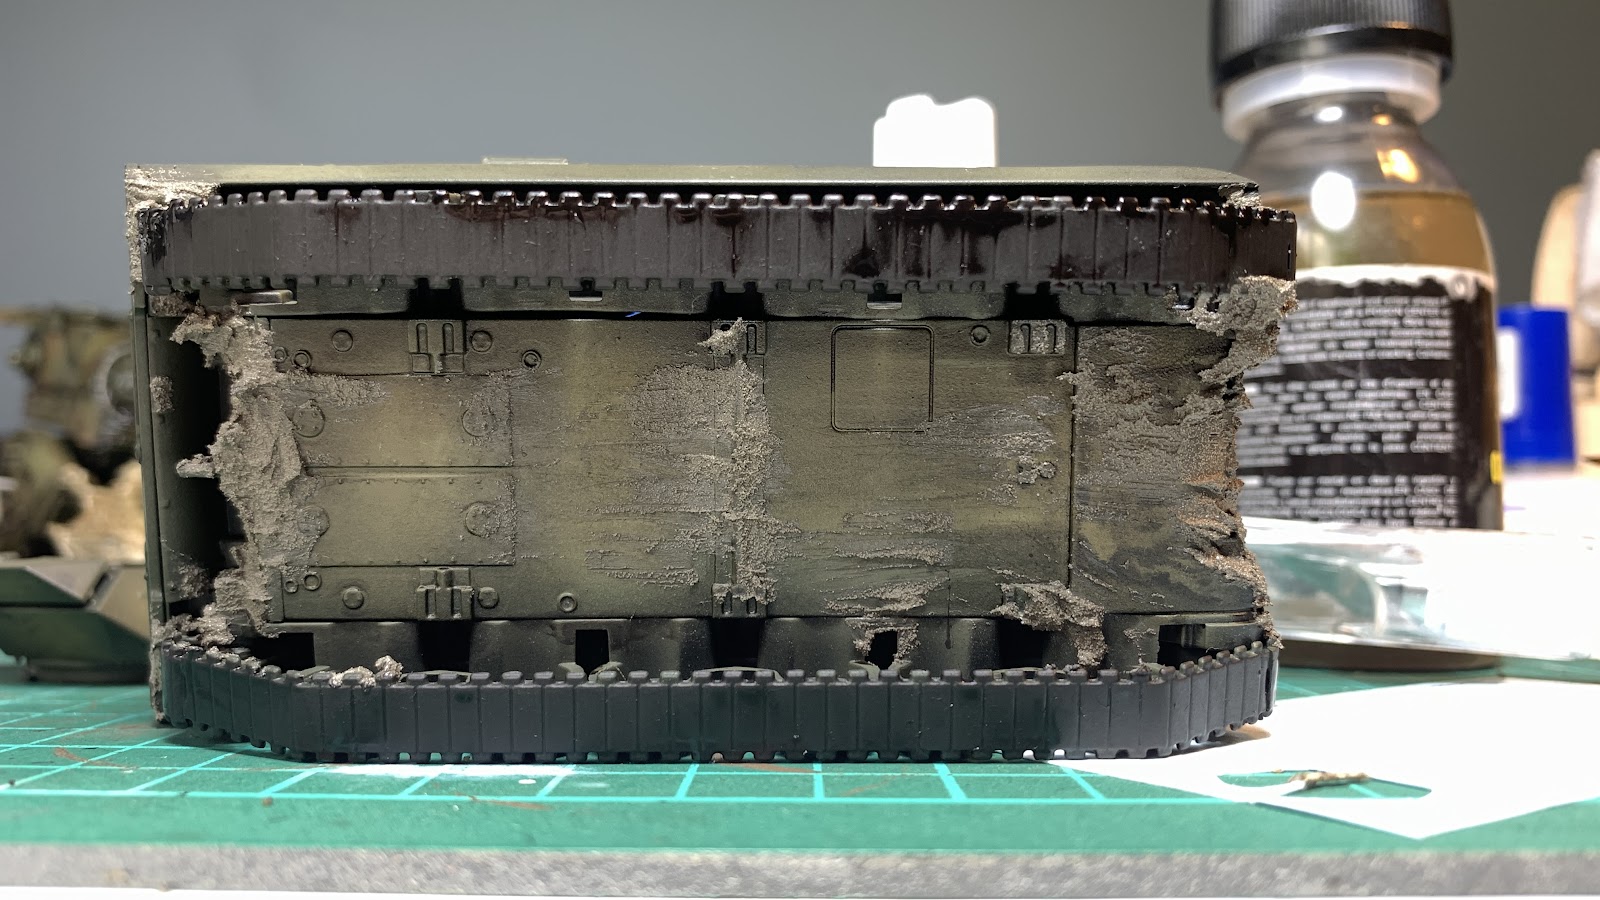
It can be tempting to ignore underneath a tank but this is a great area to practise on if you want to try something new. I wanted to show the accumulation of mud under the tank so I applied it underneath as well. You can also see where I have practised and tested the oil streaks that I used elsewhere!
With the rest of the tank mostly done, I painted the tracks black. These were then drybrushed with gunmetal – nice and simple!
The last details to pick out were some small extra bits of weathering, finishing the stowage and also painting the running lights. These had to be subtle so they didn’t draw too much attention and work with the rest of the tank.

The shells in the turret were given a coat of Vallejo Brassy Brass. This was applied in thin coats to get a bit of variation in the colour and density.
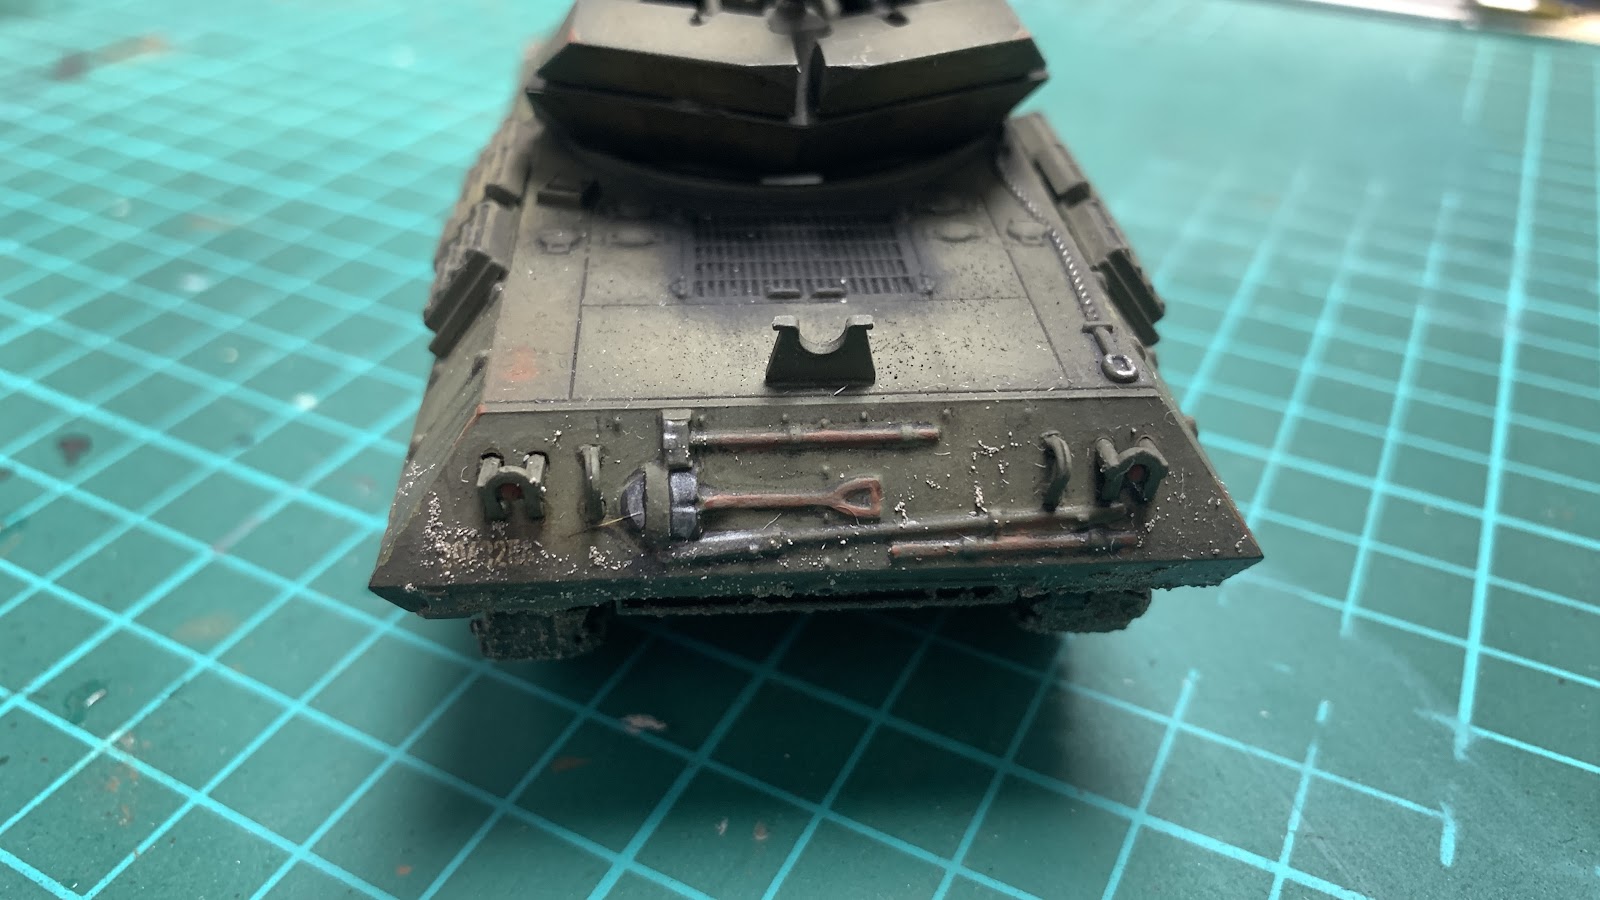
Metal parts of the stowage were painted in dark metal with the wooden handles being painted in a mid brown. The lights were given a thin coat of Red to give them just a hint of colour without it dominating the paint scheme. I also added some more dried mud to blend the dirt effects together using Vallejo Earth texture watered down and applied in thin coats.
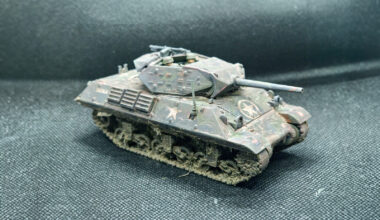
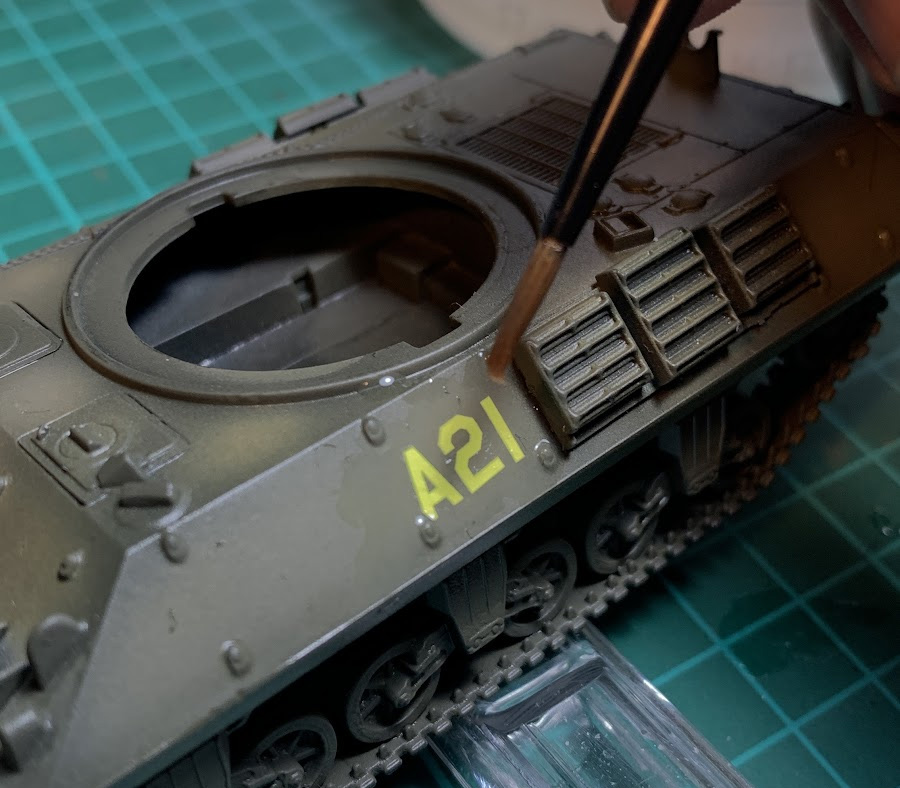
Without going overboard, I added a slight rust streak to the left of the A21 numbering and some dirt streaks from the bolts. These little details right at the end really help make the tank look ‘used’, and I try to keep them to a realistic level – no rusty wrecks here!
With the details done, the last thing to do was to give the model a final coat of varnish. My go-to varnish of choice is AK Interactive’s Ultra Matte Varnish, which I apply through my airbrush. This gives such a matte finish that it lowers the contrast of the colours across the tank, which is something to bear in mind from the start of the painting process. If you’re using a really matte matte varnish, it’s worth painting deeper shadows or brighter highlights so that the model still ‘pops’ on the tabletop afterwards!

The finished Wolverine – with this much time and effort put into a model, it’s bound to be destroyed in the first turn!
Want to get involved with Achtung Panzer!, the game of Second World War armoured combat? Of course you do – who doesn’t love some fast-paced tank action!? Pre-orders are now live, so whether you’re looking for a brand-new force of armoured fighting vehicles, or the rules and cards you’ll need to use your existing Bolt Action tanks in a whole new way, we’ve got you covered!