We’ve all had those games of Bolt Action. There’s an enemy unit that you absolutely must destroy, but you can never quite get at them. Perhaps your opponent is a canny user of terrain, or maybe your dice just aren’t playing ball. When you need to hit something that would otherwise be out of reach, it’s time to bring the rain with some Indirect Fire!
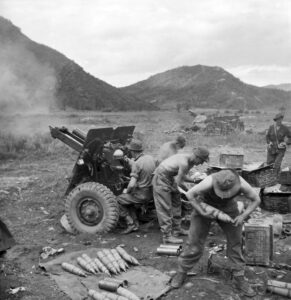
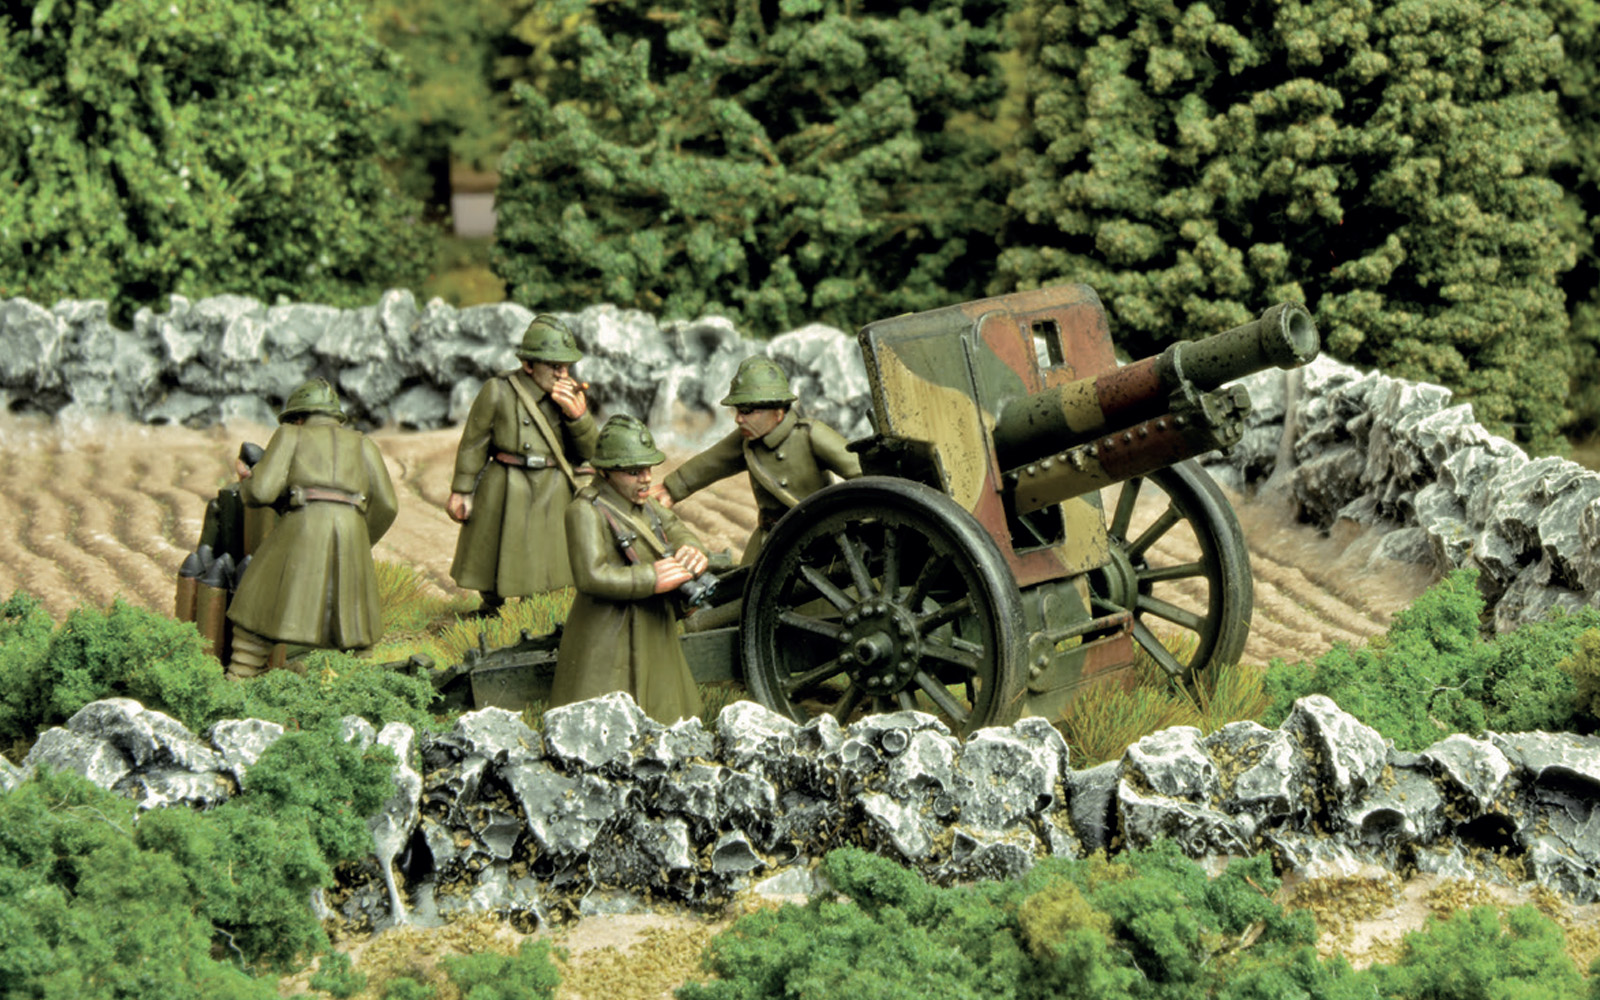
First off, let’s clarify exactly what we mean by Indirect Fire: In real-world terms, it’s simply the act of aiming and firing a weapon without having a direct line of site between the weapon and the target – pretty much what it says on the tin! The concept has been around more or less as long as people have been trying to kill each other from a distance – historically, archers were often used in this capacity – but was really perfected during the First World War, with the advent of truly modern artillery. By the Second World War, indirect fire, in particular infantry mortars, had become a key factor for all armies.
In Bolt Action
In the Bolt Action rulebook, we find the following:
Indirect fire weapons cannot be fired at targets within their minimum range (see weapon profiles), measured from the centre of the weapon itself. If a target is found to be within this minimum range the shot misses automatically and is ignored. The crew of an indirect firing weapon must still be able to see their target unit to shoot, unless a spotter is employed – see the spotter rule below. When firing using indirect fire, a 6 is required to hit, regardless of any modifier. In the following turn, if the shooter fires at the same target unit, and if the shooter and target unit has not moved from their position (to count as ‘moved’, the entire unit must be at least 2” away from the area that it was covering before), a hit is scored on a 5+. If the shooter continues to fire under the same conditions explained above, a hit is scored on a 4+ in the next turn, then 3+ and finally 2+ in all subsequent turns. However, if a hit is scored in any turn, the shooter is zeroed in on the target and as long as it does not move, all further shots hit on 2+ What this gives us is the vital means to ‘reach out and touch’ units that are out of line-of-sight (LoS), as well as the ability to control our opponent’s movement. Smokescreens are situationally very useful, but we’ll discuss them elsewhere, as their employment is its own beast!
The first thing to consider is what kind of indirect fire you want to bring to the table. For my money, you can never go wrong with the humble Medium Mortar. Economical at 60 points for Regular with an added Spotter, small enough to fit into most light transports, and putting out plenty of firepower, it’s a mainstay of most Bolt Action forces for a reason. If you’re looking to go larger (or want even more HE goodness), a Medium Howitzer bridges the gap nicely. The Howitzer special rule also gives you the ability to fire directly, over ‘open sights’ – perfect for surprising an incautious opponent. You can of course go lighter or heavier as your points budget and army theme require – there really is a ton of variety. There are also a number of vehicles with indirect fire-weapons (such as the M7 Priest) – however, their usage is slightly different so we’ll only touch on them briefly. Suffice it to say that, if you want to, you can bring a lot of high-explosive punishment to the tabletop, no matter what army you play.
When using indirect fire, it’s vital to consider where, what, why and when: Where are you placing your unit? What enemy unit are you engaging? Why are you engaging that particular unit? Finally, when will you engage that unit?
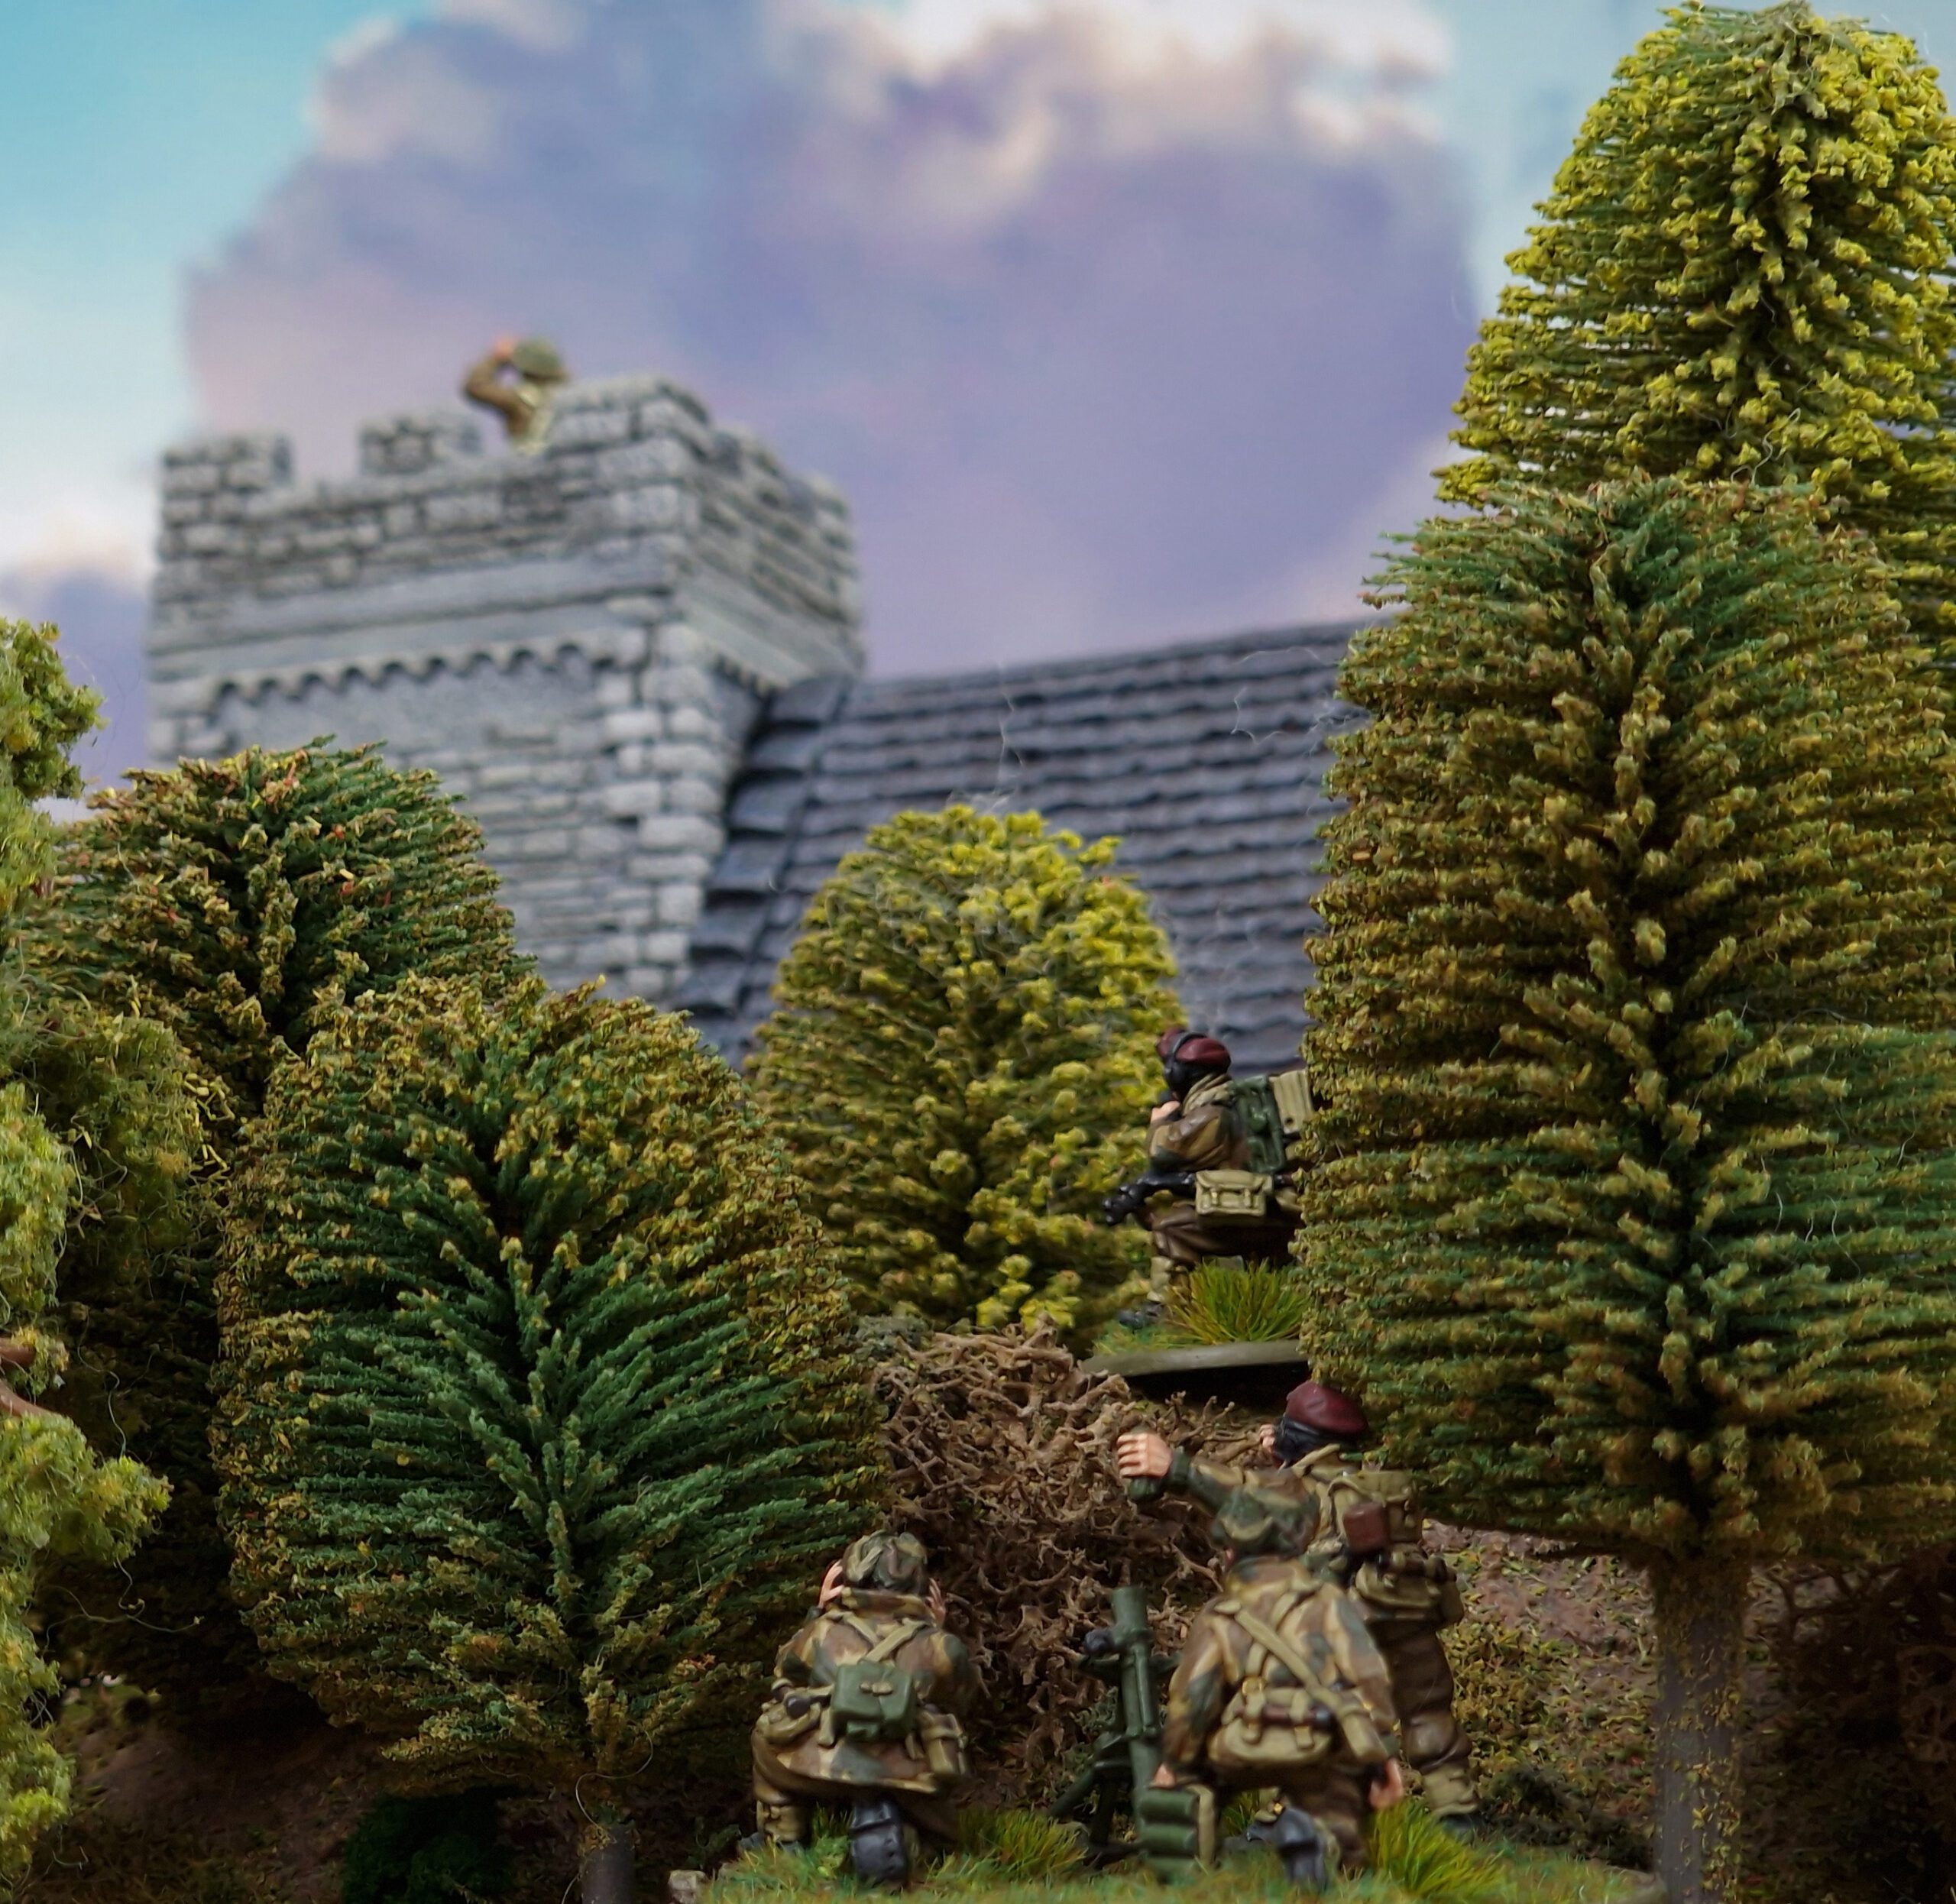
To begin with the where: the joy of indirect fire units is, rather obviously, that they do not need to be able to see their target! This means that you should always look to ‘conceal’ your indirect units from the enemy – behind line-of-sight-blocking terrain is ideal! If none is available, then the heaviest cover you can find is your next best bet – just watch out for enemy snipers or counter-battery fire. It’s also important to consider the position of your spotters – after all, whatever they see, the weapon can fire at. Central, elevated positions are a spotter’s dream – the iconic European church tower or elevated Pacific sentry post make fantastic observation points. Remember, though – he’s just one chap, and as such is very vulnerable to snipers or even close-quarters assaults by smaller squads with nothing better to do. Lose your spotter, and you may suddenly find your weapon is blind, and must waste valuable shooting time relocating.
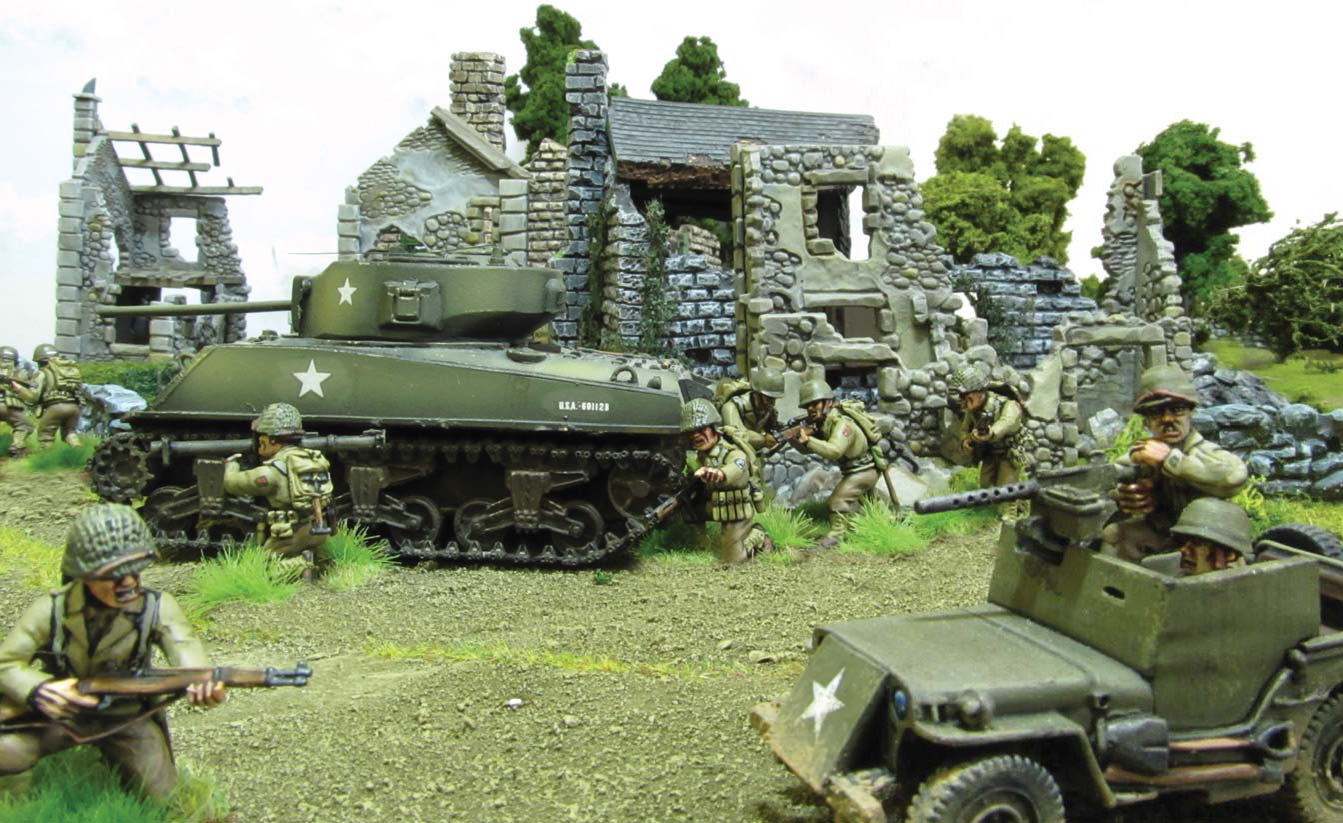
Next, we have the what and the why. Target selection is absolutely vital when it comes to indirect fire. The first thing you need to make sure of is that your weapon can actually hurt what it’s shooting at – maybe that King Tiger shouldn’t be your first target for your light mortar. While you certainly can hurt vehicles with HE (or at least put some Pins on them), infantry and weapons teams should always be your first-choice targets. The more tightly packed they are, the more of them you can blast. With larger weapons, the extra penetration value can make them ideal for dealing with Veteran units where small arms might otherwise struggle. There’s also a couple of things to consider when targeting a unit – remember, the Ranging In rule means your first shot will only hit on a 6. It’s therefore not something to be relied upon, except in the direst of circumstances. What those first shots will do, however, is force your opponent to make a difficult decision – do they move, and potentially put their unit in a disadvantageous position, or do they stay put and risk being hit subsequently on a much easier roll?
This brings us nicely to the when. It’s not a particularly efficient use of your artillery to try and hit a unit that you know is going to move next turn – it’s much better to wait until that unit has got to where it’s going. An ideal target is a unit that has reached an objective and must remain on it until the end of the game – you can give your opponent a real headache as they are forced to decide just how much they want to keep that objective, as your ranging shots get ever closer. By comparison, enemy artillery is the perfect target to engage from turn one… if you can see it. Counter-battery fire again forces your opponent to make the tough choice between keeping their unit safe or using it against you. This ties in to your spotter placement – if you can get him somewhere where he can see the entire battlefield, no unit is safe.
With a wide array of indirect fire weapons to choose from, you can set up your fire support to exactly fit your army theme or playstyle; with this brief guide you now have the basics of how to employ them. Standby for fire mission!


2 comments
I visited the HQ yesterday, loved the store, the knowledge and enthusiasm of the 3 people inside it, two were customer service I believe. After an interesting discussion on tactics the sales & stunning terrain rep, went out of his way to introduce me to your tips on the Warlord Games home site.
Being a frequent user of mortars I found your article excellent, I shall certainly utilize your explanations on target timing and select during upcoming battles.
When shooting at a unit indirect with a mortar. Does the entire target have to be within the minimum range of the mortar. (12 inches) Or does only a portion of the target have to be within the minimum range? For instance: a 10 man squad is in a line beginning 10 inches from the mortar and stretching to 20 inches away from the mortar. 2 men are within 12 inches and the other 8 are outside 12 inches. Is the squad a fair target or not? Ditto for a vehicle which is half within 12 inches and half outside of 12 inches. Fair target or not?