Listen up, tankers! I hope you all studied the information sheet handed out at the end of last week’s briefing – remember, information is ammunition, and you’ll need a full ready rack for the upcoming fighting. Today we’ll be going back to basics – the stuff you learned in armour school – because there’s no point in learning fancy tactics if you’ve forgotten how to work a radio! Eyes and ears open, and hold questions until the end, please. Lights off, and let’s get started!
Achtung Panzer! is a three-phase operation, and the first of those phases is Initiative – now, that’s not the kind of ‘initiative’ you show when you spot an unattended bottle of champagne in the Officer’s Mess, Trooper Jones, but rather the method of working out who’s doing what, and when! This is accomplished with the numbered Initiative Markers, which are drawn from a bag – while this might seem familiar to Bolt Action veterans, the boffins at HQ have worked out a very different system for us tankers! You’ll note the little numbers – these tell you which tank goes first, which second, and so on – couldn’t be simpler. You assign these numbers to your tanks, and voilà (as our gallant French allies might say) – initiative order determined!

Of course, as on any battlefield, there’s always a wrinkle! Remember those jolly useful talk-boxes you’ve got in your turrets? You’ll need to use ‘em if you want to act cohesively. Before you draw your tokens, you’ll want to make a Radio Check with your platoon. Pass, and you’ll be able to look at the numbers before you assign them to a vehicle, allowing you to best optimise your order of activation. Fail, however, and you’ll be going in blind – literally! Not all radio systems are built equal, though, and it’s a lot easier to make a check if you can see all the vehicles in your platoon – whacking great terrain features do not good aerials make!

Once you know what order everything’s happening in, it’s time to decide if you want to fight ‘buttoned up’, or with your head exposed – I don’t need to remind you of the risks of sticking your head out when there’s lead in the air, but by the same token, situational awareness is a matter of life and death in a tank fight – use your best judgement, but remember that you’re no good to anyone if a sniper decides to take ‘a bit off the top’! Having wrestled with that particular question (remember, in the case of a moral conundrum you can always refer to the King’s Regulations for a tip or two!), you’ll be ready to issue your movement orders!
Now, I’m not going to teach you to suck eggs here – you’ve all been through basic training and come out the other side without too many crashes – but it’s important to remember the fundamentals of armoured vehicle movement; it’s no good telling your driver to go ‘sideways a bit’ when you’re boxed in by bocage and staring at a Tiger! Your first order of business is to issue one of five movement orders – these are, unsurprisingly, Forward, Reverse, Right Turn, Left Turn, and Halt. There’s nothing out of the ordinary here – even the lowest-calibre Driver can follow these simple instructions! It is worth noting, however, that these orders are an intention to move – when the time comes to execute, for example, a Forward order, you don’t need to move your maximum allowed distance, just move forward a distance; no need to charge headlong at that battery of 88s!

Naturally, it’s not just a matter of haring around the countryside – these are serious military machines you’ll be in charge of, not Bentleys on the Mulsanne in ’35. If you want to fire accurately, you’re best off doing it from a stationary position – but we’ll touch on all that later. There are, however, some canny tricks you can employ (provided you’ve got a good enough driver) to get yourself into prime firing position – or out of a tight spot! The first is simply the good old Pivot – the ever-useful turn in place. As with all Tactical Actions, this can be performed before or after your Movement Action, and allows you to, as the name suggests, pivot on the spot – perfect for fine-tuning your positioning either before or after moving to present the smallest possible target or to ensure your thickest armour is facing the enemy. This can be performed as either a Tactical Action without the need for a test, and/or as part of a Movement Action – but in the latter case you’ll need to make a Crew Test to ensure your driver gets the message!

The second useful Tactical Action for movement is the Scoot. This is a great way to deal with unexpected tactical situations, particularly if your initial Movement Action might turn out to leave you vulnerable! It’s a simple roll of 2d6 – if you want to ‘scoot’ forwards you use the higher of the two numbers, and if going backwards, the lower. It might not be an enormous amount of extra distance, but those few inches can make all the difference in close quarters, and remember, it’s always better to survive to fight another day (or another round!) than blunder headlong into a trap!
Remember, the Achtung Panzer! battlefield is a dangerous place, and a graveyard for unwary or overconfident tankers. Terrain can be your best friend, or your worst enemy, and we’ll be going over how best to use it in subsequent lectures. Next up on the schedule is one I know a lot of you have been waiting for – targeting and gunnery! Before then, though, I believe there’s a champagne reception in the Officers’ Mess at five, and chip cobs down the NAAFI for the ORs until kicking-out time. On you go!
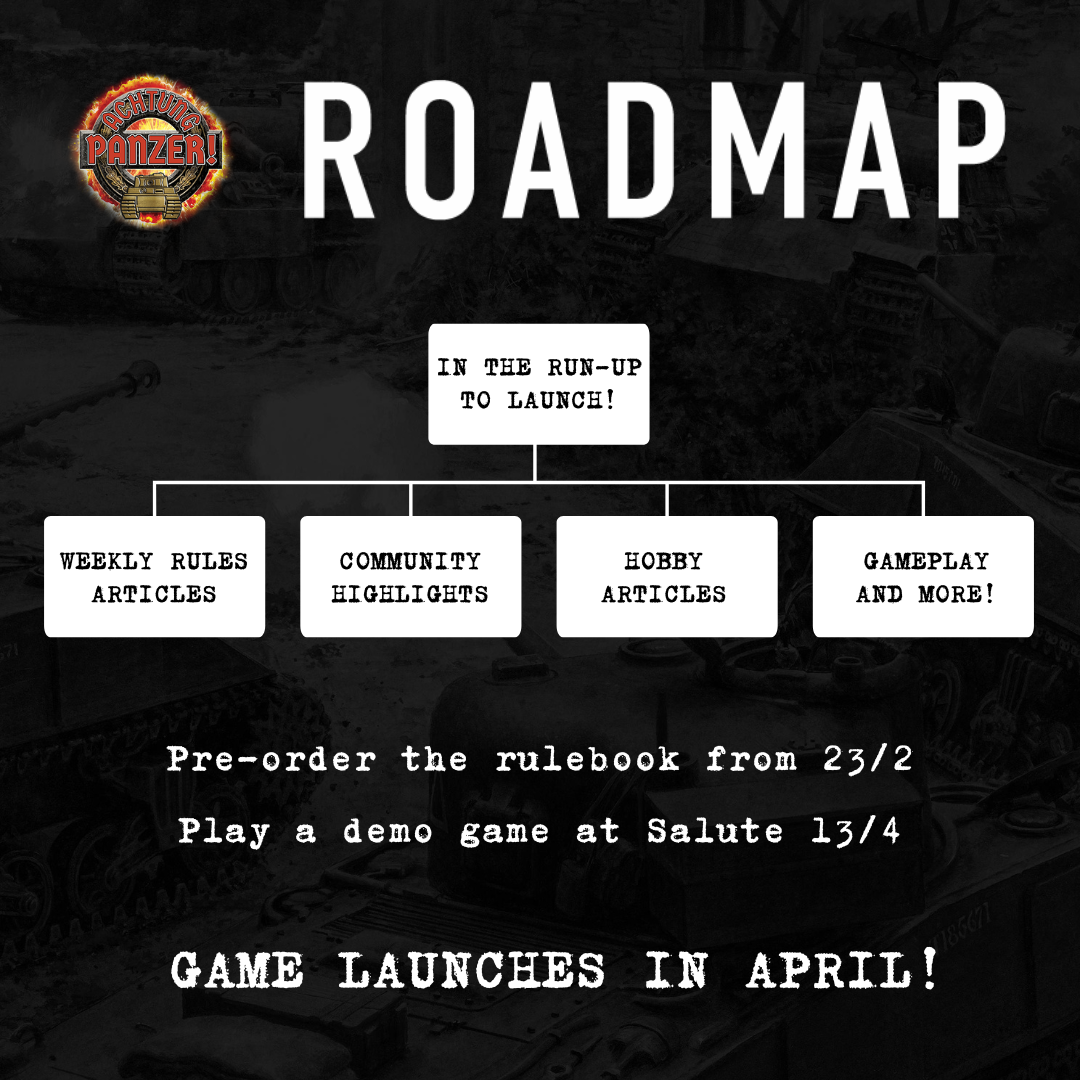
Expect more rules briefings in the coming weeks, as well as hobby articles, community highlights and a lot more in the run-up to the launch of Achtung Panzer! this April!
Blood & Steel!
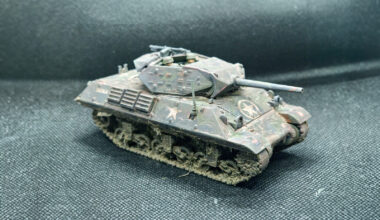
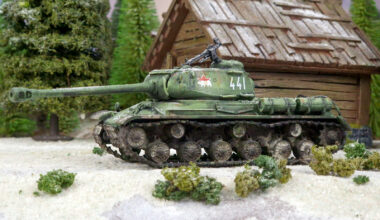
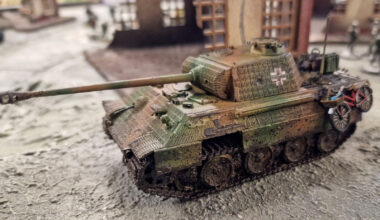
Command a platoon of armoured vehicles on the battlefields of World War II in Achtung Panzer!
The Blood & Steel starter set contains highly detailed plastic tanks for British and German forces, plastic ruined scenery and a host of event and asset cards add further atmosphere and jeopardy to your games. The rulebook explains how to recruit your crew, select your tanks, assault guns or armoured cars and introduces a campaign system that allows your crew to progress after each encounter and your tanks to be upgraded to be more effective in the next battle.
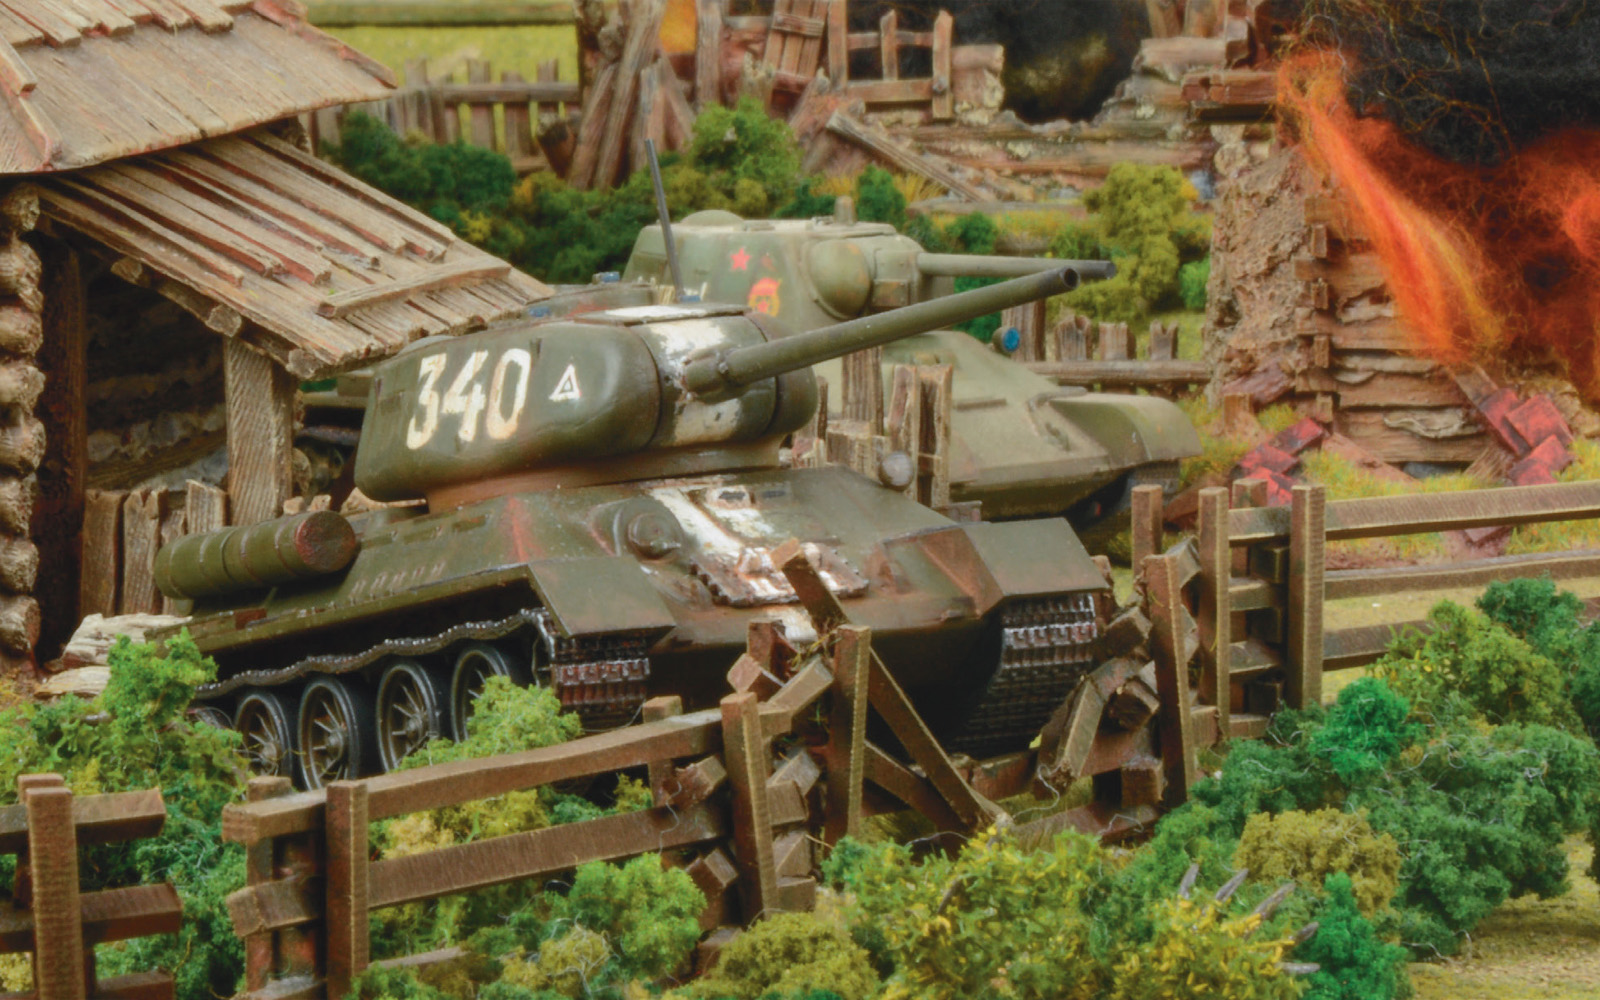
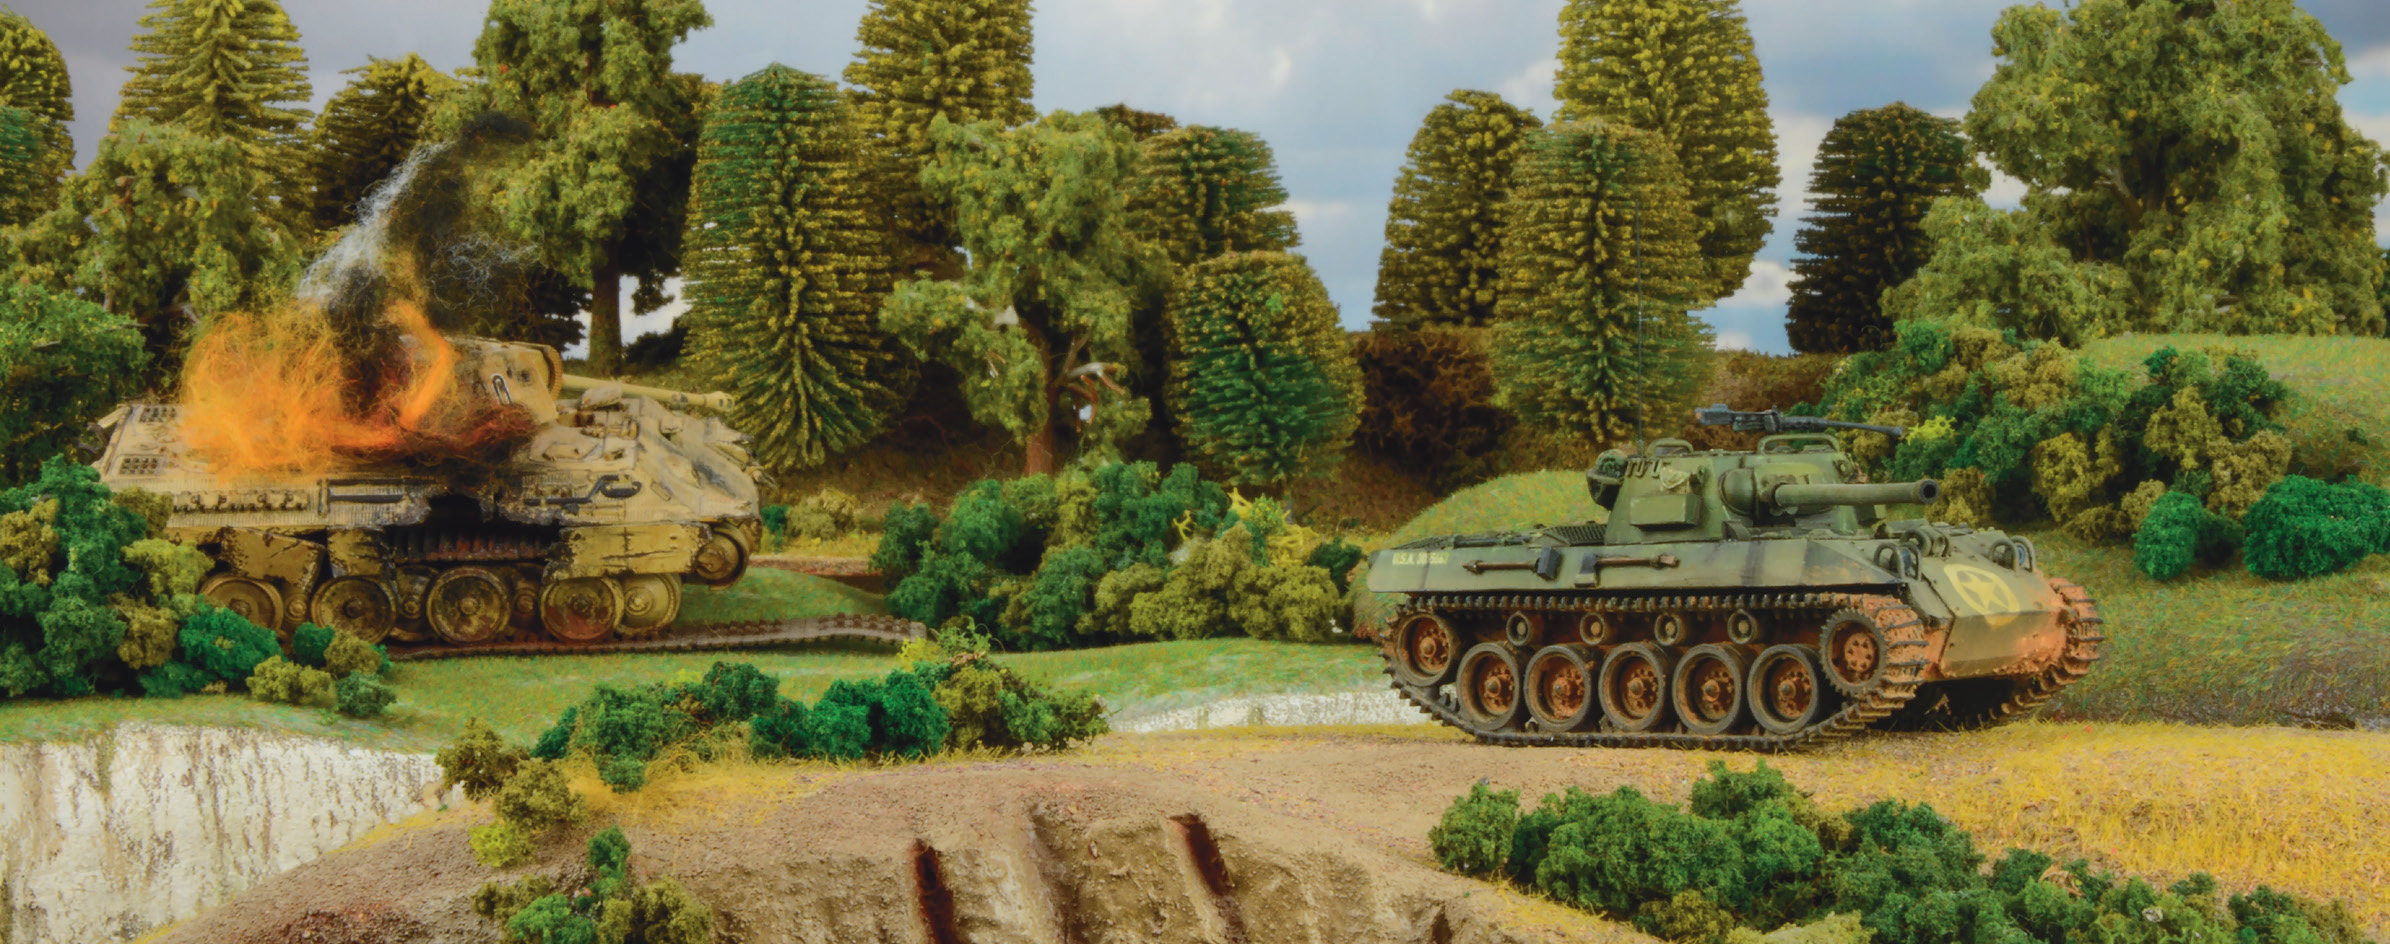
Missions are close-quarter engagements between opposing armoured vehicles on battlefields dominated by buildings, ruins, woods and other terrain – battles are close and deadly firefights!
The player who best exploits the strengths of their tanks and crews, who plans their movement carefully and uses the terrain to their advantage will prevail – will your tactical prowess and the fighting aptitude of your tank crews win the day?
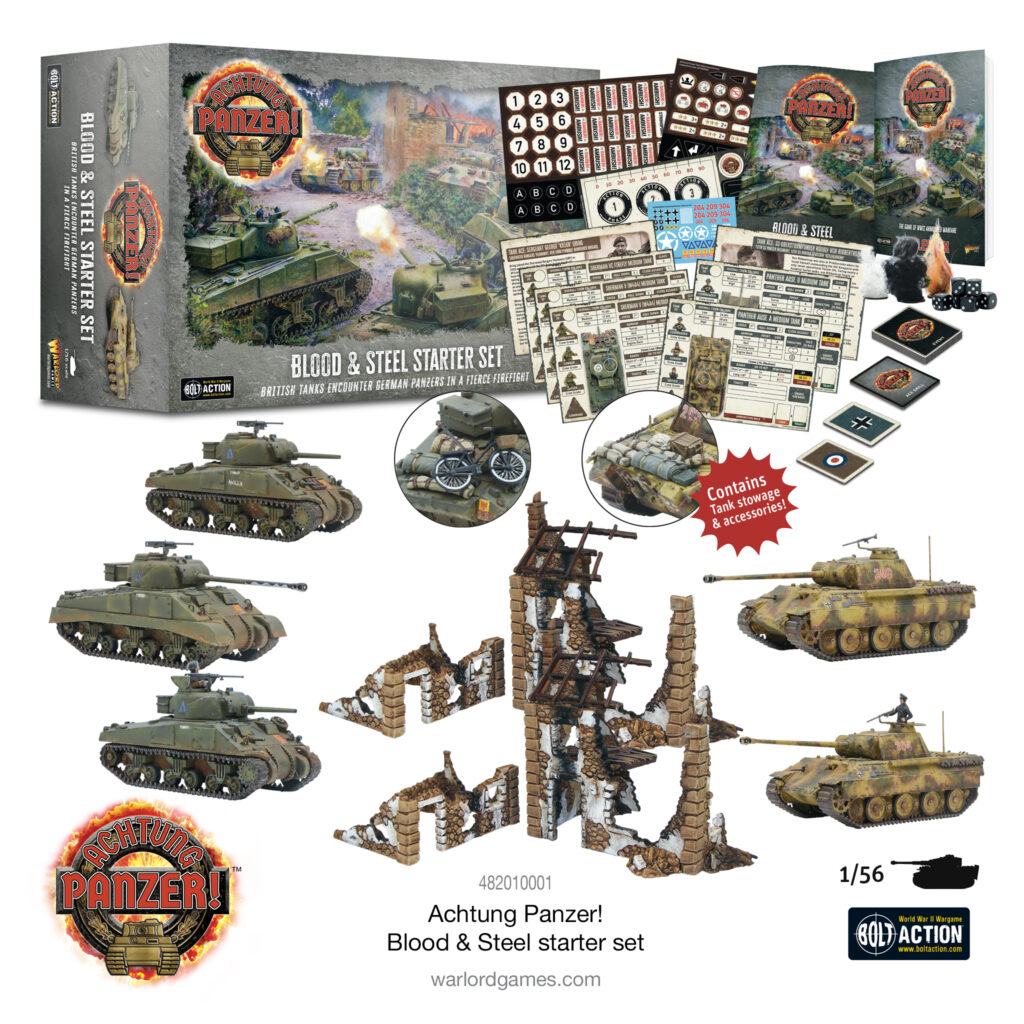
Kickstart your Achtung Panzer! campaigns with a money-saving national collection, which arms you with a starter set, a tank force and an additional tank crew pack for added customisation. Or opt for the All-In Launch Collection and have all four of the nations initially represented in the game under your command!
3 comments
If you have not passed the radio check what will stop you from ‘accidentally’ seeing the numbers on the chits when you draw them?
That would be a court martial offence. Keep the token in a closed fist, drop it next to tank.
Announce which tank is going to receive the order before you draw it.
Comments are closed.