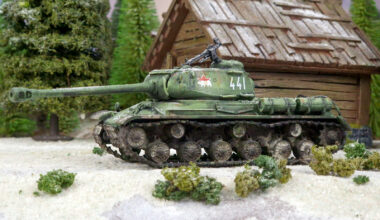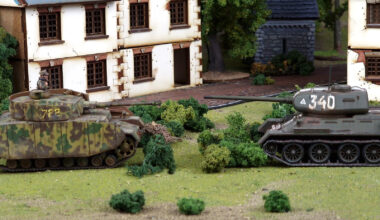
With excitement brimming over for the upcoming Achtung Panzer! and the prospect of a multiplayer mega battle, staff from all over Warlord Games HQ have entered into the full spirit of things and pitched in by pledging a tank each. We’ve already seen how Rich built his Soviet KV-2, but now it’s time for some Axis opposition. Enter Dave, though a relative newcomer to the Warlord Games team, he is a longtime hobbyist and was eager to participate.
Dave: I chose to build a Panther for two reasons, first that it’s one of the tanks found within the Blood & Steel starter box and it wouldn’t harm me to round up a trio to make up a Panther Zug, and more importantly, it’s one of the iconic tanks of the later part of the war!
Construction
With all miniatures kits, the first thing I do is to lay out all the components to check that everything is present and correct, and lay out all the tools I need for the build.
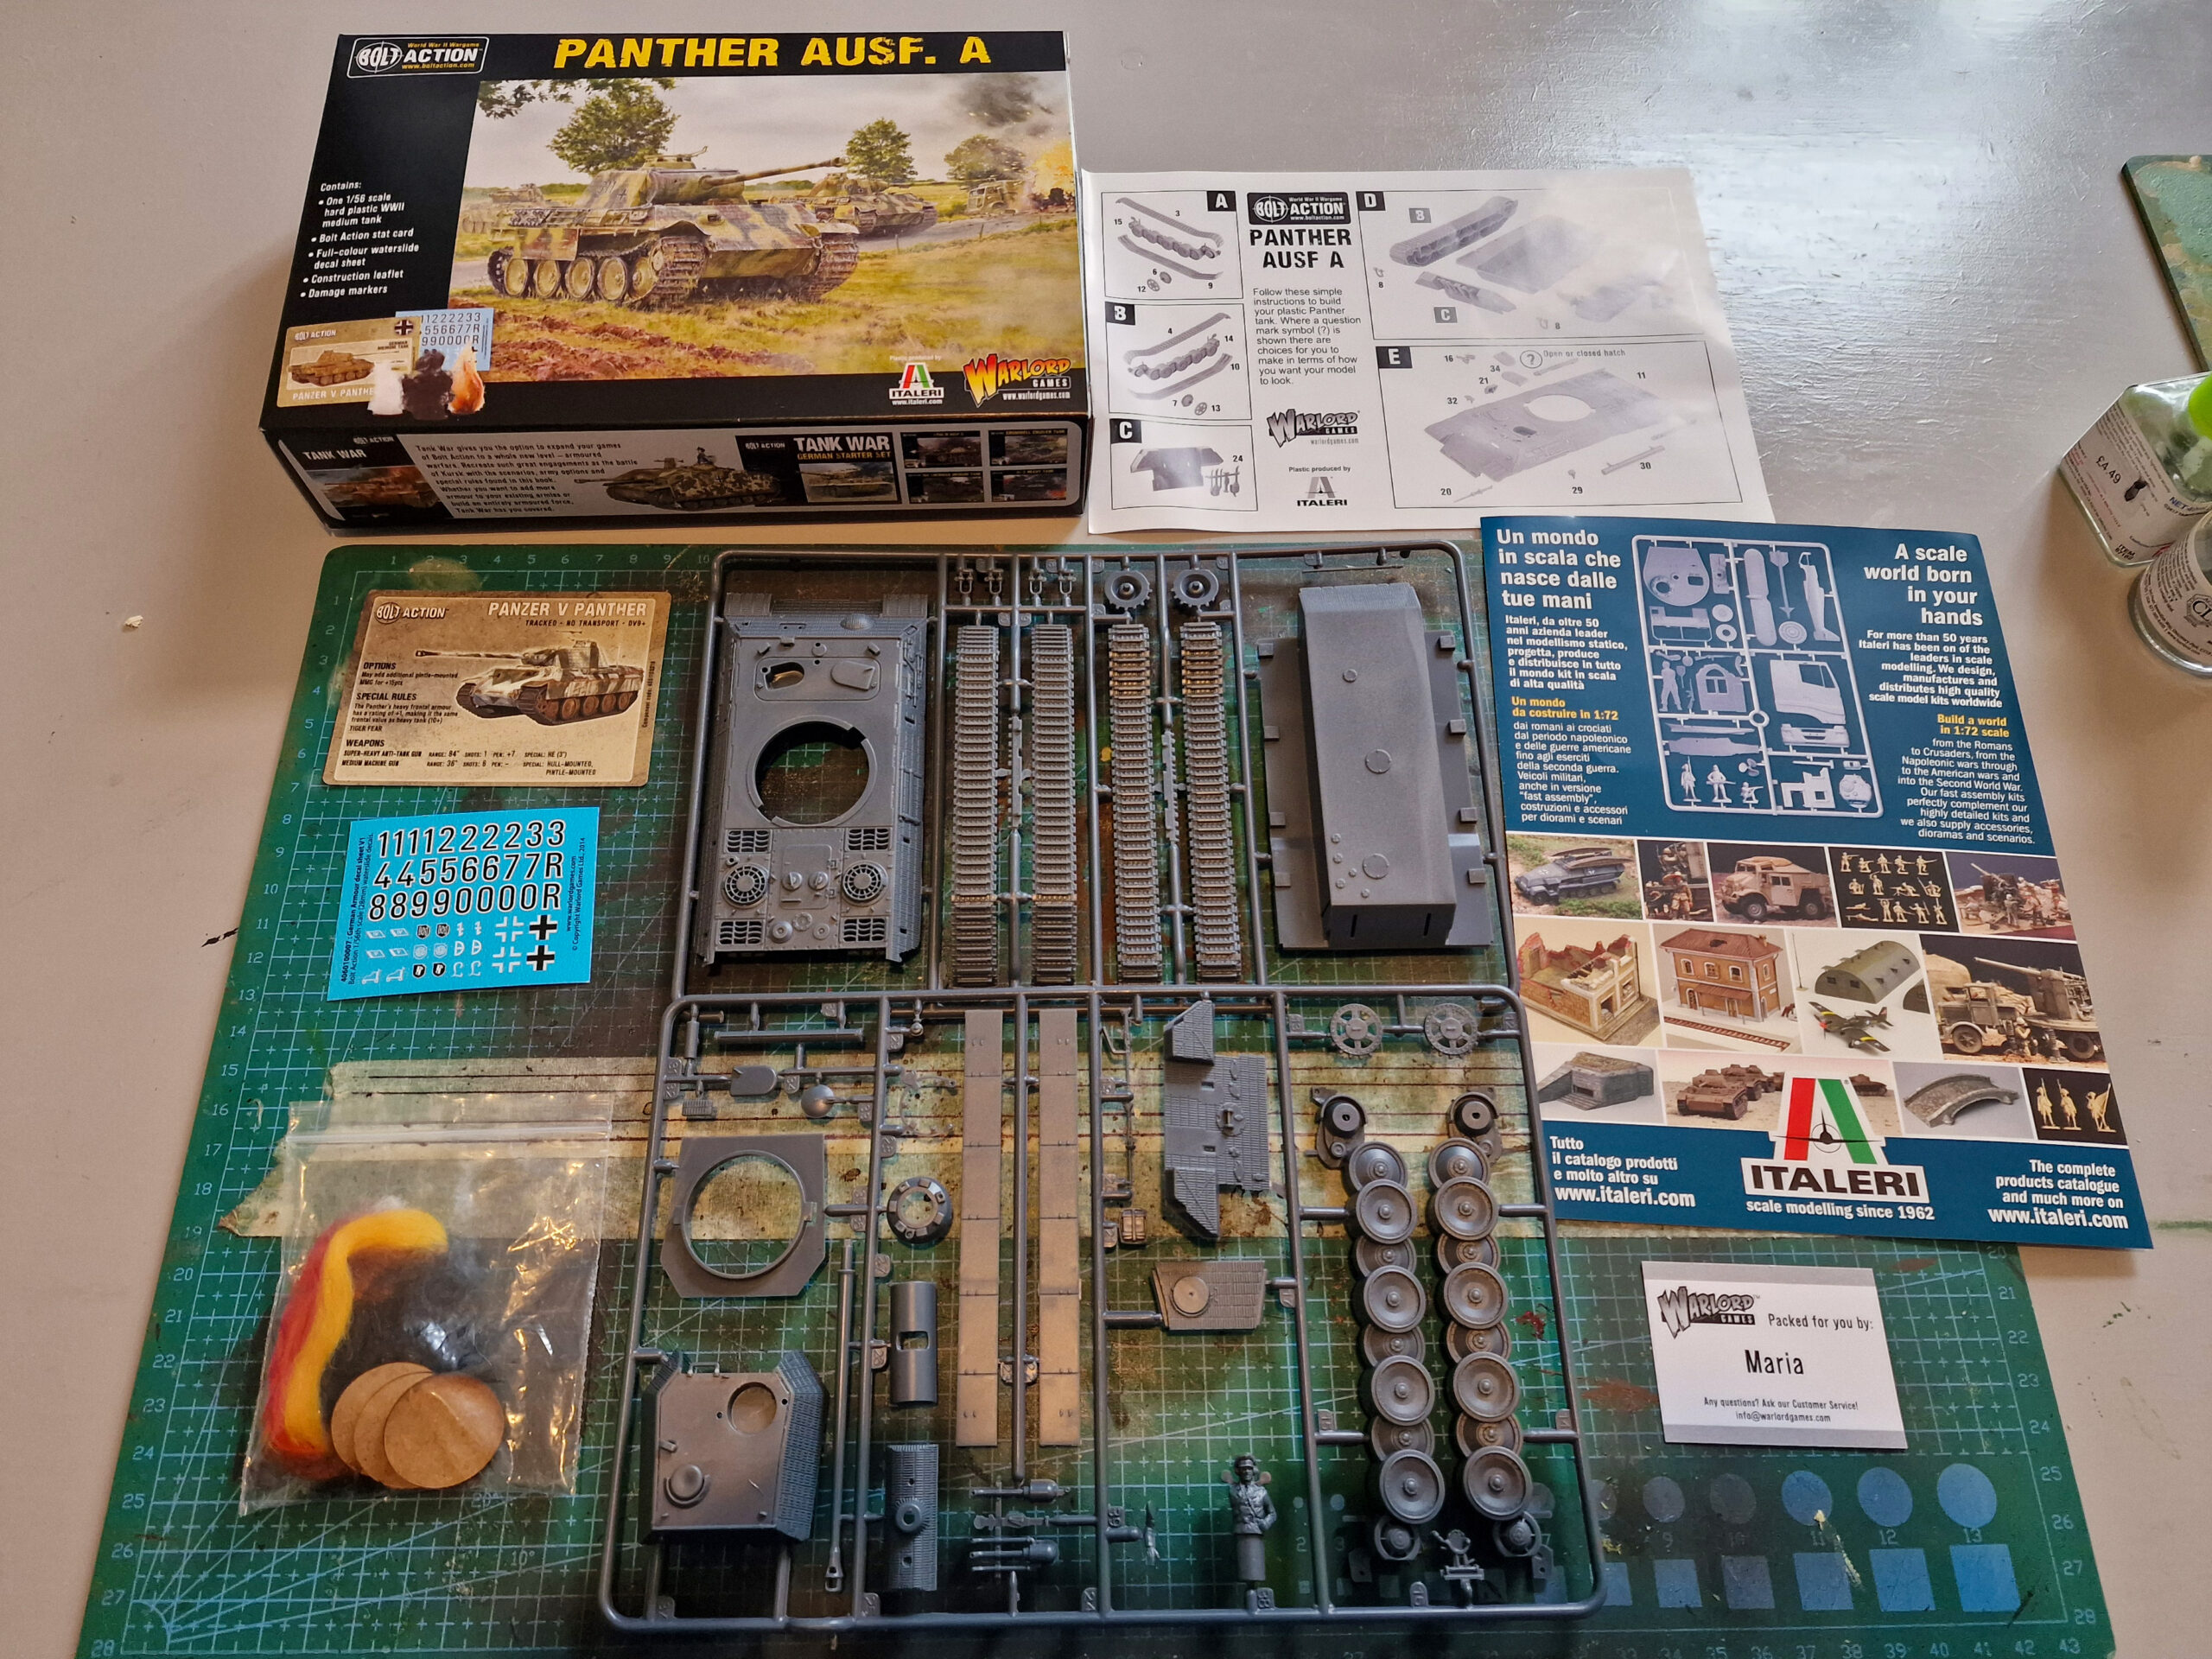
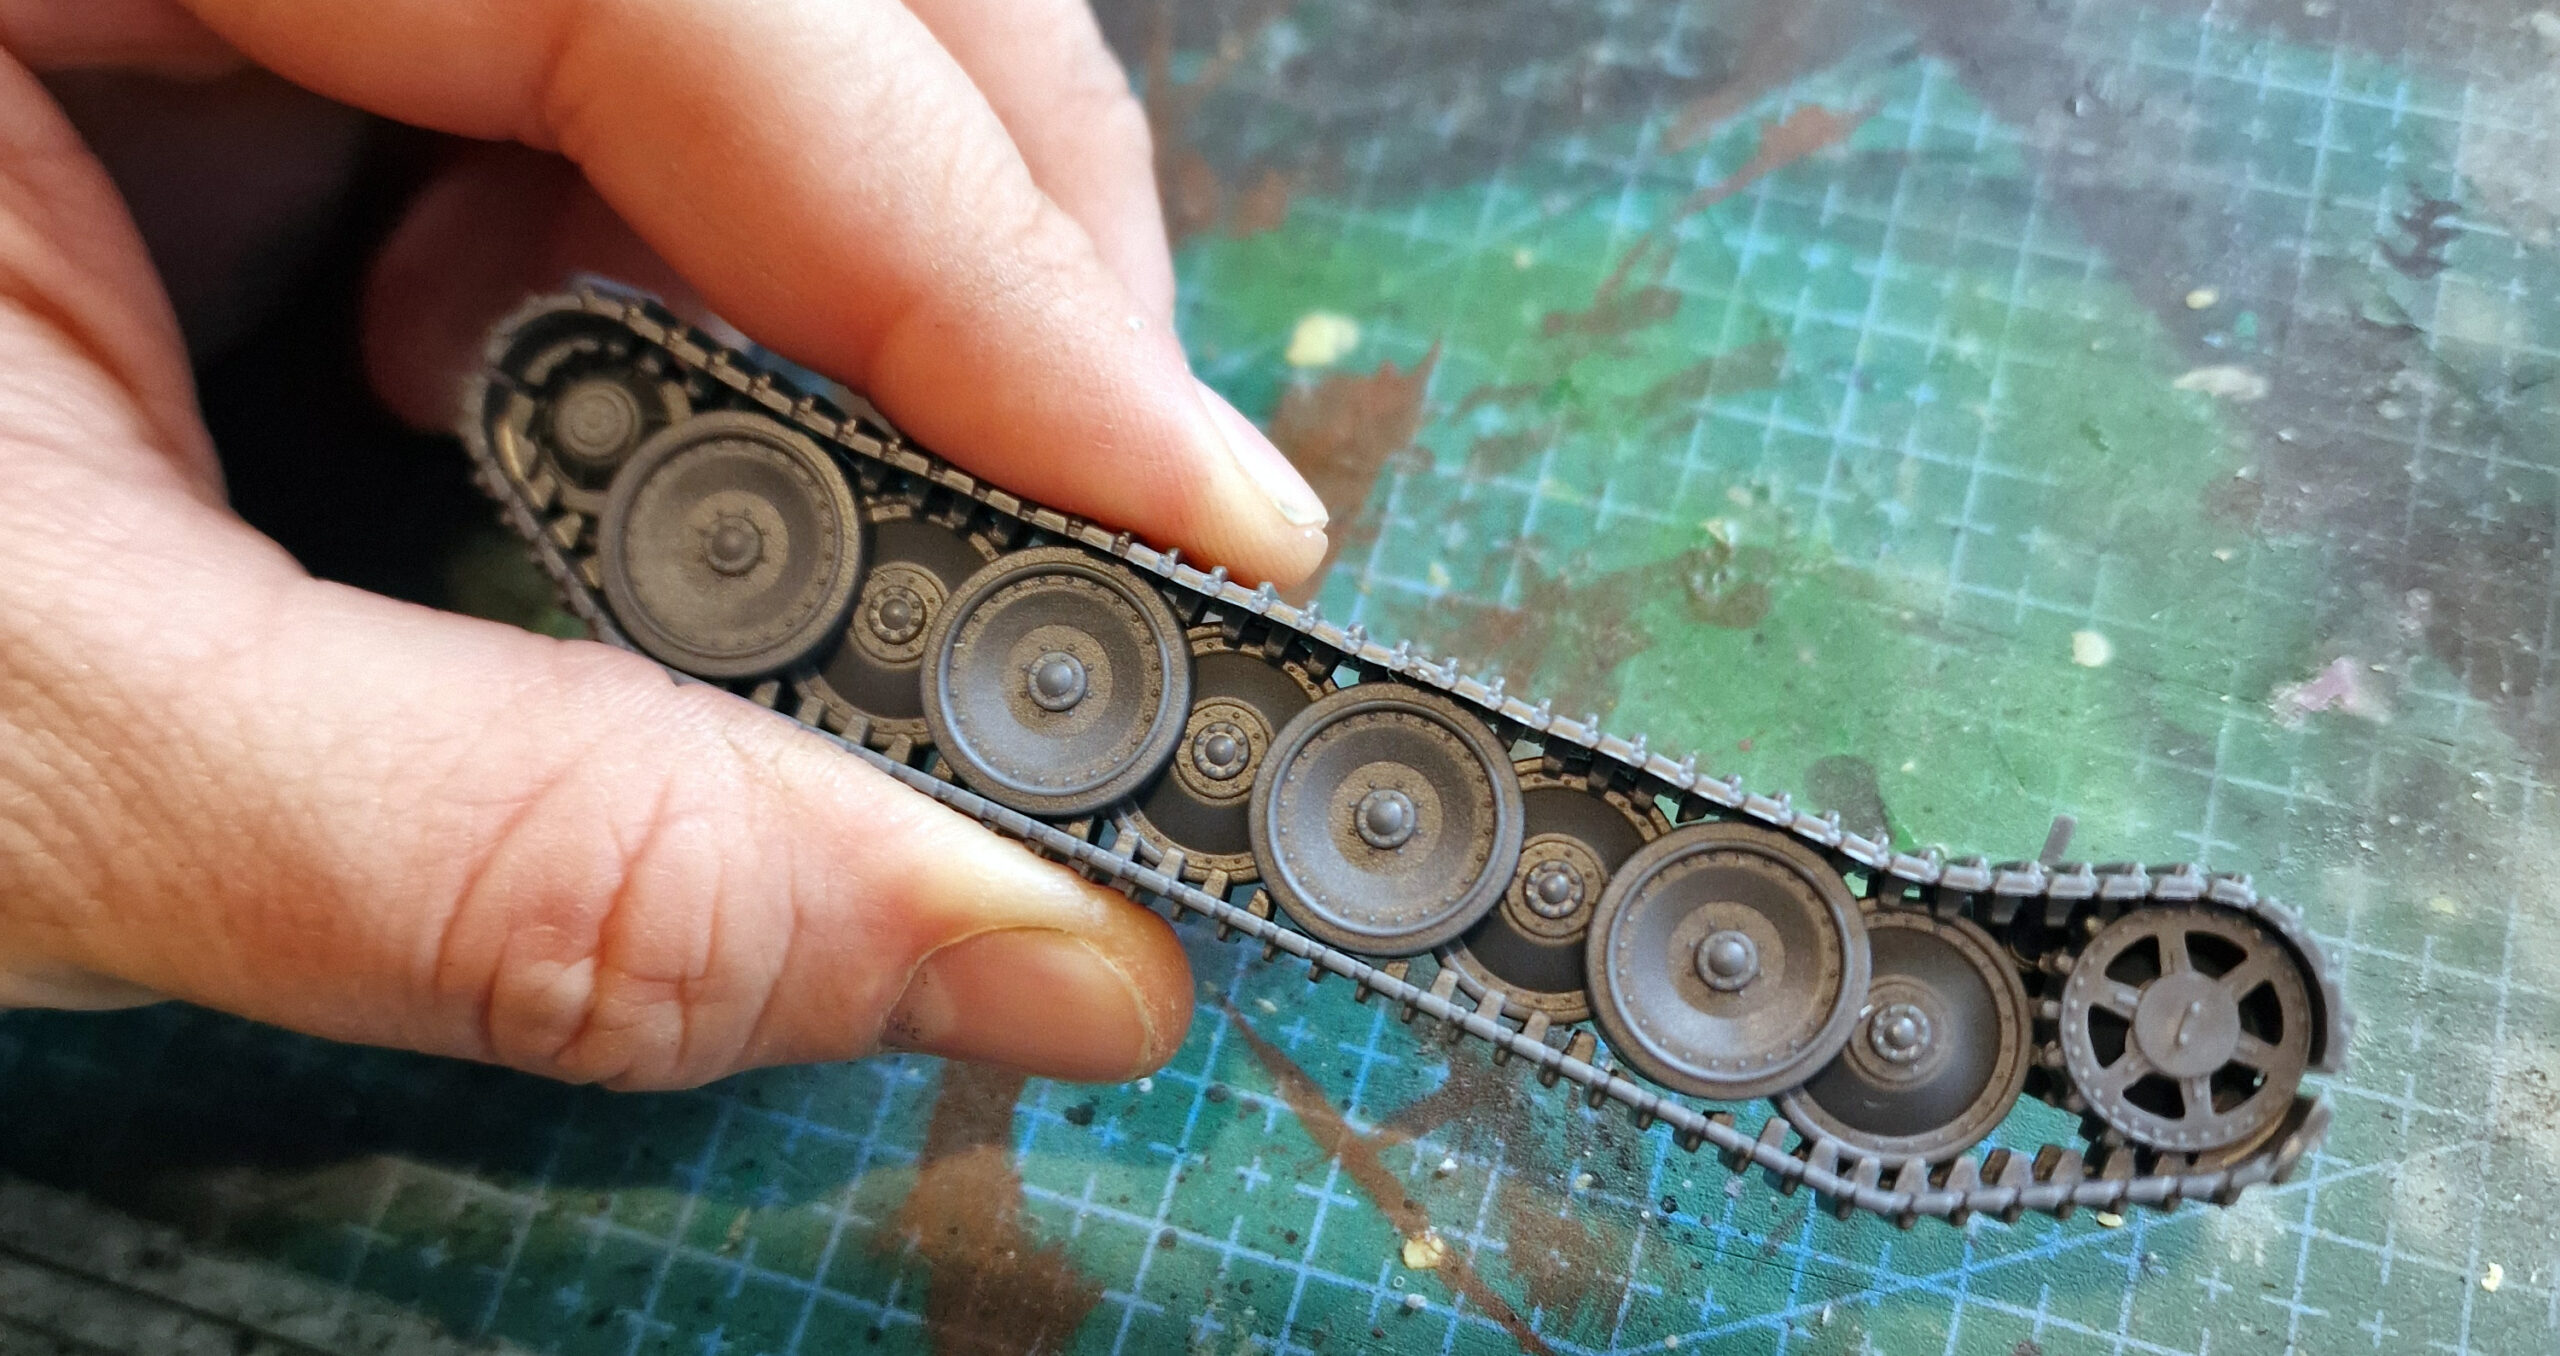
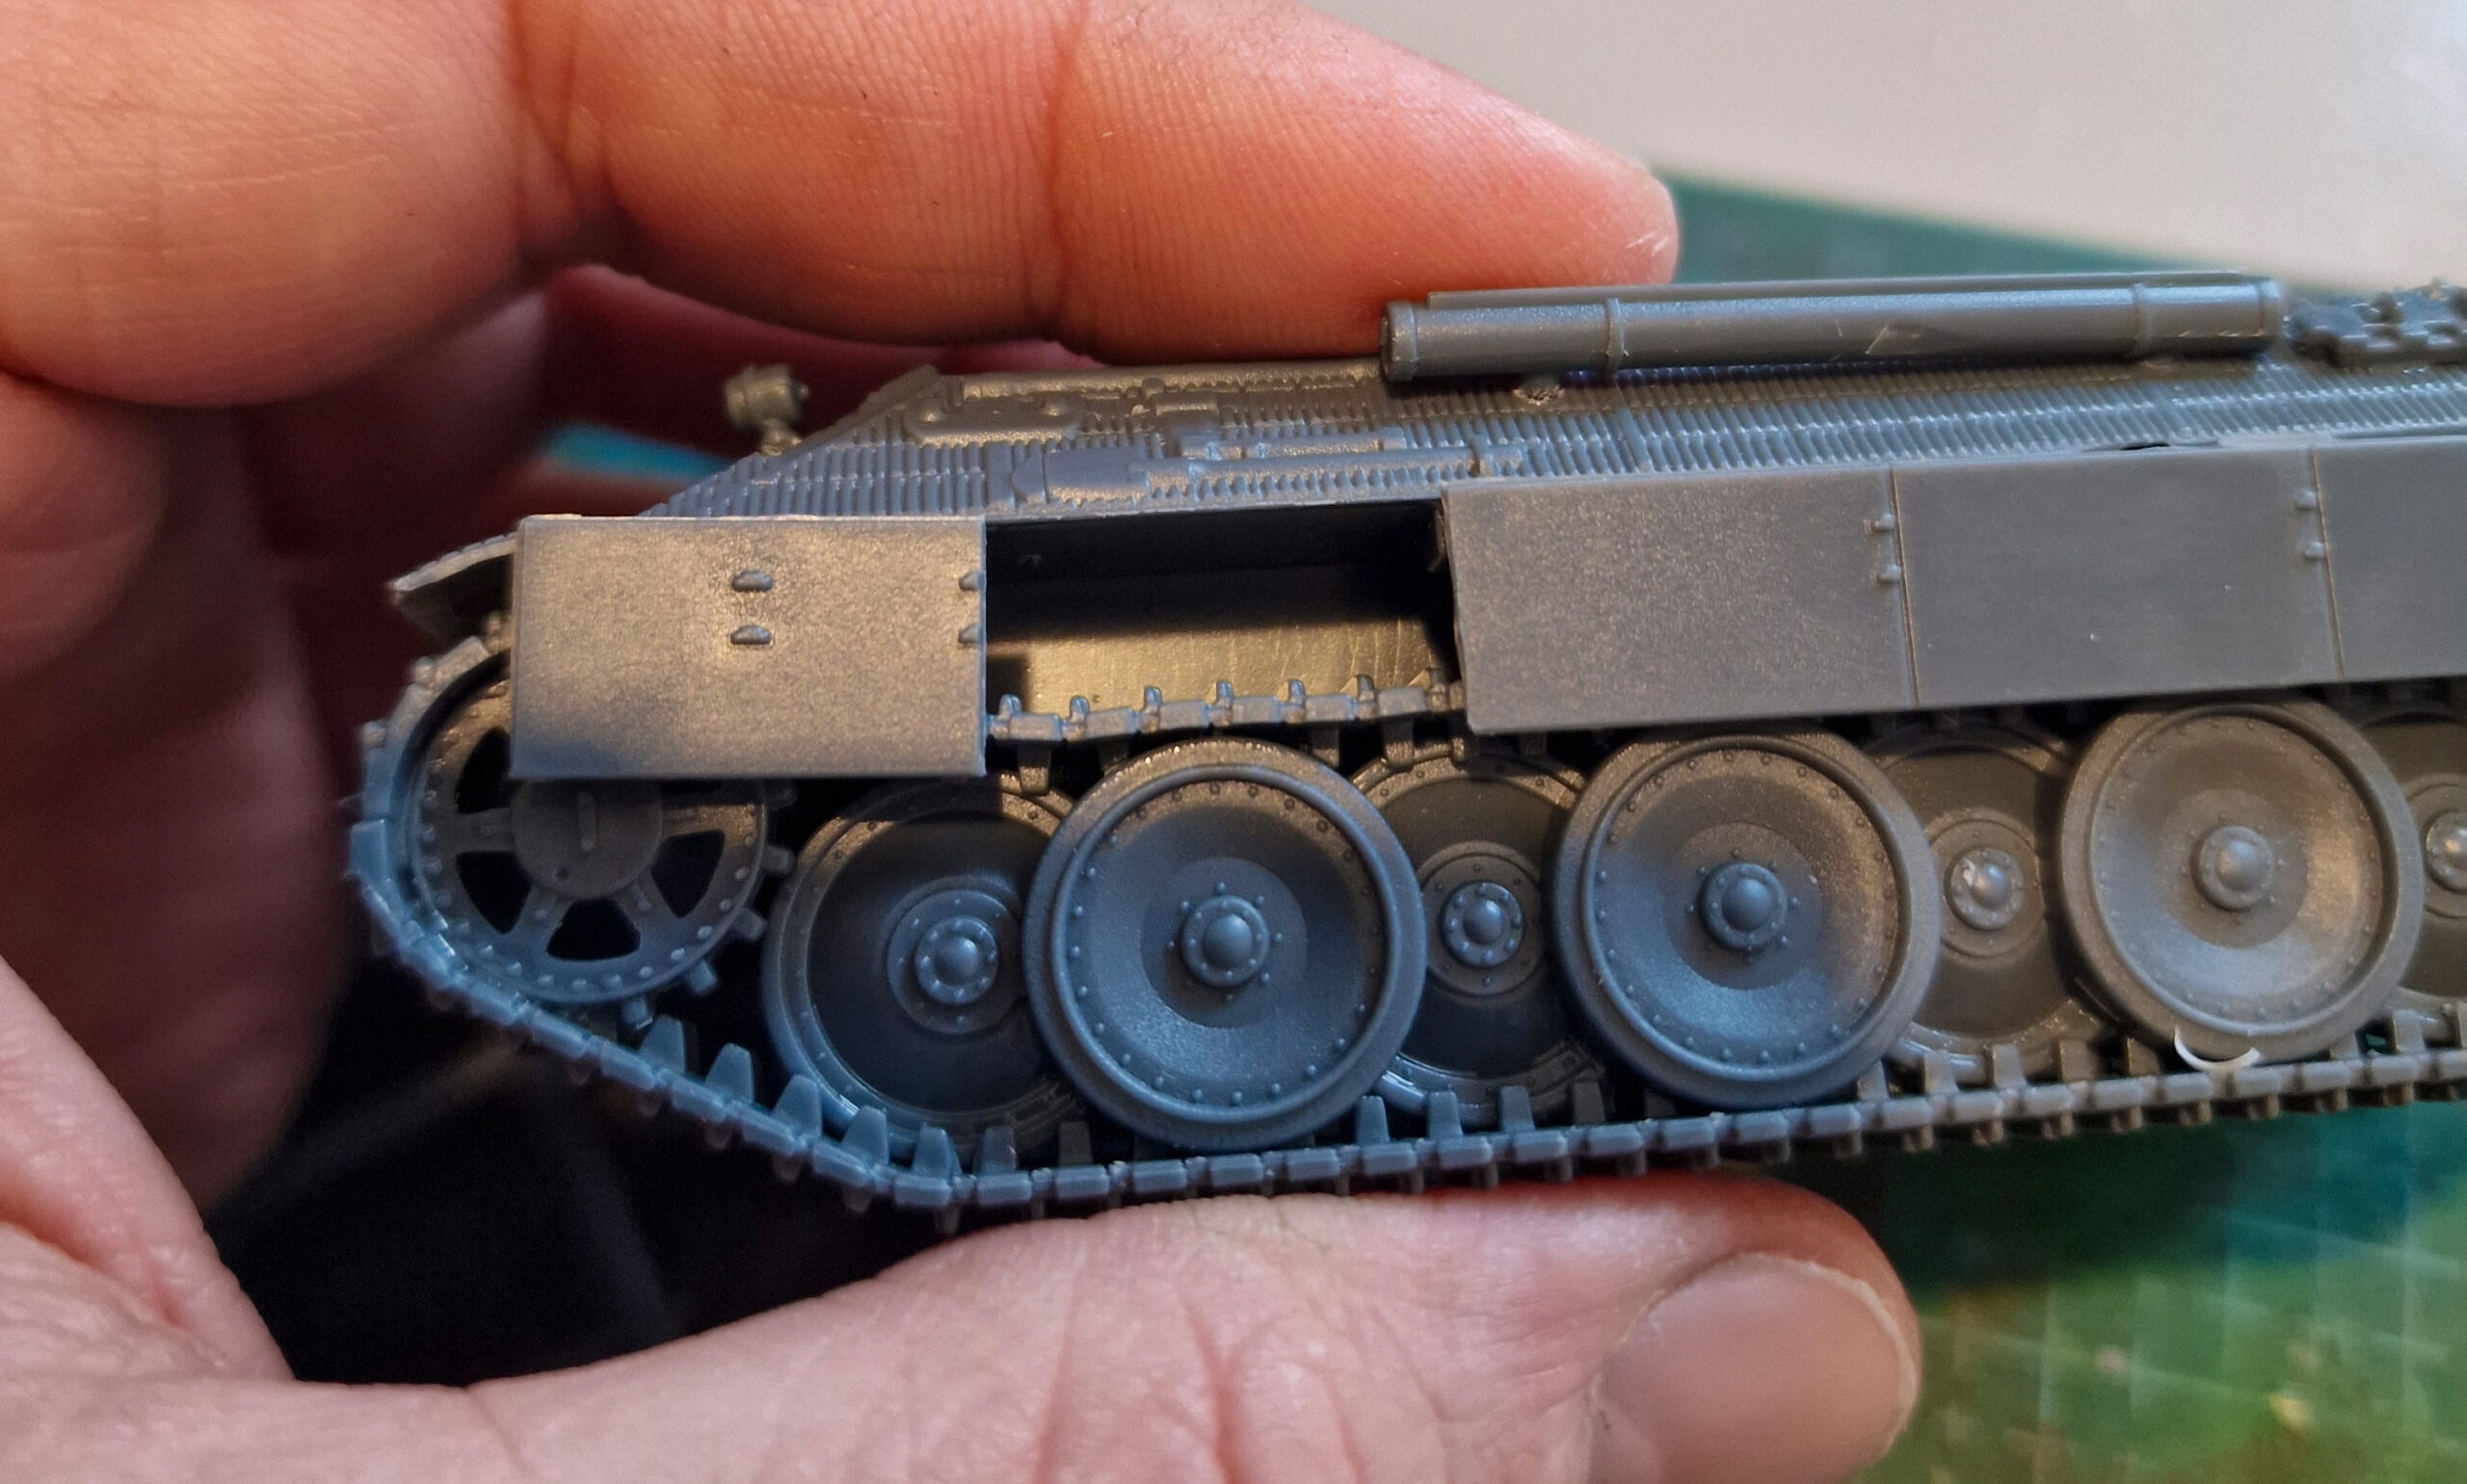
I began, as we often do when we build tanks, with the tracks. I find that concentrating on a single side at a time prevents mixing up parts, so I was careful to follow the instructions and carefully cut out the pieces I needed for one wheel/track assembly at a time. As with any plastic kit a small amount of flash cleaning can be achieved with the trusty combo of hobby knife and mould line remover.

No matter how confident you are, always dry fit. This can be a massive time saver later on by avoiding mistakes earlier, but also lets you identify the contact points to which you should apply the glue. Also, leave sufficient time for the parts to bond – this is especially true of tank tracks. I applied a little pressure using both hands until confident that the tracks were secured.
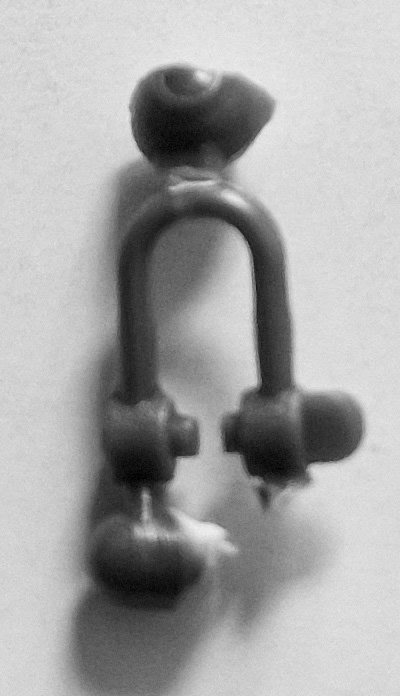
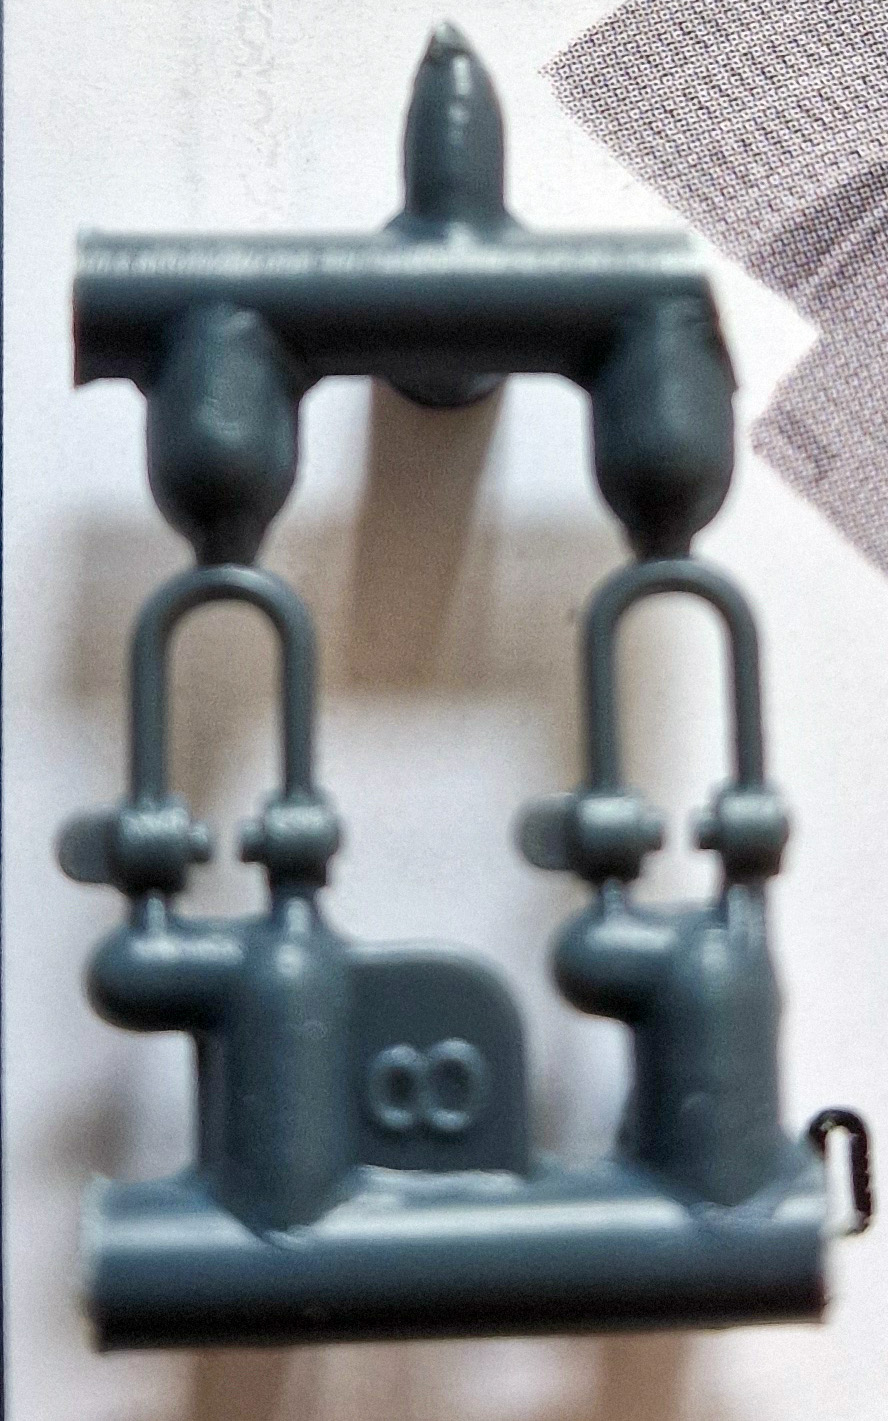
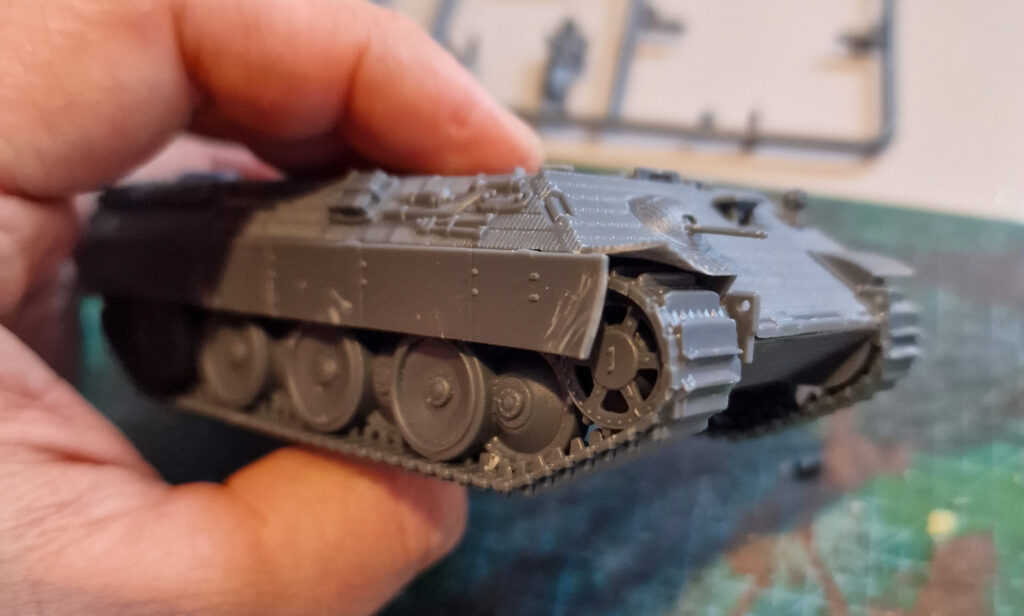
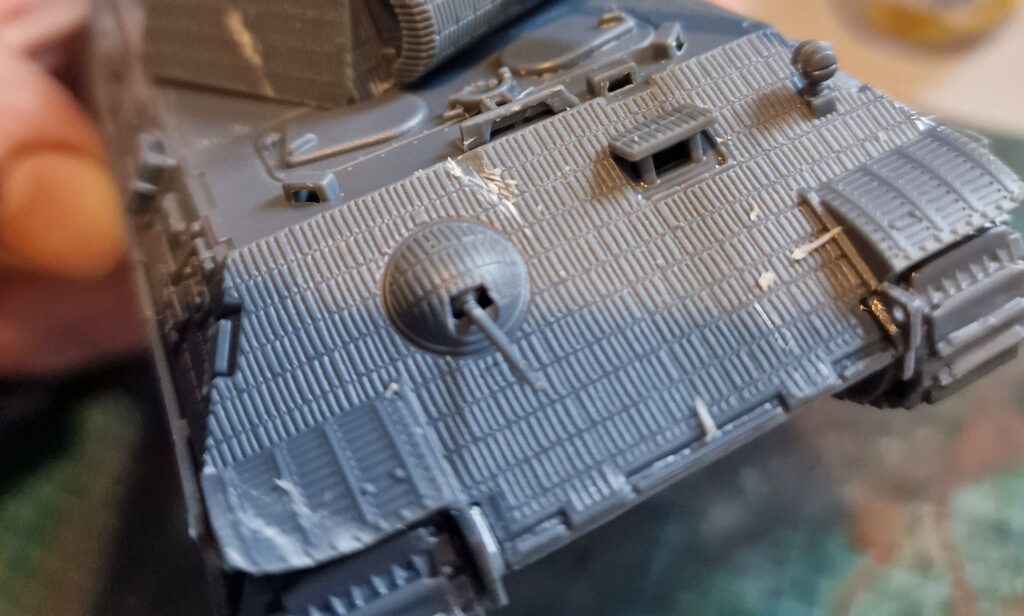
It is easier to attach the towing links before fitting the upper hull. But owing to small parts, I managed to damage one when clipping it from the sprue. To avoid damaging more parts any further I instead clipped the sprue around such parts and then trimmed back the sprues once they were loose. I also did this for fiddly parts like the hull MMG and aerial in later stages.
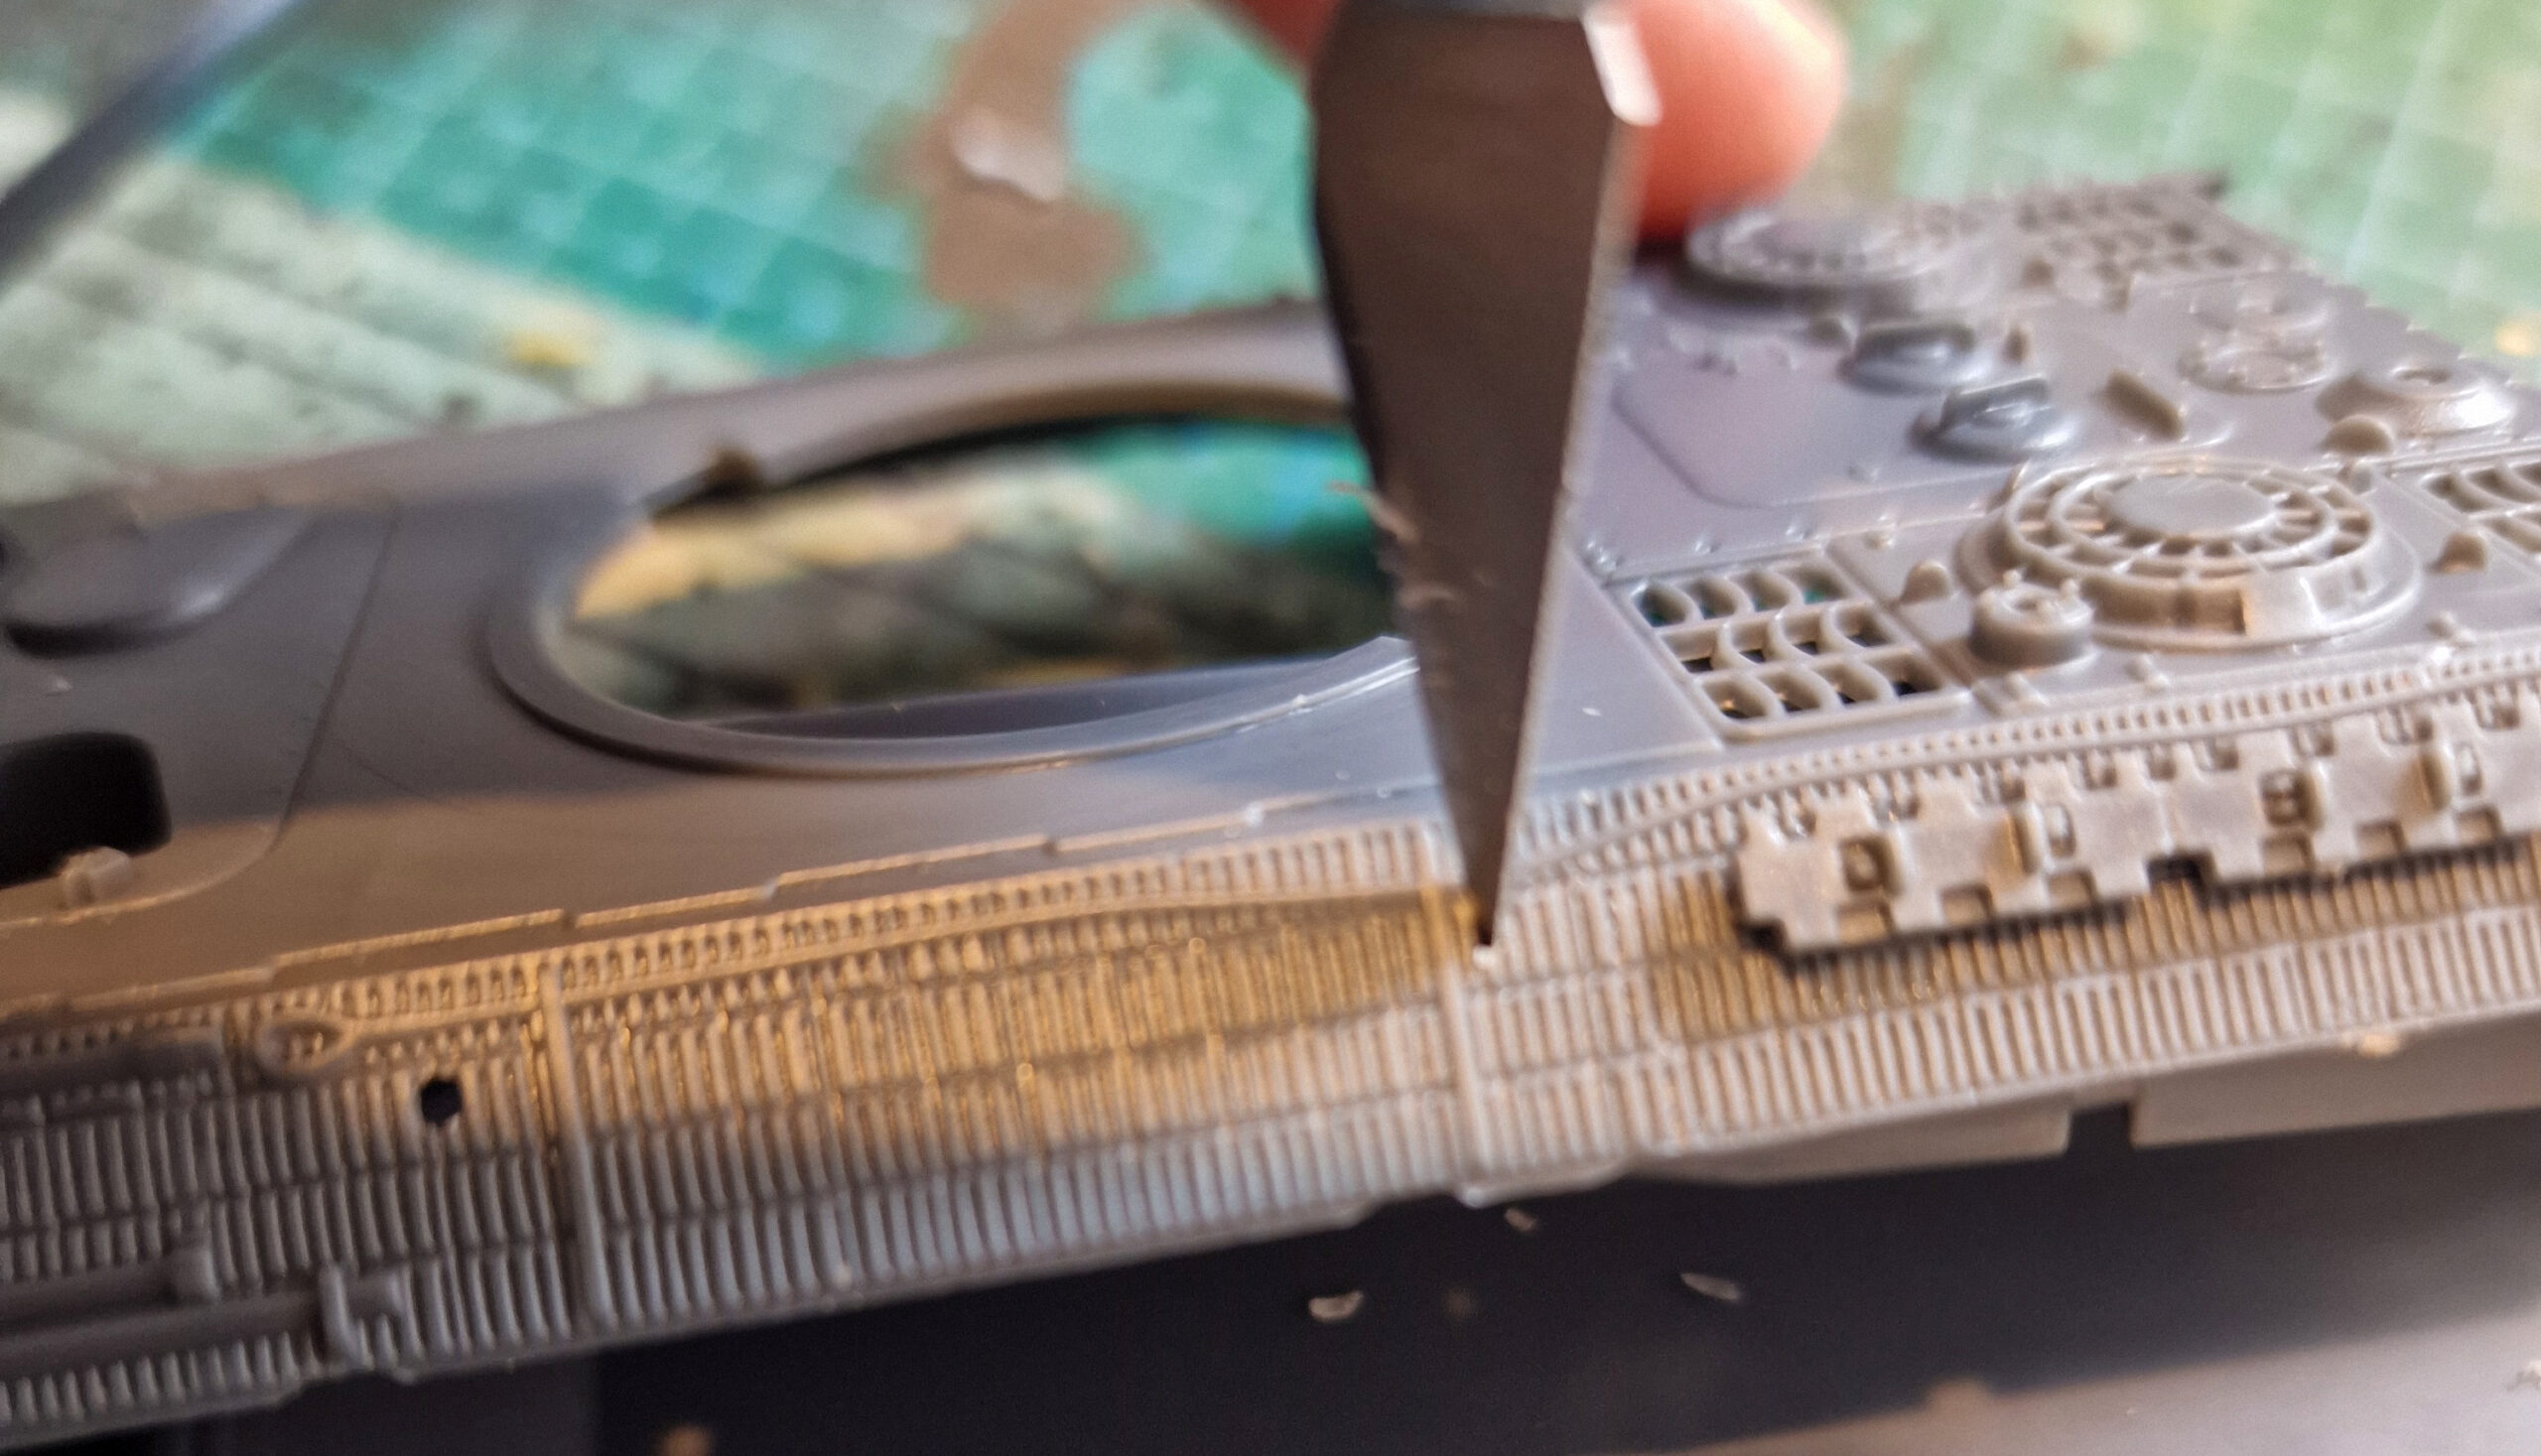
The instructions called for adding some accessories to the hull came next. I cannot overstate how much dry-fitting parts helped. Here I found that the holes were a bit too tight for their parts so carefully widened them with a craft knife so that they fit in snugly before I applied any glue.
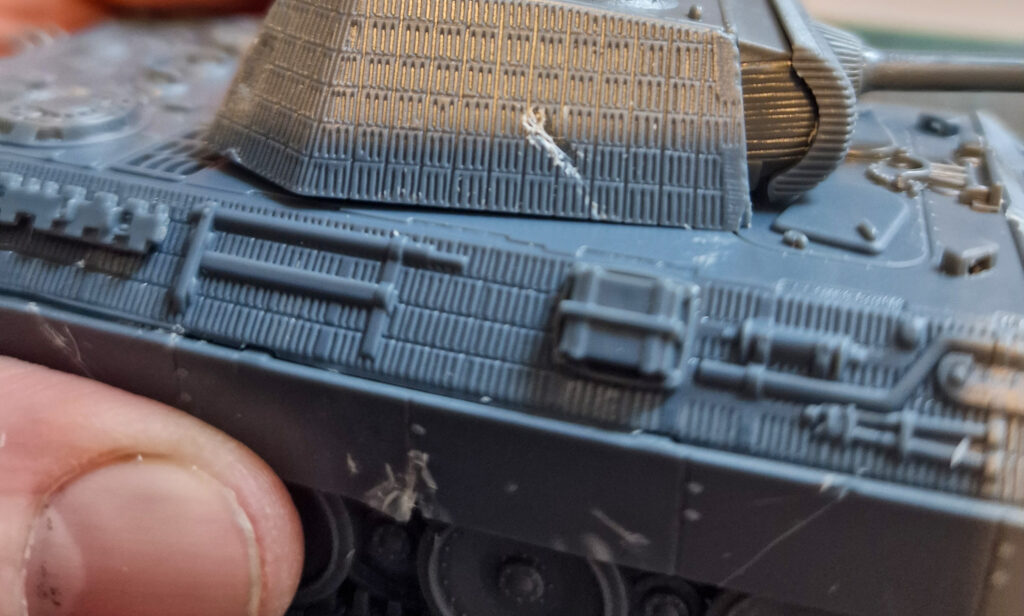
The turret section was pretty simple although, if you’d like to be able to elevate the weapon, be careful not to apply any glue. Follow the instructions and you can’t go far wrong.
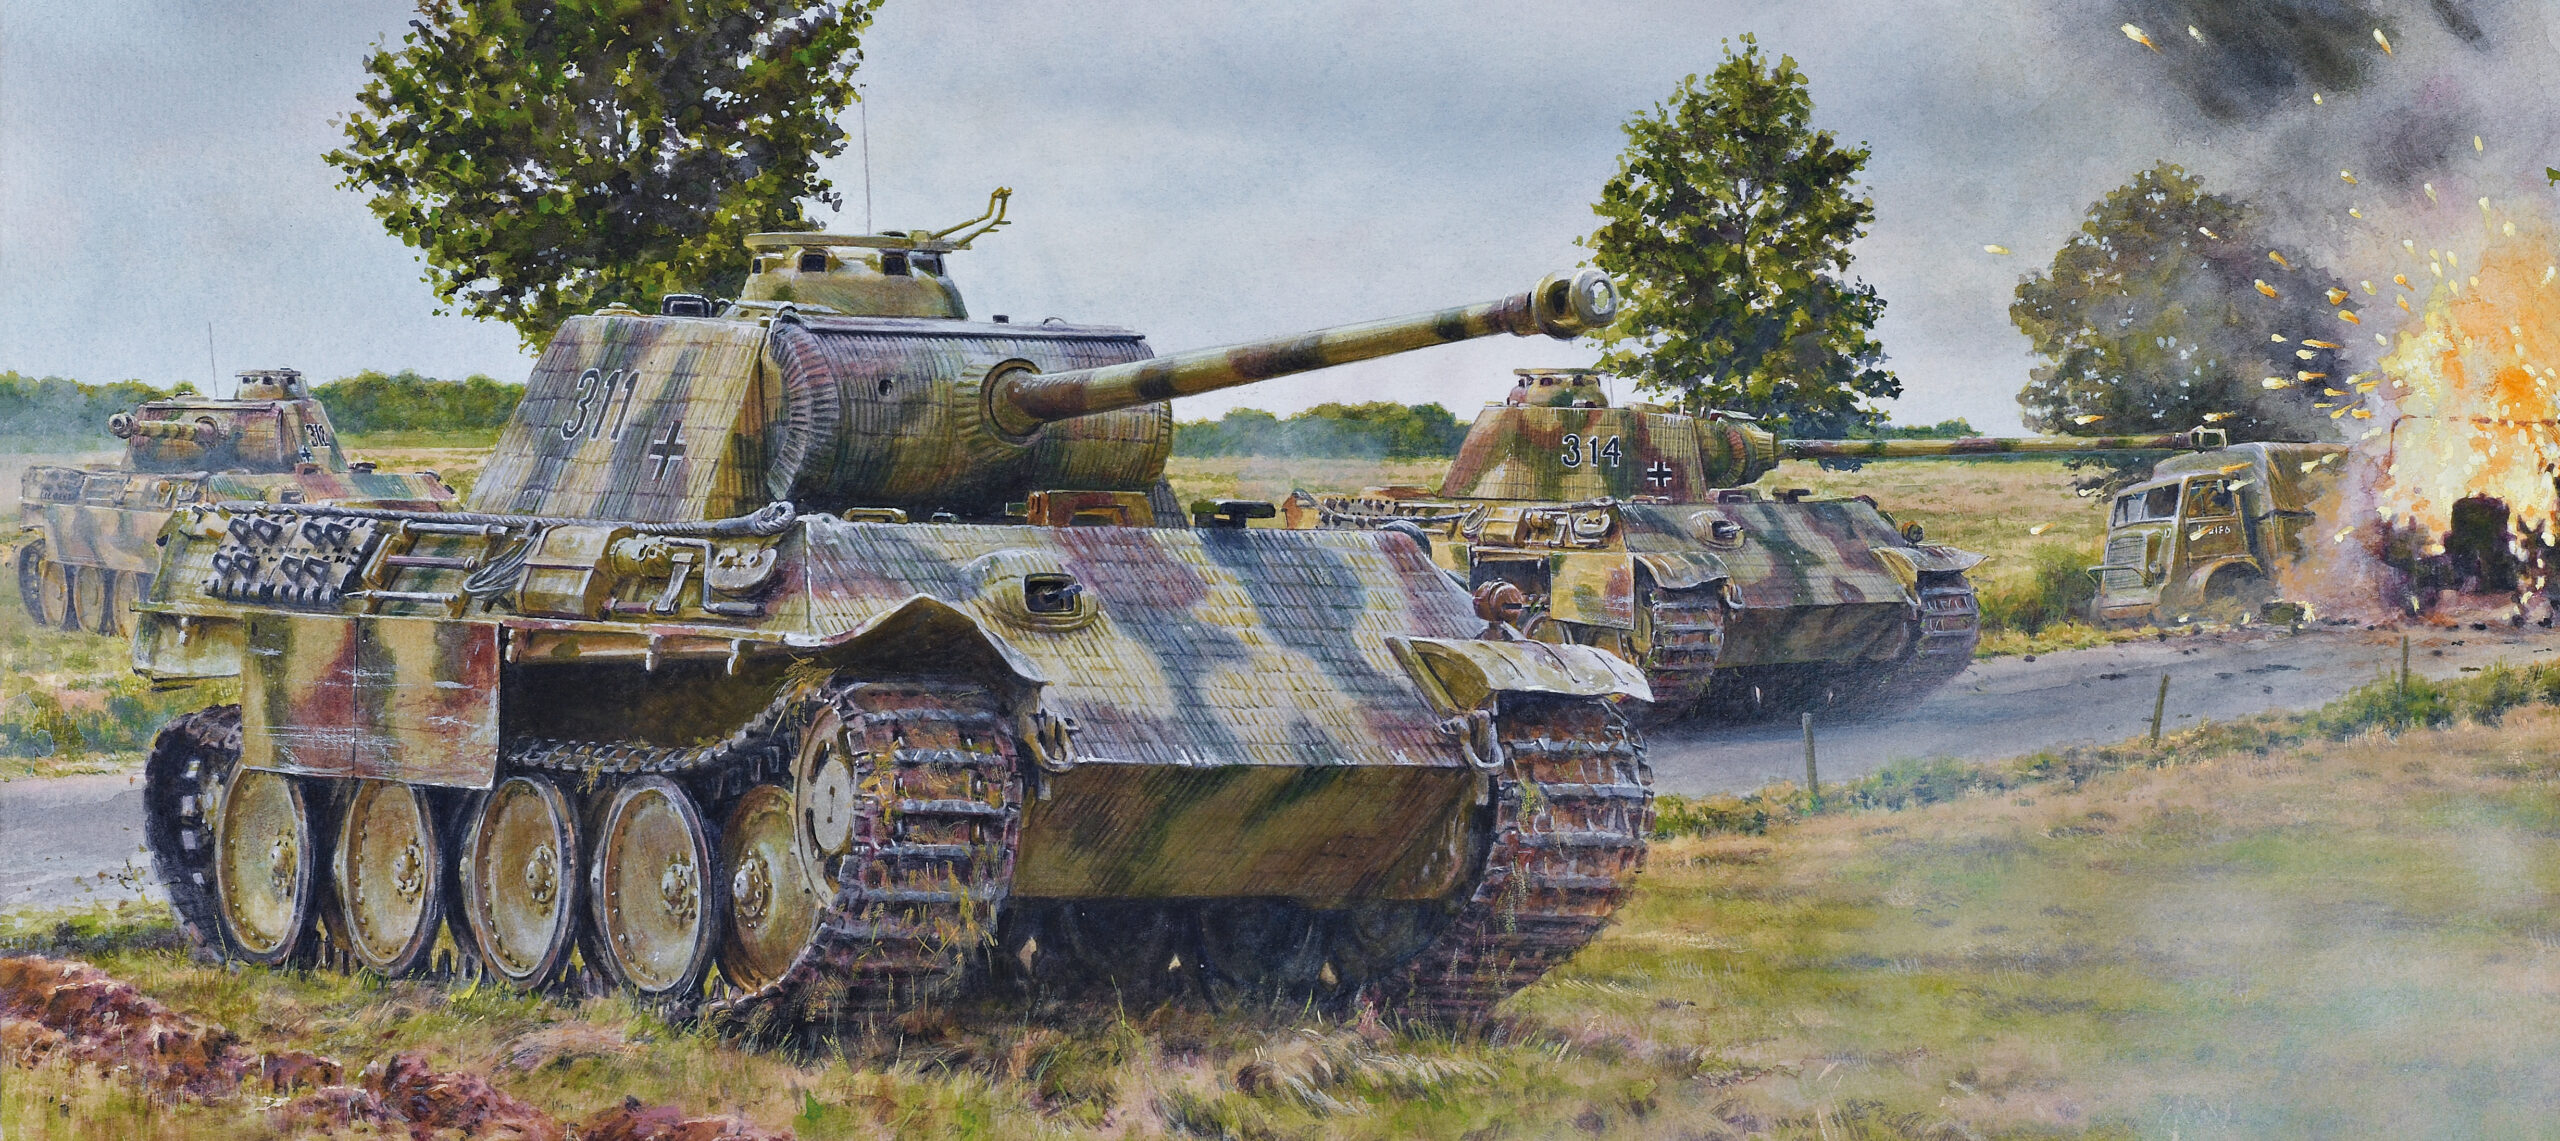
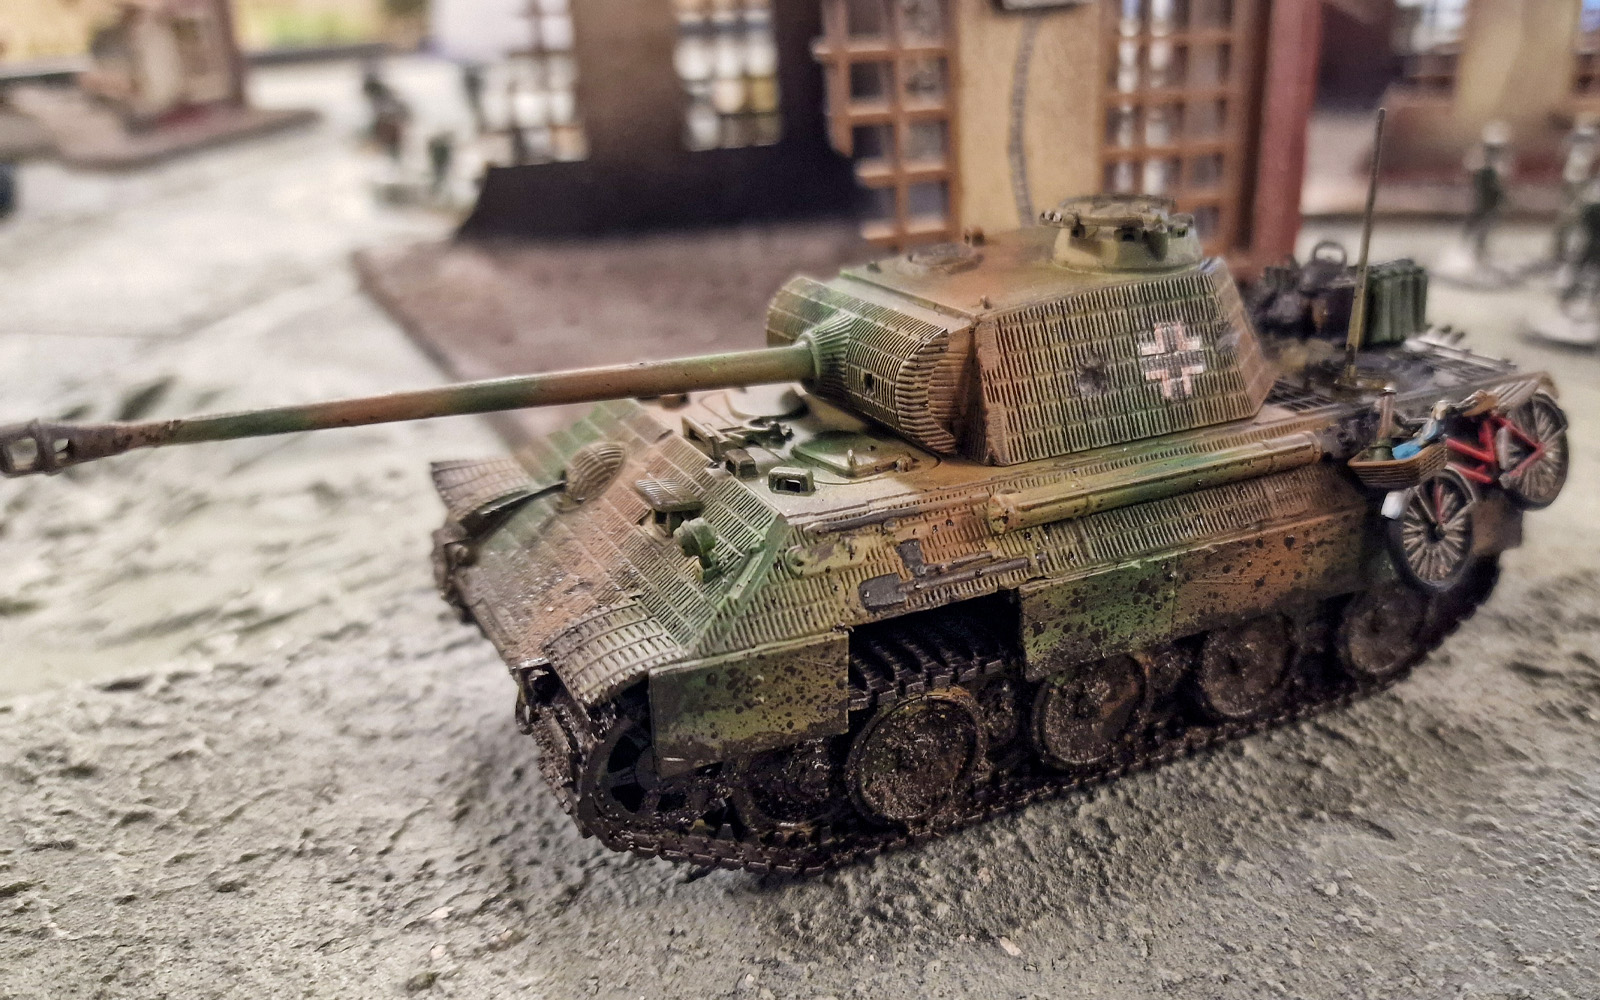
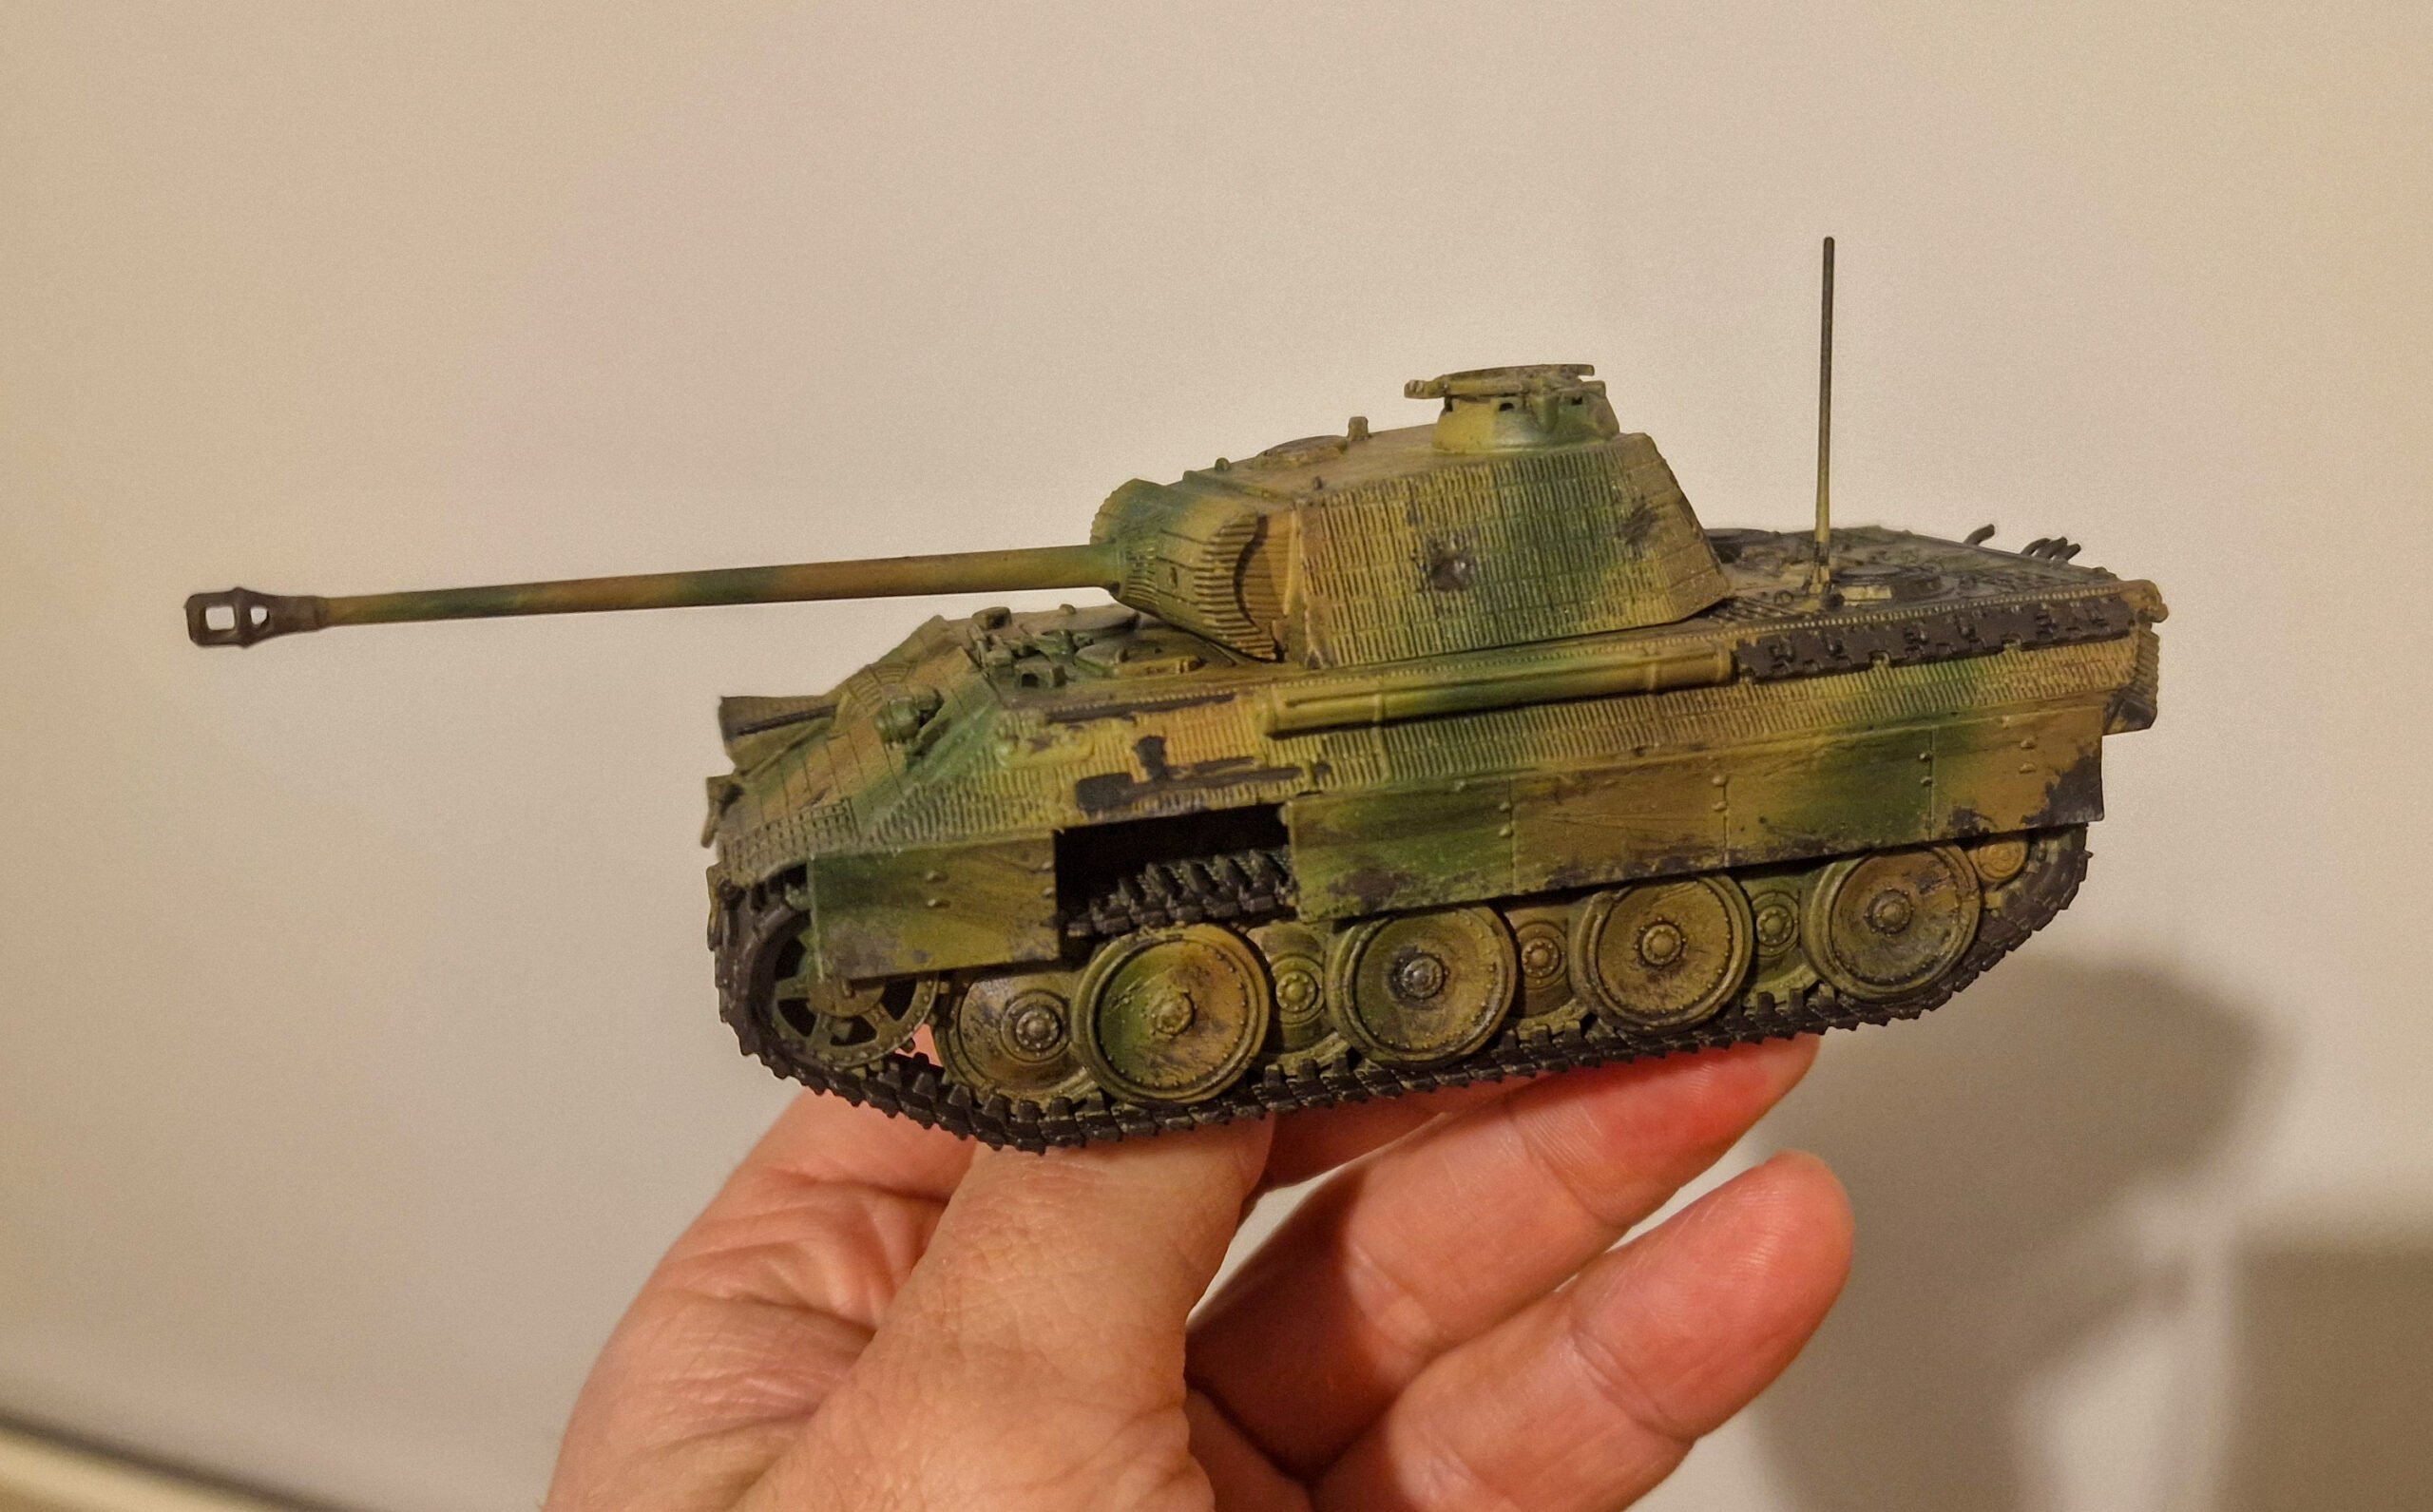
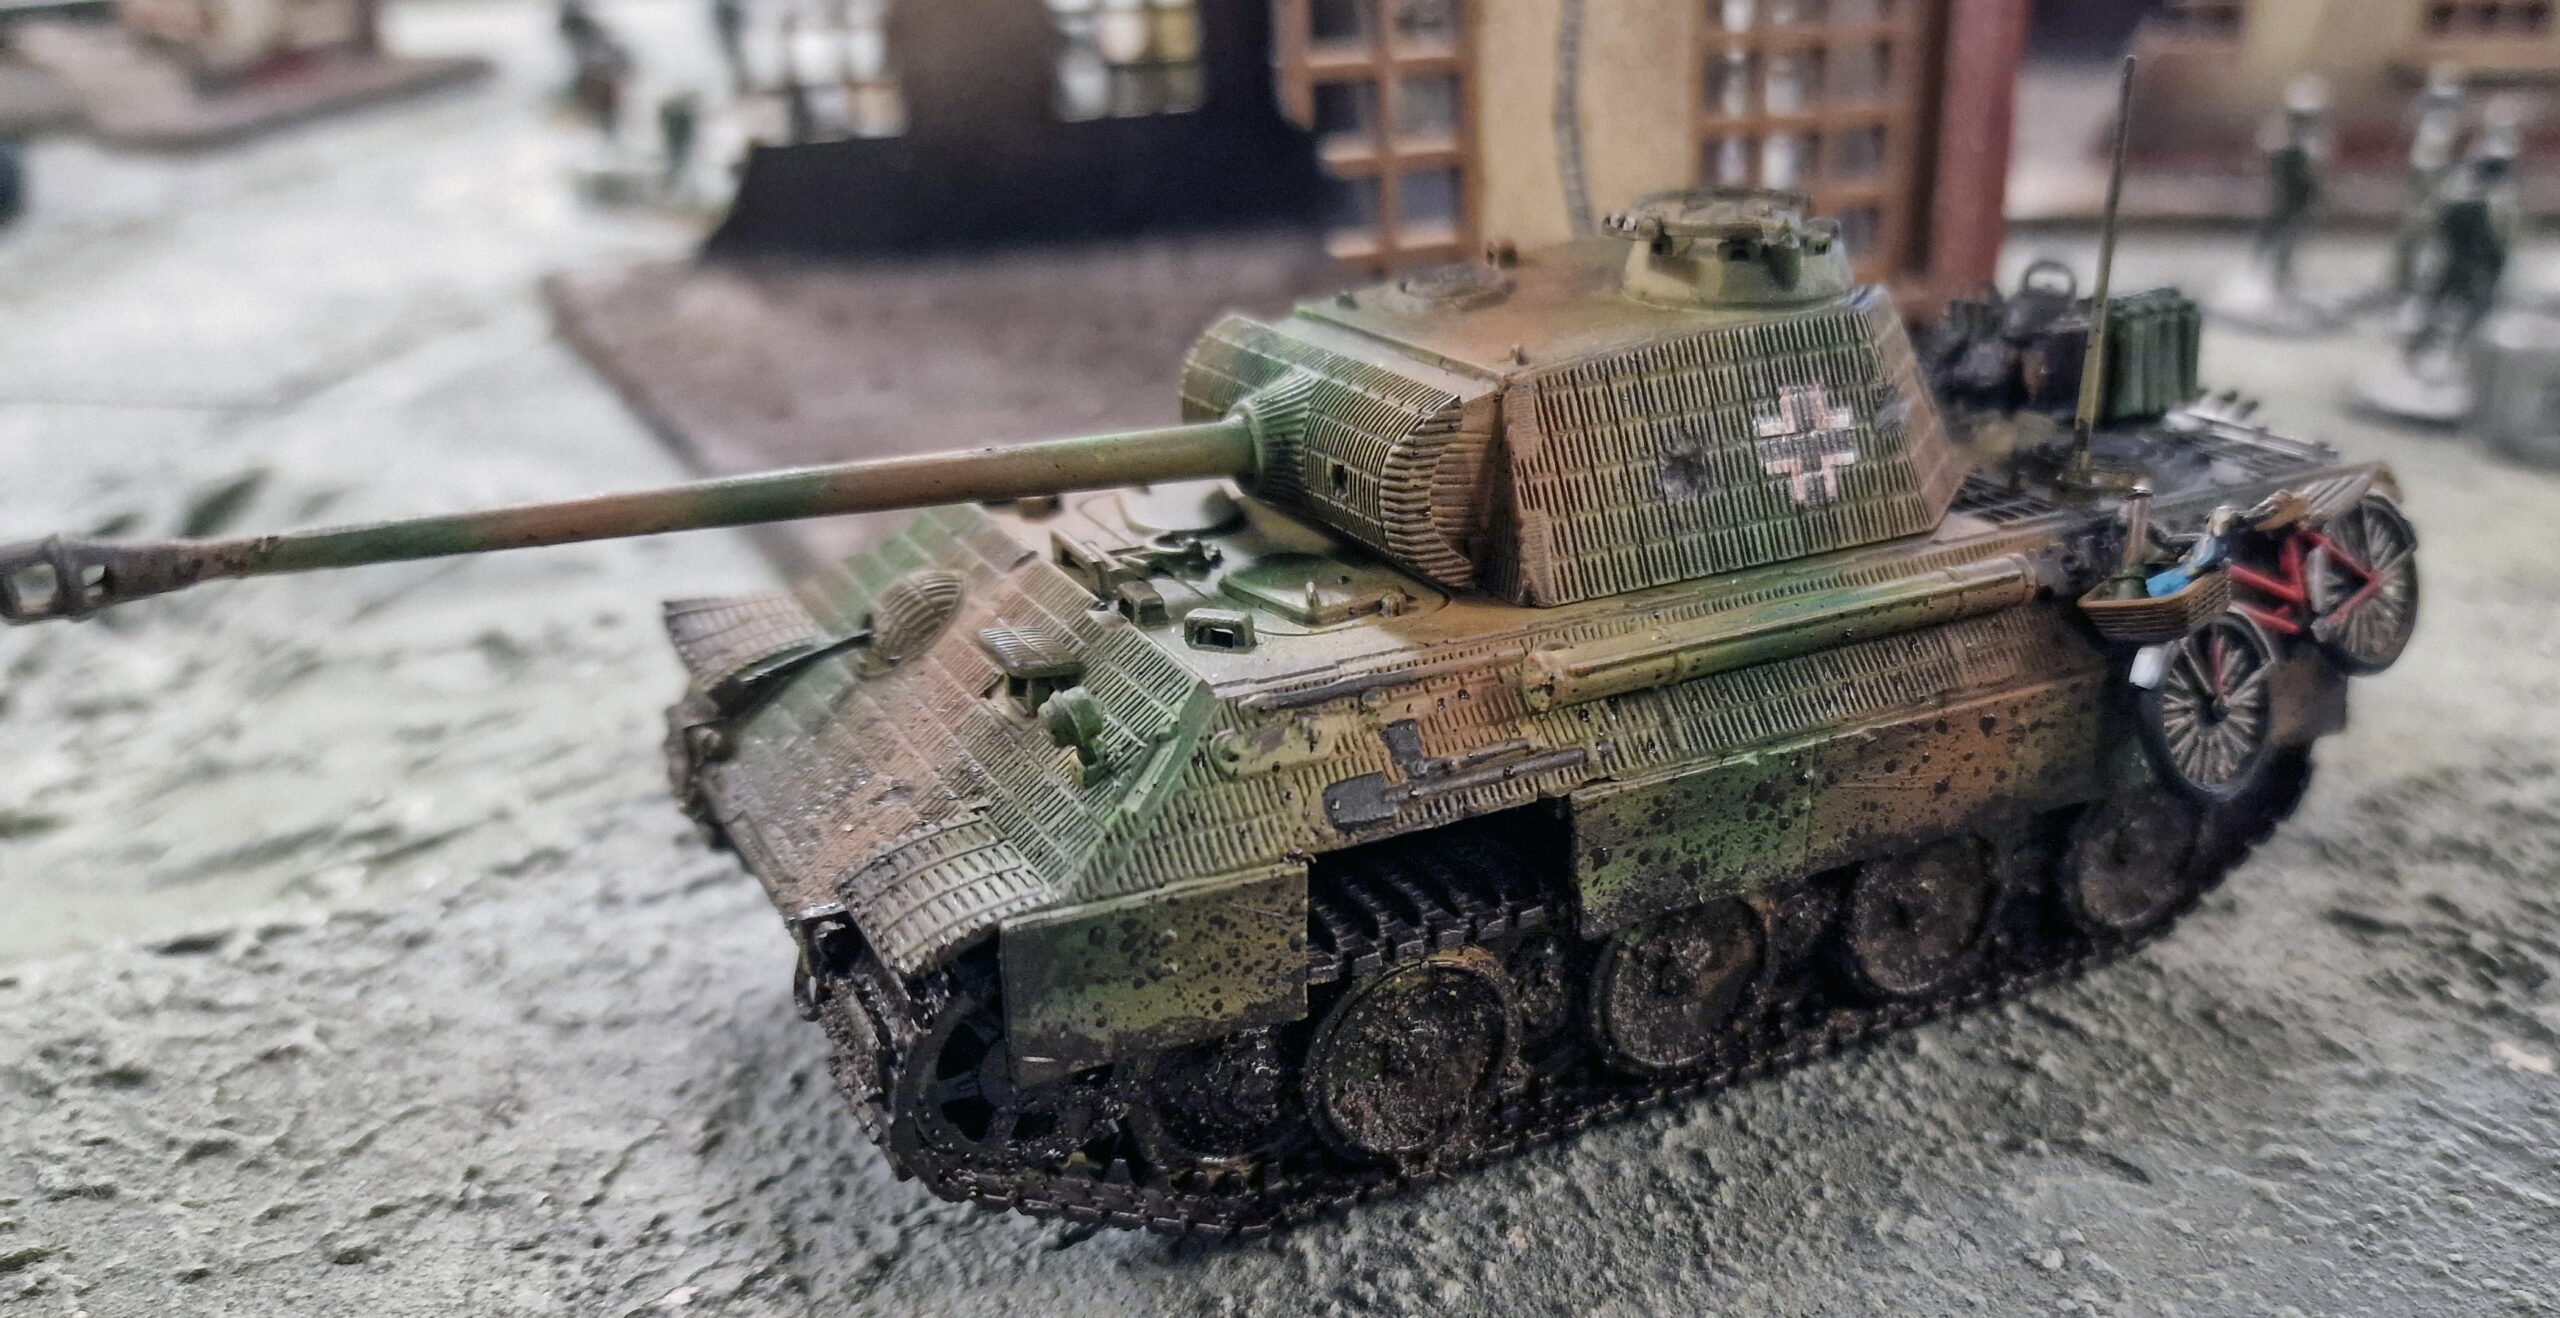
Once the main build was complete I decided to customize my tank to really make it my own. I wanted to match the box cover artwork (shown above), showing a battle-worn Panther. Using side cutters and a knife I carefully scratched and cut out impact holes in the hull and turret sections. I also cut a section out of the side skirt using the side cutters and bent the mudguards a little.
Painting
Once happy I proceeded to the painting stage, starting with a Black Primer I applied a white dry brush to make the edges pop. I wanted to try the chipping technique, starting with a basecoat of Vallejo German Camo Black-Brown I then applied some cheap hair spray. Once dry (leave it at least 30 minutes!) I applied a new coat using Vallejo Yellow Ochre, and supplemented it with stripes of the iconic green and brown (Vallejo German Camo Bright Green and Vallejo Flat Earth respectively), using an airbrush. Once this was dry I began the chipping, simply using a wet paintbrush to carefully scrape away the paint, concentrated towards edges where chipping is more likely to naturally occur.
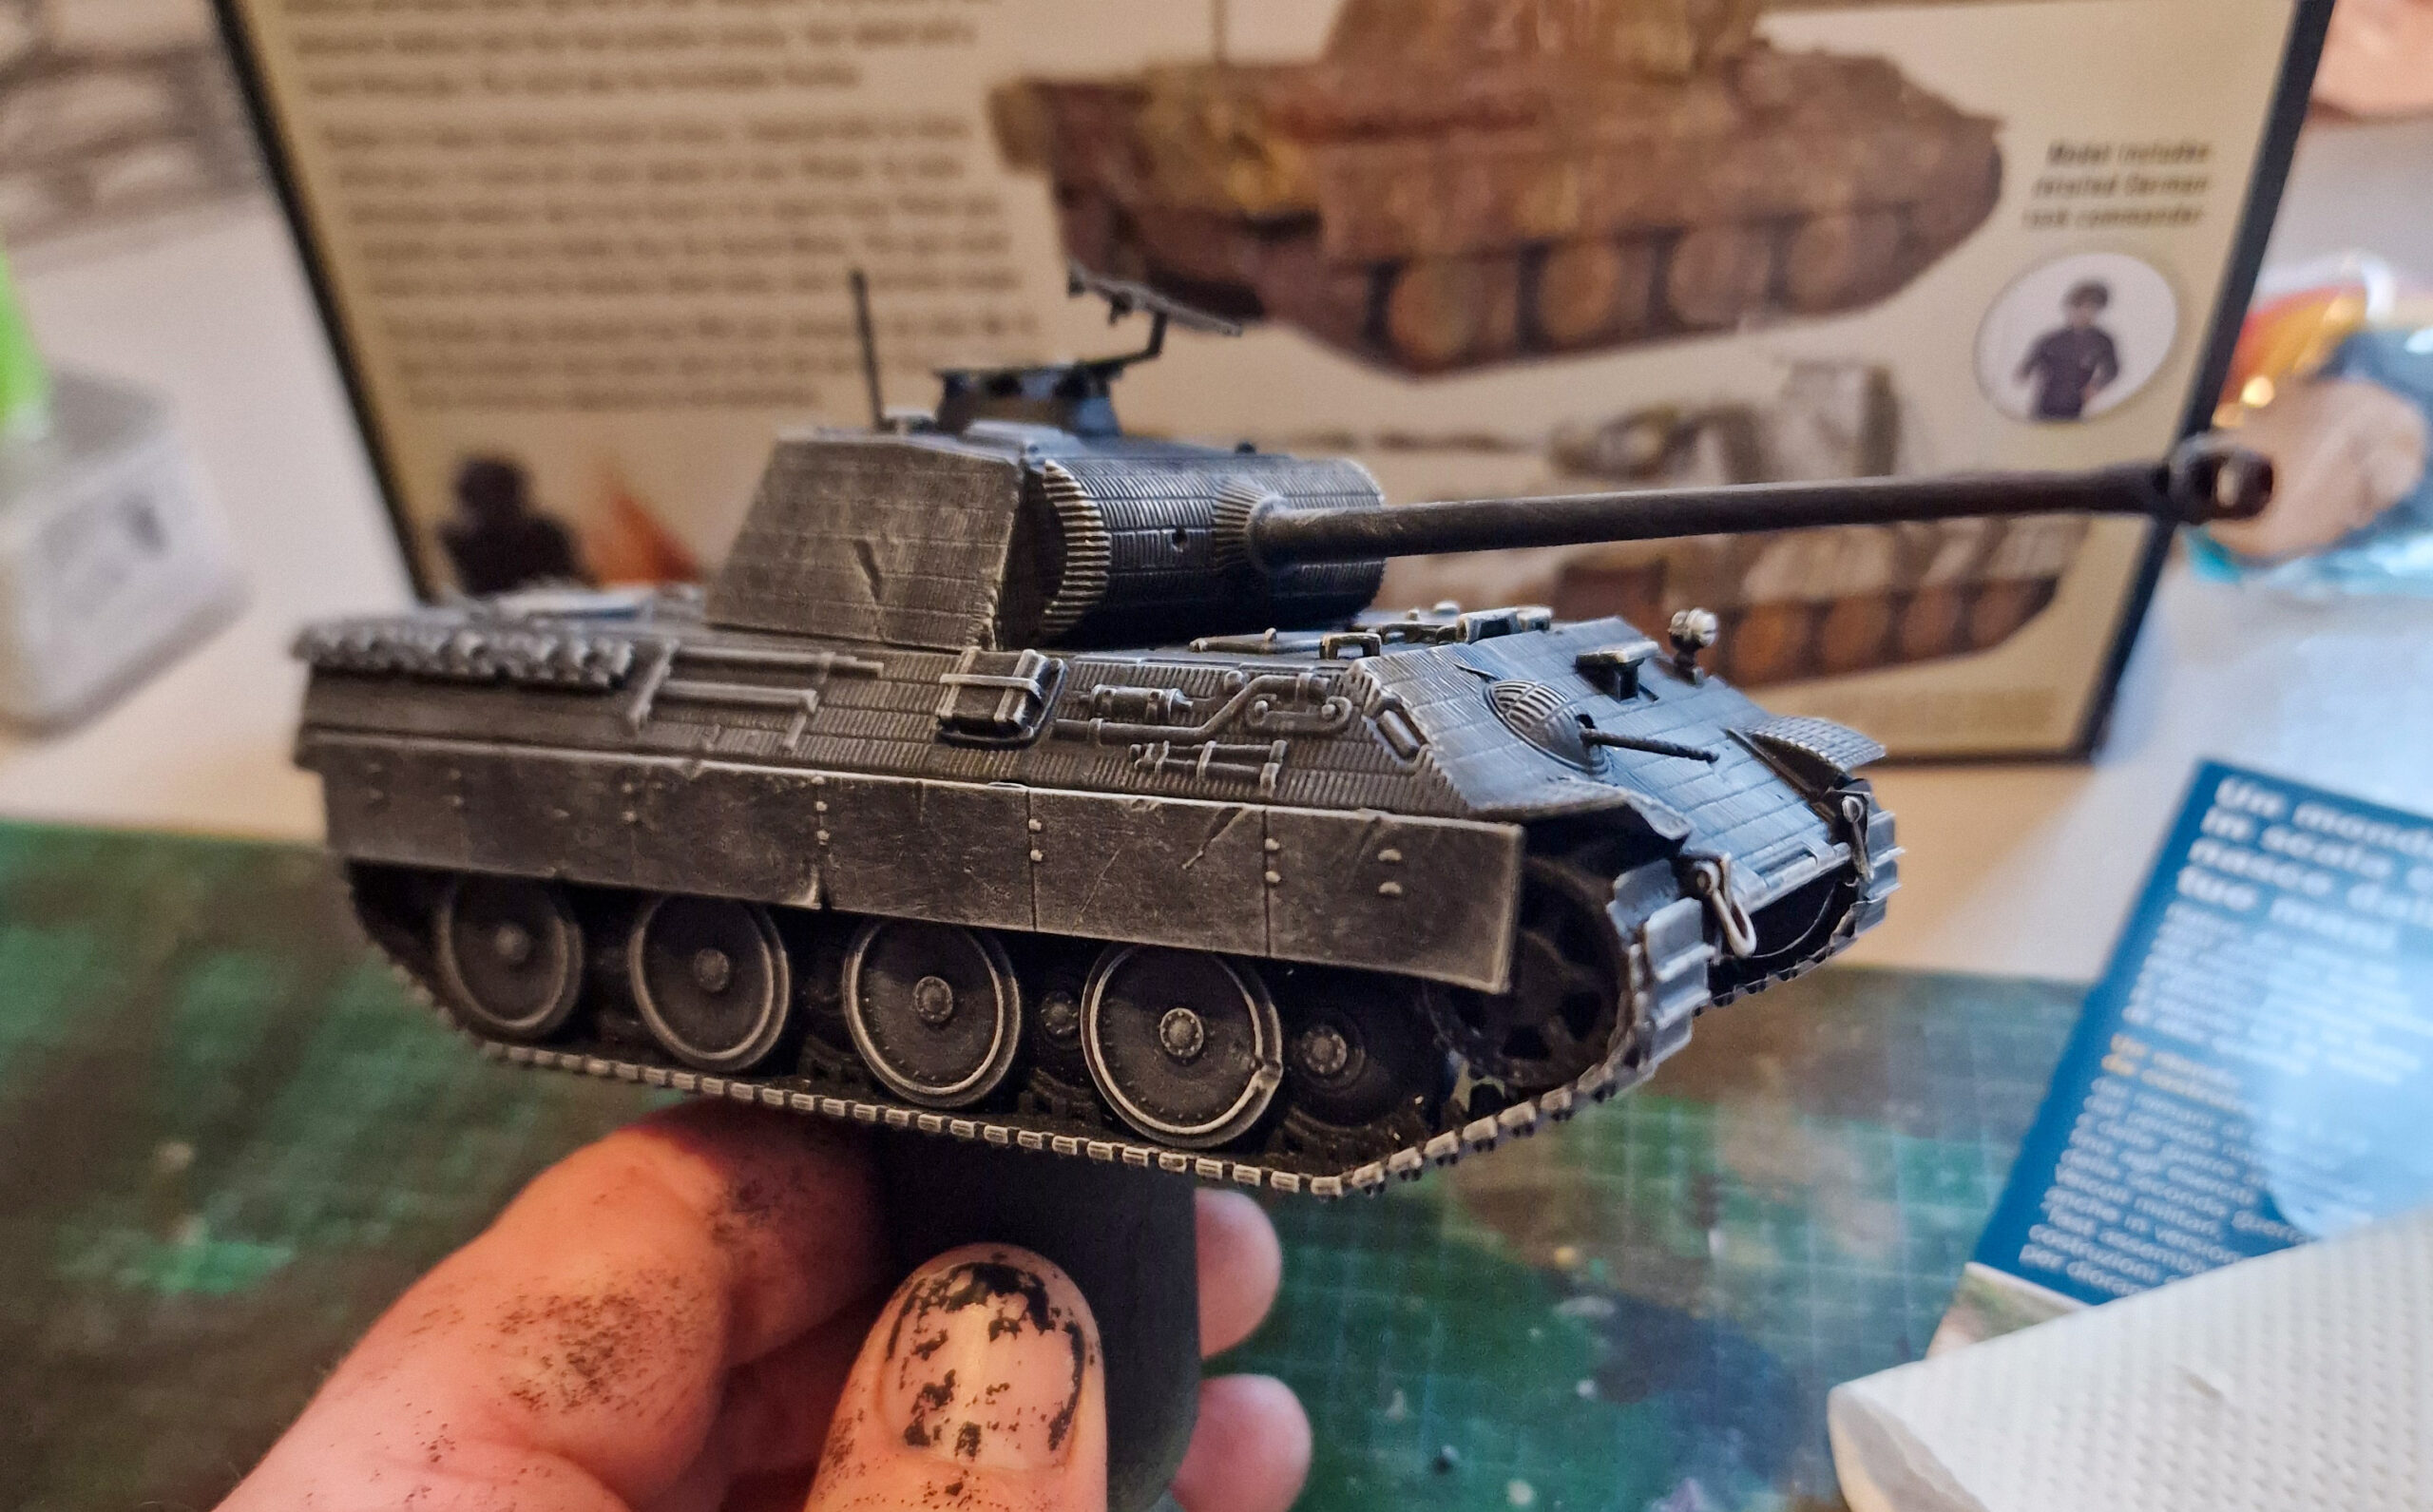
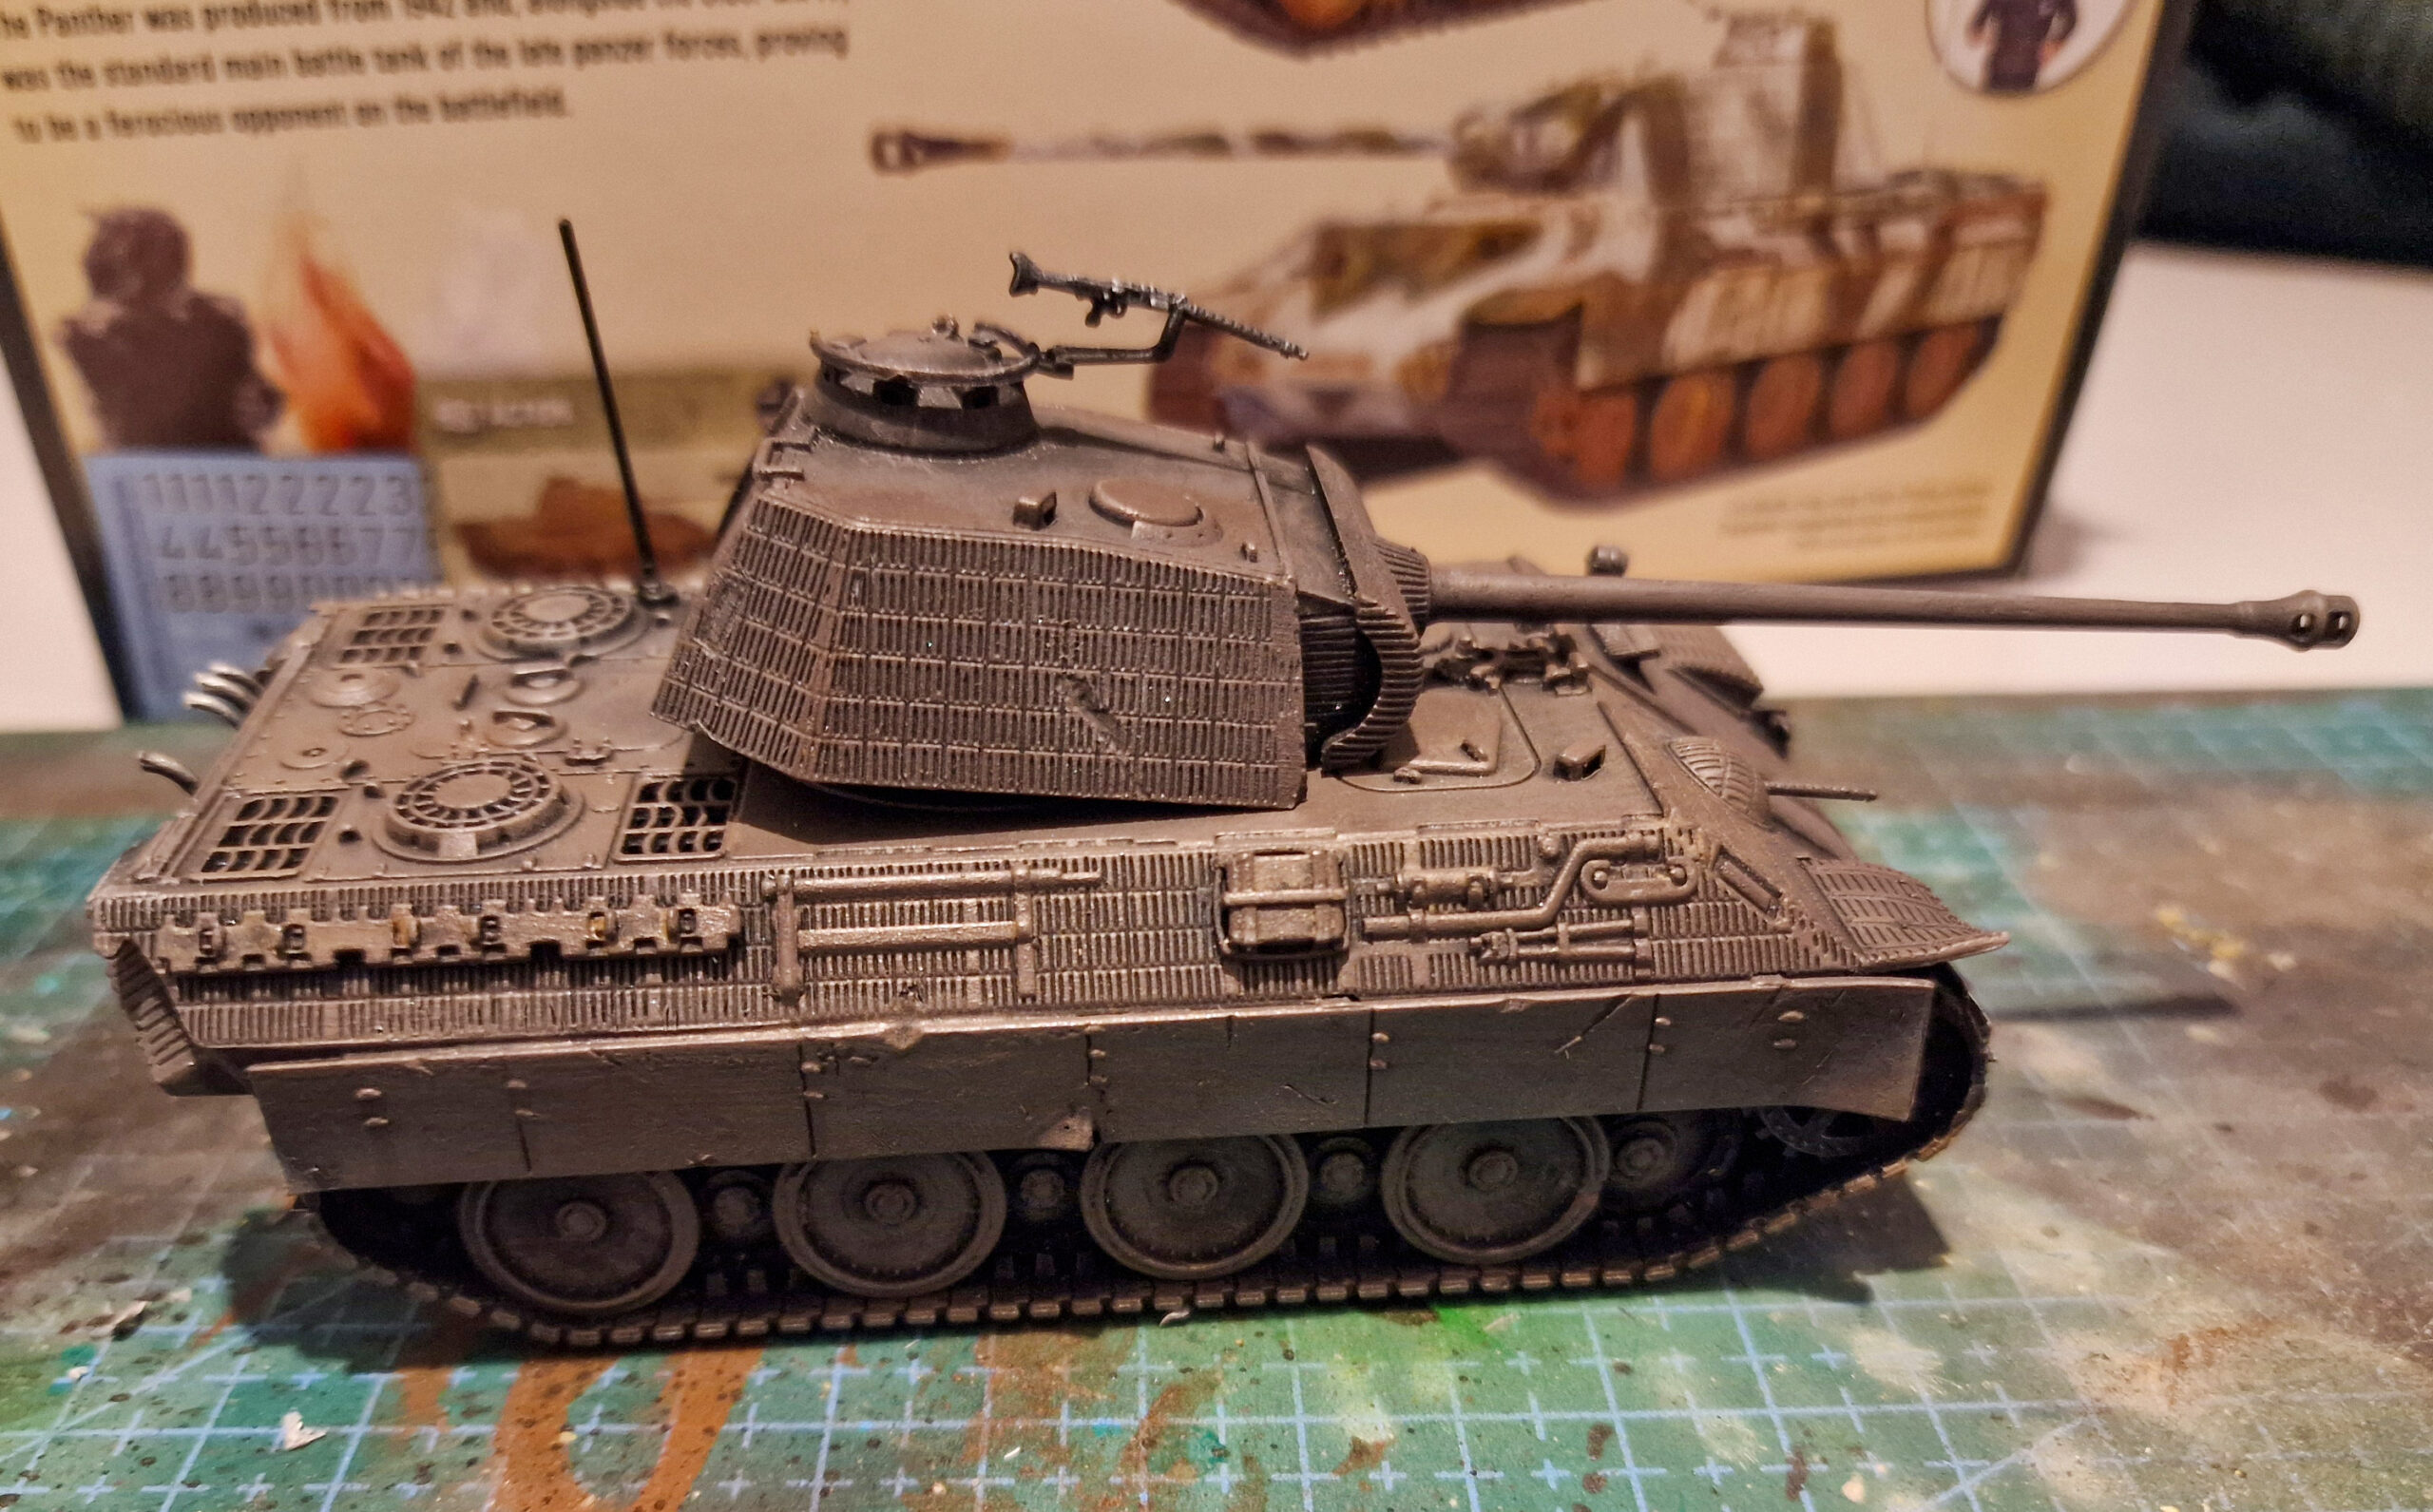
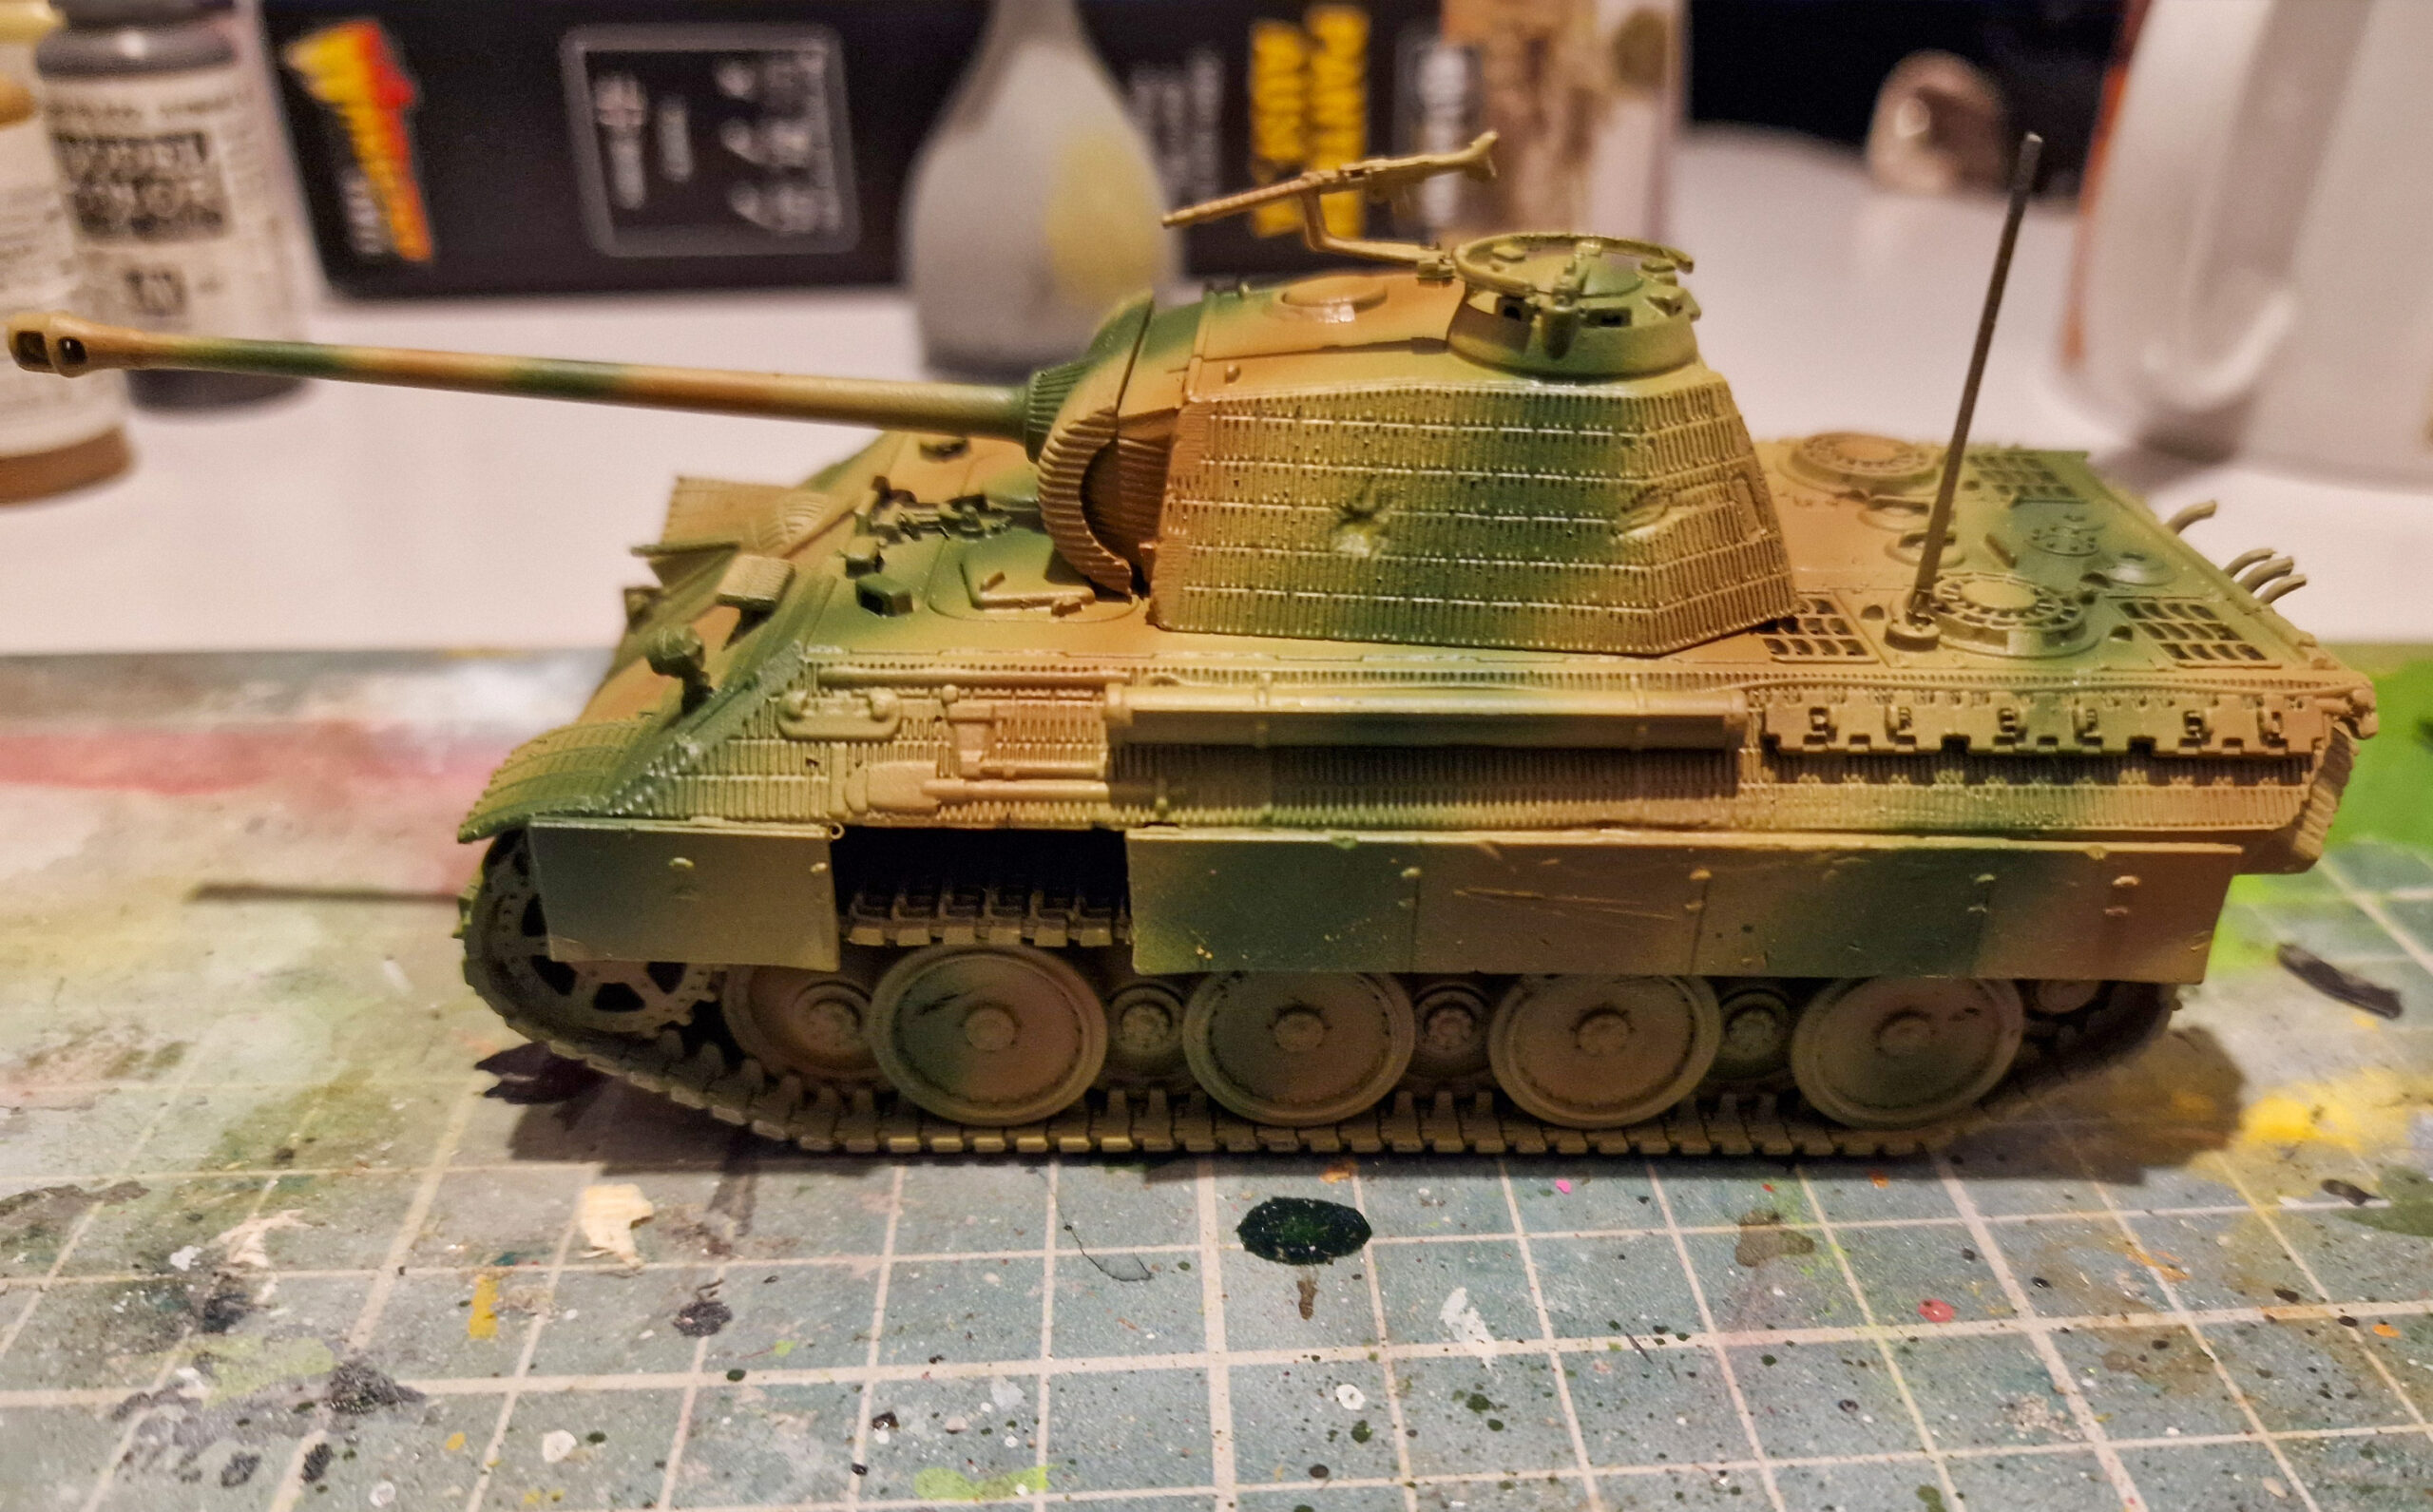
I then washed the entire tank with a dark brown mixture (my own concoction of one part Vallejo Black Game Wash, one part Citadel Agrax Earthshade and one part Vallejo Airbrush Thinner). Then I highlighted the striped areas using the original colours.
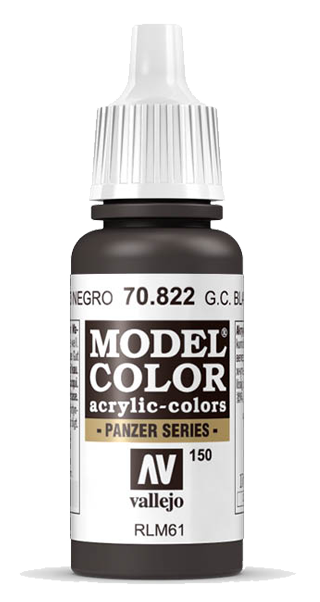
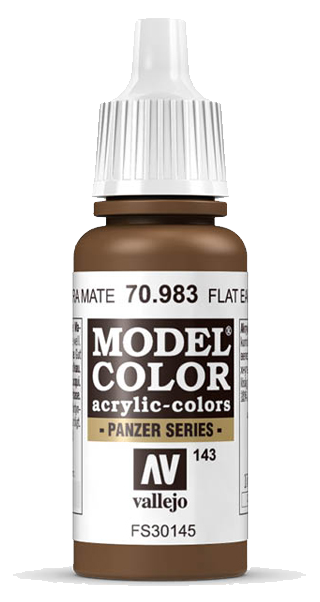
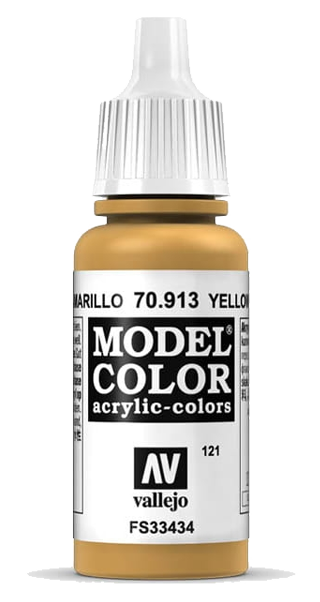
Dave’s Key Paint Colours
Final Touches
After applying decals to the turret section, I added a mud effect using AK Wet Mud Paint, but a similar effect could be achieved by mixing Vallejo German Camo Black-Brown with a few drops of gloss varnish.
I was also fortunate enough to have early access to some of the accessories from the stowage packs that will be found in Blood & Steel and the new Achtung Panzer! tank forces, so for a final touch I painted some up and added a few.
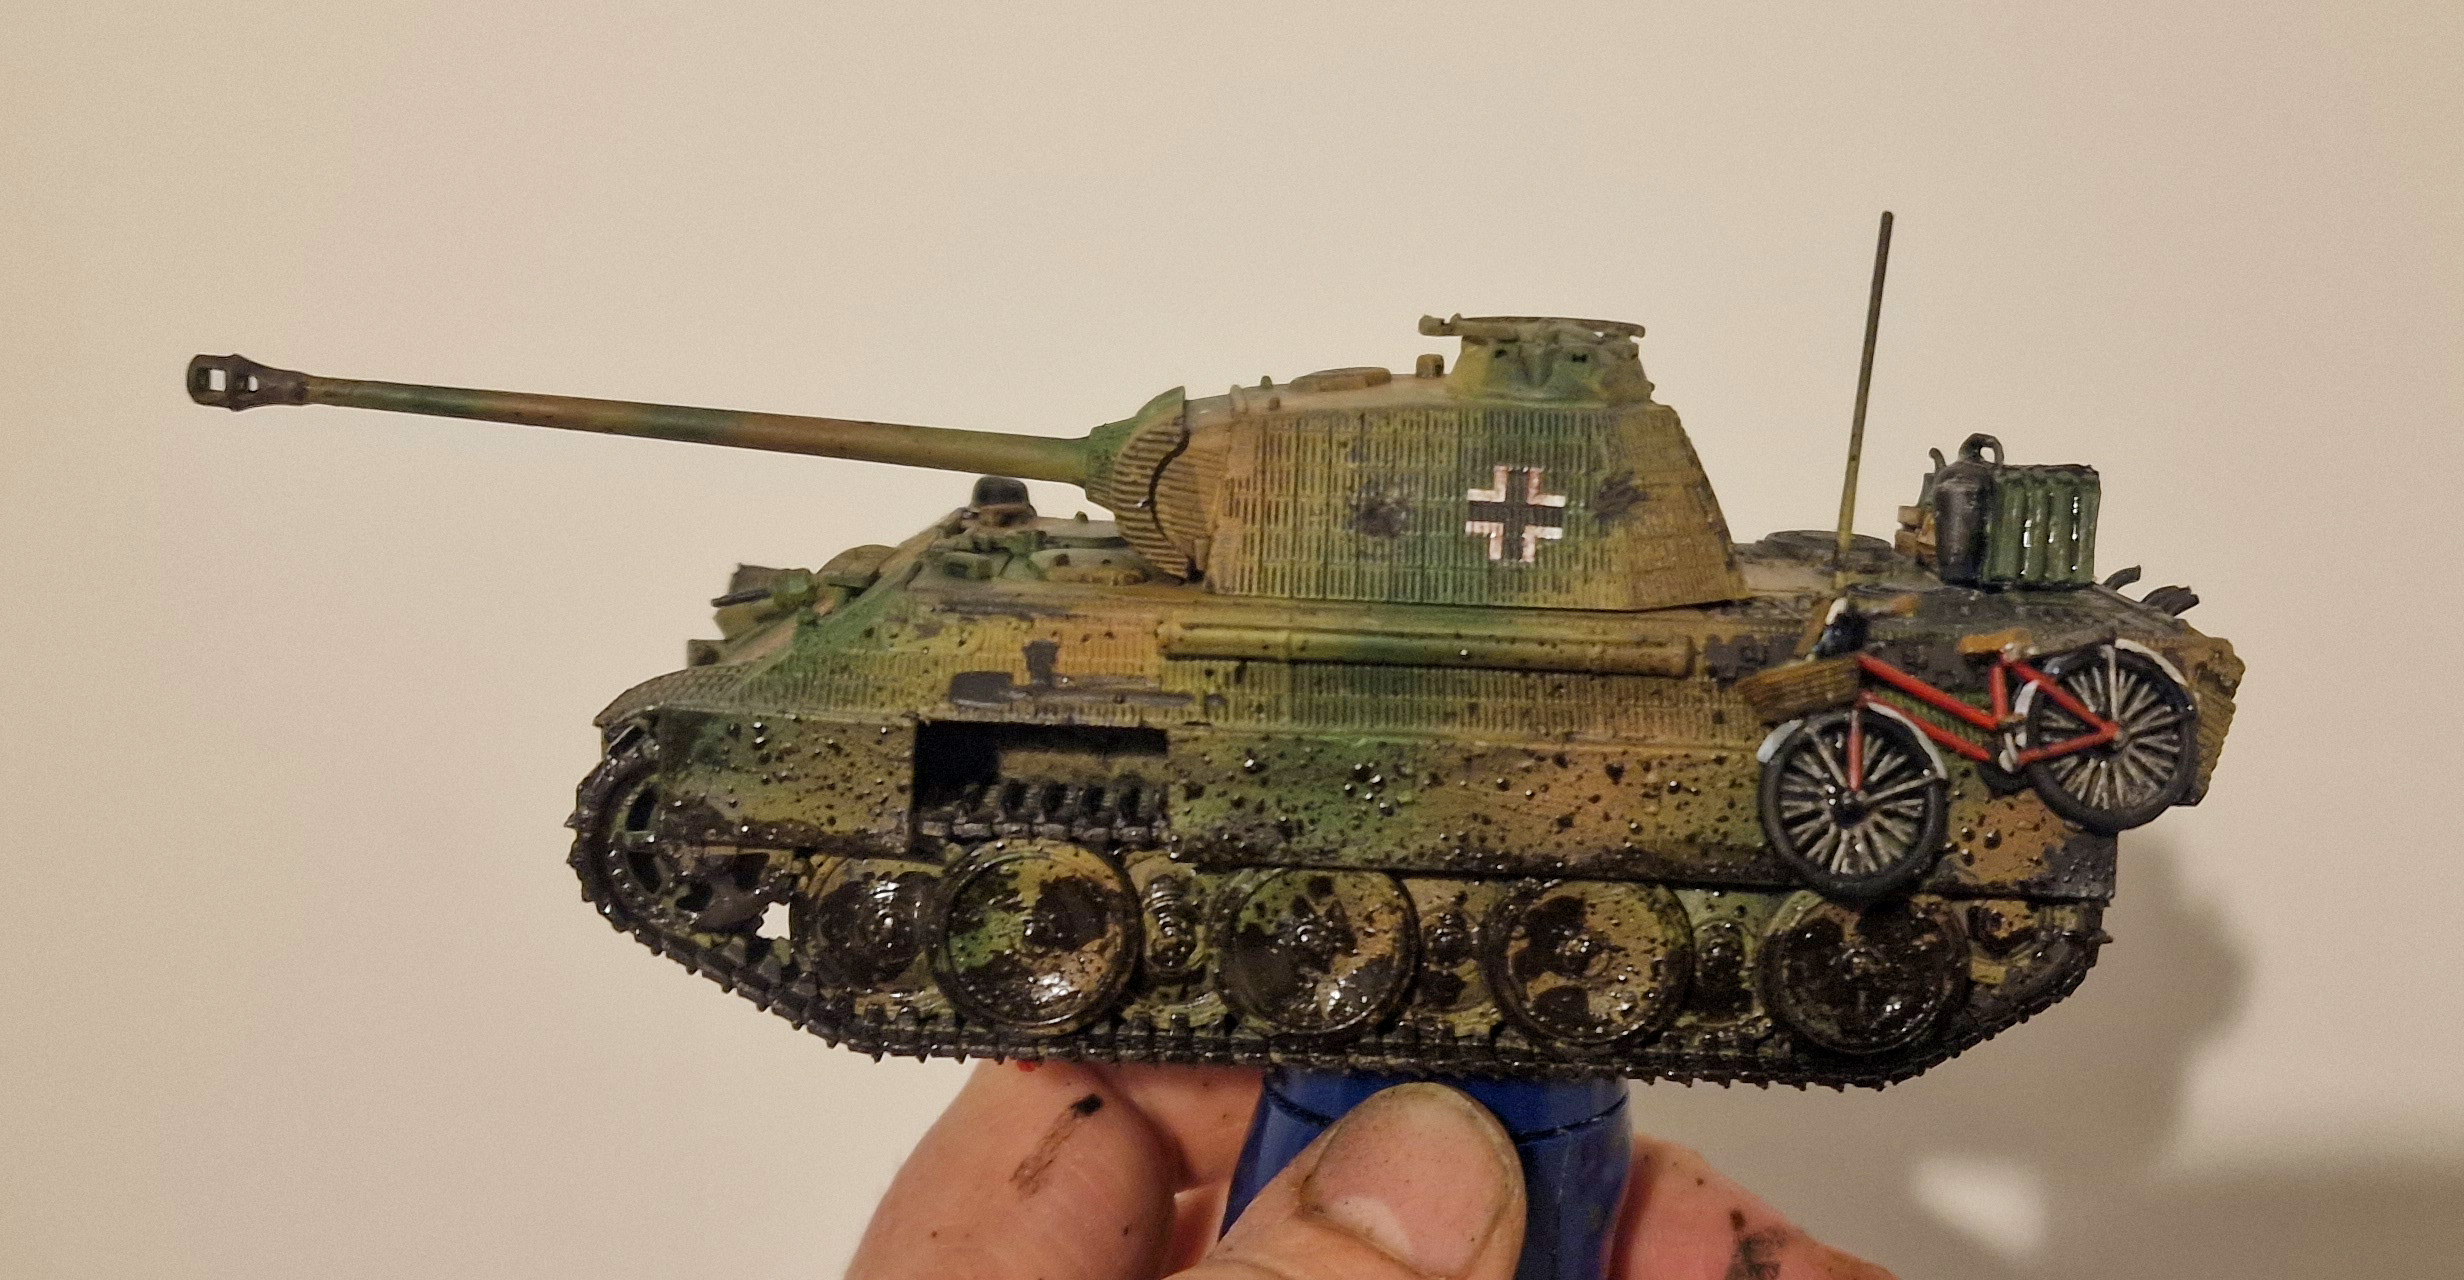
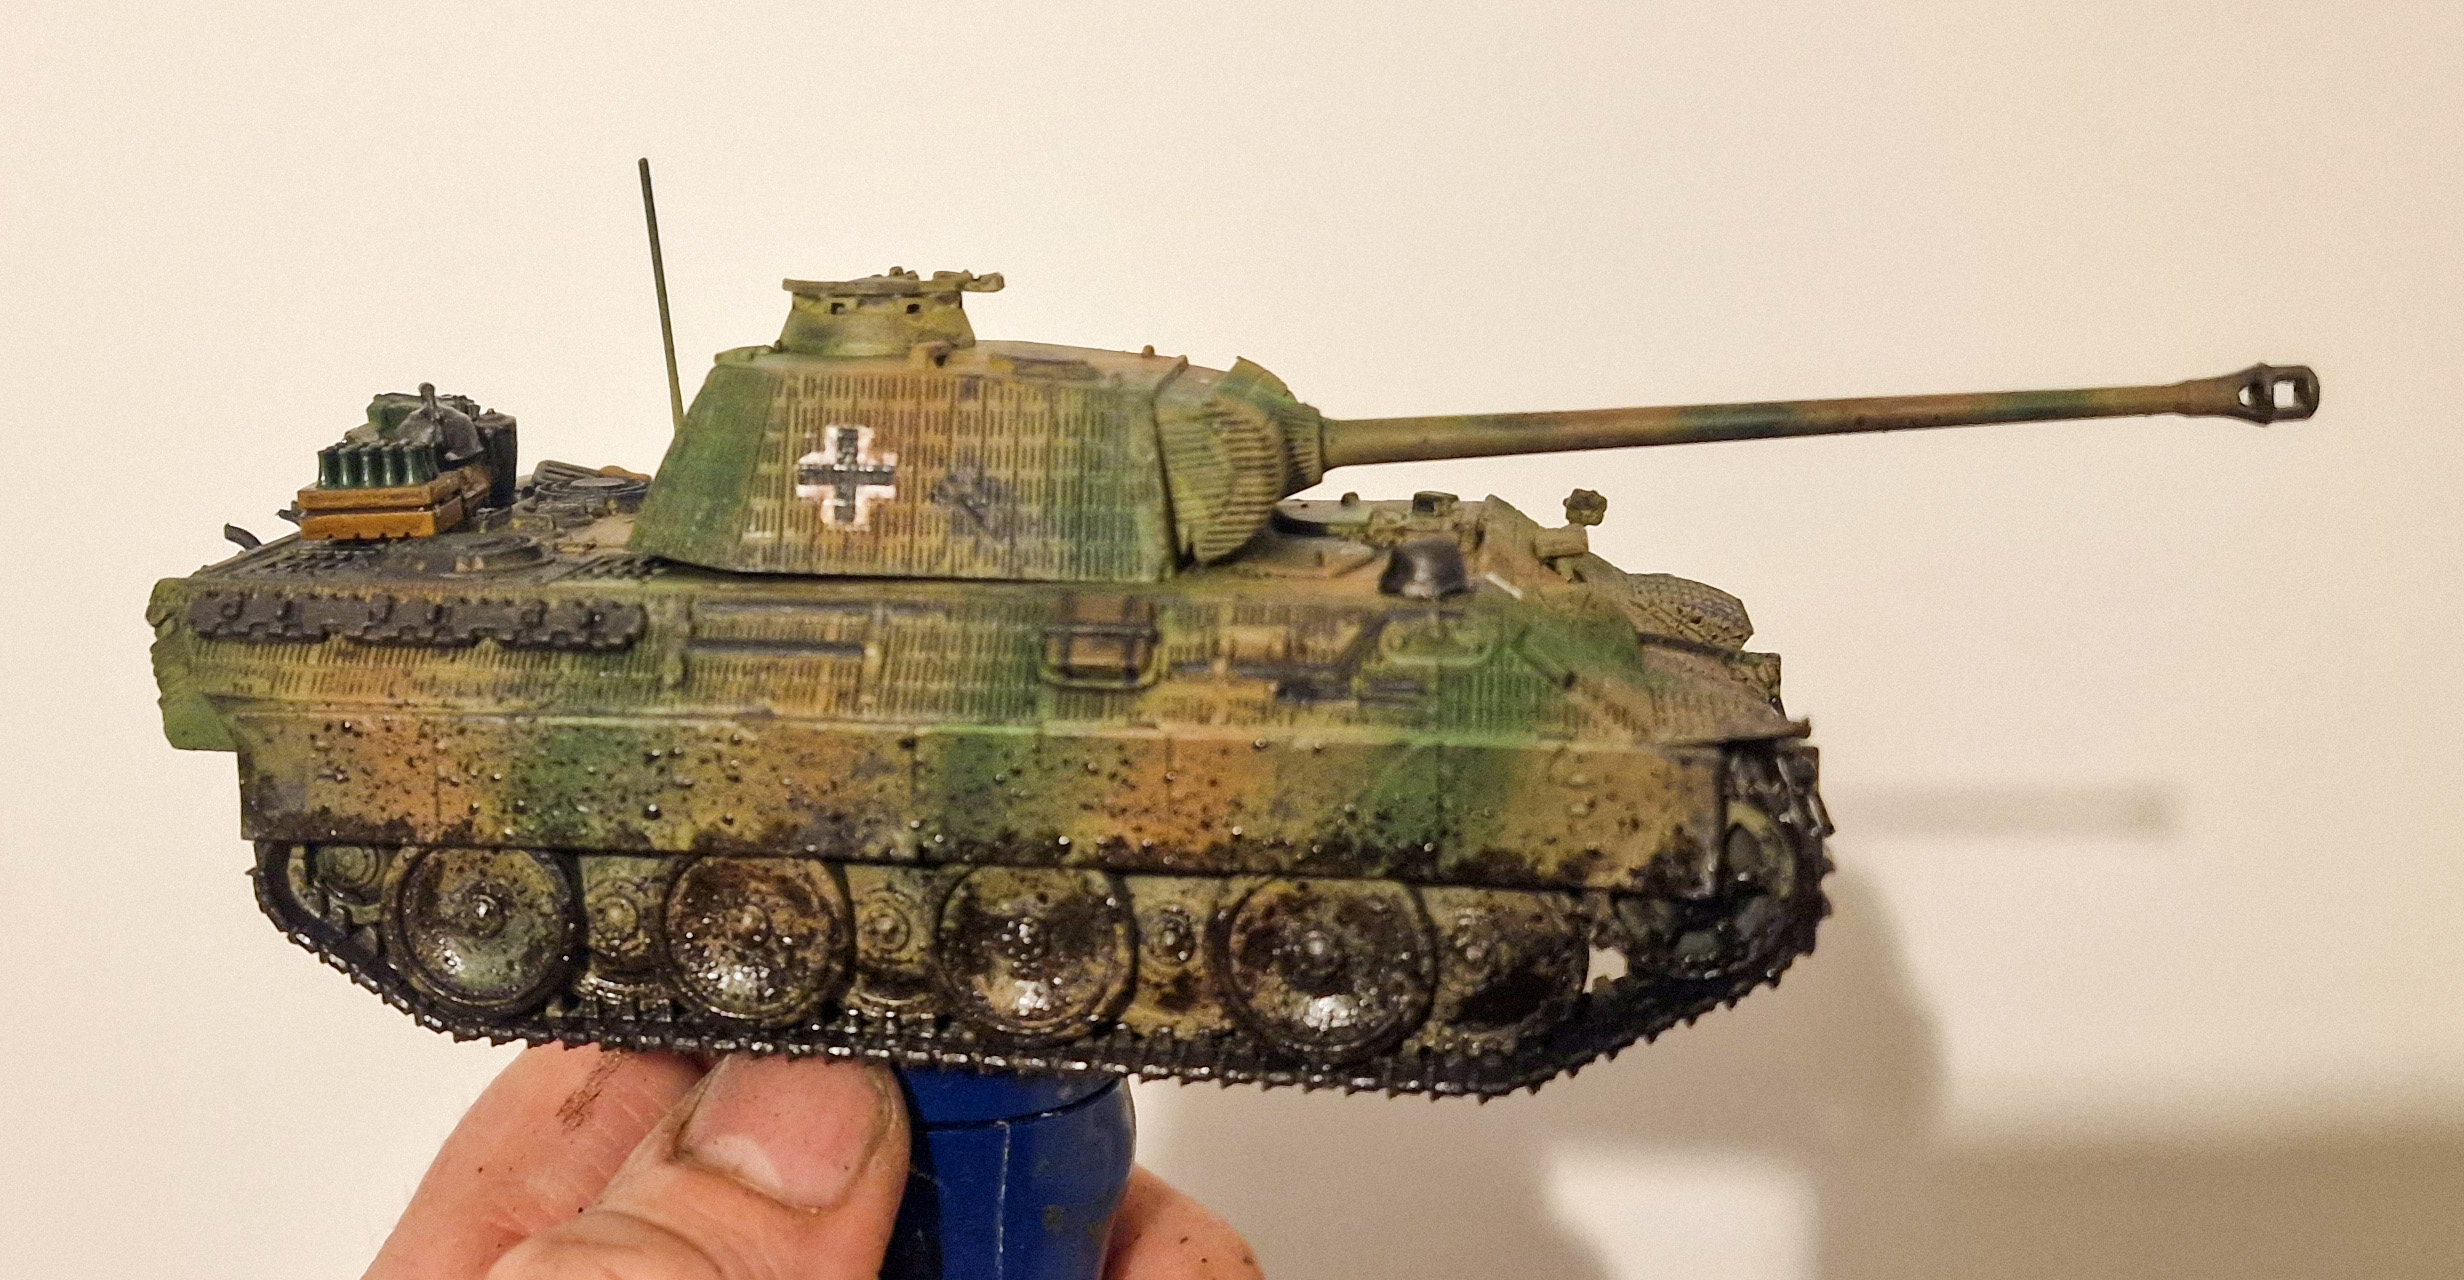
And with that, the Panther is ready for battle. I can’t wait to unleash it in the upcoming mega-game.
Dave is a recent addition to the Warlord Games family. As part of the events team, he’ll be hoofing it up and down the country, so if you spot his bright blue shirt at a wargaming convention, be sure to stop and say hello!
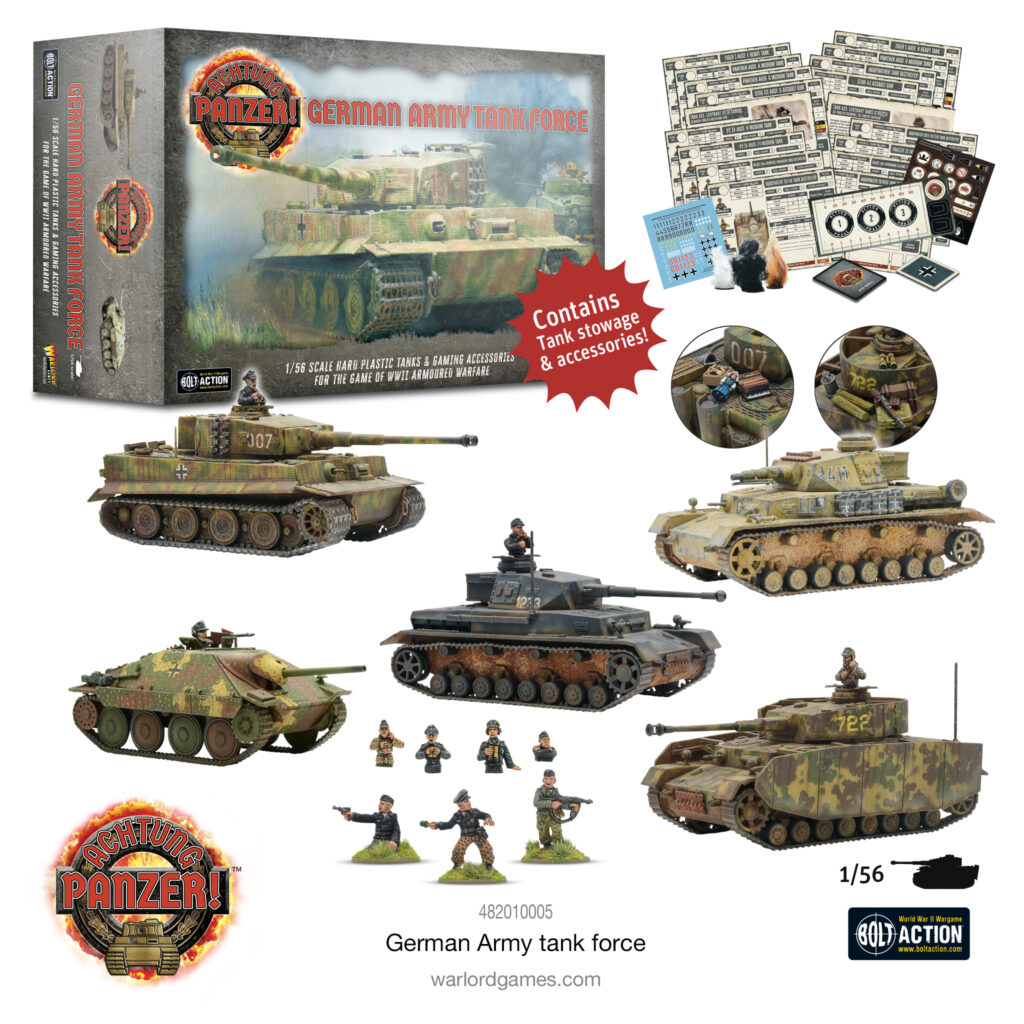
Achtung Panzer! German Tank Force
The Achtung Panzer! German Army Tank Force provides five legendary German tanks with which to take on Allied armour. With a rock-solid core of hard-hitting late-model Panzer IVs mounting long 75mm guns and capable of dealing with whatever the Allies throw at them, backed up by the anti-tank punch of a Hetzer tank destroyer and the infamous armoured might of a Tiger I to anchor your platoon, this force is more than capable of taking on the best the Allies can bring to bear. With plenty of long-ranged punch at your disposal, your enemies will learn to fear open ground!
Alongside the five great plastic vehicle kits (and a fantastic set of characterful stowage items), the included Germany-specific Asset cards, plus Datacards for 16 different tanks (letting you field the full armoured fury of the Wehrmacht), Tank Ace and Ace Skill cards, game tokens and markers along with mounted and dismounted tank crew figures give you the resources you need to tackle the foes of the Fatherland. Panzer Marsch!
Also Available
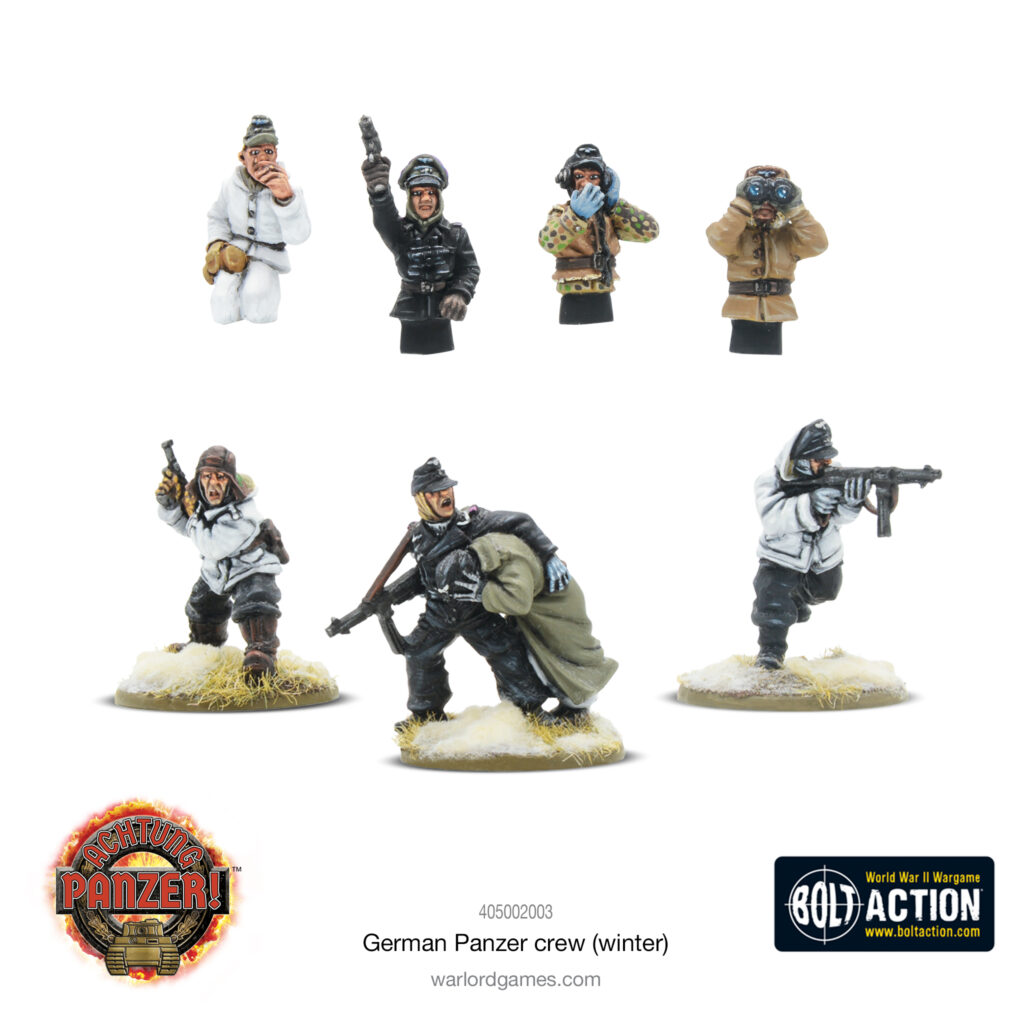
The perfect way to jump into Achtung Panzer! on the side of the Axis, the Achtung Panzer! German Collection nets you both the Blood & Steel starter set and the German tank force detailed above, along with an extra set of German Panzer crewmen (both mounted and dismounted) included for free! The crew are also available separately, for added customisation options or to use in Bolt Action as footsloggers who’ve been forced to abandon their armour in the field. There’s also a Winter version of the crew, for those battles in less… tropical climes.