With the release of Achtung Panzer! approaching a group of us decided to take the plunge and put together a tank for the new game (or more if the mood took us) and write up our experiences.
I will start by saying that painting vehicles has always held a certain amount of trepidation for me. All of my Bolt Action forces are infantry-dominant. The addition of a Tetrarch to my British Airborne was a big deal, plus a couple of Chi-Ha tanks have been my only experiences of putting together anything approaching ‘proper’ tank models.
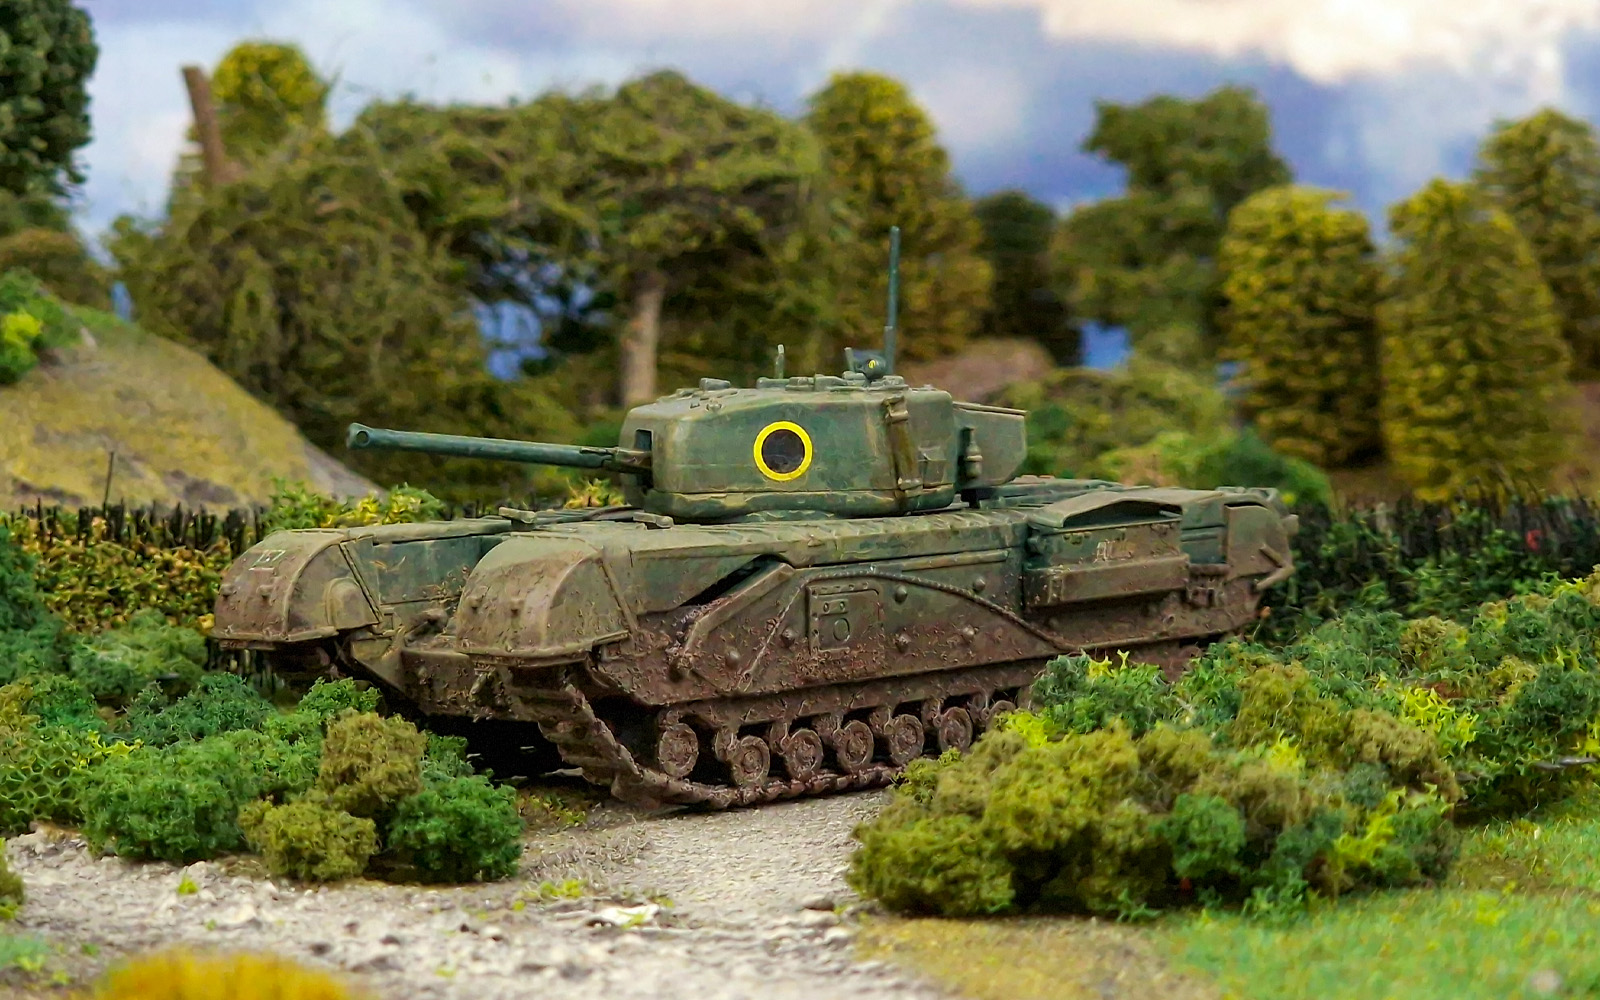
When given the choice for Achtung Panzer!, it had to be a Churchill. I may not be a tread-head, but I know these look like good, honest bits of kit and, importantly, can take some hammering in the game.
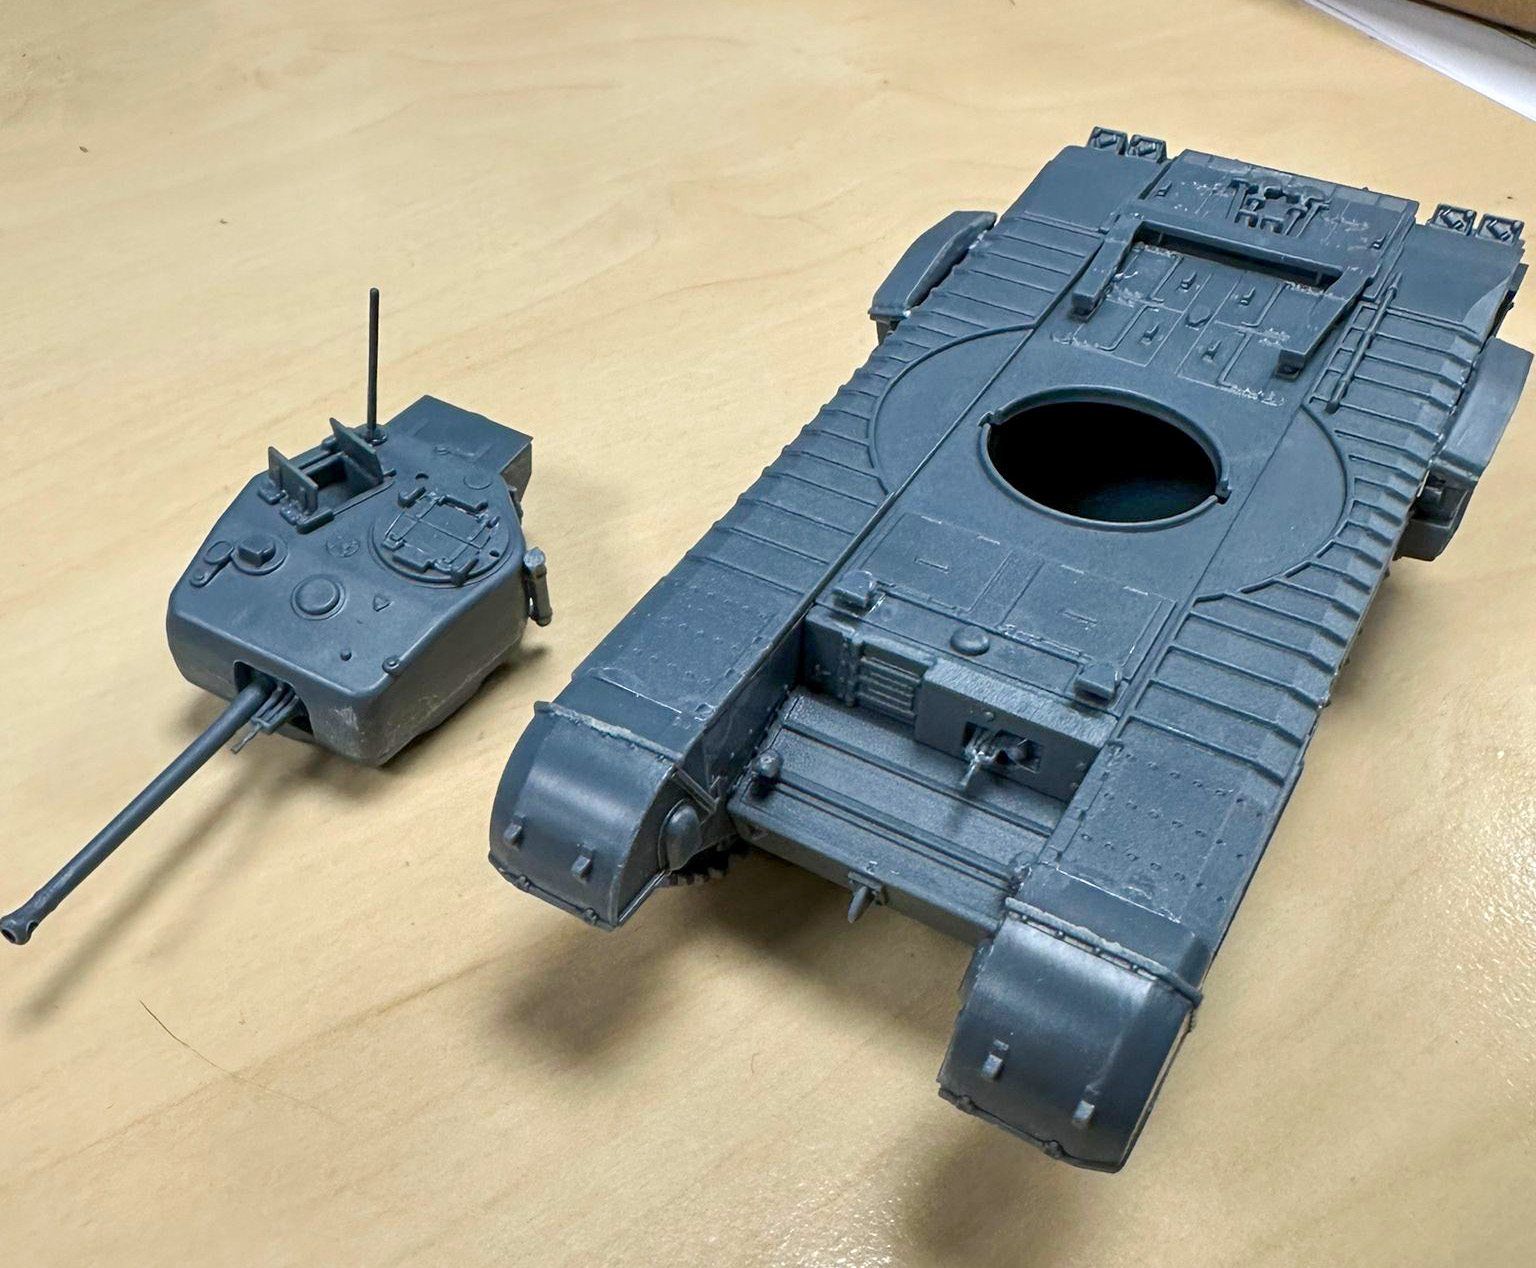
Assembly
Major learning point. Read the instructions (properly) and then read them again before starting. They are there for a reason, that reason being to stop herberts like me glueing the tracks together wrong right off the bat.


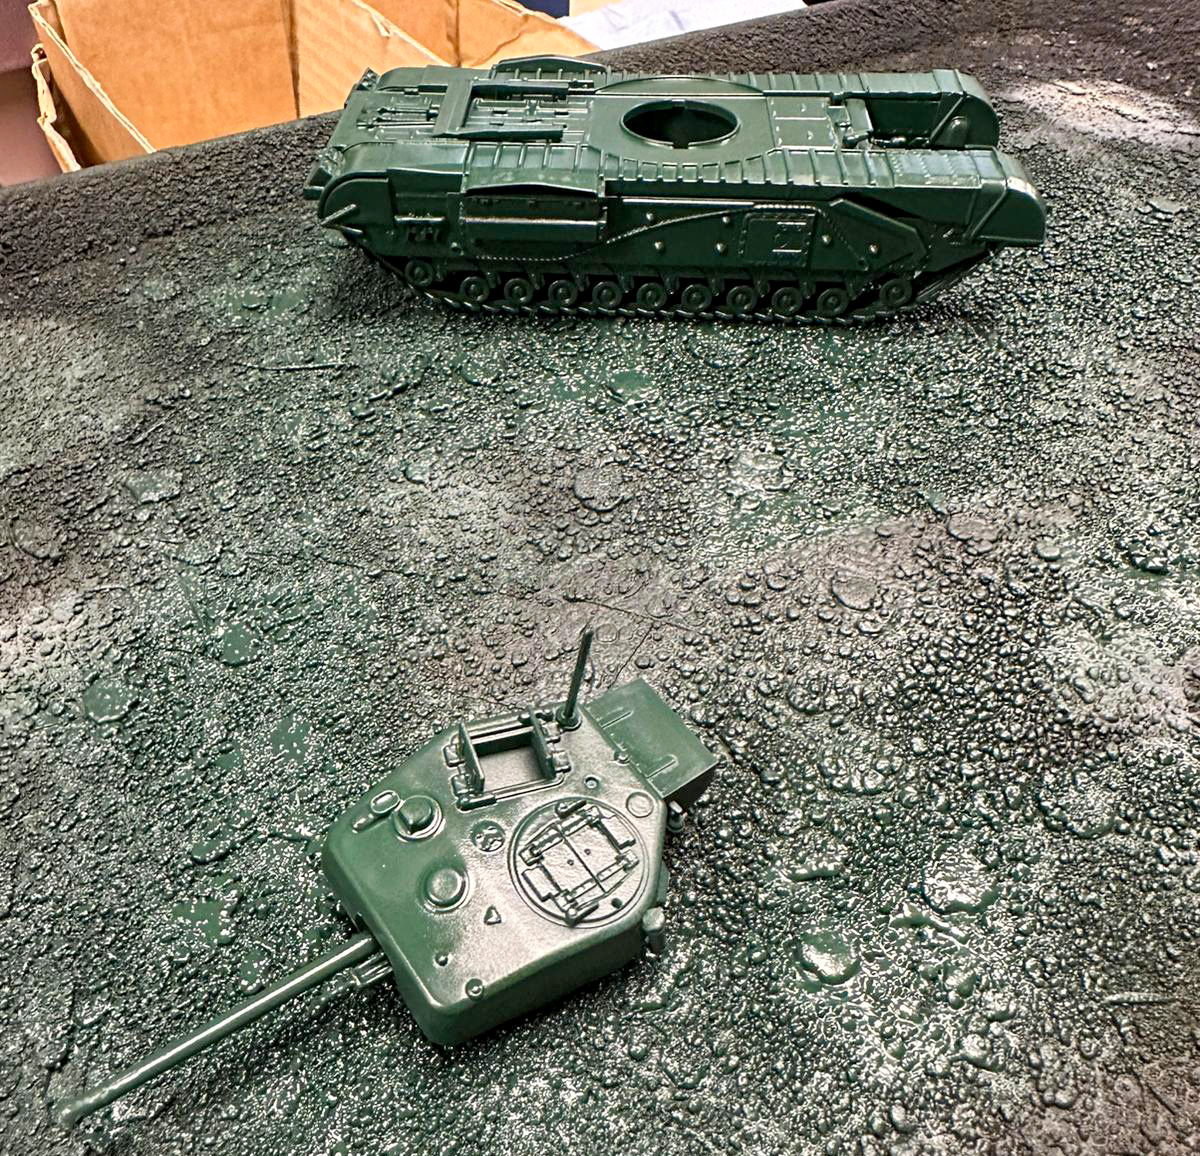
With this minor inconvenience out of the way, the model went together like a dream. Nerves quickly replaced by enthusiasm, I once again got ahead of myself and started clipping out turret pieces for the mark of Churchill I wanted (I had opted for a Mk.VI) and promptly started with the incorrect parts – ‘read the instructions’ the voice in my head said once again.
Handy tip – when cutting out small parts, do so over a receptacle to catch parts that ping off the sprue. It will save a lot of time spent on all fours staring at the carpet trying to find parts a couple of millimetres long.

When the kit was finally finished, I had enjoyed myself so much I put together the other two (Mk.IVs this time) that came in the Troop box without mistakes, although I spent a good deal more time carpet gazing as I’m clumsier than I had thought.
I can’t iterate enough the importance of reading the instructions! When I had actually finished painting and weathering the model and had moved on to my second Churchill build, I realized I had completely missed off the searchlight and small antenna from the first model and had to add them on and try to blend them in.
Basic Painting
Turning to YouTube for inspiration, I stumbled across an excellent video about painting a Churchill by ‘Wastelands Raceway’ which is well worth a look:
I started with an undercoat of Army Painter Angel Green which gave a really solid base colour.
Then it was dry-brushing time. A 50/50 mix of Army Painter Angel Green (to tie into the base coat) and Army Green. This was applied with an old make-up brush, as no finesse is needed here (what is needed is permission from the wife to use one of her make-up brushes – I may have missed this vital step in my eagerness).

I then applied a second drybrush, this time with just Army Green, and using a normal hobby dry brush. Do not use a brush that you care about during this stage as it will take a pounding.
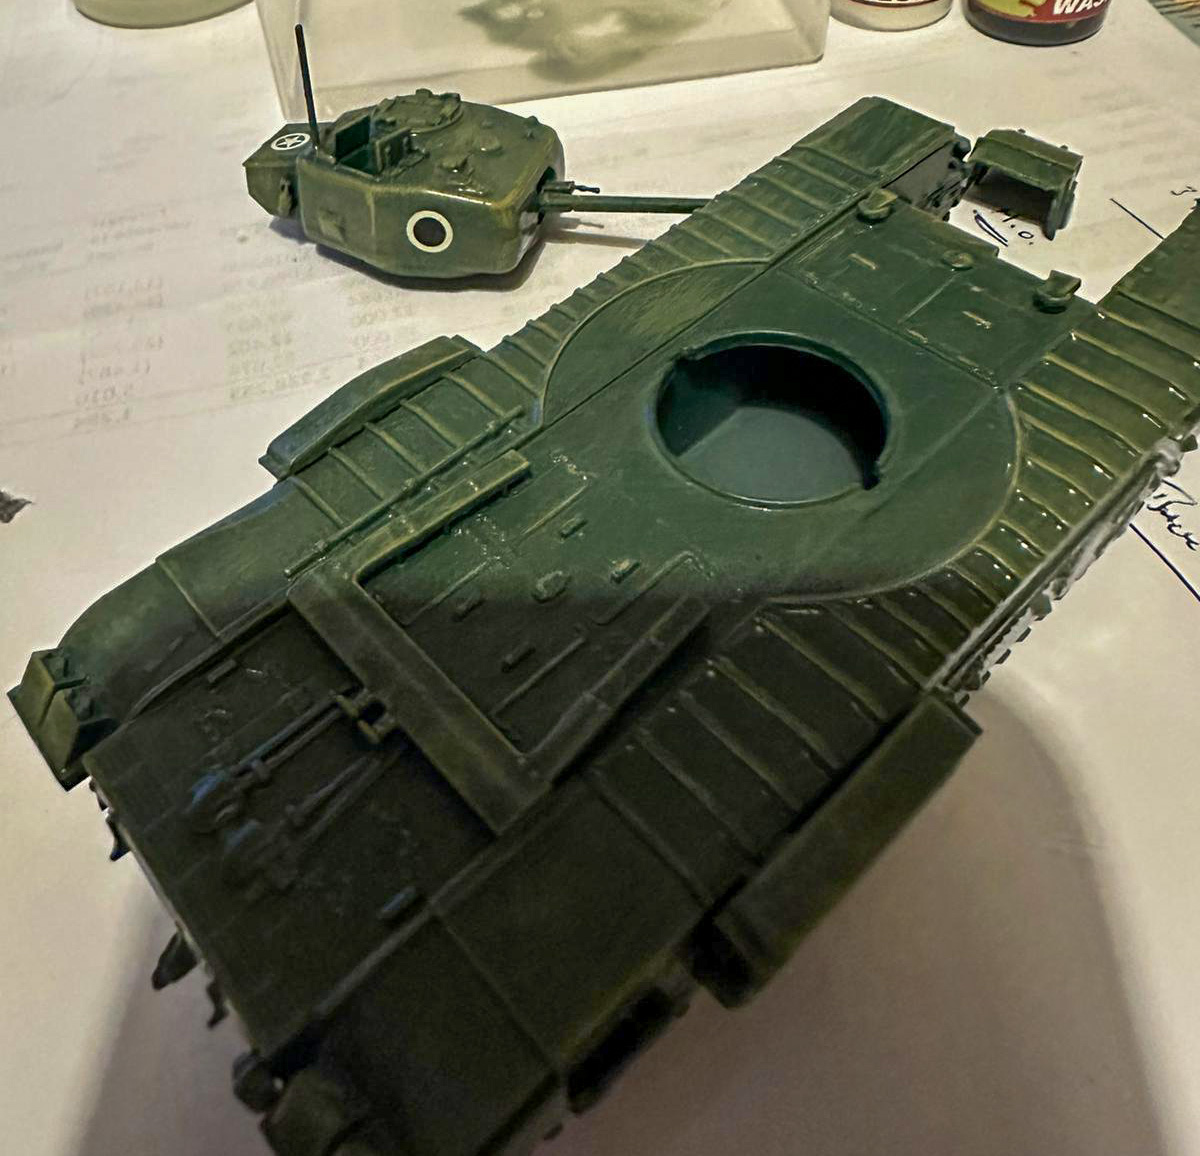
NB. Make sure that you apply all of the painting stages to the turret as well, as it’s surprisingly easy to forget as a separate sub-assembly. At least twice I had started another stage before realizing I had forgotten the turret! It is also worthwhile putting the turret on the body to check the grading of highlight is consistent between both parts, between each stage.
I then added a third drybrush of 50/50 mix of Army Green and Vallejo Model Colour Bronze Green – this is a great colour for British vehicles and the immediate results were already starting to make me feel good about painting vehicles.
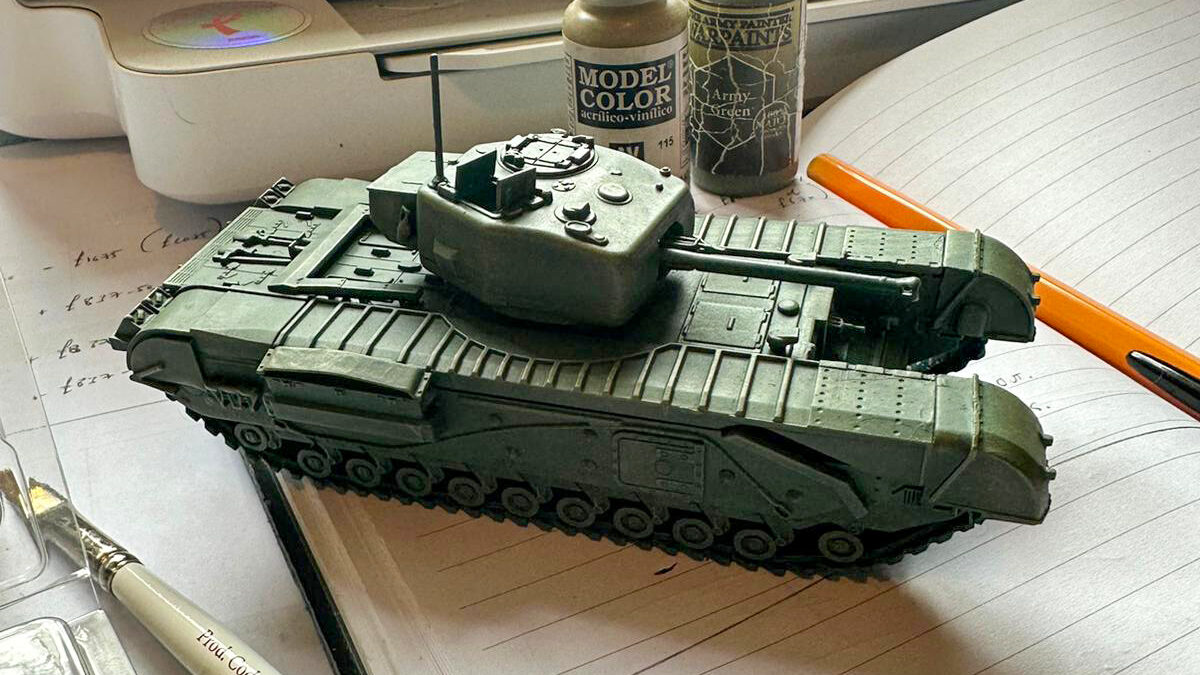
Finally, I used a mix of Bronze Green and Khaki to make the edges and highlights pop a little.
More Adventurous Stuff
It was at this stage that I added the decals to the model, using Humbrol Decal Fix, which made the whole process much easier than expected. I know some people add washes and weathering before their decals, but I wanted my tank to look a bit ‘grubby’ and as if it had seen some action.

With the decals affixed (with minimal accompanying expletives), it was on to a wash to tie the colours together. This was a 2:1 mix of Army Painter Military Shader and Quickshade Wash Medium, slapped liberally all over the model.
Army Painter Dark Stone was then used to paint the tracks, and Necromancer Cloak to paint the cables, handles and other details around the vehicle to break up the wall of green.
I then had some final highlights on the details using Khaki before I could get to the weathering proper. This was the first weathering I had ever attempted on a model vehicle and it was great fun.
I began with Humbrol Smart Mud slapped all over the tracks and then pushed up into the hull to represent mud splatter. Once completely dry, I then painted over it with Army Painter Dirt Spatter. I may have overdone this stage in my excitement, as I ended up covering a lot of the decal work, but never mind, it’s all part of the final effect.
Into the final straight now, with a highlight of Khaki (a very useful colour!) on all those mud parts, paying particular attention to recessed areas up in the hull where dried mud would have gathered.
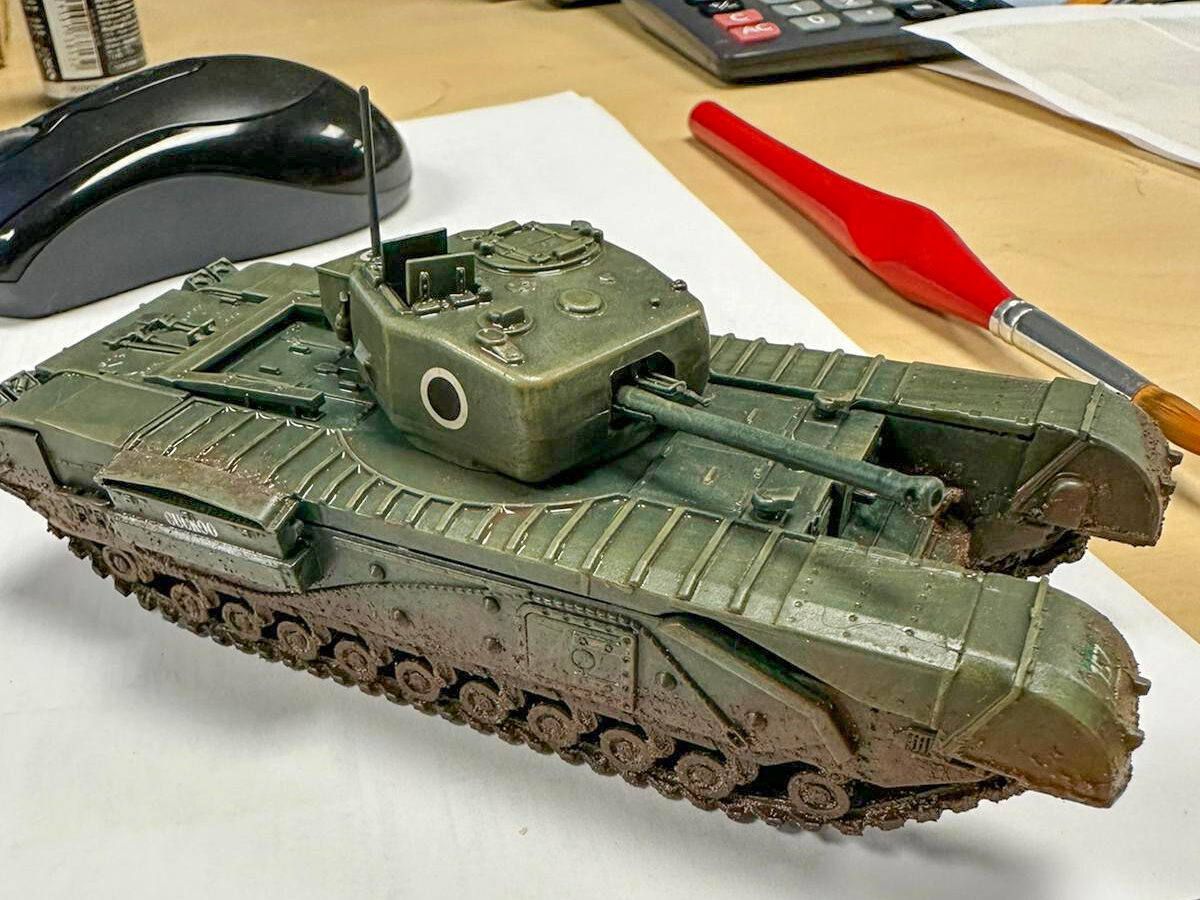
The final step was a really thinned-down wash of Khaki all over the model (10:1 water-to-paint ratio), letting physics do the work. The mixture runs off into all the grooves and, once dry, leaves an impression of dust and general wear. Again, remembering to do the turret at the same time is a really good idea!
That’s the lot (after I fixed the two missing parts and blended them in with most of the above stages all over again). This inspired me to complete a platoon, get a couple of Shermans on the go and even repaint my trusty Tetrarch and give it some weathering.
Churchill Plastic Boxed Set
The Churchill, was undoubtedly one of the most successful and famous British tanks of the Second World War. Taking the form very reminiscent of earlier WWI tanks, the Vauxhall motors built Churchill was the basis for a slew of variants from the MkI with a 2pdr gun to the MkVII 75mm guns. Other versions would see more specialist engineering equipment added including the likes of bridging equipment and minesweeping devices – and a favoured ‘close support’ option of the 95mm howitzer!
Within our plastic kit you’ll get seven turret variations allowing you to build any of the following marks, each of which have corresponding rules for their deployment in games of Achtung Panzer!:
- MkIII – with 6pdr gun
- MkIV – Cast turret with 6 pdr gun
- MkV – Cast turret with 95m Howitzer
- MkVI – Cast turret and Welded turret with 75mm gun
- NA 75
- AVRE (Armoured Vehicle Royal Engineers) with 290mm Petard Mortar (aka the flying dustbin!)

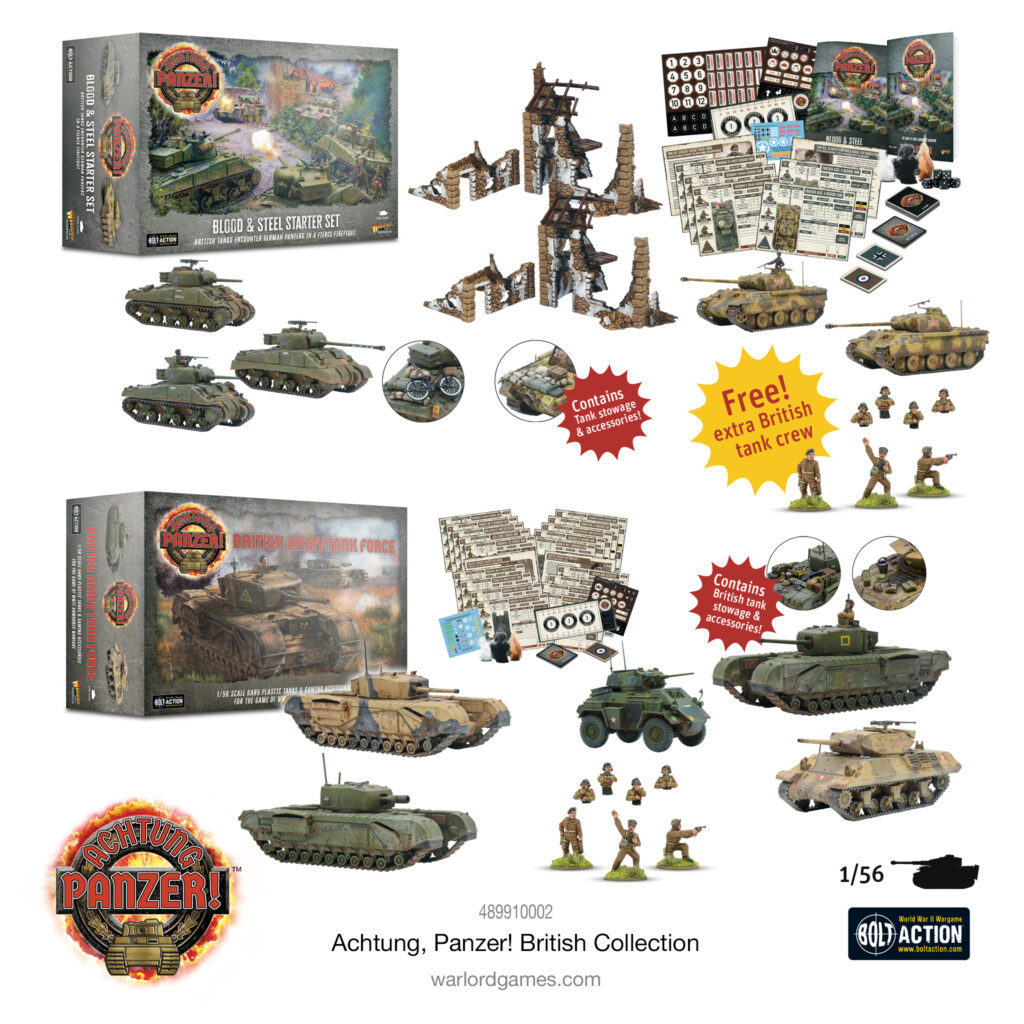
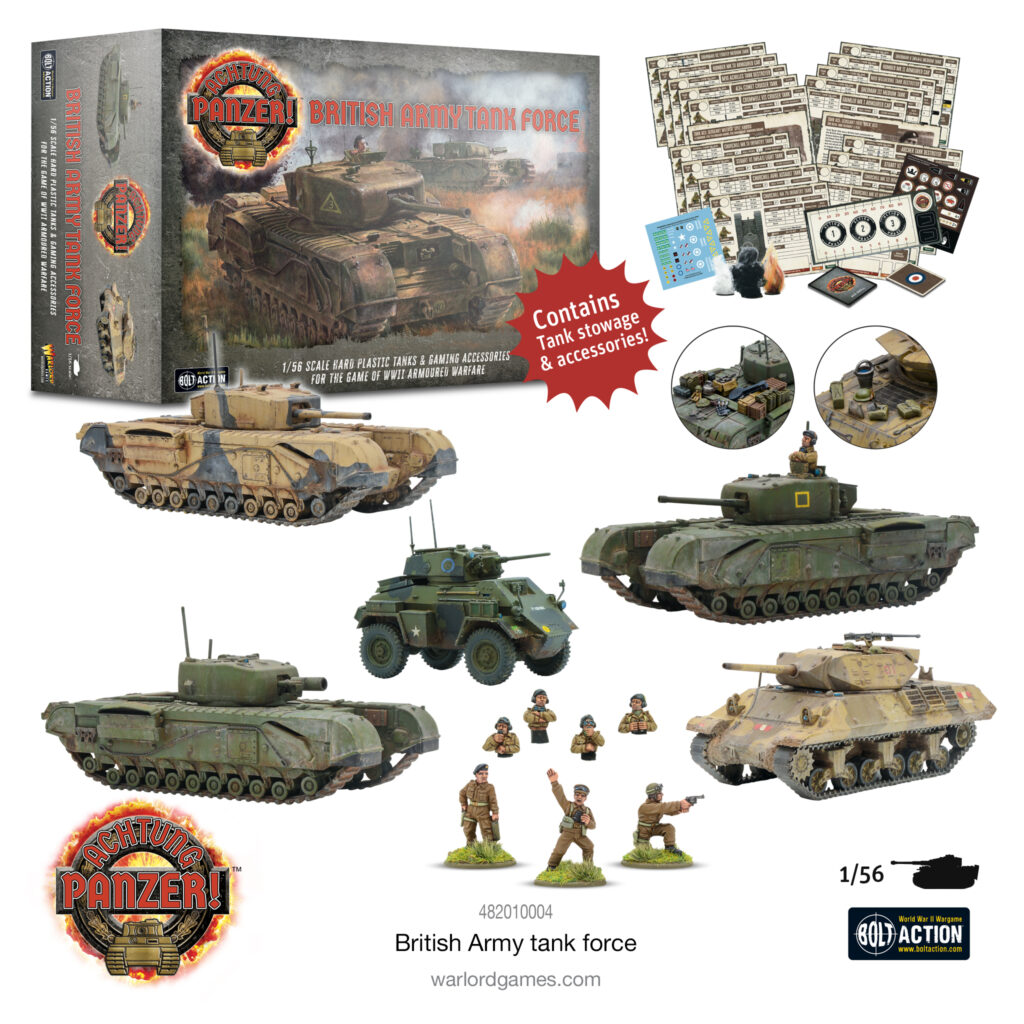
Achtung Panzer! British Tank Force
The Achtung Panzer! British Army Tank Force gives you five legendary armoured vehicles to bring the battle to the Axis. Centred around a trio of rugged Churchill infantry tanks (which can be assembled in one of no fewer than seven variants to suit your specific playstyle or chosen theatre), and backed up by the potent firepower of a Lend-Lease M10 Wolverine tank destroyer and rapid mobility courtesy of a Humber armoured car, this set allows you to get right into the thick of the fighting! It also makes a brilliant first expansion for your British force if you’ve already got the Blood and Steel starter set!
In addition to the brilliant plastic vehicle kits (and a fantastic set of characterful stowage items), the included British and Commonwealth-specific Asset cards, plus Datacards for 18 different tanks (letting you bring a wide array of British and Lend-Lease vehicles into action at a moment’s notice), Tank Ace and Ace Skill cards, game tokens and markers along with mounted and dismounted tank crew figures give you everything you’ll need to fly the Union Flag on the tabletop – For King and Country!
Also Available
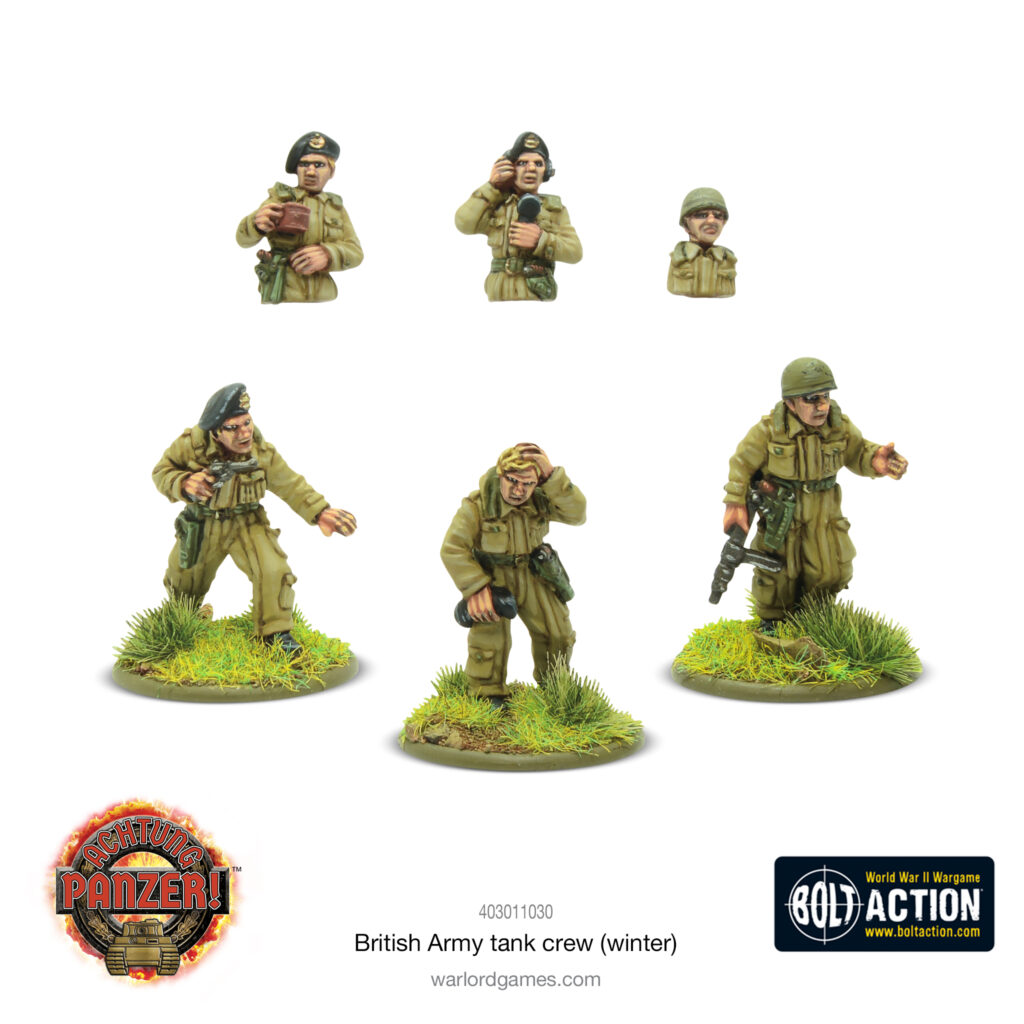
The perfect way to jump into Achtung Panzer! on the side of the British Army, the Achtung Panzer! British Collection nets you both the Blood & Steel starter set and the above British Army Tank Force, along with a set of British tank crew included for free! The crew are also available separately, or consider the Winterised British Army crew for even more customisation options – suitable for both Achtung Panzer! and Bolt Action collections!