Our Tank War mini-league here at Warlord Games HQ is drawing to a close, but not before our Generals go out with a bang. Our four Generals must now join forces. The fourth game is a 2v2 Axis vs Allies game. Some vehicle crews have new skills on which to draw, not least the Soviet OT-26 flamethrowing light tank, which has so far been the bane of all its opponents. Now promoted to Regular and boasting two additional skills, it’s probably the most-feared vehicle on the board. “That is unless the Panther’s crew has practised hitting barn doors since their last outing,” jests Bernard.
Army Lists
The Axis
Jon’s Germans
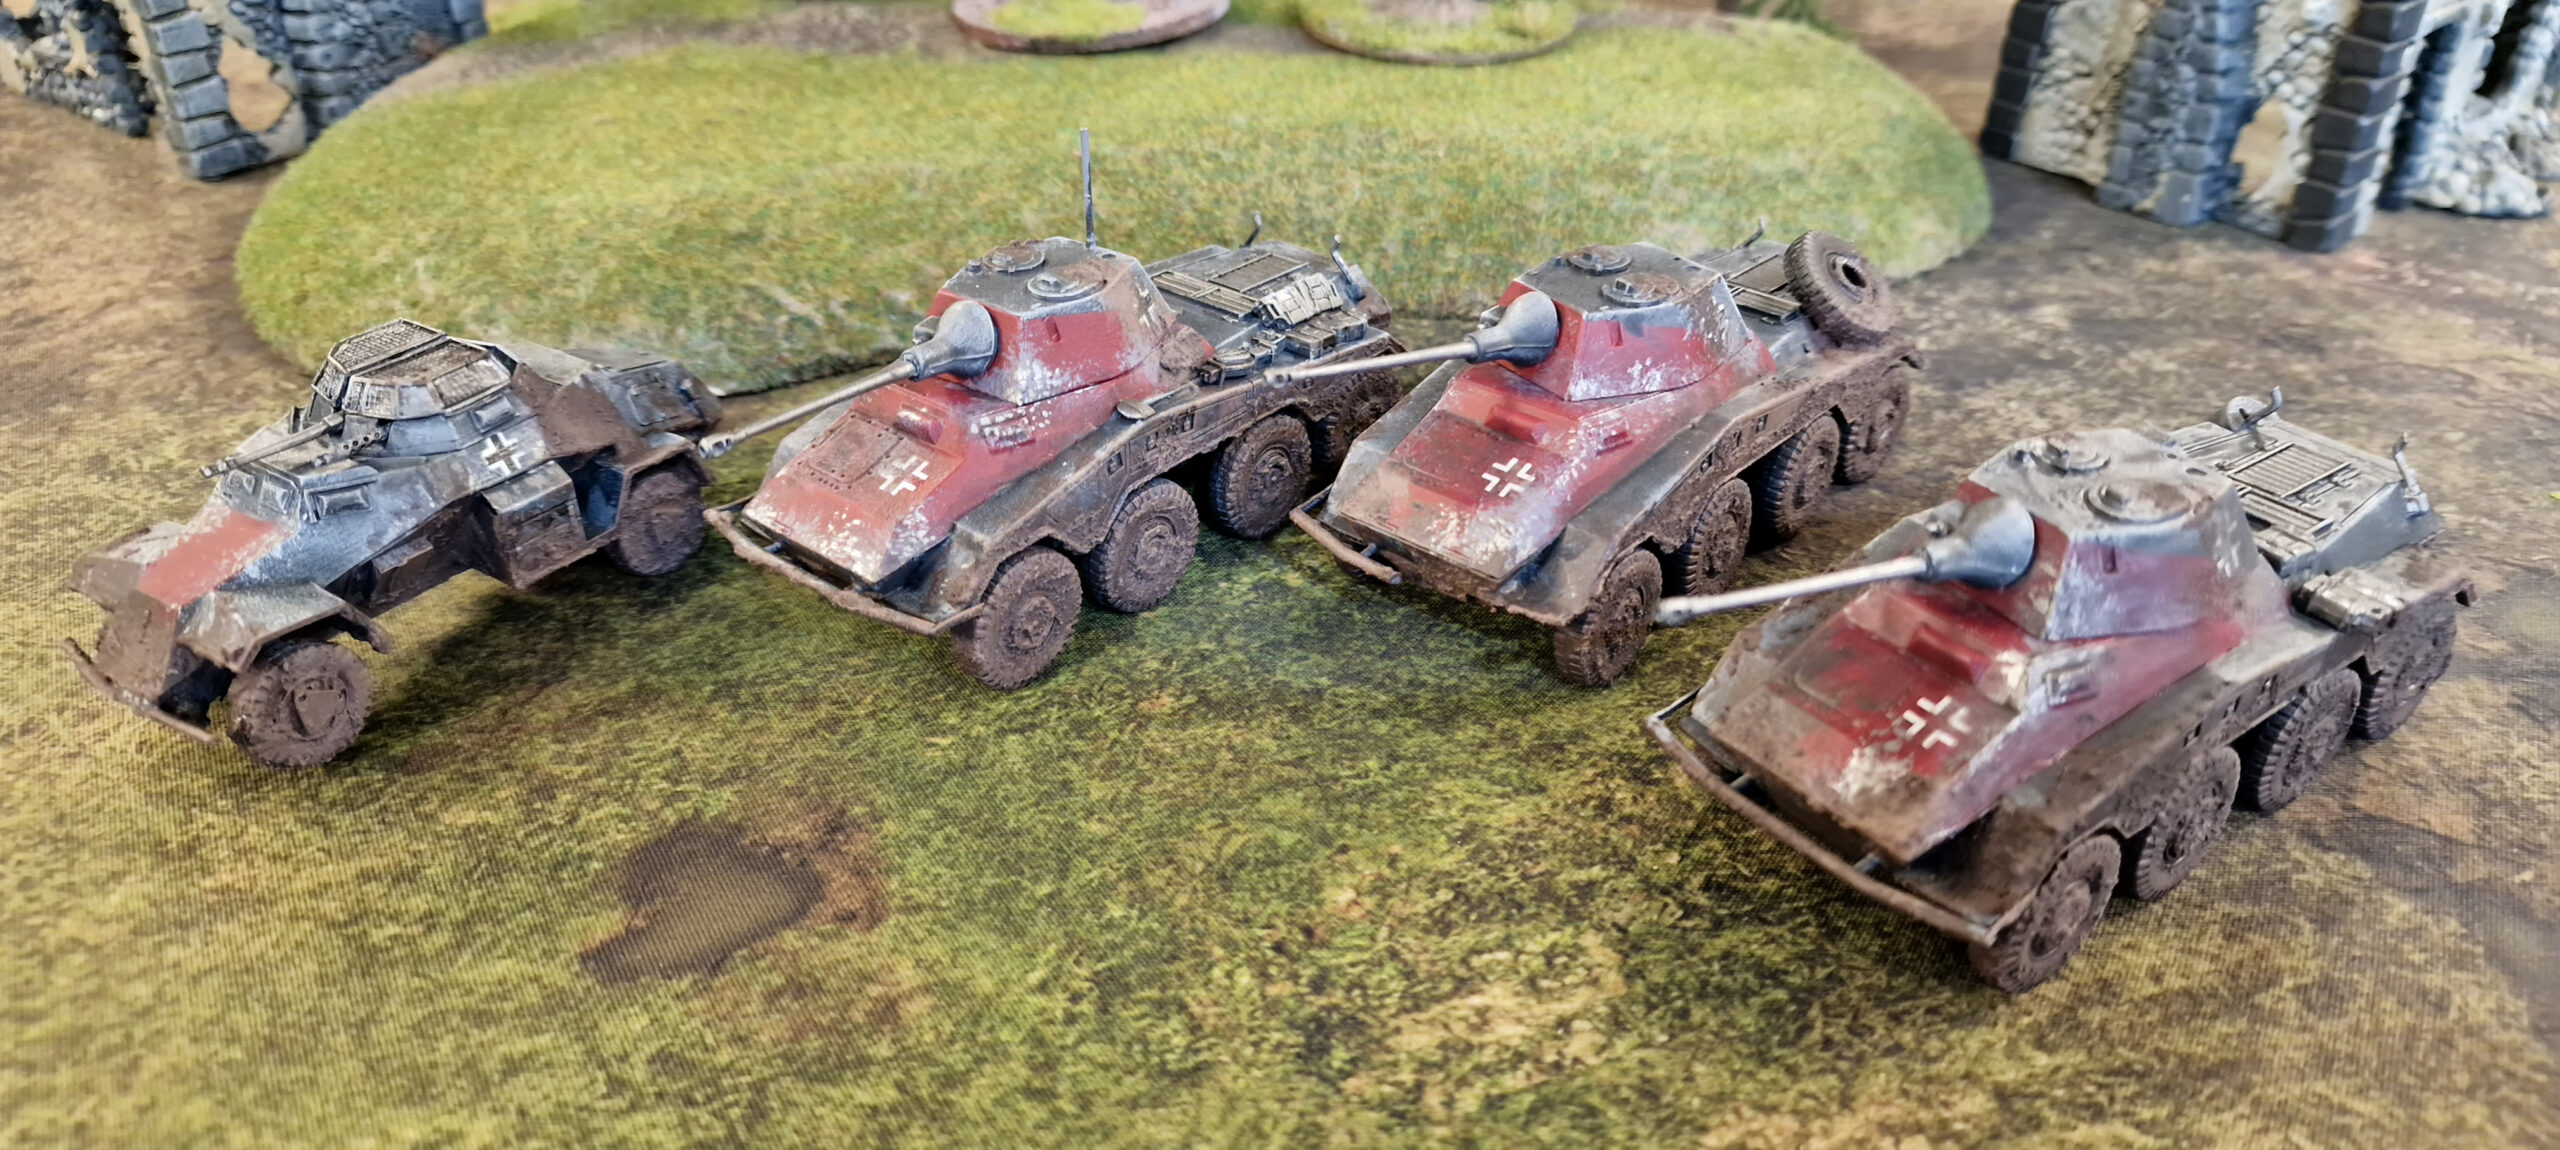
- Inexperienced Sd.Kfz 234/2 ‘Puma’ heavy armoured car
- Command Vehicle
- Armoured Platoon Commander
- Inexperienced Sd.Kfz 234/2 ‘Puma’ heavy armoured car
- Skill: Skill Shot
- Inexperienced Sd.Kfz 234/2 ‘Puma’ heavy armoured Car
- Inexperienced Sd.Kfz 221 light armoured car
- Panzerbüchse 41
- Skill: Crank Head
Conor T’s Germans
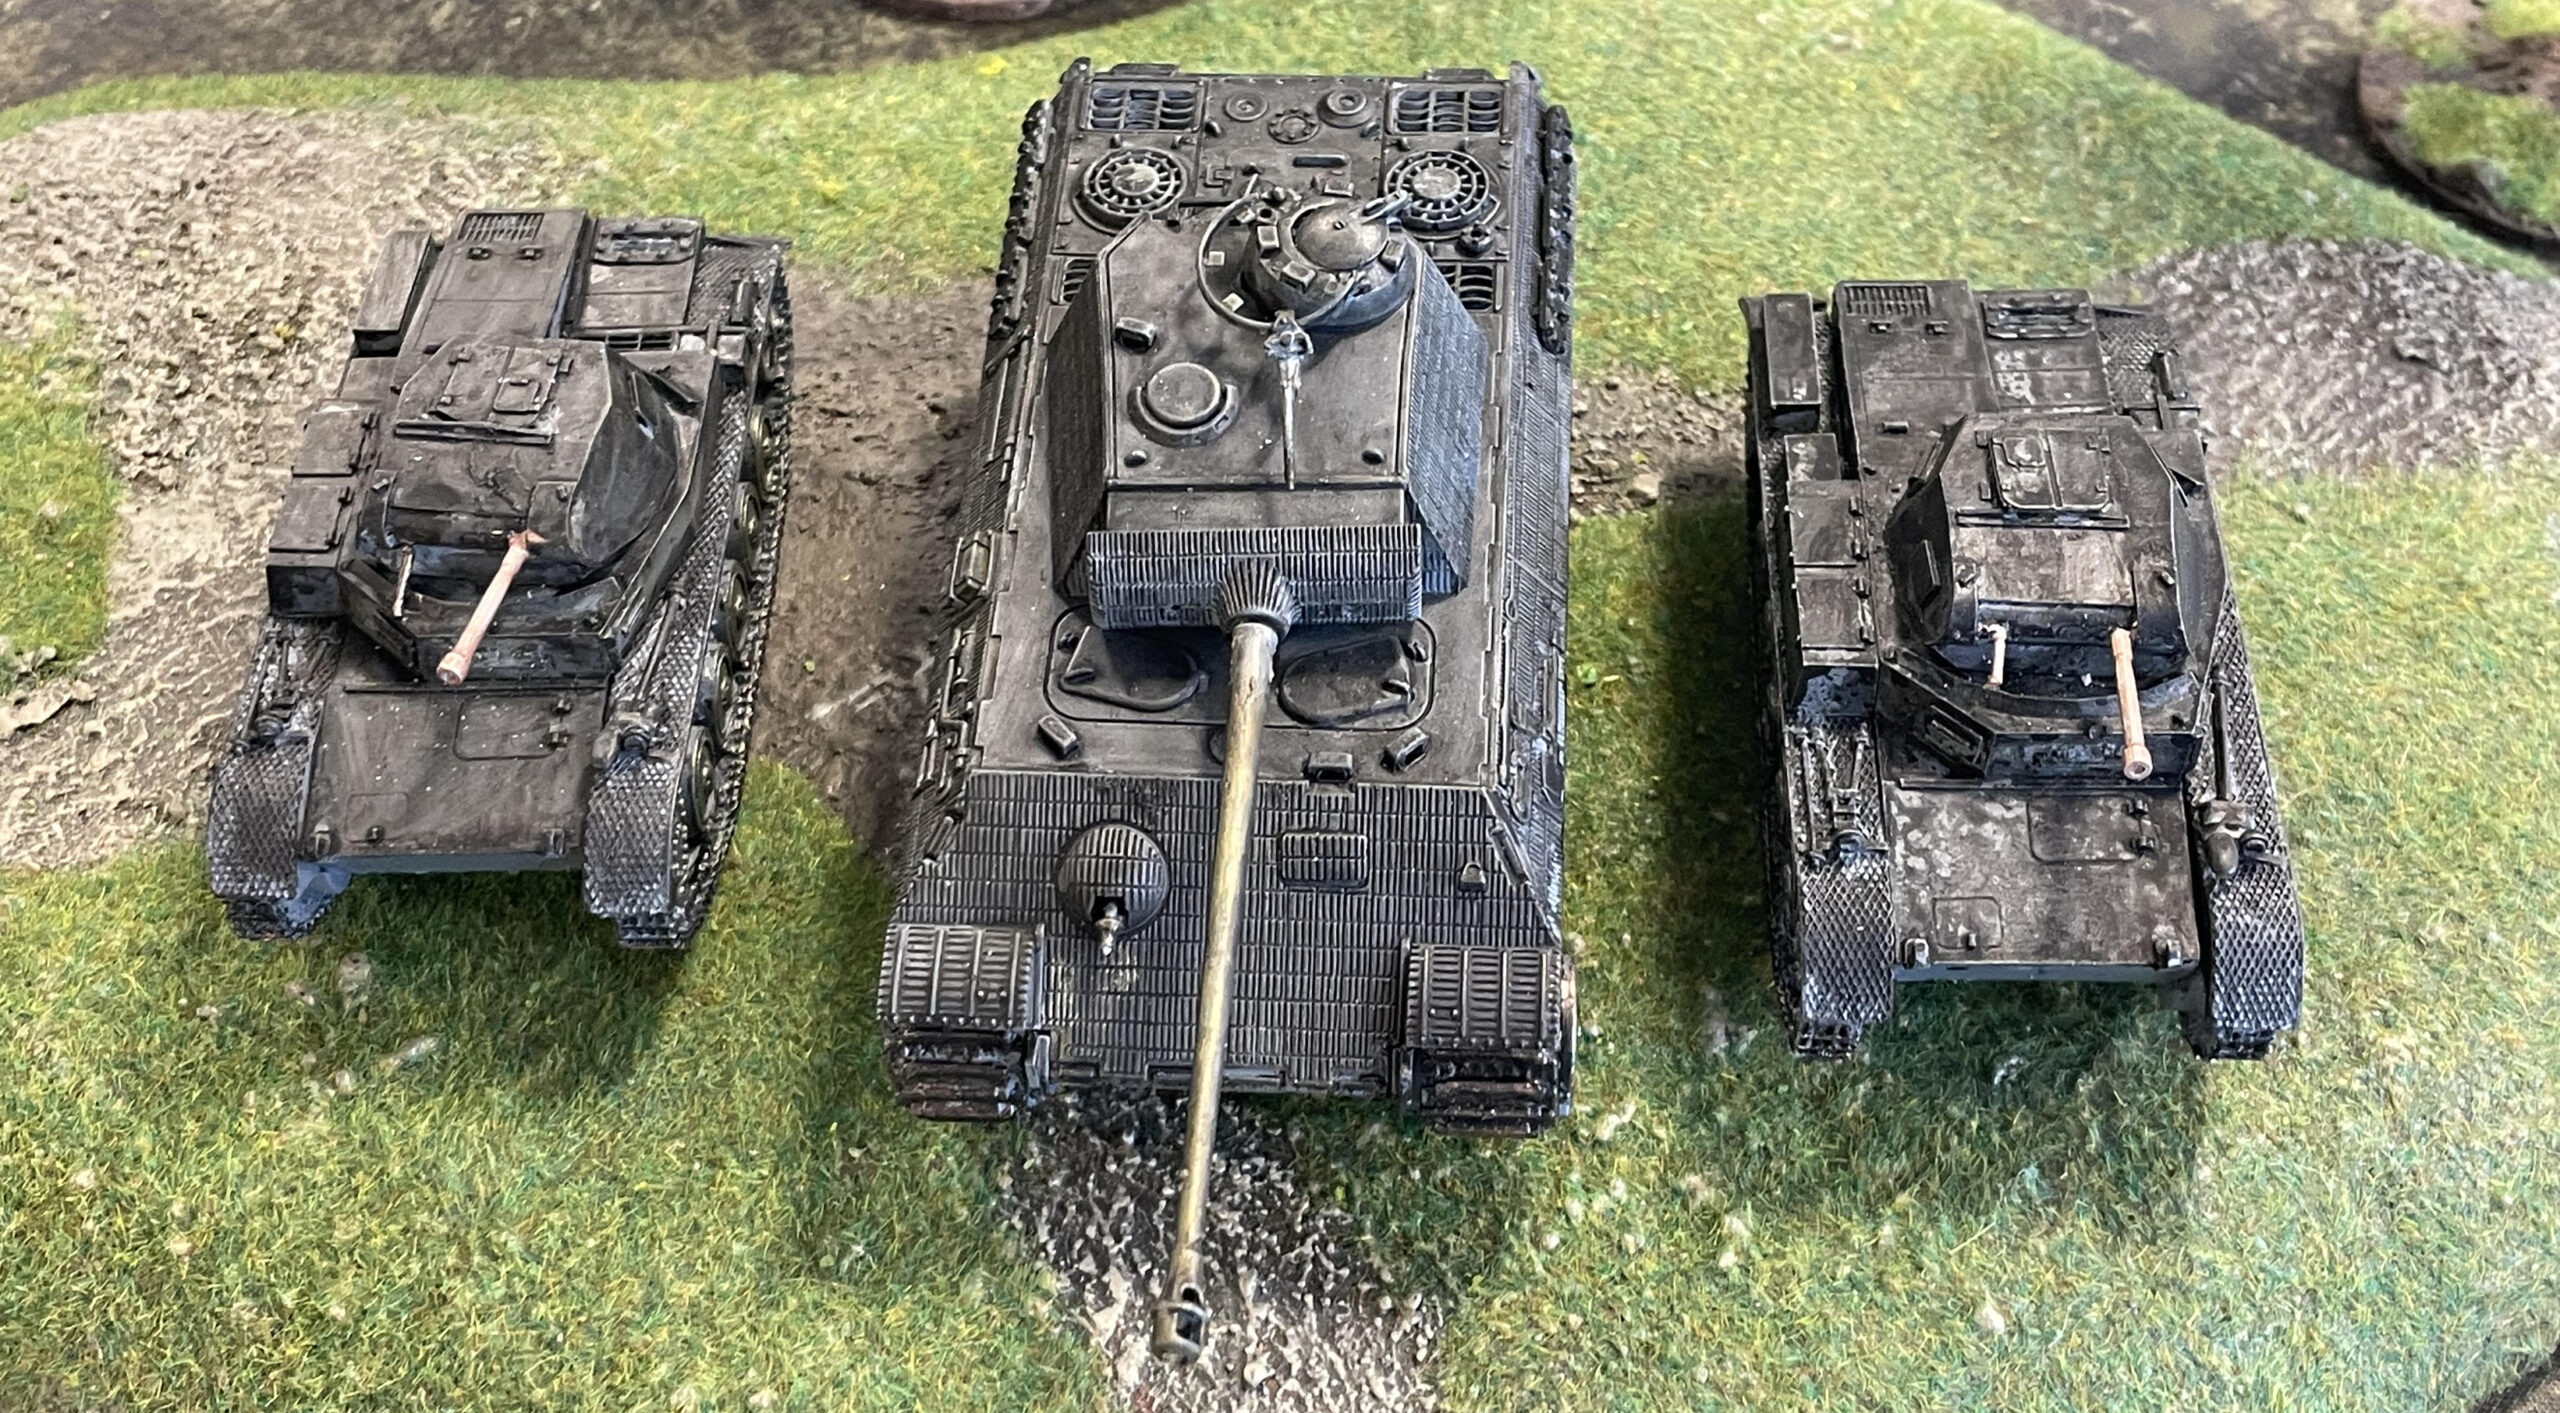
- Regular Panther Ausf D medium tank
- Pintle MMG
- Command Vehicle
- Skill: Hair Trigger
- Skill: Adrenaline Rush
- Inexperienced Panzer II Ausf A light tank
- Inexperienced Panzer II Ausf A light tank
The Allies
Conor H’s British
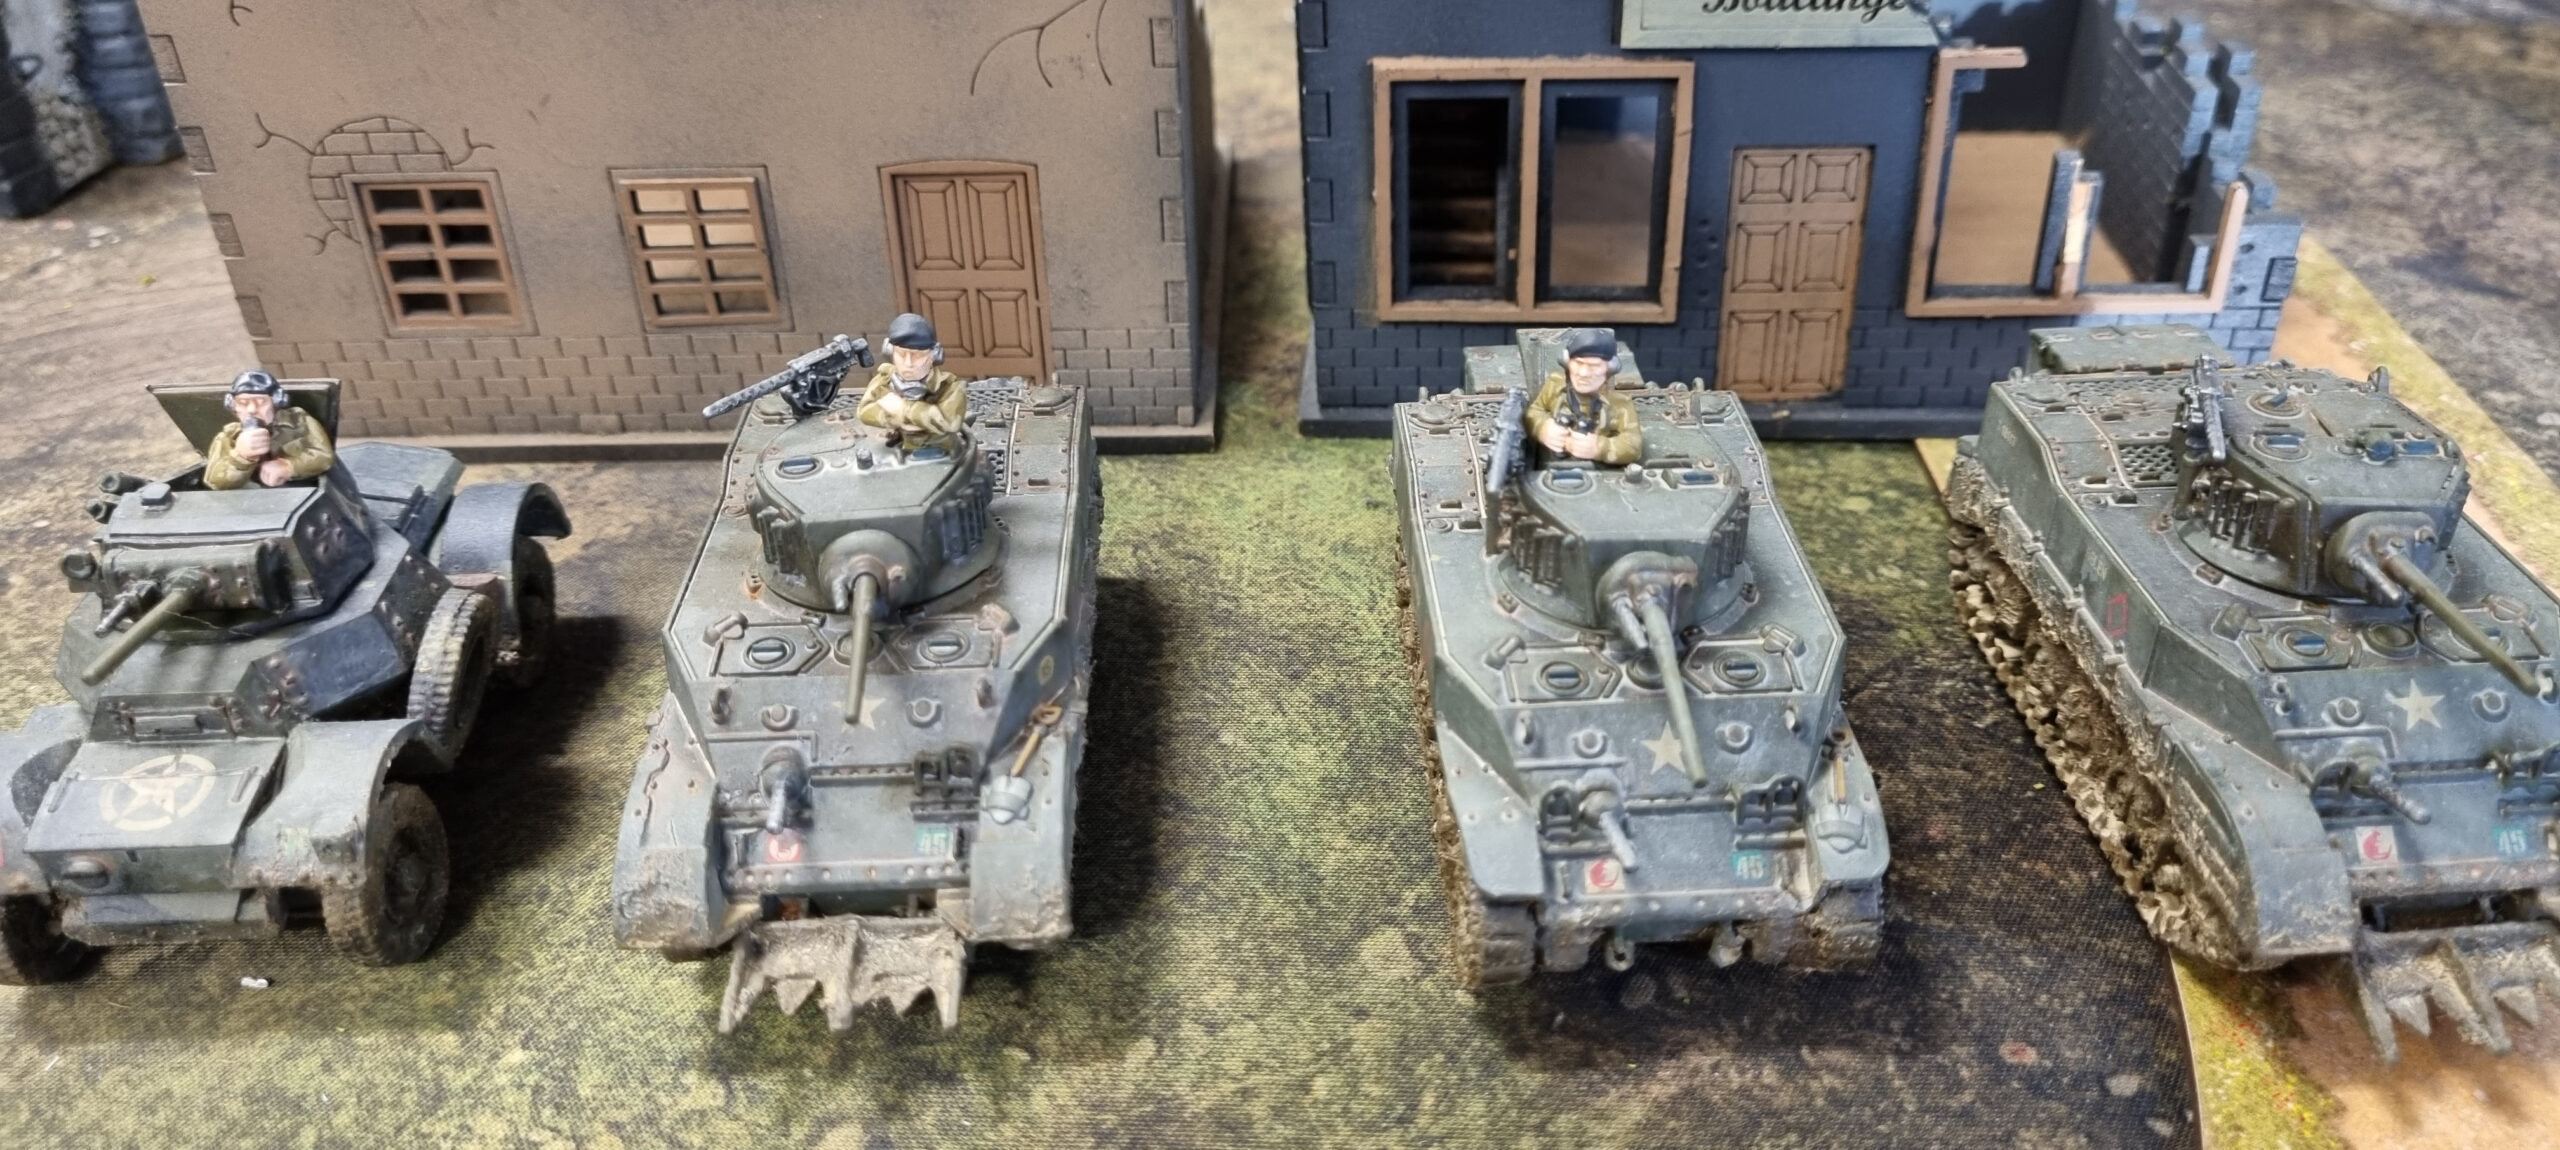
- Inexperienced M5A1 Stuart VI light tank ‘Seawolf‘
- Command Vehicle
- Armoured Platoon Commander
- Inexperienced M5A1 VI Stuart VI light tank ‘Assegai‘
- Skill: Leadfoot
- Inexperienced M5A1 Stuart VI light tank ‘Helen‘
- Inexperienced Daimler armoured car
- Skill: Skill Shot
Bernard’s Soviets
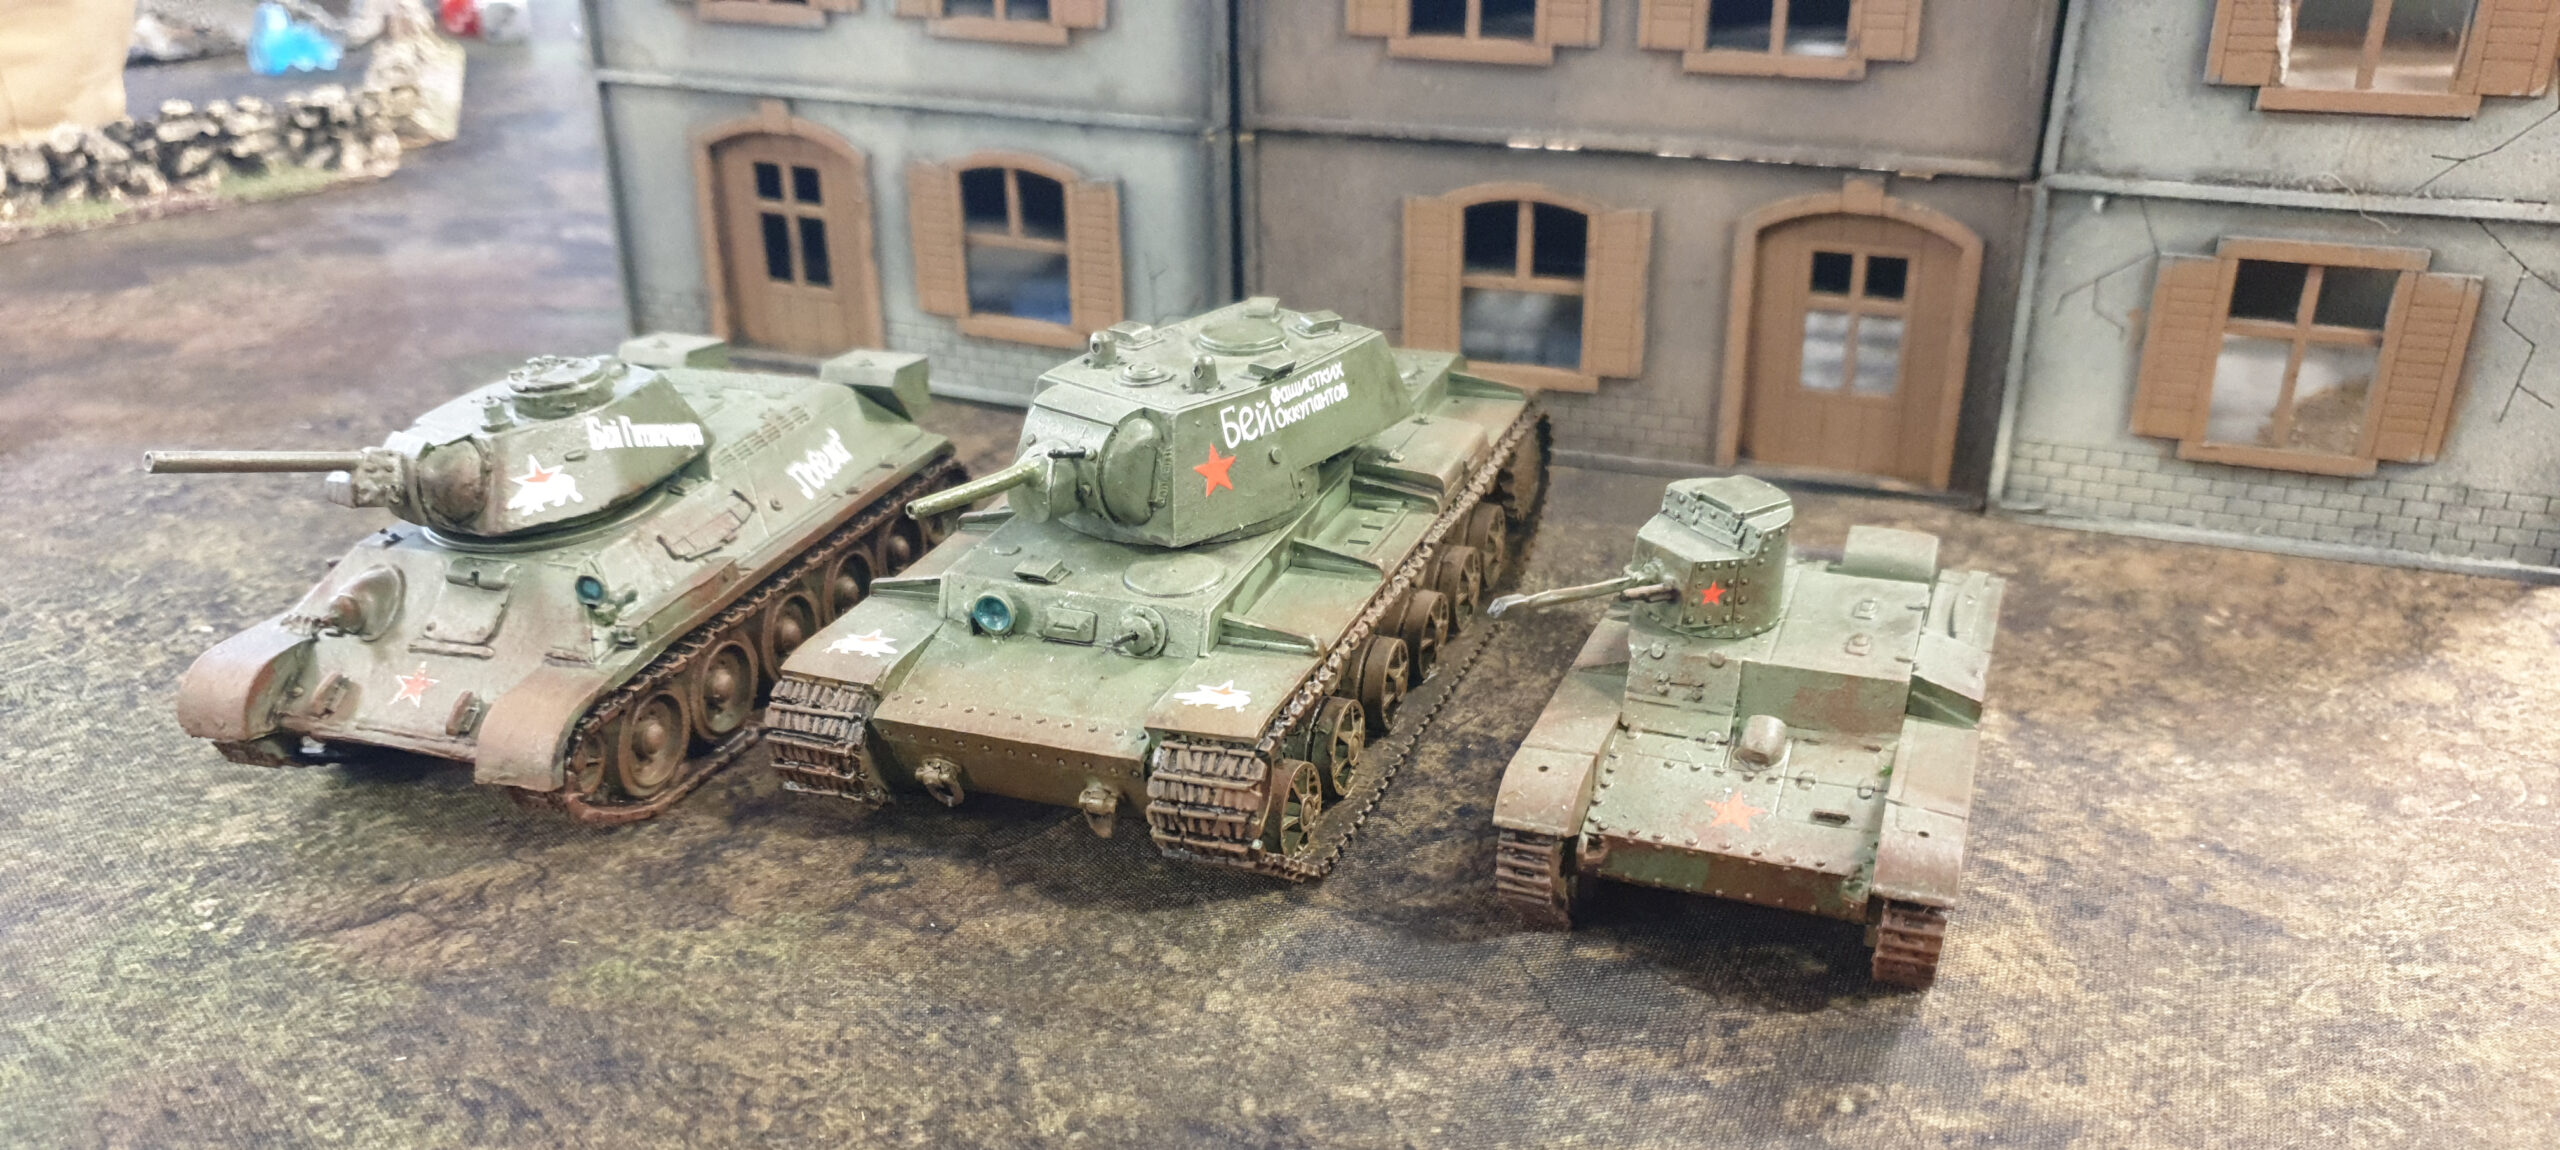
- Inexperienced KV-1S heavy tank
- Command tank
- Inexperienced T34/76 medium tank
- Regular OT-26 flamethrowing light tank
- Skill: Dead Eye
- Skill: Follow Me
The Game
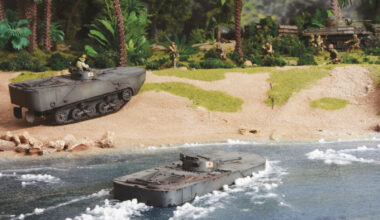
The Generals would be jostling for control of five objectives, spread roughly across the table. Once again, it’s over to (a totally unbiased) Bernard to describe the action:
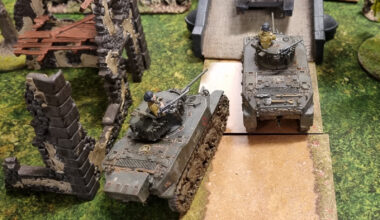
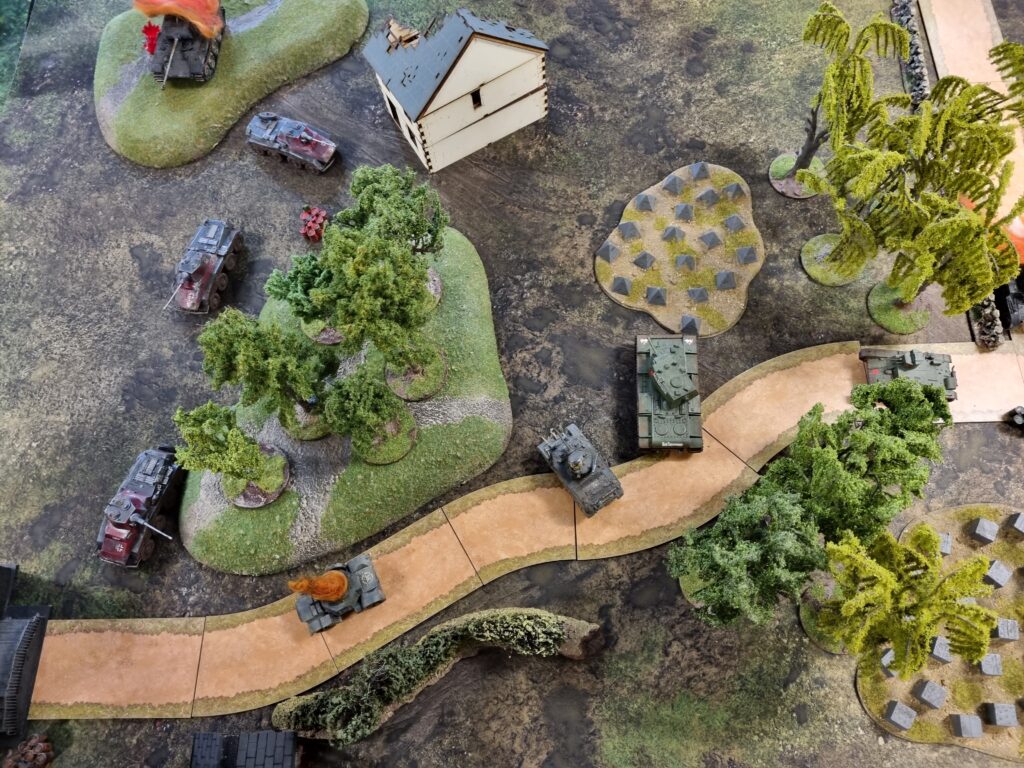
Turn One: All our vehicles advanced onto the board, taking pot-shots wherever they could. I put my KV-1 up the middle near the woods. My OT-26 took early advantage of its Dead Eye skill, surging up to the crossroads and firing upon one of Conor T’s Panzer IIs. With a flurry of successful dice the Panzer II was aflame with five Pin markers. Unsurprisingly, the crew legged it early on.
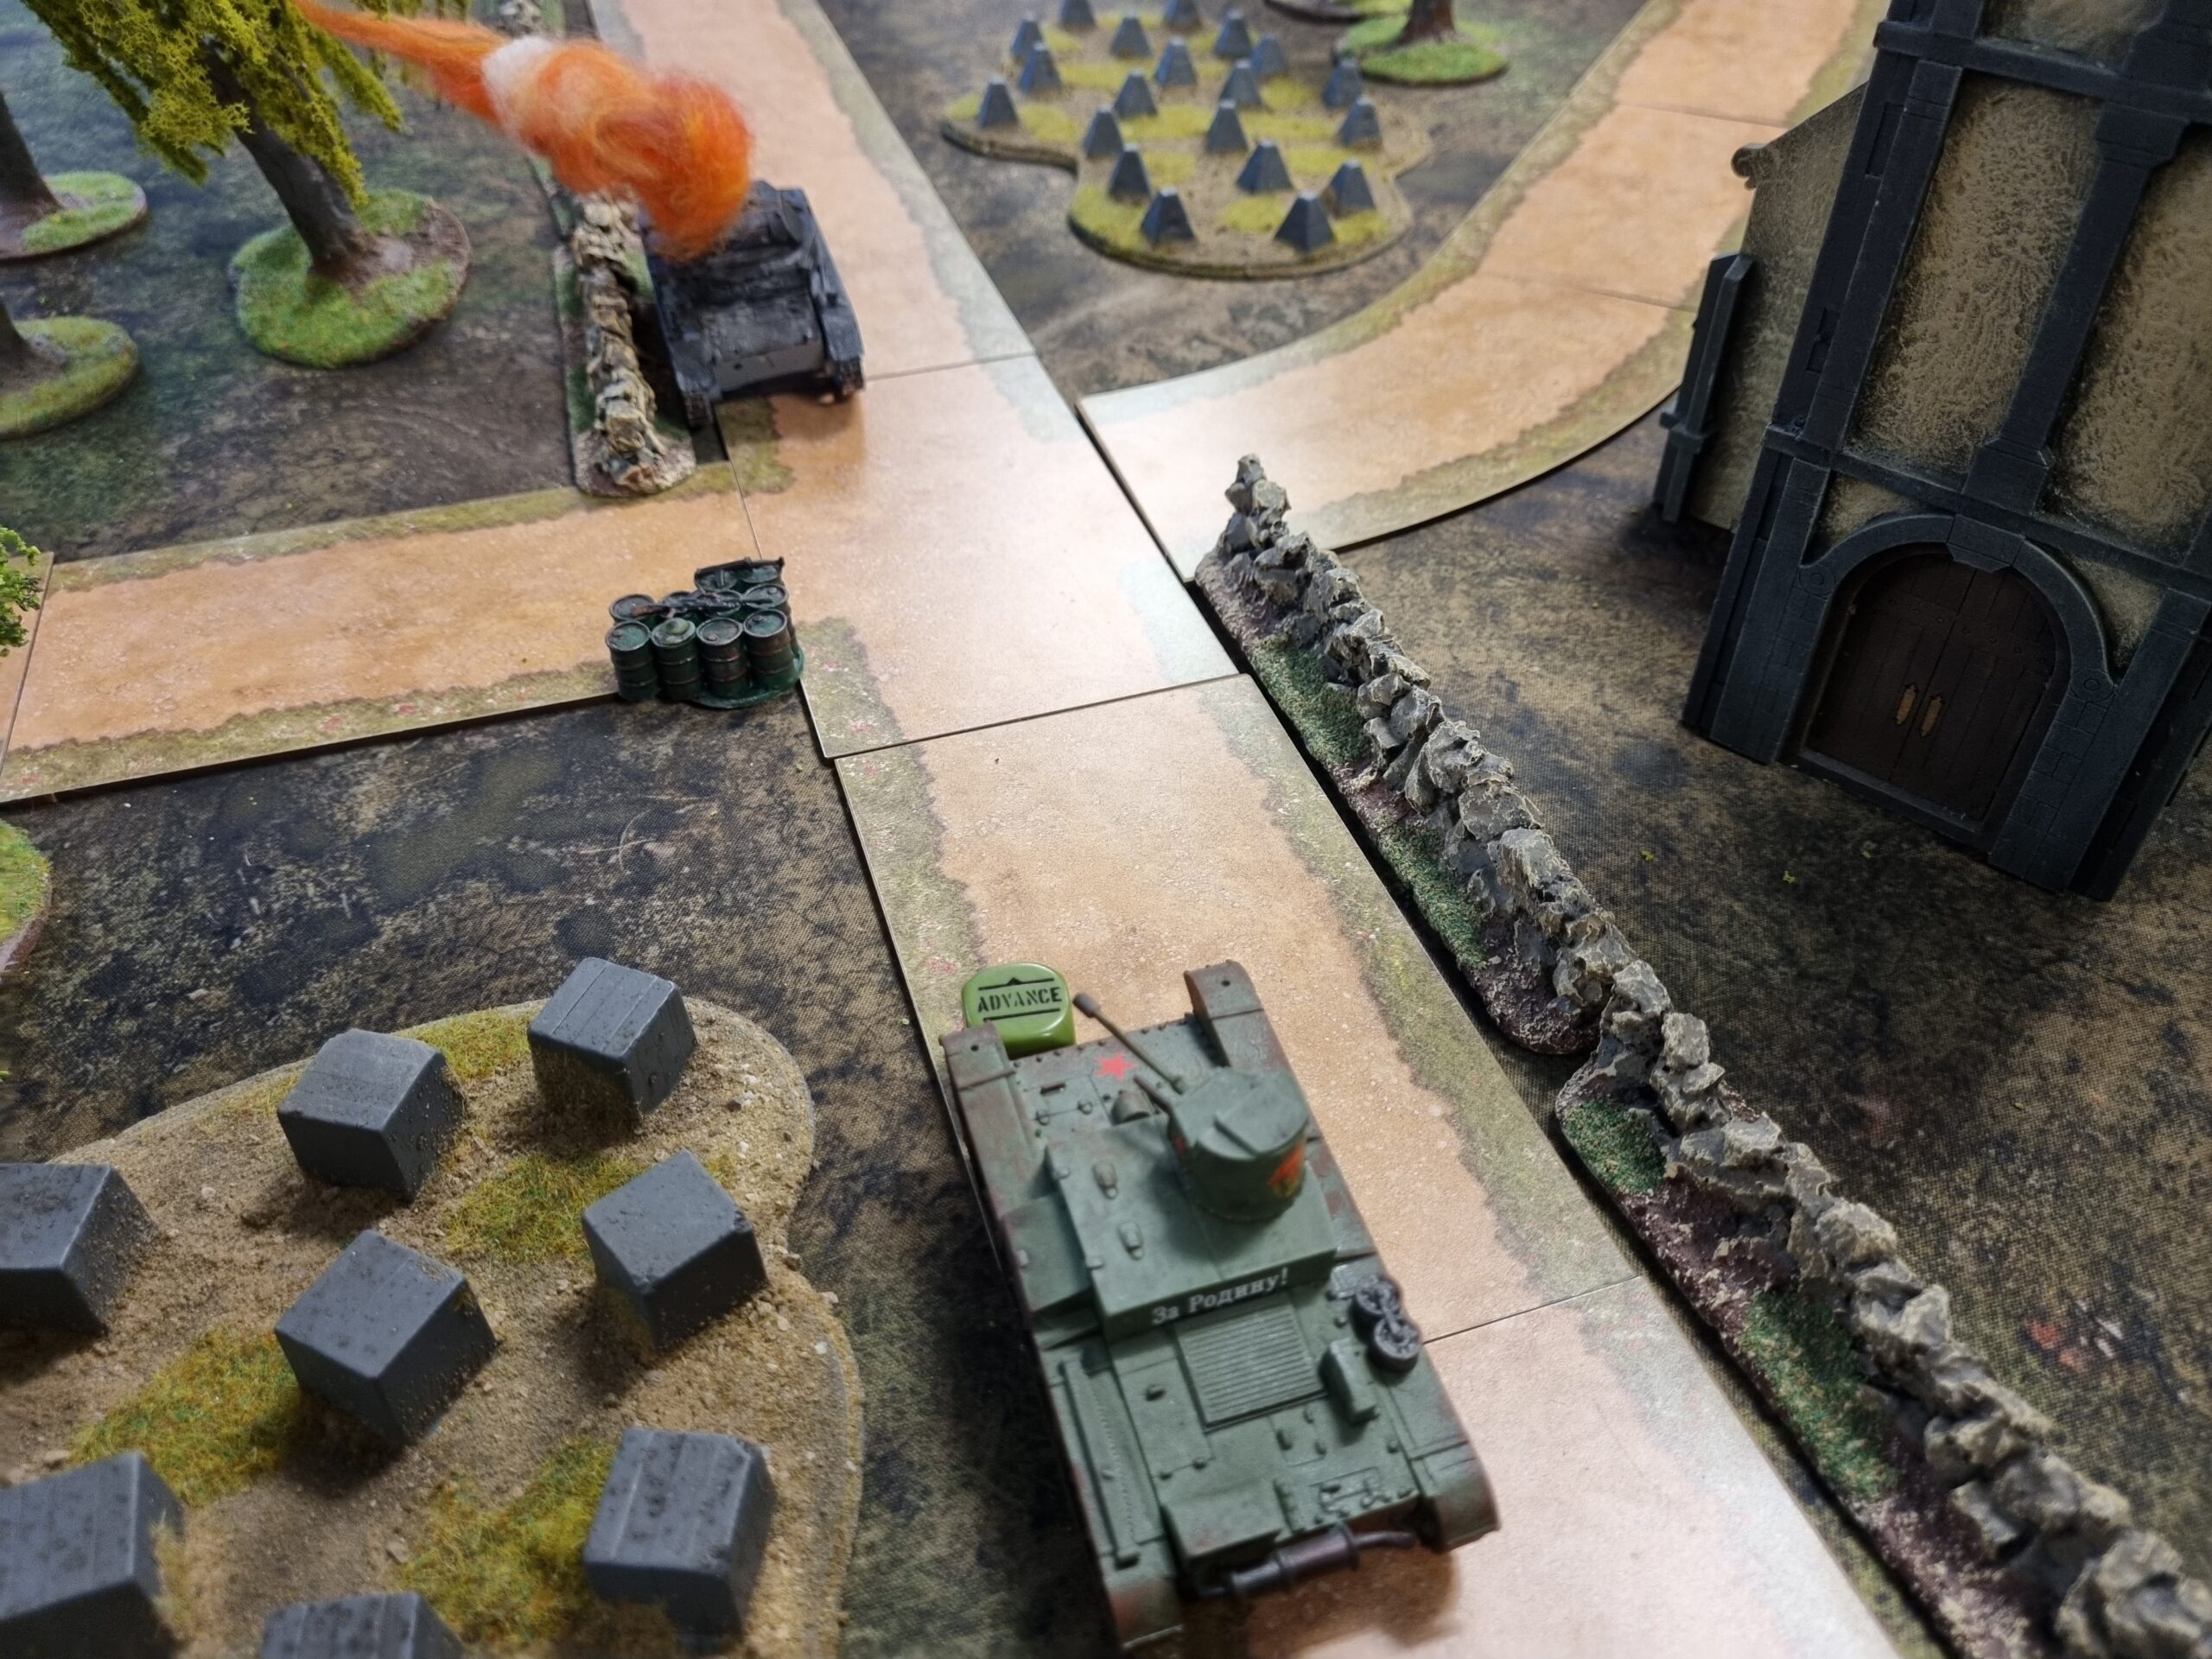
It turned out that this had been an intentional sacrifice play from the Axis players to draw out the OT-26 and smash it to pieces. This was absolutely fine by me as it suits my playstyle of getting up close and personal. Jon’s Panzerbüchse on the Sd.Kfz 221 was the weapon of choice for this mission, and all but destined to do the job at close range. This plan was sadly reliant, however, on the 221 crew’s ability to hit, so we’ll move swiftly on…
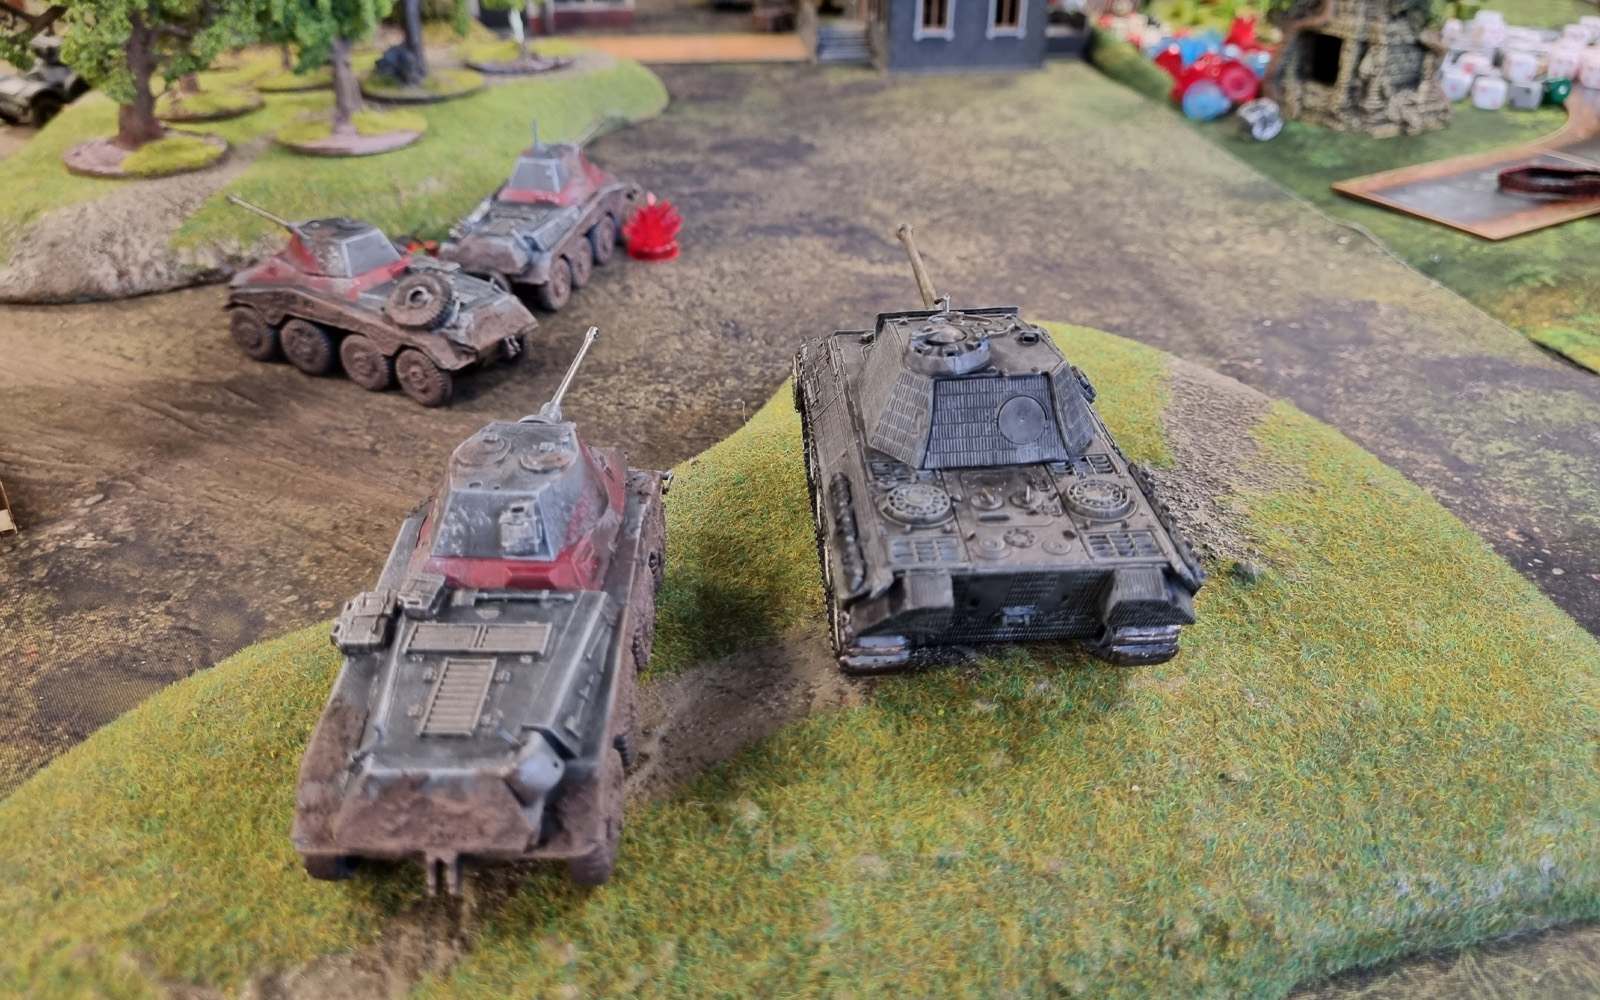
The Panther claimed a position on the hill and laid into one of Conor H’s Stuarts (Seawolf), finding the mark and forcing the crew to abandon the tank in flames. It seems the Panther crew had been practising their aim after all. The turn ended with two objectives claimed apiece with the central one near the crossroads contested.
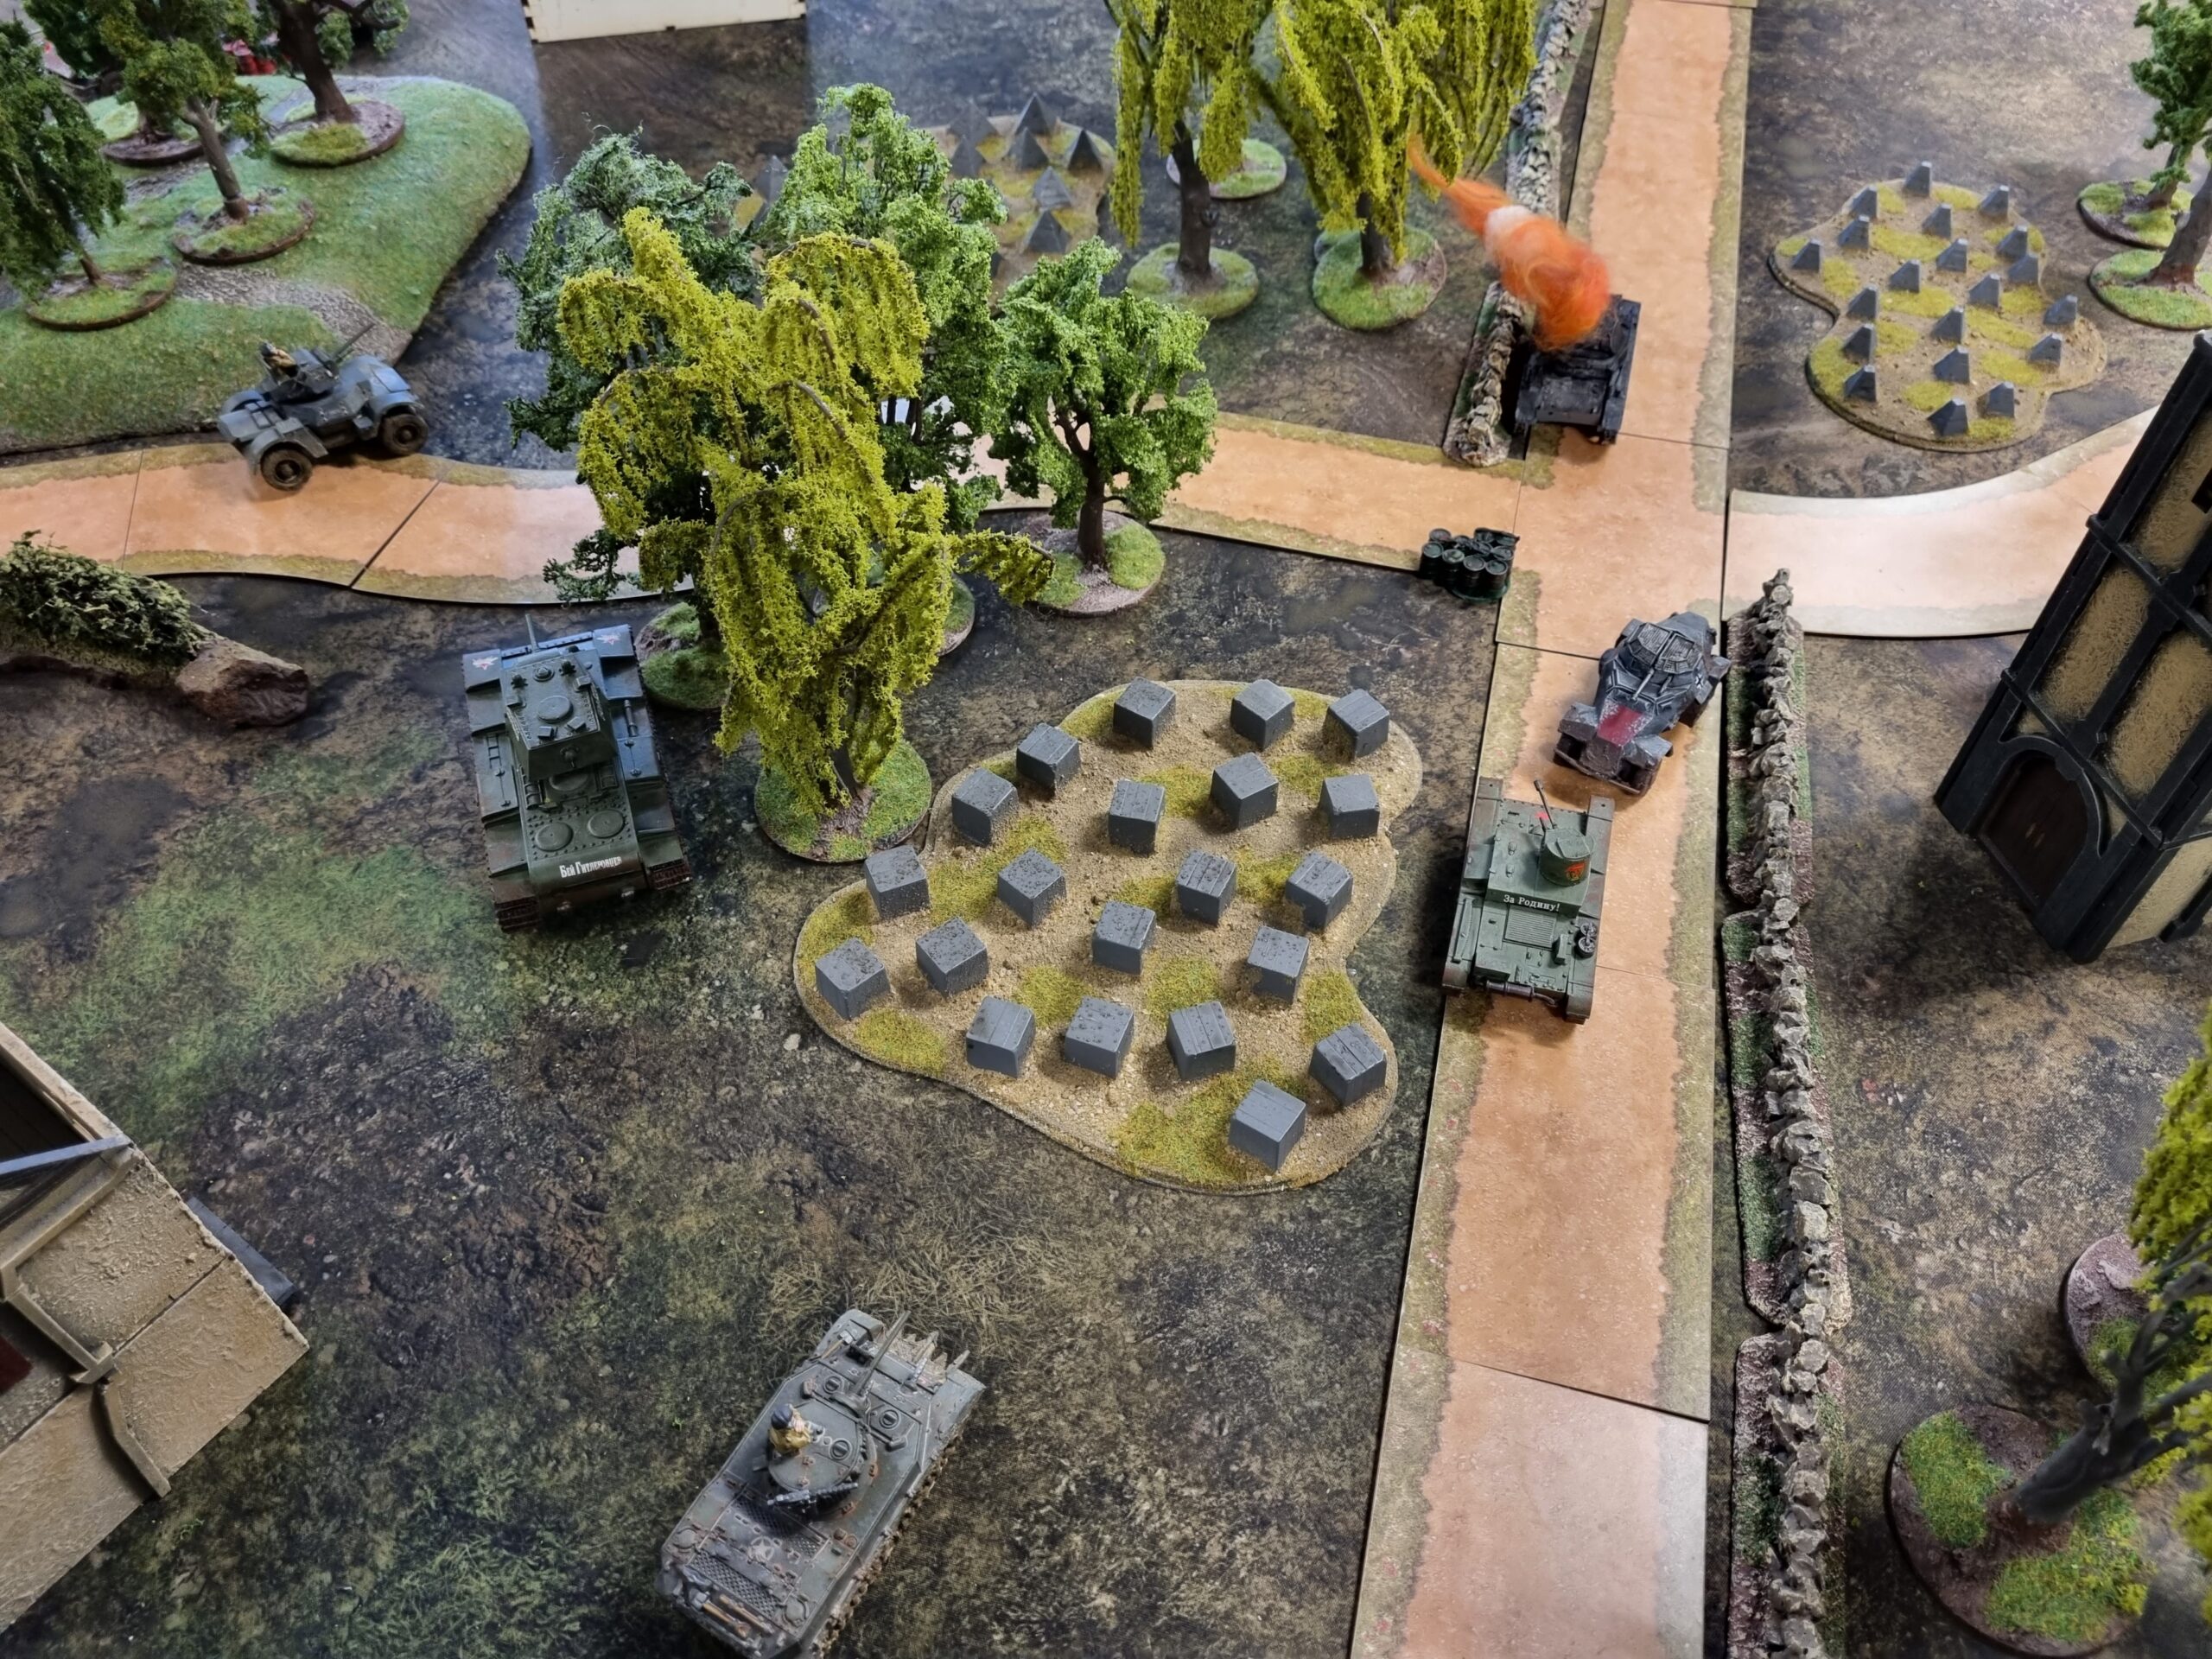
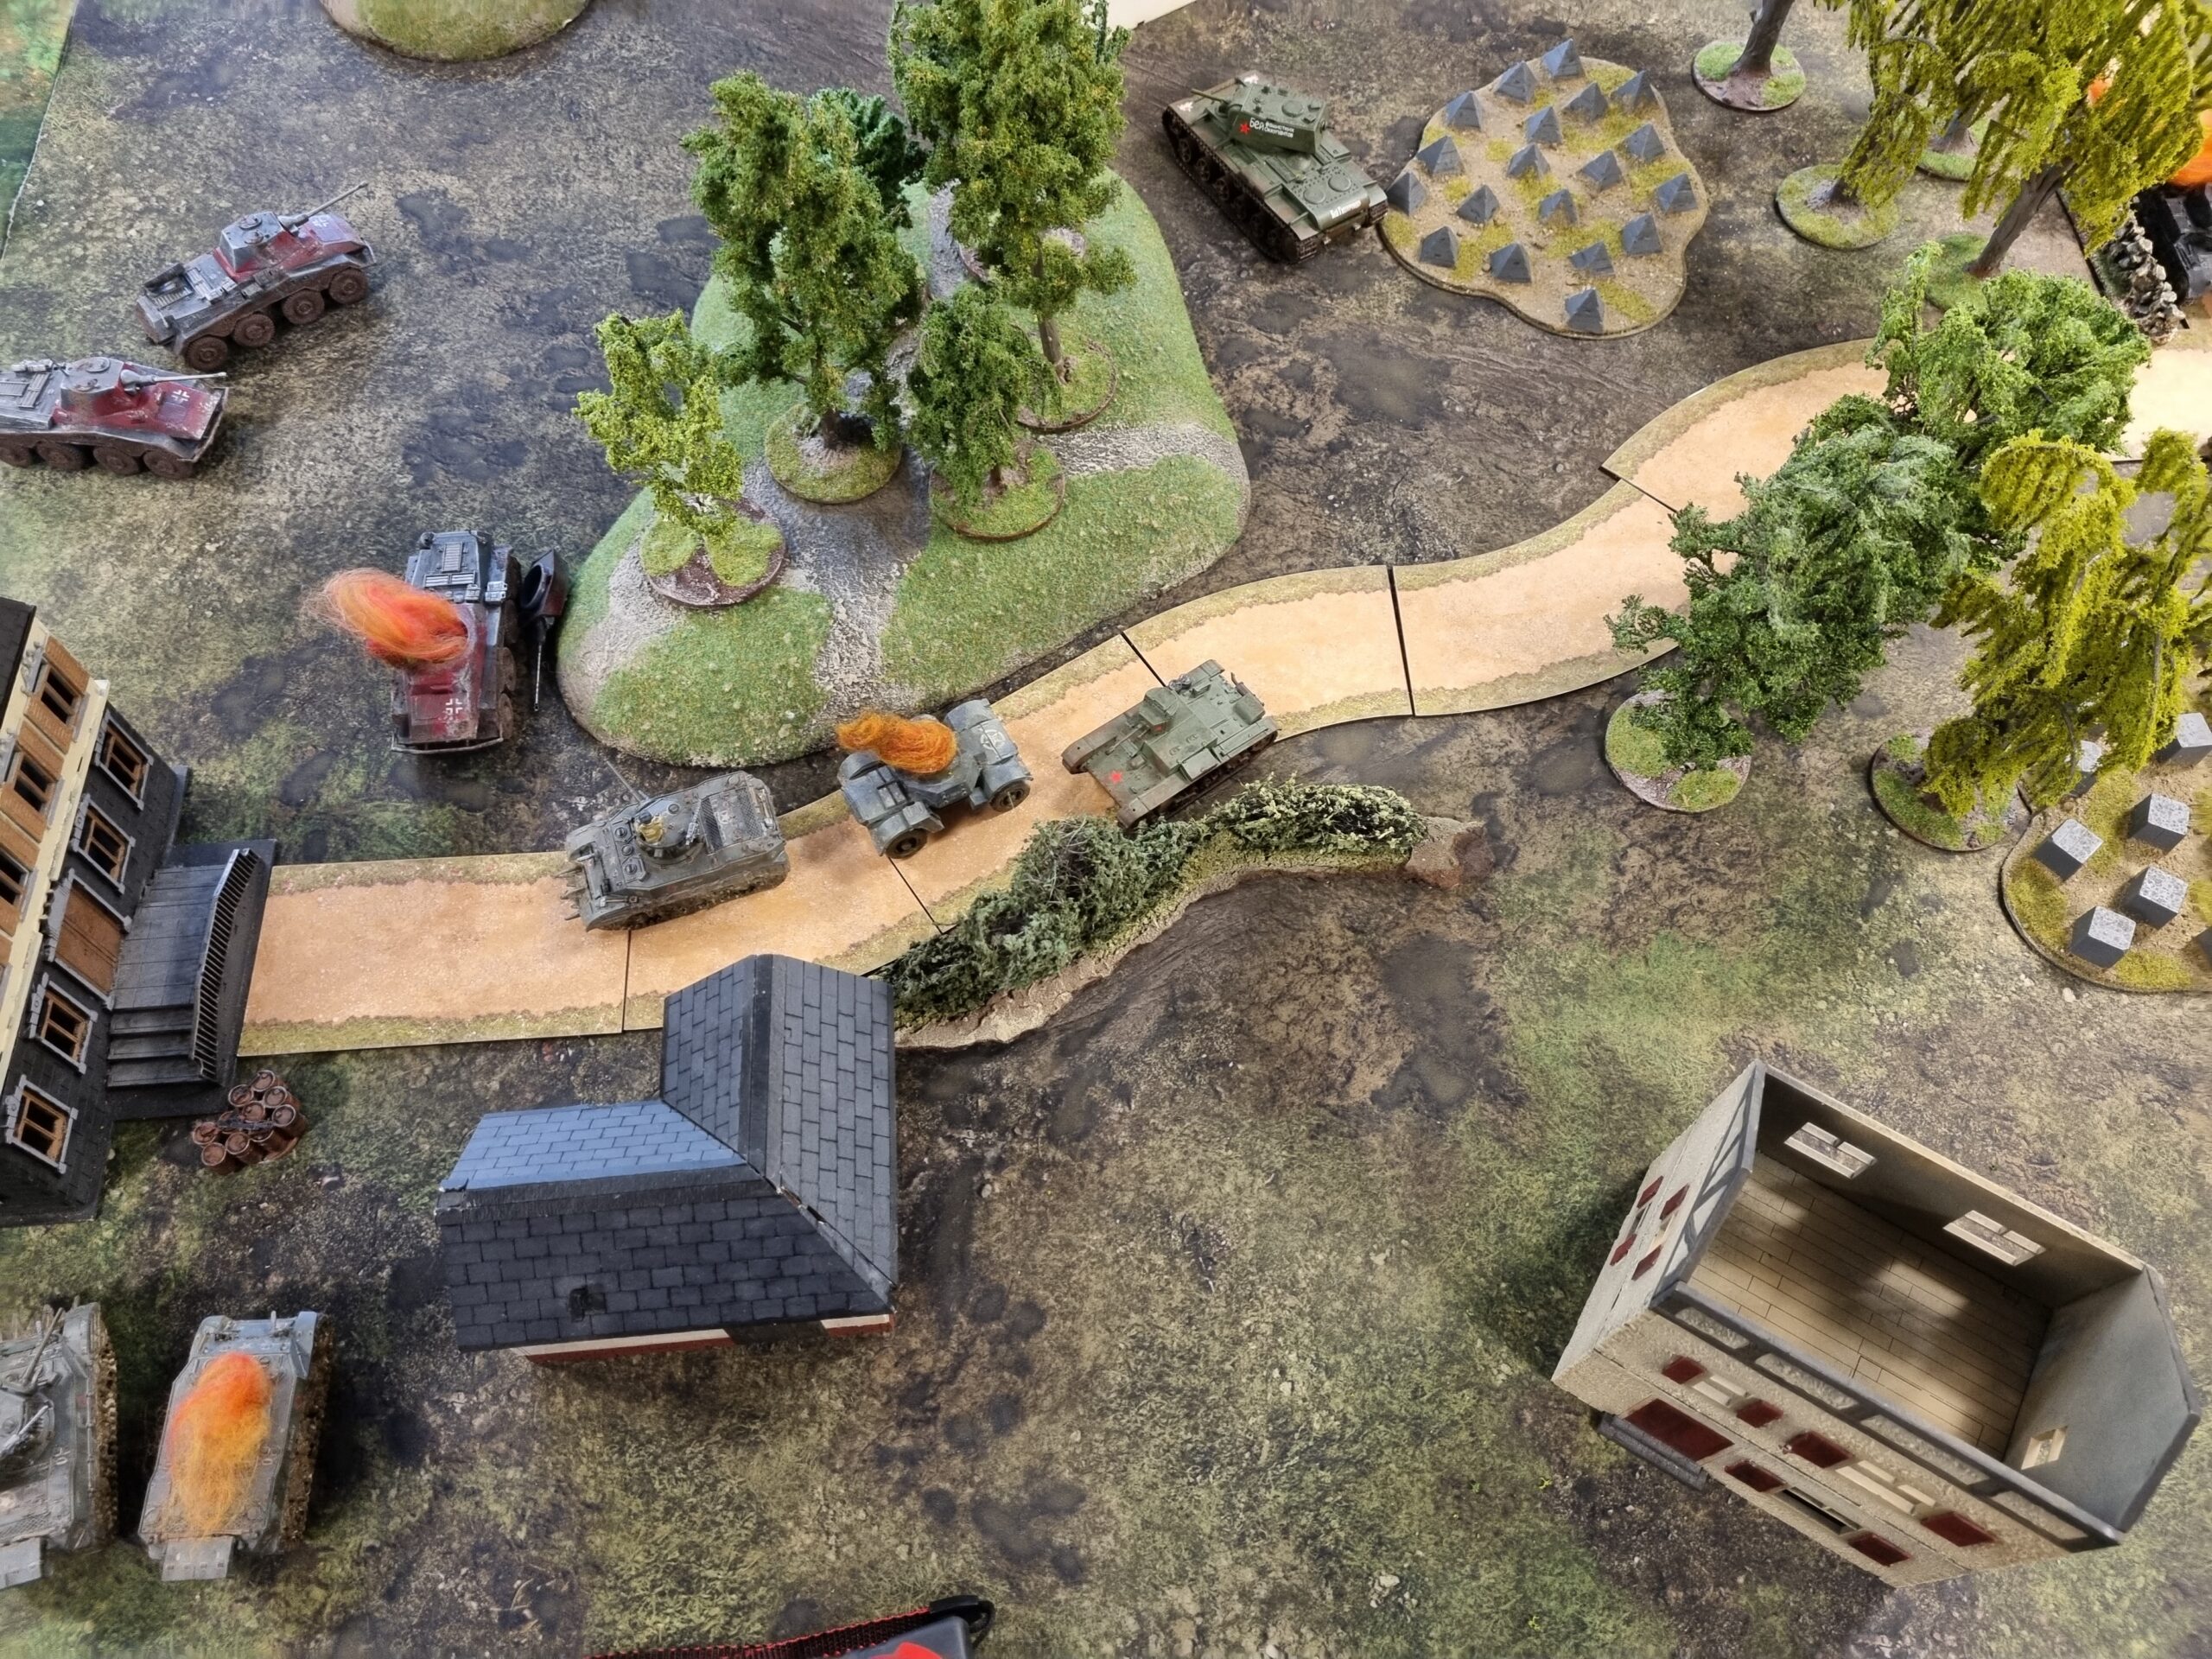
Turn Two: The 221 had a second crack at the OT-26 with the (“I promise it’s deadly when it hits”) Panzerbüchse, but missed again whilst the Command Puma forced Helen to go Down. My T-34/76 had a pop at Conor T’s other Panzer II and destroyed it, much to his dismay. Both Axis players were a little surprised that the OT-26 hadn’t been my first activation, but with the 221 having already missed, I didn’t feel it would be threatened by anything else for the rest of the turn.

The KV-1 fired at the Panther now exposed on the hill, causing it to go Down with two Pins inflicted. Elsewhere, one of Jon’s Pumas fired upon the Daimler Armoured Car but Conor erred on the side of caution and used the Recce ability to get out of harm’s way. The final dice out of the bag was for the OT-26, which turned its flames upon the 221 that had been threatening it, simultaneously knocking the armoured car out of action whilst claiming the crossroads objective. It was three objectives to the Allies and two to the Axis at the end of the round.
Turn Three: First draw this turn was Soviet, and I fired the KV-1 at the Panther once again. Conor T was unfazed until a succession of high dice rolls saw the most dangerous tank (at least on paper) destroyed, and knocked him out of the game in short order. Much cheering ensued (we promise nobody working in the adjacent offices complained at the noise levels…) and my KV-1 had enough points to immediately acquire a skill. I rolled Lucky which allows it to prevent a ‘damage results’ roll made against it once per game.
In less fortunate news for the Allies, Conor’s Daimler also met its end at the hands of Jon’s Command Puma. All other shots missed their targets this turn as the remaining vehicles sought better firing positions for the next round. The score remained three objectives to two.
Turn Four: We couldn’t resist starting this turn without asking Conor T if all his dice had gone in the bag – this resulted in much scowling. Helen began the actual proceedings of the turn by firing upon the Command Puma, which used Recce to hide behind the house. The T-34 drew a bead on another of Jon’s Pumas, which also declared the use of Recce to escape danger, but this put it square in position for Conor H’s advancing Assegai. A swift few dice later and the Puma promptly exploded.
Turn Five: The Command Puma partially avenged its comrade by immobilising Assegai. The third Puma was not quite so lucky, falling prey to the KV-1, despite Recce taking it out of point-blank range of the shot. All the other Axis vehicles brought their guns to bear on the Command Puma but failed to hit. With only one vehicle left, there was not much Jon could do but hold on as long as possible for pride. All objectives were now firmly under Allied control.
Turn Six: All Allied guns were focused on the Command Puma. It survived them all, and even managed to take out the OT-26. This was “a moral victory,” according to Jon.

Turn Seven: The Command Puma, despite all the odds stood defiant, taking out Assegai with a well-placed shot, and earning it a skill in the embers of the league. Jon rolled Push Through, allowing the Puma to treat a Down order as an Advance order instead. Impressively, the Puma then survived firepower from the KV-1 and the T-34. With the game’s end came a firm Allied victory, though Jon’s platoon certainly did well.
After Action – Allies

Bernard: I was lucky with my dice rolls this game, managing to destroy five enemy vehicles. The OT-26 continued to be my most feared asset, drawing attention away from the KV-1 which hadn’t really performed well up to now – but it came good this time. Jon’s Command Puma must have been the luckiest vehicle on the board, however. It attracted a huge amount of fire but weathered everything thrown at it! All in all, this campaign has been a huge amount of fun.

Conor H: I think I probably had the worst streak of luck of anyone this game. Whilst Bernard’s Soviets were tearing the battlefield up my own vehicles were having a bit of a rough time of it. The immediate destruction of Seawolf at the hands of the Panther was a bit of a blow. At least Helen survived, and I fared better than Conor T, who was wiped out in a mere three turns.
After Action – Allies

Jon: We had hoped to screen the Panther with my advancing Pumas, mob the objectives and give the Allies something to think about that would have allowed the Panther to pop off tanks merrily from a distance. How quickly plans change! My armoured cars were left alone and surrounded but they acquitted themselves well. The Command Puma claimed two kills, including that flamethrowing tank! Though a loss, the game was chaotic fun, as always.

Conor T: Well that didn’t go to plan at all did it? I think poor positioning let me down, leaving the Panther overexposed. Perhaps I got distracted by that OT-26 that had done me dirty in the last game, perhaps I should have just rammed the little tank – that certainly would have been a satisfying moment. It was not to be this time. I’m off to plot my revenge on Bernard’s damnable Soviets.
Campaign Results
We totted up the total experience points accumulated by each of our players over the course of the campaign. Well done to Bernard for overall victory and to Jon for second place, despite these being his first-ever games of Bolt Action. Perhaps next time we’ll enforce the Tank War special rules that restrict the use of flamethrowing tanks for anyone named Bernard with a penchant for very loud shirts – no matter if it appears to be written in biro…
Here are the totals:
Allies: 483 points Bernard- (272pts / Conor H – 211pts)
Axis: 386 points (Jon 223 pts / Conor T 163pts)
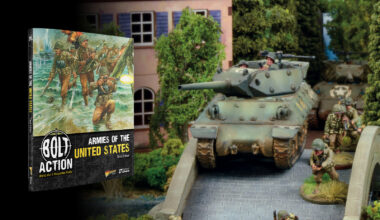
Level Up Your Own Tank Crews
The Tank War supplement gives players the option to expand their games to a whole new level of armoured warfare. Recreate such famous engagements as the battle of Kursk with the scenarios, army options and special rules found in this book. You’ll also find guidance to have your tank crews gain experience as our gallant generals have done over the course of their campaign. Whether you want to add more armour to your existing armies or build an entirely armoured force, Tank War has you covered.
Our Tank War starter sets arm you with half a dozen tanks, a compact, convenient version of the Tank War rulebook, as well as dice, and templates – everything required for armour-on-armour action.
Previous articles in the Warlord HQ Tank Wars series:
Round One: Blue-on-Blue Training Games