With the Staff Tank War mini-league reaching the third round of games, our four generals’ tank crews have steadily been gaining experience. Flamethrowing light tanks and German big cats have been running amok. Conor T’s Panther has become even more dangerous, having been promoted to Regular in the previous game and earning a second skill in the process – Conor’s rivals are sure to want to make a trophy of its demise…
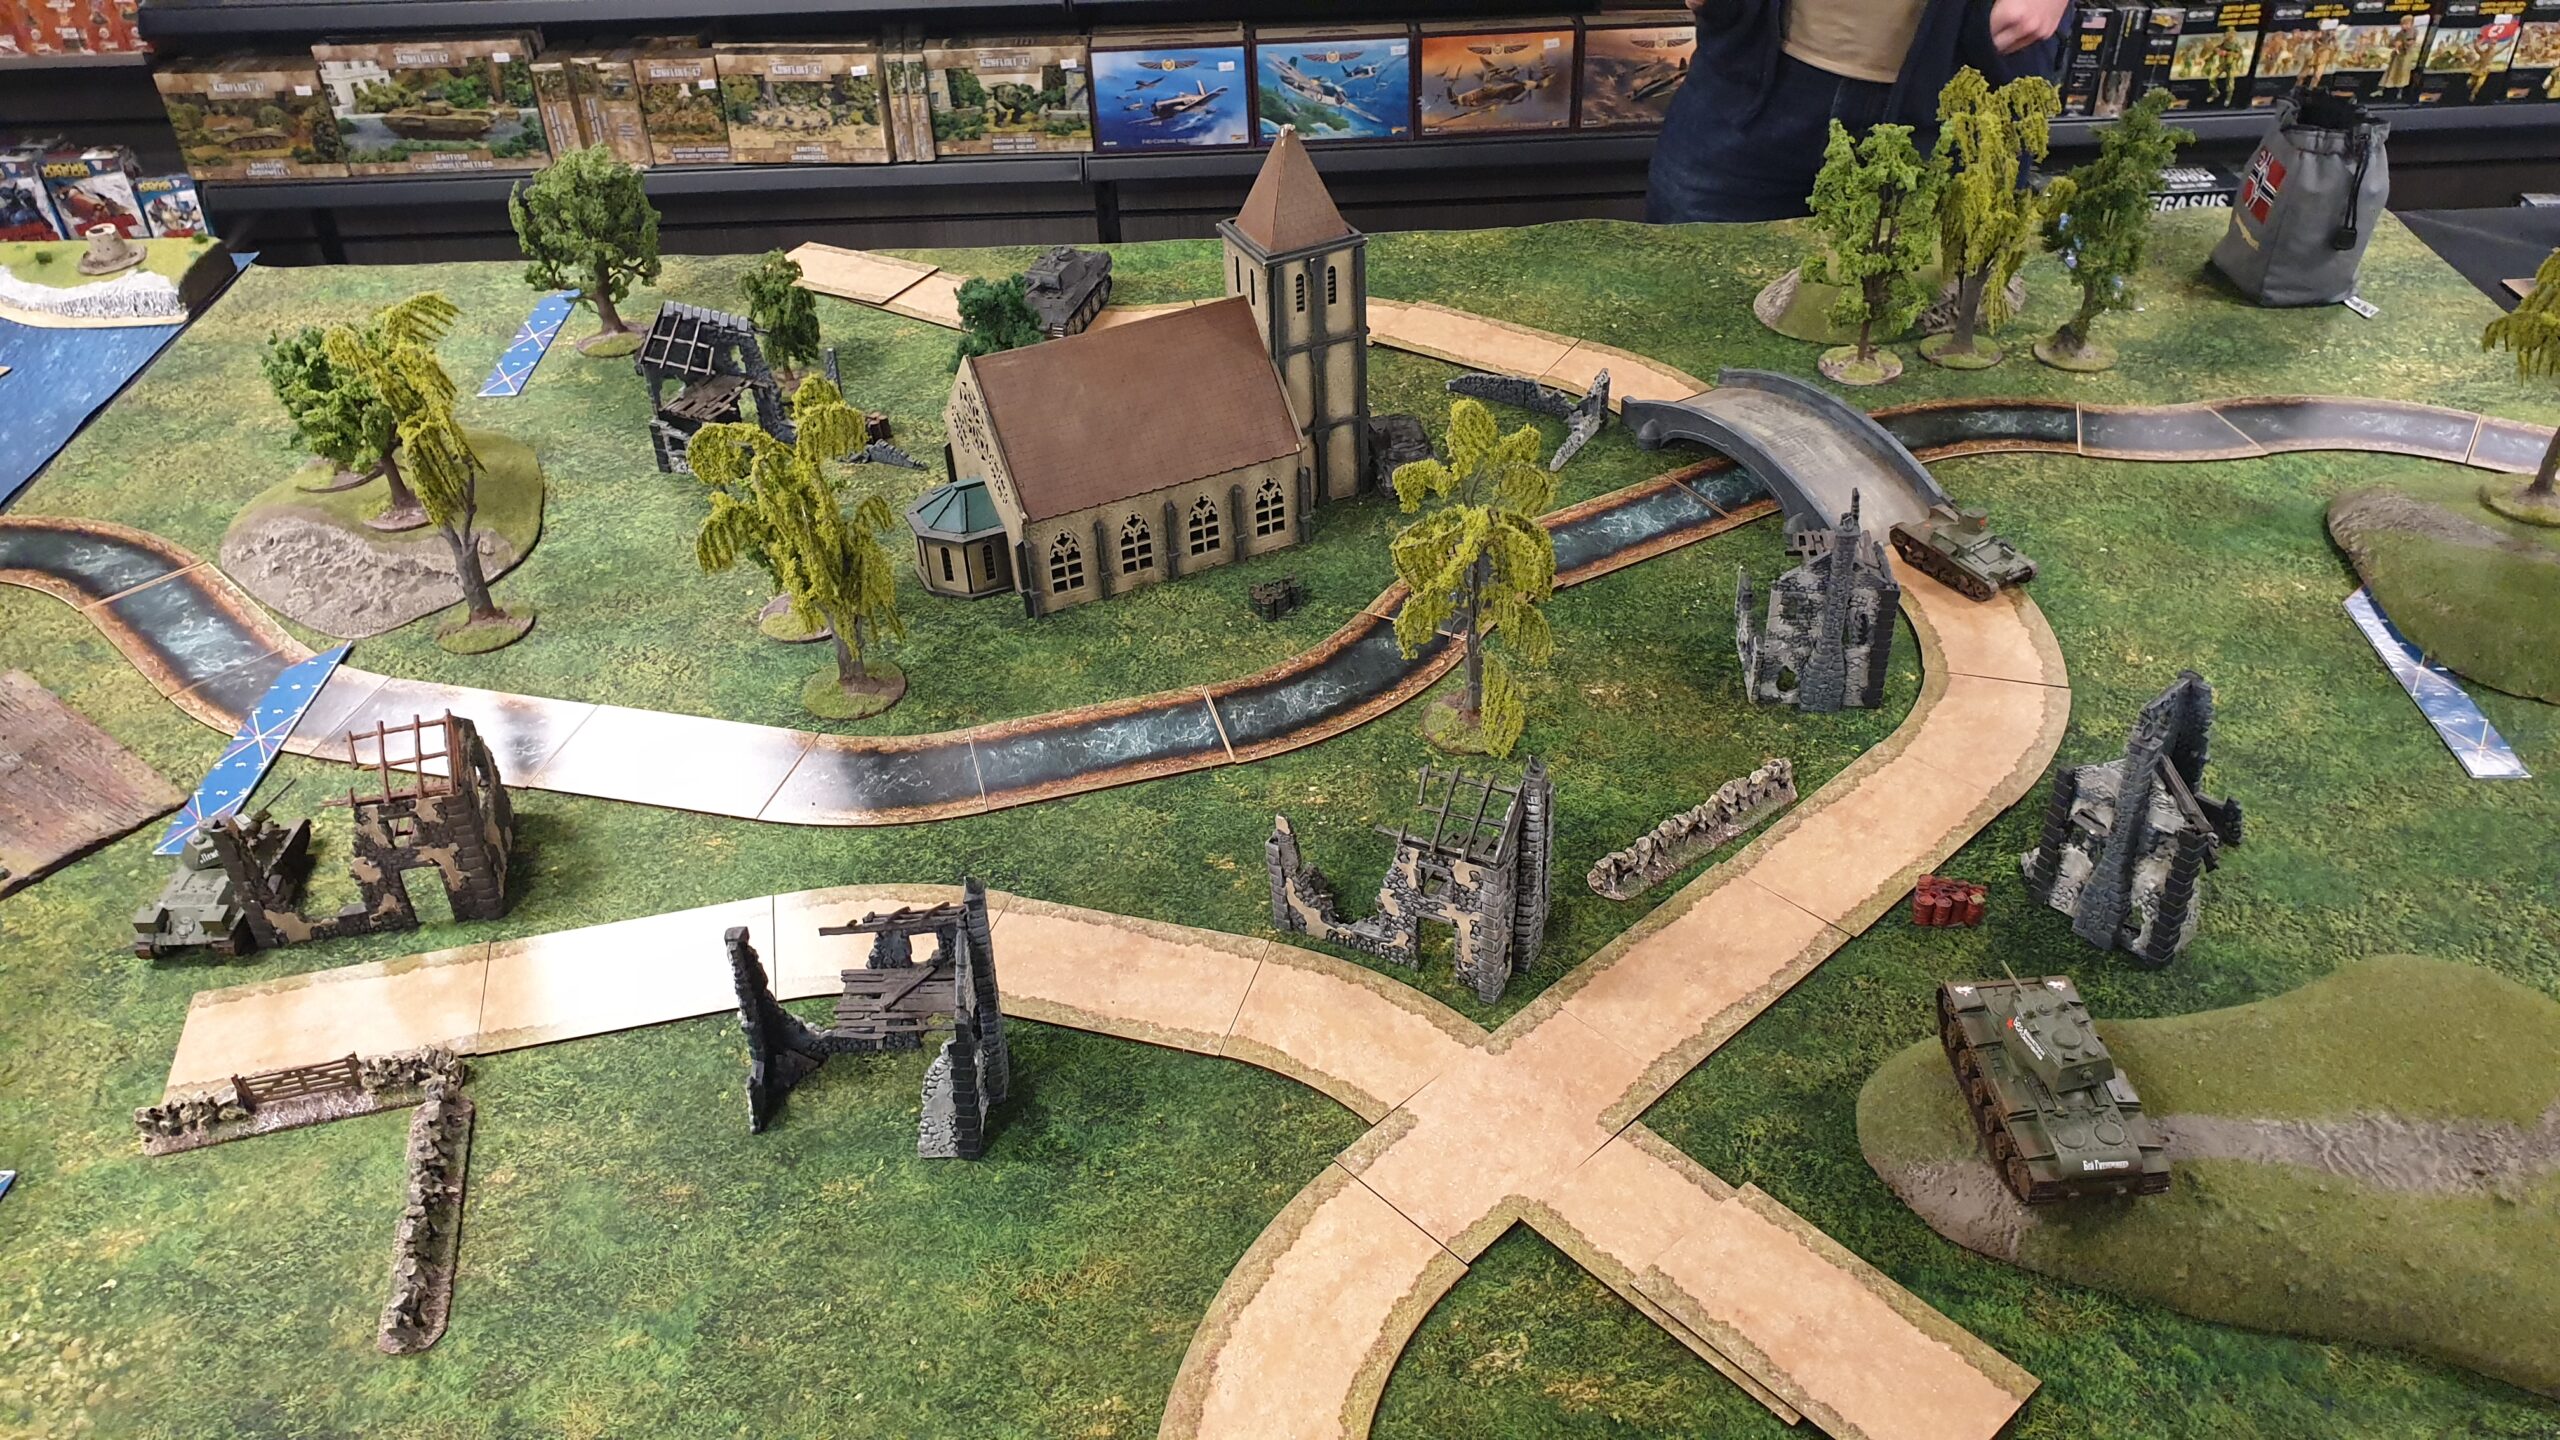
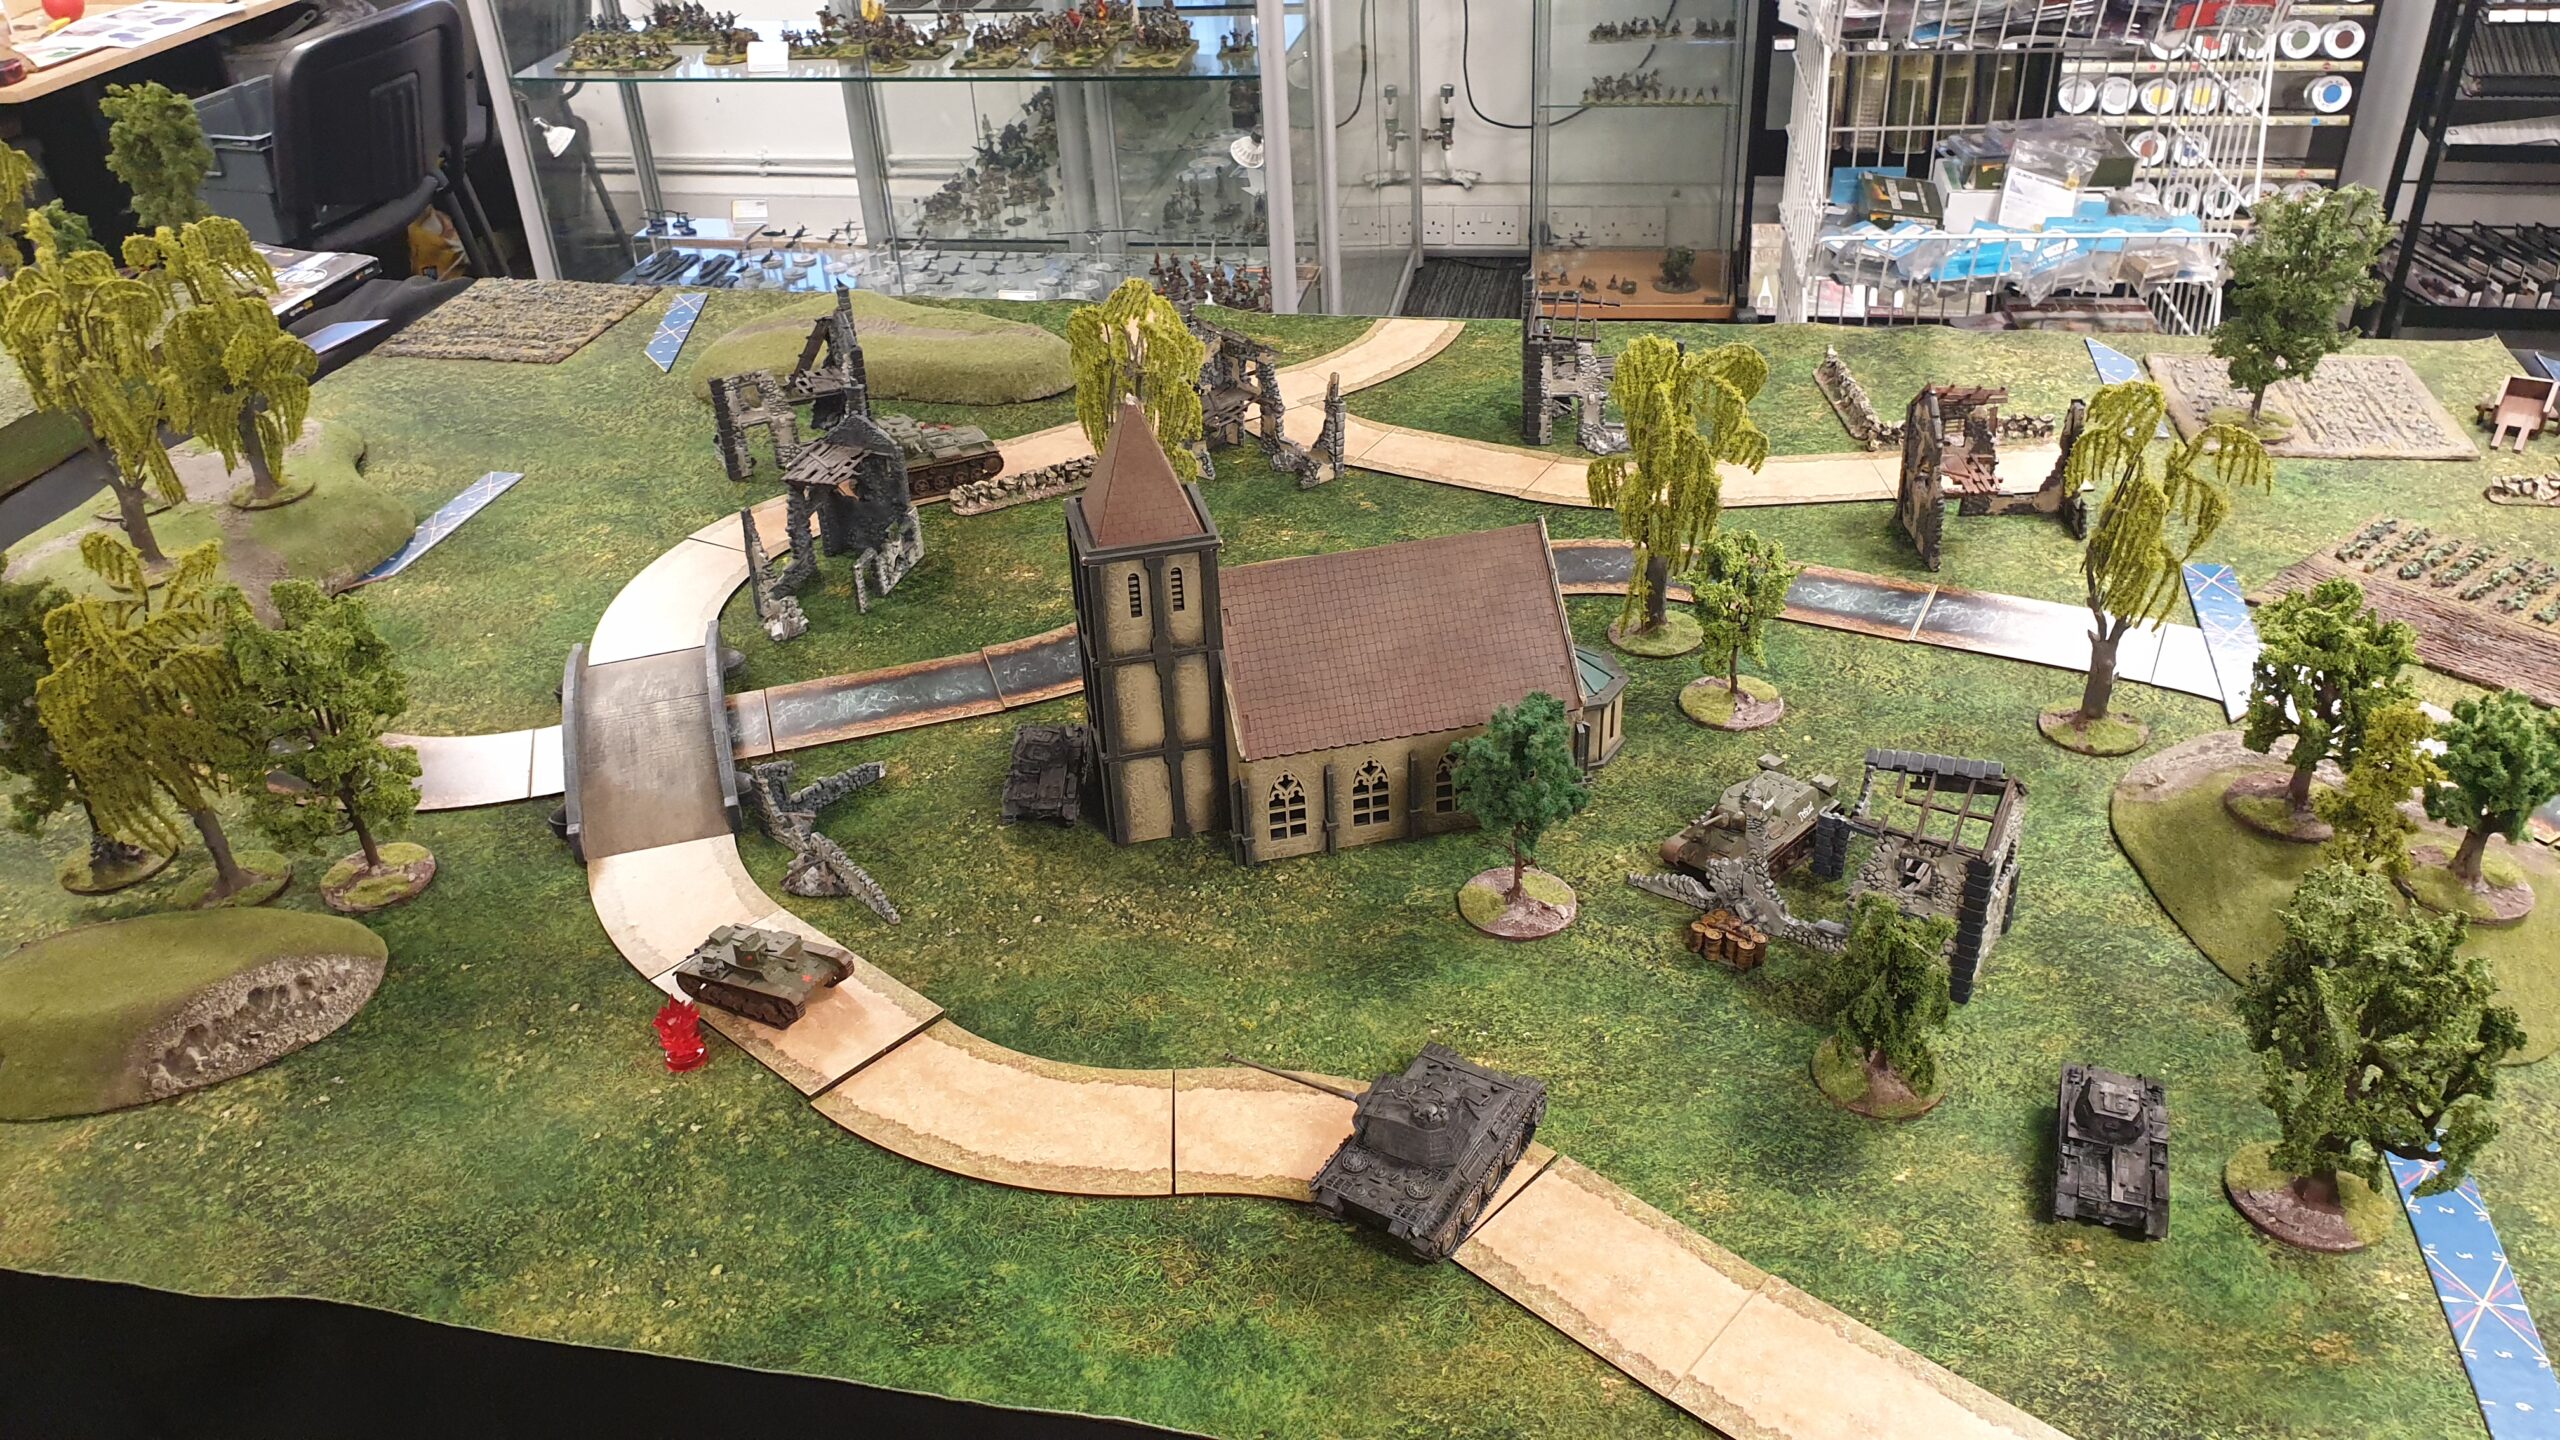
This time Bernard has the honour of trying to bag the big cat with his Soviets, whilst Jon’s German armoured car platoon takes on Conor H’s British. As with the last round the generals are fighting for control of a number of objectives spread across the battlefield.
Conor H’s British vs Jon’s Germans (write-up by Conor H)
The Germans
- Inexperienced Sd.Kfz 234/2 ‘Puma’ Heavy Armoured Car
- Command Vehicle
- Armoured Platoon Commander
- Inexperienced Sd.Kfz 234/2 ‘Puma’ Heavy Armoured Car
- Inexperienced Sd.Kfz 234/2 ‘Puma’ Heavy Armoured Car
- Inexperienced Sd.Kfz 221 Light Armoured Car
- Panzerbüchse 41
The British
- Inexperienced M5A1 Stuart VI Light Tank ‘Seawolf‘
- Command Vehicle
- Armoured Platoon Commander
- Inexperienced M5A1 VI Stuart VI Light Tank ‘Assegai‘
- Skill: Leadfoot
- Inexperienced M5A1 Stuart VI Light Tank ‘Helen‘
- Inexperienced Daimler Armoured Car
- Skill: Skill Shot
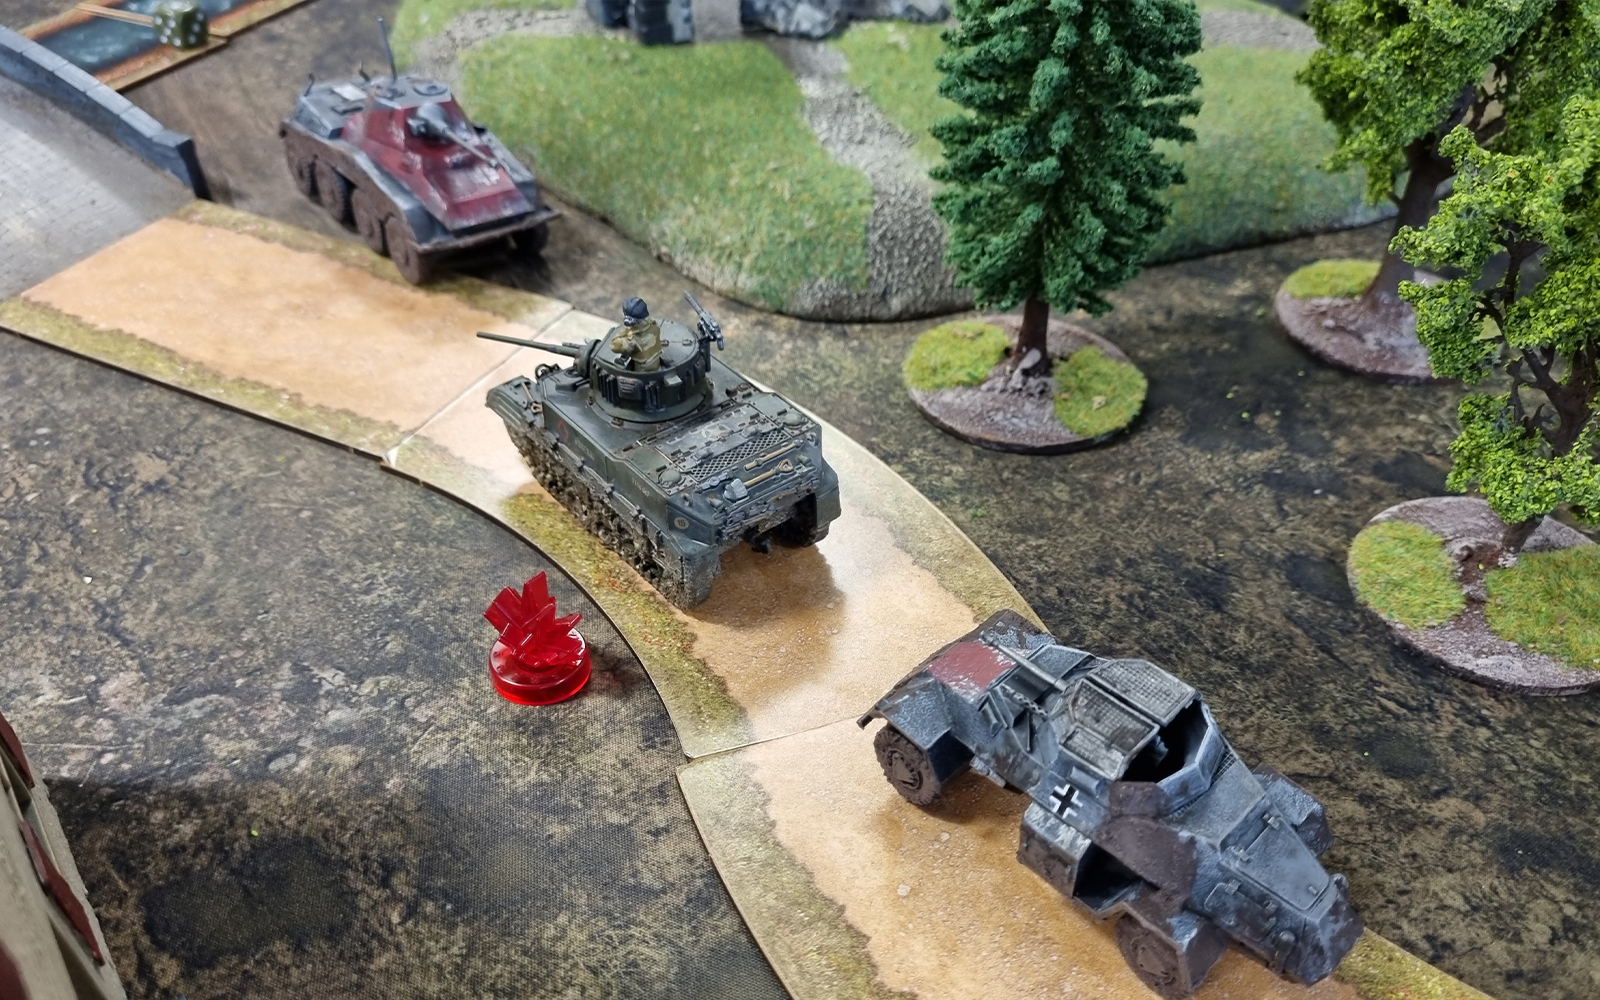
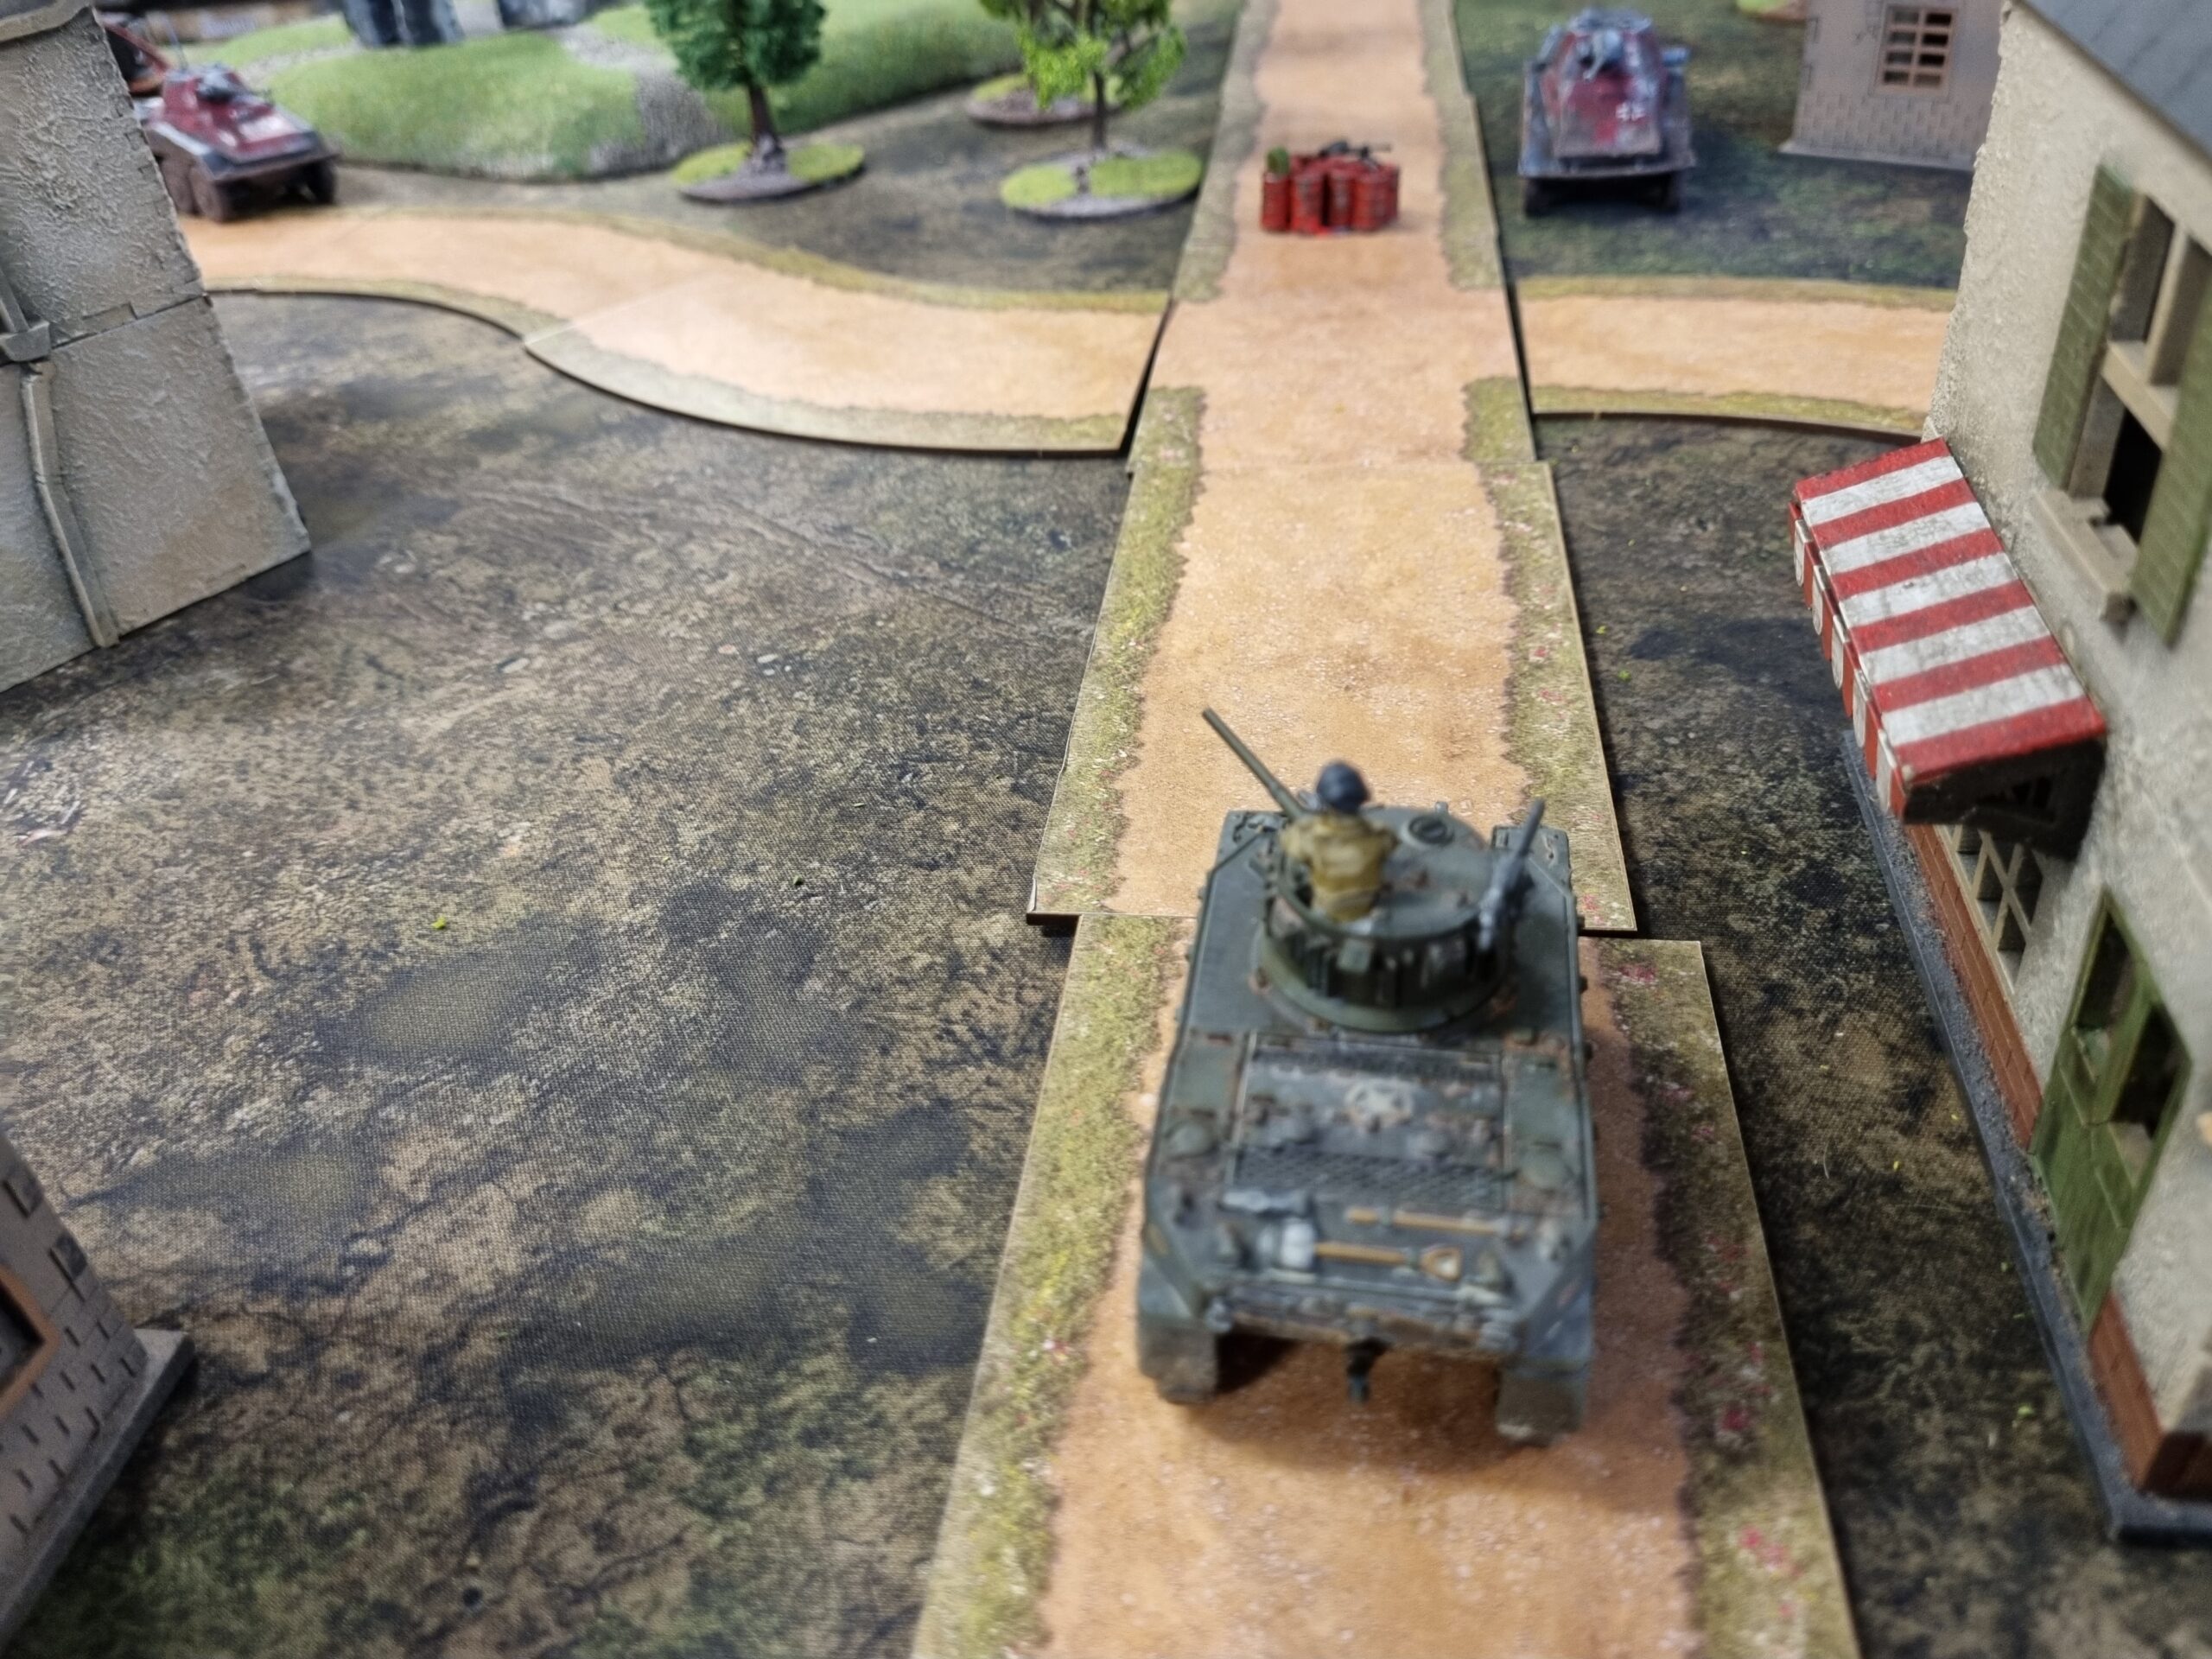
Turn 1: There were four objectives to vie for, as such turn one mostly saw us Advance or Run our tanks onto the board to secure them. Jon took full advantage of his fully-wheeled vehicles to zip towards the objective on his deployment side, as well as both flanking objectives. I took a slower approach, capturing the objective closest to my board edge and looking to gain a position that would enable me to pounce upon Jon’s flanks on a later turn.
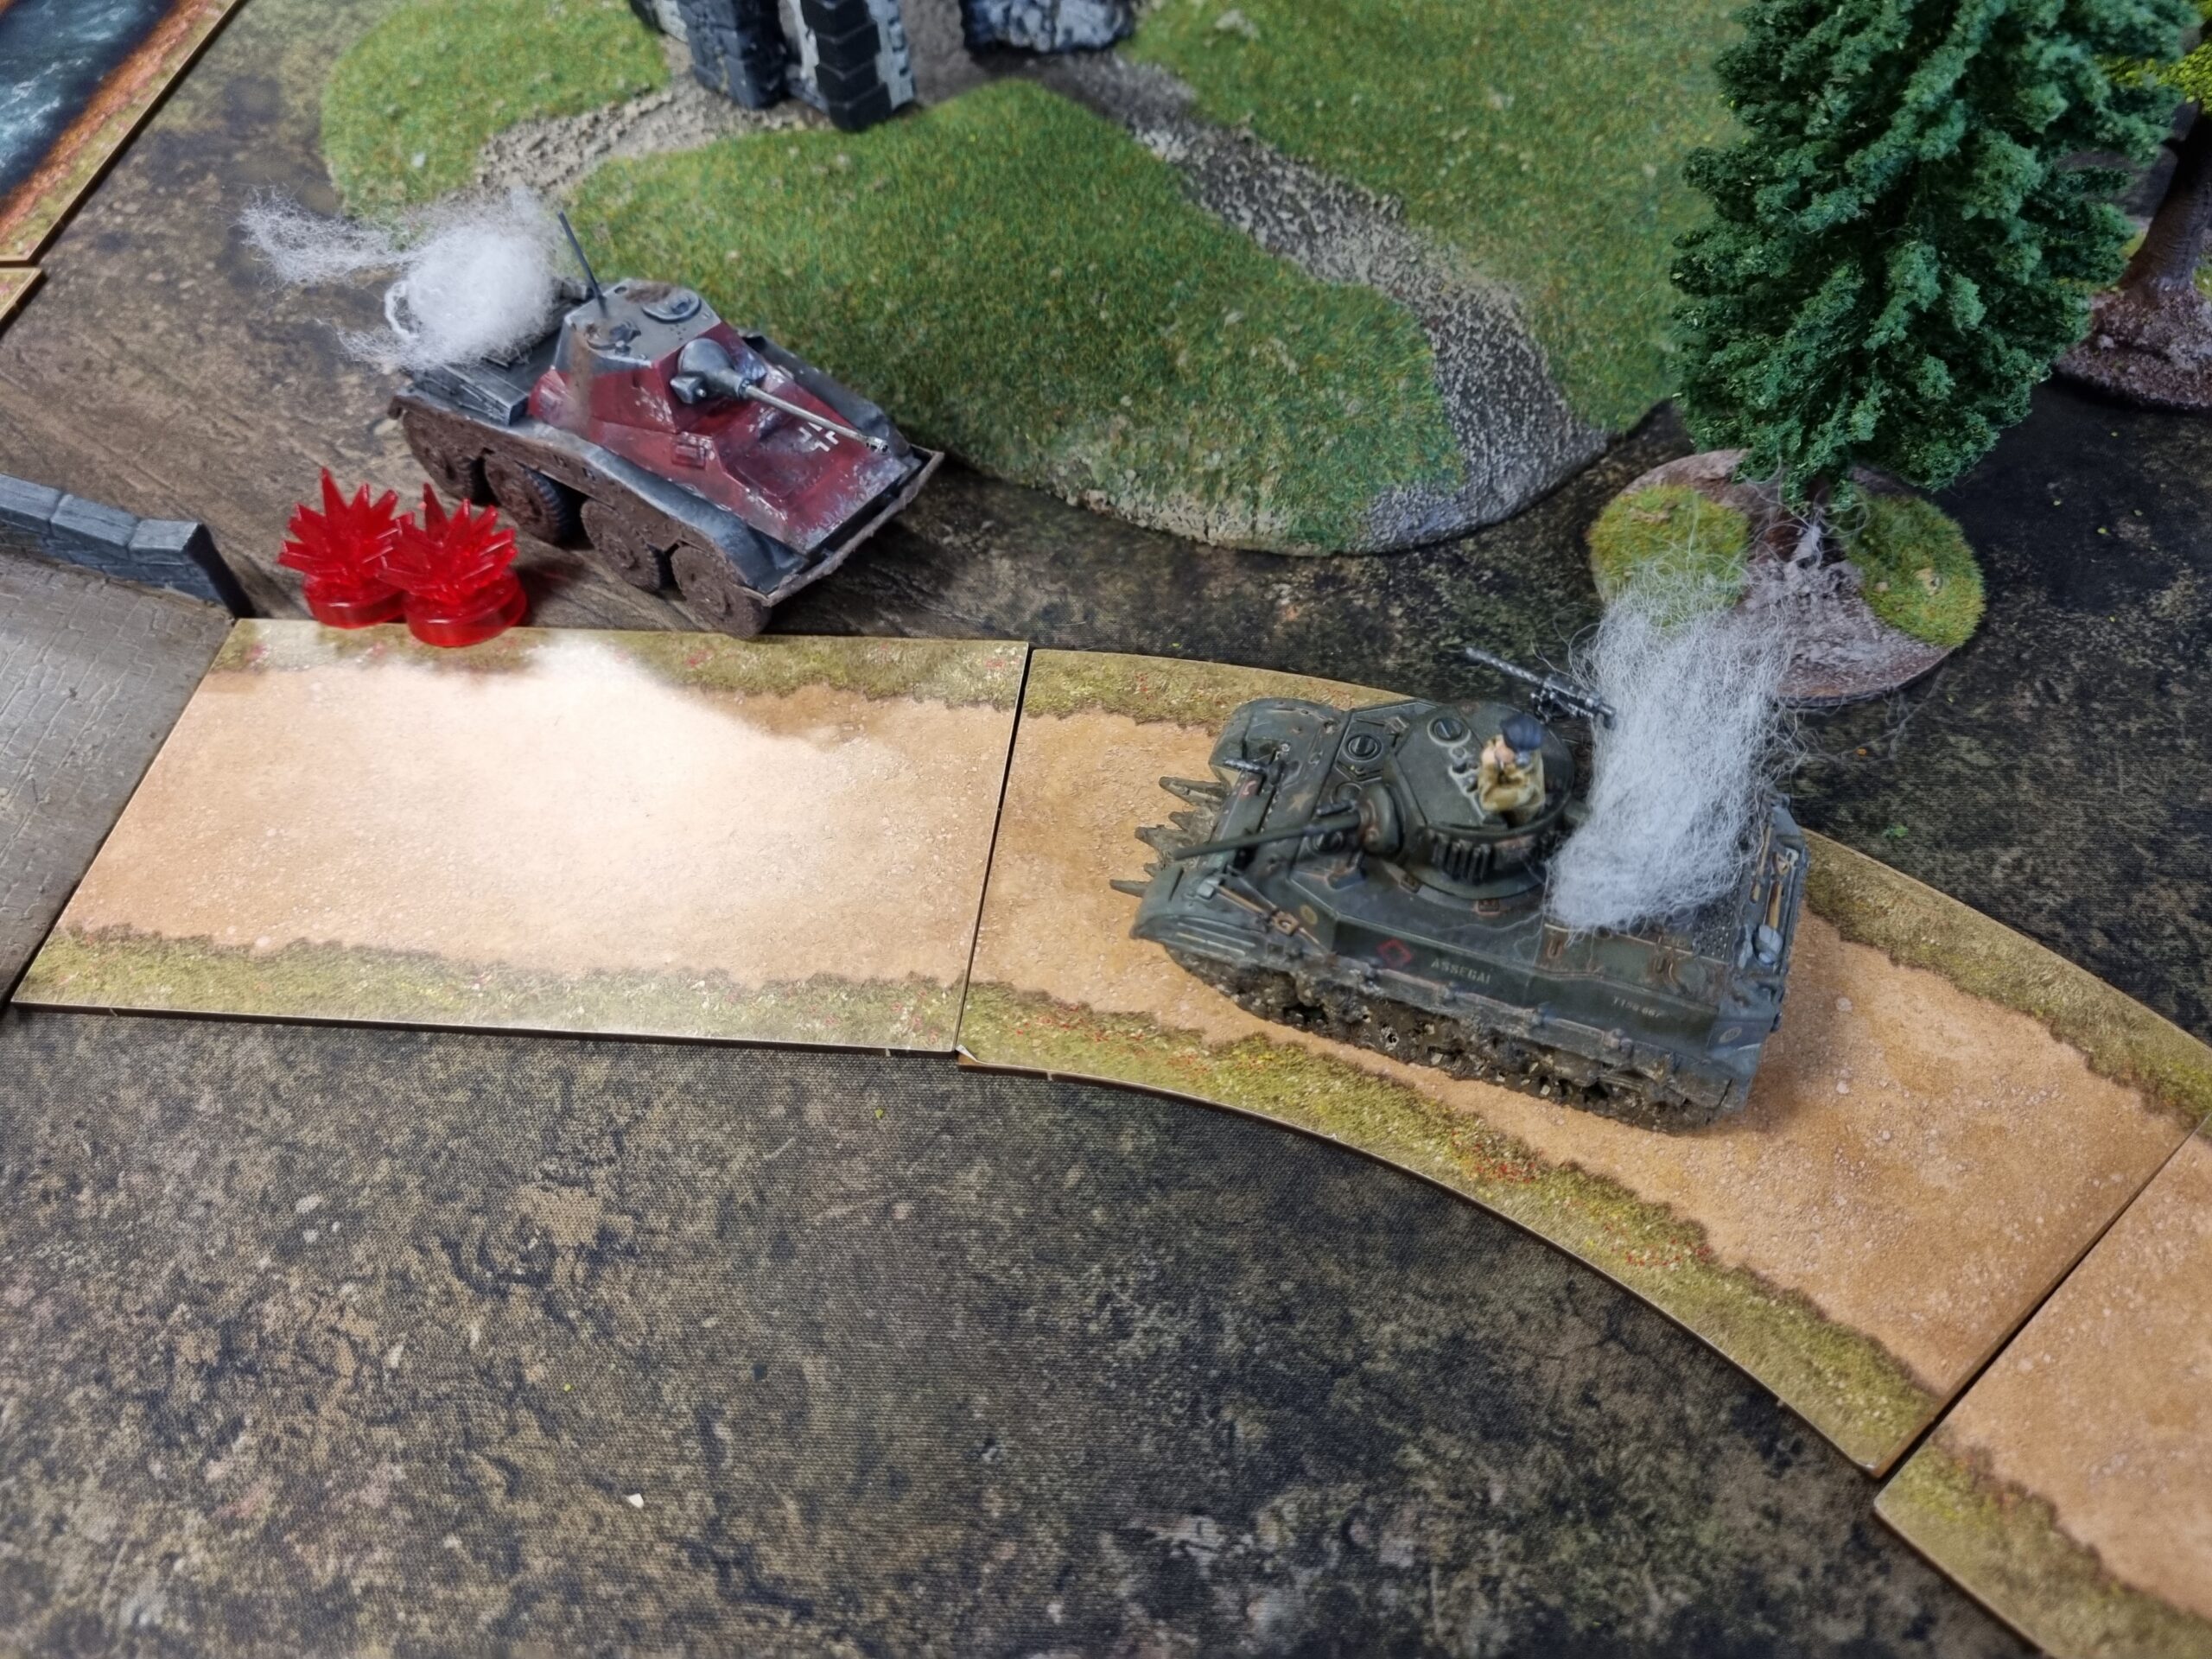
Turn 2: I began by using Assegai to threaten one of Jon’s Pumas, which proceeded to Recce away from the objective to protect its vulnerable side armour. Sensing that the M5 was vulnerable, Jon rolled his 221 right up to unleash the Panzerbüchse on the now-exposed rear armour. Despite only needing a two to penetrate, a cursed one (well, blessed for me!) emerged, much to Jon’s chagrin. His Command Puma fared poorly too, missing its shot entirely.
I then elected to try out my Daimler’s new skill, the aptly named Skill Shot; although I only gained a +1 bonus to my Penetration roll, this was enough to immobilise one of the Pumas. In return, another Puma fired at my Command Stuart, Seawolf, knocking it out of the fight. Curses! In addition to earning first blood in this game, this gave the Puma enough experience points to immediately gain a skill – which just so happened to be Skill Shot as well!
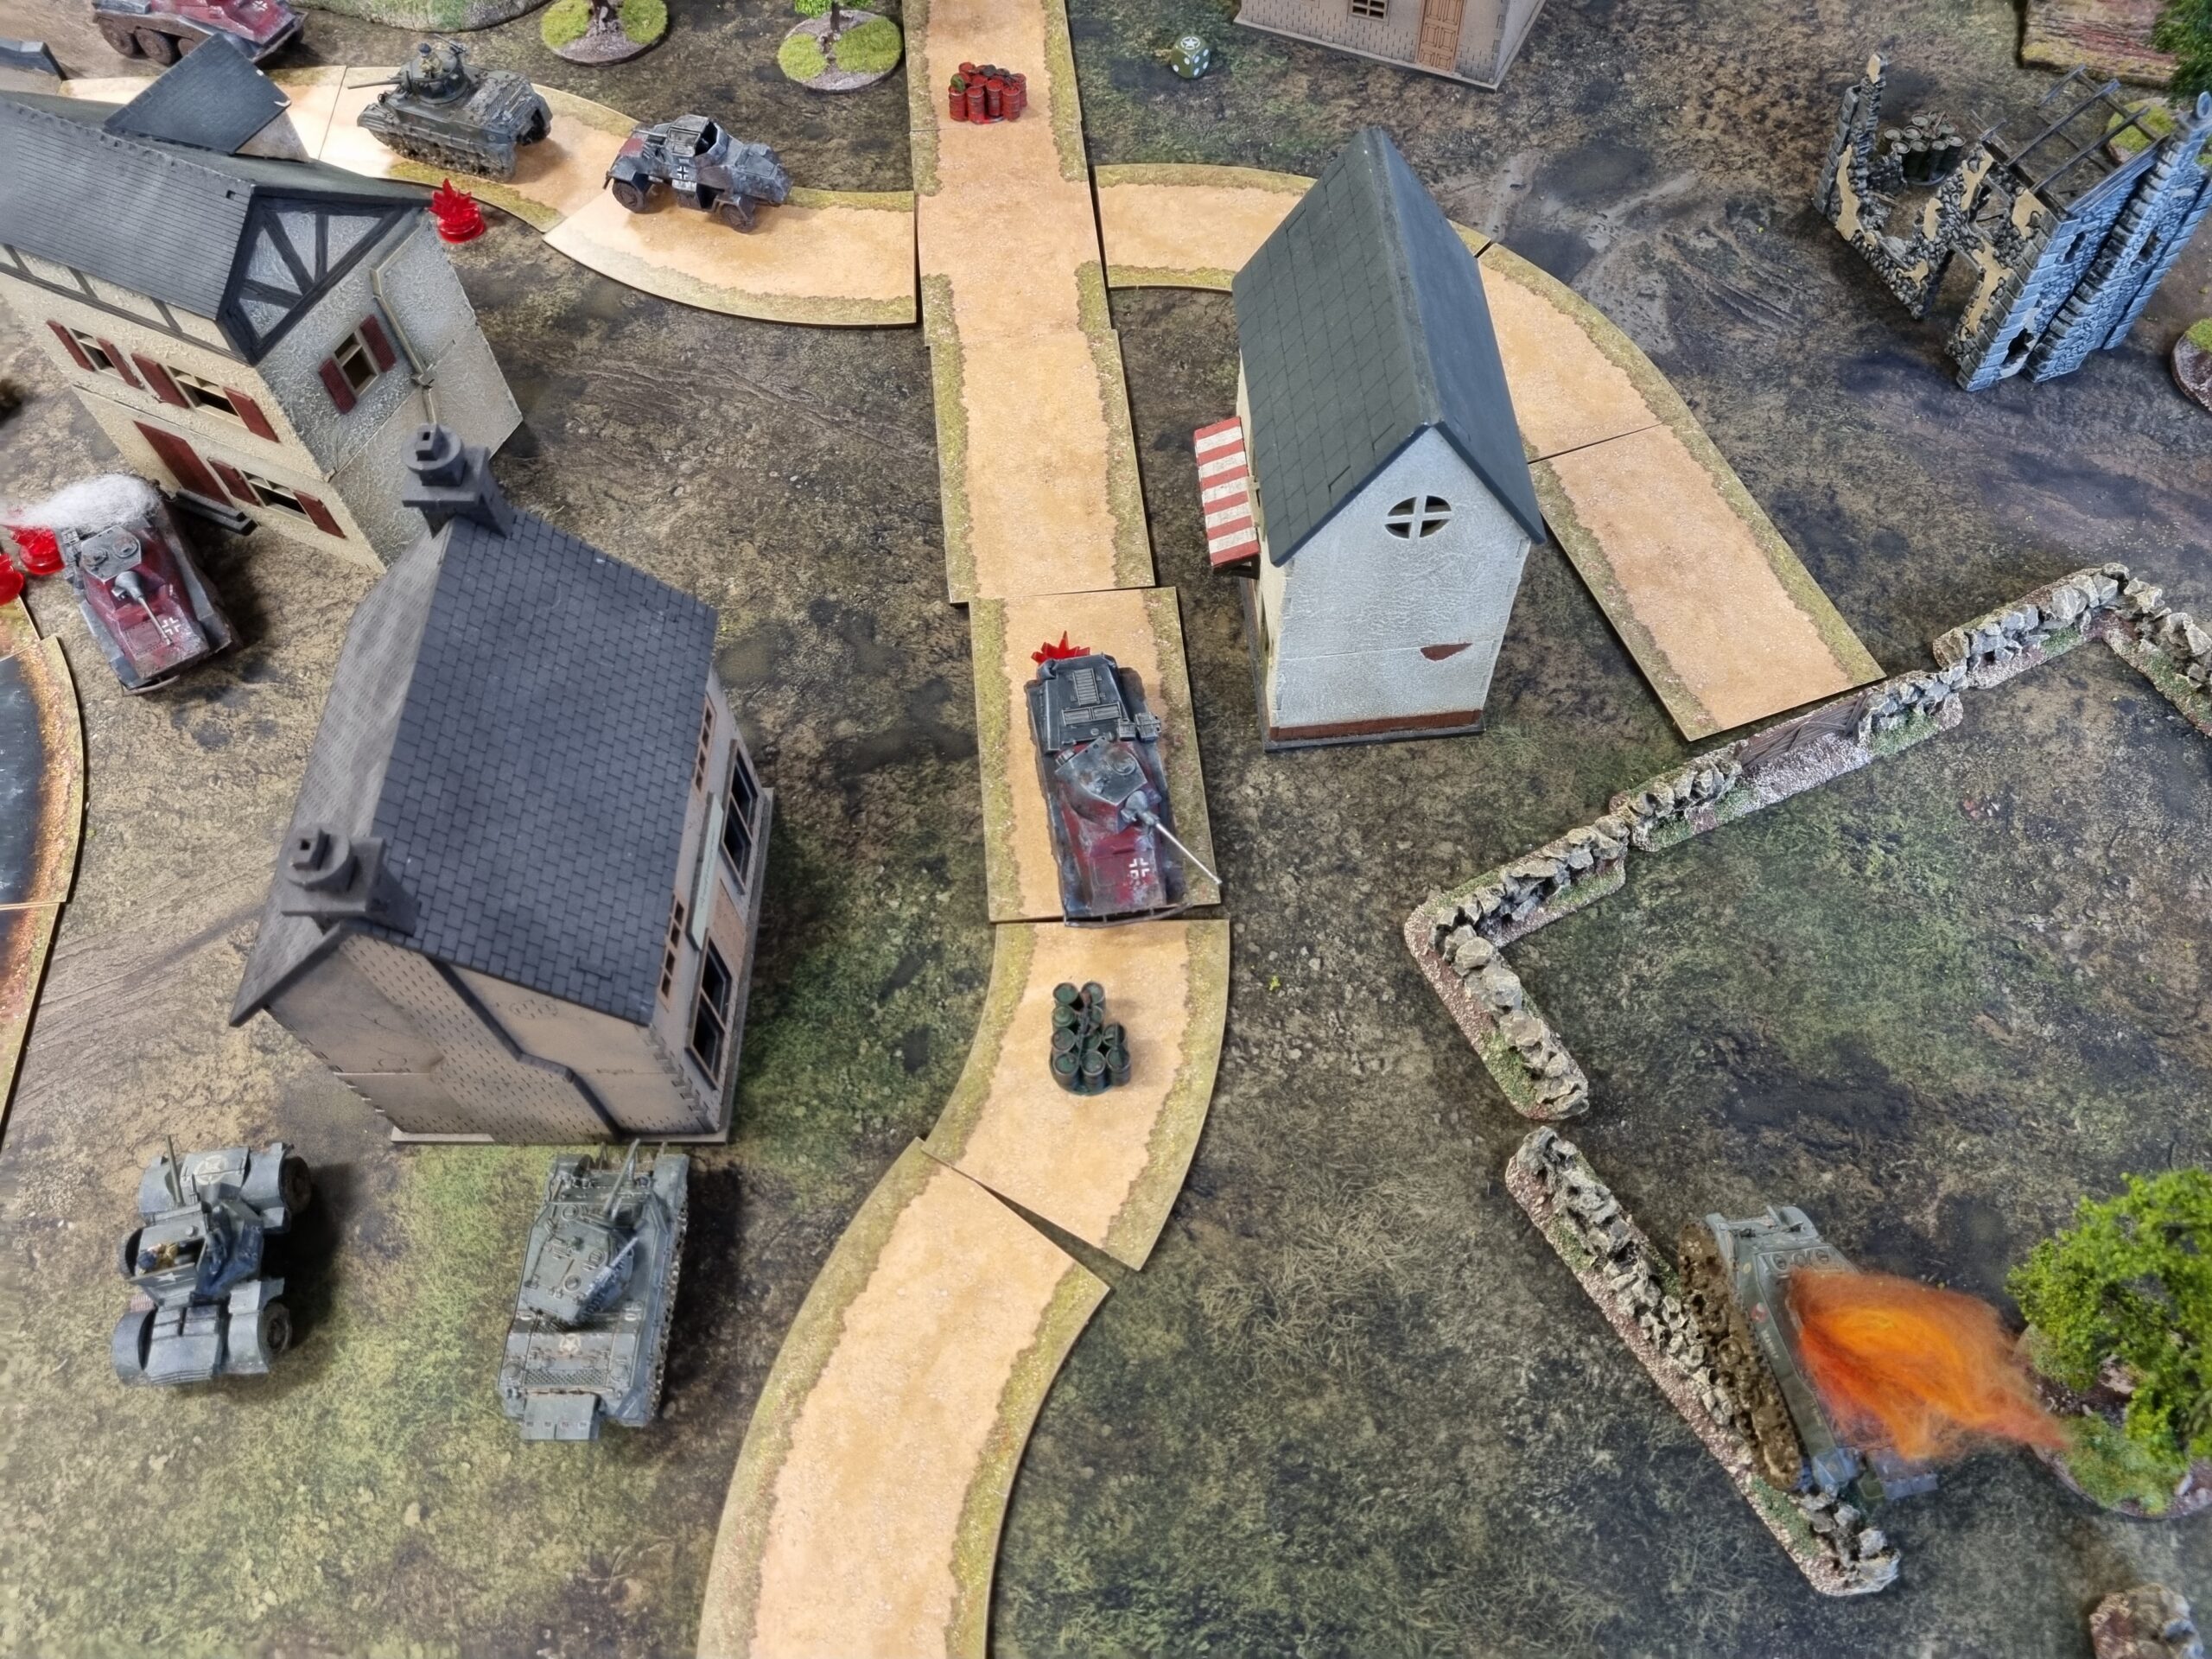
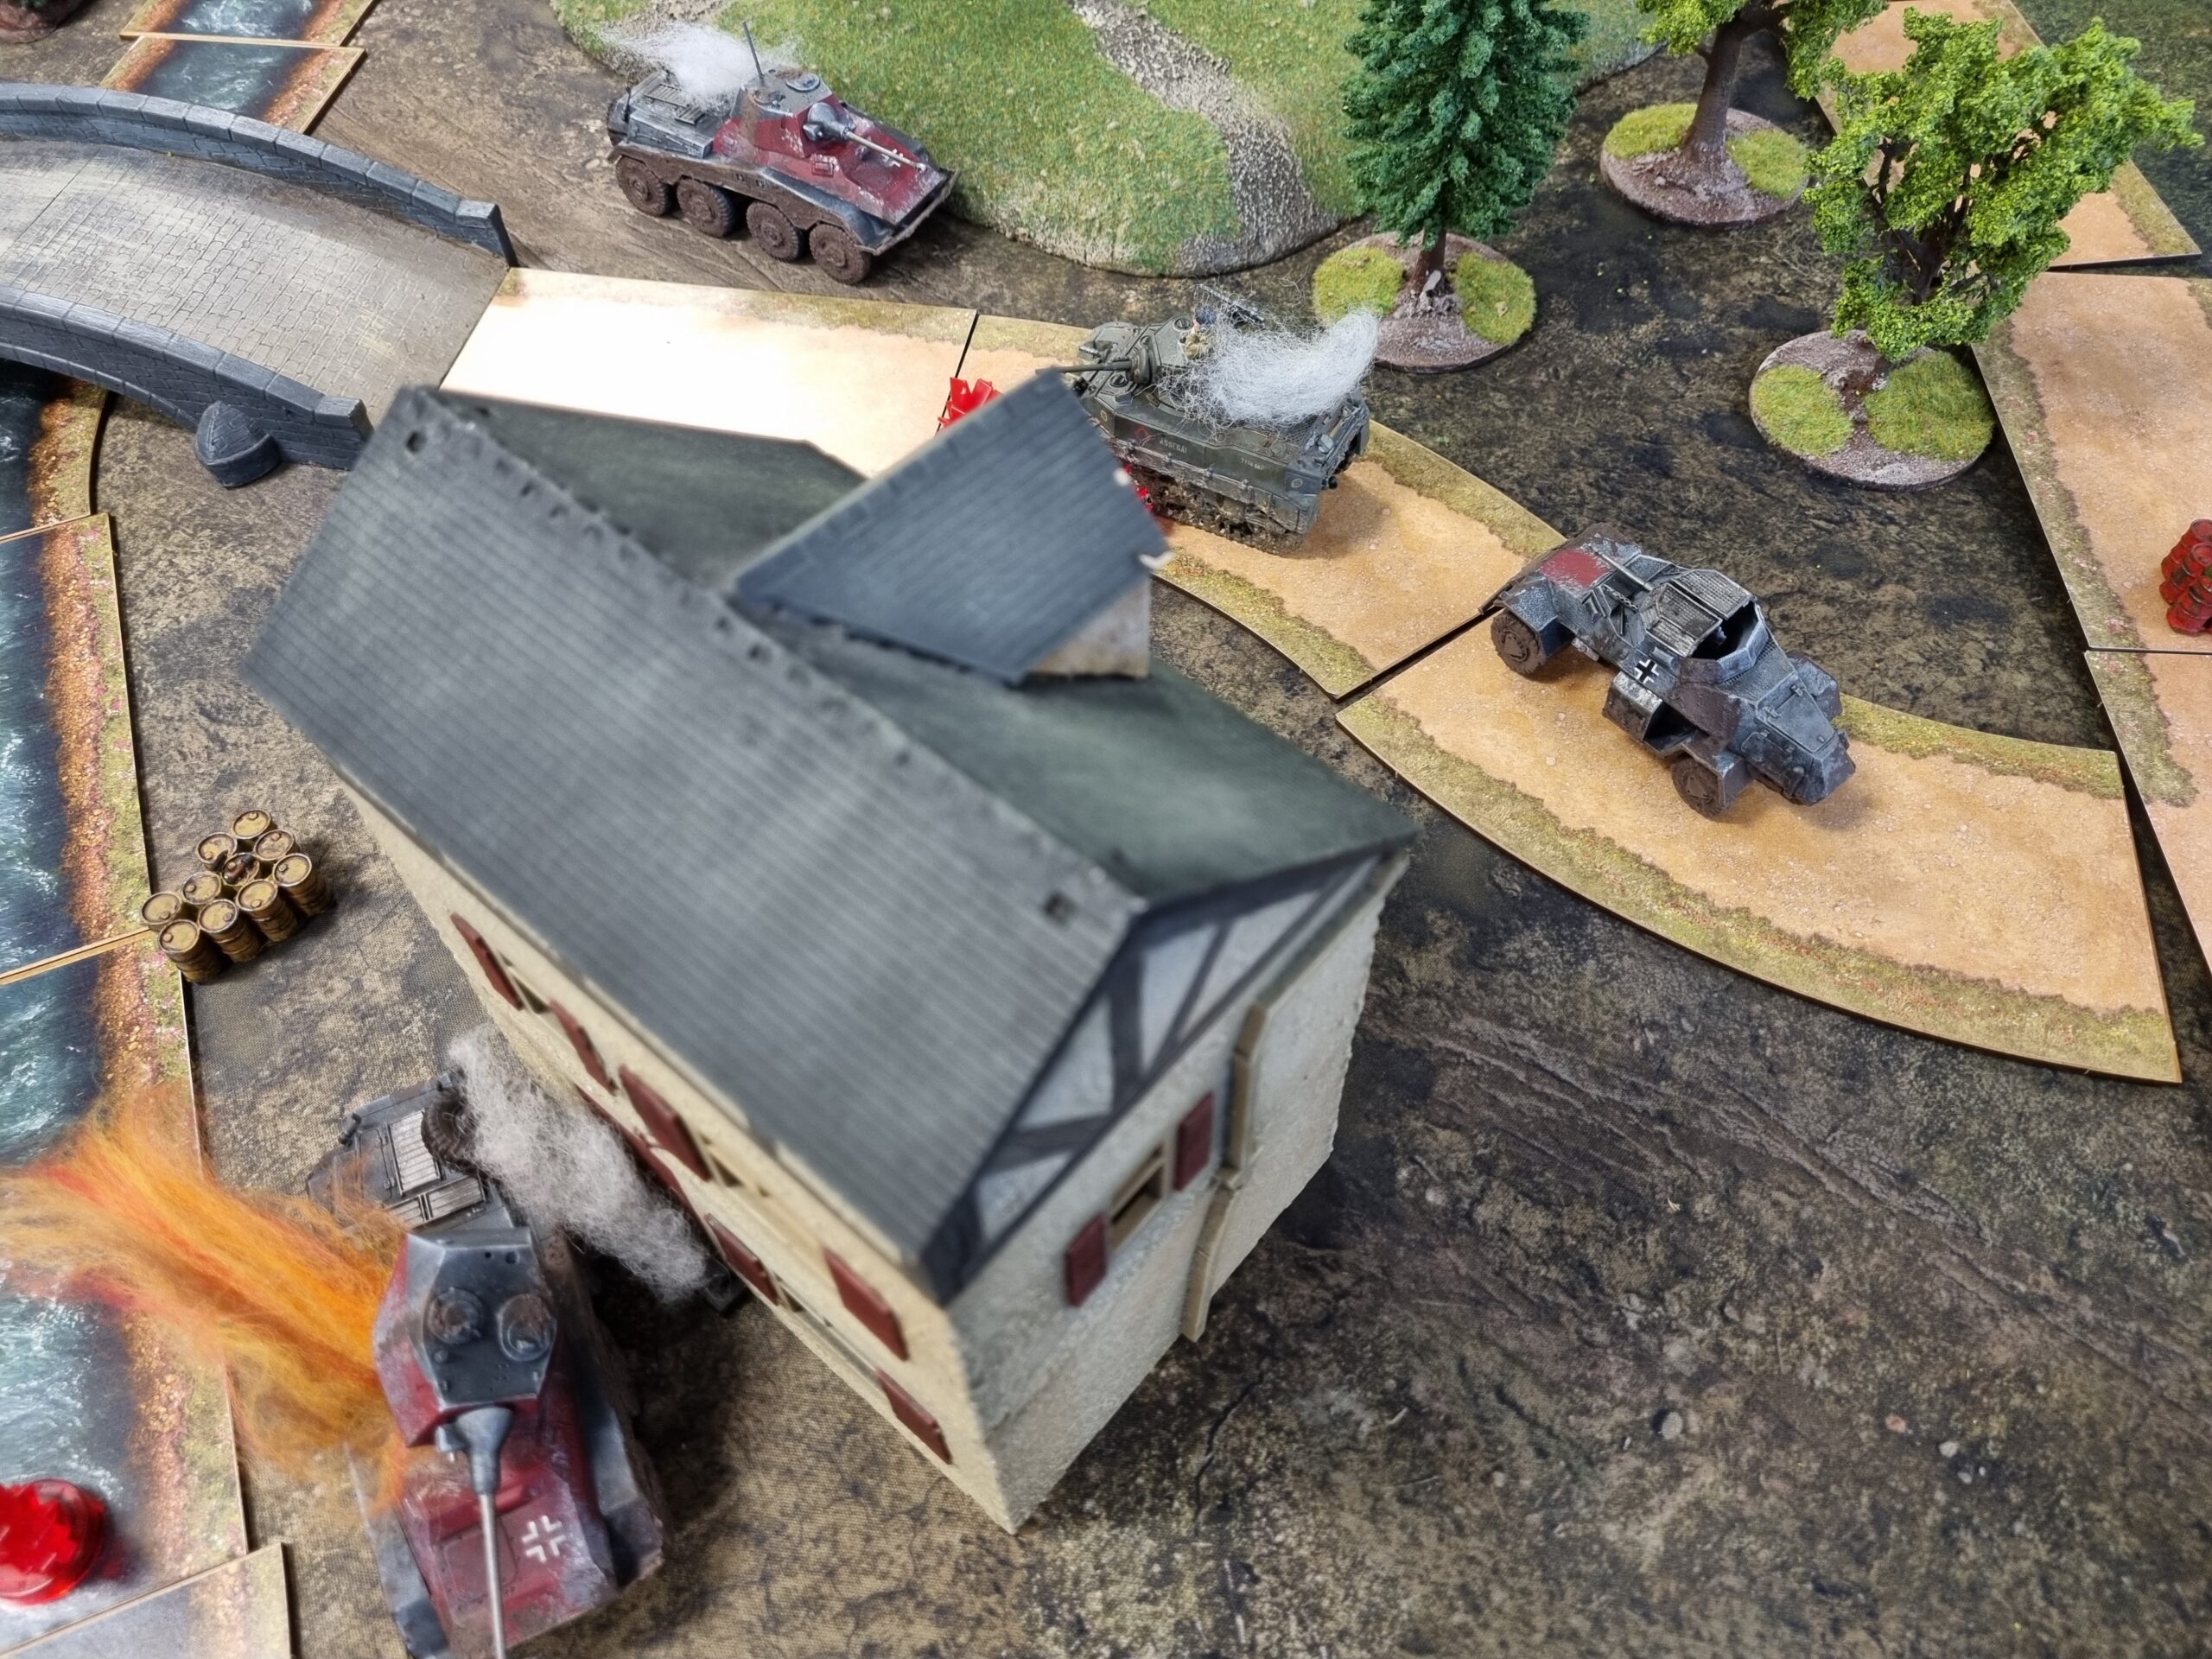
Turn 3: The 221’s Panzerbüchse opened up once again to kick off the turn, this time finding more success by immobilising Assegai between the wreck of Seawolf and Jon’s Command Puma, which duly missed its own point-blank shot. Meanwhile, Helen advanced to hunt down another Puma inflicting two pins but no damage, though it did cause it to fail to Rally in its activation. Elsewhere, the newly-skilled Puma’s Skill Shot went to waste as it failed to hit anything.

Turn 4: Helen aimed to put some pressure on the nearest Puma, but the armoured car used its Recce ability to take itself out of danger and spoil the shot. Jon’s 221 abandoned its former target and sped off to try and deal with Helen, but rolled another one on the Panzerbüchse’s Penetration roll – what dastardly luck for Jon! Elsewhere, vehicles on both sides rallied to clear their accumulated Pins.
Turn 5: Assegai opened up on Jon’s Command Puma, inflicting two Pins which prevented it from acting this turn as it failed an Order check. The Panzerbüchse finally inflicted some damage, setting Helen ablaze and immobilising her, but incredibly I managed to pass the morale check despite having four Pins, and her crew stayed in the fight. The Daimler advanced but missed its shot, leaving it in a somewhat precarious position. In return, Jon returned fire with a Puma, but once again Jon rolled a one on his Penetration roll when all he needed was a two! To his credit, he at least had control of all four objectives at this point.
Turn 6: This turn started with a flurry of misses, with both Assegai and the Command Puma firing wide of the mark. The Daimler fared even worse – failing its Order check and reversing away from the Puma, which (of course) missed its own shot! The previously aflame Helen failed its own Order test and went Down. Sensing their imminent destruction, the crew of the Command Puma attempted to fire upon Helen. Unfortunately, a double six on their Order check resulted in a FUBAR! In what would ordinarily have been a fine display of gunnery had it not been friendly fire, it promptly knocked out the next Puma in the battleline. Jon’s sentiments were conveyed through gritted teeth; “the Commander of this Puma should be summarily executed for incompetence.”
Turn 7: This was potentially the last turn, so it was all guns blazing to try and grab those all-important objectives. Unfortunately, there was not a huge amount I could do to achieve this. The curse of the 221 struck again; though this time Jon successfully penetrated the armour of Assegai, he managed to roll another one, only shaking the Stuart’s crew. All other shots missed this turn – clearly the tank crews need eye tests prior to the next game.
Turn 8: The dice decreed there would be another turn. With the game winding down, all Jon’s armoured cars either failed to hit their targets or failed to penetrate armour. My Daimler, however, in a last defiant act, did manage to knock out a Puma – although this did little to alter the final result. With all the objectives to his name, Jon had a well-deserved win.
After Action

Conor: This game was a laugh-fest from start to finish! Tactically, I was doing well enough, but I just wasn’t getting the Penetration rolls I needed, merely clipping the three Pumas’ armour. That FUBAR was just a moment of ‘wow!’; what bad fortune for Jon. Still, I would have preferred to have my Daimler make that kill, I might have snagged a few more experience points. Oh well! Jon made for an excellent and gracious opponent, and I am very much looking forward to the final round.

Jon H: This game was an absolute mess, all our armour was within spitting distance of each other, but shot after shot resulted in misses or failed Penetrations each time. Although I finally scored a one-shot kill against one of Conor’s Stuarts as it rolled into the field; that victory was followed swiftly by disaster as my ‘worthless’ command tank FUBARed and team-killed another Puma. The resultant game was a rough close combat slog, but I claimed a win through objectives scored and had heaps of fun!
Conor T’s Germans vs Bernard’s Soviets (write-up by Bernard Lewis)
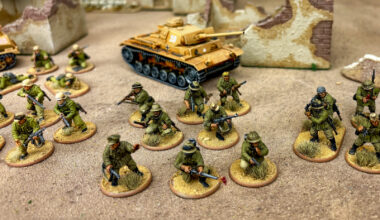
The Germans
- Regular Panther Ausf D Medium Tank
- Pintle MMG
- Command Vehicle
- Skill Gained: Hair Trigger
- Skill Gained: Adrenaline Rush
- Inexperienced Panzer II Ausf A Light Tank
- Inexperienced Panzer II Ausf A Light Tank
The Soviets
- Inexperienced KV-1S Heavy Tank
- Command tank
- Inexperienced T34/76 Medium Tank
- Inexperienced OT-26 Flamethrowing Light Tank
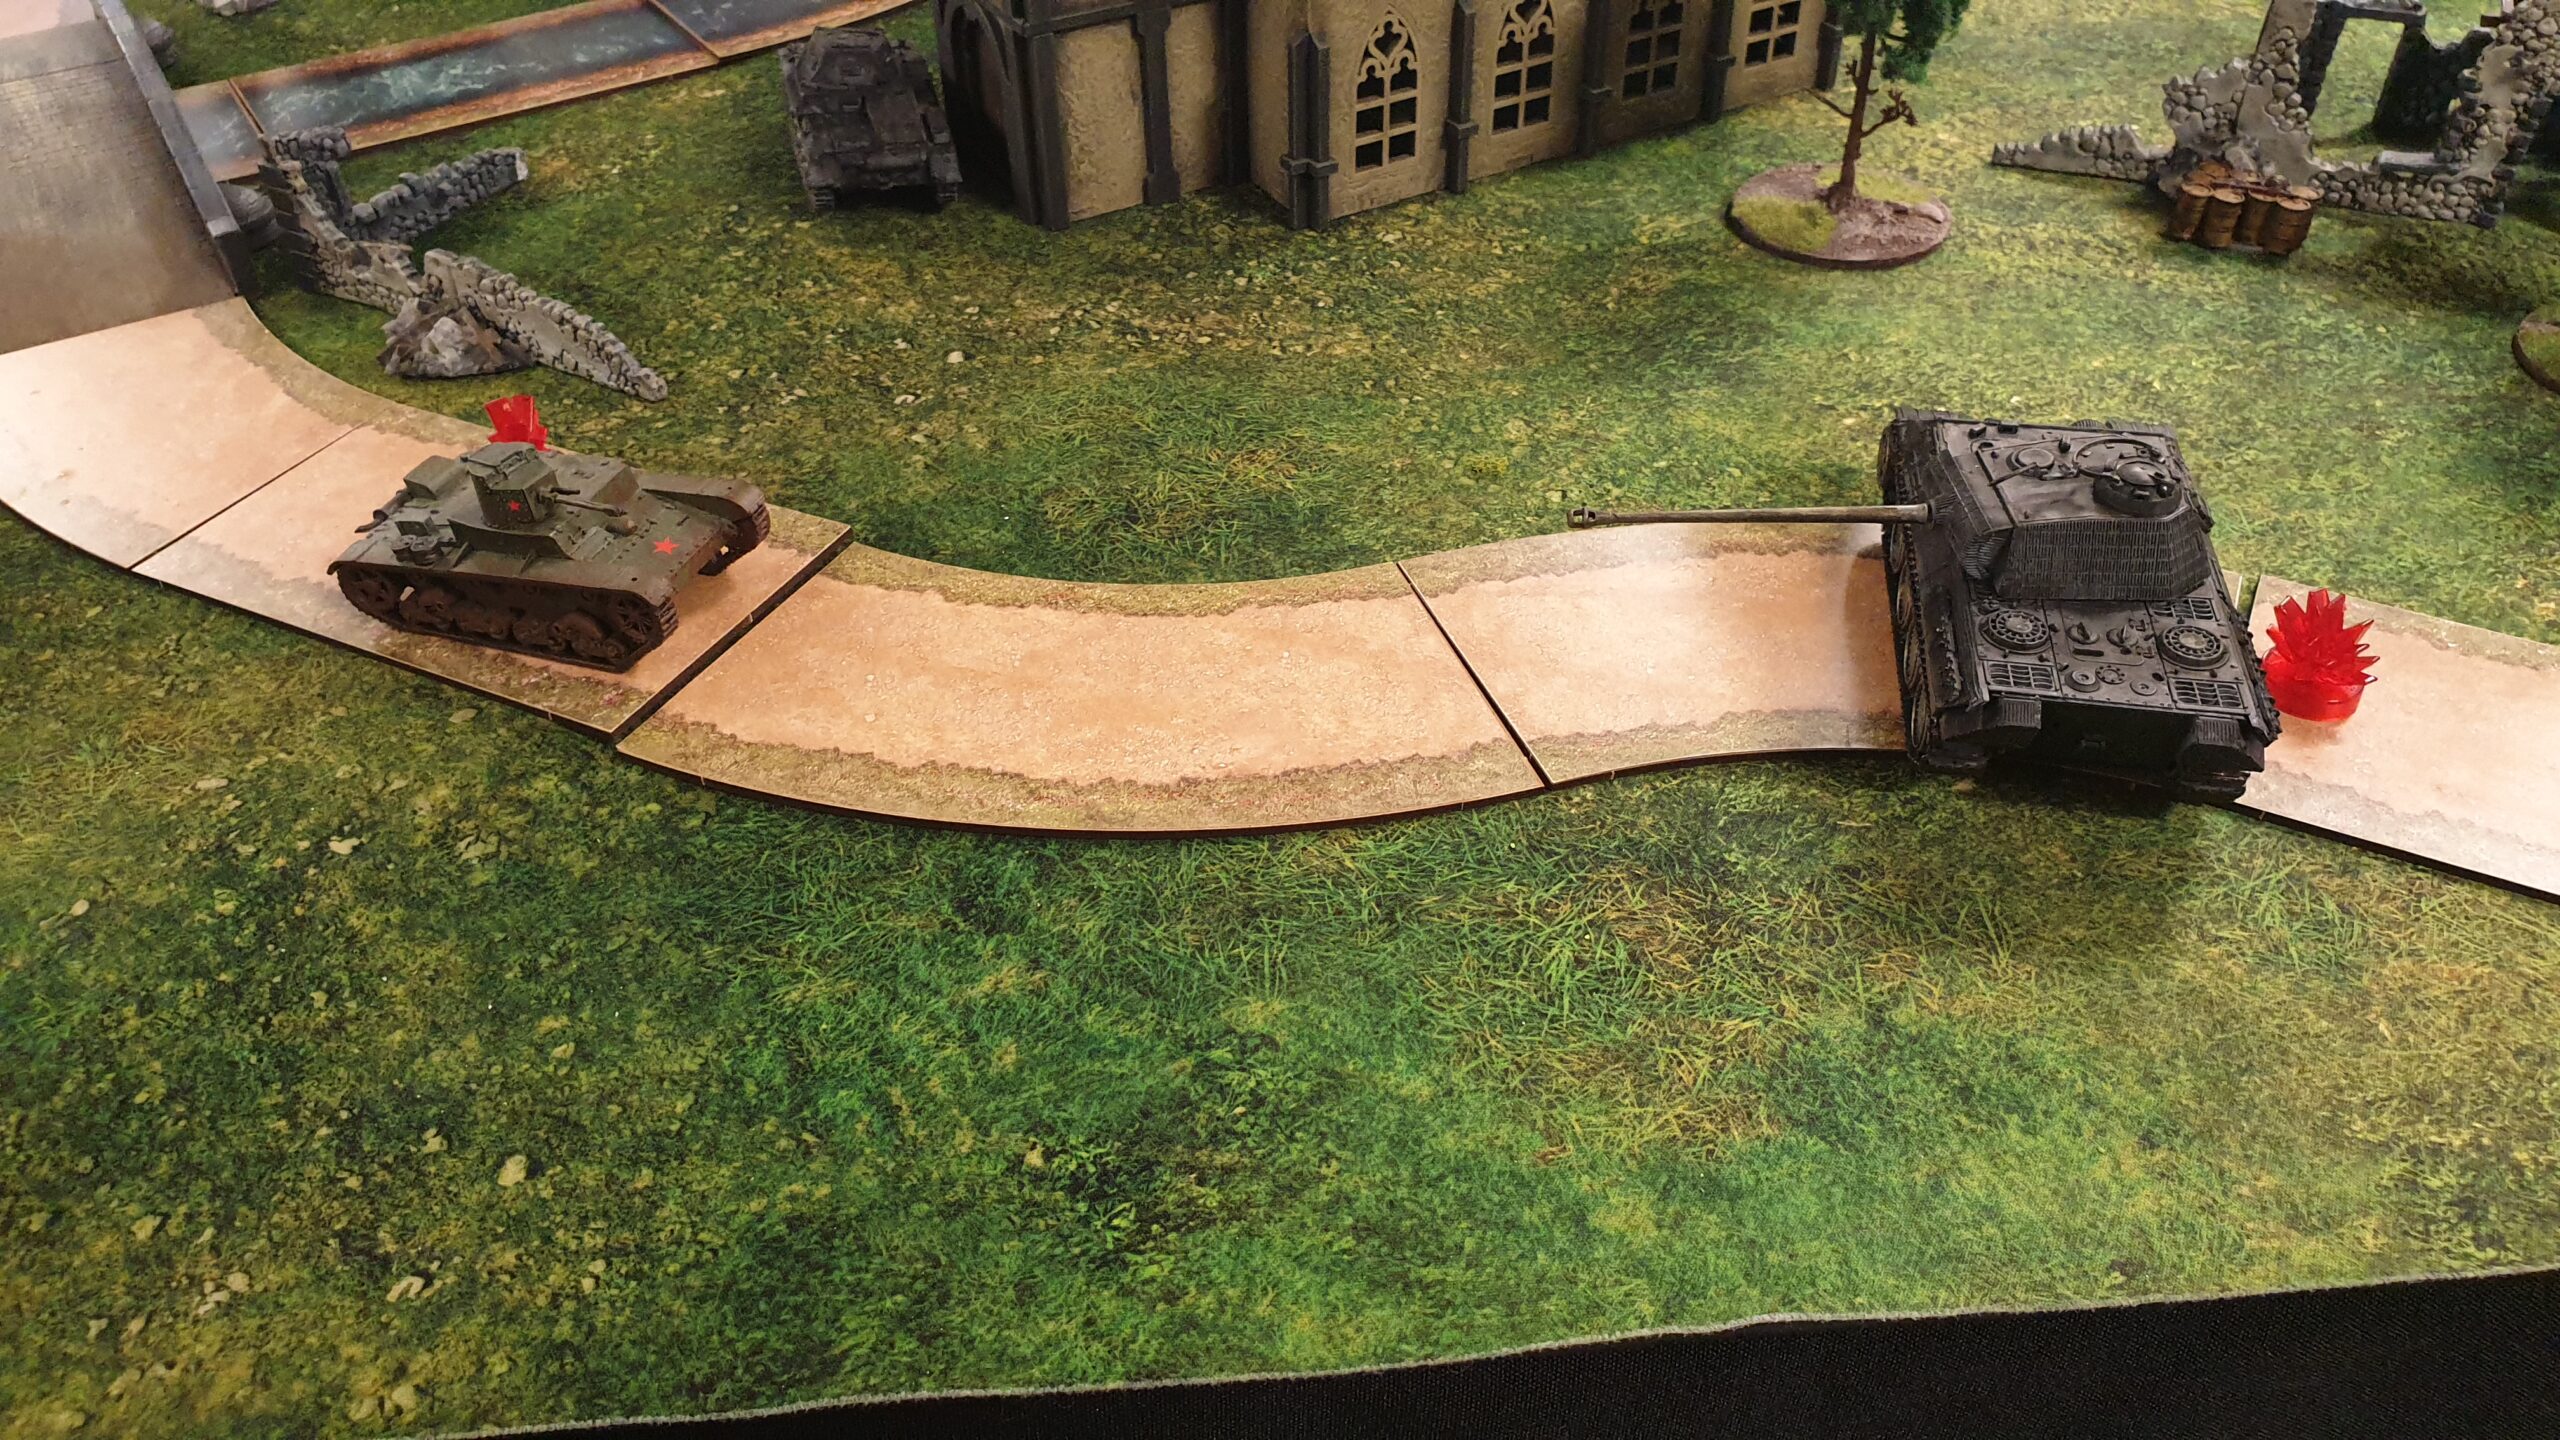
Turn 1: I won the roll to choose sides, so naturally I set up on the side with the hill to deny the Panther that vantage point. I promised Conor before we began that my little OT-26 would claim the juicy prize of the Panther before the game was done. The first turn was a flurry of misses as not one tank crew found their mark, even with the Panther unleashing its Adrenaline Rush skill to fire a second time. I surged my T34/76 and OT-26 forwards, looking to get up and personal quickly. The turn ended with two objectives in the hands of the Axis (with the Panther sitting on one), and the third in Soviet hands.
Turn 2: As promised, I charged my OT-26 down the road straight at the Panther; sadly its flamethrower missed, though it thankfully didn’t run out of fuel. Sweating buckets at the prospect of the little tank (it had somewhat of a reputation by this point in the league), the Panther turned to face it but missed! One of the Panzer IIs had a crack as well but only managed to inflict a single pin. The T34/76 in turn inflicted a pin on the Panther, and in typical fashion the KV-1 missed its shot.
Turn 3: Conor unleashed everything he had at the OT-26, but the little tank came out relatively unscathed – simply going Down, it ended the turn with a pair of Pins. The T34/76 continued to creep around the edge of the church whilst taking pot shots at the Panther. Both it and the KV-1 missed their shots in what was fast becoming a tradition for this league.
Conor and I were both in disbelief that the OT-26 had survived whilst bearing the brunt of pretty much all of his firepower so far. At this point, however, I had yet to wrest control of either of the two objectives from him.
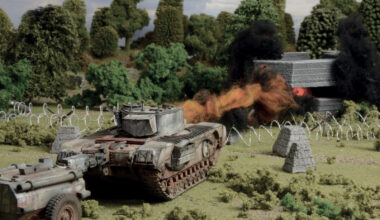
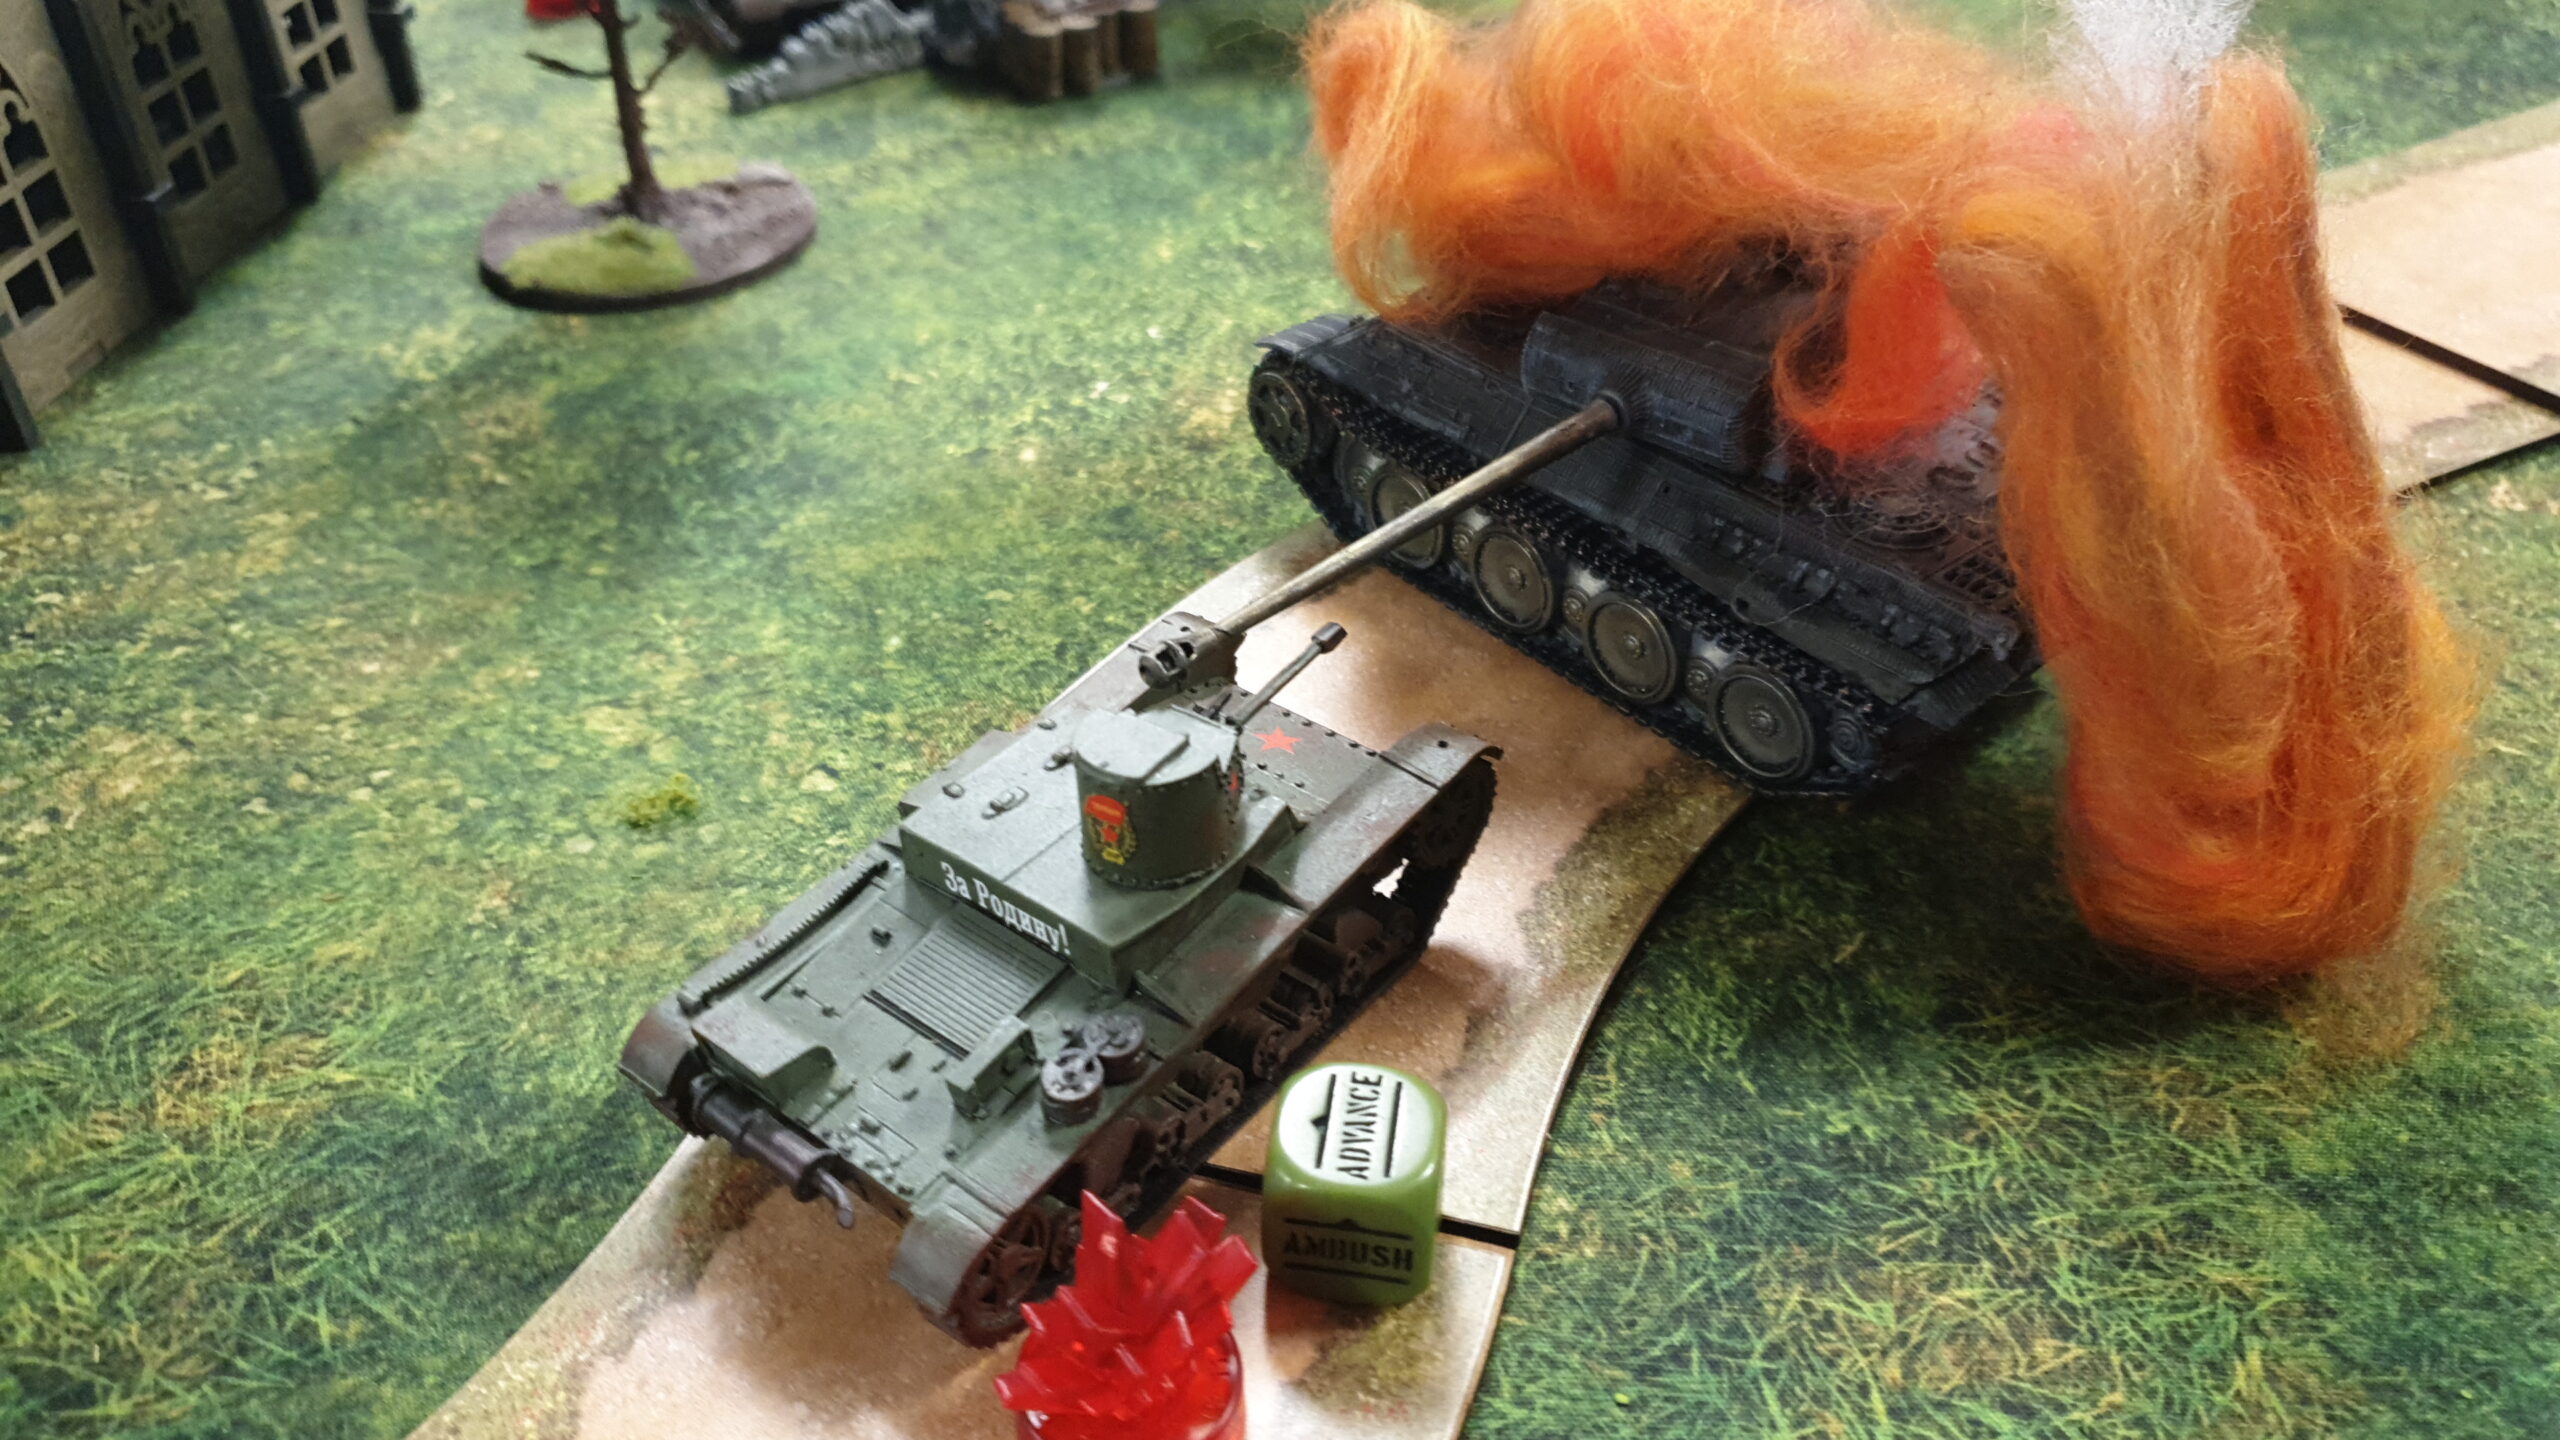
Turn 4: Despite being at point-blank range, the Panther missed once more, accompanied by an explosion of mild expletives from Conor. The OT-26, seemingly untouchable, trundled up to within two inches of the Panther. It unleashed a gout of flame, which caused three Pins and forced a morale check. With misguided confidence, Conor rolled the dice, before realisation and dismay hit his face like a freight train. The crew promptly abandoned the burning Panther and I reminded him that I had promised them this fate. This kill was more than enough for the OT-26 to gain enough experience to earn a skill, and I rolled Deadeye (+3 to hit on a single roll, a roll of one always misses).
The KV-1, meanwhile, managed to find some form by destroying one of the Panzer IIs, whilst the T34-76 forced Conor’s remaining tank to go Down.
Turn 5: Though the crews of the remaining Panzer II and the T34/76 were close enough to throw rocks at each other, neither managed to hit their targets. What’s the old saying about barn doors? Perhaps in sympathy, the OT-26 immediately rolled a one to hit despite having just declared its first use of Deadeye. The KV-1 returned to its usual state too and missed its mark.
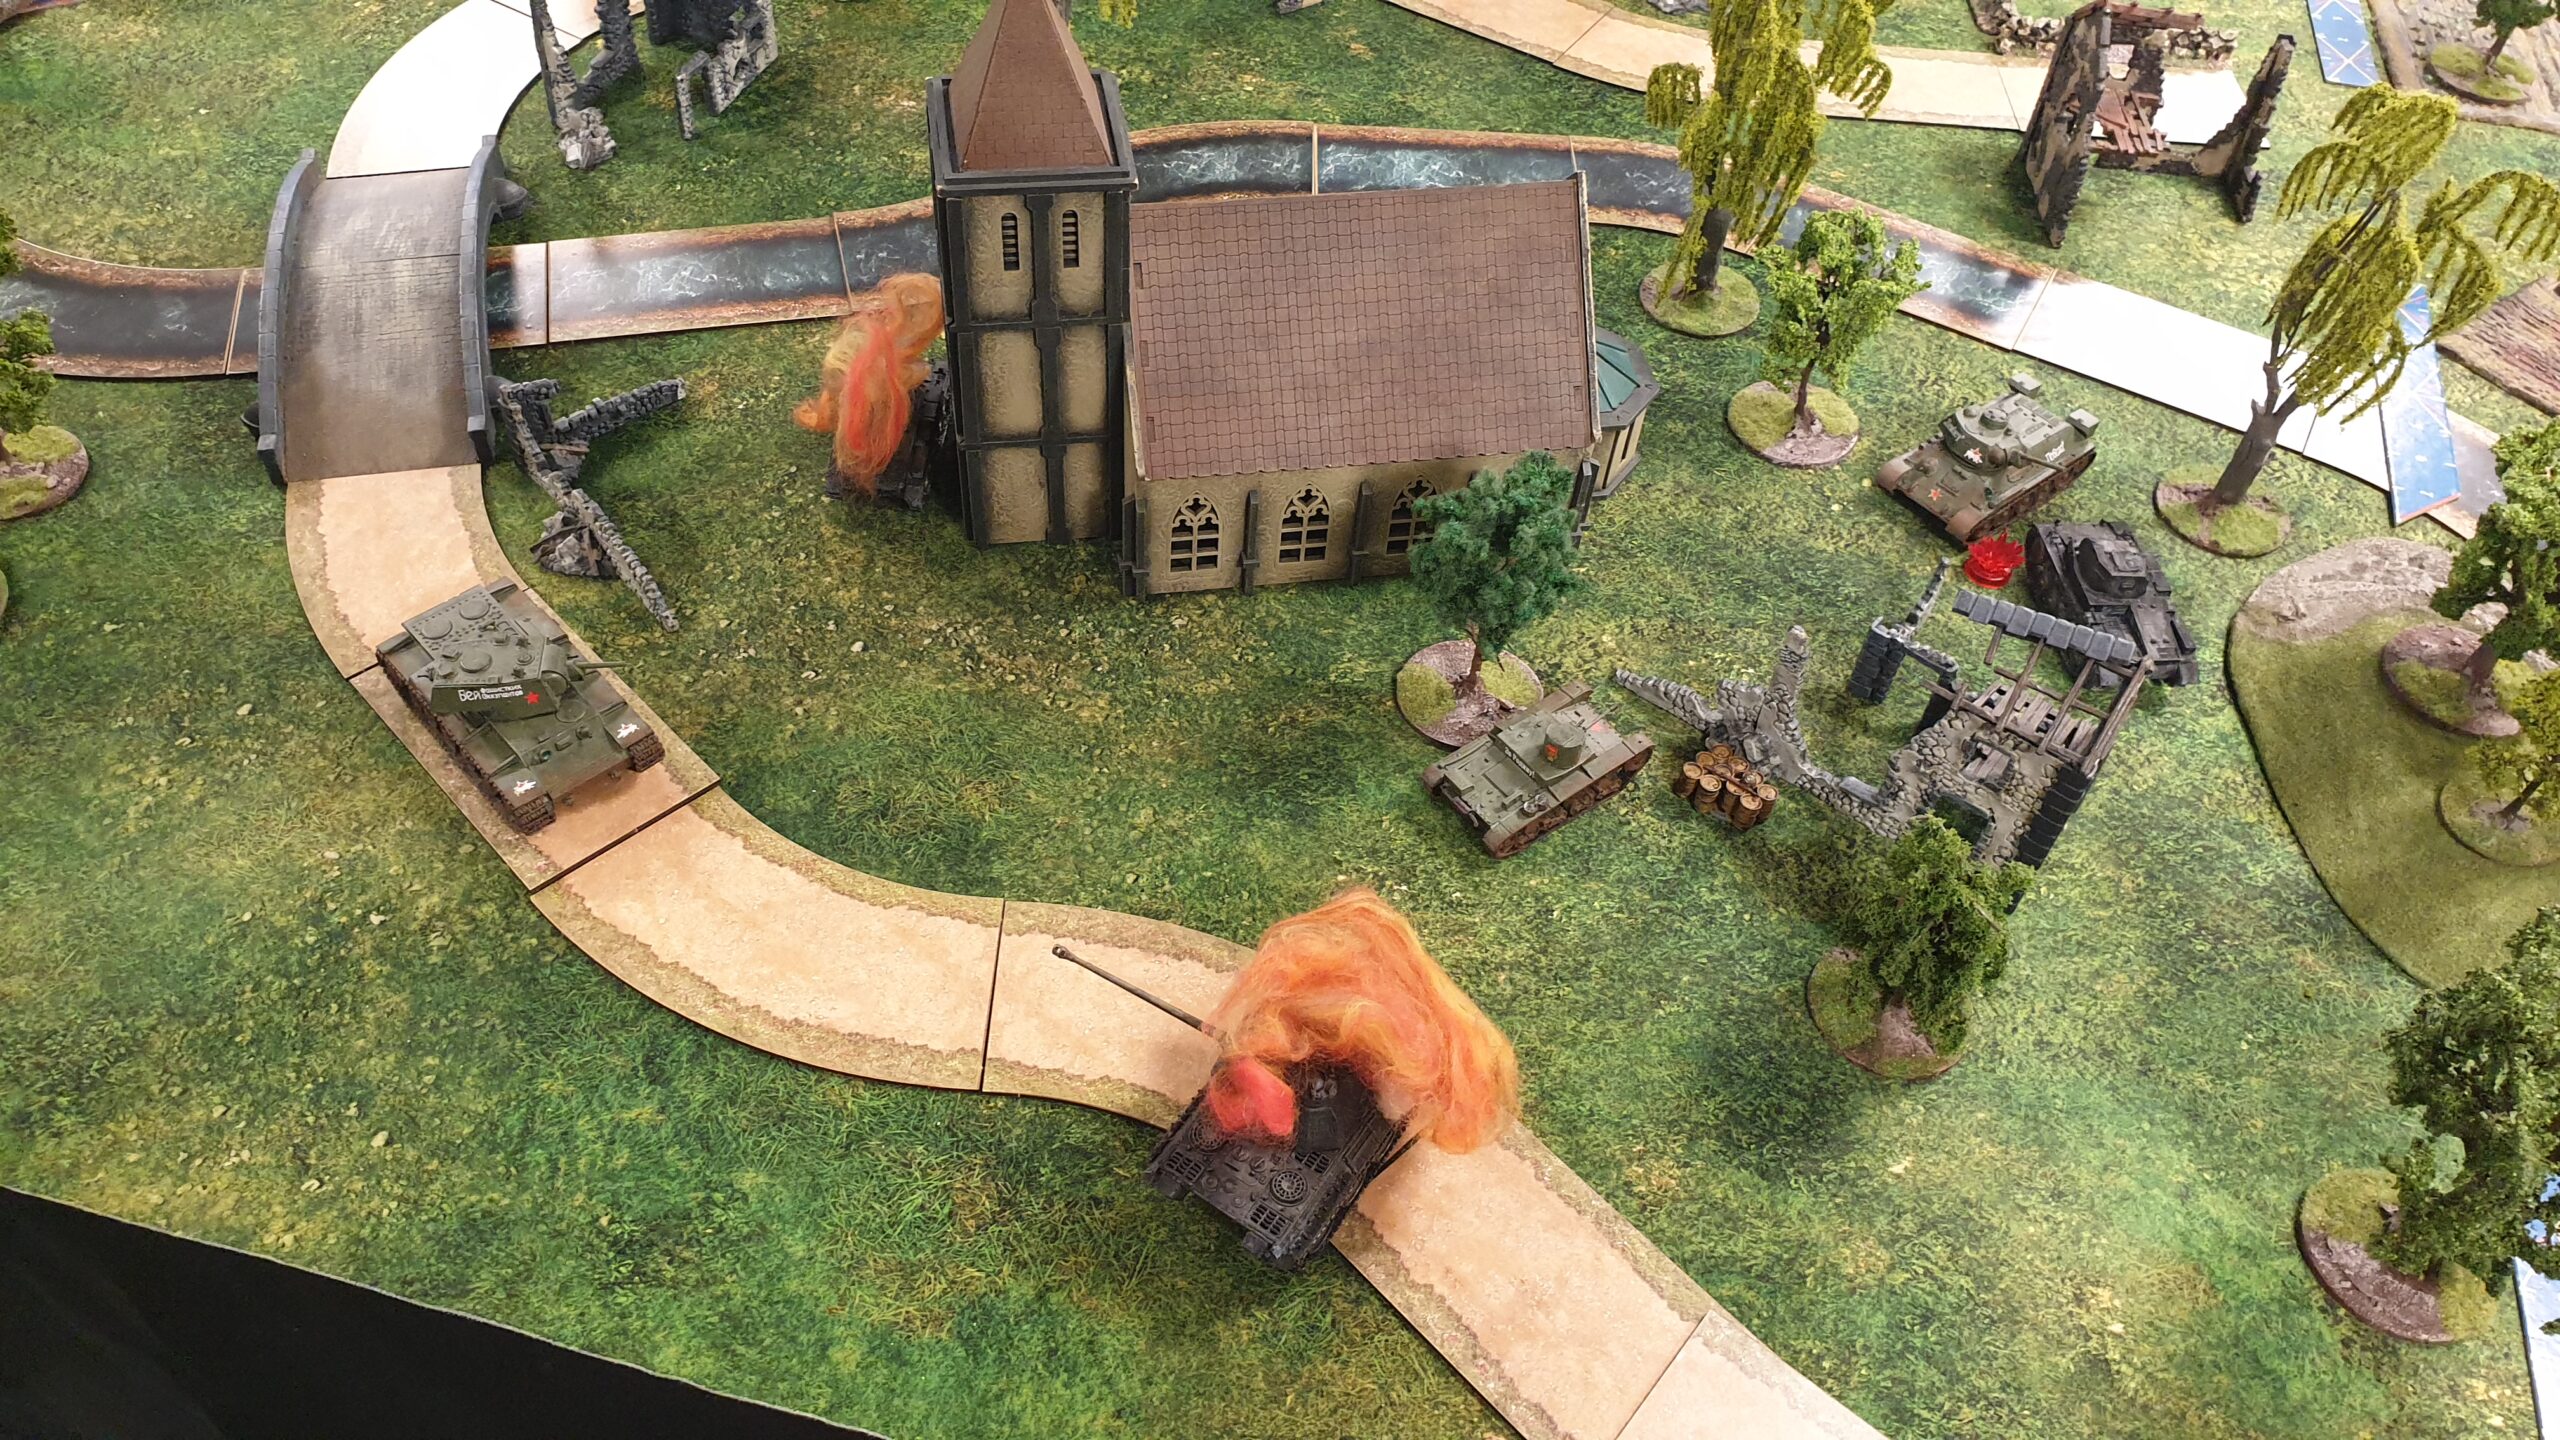
Turn 6: The OT-26 finally finished off the last Panzer II with a final blast of flame. With no vehicles left for Conor to contest objectives the game ended. Neither of us had been expecting this result. I’d not only managed to win but also destroyed all the Axis tanks! With all my tanks having survived they all gained 20 points, meaning the OT-26 gained a second skill and became a Regular tank. None of Conor’s tanks gained any experience points this game, unfortunately.
After Action

Bernard: Conor was really unlucky with his dice rolls. The OT-26 led a charmed life – I was expecting it to be blown to pieces by the Panther but Conor was getting frustrated as he kept pouring fire into it to no avail. His fear allowed me to advance my heavier tanks forward whilst thwarting Conor’s plans. I got the OT-26 close enough that it drove under the Panther’s gun barrel before it flambéed the big cat. If I had been commanding the Panther, I think I would have just turned and rammed it off the road.

Conor: How the mighty have fallen! Fresh from the Panther’s early successes in the first two games, despite becoming Regular it repeatedly missed the little flamethrower tank all game! In fairness, all three of my tanks were fluffing shots pretty much all this game. With plenty of heated banter flying around during the game, the heat in the office was almost as hot as the figurative fire within the Panther. Much fun was had and I am sorely tempted to work on a city-clearing engineer force full of flamethrowers after this league is done!
Total Experience Points After Game Three
Bernard:
- KV-1: 28 points
- T34/76: 20 points
- OT-26: 109 points (becomes Regular; skill gained: Dead Eye – +3 to hit when used; skill gained: Follow Me – When activated another friendly vehicle with a Down order may return it to the dice bag)
Conor H:
- Seawolf: 56 points
- Assegai: 75 points
- Helen: 0 points
- Daimler: 83 points
Jon H:
- Command Puma: 20 Points
- Puma 2: 58 points (skill gained: Skill Shot – +3 to Penetration after fire order when used)
- Puma 3: 43 points
- Sd.Kfz 221: 52 points (skill gained: Crank Head – Can make an additional 90-degree pivot when used)
Conor T:
- Panther: 108 Points
- Panzer II (1): 20 points
- Panzer II (2): 20 points
Previous articles in the Warlord HQ Tank Wars series: