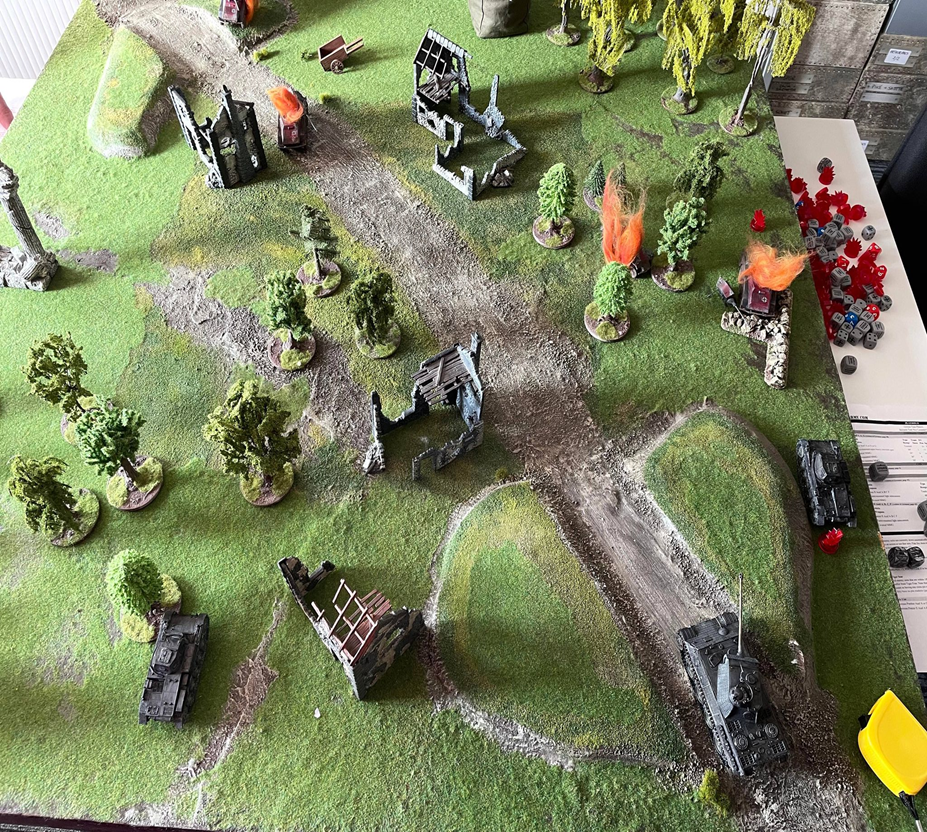
We’ve met the generals, now it’s on to the business of rolling dice! The first games are ‘Blue-on-Blue’ training matches. To get them going, it would be a simple kill points scenario on a 4’x4’ playing area. If you need a refresher on the players and their platoons, read the first part here »
The Allies – Conor H’s British vs Bernard Lewis’ Soviets
Conor guides us through the training exercise between the British and Soviet armoured platoons in a semi-urban setting.
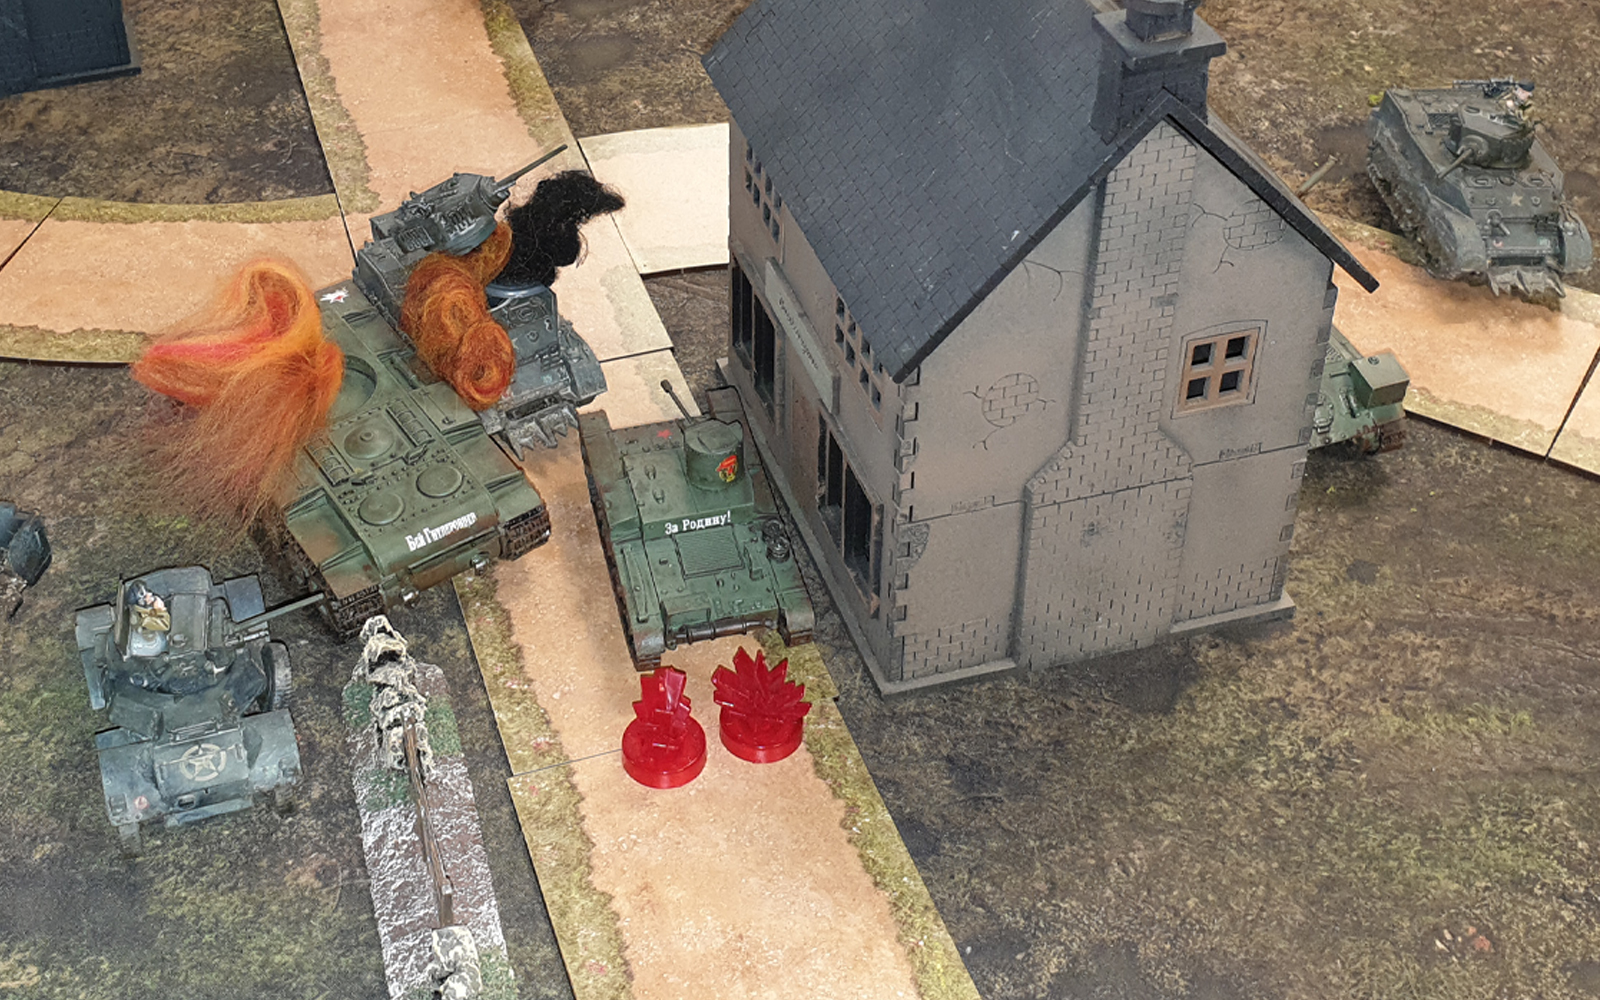
Turn 1: The first turn of the game was mostly about manoeuvre as tanks were brought onto the board, in an interesting stroke of fortunes the first two draws were Bernard’s Soviets. Both Bernard’s KV-1 and T-34 rolled onto the table first, the indomitable heavy tank thundering up the centre and taunting the British. Boldly, I sped my Daimler Armoured Car up the flanking road, utilising its superior speed to close the distance and take a brave shot with its 2-pounder on the side of the KV, scoring a hit but rolling no damage; unlucky there, lads. The Command Stuart, Seawolf, struck next, having another cheeky crack at the KV on the front, getting a hit and rolling a lucky 6 for damage, sending the KV-1 crew Down and leaving the heavy tank with three pins. The rest of the turn was a case of cagey manoeuvring, with Bernard’s OT-26 seeking shelter behind the heavier KV waiting to pounce in a future round while the other Stuarts Helen and Assegai moving up. Turn one ended in typically idiosyncratic form as Bernard threw jibes about the lack of bravery and skill of the British tankers (all in good fun of course).
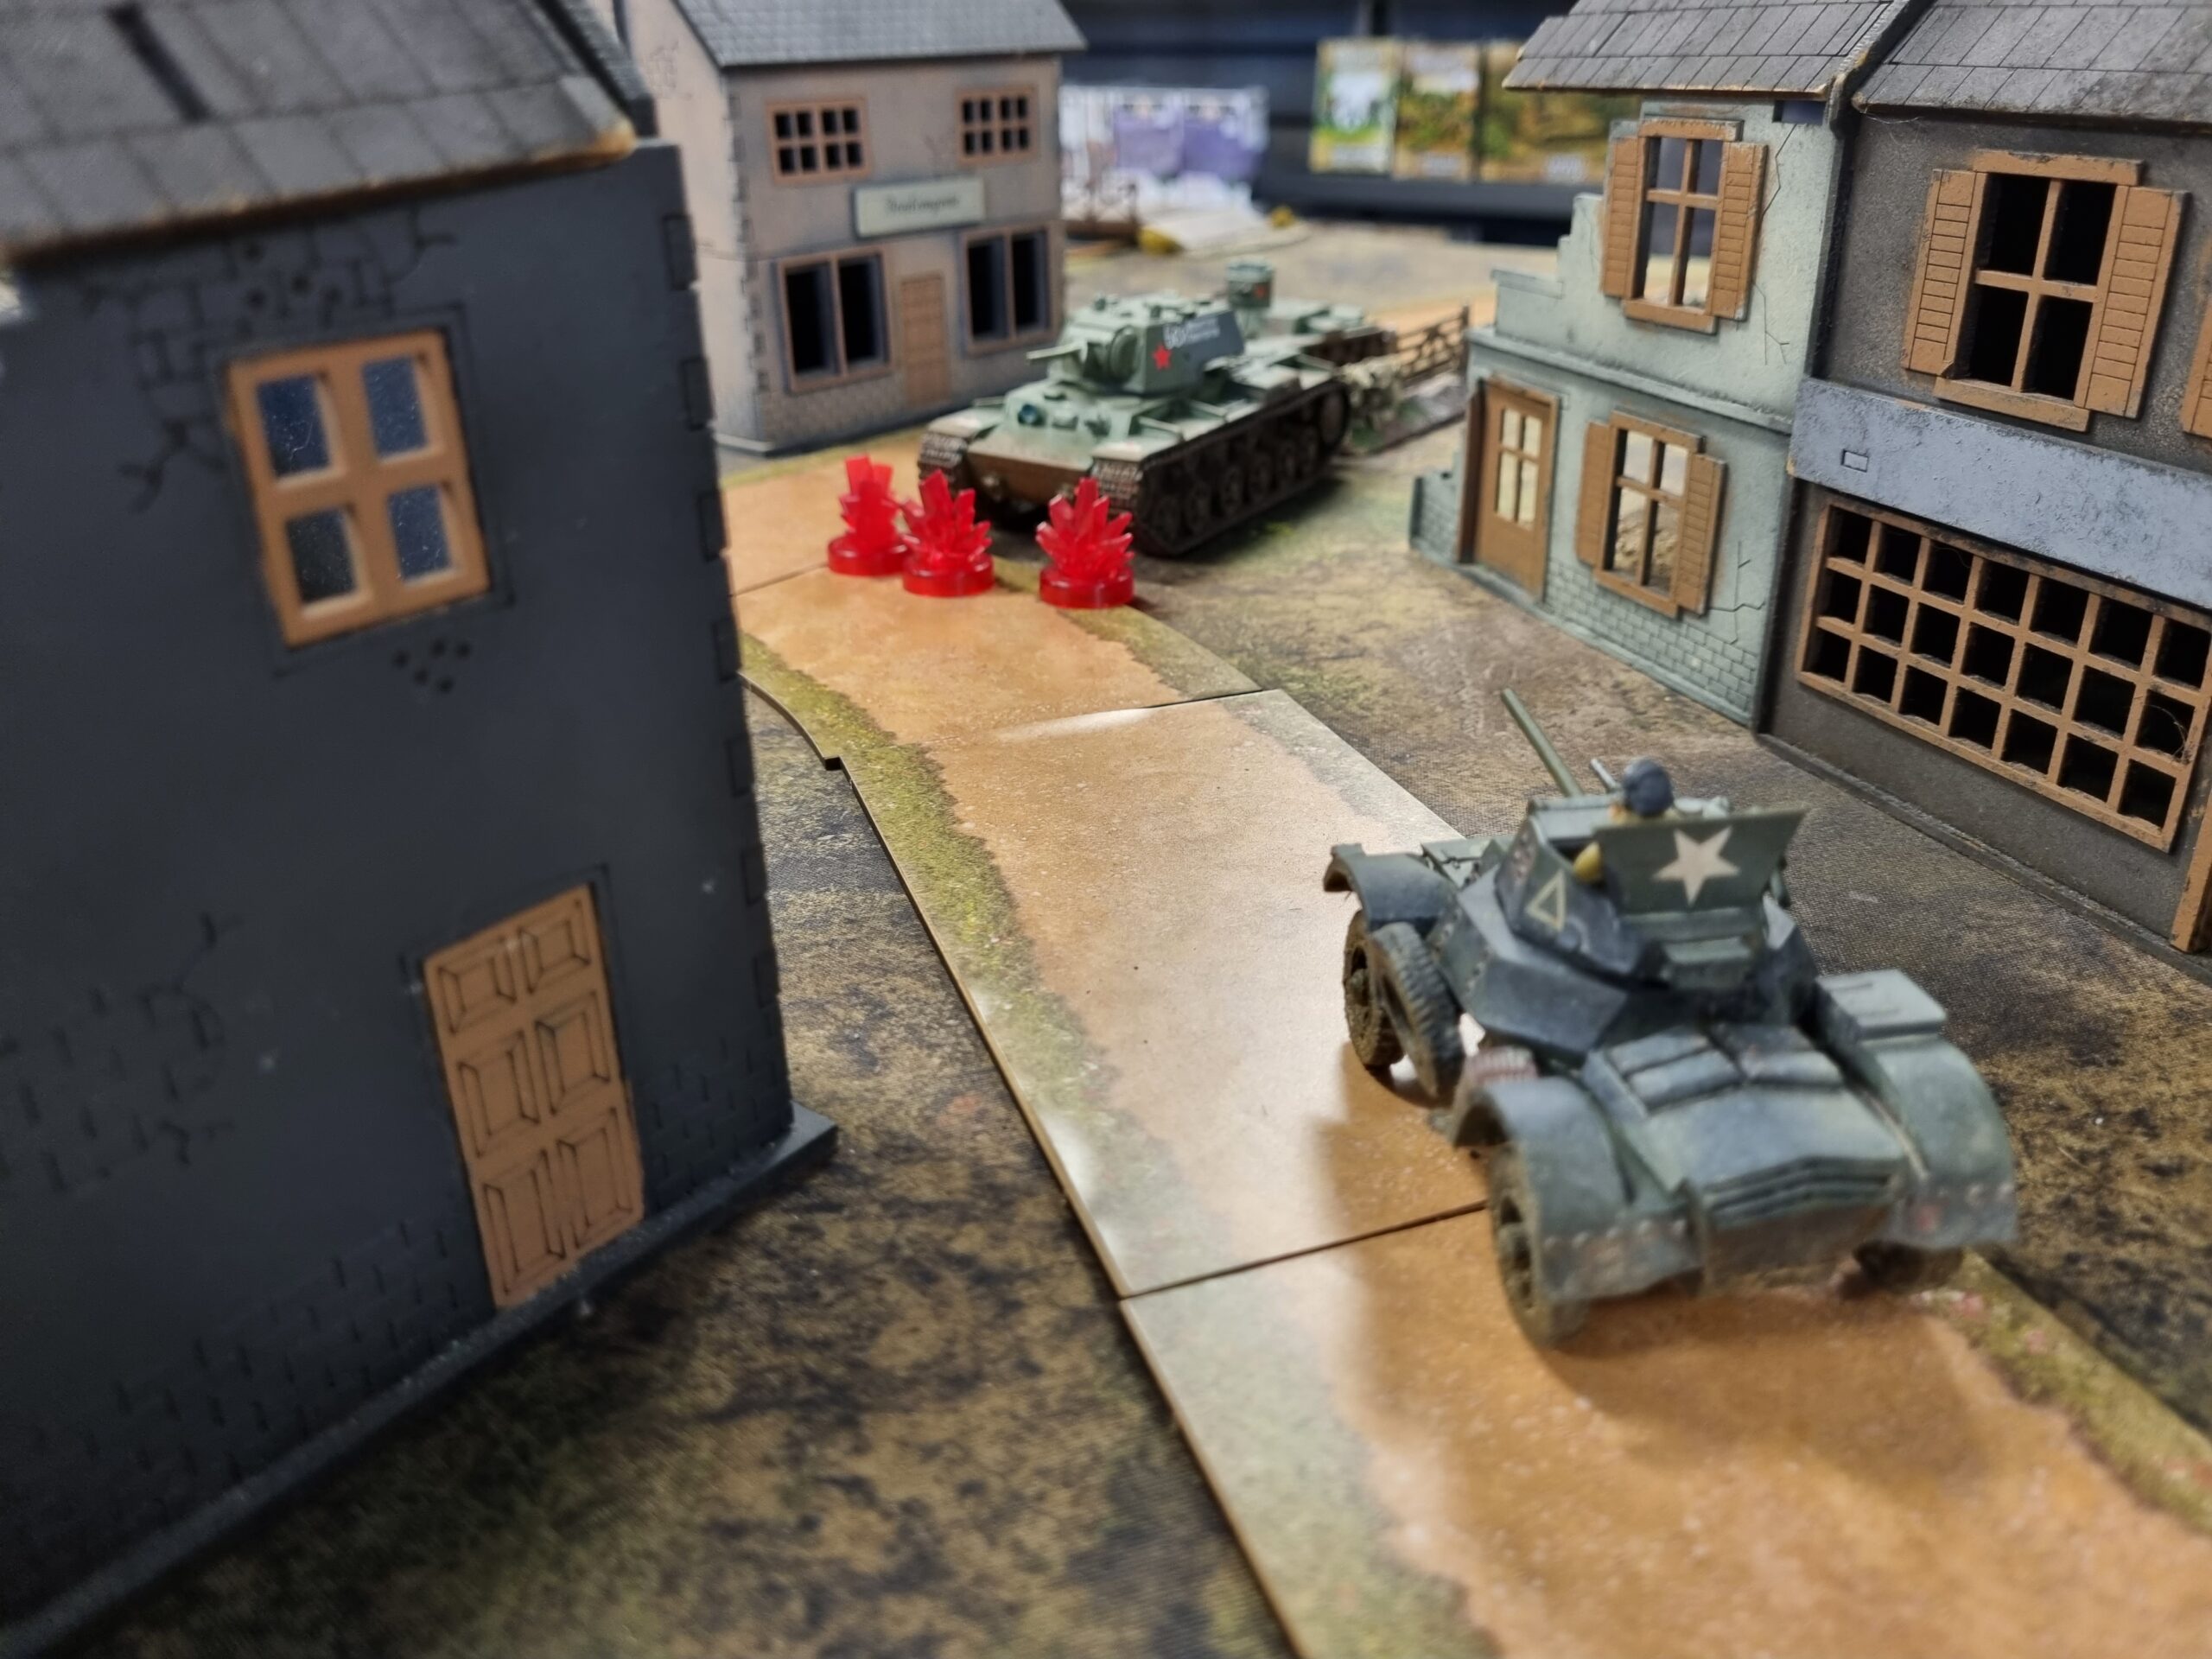
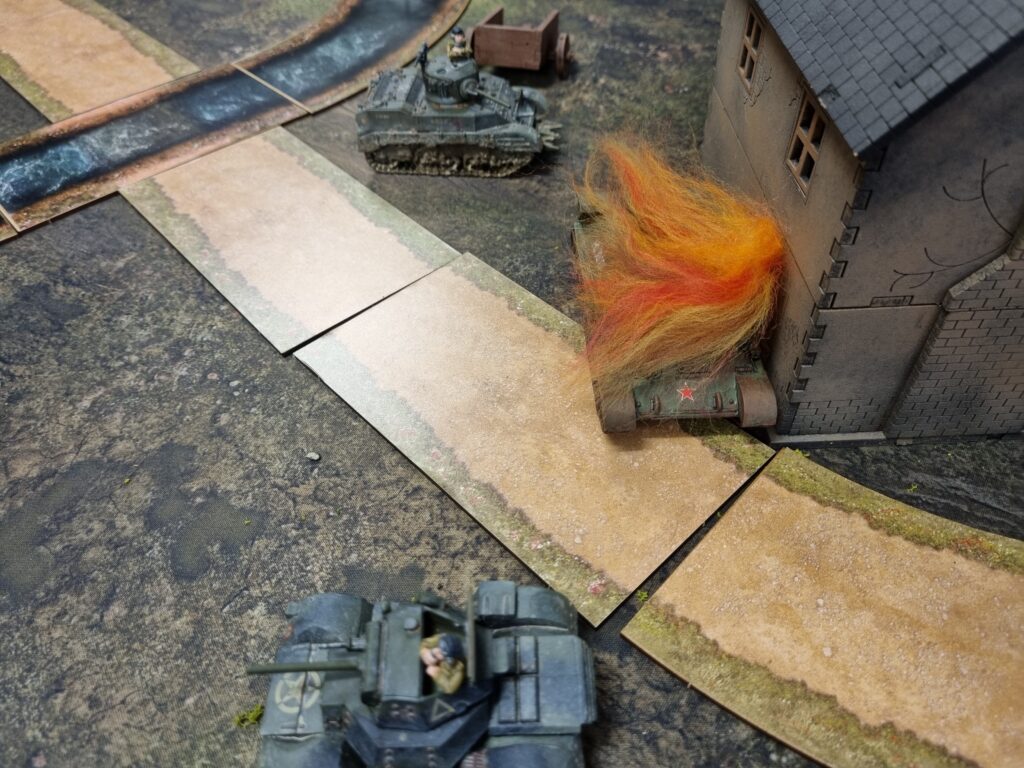
Turn 2: The combat began in earnest. Spurred on by Bernard’s cutting words I took a gamble, hoping to knock out the KV with a point-blank shot on the side armour with Helen, but pride only led to a fall as the shot went wide. With something approaching maniacal glee Bernard activated his OT-26 unleashing a gout of flame onto the plucky British tank, scoring a hit, dishing out 4 pins and immobilising the vehicle; the crew promptly abandoned the vehicle and the OT-26 claimed its first ‘kill’. What goes around comes around however; the crew of the Daimler were enraged, with a spate of good fortune in dice rolling, which saw the KV-1 explode. The remaining activations resulted in an exchange of fire from the T-34 and both advancing Stuarts, but no shots struck home.
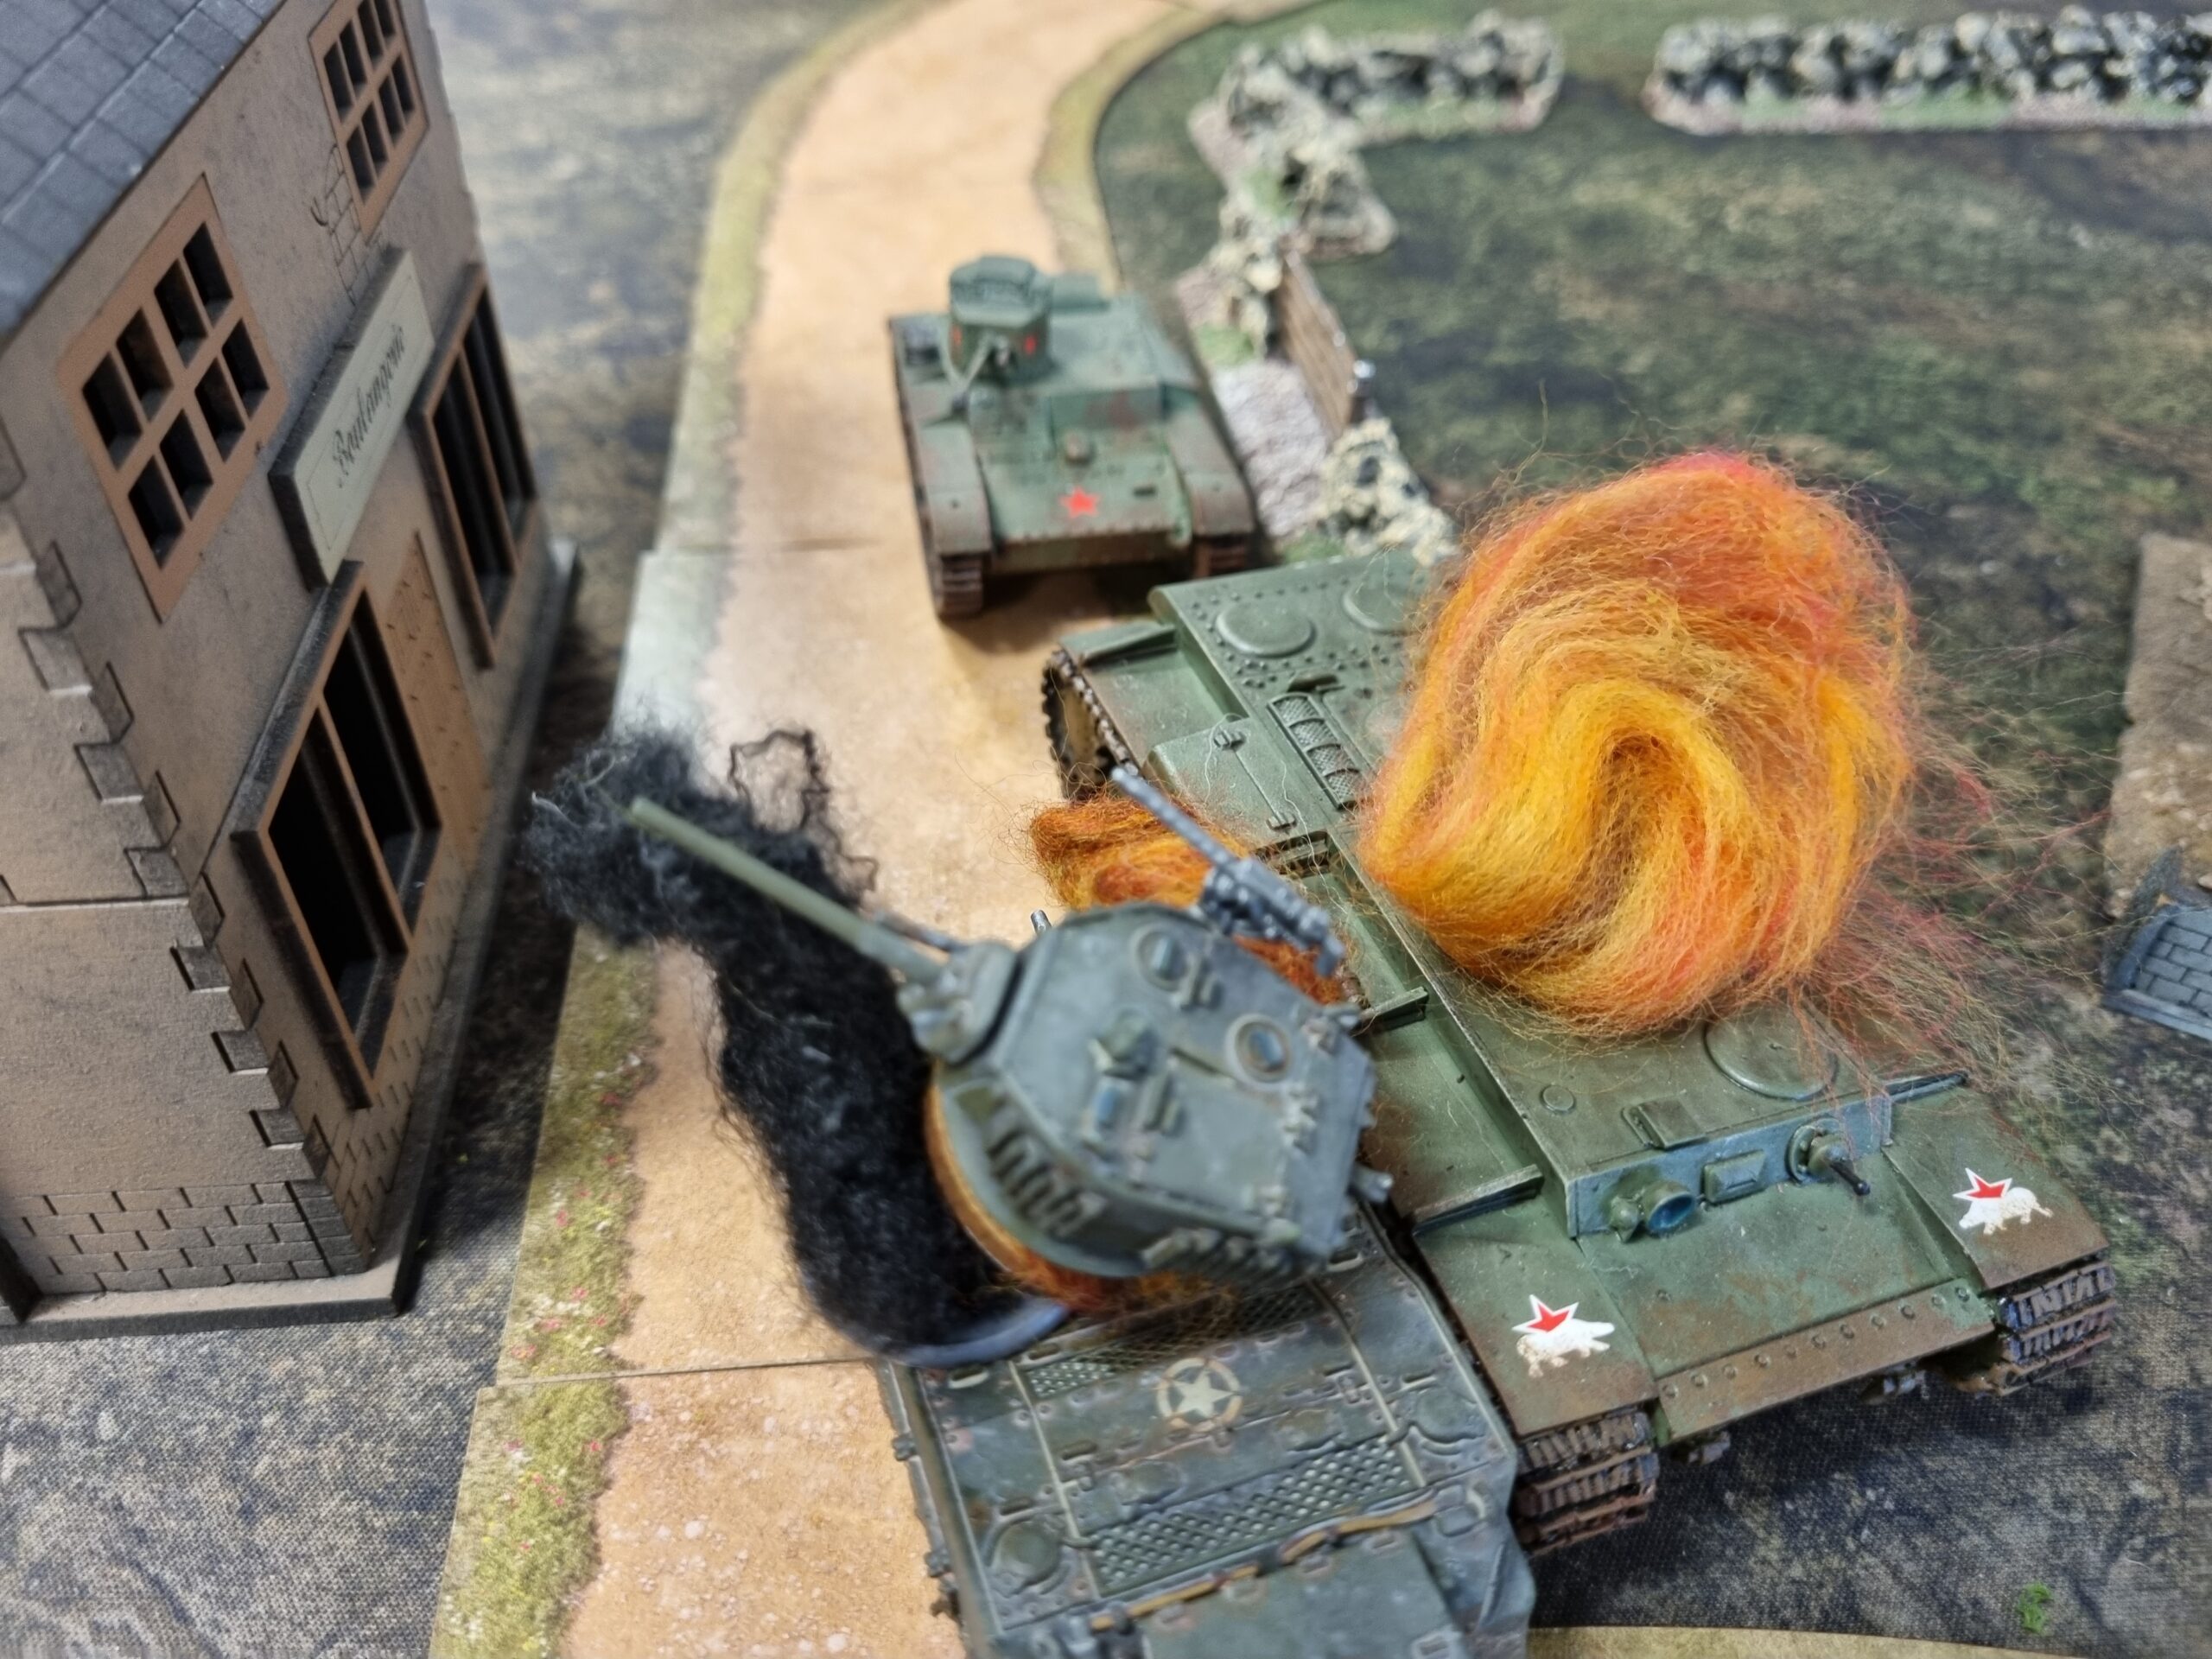
Turn 3: The OT-26 sneakily threaded its way between the ‘wrecks’ of the KV-1 and Helen to get within flamethrowing range of Seawolf. Its deadly flamethrower once again did its cruel business and hit the command tank forcing a morale check. “I can do it on an 8, no problem!” I declared, promptly rolling a 9. Bernard (or should that be ‘Burn’-ard -ed.) laughed that up with the OT-26 claiming its second kill of the game. In response, the Daimler fired at the tankette, immobilising it. It was becoming quite a cluster of ‘wrecked’ machines in the centre! Elsewhere, the remaining tanks exchanged fire, but other than a pin or two, no damage was dealt.
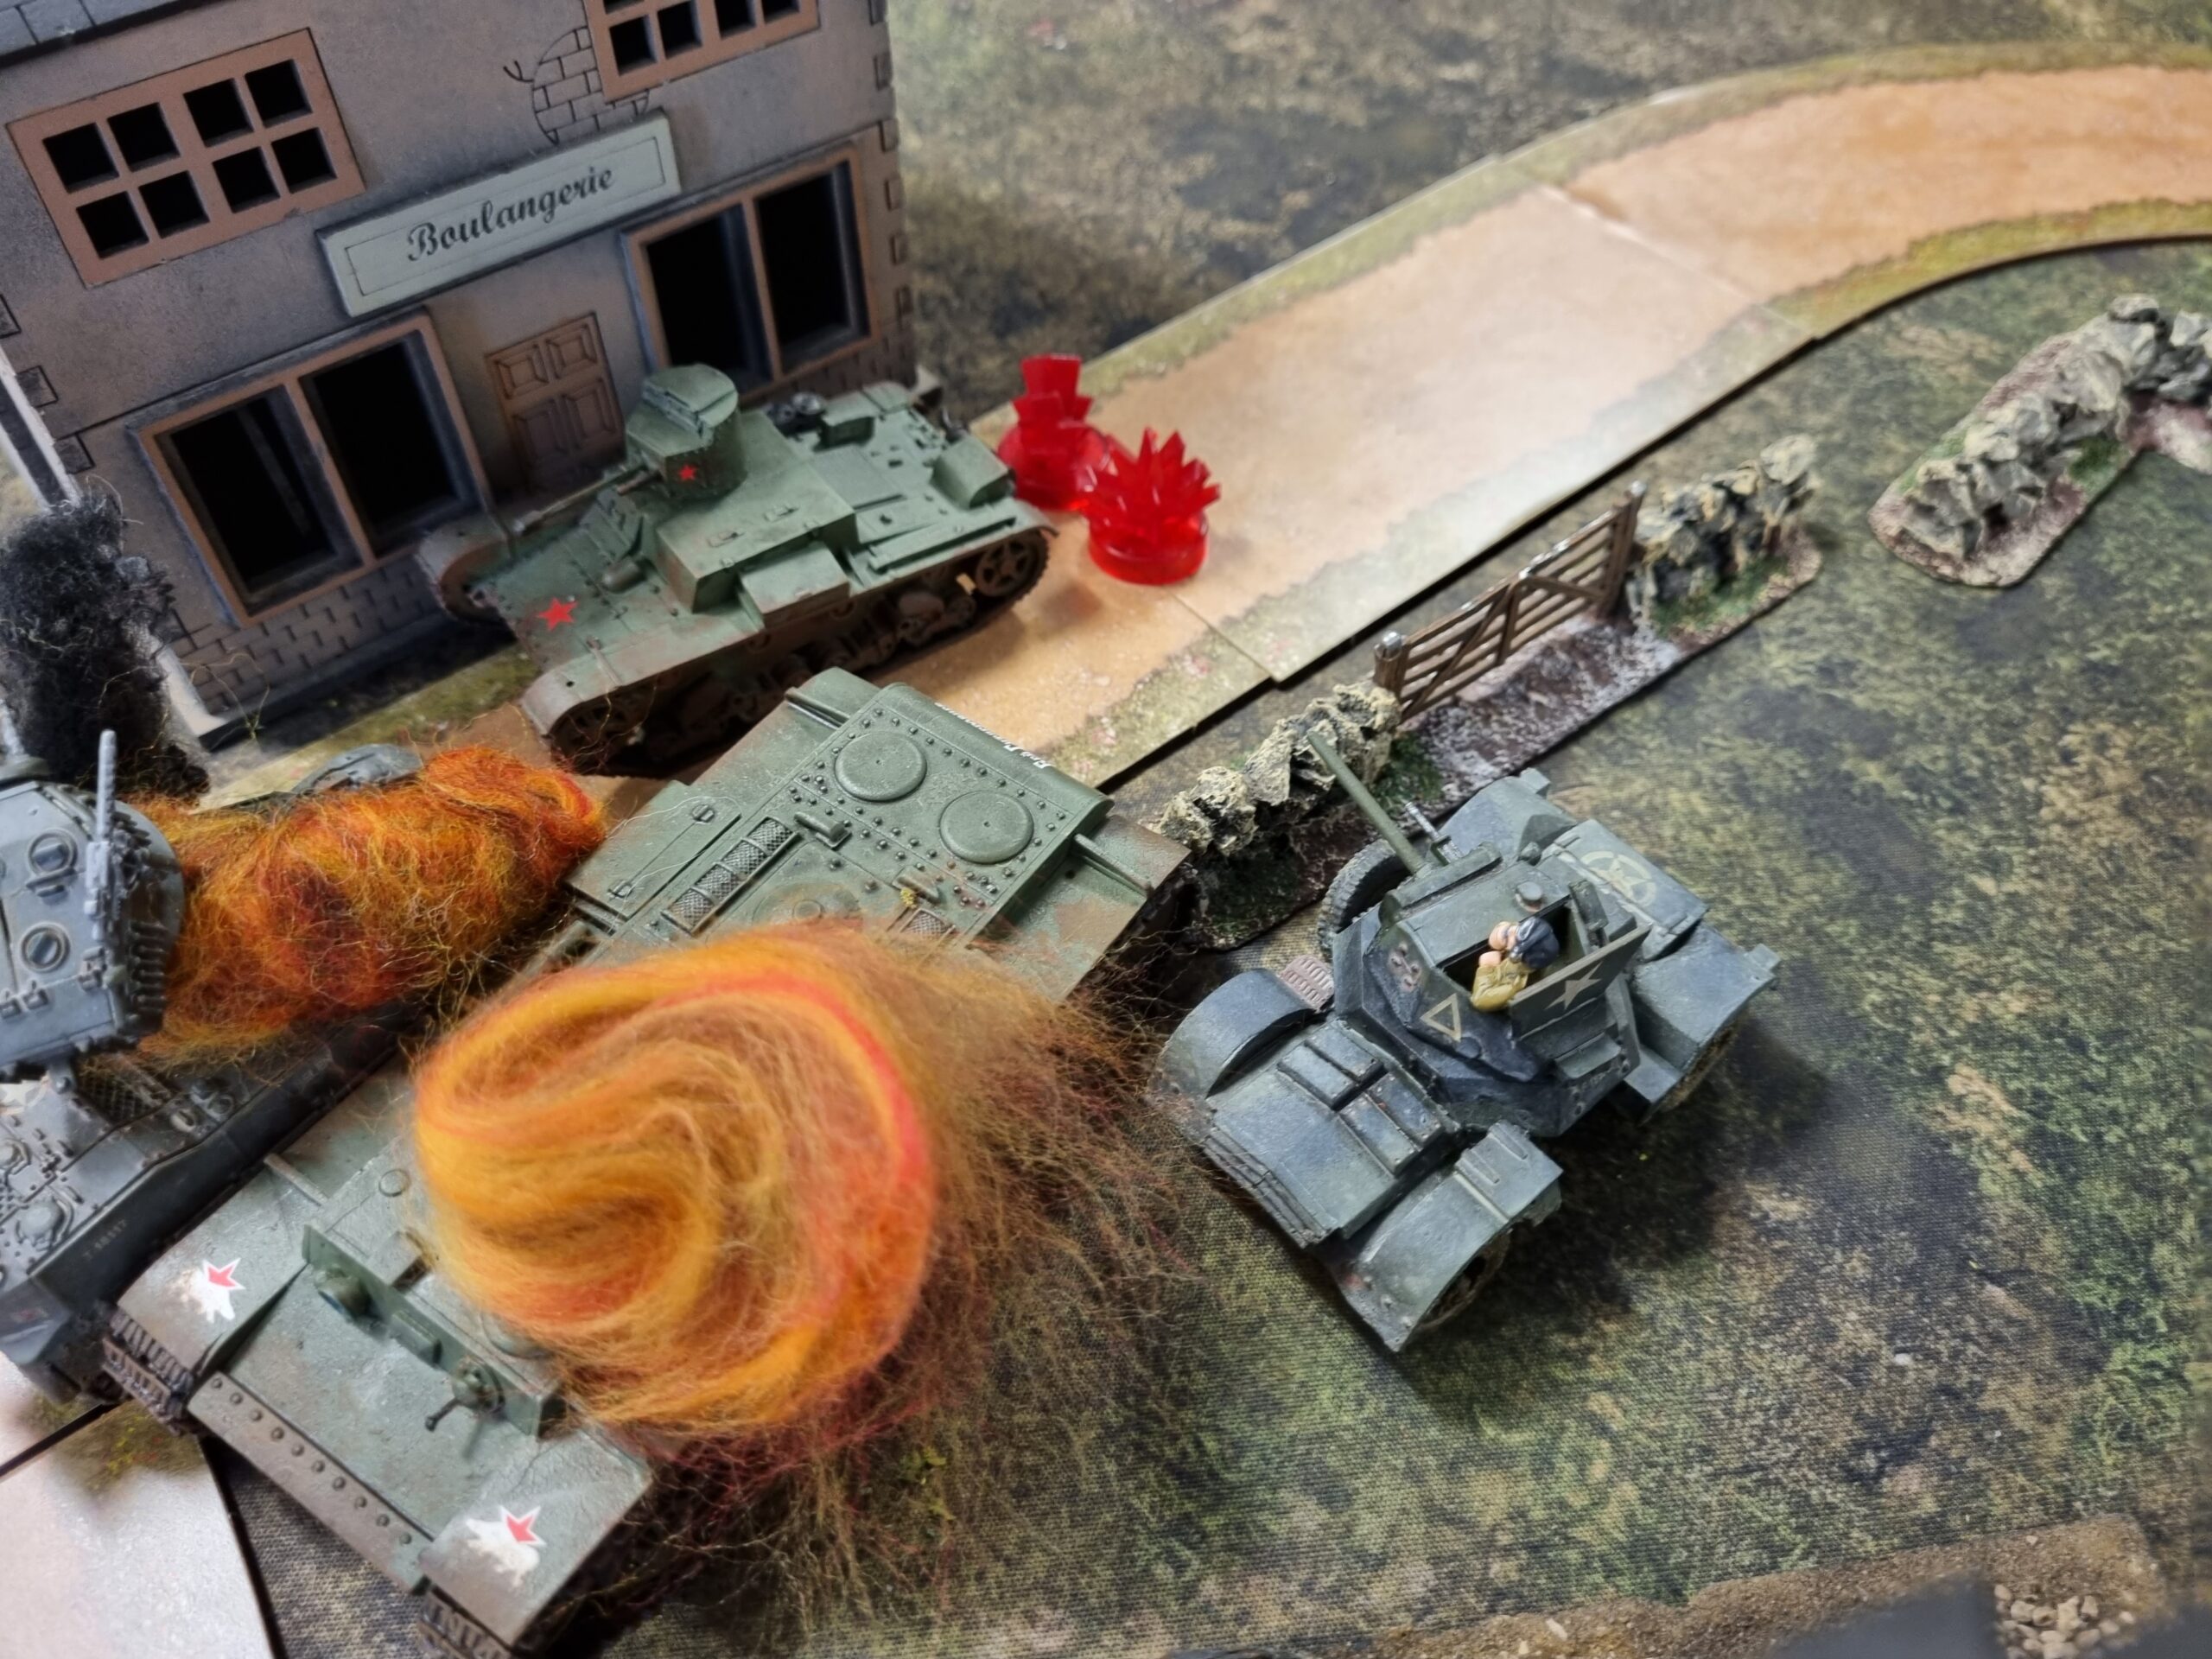
Turn 4: The Daimler armoured car fired upon the dastardly OT-26, finally putting an end to the flamethrowing rampage. Assegai advanced to gain a significant tactical position on the rear arc of Bernard’s T-34, taking another shot on the move and missing the lean, green, mean machine. The T-34 attempted to return fire and somehow missed that shot too!
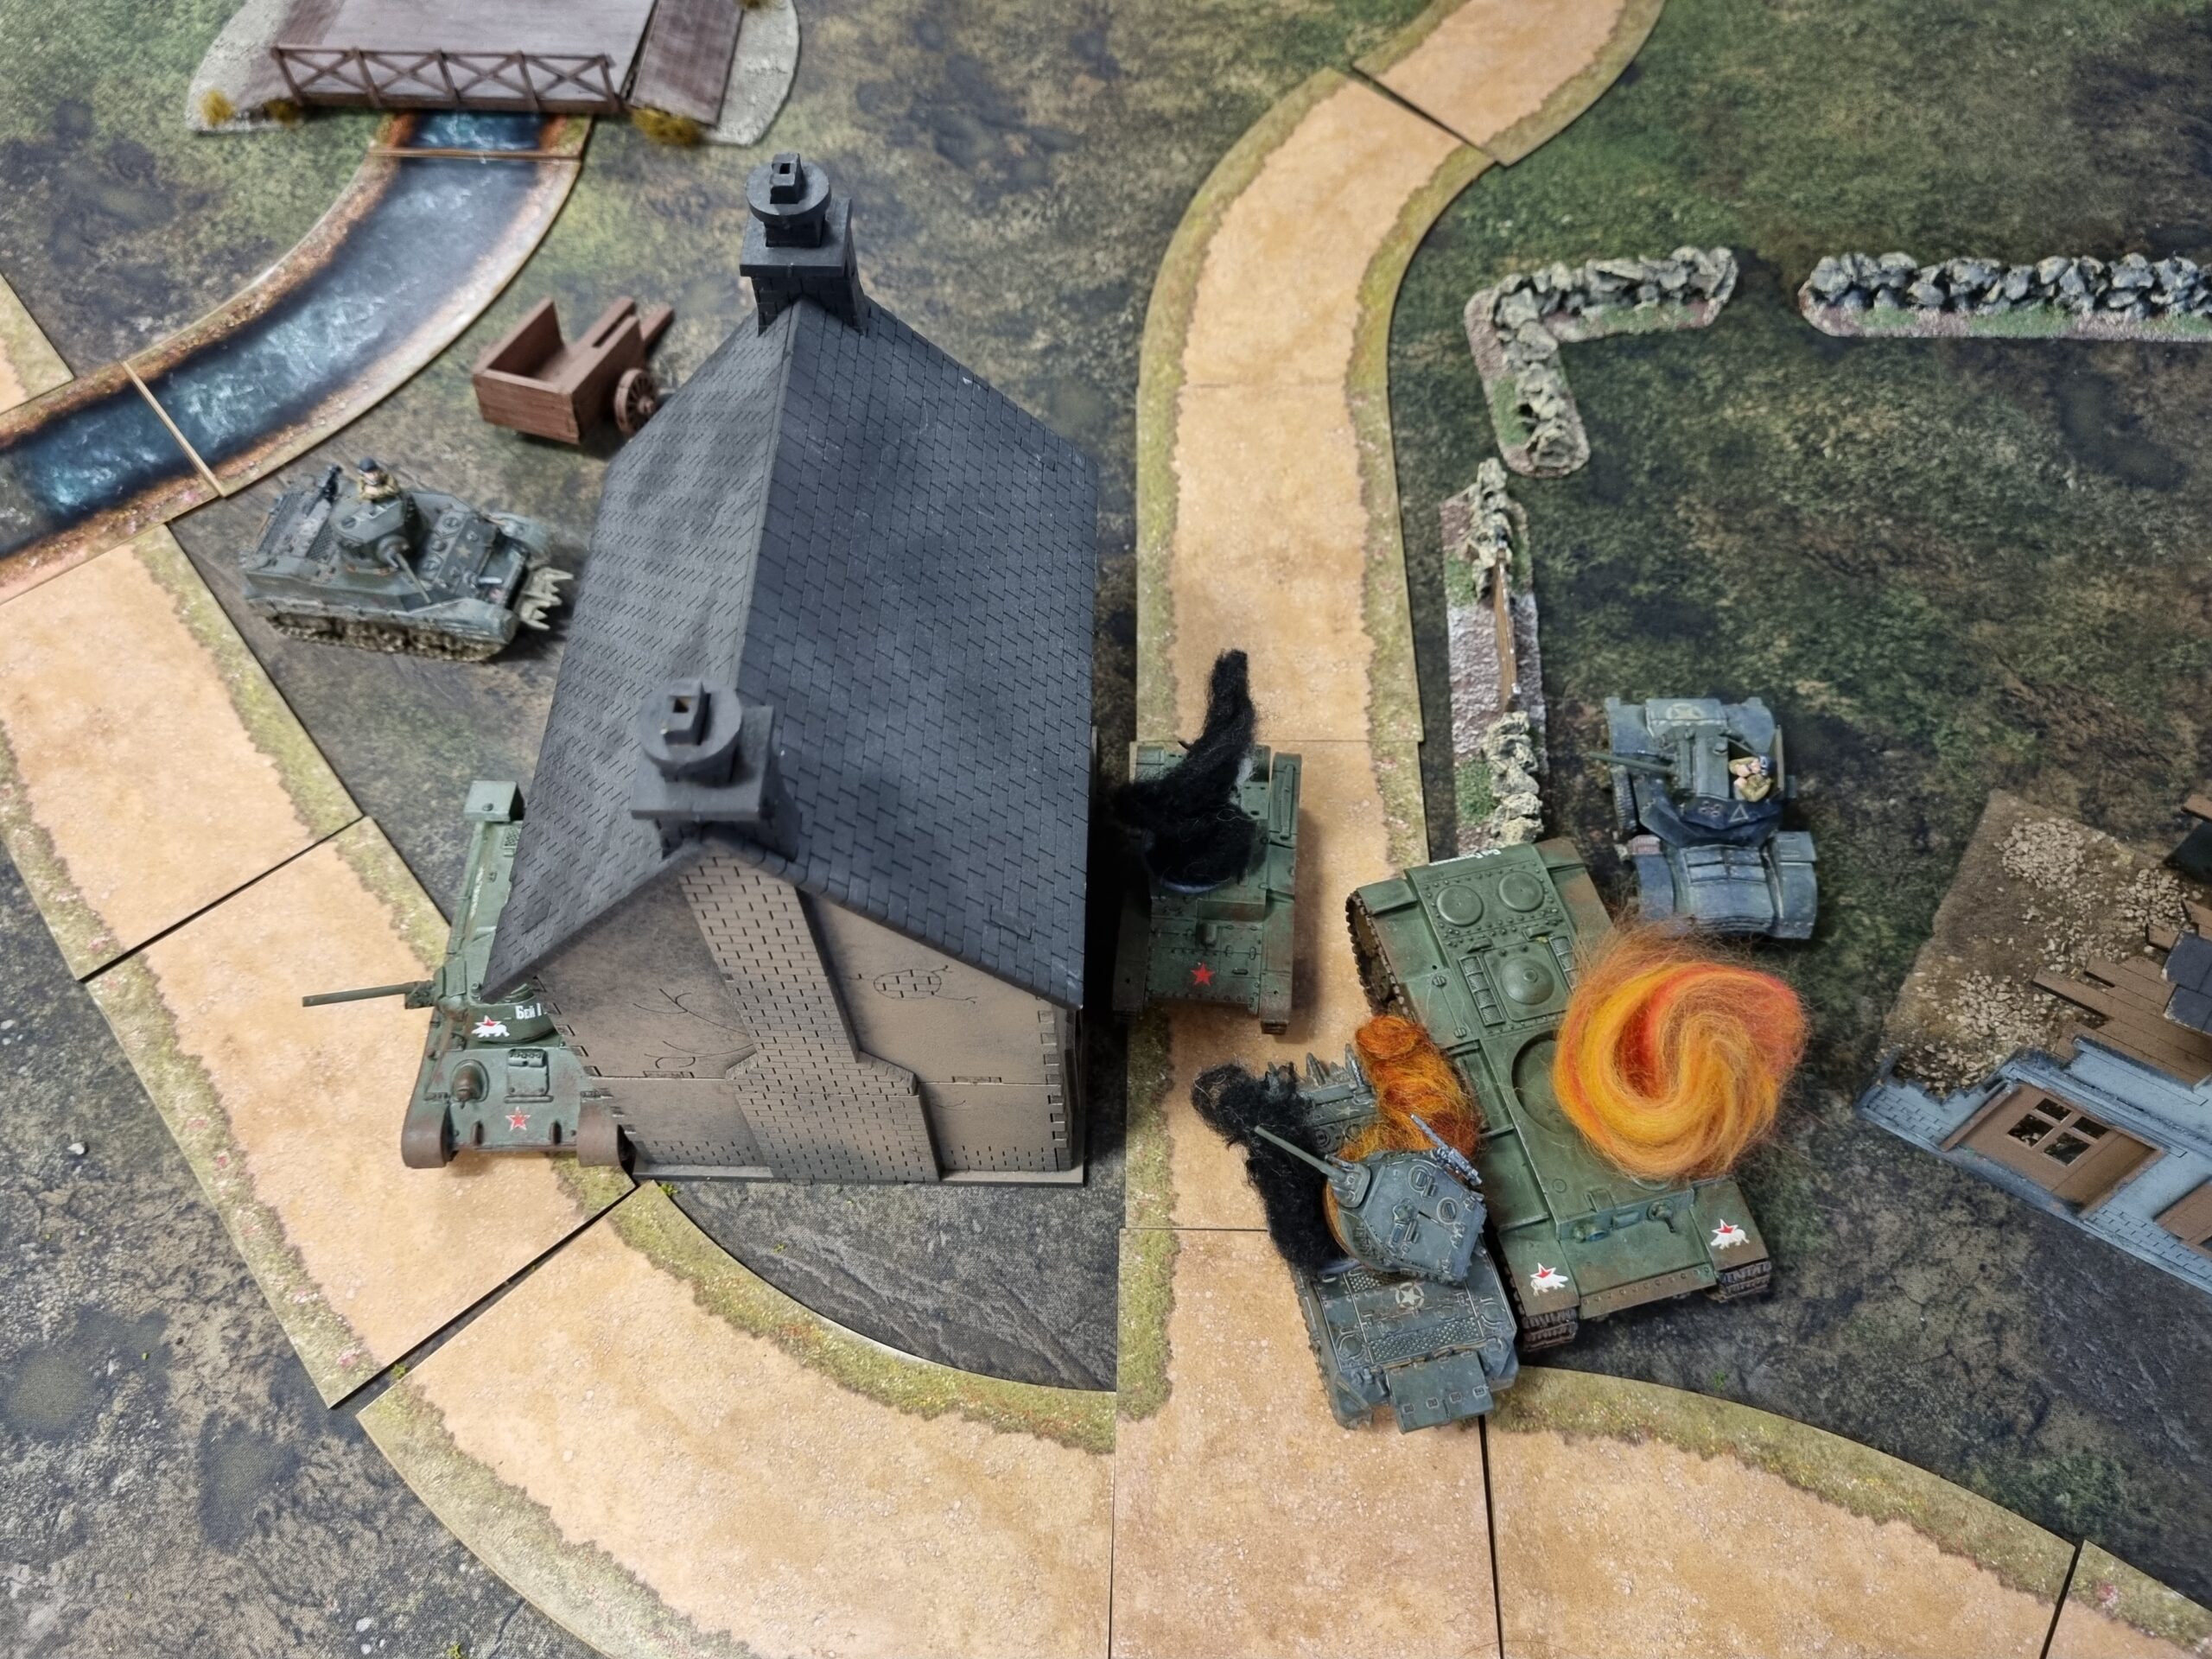
Turn 5: Assegai and the T-34 once again exchanged shots and somehow missed each other despite being at point-blank range – it seems the crews were panicking. Meanwhile, the dauntless Daimler reversed out from its holdings to speed its way to assist Assegai, rolling up in front of the T-34.
Turn 6: The game came to an abrupt end as Assegai finally managed to hit the T-34 and knocked it out of the fight. The ‘show’ was finally at an end with a British victory – only right with the Platinum Jubilee around the corner!
After Action

Conor H – What an explosive start to our Tank War games! I was expecting it to be a wash-out for my little British tank force against the more heavily armoured and armed Soviets. I was eager to meet his aggressive play with decisive action of my own. After being taunted for being too cagey in my advance early on, I took the gamble to throw Helen close to the KV and knock it out, but it was just my luck to miss and get roasted by the OT-26. My Daimler really stole the show, destroying the KV-1 and destroying the pesky OT-26, after losing my command tank as well. The final duel between the T-34 and Assegai was a heart-stopping experience, with each roll potentially being the last for either tank! Knocking out the T-34 was a massive relief. The game was great fun despite Bernard’s taunting – it was a real knife-edge game and I’m looking forward to battling my next opponent.

Bernard – I tend to play quite aggressively, and the road allowed me to push up quickly. I was surprised how long my OT-26 lasted as flamethrower tanks are really nasty when everyone is inexperienced, being able to push out up to 4 pin markers and immediate leadership tests. They aren’t as deadly as they used to be (originally a vehicle flamethrower’s range was 18” and automatically hit!), though it availed itself rather well. Conor’s Daimler stole the show from the OT-26 in the end though! I’m not too fussed, we had a great time rolling some dice accompanied by a bit of lighthearted banter – bring on the next game against Jon!
The Axis – Conor T’s Germans vs Jon Heeney’s Germans
With reports of a combined Soviet and British advance towards German lines coming in, young Leutnant Eric Lynchter of the 411th Panzer Division has recruited some plucky souls from the training barracks and has put them into a ‘Blue-on-Blue’ test. Conor T reports on the action:
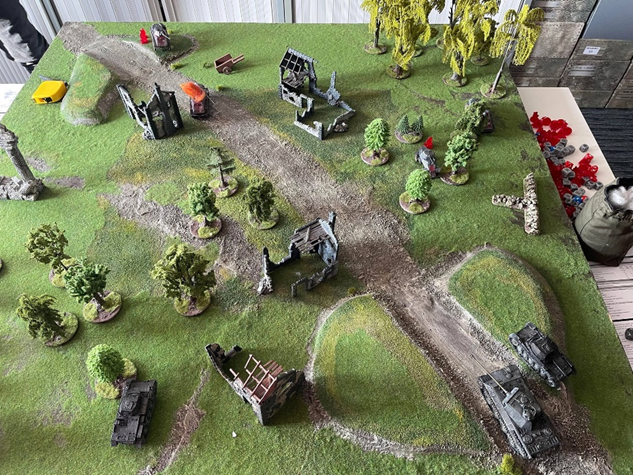
Turn 1: The first turn began with the armoured cars rolling up into the combat zone. The Panther took an opportunistic shot and destroyed its first target, one of the trio of Pumas, much to Jon’s dismay.
Turn 2: The Panther struck again, taking the first order dice and immobilising the Puma furthest from the action. One of the Panzer IIs moved up to protect the flank of the Panther whilst the other moved along the left side in the woods but failed to hit anything. The 221 and remaining Puma moved up but also failed to hit anything.
Turn 3: The immobilised Puma on the hill failed its order test once again; it was now a sitting duck and an easy target. The Panther, under threat of the 221’s Panzerbüchse (a recoiless rifle with a whopping +6 penetration at close range), turned its turret and fired, obliterating the 221. The command Puma then moved up to try and clear out the Panzer II guarding the Panther but missed again. A final flurry of shells from both Panzer IIs saw the command Puma hit and stunned with a pin.
Turn 4: A very small reversal in Jon’s luck saw the command Puma setting the covering Panzer II on fire, though the crew successfully extinguished the blaze. The Panzers continued to inflict pins on it in return, whilst the Panther continued its streak by hitting and knocking out the immobilised Puma on the hill.
Turn 5: Jon’s lone remaining Puma, faced with an insurmountable task and surrounded by a wealth of targets, fluffed its last shot and was finally struck down by the Panther. Victory was mine!
After Action

Conor T – Well that was quite a bit of good luck, with the Panther hitting its mark every turn and cutting through the armoured cars like a blowtorch through butter! The Panzer IIs did more than expected as well by inflicting pins. I felt quite bad for Jon, as this was his first game and I had actually helped him write the armoured car list before I knew I would be taking part in the campaign. Thankfully this was just training, and I’m looking forward to our doubles games when we get to fight together later in the campaign!

Jon H – This was my first ever game of Bolt Action/Tank War, and it was an absolute turkey shoot. Four turns in and all my tanks were destroyed, while Conor’s Panther stood proudly on the high ground with vaguely scraped paint. My command tank was at least the last to die. Absolute slaughter, but a fun first game nonetheless.
Crew Experience
For this small league our players are using the Crew Experience rules found in the Tank War supplement (pages 26-32). The crews gain experience points for destroying enemy vehicles as well as simply just surviving (although not opting not to use the rules about losing crew members with these small games). Each surviving vehicle gains a solid 20 experience points plus 10 percent of the points value of any opponents they kill. What’s important to know is this can mean that mid-game skill gains can be made.
If a vehicle gains 50 experience points it will gain a Skill – these provide your vehicles with potent abilities that make them dangerous, but are also bound to attract more enemy fire. At the end of these games, Conor H’s Daimler had earned 51 points and gained Skill Shot, meaning when given a Fire order, the Penetration Value of its main gun will temporarily increase by D3, even for HE shots! Conor T’s Panther, meanwhile, earnt a whopping 67 points (47 for kills, 20 for surviving the game) resulting in the Gunner Skill Hair Trigger, which will allow it to shoot after a Run order. If it wasn’t already a prime target, it certainly is now!
Next week, Bernard’s Soviets take on Jon’s German armoured cars whilst the Battle of the Conors will determine, once and for all, which one shall claim the name of Conor and who will be renamed in an internal staff poll…