We’ve plucked this article, penned by Bolt Action designer, Alessio Cavatore, from the Warlord Community archives!
This article is a set of guidelines about writing scenarios for Bolt Action. This advice has been derived from my own personal experience of writing many many scenarios for different purposes within the Bolt Action game system over the years.
From that experience I have to say that there is a huge difference between writing balanced ‘battle scenarios’ and more uneven ‘historical’ scenarios. The first are aimed at being playable in competitive events like tournaments, with both players having equal chances of winning. The latter are more for fun and aimed at capturing the flavour of a particular historical engagement or campaign/sector of the war. And they are, in my opinion, very different beasts!
As the historical ones are those that are far more commonly designed by players all over the world, this article will concentrate on them. Players that are interested in ‘balanced’ tournament scenarios are more normally happy to use the existing ones in the rulebook, or simple tweaks thereof to adapt them to their needs and likes.
So, when you have just read about a particular engagement or theatre of WWII, sometimes the inspiration might take you – “You know what? This battle would make a fantastic scenario for Bolt Action!” I know it’s certainly happened to me on many occasions, and maybe if I take one such moment as an example, I can then talk you through how to turn that instant of inspiration into a playable scenario.
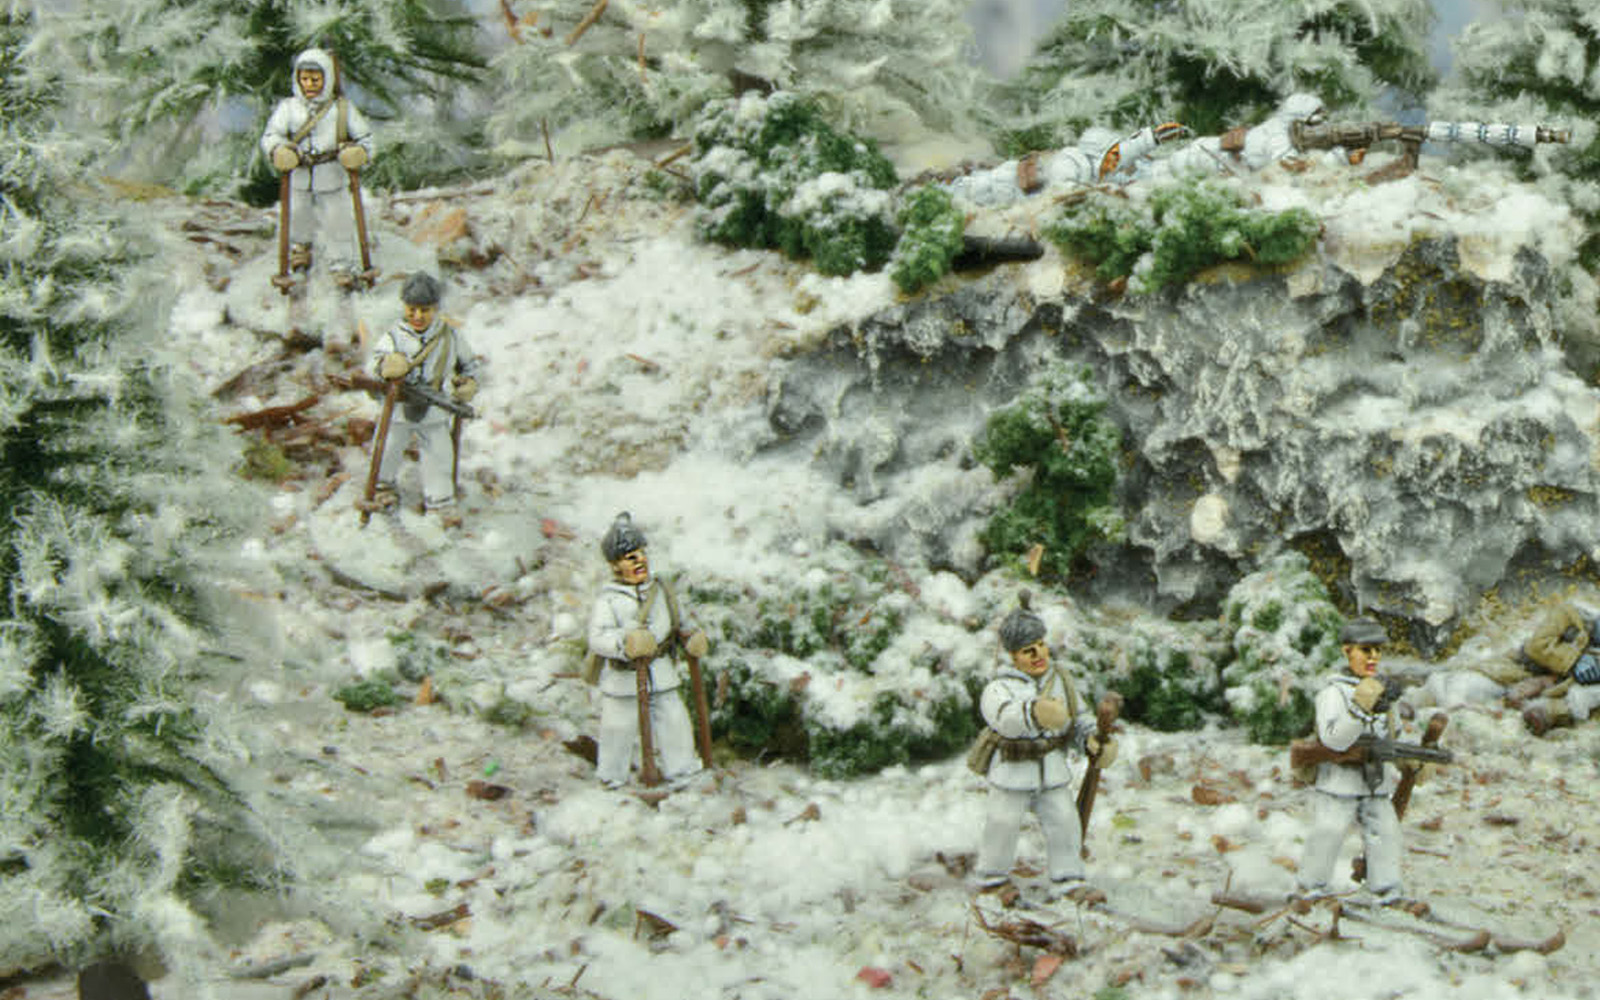
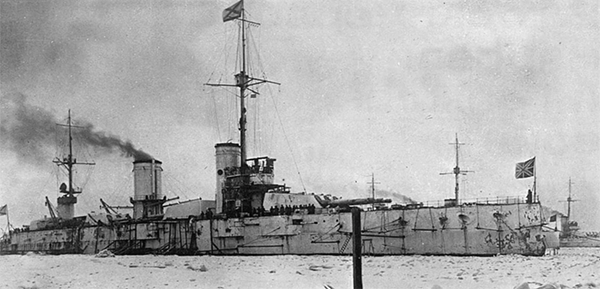
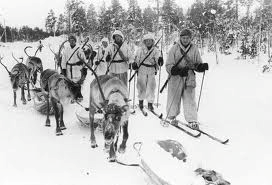
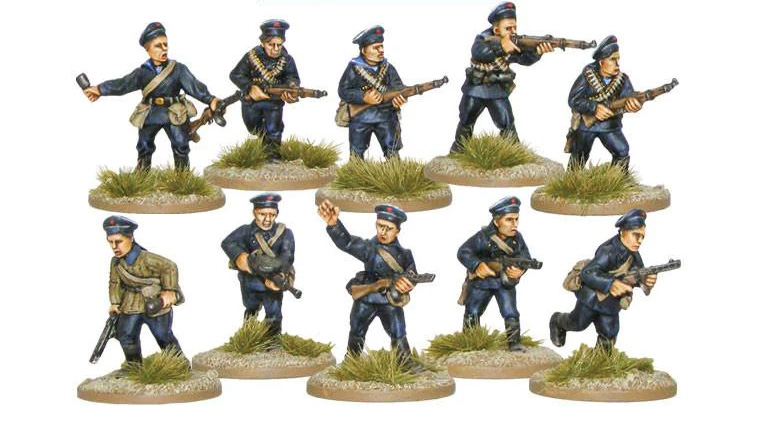
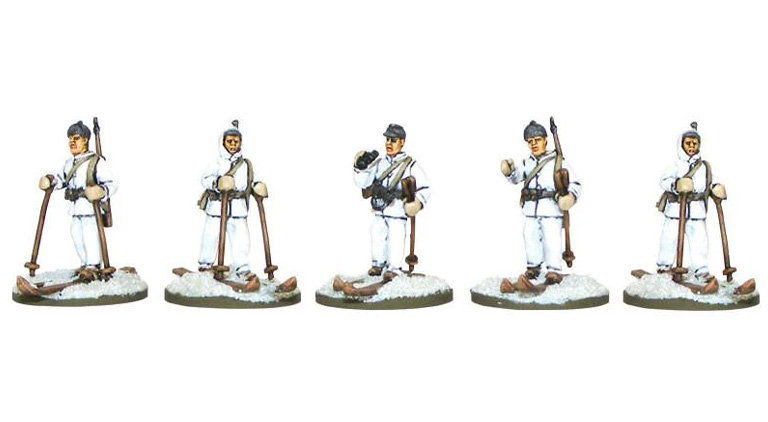
I will use as my example an anecdote I read about in a book about the siege of Leningrad. Apparently, there were moments in winter when the Soviet Baltic fleet was frozen-in at their base of Krondstat near Leningrad. These ships were being used to augment the Russian artillery firing out of the beleaguered city against the enemy positions, but during the peak of winter the harbour and nearby seawater froze, which gave a chance to German and then Finnish troops to attack the naval base over the ice. In particular, I loved the account of night raids by Finnish special forces, which would ski over the frozen ice carrying grappling hooks and then effectively attempt boarding actions against the ships, hoping to damage or destroy in order to put the main guns out of action. Finnish elite troops scaling huge battleships frozen in ice and fighting at close quarters against Russian ‘Black Death’ sailors… you must admit it would make for a very funky scenario (and an even funkier wargame table)!
Let’s go through the various components of a Bolt Action scenario:
Introduction
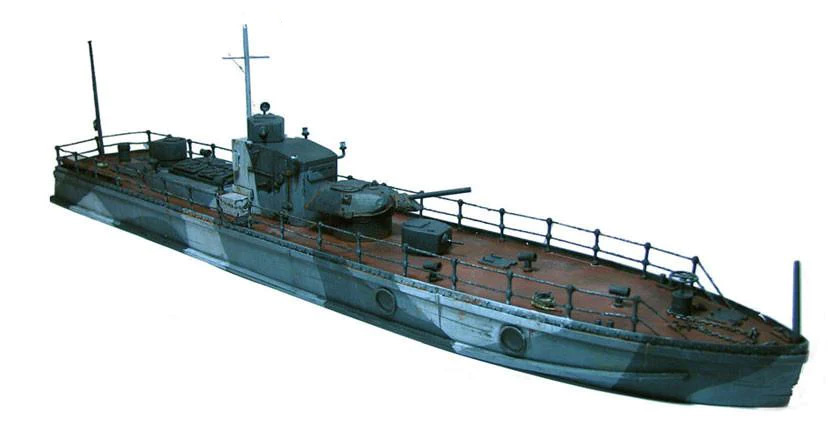
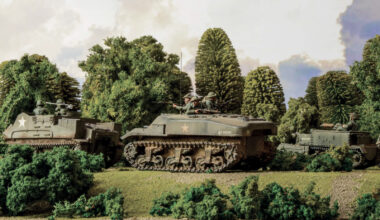
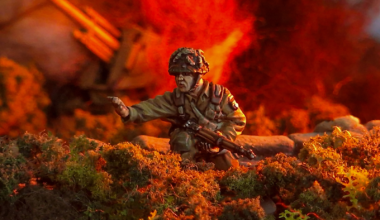
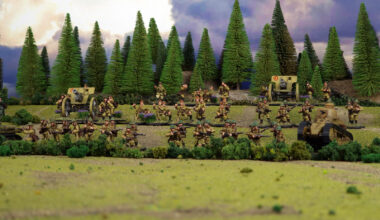
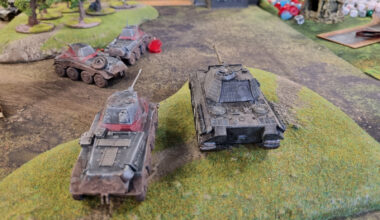
When designing a scenario that you wish to share with someone else, start with a brief description of the events (like the paragraph above!), and then add a few evocative, and relevant, pictures. A few pictures can really create the atmosphere for the game. These work for our example.
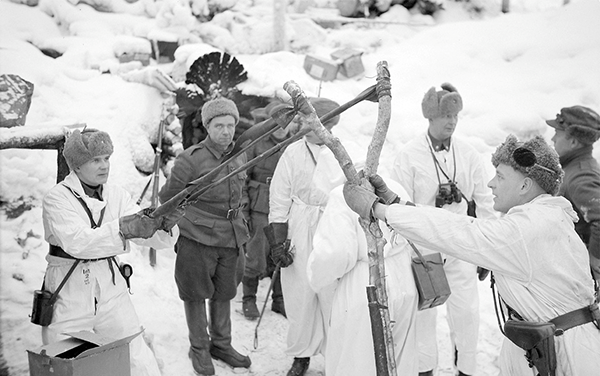
OK, I’ll admit that the last one is a bit of a joke.
Forces
Then it comes to inform the players about what forces they should use for the scenario. Of course, if you are so lucky that you have a detailed order of battle for an engagement, then you can base it literally on that and adapt it to the reinforced platoon (or armoured platoon) selector system of Bolt Action. You can either use the generic selector, or instead (more appropriately in the case of these historical scenarios), use an existing theatre selector for the sector where the engagement is set and use that as is, or modify it as needed.
To continue our example, I would determine that the Finnish player must take a force chosen from the Finland Attacks selector in the Armies of Italy and the Axis book, but cannot include any vehicles or artillery, and that all infantry must be Veteran where possible. Additionally, their list cannot include Allied squads (basically meaning it’s going to be made of the most elite infantry available to the Finnish list).
The Soviet defenders instead will be picked from the Leningrad Approaches selector in the Armies of the Soviet Union book, and similarly to their opponents the Russians cannot have vehicles, can only have anti-aircraft artillery (representing the ship crew manning the smallest calibre naval AA guns and turning them onto the attackers). Their infantry squads must be composed exclusively of Naval infantry.
After telling players what selectors to choose their forces from, you must also tell them whether both forces will have the same number of points (say 500, or 1,000 pts a side), or whether this is going to be an uneven fight, where one side has more troops than the other (say between 20 and 50% fewer points). If this is the case, the disparity in forces must of course be compensated by some other advantage, either one or more special rules favouring the smaller side, or a tactical/terrain advantage in their favour. They could for example have a number of minefields, obstacles, buildings or even bunkers to deploy within, or the larger side might begin with only a portion of their forces on the table and get the rest as reserves…
And don’t worry too much over complete balance. Keep in mind that historical scenarios are rarely going to be balanced in terms of both sides having an equal chance of winning. And that’s fine. Only very rarely in real war do both sides have roughly equal forces in a particular area. You can be simply interested in doing better than your historical counterparts, or you can choose to play the game twice, swapping sides, and see which player does better with the weaker force. This last option actually means that the two sides have once again fairly similar chances over the two games.
One word of caution; try at least to make sure that the scenario works and there is no ‘automatic victory option on Turn 2’ for one side to execute. “Hey look, all of my units escaped by moving up this road and exiting the table straight away!”
In our example, you could go for equal forces, assuming that the naval forces have mostly been deployed inland and are not manning the ships. Alternatively, you could go for a larger defending Soviet force, but make the Soviets turn up from reserves (e.g. coming up from the barracks in the base to the frozen-in ships).
Remember, the Soviets should get some defensive positions, but the Finns could get the advantage of surprise (maybe a penalty in Turn 1 for ordering all Soviet units?).
Set-up & Terrain
This is all about clarity – you need to give clear instructions about who sets up what, when and where. It certainly helps if you provide players with a map, which should show the recommended terrain for the table (see next header) and ideally also highlight the set-up zones, with clear labelling or captioning of distances and other instructions.
A map makes the set-up instructions so much easier, both for you to write and for players to then understand them correctly!
It is important to spell out clearly the following points:
- In which order do the players set up?
- How many or even which specific units can/must start the game already on the board?
- How many or which units can/must form the first wave, coming in automatically on Turn One?
- How many or which units can/must be left in reserve?
- Whether any special set-up rules (snipers, observers, spotters…) apply.
Terrain
Coming before or after the Set-up instructions (depending on which one makes it clearer), this header instructs the players about terrain placement and density. You can be very specific and restrictive about this, telling players exactly what terrain they are going to need and where to place it. In some scenarios this approach is fine, and it has the advantage of being very clear. However, do keep in mind that you cannot make assumptions about the quantity of terrain available to players. You really cannot expect most people to be able to place on the table, for example, a 25mm-scale battleship frozen in ice…
So, when you do present very specific instructions, always follow them up with a paragraph that tells players how to replace the requested terrain in an easy-to-represent way. For example, you could draw the top-down view of a battleship on coloured paper and lay that down on the table…or perhaps you could use a reasonable substitute that still carries the flavour of the historical action.
It is easier to write terrain requirements in a more generic fashion for scenarios where the exact layout of the battlefield does not matter as much. In those cases, you can be more or less specific, from a simple “cover about 25% of the playing surface with wooded terrain” to a slightly more precise: “try to match the terrain layout presented in the map, but do keep in mind that Player A is going to need a bunker in his set-up area for the scenario to work”.
Objective
This is very simple – just tell both players what are their aims for the game and how to win. This header is not vital and can also be subsumed into the Victory! header below.
Game Duration
Once again, nothing complicated here, just be precise. For example, the game can end in any of the following situations (or a combination of some):
- When a player concedes or is wiped out.
- After a fixed number of turns.
- When a particular victory condition is achieved (the battleship is blown to pieces!).
- Random game length (my favourite!). In this case, after a number of turns, players start rolling on a pre-determined schedule and the game will end on the roll of x, y, or z. For example, at the end of turn 6 roll a dice, on a 4+ play turn 7, then the game ends. Alternatively, it can continue – at the end of turn 7 roll a die on a 3+ the game ends, or play Turn 8. The value required can change faster, slower or not at all…
Victory!
In connection with the game objective, tell players how Victory is calculated.
This could be a simple all-or-nothing condition (e.g. either the ship, bridge, artillery position, etc. is destroyed or it isn’t).
In other cases, it could be a far more nuanced calculation. For example, players could receive a number of ‘victory points’ based on eliminating enemy units and/or capturing one or more objectives. Choosing to only use positional victory points values makes for a very different game than choosing to only using victory points based on casualties. In one game, the lives of your men are very expendable; in the other they are not so much! Mixing both is always quite interesting, as players must gauge how many casualties they are prepared to suffer in order to achieve strategic advantages, which in my opinion feels more realistic.
If you do use victory points, remember to clarify whether units are simply worth a point each (which is easy to work out in the end). Or a different amount of points, like for example their own requisition points values (i.e. a sniper team is around 50pts, and a Tiger tank is around 600…). This might require a calculator at the end of the game, but it feels more balanced and is used in most tournaments. If you mix this system with objectives, remember to state how many points each objective is worth. For example, blowing up a main turret on the ship is worth 200 pts, while blowing up the ship’s magazine, and therefore the entire vessel, is worth 500, or even automatic victory!
The last thing to remember when using points is to clarify whether a victory by a single point still counts as a victory, or if one player must have a certain margin over the opponent for the game to count as a win rather than a draw. For example, a game might end with 1,238pts versus 1,104pts or 7pts versus 6pts – is that a victory or a draw? Tell them how much margin they win to call it a victory – I tend to go for at least 20% of the value of the forces in play if you use requisition points, or a margin of at least two points more than the opponent if you use normal points.
Special Rules
Finally, I think that a few special rules are funky and can give a lot of flavour to a scenario. And within the safe confines of the scenario, you have far more freedom to create characterful rules, which are probably not very balanced and would break the system if used as a normal game rule!
In our example, you could add rules for assaulting a defended position using grappling hooks, a rule that can be re-used by someone else who might be designing the Rangers’ assault on Pointe du Hoc…
Also, you can throw into the mix some commonly used special rules, like limited visibility, minefields, weather etc, which can be found in the BA rulebook’s appendices, or even more specific examples that could be found in a campaign book, say.
One word of warning though – do not go overboard with special rules, as you might end up with something that does not play like BA anymore! Or indeed with something that is utterly unplayable as your brain has to cope with a million exceptions to the normal rules you are used to.
So, keep it brief, keep it simple and once again, don’t take this too seriously – this is a game, and remember that it is supposed to be light-hearted fun!
Alessio
1 comment
Great article with loads of practical advice 🙂
Comments are closed.