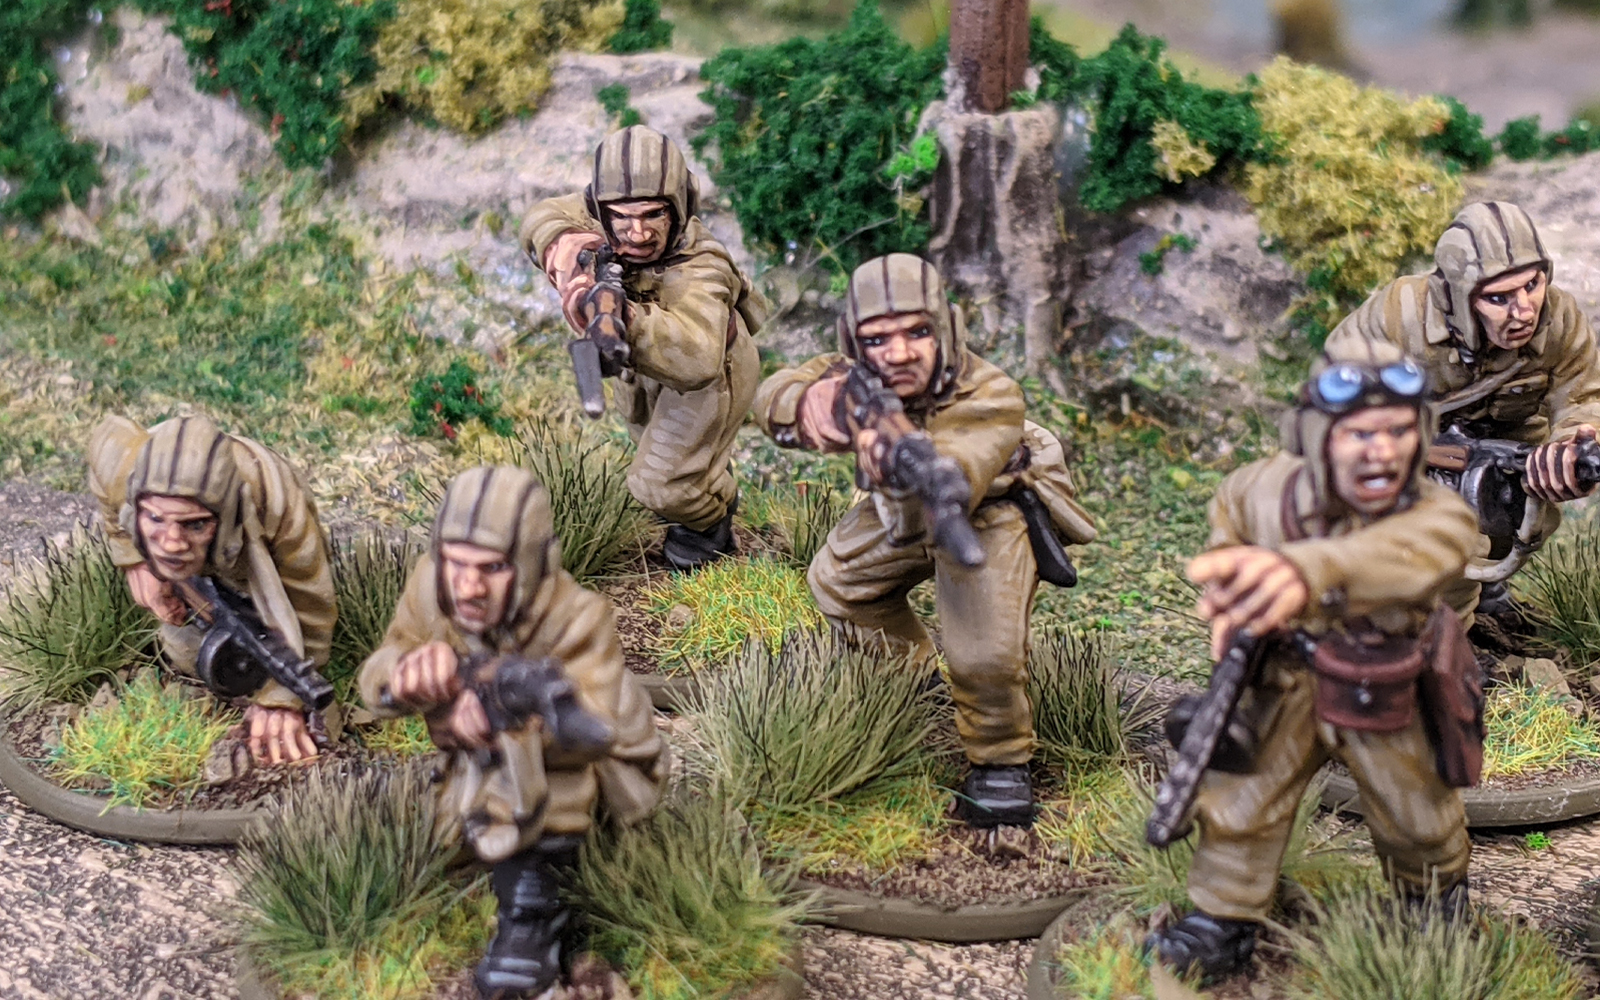
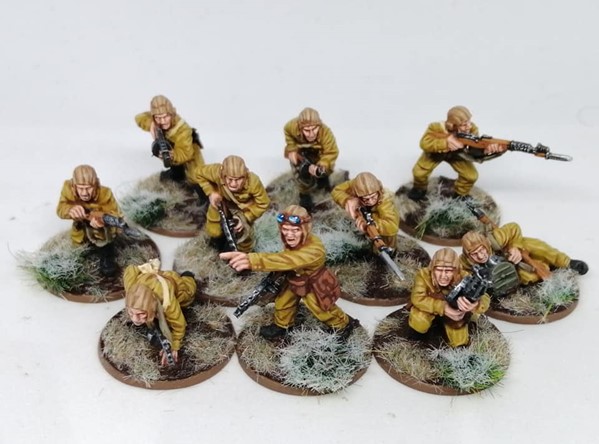
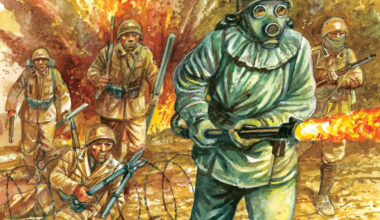
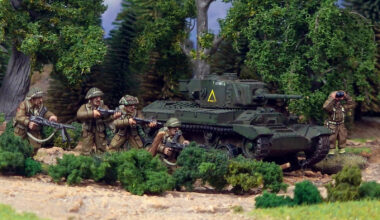
I recently picked up some Soviet Airborne. While I Was painting these, I thought I would write up a painting guide!
This guide will be good for all the new releases (NKVD, Anti-tank teams, or even the standard plastics) so this guide should be useful for any and all Soviet armies! And remember when it comes to soviets they had a large amount of uniform variety depending on where and when it was made, and then on top of that wear and tear – so if you don’t have the exact paints here you can still entirely justifiably use near alternatives.
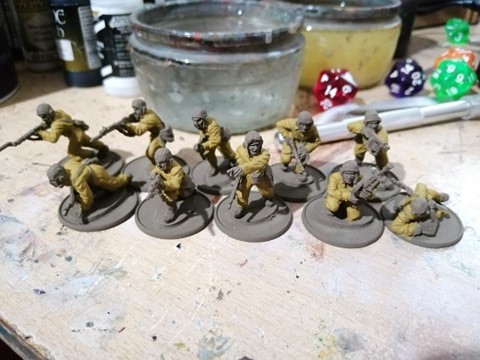
To start with prime your model to taste, I used Humbrol Dark Brown, but any brand would work. Whites will lead to more vibrant colours, black undercoats confer a more gritty look. However I like the mid-tones like greys and browns for primers.
First Steps
I base coated the following areas with the paints listed:
Uniform: 923 Japanese Uniform WW2
Hat: 876 Brown Sand
Skin: Barbarian Flesh
Bags: 917 Beige
Wood: 981 Orange Brown
Belts and leather: 984 Flat Brown
Metals: Dark Gunmetal
Bag: Beige
Canvas straps: 314 Canvas
Boots: Black
Green equipment: 984 Camo Olive Green
This is by far the most boring part of the painting process, but once it’s done the models will be taking shape and you’ll see it coming together.
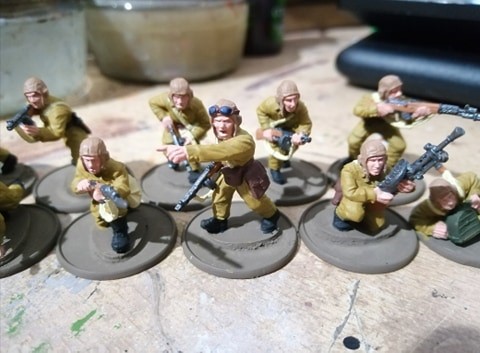
Step 2: Washes
For this batch I was using Vallejo game washes (as I recently picked some up) but having painting many soviets in the past I know Army Painter’s equivalent will work equally as well.
I used a 50/50 mix of Flesh Wash and Umber Tone ( You could use Army Painter’s Flesh Wash & Strong Tone as a substitute) across the whole model with the exception of the following areas:
Skin: Pure Flesh Tone
Metals, Bag & Green Equipment: Black Wash (Dark Tone)
The wash mix is a nice mix of dark and vibrant (as it puts warmer tones in the shades) however if you wanted a gritter more “war movie” feel to them then consider using pure strong tone (umber wash) instead of mixing in the flesh tones.
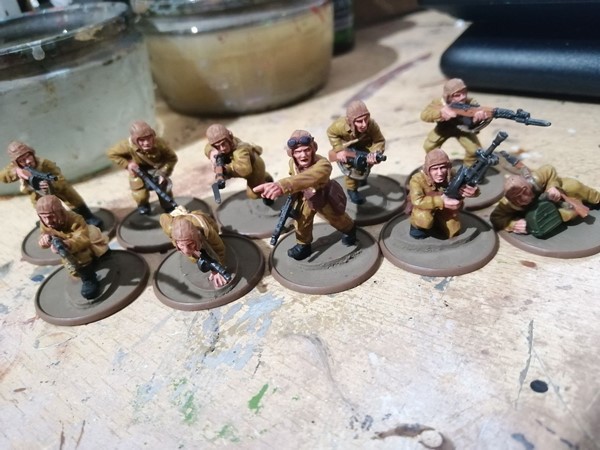
Step 3: Highlights
And finally your highlights, this is what makes the unit really pop and look good on the tabletop:
Uniform: I re highlighted with pure Japanese uniform WW2, after than a fine highlight of 977 Desert Yellow for the edges.
Hat: After the wash apply a highlight of the Brown sand once again and then mix in some 837 Pale sand (at about 50/50) for the edge highlights.
Skin: After the wash, re highlight with Barbarian Flesh and then apply an edge highlight of pale flesh by Vallejo, but really any lighter skin tone would do and can be played around with to represent people from different regions of the enormous USSR.
Bags: Re-highlight with Beige and then apply an edge highlight of 837 Pale Sand.
Wood: Once the wash is dry apply another highlight of 981 Orange Brown to highlight and redefine the details.
Canvas straps: Once the wash dries apply a layer of 314 Canvas and leave the shading in the recesses.
Boots: Simply drybrush them 994 Dark Grey. If you want to make them look a little muddy drybrush on some 983 flat earth.
Green equipment: Re-highlight Camo olive green, followed by a highlight of 924 russian uniform green. Finally mix in some pale sand with the Uniform green for one last highlight to make it pop. (For the airborne this is only for the ammo pouch, but this is also how I do Soviet Helmets.)
And then base as you choose, I used WWS winter grass and Vallejo medium mud effect and some winter tufts, but this uniform saw use in the dead of winter, the scorching steppe and swampy low lands, so any basing you like would be appropriate.
Side Note: Painting Lenses
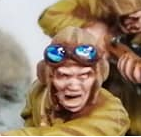
Painting good lenses are a great wargaming tip as it adds tonnes of colour and looks great. Its also super versatile and can be used for gems (ever popular in fantasy games!), headlights or simply goggles!
899 – Base with Dark Prussian Blue, then paint a crescent shape with 809 Royal Blue then a smaller crescent of 961 sky blue, then hit it with a tiny dot of white to indicate reflections. FInally hit it with a gloss varnish wash to make it shiny.
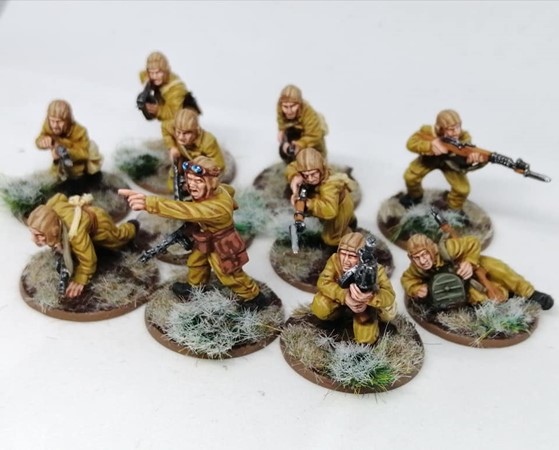
Side Note: Blue Sections
A lot of units also had blue parts in their uniforms, for example on NKVD squads (like mine below), commissars, and second-line units like drivers. For my blues, I simply paint them in Dark Prussian Blue 899, layer up with 965 Prussian Blue, and then mix in some 837 Pale sand into the 965 Prussian blue for the final edge highlights.


I hope you find this helpful in getting your Soviet army ready to defeat the invaders! For the Motherland!

3 comments
Its interesting how the dark brown primer changes the look of the japanese uniform color. I like it!
Max, have a question about tank commanders. Would they be similar paints, even though they are not full pieces I wanted to paint them.
thank you very much for this excellent tutorial, I’m using this as a way to paint my soviet winter army, so if you added in a detail about what colour to paint the ushanka that would be helpful.
Also just wondering, you’re using canvas to paint the “straps” does that mean just the strap on the guns? I can’t really tell in the photo, and I’m very new to this.
Comments are closed.