You’ll no doubt have noticed the talk surrounding our brand-new Warlord Resin Plus™ as we begin rolling it out with the newly-released Bolt Action weapons teams (with more on the way), as well as some of the new Judge Dredd miniatures, and we’ve received more than a few questions here at Warlord HQ about how to work with the new material. Fear not – there’s no sorcery required, and all of the basic modelling techniques like dry-fitting before gluing still apply. So everyone can get the most out of Warlord Resin Plus™, here’s a handy guide on how to work with it!
You can find out more about Warlord Resin Plus™ in this introduction article.
Cleaning
To remove any possible mould release agents, residual dust, or anything else that might interfere with paint adhesion, we recommend that each component be cleaned in warm water with a degreasing agent (washing-up liquid is ideal) prior to assembly. An old toothbrush is a handy tool for this.
Removing Flash and Mould Lines
Naturally, there will be some flash, gates (excess material left over from the moulding process) and mould lines to be removed, just like with metal or plastic.
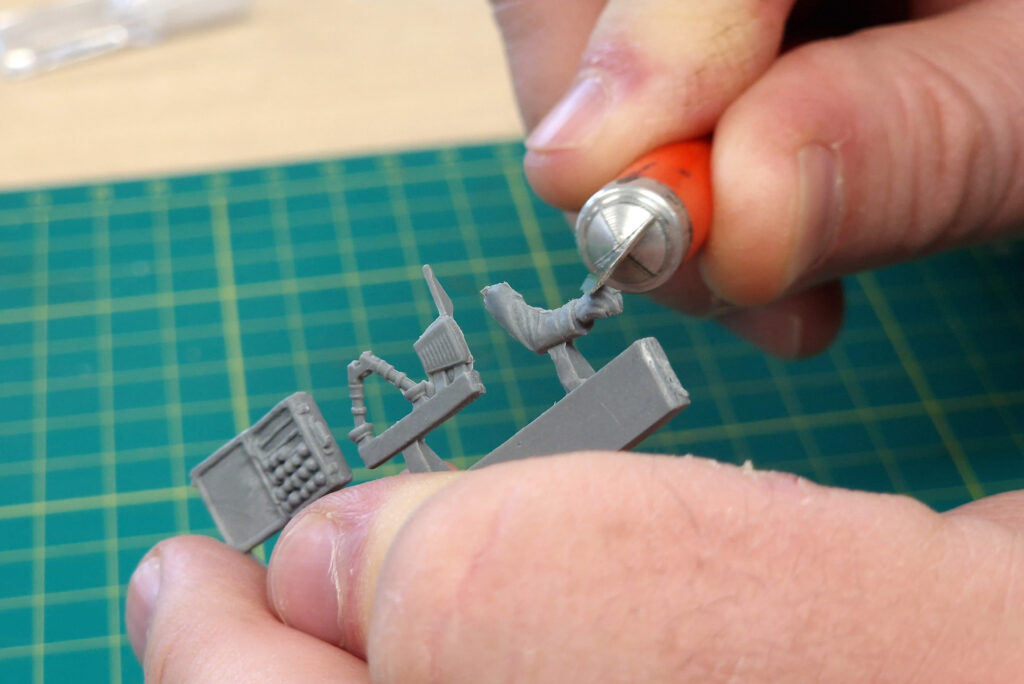
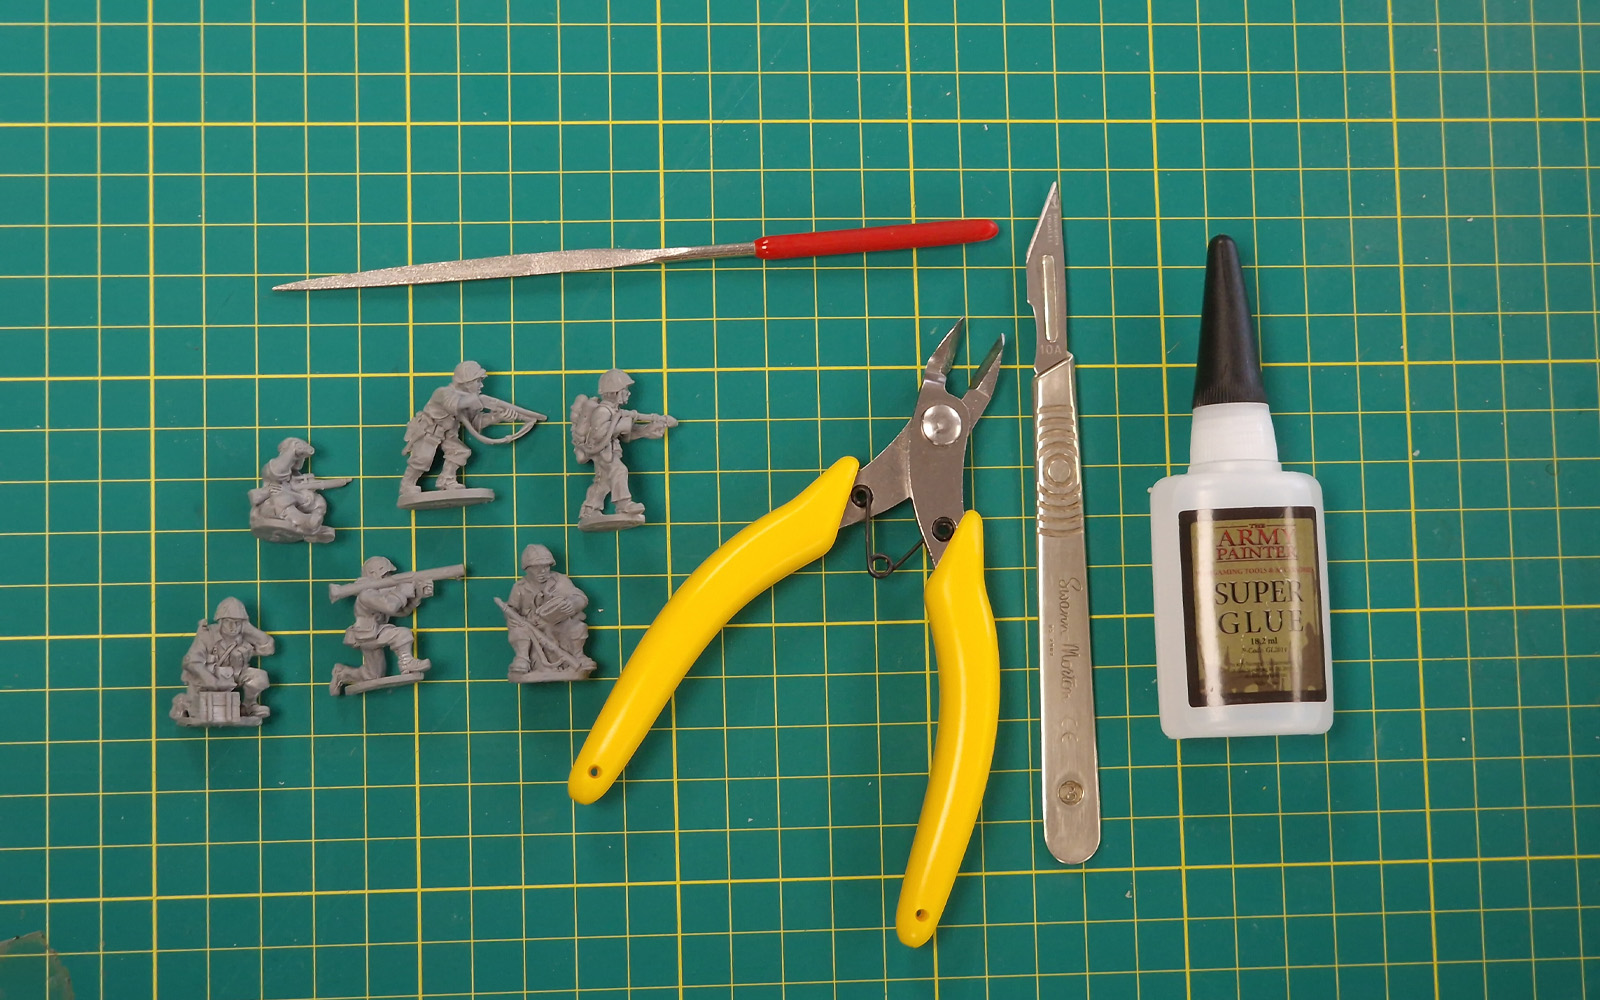
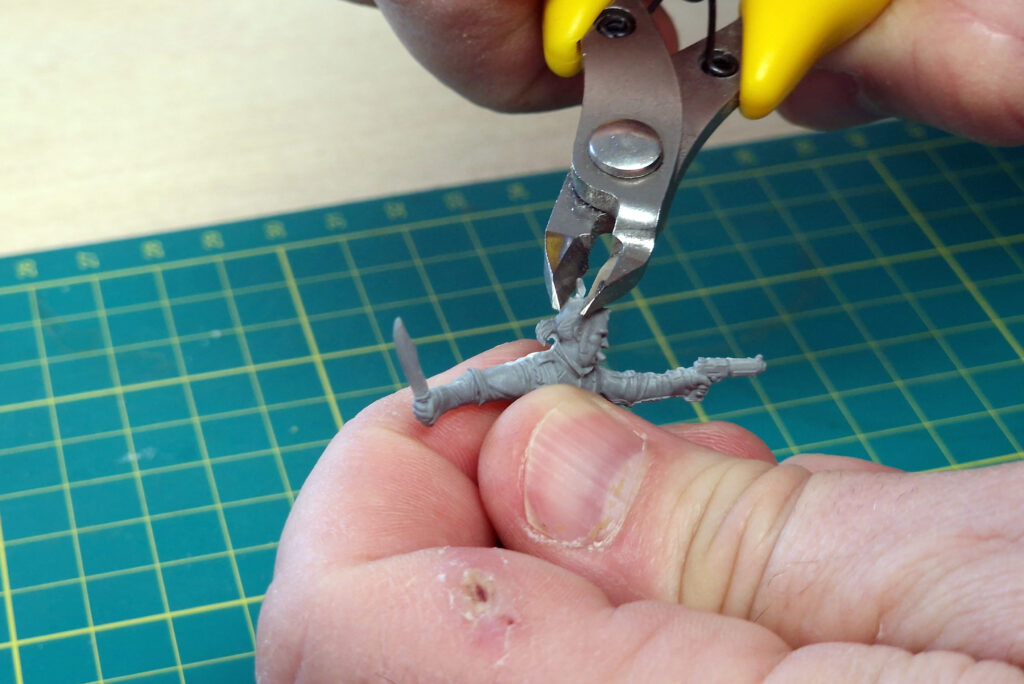
To remove casting gates, a pair of sharp side cutters can be used to remove the majority, followed by some careful work with a sharp craft knife or a file to shave off any excess.
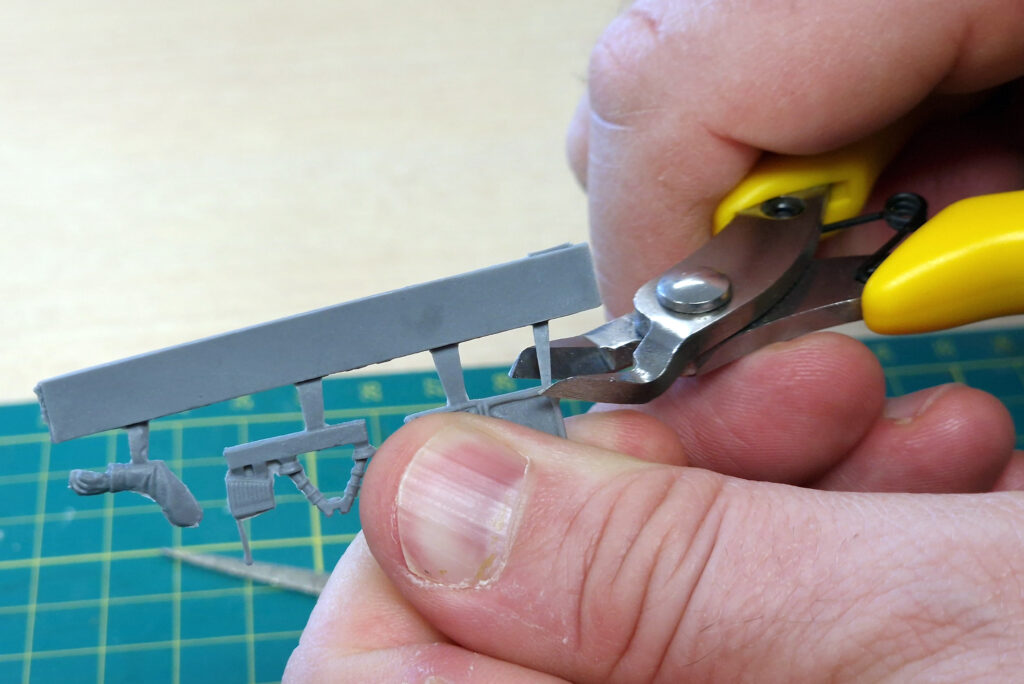
This will leave the model with some protrusions that need to be removed, as a result of vents and feeds that are part of the moulding process. These will need to be cut away from the model carefully, either with a pair of side cutters or with a sharp modelling knife, though particularly small examples may come away with a rub of a thumb.
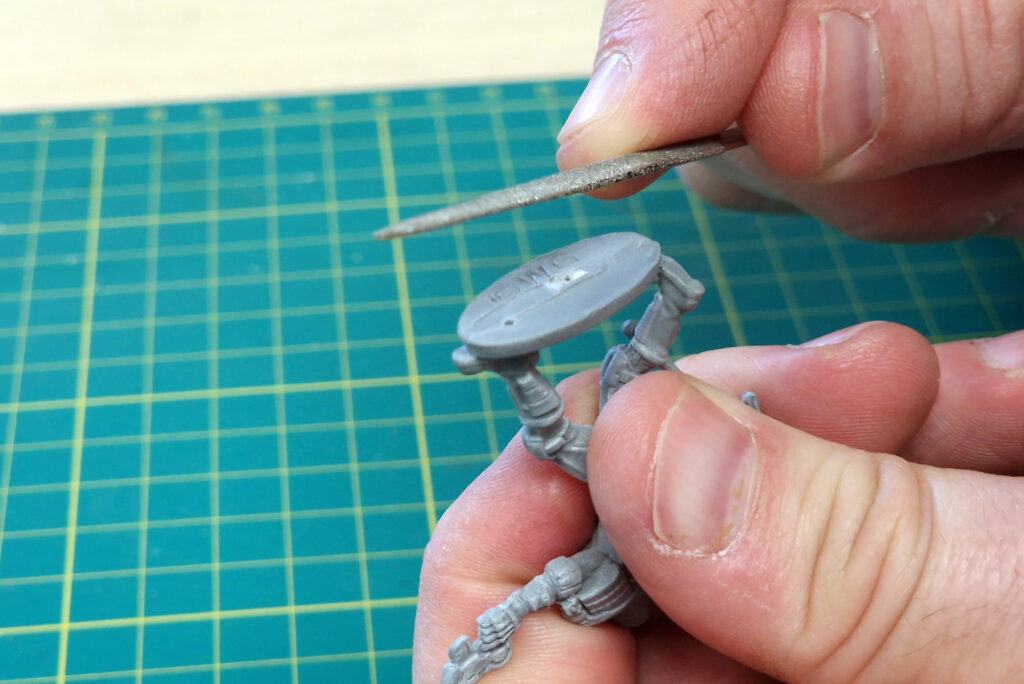
For flash and mould lines, there are a couple of solutions – you can either ‘shave’ them down with a sharp craft knife, remove them gently with a file, or a combination of both for hard-to-reach areas.
Assembly
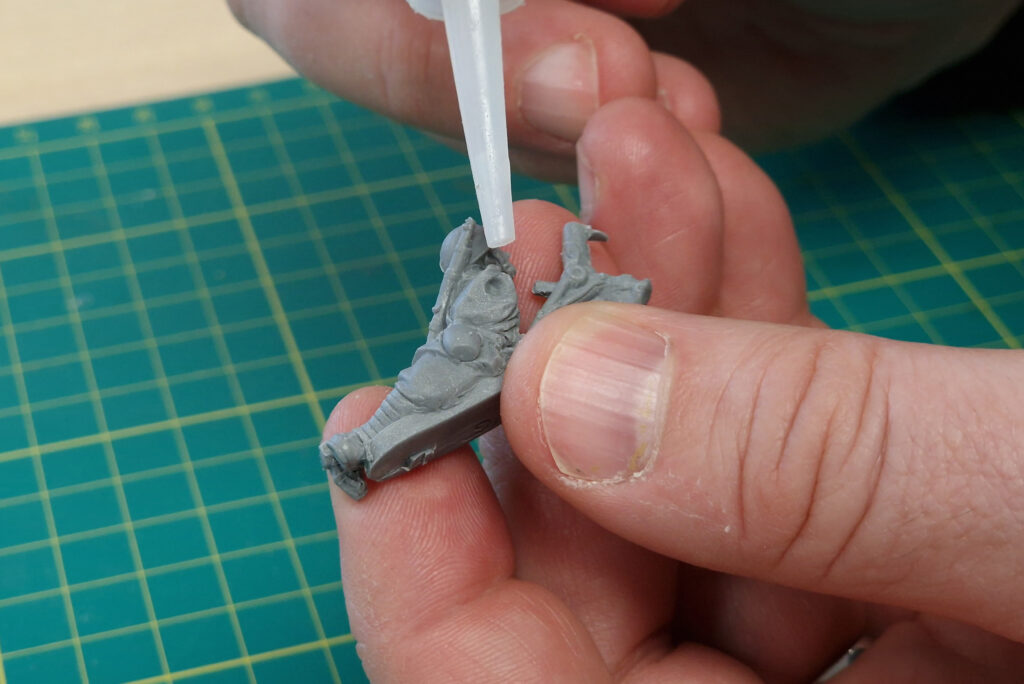
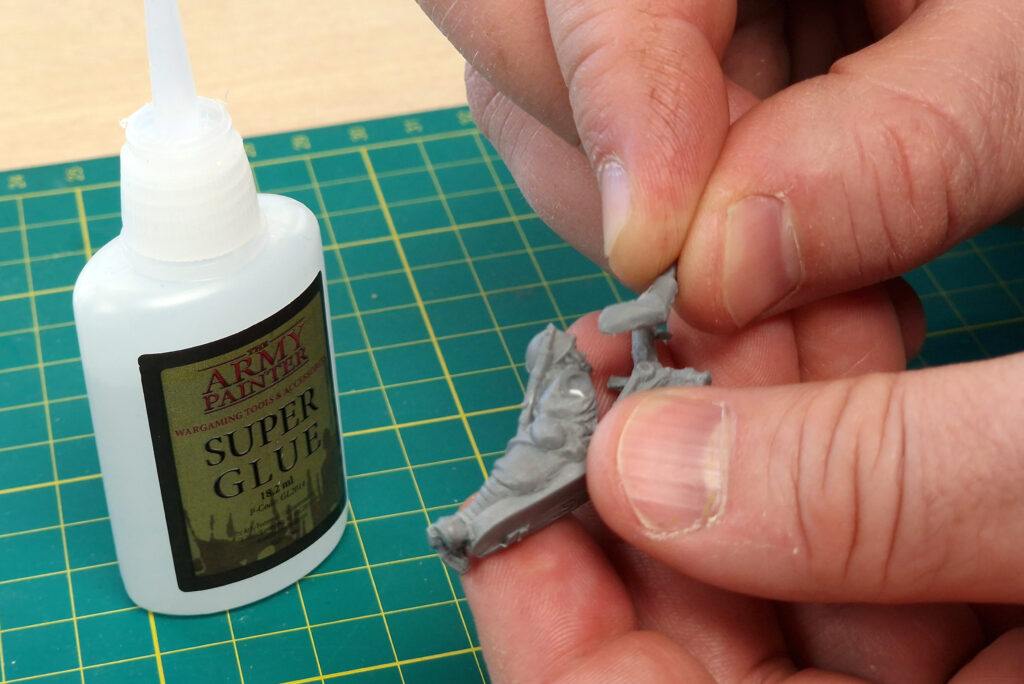
Assembly is achieved just like a metal model – use a good strong super glue, and as with any modelling material remember to dry-fit the parts beforehand!
Painting
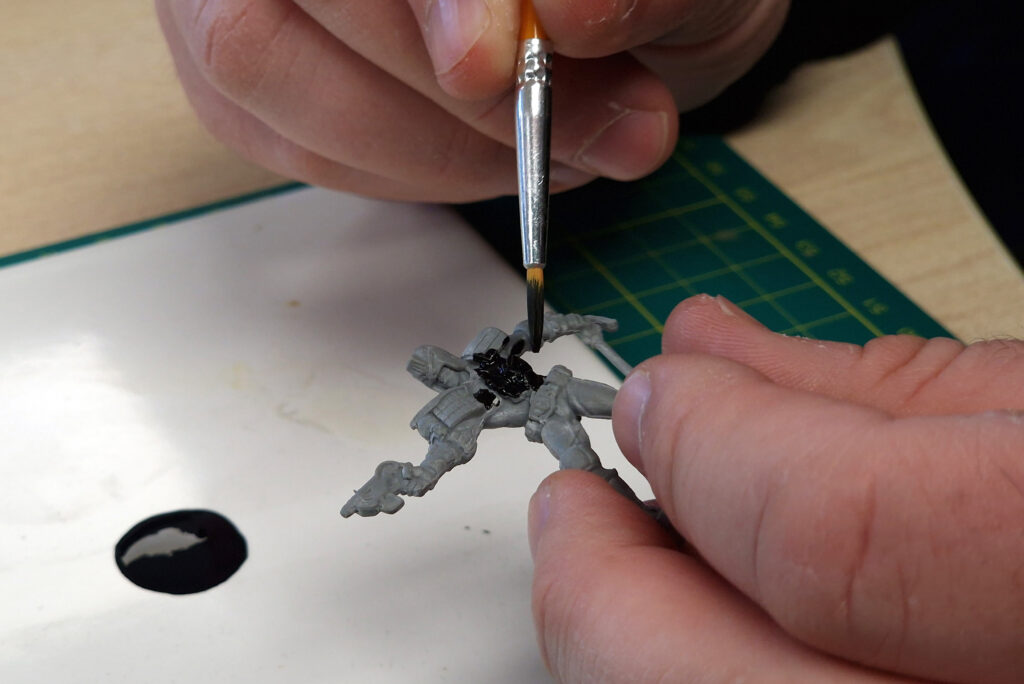
Once that’s done, the model is ready to paint. Whilst you can paint straight onto an unprimed model, we recommend that you apply an undercoat first. A wide variety of colours are available, many of which double up as ideal basecoats. By priming the miniature, you’ll avoid any issues that may have arisen as a result of not cleaning the models with detergent beforehand, as described above.
Add your layers, washes, drybrushes, and highlights as you would with any other model, sort the basing, and you’re finished, with no final varnishing necessary. Couldn’t be simpler!
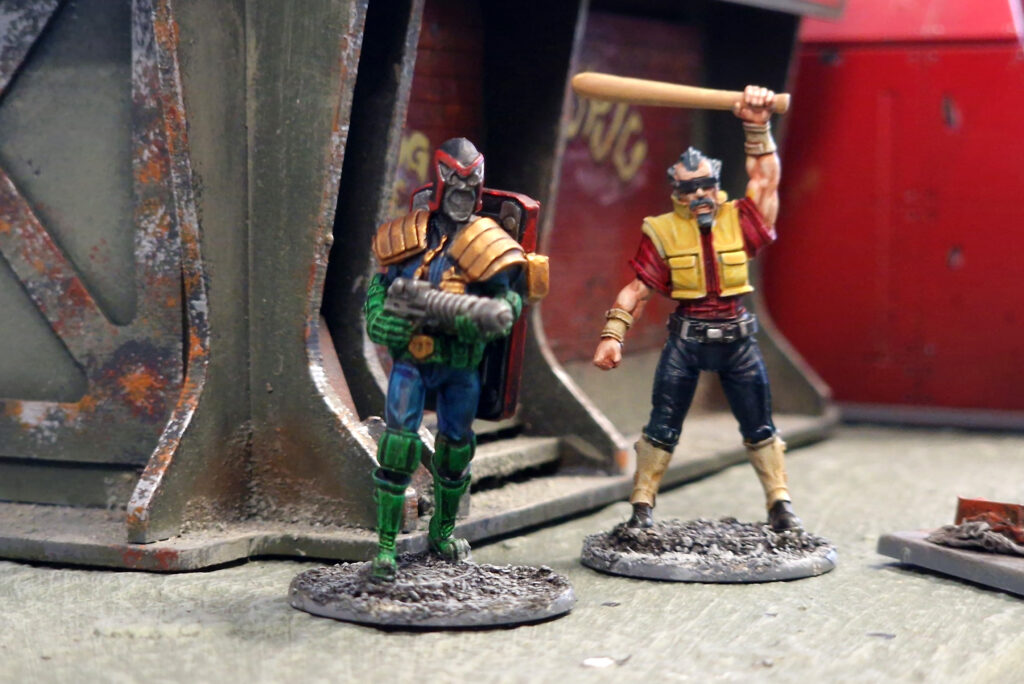
With that, you’ve got everything you need to work with Warlord Resin Plus™. It really is that easy!


1 comment
Just a note of warning to the modeler that when using a file on resin it doesn’t behave like most substances like metal or hard plastic that shave off into dust. Instead, being of a much softer material, it will tend to roll up into a kind of sliver that is still attached to the figure in one place or another and must be scraped off to finally clear it from the model.
Comments are closed.