Andrés: In this article series I aim to demonstrate how I go about painting different skin colours for my armies. In my capacity as a Warlord Games Studio Painter, I need to paint all sorts of warriors from our vast range of figures. From the Bronze Age all the way through to World War Two (and beyond!), there are myriad ethnicities represented, each of which needs to be carefully considered when it comes to painting.
There are several methods that I can call upon to achieve the right tone. Sometimes it can be done with a glaze (a transparent layer of paint that alters the underlying colour), or a wash which is fast and easy, using inks or even Speedpaints. When using the latter method, I usually begin with Skeleton Bone as a base coat – when the Speedpaint is applied, it results in a warmer tone than a base of simple white would (though of course, if you want brighter results, Pure White is for you!).
I paint most of my figures from a general base colour (usually sprayed on), with an initial wash applied to the recesses, followed by two or three highlights. Army Painter produces a great range of skin colours which will set you well on your way to whatever skin tone you’re aiming for.
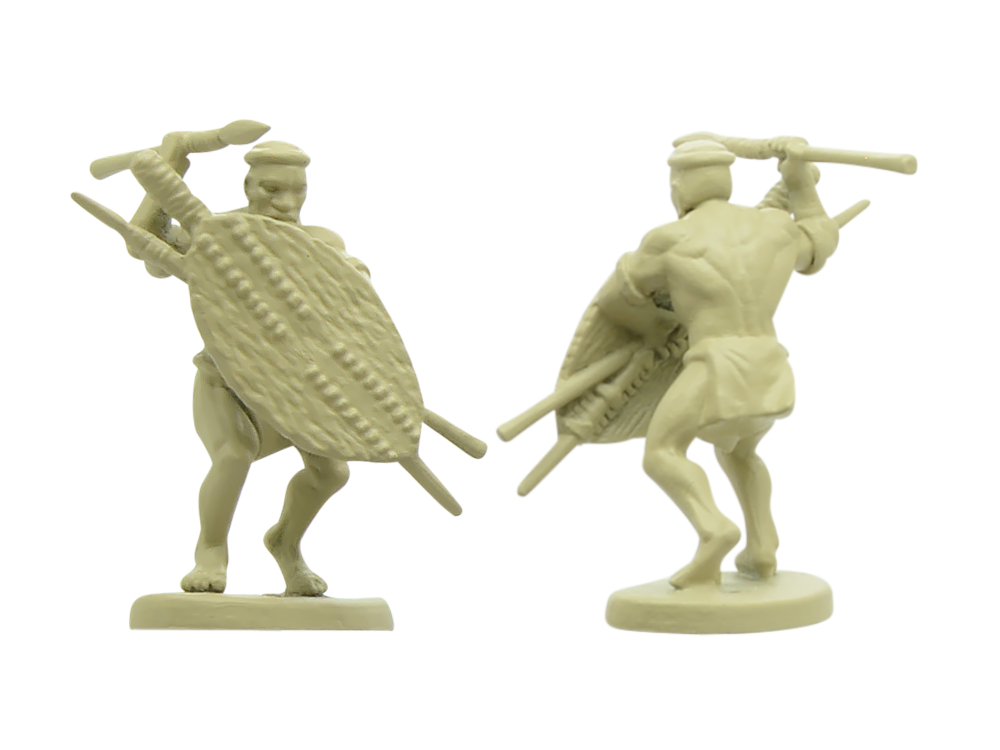
For this first article, I will show you three different methods I use for painting darker skin colours, sometimes mixing all three within the same unit to add variety. For the purposes of these articles, I am going to entirely focus on how I went about painting the skin, rather than get bogged down on techniques for equipment or uniform.
For this guide I have used exclusively paints from The Army Painter’s extensive range, with Black Powder Zulu warriors, and Bolt Action Buffalo Soldiers.
Method One: Speedpaints
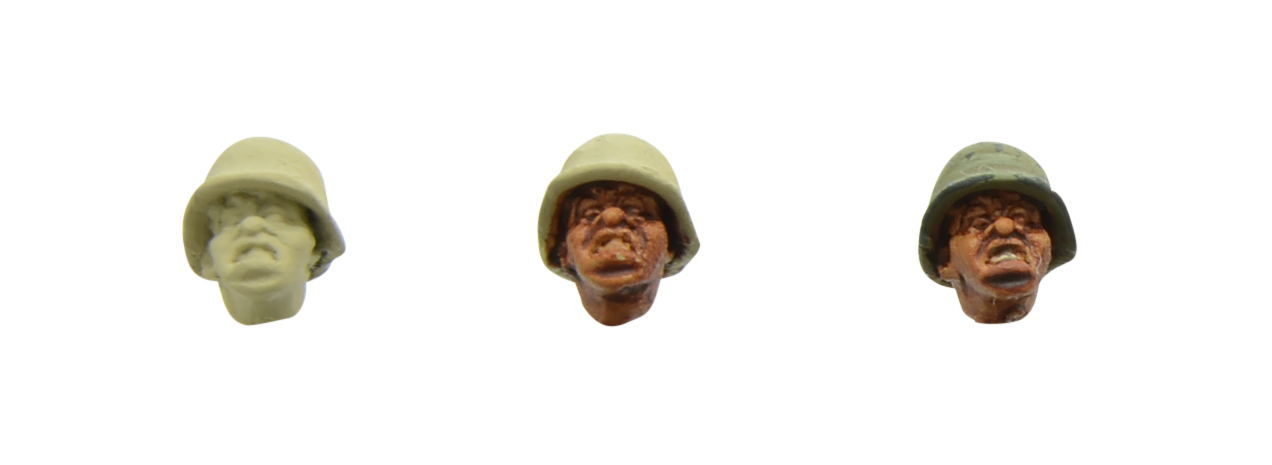
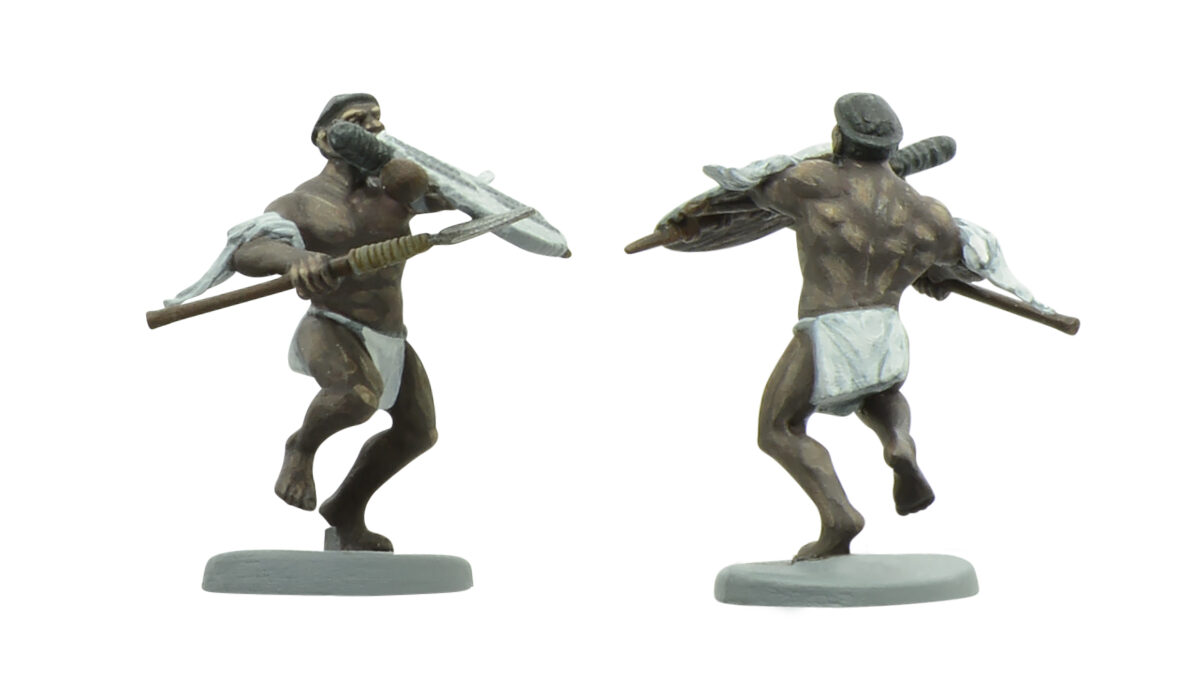
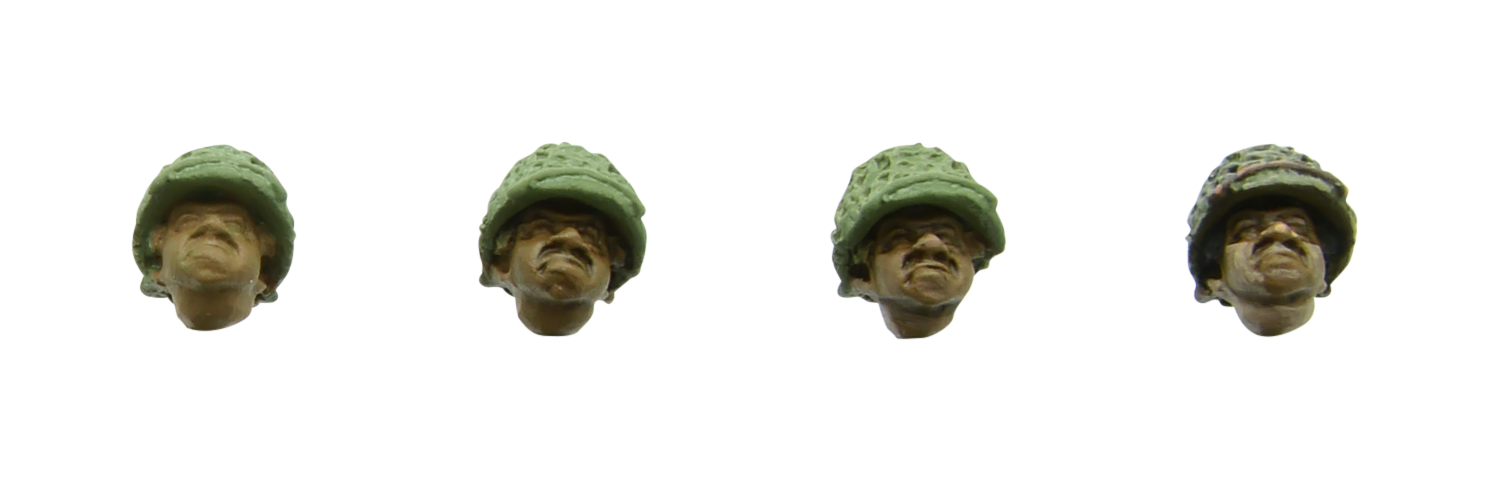
The easiest of the three methods begins with a sprayed basecoat of Skeleton Bone (fig.1). Once dry I gave all the exposed areas a layer of Speedpaint Dark Wood (fig.2). After a matt varnish coat you can consider the skin complete, as the Speedpaint acts as both a base coat and a highlight with only one layer applied (fig.3).

We could, however, go one step further and add more highlights. I used Speedpaint Hardened Leather on this Buffalo Soldier’s head to provide a slightly different tone, and there are plenty of other paints in the Army Painter range that could be used to similar effect to provide other finishes (fig.4).
Method Two: The Traditional Approach
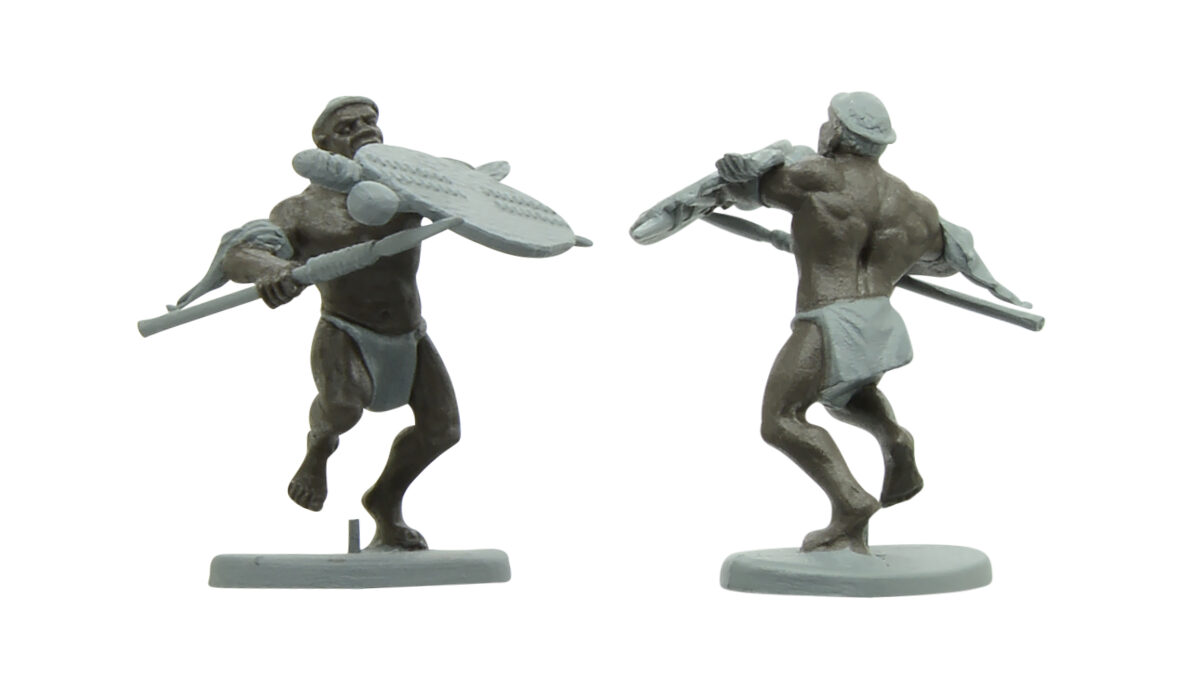
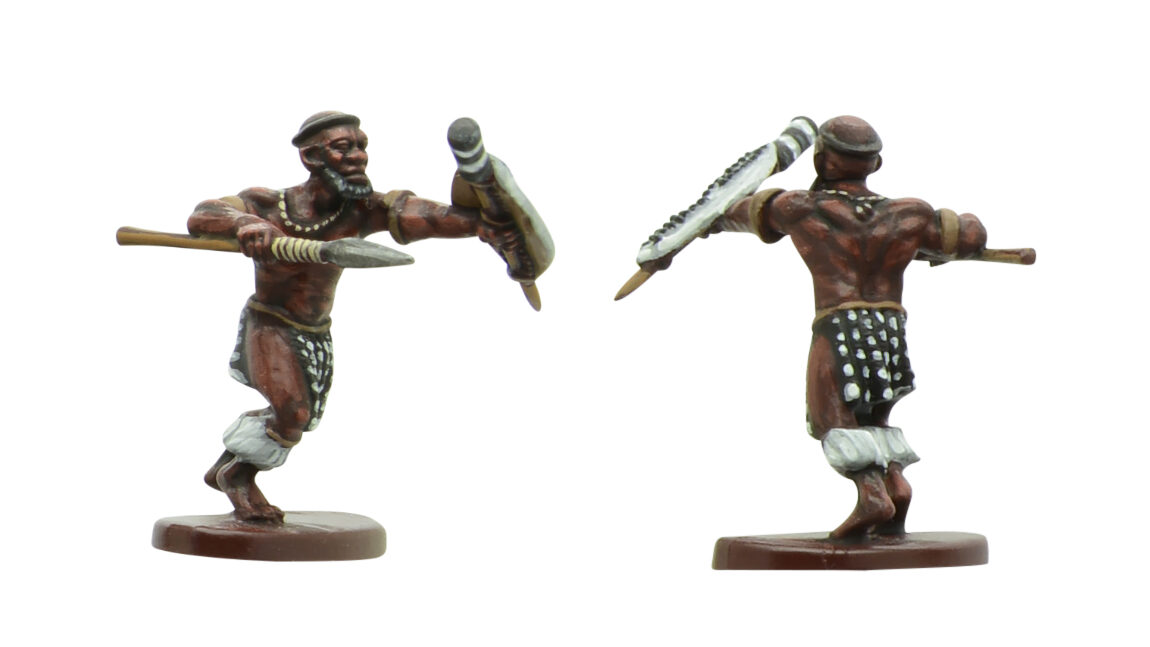
In this second sample, I used Uniform Grey as a basecoat, again with a spray can. I then painted all the exposed areas with Onyx Skin (fig.5). I then highlighted with Dorado Skin, applied all over (fig.6). I then applied a second highlight, using Amber Skin, but more selectively, to the raised areas; especially facial features such as the bow, nose tip, cheeks and chin (fig.7). Once dry, I washed all over with Dark Skin Wash (fig.8). This helps to eliminate the contrast between the highlight layers and provide a more natural appearance to the skin. If you want a little more definition, you could re-apply a highlight of Amber Skin, but sparingly, only to the highest raised areas of the face.
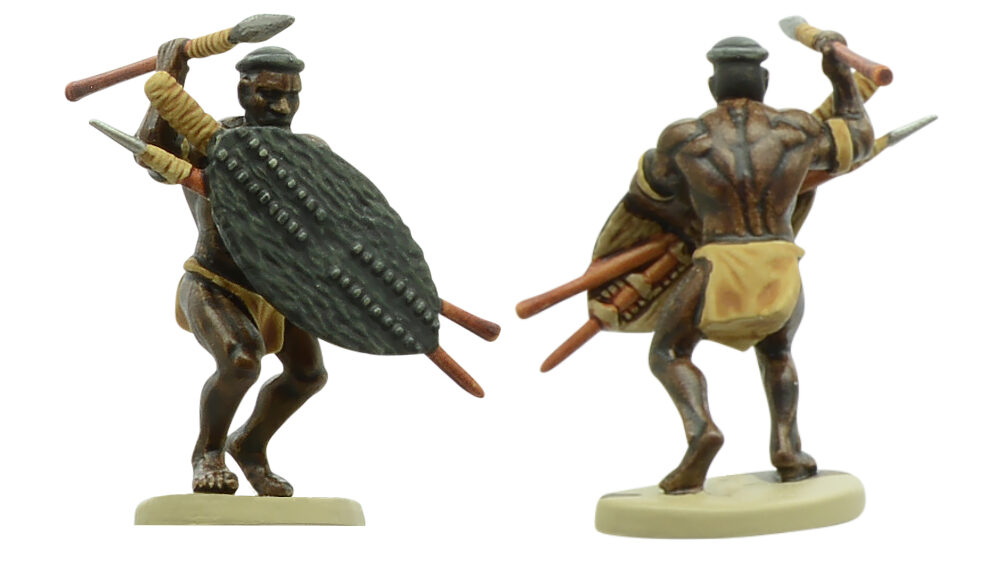
Method Three: Undercoat, Wash, Highlight
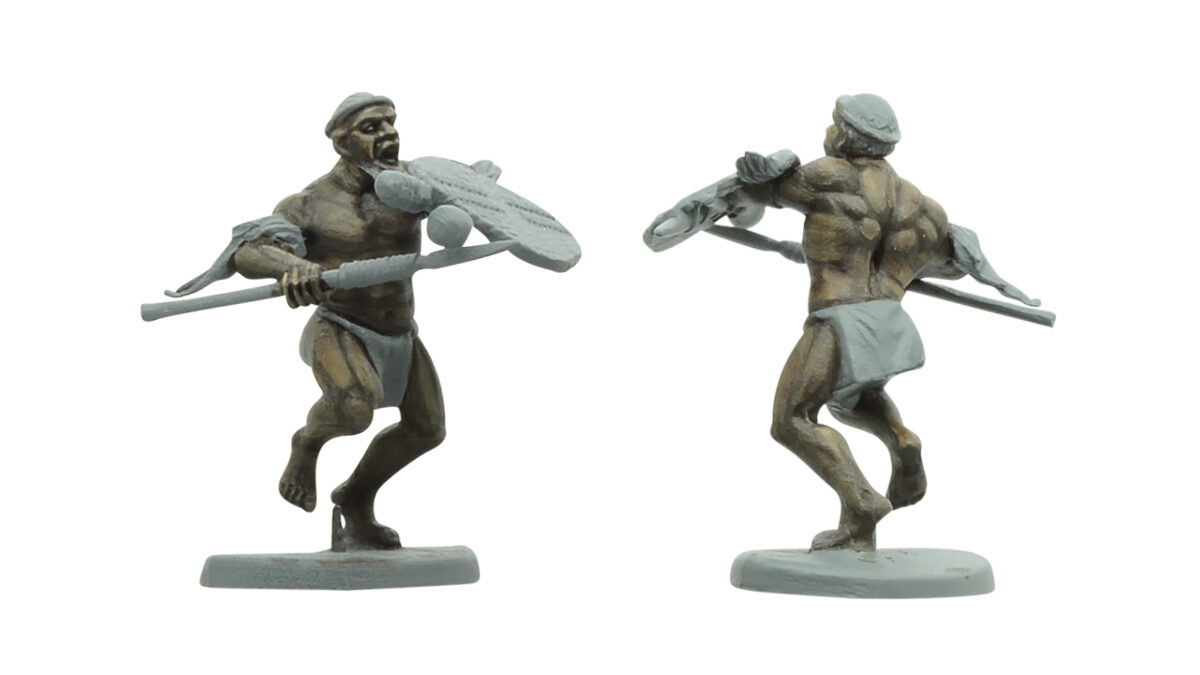
For the third technique, I began with an undercoat of Chaotic Red (fig.9), followed by a wash with Dark Tone ink (fig.10). Then I applied two highlights, first with Tiger’s Eye Skin (fig.11), and then with Jasper Skin (fig.12), in the same way we did with the previous method, to help define the musculature and facial features a bit more.

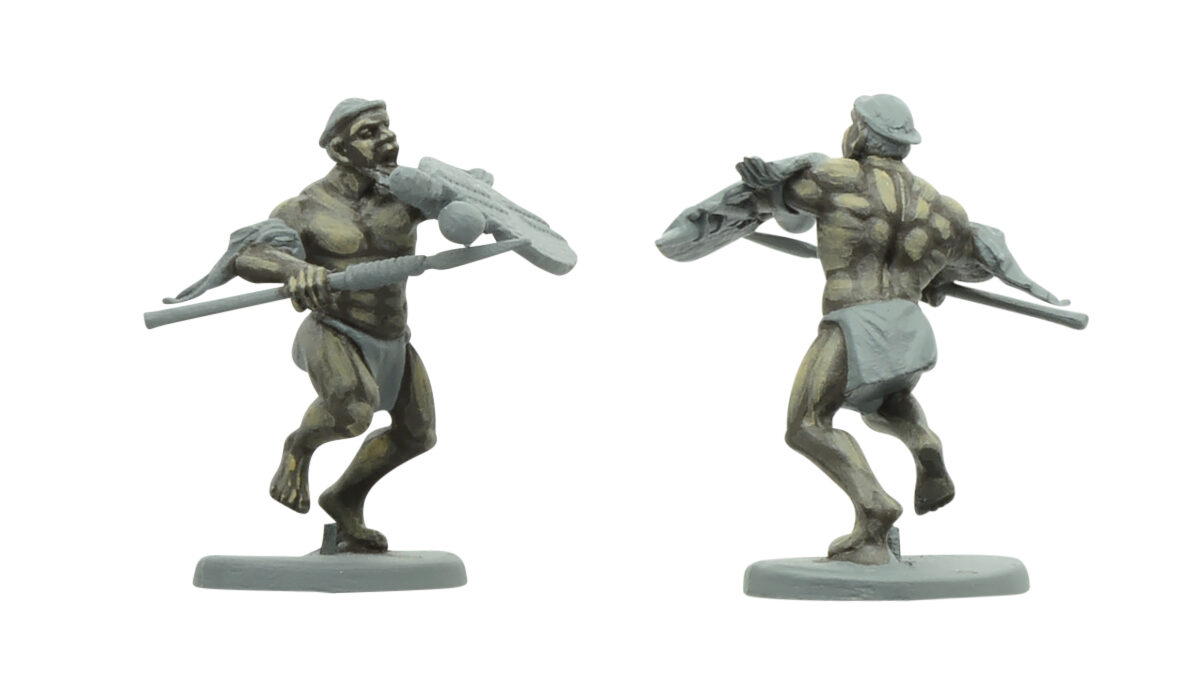
Here’s another example using the same method but different colours. This one has an Army Green undercoat, followed by a layer of Leather Brown. I then washed it with Strong Tone ink, before highlighting it with Monster Brown, followed by Kobold Skin (fig.13).
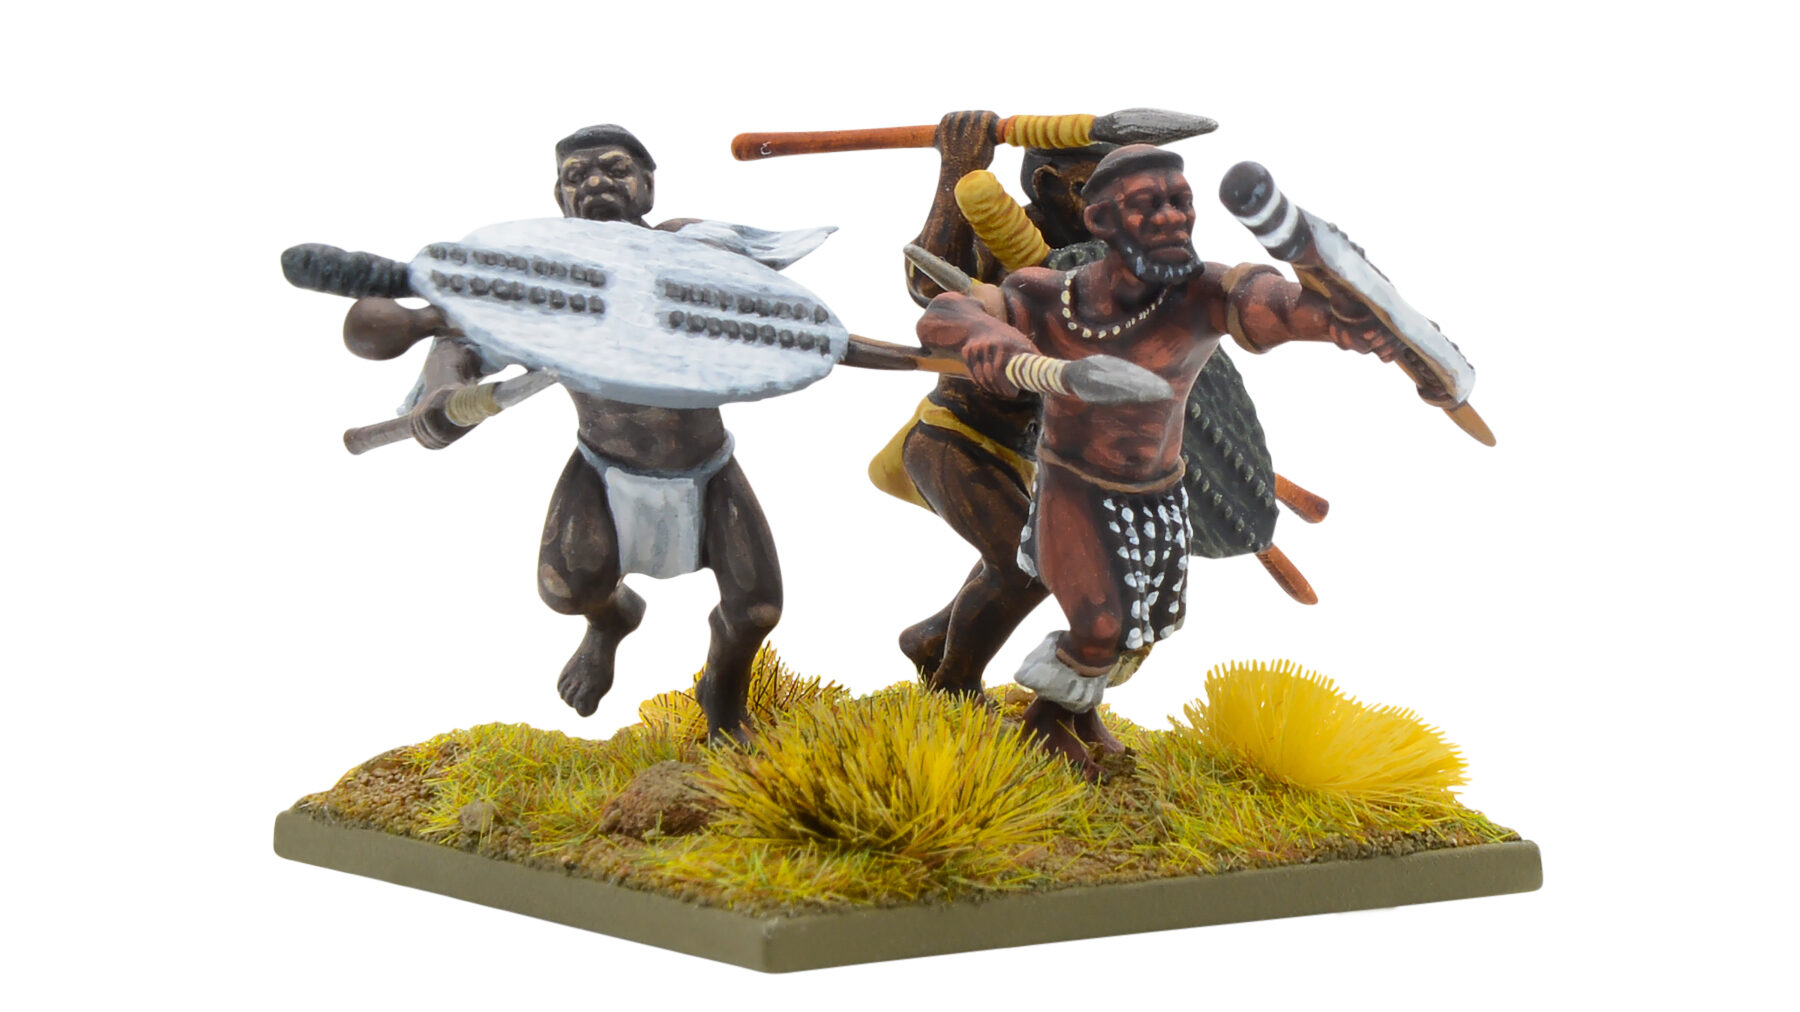
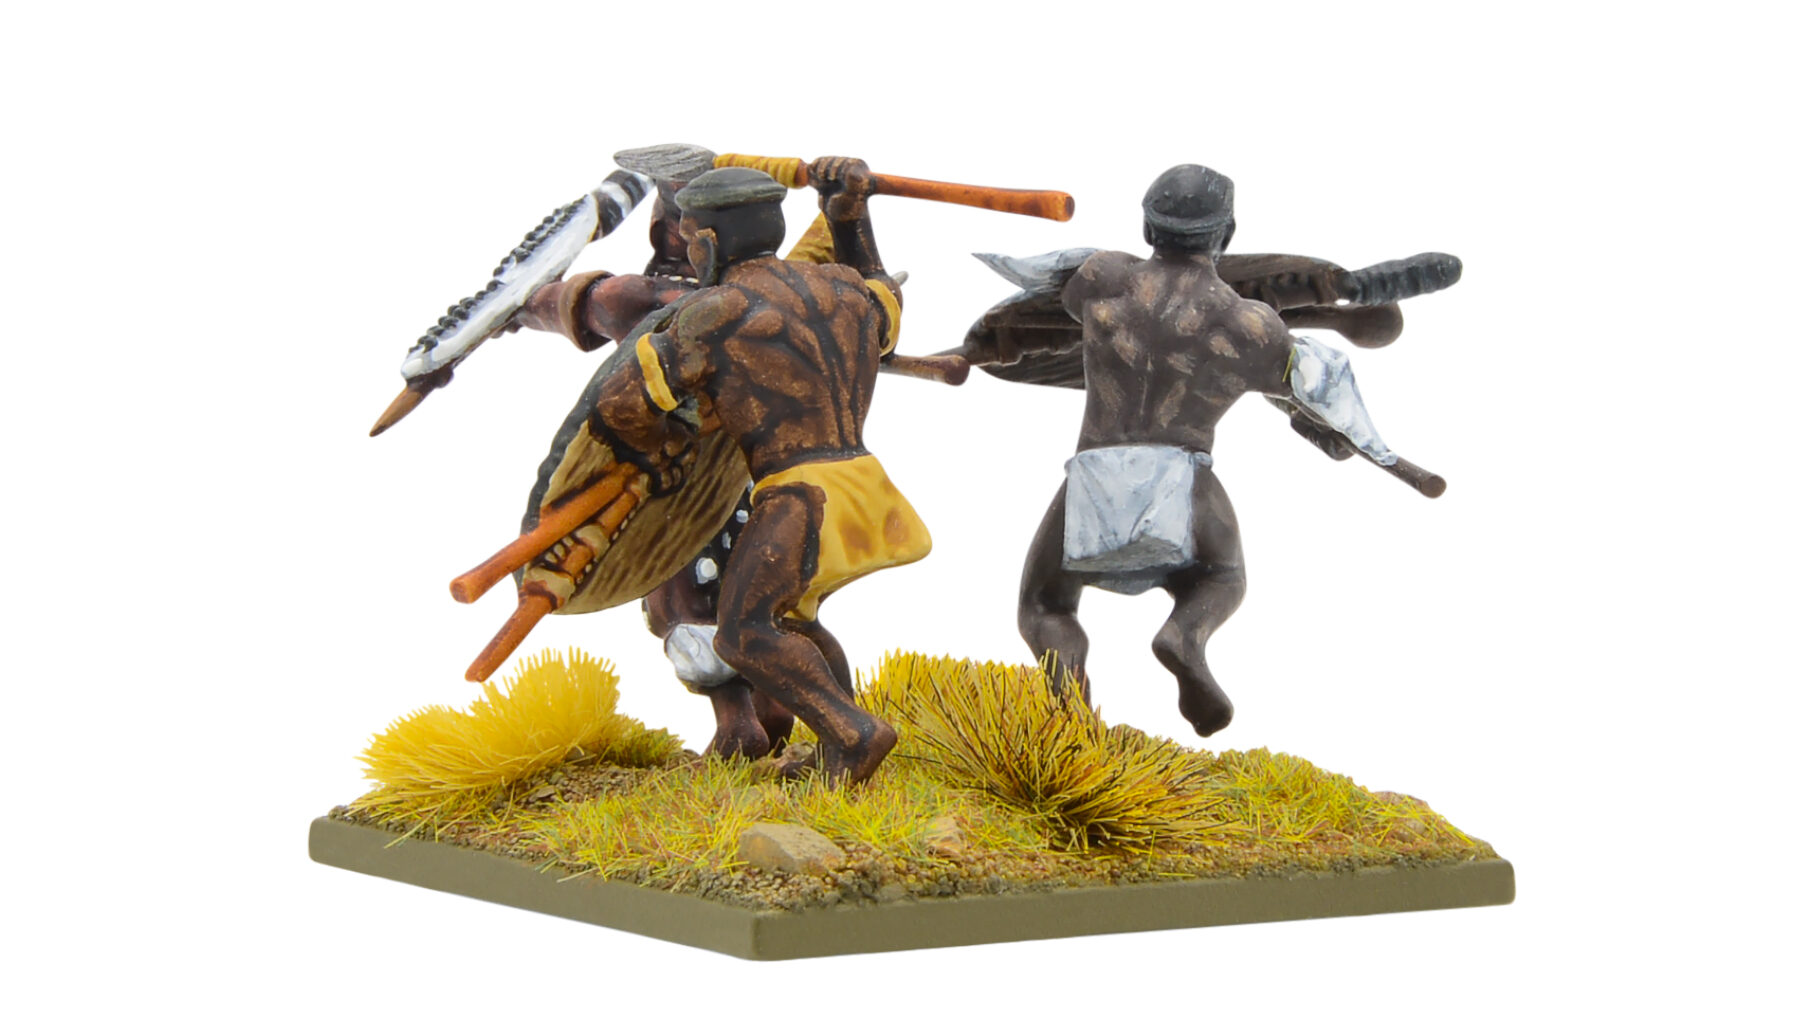
Finished Units
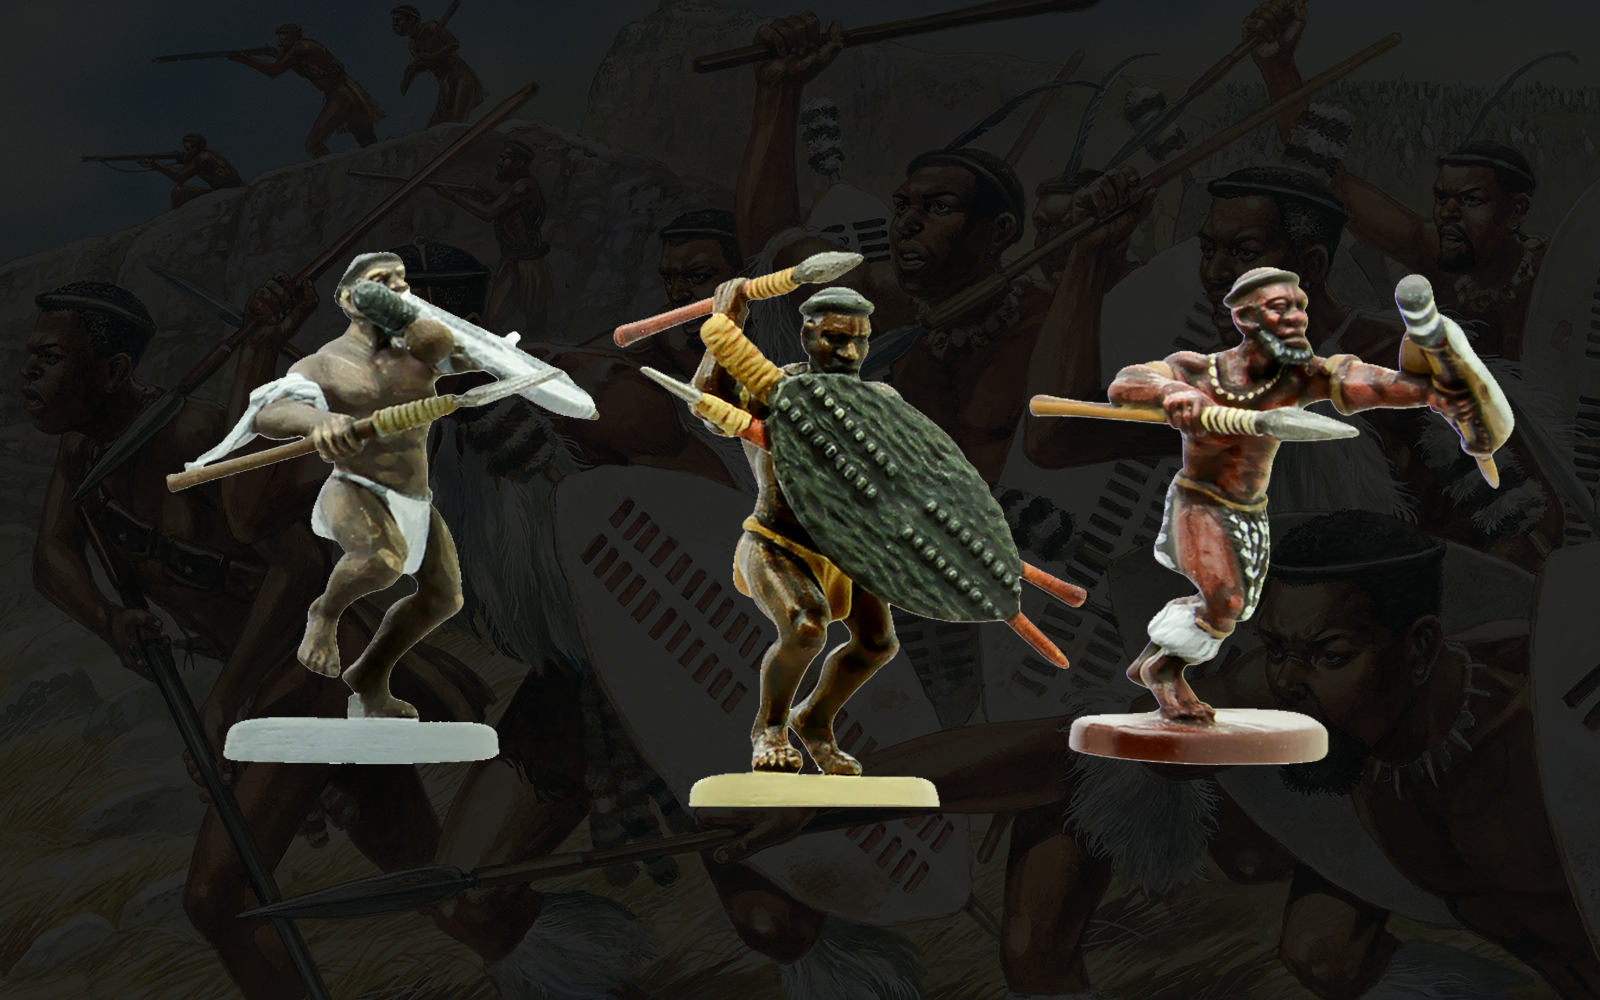
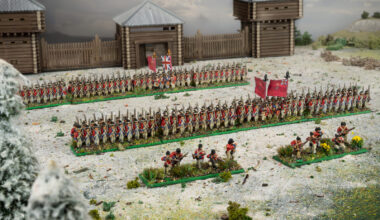
Here I’ve taken figures painted using the various techniques outlined and based them together. As their shields and weapons are painted in a similar fashion, they look coherent despite their differing skin tones (fig.14).
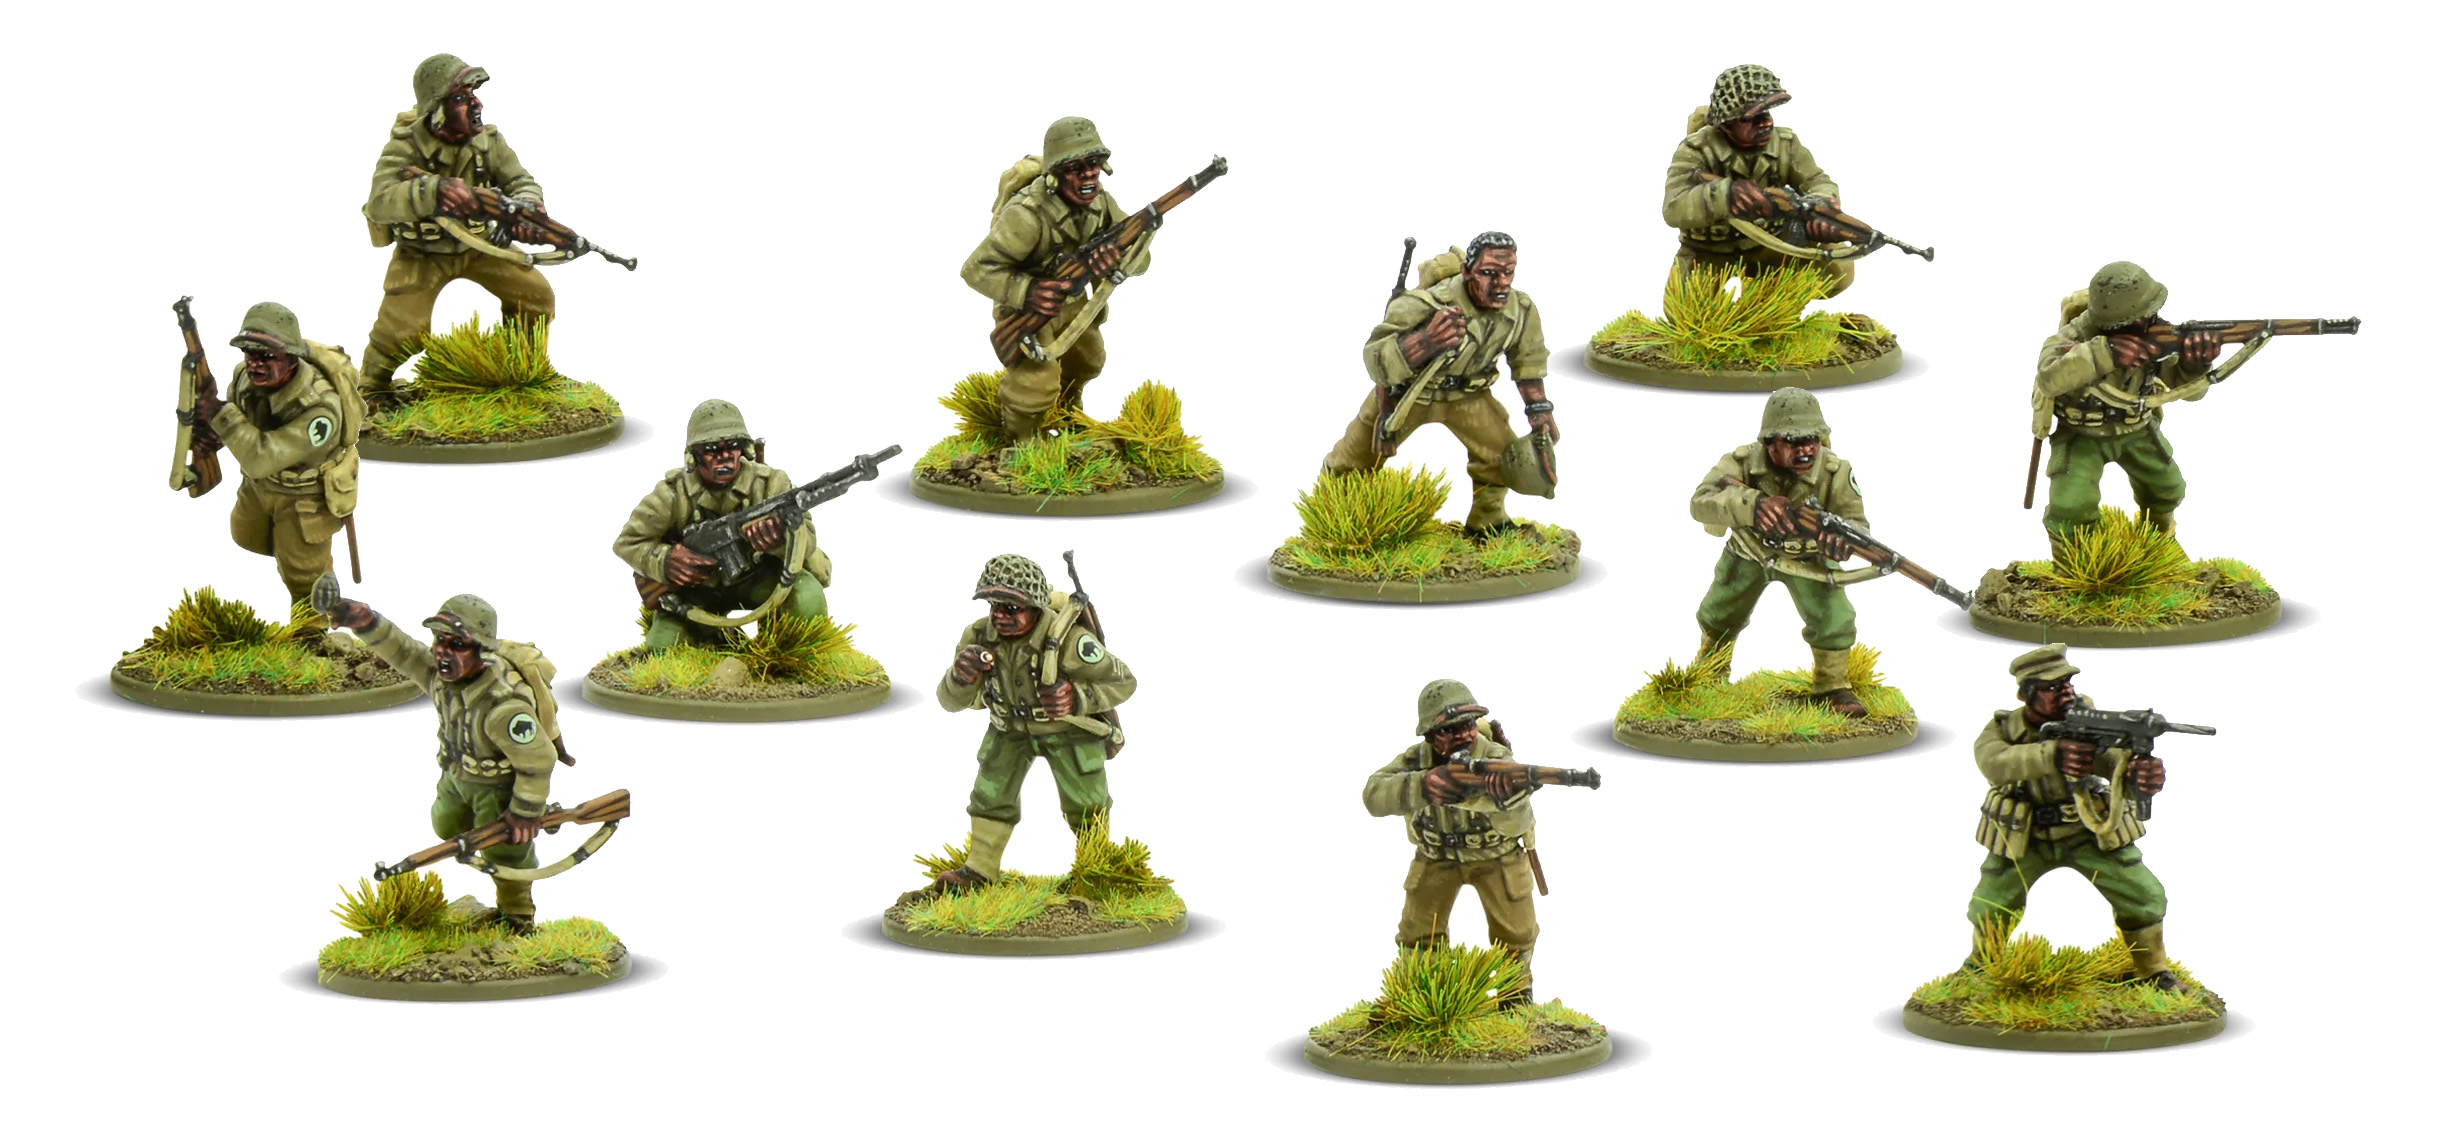
This can be especially useful when painting WWII Buffalo Soldiers. For the Warlord Studio miniatures, I used three different skin tones, using the three different painting methods within the same unit, shown below:

2 comments
In the past I had used the second method but was never pleased with the finished result. I had started using the third method and it suits the bill perfectly. The only difference is that when painting Zulus I will vary the base coat on individual figures using different shades of brown thinned with water (1:1) adding several coats, and then use a Strong Tone wash to which I add a flow (or mixing) medium for a 1:1 mix. Highlighting is usually done with Monster Brown in the AP range.
Great article and thanks! Keep ’em coming!
Well done. Always nice to see tutorials on painting different skin tones.
Comments are closed.