Every so often, we come across miniatures that are so nicely painted, we just have to find out more about what went into them. Ivan Sanz has really outdone himself – not only has he told us his Epic Battles painting secrets, but he’s written them down for you as well! Take it away, Ivan!
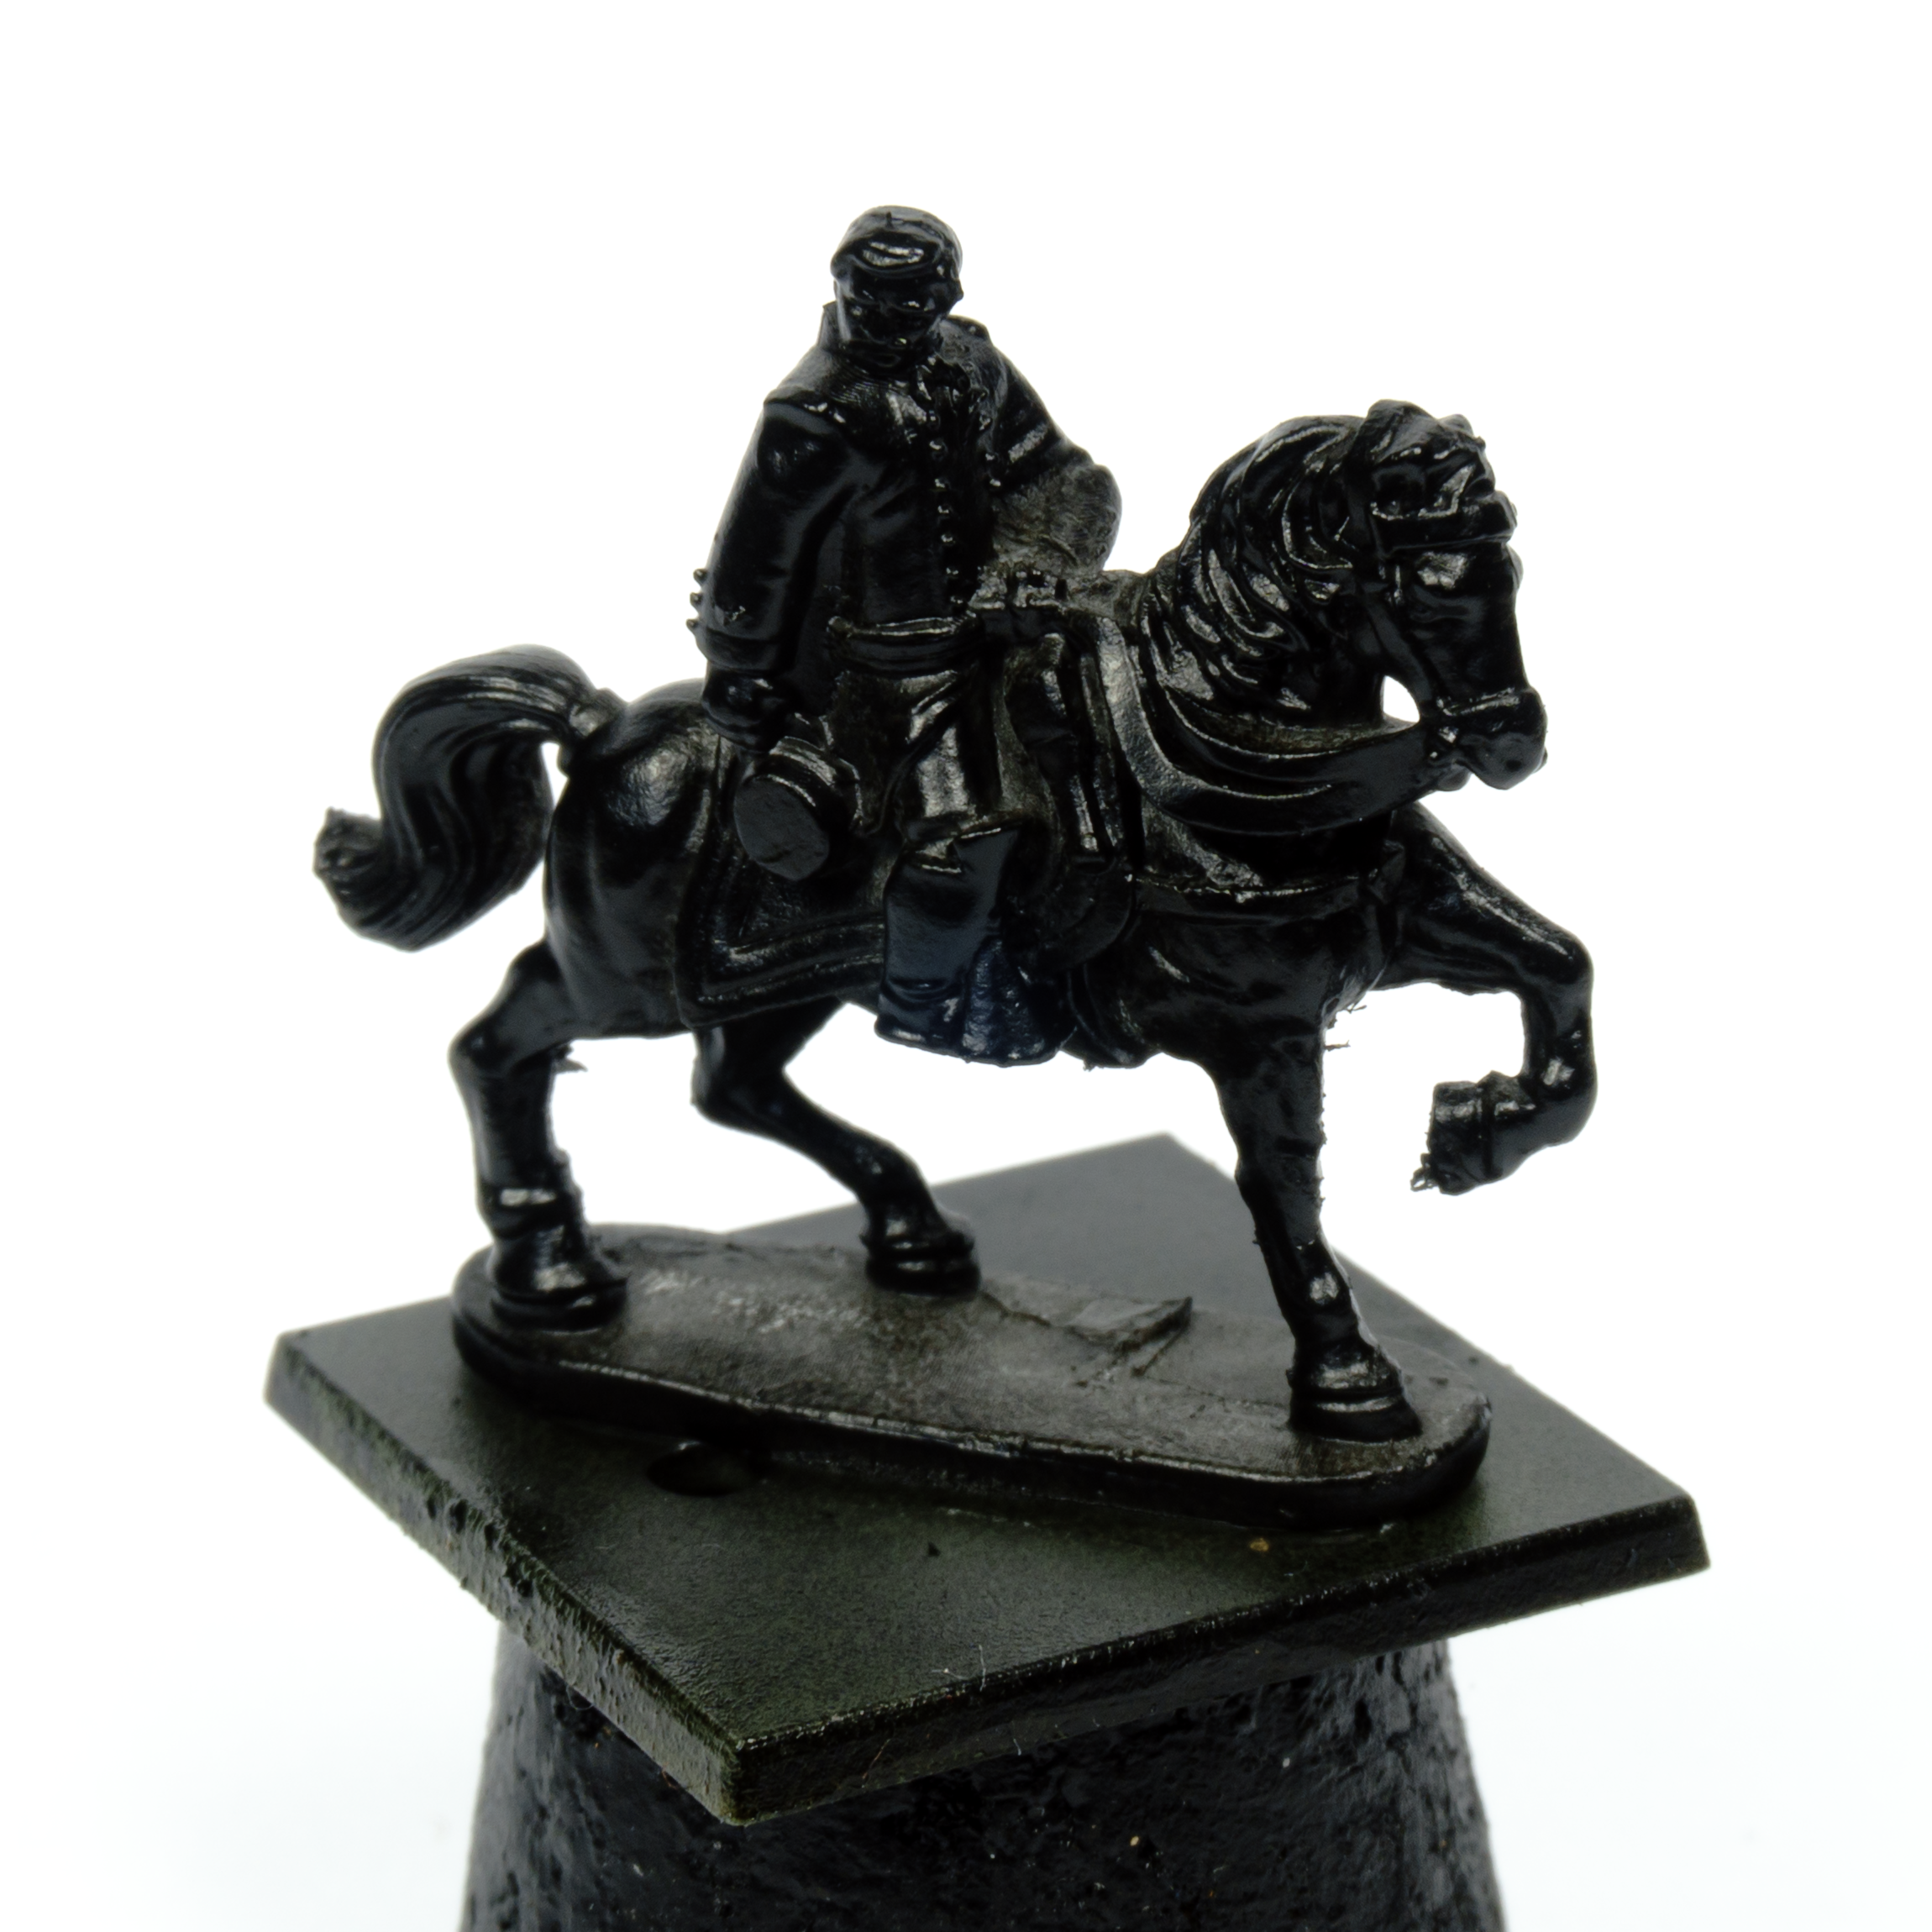
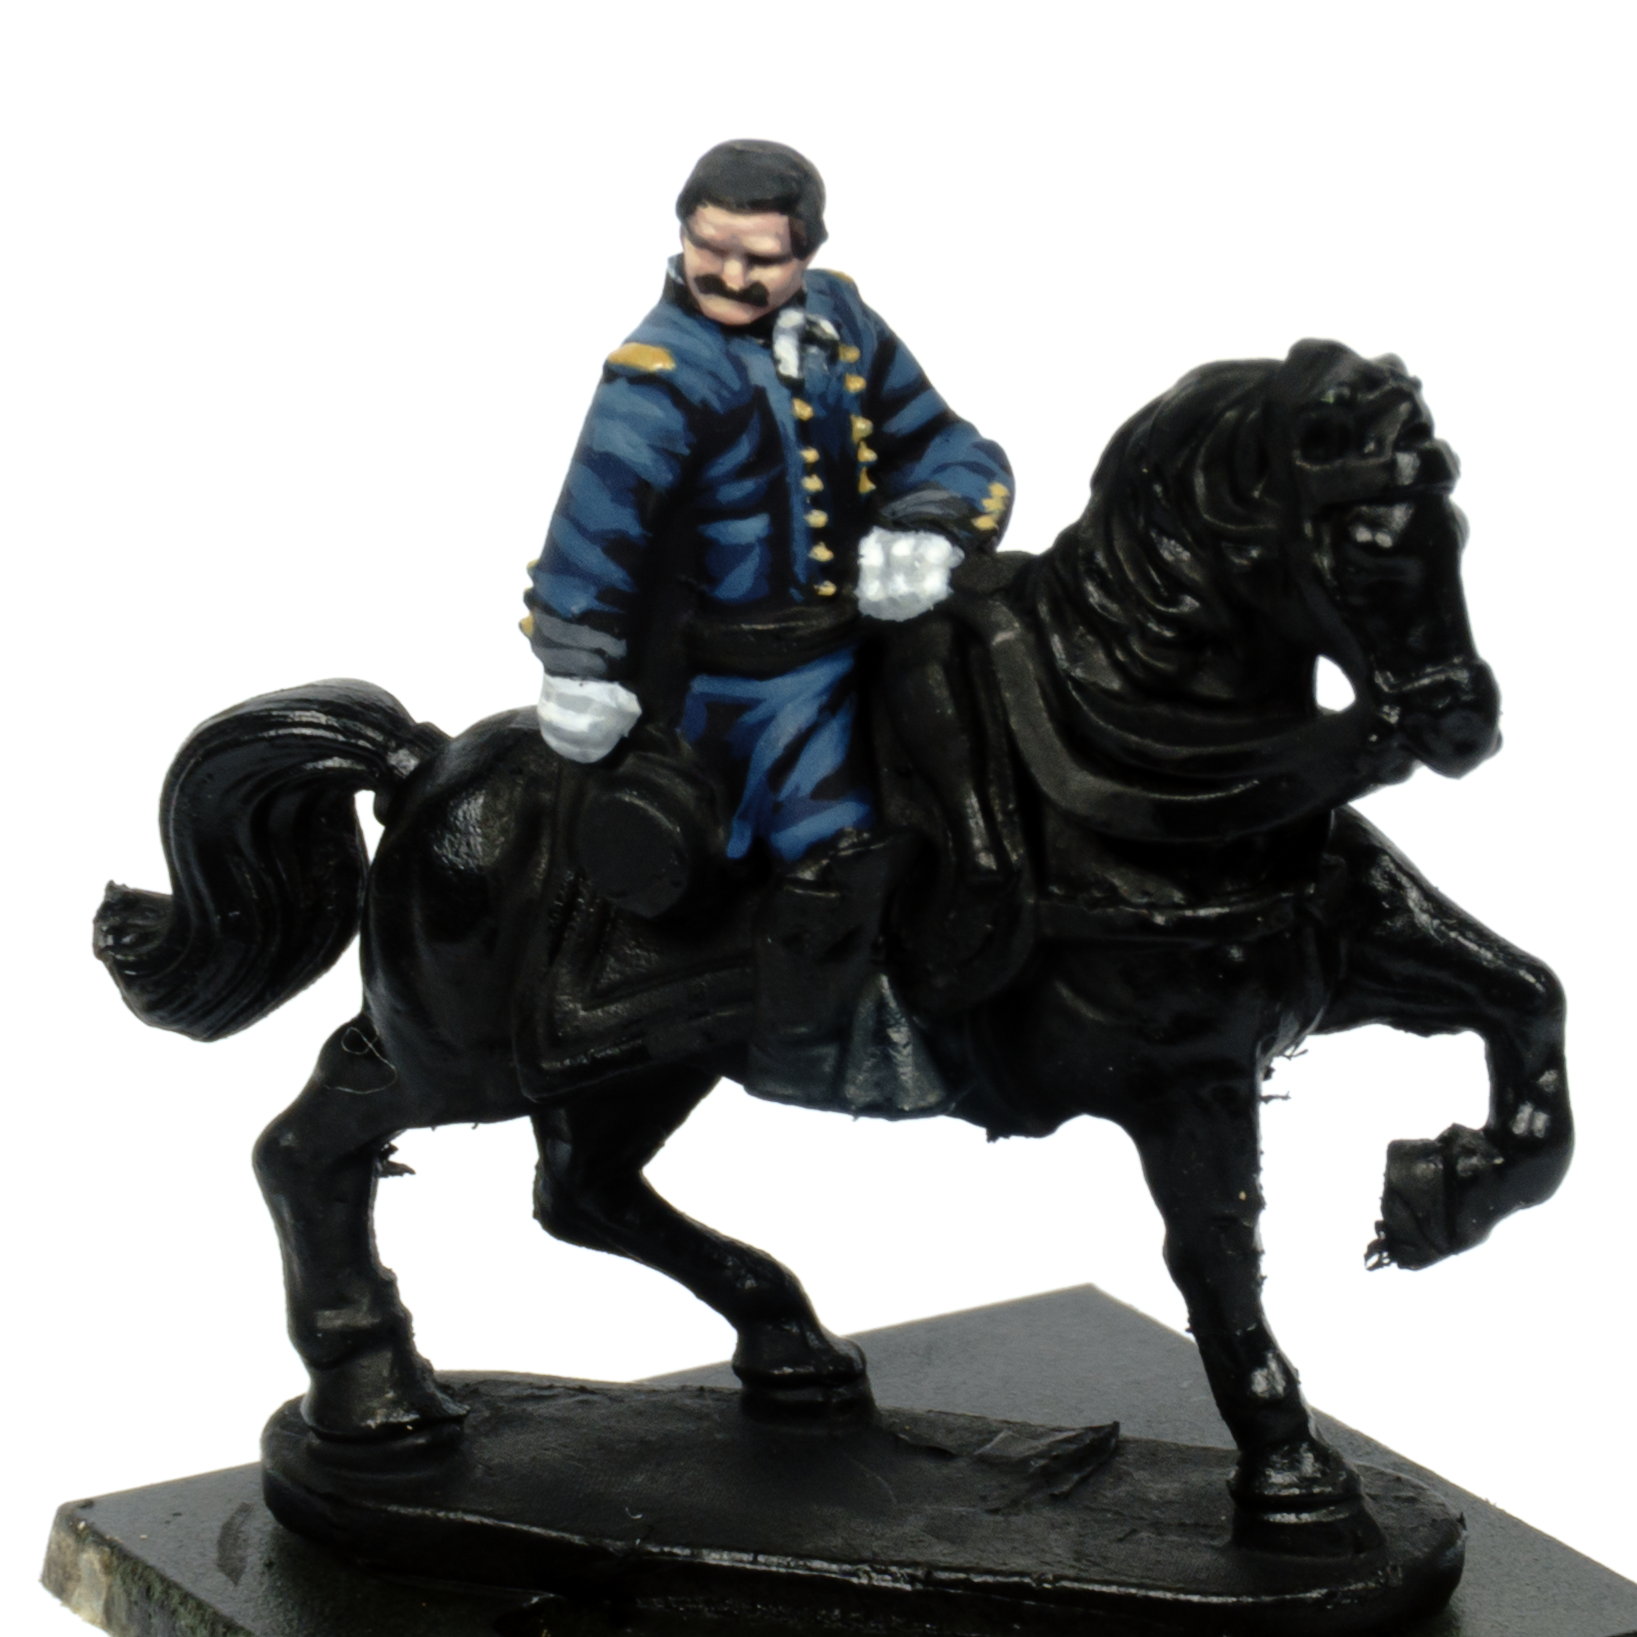
Epic Battles miniatures have an extraordinary level of detail. Because of that, it can sometimes be challenging to get the very best out of them, as they need a careful approach if you want the paintwork to stand out beyond a simple ready-for-battle finish. In this article, I want to share a few tricks that help these tiny figures really catch the eye and look every bit as impressive as a larger model. For this example, I’ll be using the George McClellan miniature from the American Civil War range, a very charismatic character with a truly superb sculpt.
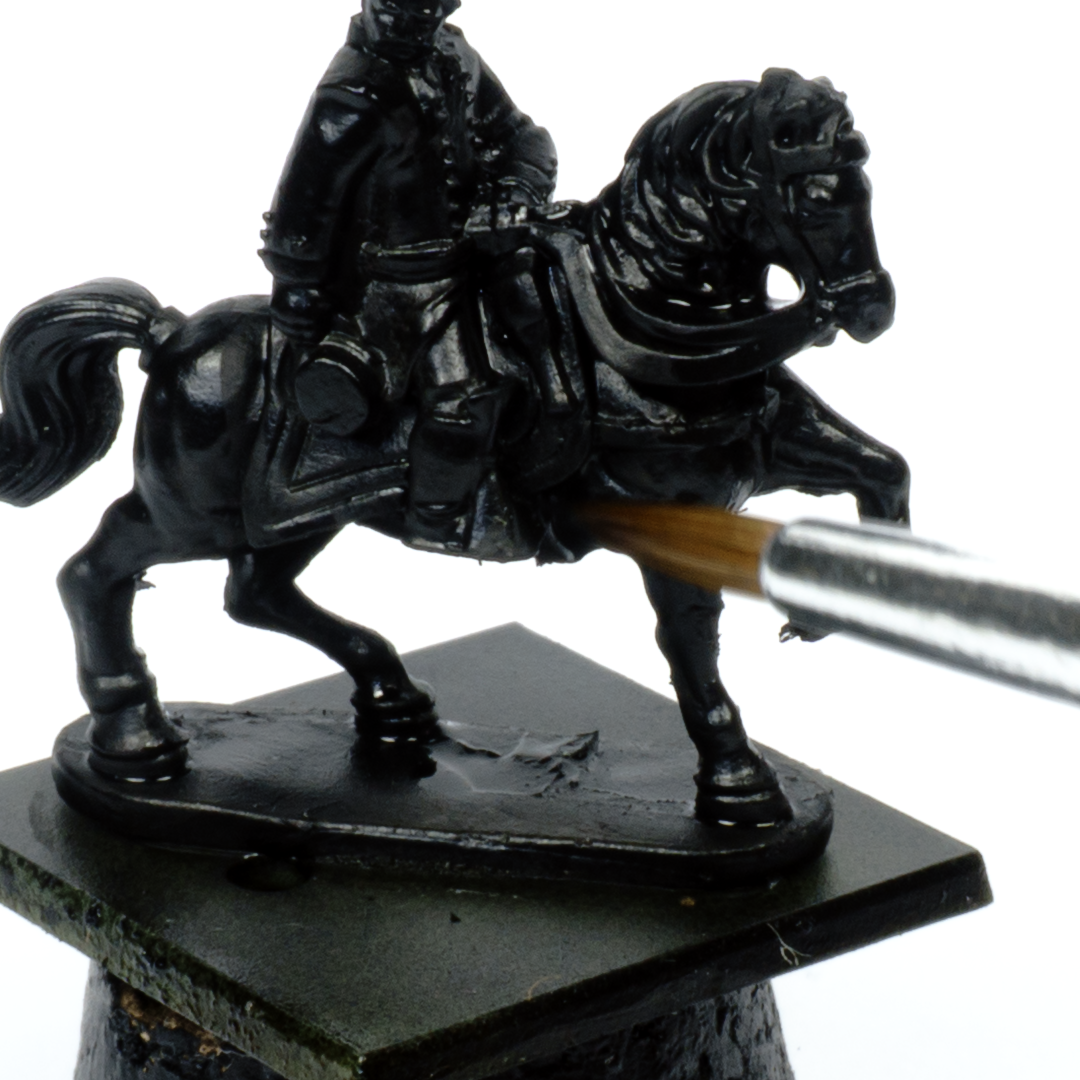
The first essential step is to use a black primer. This helps to disguise the deepest recesses, which are not always easy to reach with a brush. It saves time, and it also prevents any visible areas from being left in a pale or distracting colour. Before starting the paintwork, I always check the model carefully and touch up any spots where the primer has not covered properly. A brush and some black paint are all you need, but it is important to make sure there is no trace of the original material left visible .
To get a strong result at this scale, I recommend painting the largest and most eye-catching areas of the figure with three colours. You do not need more than that. A shadow tone, a mid-tone and a highlight are enough to create a convincing finish. Let’s look at a few examples.
For the face, I use pinkish flesh tones. The shadow tone covers all the skin. Then, with the mid-tone, I pick out the forehead, nose, cheekbones and chin. With the highlight, I tighten those areas further and bring a little more light to the same points. To finish, I go back with black to reinforce the darkest details, such as the eyes, and to tidy up anything that may have strayed into the hair or moustache.

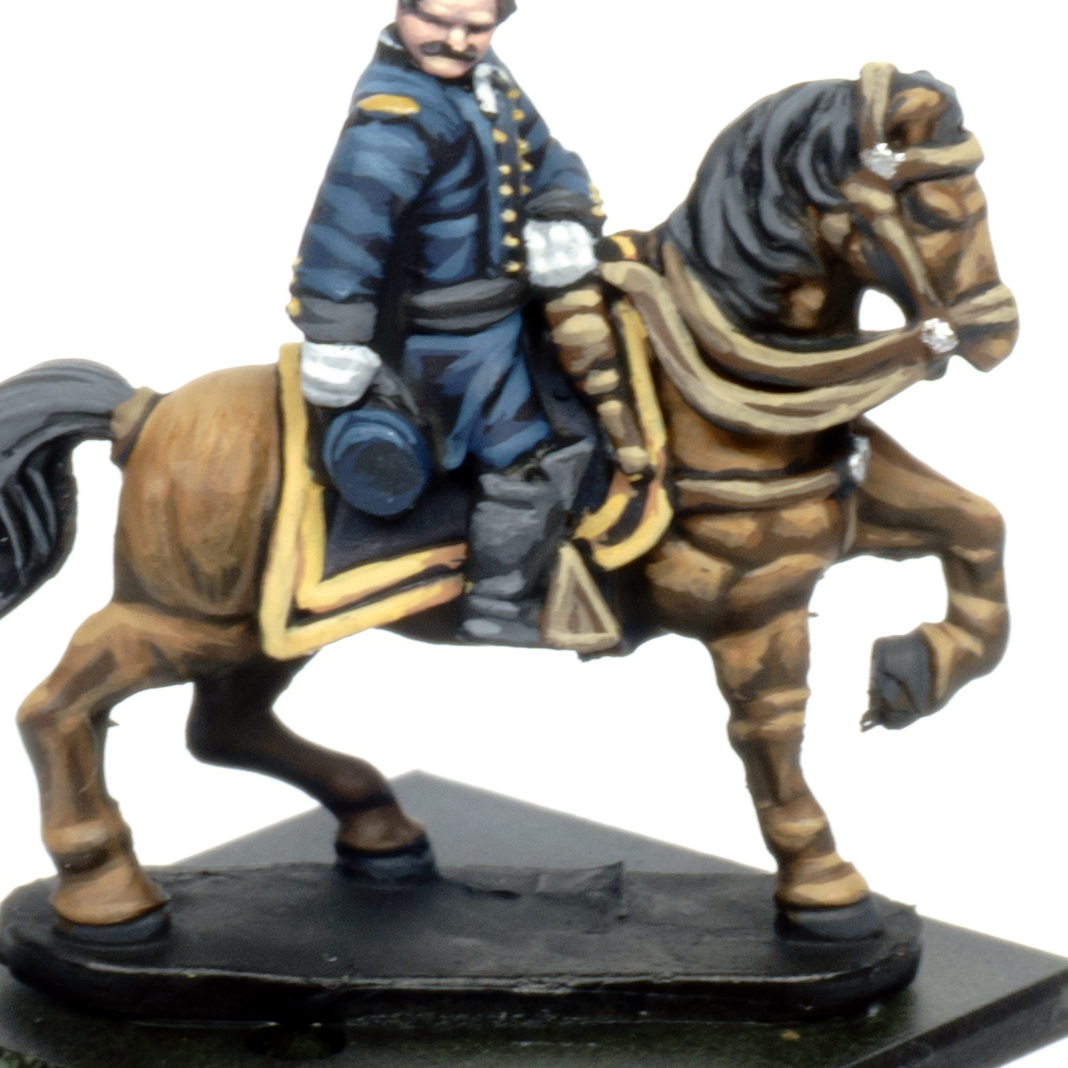
I use exactly the same method on the uniform. The shadow tone covers the whole garment, and if some areas are difficult to reach, that is not a problem, as the dark primer can remain visible in the deepest recesses. The mid-tone is used to define the folds of the cloth, especially on the shoulders and upper chest. Then the highlight is applied to those same raised areas to push the contrast a little further. At this scale, it is very important to be careful with colour choice, as tones that are too light can make the uniform stop reading as a dark blue altogether.

For the smaller details, there is no need to use so many colours. The buttons and gold details are painted with just a single tone, while the gloves and black straps only need a darker and a lighter tone to work well.
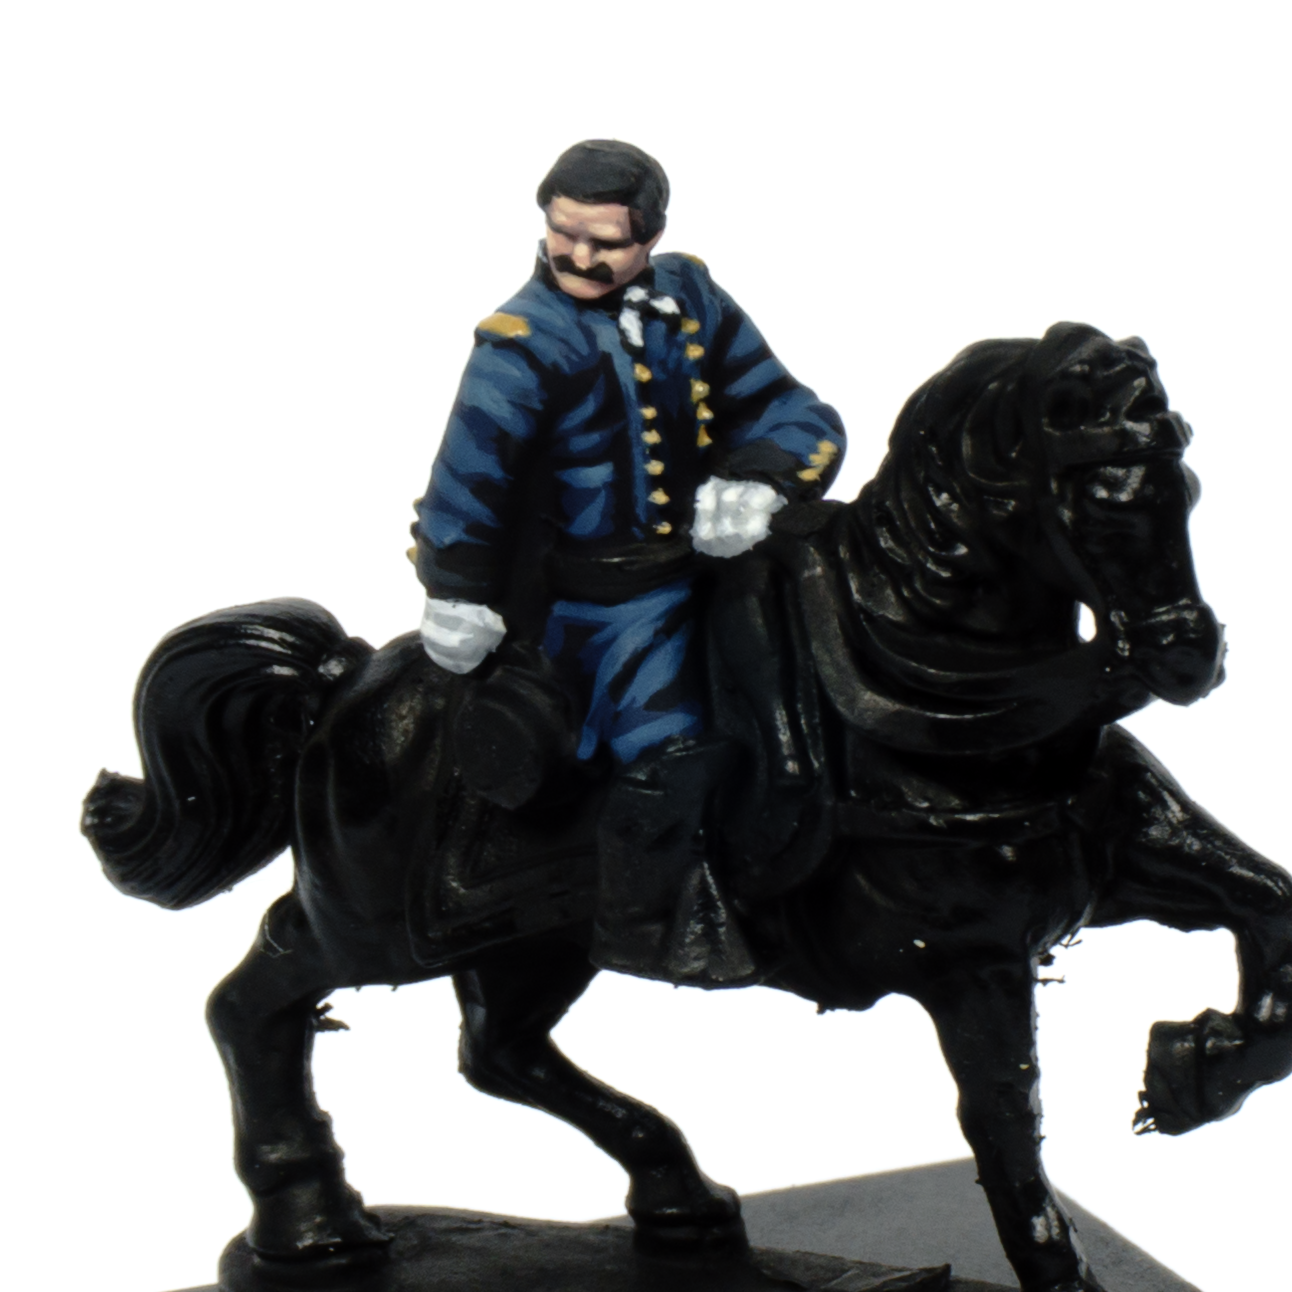

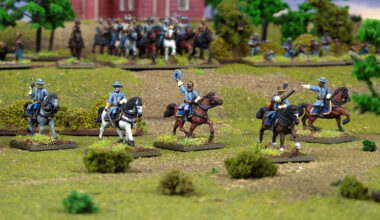
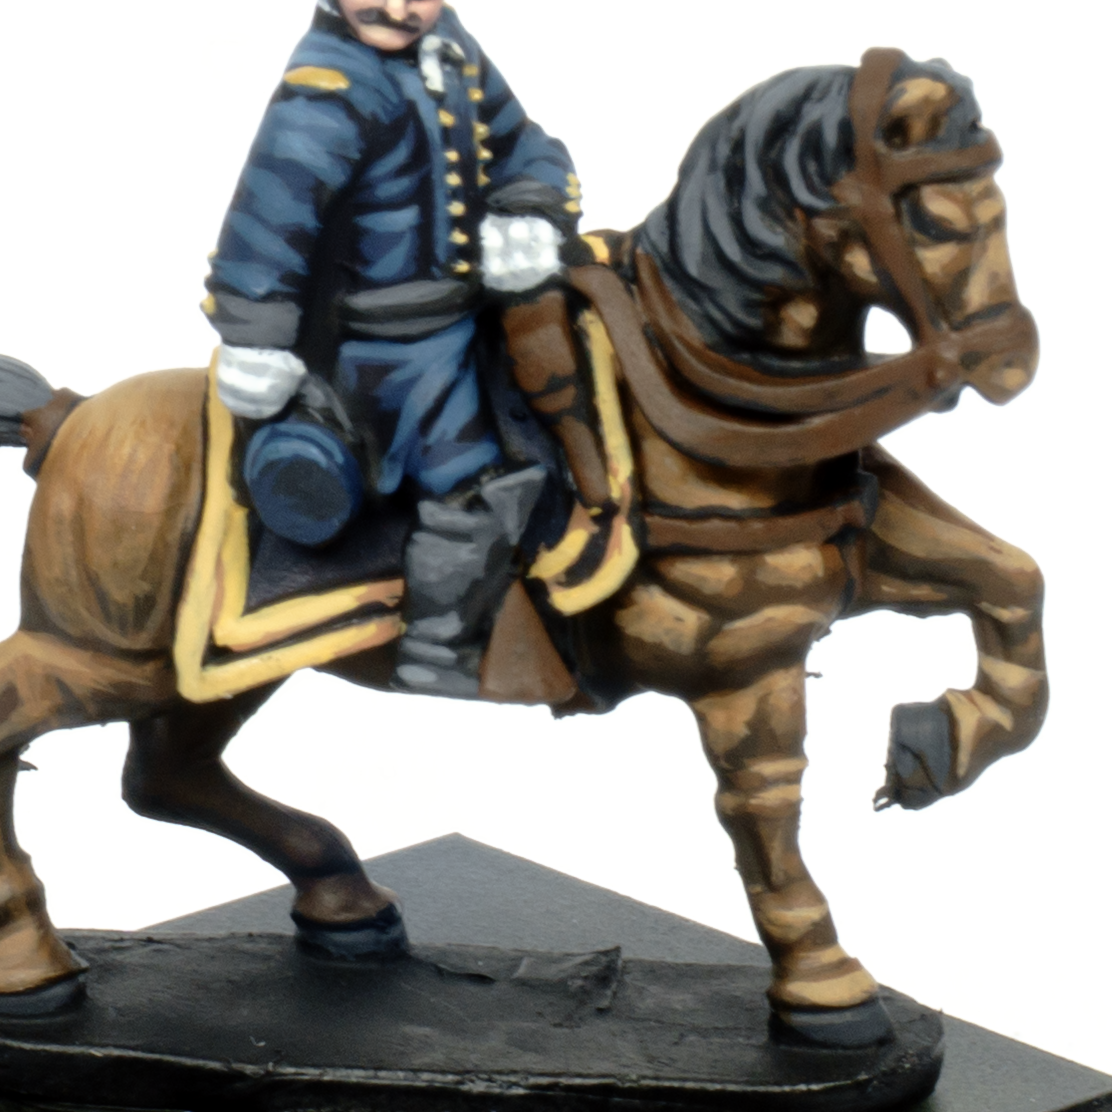
The horse is another large and very visible part of the model, so here I return to the three-colour method, placing the highlights on the upper areas to create volume and definition.

The reins and saddle are painted in a simpler way, as they are much smaller elements. To finish the horse, I add metallic paint to the metal fittings on the bridle.

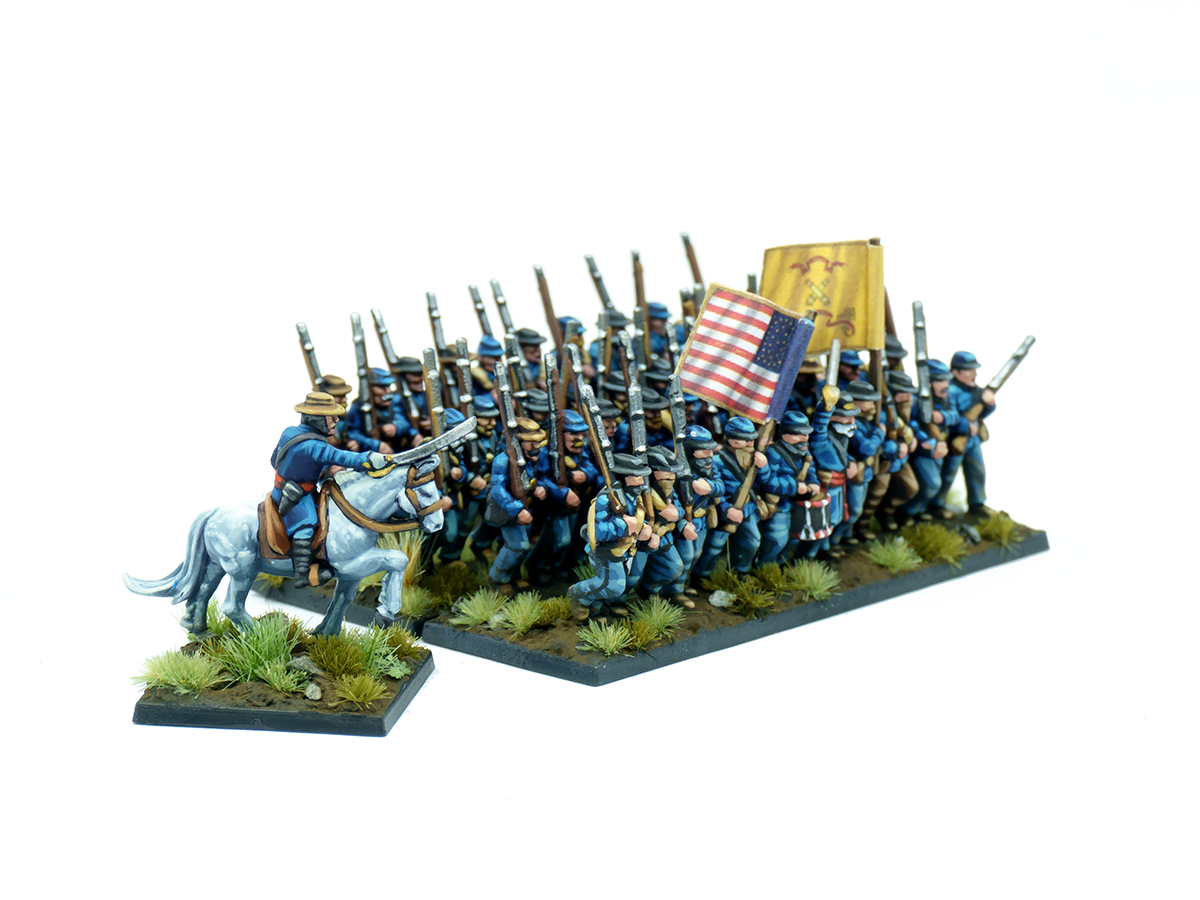
With a good base, the miniature is complete and becomes a very striking piece!
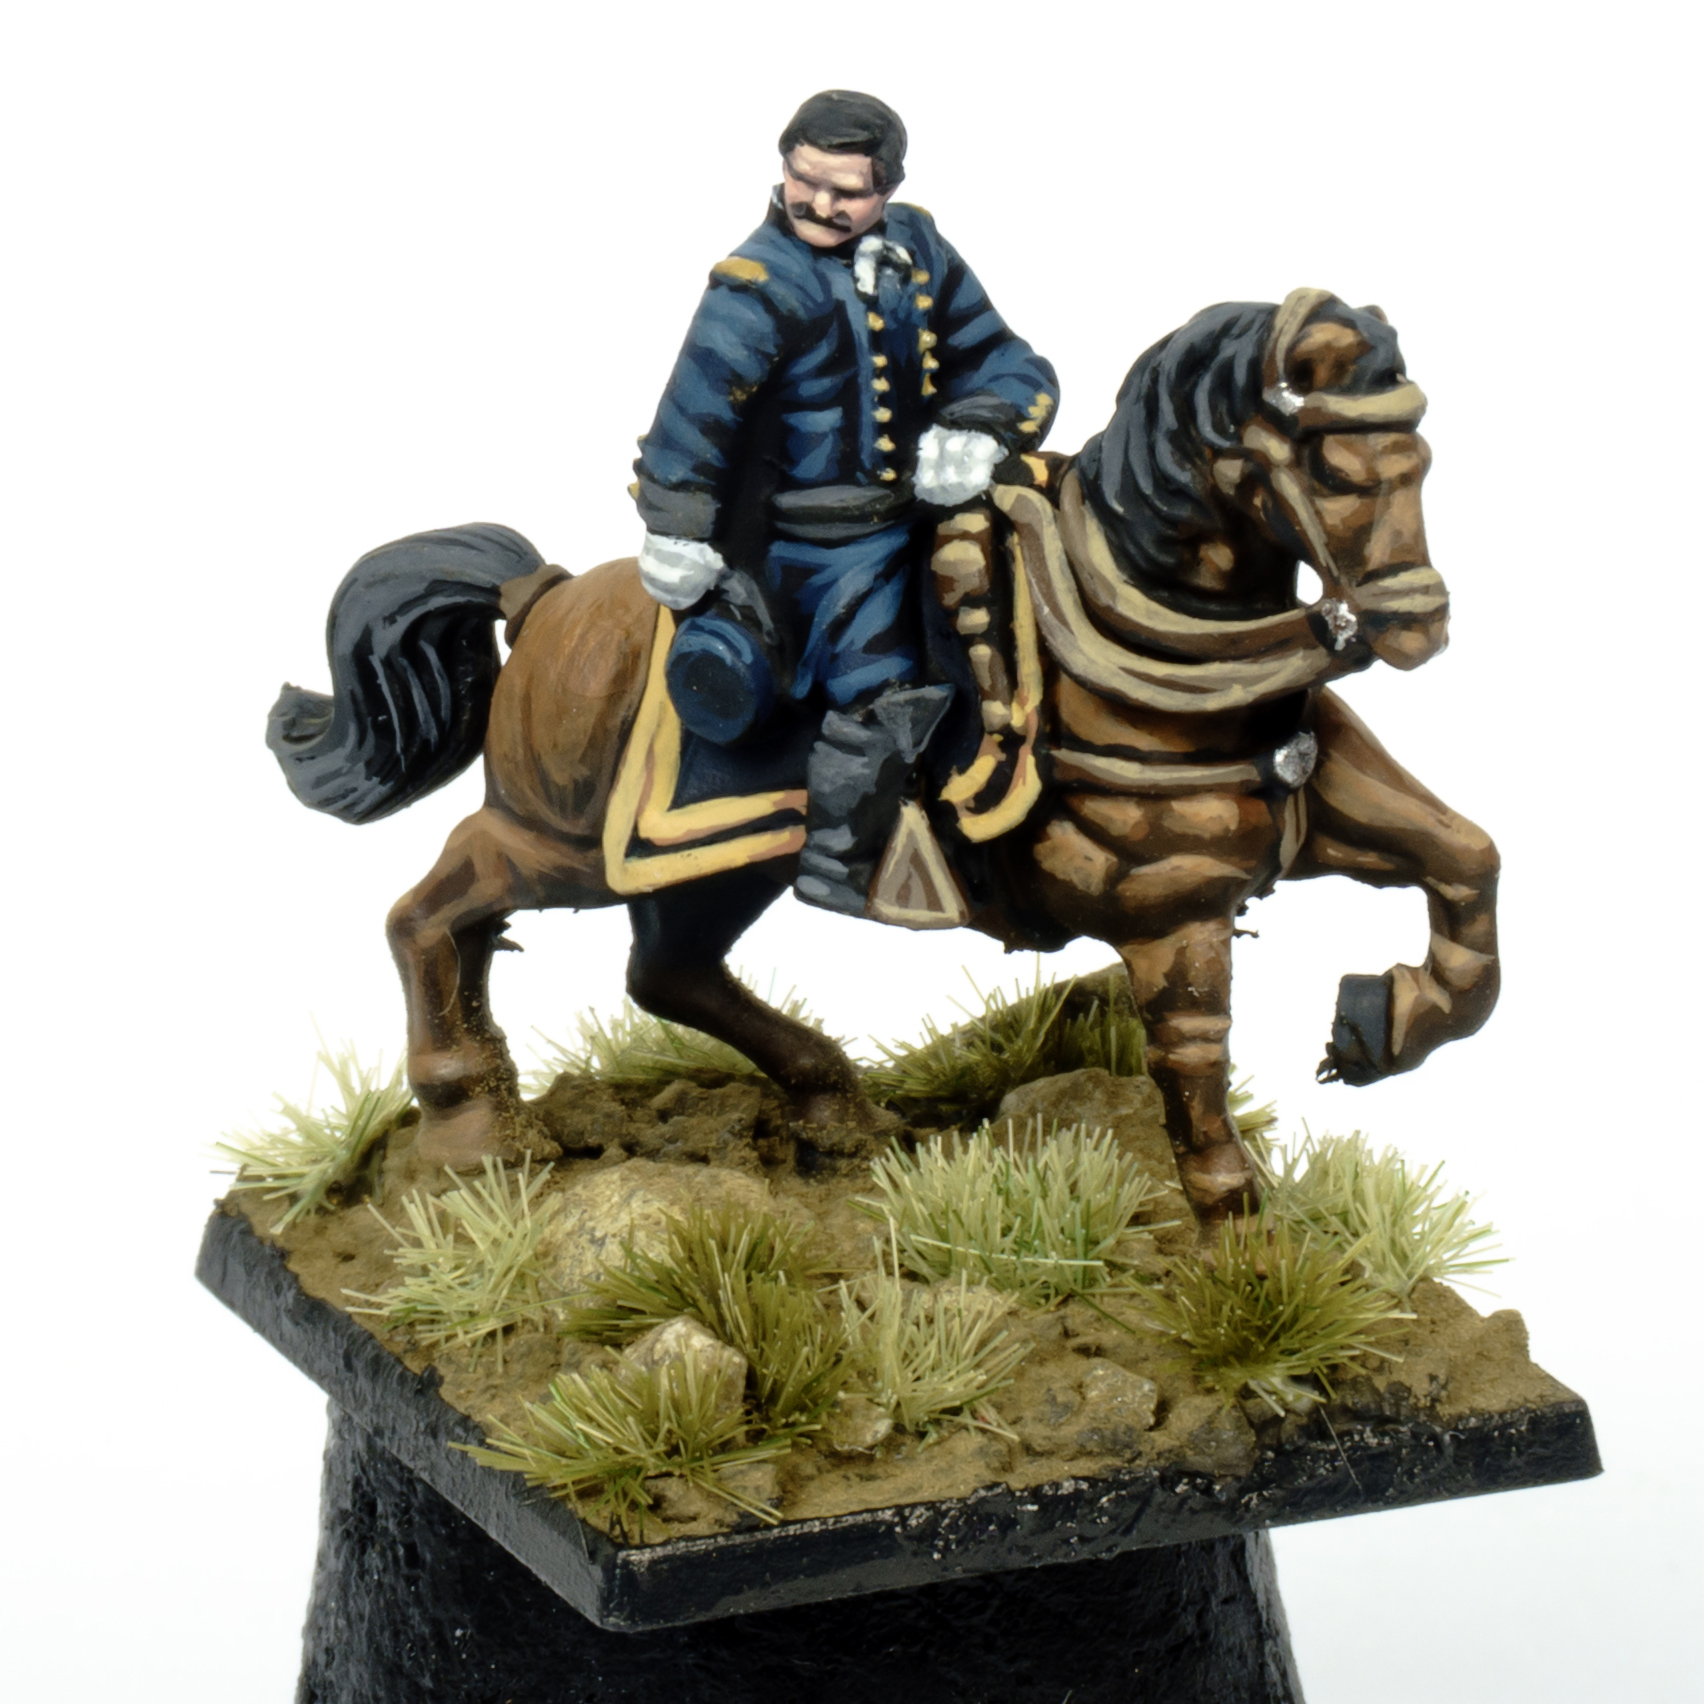
As you can see, the base is an essential part of making the miniature really stand out. At Epic Battles scale, however, it can be quite difficult to achieve a convincing result, as the figures themselves have such a limited footprint.

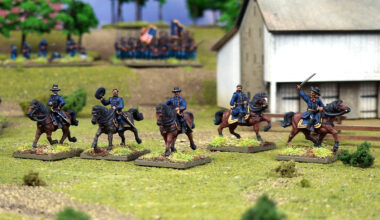
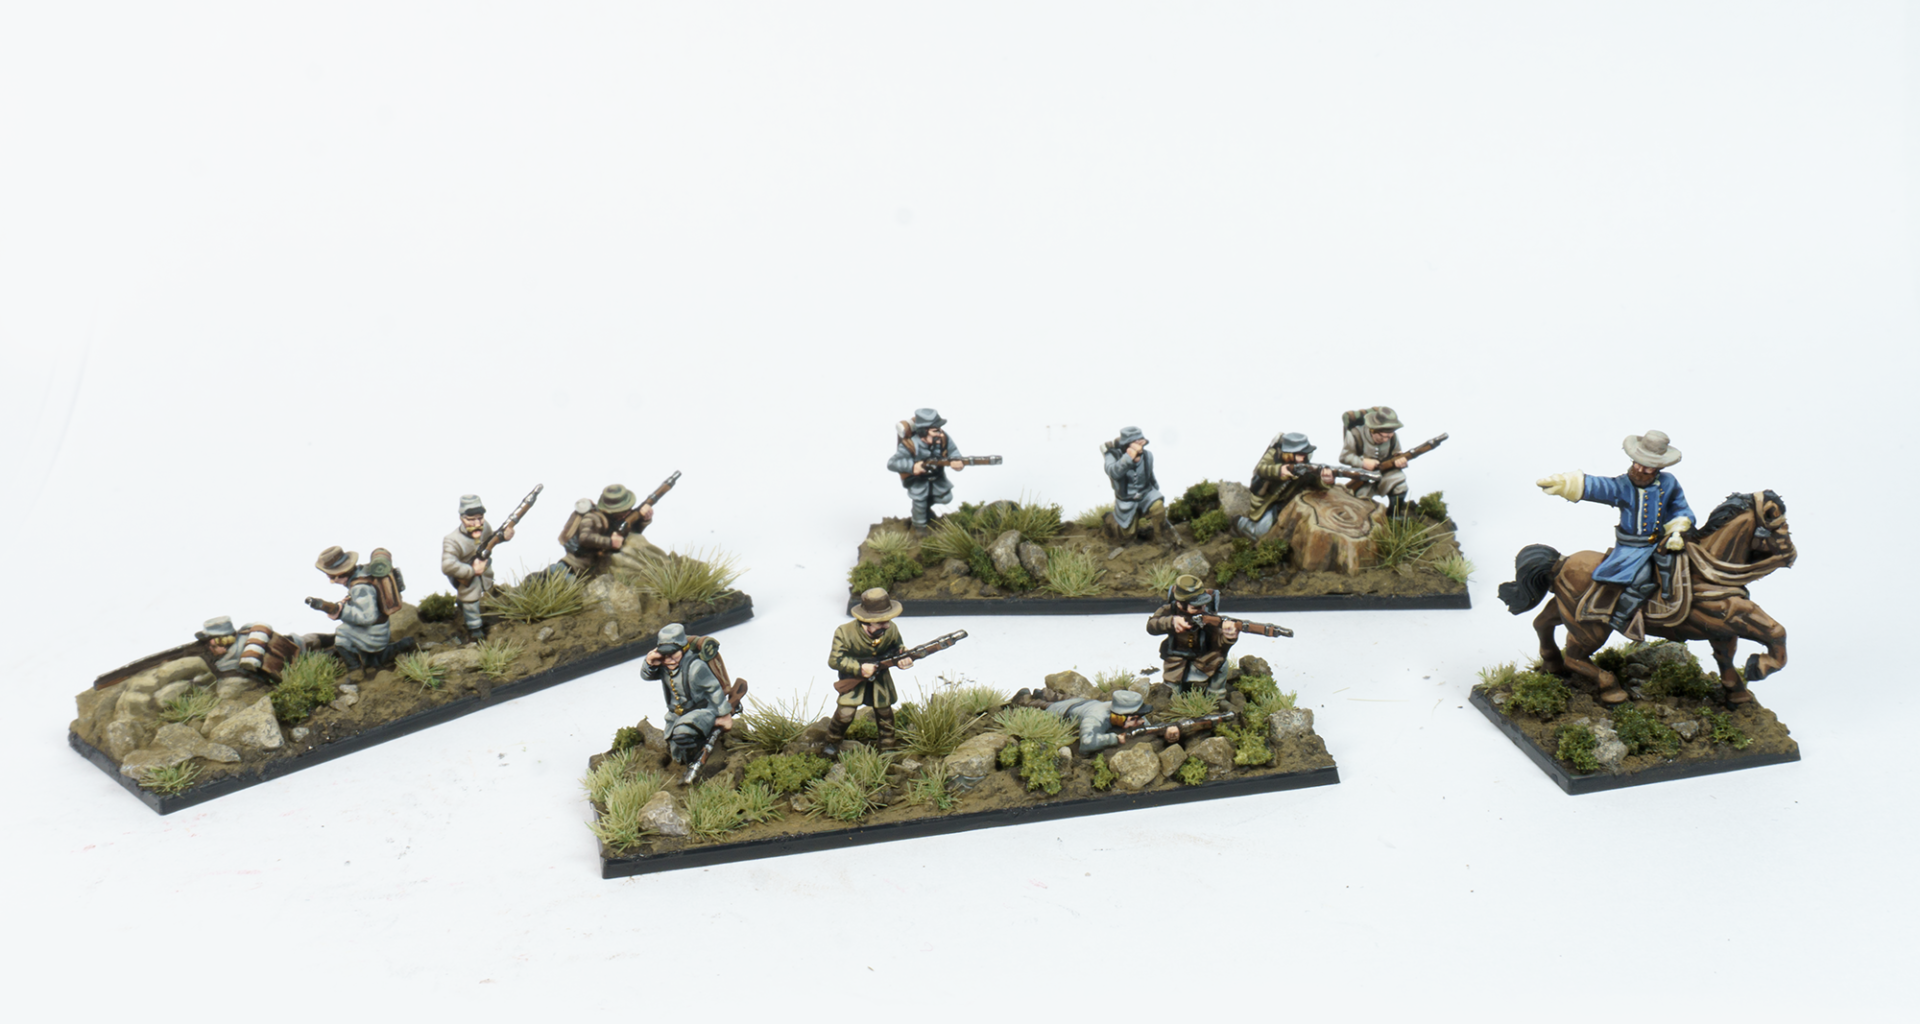
I want to show too how I work on my Epic Battles Black Powder figures so that they blend naturally into their bases. For this example, I’ll be using these other models from my American Civil War collection: Confederate skirmishers.

I always paint the figures separately and glue them to the base using superglue. I try to arrange them into a natural-looking scene and avoid having them project too far over the edges of the base.


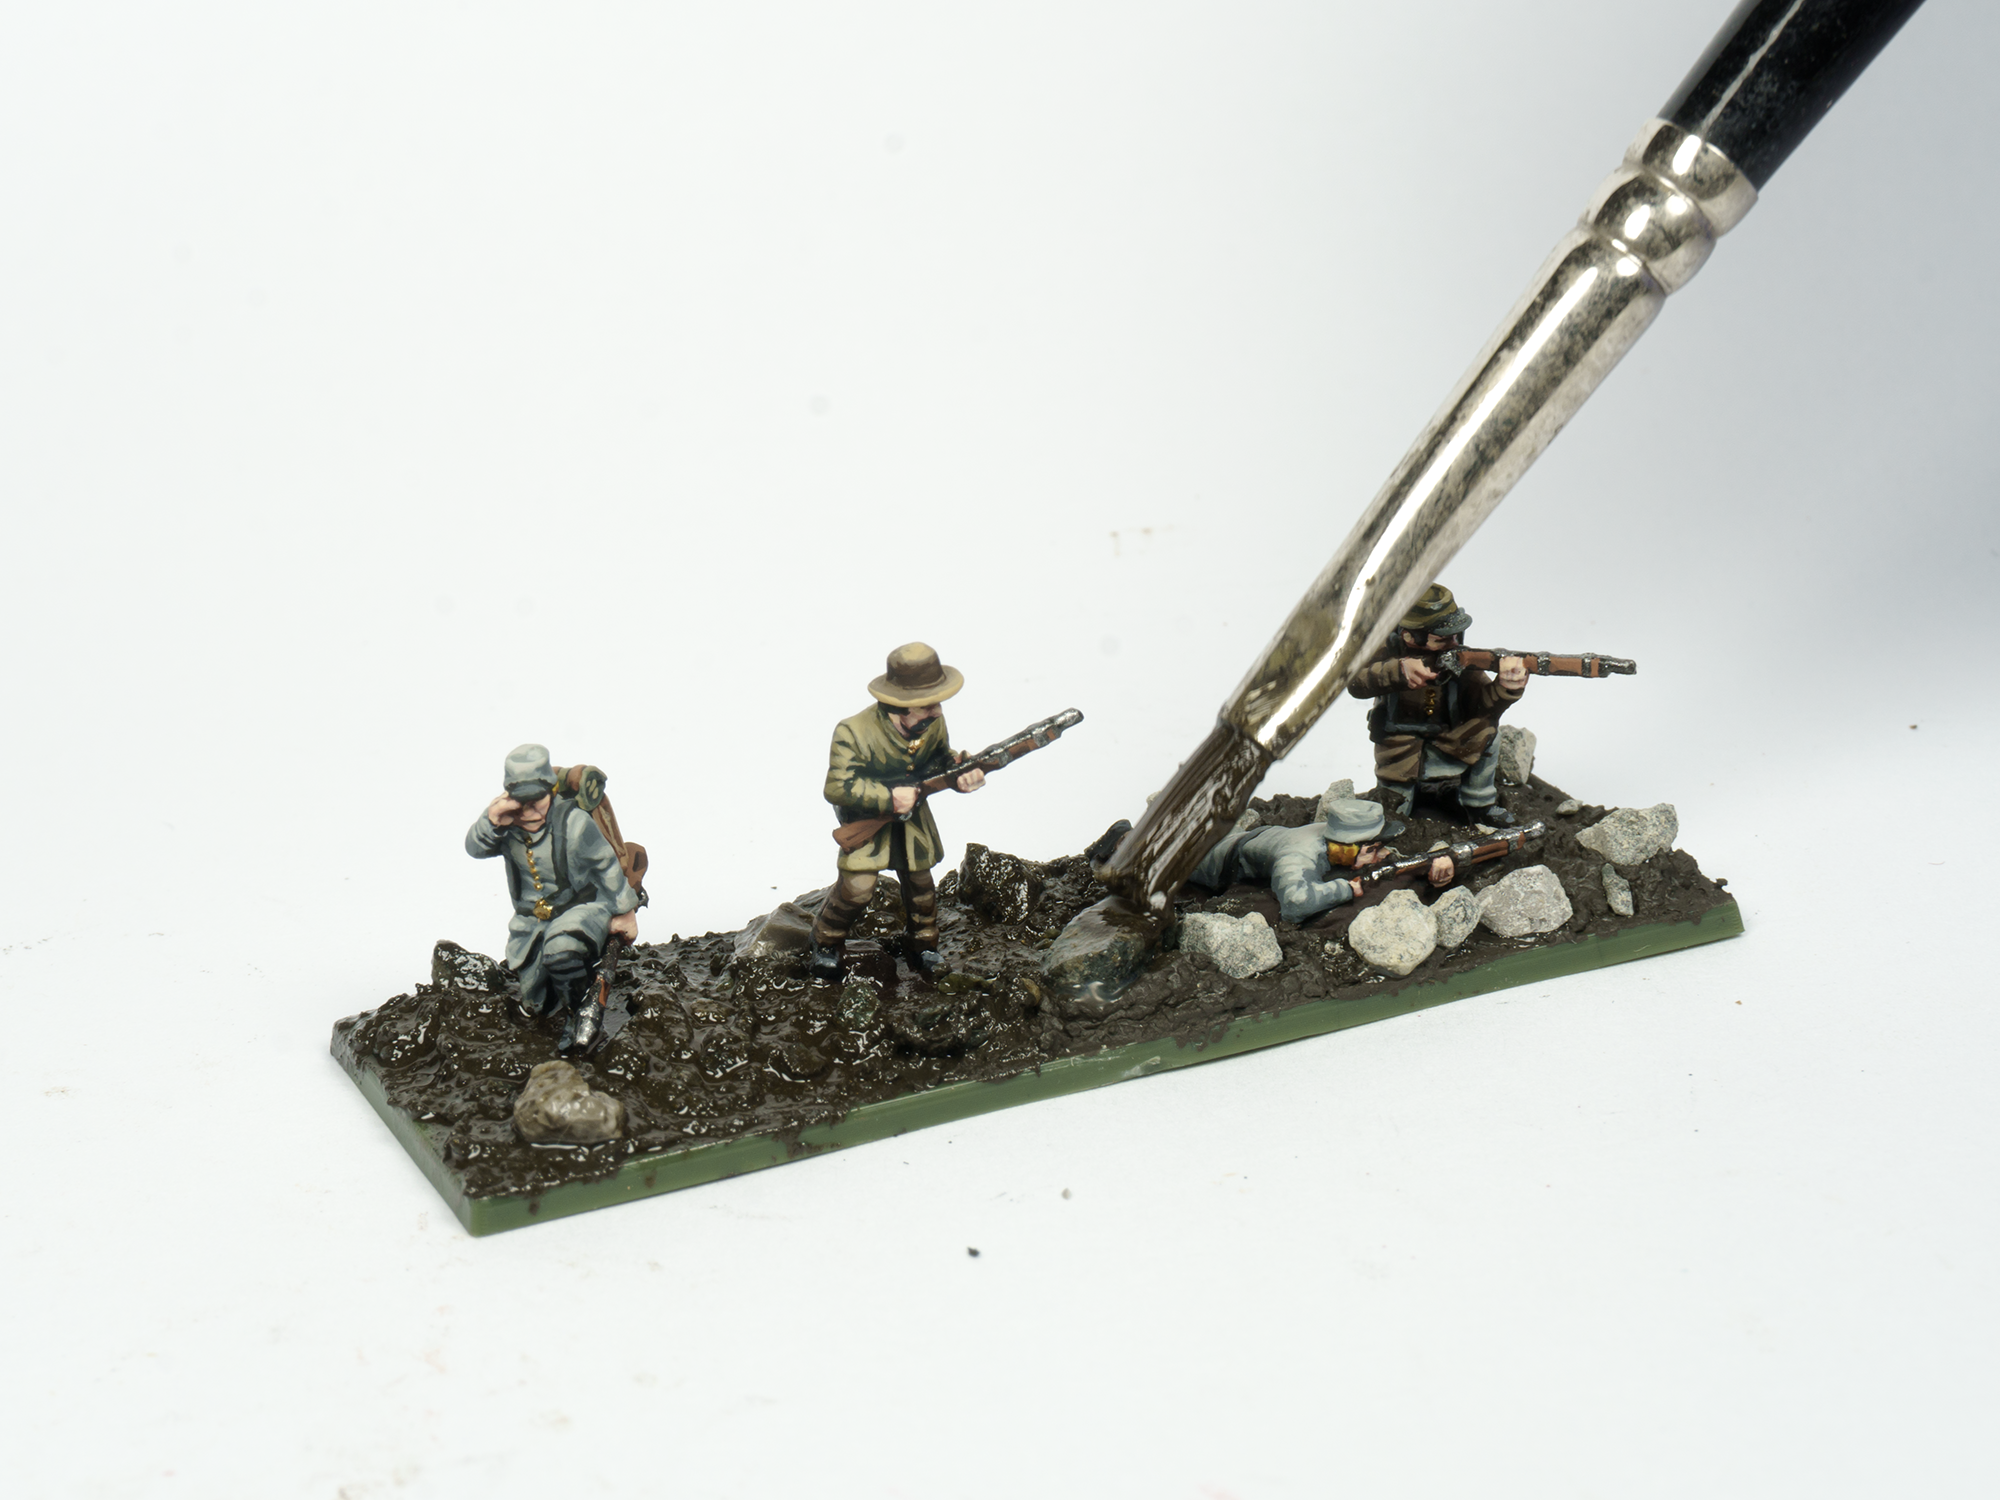
The first step in blending them into the groundwork is to use a texture paste. Products like this allow you to hide the integral base of the miniature completely, so that the ground sits flush with the figure’s feet. I apply it carefully with a brush, taking my time. It is very important not to get any of it onto the figures themselves.


To make the ground a little more interesting, I use modelling tweezers and PVA glue to add small stones across the base. As well as making the base look far more realistic, these stones also help conceal the figures’ bases even further.


Once everything is fully dry, the next step is to use pigment. This is a very useful product for creating a realistic earth effect, as it introduces subtle variations of tone across the base. The process is simple. In a small container, I mix the pigment with white spirit. This mixture, which behaves much like a wash, is then applied carefully over the groundwork, making sure not to stain the figures. It often looks much darker at first, but once the white spirit evaporates, the pigment dries back to its original earthy tone.


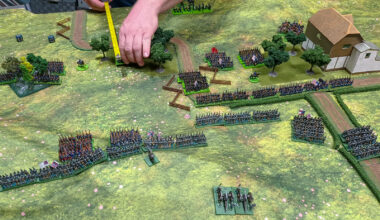
Vegetation is another key element on any base. Because of the scale, I use 2 mm modelling tufts. I also use larger tufts, but I cut them down with a hobby knife into smaller pieces, which work very well alongside the smaller ones. The final touch is clump foliage, which can be broken down into very small fragments, perfect for placing between stones or scattering lightly across the base.


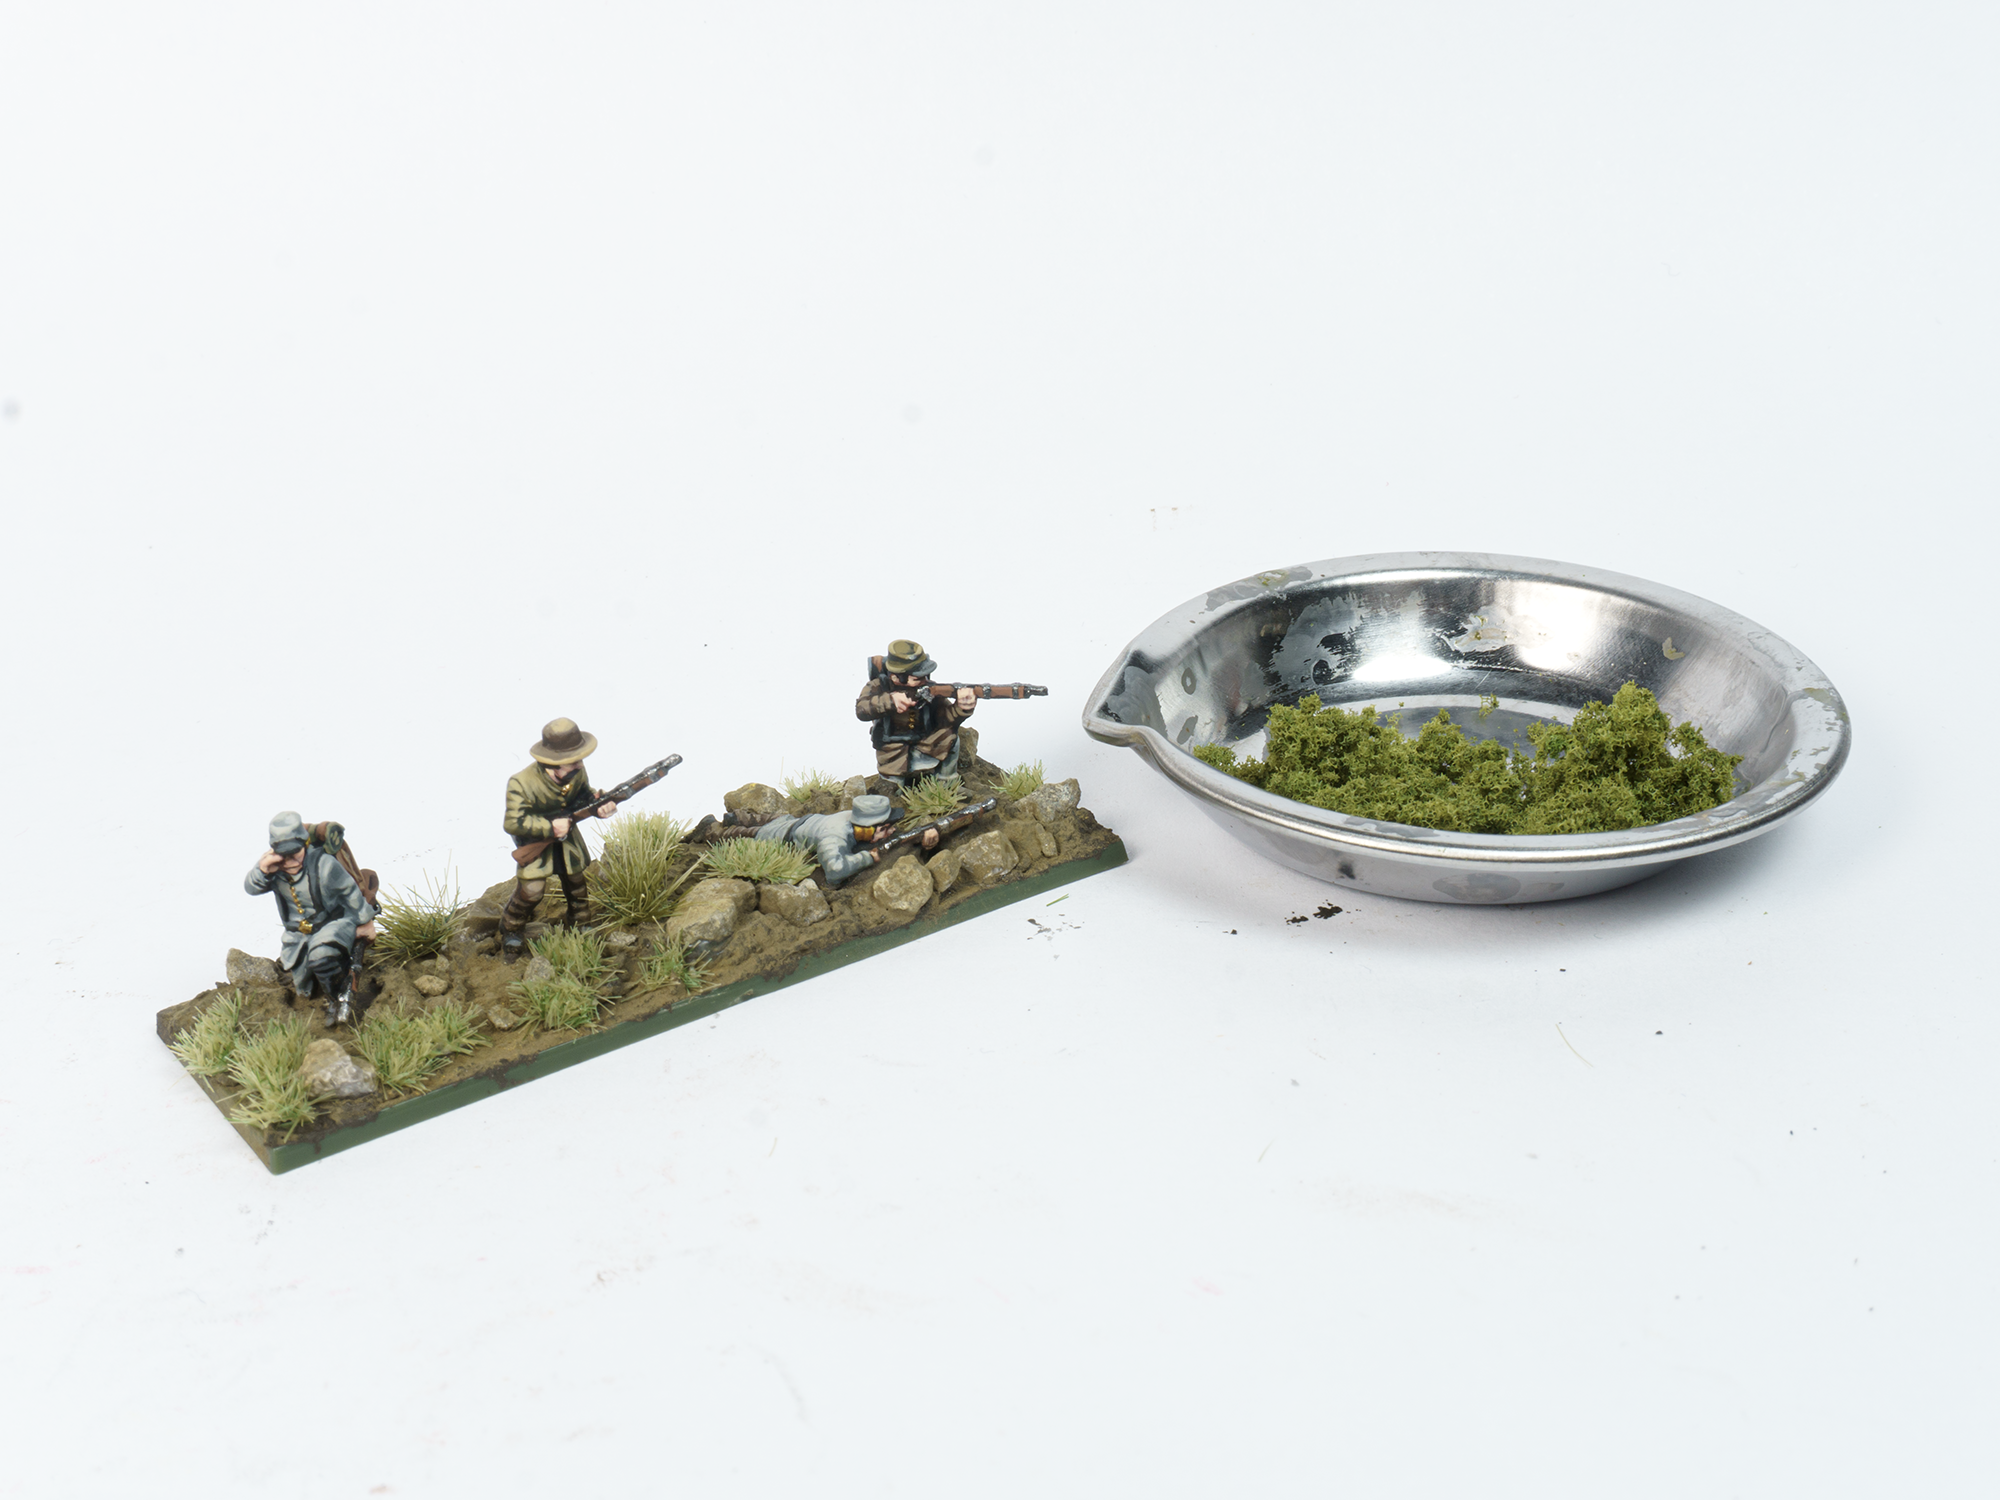


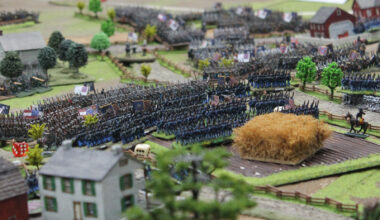
At this stage, the base is finished and the result looks very natural. And once you line all the units up together, they really come into their own! Of course, these techniques are applicable across every Epic Battles period, too!


Has Ivan’s beautiful work got you inspired to start your own Epic Battles journey?