This article was written by Ralph Hart, a member of an Australian gaming group which recently replicated the Battle of Gettysburg for its 160th anniversary using Black Powder Epic Battles: American Civil War figures…
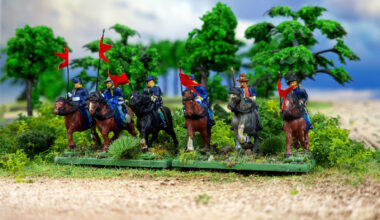
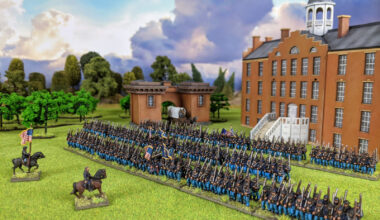
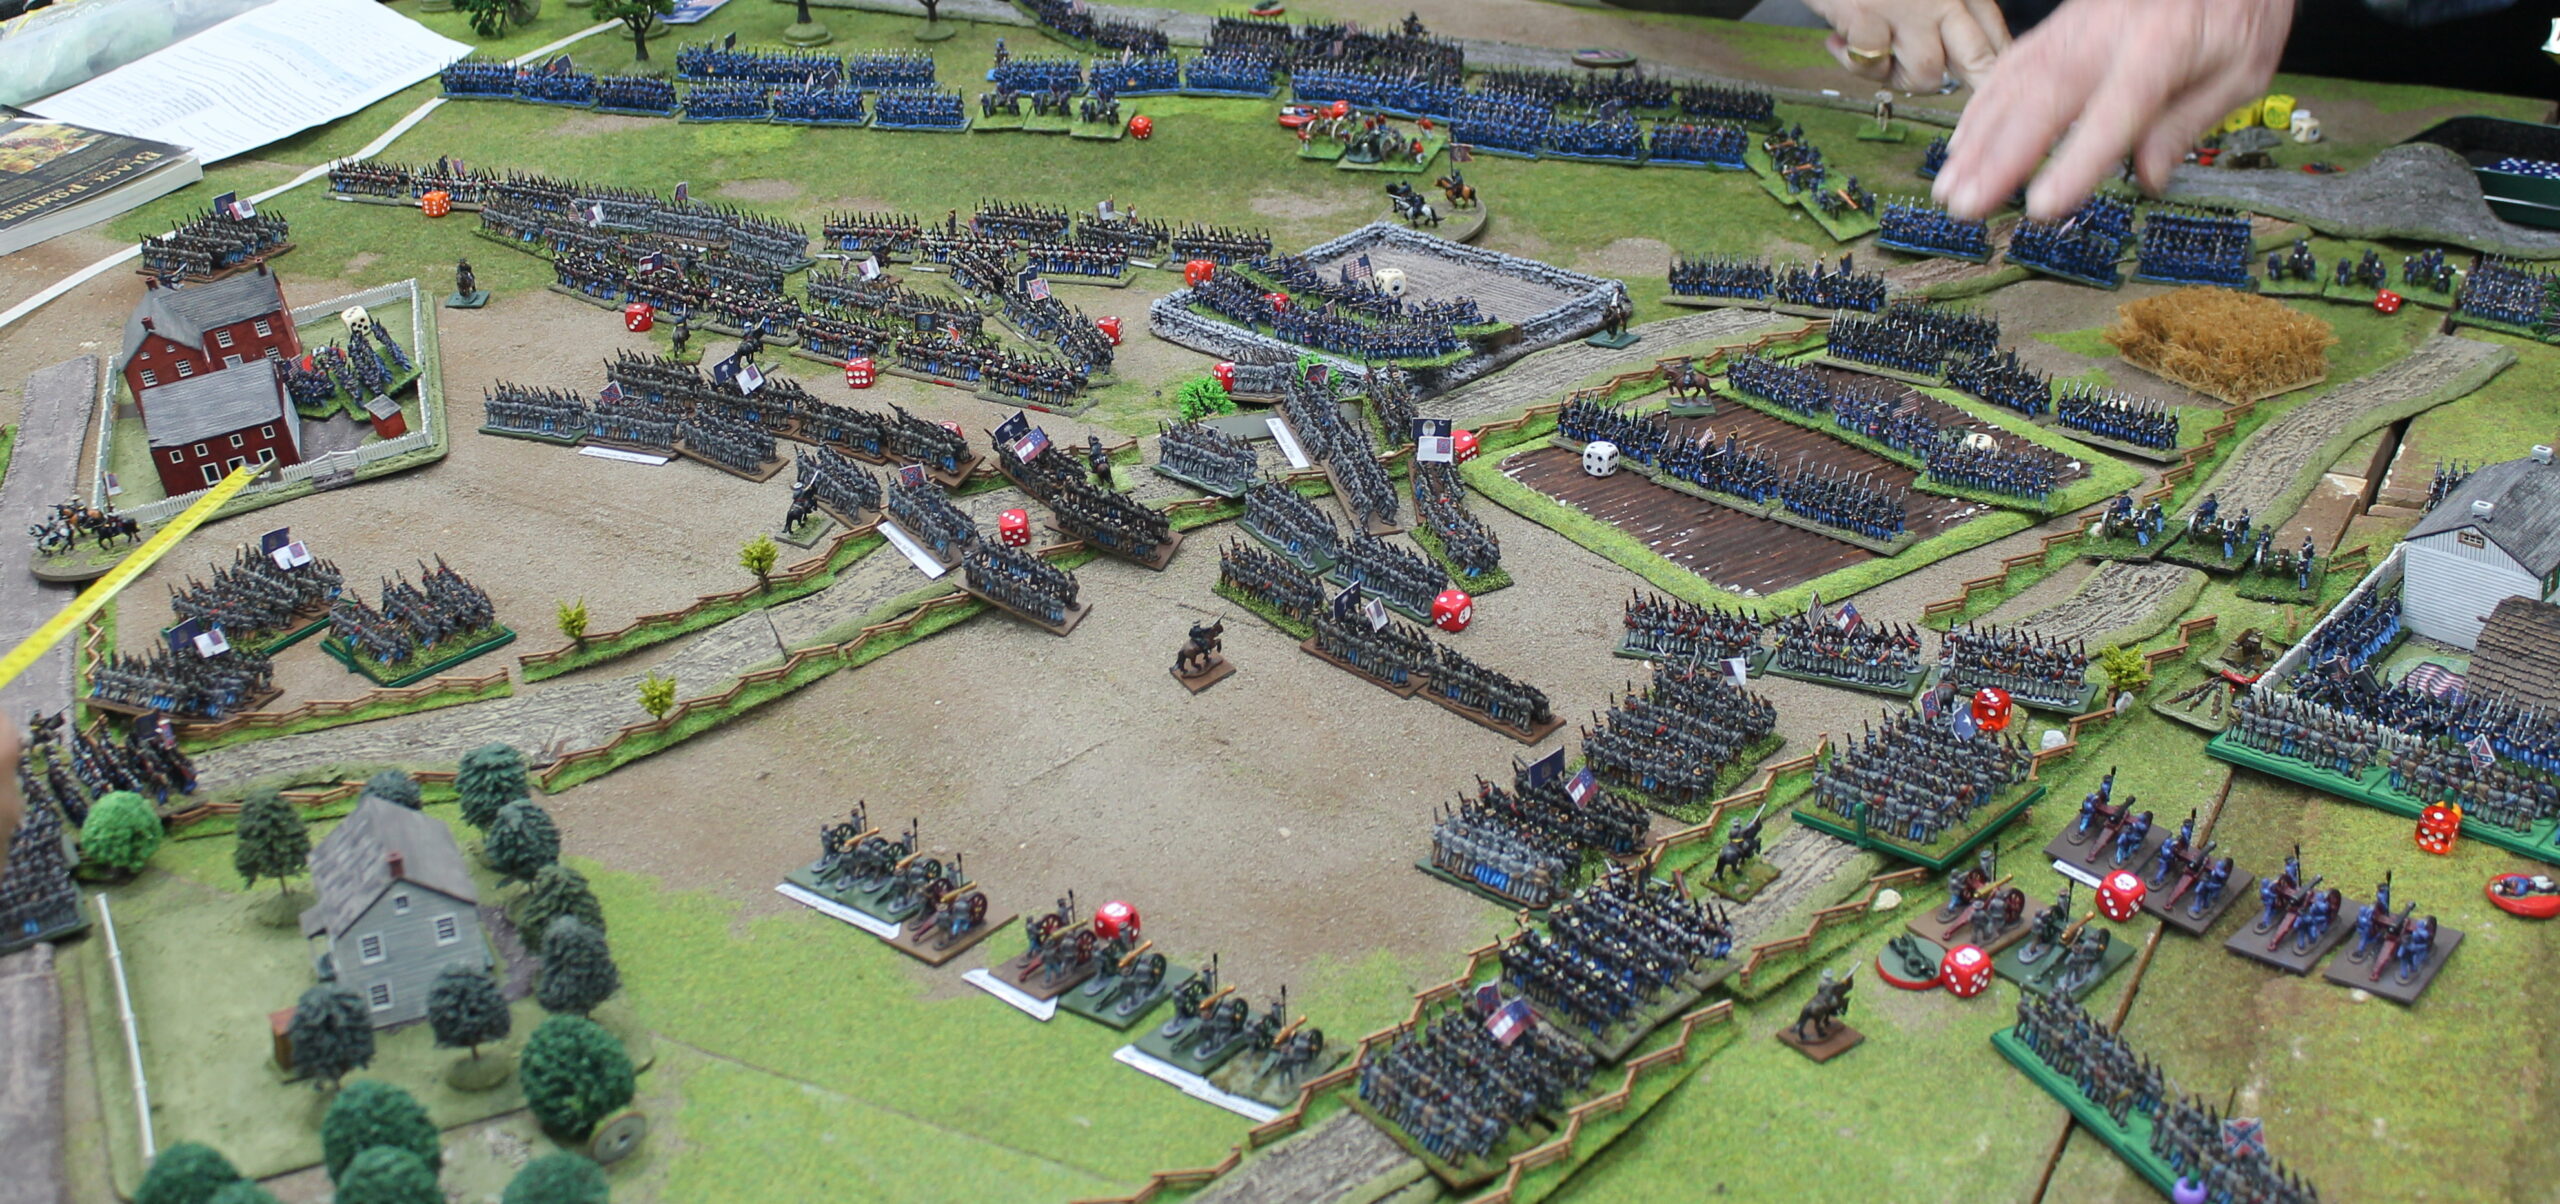
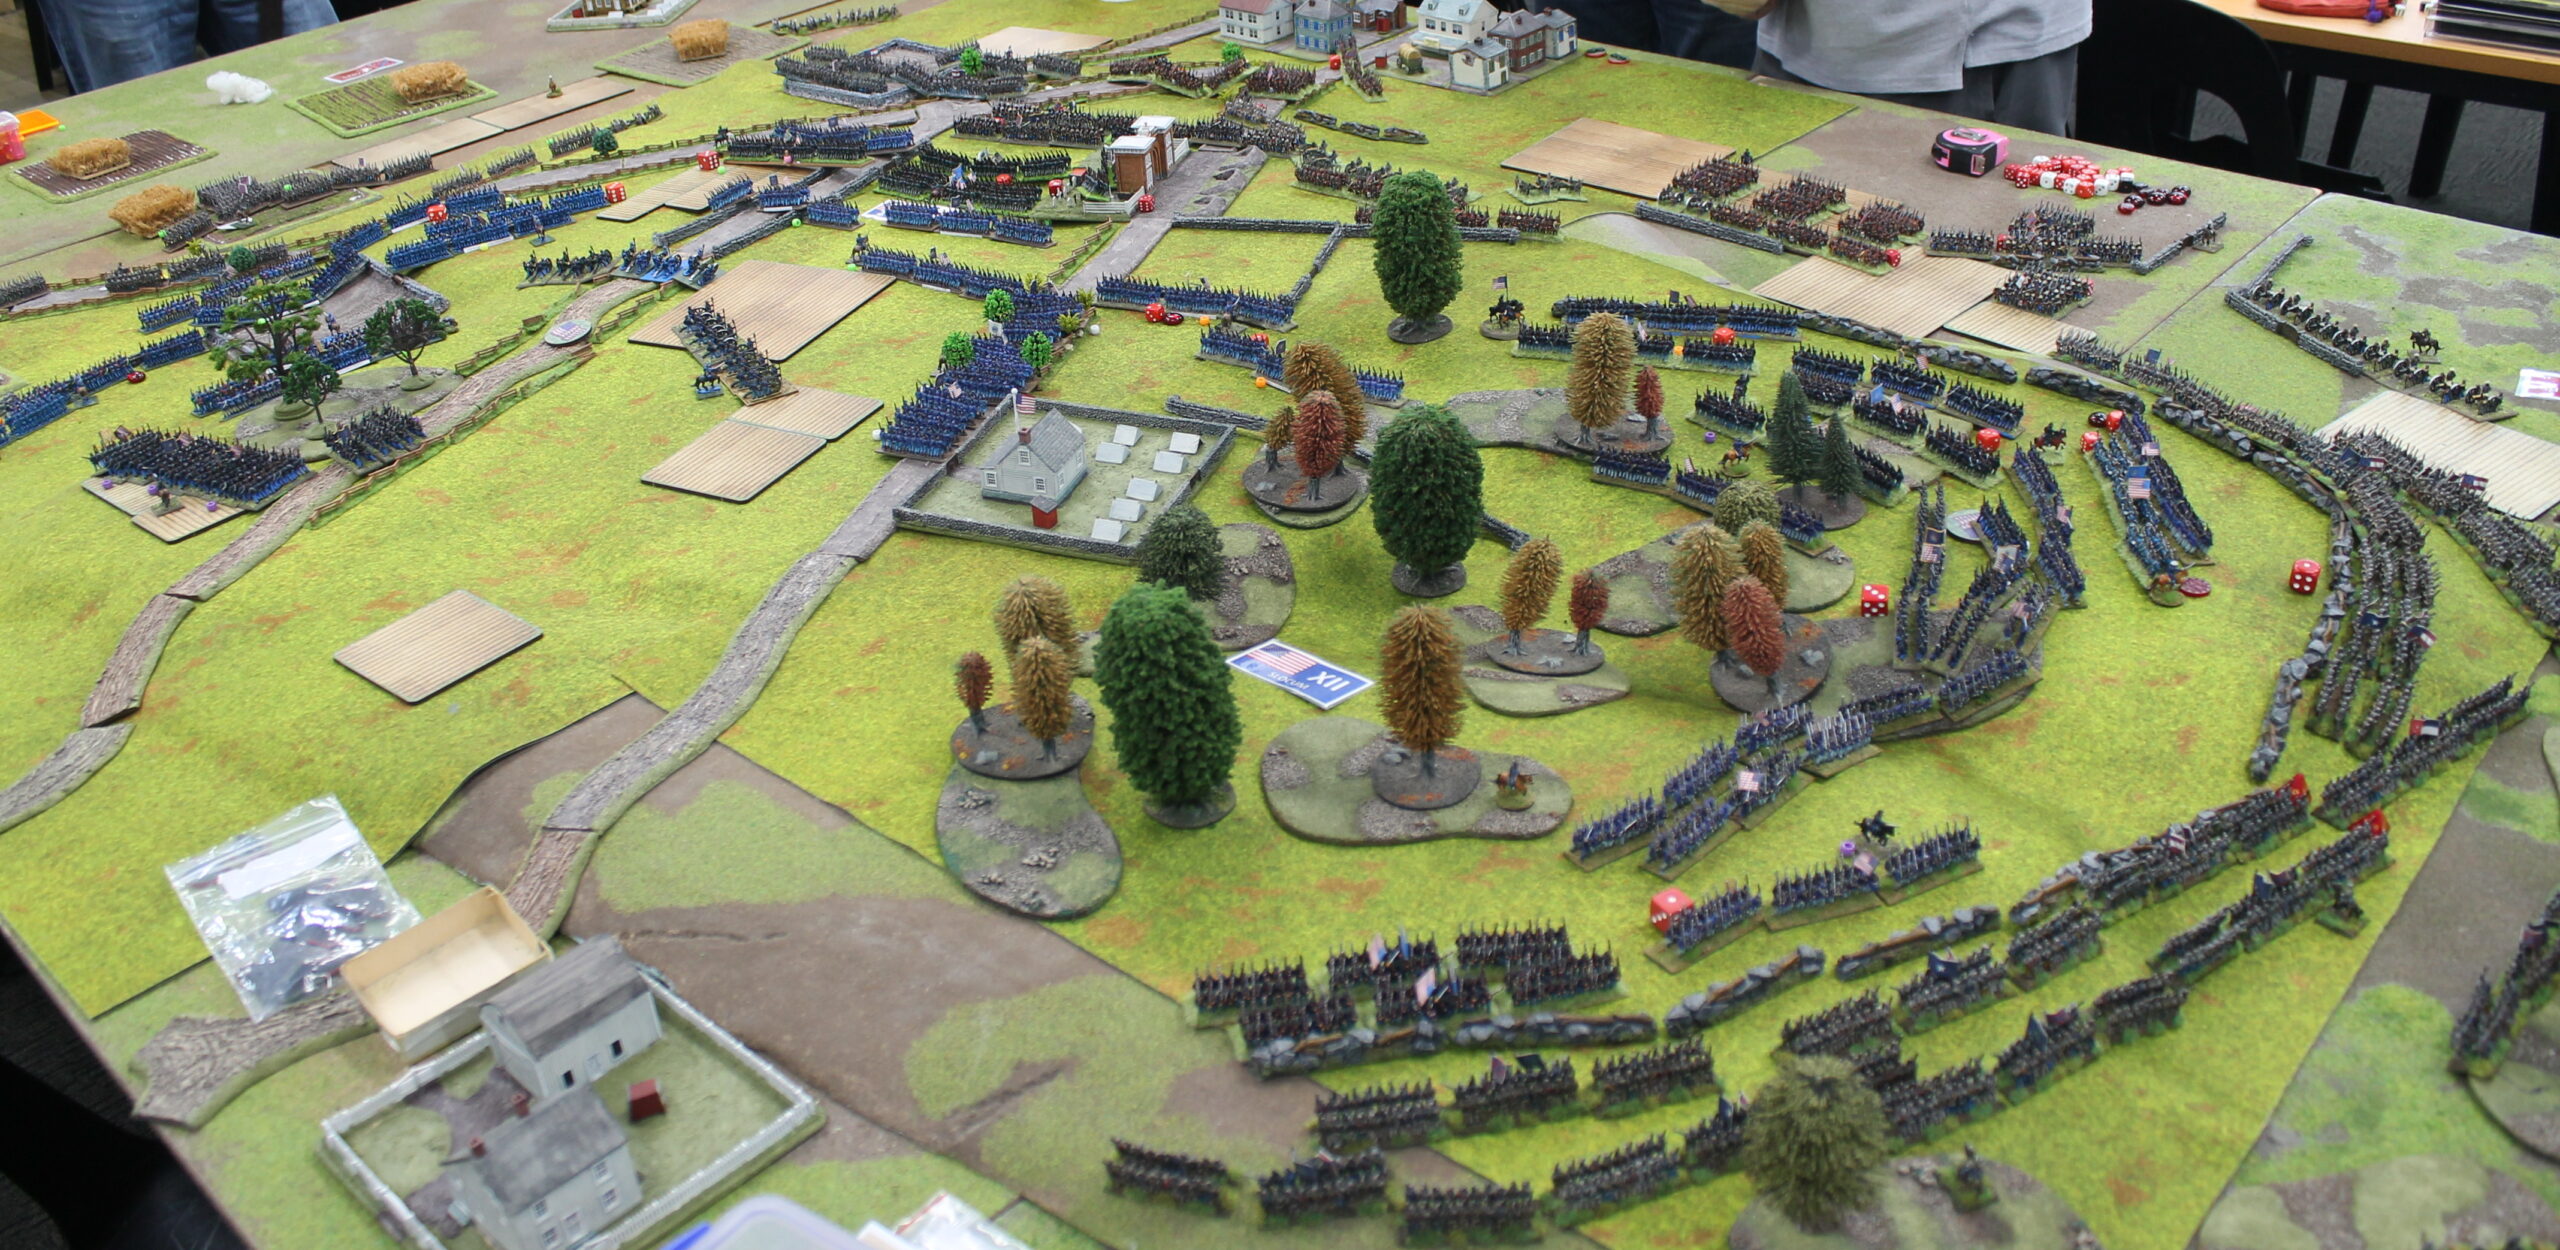
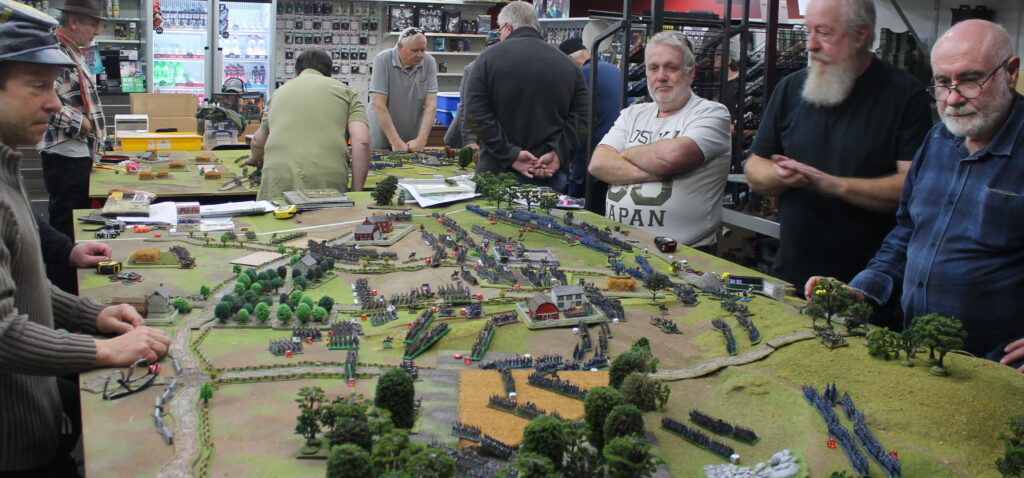
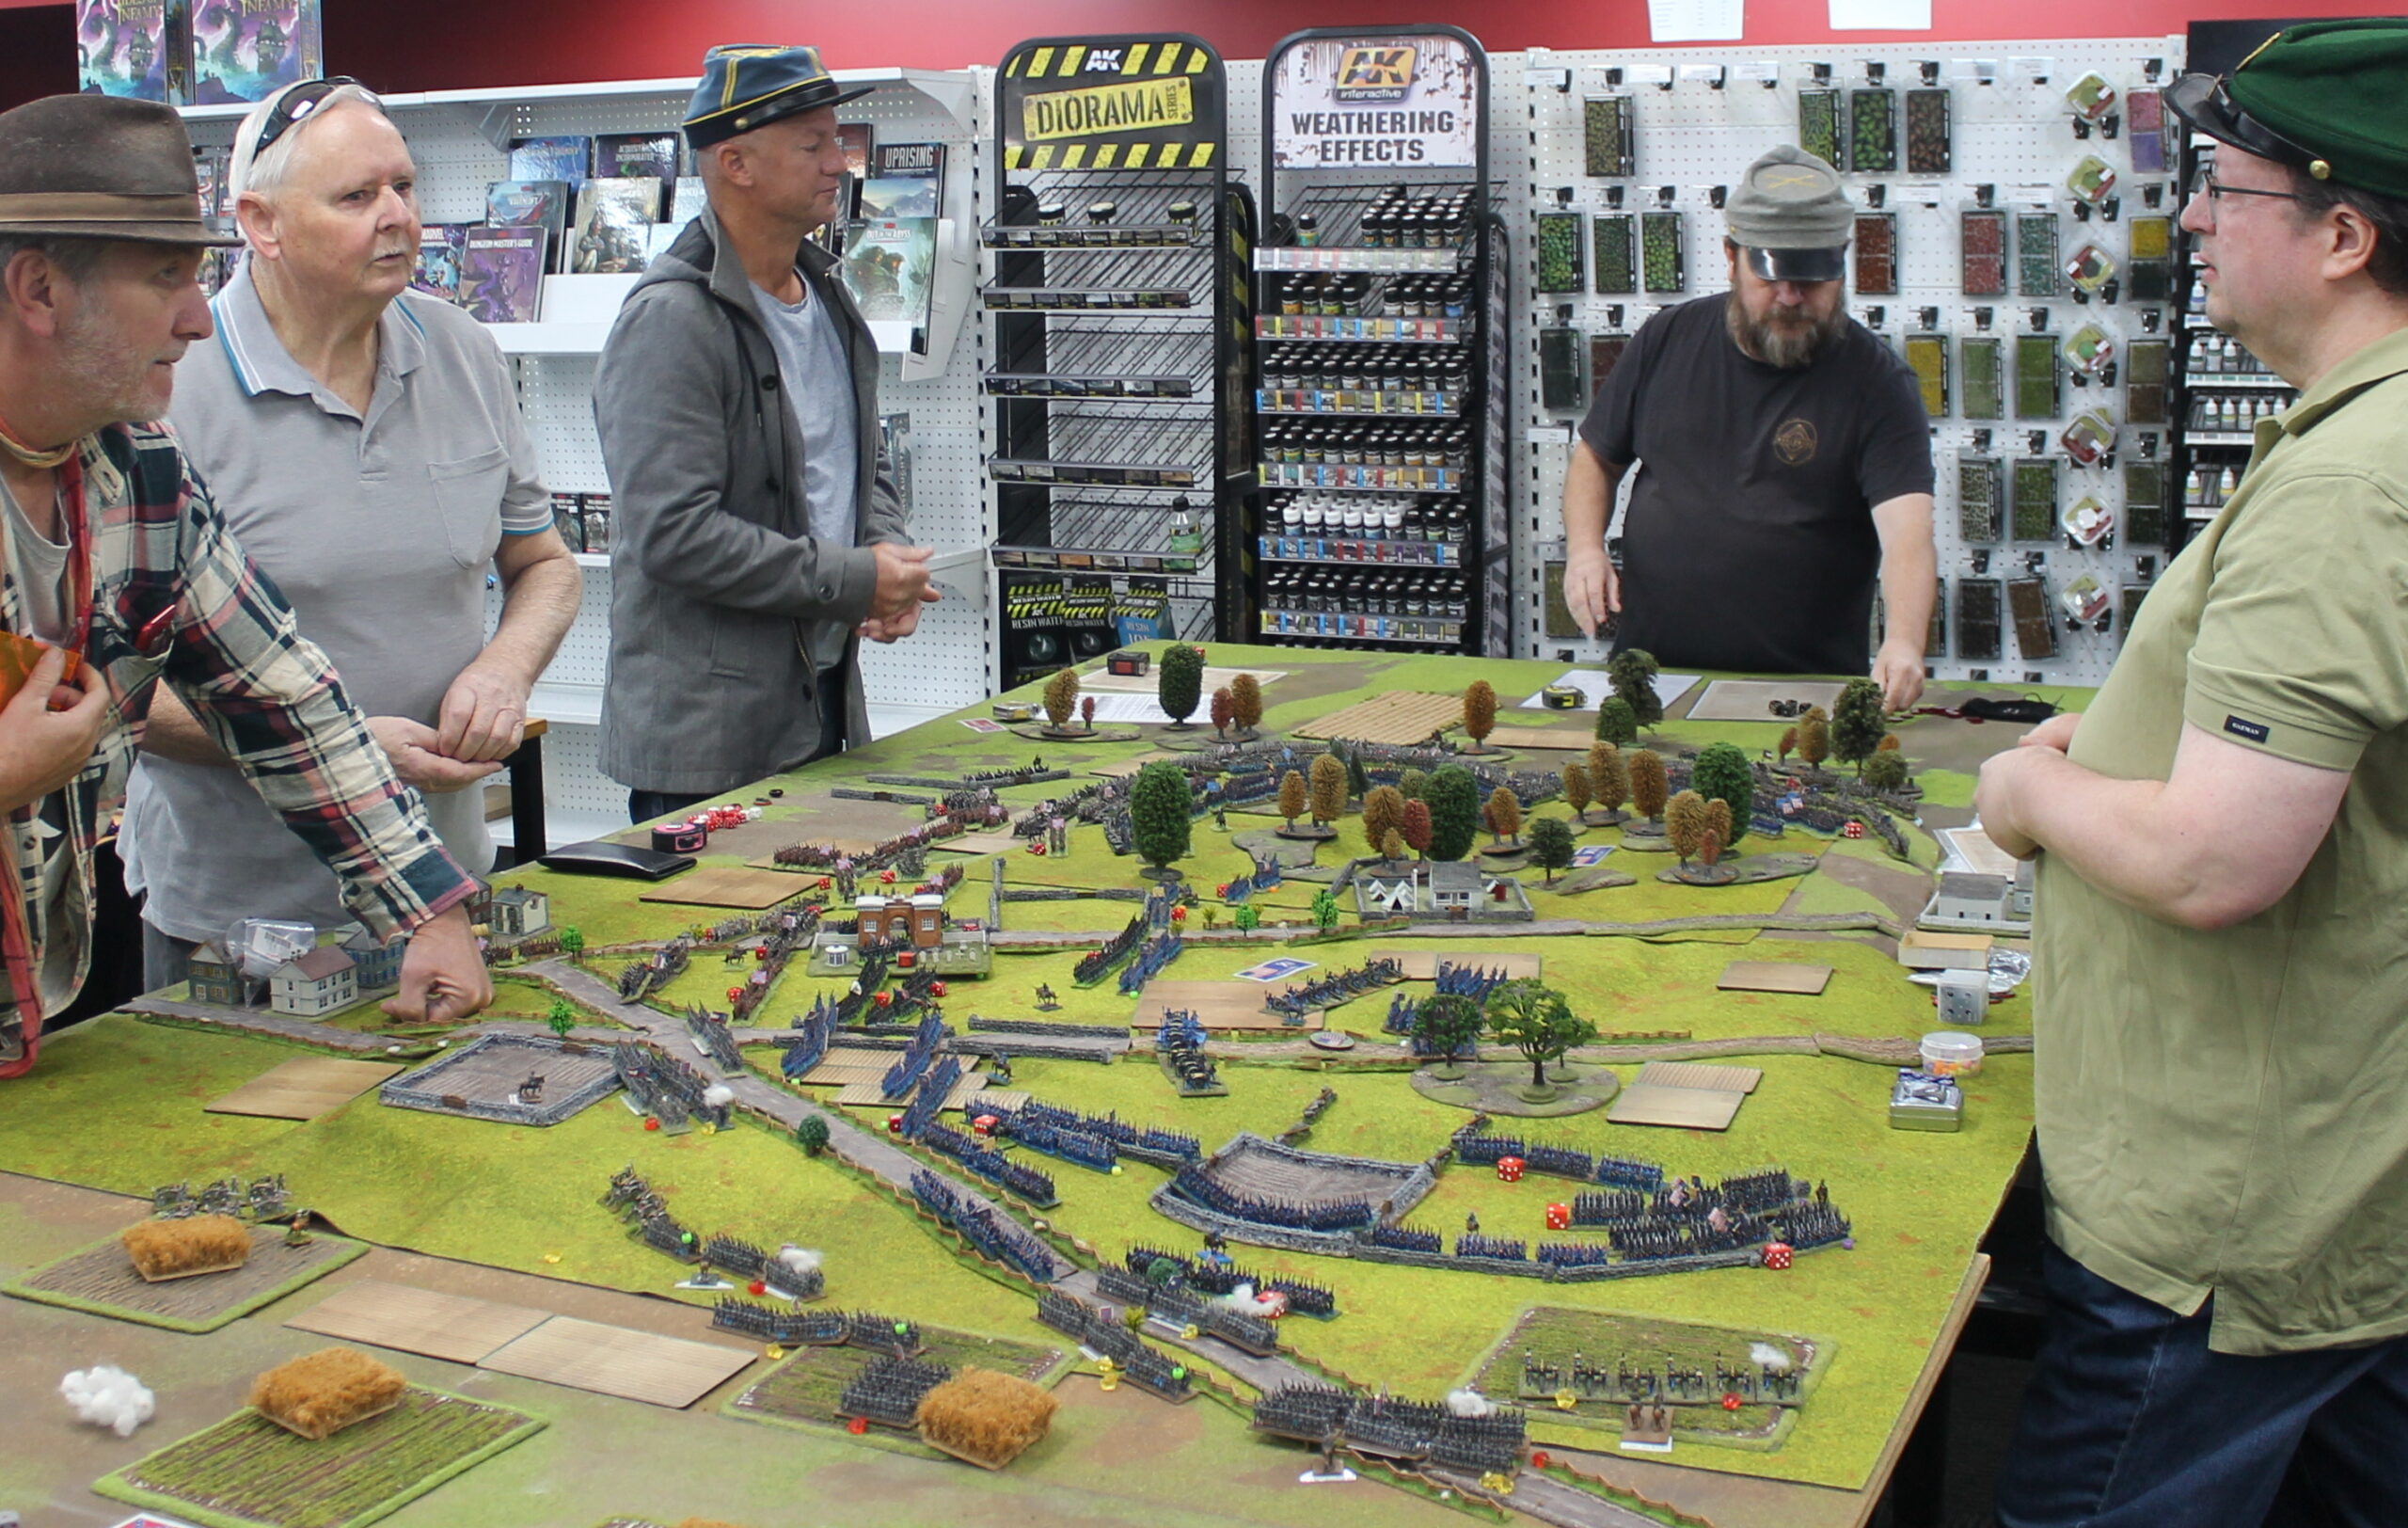
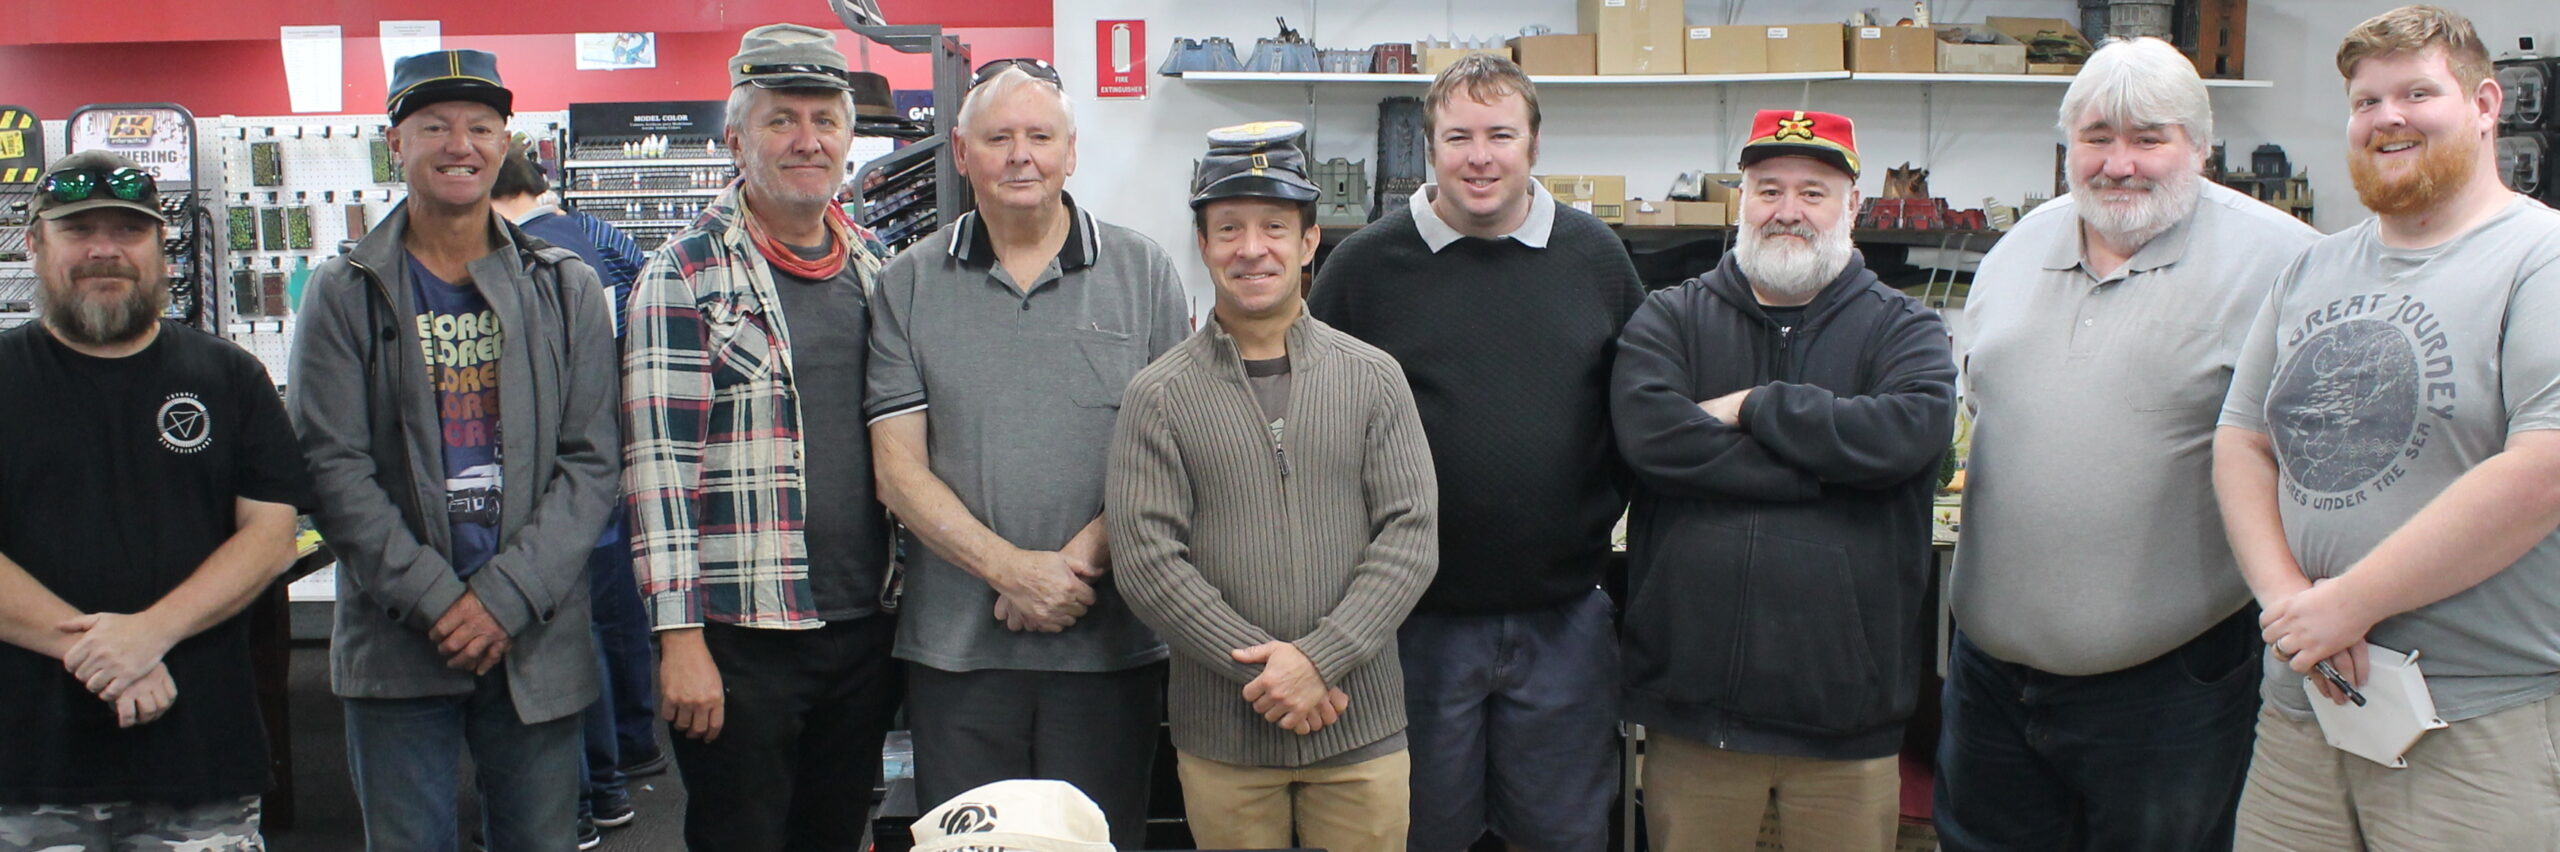
Over the weekend of 17th-18th June, eighteen wargamers from all over south-eastern Australia met at the Hall of Heroes in Sydney to recreate the second day of the Battle of Gettysburg on an epic scale. When we say epic, we don’t just mean Epic Battles scale – but every meaning of the word! Every single regiment and artillery battery that actively fought on that climactic second day of battle was represented – totalling 12,300 individual figures for the infantry regiments alone! We played over 144 square feet separated over two tables; both resplendent with carefully planned terrain to represent the most iconic aspects of the battlefield as faithfully as possible: from the outskirts of Gettysburg itself down to Big Round Top!
This massive project has been two years in the making, mainly planned and coordinated through our project’s Facebook page. Over time we encouraged and advised each other in meeting our painting commitments, we debated and selected which Black Powder and Glory Hallelujah! optional rules we would use, and agreed on how best to adapt scales and distances for the Epic Battles scale. To briefly summarise, we halved most ranges and distances as recommended but kept artillery ranges as they are for 28mm Black Powder. For historical flavour we followed the guidance in the Glory Hallelujah supplement; disallowing charges on initiative and imposing a -2 modifier on orders for charging infantry within their front arc.
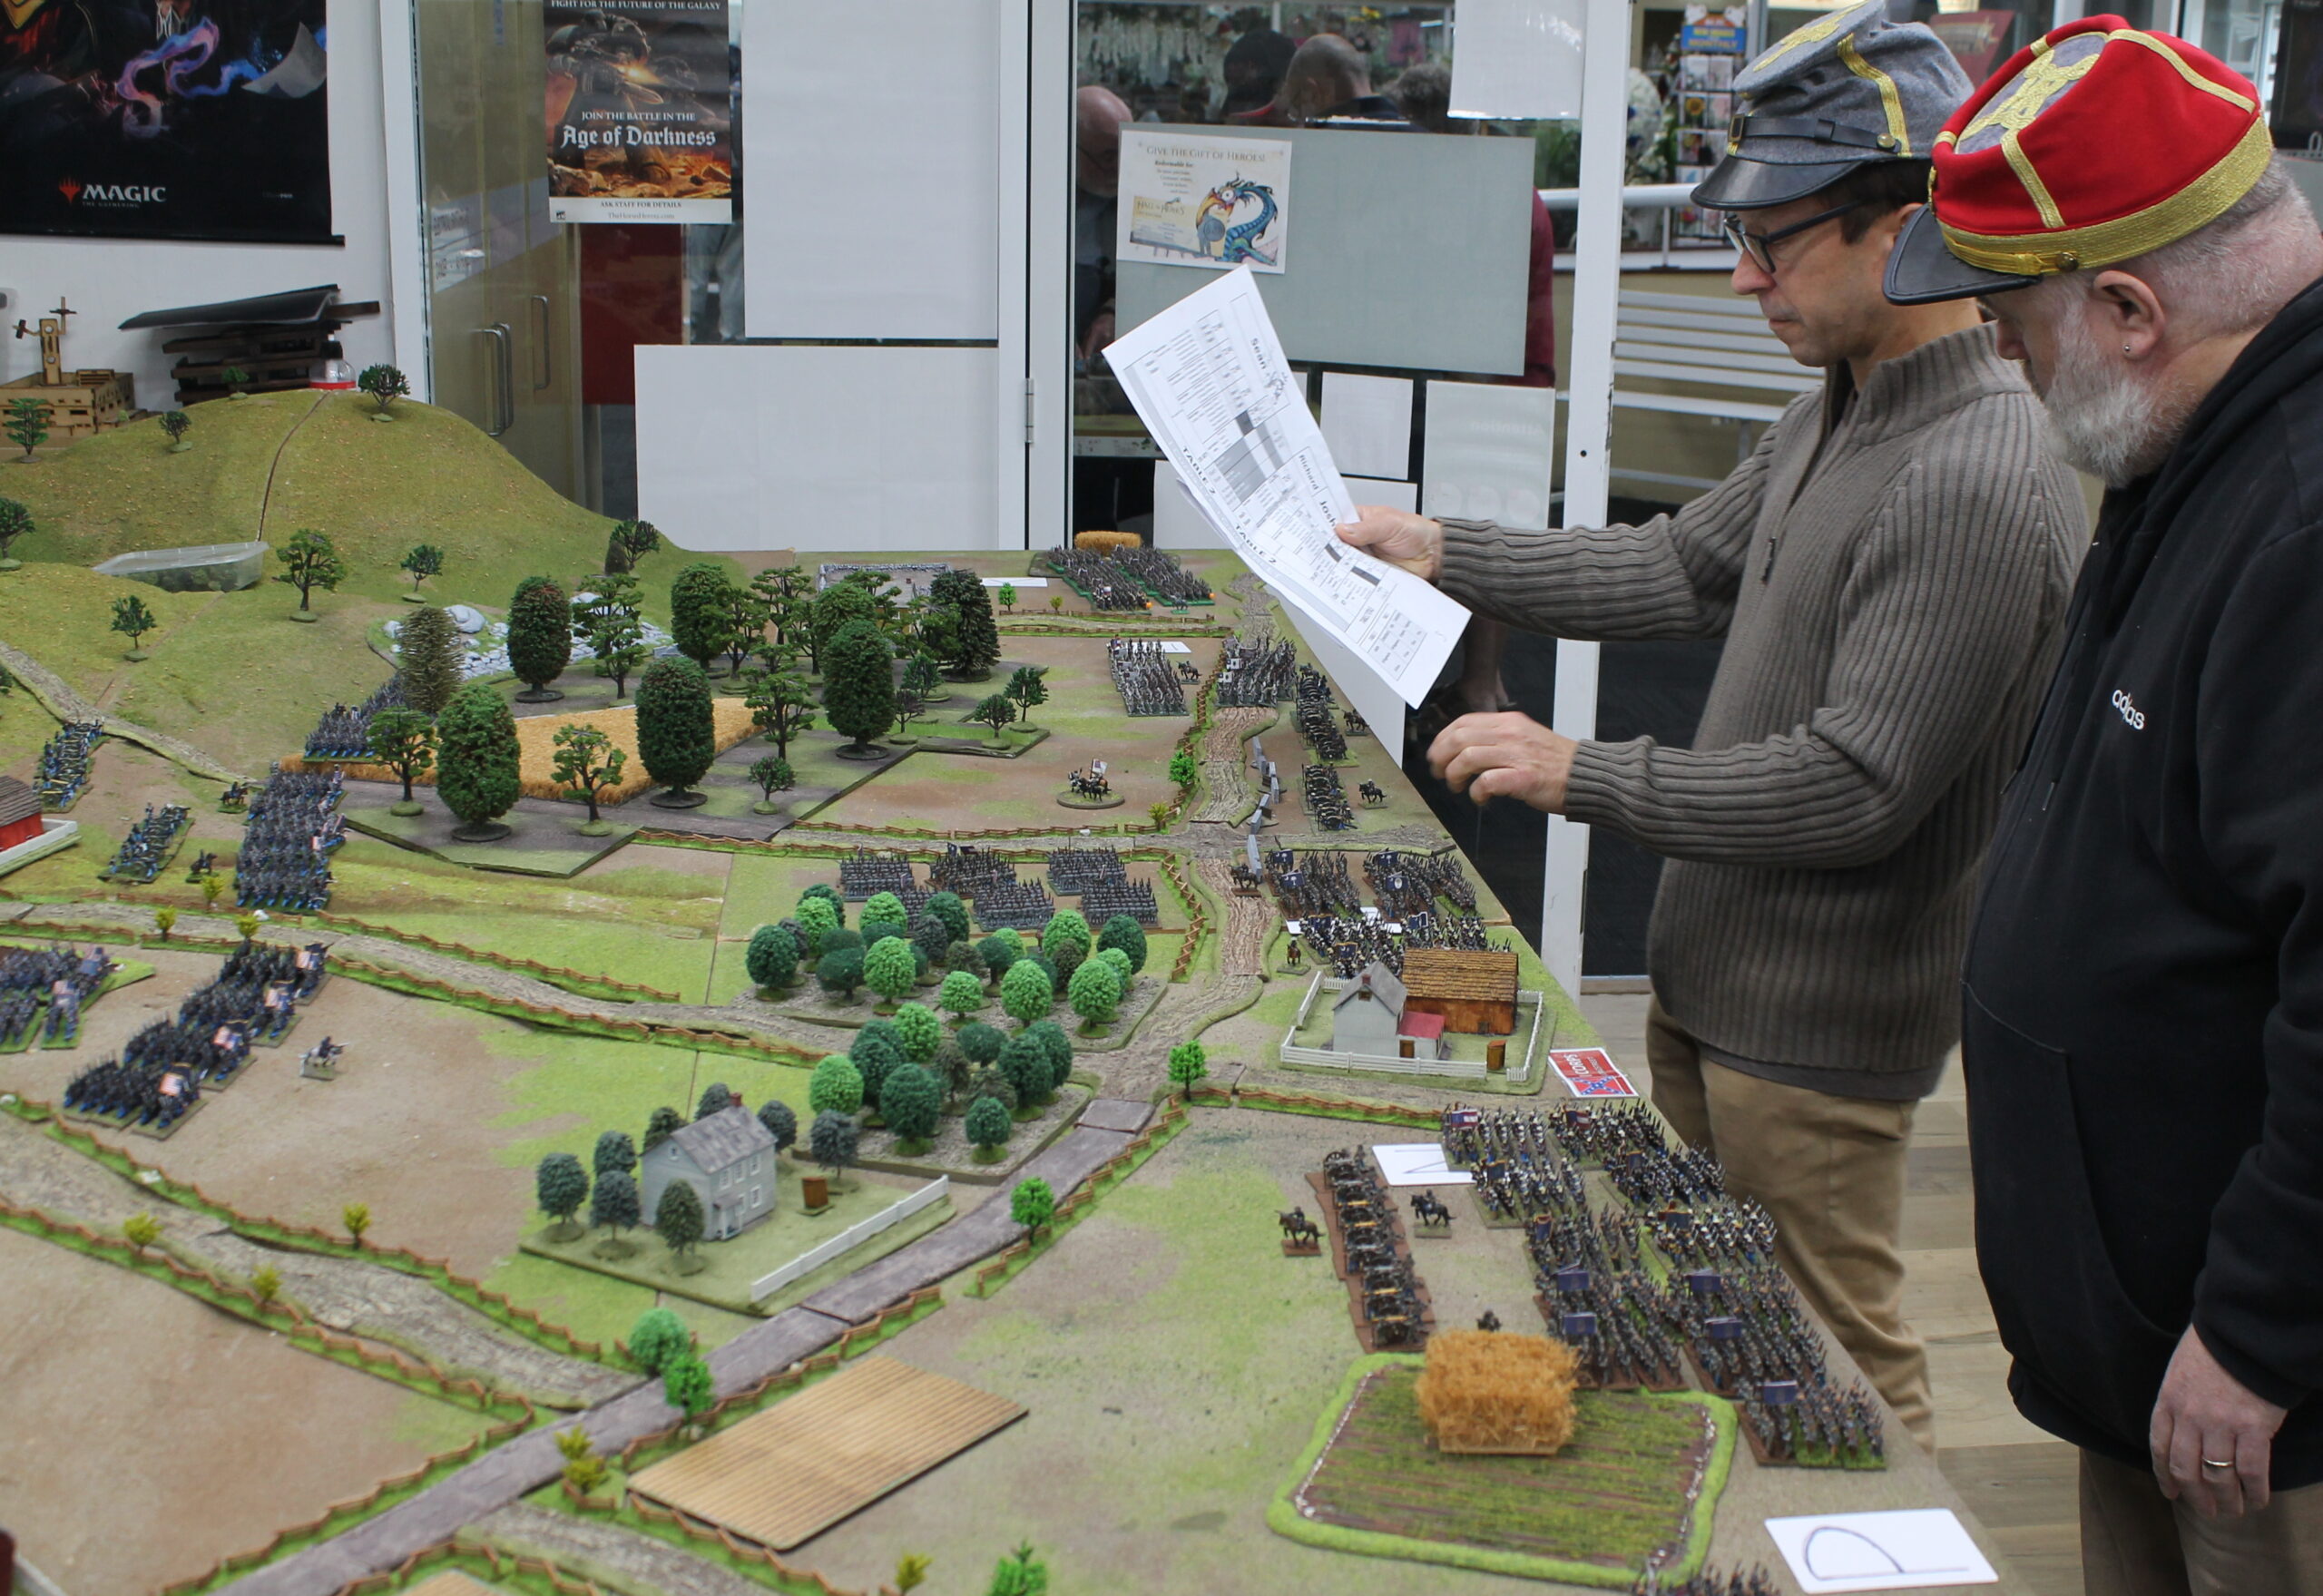
Prior to the big weekend some of our players had the opportunity to meet locally to practice, but with many living in rural areas this wasn’t practical for all (Australia’s fairly big y’know), so after two years of online discussion many of our players only met face-to-face for the first time on the day. Nevertheless, the group’s online forum was handy to brief all players remotely on what to bring, what to expect, and how the event would run, even to small details like positioning around the table. So after a swift welcome meeting and the team captains’ briefings, we were able to quickly get straight into setting up – there were more than a few thousand men to set up after all. The social niceties would have to wait until Saturday evening at the local RSL (Returned Servicemen’s League) club – which was a lively affair!
Setting up the tables and laying out all 214 regiments and 120 artillery pieces was sped up by using numbered or lettered cards to identify ‘force marshalling’ points on the table. Then it was up to the four team captains, a pair for each table, to tactically adjust their contingents of troops in accordance with their cunning plans, though keeping broadly in line with historical starting positions.

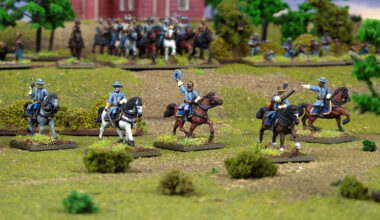
We played both tables separately with independent turns, but at the outset of the game, and at the start of Sunday’s game, team captains were free to move formations from one adjacent edge of the table to the other. The Sunday morning would also be an opportunity for the team captains to request reinforcements as needed: elements of Sykes’ V Corps for the Union and a fast-marching Pickett’s’ Division for the Confederacy. As the unbiased ‘game controller’ I also reserved the right to allocate these ahead of time if I felt the game might finish too early if one side or another collapsed! Privately, I was worried about the Confederate team: like their historical counterparts, they had, literally, an uphill battle – outnumbered and attacking a sound defensive position. So all their Brigadiers had a Staff Rating of Nine, compared to the Union Eight, and, of course, Rebel Yell! Each team captain had control of a C-in-C figure for re-rolls where the action was particularly critical. There was a whole range of interesting and useful optional rules we wanted to use, but, in the interests of simplicity in this grand scale game, we left it at that. For the same reason, Confederate mixed batteries of rifled and smoothbore guns were averaged out to one or the other to speed up calculations.
There were five objectives, one each laid by a team captain and the fifth by me, acting as unbiased ‘fate’. The skippers displayed their historical knowledge and gamesmanship by laying these on iconic locations along the Union ‘fishhook’: Culp’s Hill, Cemetery Ridge, the Copse of Trees, the Trostle House, and Little Big Top. The Union side got the first turn to represent their long-range fire at the advancing Rebels, and it was game on!
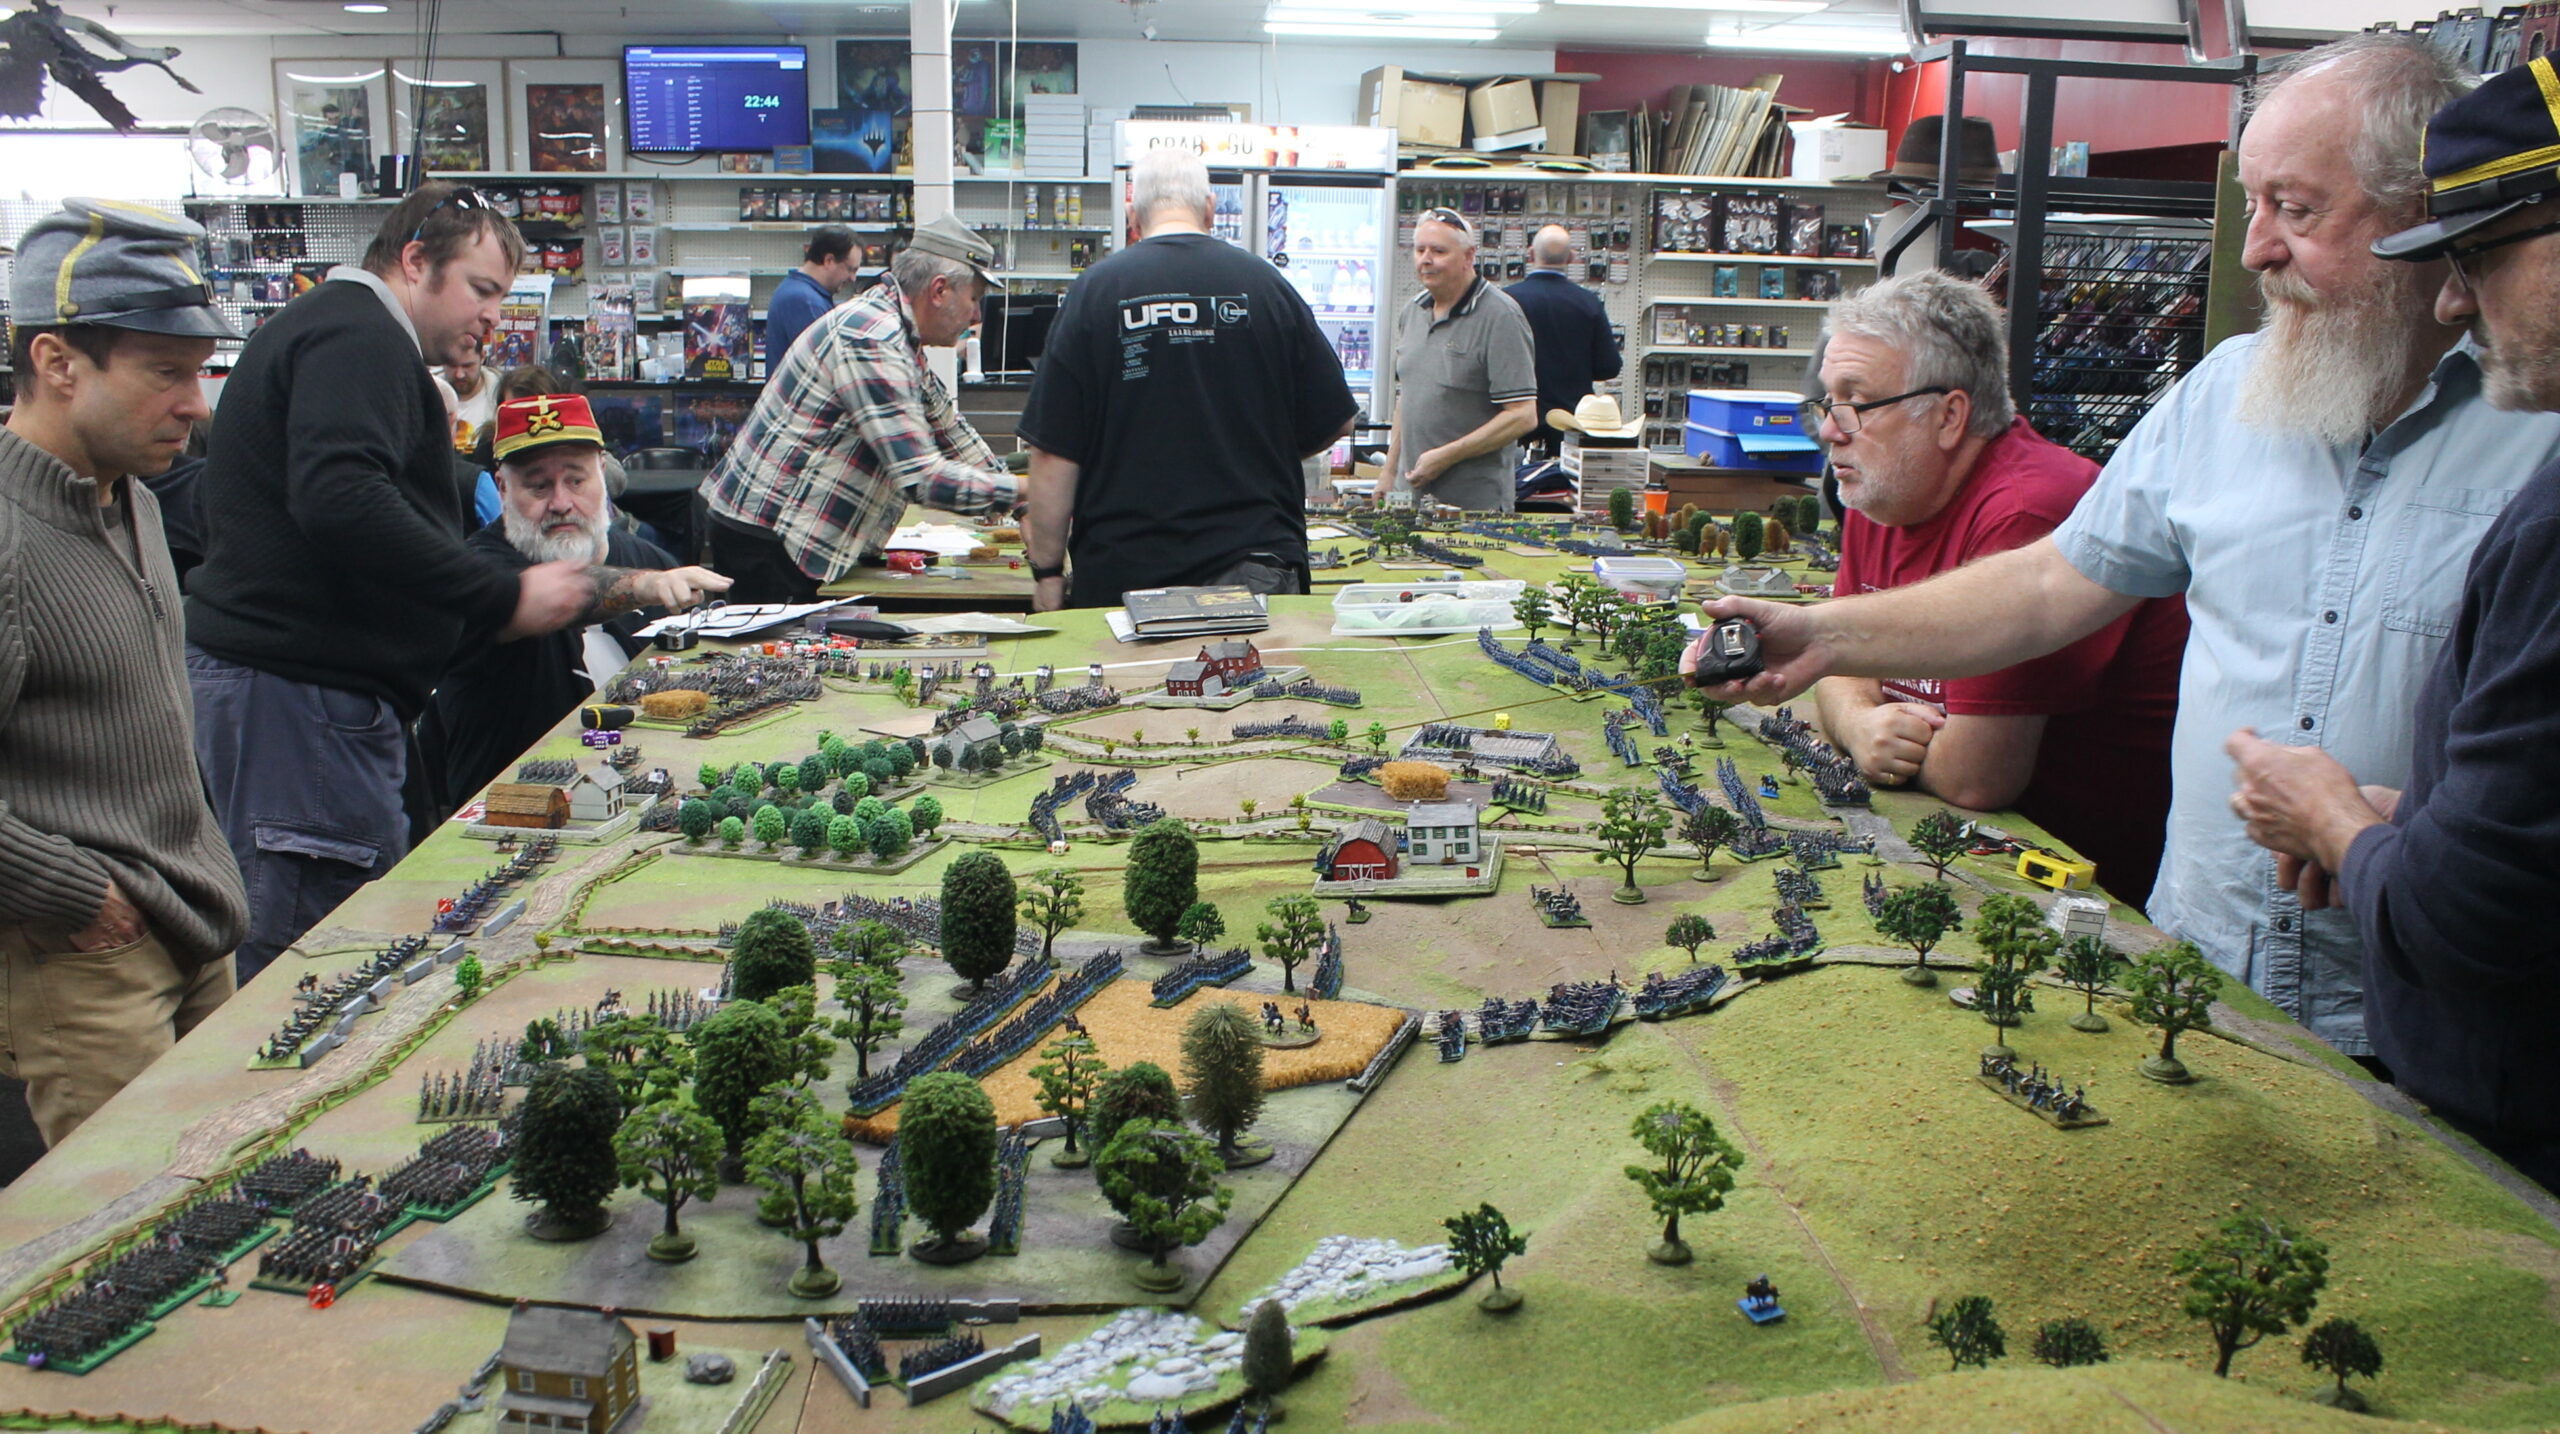
As was to be expected, the first few turns went fairly slowly as some of our players had yet to have actually played Black Powder and our selection of optional rules – for them, this was a baptism of fire! But we had a fair balance of newbies and old hands at Black Powder and the pace soon picked up. Experienced players from both teams were true gents in giving sound tactical advice along with rules explanations to their less-versed allies and opponents – the coupling of fierce and aggressive table play, with the sportsmanship displayed by all, was inspiring and showcased the best of our hobby.
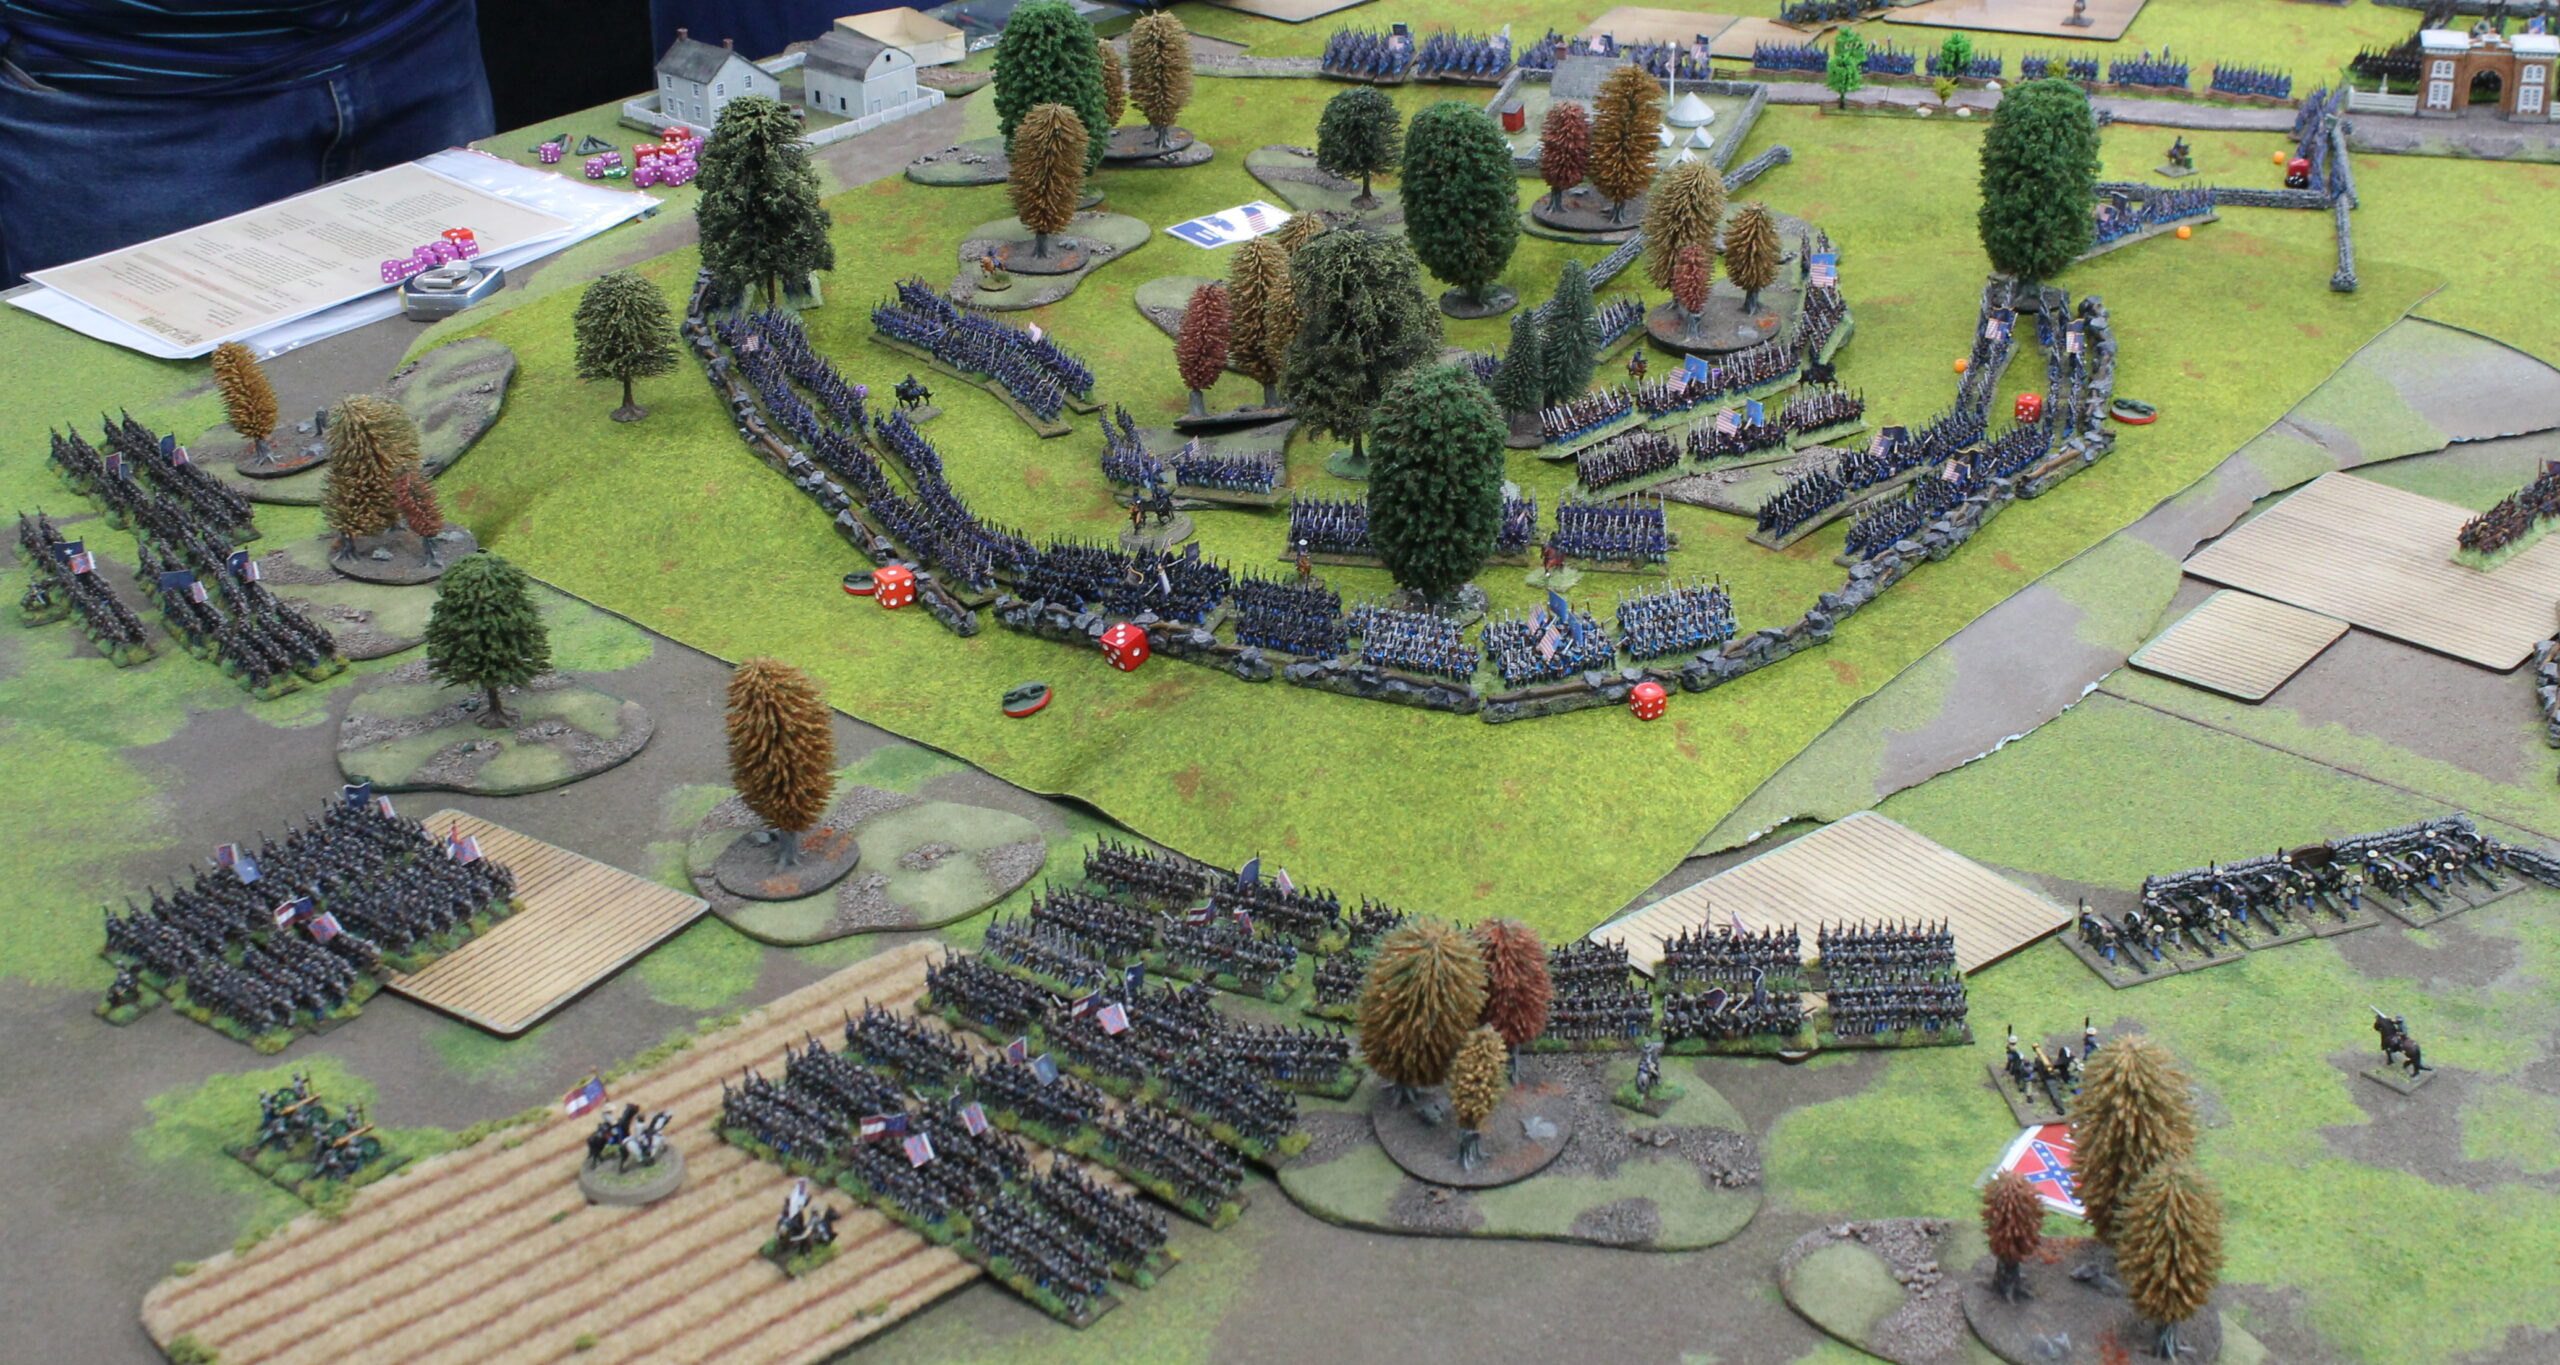
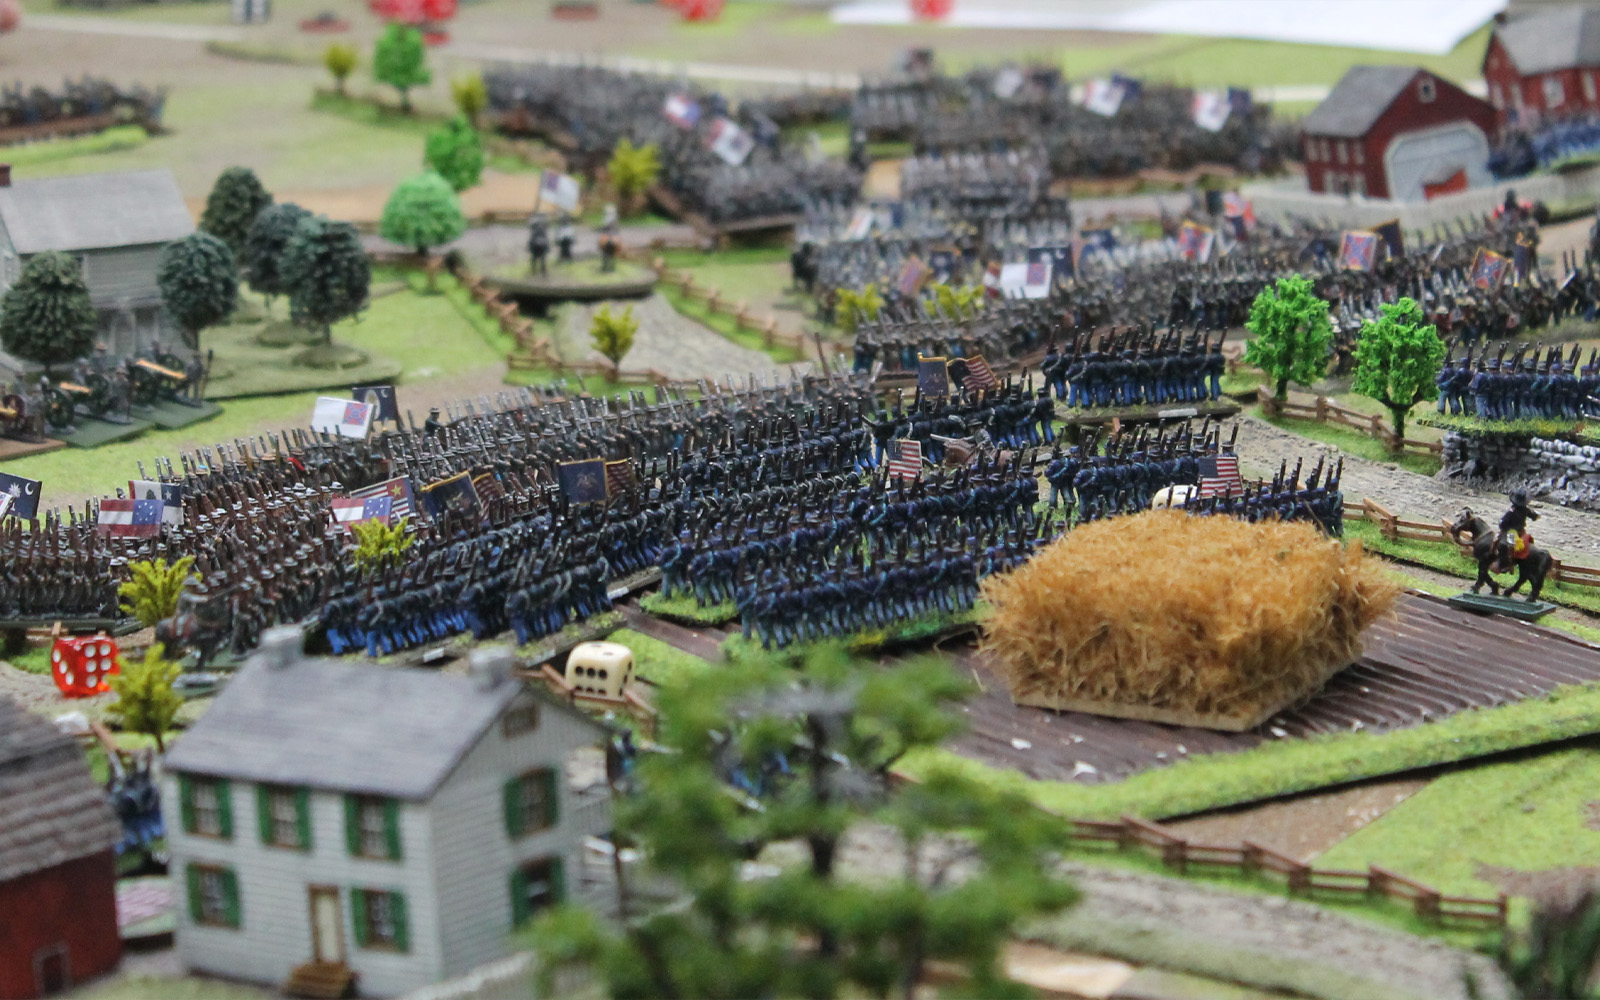
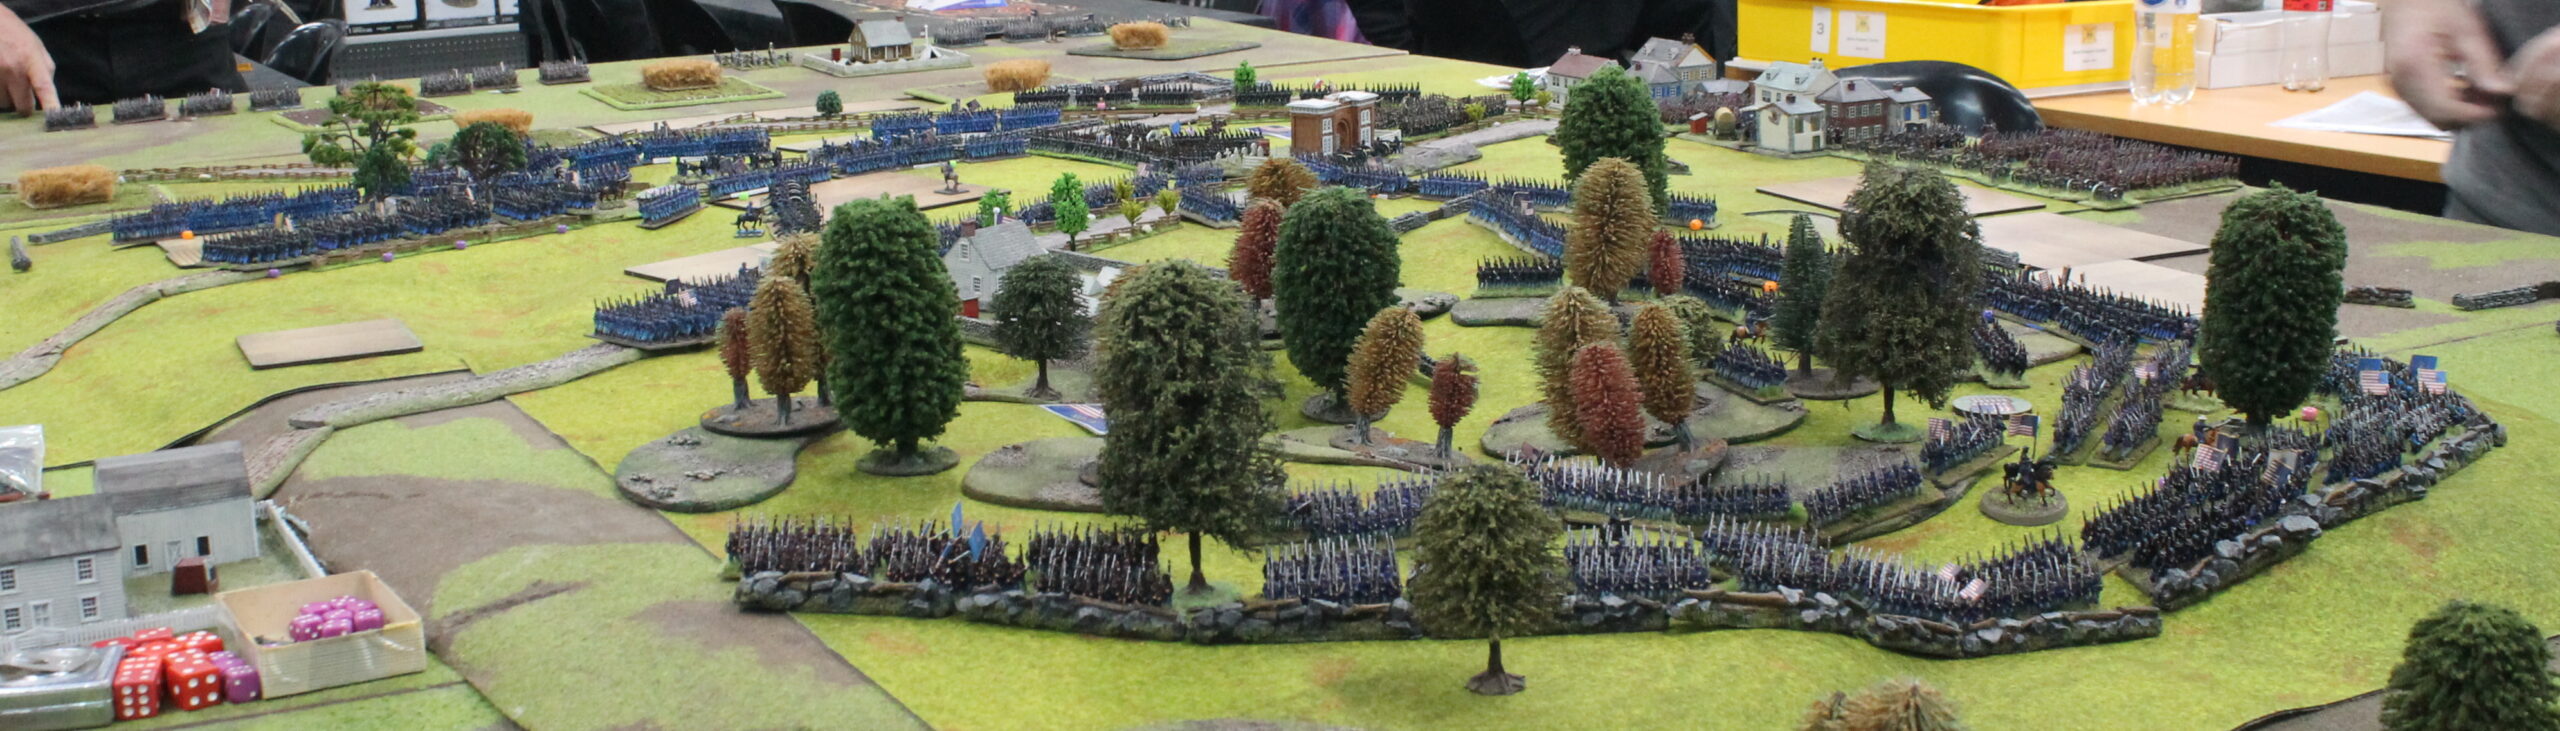
In a departure from historical accuracy, the Confederate attacks went in around the whole Union position in a coordinated fashion, quickly putting the Union teams on both tables under pressure. In the north on table one, half of Confederate General Hill’s III Corps attacked the Union Cemetery Hill salient from the west whilst the other half attacked from the north and east. Similarly, Ewell’s II Corps was soon wrapped virtually all-around Culp’s Hill pressing the attack. Thanks to the entrenchments on Culp’s Hill, the defences there looked in no danger of falling, but the northern part of Cemetery Ridge, under pressure from determined attacks from two sides, looked shaky! The iconic Cemetery Gatehouse resisted several charges until it finally fell to the concerted multi-pronged offensive. At the same time, blunders forced an entire Union brigade to advance, in march column, upon a massed Confederate battery – mayhem ensued! The Union team reluctantly ordered a retreat slightly back to Cemetery Hill itself, allowing them to engage once again with overhead artillery fire and shorten their lines. This proved to be a wise move as they were able to keep the rebels well away from the Cemetery Hill objective. This, coupled with relentless musketry from the defenders of Culp’s Hill, resulted in this objective remaining in Union hands, despite the gallantry of the Confederacy’s attack.
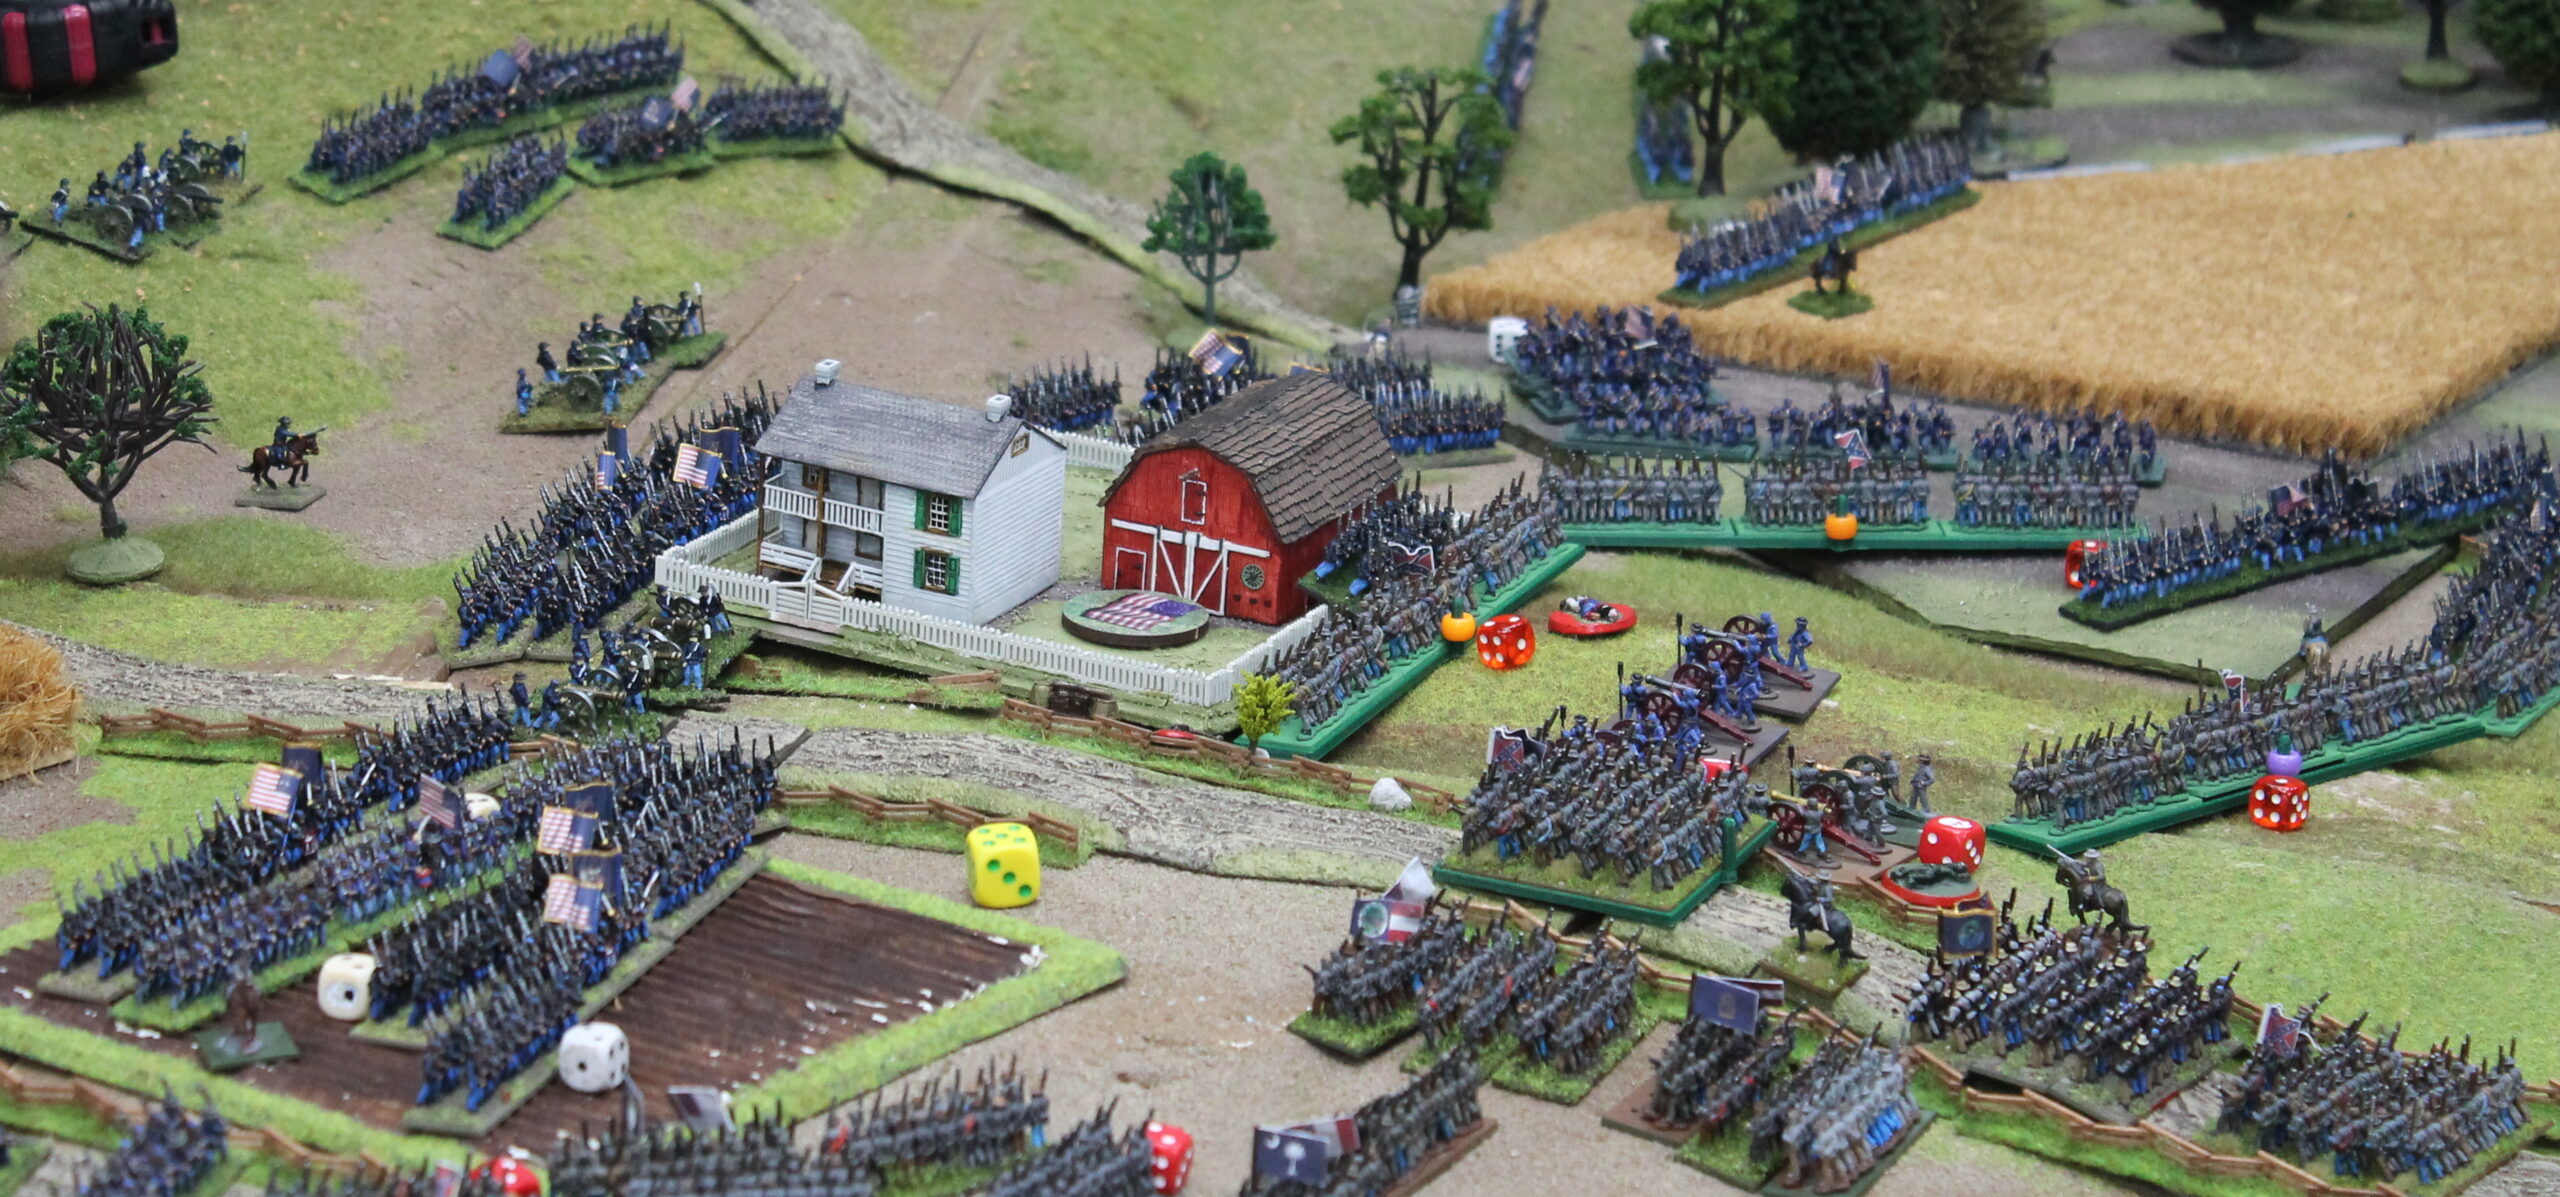
Further south on table two, Longstreet’s I Corps merely feinted at the difficult ground that stretched from Little Round Top, through Devil’s Den to Rose Woods. Instead, they chose to funnel most of their brigades down the Emmitsburg road. This was what General Lee had asked for historically, but the rebels never managed it on the day for a variety of reasons! Good use of hindsight by our rebel players! This resulted in a dense mass of troops confined to only a couple of avenues of advance up to the top of the ridge as they were hemmed in by the defended Codori Farm. Attacks and firefights all along the line seemed to be resulting in a stalemate, and that evening we agreed that the Confederate team on Table 2 would receive reinforcements in the form of Pickett’s Division. One brigade pressed into the Wheatfield and Rose Woods, the other two joined the massive scrum around the Codori Farm.
Reinforced and refreshed, the Confederate players on this flank persevered in pushing their densely packed troops into the meatgrinder, flowing around both sides of this island of resistance in a superb demonstration of that all-important principle of war – Concentration of Force! Eventually, battered by a relentless rebel artillery barrage and besieged on two sides, the Codori Farm eventually fell. The victorious rebels, their blood up, surged forward up to the Copse of Trees, went on to take a Union battery and wipe out its infantry supports, but were eventually stopped short of their goal by close-range musketry from a rock-steady line of dark blue infantry! Meanwhile, further south again, the rebels of Law’s Brigade (of Hood’s Division) put in attack after attack against the Trostle House, interspersed with what I can only describe as ‘artillery charges’ of increasingly close-range bombardments. Hood’s rebels finally evicted the stubborn defenders of the Trostle House to wrest the objective into Confederacy control. This was the first, and only, objective to change hands over the entire weekend!
By this stage in the early afternoon on Sunday I had lost track of the number of turns played on either table, certainly well over a dozen. But once the smoke had cleared it was time to assess the outcome. For me, it was enough that the game had teetered this way and that over the whole weekend and that our players’ tactics were smart, reactionary where needed but above all gentlemanly. But I suppose most wargamers would like a more clear distinction as to which sside carried the day…
It was a draw on Table 2 South – Cemetery Ridge. The Confederates did break through at the Trostle House but used up their reserves to do so, whilst the Union reserves were intact and spent the day drinking coffee. It was a Union victory on Table 1 North – Cemetery Hill and Culp’s Hill, with both objectives firmly in Union hands. So – one draw, one Union victory, which equals an overall minor victory for the forces of the Union!
Several players remarked on how playing Gettysburg in this scale really developed their historical understanding of the battle, in particular how Culp’s Hill, sometimes overlooked in 28mm wargaming due to the challenges of fighting with large models on steep and wooded terrain, was key to the whole battle.
Overall, the weekend was a great success, enjoyed by a group of players with wildly differing levels of experience of Black Powder. One of our newbies to the game had the following to say of the experience: “It was a close-run thing. Thanks to all that came and made the weekend truly memorable for me. I met new gamers and consolidated friendships built on casual gaming in the past. It piqued my interest in the American Civil War and I learned a lot about the battle both in playing and preparing for the game.”
by Ralph Hart
Getting Started with Epic Battles: American Civil War
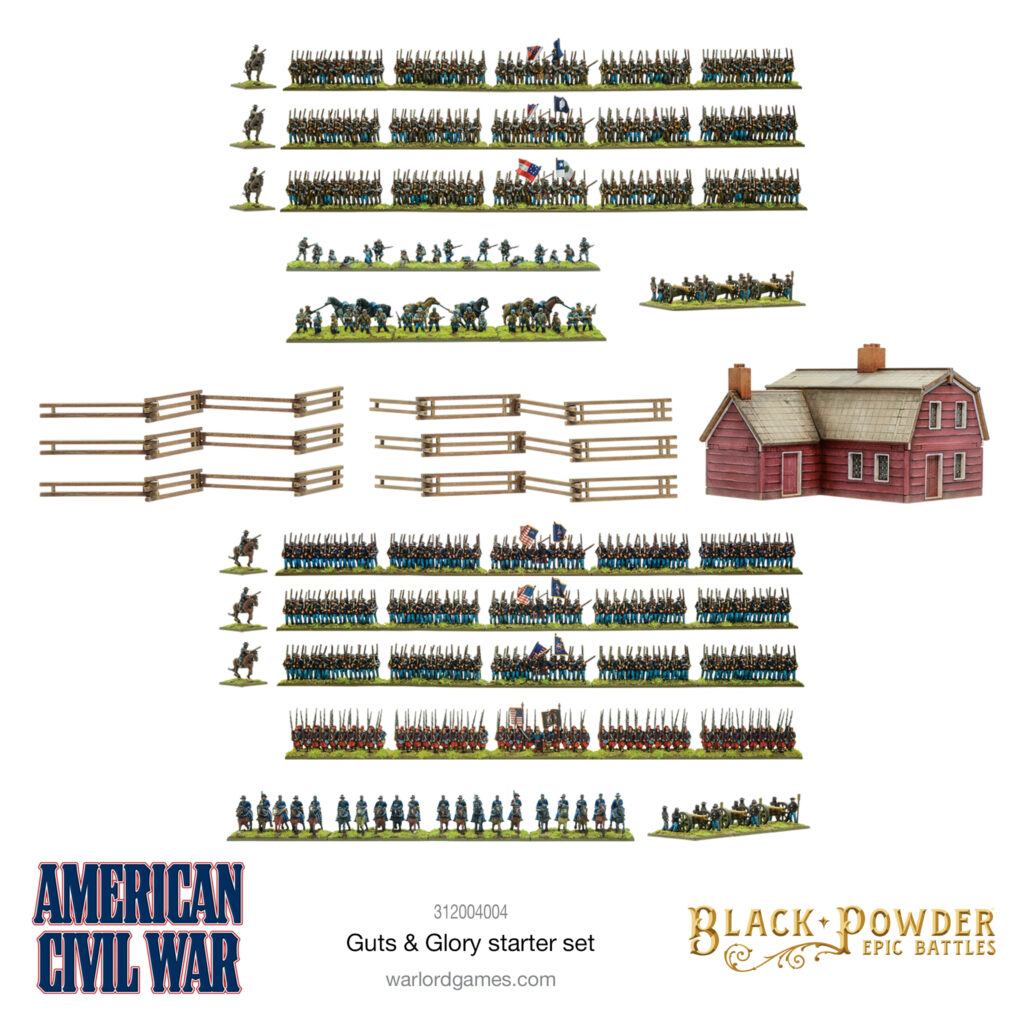
Guts & Glory
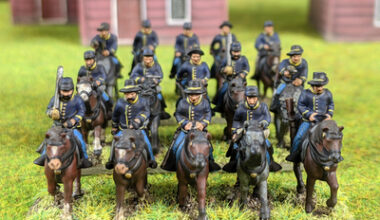
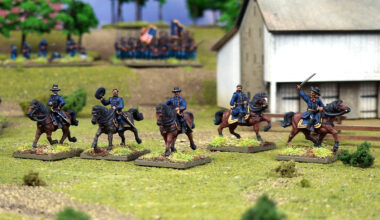
This starter set is ideal for new players easing their way into Black Powder Epic Battles for the first time, or even those who want a healthy number of reinforcements for an existing army. In here you’ll find enough for a regiment each of zouaves, cavalry, dismounted cavalry and skirmishers, as well as six regiments of infantry, cannon & mounted commanders. In addition, we have a Dutch-style barn and snake fences in laser-cut MDF and everything you need to get playing, and with flag sheets included for both Union and Confederates, you’re not tied down to a particular side.
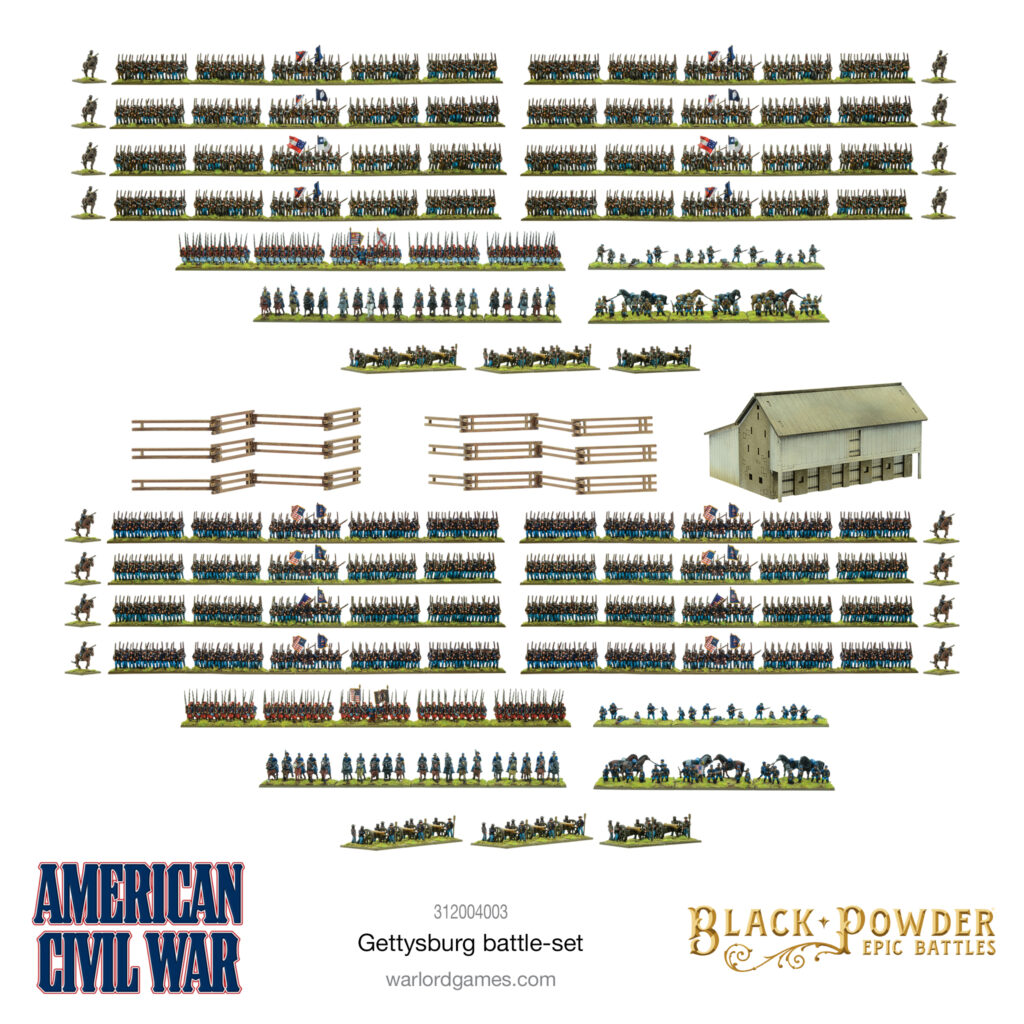
Gettysburg Battle-Set
For those who want to follow Ralph’s example and go big (and who doesn’t?) we have the superb value battle-set, Gettysburg. This is the ultimate way to get started with Epic Battles, with two massive armies in colour-coded plastic, MDF scenery pieces and just about everything you need to get playing the American Civil War on the epic scale it deserves. The Gettysburg Battle-Set contains:
- Union army (blue plastic) – 8 infantry regiments, 1 Zouave regiment, 1 cavalry regiment, 1 dismounted cavalry regiment, 1 skirmishers regiment, 8 cannon & 8 mounted commanders
- Confederate army (grey plastic) – 8 infantry regiments, 1 Zouave regiment, 1 cavalry regiment, 1 dismounted cavalry regiment, 1 skirmishers regiment, 8 cannon & 8 mounted commanders
- Green plastic bases for all figures
- A5 Black Powder rulebook
- 36-page American Civil War background, scenario and supplemental rule booklet
- Flag sheets for both Union and Confederate forces
- Laser-cut MDF farm building
- Laser-cut MDF Snake fences
- Six D6 dice