The new edition of Hail Caesar is almost upon us, so we invited a pair of avid wargamers to Warlord Games HQ to do glorious tabletop battle! Lee’s Caesarian Romans (and their ever-present Auxiliaries) took on Scott’s Gauls in a clash of truly epic proportions that really went the distance – all fourteen turns of it!
The Army Lists
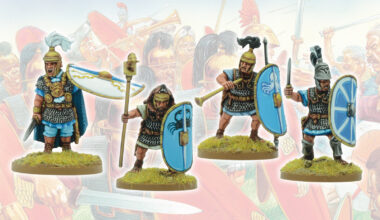
Lee’s Romans
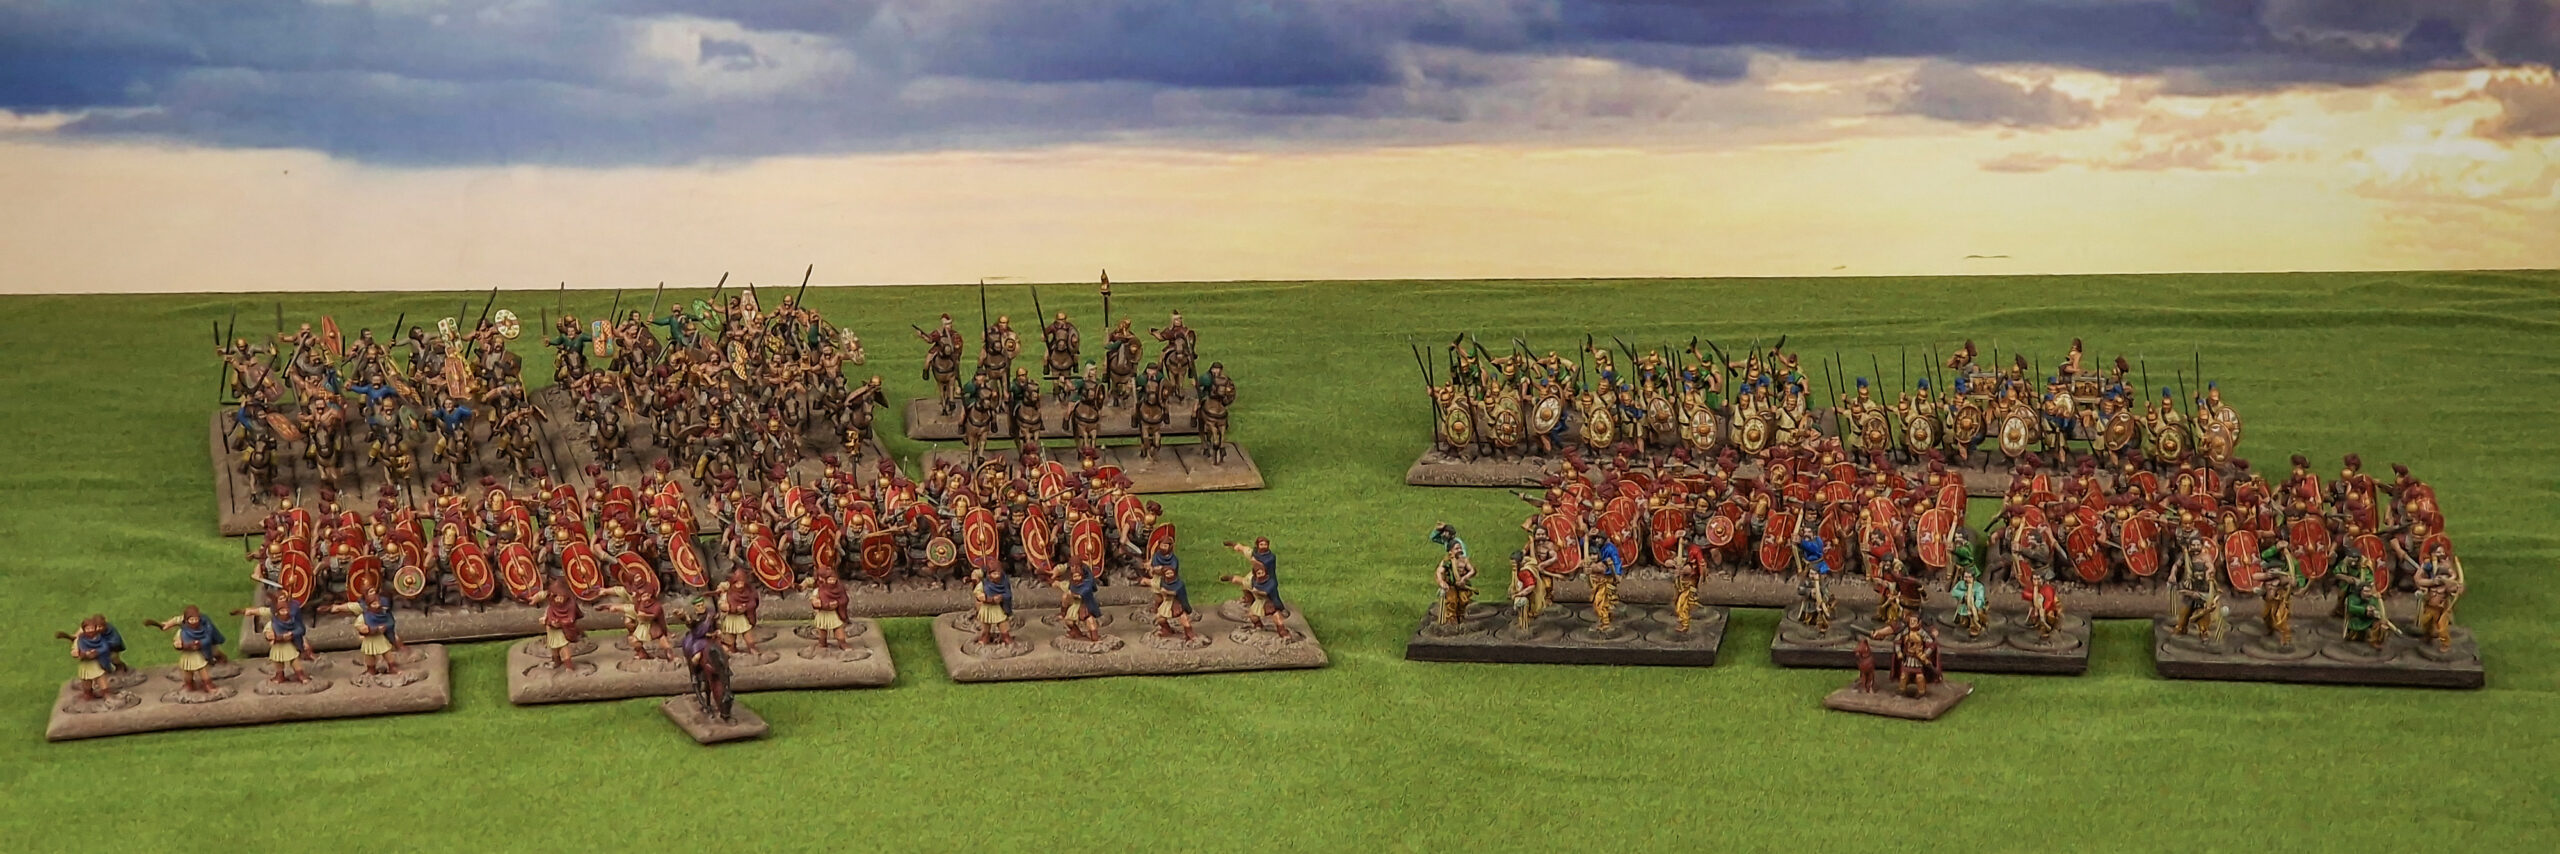
1st Division (Legio X Equestris)
- Legionary Heavy Infantry
- Legionary Heavy Infantry
- Legionary Heavy Infantry
- Legionary Heavy Infantry
- Skirmishers armed with slings
- Skirmishers armed with slings
- Skirmishers armed with slings
2nd Division (Legio IX Hispana)
- Legionary Heavy Infantry
- Legionary Heavy Infantry
- Legionary Heavy Infantry
- Legionary Heavy Infantry
- Skirmishers armed with bows
- Skirmishers armed with bows
- Skirmishers armed with bows
3rd Division (Cavalry Auxilia)
- German Medium Cavalry
- German Medium Cavalry
- German Medium Cavalry
- German Medium Cavalry
- Spanish Light Cavalry (Small Unit)
- Spanish Light Cavalry (Small Unit)
4th Division (Illyrian/Thracian Auxilia)
- Illyrian Light Infantry (with long spears)
- Illyrian Light Infantry (with long spears)
- Illyrian Light Infantry (with long spears)
- Thracian Light Infantry (with double-handed rhomphaia)
- Light artillery scorpion bolt throwers
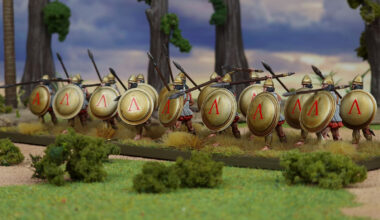
Scott’s Gauls
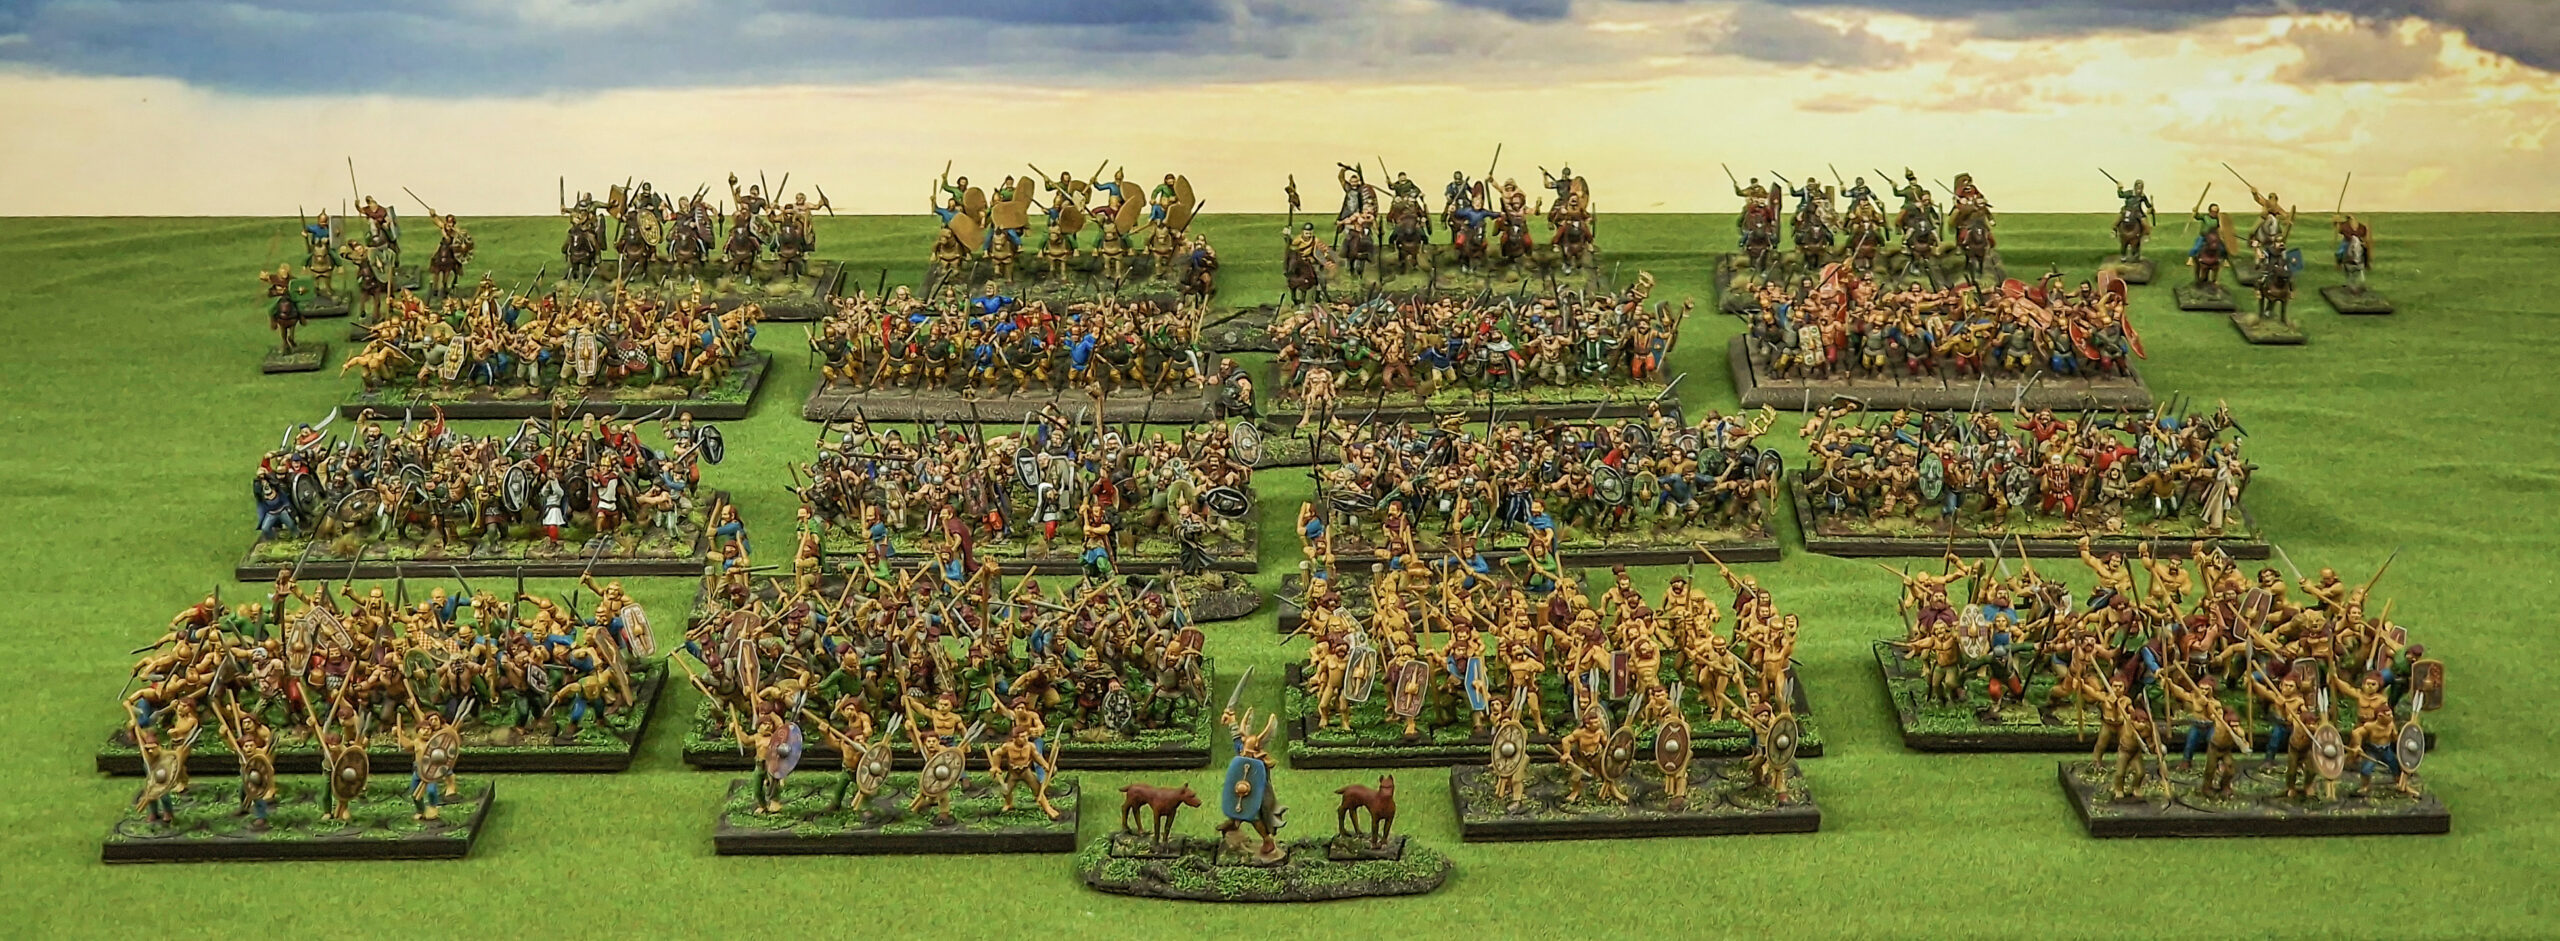
Gallic King’s Division
- General’s Guard Medium Infantry Warband
- Gaesatae Medium Infantry Warband
- Medium Infantry Warband
- Medium Infantry Warband
- Skirmishers with javelins (Small Unit)
- Skirmishers with javelins (Small Unit)
- Skirmishers with javelins (Small Unit)
- Skirmishers with javelins (Small Unit)
2nd Division
- Medium Infantry Warband
- Medium Infantry Warband
- Medium Infantry Warband
- Medium Infantry Warband
- Skirmishers with bows
- Skirmishers with bows
German Allied Division
- Medium Infantry Warband (German Allies)
- Medium Infantry Warband (German Allies)
- Medium Infantry Warband (German Allies)
- Medium Infantry Warband (German Allies)
Cavalry Division
- Medium Cavalry
- Medium Cavalry
- Medium Cavalry
- Medium Cavalry
- Light Cavalry (Small Unit)
- Light Cavalry (Small Unit)
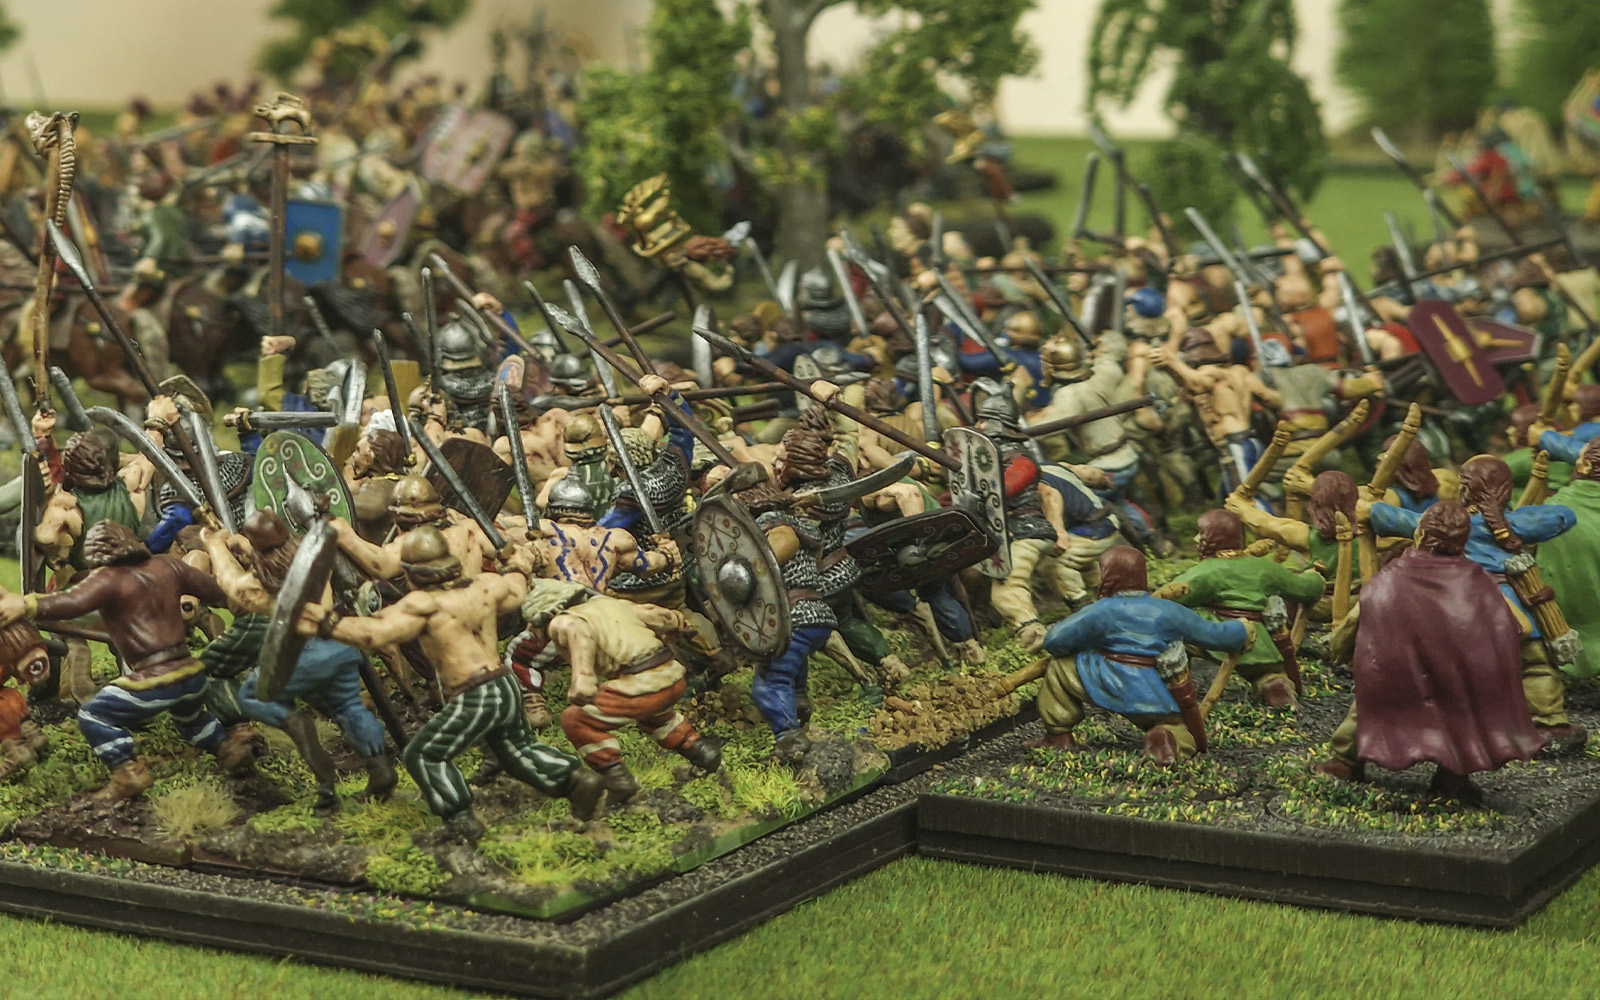
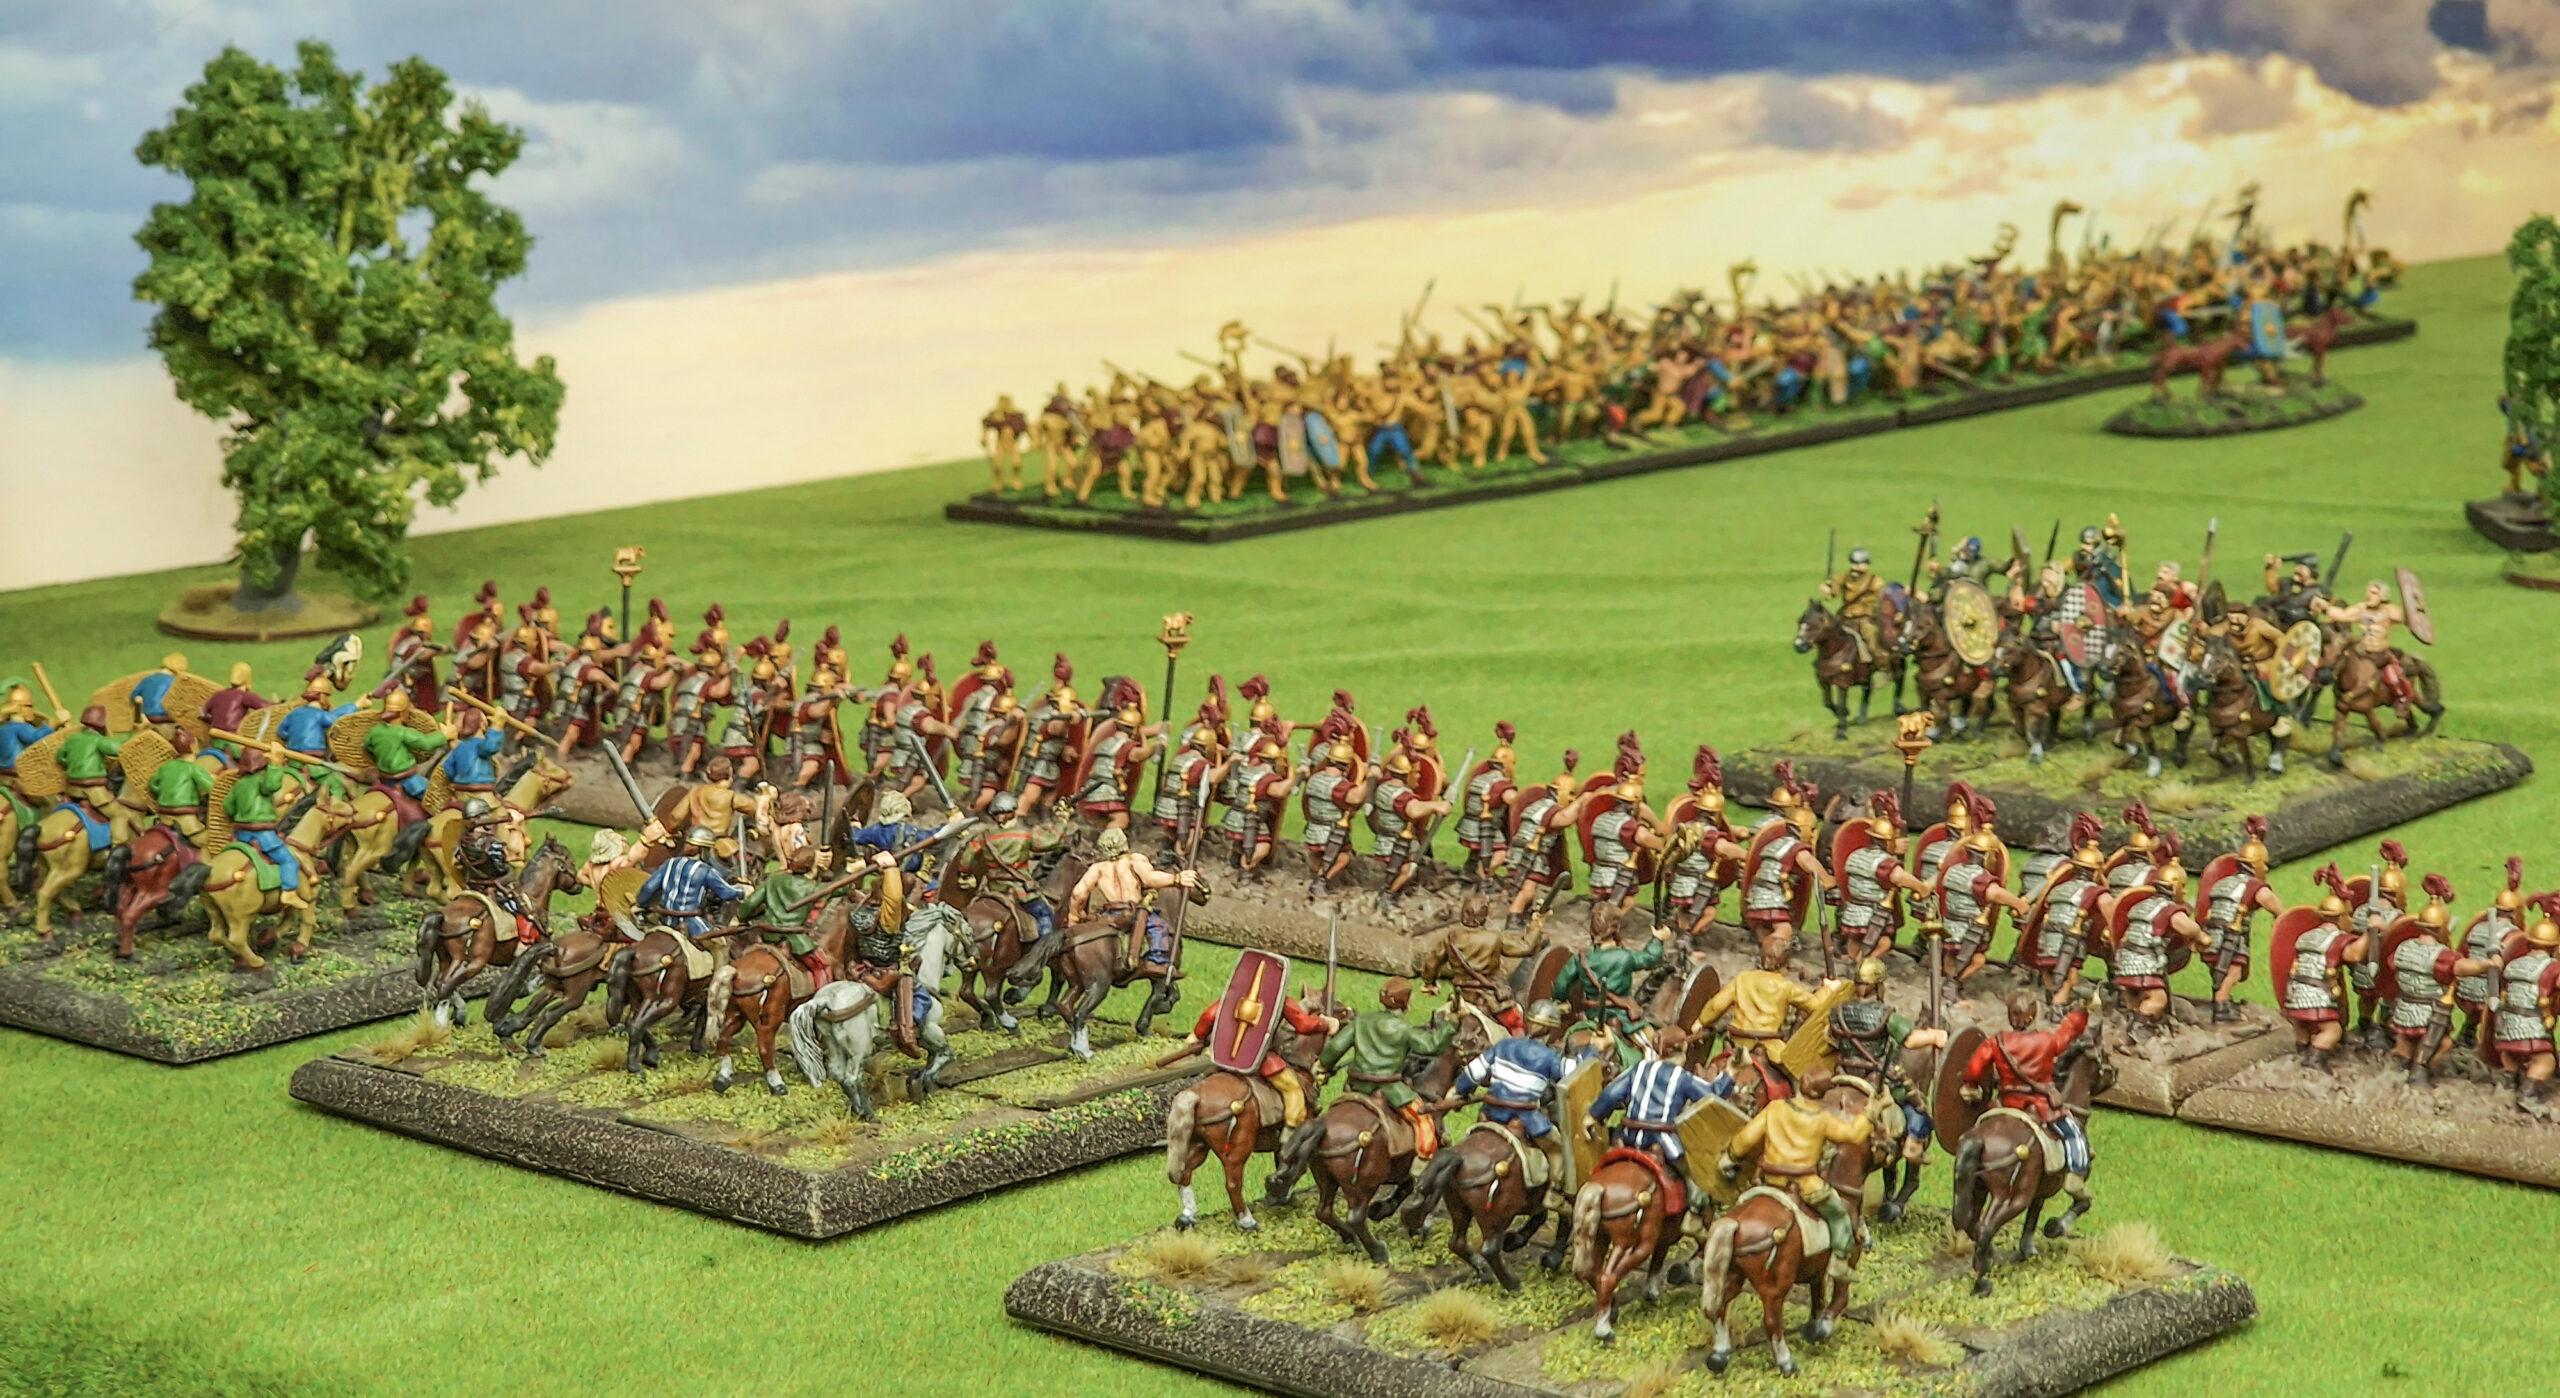
As the army lists show, this was by no means a small game – 4 divisions a side! To avoid a massively overcrowded board, Lee and Scott decided on Scenario 3, Meeting Engagement. This would see them bring their forces onto the table as the game progressed, one division at a time, provided that the division’s commander could pass a command roll. Scott won the roll-off, and gave the first turn to Lee’s Romans. The first couple of turns passed swiftly, as both sides began moving on to the table, only slightly hindered by some terrible command rolls from both Generals limiting their armies’ movement. Nevertheless, by turn 4 both sides were fully ensconced on the board, with the Roman right flank held by the mighty Tenth Legion and their Illyrian Auxilia, with the centre filled by their Thracian and German allies – trust a Roman army to have very few Romans! On the left, the Ninth Legion waited behind the woodlands, watched by the Gallic cavalry. The barbarian centre was held by the Gallic king’s division, while a veritable horde of Germanic mercenaries faced off against the 10th. The stage was surely set for a titanic clash!
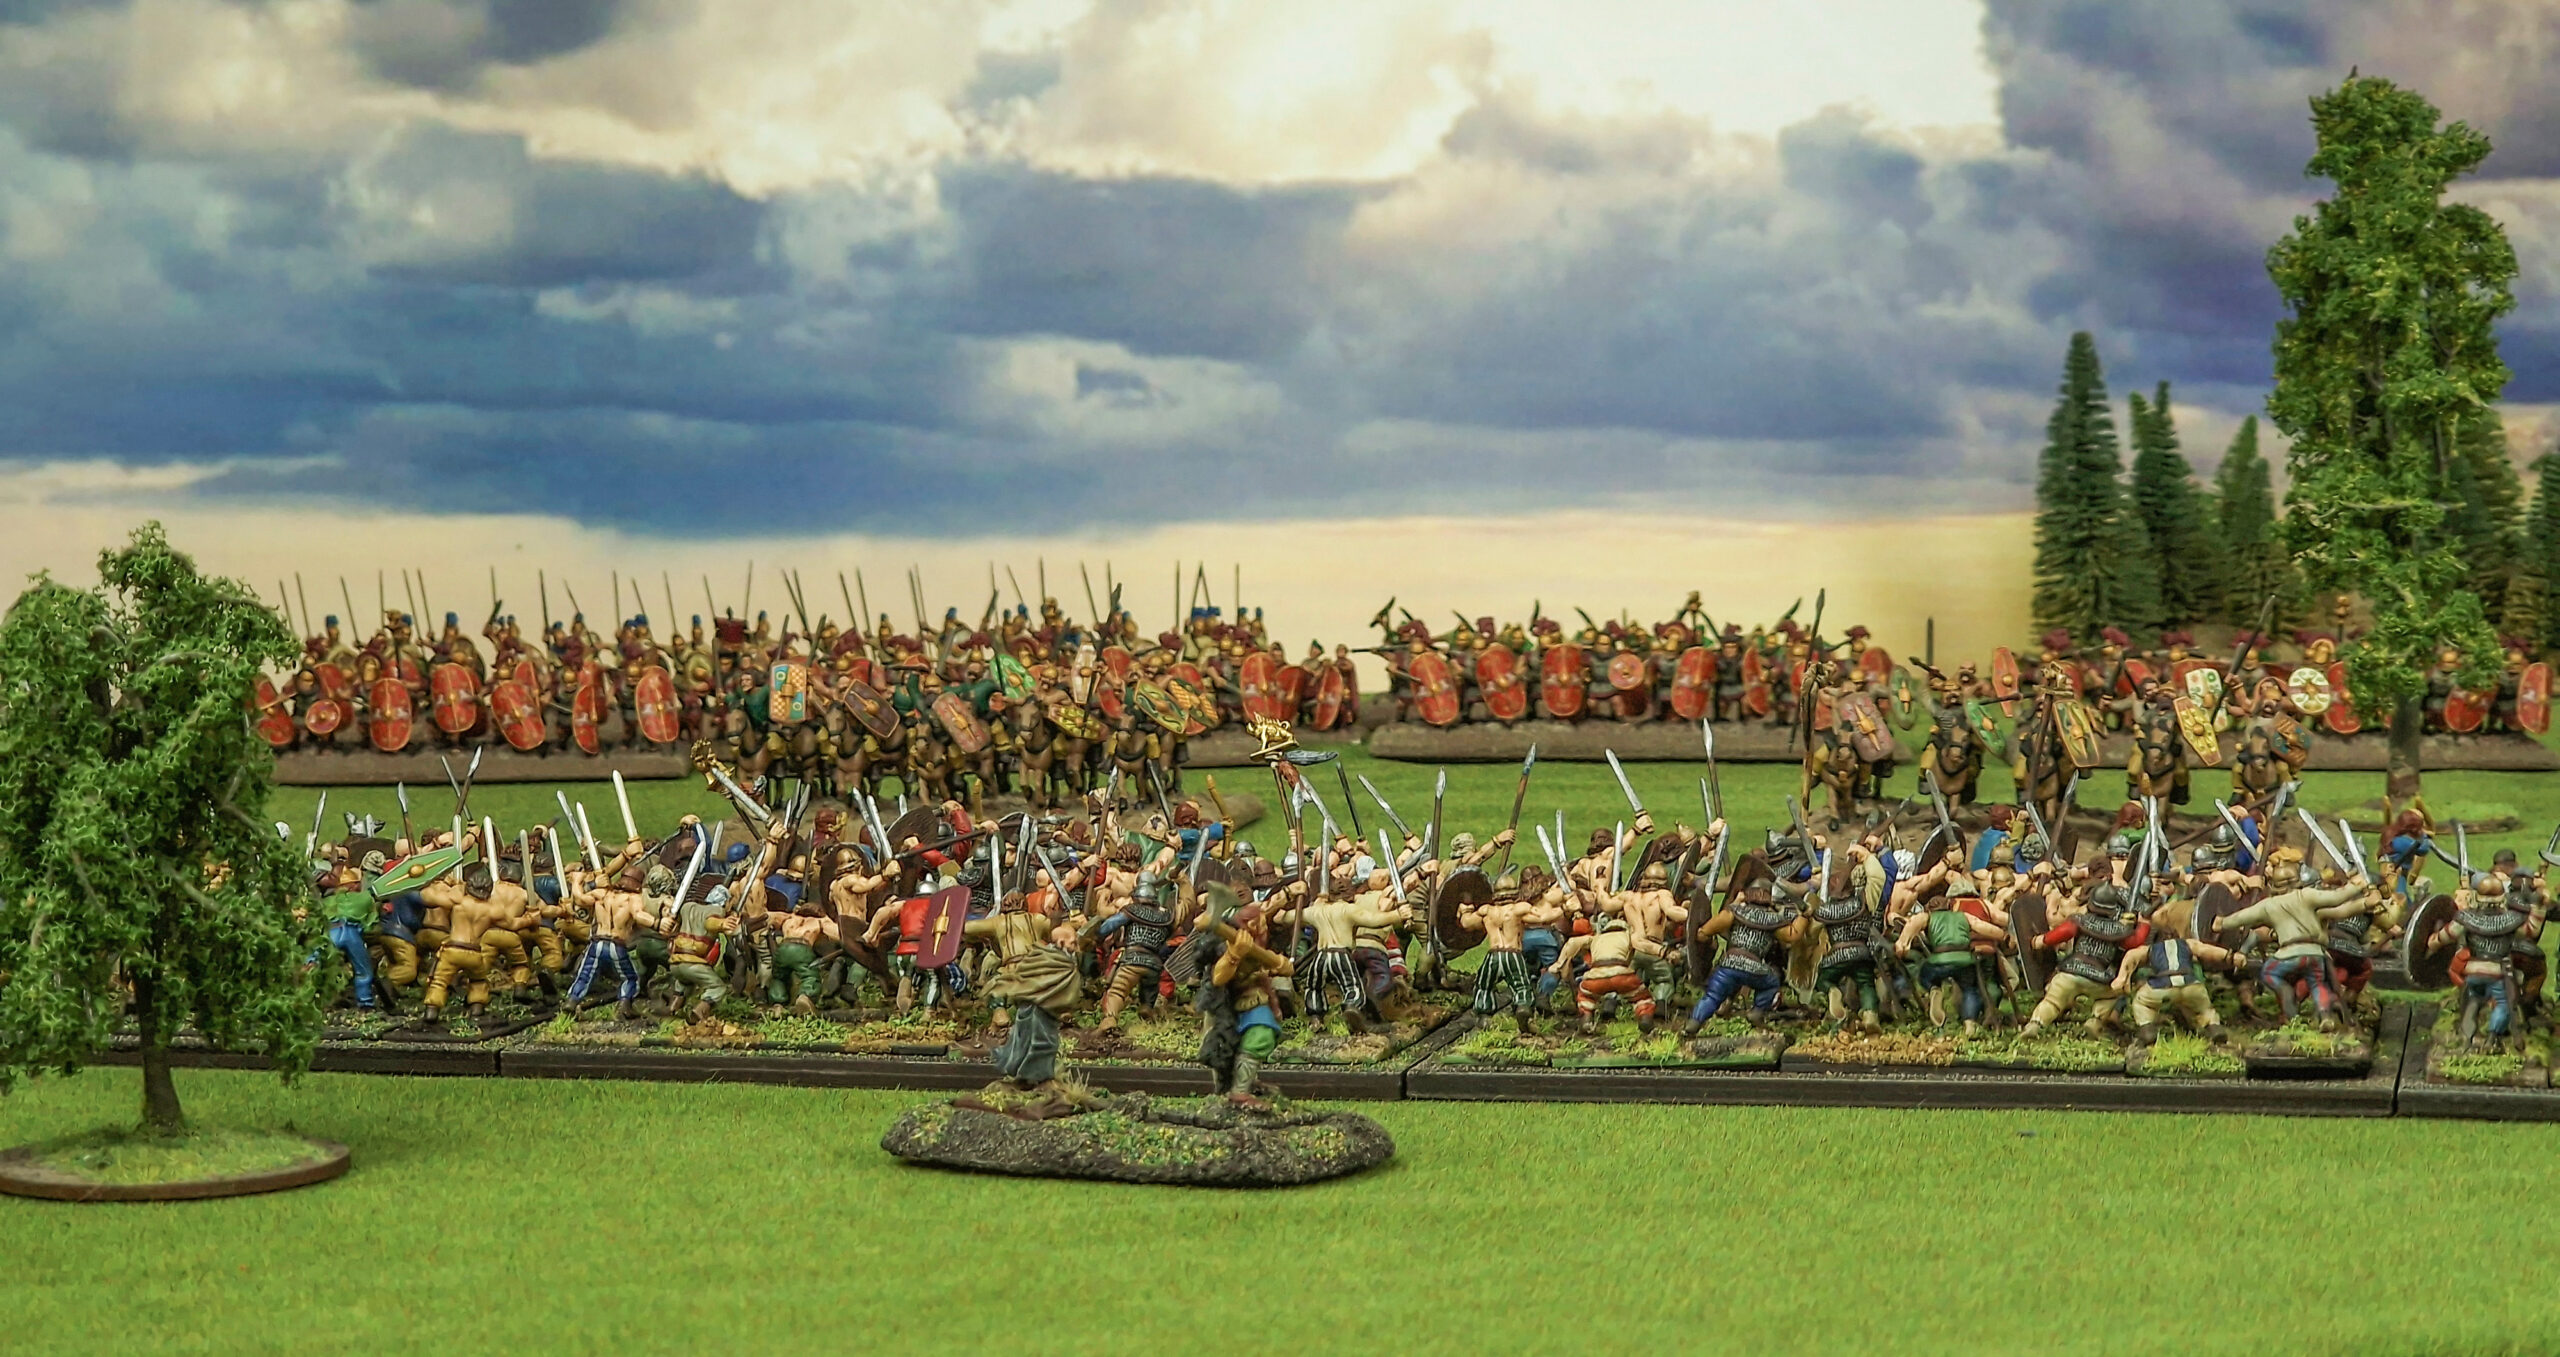
The fighting began with both sides’ skirmishers engaging in the centre of the board, with Scott’s Gauls initially getting the better of things, before Lee decided it was time to go on the offensive. On the left, the Ninth Legion were ordered forward, to charge the Gallic cavalry! Ordinarily, the horsemen would simply laugh and evade the charge, but the dice gods were unkind, and Scott Blundered on the roll. Fortunately, they still managed to withdraw, albeit not in the intended direction, but it does beg the question of quite how one manages to misinterpret “run away”! In a rather comedic turn of events, the Legionaries elected to pursue the cavalry, while the mounted Auxiliaries moved in to support them. A rain of javelins sent the Gauls falling back in disarray, fleeing through their supporting infantry and off the table! They’d have to miss at least a turn before attempting to come back on, and they had been badly knocked about by the missiles that’d come their way.
In response, Scott sprung his trap – while the rest of his forces pushed forwards, his fourth division, cunningly left in reserve, appeared on the Roman left – right behind the Ninth Legion! The Legionaries were in a nasty spot, and would need all the help they could get, but Scott was able to drive back much of Lee’s cavalry, leaving the Ninth looking rather isolated and probably wishing they were anywhere else. Lee remained unperturbed, however, and executed a tricky manoeuvre of his own. The rear units of the Ninth turned about-face to confront the Gauls to their rear, while the front units wheeled and advanced aggressively to put the King’s Division under pressure. Meanwhile, his central Auxiliary cavalry charged forward, and even a Blunder couldn’t stop them from smashing home. What followed was a truly spectacular display of Lee’s dice-rolling ability, and… rather the opposite from Scott! The cavalrymen ran roughshod over the enemy warband, causing a huge pile of casualties and sending the Gauls fleeing in Disorder. Pursuing, they were countercharged by supporting Gallic cavalry – undaunted, they simply started swinging, and in a few bloody seconds (and a spot of awful rolling from Scott) the Gallic horsemen were running for the hills, and off the table. The Auxiliaries were on a roll! On the other flank, meanwhile, the Tenth Legion failed to achieve a low enough score on their command roll to charge the enemy to their front, and so shuffled awkwardly towards them instead. This left them in a prime position for the Germans infantry to charge them next turn, and Scott was keen to oblige!
All across the board, Scott’s horde surged forward, eager to get to grips with their hated Roman adversaries. Clearly, the dice gods approved of such aggressive action, as his command rolls went off without a hitch. The cavalry who had previously fled in disgrace now returned, clearly having taken the scenic route back, behind the Ninth Legion’s positions, while the rest of the army launched an all-out assault on the Roman lines. The Ninth, now outflanked on two sides and in serious trouble, were hit by the Gallic infantry that had come on behind them the previous turn, and one cohort of Legionaries broke and was destroyed by the onslaught. A Sweeping Advance carried the Gauls into the next cohort in line, dealing enough casualties that it too broke and fled – finally, the mysterious fate of the Ninth Legion was becoming all too clear!
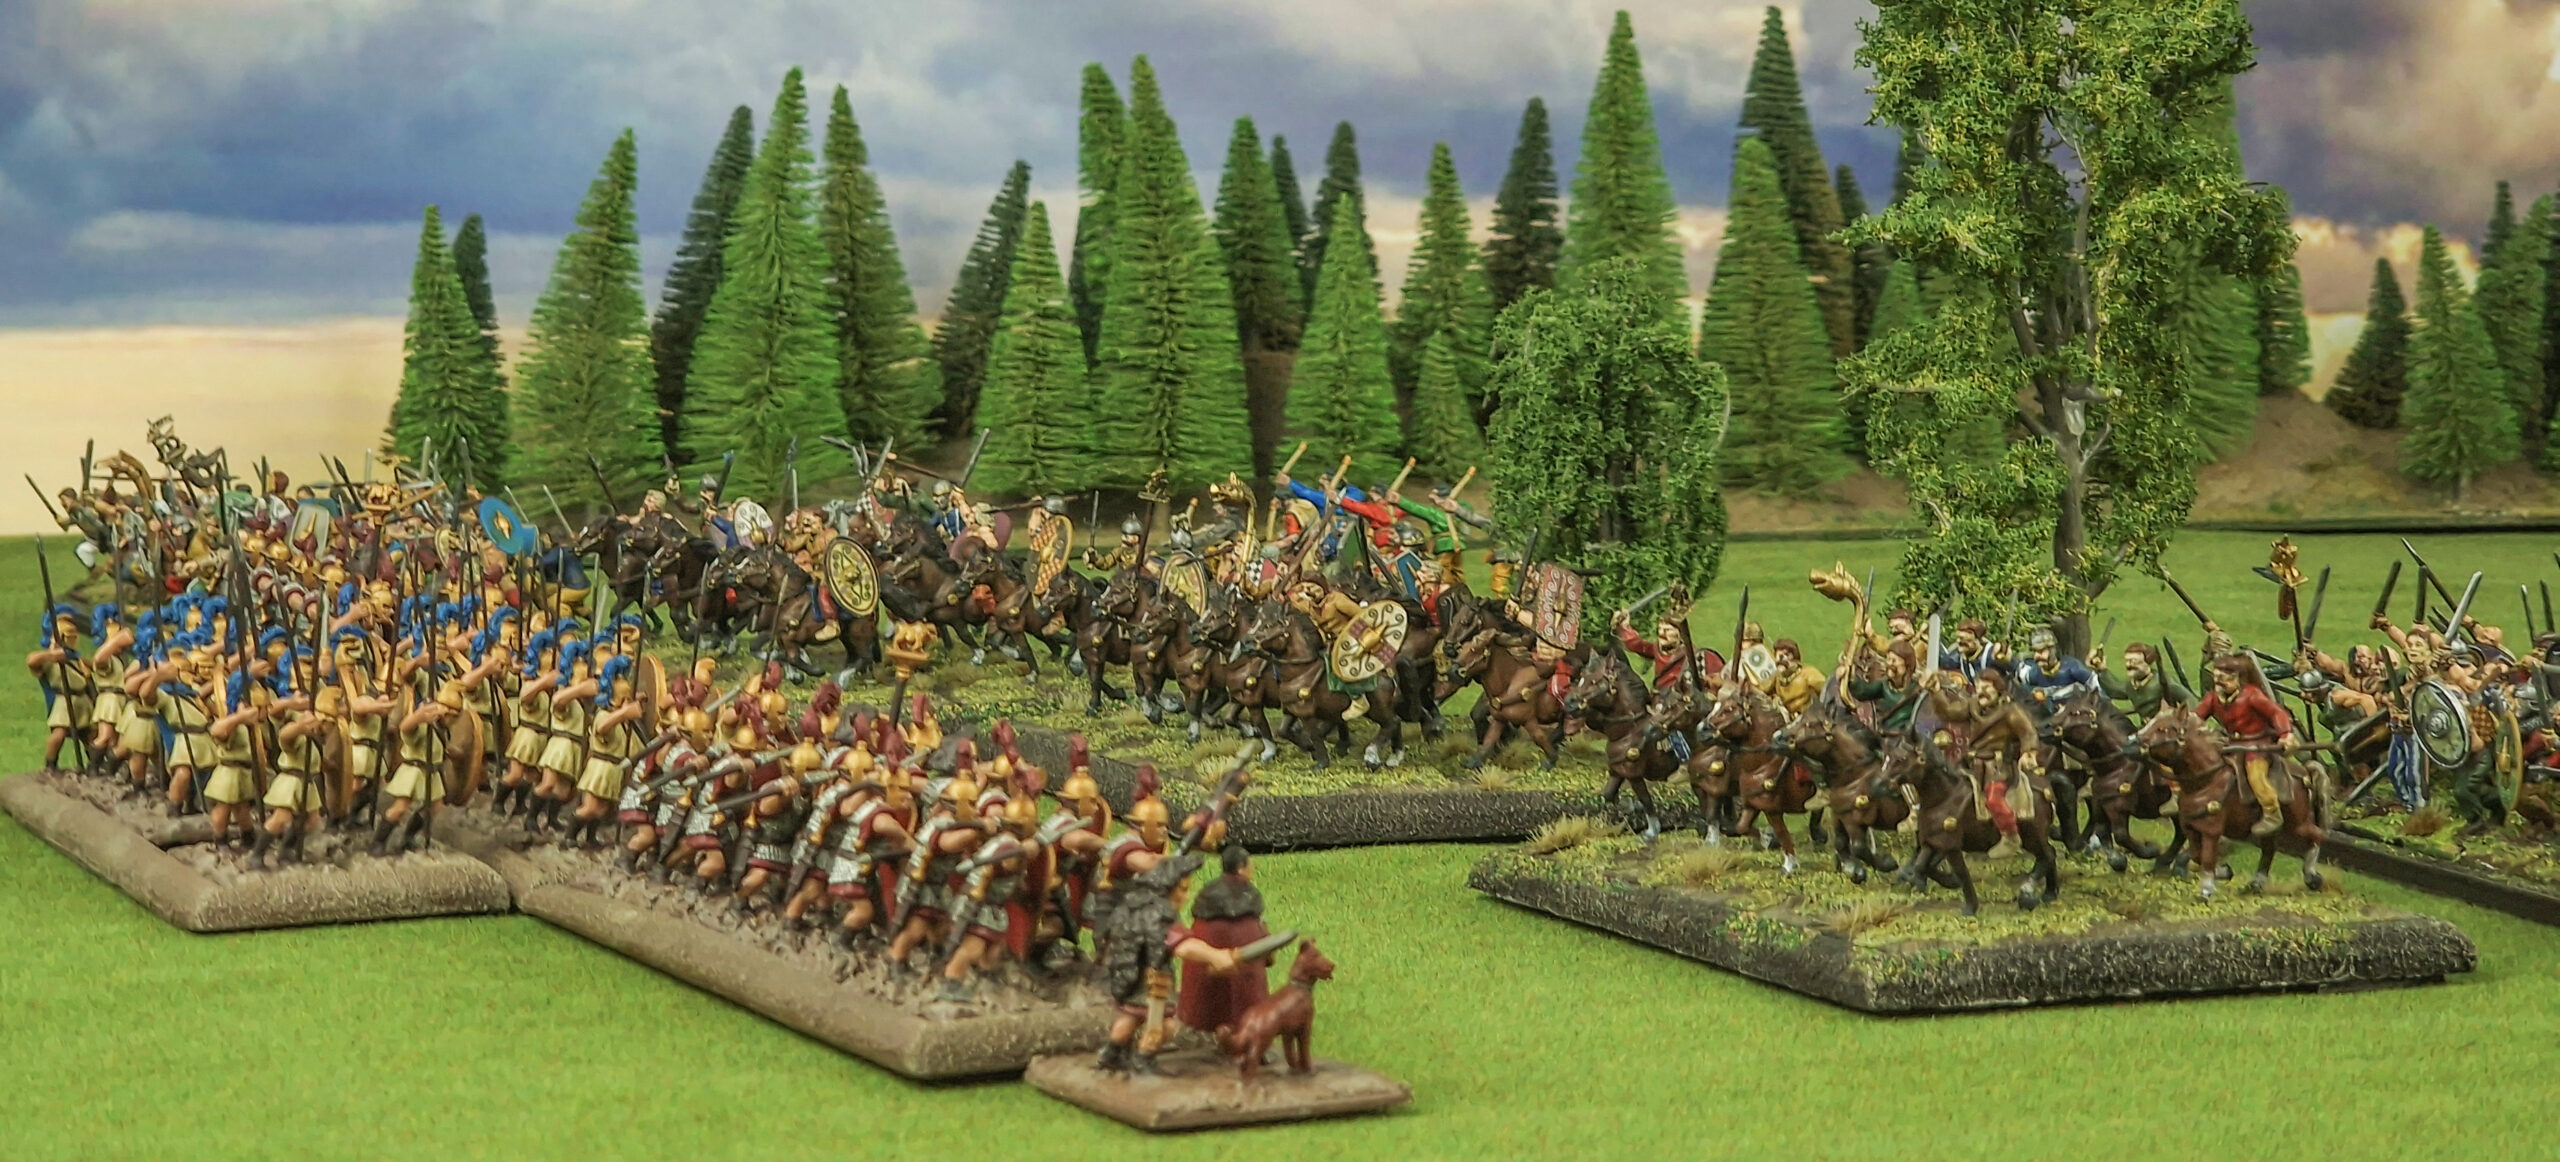
On the right, however, the Romans were able to put up far stiffer resistance, with the Tenth Legion opting not to use their Close Order formation in favour of dealing as much damage to the onrushing barbarians as possible. The feared Gaesatae naked fanatics charged in, screaming their war cries, hair and… everything flying in the wind – surely, nothing could stop them… except some truly awful dice rolls. They were dismissively pushed back by the Legionaries, having inflicted no damage. Further along the line, the combat raged, with the Tenth pushing their foes back, while trading a Cohort destroyed for a warband annihilated.
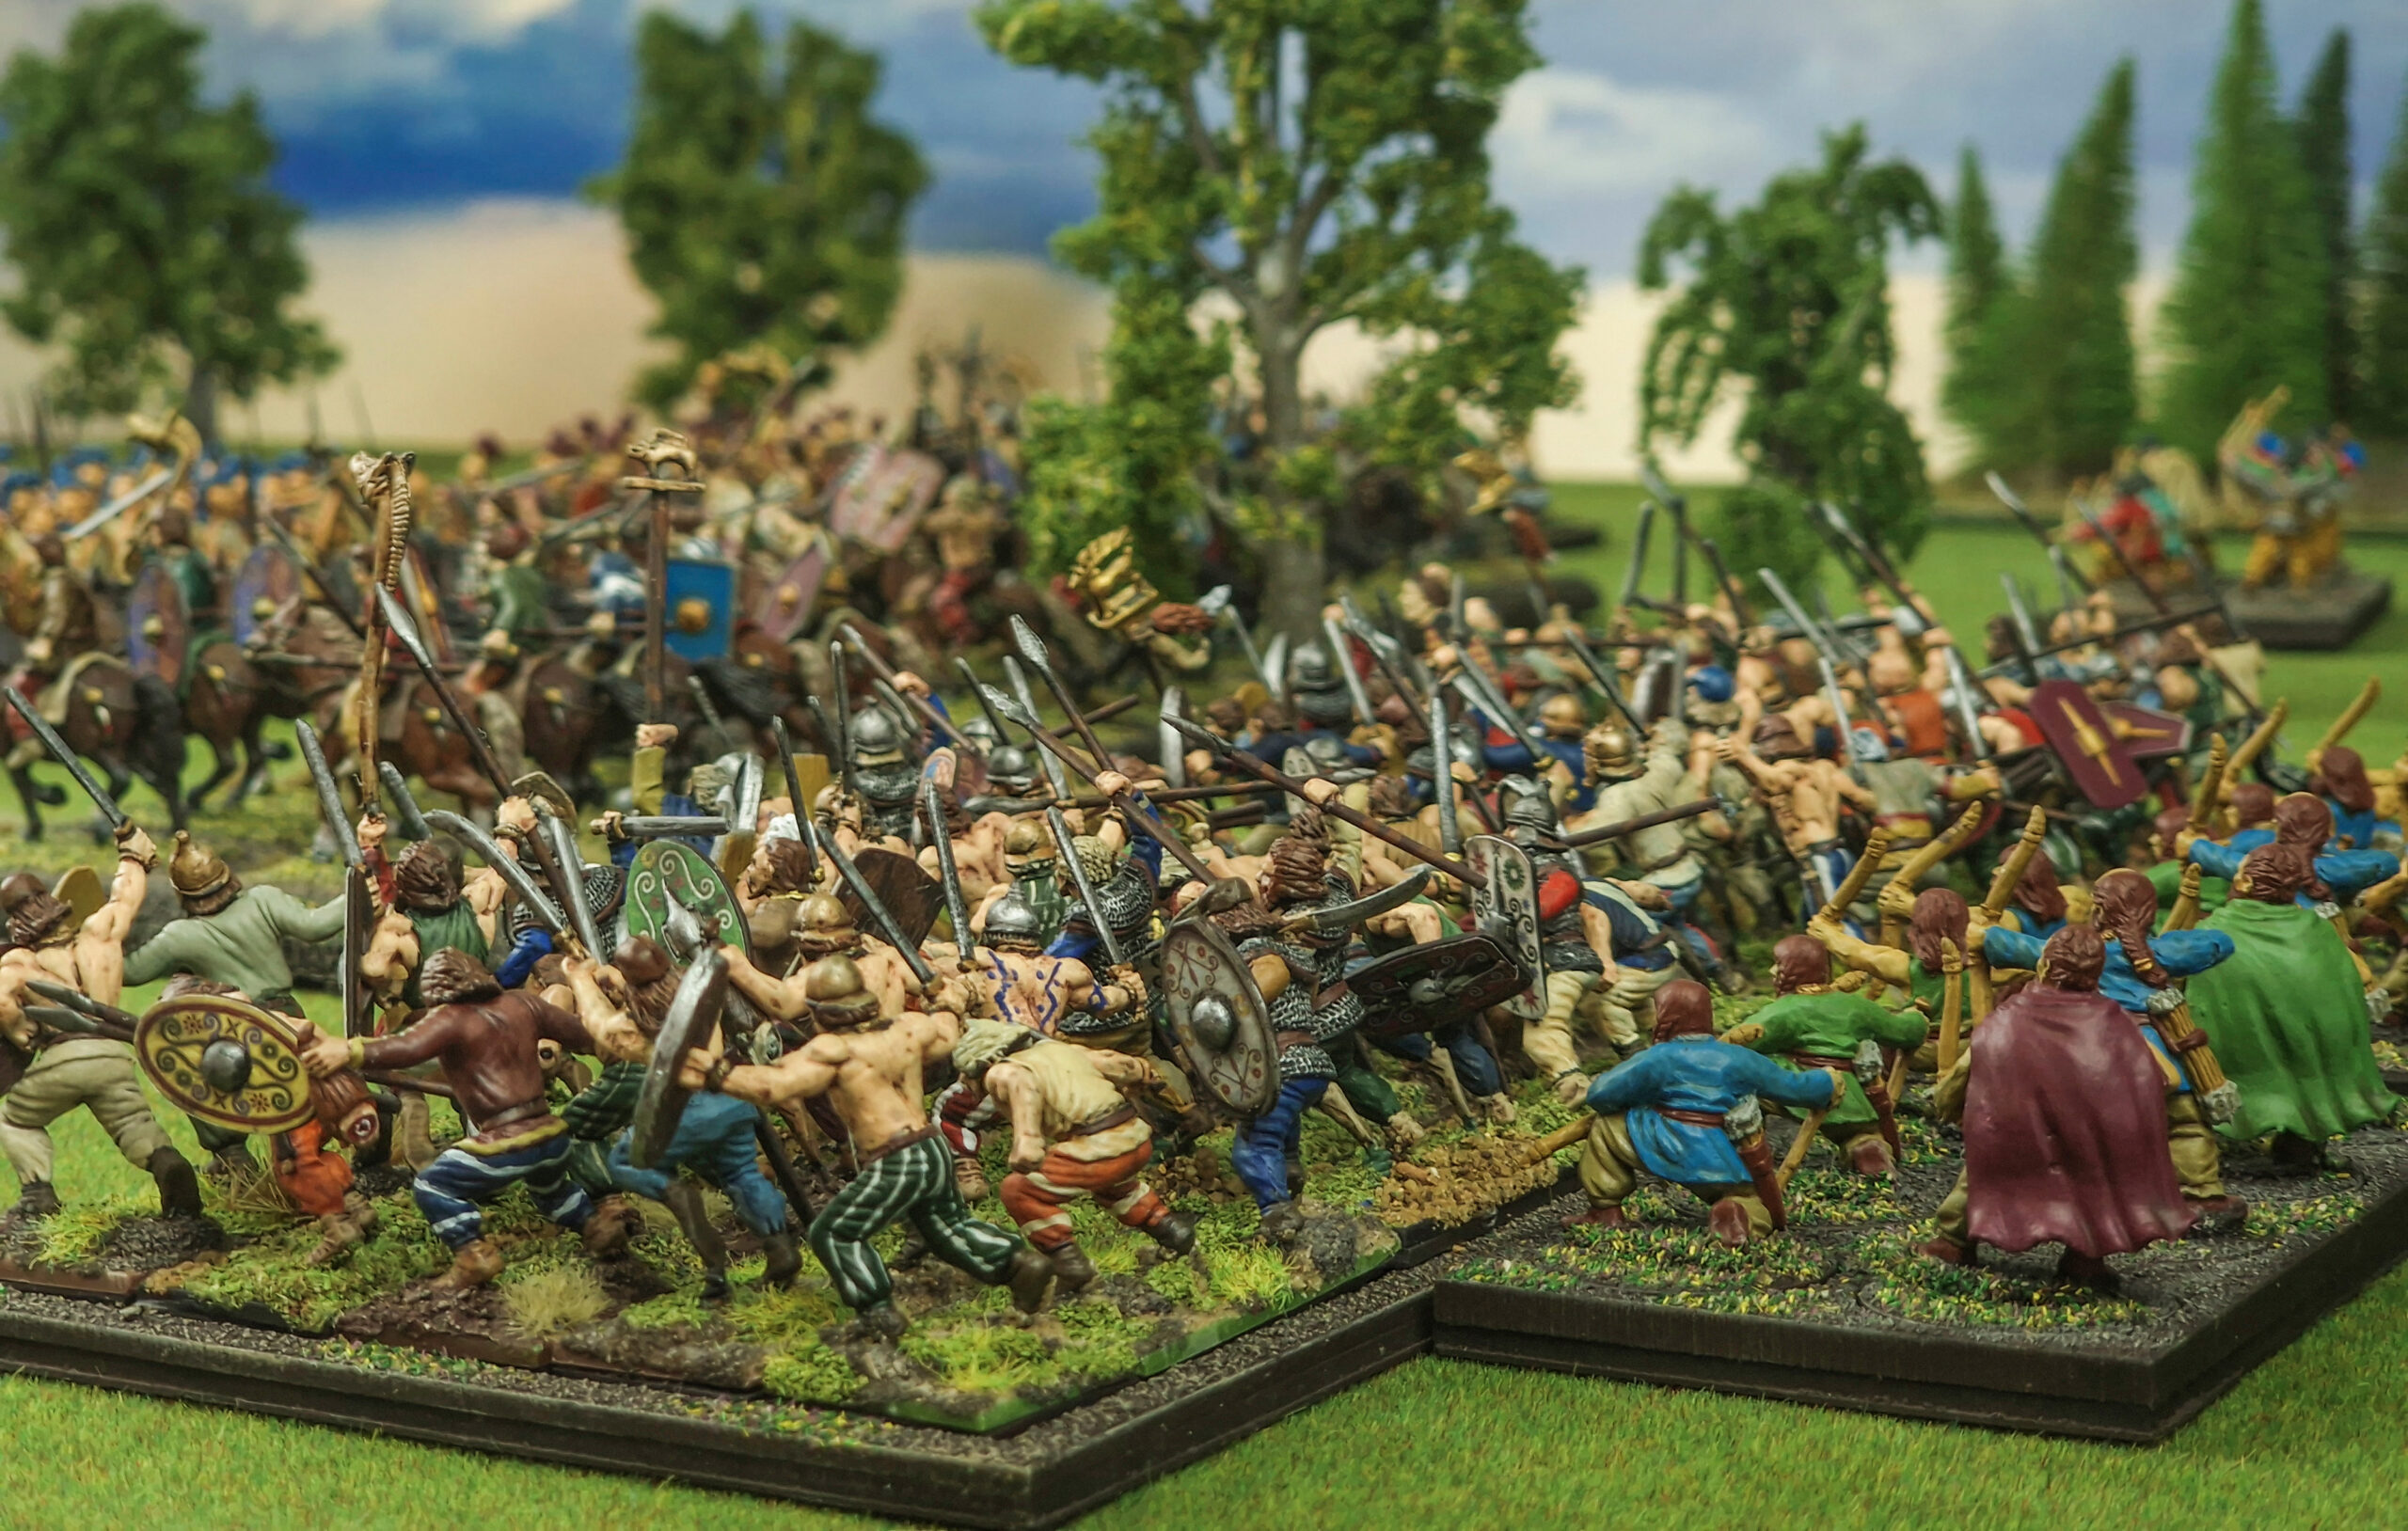
In the centre, the Gallic King’s division counterattacked furiously against the rampaging German cavalry, smashing into them, intent on vengeance. The horsemen fought back savagely, Shaking and Disordering the Gaul warbands, but when the dust settled the Germans lay slain, and their division was Broken! With the Ninth in trouble, and the centre hanging precariously in the balance, the Roman hopes rested on the prowess and bravery of the Legionaries of the Tenth.
As the Ninth turned to face the enemy behind them, hoping to mount some form of defence, the remnants of the central division attempted to skirmish with the Gauls and stabilise the centre of the field – through some excellent use of slings and javelins, they managed to keep the flank of the Tenth clear, allowing the Legionaries to begin grinding forwards against the Germans, supported by the Illyrian Auxiliary division. The Gaesatae continued their disappointing run of form, being broken and destroyed along with another warband by the Tenth’s relentless advance, and the German division was well on the way to complete collapse.
It wasn’t all going the Romans’ way, however. In the centre, the warbands of the King’s division butchered the Thracian light infantry and Scorpio battery, leaving only a confused mass of Roman skirmishers to hold the middle of the board. Meanwhile, the Ninth was well and truly in trouble, surrounded by Gauls on all sides. It was a sticky situation, and there didn’t appear to be any way out of it for the beleaguered Legionaries.
Lee desperately needed his skirmishers to inflict some casualties on the Gauls and hold the centre long enough for the Tenth to finish off the battered German infantry if he was to have any chance of rescuing the Ninth. Fortunately, the dice gods seemed to agree, and the slingers and archers turned in a truly heroic display of shooting, managing to drive back several units of cavalry before breaking one of the King’s division warbands, burying them under a hail of shafts and stones. Meanwhile, the Tenth Legion finally managed to finish off the remainder of their German foes, driving them from the field. The right of the board was now firmly in Roman hands! Sadly for Lee, on the left the remnants of the Ninth Legion finally collapsed and died under an avalanche of angry Gauls, thanks to some truly diabolical dice rolling. With that, the battlelines were to shift lengthwise!
With both sides now thoroughly exhausted and intermingled, a few quick turns of manoeuvring were in order. Both Scott and Lee rallied their forces, and tried to shake their remaining troops into some semblance of a battleline, as they prepared for the decisive final clash. Between the closing lines, the Roman skirmishers fought like lions as they tried to whittle down the Gallic cavalry, but it was a forlorn hope – eventually they were cut down as Scott’s Gauls managed to reform their line first.
Needing a bold strategy to seize victory from the jaws of defeat, Lee ordered the Tenth Legion forwards, praying the remaining Illyrian infantry could arrive to support them in time. Hitting both the remaining Gaul infantry divisions simultaneously, thanks to some excellent Command rolls, the Tenth were Shaken and repulsed by the King’s Division but were able to drive back their other opponents. This success was only temporary, however, as the Gallic retaliation saw a cohort of the Tenth destroyed. With Gallic cavalry now closing in, the battle was turning firmly against the beleaguered Romans.
The arrival of the Illyrians with their long spears gave Scott’s cavalry momentary pause, buying time for the commander of the Tenth to execute a last-ditch Follow Me! charge, leading his remaining cohorts in a death-or-glory rush against the temporarily stalled cavalry. With little hope of survival, the Legionaries steeled themselves for the fight and waded in. Supported by the Illyrian spearmen, they ploughed into the horsemen, causing heavy casualties and driving them back. For a brief moment, it looked as though they might be able to swing the tide of battle against all odds, before a vicious counterattack caught the Illyrians in the flank. Outnumbered and overmatched, they swiftly crumbled, and the vengeful Gauls conducted a perfect sweeping advance into the flank of the Legionaries. Exhausted and badly battered, the Tenth were cut down in short order. With their death, Lee’s army was officially Broken, and the game was over with Scott’s Gauls standing victorious amidst the carnage!
With that, the five-hour marathon was complete! This game was a real showcase of how easy Hail Caesar is to play, yet how truly tactically complex it can be. Across fourteen turns, the battle swung back and forth, and there were many points where, but for a roll of the dice, either side could have gained victory. With heroic actions (and villainous failures!) on both sides, it was a really fantastic way to show off the new edition of Hail Caesar!
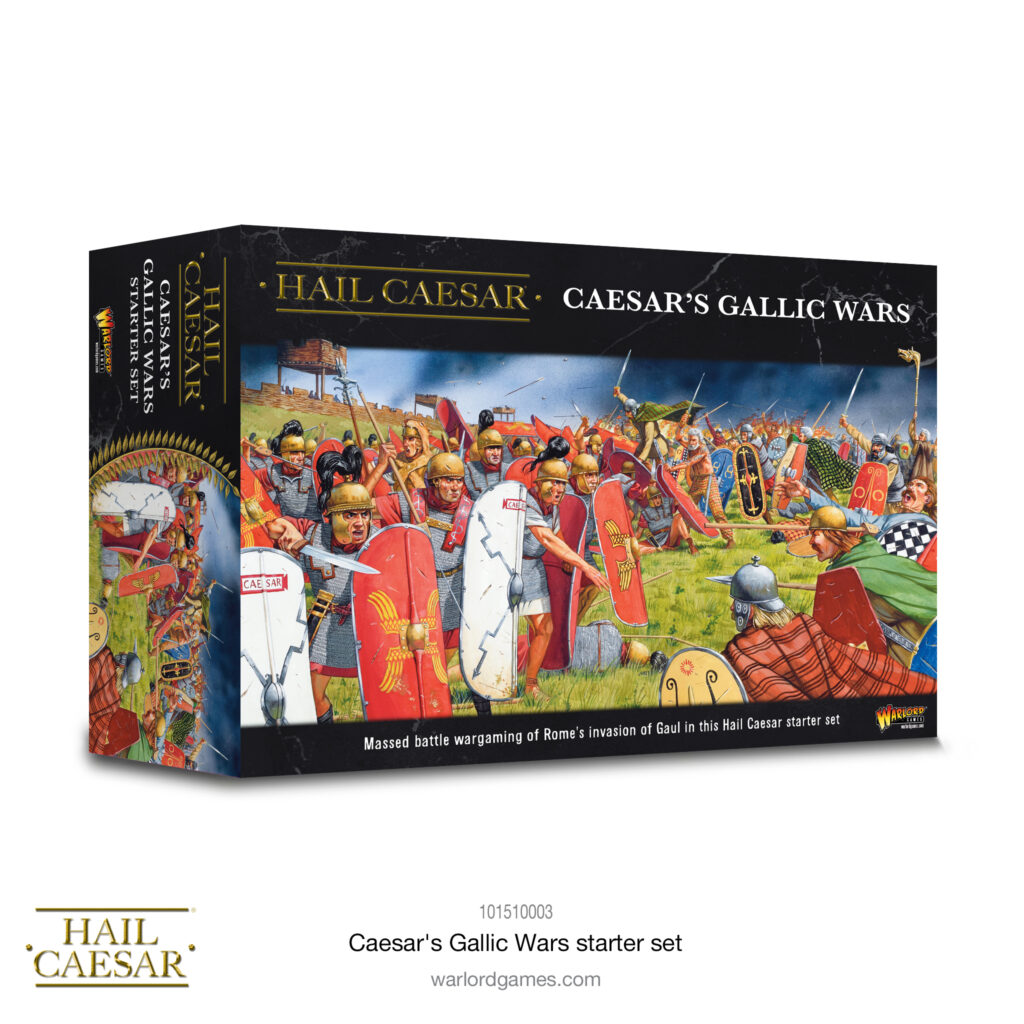
Getting Started with Hail Caesar
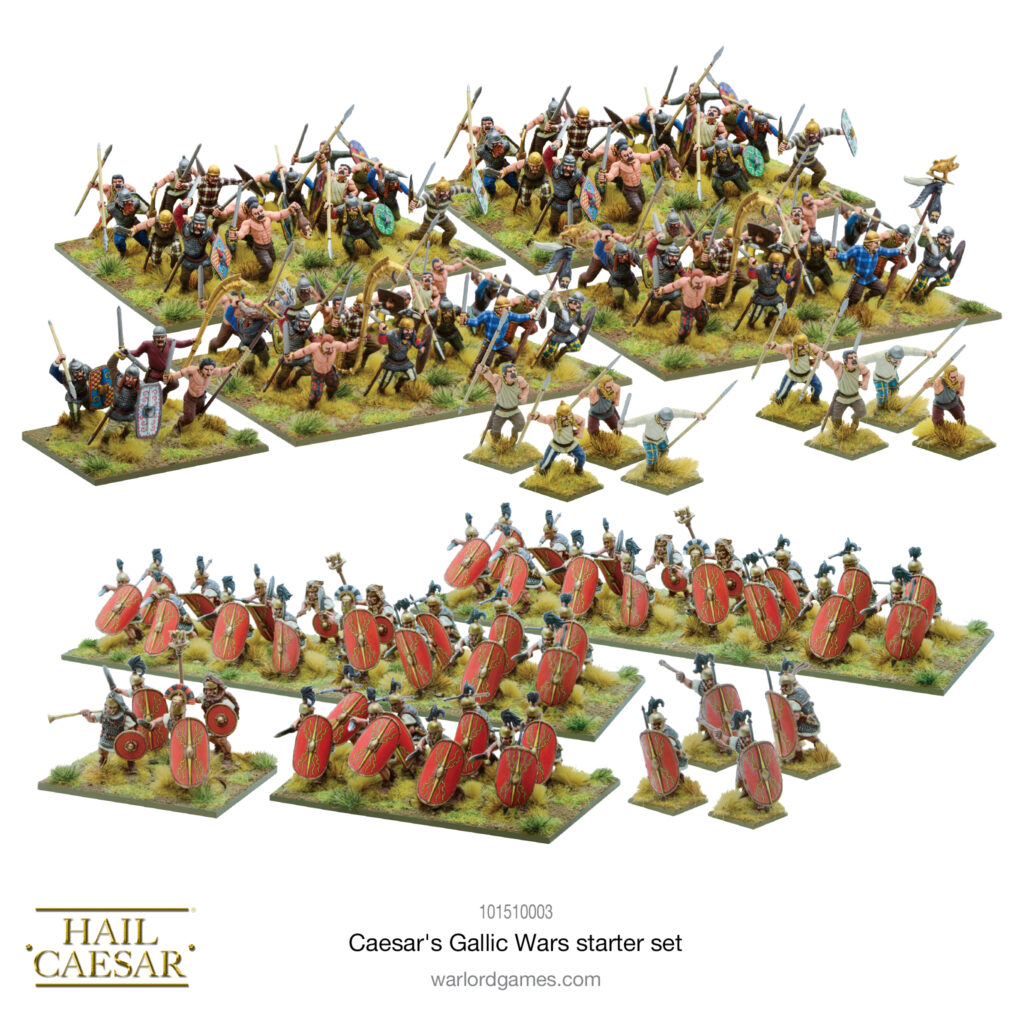
The new Caesar’s Gallic Wars starter set gives you two starter forces: the barbaric Gauls and the legions of the late Roman Republic – a fantastic start to your campaign to conquer all comers and write your name in the annals of history! In addition to the fantastic models it contains everything you need to play the game (dice, counters etc), and a Gallic Wars introductory guide which not only provides context and history for the battles concerned, but guides you through the steps of collecting, building and gaming a Hail Caesar army. We’ve also included an A5-sized Gamer’s Edition of the new rulebook, a conveniently stripped-back version that concentrates purely on the game mechanics, which is perfect for quickly referencing rules in the throes of battle. It makes a fine companion to the main rulebook.
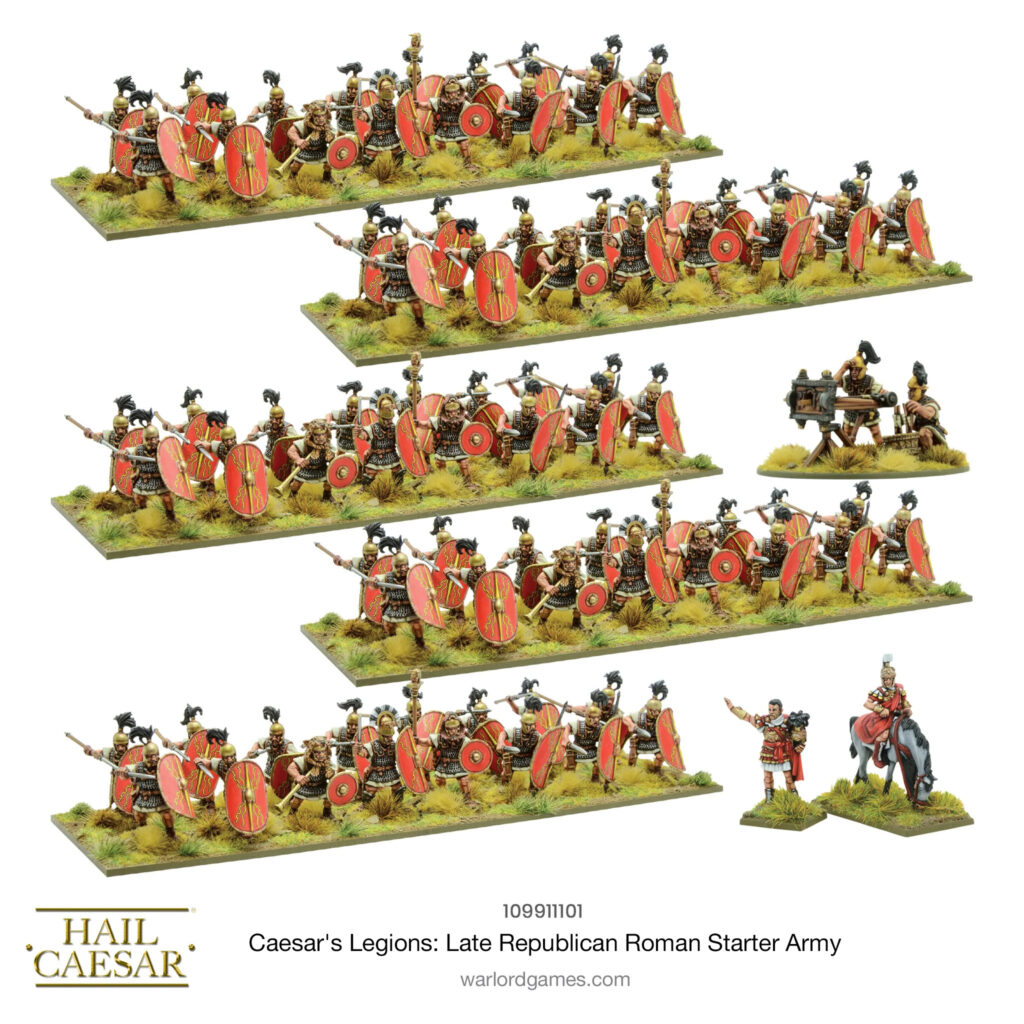
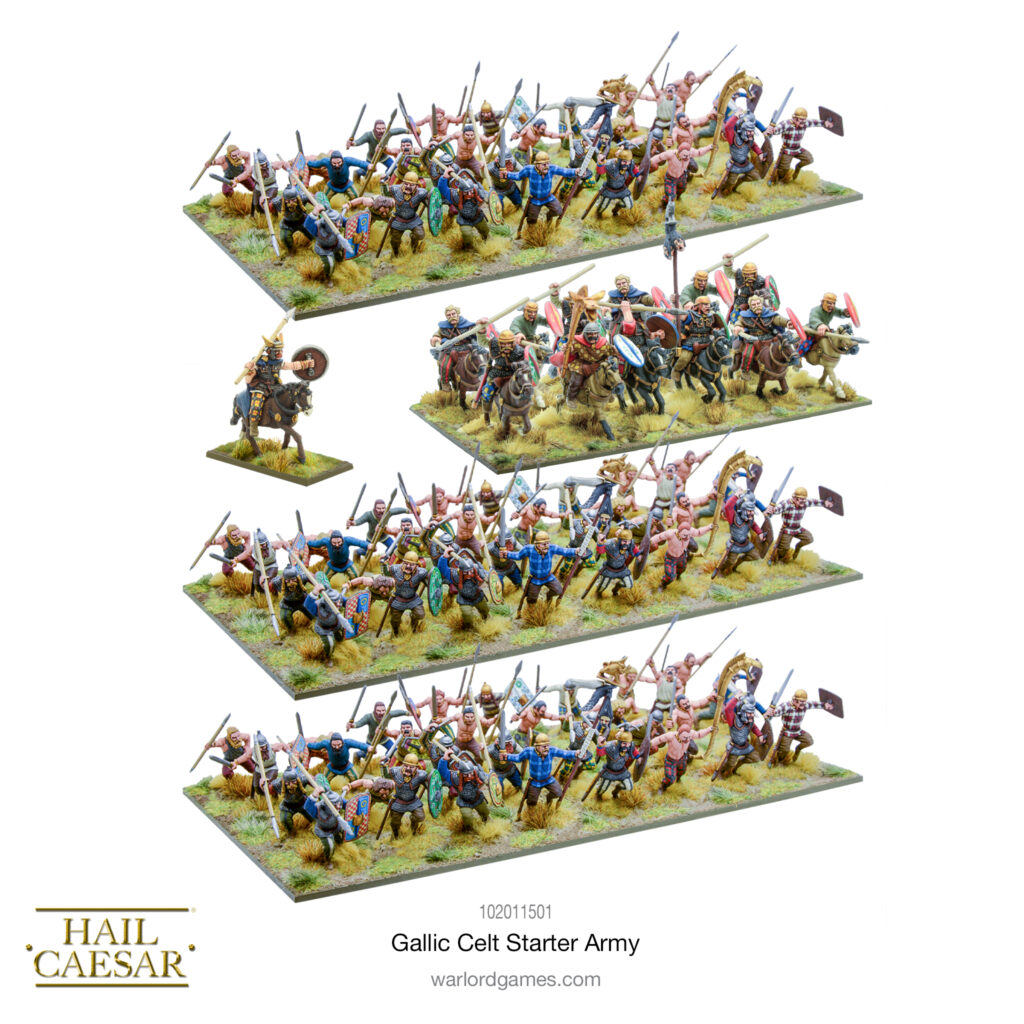
Expand and build upon your Caesar’s Gallic War collections with our convenient starter armies.

Order a Hail Caesar rulebook from the Warlord Games Webstore and you’ll also receive the special edition figure King Richard I, the Lionheart. Wielding a fearsome battleaxe, this high-quality Warlord ResinTM figure comes with both bare and helmeted head options.
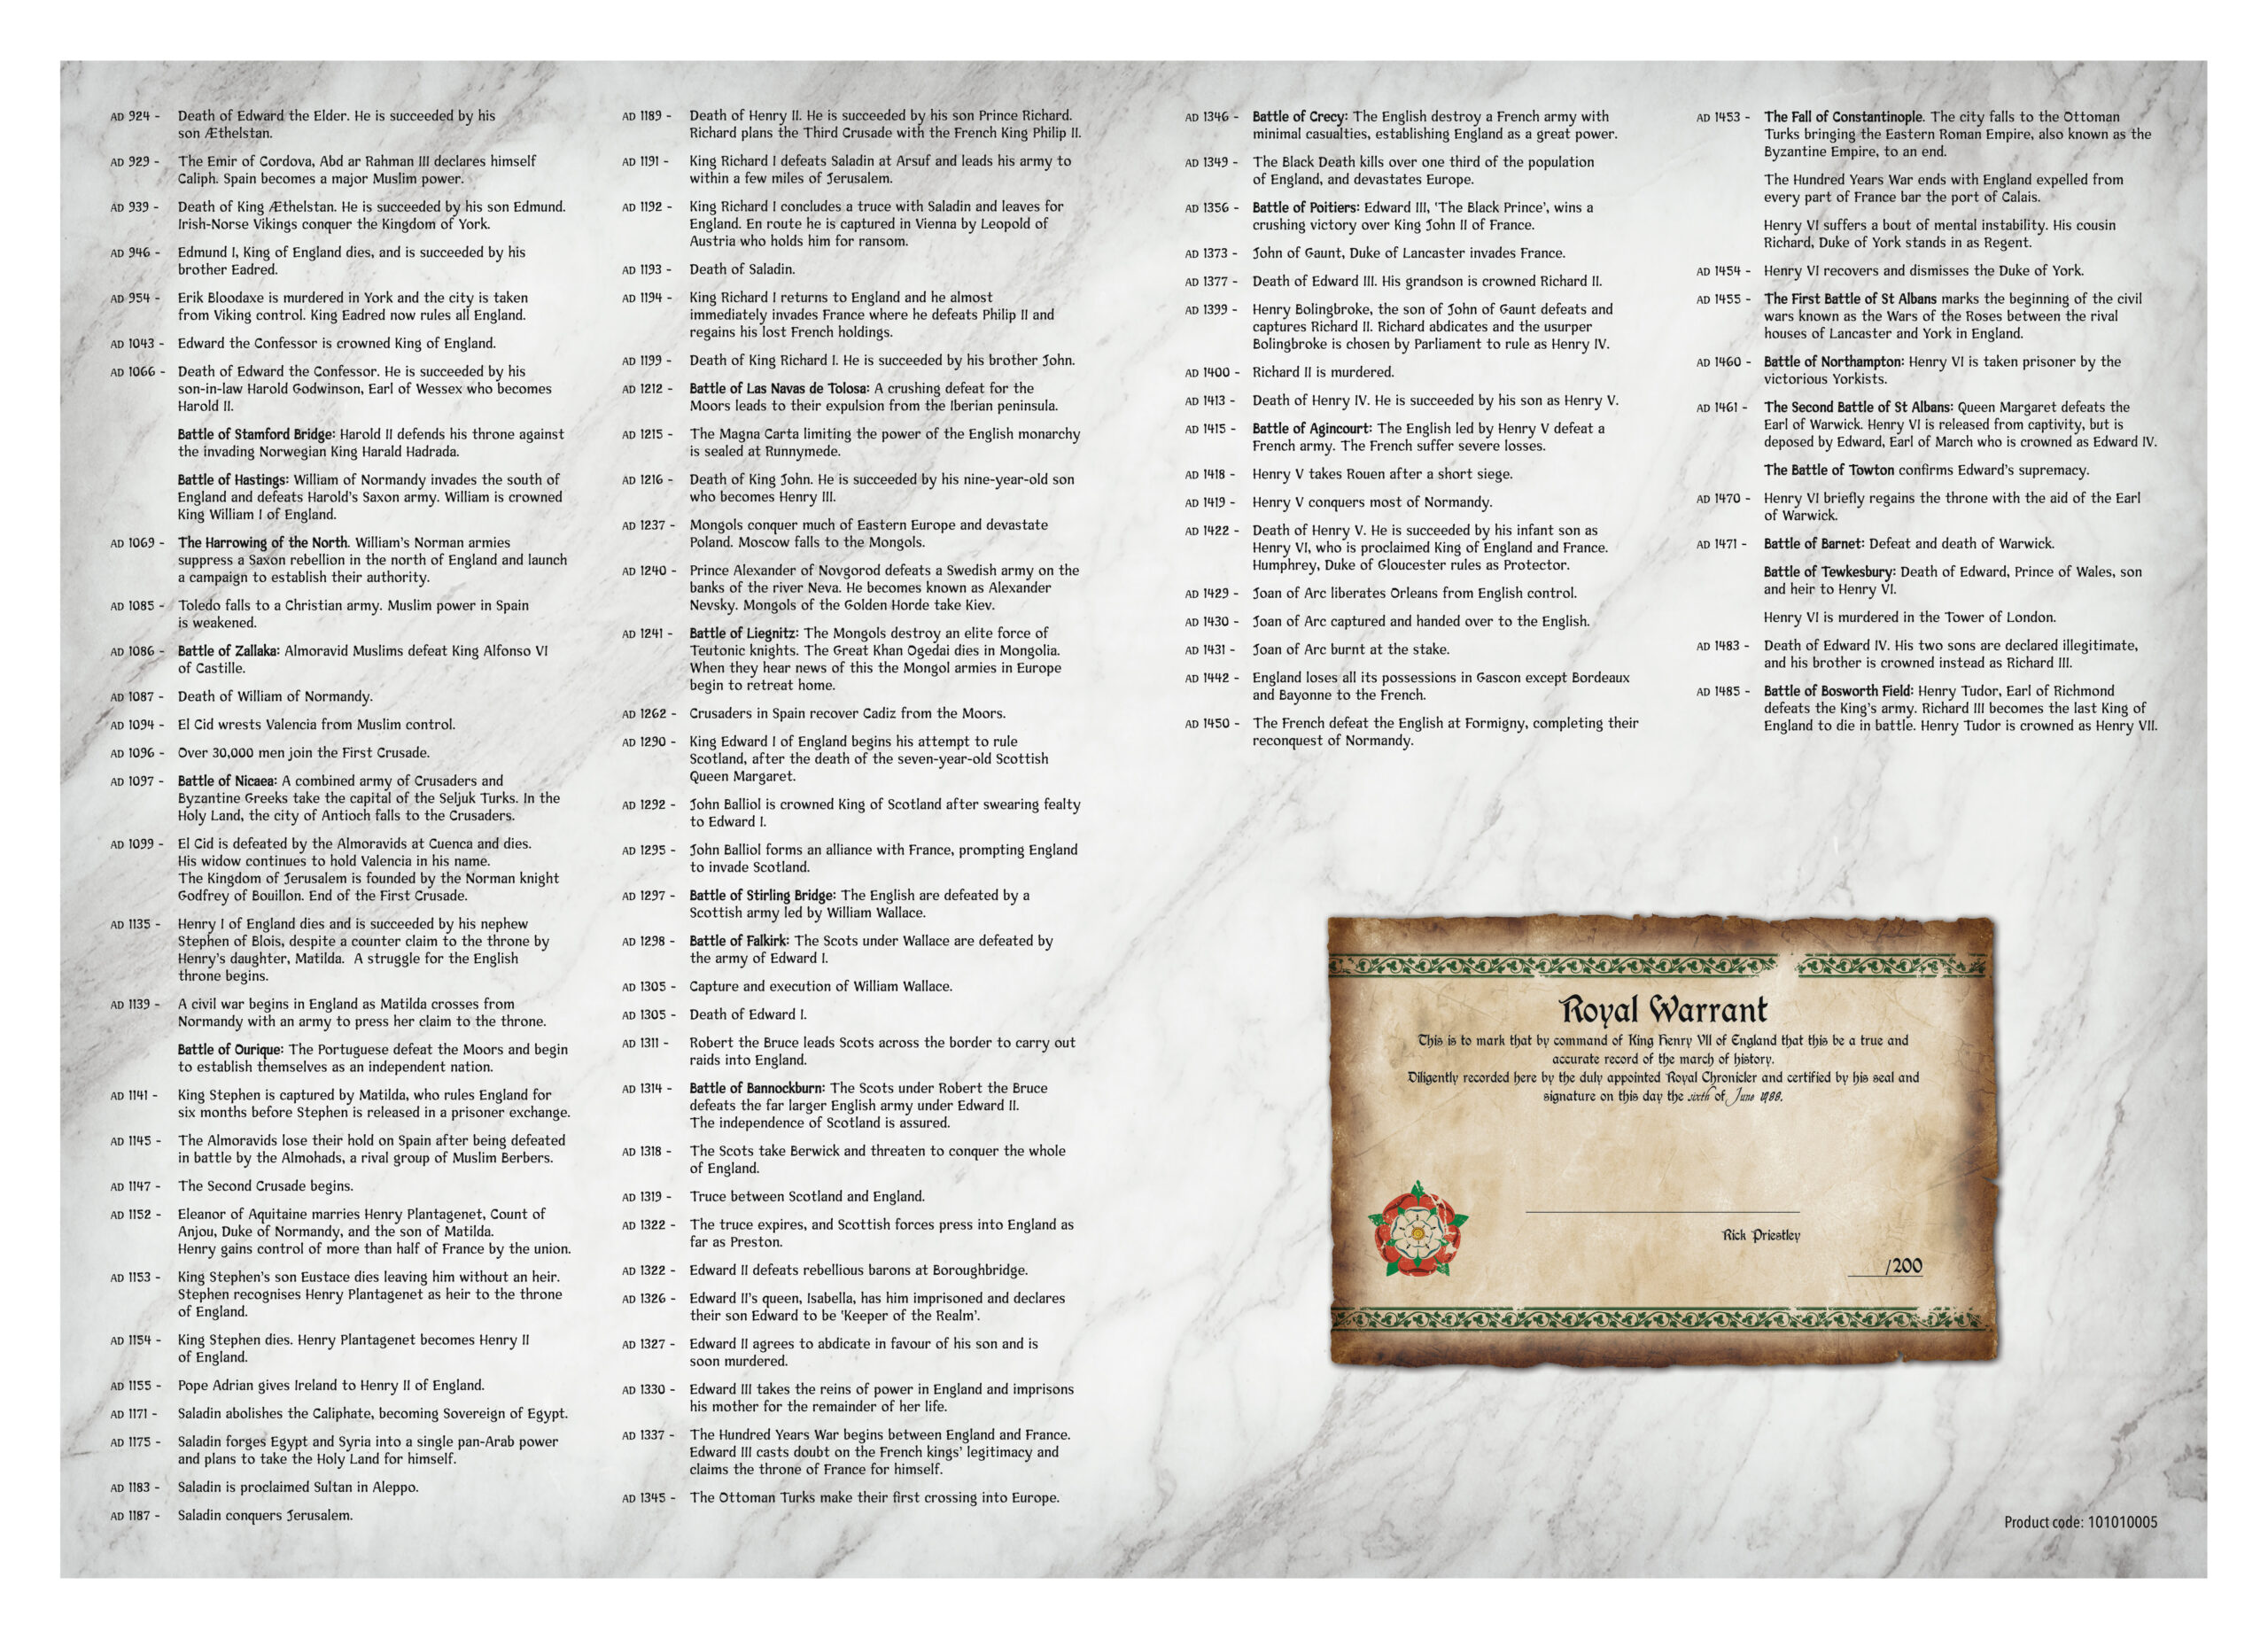
A few Hail Caesar Collector’s Edition Rulebooks, limited to a total of 200 numbered copies, are still available to pre-order. This version boasts its own cover artwork featuring Julius Caesar, gilt-edged pages, two bookmark ribbons and endpapers featuring a full timeline of the exhaustive period of history that the game covers (a sample is shown below). Each copy will also be signed by the game’s author, Rick Priestley.

3 comments
I am so glad I have held off until now before starting Hail Caesar. Good times ahead!
Great battle report and armies look fantastic. Any chance of more close up shots of the individual units like the thracians? Cheets
Can’t wait for the new army boxes to become available!
Comments are closed.