My outing to last month’s HQ Store Konflikt ‘47 tournament had me itching for more tabletop action, and the release of the updated army lists (including, of course, the arrival of the legendary B for Bertie!) opened up a whole new world of potential force selection options. Naturally, I had to book on for this month’s contest!
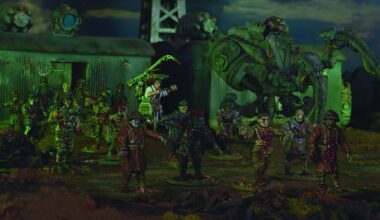
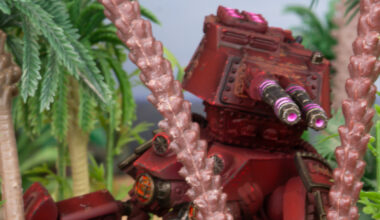
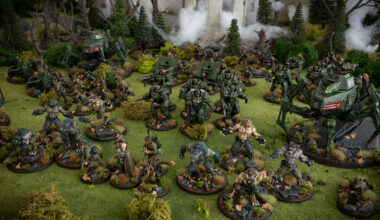
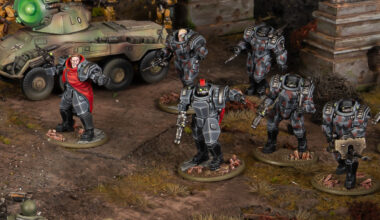
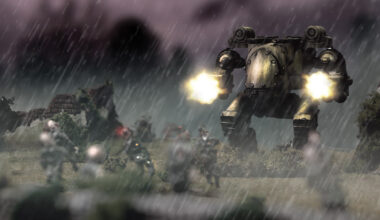
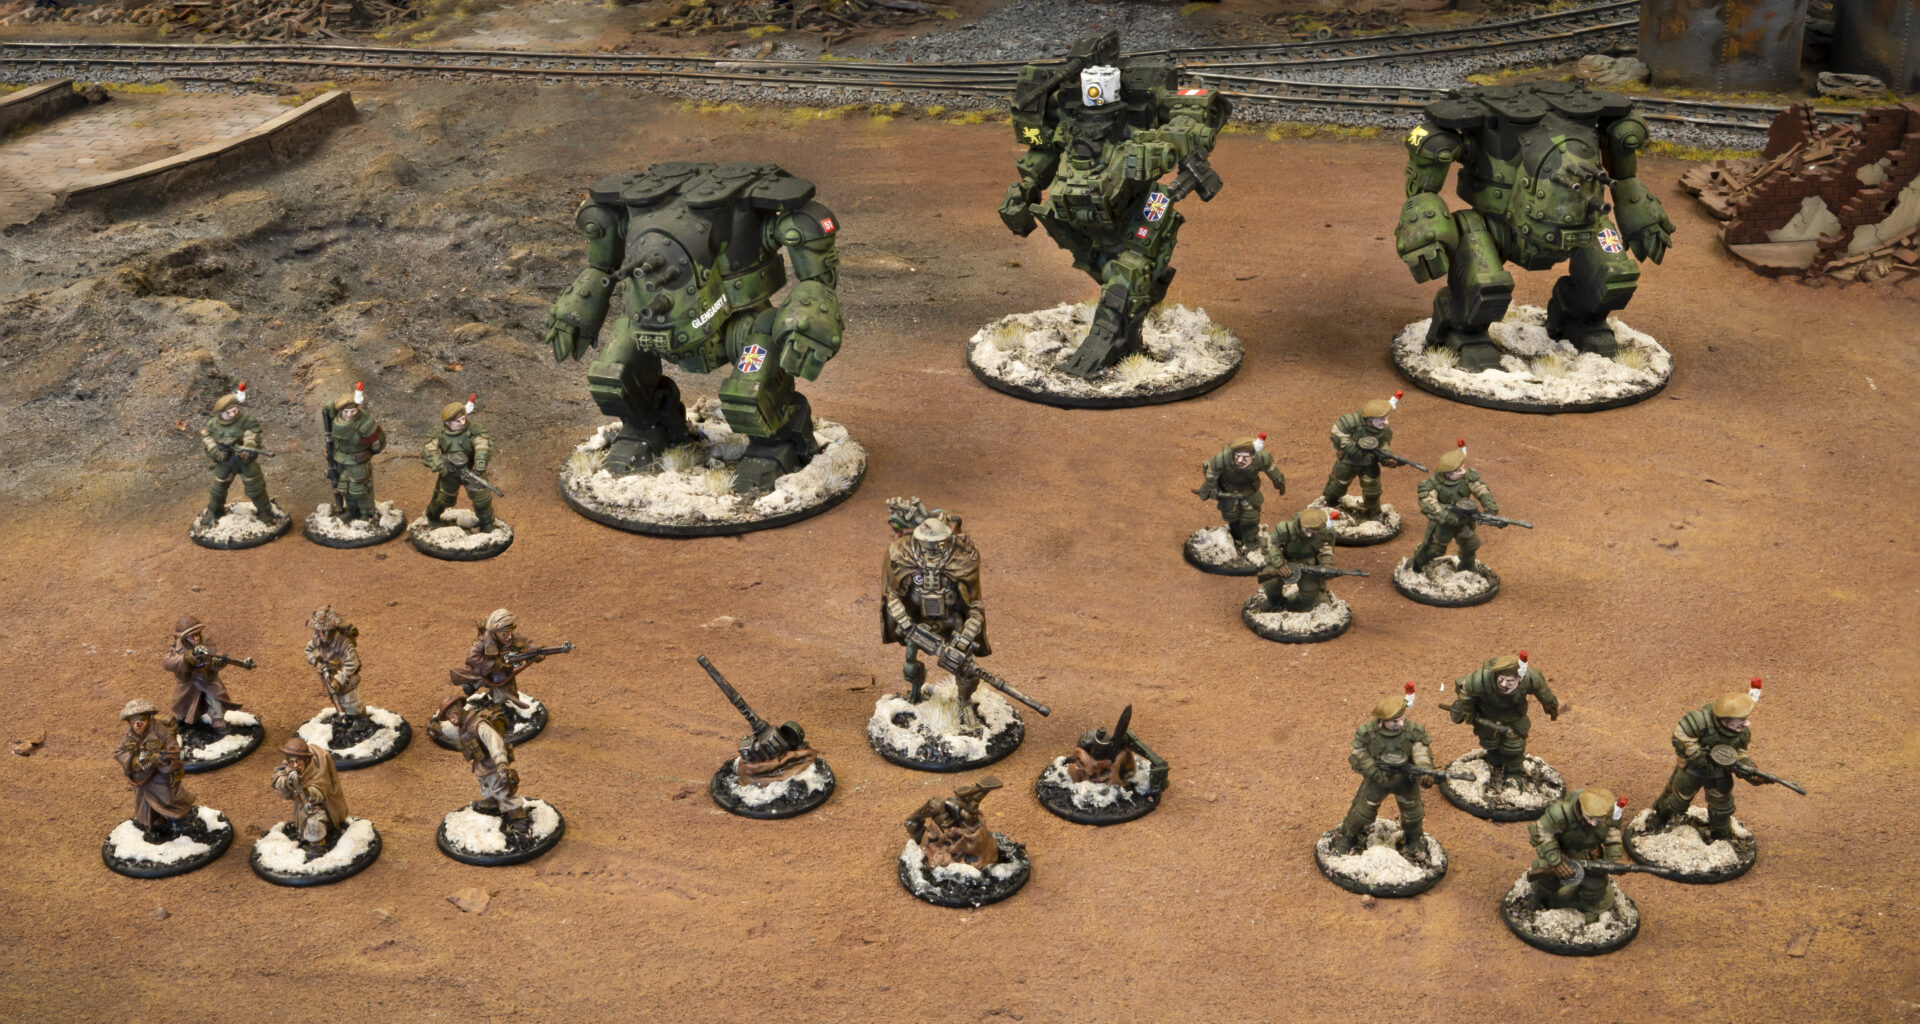
Marcus actually did take some photos of his games this time, which is a first! We’ll leave it up to you to judge the artistic merits of his work, but we also got Chris B. to take some nice fancy pictures after the fact to ensure you can actually see his army properly. -ed.
The Army
Regular newsletter readers will note that this is the exact same army list I played against my boss in a recent battle report, where I tried (and failed!) to win a half-day’s leave in a high stakes, no-holds-barred showdown. I’m choosing to blame my loss in that game on the chimp behind the dice, rather than the list, so I’m running it back unchanged. As a refresher:
| Assault Platoon | ||
| Unit | Upgrades | Points |
| B for Bertie | – | 120 |
| Veteran Platoon Commander in Galahad Armour | 2 additional soldiers, Heavy Tesla Rifle, PRIAMS, Stubborn, Tough Fighters, Guts (1) | 151 |
| Veteran Galahad Armoured Infantry Squad | PRIAMS, Stubborn, Tough Fighters | 160 |
| Veteran Galahad Armoured Infantry Squad | PRIAMS, Stubborn, Tough Fighters | 160 |
| Veteran Rifle Squad | 1 additional man, PRIAMS, Stubborn | 114 |
| Armoured Walker Platoon | ||
| Veteran Merlin Heavy Walker | Command Vehicle | 448 |
| Veteran Hornet Medium Support Walker | Computational Systems | 297 |
| Veteran Hornet Medium Support Walker | Computational Systems | 297 |
| TOTALS | ||
| 8 Order Dice | 3 Rift Dice | 1,747 Points |
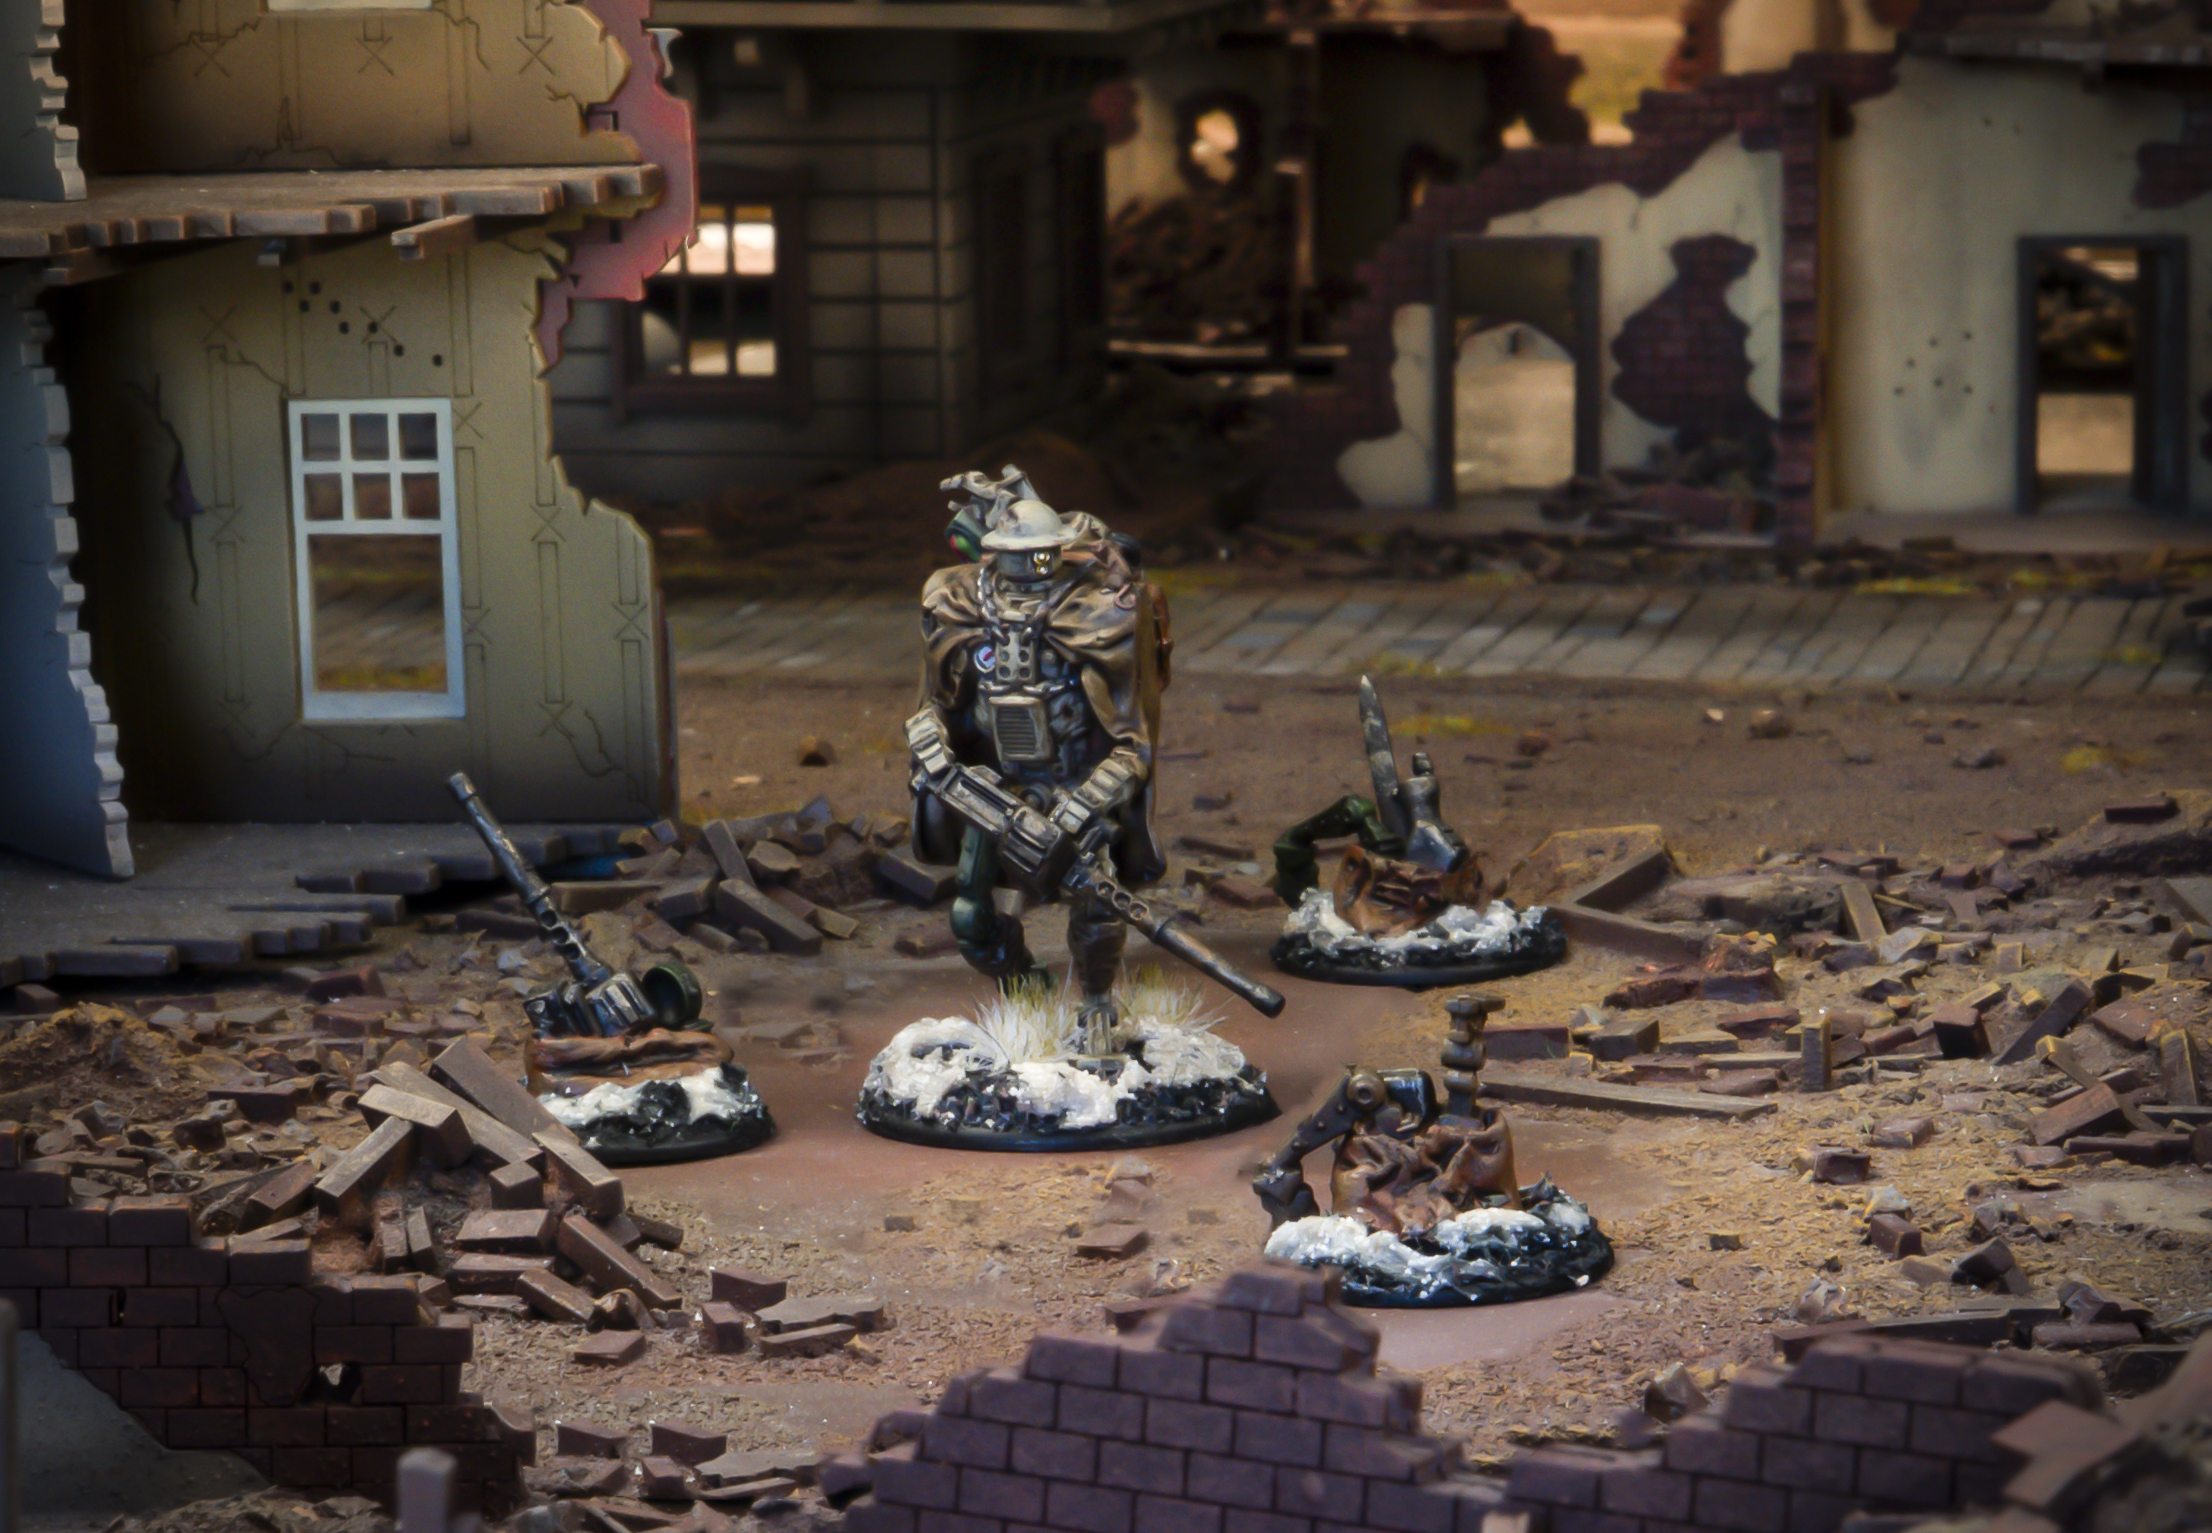
As ever, these models benefit from the excellent brushwork of my Nottingham Casuals clubmate Colin Swinburne. I don’t usually like to use models I haven’t painted myself, but this army is so nice it would be a real shame to leave it on the shelf. Besides, it’s not done me too badly so far! My alterations from the last tournament were simple: The frankly useless Artillery Forward Observer and Light Mortar team were dropped in favour of the one and only B for Bertie and his three (count ‘em!) points of Luck, while the Grenadiers were re-shuffled to become a Veteran Rifle Squad, packed with PRIAMs. I’m a complete convert to disposable infantry AT launchers, and now I never leave home without a huge stack of them in any army. The Grenadiers can’t take them, so out they came! I used the classic metal winter British Infantry Section for the Rifle Squad – no conversion needed, and their motley collection of winter kit fits my theme nicely.
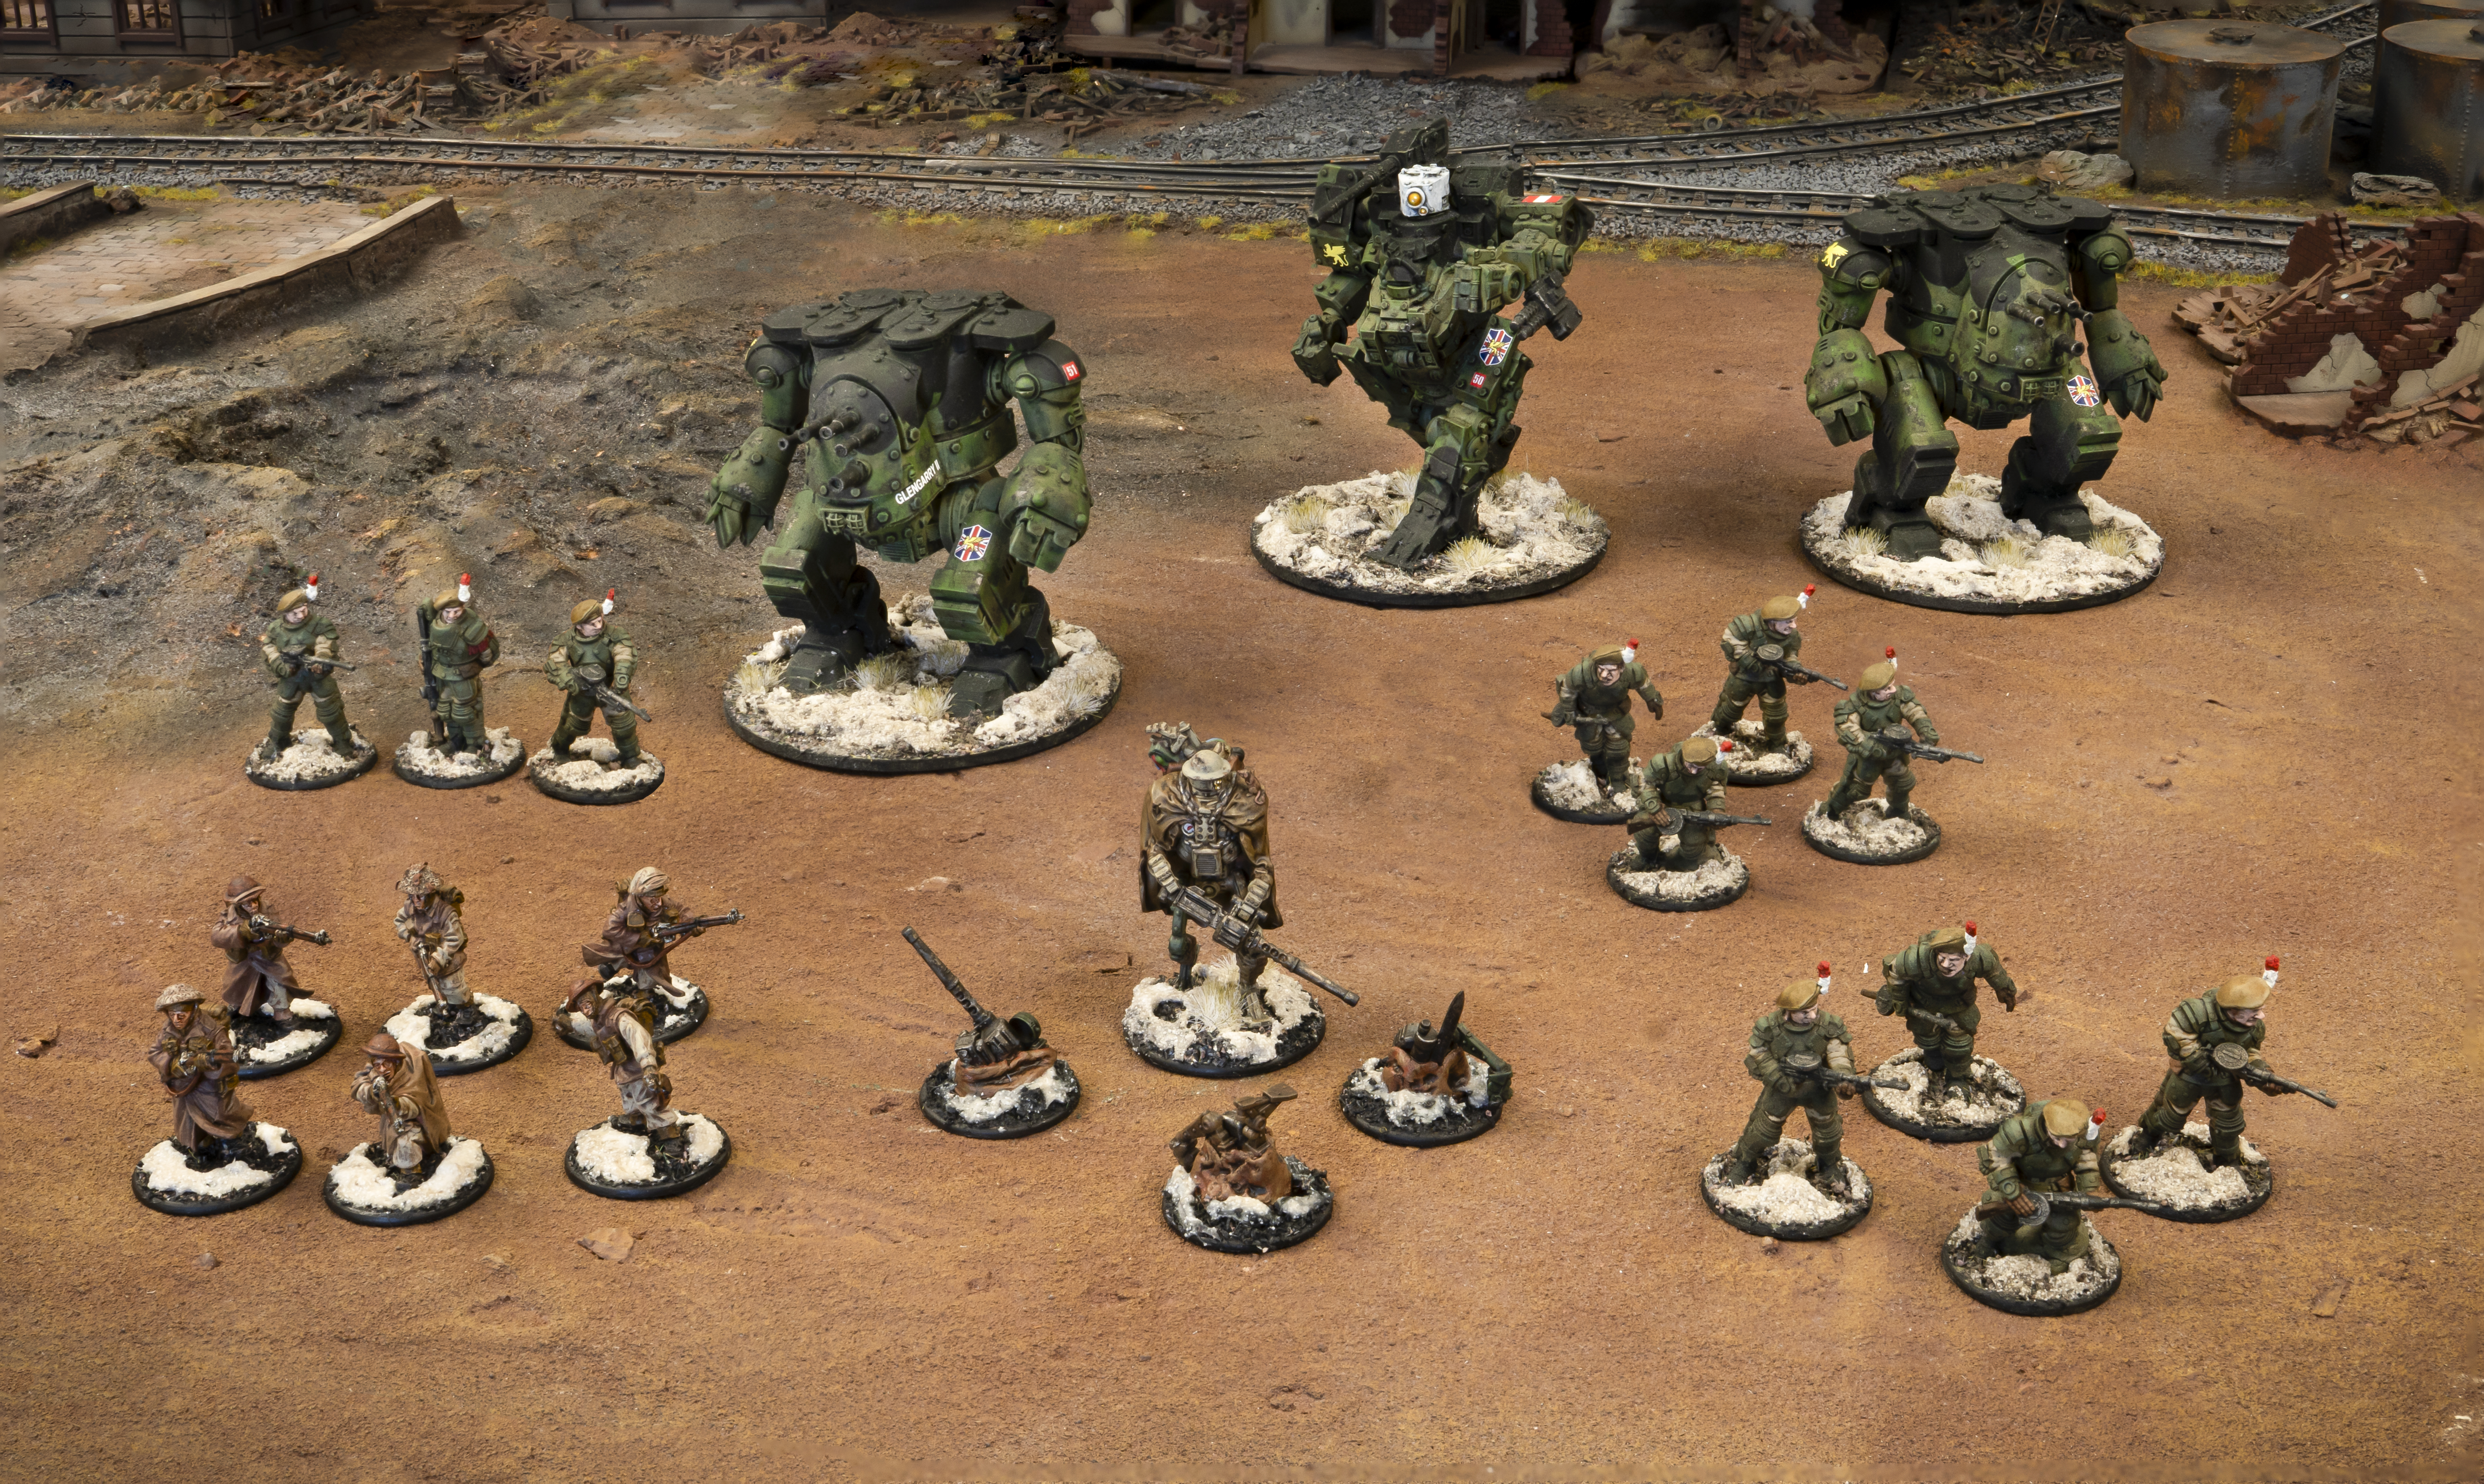
The tactics remain fundamentally unchanged – the vast majority of this list’s killing power comes from the three Veteran walkers and their smorgasbord of guns, while the Assault Platoon exists to capture objectives and sling PRIAMs at any vehicle (or monster!) that comes too close. I really love how B for Bertie slots into the list, as his ability to lurk in a piece of terrain right from the get-go and lay down some HMG fire lets me engage the enemy as they move up, while his Luck points are invaluable for getting me out of any tight spots I might roll myself into.
That was the plan, anyway. With a whopping four games under my belt with the core of this army, and a decent finish at the last event, I was hoping to improve my spot in the final standings and snag a cheeky podium finish. (He never learns… -ed.) Turning up on the day, I found thirteen other gladiators ready to do battle, a good mix of old and new faces, ably marshalled by Kieran, Dale, and Customer Service’s own Craig.
Game 1:
The first game was the staple ‘opener’ of any event: A Kill Points mission, using Meeting Engagement deployment from the long table edges. Kieran added his usual spice by designating Demolitions as secondary objectives for each player. I drew Patrick’s Commonwealth on a characterful Normandy board, and watched with some concern as he unpacked a seemingly endless horde of Automated Infantry.
The core of his list was a chunky Automated Platoon, backed up by a big Engineer Platoon with plenty of small squads, each toting a flamethrower, as well as a Guardian – nasty, but not something I wasn’t prepared for. What concerned me was the sheer weight of numbers he could bring to bear against me, and my eight Order Dice suddenly felt a bit inadequate. He also had a B for Bertie of his own, who we agreed would be known as ‘B for Bortie’ to differentiate. (My son is also called Bortie! -ed.)
Patrick is an excellent player, and he immediately clocked just how dangerous my list can be once I get my walkers rolling. Through judicious use of the Light Tesla Cannon on his MkIIs, he was able to stall my flanking push and force me to burn through Bertie’s luck at an alarming rate to keep my right-side Hornet alive, while his forces consolidated on the opposite flank and centre. Interestingly, both of us felt this game was headed for a nailed-on draw, and as such we were both playing in what could be considered a somewhat… relaxed fashion. Shades of England vs France the night before, perhaps! I will, however, say that Patrick’s gentlemanly approach to the game was absolutely fantastic, and it was a genuine joy to play him.
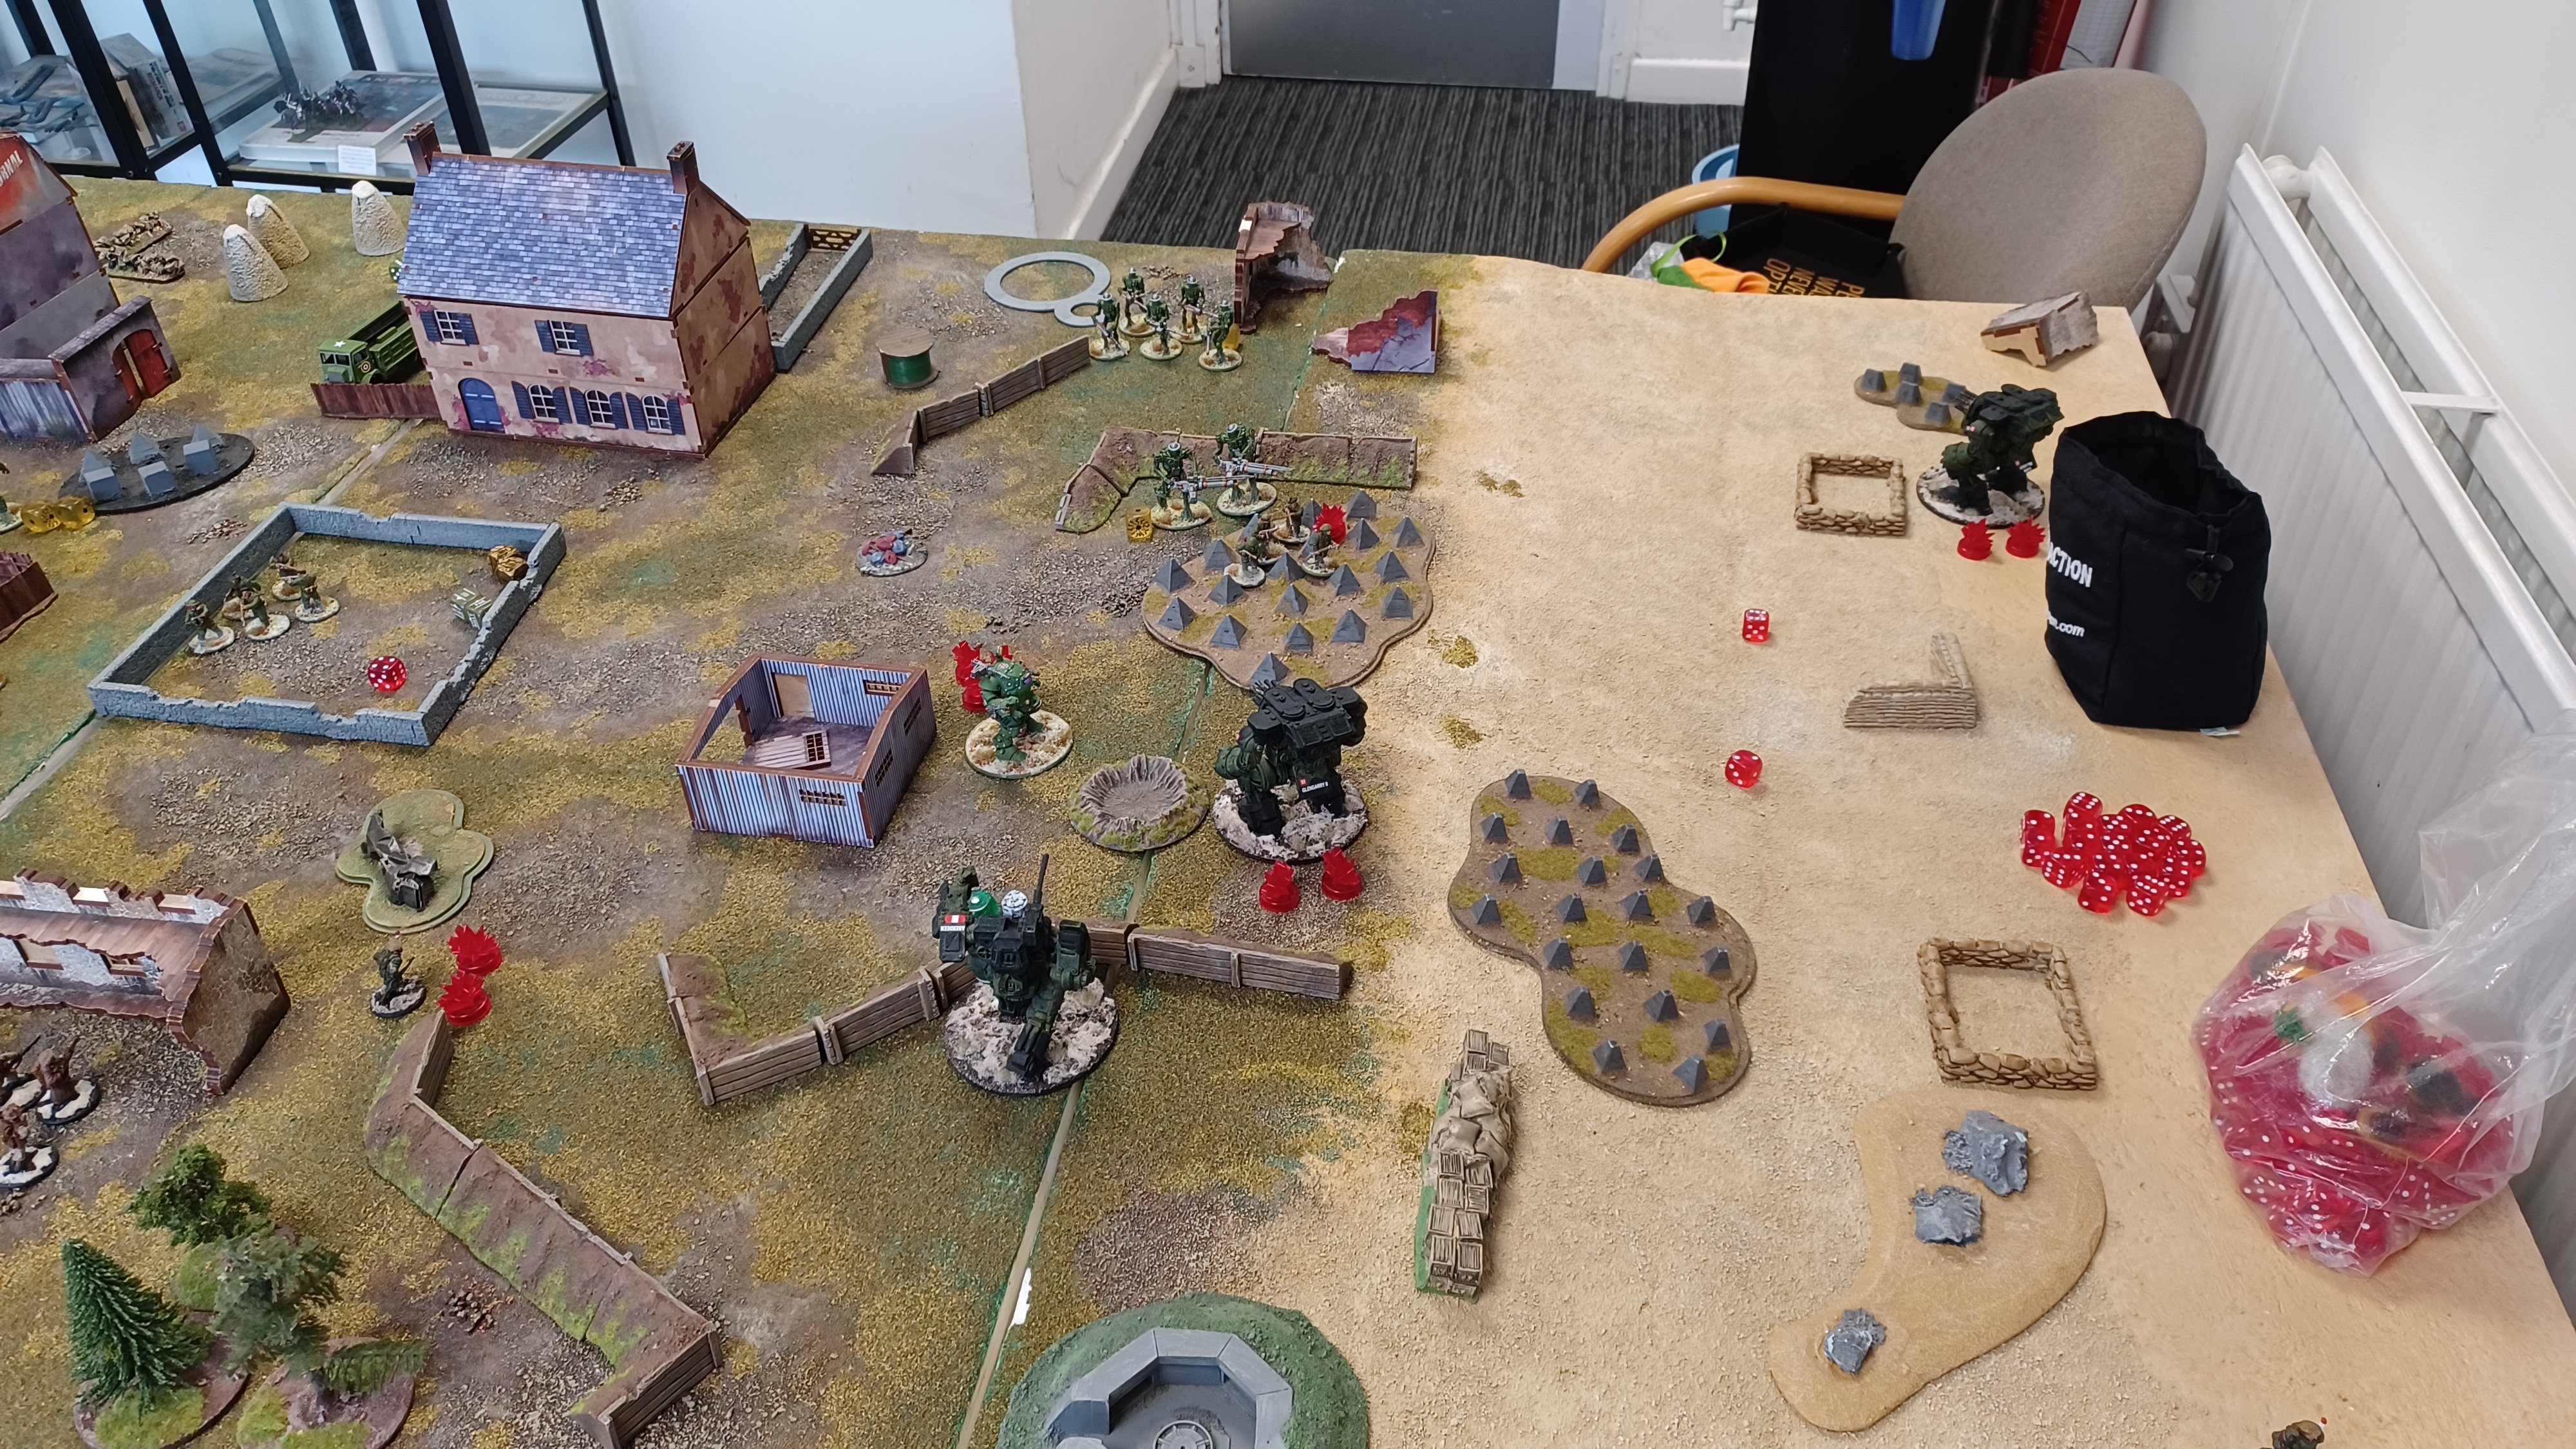
Our cavalier attitude to the mission abruptly changed around turn three, when we both realised there was a win in the offing for whoever was brave enough to take it. Thanks to his early-game tactics and judicious movement (and some over-cautious play from me), Patrick was in a much better spot to make a big push than I was. He held some rough ground in the centre of the table with an Engineer squad, some MkIIs, and his Guardian, all making excellent use of the cover. Against them, I had a Hornet, my Merlin, and some Galahads, but despite all my firepower I simply couldn’t prise them out of their positions. I made the grievous error of concentrating on this stronghold, and although I was trading kills reasonably well until turn five, Patrick did an excellent job of bringing his numbers to bear, ensuring that all of my strong units had to fight multiple enemies, while my squishier infantry were swiftly overwhelmed. I went down swinging, but while the score was technically quite close, the outcome wasn’t in any real doubt. Result: Emphatic loss.
Game 2:
The second game was honestly bananas. The mission was funky to begin with – Landgrab, using Prepared Positions on Table Quarters, but with the secondary of Key Positions, with the maximum seven objectives! Clearly, Kieran had gone mad with power, because he wasn’t done there. With a concerning grin on his face, he introduced the ‘Rift Quake’ mechanic, borrowed from Festung Europa. This was a ‘neutral’ Order Dice placed into the dice bag. Each time it was drawn, every single Rift Dice on the table had to be immediately re-rolled! While my army doesn’t really care too much about Rift energy, I did hear this causing some absolute carnage on other tables. It’s a great example of how a clever (or insane!) TO can tweak the base game and introduce whacky mechanics to keep an otherwise familiar mission fresh.
In this round, my dance partner was Dan, with a true ‘greatest hits’ Axis list. Nachtjäger, Schreckwulfen, Stahltruppen, and Totenkorps – he’d brought the lot, alongside a Vogelspinne and terrifyingly a Panther equipped with the last word in anti-tank weaponry: a Schienenkanone! Dan is very new to Konflikt ‘47, so for him to be entering a tournament at all at this stage in his gaming journey is commendable in itself, but he also had absolutely the right attitude of “fun first, last, and always”, and was a fantastic opponent.
With two Hornets and a Merlin, I’m not used to feeling outgunned, but the Panther was definitely something that gave me serious pause for thought. Thankfully, to squeeze it into his force, Dan had had to take it at Regular, which meant I could put Pins onto it early with my array of heavy automatic weaponry. My general plan was simple: Neutralise the Panther early, and get out of my deployment zone aggressively. If I could get my walkers working their way around the board quickly, I could seize the momentum and get Dan on the back foot.
For once, I had a plan, and it actually panned out. I was able to use Dan’s Totenkorps to screen my central push with the Merlin and one Hornet from the Panther, while piling on the pins and intercepting a flanking push by a Hanomag full of Schwertruppen. On the left flank, my other Hornet led my infantry on a wide push, chewing through the Stahltruppen attempting to block their way, while on the right, B for Bertie thumbed his (notional) nose at a unit of marauding Schreckwulfen, leading them on a merry chase around a series of bushes. When my list gets going like this, it can be really difficult to stop, and unfortunately Dan was hampered by some heroically bad dice luck. His Panther finally got a clean shot at my Merlin, and scored a hit that caused Massive Damage – Schienenkanone are not to be messed around with! Unbelievably, he managed to roll a brace of ones on the damage table, which my Merlin cheerfully ignored courtesy of Automated Recovery!
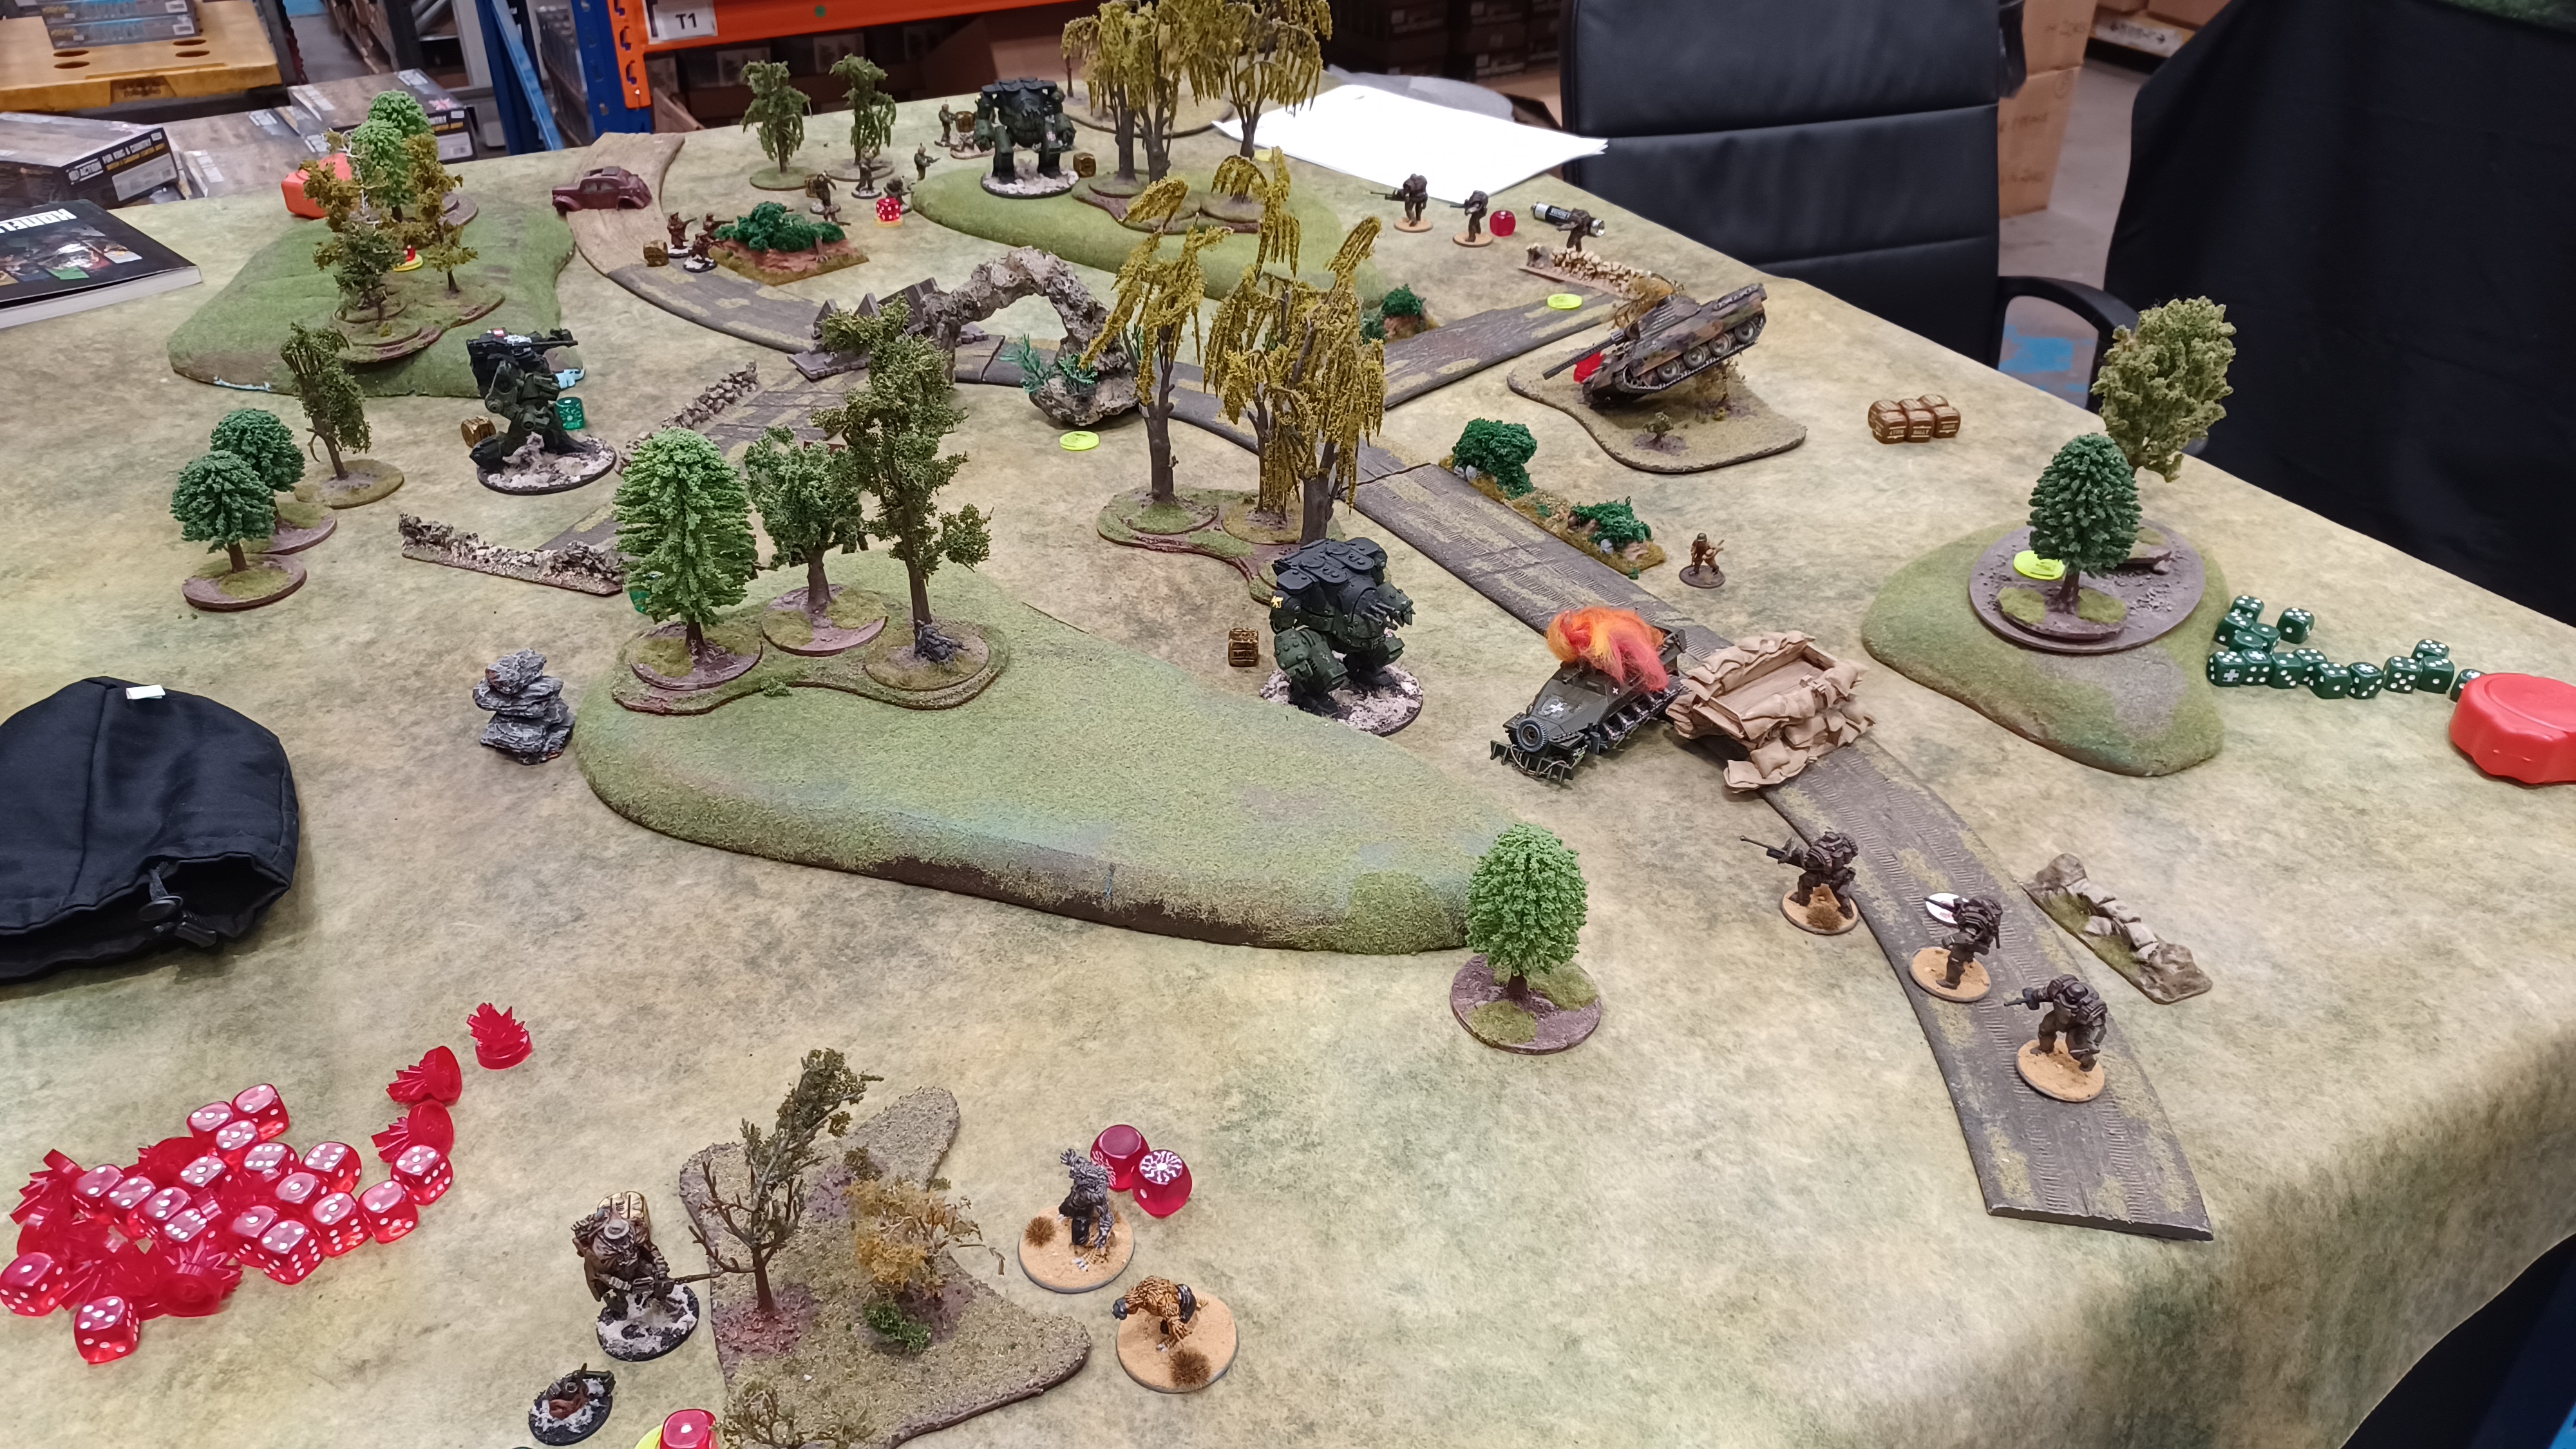
To Dan’s credit, he hung in with good humour (and a considerable amount of bloodlust), but his dice continued to betray him and my forces quickly closed the net. His Panther failed back to back Order checks, reversing straight off the table, while my walkers mopped up the remnants of his army, and my infantry tagged up as many objectives as they could before diving into the scoring quarters. Dan’s Schreckwulfen tried right until the final turn to get their teeth into Bertie, but I managed to keep him moving and screened by terrain just long enough to evade the beasts. This one wasn’t really close once my army got into its rhythm, but I think that was more down to Dan’s bad luck than anything else. If he’d managed to kill my Merlin, I would have been in serious trouble. Result: Comprehensive win.
Game 3:
With one win and one loss, I knew that my chances of a podium were slipping, but a good result was still well within reach. I would need as big of a win as I could manage in the final game, and hope for some upsets further up the table. The final mission was Hold Until Relieved, with Meeting Engagement deployment on Long Table Edges, but with the secondary objective of Breakthrough – the polar opposite of the primary! My last opponent was Phil, who’d brought a gorgeously painted Axis armoured force. Once again, my walkers were outweighed, as Phil’s force included a Panther X with Schwerefeld Projektor, two Vogelspinne, and a pair of Heuschrecke, backed up by a small infantry core of Stahltruppen and Falcons. The Heuschrecke is probably the walker I’m most afraid of in all of Konflikt ‘47, as its ability to drop in and delete one of my own mechs can very quickly knock out a key part of my force.
Our table was an incredibly dense city-fight, with the main objective in an open street between two lines of rubble. My plan was simple: Get Bertie to grab the objective early, then ‘castle’ up and force Phil to come to me while I waited for his Heuschrecke to make their move. While my side of the board had excellent positions for covering and holding the objective, there was a large open area to the rear that made a perfect landing ground for the Axis jumpers, so I knew I was just going to have to grin and bear it.
The first couple of rounds were hugely cagey. While I managed to solidify my hold on the centre of the table and the objective, Phil was keeping his options open, exploiting the open ground on the extreme flanks and getting his units into a position to either push an attack or score maximum secondaries if his drop units couldn’t get the job done. I was getting worried about a potential crossfire from his armour, but I spotted an opening – it looked like Phil had over-extended his Panther, and I was able to get a unit of Galahads forward and into PRIAM range. A full salvo, with a little bit of judicious Luck from Bertie, saw the big cat reduced to a wreck, and suddenly I felt the pressure lighten.
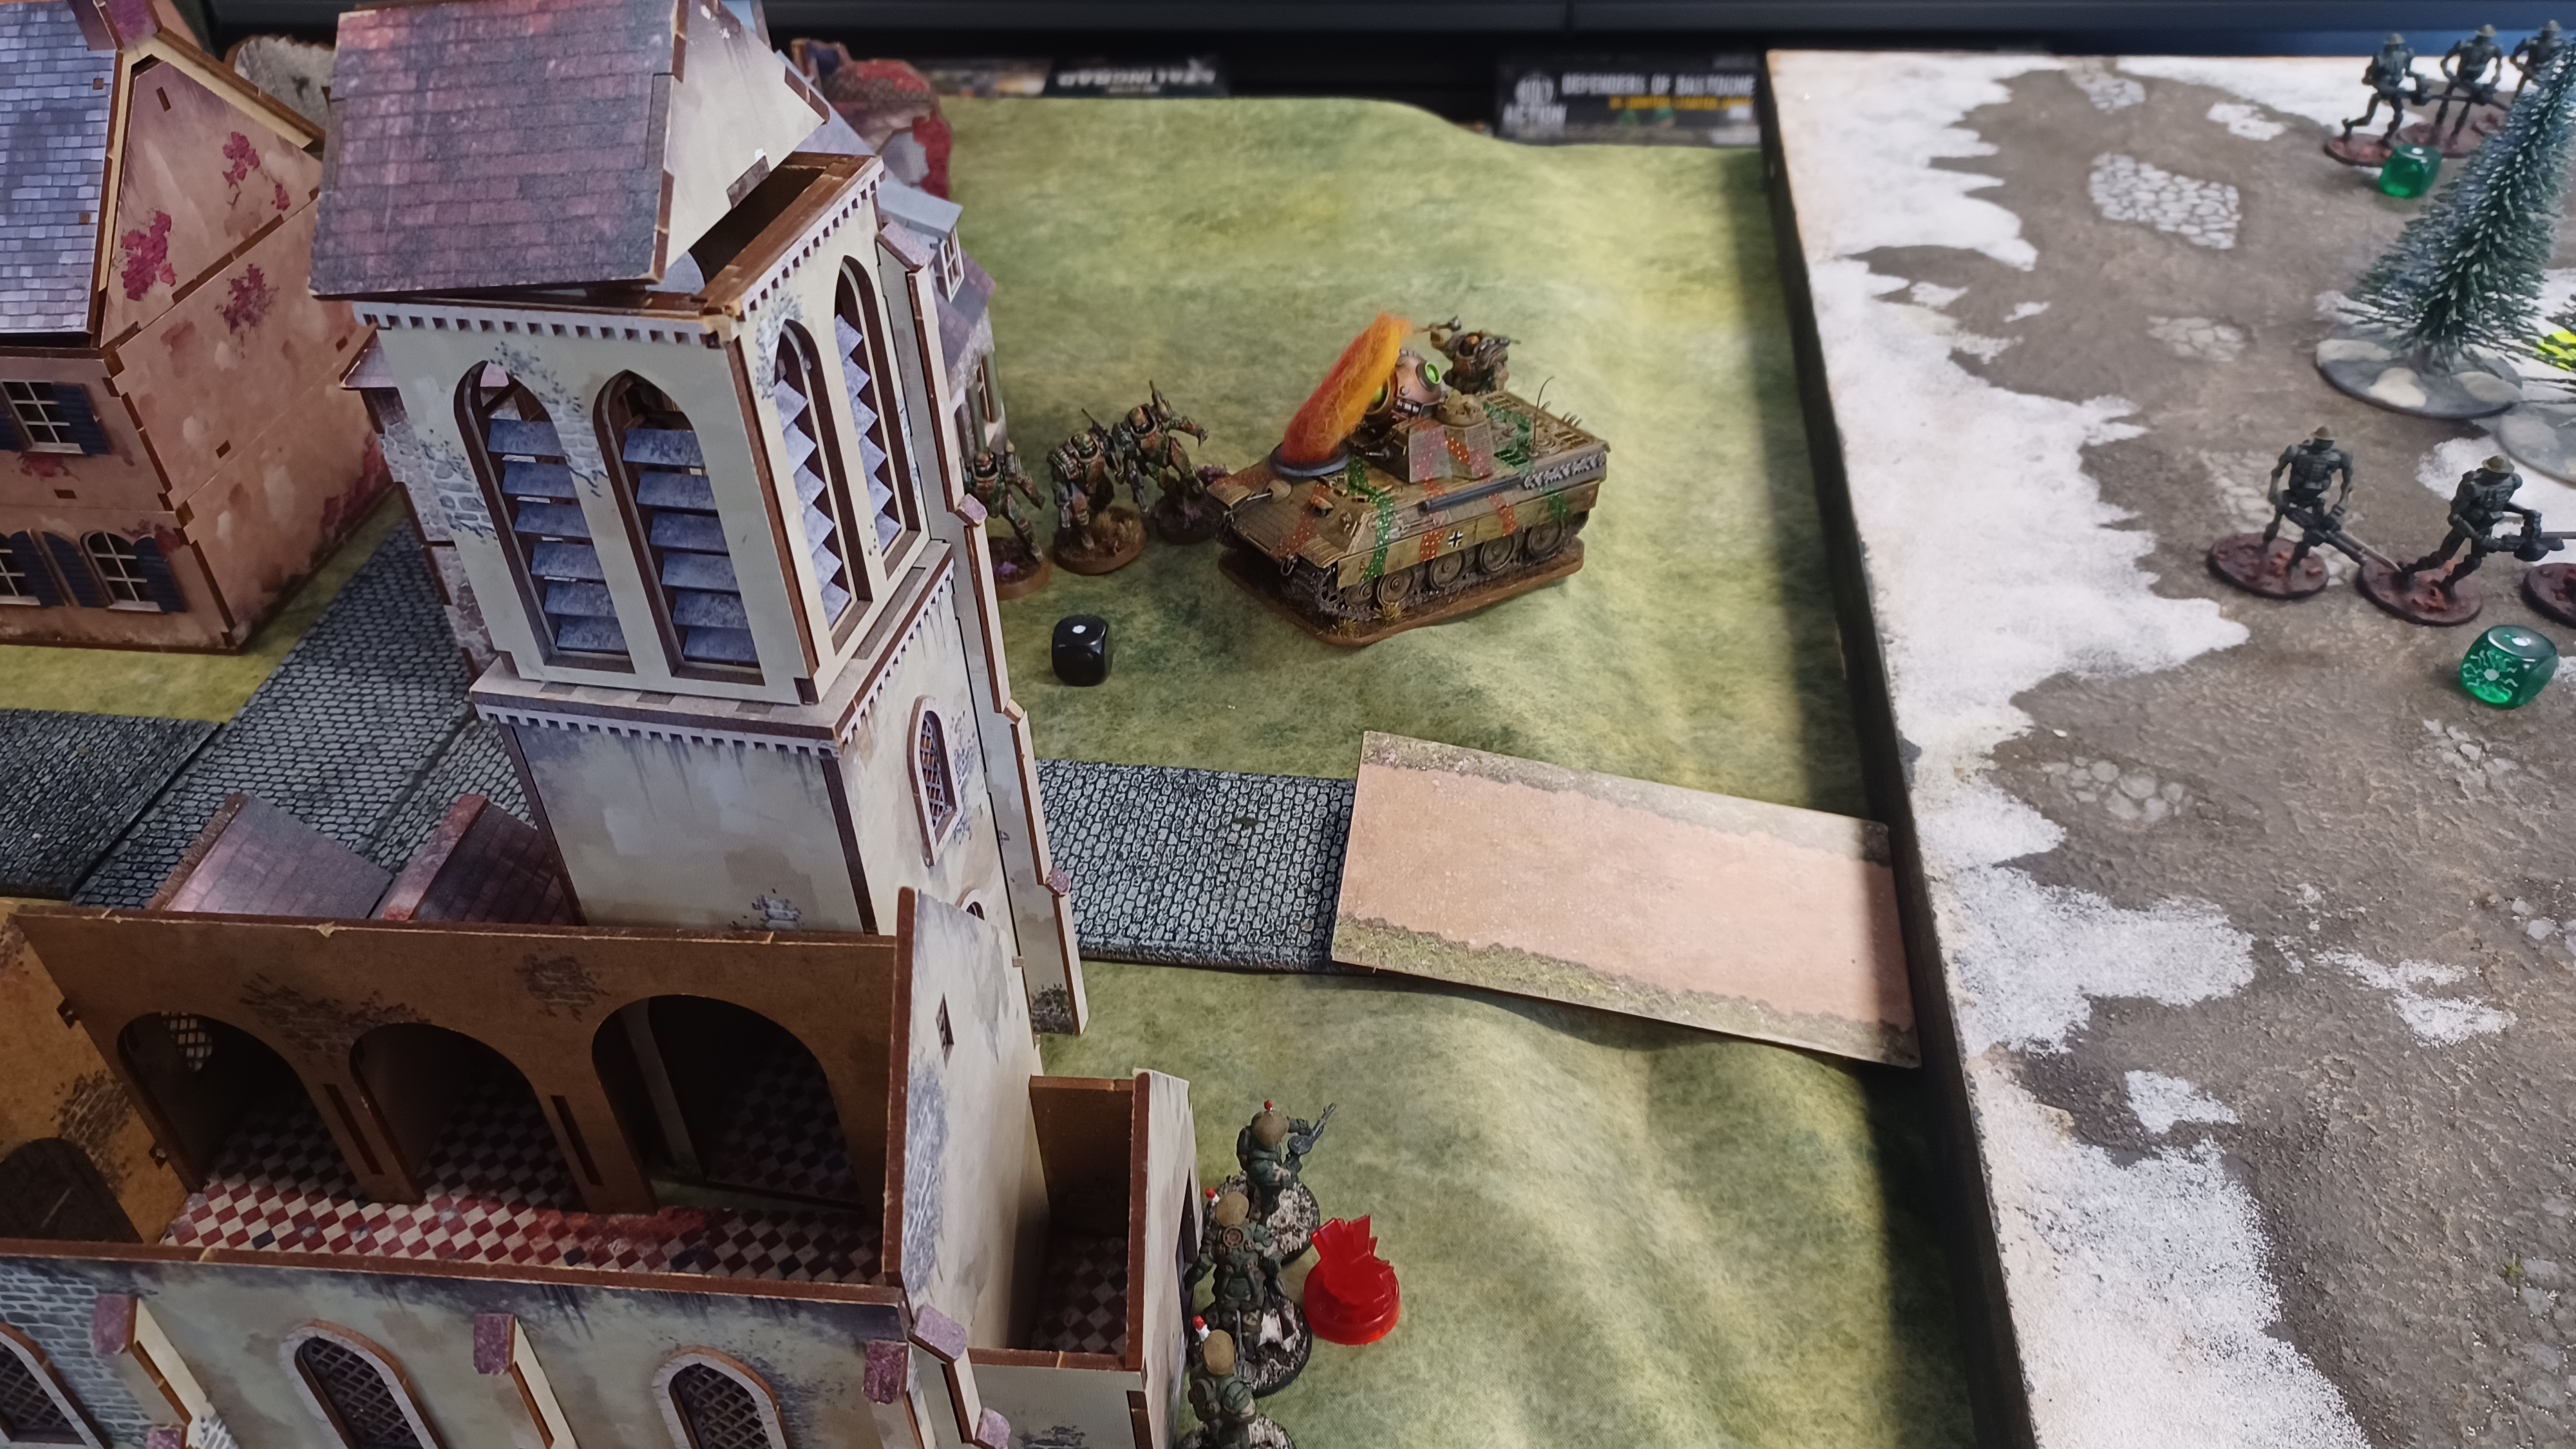
It was at that point that Phil committed his strike forces. One Heuschrecke dropped in and blasted one of my Hornets apart with a point-blank shot to the rear armour. Not wanting to leave it alive for a second longer than necessary, I committed my Galahad officer, who’d been lurking nearby for just such an occasion. Once again, the PRIAMs came in clutch, as I was able to get into point-blank range of the walker’s rear arc, and do just enough to bring it down. The second Axis walker descended, but Phil’s dice deserted him and its fire couldn’t manage more than a pin on my remaining Hornet. My Riflemen repeated their commander’s trick, and 30 points of PRIAMs turned nearly 300 points of Heuschrecke to scrap metal! PRIAMs have their limitations, particularly against walkers, but if you can get them shooting at rear armour, there’s always a chance they’ll pay off!
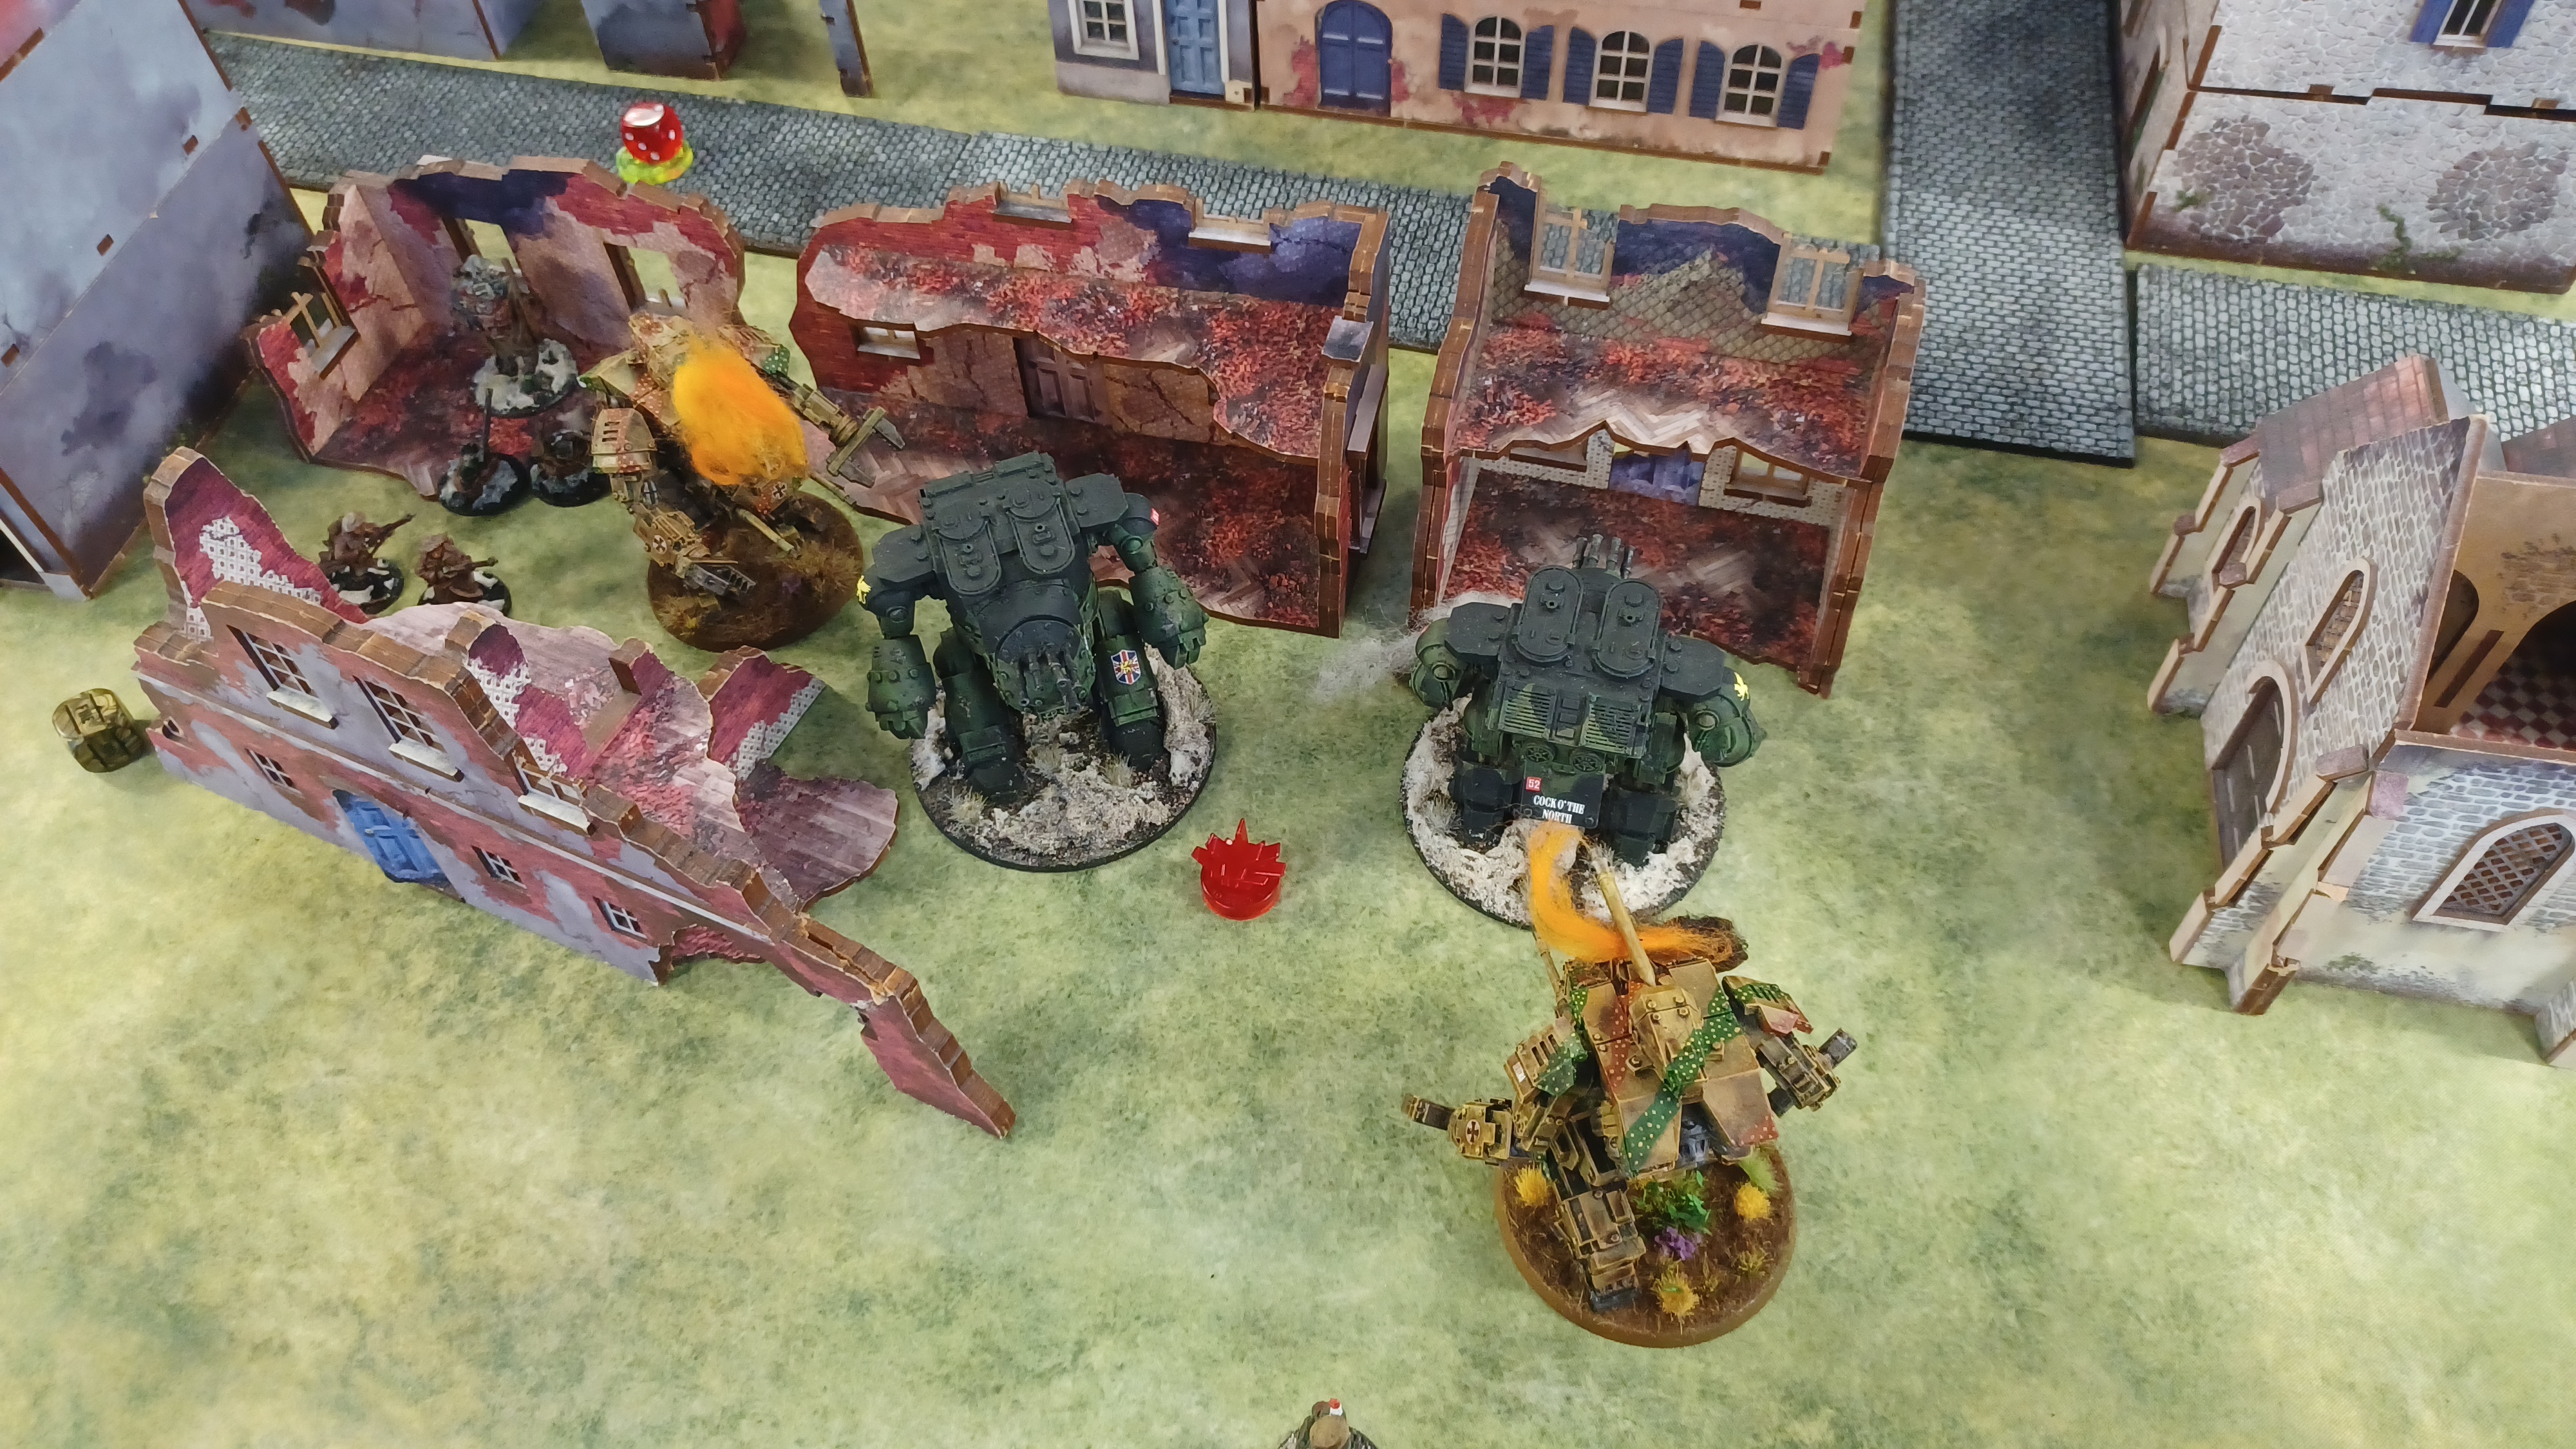
Having defeated Phil’s drop assault, I felt considerably more secure in my position, and my Merlin could go hunting. While my Bertie and my remaining Hornet pounded the unit of Stahltruppen attempting to move up on the objective, forcing them to hunker down in a ruined building to weather the storm, I lined up the first Vogelspinne. A decisive step into the street and a point-blank shot from the Merlin’s AT gun was all I needed to kill it, and the game was beginning to swing hard in my favour. Sensibly, Phil switched his strategy. Realising he was running out of forces to dislodge me from the objective, he instead began running as many units as he could off of my table edge to score secondaries – something I was quite happy to let him do, as it meant fewer things shooting at me!
From the decisive fourth turn, the game rapidly accelerated. My Galahads who had brought down the Panther fought an heroic but doomed delaying action against the Stahltruppen and Falcons on the right, eventually sacrificing themselves in Close Quarters to try and slow down the heavy metal tide. Meanwhile the remaining Vogelspinne proved to be incredibly frustrating to kill, surviving a full three rounds of point-blank fire into its side armour from the Merlin before eventually being felled by the sheer weight of Pins it accumulated. I finally managed to finish off the Stahltruppen in the centre, and Phil ran his surviving infantry off the board, bringing the game to an end early in turn six.
This was a really fun, tactical game against an opponent with a clear plan that was almost the opposite of mine, and it was nice to see my infantry (who had been virtually silent in my previous games) actually get stuck in and do something! Result: Clear victory, but no secondaries scored.
The Aftermath:
A 2-1-0 record is always going to need some help and good secondaries to make it onto the podium, and considering I had scored exactly zero secondary objectives in my first and last games I wasn’t surprised at all to find myself finishing 6th of 14 – almost precisely bang average!
I’m actually really happy with that result. Mid-table with a positive W/L is something I’ll take every day of the week, and as I get more to grips with the list, I find myself making comparatively fewer mistakes each game. One of the great things about playing Konflikt ‘47 at 1,750 points in tournament play is it opens the door to all sorts of lists – all-rounders, hordes, and weird elite ‘swing’ builds like mine – and ensures that I have to plan to fight a huge variety of different forces. I really enjoy that aspect of the hobby, particularly when I get to play against the lovely people who come to our store’s chilled-out tournaments. I’m already planning a couple of variations on this list theme to test before the next one – I might even (god forbid!) drop one of the Hornets for some more bodies…
As always, a massive thanks has to go to Kieran and the TO team for all their work at these events, making sure everything runs smoothly, everyone knows where they’re playing, what the missions are, and (crucially) has plenty of pizza for lunch. Roll on the next one!
Want to build a tournament-worthy Konflikt ’47 force of your own?