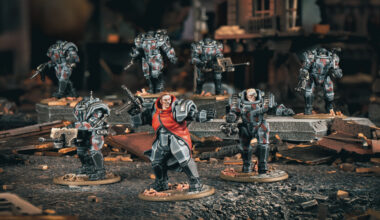
In a normal office, if you want to go home early, you ask your manager nicely, or maybe take a half-day as leave. Here at Warlord, it’s… a little bit different. Imagine a scenario: Marcus wants to take the afternoon off at short notice. Jim, his boss, agrees – but only if Marcus can beat him in a game of Konflikt ’47! If Marcus loses, he has to stay late and clear up the photo studio by himself. (We checked all this with HR, and it turns out it’s actually written into Marcus’ contract, which might explain why he’s never around when you need him! -ed.) With such a handsome prize on the line, our two commanders made ready for war!
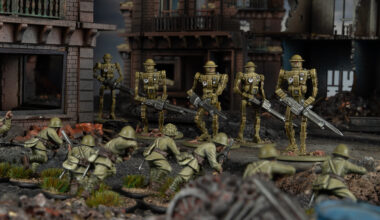
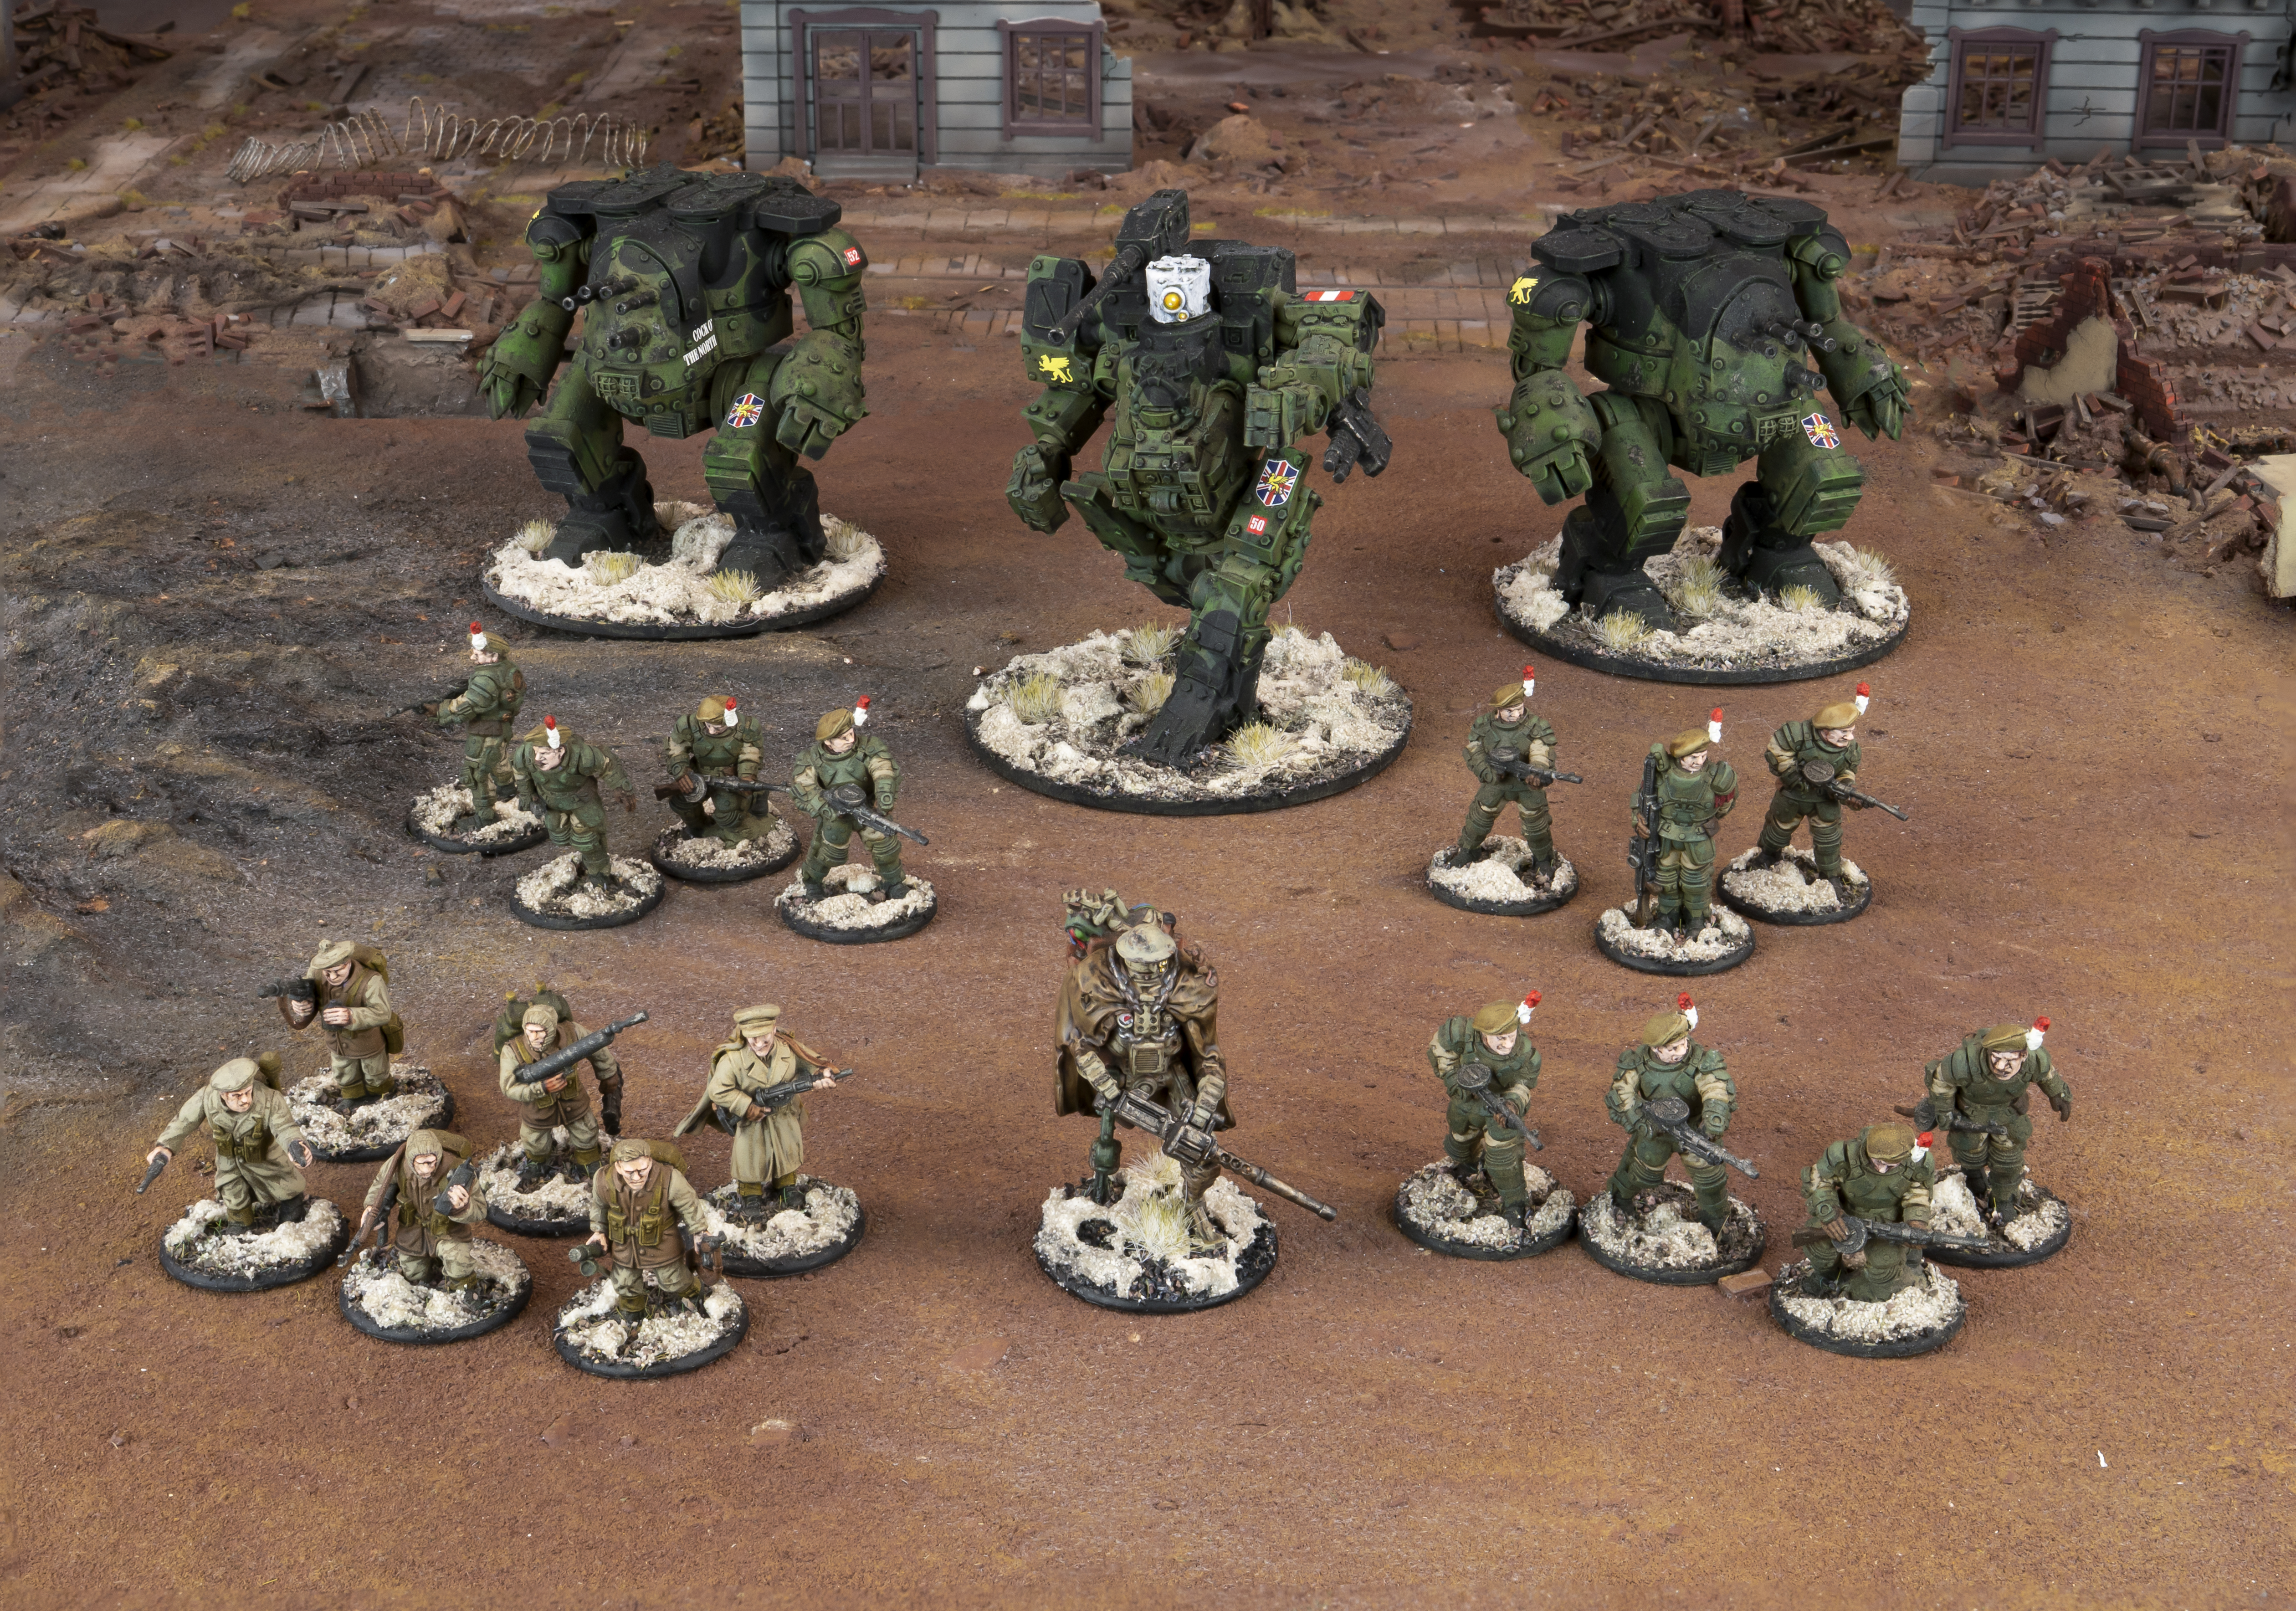
Marcus – With so much at stake, there’s only one choice for me in terms of forces: my trusty British Commonwealth force will be coming out to play! I’ve made some small changes to this army since the latest rules update, most notably dropping the Forward Observer and Light Mortar team for what is in my mind the most iconic model in all of Konflikt ’47 – B for Bertie, who Colin Swinburne has painted up beautifully to match the rest of the force for me. Otherwise, the list is essentially the same as the one I took to the last HQ Store tournament; why fix what isn’t broken?
| Assault Platoon | ||
| Unit | Upgrades | Points |
| B for Bertie | – | 120 |
| Veteran Platoon Commander in Galahad Armour | 2 additional soldiers, Heavy Tesla Rifle, PRIAMs, Stubborn, Tough Fighters, Guts (1) | 151 |
| Veteran Galahad Armoured Infantry Squad | PRIAMs, Stubborn, Tough Fighters | 160 |
| Veteran Galahad Armoured Infantry Squad | PRIAMs, Stubborn, Tough Fighters | 160 |
| Veteran Rifle Squad | 1 additional soldier, PRIAMs, Stubborn | 114 |
| Armoured Walker Platoon | ||
| Veteran Merlin Heavy Walker | Command Vehicle | 448 |
| Veteran Hornet Medium Support Walker | Computational Systems | 297 |
| Veteran Hornet Medium Support Walker | Computational Systems | 297 |
| TOTALS | ||
| 8 Order Dice | 3 Rift Dice | 1,747 Points |
My plan is pretty simple – the walkers will do the vast majority of the killing, while the Poor Bloody Infantry try to stay out of the way and grab objectives. From what I remember of Jim’s Axis collection, I’m expecting a lot of Stahltruppen and Totenkorps, neither of which my Galahads are particularly good at killing. It’s going to be down to the heavy brigade to punch, kick, and shoot me to victory! I’ve not played against Jim before, but he’s been wargaming for longer than I’ve been a person (does that kind of shot count as a Preliminary Bombardment? -ed.) and I suspect he’ll have a cunning plan up his sleeve that I’ll have to watch out for.
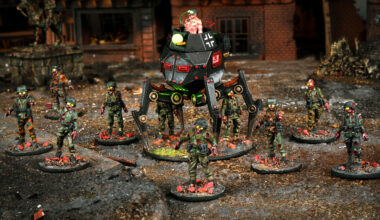
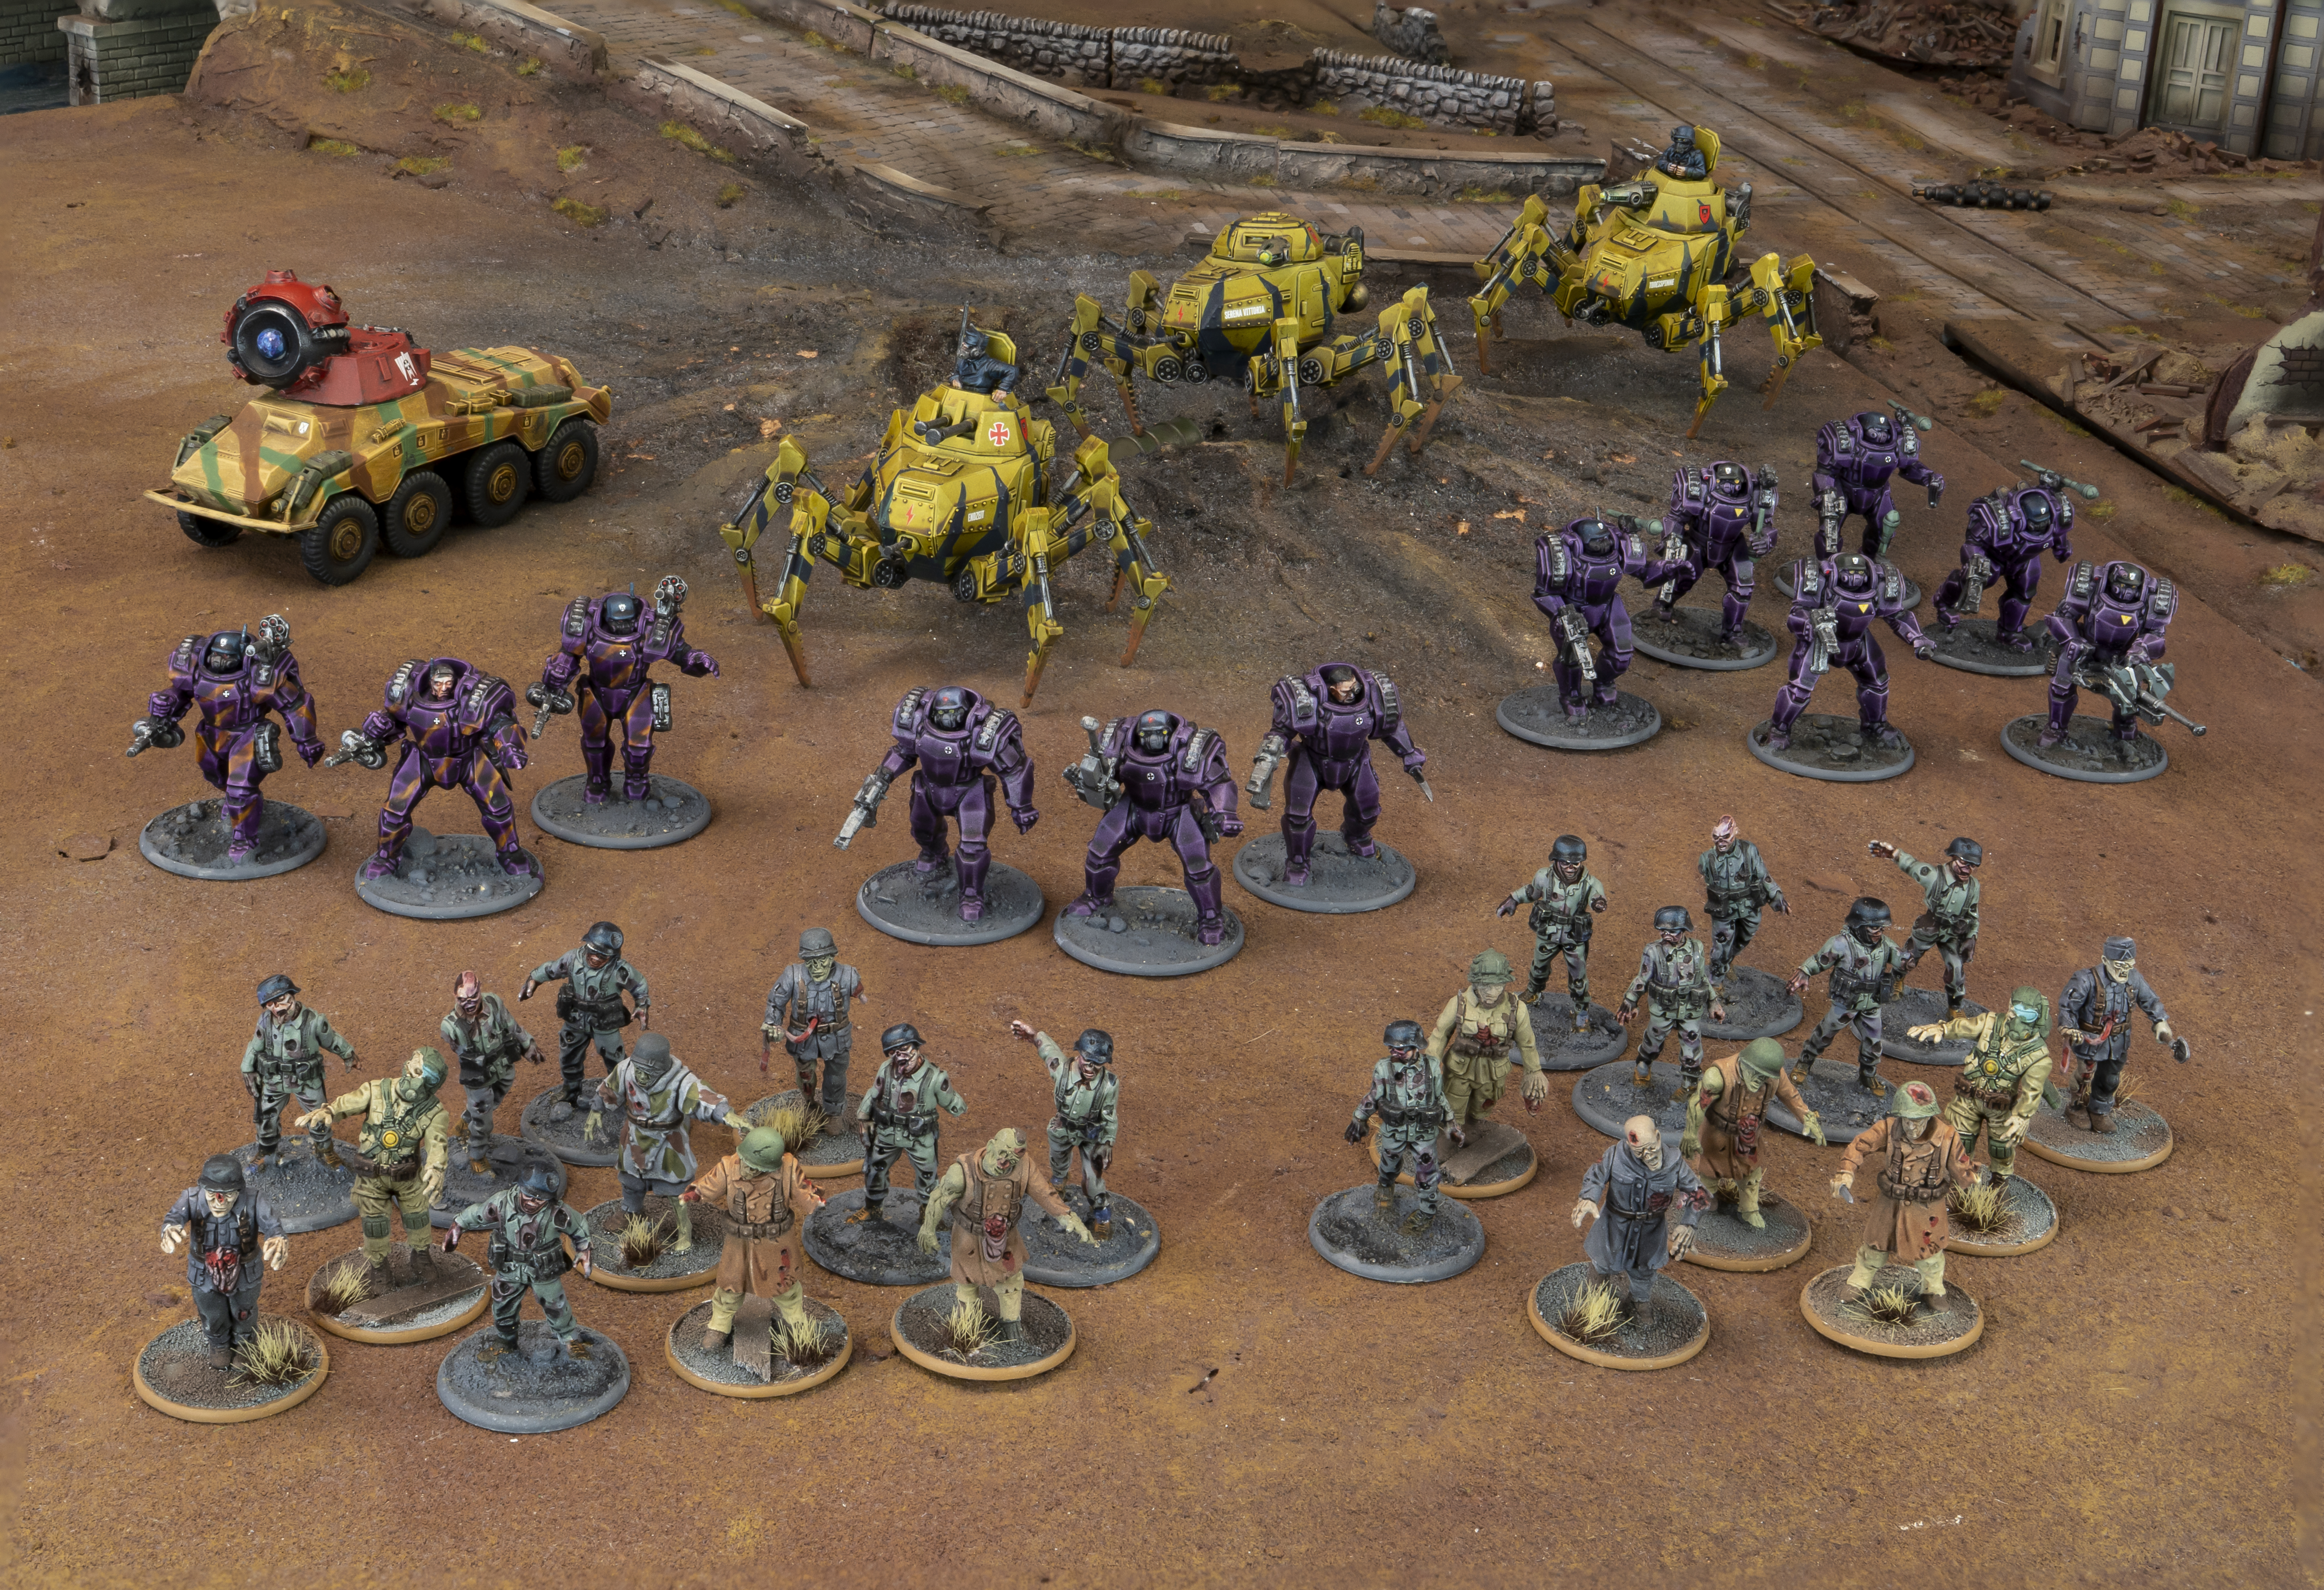
Jim – Fighting a battle against Marcus is always an intimidating prospect, but knowing he’d be using his Commonwealth army that had done pretty well at a recent tournament made it even more daunting. Being old and weak of mind, I tend to collect armies that are relatively simple to play with, rather than built around a clever strategy. A Stahltruppen core – one big unit of 6, a unit of 3 and my commander with bodyguards – is a good all rounder. While they aren’t Fearless, their Rift Ability means they can remove their pins while making an Advance move, so they are very reliable. Three Regular Vogelspinne and a Veteran Puma X give some mobile firepower, though overall my army is light on high PEN weapons, especially as the Panzerfausts halve their PEN against walkers and powered armour. What it does have is massive Rift energy: 9 Rift Dice, one of which starts Surging.
The list tops off with two big units of Totenkorps. Marcus suggested playing at 1,750 points but I only had 1,495 points painted. Luckily, a unit of 12 Totenkorps is 252 points so I borrowed a squad from the store to make up the numbers.
| Assault Platoon | ||
| Unit | Upgrades | Points |
| Stahltruppen Platoon Commander | 2 additional soldiers, 3x LMG | 140 |
| Stahltruppen Squad | 3 additional soldiers, Light AT Gun, Panzerfausts | 245 |
| Stahltruppen Squad | Light AT Gun | 125 |
| Totenkorps Squad | 6 additional Totenkorps | 252 |
| Totenkorps Squad | 6 additional Totenkorps | 252 |
| Armoured Walker Platoon | ||
| Regular Vogelspinne | Command Vehicle | 165 |
| Regular Vogelspinne | Maschinen Schwere | 155 |
| Regular Vogelspinne | Maschinen Schwere | 155 |
| Veteran Sd.Kfz 234/X Puma | – | 258 |
| Totals | ||
| 9 Order Dice | 9 Rift Dice | 1,747 Points |
It might seem a little strange to have two whacking great units of Totenkorps in an army that doesn’t have a Totenrotte platoon or any Nachtzehrer, as it means they can’t capture objectives. This doesn’t bother me too much, as they can deny the enemy that opportunity and I’ve got three units of Stahltruppen that can get on objectives. The two units work nicely in tandem, as Stahls burn Rift Dice every time they use their Vormarsch! ability, so between those and my Totenkorps regenerating, I’m (re)rolling lots of Rift Dice to get those lovely Surges. If I can get Surging dice on my Totenkorps, they’ll be almost impossible to kill. My Veteran Puma starts with one Surging Dice, and my first action will be to have my commander donate him another Active Dice so that he always has the Gravity Pulse option open.
My ‘plan’ (if you can call it that) is to whittle down the enemy infantry while minimising losses from those scary walkers, using the Totenkorps to screen my advance using their Infiltrator ability. If I can use them to deny two objectives, I’ll only need to take one to win.
The Mission:
In the ruins of a town near the Axis stronghold of Festung Ravensburg, a small Commonwealth force attempts to reconnoitre the ground. If they can seize a foothold in the rubble, they can create a staging post, allowing friendly forces to begin concentrating. Little does Captain Blatherwick-Smythe know his troops are not alone – Axis forces under Hauptmann Ulrich von Bock have detected their presence, and are en route, intent on securing the town for themselves!
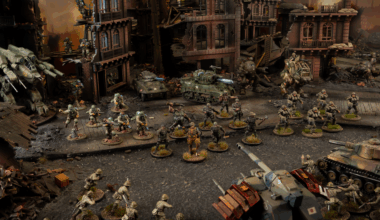
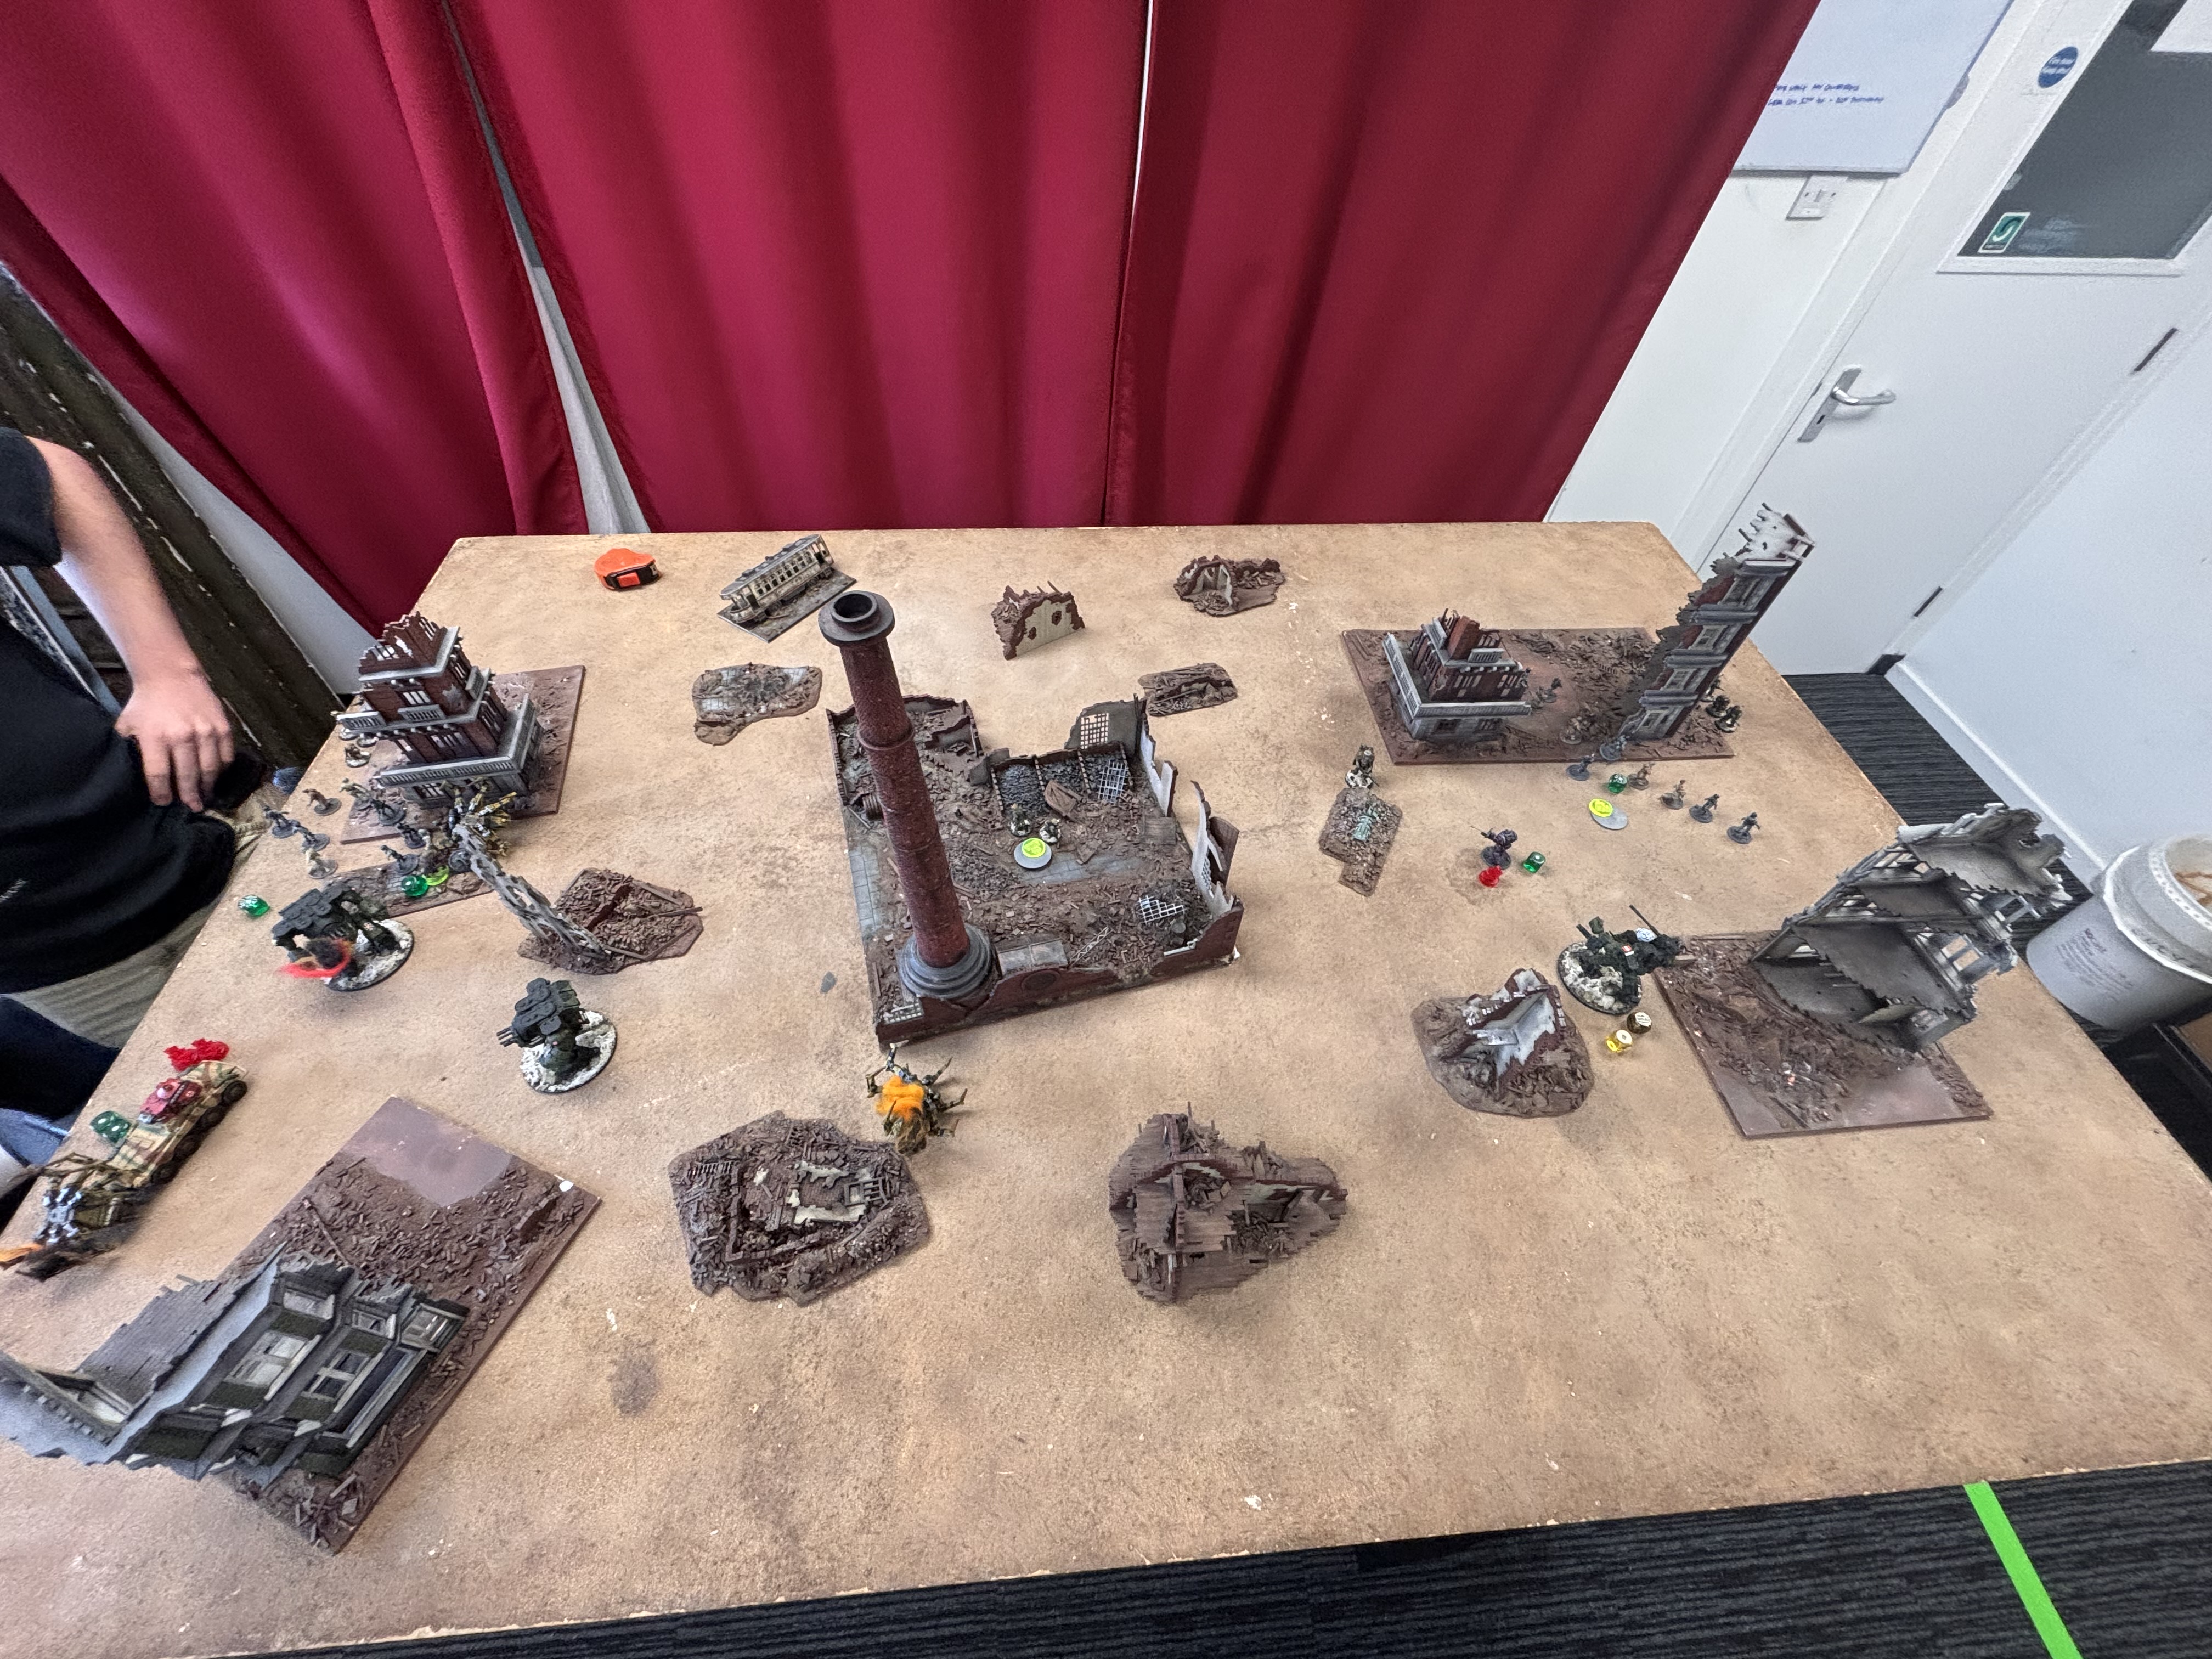
Our two gladiators were confronted with a pretty ‘basic’ scenario, which should suit their level of talent nicely. Three objectives were placed along the table centreline, while the board was set up with plenty of big bits of area terrain to resemble a bombed-out city. With Meeting Engagement deployment on long table edges, it’s a classic fight to take and hold ground. You might even call the objectives… Key Positions!
Opening Salvos
Deployment began cautiously, with neither commander willing to risk their armoured units too early. Jim had executed his plan early, infiltrating the Totenkorps about 12″ in from his board edge, while Marcus deployed the enigmatic B for Bertie near the central objective – clearly he’d been wandering the battlefield in expectation! Some desultory fire was exchanged between the infantry, but it was definitely a waiting game to see who would blink (or be forced by the dice bag!) first and bring their walkers on.
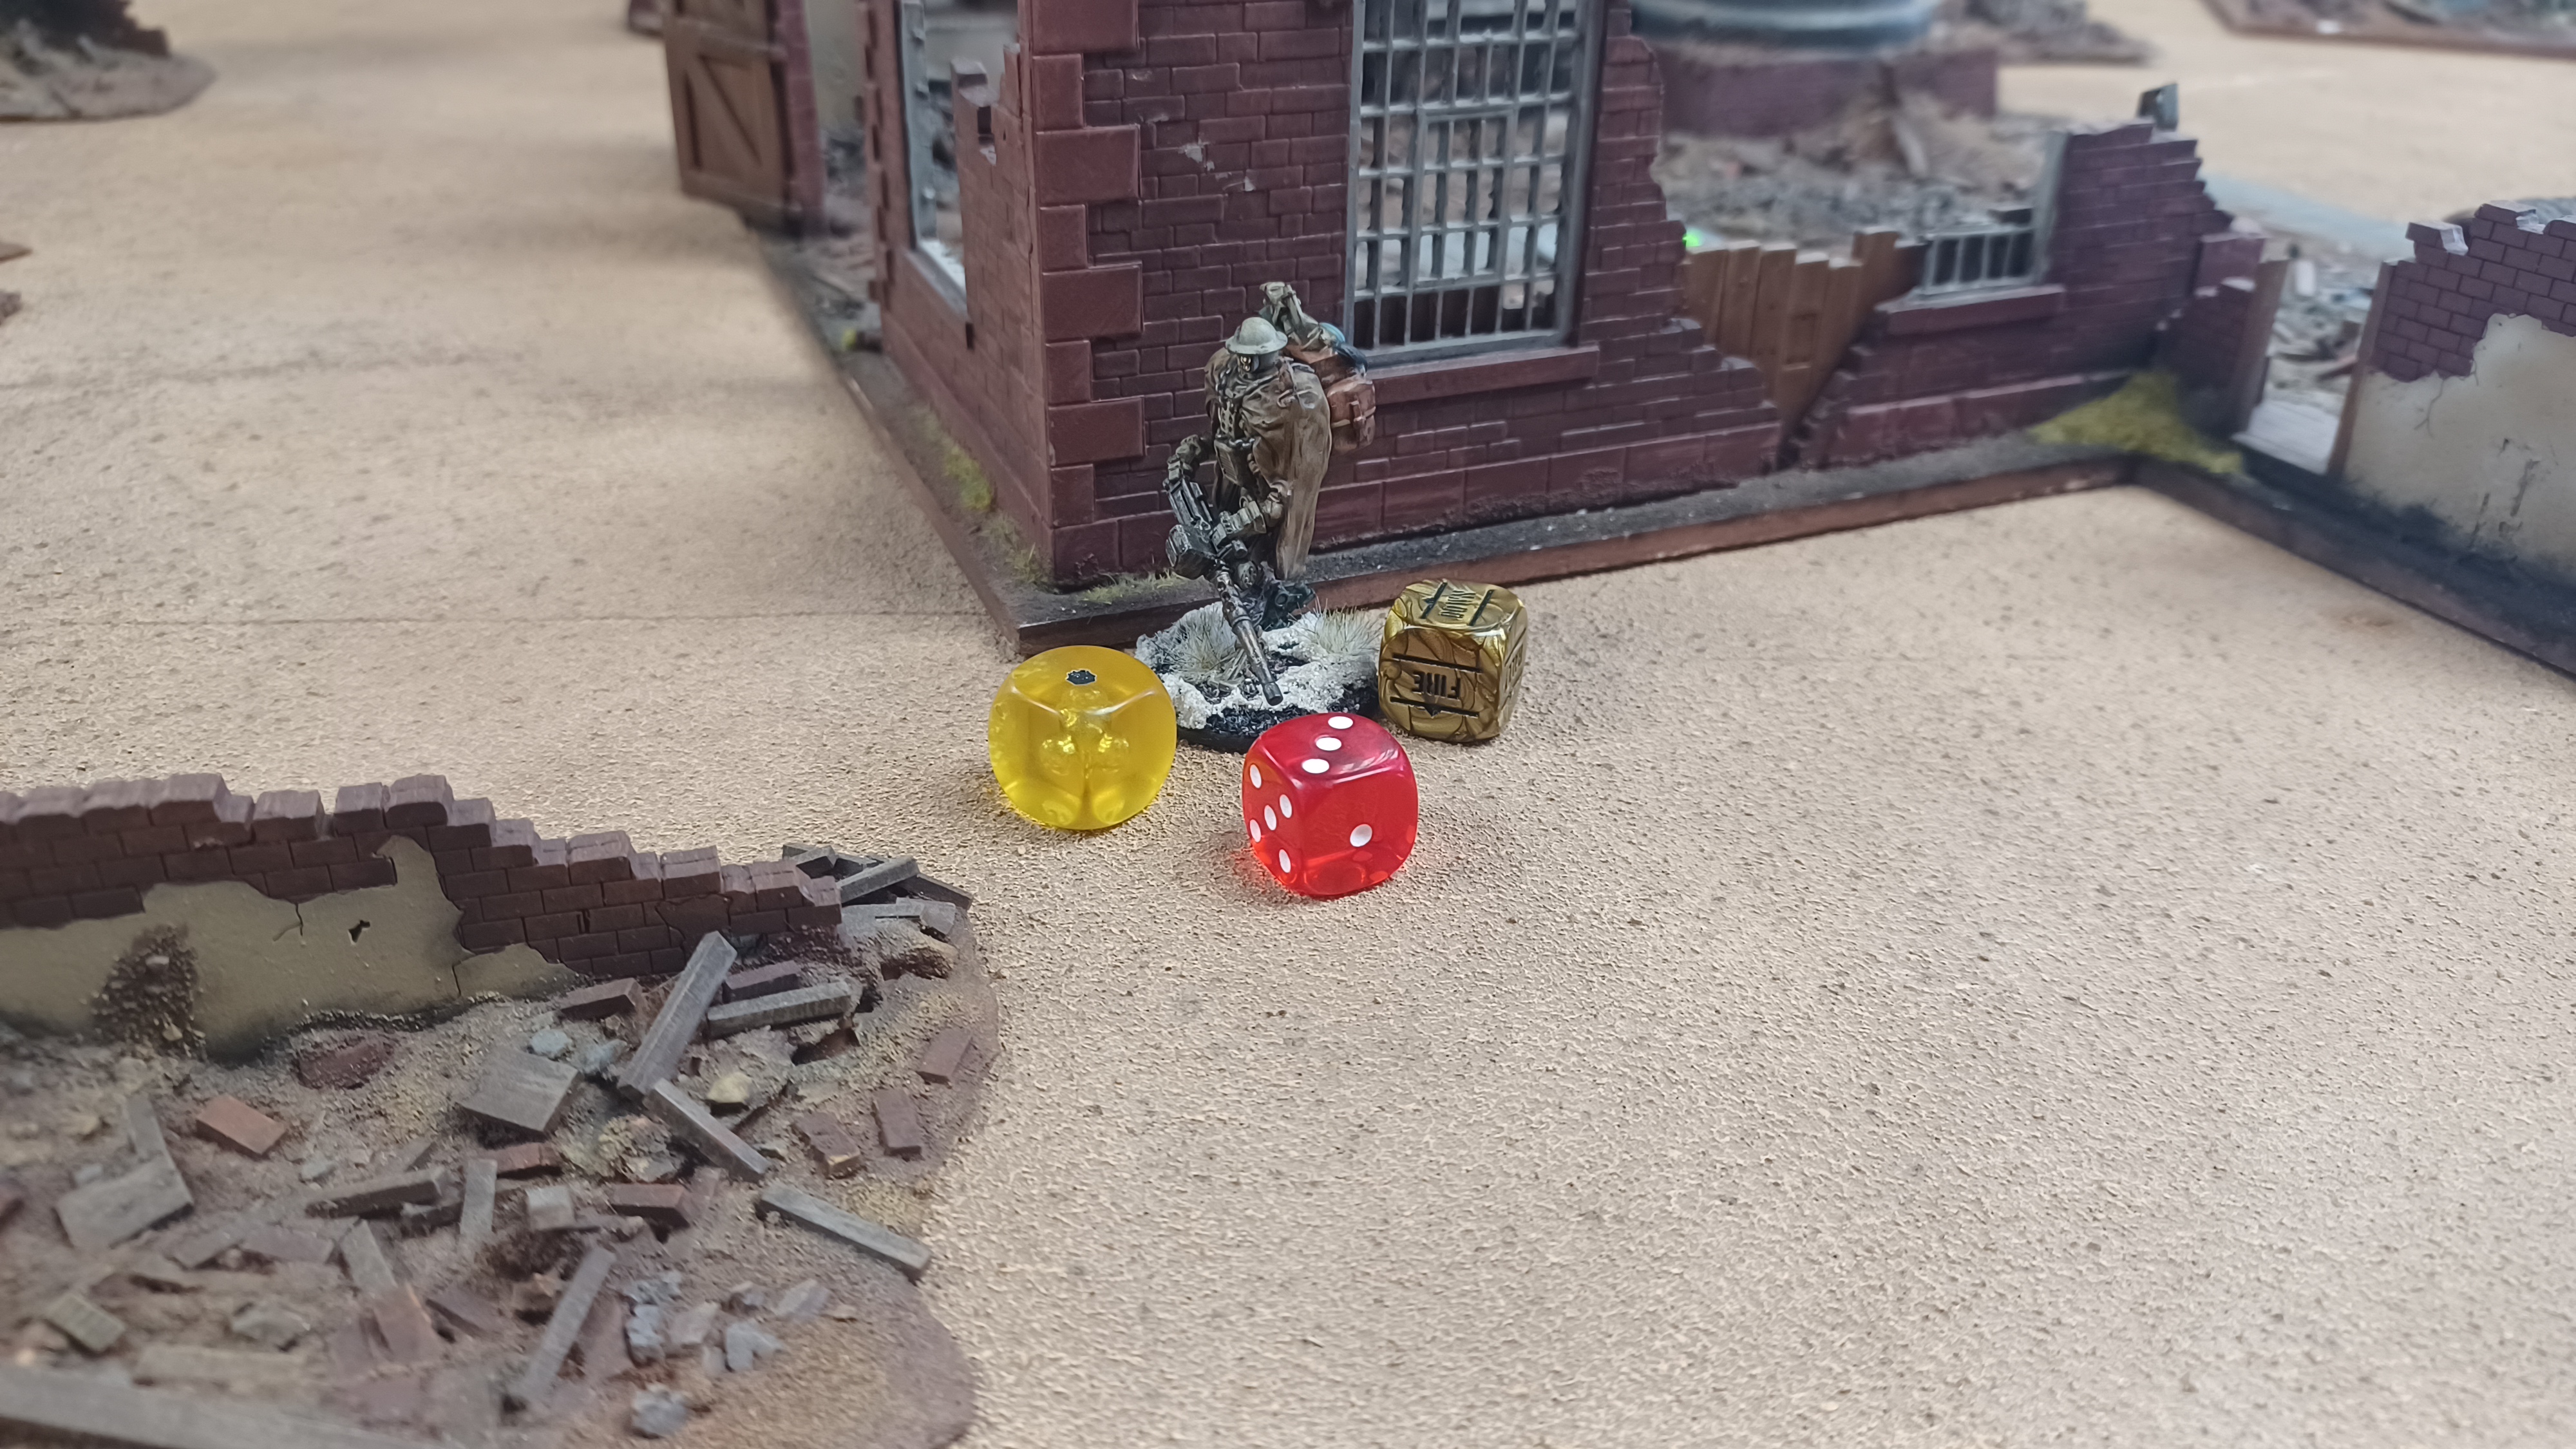
As the turn drew to a close, the battlelines had begun to form, and it was clear that Marcus was definitely wary of Jim’s significantly heavier infantry, with his Galahads largely taking shelter behind the ruins and avoiding direct confrontation with the Stahltruppen. Eventually, though, the armour began to arrive, and it wasn’t long before sparks started to fly!
The vagaries of the dice bag meant that both players ended up alternating their armour deployments. Marcus’ Merlin was understandably not something that Jim wanted to have to deal with on a Wednesday afternoon (a bit like Marcus himself, then… -ed.), and this led to something of a concentration of walkers on the opposite flank. As Jim’s command Vogelspinne scuttled cautiously on, Marcus countered aggressively with one of his Hornets. A furious volley of autocannon fire rang out, but at such long range, he’d need to roll plenty of 6s in order to achieve any damage at all…
It turns out that Marcus can roll dice after all! A frankly improbable string of 6s saw the Vogelspinne riddled, set ablaze, and left as an abandoned wreck, with Jim able only to stare in disbelief and use a series of words quite unbecoming of a manager. (In fairness, Marcus’ rolling was ridiculously jammy! – ed.) Seeking to retaliate, he brought on his remaining walkers, looking to avenge their commander with the sinister energies of their Maschinen Schwere. Taking aim at the Galahads in the centre, one unleashed a pair of hits – not bad, considering 5s were needed – and the Commonwealth infantry looked in for a world of hurt. However, when Bertie’s on the board, anything can happen! Marcus went aggressive early by burning two points of his Luck to force Jim to re-roll the hits. Jim was unable to replicate the feat, saving the Galahads from a pasting – but had Marcus been too eager to use Bertie’s precious Luck?
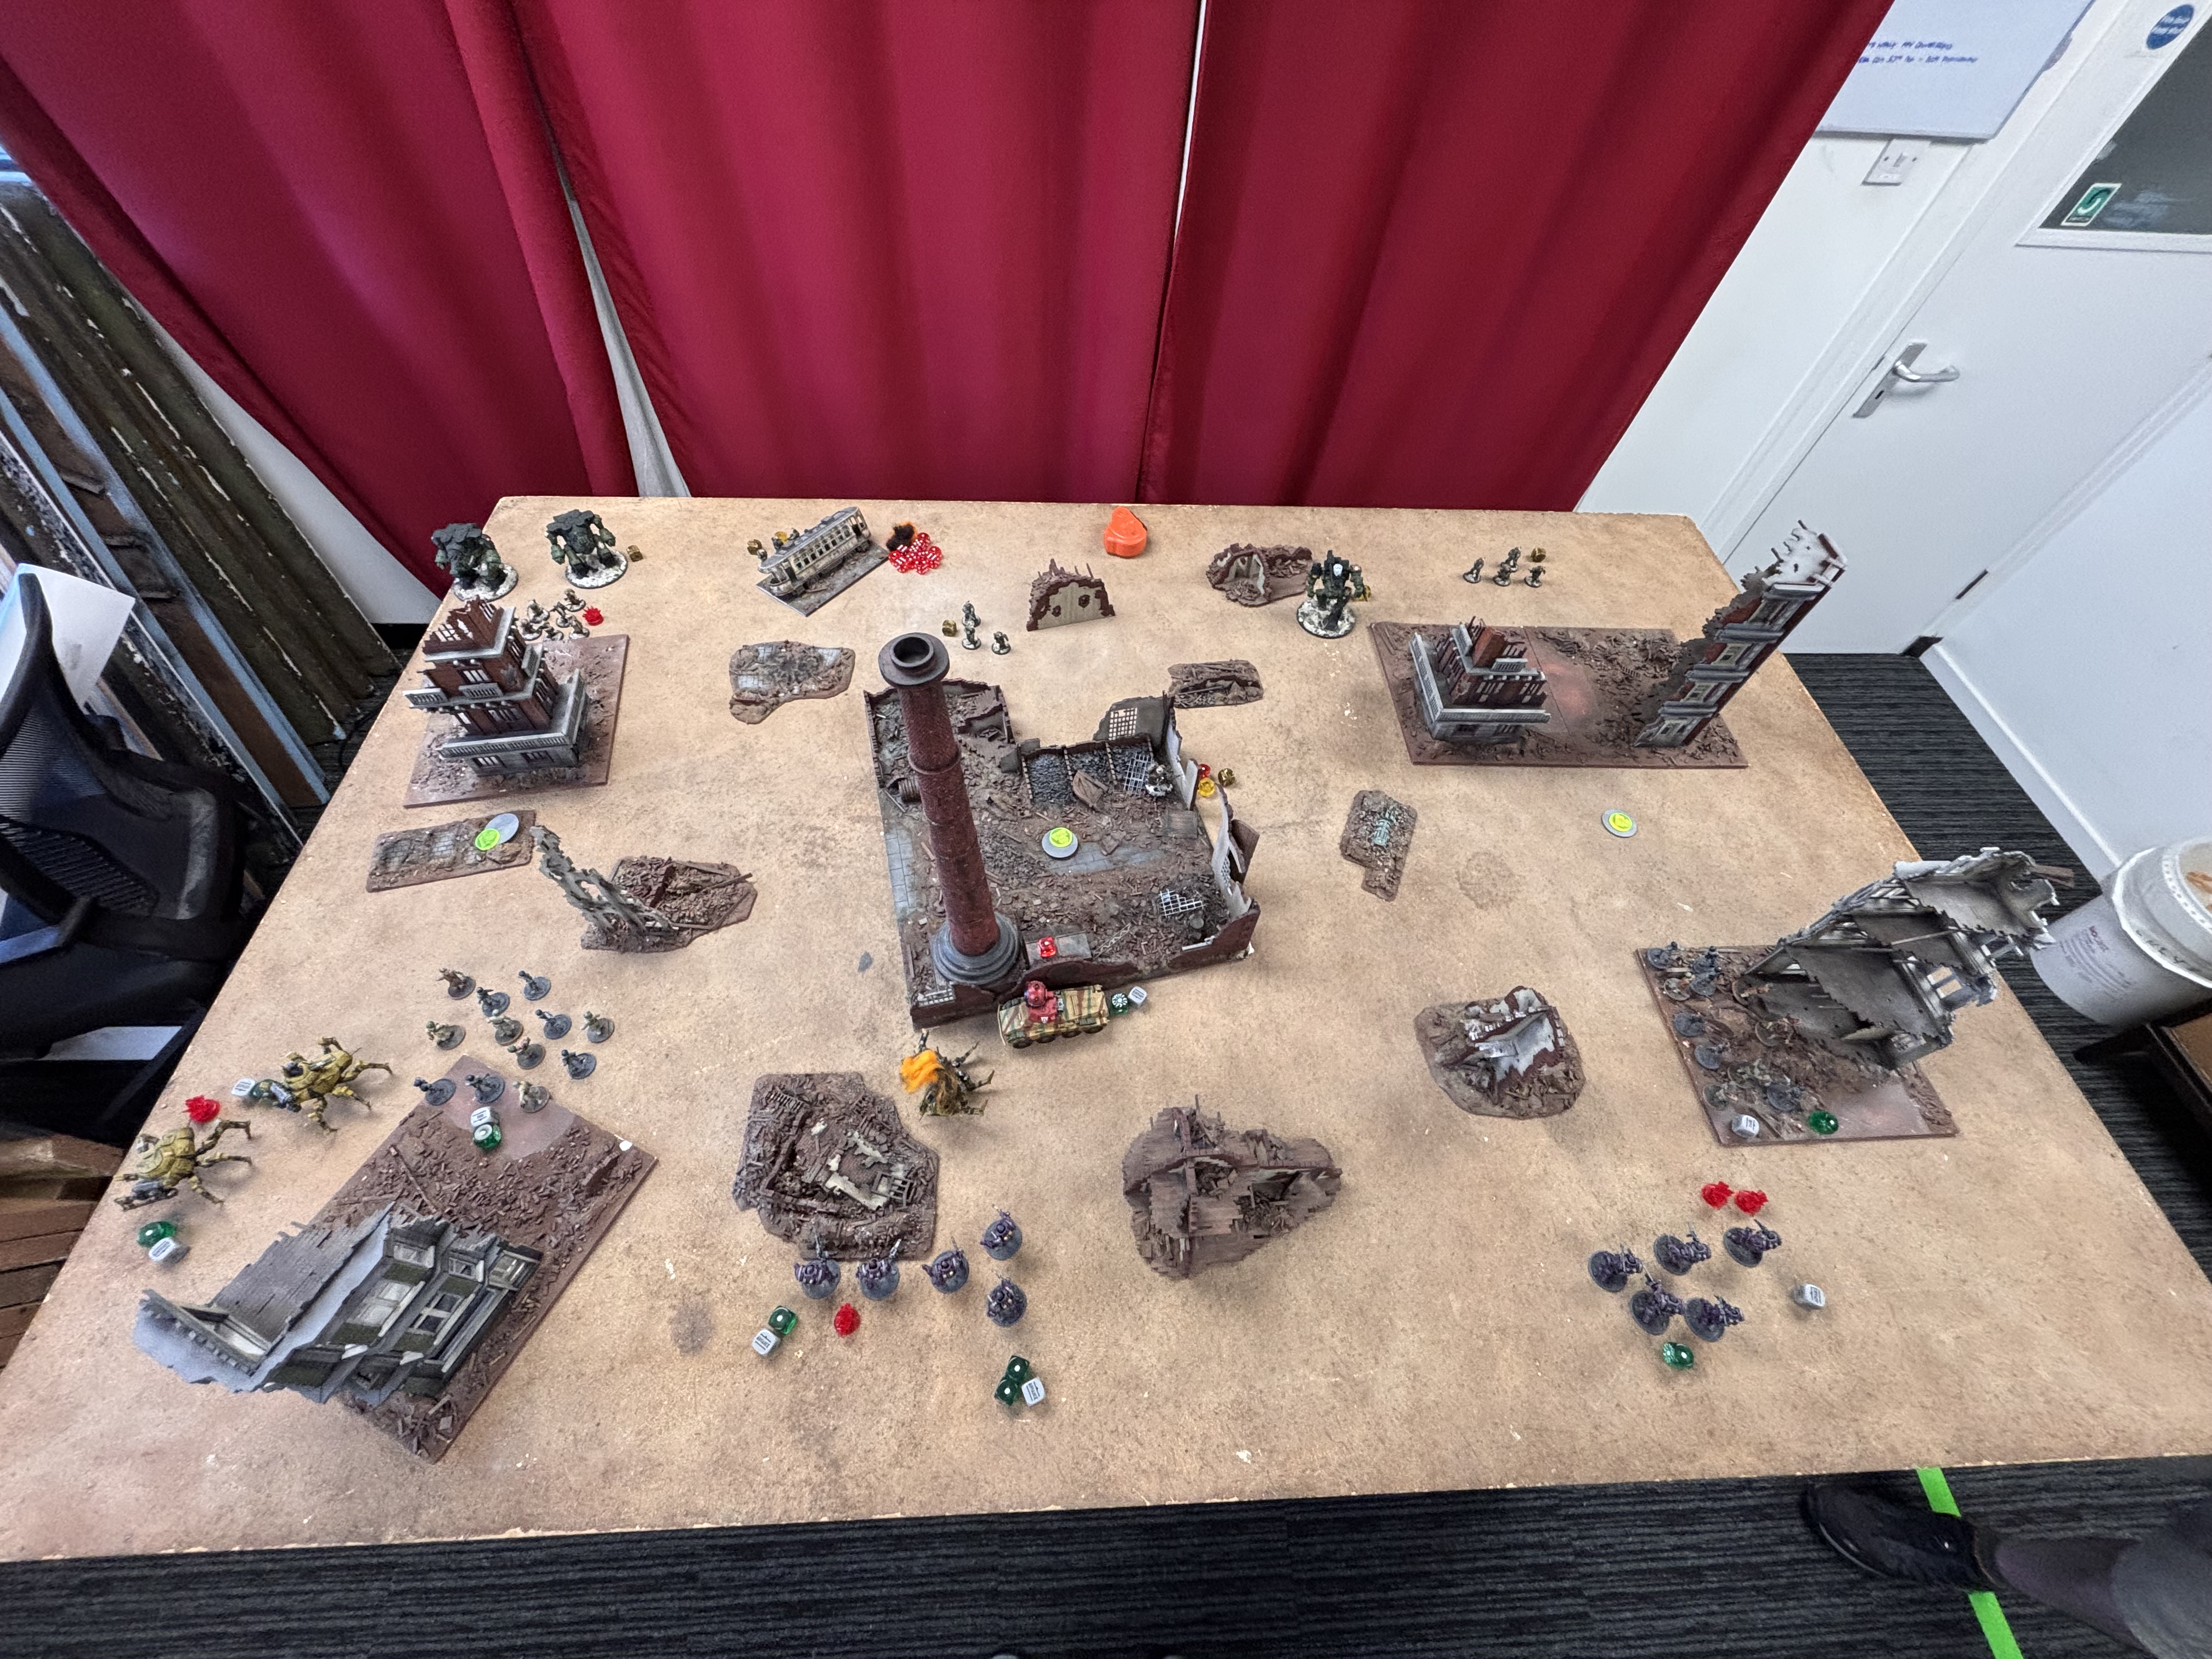
The Hornets Sting!
With all the forces on the board, Marcus went into action with a string of great dice pulls. The Merlin went on Ambush, pinning Jim’s dangerous Puma X with its lethal Schwerefeld Projektor down in the centre of the table, while one of his Hornets began a deadly run up the flank. Computational Systems proved to be worth its weight in gold, allowing the walker to Advance up the table and still fire accurately. Once again, the front armour of the Vogelspinne proved no match for Heavy Autocannon shells, and another of the scuttling mechs was blown apart, with its surviving comrade forced to dive into cover. Sticking to his aggressive strategy, Marcus moved his Platoon Commander (the aforementioned Captain Blatherwick-Smythe) up, spending his point of Guts to return the Hornet’s dice to the bag.
He wasn’t done there, either. As quickly as the dice went back in, it came right out again, and the menacing figure of the Hornet stomped around the corner of the building – directly behind the final Vogelspinne, and at point-blank range! With so many shots hitting on 2s, and with even its HMGs capable of penetrating the Axis walker’s rear armour, the Commonwealth mech proceeded to utterly riddle the lighter machine, destroying it outright several times over. At this point, Jim appeared to be in danger of an early exit from the game!
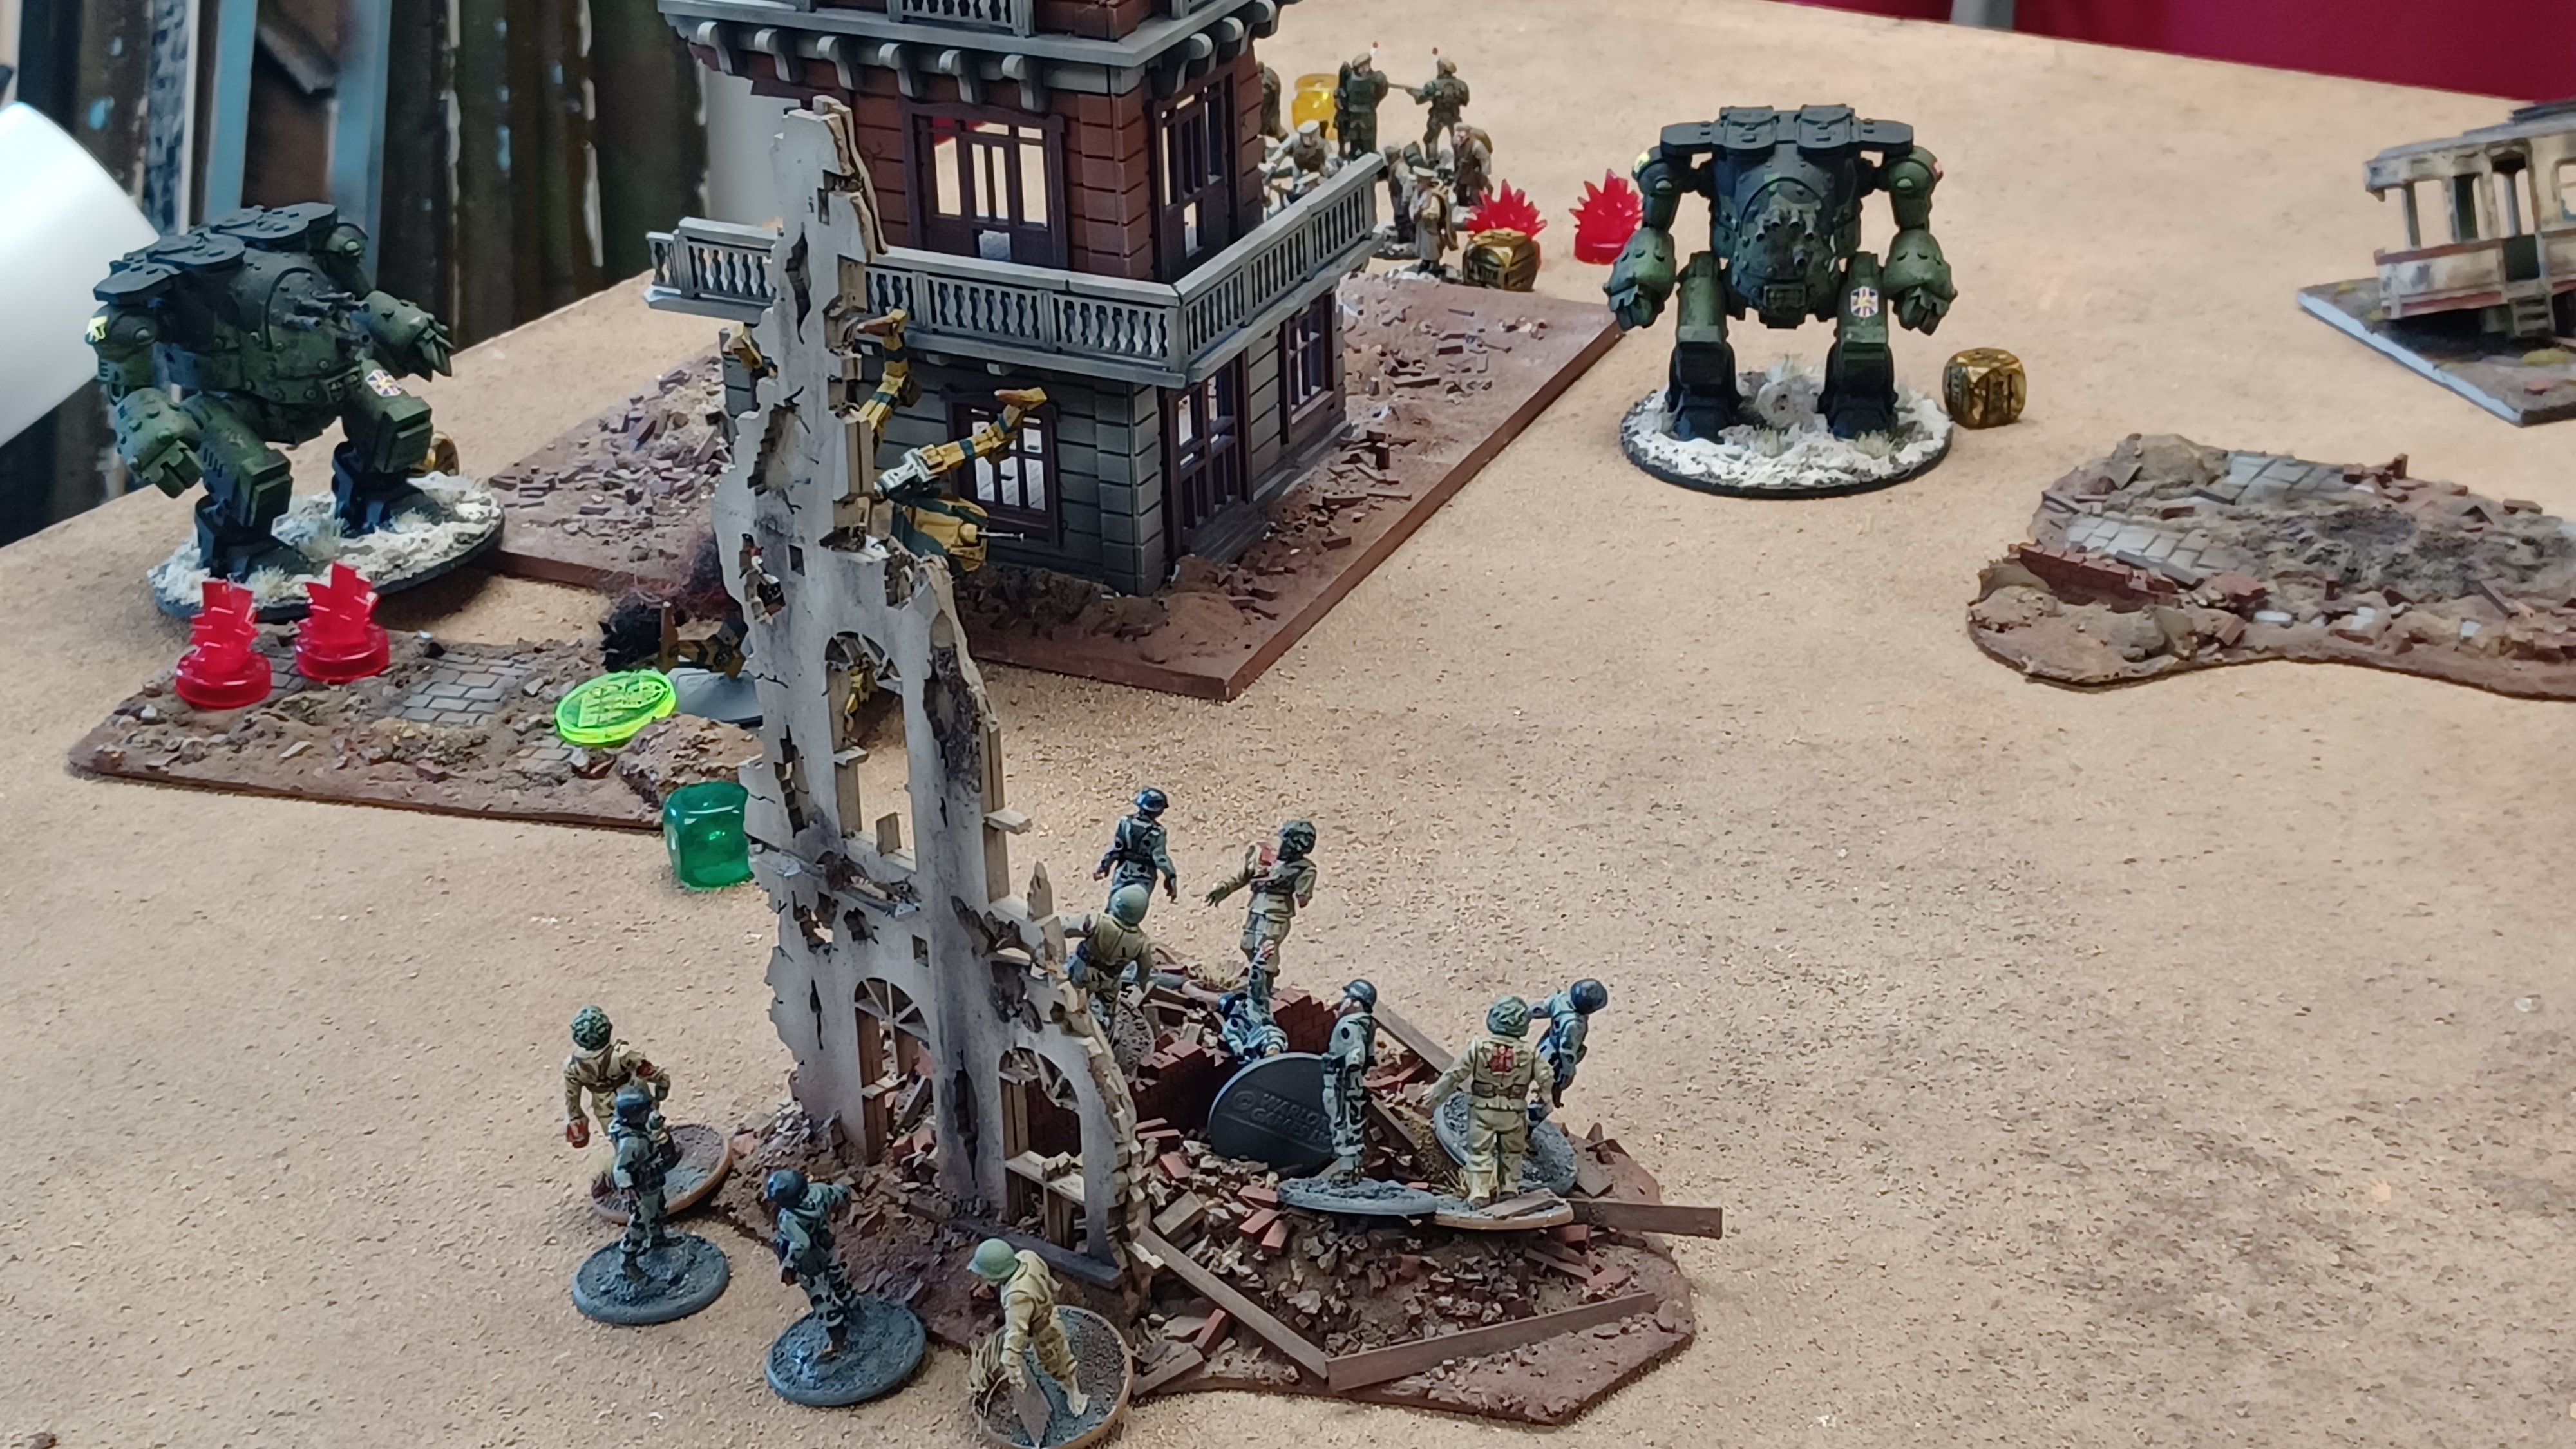
Rather than give up, Jim set about making the best of a nasty situation. While Marcus was focussed squarely on dismantling his armour, Jim adopted the novel tactic of (gasp!) playing the objectives! Although the centre objective had been claimed by Bertie and one of the Galahad squads (who’d taken heavy fire on their way in), both flank objectives were soon buried under an avalanche of decaying flesh. The Stahltruppen had begun their relentless advance as well, making good use of the Vormarsch! ability to both shed the few pins they’d received from incidental fire, and start to ‘cycle’ Jim’s enormous pool of Rift Dice.
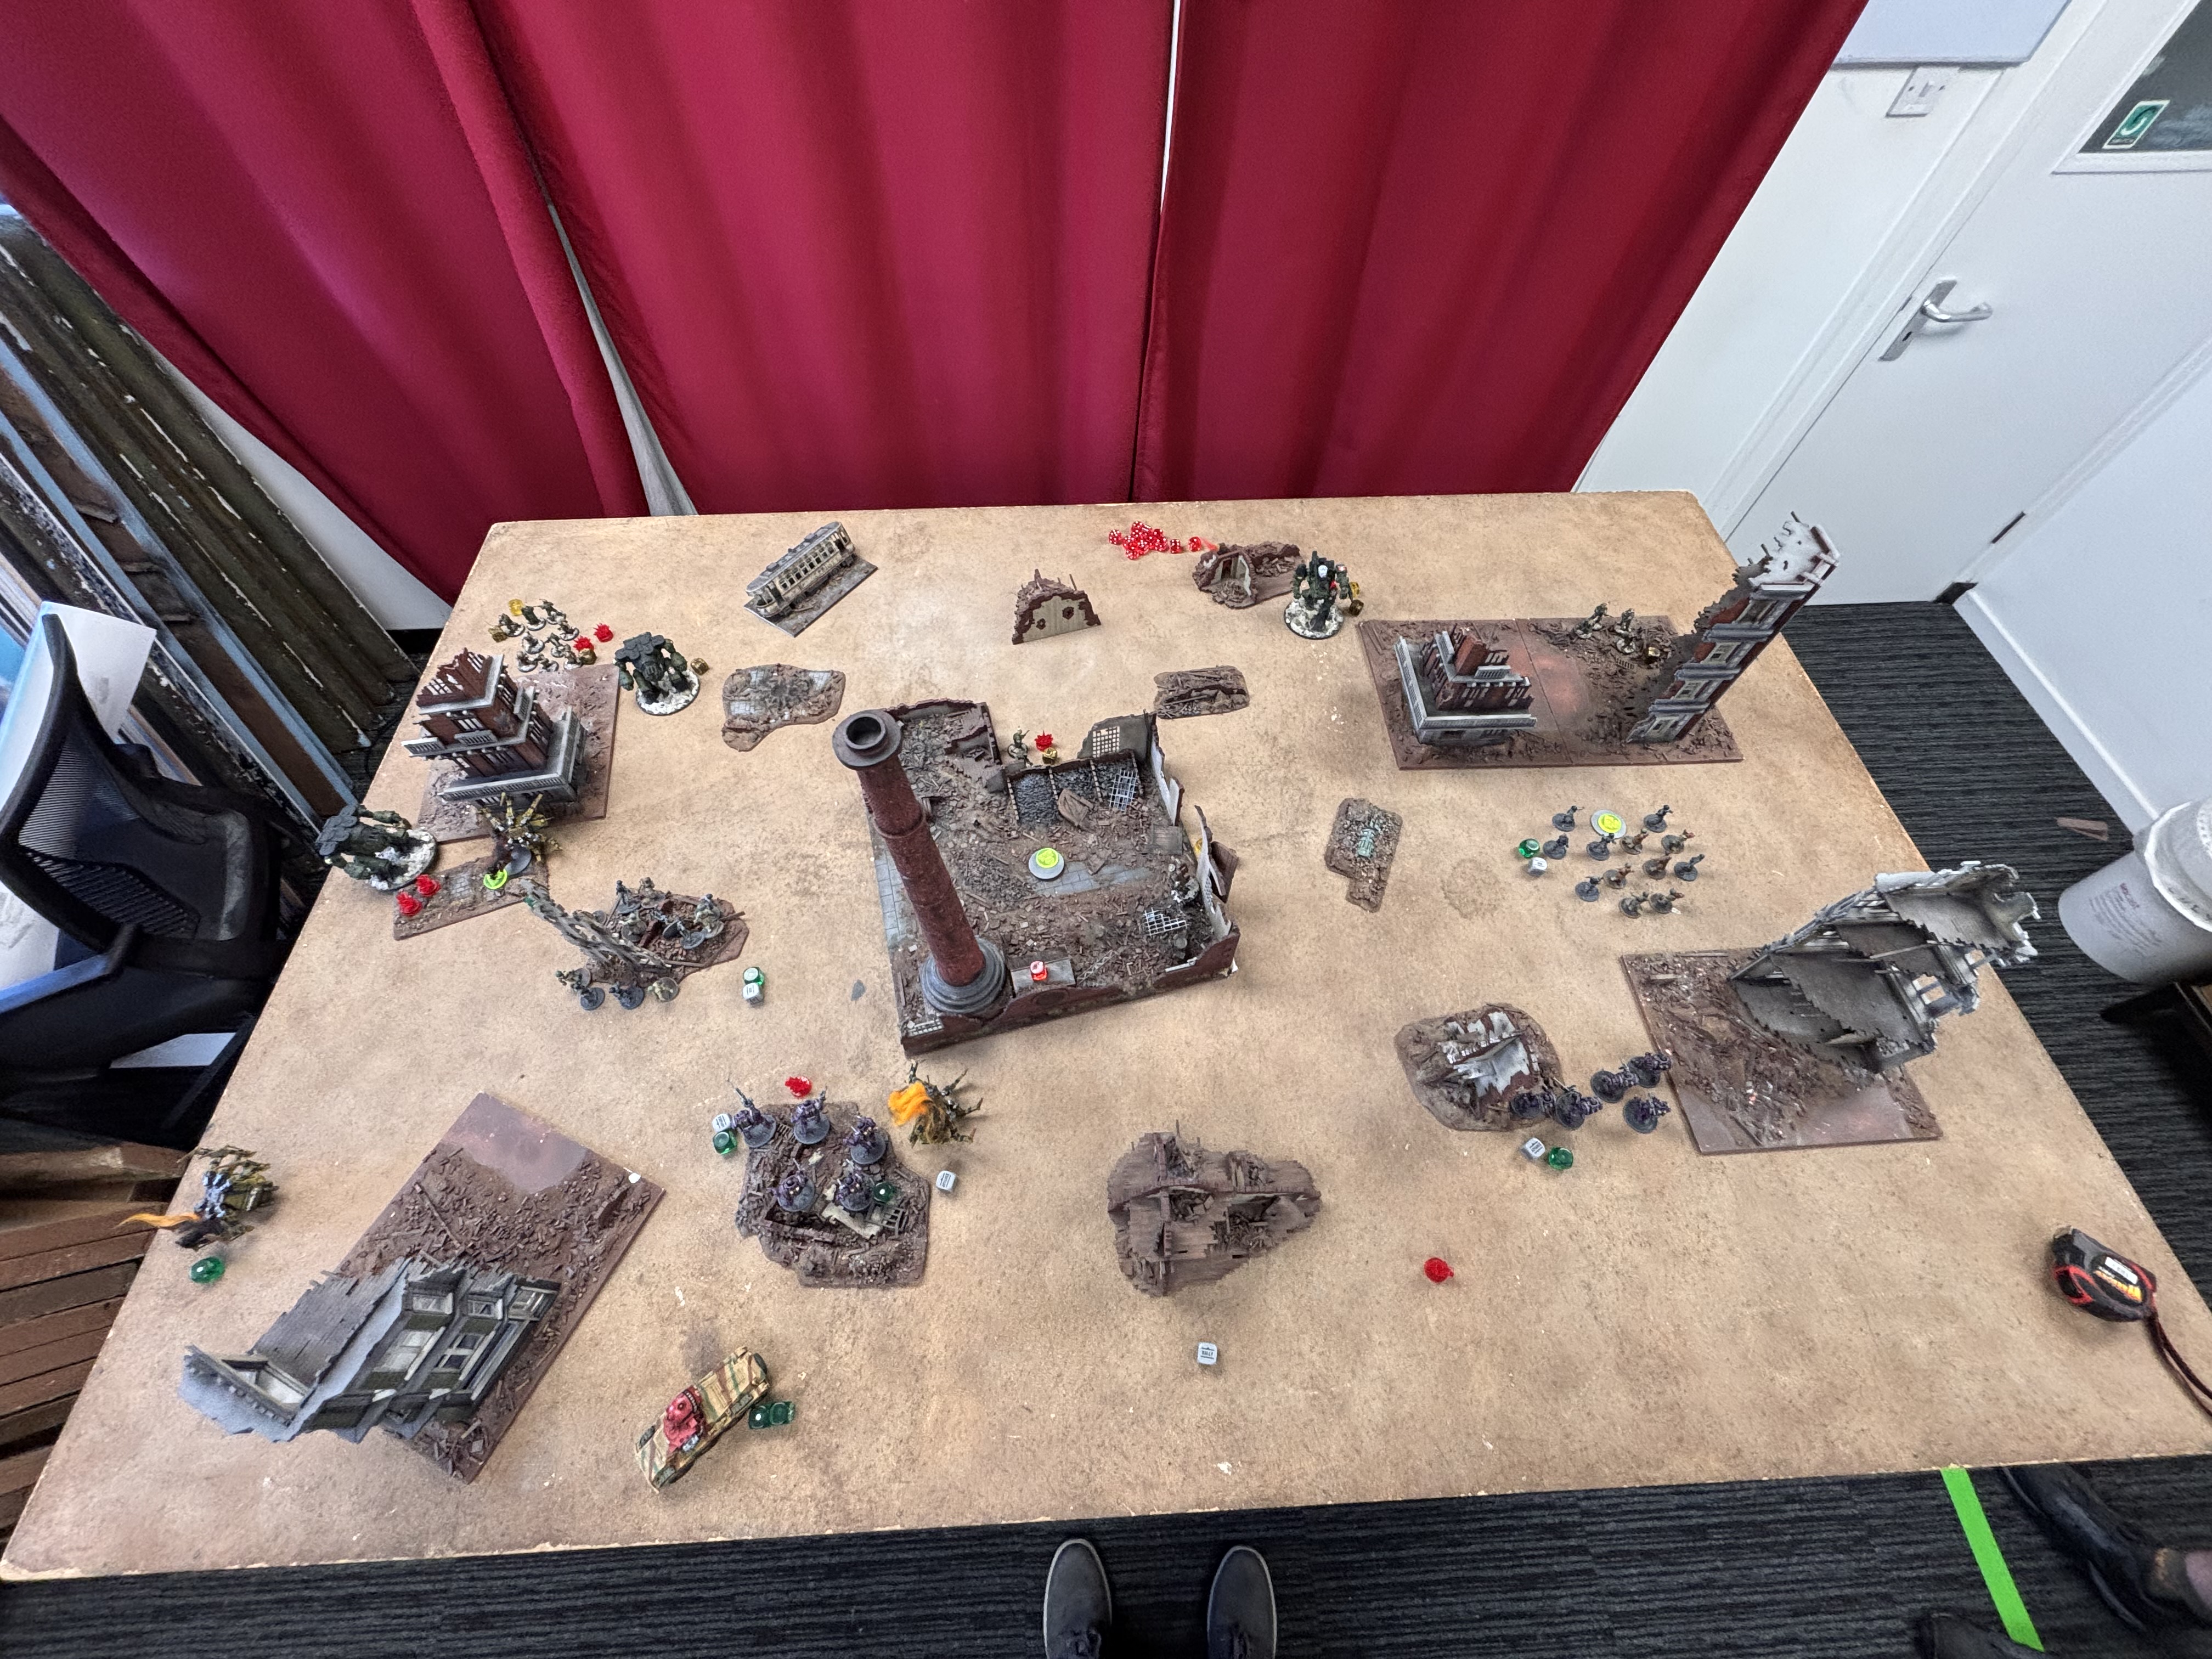
The Dead Rise…
With the messy death of Jim’s walkers, he really only had his Puma X and the light AT guns of the Stahltruppen with which to threaten the rampaging Commonwealth mechs. Unwilling to give in to despair, or Marcus’ definitely sincere offers to call the game early ‘to save time’, he went on the offensive. By this stage, his Totenkorps squads both had Surging Rift Dice, making approaching them a frankly terrifying prospect. Although Marcus did his best to cause a few casualties, these were quickly recovered courtesy of The Dead Rise… Again!, and the sheer number of Rift Dice in Jim’s list meant that any Exhausted dice were sure to be quickly replaced.
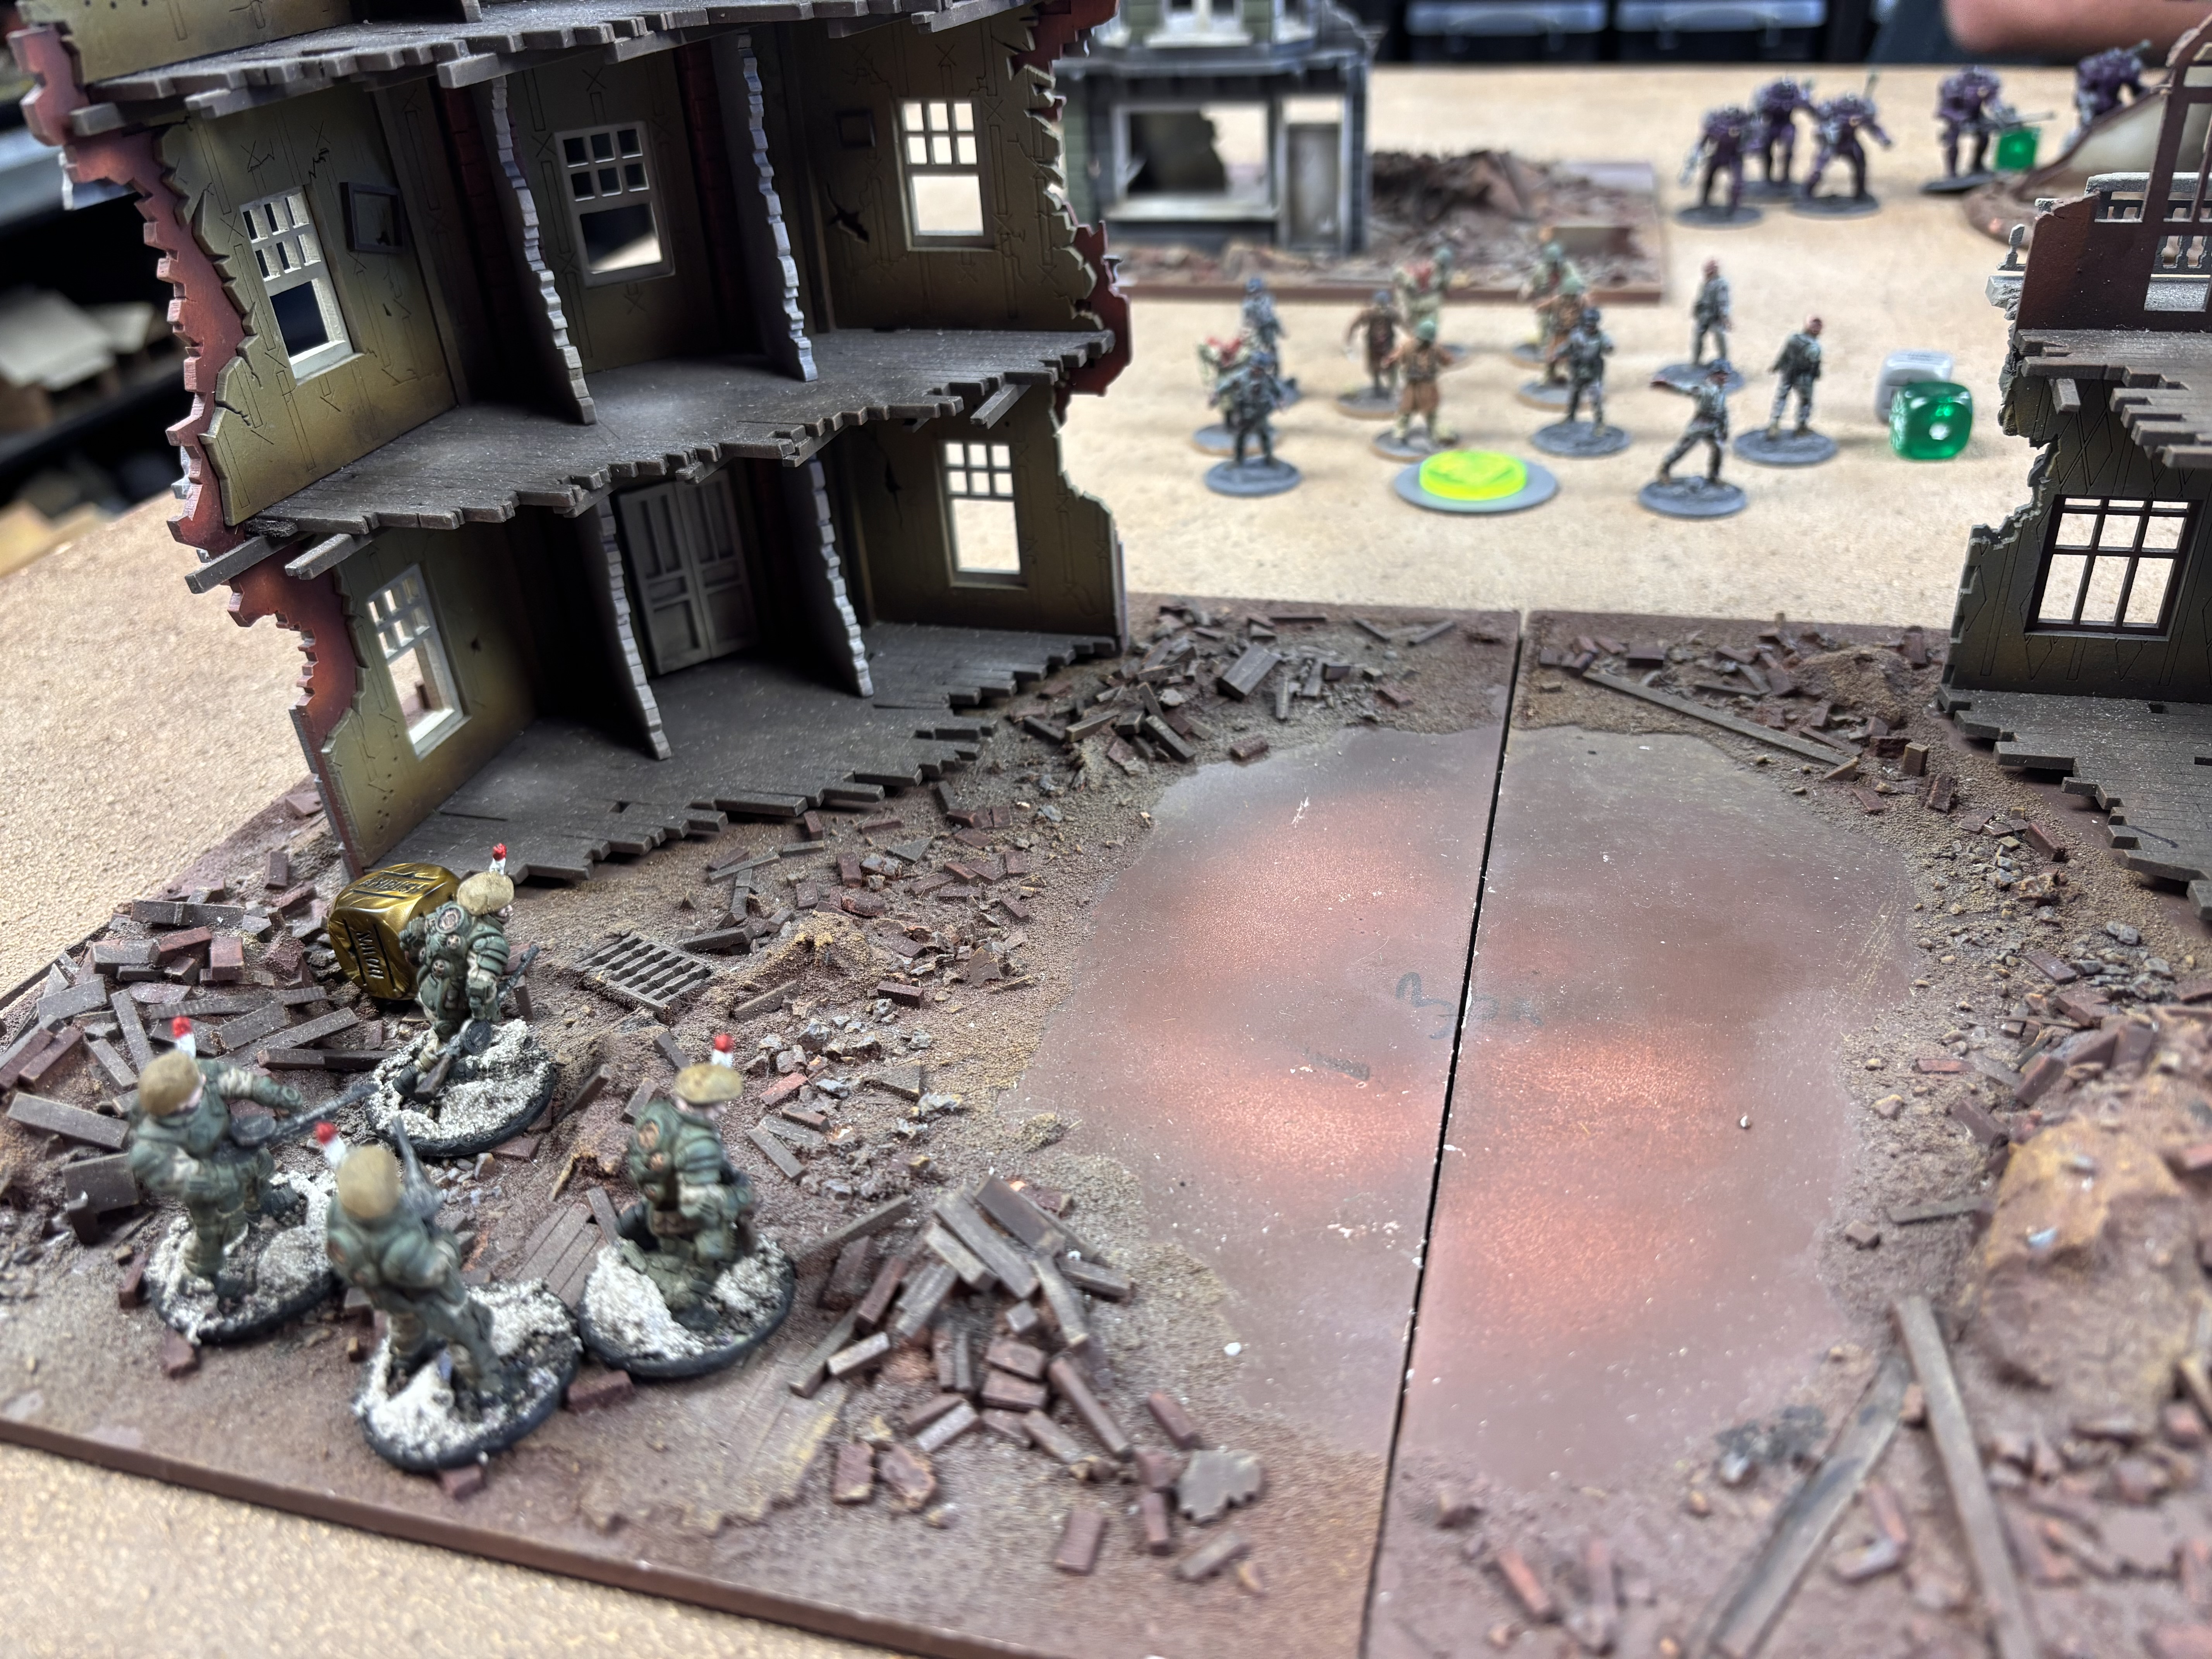
Of particular note in this stage of the game was a… decision (Let’s be honest, it was an absolute howler! -ed.) Marcus made on his all-important right flank. With the Vogelspinne taken care of, his Hornets could begin setting about Jim’s infantry in earnest. One volley which should have all but annihilated the smaller squad caused a very disappointing single casualty, but the second Hornet was in position to get up close and personal, and wipe the squad out. However, one of the Totenkorps units was right there, in point-blank range. Could Marcus resist? Of course he couldn’t!
Two heavy autocannon shots, twelve HMG rounds, hitting on 2s. Result: One dead Totenkorps, which was instantly regenerated, and a lot of swearing from Marcus, who belatedly realised his error. Although neither player realised it, this was actually the turning point of the game!
The Tide Turns
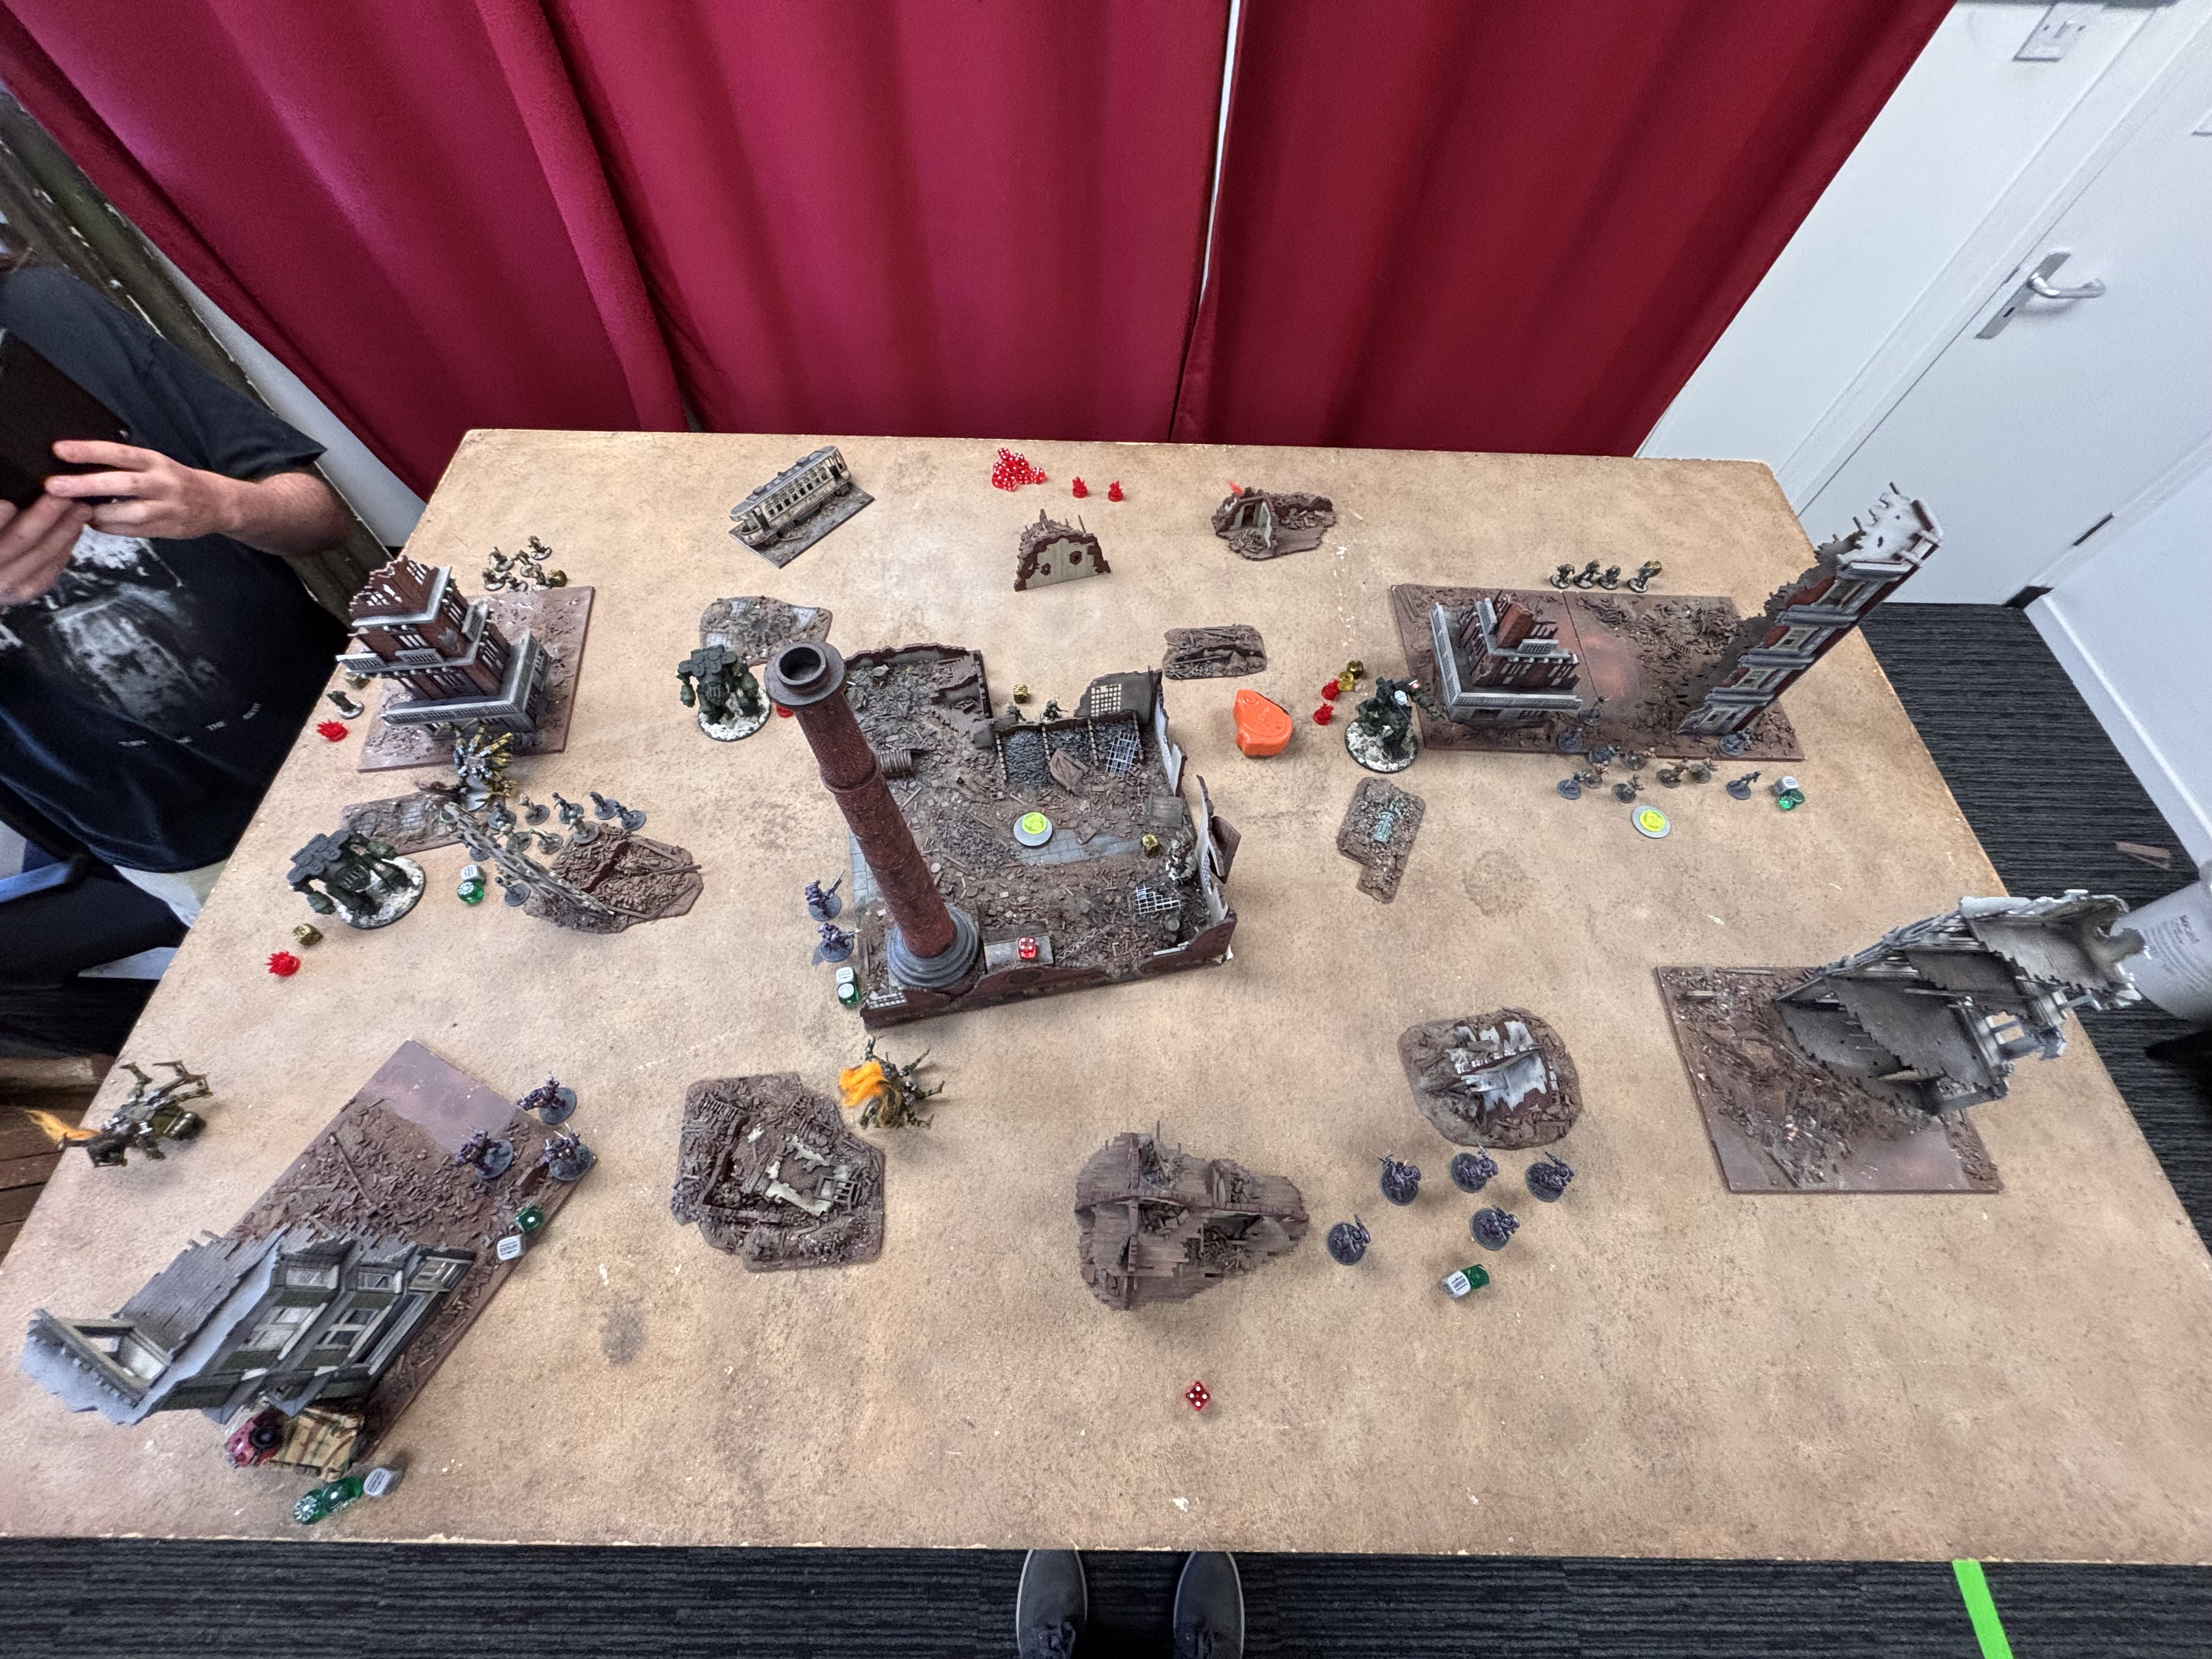
Turn 4 began strongly for Jim. His Puma, which had been in hiding for most of the game, finally sprang into action. Roaring out from behind cover, it put itself within point-blank range of the closest Hornet, and in its side arc to boot. With a Surging Rift Die powering the monstrously potent Schwerefeld Projektor, there could be only one outcome, and the Hornet was swiftly reduced to scrap metal, despite Marcus burning Bertie’s final Luck point in desperation to force a re-roll on the damage table. Jim also pulled the all-important next dice, allowing his Stahltruppen to dive onto the objective by the narrowest of margins, ‘tagging’ it as Axis. From then on, Marcus faced an uphill struggle, as in order to reclaim it, he would have to first dislodge the Totenkorps.
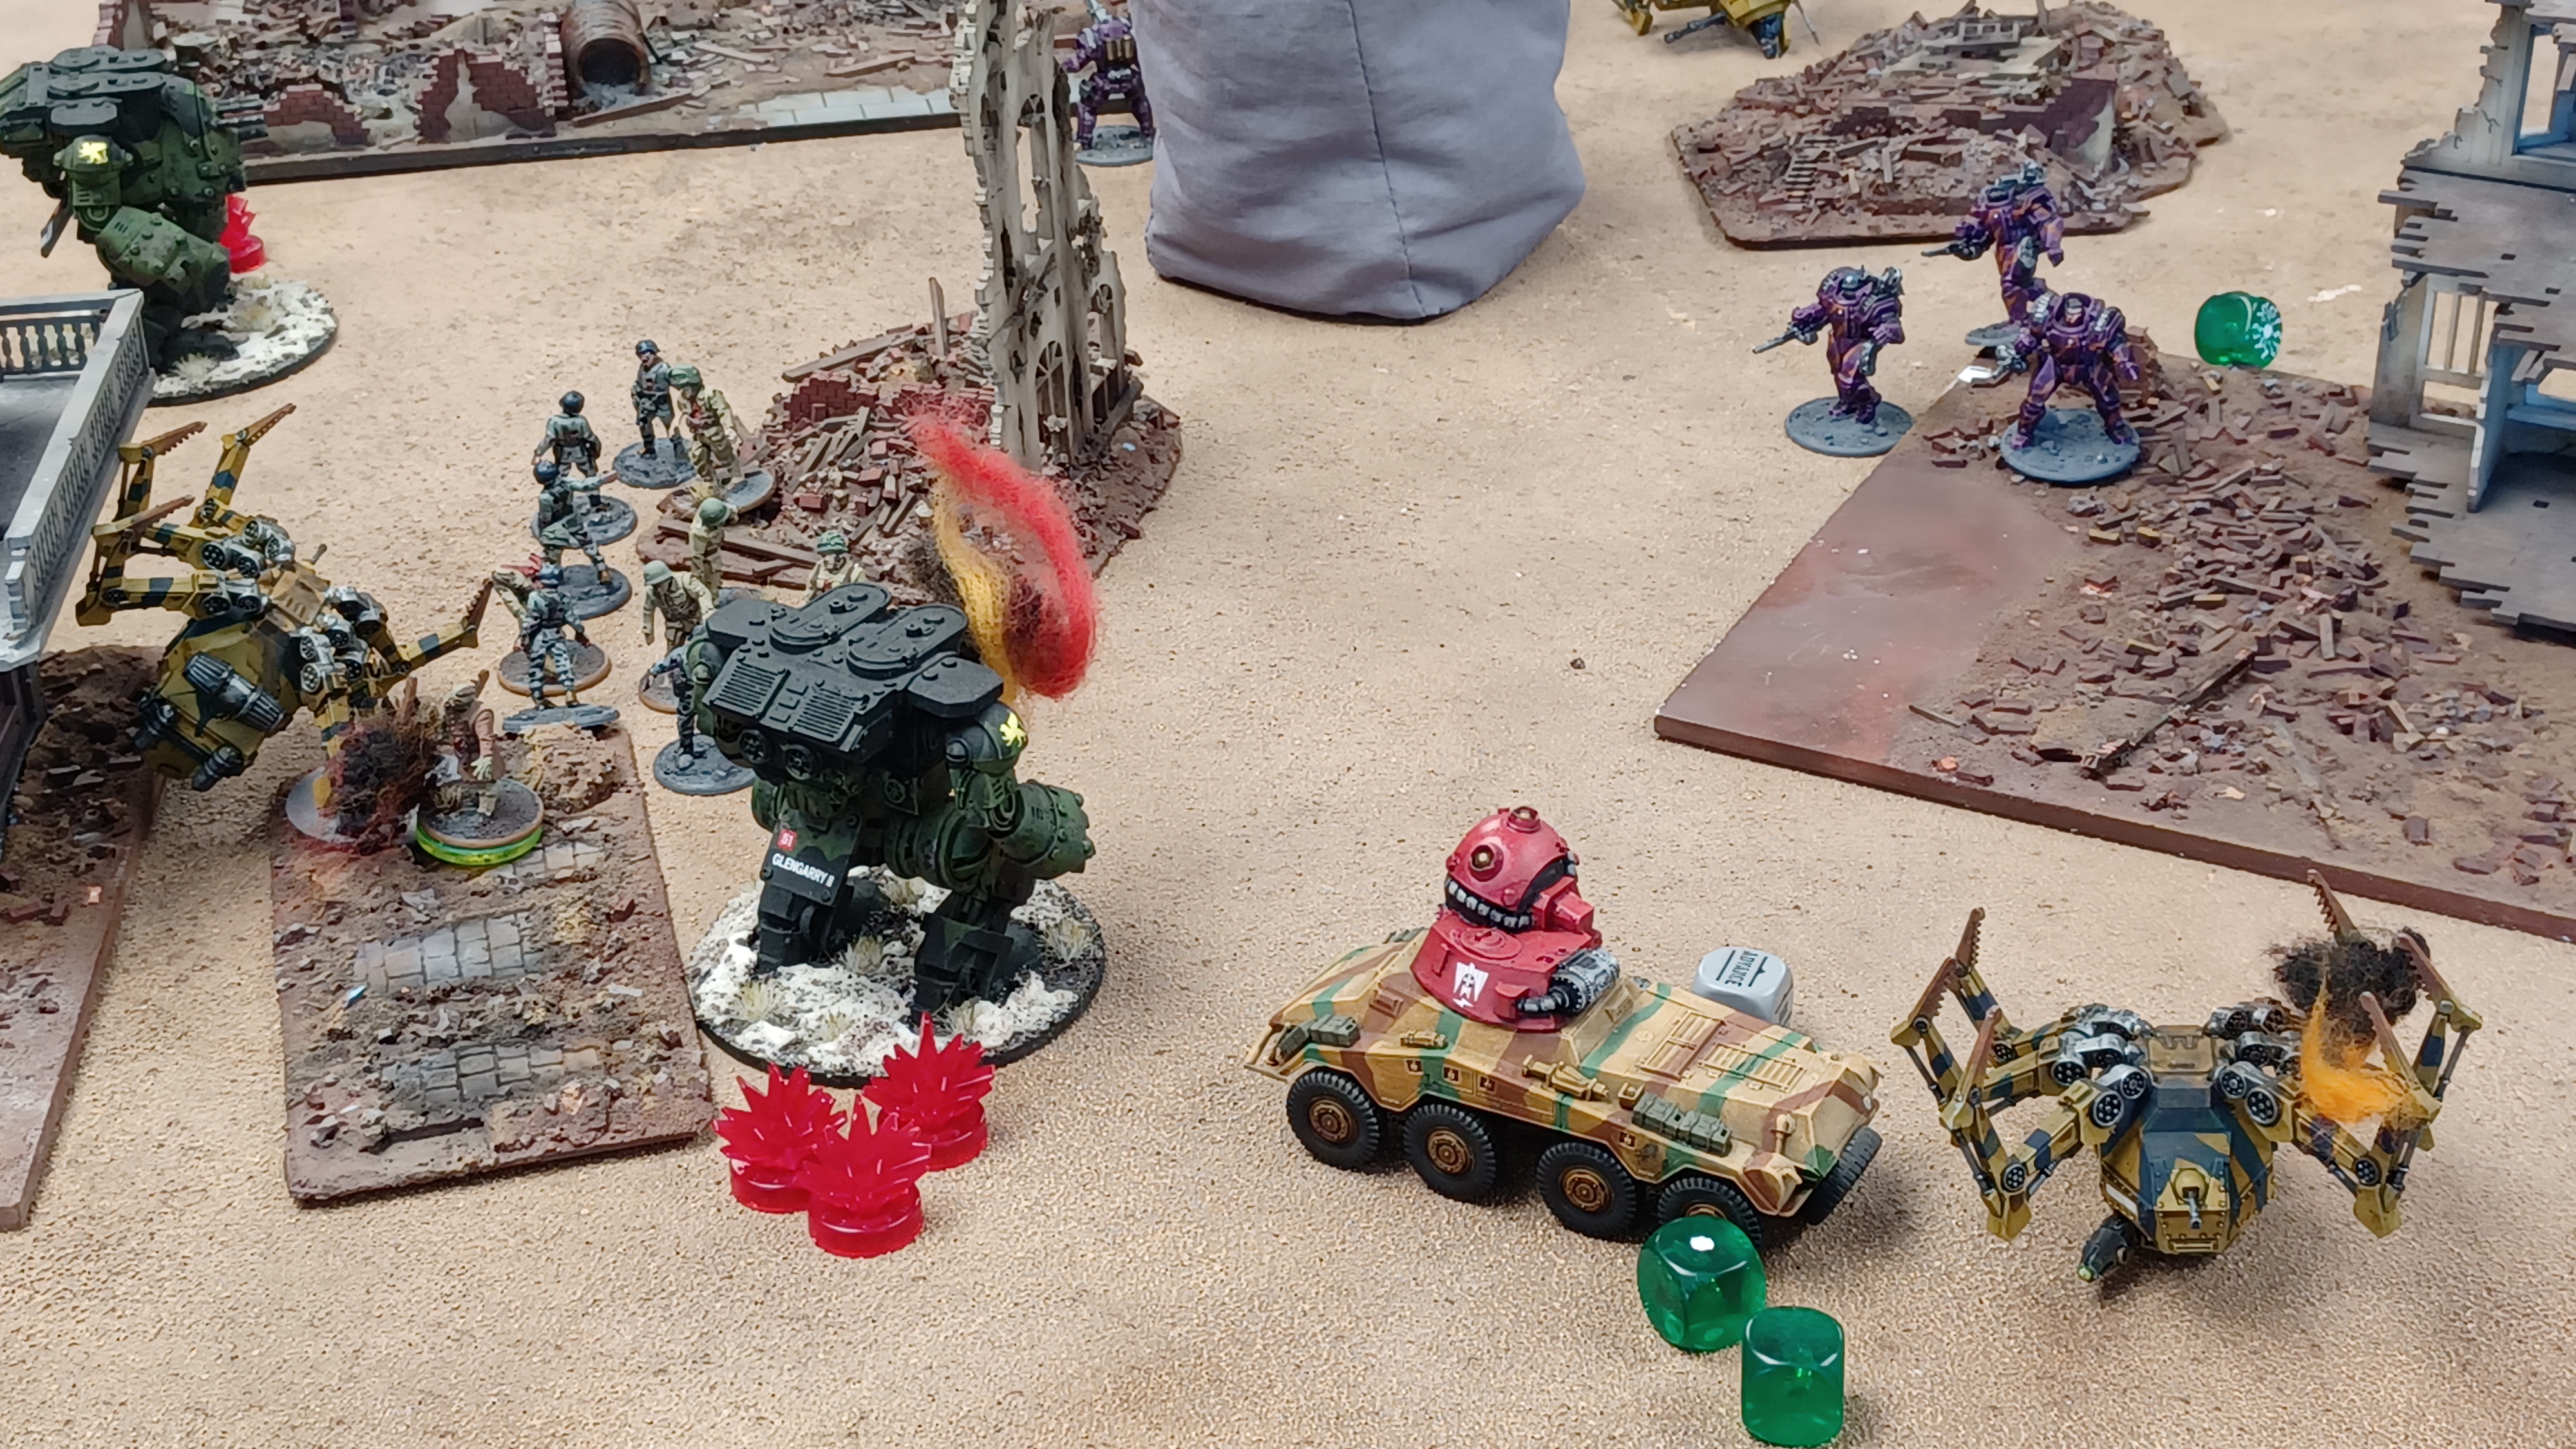
Marcus’ retaliation on was immediate and predictable. (You might think he’s a one-dimensional player. He’s actually just a one-dimensional bloke generally. -ed.) His surviving Hornet stomped forwards, obliterating the Stahltruppen still celebrating their victory, while his Merlin finally began to move up and engage the Stahltruppen pushing for the other objective, causing minor casualties. Marcus’ infantry, meanwhile, had realised that this was absolutely not their fight, and remained hunkered down, keeping rough ground between themselves and the Totenkorps.
A brief firefight developed on Marcus’ right between the two platoon commanders, with von Bock gaining the upper hand and gunning down Blatherwick-Smythe’s comrades. The Commonwealth attempt at retaliation backfired spectacularly – despite being a Stubborn Veteran Officer with only a single Pin, when Blatherwick-Smythe attempted to advance, Marcus chose the worst time to roll a double 6 – a FUBAR! With no Luck left to save him, the British officer turned tail and fled the field. A dark day for the Commonwealth, indeed…
Endgame
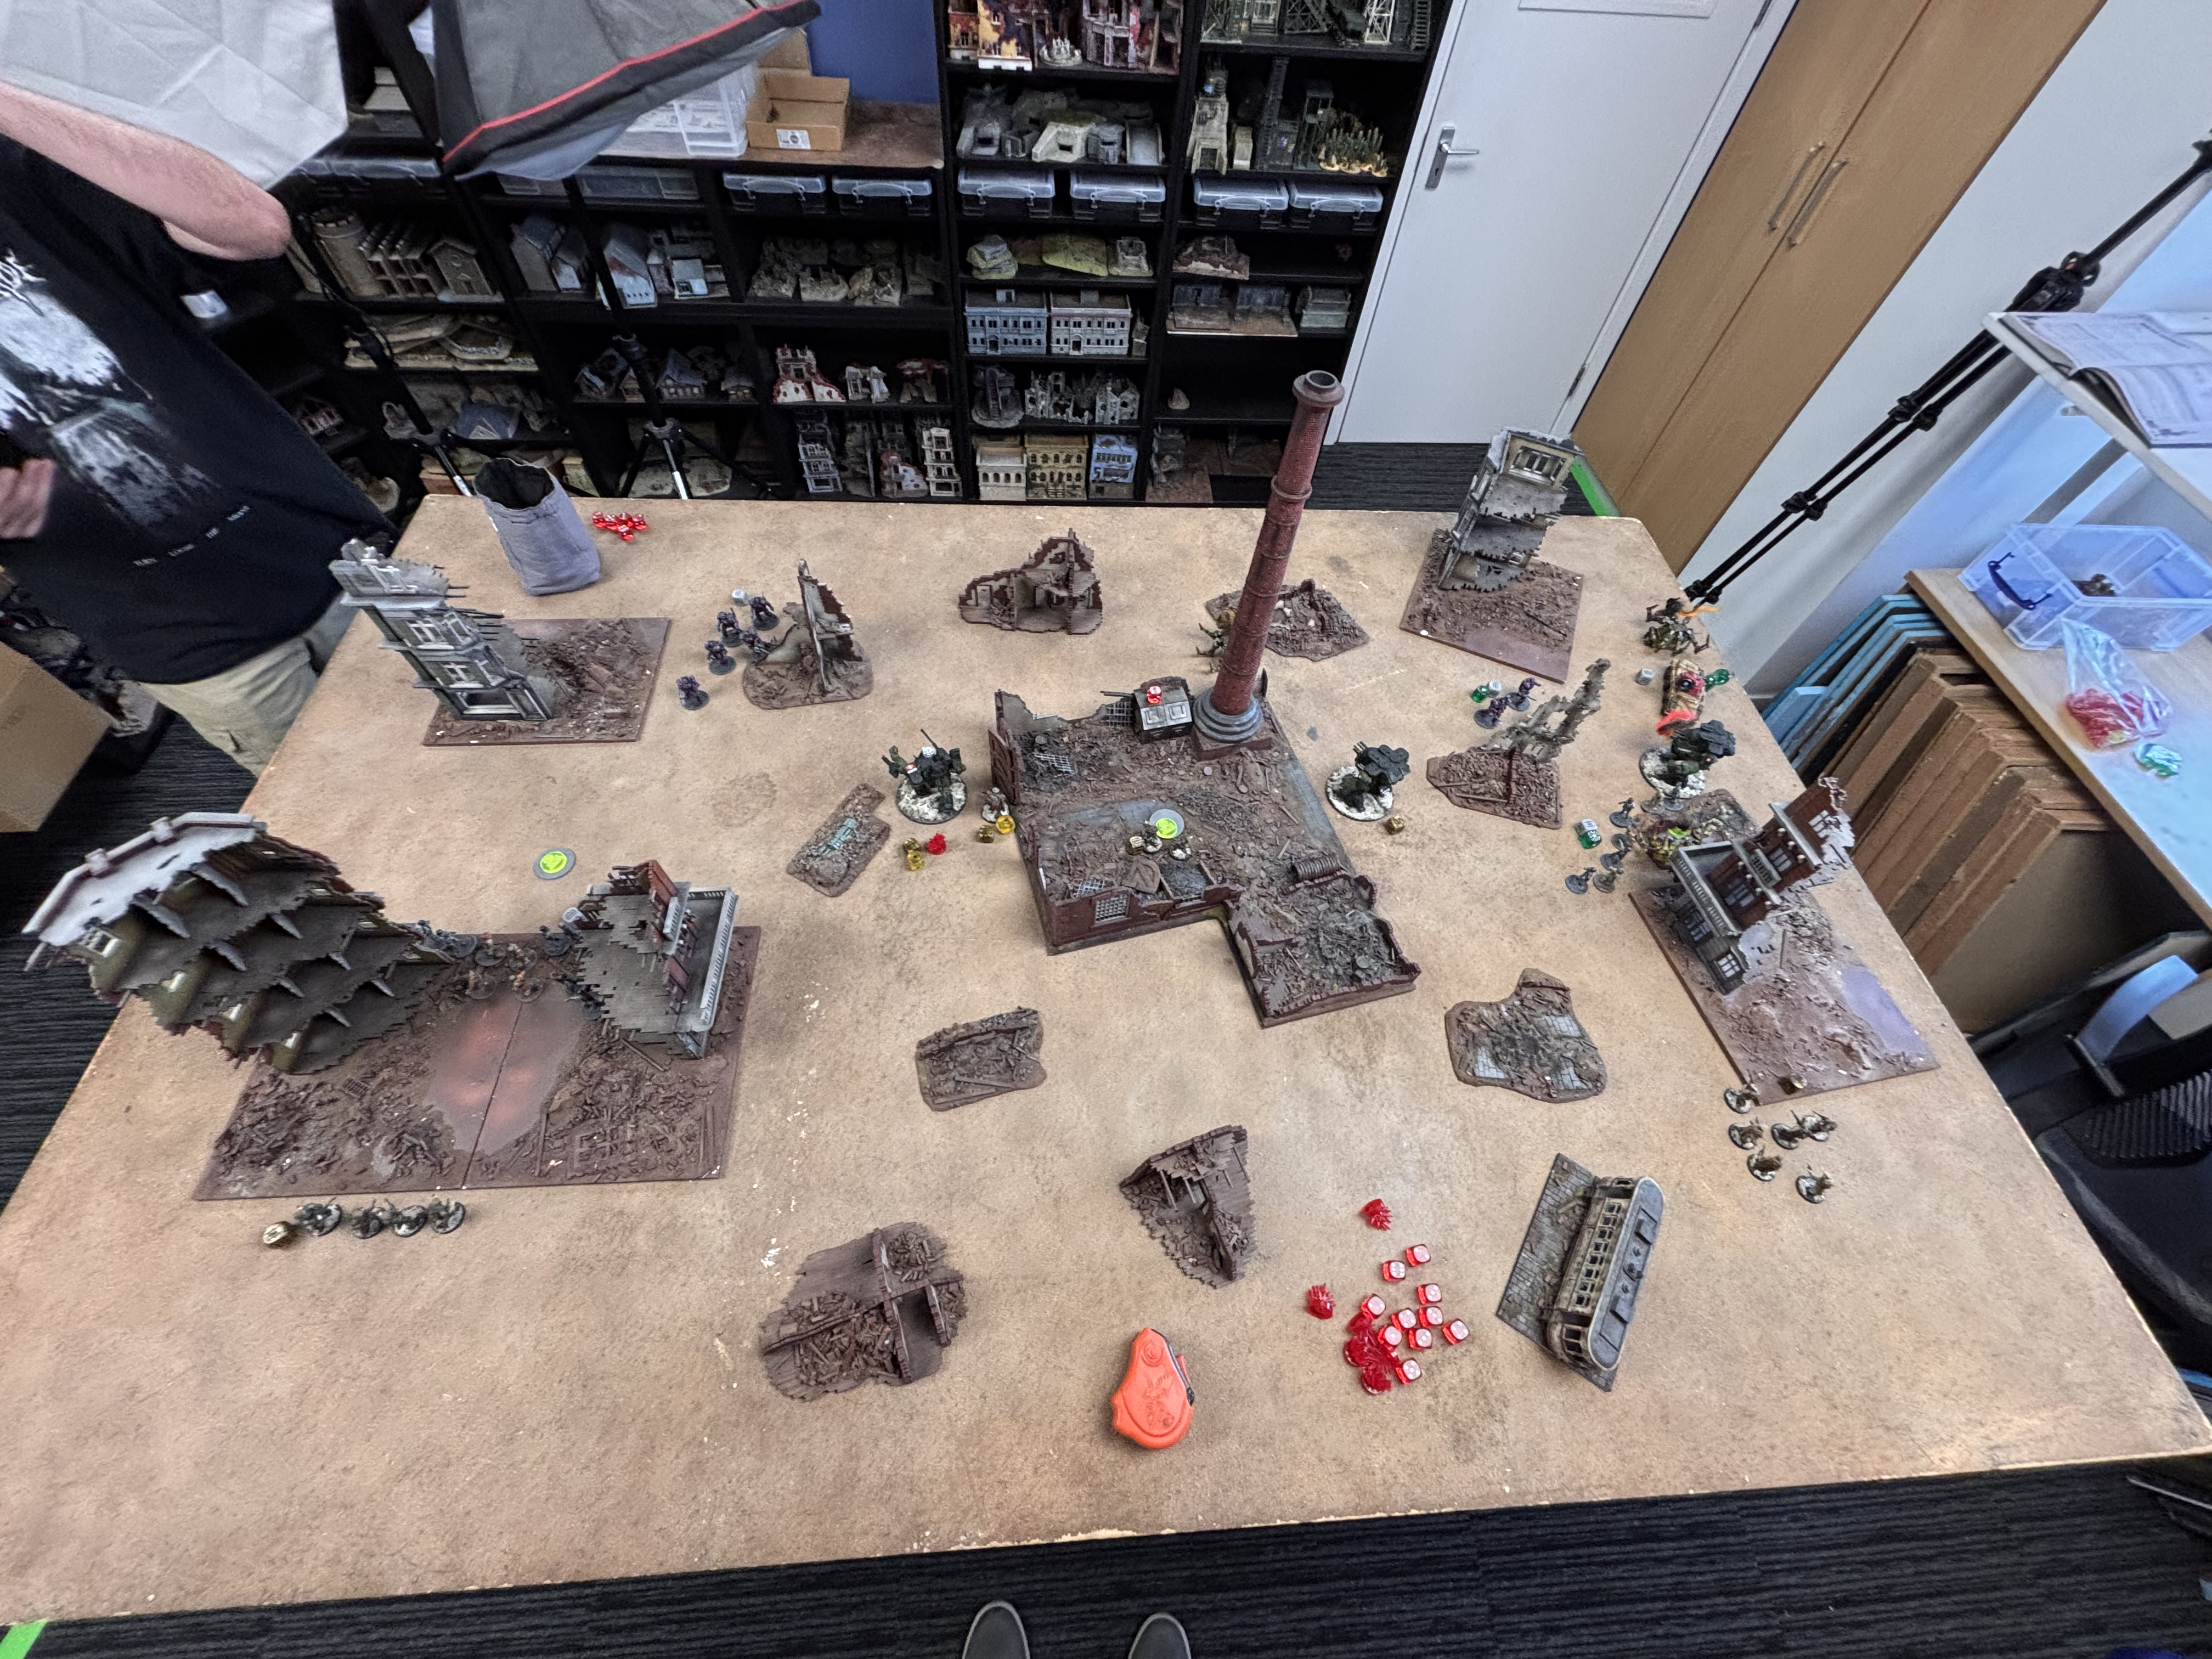
At the start of turn 5, there was really only one thing on Marcus’ mind – Jim’s big Stahltruppen squad had to be prevented from reaching the objective at all costs. The only unit capable of stopping them was the Merlin, which had had a relatively quiet game up to this point. Marcus’ strategy was clear: Advance the Merlin into the Stahltruppen (the infamous ‘bump charge’), smash the Axis heavies with fist and foot, then give them both barrels at point-blank range to finish them off.
Out came the tape measure… and the Stahltruppen were just out of range! This forced the Merlin into a much less advantageous Run-and-assault combo, and at just the wrong moment, Marcus’ dice luck deserted him. No casualties were caused, and with their next activation, the Stahltruppen gratefully lumbered away from the walker and tagged the objective. Game, set, and match to Jim.
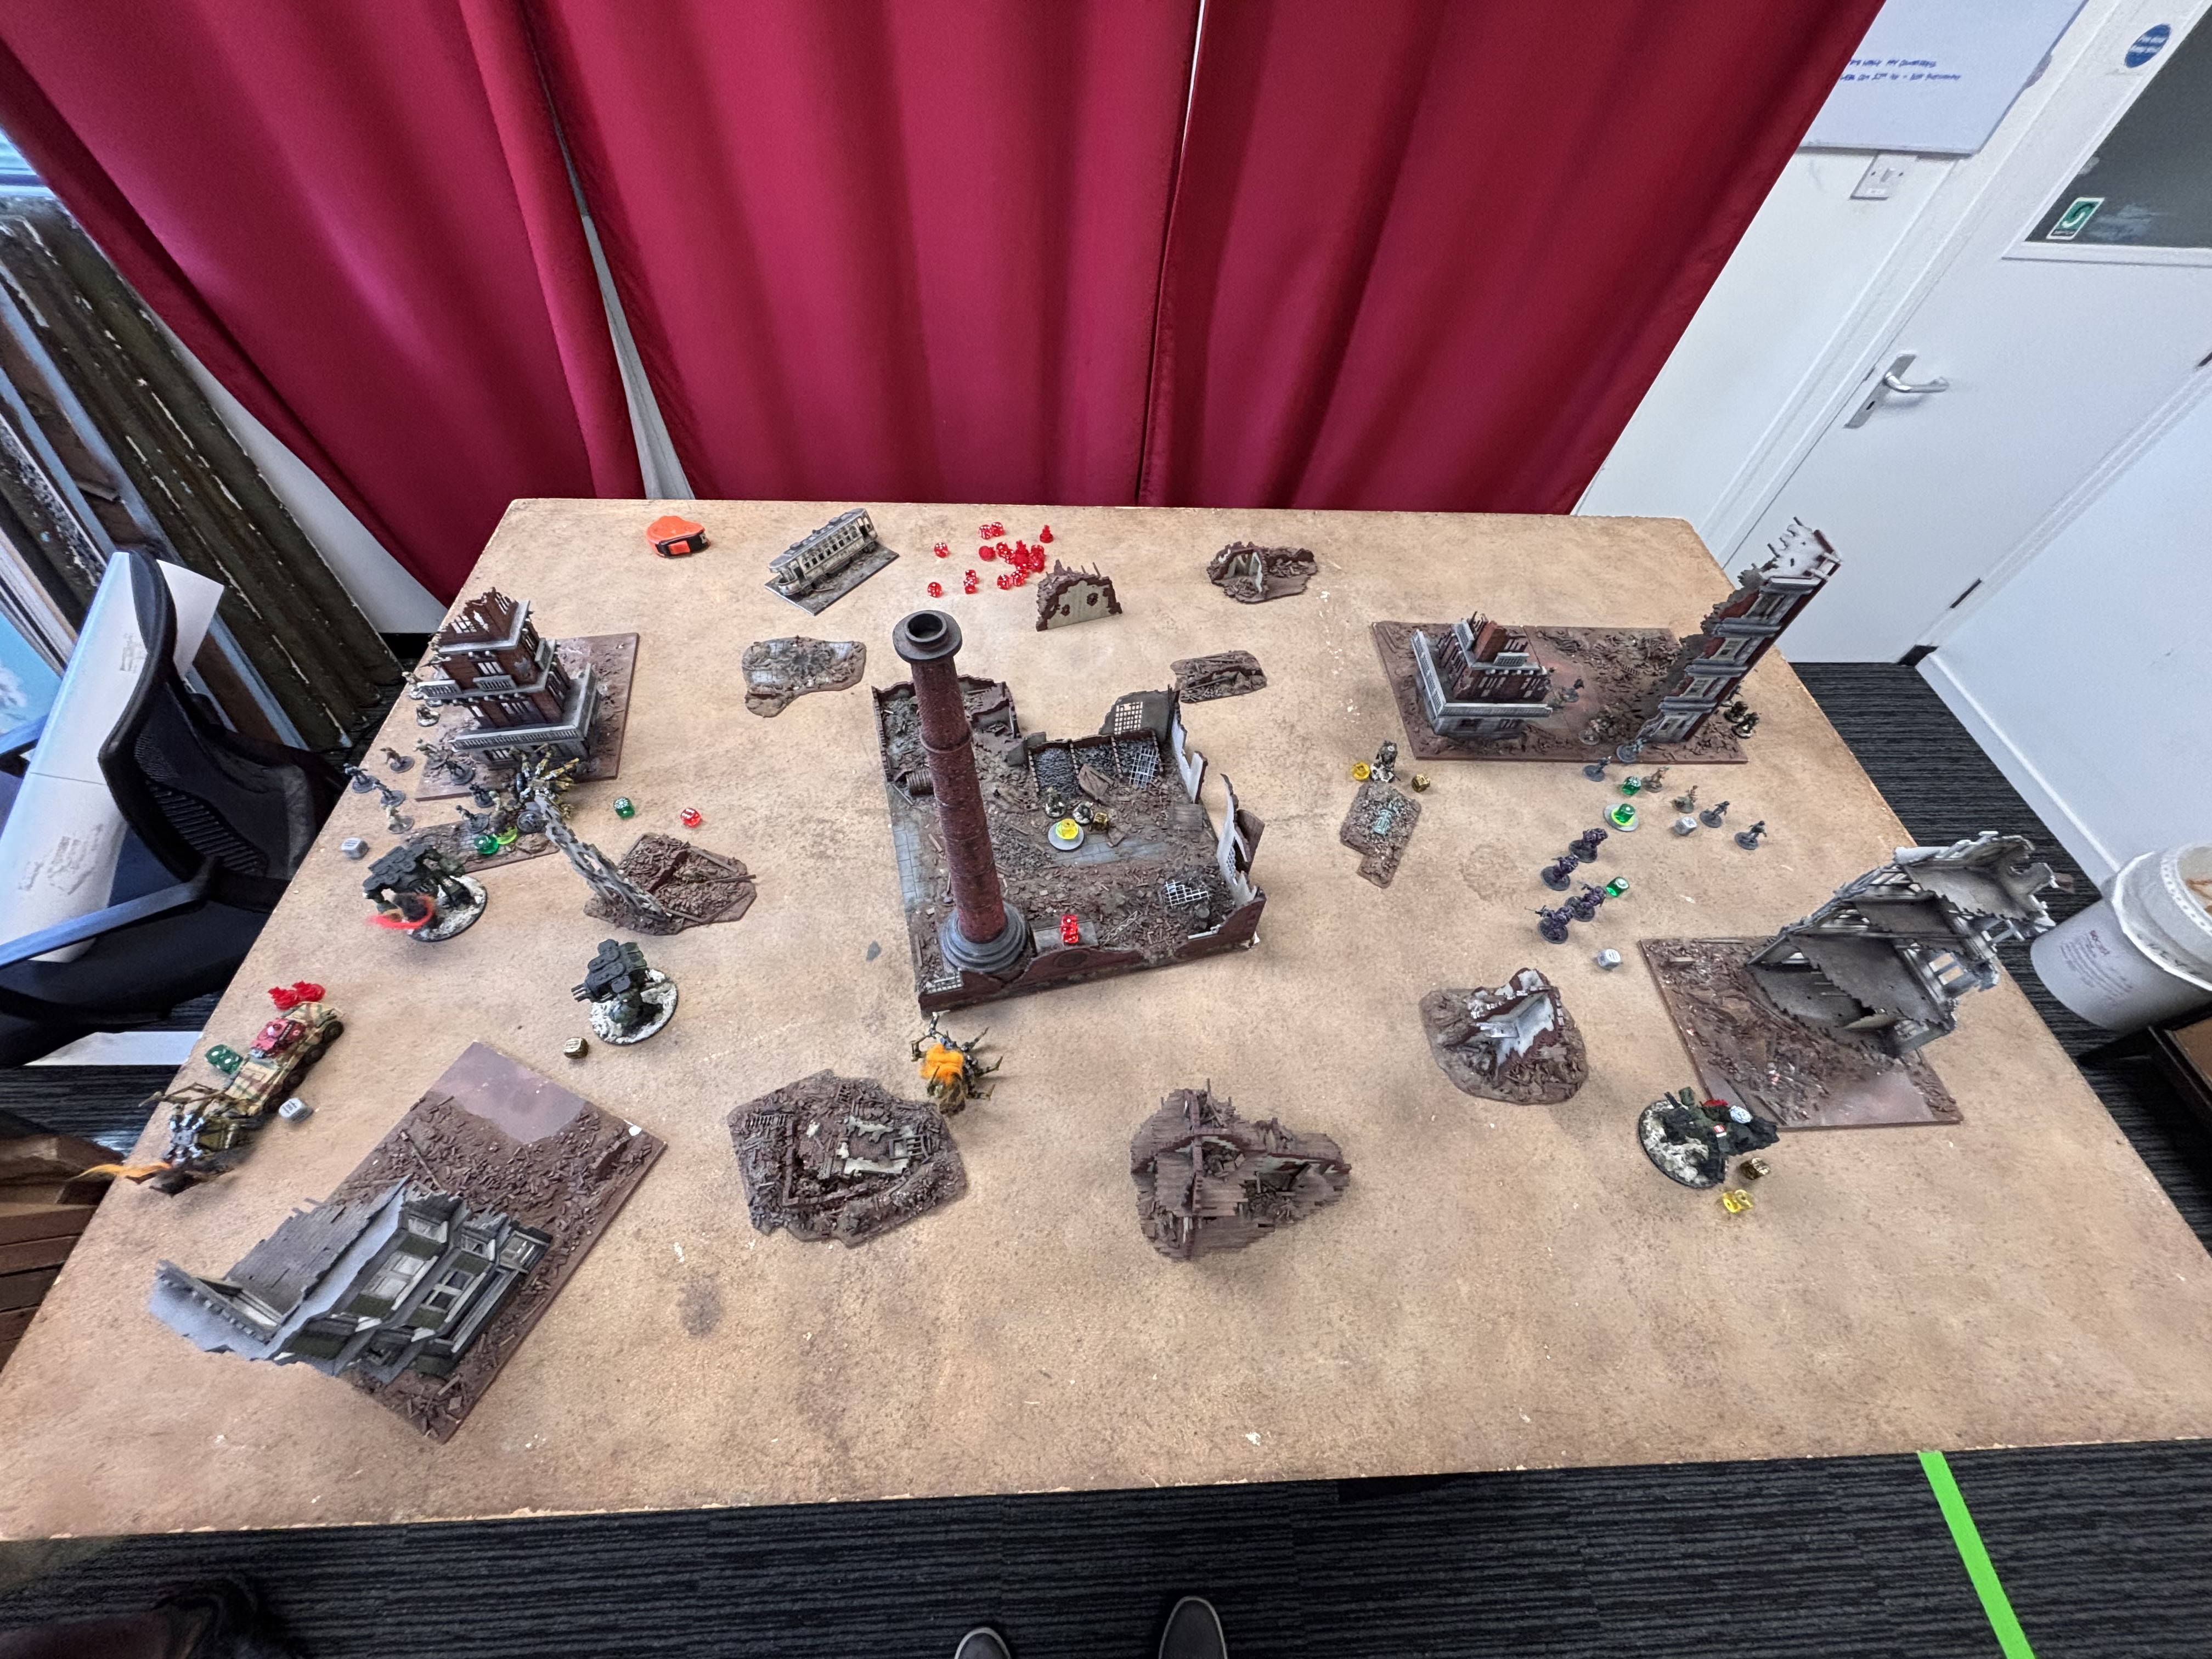
With Jim having taken a commanding lead, the final turn became something of a formality – although that didn’t stop Marcus doing his level best to at least score some moral victories. Sadly, even these were denied to him, as the final unit of Stahltruppen managed to survive the onslaught of both the Merlin and Bertie’s HMG – albeit reduced to a single man. There was a faint hope in Marcus’ eyes that a turn 7 might give him an opening to claw back a draw, but this was dashed by the roll of the dice, and the game ended after the sixth turn in an astonishing comeback win for Jim!
Post-Mortem…
Marcus – Curses! Foiled by those damnable Totenkorps! I really wanted that half-day, too… My troops (and my dice) performed fantastically, but there was just physically no way around the walls of undead flesh on the left and right objectives. Not engaging the Totenkorps with my walkers early on was a deliberate choice to allow me to take out Jim’s armour, but meant that the walking corpses were fully ensconced on the objectives by the time the Stahltruppen arrived to ‘tag up’.
I think in hindsight I should have been a little bit more aggressive in getting stuck into the Stahltruppen with the walkers, and the loss of my Hornet (which I saw as an acceptable trade at the time) and my poor decision making when it came to shooting the Totenkorps over the Stahltruppen was probably what doomed me. If I could have kept the objective unclaimed and killed all of his heavies on that side of the board, I would most likely be looking at a draw.
Overall it was a great game, and Jim played really well, especially considering the absolute pasting he got in the first couple of turns. He played his list to perfection, capitalised on my mistakes, and managed to do just enough to seize victory from a very tough early-game position. Even if the game had gone to seven turns, there’s no way I would have been able to shift both of his Totenkorps blobs from both objectives. I’ll get you next time, Butler…
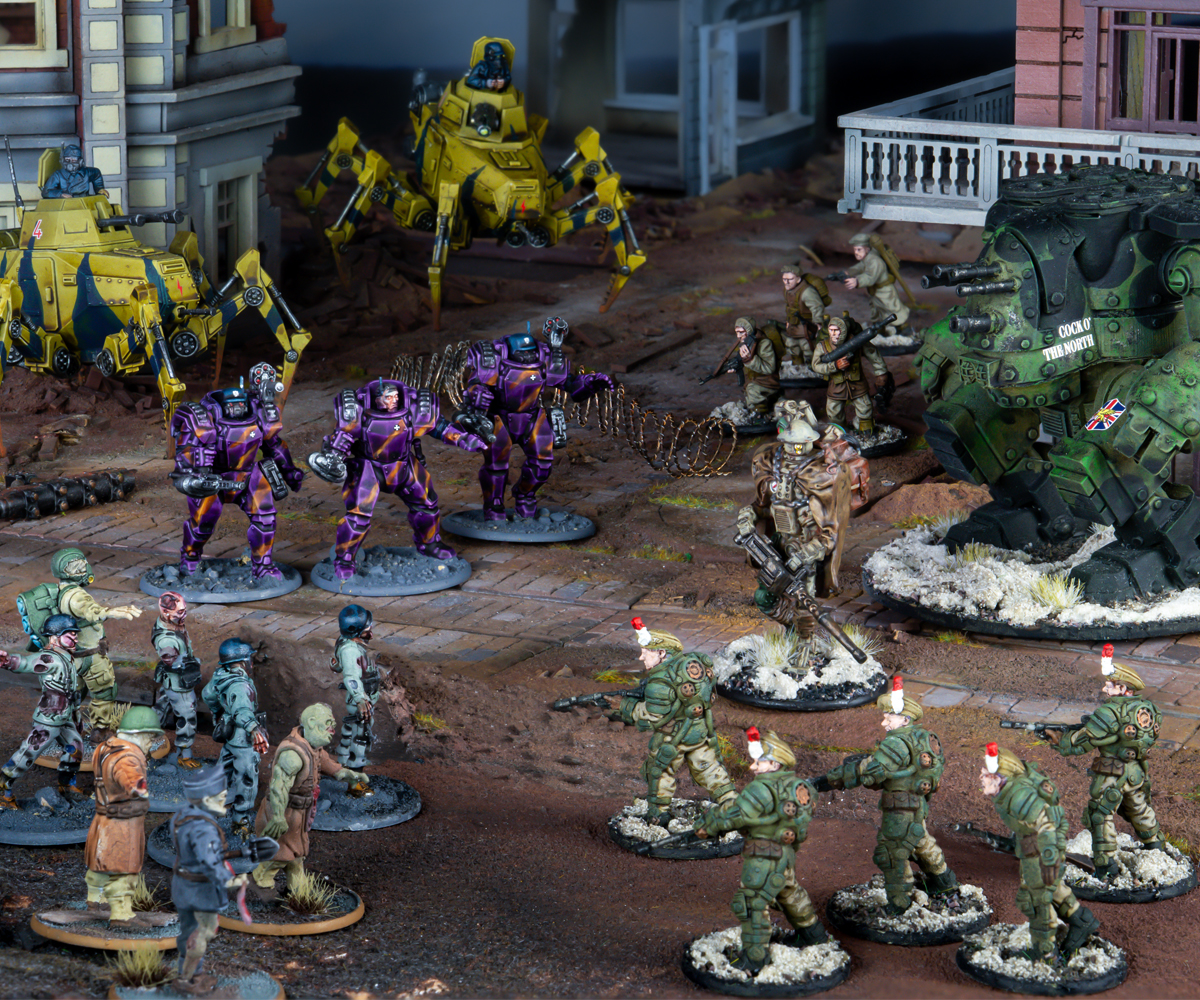
Jim – Ulrich von Bock climbs another rung on the Green Vault’s ladder of influence! The serious wound that incapacitated him has only served to prove his devotion to the Neue Republik! This game just goes to show how gloriously unpredictable Konflikt ’47 is – I thought I was down and out early on, but managed to pull it back from the brink.
Marcus executed his plan perfectly in the first two turns, and von Bock was quickly looking around for scapegoats. Honestly I didn’t think the Hornets would be much of a danger to my walkers, but I’d forgotten he’d taken them as Veteran so benefitted from Computational Systems and didn’t get the -1 to hit when advancing. The death of my Vogelspinne so early on forced me onto the back foot, and though it went against my nature to hide my Puma and retreat my big unit of Stahltruppenn out of the Merlin’s reach, it was the only way I could regroup and plan a counterattack.
It might look like I was too cautious setting up the Totenkorps using their Infiltrator ability to deploy only 12” or so onto the table. It can be tempting to be super aggressive, but I didn’t want Marcus to be able to concentrate his forces on them too quickly and annihilate them. As it transpired, the more cautious approach was rewarded, as it allowed the Stahltruppen to catch up and made target selection a dilemma. In the end, for most of my troops victory was posthumous, and I expect there will be wrangling about whether their bodies should be recovered so the armour can be repaired, or whether they will join the ranks of the restless dead! Nevertheless, it’s a victory!
And there you have it! No half-day for Marcus, and a stunning victory for the Green Vault! Want to start your own journey into Konflikt ’47?