
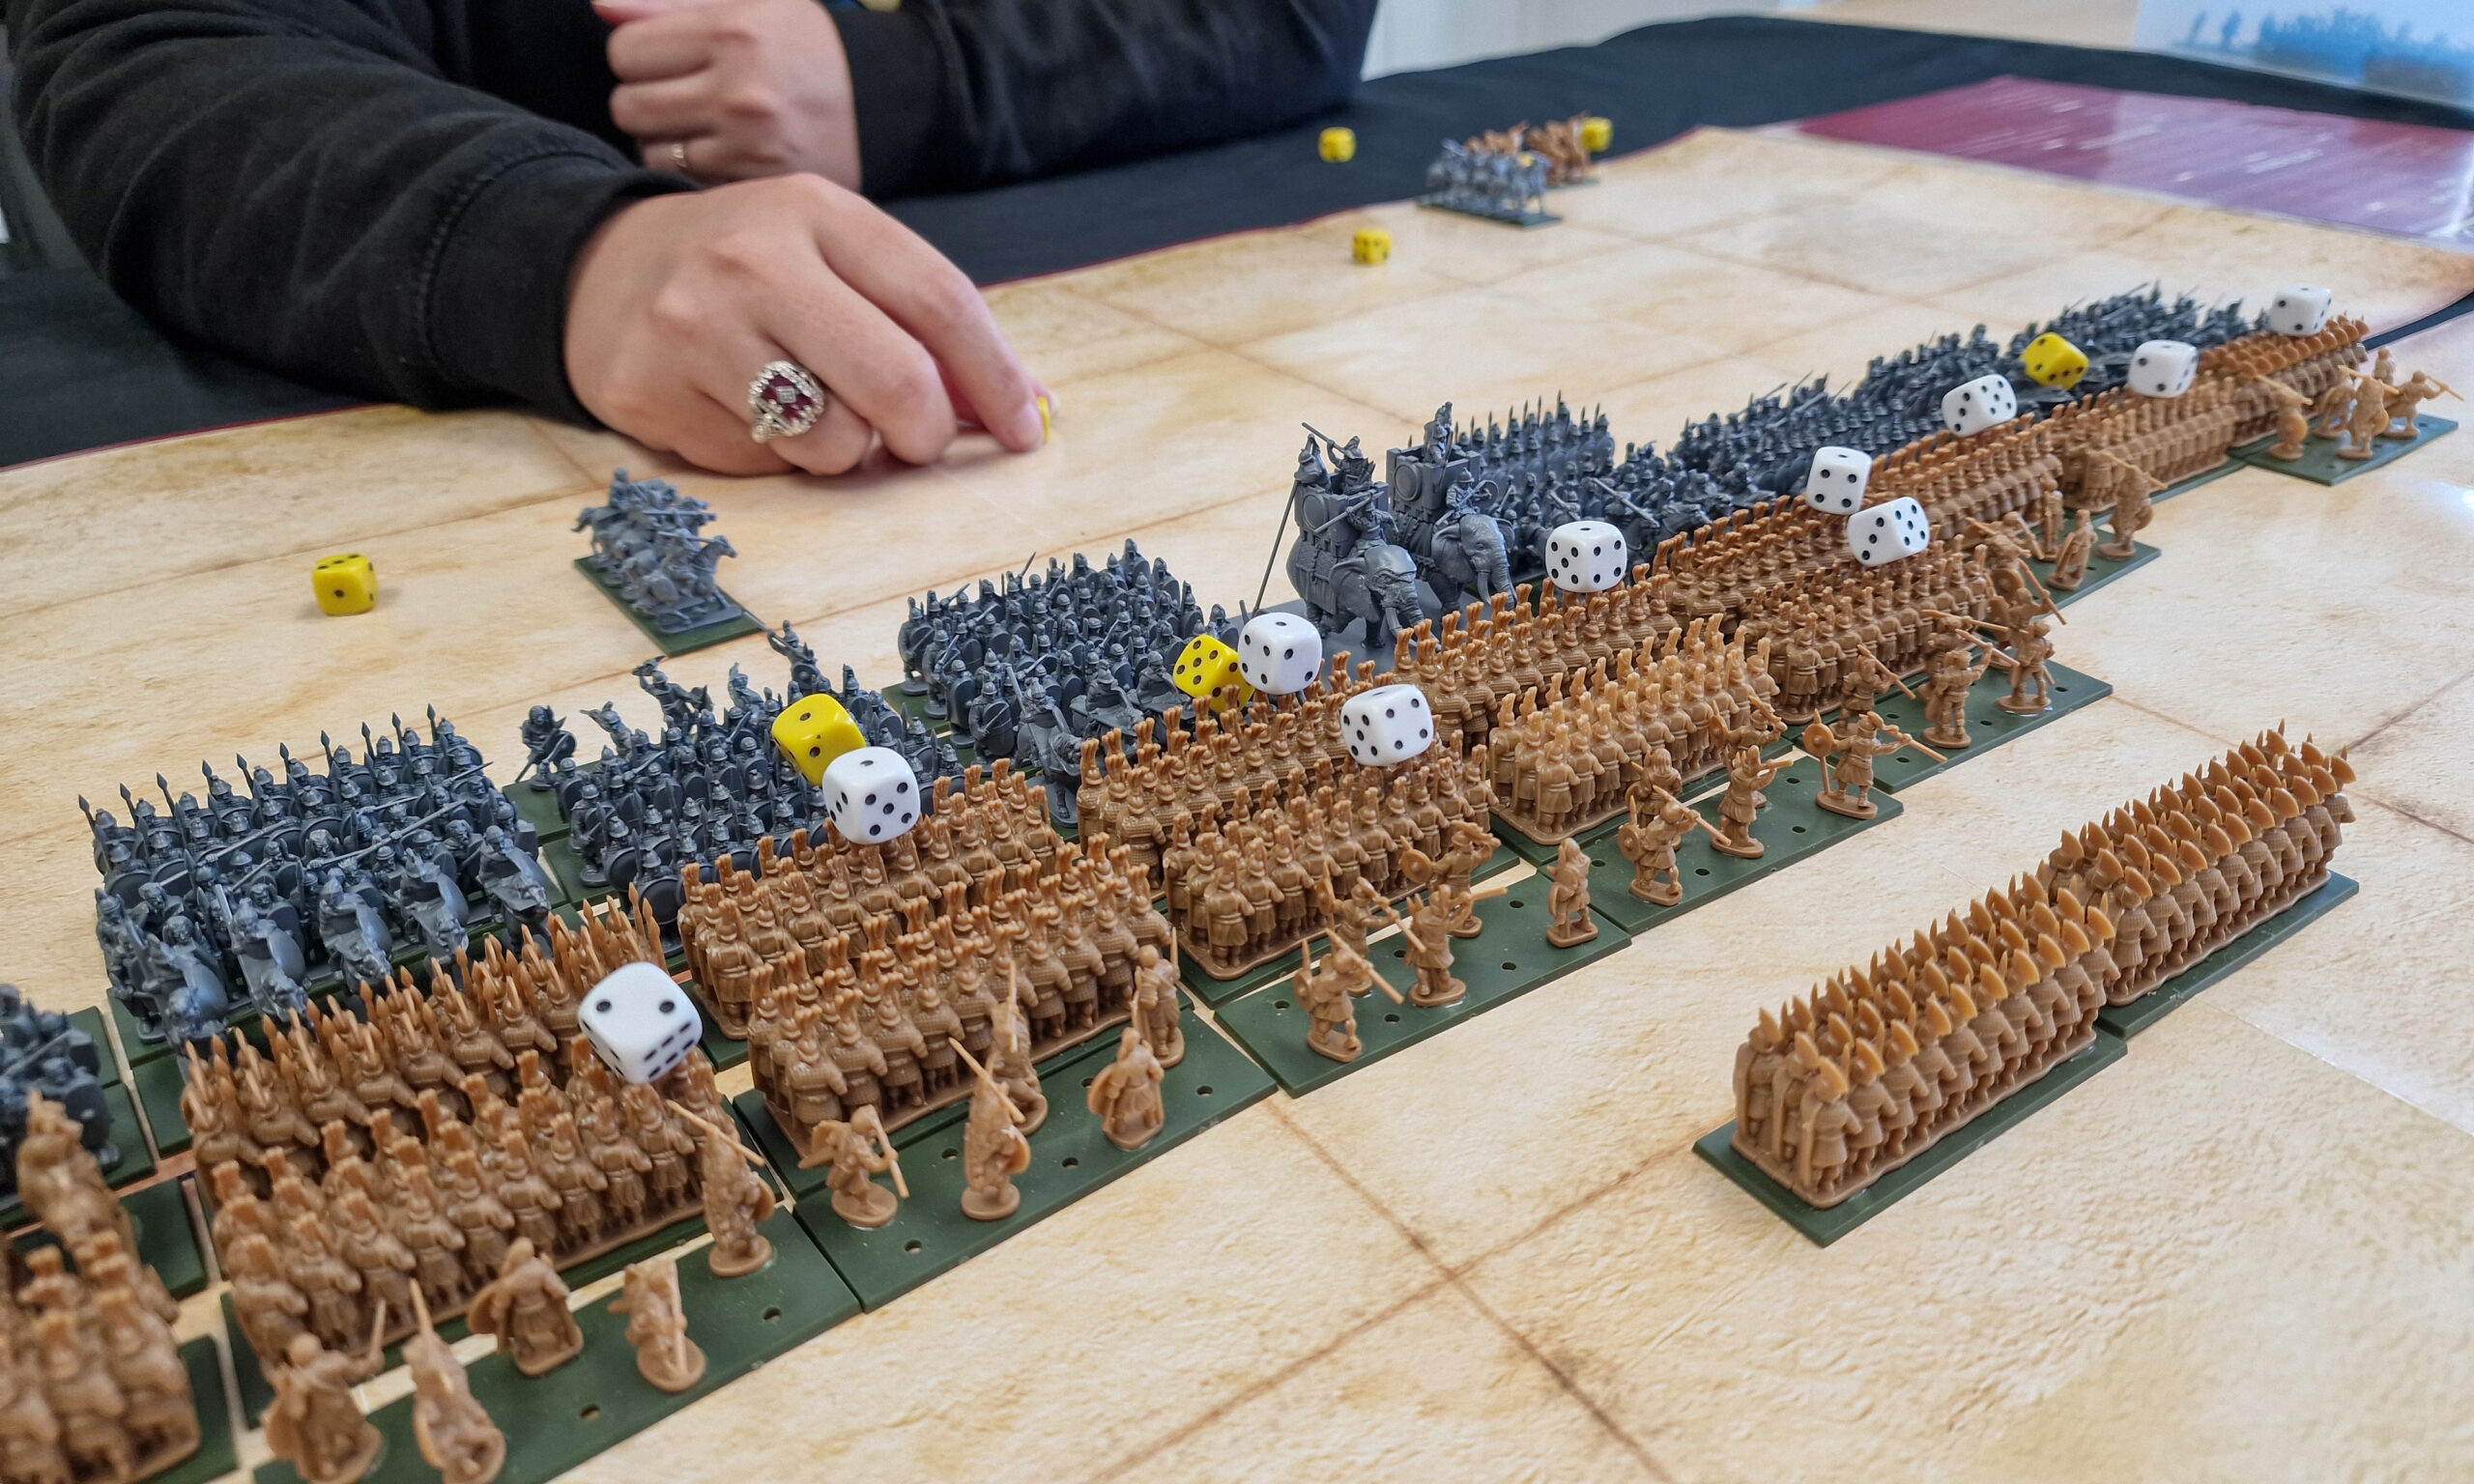
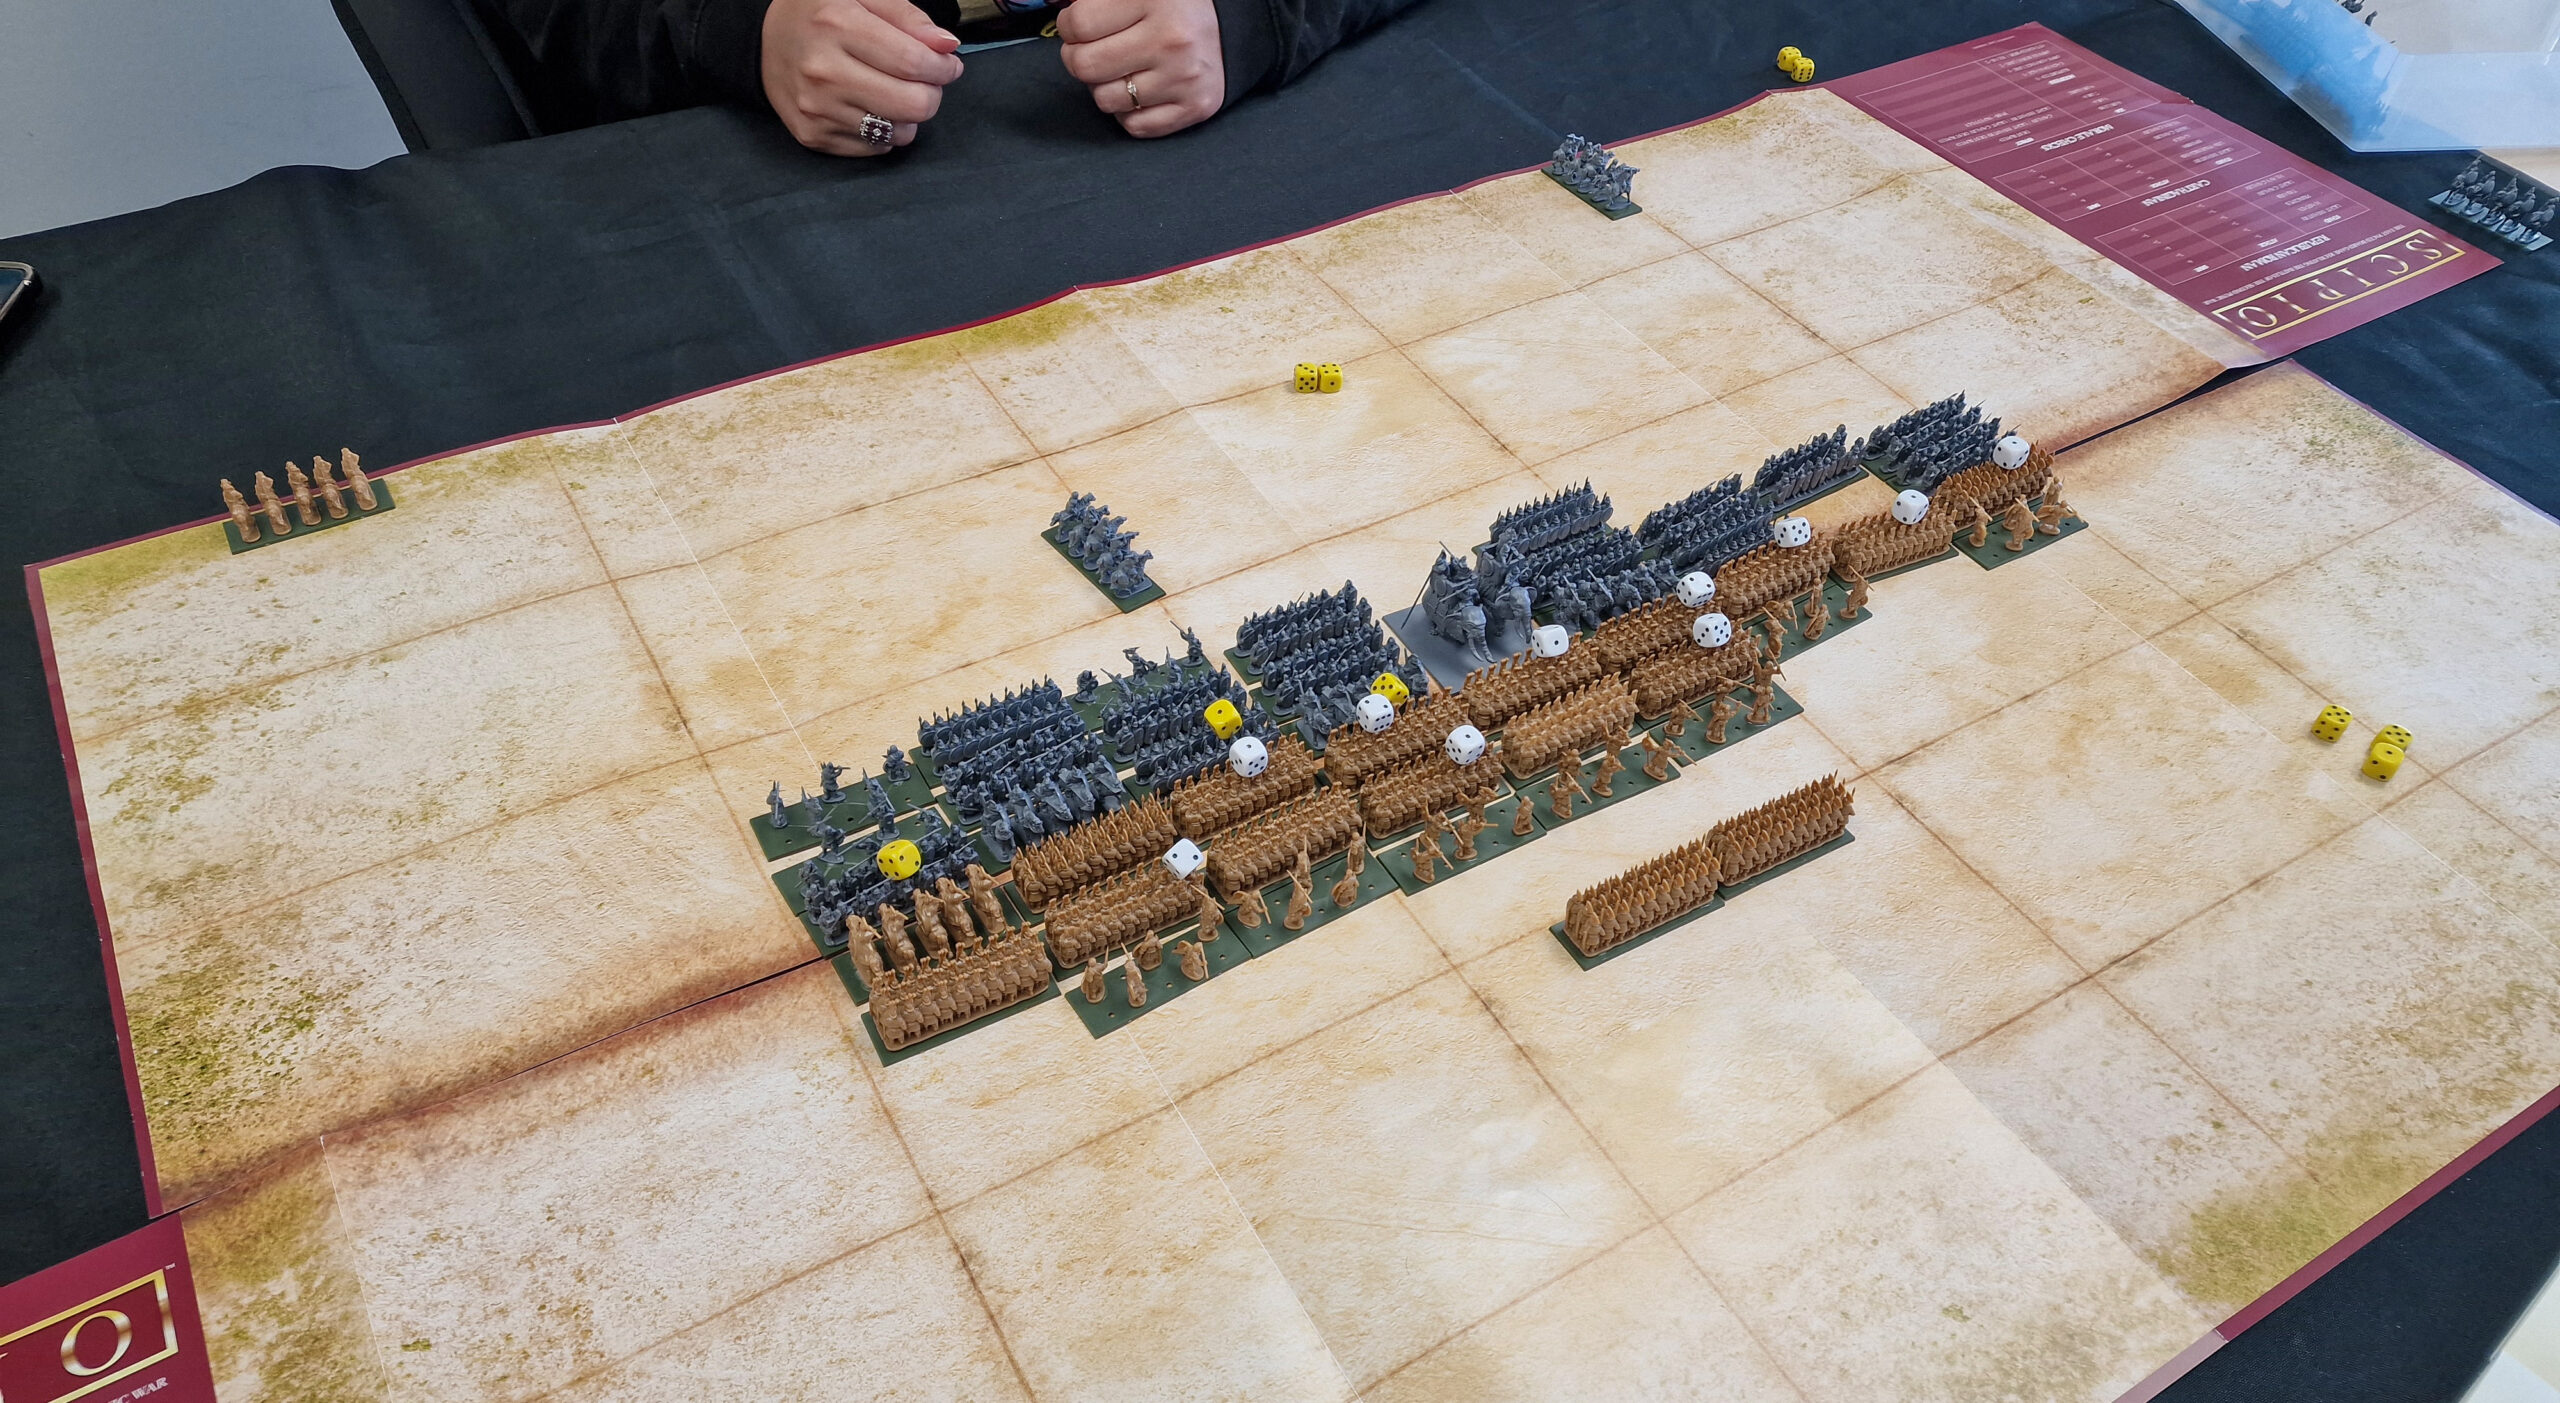
Whilst we’re all professionals (honest!) around here in the Warlord Games HQ offices, the occasional challenge is issued; you’ll often find staff throwing dice in the HQ store of an evening. But with the recent release of the Hail Caesar Epic Battles boxed set, and the included Scipio battle game, there is plenty of scope to have a game over lunch; and so the gauntlet was thrown down in the marketing offices. The challenge was duly taken up by Melissa, under the proviso that she get to use the war elephants. The board was well and truly set, for an epic battle!
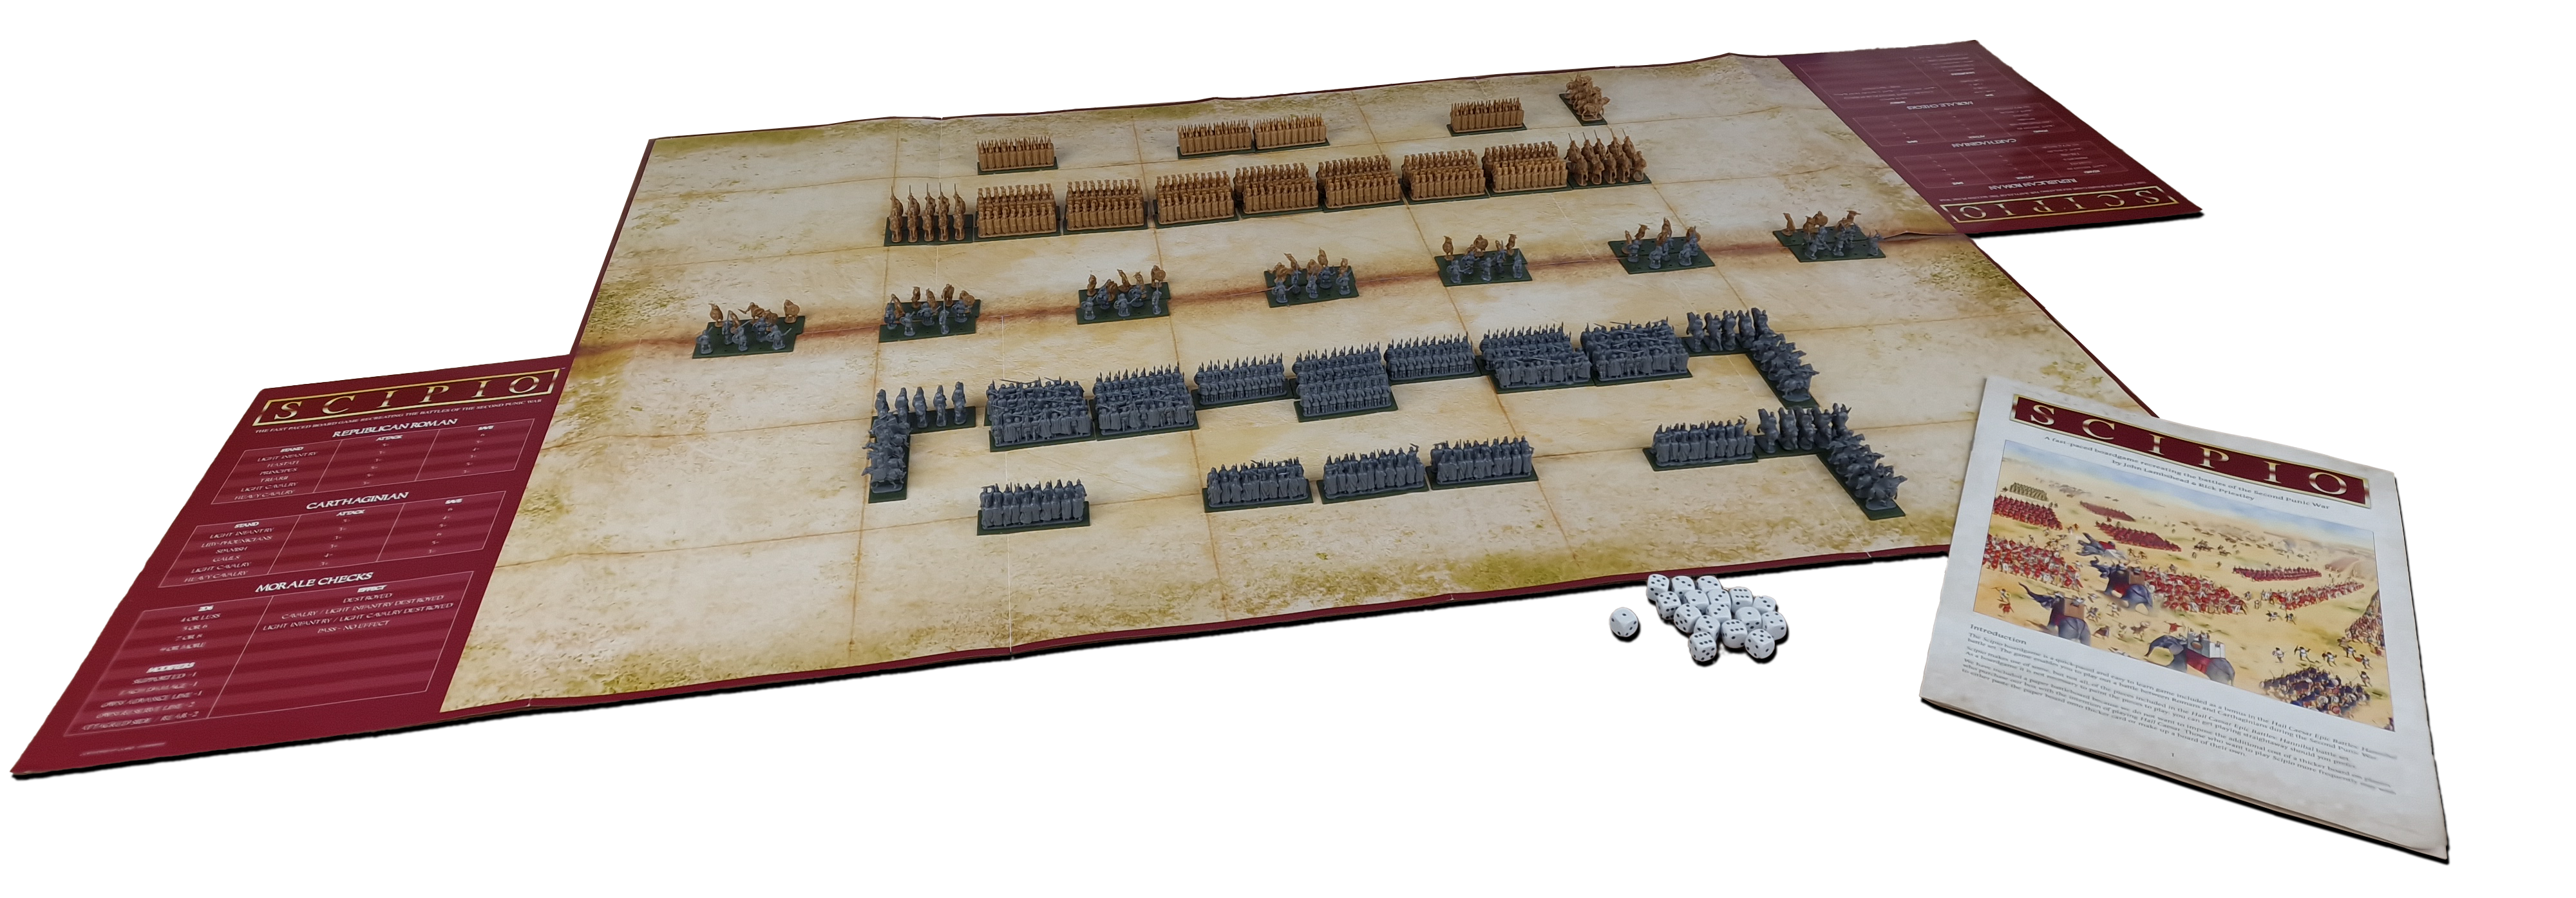
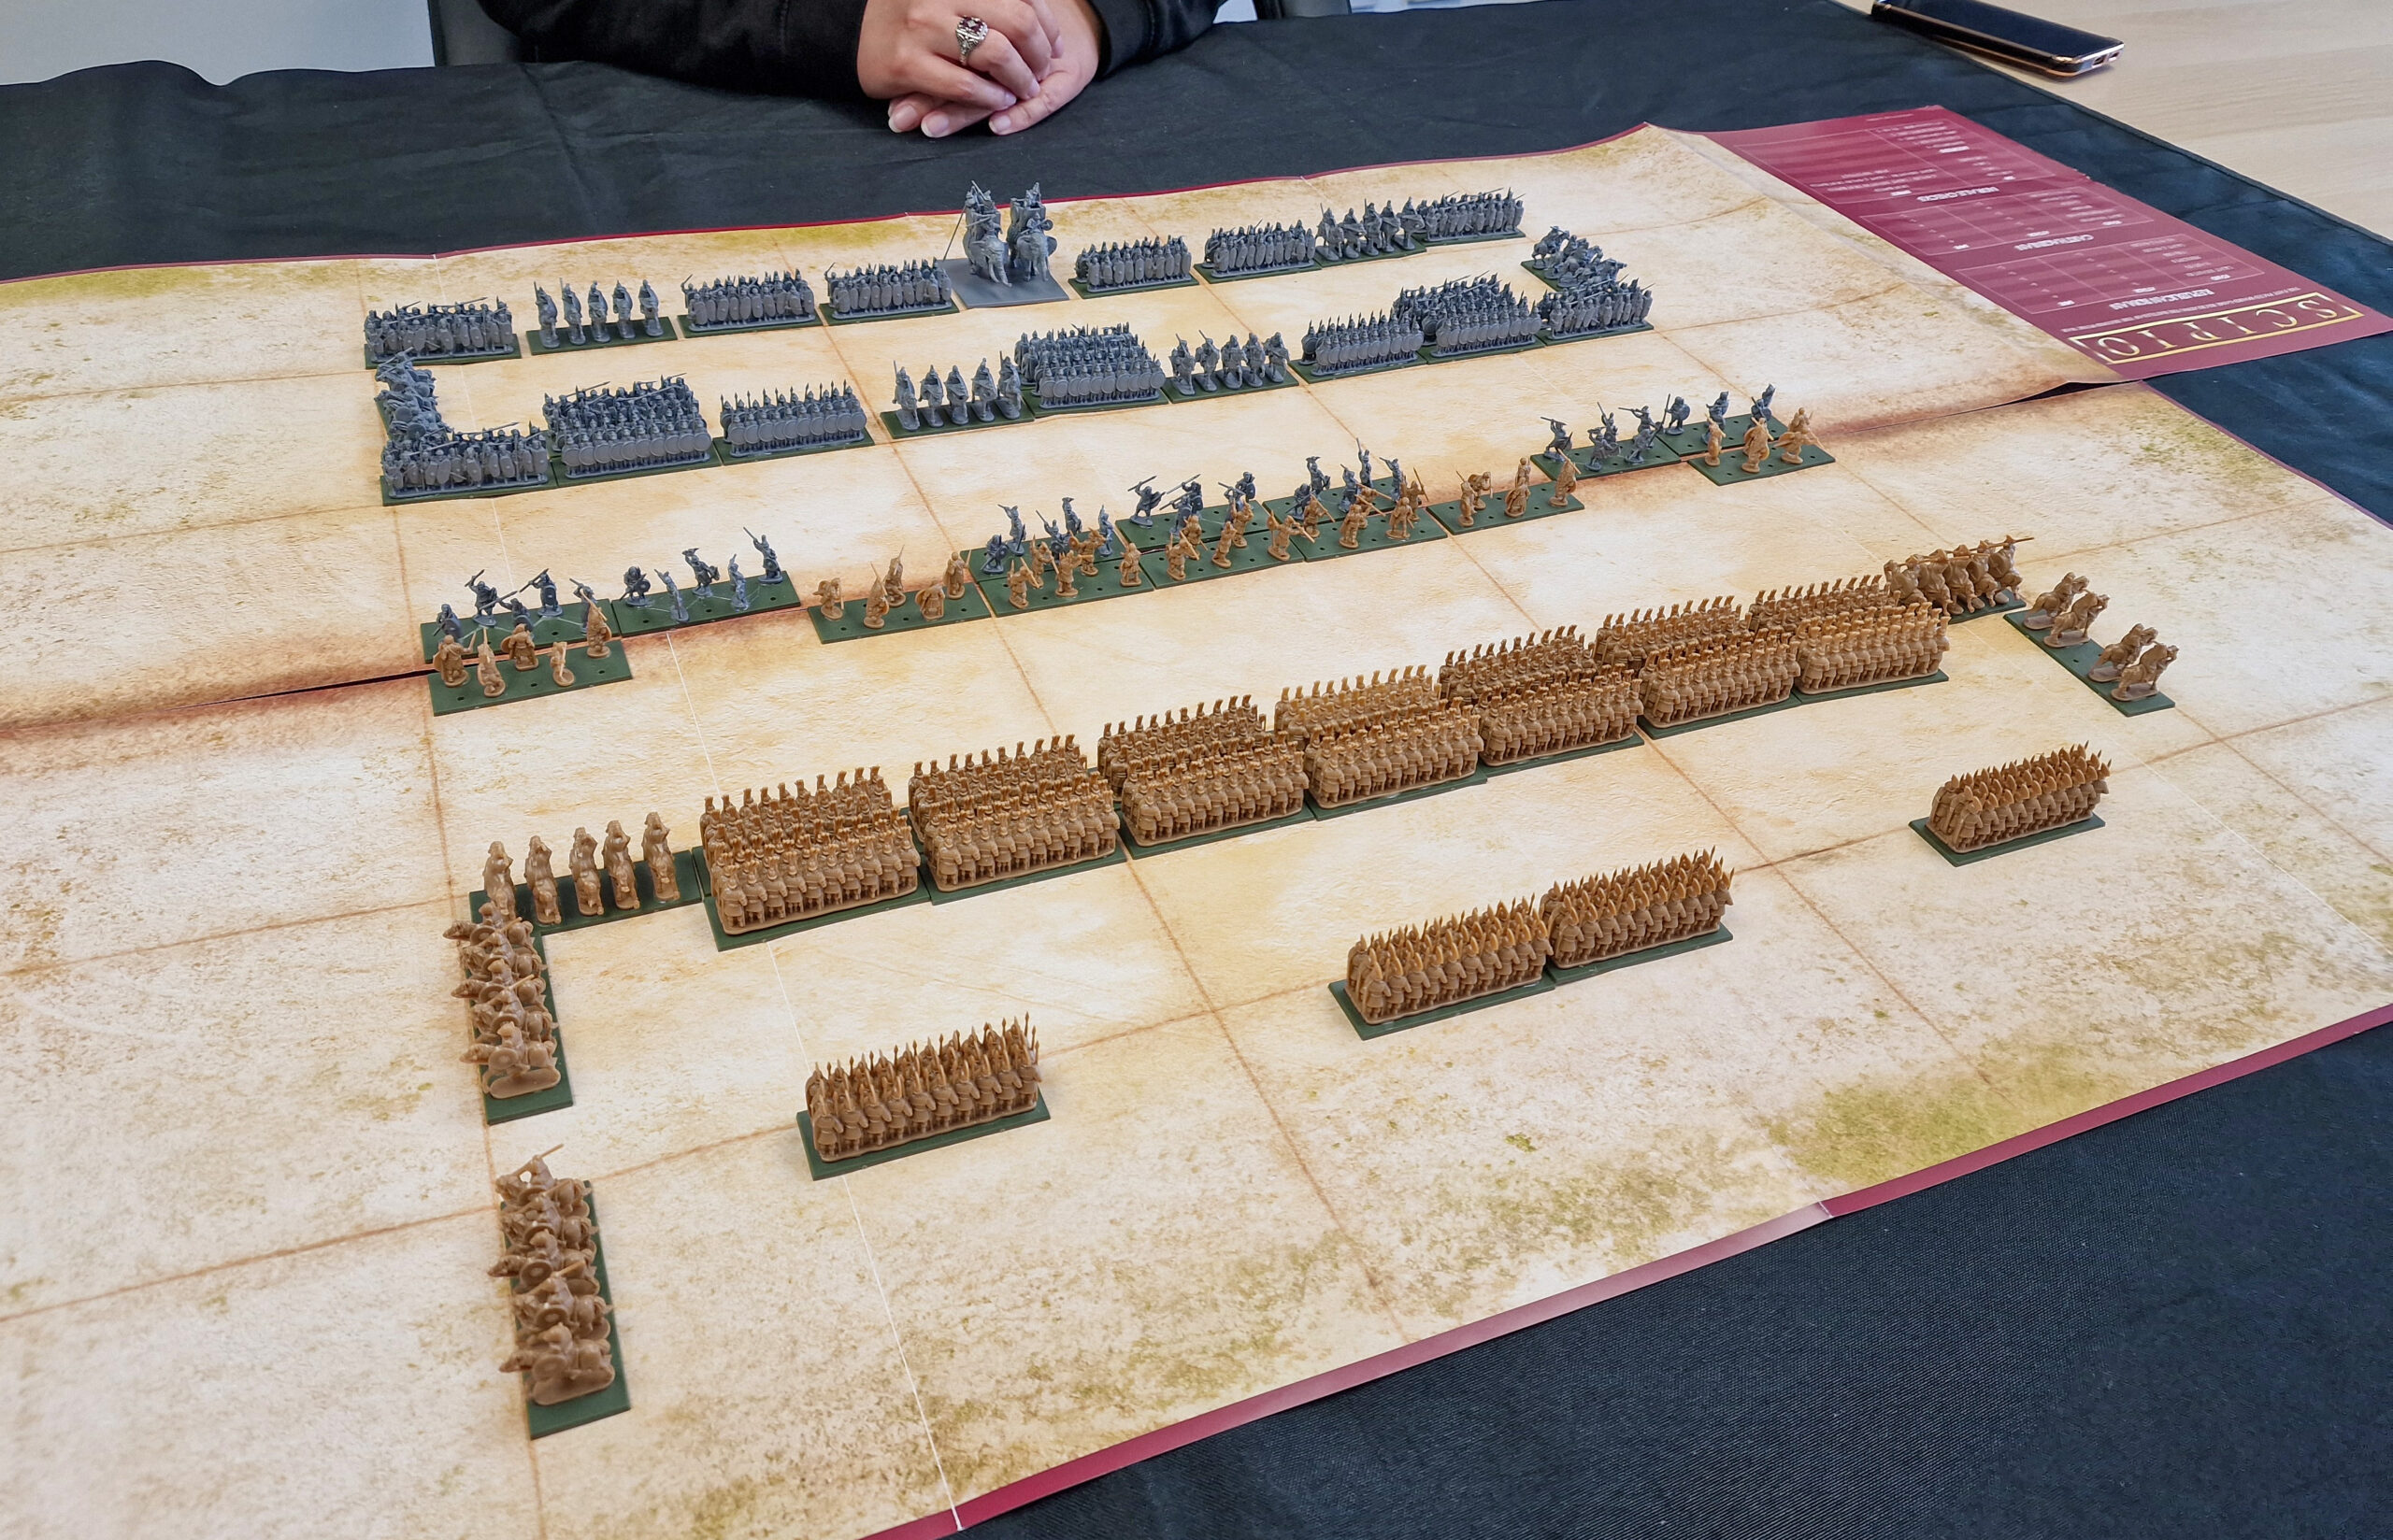
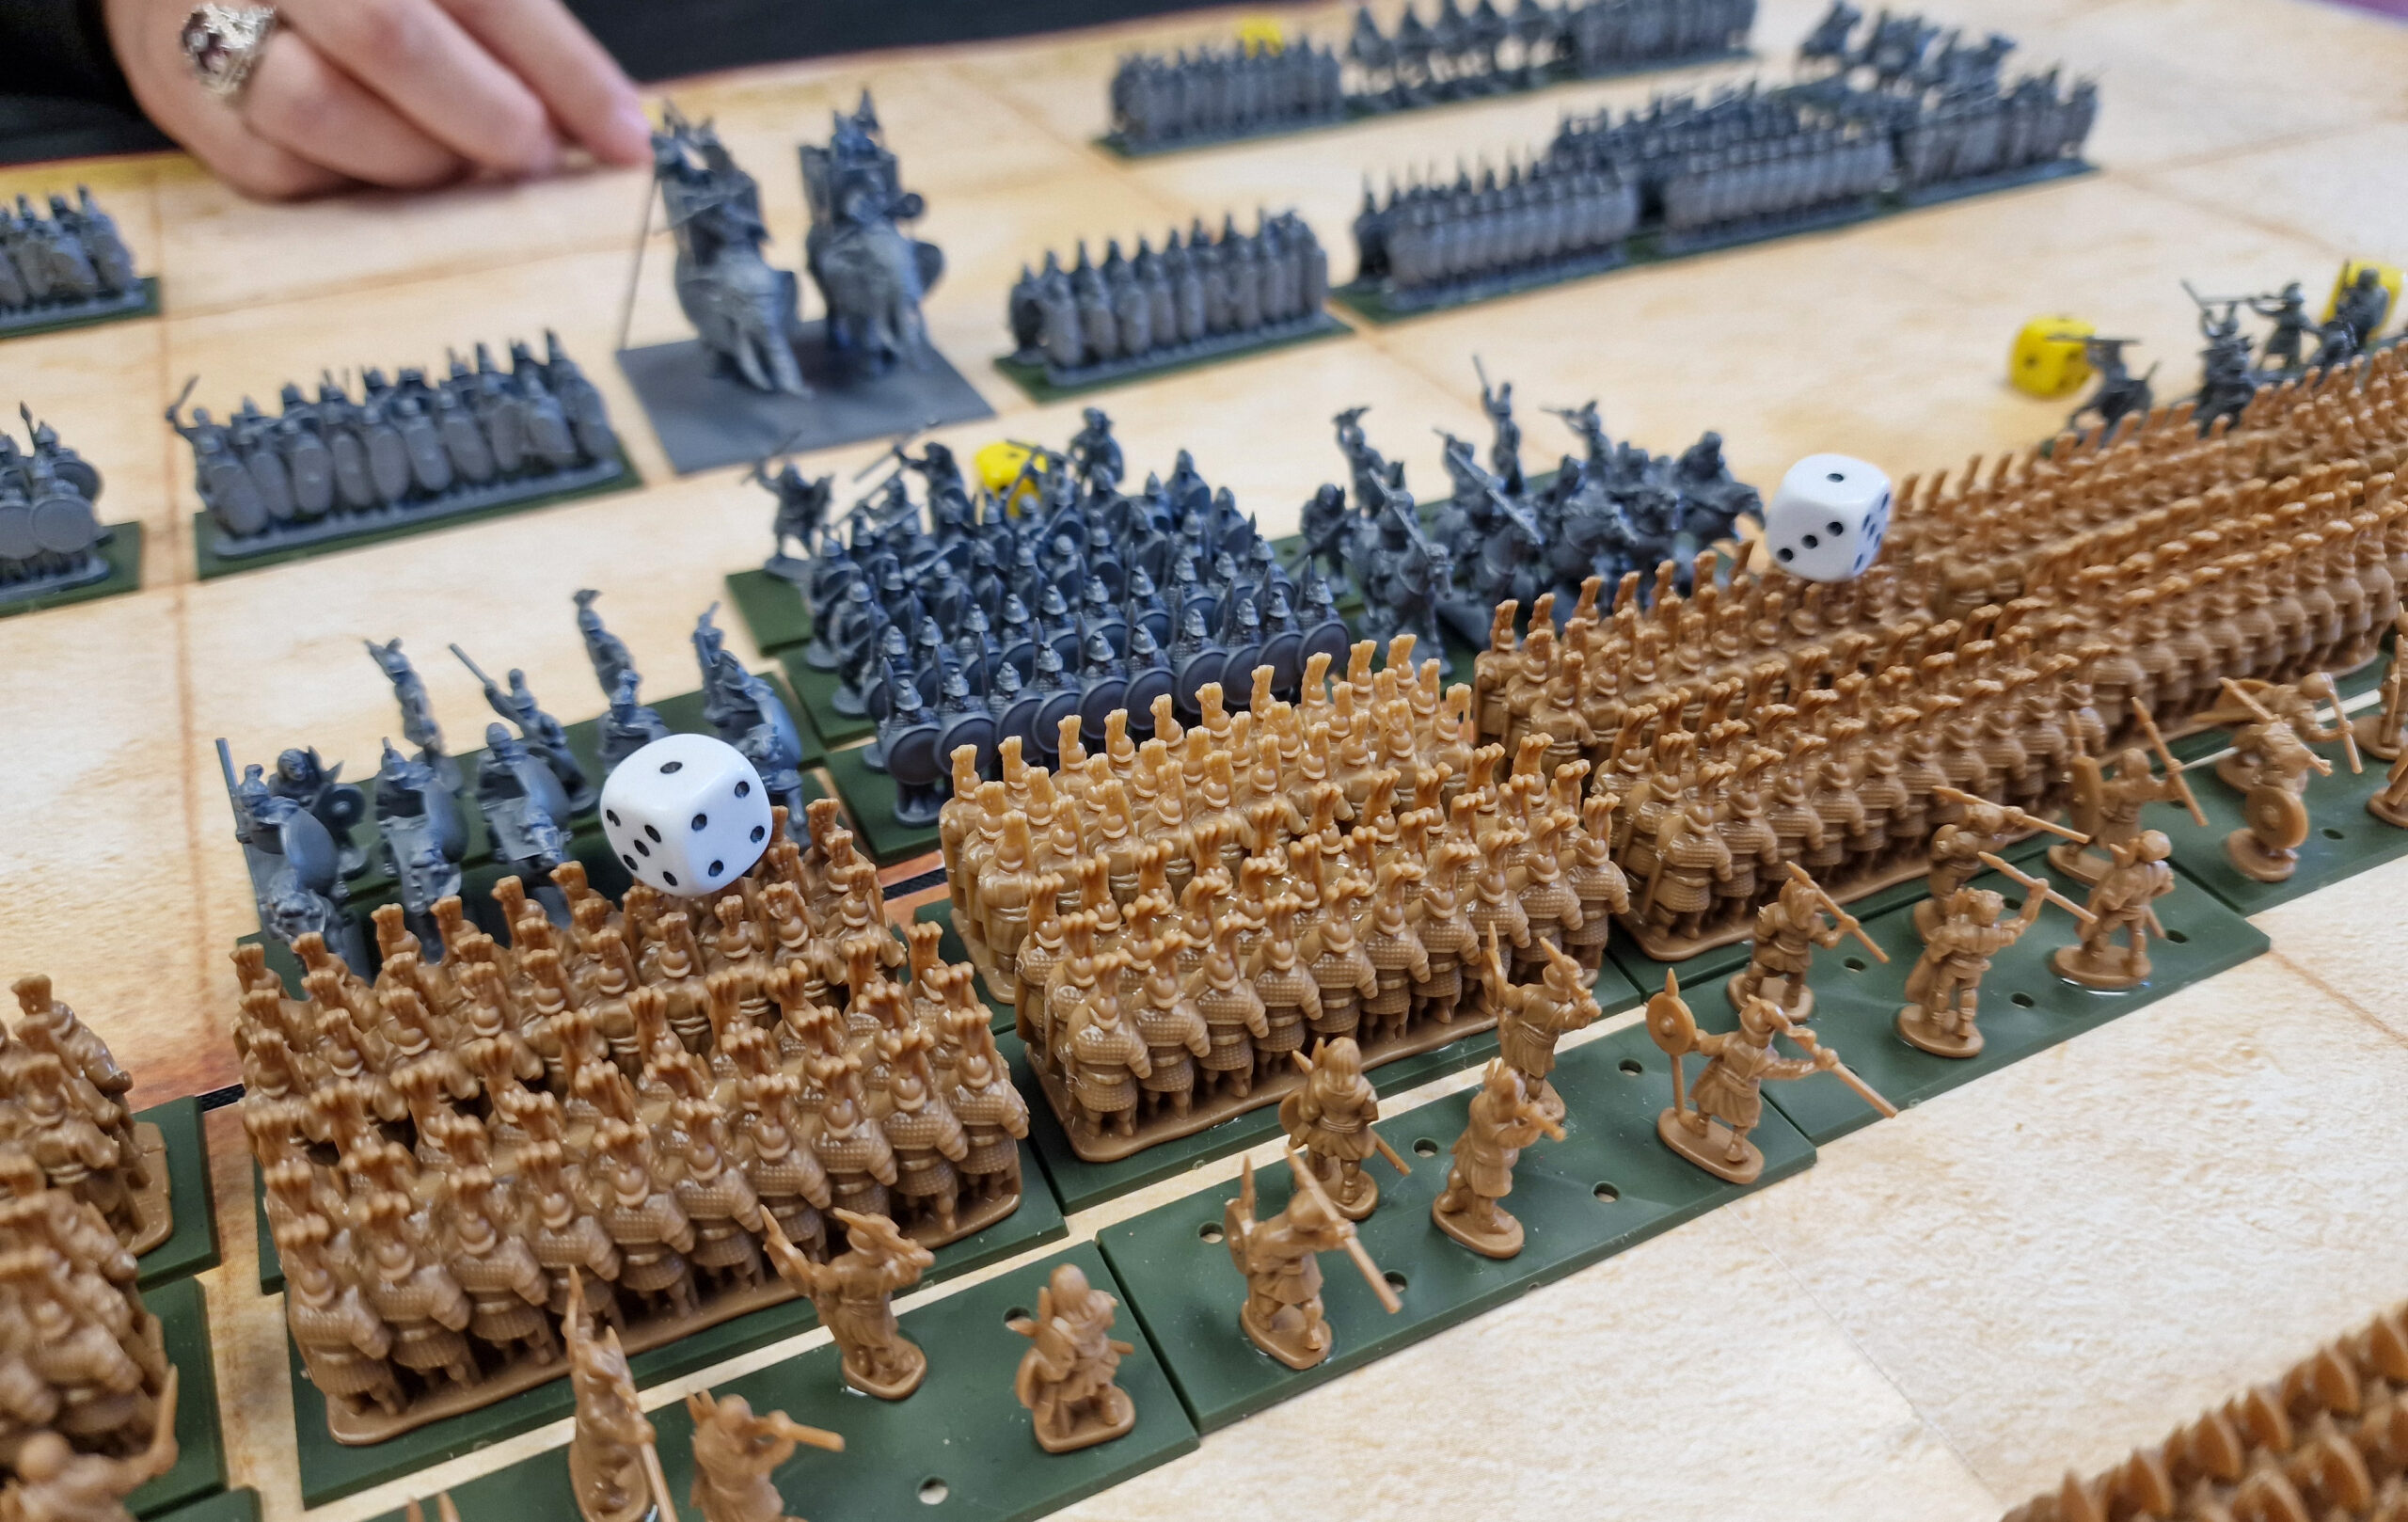
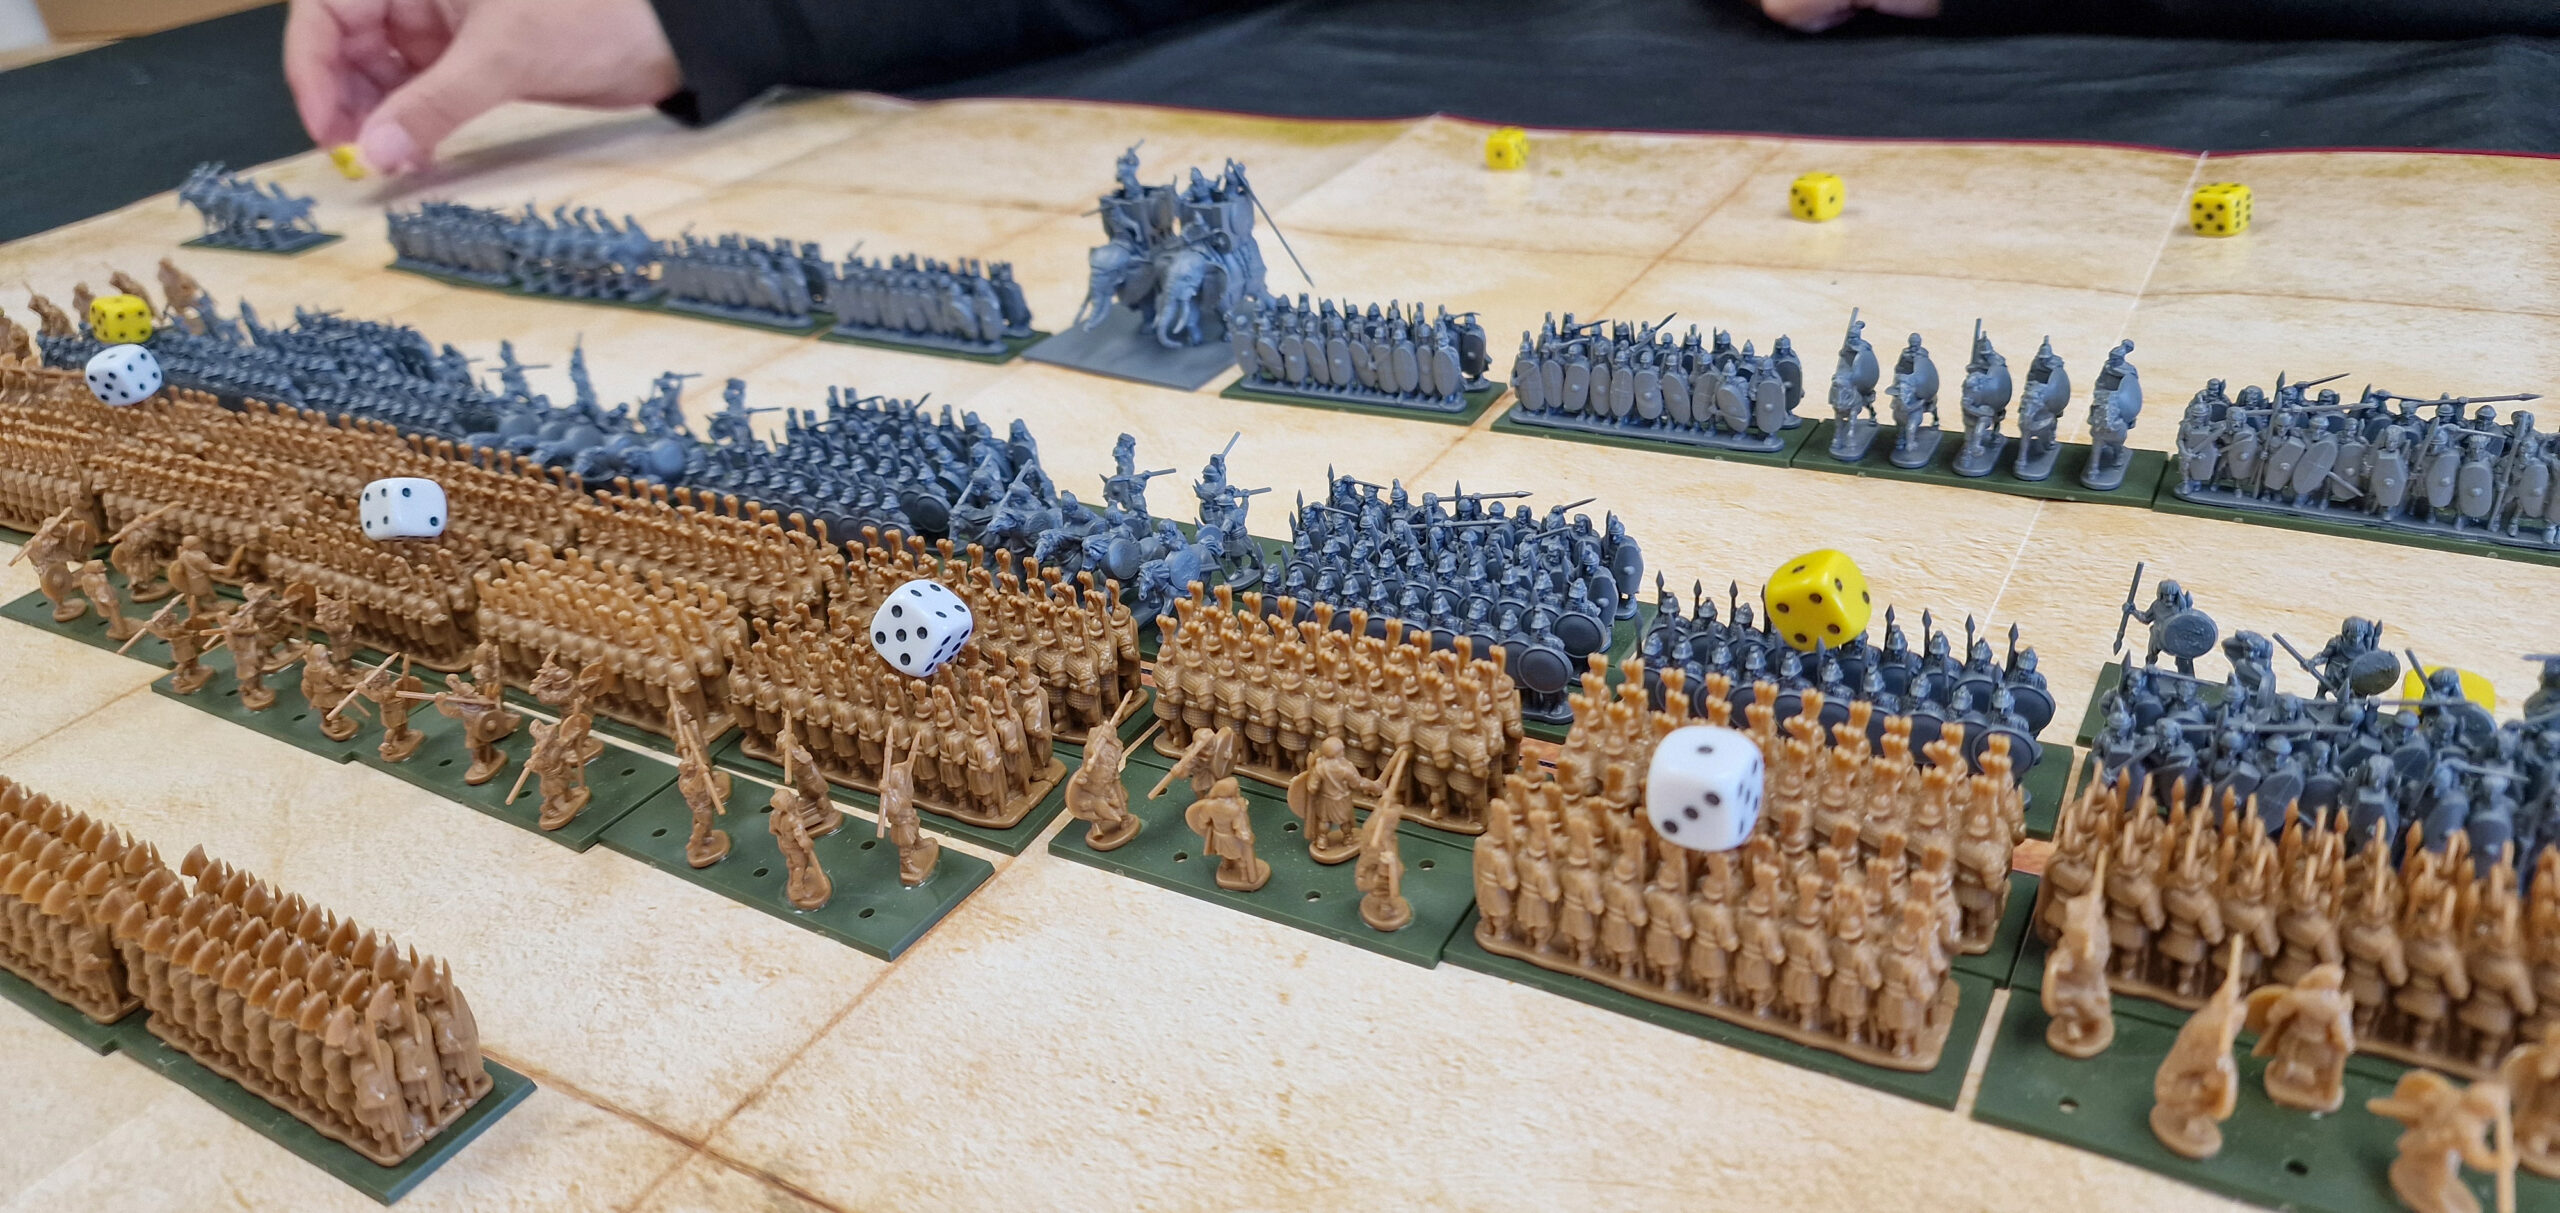
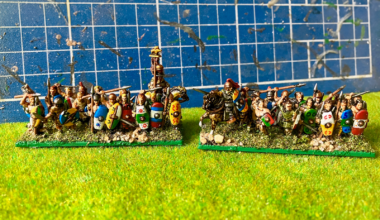
Scipio uses a secret deployment system (using a screen or a cover), with a small number of restrictions so as to better emulate the tactics of the Punic Wars, and in particular the Roman Manipular system. Otherwise, it’s rather forgiving in where you may initially place your troops. As it was the first foray into the system for the both of us, we both erred on the side of symmetry – with a nearly mirrored screen of skirmishers along the Battle Line. The bulk of the Roman forces were concentrated to the centre, slightly more aggressive than the Carthaginians. Of note, Melissa had deployed her war elephant in the centre of the Carthaginian reserve line, unwilling to commit it just yet, with her heavy cavalry more central too – the biggest hitters poised for a big old scrap! Both sides also positioned some light cavalry on the Flanks, hoping to achieve an early breakthrough down the Wings – though it doesn’t tend to work so well when both players have the same idea…
To achieve victory in Scipio, you can either rout half of your opponent’s stands (a win by attrition), or get one of your own stands through to your opponent’s Reserve Line (a win by manoeuvre). Whilst this latter option seems simple on paper, those stands have to survive to the end of the turn, not an easy prospect with half an army bearing down on them!
Turn One
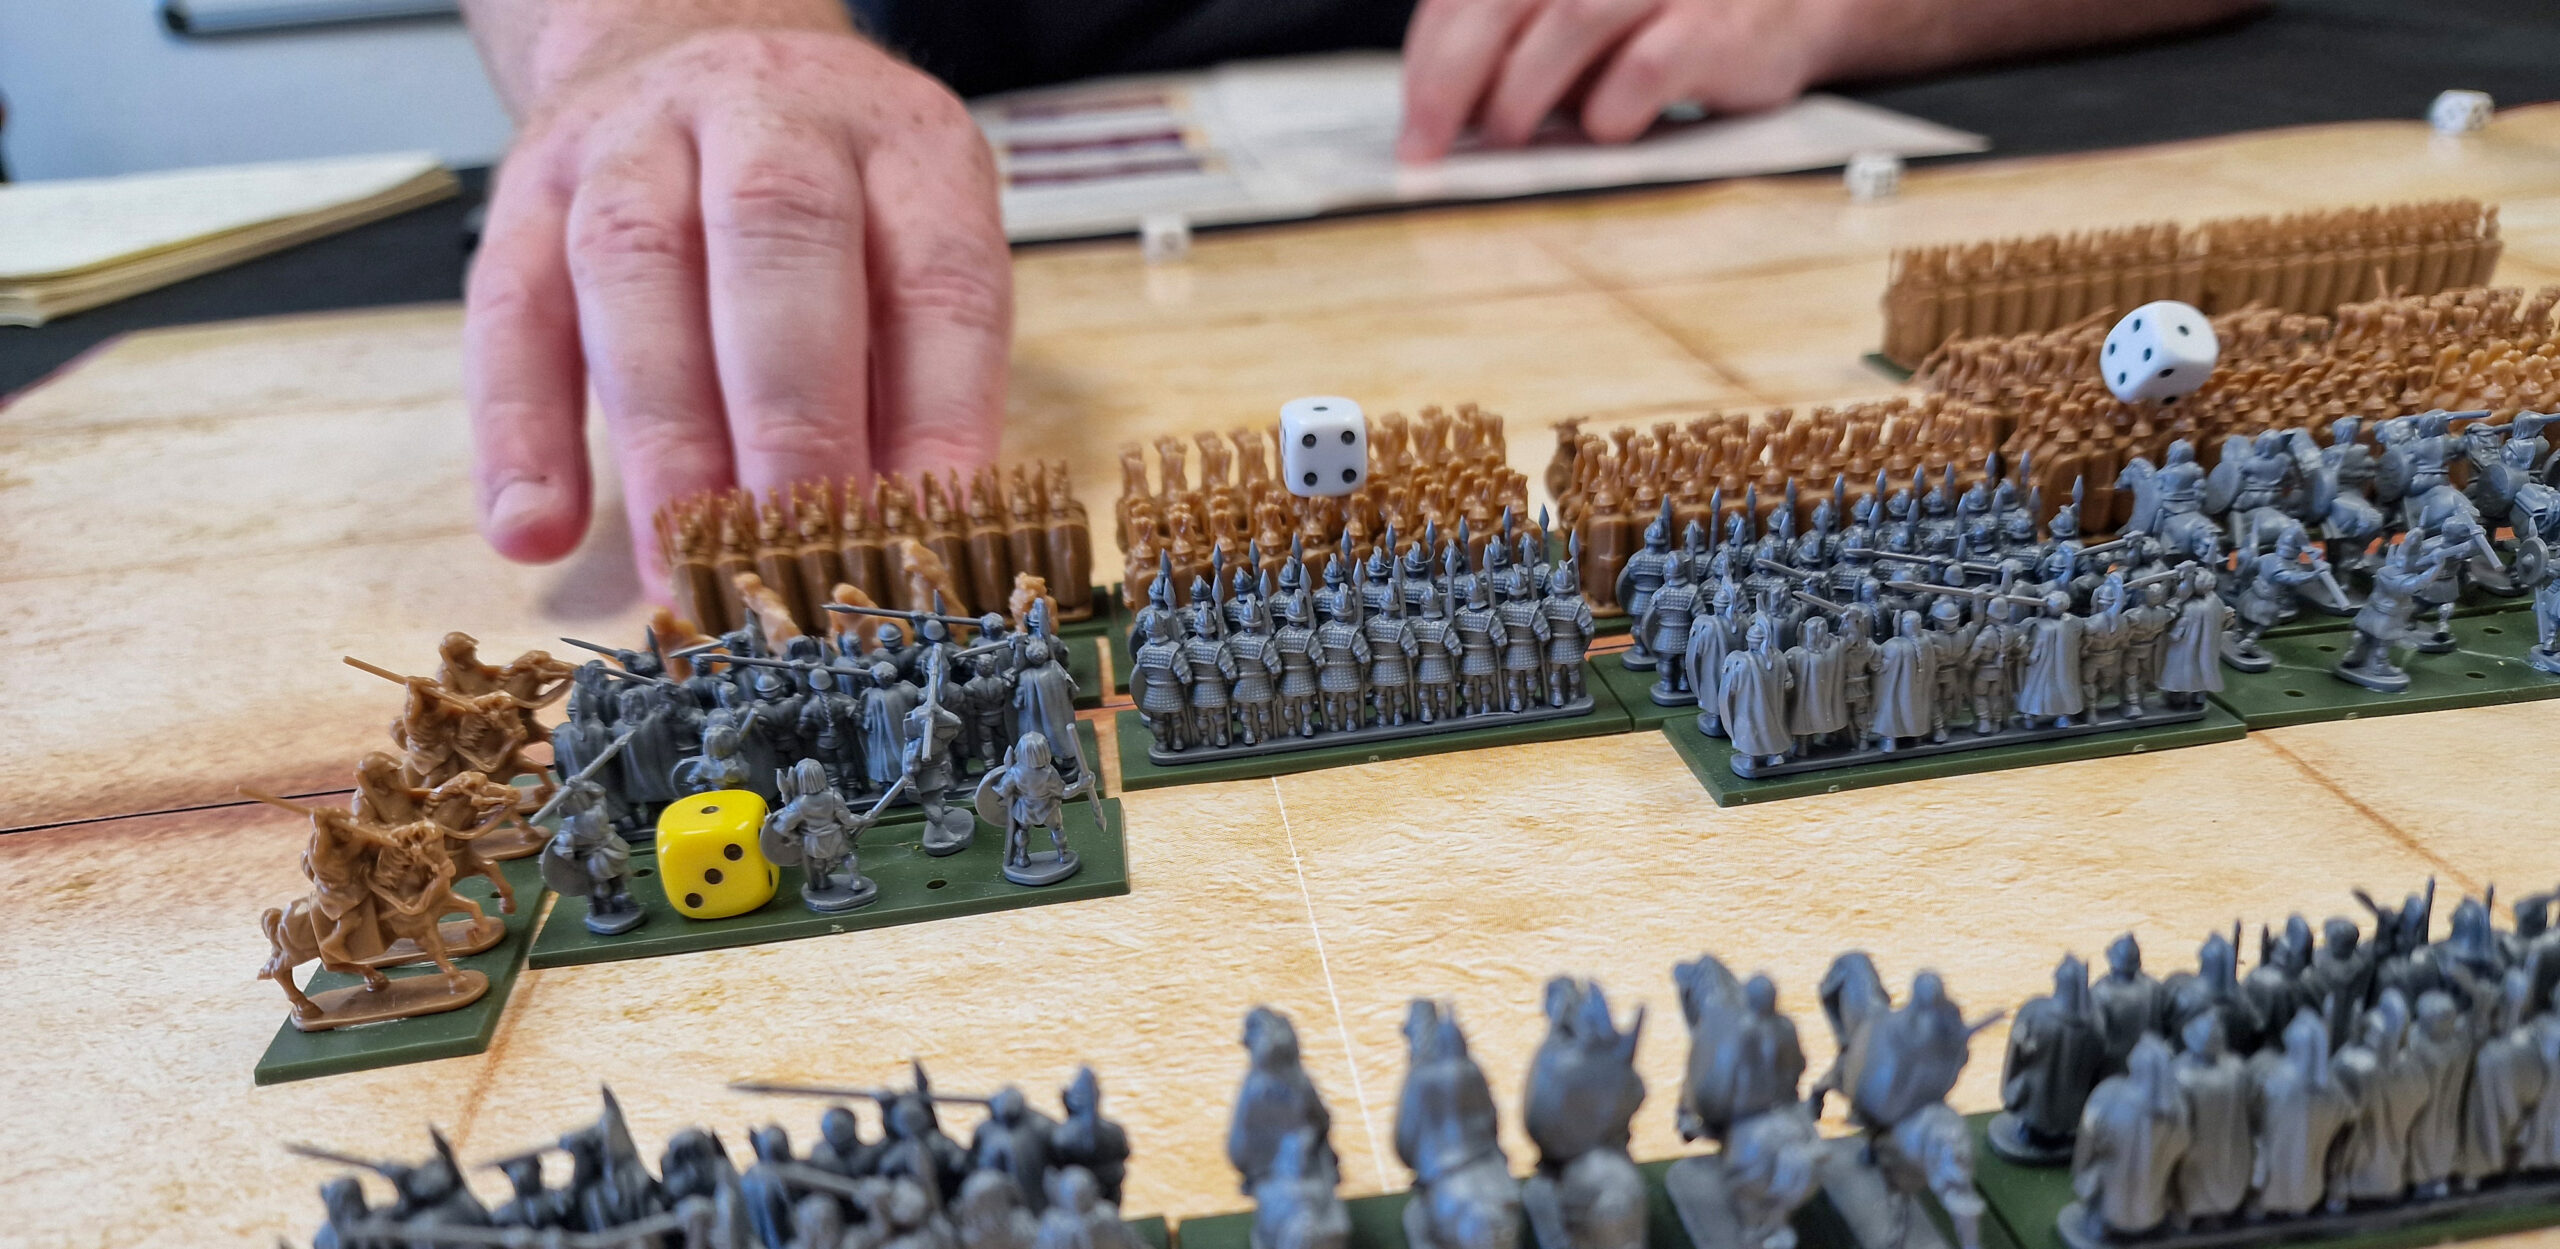
My Romans took initiative in the first round, and with a stupendously good Command dice roll I found myself with more actions than I could possibly use in one go. I pushed up my entire roman force, Hastati at the fore, before issuing attacks with the skirmishers into their Carthaginian counterparts and reorganising the line, so that my vulnerable light infantry were now protected by the better armoured Legionaries, whilst continuing to lend them support.
Unfortunately for me, this meant that I’d presented a juicier target for the Carthaginian horde, they piled in, causing many, many more wounds than I had been able to inflict. This was a learning point for future games, perhaps it would have been better to be reactionary!
On my Left Flank a stand of Gauls piled into my heavy cavalry, who’d heroically failed to do anything much except be there at that point. Thanks to the Gauls’ Ferocious Charge special rule, and a lucky roll of a six, my cavalry took double the number of wounds! The end result of it all was that I had routed two paltry stands of Carthaginian light infantry, whereas I had lost a stand each of Hastati and heavy cavalry – a poor trade indeed!
Meanwhile I had manoeuvred my light cavalry onto the wings, seeking to catch the Carthage Battle Line in the flanks. Melissa was well prepared for this, however, and moved her own cavalry to threaten them.
Turn Two
I retained initiative, which was a relief given the state of things. I used the opportunity to filter out the wounded Hastati from the front ranks and shore up the Centre Line with fresh meat in the form of the Principes. Their attacks were for nought though, as left and right their blows bounced off armour – either they were using rubber swords, or these Carthaginians were made of hardy stock!
I had placed a high value Command dice in each of my Flanks, allowing my light cavalry to swoop in and envelop both flanks. Though their attacks did very little, I was hopeful that being attacked in the flank would put pay to at least a couple of stands, not least those pesky Gauls.
Melissa’s Command rolls were not so kind, affording fewer actions across the board. Still, she piled as much as she could into the ruckus in the centre, carving through Roman armour, with even the Triarii failing to make their saves. But all Roman stands held steady – with all Morale Checks easily passed – the heavy infantry is truly hard to shift!
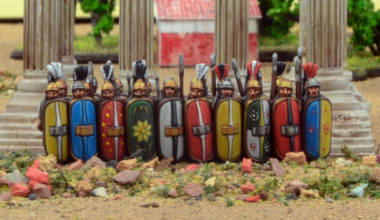
Heavy infantry are by far the most stoic stands in the game, routing only on a roll of 4 or less on 2D6. Supported stands (those that have a friendly stand positioned immediately behind them) get a +1 to this roll. Given that more than half of the Roman force is composed of heavy infantry, it’s no wonder that they prove difficult to shift!
As I’d hoped the charge by the light cavalry on the Gauls on the left was enough to rout them, with the negative modifiers conferred by being attacked in their flank just enough. At the end of the turn, a staggering number of Roman stands had accumulated damage points, but it was mostly Carthaginian stands that were slowly routing.
Turn Three
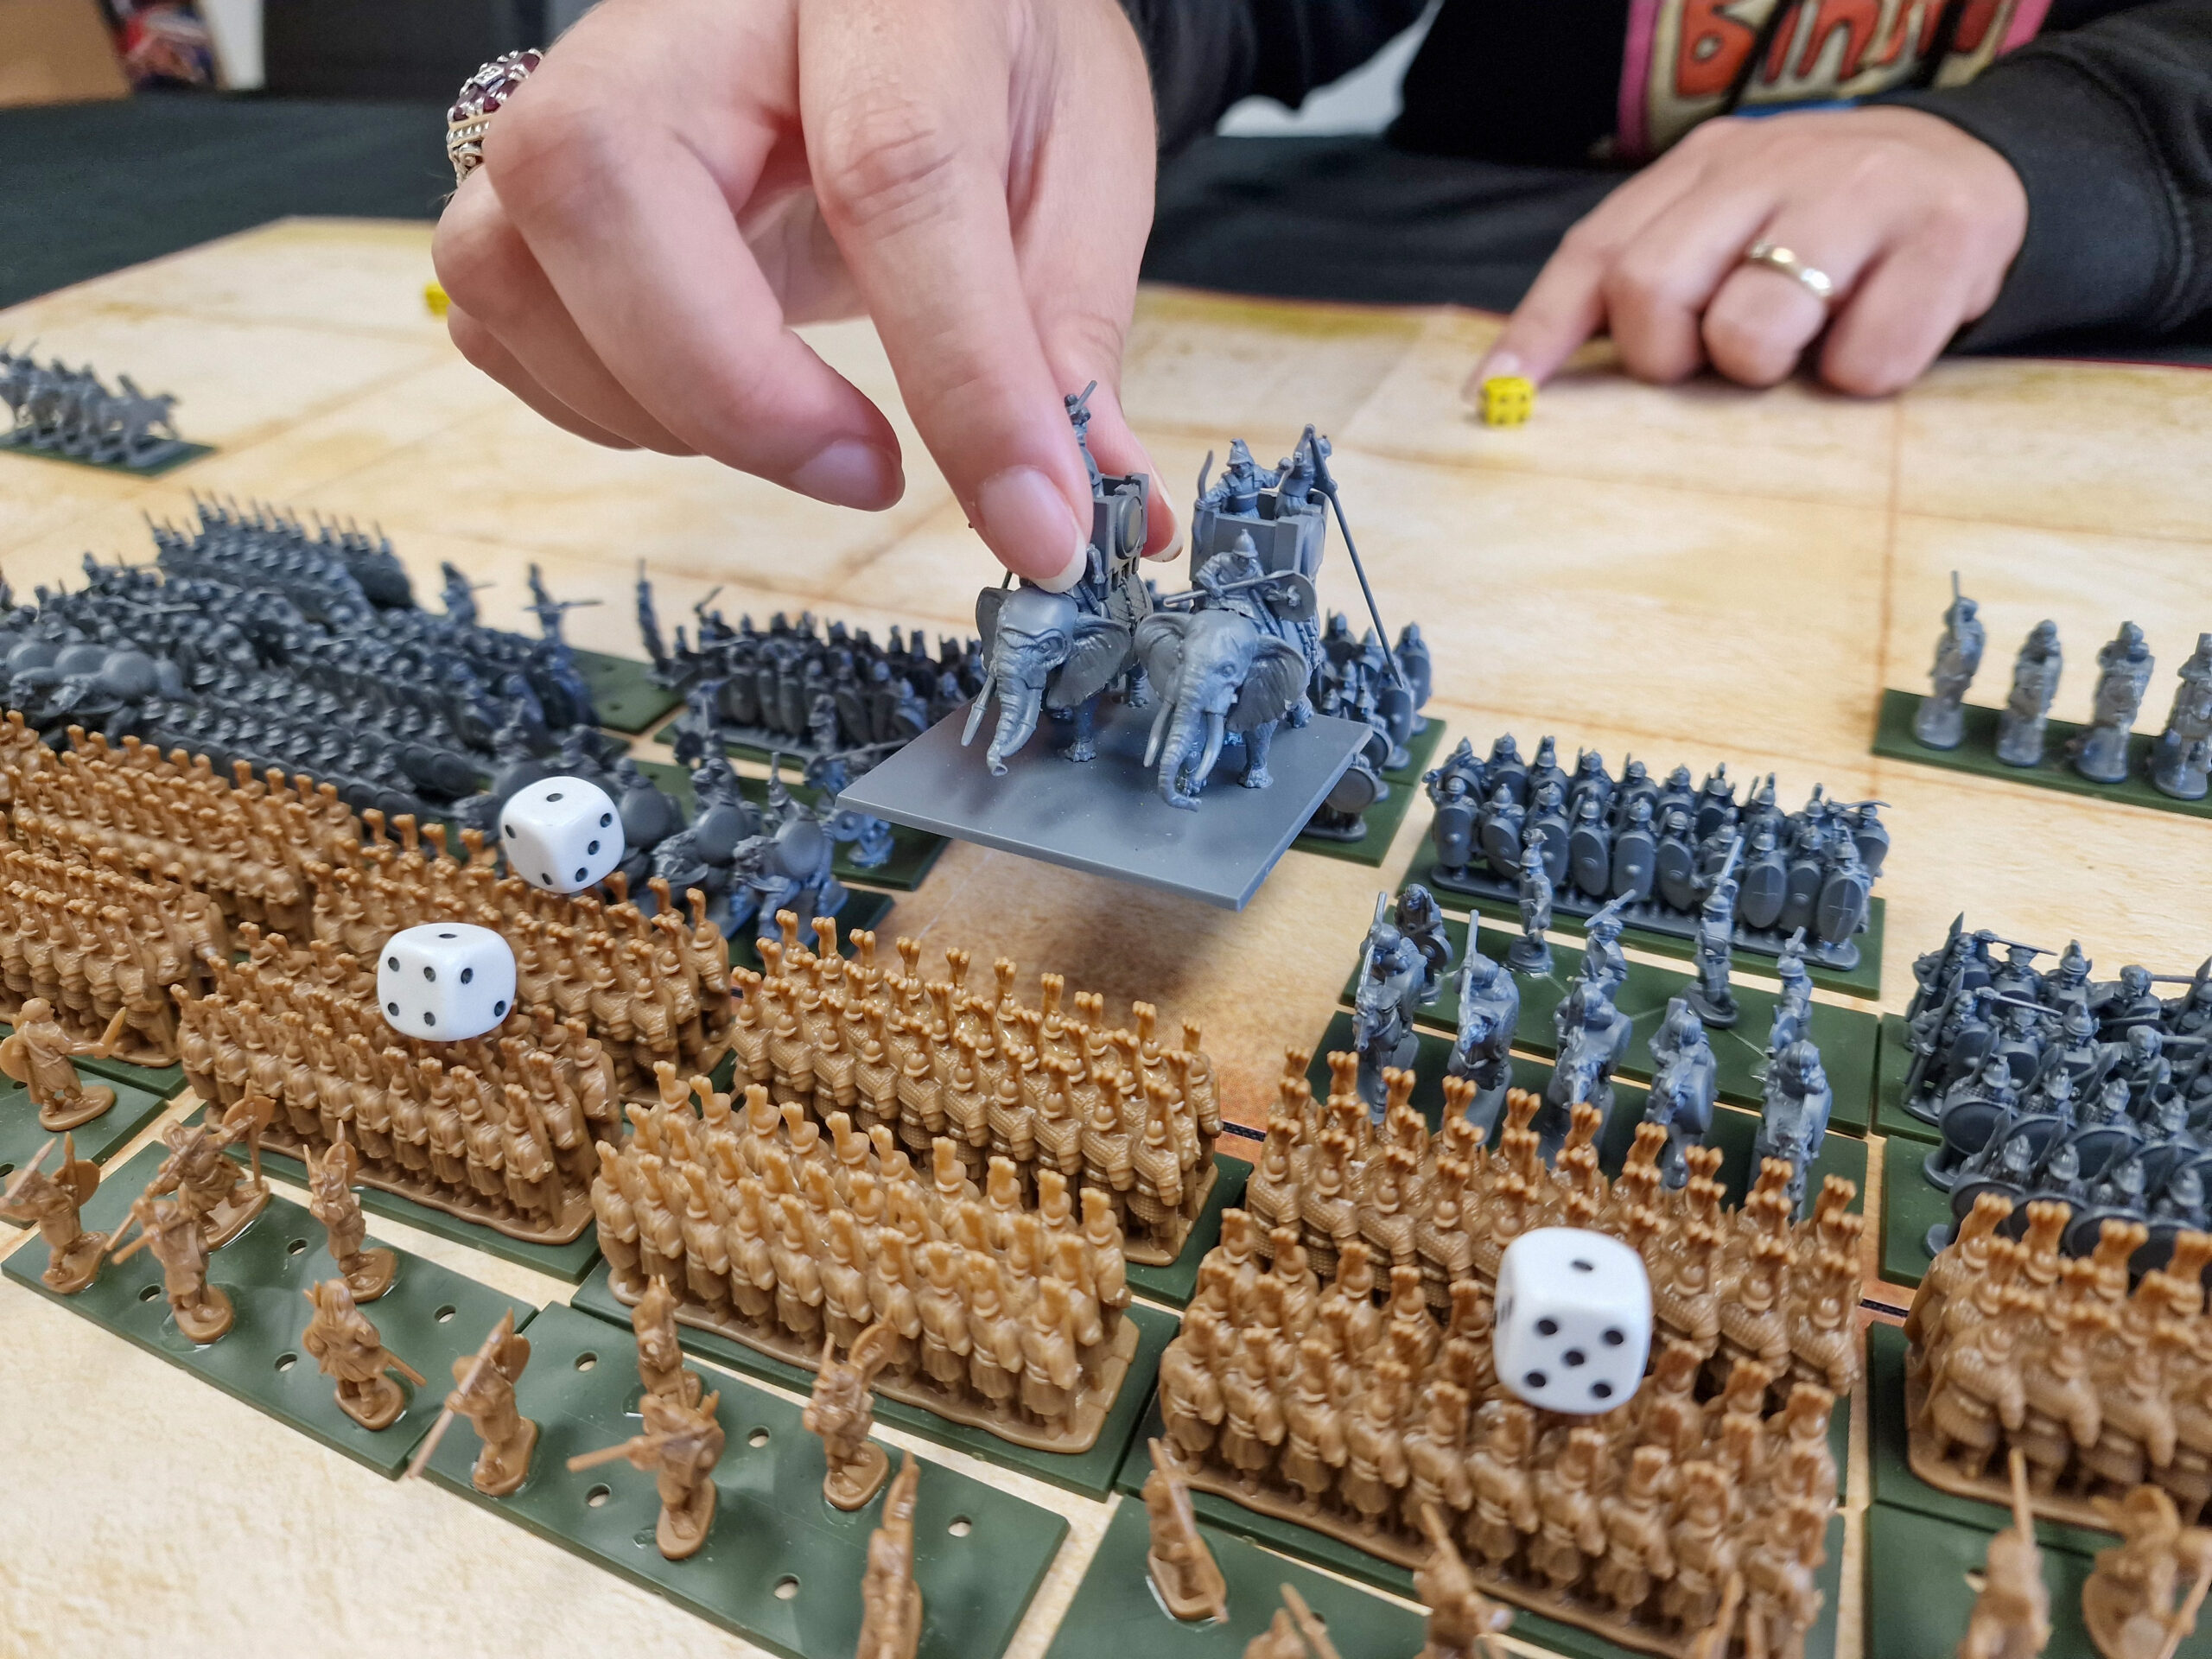
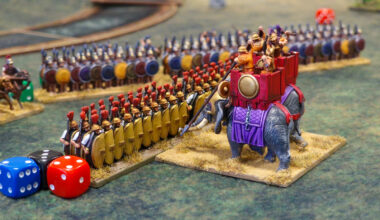
This time, initiative swung in favour of the Carthaginians, but with another poor Command dice roll, Melissa was left with limited options. With the strong smattering of damage points throughout the Roman ranks, it seemed as though an eventual breakthrough was somewhat inevitable. It was time to pack in the pachyderm, as the war elephant thundered into the densely packed centre, with the Carthaginian ranks reforming to allow passage. True to form, Roman legionaries were swatted aside left and right, and with strong support from Libyans and Liby-Phoenicians, the centre looked bleak for the legionaries.
My own turn was pretty uneventful, with my light cavalry continuing their light envelopment of the flanks, and routing a stand of Numidian skirmishers. Crucially in the centre, the Roman line did not fold, holding strong against the relentless assault of the enraged war elephant.
Turn Four
Initiative once again swung back towards the Romans, and I spied my opportunity. In the elephant-shaped chaos, and her eagerness to throw as many stands as she could towards my failing centre, the wings had been left clear. With a strong command roll, I was able to detach my light cavalry from the skirmish on both sides, harrying ineffectually as they went, and race them into Melissa’s Reserve Line. They were horribly exposed, and more than likely would be attacked in their flank, but if either survived, victory would be mine.
Again, the Carthaginian Command roll was not up to snuff. Melissa swiftly calculated that she could only reach one of my light cavalry stands with one of her own (which she duly did, catching them in the flank and dispatching them from the field with relative ease). There was only one path to prevent Roman victory. A quick count revealed that exactly enough of my Roman units had accumulated damage points, and if they were all to rout, it would end the game. Despite some elephantine effort, and Romans falling left and right across the field of battle, my Morale Checks nearly universally succeeded, such is the staying power of heavy infantry.
And with the Carthaginian supply line compromised the game was over. A Strategic Victory to my Romans, though they certainly looked worse for the wear than their foes – I don’t think Scipio Africanus would’ve been proud of such a result… A good, close game, but, as it turned out, it took a little more than a lunchtime; sorry boss!
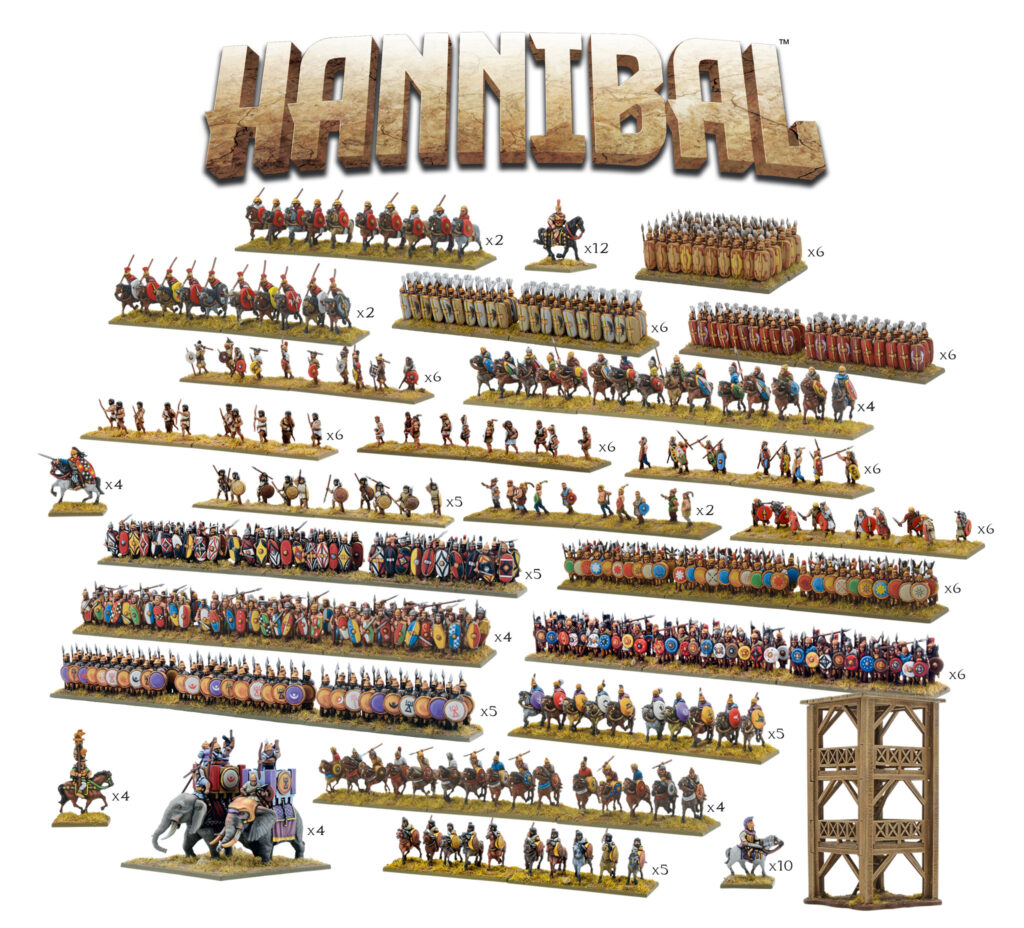
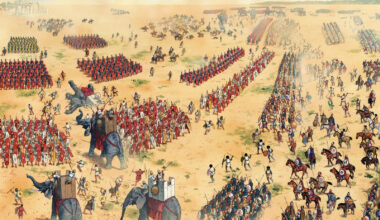
With its two vast armies, the full-colour Hail Caesar Epic Battles rulebook, and the Scipio battle game, the Hannibal Battle Set is the perfect way to dive into wargaming the Punic Wars!

1 comment
Very neat – but will the Scipio rules become available separately in the future?
Most gamers could devise their own playing board, w/o also needing the paper one.
Comments are closed.