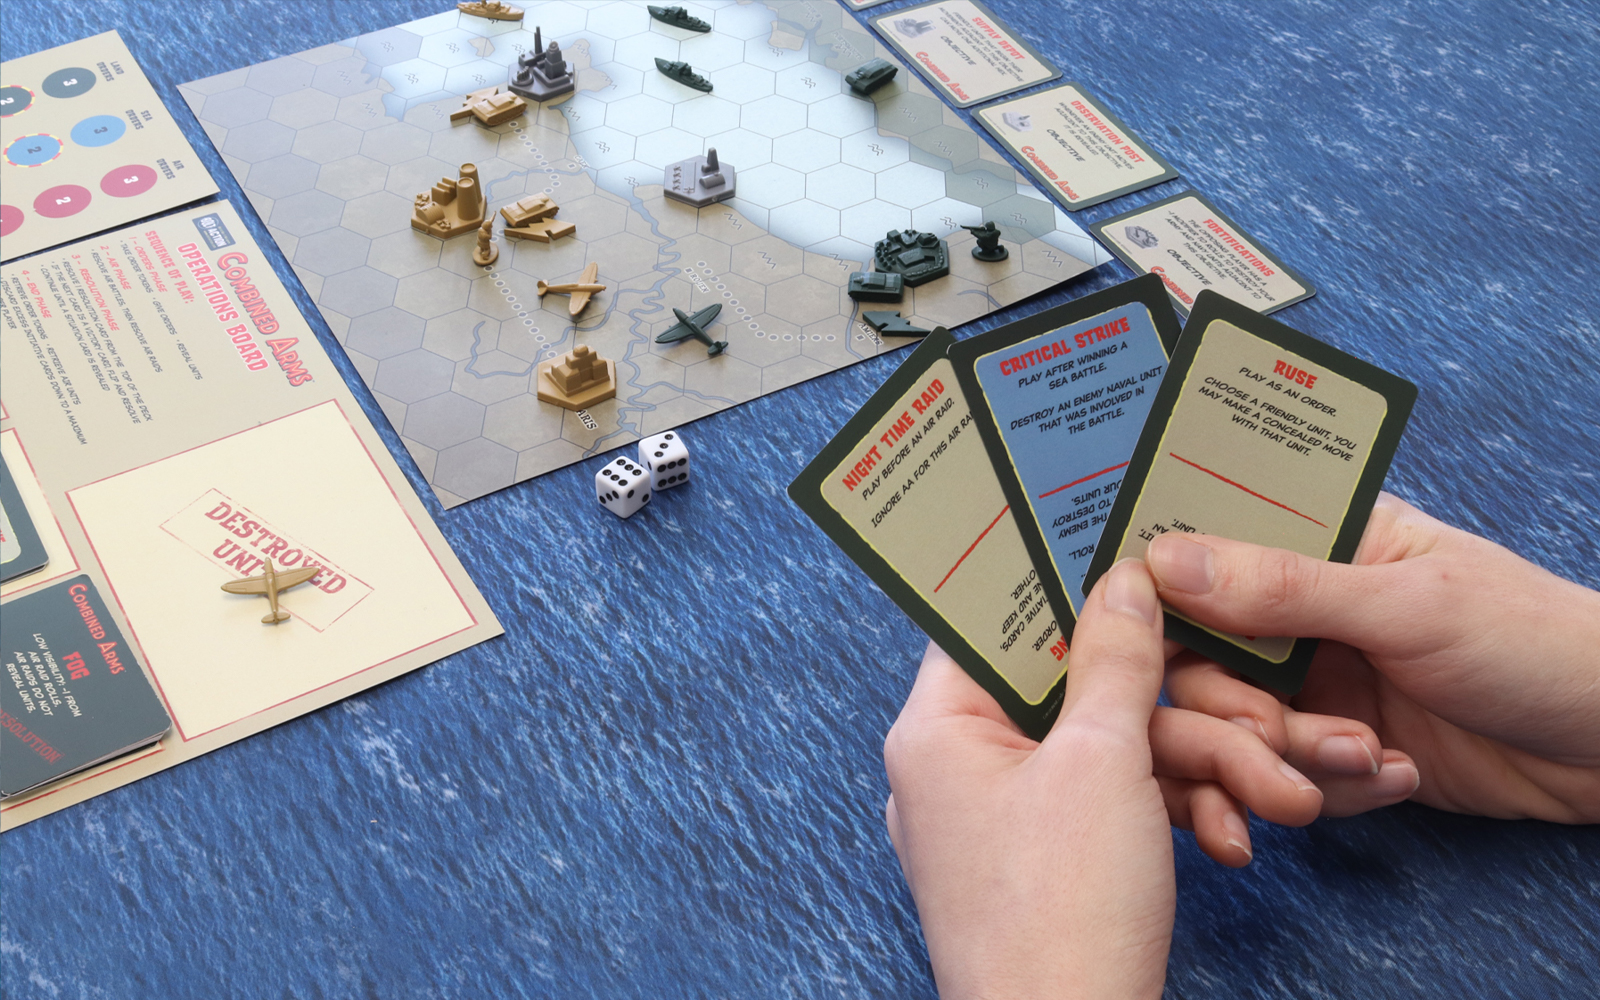
Combined Arms is, first and foremost, a World War II Campaign Game, affording players of Bolt Action, Blood Red Skies, Victory at Sea & Cruel Seas a means to play an intrinsically linked series of games that can carry long-lasting implications as you jostle for control of key objectives on one of four maps centered on key theatres of operation throughout World War II. In this article, we’ll touch on the tactical nuances budding generals, admirals and air marshals will need to display to best triumph over land, sea and air.
One of the defining features of Combined Arms is that the campaign system is modular, not requiring that players own each game system involved; by the substitution of specific Initiative Cards, you pick and choose which tabletop gaming systems you want the campaign to involve. Own Bolt Action and Victory at Sea but have yet to take flight with Blood Red Skies? No problem! You can resolve air combat using the simple dice roll mechanics of the board game element. Own none of the systems? No problem! Play it as a self-contained board game! – of course for the most epic and encompassing of campaigns, three systems is definitely the way to go…
Starting Forces
Each player begins with a total of six units, spread between infantry, armoured, naval and air. There are ways to expand your forces over the course of the game (by way of Escalation), but your initial choice of six will be key to your starting game plan. Your choice will be heavily influenced by the board on which you are playing – for example, the Axis has but a single position on which to place a naval unit on the North-West Europe Board, but a Pacific board campaign could easily be naval dominated.
The Orders Phase
The first phase of any campaign round is the Orders phase. Both players have three order counters, and must choose wisely what they should prioritize in any given game round. Additionally, some initiative cards can also be played as orders, with more specific game effects – so it can pay to have a larger hand than your opponent!
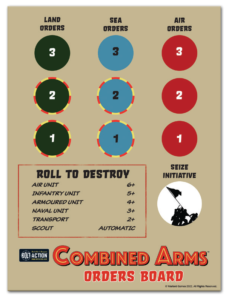
What’s paramount about this phase is that both players share the Orders Board and can only place counters on an empty Order space. The consideration of player Initiative should be foremost in both players’ minds throughout the campaign; it is not a given that initiative retention is always advantageous – more on that later.
When an Order counter is placed, you can move the indicated number of that type of unit – you could opt to move three land units, for example, but this eliminates your ability to make concealed moves. Another consideration is that units can be affected by multiple orders a turn, so it’s possible (though unlikely) that a unit can move across the entire board in a single turn via the right combination of Order counters and Initiative Cards. Though this is probably not wise and will leave units unsupported on the campaign map; it could set your opponent aquiver and will force a threat that your opponent will have to deal with it.
Any player can spend an Order counter to Seize Initiative, although this sacrifices potential movement options, it does net the player two initiative cards (and their opponent one) and all but guarantees that player the prime pick of Orders the following game round.
Another thing that players should be aware of, but can do little to alter, is the ‘passive’ effect on the rear of situation cards. These (often weather-related) effects can hinder well-laid plans by limiting movement for an entire campaign round, for example. As this deck is random, it is not always possible to predict what limits may be imposed in subsequent game rounds; going gung-ho one round may leave your units out of a favourable position.
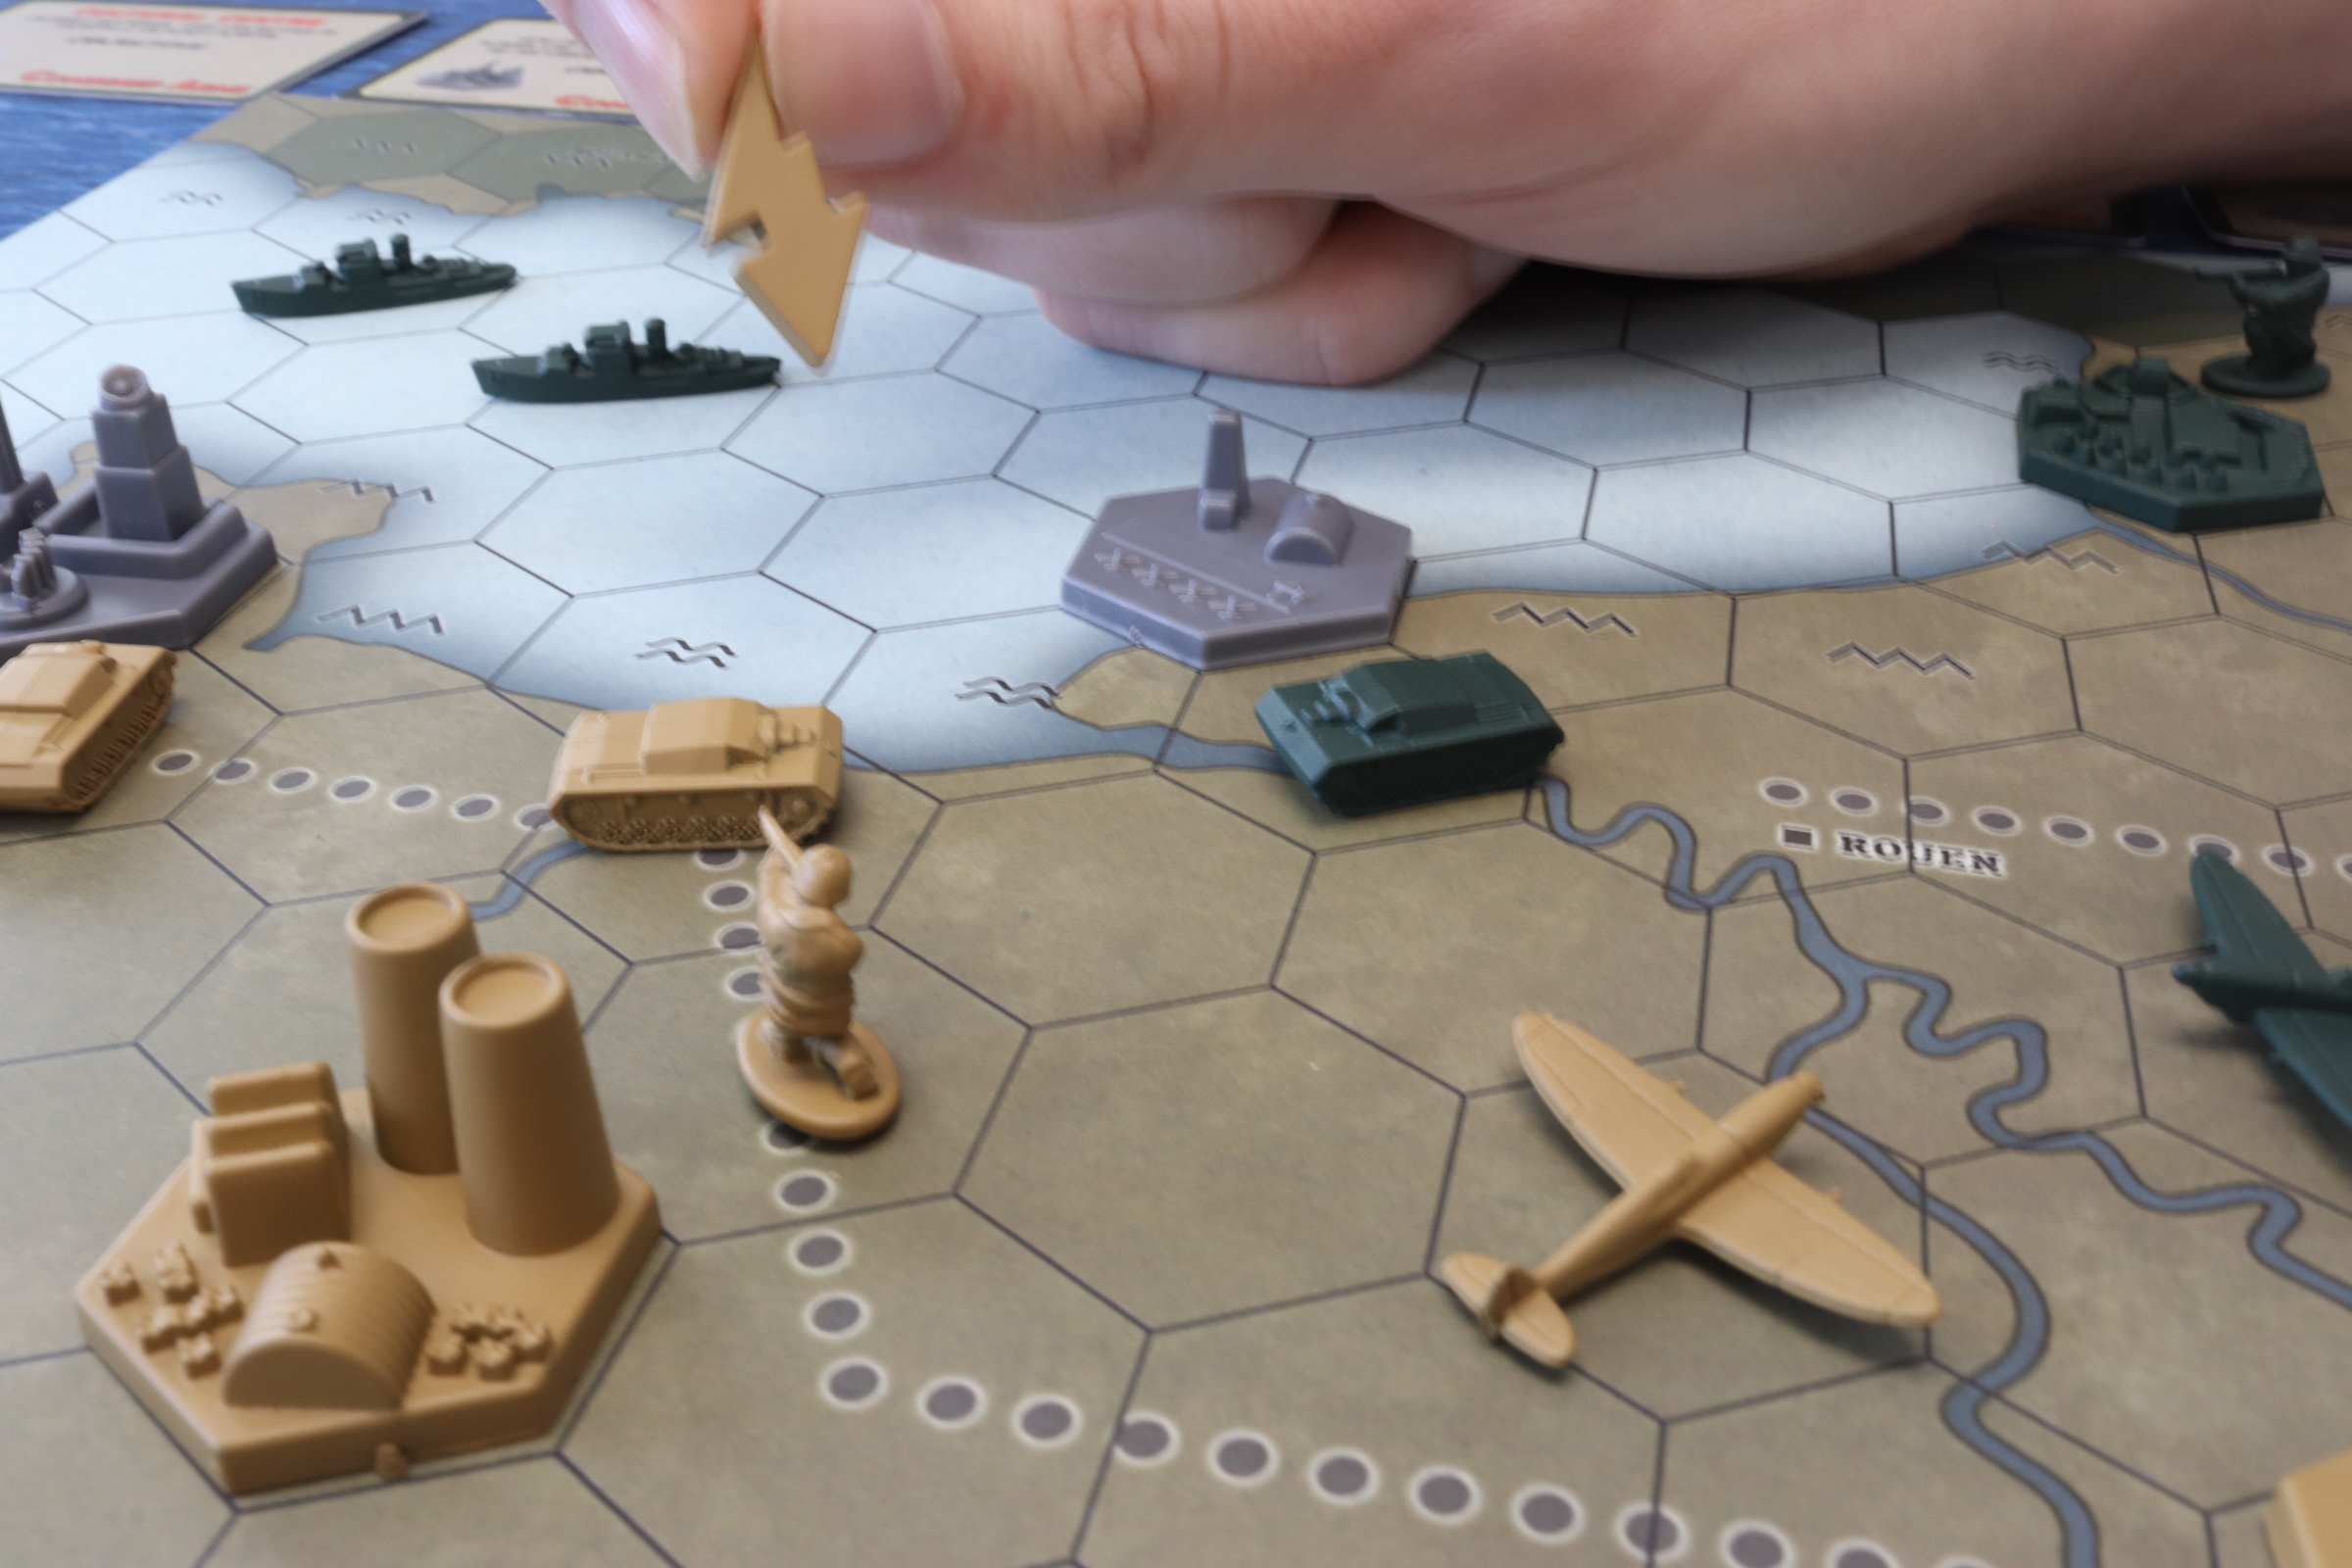
Air Power & Concealment
Air Units operate differently from their land and sea counterparts, and are not placed on starting positions, only coming into play via Orders.
On face value, air units seem exceptionally powerful – when placed they can be placed on any empty hex on the board, ready to initiate an air raid on any adjacent hex, which allows them to roll to destroy enemy units, which for transports can be as little as a 2+ dice roll. What’s more the air phase takes place prior to the resolution phase.
This may seem daunting to deal with, but there are balancing facets and hard counters to dealing with such air units:
- Employ your own aircraft in Air Battles – initiating thrilling games of Blood Red Skies.
- Air Units cannot capture objectives – The more Air Units a player has in the early stages of a campaign, the less resources they have to control objectives.
- Ensure your units have capacity to move in the Orders phase after air units are placed; as alluded to earlier, it’s not always preferable to have initiative!
- Concealed Movements – Obscure your land and sea troops movements by placing scout markers, effectively having enemy unit chasing ghosts.
Resolution
The Resolution Phase is where battles occur and players have the opportunity to reinforce and capture objectives. Players should also be aware that it is not always possible to conduct every action. Commonly, players will be allowed to battle once or Reinforce (place a destroyed unit back in your supply or on the board). Occasionally, no battles can be fought at all, or multiple battles can be instigated in a single turn. Again, these are tied to the randomized order of the Situation cards in the Resolution deck, and are not always possible to plan for, but players should be aware of the possibilities.
Other Considerations
Additional complexity and advantages can be garnered in a number of ways:
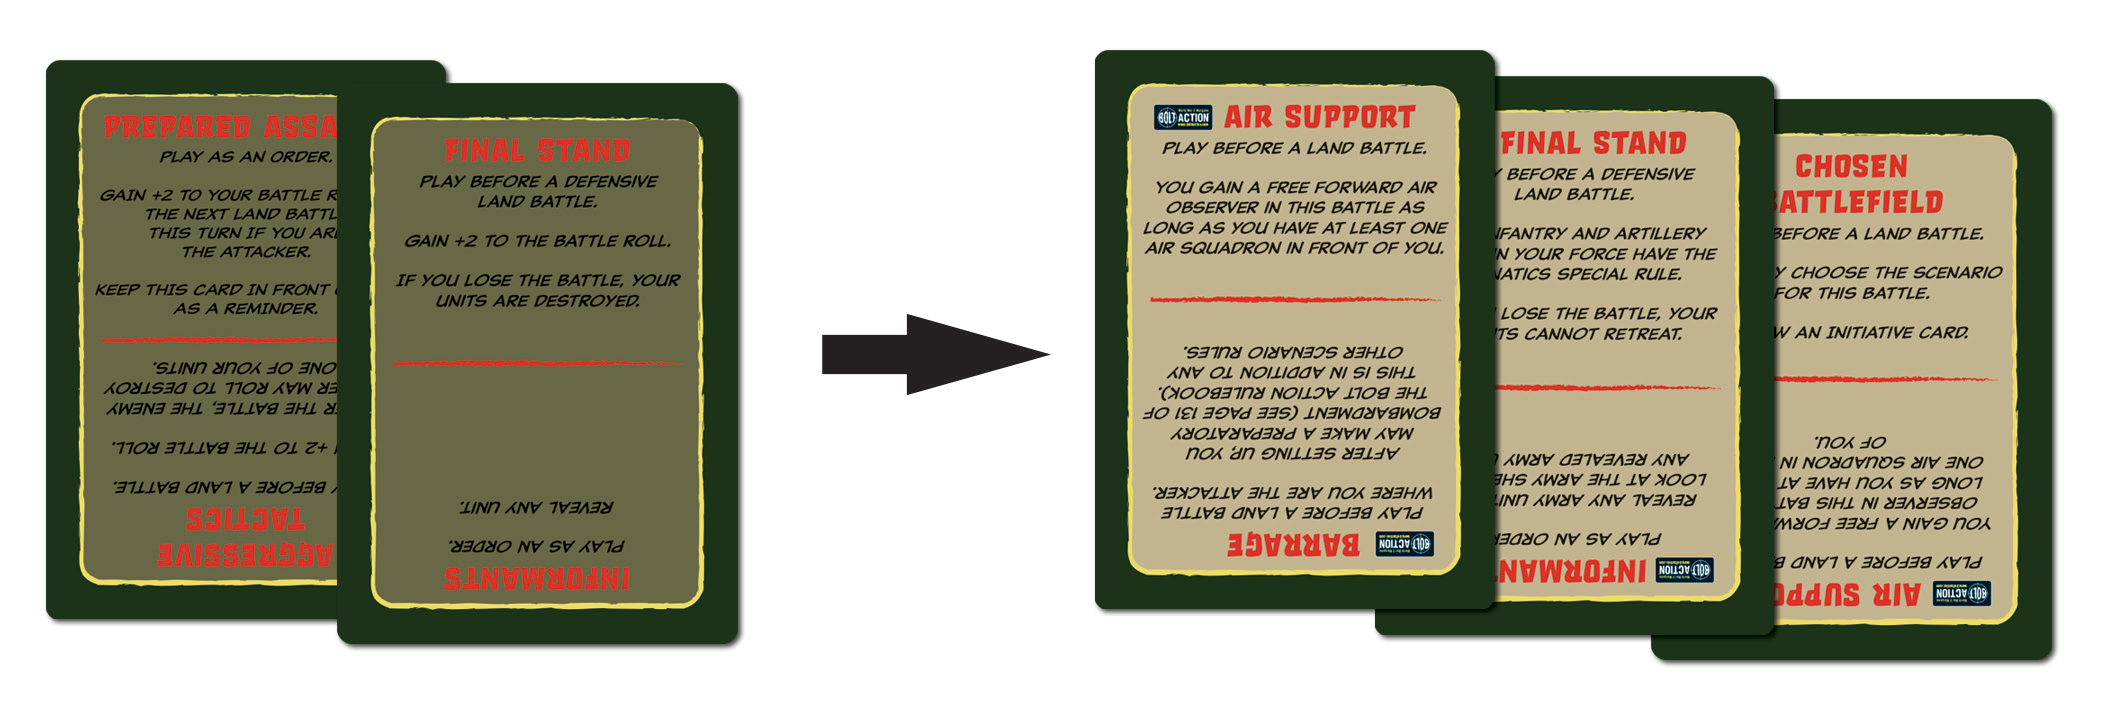
- Initiative Cards – Each card has two possible play effects, whilst some are playable as Orders, others may have simpler effects, but no less crucial, such as enabling the re-roll of a die, often the crucial difference between victory and defeat. The more initiative cards a player has, the better their options are.
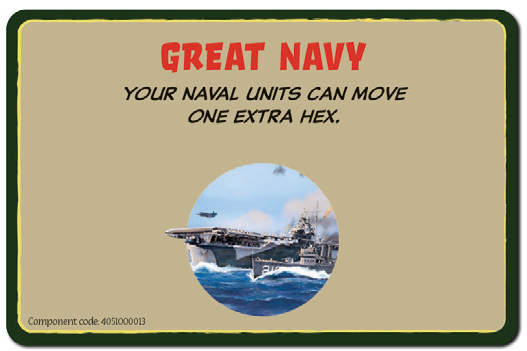
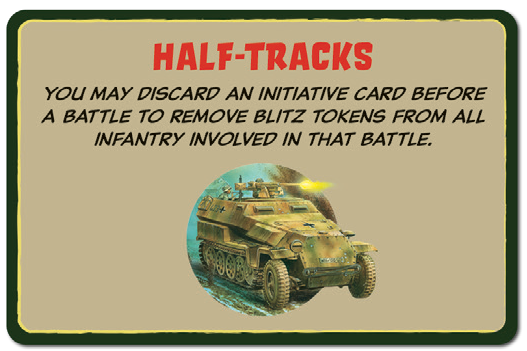
- National Advantages – Before Setup, players can select a card that confers a bonus to their forces, often tied thematically to the specific nations they are choosing to represent in the campaign. Great Navy is perfect for British or United States forces for example, or Half-Tracks for German players who are fielding a greater number of those iconic Hanomags in their Bolt Action armies.
- Opening Gambit – One of five random cards that take effect during game setup, conferring one-off bonuses or ongoing objectives that can heavily influence the flow of the game
- Captured Objectives – There are five objectives present on each campaign map, each conferring a bonus to the player who controls it. A captured Factory, for example, lets you place reinforced armoured units adjacent to it, rather than in their starting space.
This is just a taster of the flexibility and possibility offered by the campaign.
Combined Arms
The Combined Arms box contains all you need to begin planning your campaigns, over one of four campaign maps. With a variety of objectives to choose from, random opening gambits, and the choices afforded to players, each campaign will truly be unique.
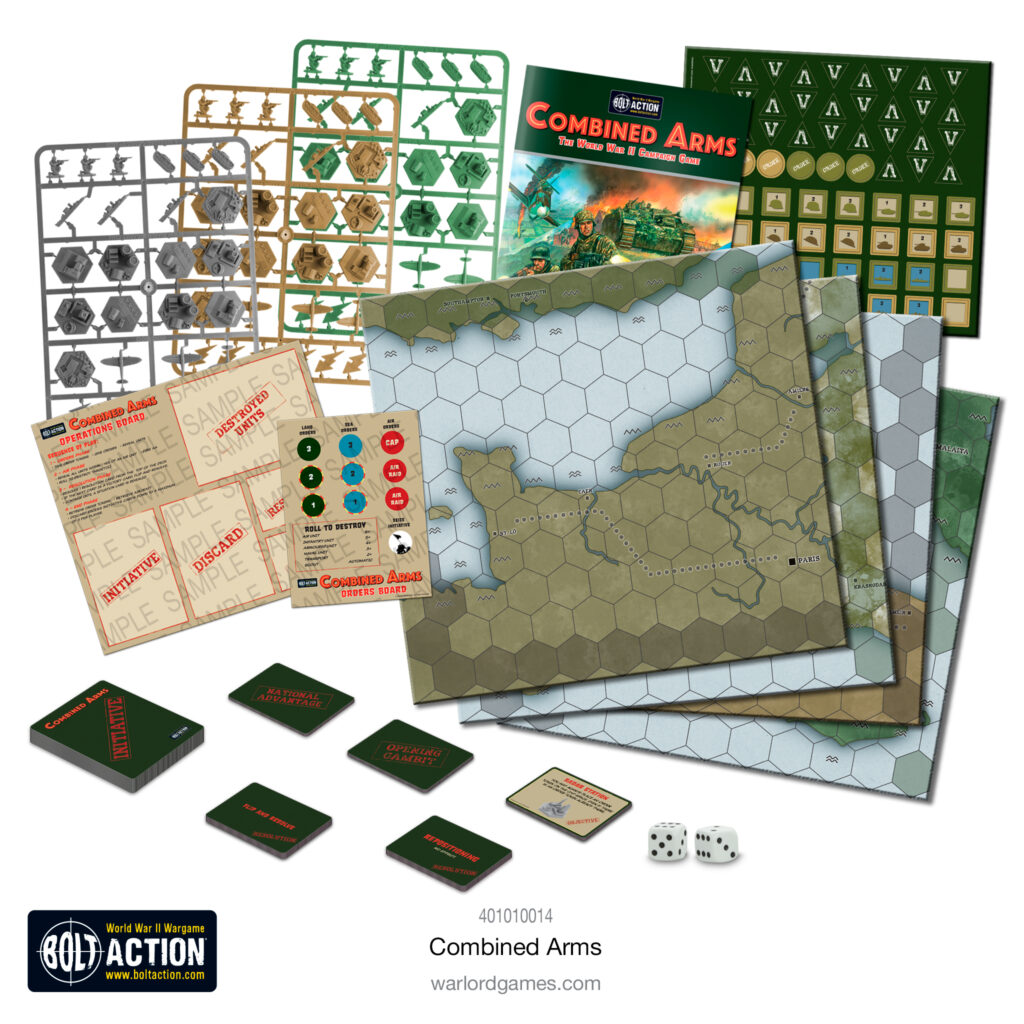
This box contains:
- Rules Booklet
- 4 game maps covering North-West Europe, The Eastern Front, North Africa and The Pacific theatres of operation.
- Orders Board
- Operations Board
- 6 Card decks
- 67 Tokens
- Plastic Army markers
- Plastic Objectives
1 comment
No comments yet ?? I like this game and I just started a game with my son. There are some problems we found, especially this one: If you play the board game infantry units without a flash have an advantage over those with a flash. When we play a bolt action game that advantage is lost. Our solution: the company with a flash gets one pin marker each when the battle starts. Maybe we will alter more rules as we go.
Comments are closed.