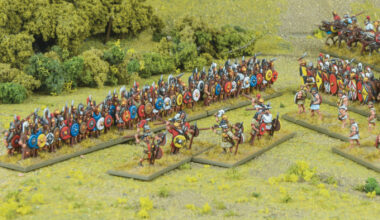
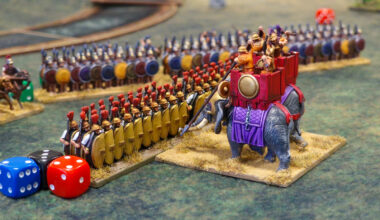
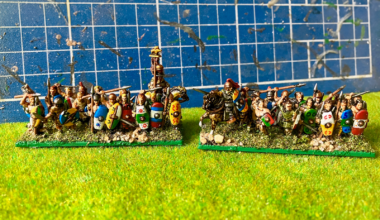
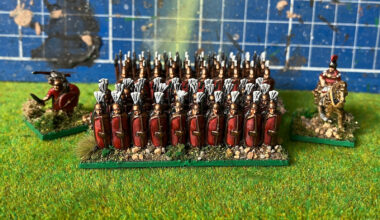
Alas, as do all good things, Paul Mackay’s series of Hail Caesar Epic Battles painting tutorials must also come to an end, concluding with Gallic Celts.
Previous articles in the series:
One: Numidian Skirmishers
Two: Carthaginian War Elephants
Three: Scutarii
Four: Libyan Infantry
Five: Celtiberian Infantry
Six: Italian Allied Infantry
Paul’s miniatures also regularly features in publications like Wargames Illustrated and Wargames, Soldiers & Strategy. Keep an eye out for more of his work!
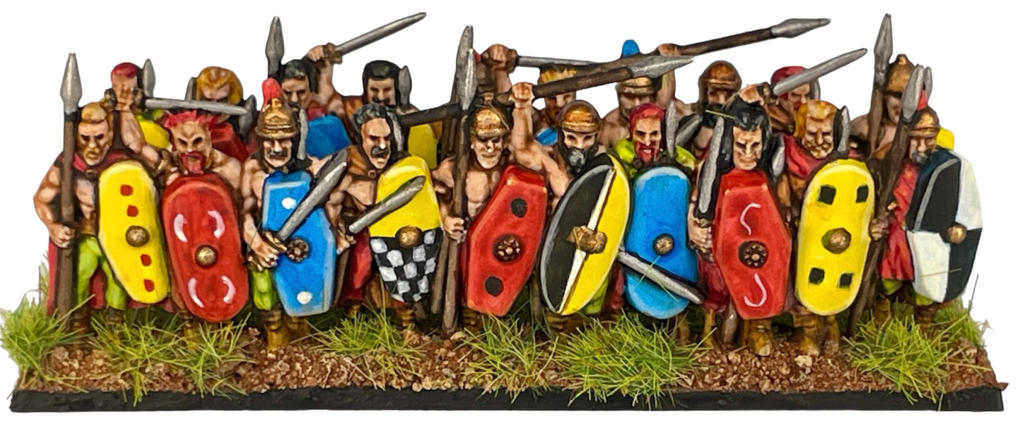
Paul: “On the Gallic Celt Infantry sprue you will find six strips of warriors, five sling armed skirmishers and a mounted warlord and standard bearer. Gallic troops also feature on the Allied sprue which contains five Ligurian light infantry and the same number of Gallic cavalry.
Base Colours
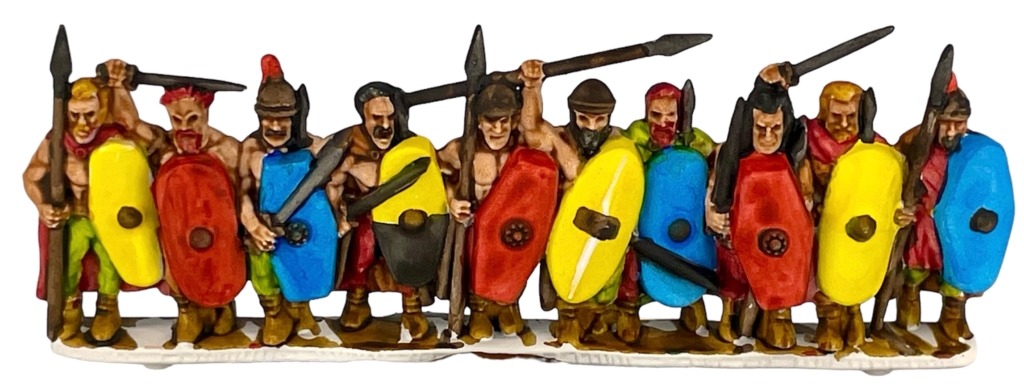
In previous articles I opted to paint the figures using Vallejo Xpress Colors, but here I decided to use Citadel’s Contrast range for all of the base coasts, starting from a white undercoat (Halford’s White Primer). Remember contrast type paints will only work effectively from a light undercoat. I deliberately have used quite a small palette for this tutorial, both to make it easier to follow and speed up the process.
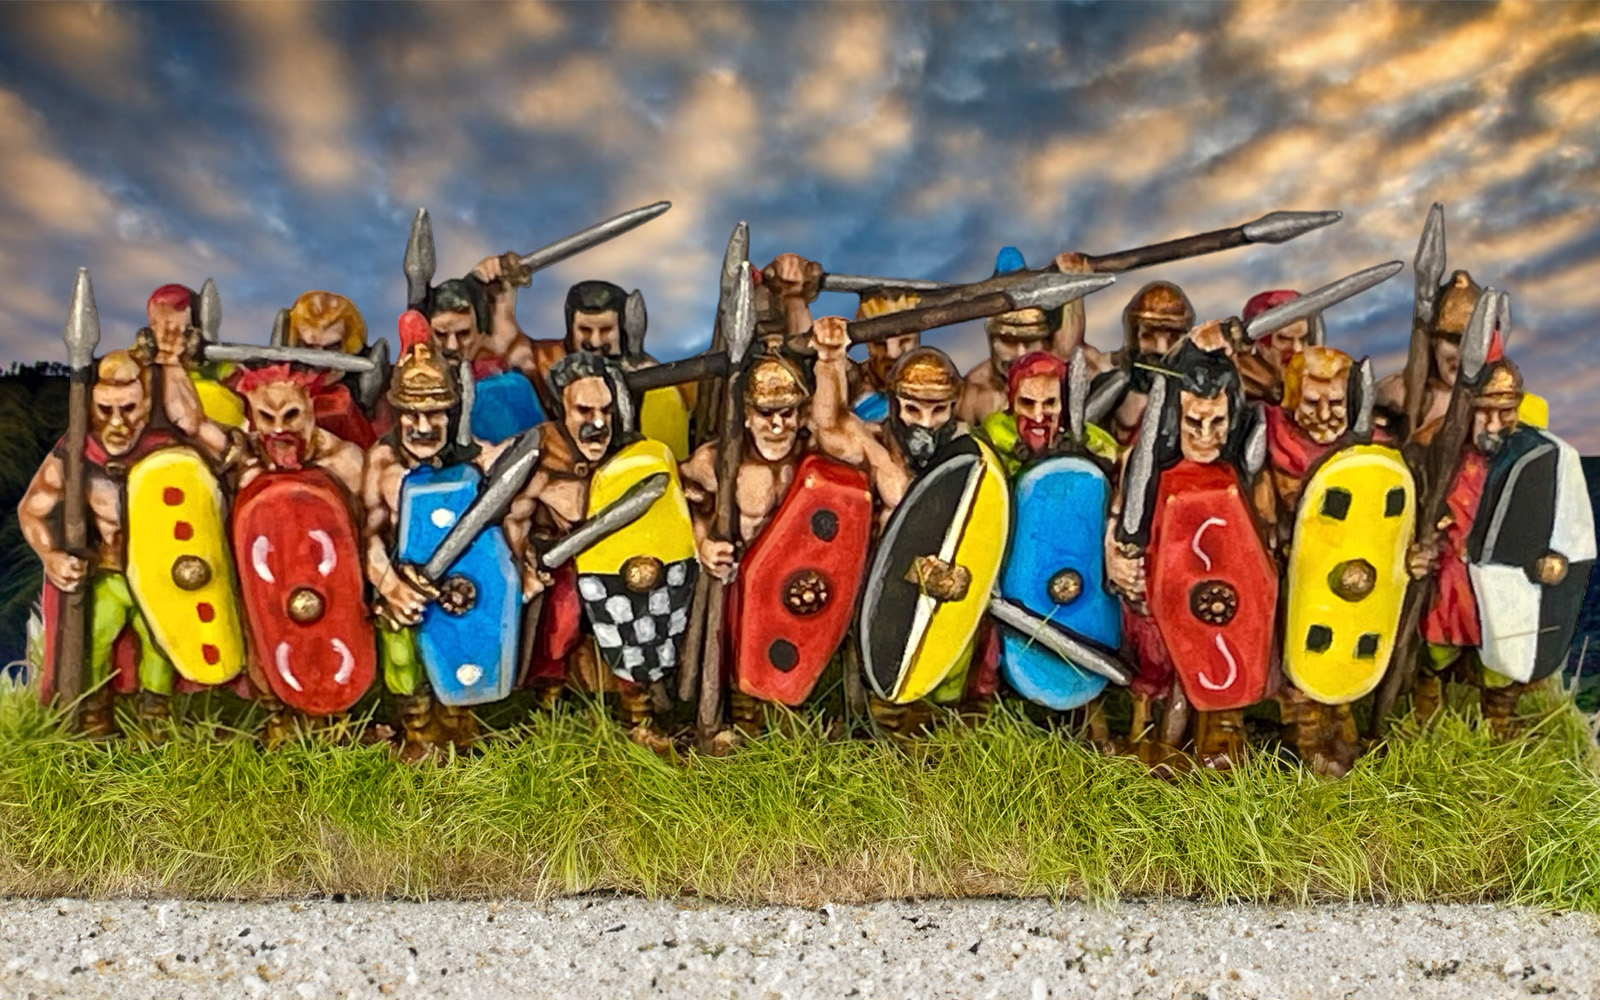
Shields: These were painted either Talassar Blue, Blood Angels Red, or Bad Moon Yellow.
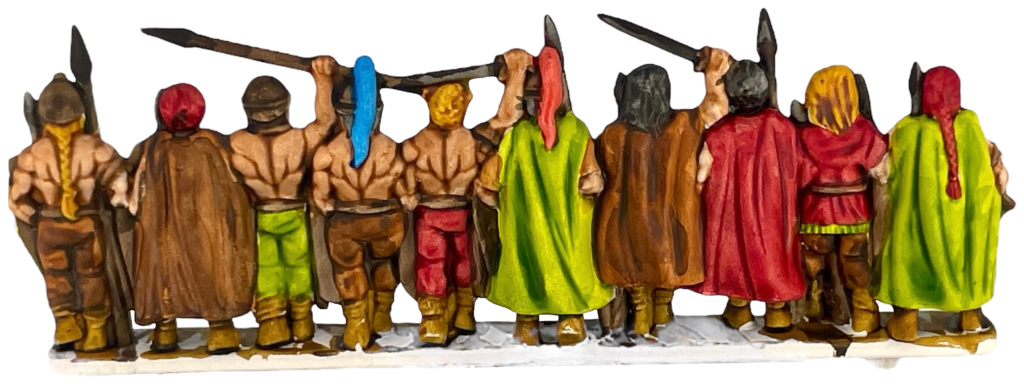
Cloaks & Trousers: I used Mantis Warriors Green, Gore Grunta Fur and Fleshtearers Red for the cloaks. I then used the same colours, varying their placement, on the trousers. This enabled me to use a fairly limited selection of colours whilst avoiding too much of a uniform look to the unit.
Shoes, Plumes & Wood: I used Wyldwood for the spear and javelin shafts, all of the figures belts, and as an undercoat for any areas that would end up bronze. The plumes were painted with either Blood Angels Red or Talasar Blue, and the shoes with Snakebite Leather.
Flesh & Hair: I used two coats of Guilliman Flesh for the skin. The hair and moustaches were painted with either Fleshtearers Red, Nazdreg Yellow or Black Templar. I used the same black at this stage to re-undercoat any areas that would end up steel.
If you added the Bronze and steel colours after this you’d have nicely painted figures ready for tabletop warfare. If you want to take a few extra steps however, read on!
Highlights & Detailing
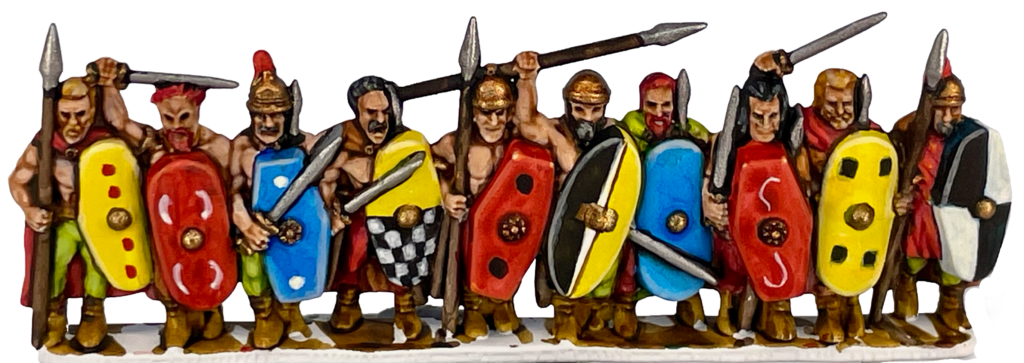
Shields: I highlighted blue shields with Blue Horror, yellow ones with Vallejo MC Ice Yellow and red ones with Fire Dragon Bright. I also decided to freehand some patterns. Any white, red or blacks paints in your collection are suited for this and will yield very similar results.
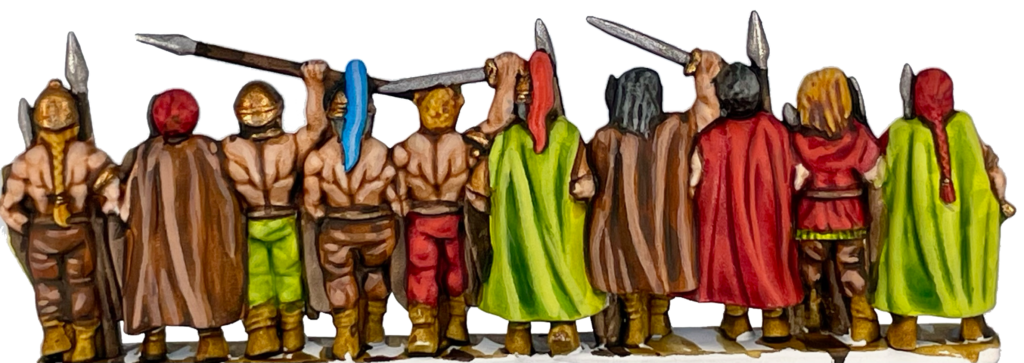
Cloaks & Trousers: To highlight areas I had painted with Gore Grunta Fur in the previous stage I concocted a 50/50 mix of Gore Grunta Fur and Ivory. For the green cloaks and trousers I used a 50/50 mix of Ice Yellow and Mantis Warriors Green. The red cloaks and trousers I highlighted simply with Wild Rider Red.
Flesh & Hair: I used Administratum Grey for black hair, Flayed One Flesh for blonde and Wild Rider Red for the red-haired warriors.
For the skin, I made up a 50/50 mix of Kislev Flesh and Vallejo GC Pale Flesh to pick out raised areas of the face like brows, lips, cheeks and the chins. I also emphasised the eyes and open mouths by applying a wash of Liquitex Raw Umber Ink. A number of the sculpts are bare-chested, with very defined musculature – these areas also benefit from additional highlights.
When completed I used my tried and tested dark lining technique (as detailed in previous articles). Any dark brown or even black if you prefer will work here. I used Rhinox Hide. When complete I matt varnished the figures using Vallejo Matt Acrylic Varnish, applied with a brush. Note, I did this before painting metallics! Matt varnish will affect the finish of metallic paints.
Bronze & Weapons: I painted all the bronze areas – helmets, torques, buckles, arm rings and shield bosses – with Vallejo GC Bright Bronze. I then applied a Liquitex Transparent Burnt Umber wash before highlighting with the original Bright Bronze. The weapons were painted with Army Painter Plate Mail Metal before being highlighted with Citadel Stormhost Silver. As with many of the highlight stages, it can be easier to use the side rather then the tip of your brush for this.
Final Thoughts
Gallic Celts en masse will look brilliant on the tabletop whether you opt for a simple tabletop finish using only contrast paints, or you want to take a bit more time and add some or all of the highlight stages I have suggested in this tutorial.
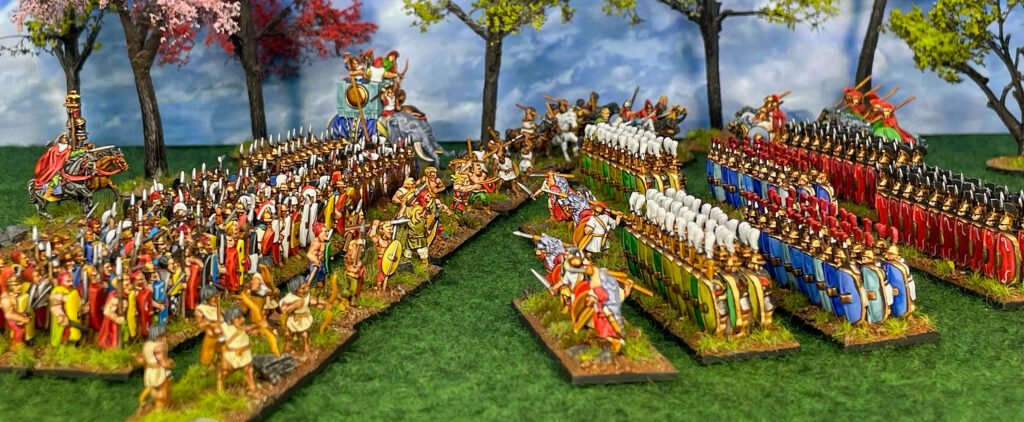
And that about wraps it up for these tutorials. Here’s everything I’ve painted for this project!”
~Paul Mackay
Gallic Celt Infantry in Hail Caesar Epic Battles
Living a pretty hard existence most of the time and coming from a culture that held warriors in high regard made Celts into significantly capable combatants. Renowned for their ferocity and strength, but utterly lacking in military discipline and often prone to charging headlong into the foe, they were dangerous enemies, absolutely capable of overwhelming better-trained troops through sheer aggression and weight of numbers. They are more than worthy of your consideration as Allied troops, whether you fight for Rome or against it.
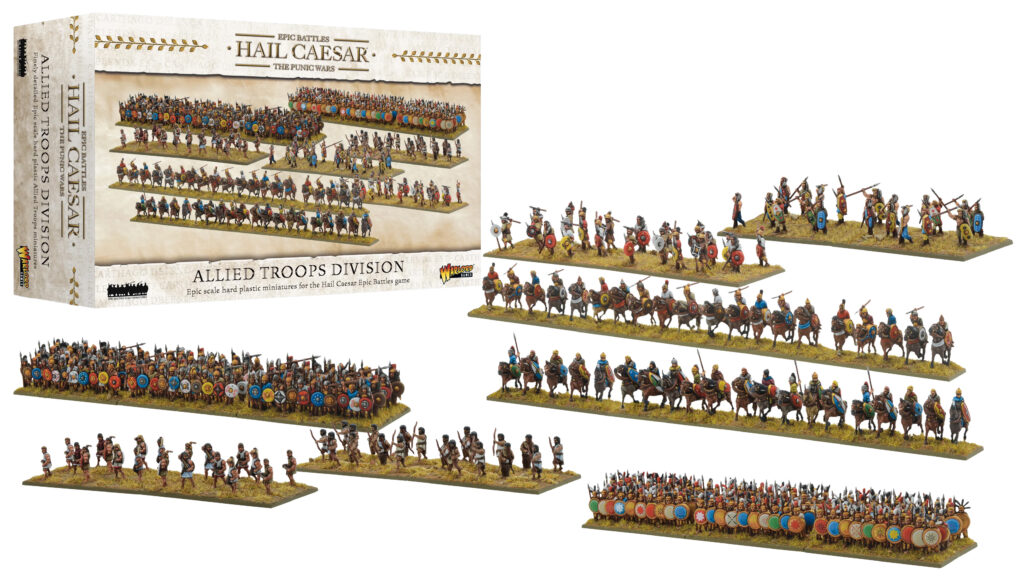
You’ll find Gallic Celt Infantry in the Allied Troops Division boxed set, equally valuable for reinforcing both Roman and Carthaginian collections as mercenaries. Alternatively, if you’re just starting out on your Hail Caesar Epic Battles journey, you’ll find a healthy complement of Gallic Celts in Hannibal Barca’s Carthaginian Army, or the Hannibal battle-set!
Allied Troops Division
