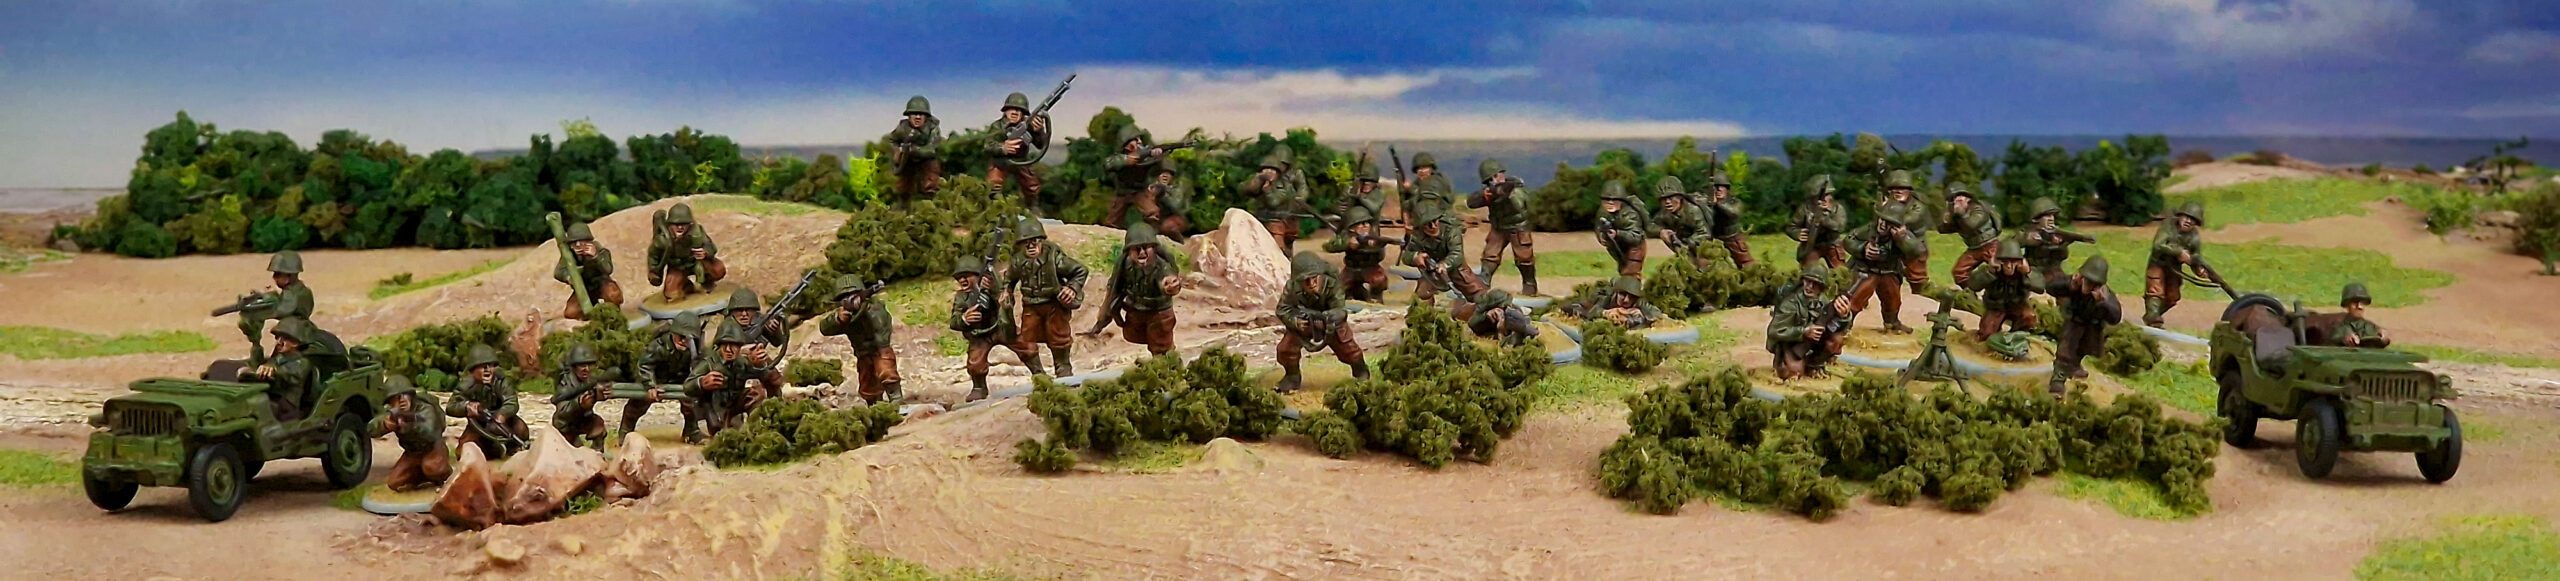
In the first instalment of this mini-series, I revealed my cunning plan to create a force out of our new plastic US Rangers, and debut it at our HQ Store’s D-Day tournament on the 8th of June – the catch being that I had only a week to get it completed! I’d recommend reading the first article, where I lay out exactly why I decided to do this, and the army list I put together. This time, let’s look at the how! (Spoiler alert, it involves very little sleep!)
When I got back from my lovely combination seaside holiday/heavy metal festival, I spent a couple of leisurely days recovering and regaining my hearing. In hindsight, this was probably a mistake, as it meant that, come Wednesday night, I hadn’t built a single model – and the tournament was on Saturday! Not to worry, though – I’ve done more with less time before!
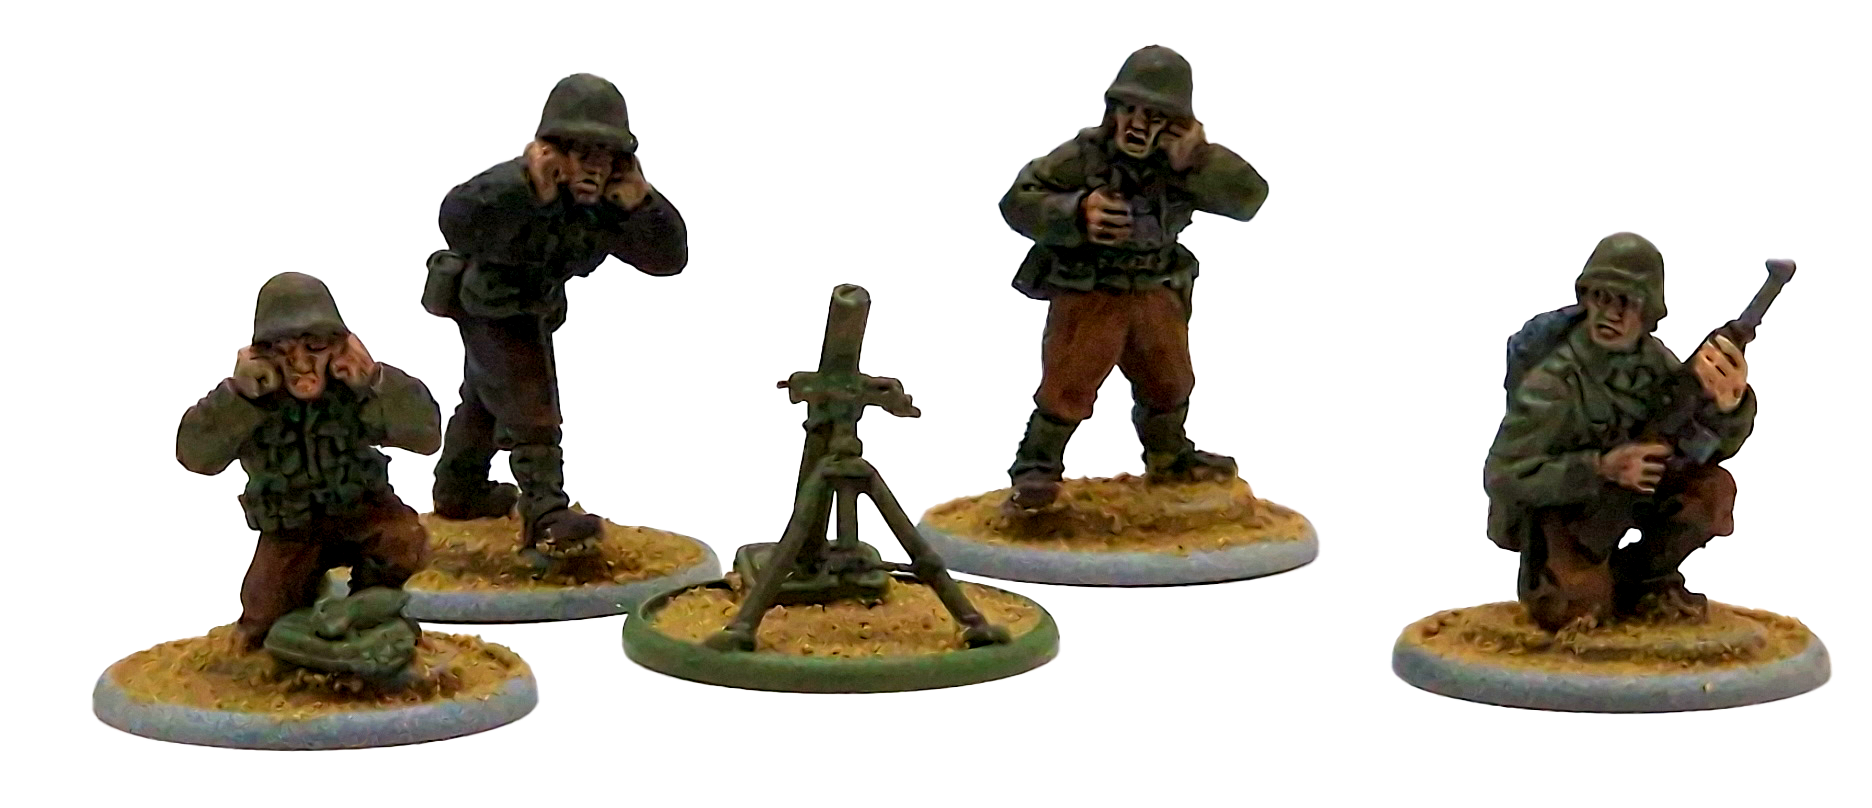
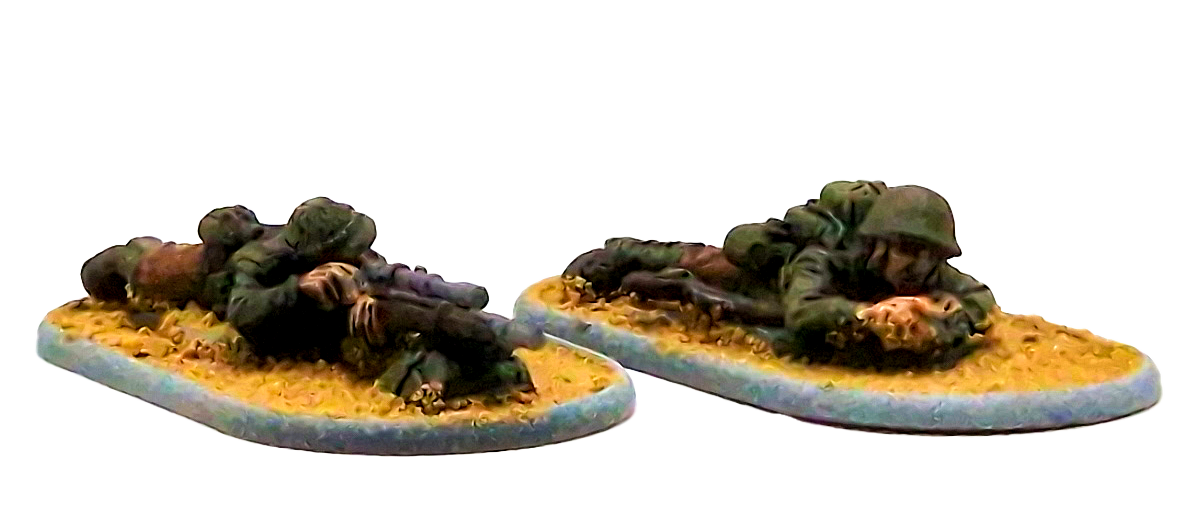
The first stage was simple enough – all the ‘easy wins’ in the building phase. I always like to start any project, whether modelling or painting, with a couple of quick, simple tasks that get me into the flow of things. In this case, it was the Warlord Resin Sniper and Flamethrower teams, and the Medium Mortar and crew. All the men here are single-piece (apart from my spotter who, shock horror, had a separate head!), which meant that it was just a case of a quick bit of cleanup with a file, then superglue onto the base! I used a mixture of light and medium mortar crew for my mortar to give a bit of variety, and in no time at all I was in the groove and off to the races with my first models done!
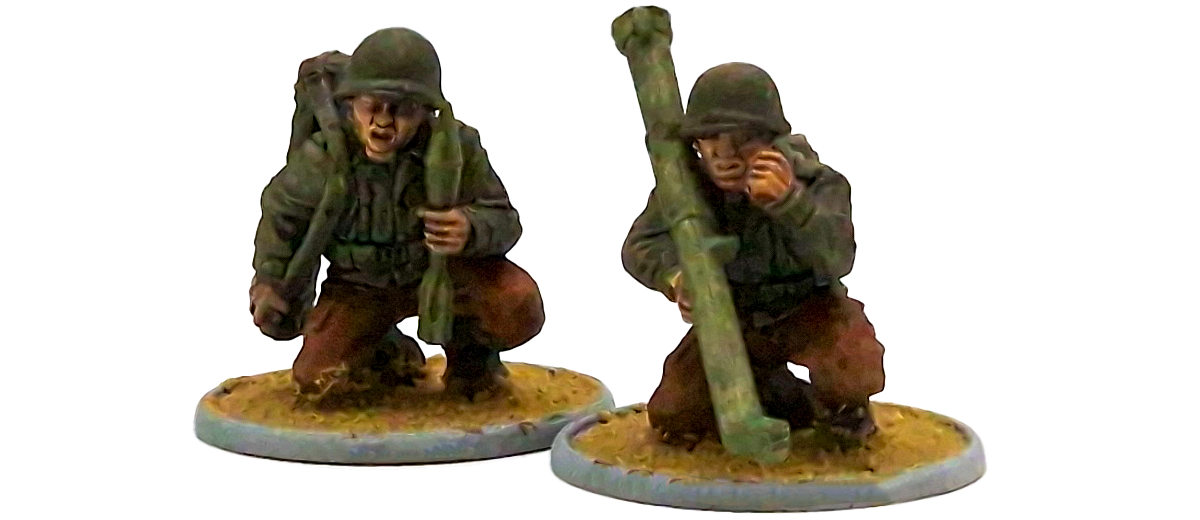
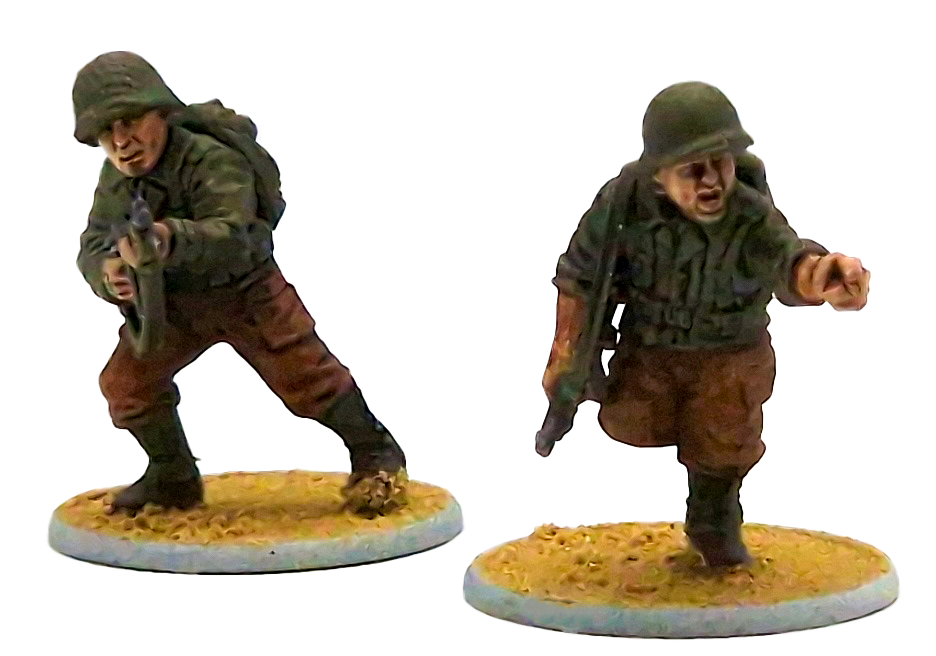
Next, I went to my plastic Rangers sprues to do my plastic teams – the Officer, Medic, and Bazooka. The new plastics are absolutely packed with detail, but I had to make some smart modelling choices here – after all, time was a crucial factor, so I didn’t want to add too many tiny ‘greebles’ that would slow me down in the building and painting process! I went with giving every model a backpack, but no extra gubbins. The Bazooka team was simple enough, being built straight out of the kit with no modifications required. I went for a sort of ‘victory fist pump’ on the gunner, with the aim of making him look like he’d just nailed a German tank – hopefully I could use this to manifest the same result on the tabletop! While I’m not a particularly superstitious gamer, I am a little stitious – for example, a missile launcher is never called that, because it has the word ‘miss’ in the name!
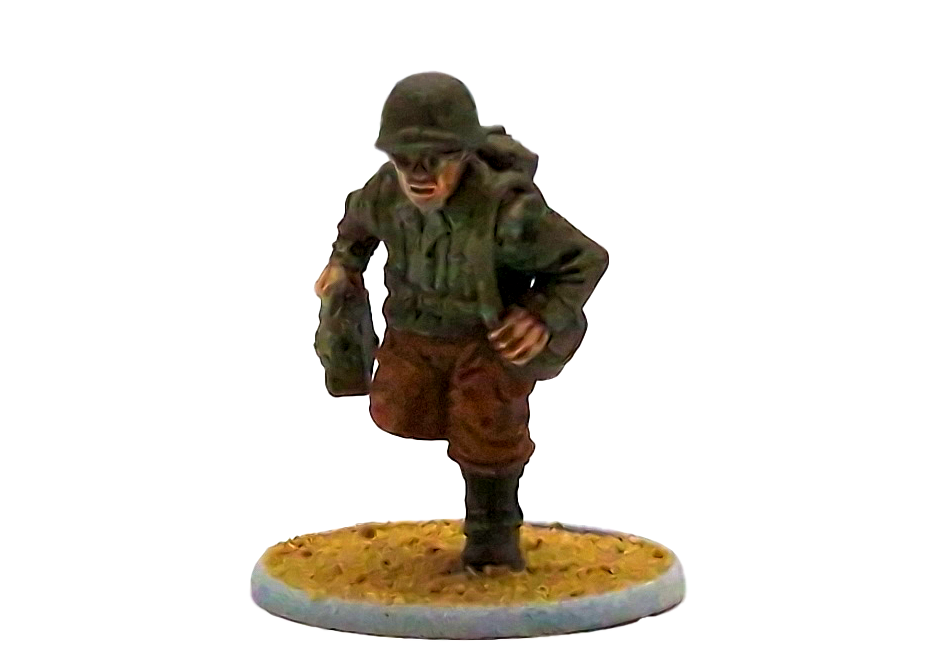
The Medic was one model where I had a very definite vision of exactly how I wanted him to look, and luckily the plastics set me up perfectly for success! Using the two satchels on the sprue as his medical bags (and ensuring he was completely unarmed!), paired with the running legs, I was able to create a really dynamic model – I imagine him sprinting through the sand as bullets fly around him! The Officer team, meanwhile, I wanted to keep nice and simple while also having some personality – the Ranger kit gave me a great assistant, and for the Lieutenant himself I used a pair of arms from the USMC sprue with rolled-up sleeves, figuring that it would be pretty sweaty work storming a beach in June!
With all the teams done, it was time to get down to the meat of the army – two ten-man Ranger squads and the six Engineers to accompany the flamethrower team. Building a big chunk of plastic infantrymen who are all equipped with basically the same kit can turn into a bit of a slog, so I like to work in batches of five, just to keep things fresh. I start by clipping out all the pieces I need for each model and making little piles of them – five bodies, five heads, five sets of arms, and so on – before I clean up all five bases and bodies of any mould lines or ‘flash’ (luckily these Ranger sprues had very little of either!) and get the bodies glued to bases. Once this is dry, all the backpacks get cleaned up and stuck on, and then I finish off one model at a time with arms and a head – nice and simple, but it means that I don’t get overwhelmed trying to do twenty-odd models one and a time!


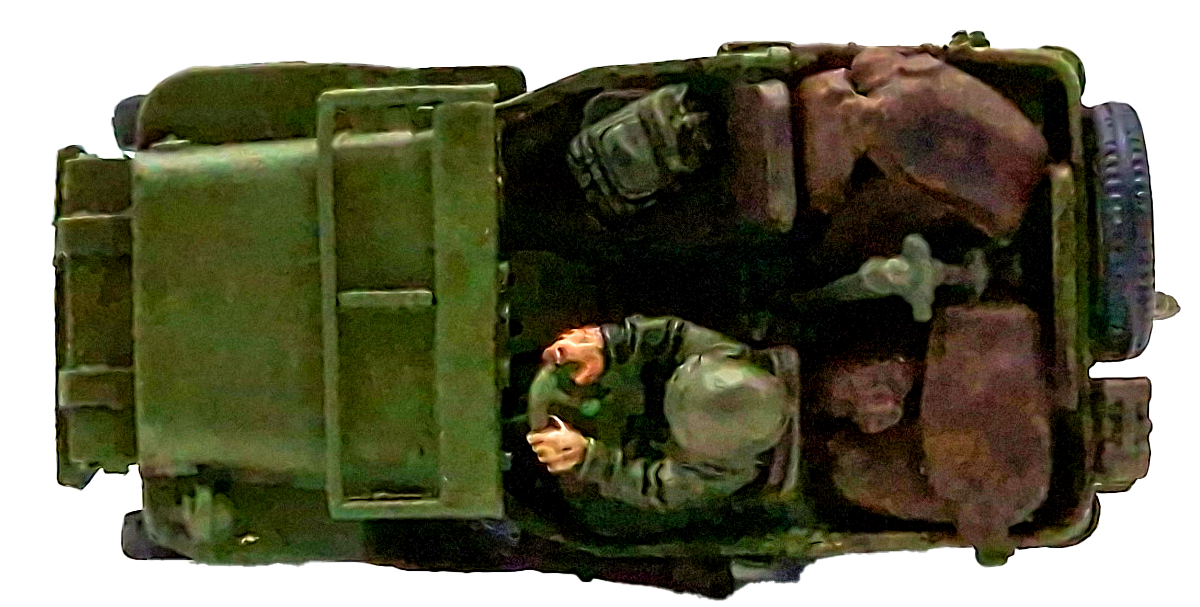
Last up on the workbench were the jeeps – I’ve built enough of these that they’re basically second nature to me, and they aren’t particularly complex kits, making them a great ‘reward’ for doing all that infantry! The only really important thing to remember is to give the resin hull a good wash with warm soapy water to get rid of any release agent or grease that might still be on it, and to use a good superglue to get it all together! As these jeeps are very much designed to be used on the tabletop, I eliminate a couple of components from the assembly stage to ensure they’re as durable as possible, which also handily makes them a bit quicker and easier to assemble and paint! I left out the gear levers (which aside from being fiddly, you never really see anyway!) and also removed the ‘legs’ from the windscreen. It really doesn’t make much difference to the final appearance, and saved me vital minutes!
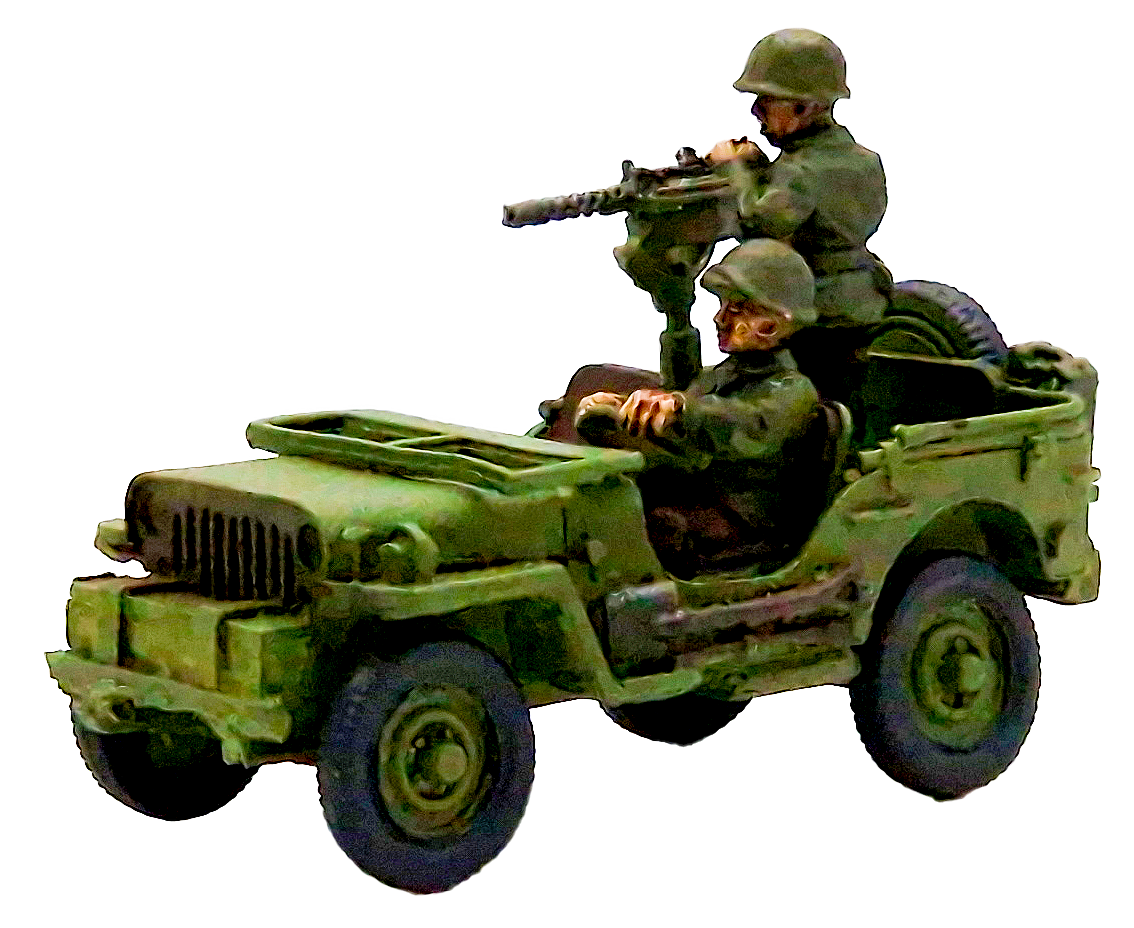
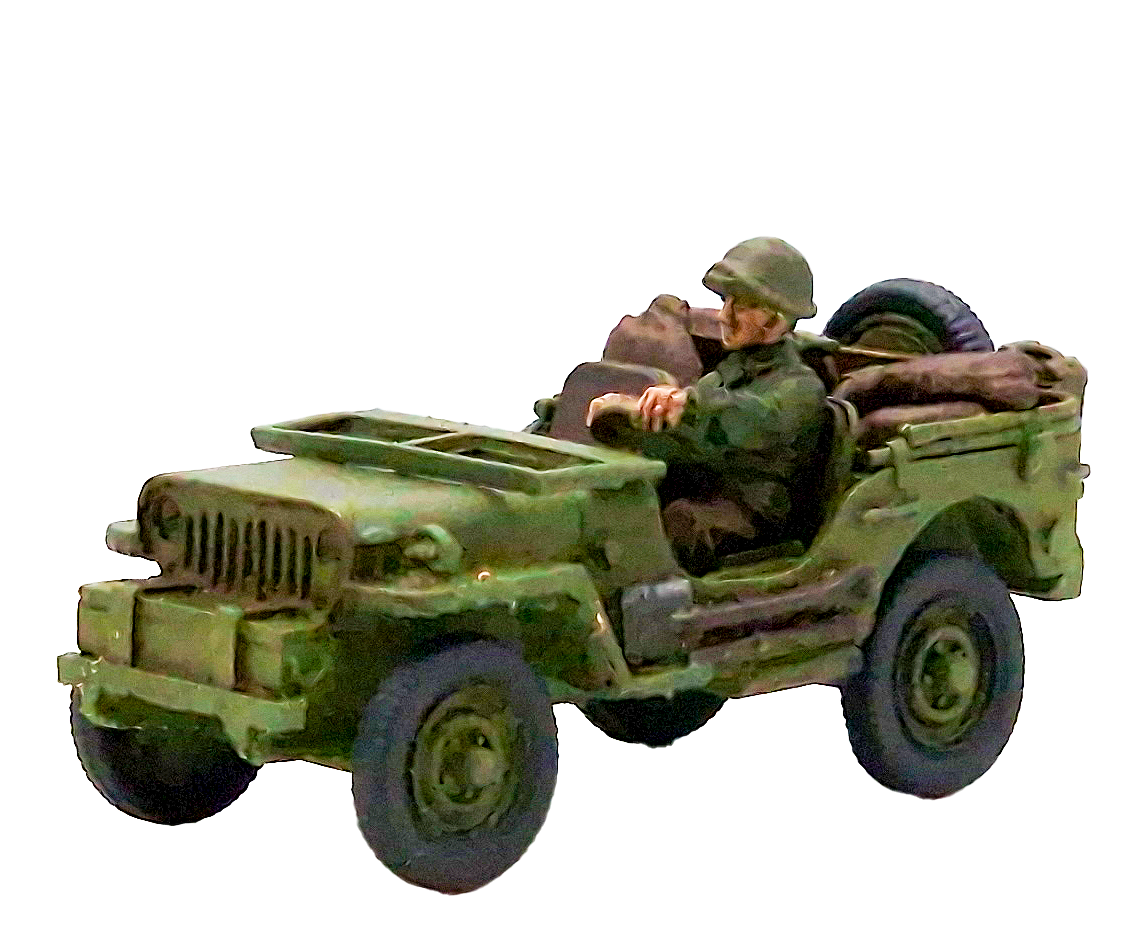
The Recce Jeep was built entirely ‘standard’, but for the Mortar Jeep I wanted to do something a bit cool. I mounted the Light Mortar from the Weapons Teams box in the back of the jeep, and then bedded it in with a few plastic sandbags – these took a little bit of cutting and filing to fit how I wanted, but luckily sandbags are pretty shapeless in real life! For a really simple kitbash, I was very happy with it – it’s a jeep with a light mortar in the back, what’s not to love!
With all the building done, it was time to crack on with the painting – seeing as I’d reached Friday evening, time really was short! I always find it’s really important to both know what your painting scheme is before you start (test models are really useful for this), so that you don’t waste time trying to figure out what paints you’ll need!
The first stage is of course priming – I knew I was going to mostly be using The Army Painter’s Speedpaint 2.0 range, so I went for a ‘zenithal’ prime. This sounds complex and fancy, but it really isn’t! Essentially, it’s just an overall primer coat of grey, followed by a ‘highlight’ spray – this is done using a white spray at about a 45-degree angle from above the model. This provides a model that’s lighter on the upper raised areas, with darker shadows below, just as though I’d done a traditional wash and highlight method, and the perfect canvas for the Speedpaints! The Jeeps got a more traditional all-over prime of Army Painter Army Green, as I wasn’t planning on using many Speedpaints on their large flat surfaces.
After priming, I gave the vehicles and the few metal models a quick spray of Army Painter Anti-Shine Matte Varnish – this protects them from any annoying ‘chipping’ while being handled during the painting process, and is something I absolutely swear by as it removes the greatest source of frustration when working with metal figures!
With everything ready to go, it was time to settle in for a serious night of painting! To ensure maximum speed, I divided my infantry roughly into two groups – I’d do one of them, then paint the Jeeps as a bit of a break, then power through the second half! I don’t usually recommend batch painting in these large quantities (5-6 is normally ideal), but given that everything had to be done in one night, it was all about efficiency!
Painting the Infantry
I worked in the following order – jacket, webbing, and backpack, then gaiters, followed by boots, helmets, and water bottles – these were all ‘one-coat’ parts (you can see the list of paints I used below!). By the time I’d finished a section on the last model in the batch, the first one was dry and ready for the next, meaning I wasn’t wasting any time quite literally watching paint dry! After this, I laid down a basecoat for the skin (I find it really helps a flesh-coloured Speed or Contrast paint to ‘pop’ if it has a nice pale skintone underneath rather than grey primer), before applying the wood and metal colours to the weapons. Finally, I finished the skin, gave the helmets a wash, and that was that!
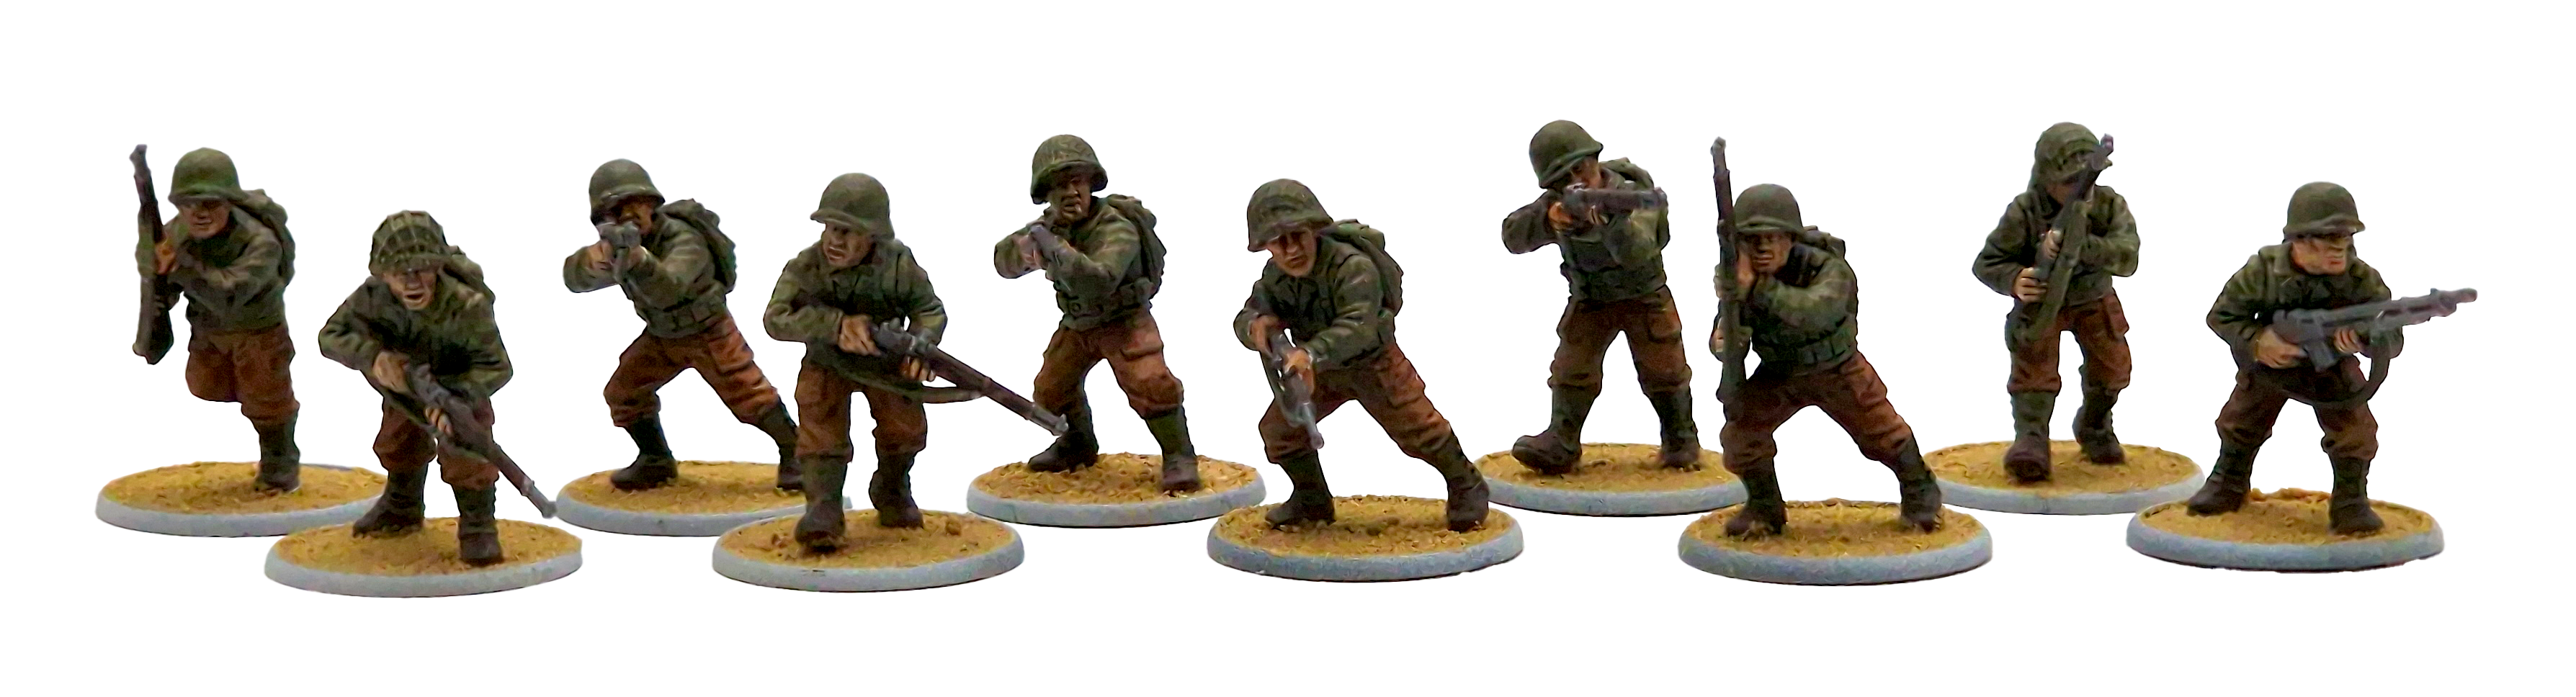
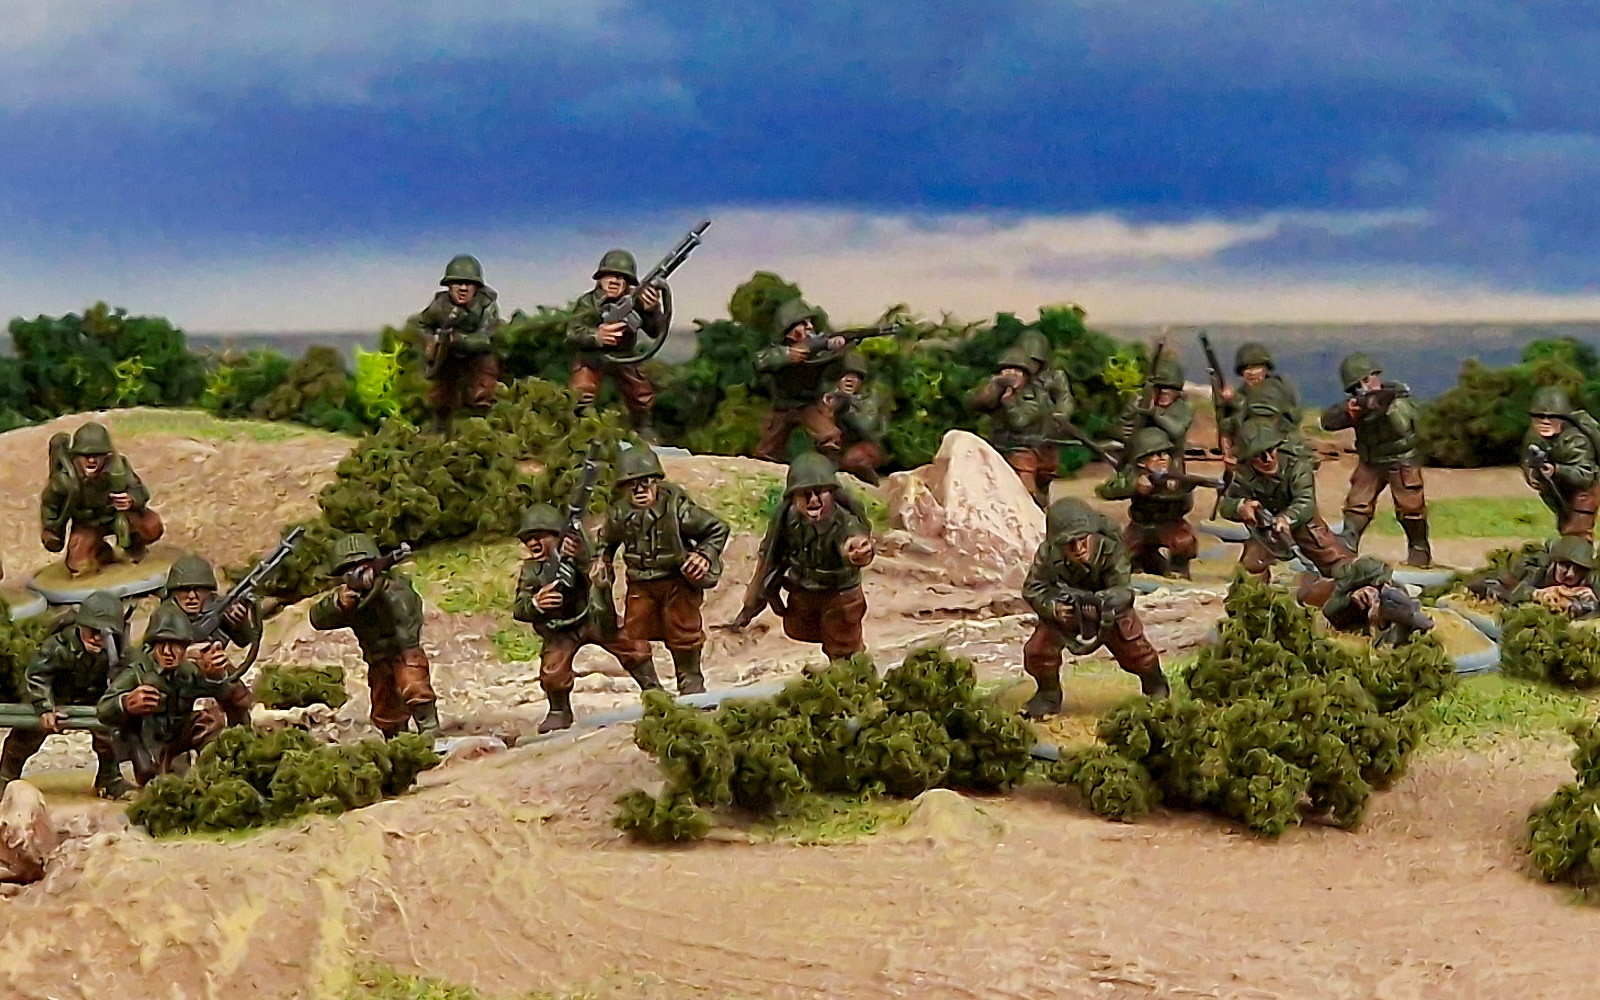
The Speedpaint 2.0 made it incredibly quick and easy to get the models looking ‘tabletop ready’ in a very short space of time, and it was really satisfying to see the end results coming together in no time at all – no need for endless highlighting here! With a big painting project where every model is functionally in identical kit, I found it really easy to get into the ‘zone’, and achieve consistent results across the force!
Infantry Paints Used:
- Jackets, webbing, backpacks & gaiters – Desolate Brown (Army Painter Speedpaint)
- Trousers – Hardened Leather (Army Painter Speedpaint)
- Boots – Leather Brown (Vallejo Model Colour)
- Helmets & water bottles – US Olive Drab (Vallejo Model Colour), followed by a wash with Military Shade (Army Painter)
- Skin – Basic Skin Tone (Vallejo Model Colour), followed by Fyreslayer Flesh (Citadel Contrast
- Gunstocks & wood – Dark Wood (Army Painter Speedpaint)
- All metal – Burnt Iron (Vallejo Model Air)
- Bazooka, flamethrower, mortar tube, rounds, cases – Bazooka Green (Warlord Games Rapid Deployment) followed by a wash with Military Shade (Army Painter)
Painting the Jeeps
For the Jeeps, I used a tried-and-true method of painting the main green colour, in much the same way as I recently painted a KV-1 for Achtung Panzer! – a nice simple spray/wash/drybrush over the main hull to add shadows and depth. With that base to work from, I moved on to the crew, who got exactly the same treatment as my infantry, before going over all the small ancillary details. Working on both vehicles at once meant I could keep working while one part was drying, just like the infantry, and the Jeeps proved nice and quick to paint up – I’ve done plenty of them before, so there weren’t any particular ‘surprises’ for me, and they were just what I needed to break up the big lot of infantry!
Jeeps Paints Used:
- Wash – Strong Tone (Army Painter)
- Drybrush – Soviet Body Armour (Warlord Games Rapid Deployment)
- Tyres – German Tank Crew Black (Vallejo Panzer Aces)
- Seats & front box – Dark Wood (Army Painter Speedpaint)
- Sandbags – Hardened Leather (Army Painter Speedpaint)
- Mortar – Bazooka Green (Warlord Games Rapid Deployment)
- MMG & suspension – Burnt Iron (Vallejo Air Colour)
- Tools – Leather Brown (Vallejo Model Colour)
By the time I’d finished the last miniature, the birds were singing and it was pretty well fully light outside – this was actually a good thing, as the air had warmed up enough for me to give the entire force a good coat of Anti-Shine to protect them from the rigours of the gaming table, and that left just one thing to do – basing! Fortunately, sandy beach basing is the quickest and simplest scheme there is – I use watered-down PVA glue and mixture of differently textured sand from a variety of sources that I’ve had for absolutely ages – over the years I’ve probably emptied half a dozen different tubs of sand into this one big pot, and it works a treat!
And that was that – at a quarter to eight in the morning, with the tournament due to begin at nine, I was done! There was just enough time to grab some breakfast, make myself look presentable for the event, and then it was off down the road to Warlord HQ – join me next time to find out how the games went!
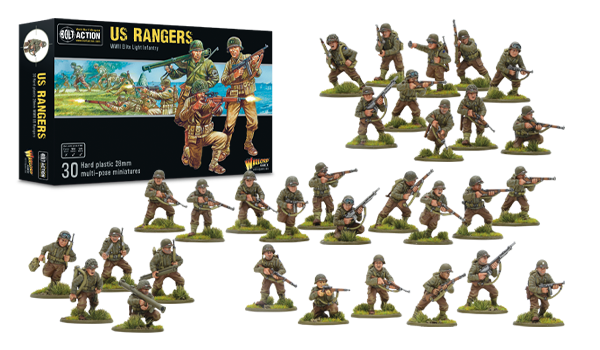
US Rangers Boxed Set
This plastic boxed set forms the perfect core for an army of these tough-as-nails troops, giving you thirty Rangers who can be assembled into a wide variety of squads and weapons teams – including Ranger infantry squads, Officer, Sniper, and Bazooka teams, to name but a few – to create a truly unique Bolt Action force. Each sprue is absolutely packed with detail and options, from the dynamically posed bodies and multiple arm variants, to the multitude of combat equipment, including knives (lots of knives!), entrenching tools, ‘Bangalore Torpedo’ and ‘satchel’ demolition charges, and more! A huge variety of heads ensure that no two models need look the same, with a collection of them inspired by the legendary Saving Private Ryan – a firm favourite of wargamers everywhere!

2 comments
“Not superstitious, just a little stitious”…as much as I’m certain this will fill The Editor™ with dismay, I encourage your incorrigible wordplay.
It was a pleasure throwing some dice at them. Great article.
Comments are closed.