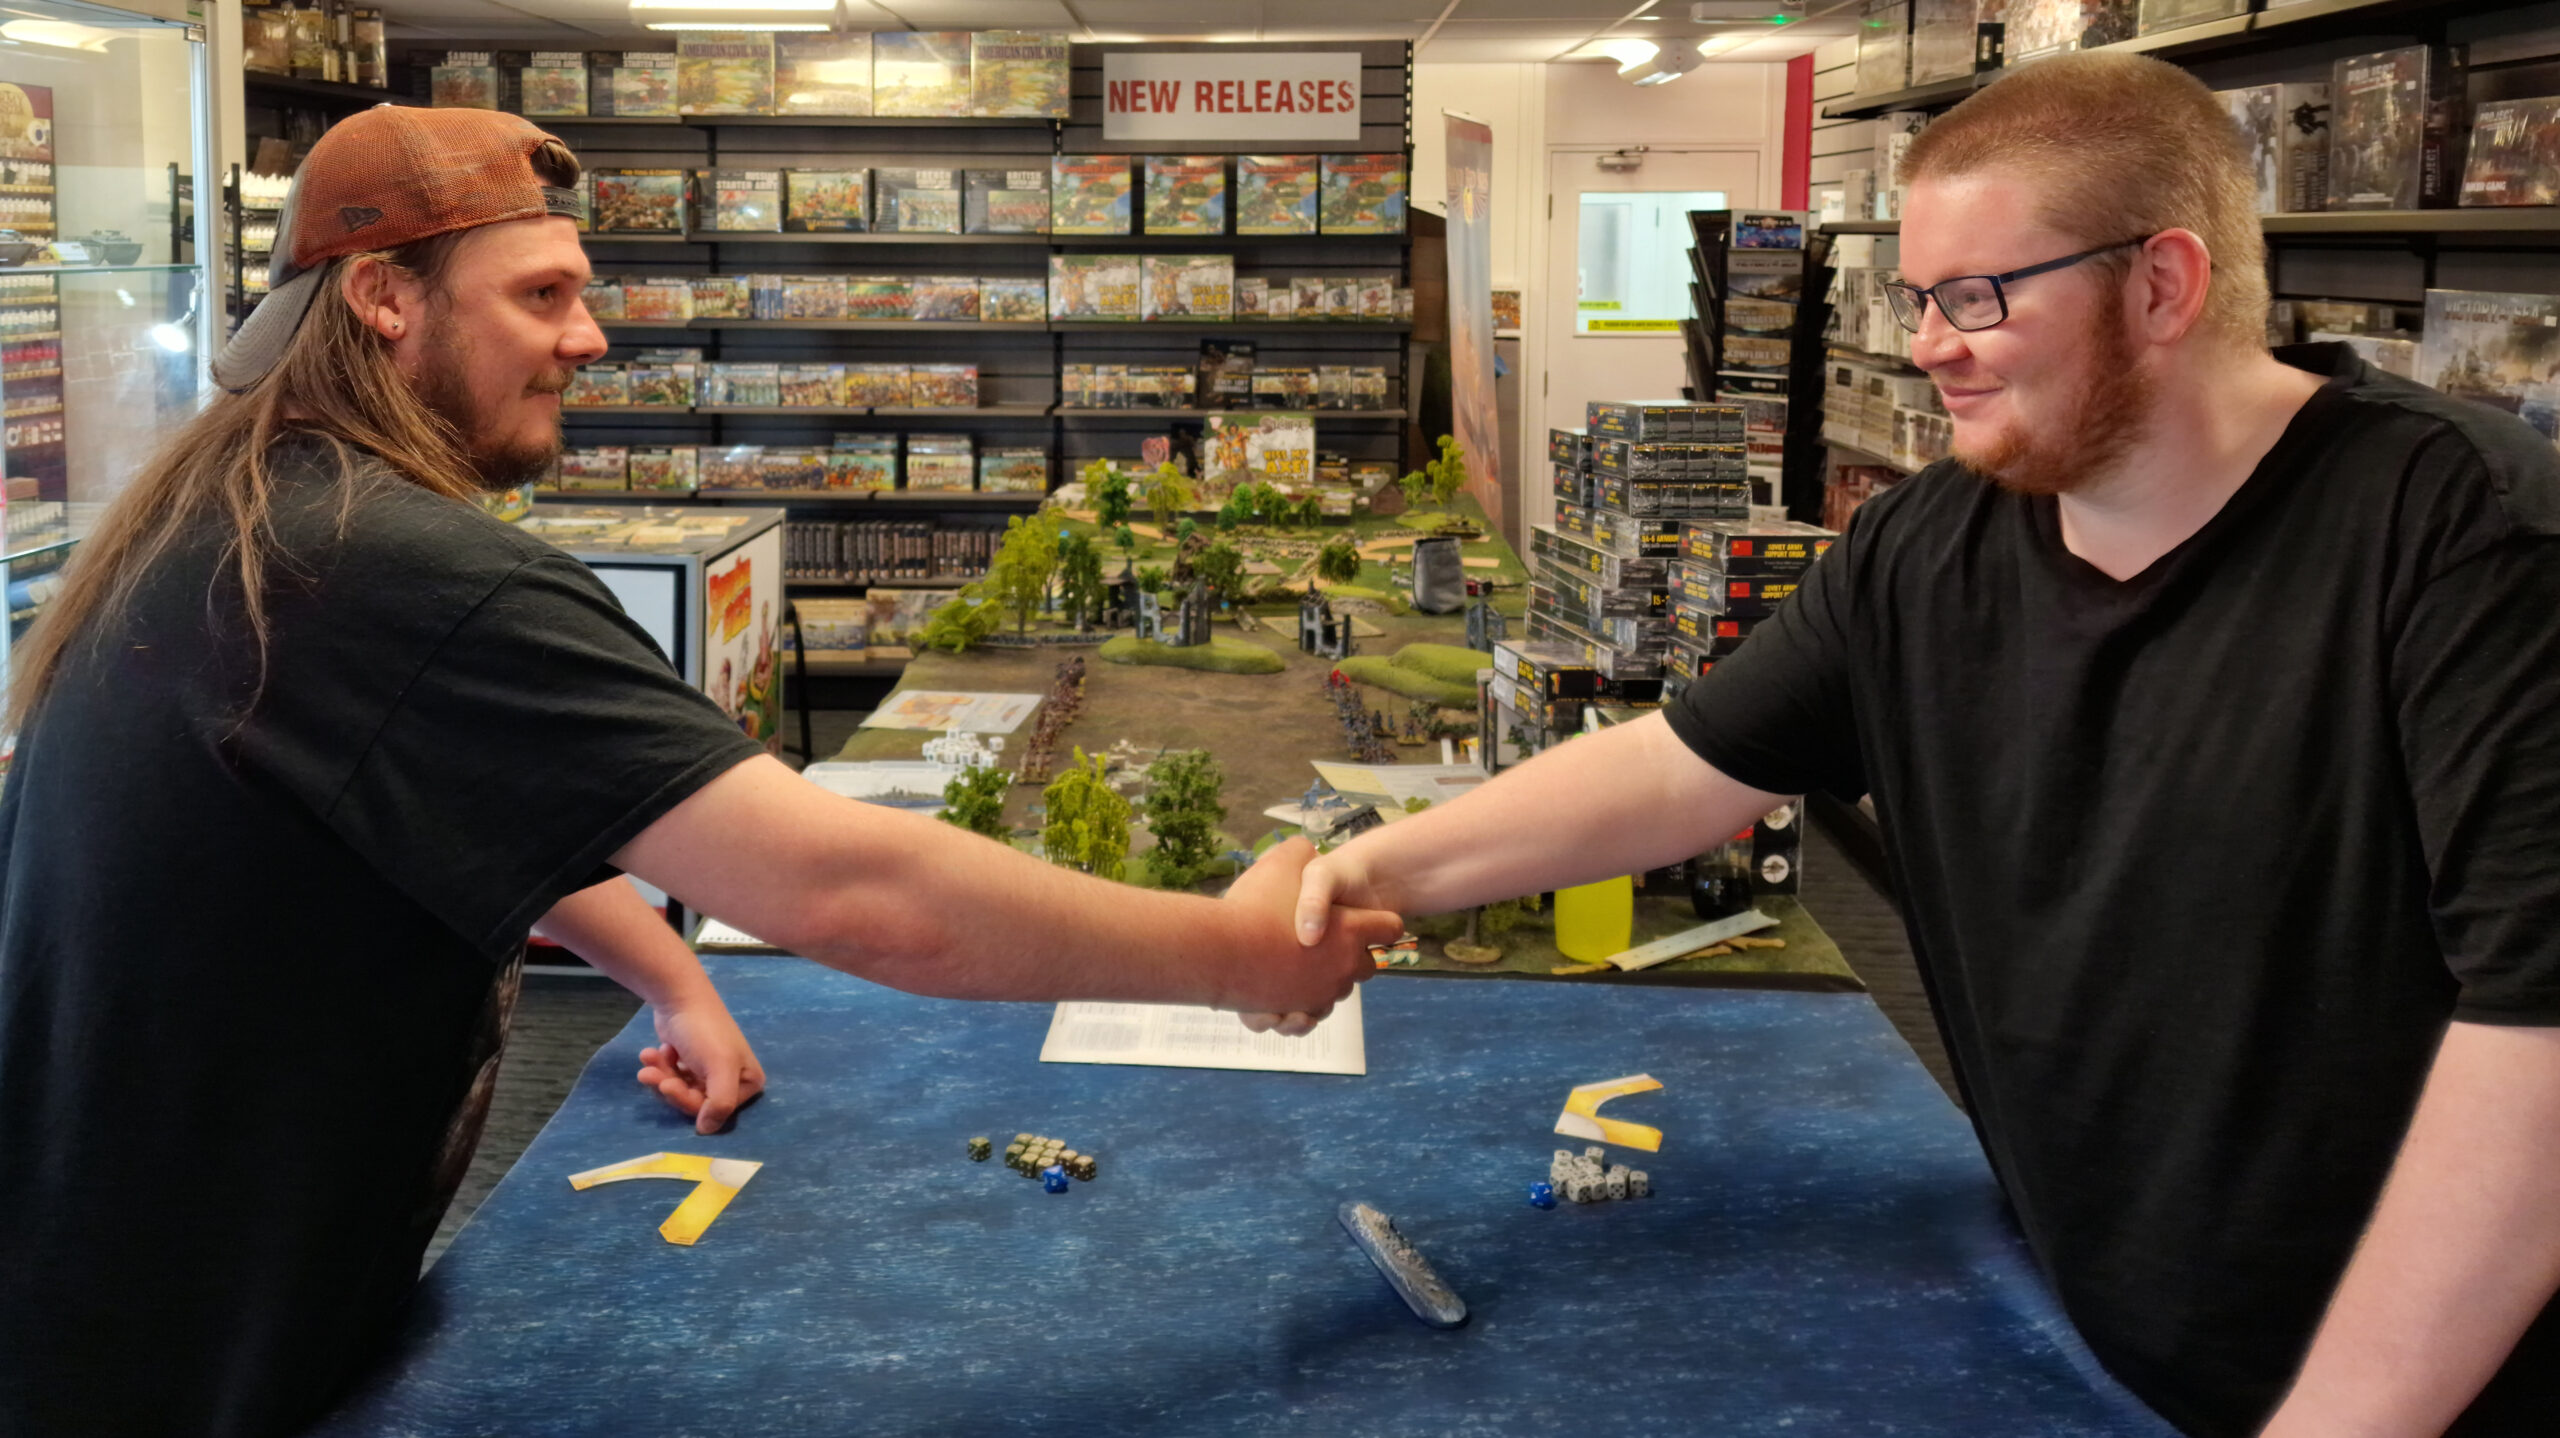
One of the great advantages to working at a wargames company is being constantly surrounded by awesome miniatures and great hobbyists, all of which inspire you to get out there and game. One of the downsides, however, is that you often don’t get the time to play as many games as you’d like! Determined to rectify this, I borrowed Customer Service’s own John Sherwood for a Monday afternoon game of Victory at Sea!
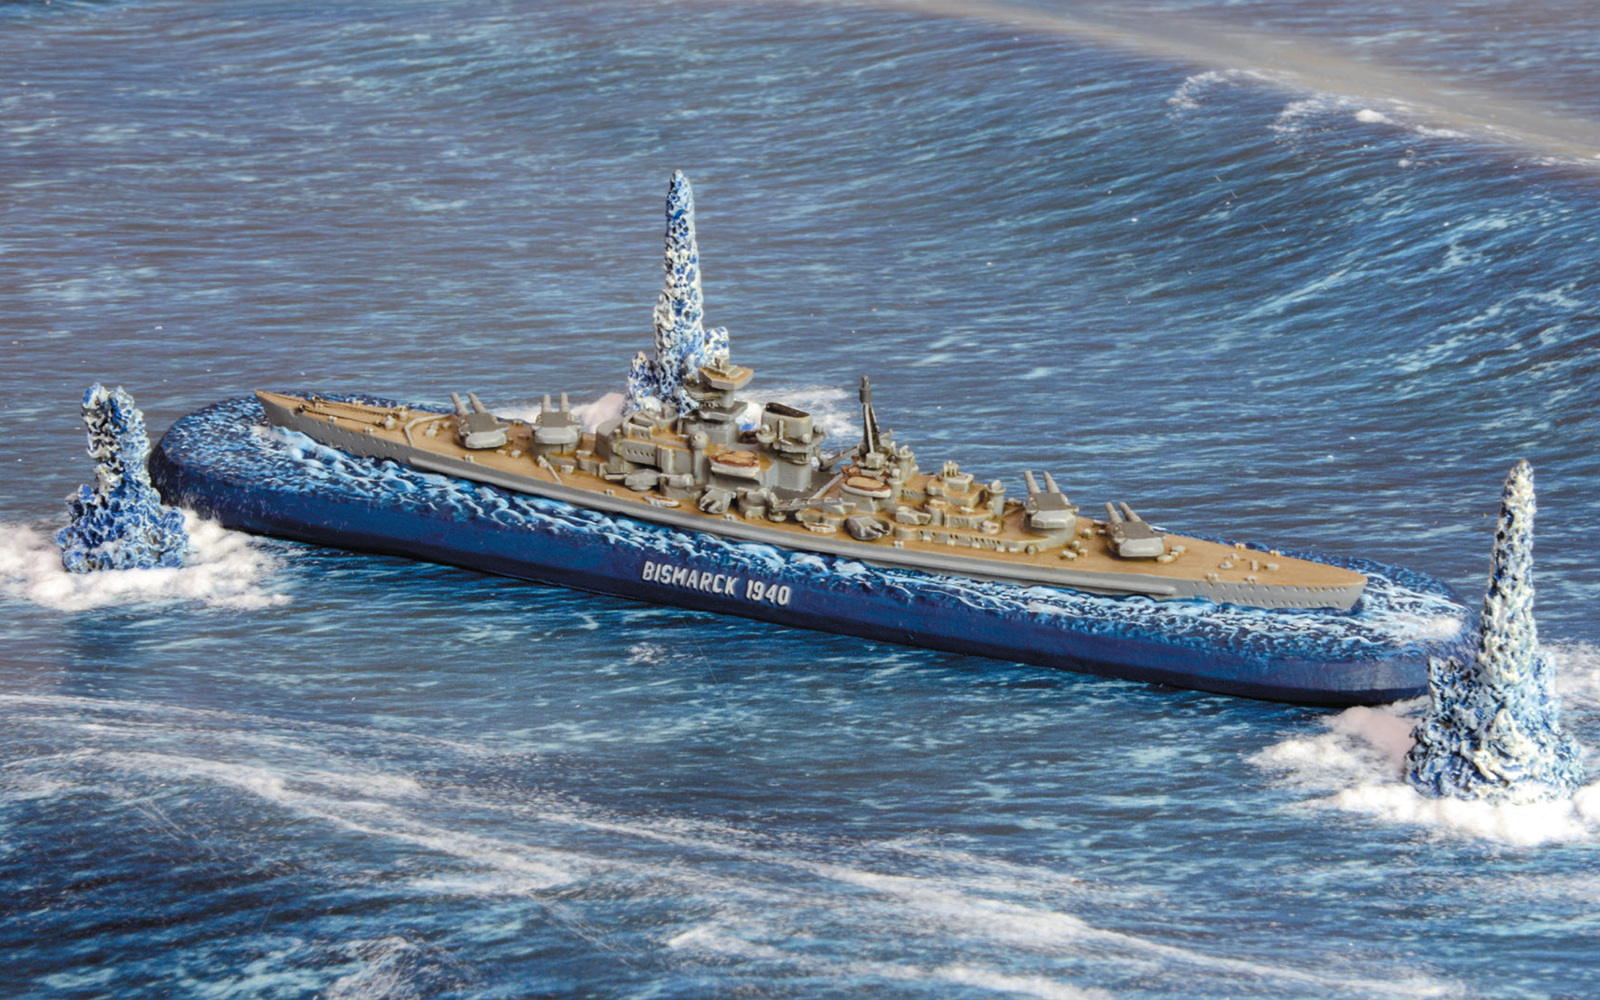
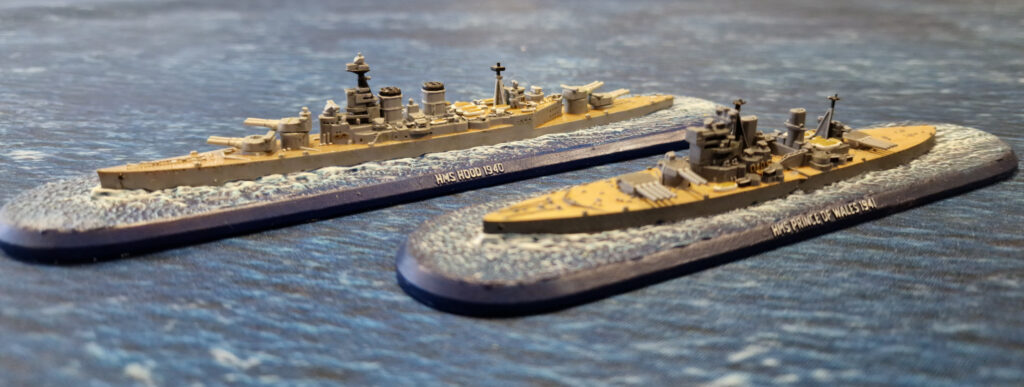
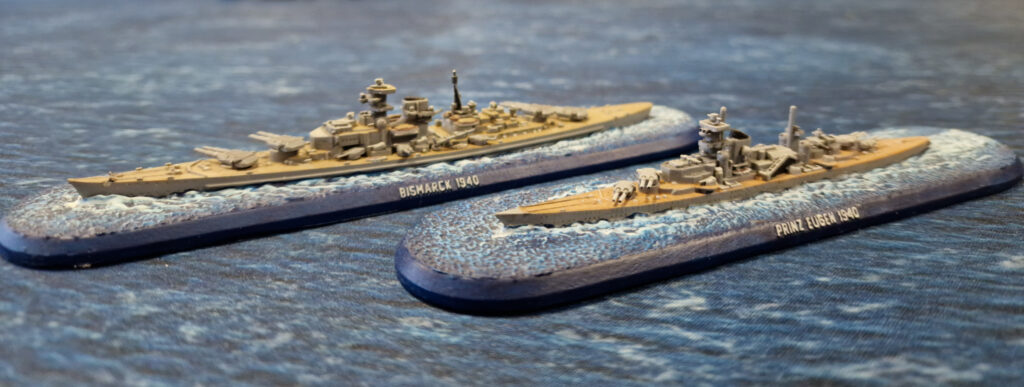
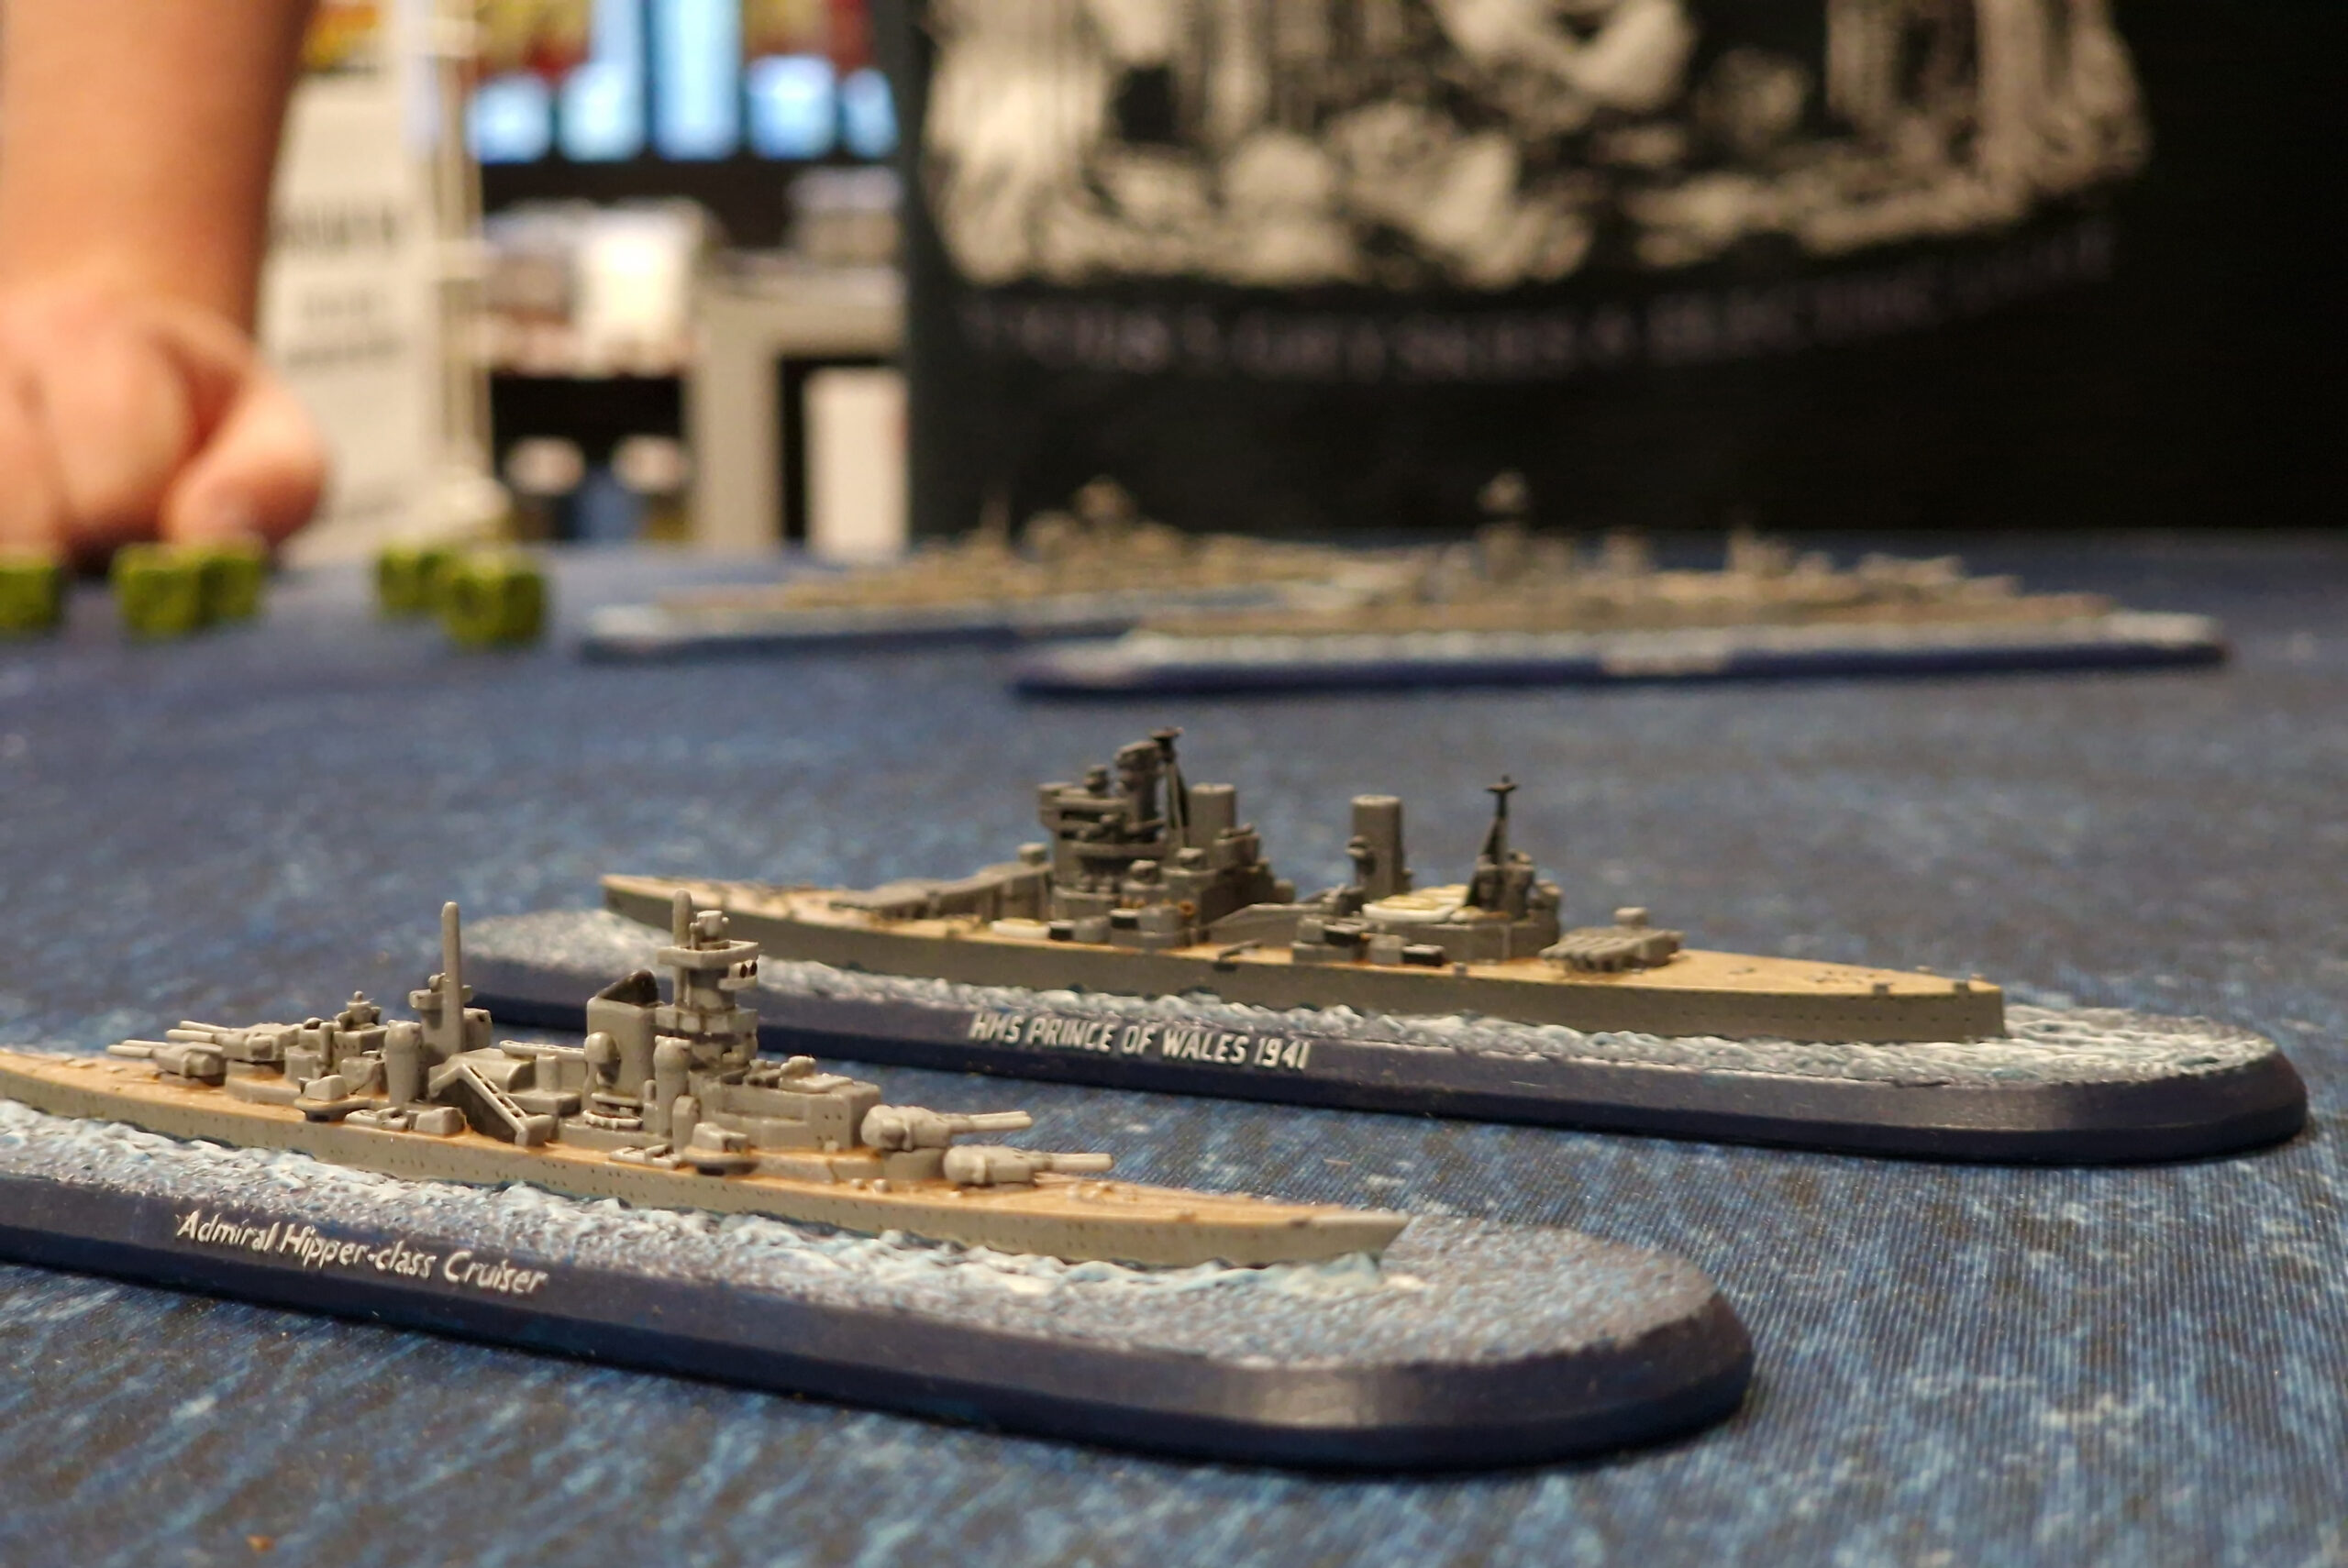
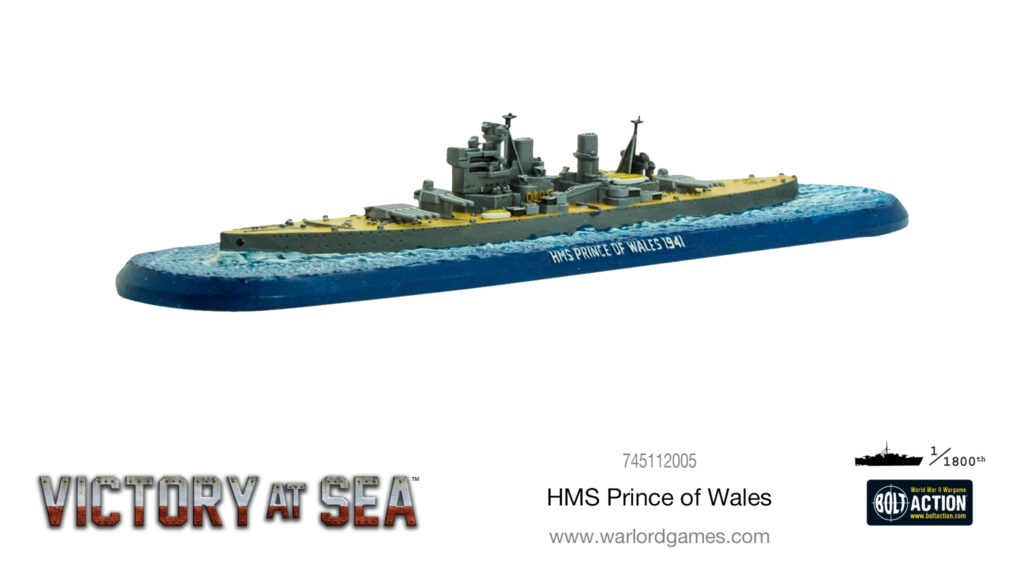
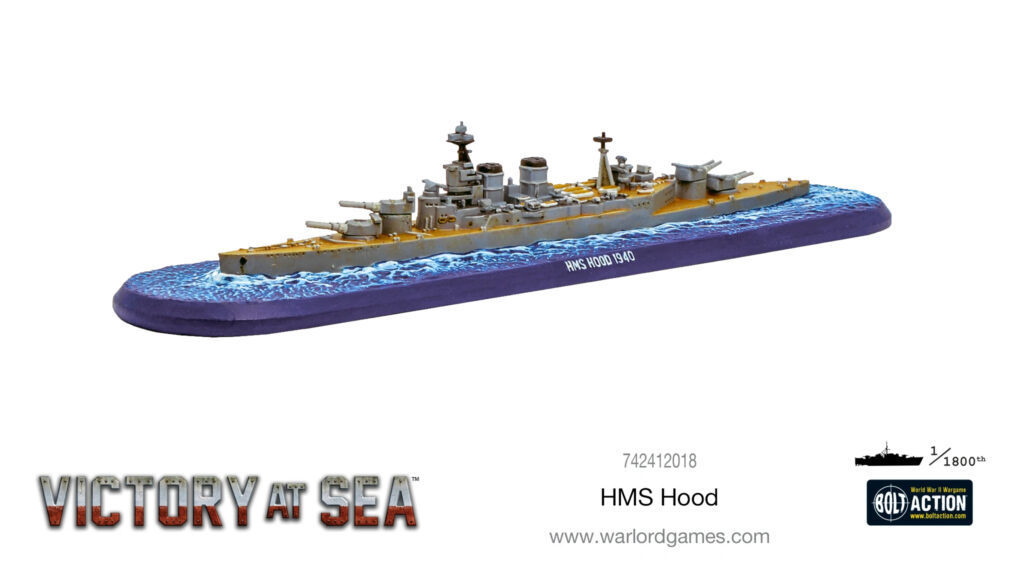
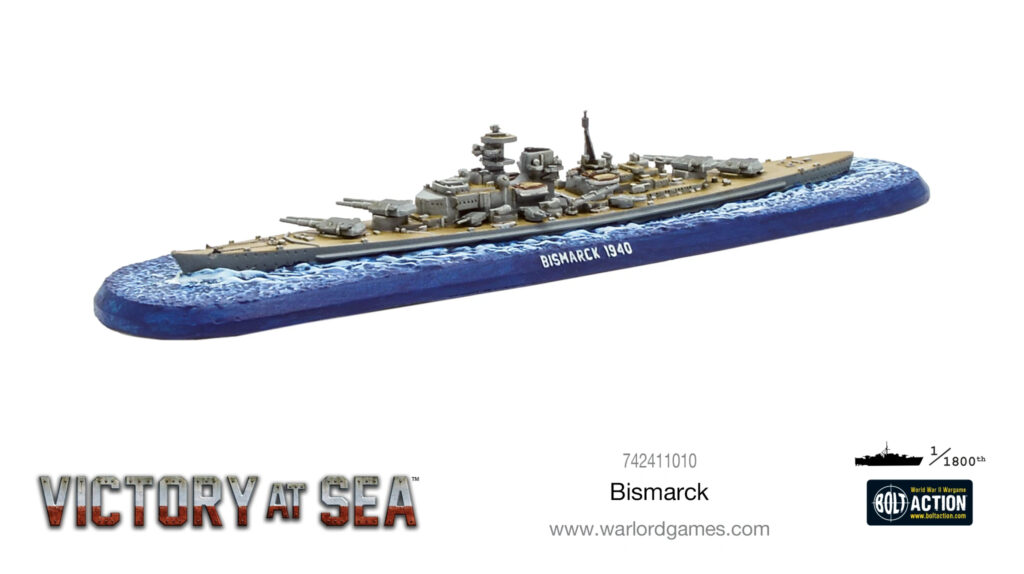
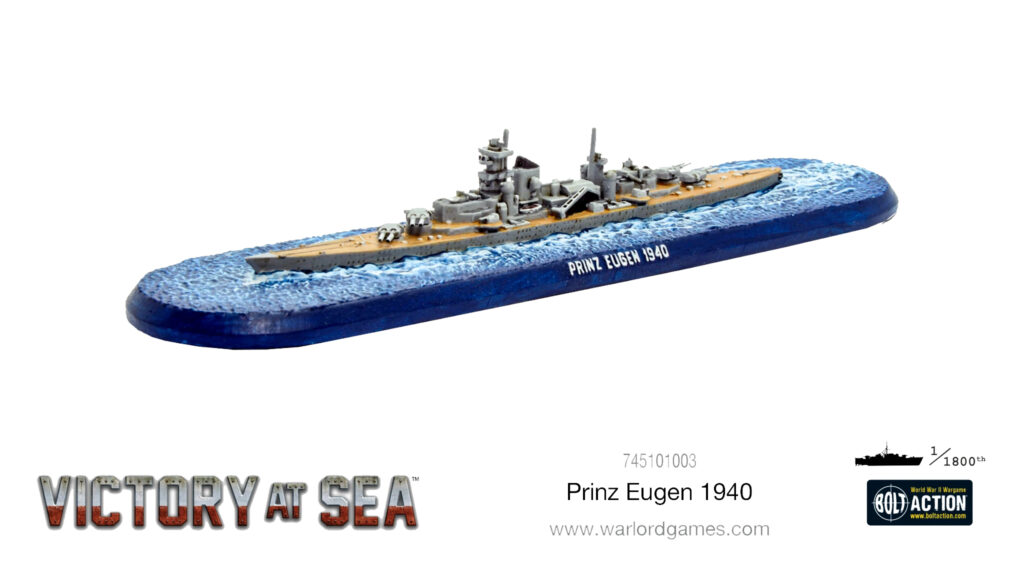
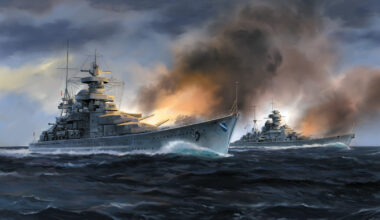
Being rather terrified of his concerningly large US Navy fleet, I cunningly suggested we play one of the many, many scenarios from the main rulebook, and we decided on an absolute classic (and a battle I have touched upon recently) – the Battle of the Denmark Strait. This infamous engagement pits the pride of the German Kriegsmarine – the legendary Bismarck and her escort Prinz Eugen – against the Royal Navy’s mighty HMS Hood and the brand-new King George V-class battleship HMS Prince of Wales. Historically, this battle was a disaster for the Royal Navy, with HMS Hood (the darling of the British public, and at the time, the most famous warship afloat) exploding following a hit from Bismarck mere minutes after the shooting started. Determined to do at least slightly better than that, I took the Royal Navy, meaning John would oppose me with the Kriegsmarine!
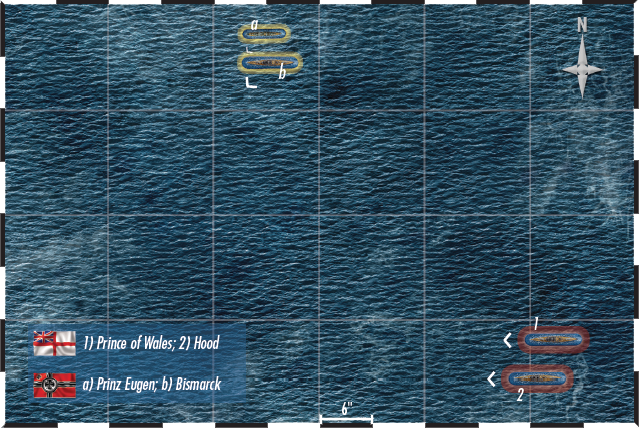
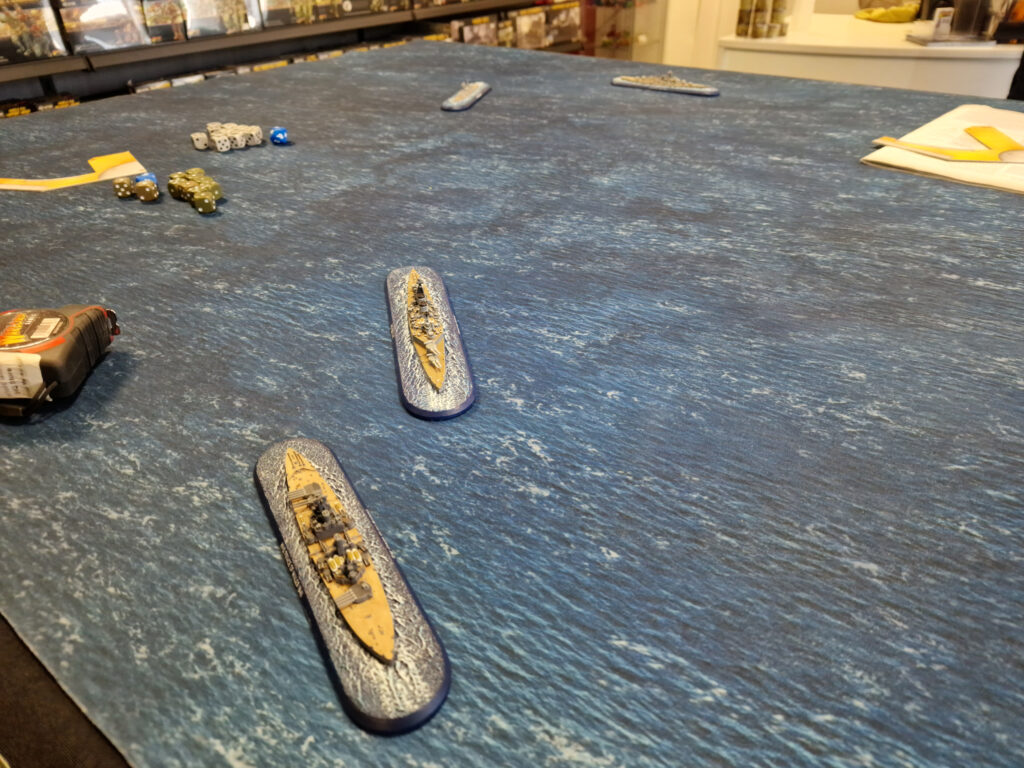
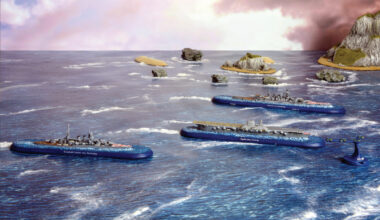
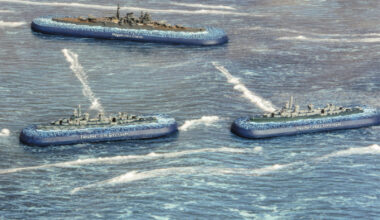
We deployed as per the scenario (found on page 83 of the Victory at Sea rulebook), and agreed that we would use the optional rules for the HMS Prince of Wales’ unreliable main battery (see below). For the sake of time and sanity, we decided not to use the optional rules for Bismarck and Prinz Eugen being confused for each other, and nor did we have HMS Norfolk and Suffolk coming up in reserve – two extra heavy cruisers seemed perhaps a little unfair! Our lovely HQ store lads were kind enough to lend us a table, and we were ready to set to!
The King George V-class battleship would gain a reputation for inconsistent main battery performance. The freshly commissioned HMS Prince of Wales (she still had civilian workmen on board) was particularly vulnerable. Each time a 1 is rolled for a turret AD, roll a second dice. On a roll of a 2 or 3, reduce the turret AD by 1, on a roll of a 1, the entire turret is jammed and cannot be used. Each lost AD and the jammed turret can be repaired using Damage Control.
Opening Salvos
The game began with me seizing the initiative… and maintaining it for several turns! Deciding that I didn’t trust the Hood’s ability against Plunging Fire at long range (armoured decking being a projected but never performed refit), I moved in aggressively, looking to close the range as soon as possible. Hood and Bismarck exchanged ranging shots, with only minor damage from shell splinters reported on either side, amongst a lot of near (and not-so-near) misses! Prinz Eugen caused the first scare of the day, narrowly missing out on scoring a very long-range Critical hit on Hood, but luck and the dice were on the side of the old battlecruiser, and she steamed on, towards the waiting Bismarck.
Continuing my streak of initiative wins, Hood turned to unmask her full broadside and sent eight enormous 15” shells screaming towards Bismarck. Even as the German ship’s own guns roared in response, the entire British salvo slammed down onto the pride of the Kriegsmarine! Hitting to the aft of the Bismarck, one hit went Critical and bent her propellor shaft, slowing the battleship slightly. Before the smoke could clear, a huge gout of smoke and flame announced Bismarck had also managed to hit Hood… with a full salvo of her own! John rolled a whopping 14 damage to Hood, and also managed to blast away her starboard torpedo launchers – rather annoyingly, as my cunning plan had in fact been to close to torpedo range and make the most of their ‘Devastating’ special rule!
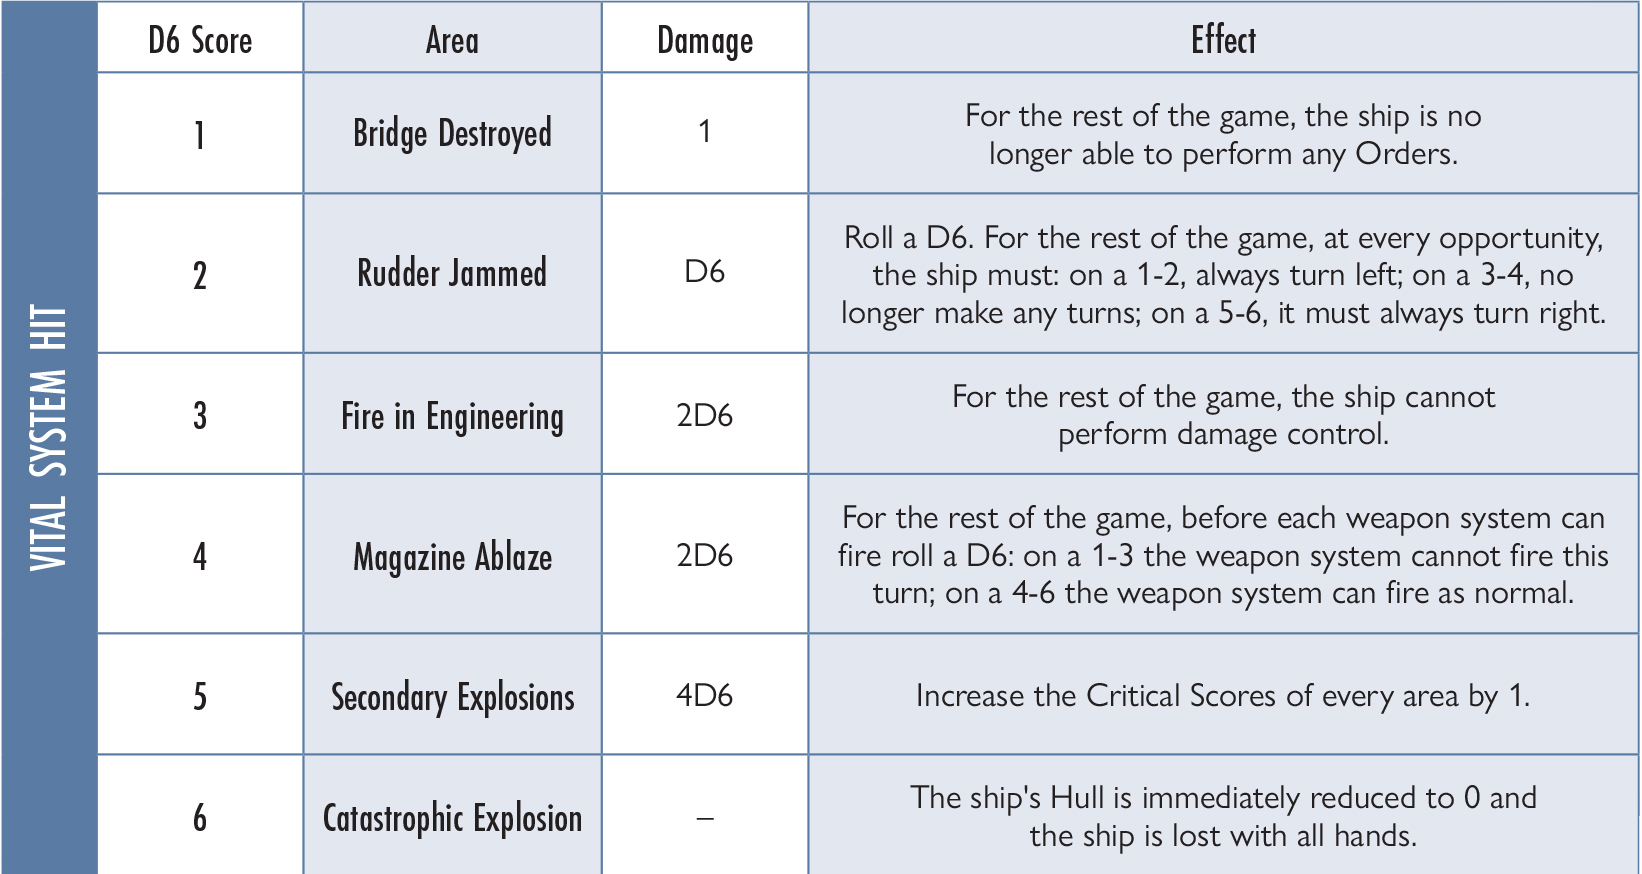
Determined not to be left out of the action, Prince of Wales managed a surprisingly effective salvo at extreme range, scoring several hits on Bismarck and damaging her rudder. With the big ship’s manoeuvrability compromised, I felt quietly confident going into the next turn – even if John finally managed to gain the initiative. Splitting his fleet, he sent Prinz Eugen flanking north to engage Prince of Wales while Bismarck continued her duel with Hood. Able to fire first this turn thanks to winning the initiative roll, John sent a murderous weight of shells screaming from Bismarck’s guns towards Hood, scoring a Critical hit and rolling a dreaded ‘10’ – a Critical hit to the Hood’s vitals. Sweating slightly, I awaited the result of the roll that could see the Hood obliterated in an all-too-historical fashion. With a deafening roar, HMS Hood vanished in a sheet of white flame – she had a fire in her magazine! My luck held, however, and it was not the devastating magazine explosion I had feared. A few seconds later, Hood sailed out of the smoke cloud, bloodied but unbowed. Clearly some frantic firefighting efforts by her crew had saved her at the last second.
Shaken, but clearly angered by her brush with death, Hood returned fire. With so much damage to the magazine spaces, only ‘Y’ turret managed a shot. This slammed into the Bismarck’s engine rooms, and scored a Critical on one of her turbines, reducing her mobility even further. While Hood was battered and bruised and would need many months in drydock, Bismarck would also need to head home immediately, ending her sortie… if she survived. Seeking revenge, I ordered Hood and Prince of Wales to close the range further, hoping to get up close and maul John’s ships before he could land another serious blow.
This, however, was not to be. Clearly, the dice gods had decided that I’d had the initiative long enough and handed John the advantage. Showing a sudden decisiveness that filled me with no small amount of concern, he darted in with Prinz Eugen, closing to torpedo range on the Prince of Wales. This was going to hurt…
…and hurt it did! Four torpedoes slammed into the Prince of Wales along her port side. The ‘Devastating’ rule caused horrific damage, wrecking her machinery spaces, destroying ammunition hoists, flooding magazines, and starting fires inside and out. Had it not been for her torpedo belt, she would surely have sunk in moments – instead, she became a drifting hulk, all but dead in the water, with the Prinz Eugen sure to finish her off soon – if the Escalating Critical damage didn’t send her to the bottom first.
Devastating This weapon is exceptionally powerful, capable of blasting small targets apart and causing serious problems for even the largest vessels. Instead of causing one point of damage with each successful Damage Dice roll, a Devastating weapon will cause an amount of damage equal to what each Damage Dice actually rolls, regardless of whether it exceeds the target’s Armour score or not. In addition, a Critical Hit is scored for every Damage Dice that rolls a 5 or 6 (before any modification by Torpedo Belts). Any critical hits scored will have a Critical Score equal to the roll of one dice (if the location already has a Critical Score that is higher than the dice roll, the new Critical Hit is ignored).
Death of a Battleship
With my situation suddenly looking rather bleak, I decided to take a shot at Bismarck with the Hood before she could suffer any more damage. A somewhat sorry-looking salvo from ‘A’ and ‘Y’ turrets sailed into the sky, and I was happy to see that I’d at least managed to roll one Critical hit. Rolling the D10 to see which area of Bismarck the hit would be on, I scored a ‘10’ of my very own – a shot to the vitals! Praying fervently to as many Higher Powers as I could think of, I rolled a D6 to see exactly what I’d managed to do to John’s flagship…
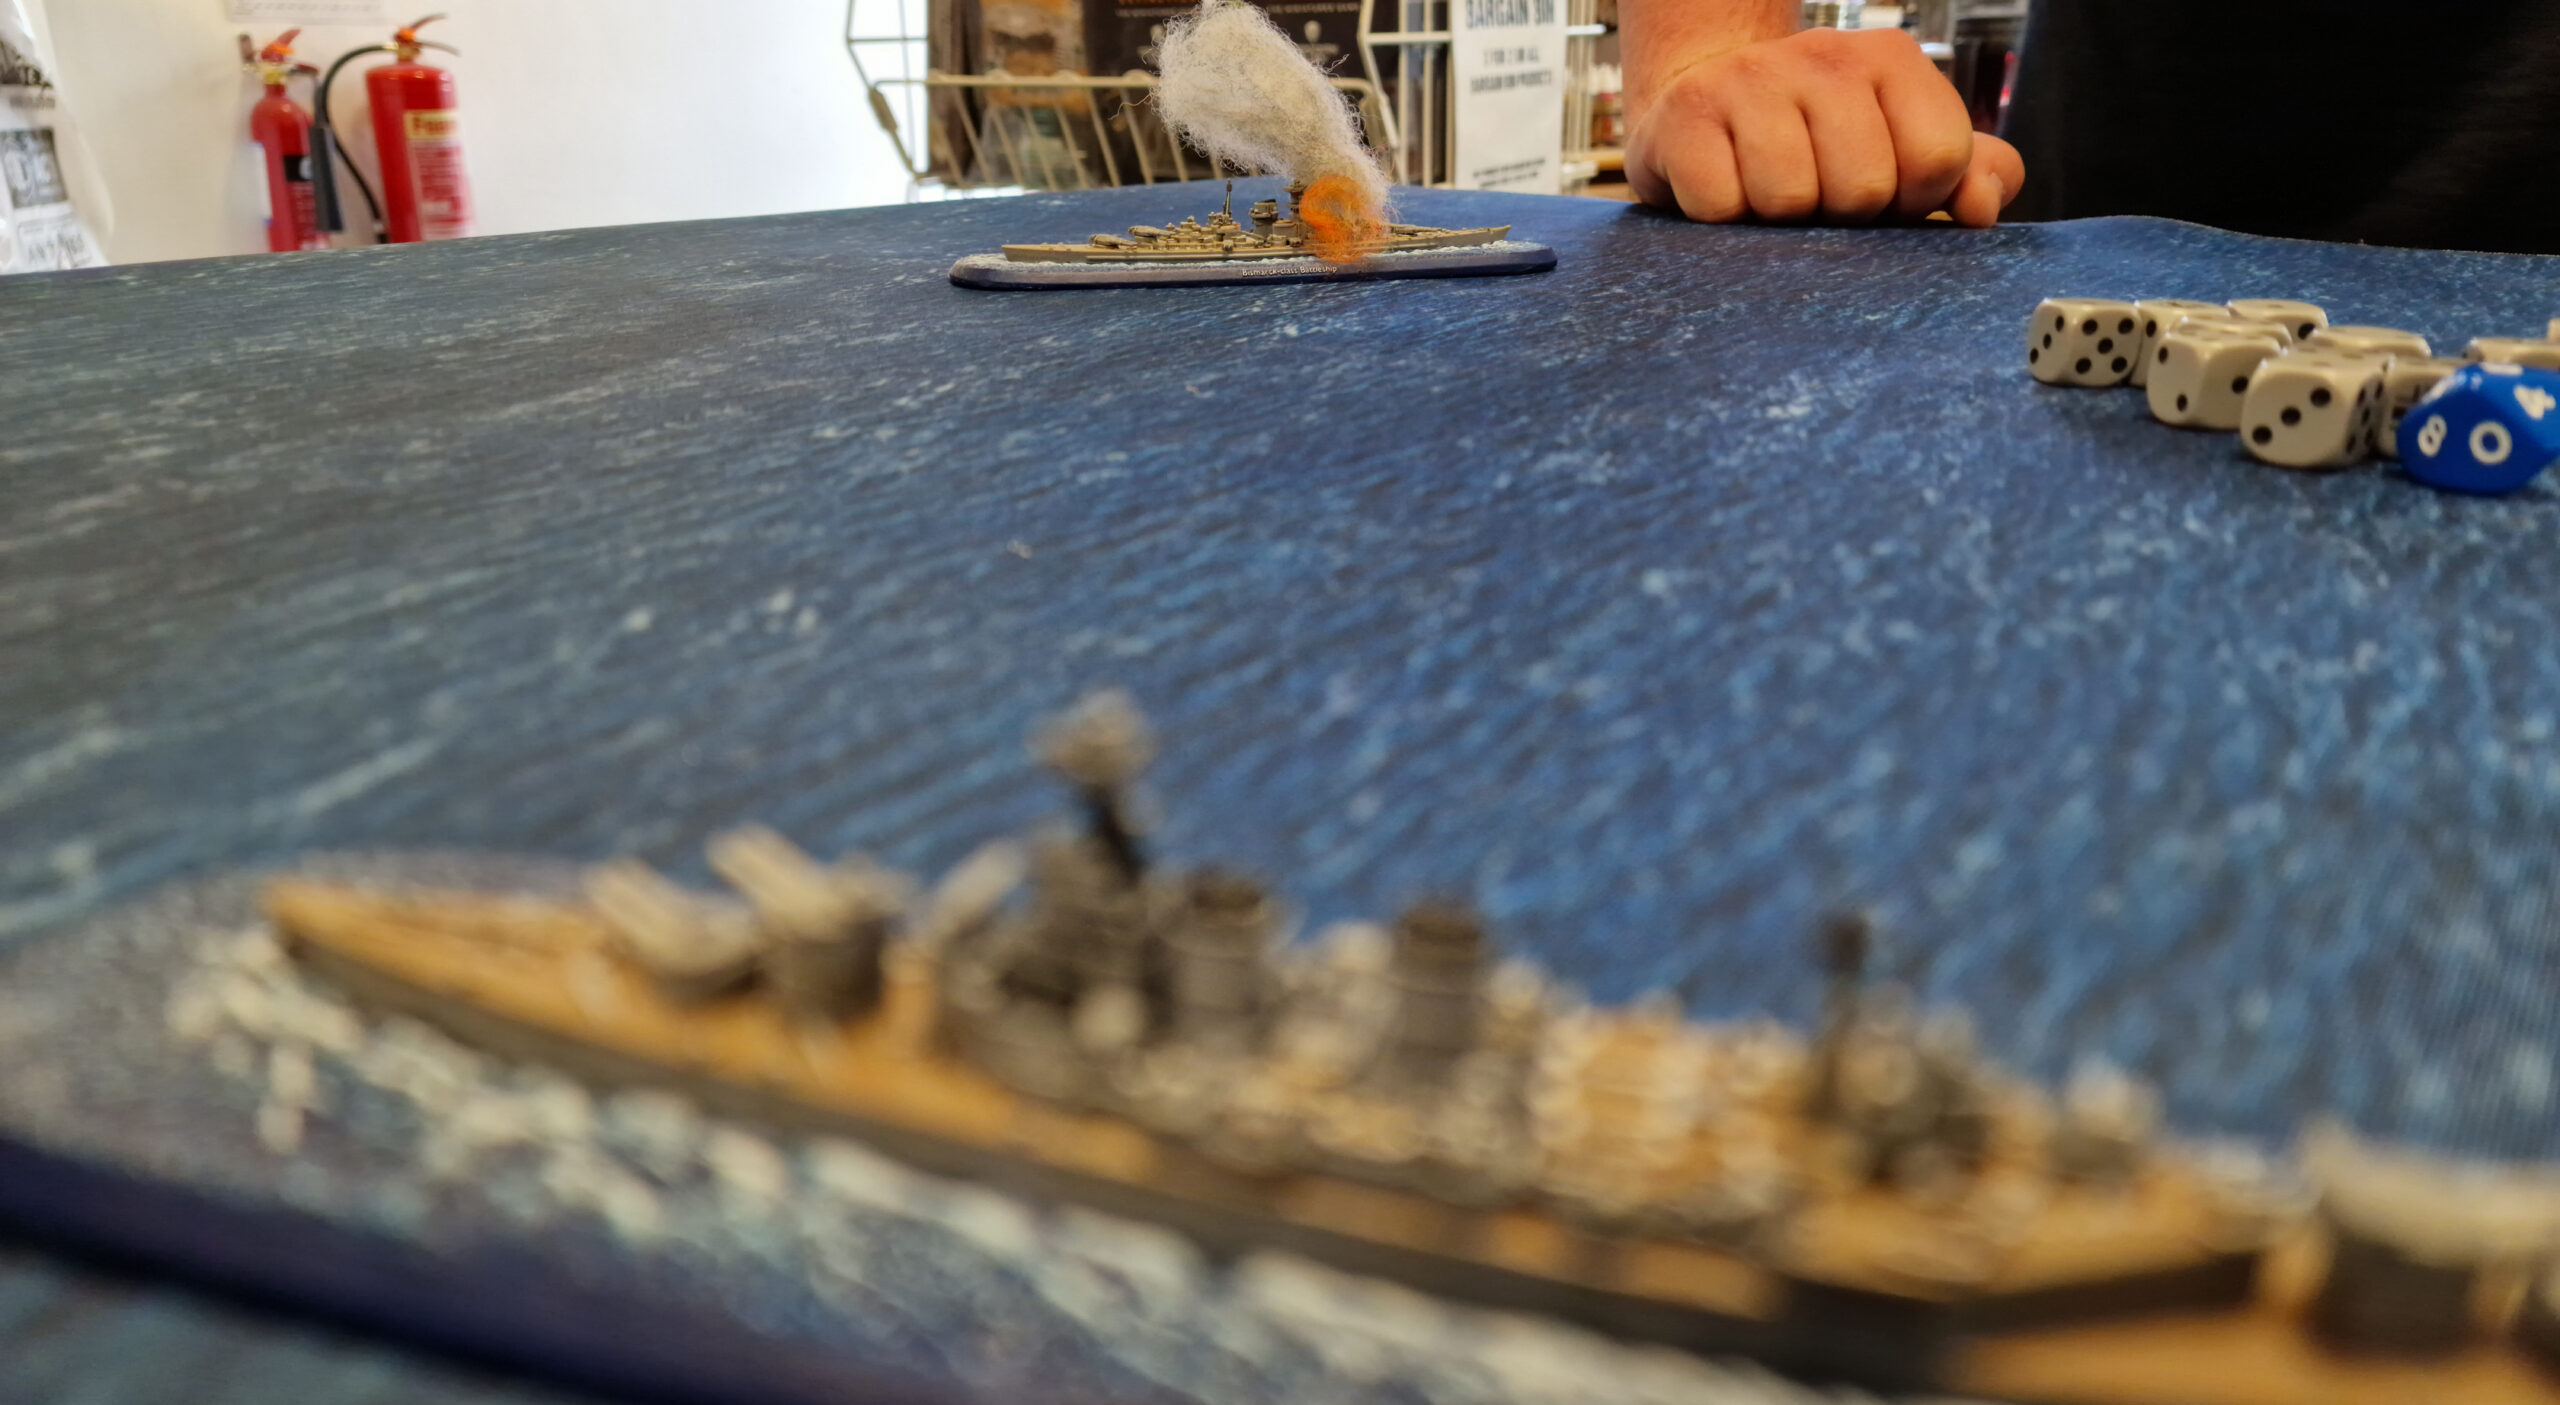
Hood’s shells screamed down towards Bismarck. Three fell short, sending up huge columns of spray and spume, but the fourth struck amidships, just aft of ‘Bruno’ turret and punched down through the deck. There was a brief, awful silence, followed by a deafening thunderclap. A giant mushroom cloud erupted over the ship as Bismarck’s main magazine detonated, sending debris flying in all directions. Utterly shattered, the broken remnants of her hull rolled over and sank within seconds as the crews of the other ships looked on in awe and horror.
Close Quarters

With the loss of his most powerful unit, John may have said a bad word or two. Still, he gamely brought the Prinz Eugen about, leaving the crippled Prince of Wales to her fate. Recognising the danger presented by John’s remaining torpedoes, I knew I had to open the range to make best use of Hood’s remaining 15” guns. As the turn ended, some frankly heroic damage control efforts aboard Prince of Wales somehow managed to keep her afloat, albeit with only 3 of her 89 total hull points remaining! Fortune resumed smiling upon me, as I won the initiative, and was able to start turning the Hood away, drawing Prinz Eugen into a turning fight that should favour my larger guns! Miraculously, Prince of Wales had been able to re-activate ‘A’ turret and managed to score a few 14” hits on her tormentor. Alas, this was to be her final action, as the Escalating damage finally overwhelmed her crew, and in the end phase she slipped below the waves, colours still flying proudly.
The turning engagement continued for the next couple of turns, with limited fire being engaged and both crews taking the opportunity to repair as much damage as possible. Finally, I decided the time was right – Hood cut inside the Prinz Eugen’s turn, laying alongside at point-blank range. I knew this was a real gamble – if I failed to cripple or destroy John’s cruiser, she would undoubtedly unleash her torpedoes once more, putting Hood at a real risk of destruction. With one final effort, the 15” guns belched fire and smoke, and at such short range it was almost impossible to miss. The Prinz Eugen, never built to stand up to a true battlecruiser, took no fewer than five Critical hits, but the point was moot as she had sustained enough damage to sink her outright in any case! Badly holed below the waterline, she quickly heeled to port and capsized, leaving the badly mauled Hood the sole survivor of this frantic and bloody encounter. Launching boats to rescue as many survivors as possible, she turned and limped for home, where she would need to spend a significant amount of time in drydock…
Final Thoughts
With the game explosively concluded, John and I shook hands and congratulated each other on a game well played. Had it not been for my incredible luck in destroying Bismarck, I suspect the game would have gone the other way, especially considering John’s bold gambit with Prinz Eugen to disable Prince of Wales. Nevertheless, victory lay with the Royal Navy… this time! Denmark Strait is one of my very favourite scenarios to play, as it’s reasonably quick and simple but can lead to some absolutely fascinating outcomes on the tabletop! Roll on the next game – I suspect John will want to use his USN, so I’d better get cracking on my Japanese.
Want to try this scenario at home? You only need four ships!
A Tome of Possibility
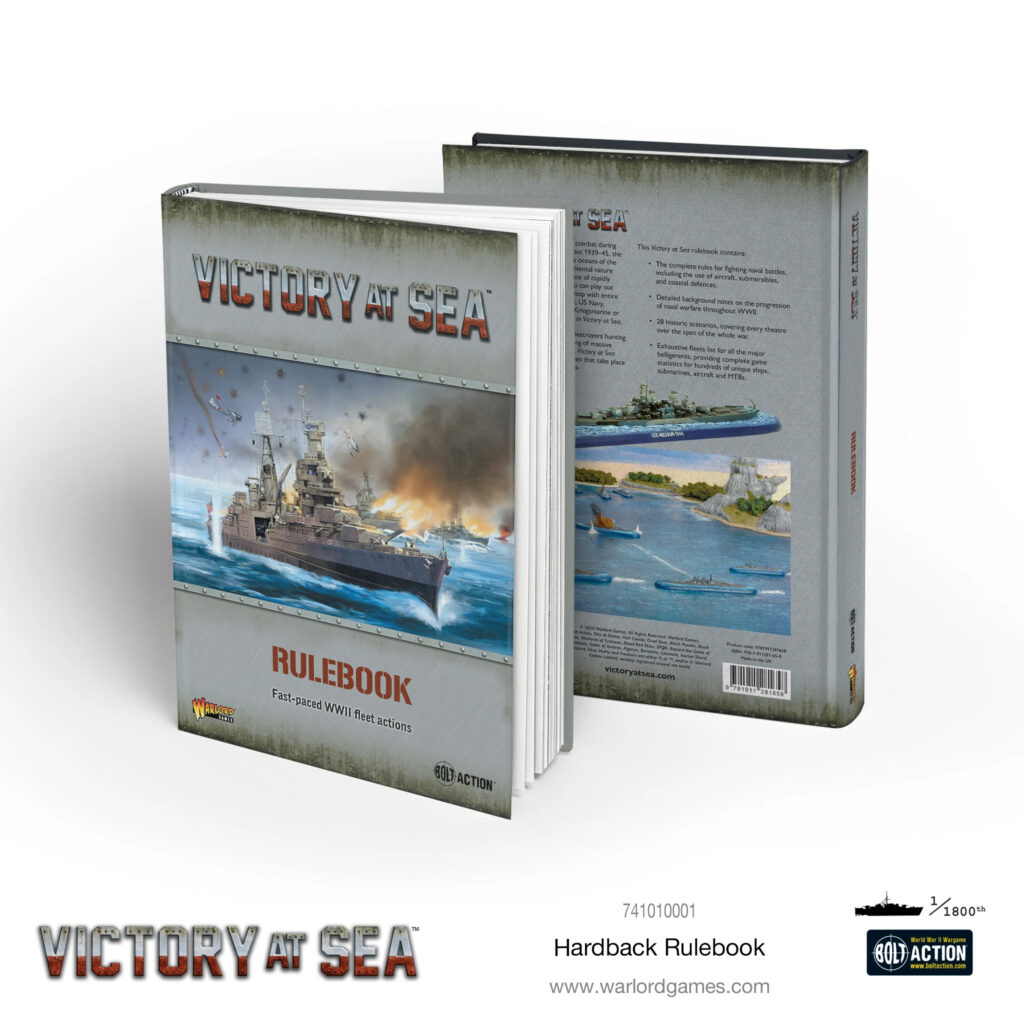
The Victory at Sea rulebook is the ultimate resource for the naval combat game – It contains the complete rules for fighting naval battles, including the use of aircraft, submersibles and coastal defences, and exhaustive fleet lists to cover a huge array of unique ships, submersibles, aircraft and even the smaller MTBs.
This is all contextualised with detailed background notes on every naval theatre through WWII, made playable with no less than 28 historic scenarios – enabling gamers to refight key engagements and perhaps alter the outcome, not to mention a fantastic possibility of what if? play. Pit the might of some of the most famous ships in naval history against each other on the tabletop – even if those ships historically never met.
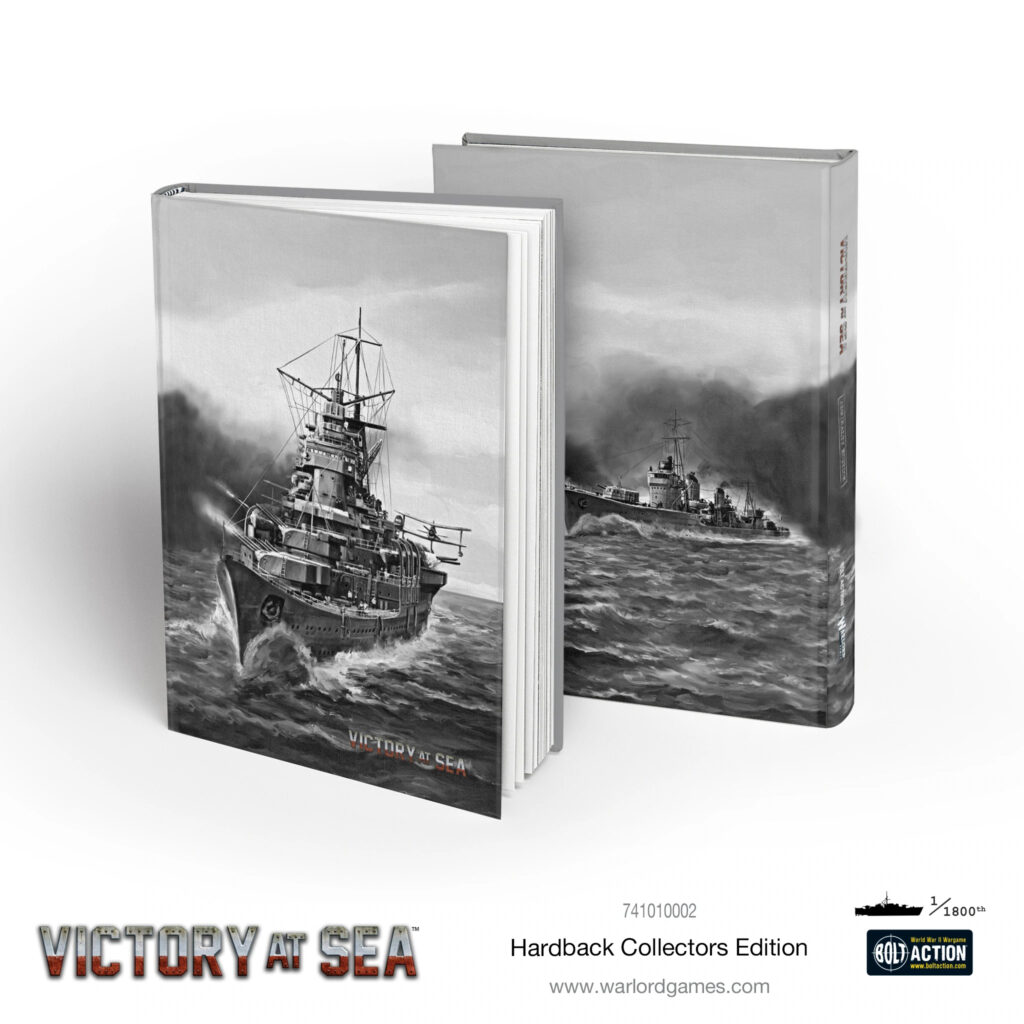
The Admiralty Collector’s Edition has an exclusive monotone design, silvered page edges, page ribbons and end papers with ship recognition designs. These are extremely limited, with only 200 total copies printed – not many remain unclaimed!

2 comments
I’ve now done this battle 4 times and had one Germany victory , and 3 RN victories, however the KM victory was almost historic, and 1 15″ shell from KMS Bismarck Blow up HMS Prince of Wales on it’s 1st hit, close HMS Hood was then force to run for it after doing a little damage to both KM ships, and taking a few hits. I put in the limitation that HMS Hood First salvos would be fired at KMS Prinz Eugen
It’s really good to see a Victory at Sea battle report. Any news on a Soviet fleet release??
Comments are closed.