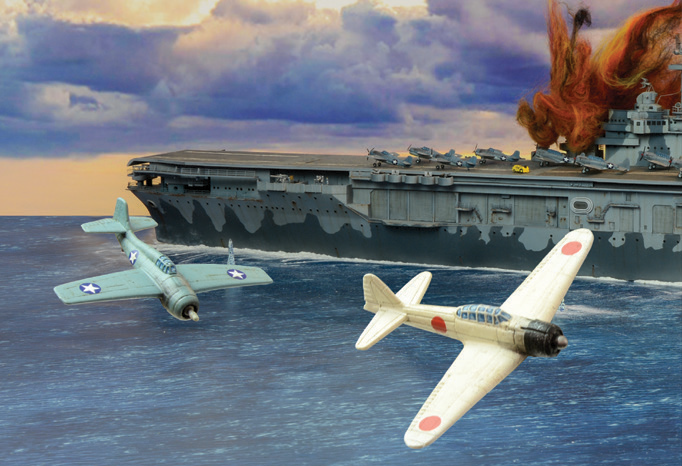
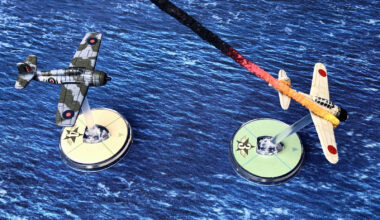
The common term ‘flak’ was used in World War Two for ground-based weapons used to attack aircraft, abbreviated from the German word Flugzeugabwehrkanone (aircraft defence cannon). It was found that unprotected targets were at the mercy of marauding aircraft so as the war progressed the density of flak jumped up noticeably on all fronts. Flak was loathed by combat pilots because it made survival a matter of sheer luck.
Flak Values of Targets
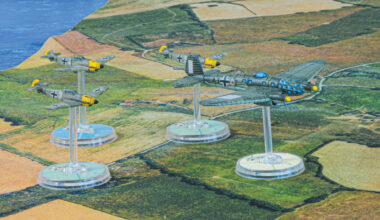
When playing Blood Red Skies Scenarios that deal with ground or naval targets your pilots will invariably have to deal with the menace of flak. All targets will be protected by some light flak weapons from machine guns up to light automatic cannon, normally multiple mounted if smaller than 37mm (e.g. the 20mm Flakvierling or the M2 ‘Meat Chopper’). This is represented by the Light Flak value on a target card.
A target’s light Flak value can be increased with the use of Light Flak cards. These cards can also be concealed under surrounding terrain cards on the board to confer those areas an innate Flak value.
Flak Final Defensive Fire
Light flak operates as a 360-degree turret from the target and has a range of 6″ (one range stick) from the edges of a target marker. Flak’s primary value is making all strafing attacks on the target effectively ‘Head On’ but, because of Flak’s longer effective range, the Flak is resolved before the strafing attack is made. If an attacking aircraft is shot down by Flak it fails to execute its attack.
Flak Firing in the End Phase
At the end of each turn light flak also shoots at the nearest Disadvantaged aircraft within range. Flak will always target the nearest Disadvantaged aircraft whether it is friend or foe; unfortunate mistakes in identification were rather commonplace around flak as gunners tended to let fly at anything with wings.
If no Disadvantaged aircraft are within range at the end of the turn the owning player may use 50% of the light flak Firepower (rounding up) to shoot at a nominated Neutral enemy aircraft within range instead. Light flak firepower dice can be divided among multiple Neutral targets if desired.
Light flak cannot attack Advantaged aircraft.
Flak Barrages
Flak Barrages represents batteries of larger guns using fused shells to create an airborne artillery barrage. While direct hits are rare the blast and shrapnel damage could do considerable harm to passing aircraft. Due to the set-up time for the heavy guns flak barrages do not fire at targets directly and have to operate by guessing where aircraft will be by the time the shells arrive.
Placing a Flak Barrage
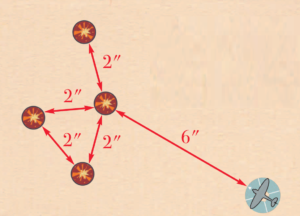
A Flak Barrage may place a set of barrage markers at the beginning of the turn anywhere on the table. The barrage is represented by a number of markers placed 2″ apart on the tabletop anywhere that is more than 6″ from any aircraft. The number of markers placed is equal to the Flak Barrage’s Firepower. Flak Barrage markers may be placed within clouds, and on top of barrage balloon markers if desired. The barrage remains in place until it is removed at the beginning of a subsequent turn for repositioning.
Flak Barrage markers only affect Neutral and Advantaged planes and will affect all planes, friend or foe, that come into contact with them if they are Neutral or Advantaged.
Moving through a Flak Barrage
A Neutral and Advantaged aircraft that comes into in contact with a Flak Barrage marker during its movement must pass a Pilot Skill test to hold its course. If a success is rolled the aircraft is unaffected.
If the Pilot Skill test is failed the aircraft loses an advantage level and must make an immediate 45 degree turn to left or right (owning player’s choice). One Boom Chit is counted against the aircraft’s squadron for each test failed in this way.
Ending movement in contact with a Flak Barrage
If a Neutral or Advantaged plane moves so that its base ends in contact with one or more of the markers comprising a Flak Barrage it can potentially be hit directly by the barrage.
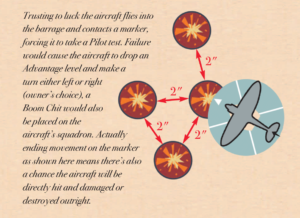
Roll two Firepower dice for the affected aircraft to determine direct damage. Direct damage cannot be dodged like a shooting attack so the fate of the aircraft is in the lap of the gods.
If no successes are rolled the aircraft escapes taking direct damage.
If one success is rolled a single-engine aircraft is immediately shot down. If the aircraft is multi-engine place a Boom Chit directly on it instead.
On a critical success (i.e. both dice roll successes) even a multi-engine aircraft is immediately shot down.
Neutralising a Flak Barrage
Each Area or hull hit scored against a target reduces its associated Flak Barrage Firepower by one.
Repositioning a Flak Barrage
At the beginning of a turn any existing Flak Barrage may be removed by the owning player in readiness for placement at the beginning of the following turn (i.e the Flak Barrage has to be removed for a turn before it can be repositioned).
Dive Bombing Example
The way Flak works and interacts within the context of a game can also be affected by the scenario being played. For example, the Carrier Strike scenario (from the Blood Red Skies: The Battle of Midway rules booklet) is particularly concerned with the interaction between carrier anti-air defences and dive bombers:
“The carrier has cannon and machine guns protecting it, so dive bombers are subject to counterattack by flak if they get low enough in their dive. Roll a firepower value 4 shooting attack against each dive bomber when it makes its Dive Bomb attack. This is a normal shooting attack so it may be dodged to avoid (fatal) Advantage loss, any hit will inflict a Boom chit.
Dive bombers that are shot down by flak automatically miss with their bombs. Dive bombers that only drop to Neutral to make their attack are not counterattacked by flak. The carrier flak value of 4 is reduced by one for each Hull hit the carrier has suffered.”
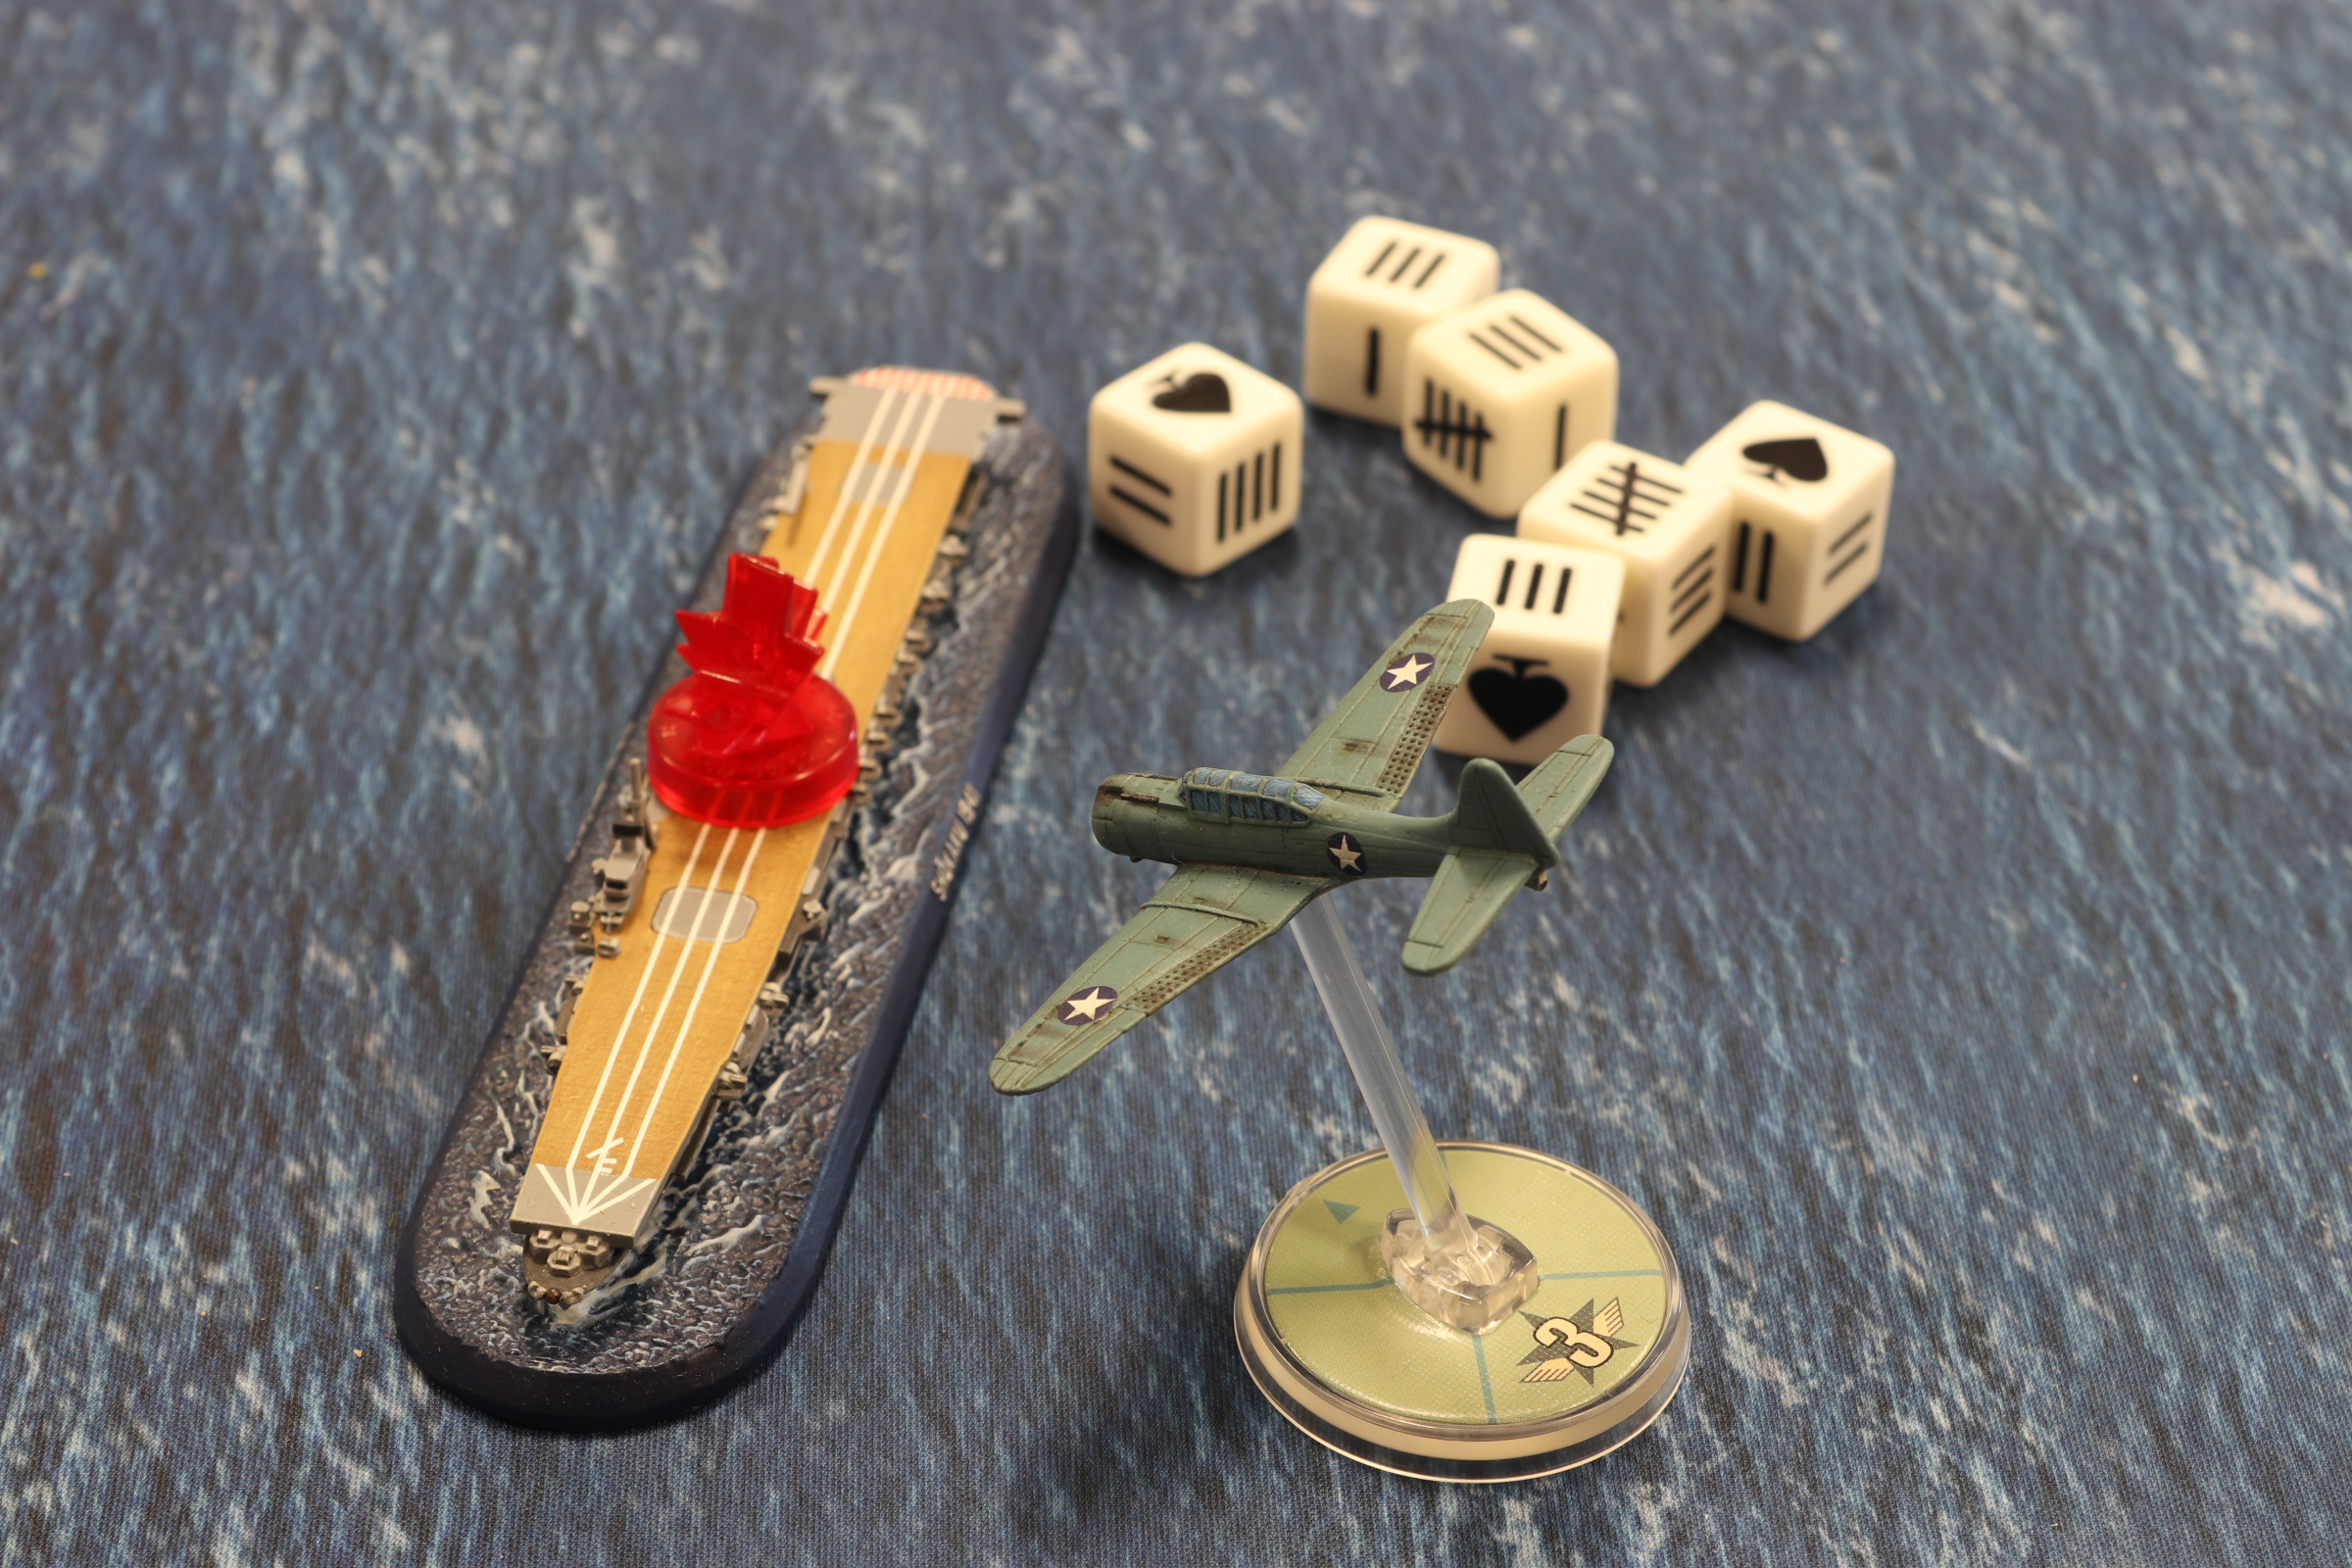
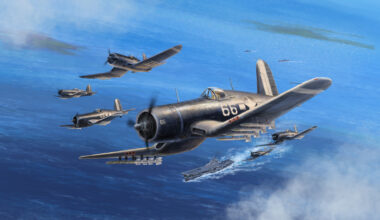
This SBD Dauntless Dive Bomber has burned advantage – and utilised its dive brakes to do so from advantaged straight to disadvantaged, hoping to inflict maximum damage upon the carrier target.

Before he gets a chance to drop his bomb load, however, the carrier’s light flak will kick in. As the Dauntless is within 6″ of the undamaged aircraft carrier and is disadvantaged – it becomes the target of a firepower 4 flak attack. A single success is rolled – a hit. A boom chit is accrued by the United States player, and the Dauntless must successfully dodge the hit or be destroyed before it has a chance to unleash its payload.
Fortunately, despite its agility of only one, the Dauntless survives the onslaught by virtue of its relatively high pilot skill, rolling four dice in answer and achieving two successes. The lucky pilot now has the opportunity to drop their bomb.

As the bomber is disadvantaged, they will roll an additional three dice (added to their pilot skill) for a total of six dice. To score a hull hit on the Carrier, he will need at least two successes. Should this be achieved, the Carrier will roll one fewer die on subsequent Flak attacks.
Get Your Bombers
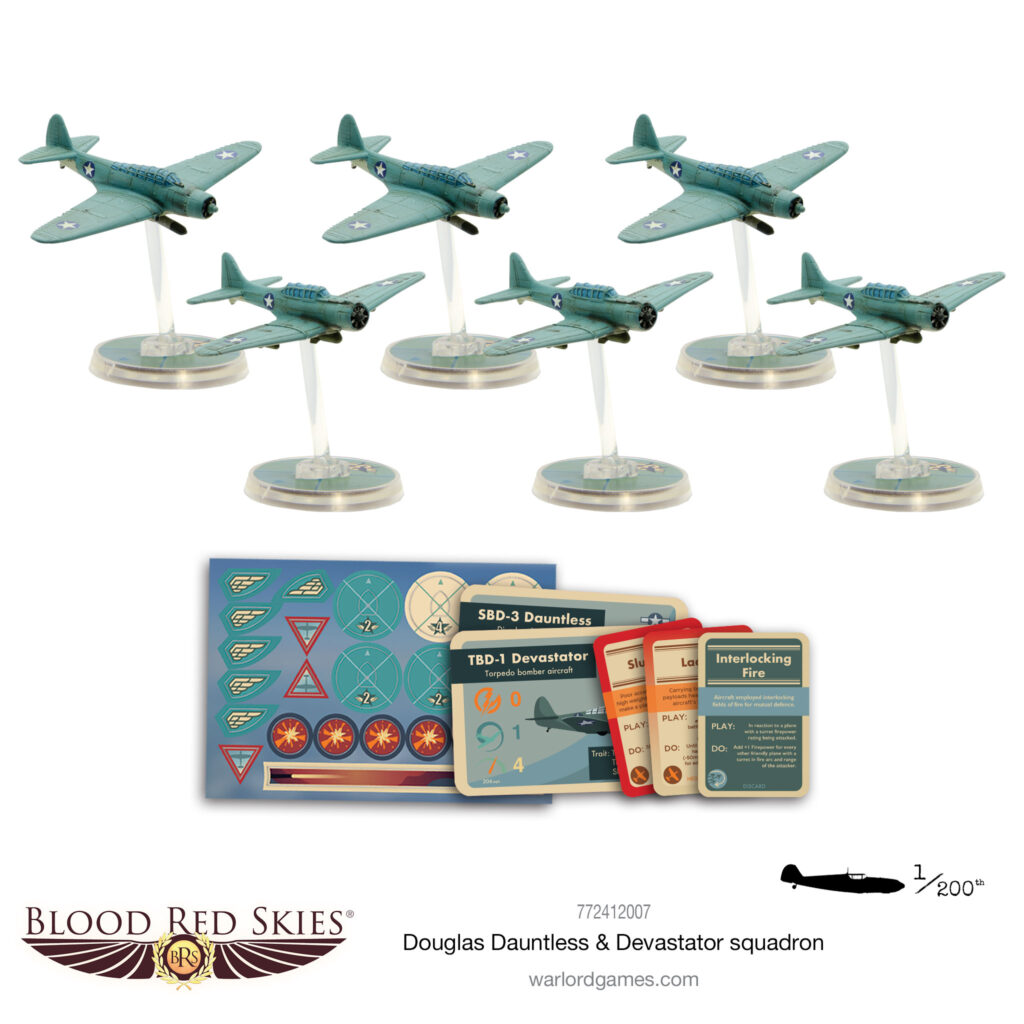
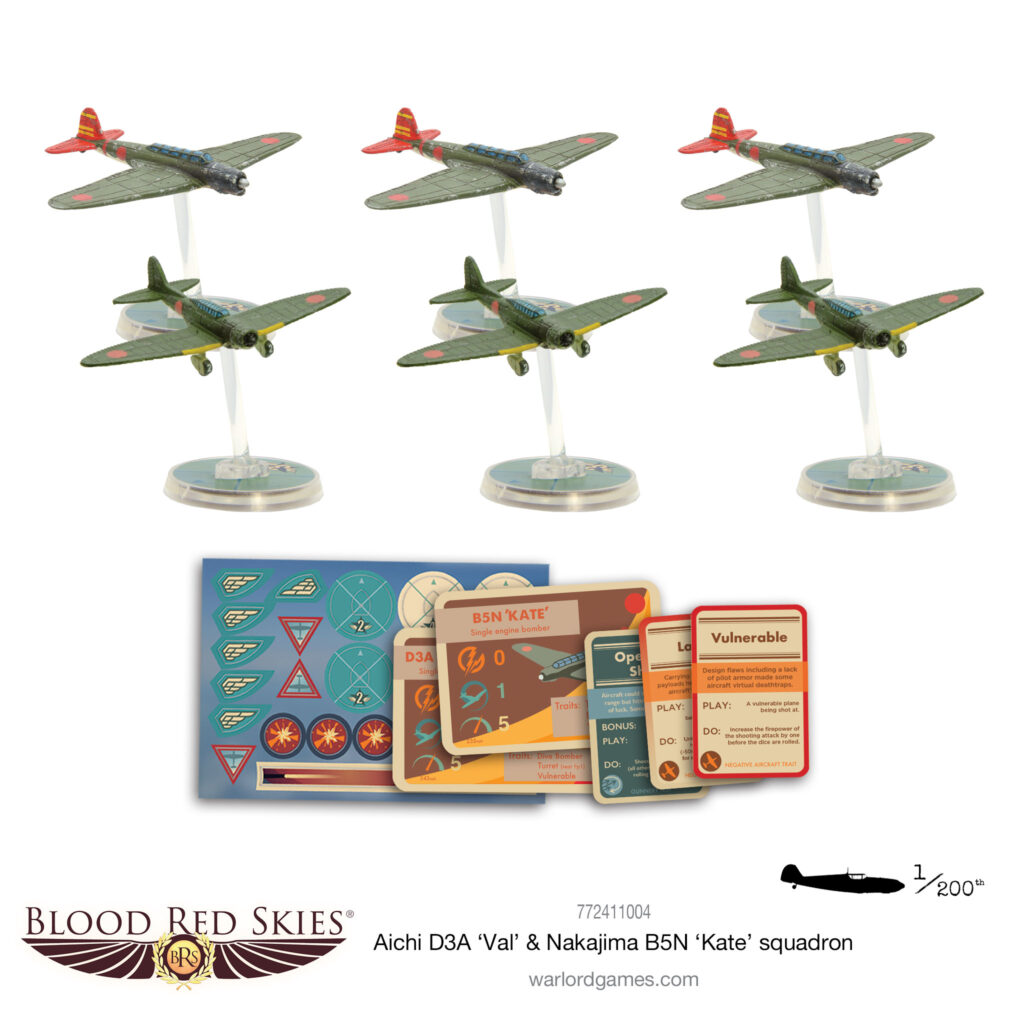
Though all pilots should fear flak, it is the bombers that most frequently fly right into danger. Get ready to refight the Battle of Midway using Blood Red Skies with the famous torpedo-bombers and dive-bombers that sealed the fate of the larger Pacific Theatre.
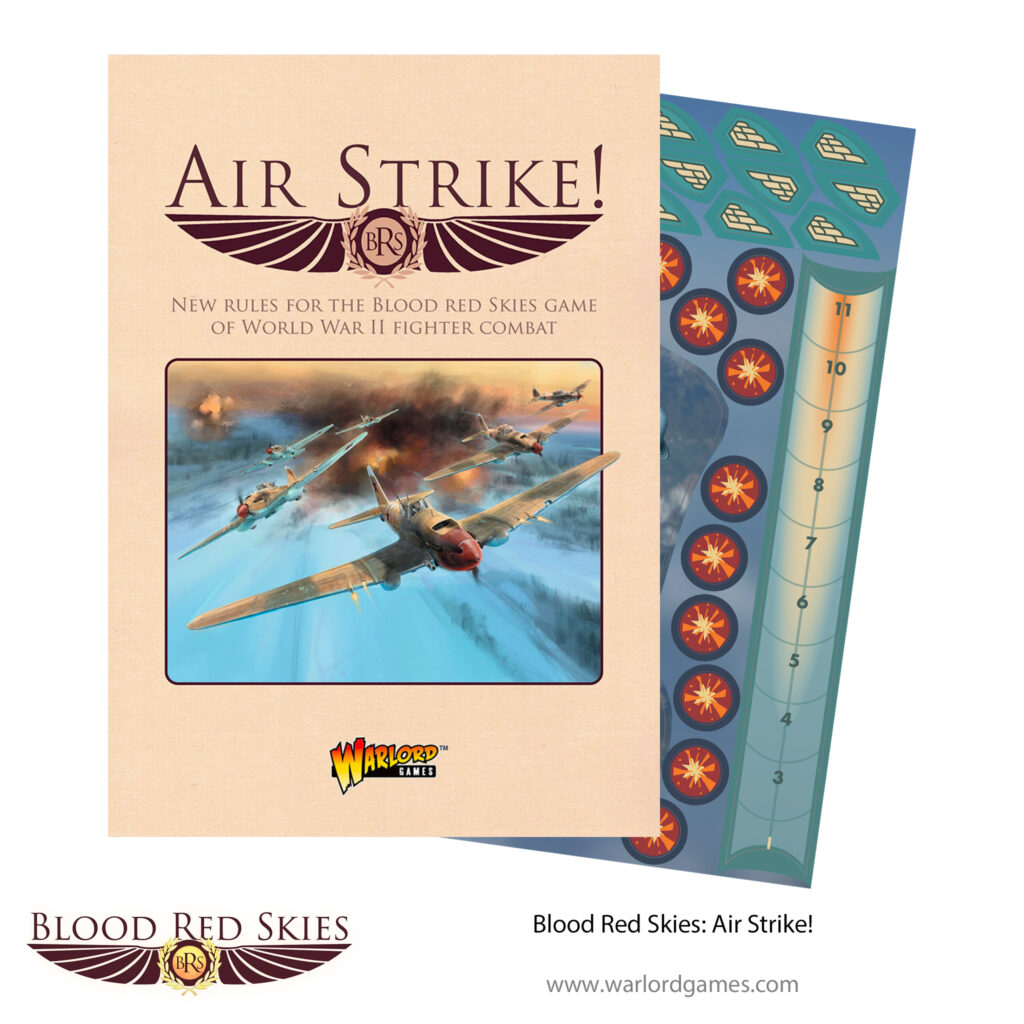
Find additional rules for more ground attack targets within the Blood Red Skies Rules compendium: Air Strike!
2 comments
Great article, Dan! And that pesky Light Flak Final Defensive Fire also affects those disadvantaged Torpedo bombers, too. Keep up the good work on all of the Blood Red Skies articles, and maybe we’ll get a chance to play you one of these years!
Yes, very interesting. An excellent example. Please write more about BRS !!! Thanks.
Comments are closed.