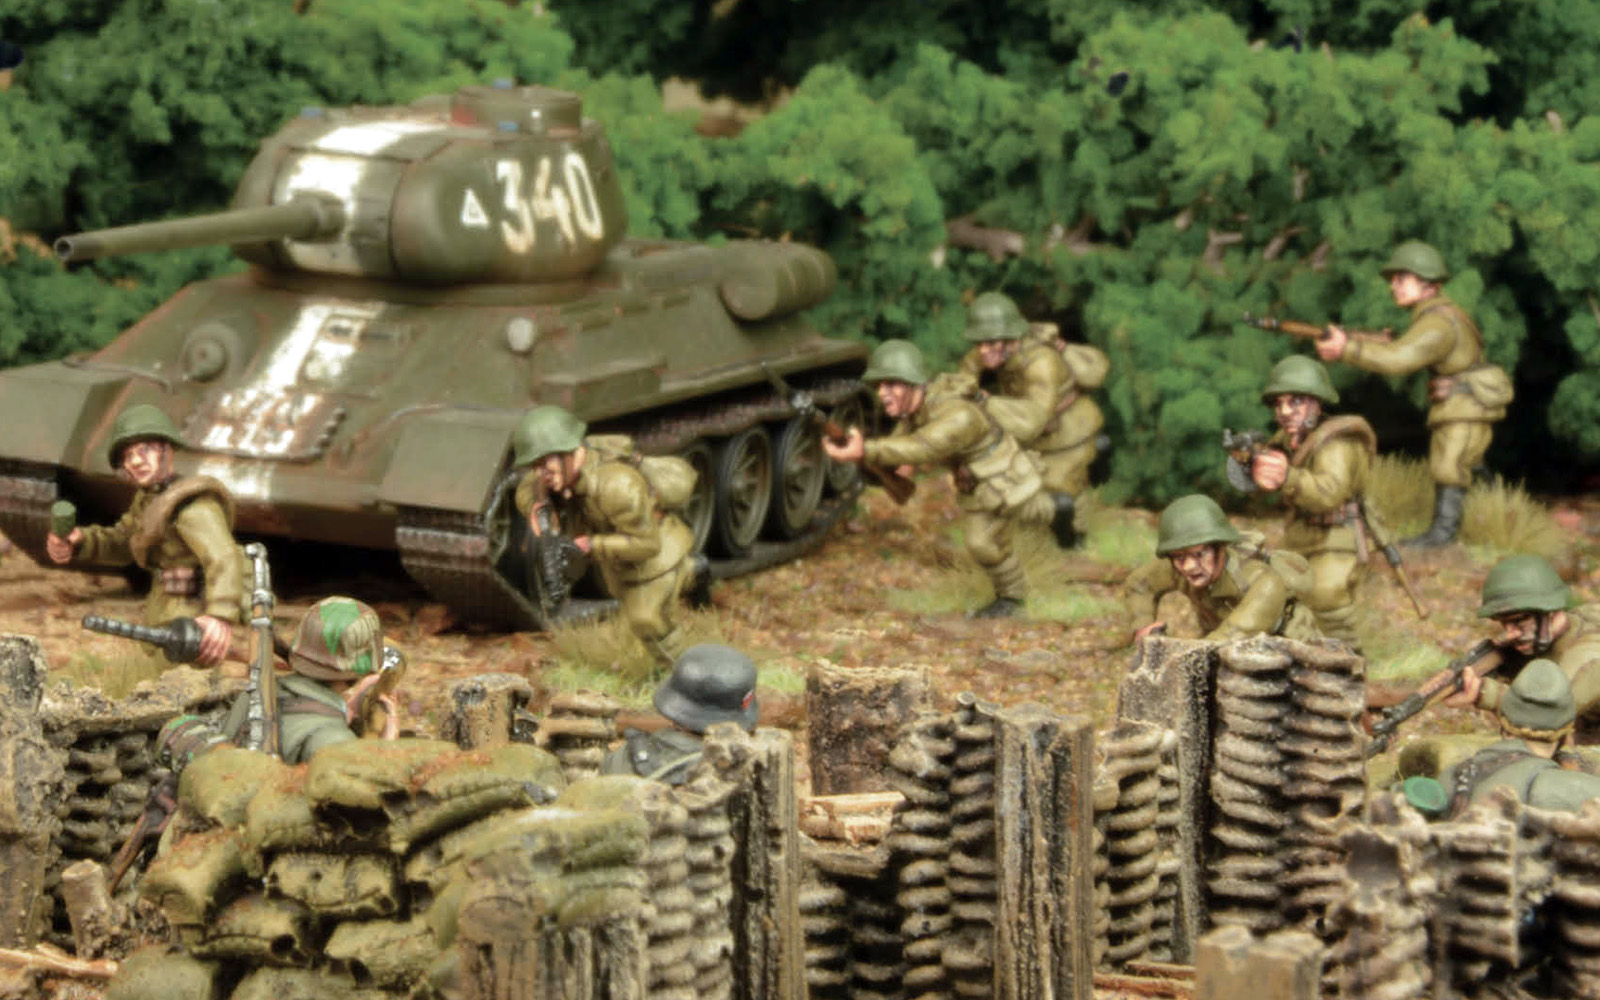
Bolt Action is, first and foremost, a game of infantry combat. As in real life, the majority of that tabletop combat takes place with small arms at short or medium ranges, with limited amounts of supporting assets in the form of armour and artillery. Historically, close-quarters action (by which I mean hand-to-hand fighting and point-blank shooting and grenade use) was comparatively rare, with only a tiny fraction of the total casualties in World War Two being attributed to bayonets or pistols and improvised weapons. Nevertheless, when such fighting did take place, it was usually decisive, with the losing side either surrendering or being wiped out completely – and the winners often not looking much better! In Bolt Action, we abstract this to a brutally simple equation: two units enter – one unit leaves (unless, of course, they manage to wipe each other out – then neither unit leaves)!
Pound-for-pound, an assault is probably the quickest and most efficient way to take an enemy unit off the table in Bolt Action, as there’s no rolling to hit – but it’s also the riskiest! Get it right, and you’ll leave a huge hole in your opponent’s line. Mess it up, and you’ll be left putting your models back into the figure case in shame. The trick is, of course, not to mess it up! While the Dice Gods are frequently unkind and should never be relied upon for victory, there are a number of things you can do to maximise your chances of success when assaulting.
1 – Pick the right target. Certain units, in certain situations, are far more vulnerable to an assault than others. As a general rule, try to avoid assaulting units with a higher troop quality than your own – they can destroy you more easily than you can them, and remember – it’s all about how many models you can take off the board! Similarly, units that are much larger than your own should be avoided unless the situation is absolutely desperate, as they’re likely to be rolling enough dice in return to stand a good chance of wiping you out. Finally, watch out for units toting plenty of SMGs – the Tough Fighters special rule (models with this special rule can roll extra dice should they inflict successful casualties) to roll rule can be a nasty surprise if your opponent can get some good rolls going.
2 – Pick the right attacker. Similar to the first point, you ideally don’t want to be using that five-man Inexperienced squad that you crammed into the list for an extra Order Dice and some objective-capturing bodies to go mano a mano with a big, nasty bunch of SMG-armed Veterans! If you’re going to make hand-to-hand combat a regular feature of your army list and playstyle, you need to get the professionals in. Full-size squads of tooled-up Veterans are certainly tempting, and can be very effective (particularly when combined with special rules like Fanatics or Banzai), but are also very expensive, and will leave less room for the other crucial components of the list. Personally, I find a nice large squad of Regulars to be a nice middle ground. As an example, late-war British infantry (particularly with the Blood-Curdling Charge special rule protecting them from reaction fire) serve quite nicely, and can also perform more ‘standard’ infantry duties capably enough if no target for an assault presents itself.
3 – Pick the right moment. Just because you can launch an assault against an enemy unit, doesn’t mean you should. There are plenty of situations where it might be better to simply shoot them up instead (especially if they’re in an exposed position at short range) or hold off and wait for a better moment – there’s no point charging a unit in cover if you know that they’ll have to leave it next turn to claim a vital objective! If they haven’t activated that turn, wait until they have – that means no pesky reaction fire to worry about on the way in! Similarly, if you can wait until the last moment to make the attack, you don’t need to be concerned about immediate retaliation – until the next turn, at least!

4 – Watch for traps. It’s no good having your rock ‘ard Gurkhas pile in and massacre that hapless squad of Shtrafbat Shirkers if it’ll leave them high and dry with no cover and firmly in the sights of an enemy howitzer or SMG squad! A cunning enemy can use your aggression against you, using weaker units as bait to draw your powerful attacking units out of position so they can easily be destroyed. Always, always, always look before you charge! Assaults are a powerful weapon, but should only be deployed when the odds are stacked firmly in your favour, or in times of absolute desperate need, as they can quickly become a very good way to throw away perfectly good units if done poorly.
And finally…
5 – Make sure you’re actually in range! We’ve all been there, and there’s nothing worse than finding your prize unit stranded 1” short of their target – in the best-case scenario you’ll look a bit silly, and at worst your opponent will gleefully make your now out-of-position unit pay dearly. If you’re looking to play a close-quarters-focussed force, it’s worth getting very good at eyeballing 12” from above!
Up and at ‘em, lad! Get stuck in!


1 comment
Also, watch out for your own FAO markers!
I played at Warlord’s Store a couple of weeks ago, 5 of us went so we each took 500 pts and wound up with an allied game – Gurkhas and Paras vs. Russians and Japanese (yeah, oddball match up).
The Gurkhas successfully charged some Japanese infantry and wiped them out (got to love Scary Blighters + Tough Fighters, even vs. Fanatics). Then the artillery barrage triggered…and the only casualties were the Gurkhas who got reduced to a single man!
Comments are closed.