Ahhhh, multi-launchers. If you’ve ever played a competitive game of Bolt Action, chances are you’ve run into something like a Nebelwerfer or Katyusha facing you across the table. Often they’ll just be sitting there, menacingly, waiting for their turn to roll a slack handful of sixes and remove half your army in a single activation. At least, that’s the theory. If they were as reliably deadly as all that, then nobody would ever win a game without one, and as many tournaments have shown us, that just isn’t the case. With the Bolt Action Grand Tournament 2023 on the horizon and approaching fast, it’s the perfect time to take a look at these powerful units, how to get the most out of them, and (perhaps more importantly) how to counter them!
Firstly, let’s establish exactly what we’re talking about when we say ‘multi-launcher’. Page 72 of your Bolt Action rulebook has you covered, and the free FAQ (available here) has some useful clarifications. We’ll be dealing with two primary types of multi-launcher as well – those mounted on vehicles, and those deployed as foot artillery. In either case, the weapon system itself functions in exactly the same way, but the differing platforms require different tactics both in utilisation and neutralisation. There’s also the subset of launchers on armoured vehicles, which we’ll talk about as well. Let’s get to it!
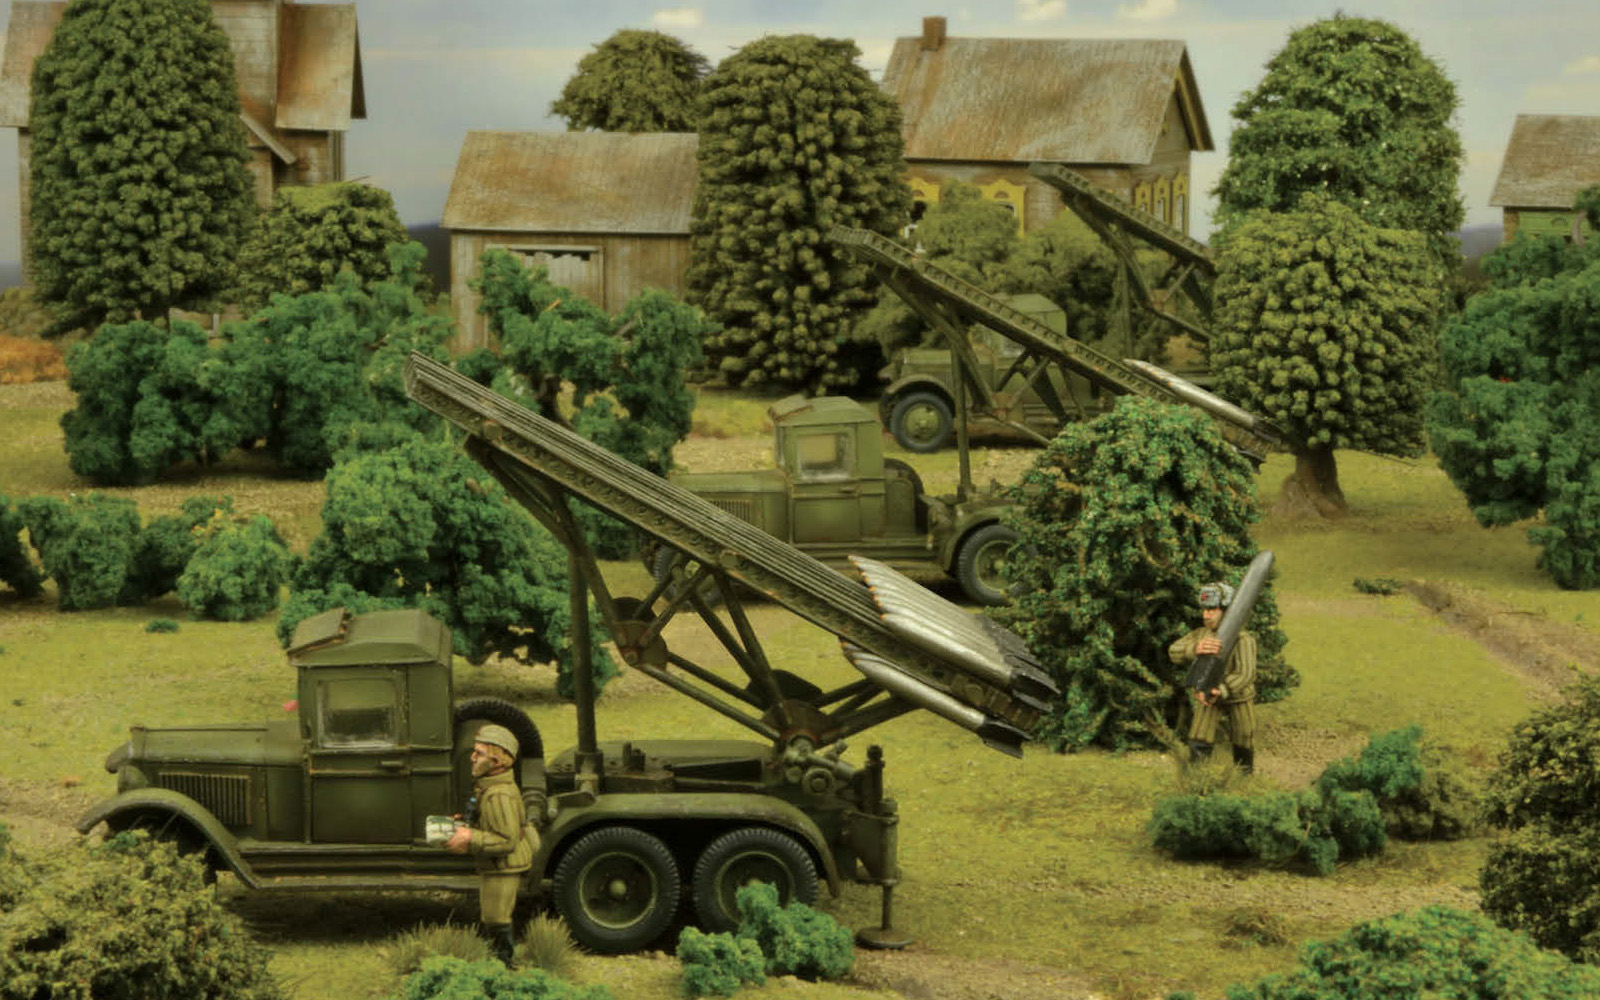
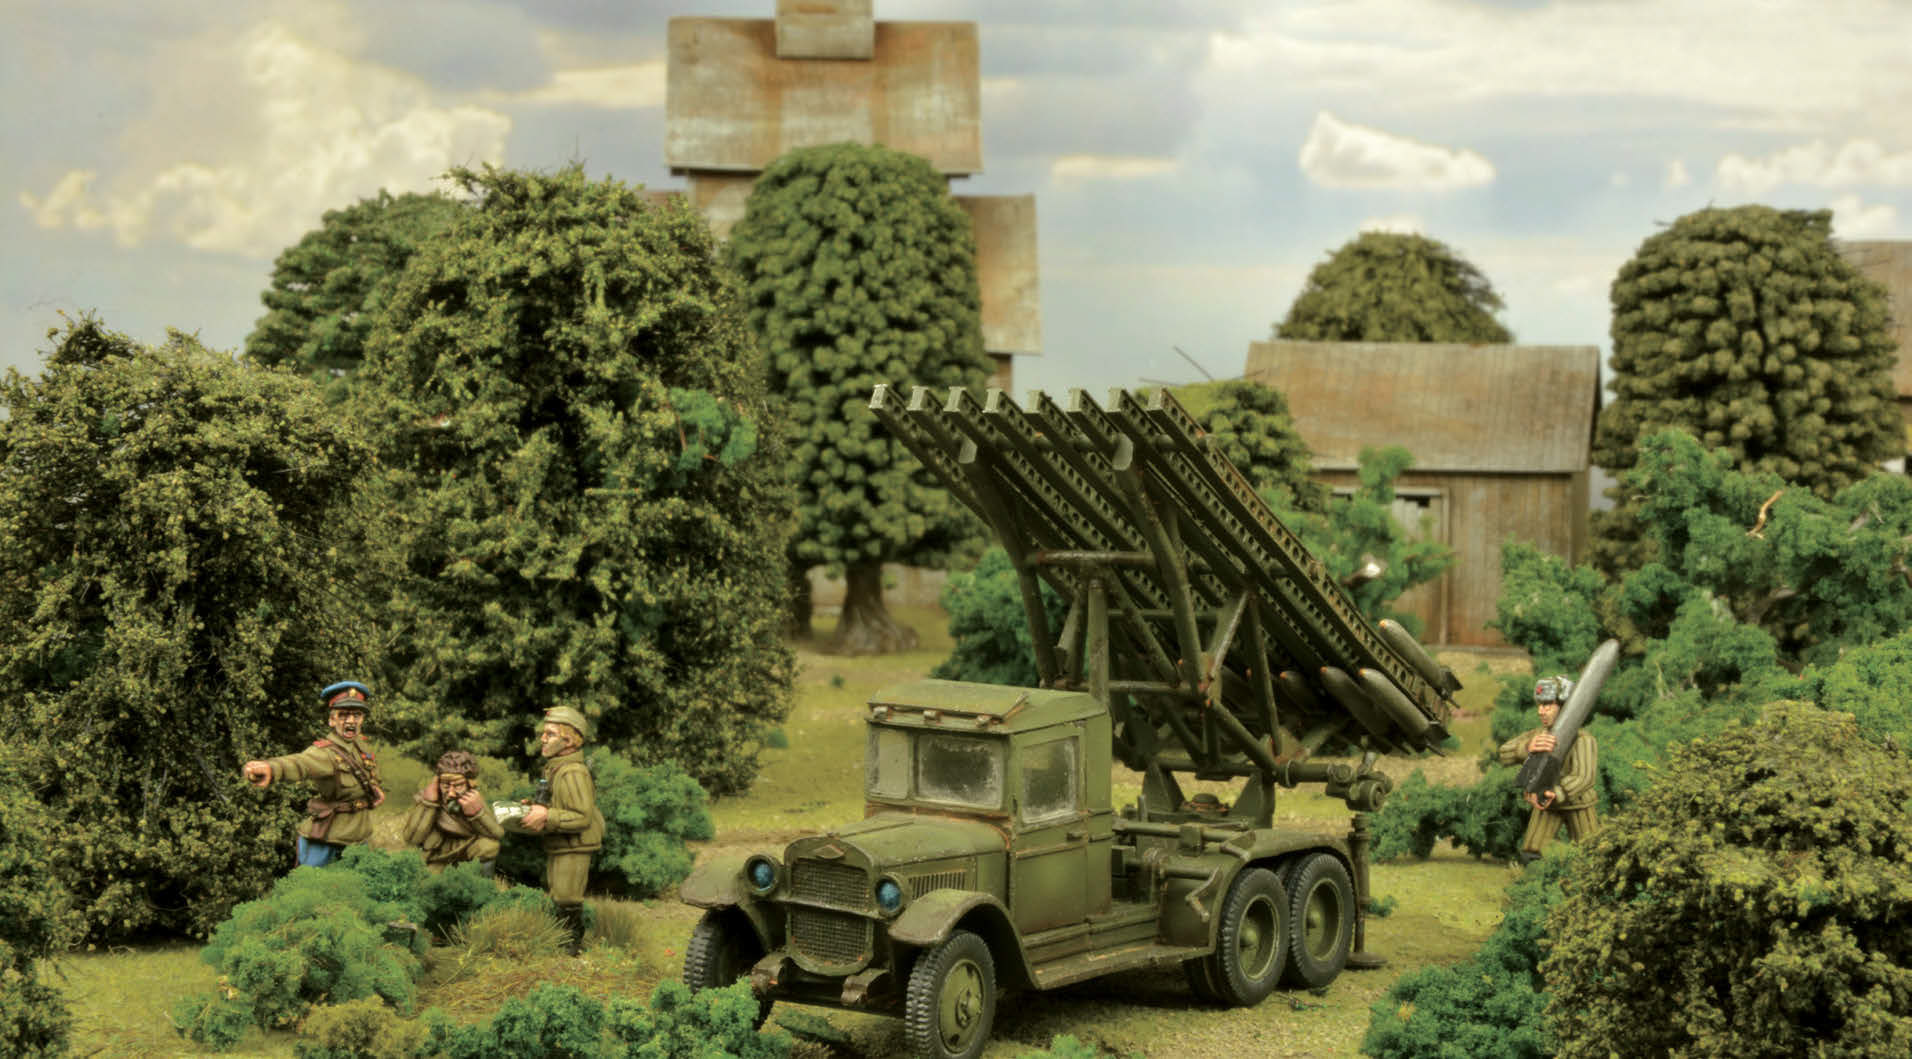
We’ll start with how to get the most out of your multi-launchers. When used correctly, and with a little (or a lot) of luck, they can be a powerful force on the tabletop, but there’s more to it than just trying to roll sixes (although that is a fairly crucial step!). It all starts at the deployment step, pre-battle. Regardless of whether you’re using a vehicle-based launcher or footslogging it, multi-launchers aren’t the most durable bits of kit out there, so in scenarios where you have to bring them on as part of your First Wave, make sure they’re one of (if not the) last units you deploy – the last thing you want to have is your opponent bringing a tank on right after you deploy and blasting it into oblivion! If you’re able to deploy it on the table to start the game, there are a few things to consider over and above how you’d deploy a normal artillery piece. First off, you aren’t going to be using a spotter, so you actually have to be able to see your targets. This means that you’ll want, ideally, a central location in your deployment zone to maximise your field of view, but you’ll also want one with as much cover as possible. Balancing cover with visibility is a matter of compromise and personal choice, but I prefer to err very slightly on the side of ‘more cover’. For vehicle-mounted launchers, particularly soft-skins such as the Katyusha, this is even more crucial, given their higher profile and increased vulnerability. Armoured launchers can to an extent be deployed to take best advantage of line-of-sight, but care should be taken not to leave them too exposed – a 7+ Damage value is fine against small arms but won’t cause most dedicated anti-tank weaponry much (if any) concern.
With your multi-launcher deployed, it’s time to get to the fun (or frustrating, depending on the esteem in which the Dice Gods hold you) part – shooting! As a guiding principle, you want to be looking to shoot early, and shoot often, as your opponent will be trying to get rid of your launcher as quickly as humanly possible. You may only get one or two chances – make them count! While situationally you may have a pressing need to make another unit your first activation (for example, if your tank is in a duel with enemy armour or you have a vital unit stuck in an unfortunate location), it’s always a good idea to fire your multi-launcher as one of your very earliest activations each turn, thereby maximising the chance of scoring hits before your opponent can neutralise it. The opening turns of a game are also the best time to do some serious damage, as your opponent’s forces will tend to be more bunched up, simply by dint of the fact they’ve had to be squeezed into a deployment area. Aiming for the densest concentration of enemy troops gives you the most units possible within 6” of the initial template, and that of course means you get more chances to roll some 6s and drop some high explosive nastiness on enemy heads! While there’s only a slim chance (and certainly no guarantee) of rolling multiple 6s, those beautiful moments when it does go off perfectly can absolutely decimate an enemy force, putting you in a great position from an early stage in the game. There’re also some particularly nasty tricks you can pull off when targeting buildings, but I’d advise checking with your gaming buddies or Tournament Organisers about exactly how they’re handling buildings in any particular game before you try them!
Now, that all sounds pretty ferocious, right? Who in their right mind would want to play against a multi-launcher? What can wargamers do against such reckless cheese? Actually, quite a bit! There are a couple of fairly basic tricks that you can employ to minimise the effect multi-launchers can have and a couple more strategies you can employ to neutralise them as quickly as possible. To start with, SPREAD OUT! If you know you’re going to come under multi-launcher fire, try and keep your valuable units more than 6” away from each other – this minimises the potential impact of multiple shots, and forces the launcher to act basically like any other heavy mortar – still scary if it hits, but only hurting one unit. Now, it may not always be possible to spread your forces out completely, as tables have an irritating habit of having terrain on them! In this case, we’ll take our cue from the Monty Python gang, and try not to be seen. Use line-of-sight blocking terrain to the utmost – remember, those launchers can only shoot at what they can see! Finally, you’ll want to close the range to the enemy as quickly as possible. If there’s an enemy unit within 6” of the original multi-launcher template, the shot is wasted, so get in close and use them to spoil the shot – while you’re there, you can get a bit of killing done as well!
In terms of strategies to get rid of enemy multi-launchers, aggression is your friend, and handily I’ve already written a guide on that! Getting up the table quickly will enable you to spread out, get out of line-of-sight, and close with enemy units as we discussed above, and will also bring you closer and closer to the launchers’ minimum range. Once you’re inside 12” you’re safe, but what’s far more likely to happen first is you’ll have plenty of enemy units spoiling the shot. This effectively neutralises the launcher, but to get rid of them completely you’ll need to take some more offensive action. Very simply, shoot the absolute hell out of them! For crew-served multi-launchers and soft-skin vehicles, hammer away as soon as you get in range with anything that doesn’t have a more vital target – they’re ideal for those long-range LMG shots and officer teams at a loss for something to do. While you’ll likely need 6s or 7s to hit (if your opponent has read the first half of this article), many shots give you the best chance possible of a few hits, and they aren’t exactly hardened targets! Even if you don’t immediately kill the launcher, you can start piling the pins on and make them need to pass Order Checks to do anything. For armoured targets, consider tasking an armoured car or tank to take them out as a first priority, or (even better) start ranging in on them with your indirect fire weapons. This will force them to choose between shooting and survival, as your rounds get closer and closer…
Mark your target, and your other target, and your other other target! It’s time to werf some Nebel!
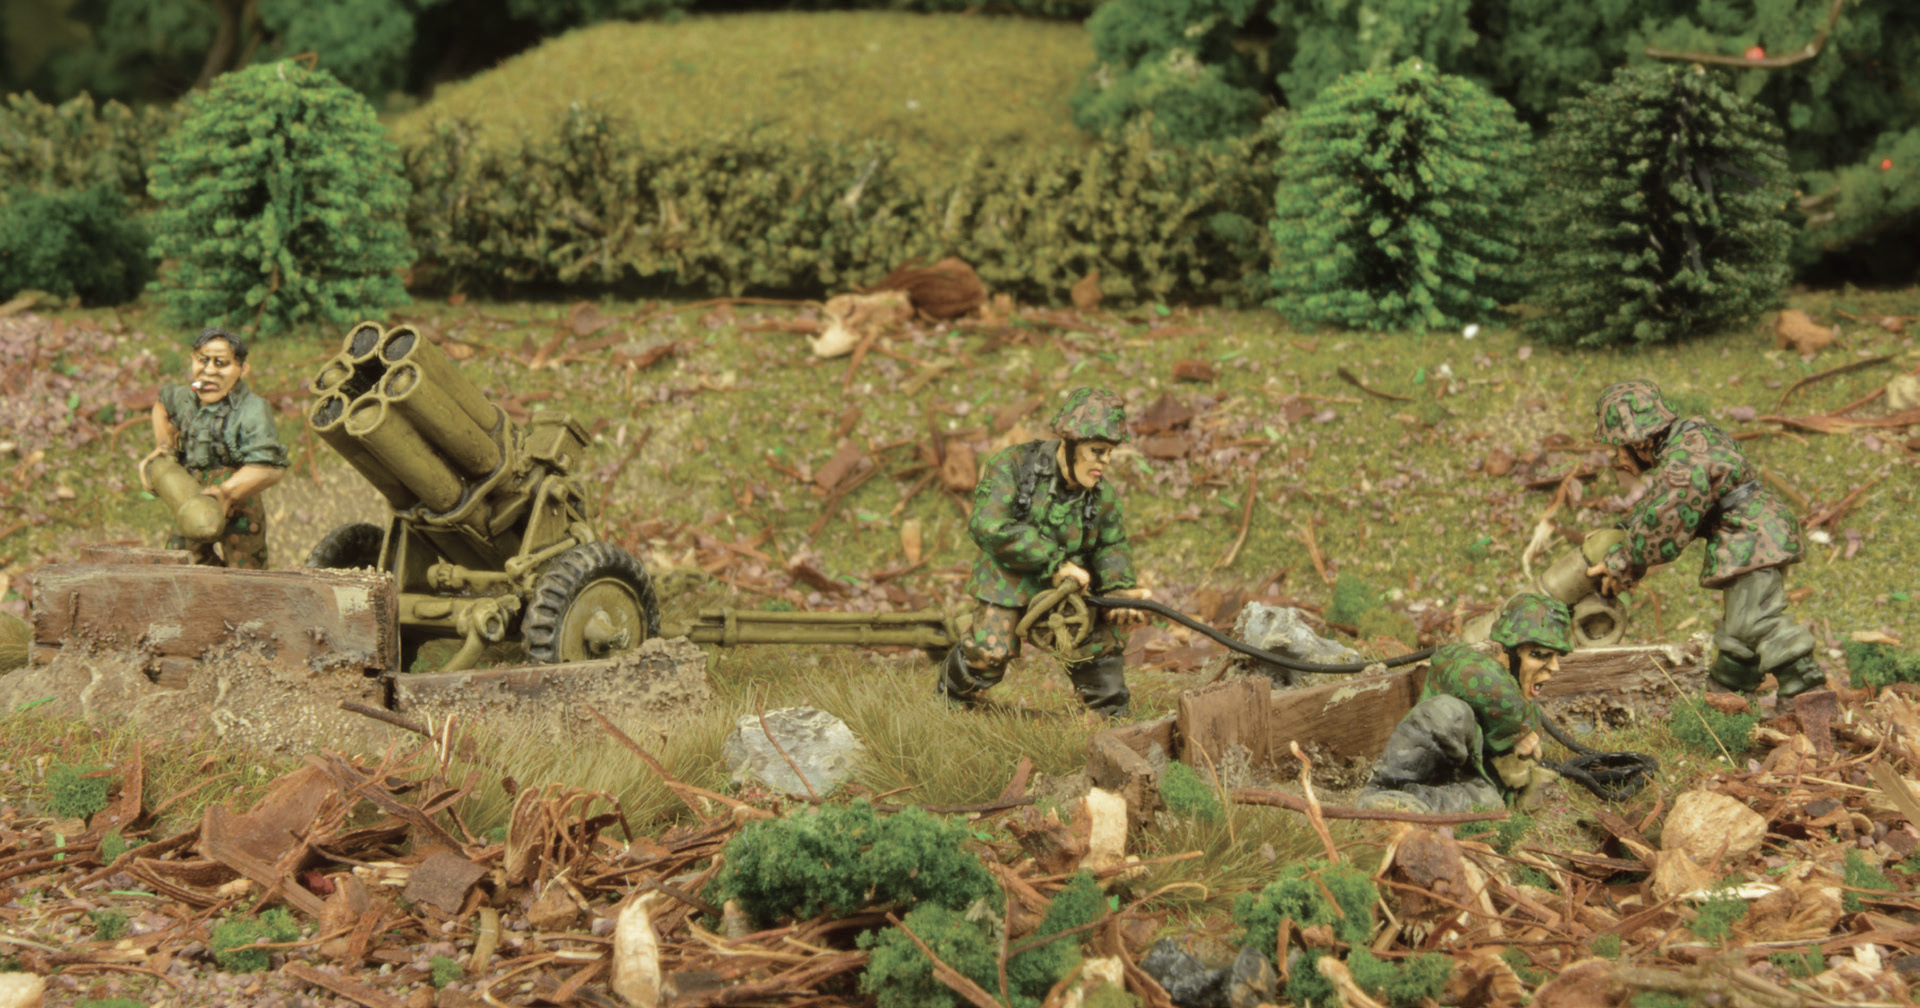
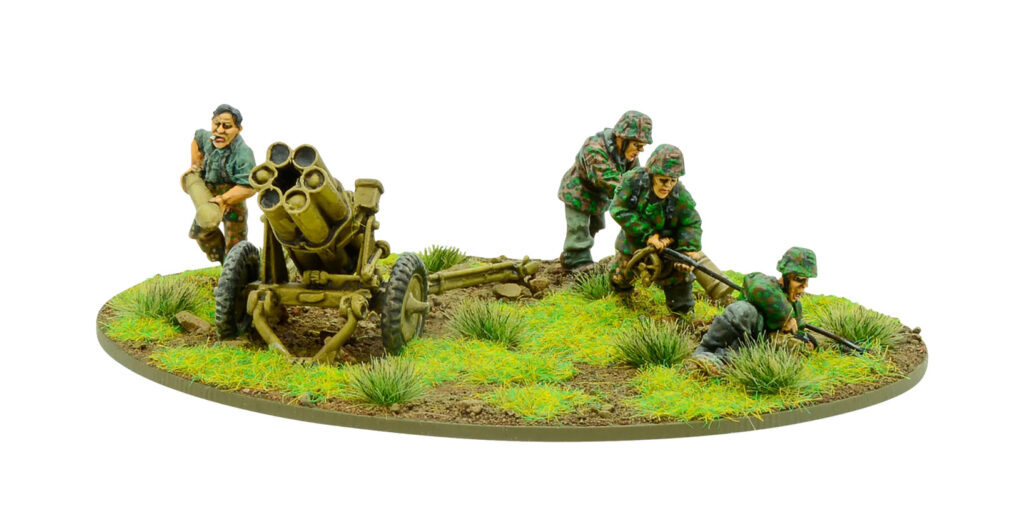
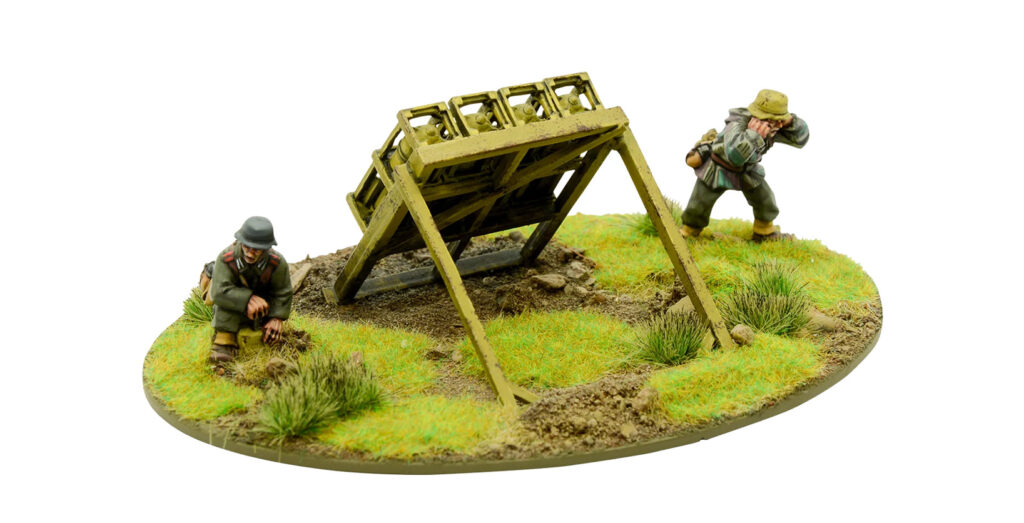
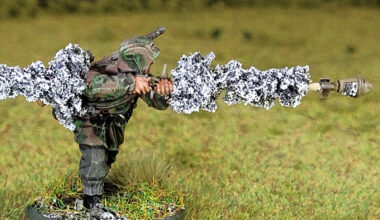
Infantry Multi-Launchers
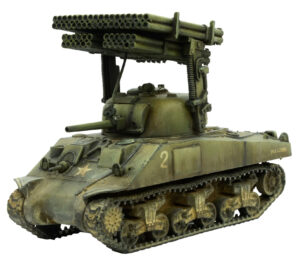
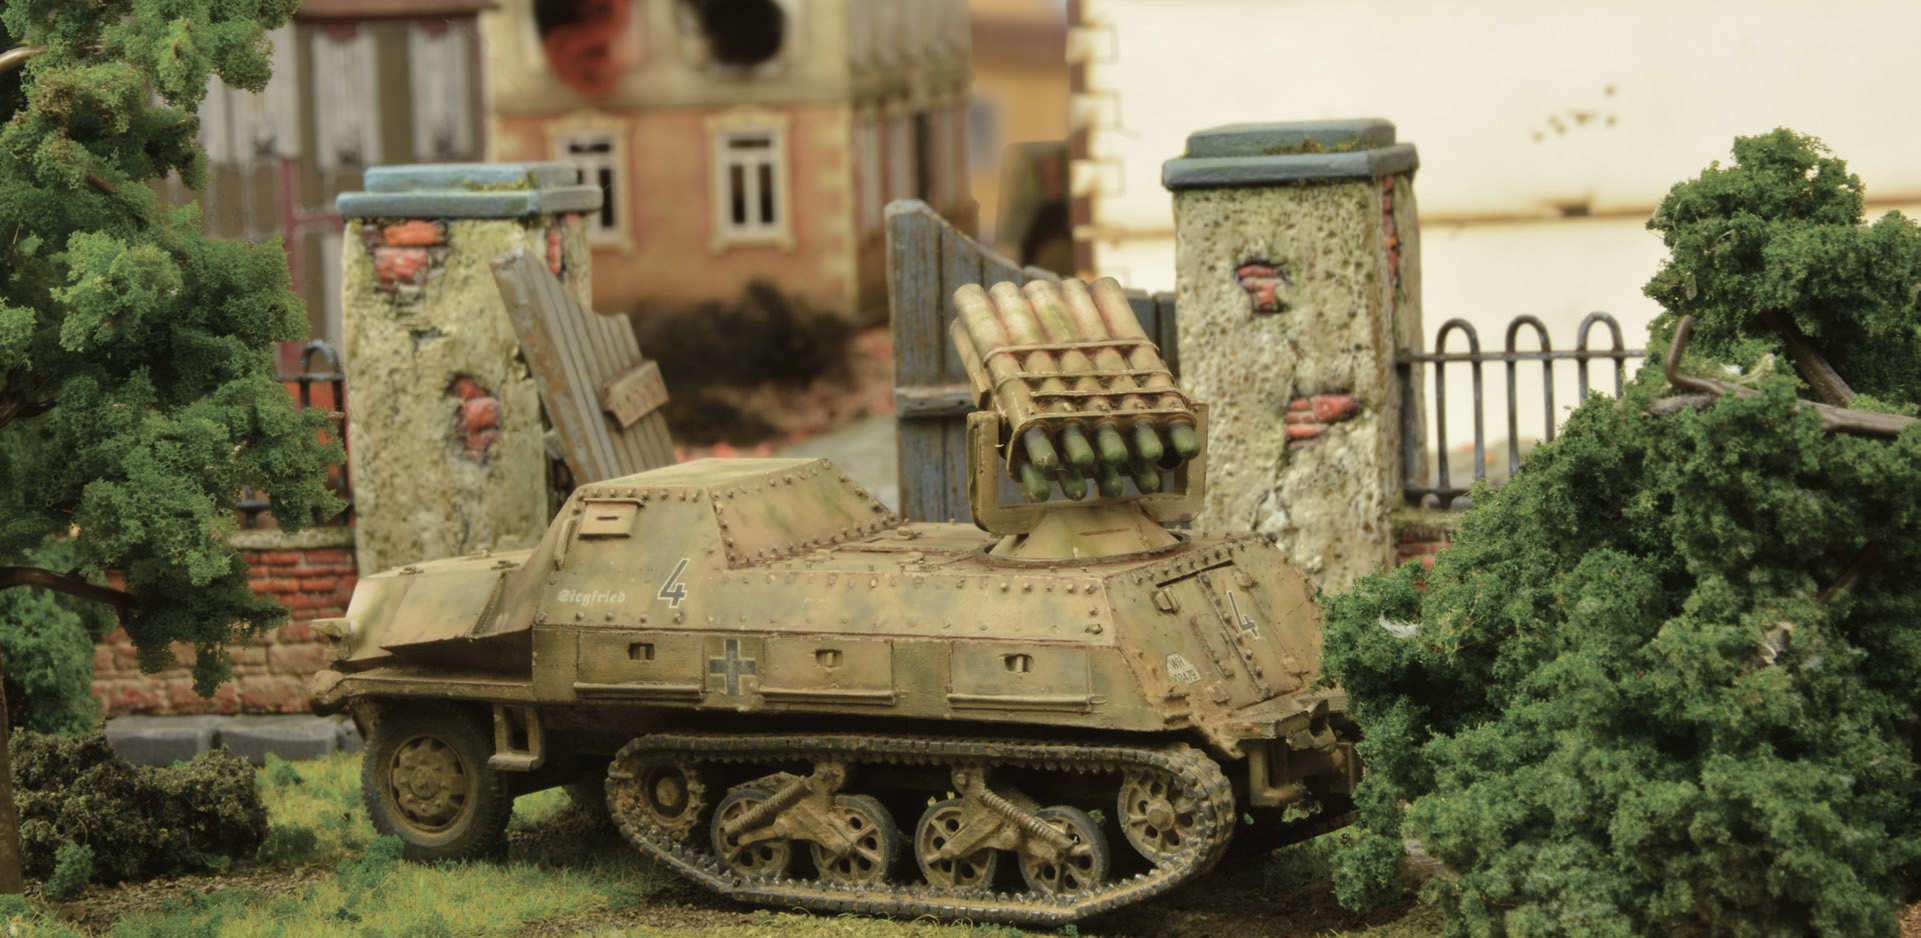
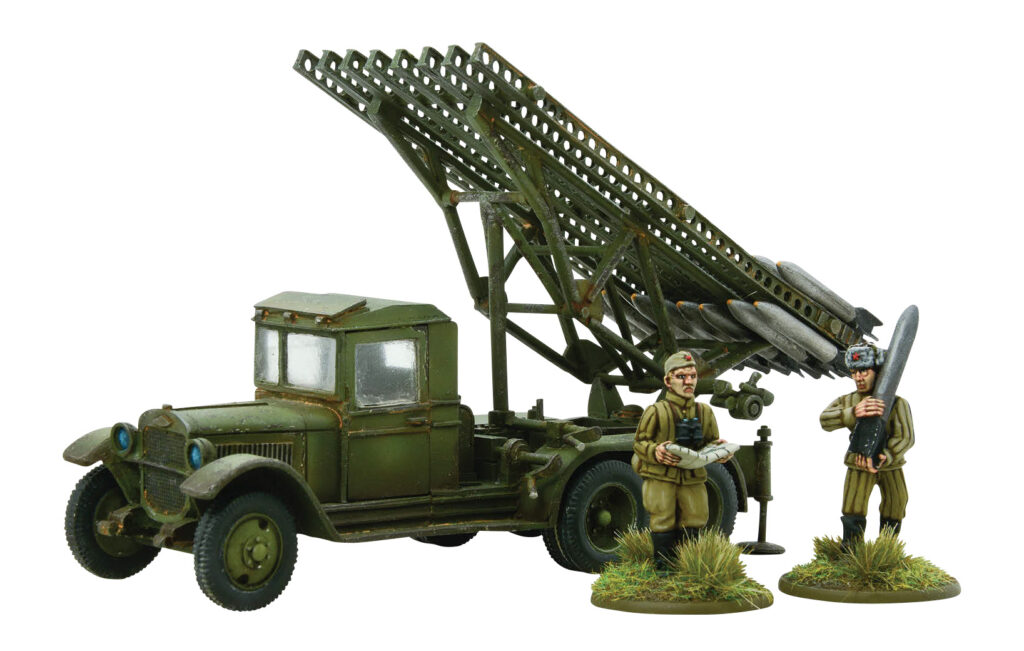
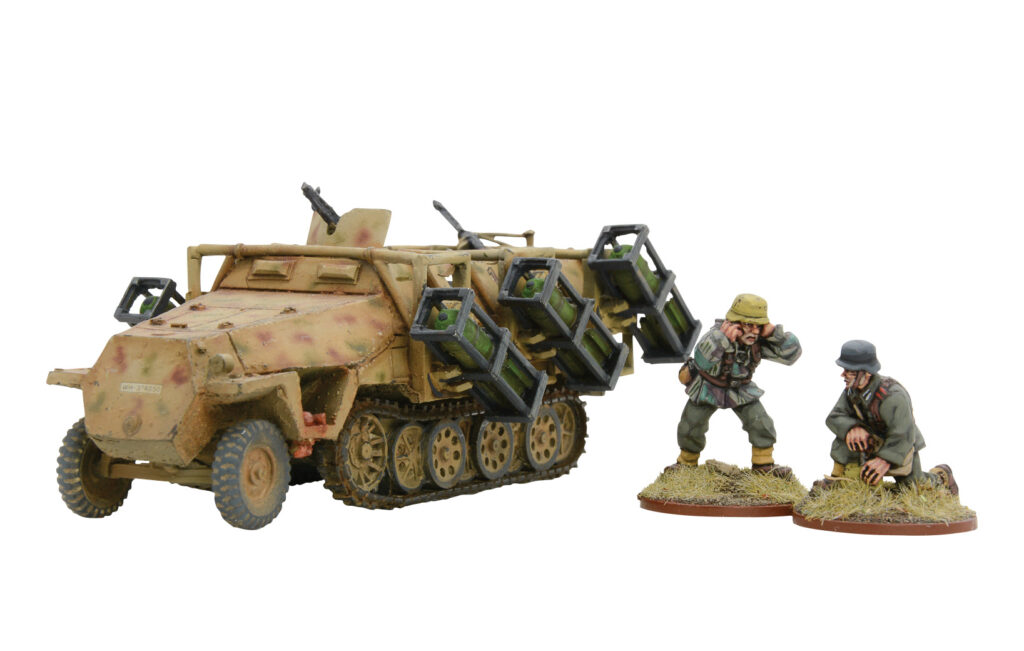
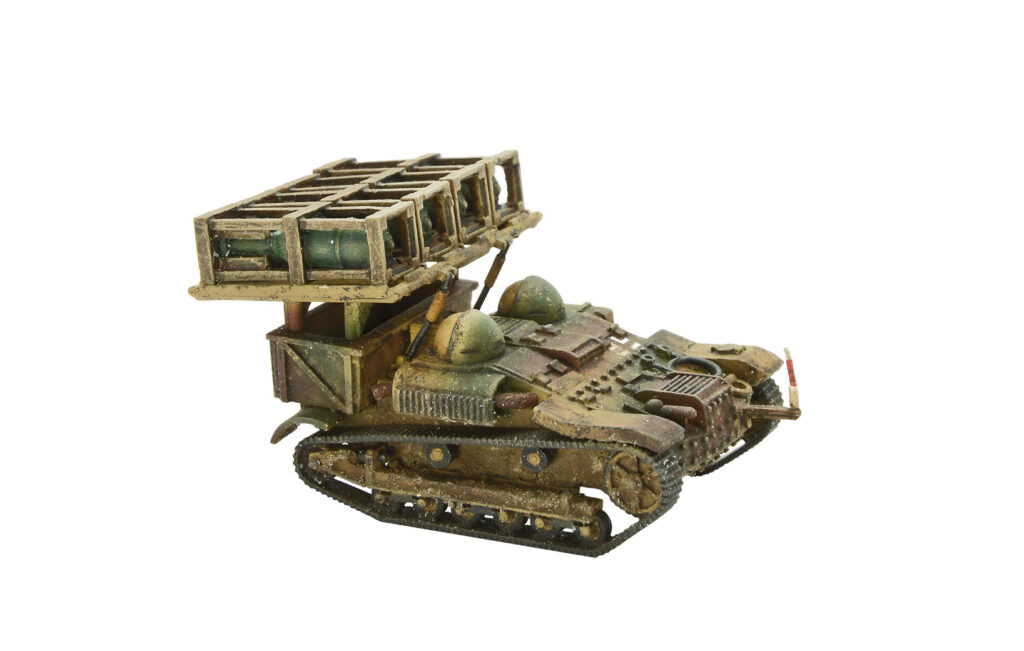
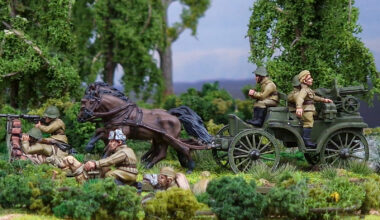
Vehicle Multi-Launchers

3 comments
Turn 1 you’re not going to be shooting much at MLRS especially if it’s among the last units on the board.
Assuming MLRS hangs around on back line and most likely in cover (even if cover is a friendly unit), second turn you’re shooting will on average be 6s or 7s (+1 for moving, +1/+2 for cover, + 1 for range. Rifles aren’t even in range turn 1.
So that gives 2 turns of mobile MLRS shooting before you have a serious chance of hurting it. or at least 1 for normal MLRS.
And remember you’re having to contend with the rest of the opponent’s force as well.
Spreading units out favours the enemy. Say I have 12 units and they are spread out 7.5 inches so as to avoid MLRS. That means most of my force is unable to support itself due to distance and probably some terrain restrictions.
So you’re attacking or defending piece meal.
And then the issue of what happens if your opponent takes 2 or more MLRS? They aren’t exactly expensive. Some Soviet selectors allow 2 Katyushas for a grand total of 128 points. Even Germans can take 2 normally or if they take 2 platoons, can take 2 Nebs for a measly 104 points.
Sure they’re inexperienced but put them behind cover (eg wall/hedge) on the backline and they will pound away whilst the rest of the force occupies your own.
Canadians can deploy the Land Mattress multiple-launcher. I am hoping that you guys have a model of it in the works!
Rocket Launchers are probably one of the most broken weapons systems in Bolt Action. A rocket launcher can somehow fire at a target 12 inches away? 12 inches is the distance a man can run in one turn or the maximum effective range of an SMG, IMO approximately 100 yards. So a turn would be about 10 seconds or so, the time it takes to make an aimed rifle shot or for a man bearing arms and carrying equipment to run 100 yards. And somehow these multiple rocket launchers can fire every turn? IMO, it’s ludicrous to image a Katyusha or a Nebelwerfer or a Howling Cow firing at a target 100 yards away or that somehow these 2-4 man crews could even reload these launchers in a 10 second turn. I can’t image a multiple rocket launcher being able to fire more than once in a 6-turn game, much less be able to actually fire at anything within a 4ft by 8ft gaming table. I’ve seen tournament players list 2 platoons so they could field four rocket launchers; two ground mounts and two vehicle mounts. The idea that a couple of rifle platoons would have four rocket launchers attached to them is just silly. These are strategic-level artillery, probably assigned at brigade or higher, meant to fire at area targets miles away. I wonder if any effort has been made to fix this in Version 3?
Comments are closed.