Having spent the first six months of Konflikt ‘47 head-down in the playtesting mines, I rather fancied getting out and playing some games where I could cheer if something happened in my favour, rather than stopping to say “okay – now, was that how we want the rule to work?” every five minutes. (It’s a hard life playing with toy soldiers for a living – ed.) Handily, our HQ store had one of their excellent tournaments coming up – the perfect opportunity to get out and roll some dice.
As is tradition at this point, Marcus didn’t take any photos of his games – something about “needing to concentrate”! Handily, our TO team did get plenty of pictures, and since photo wizard Chris B. is on holiday, we made Marcus take his own army shots after the fact. It’s safe to say he should stick to writing – we’ve seen this army in person, and the photos he’s taken really don’t do it justice. Once Chris is back, we’ll get some proper photos taken to show it off in all its glory! -ed.
The Army
With a points limit of 1,750 and no Order or Rift Dice cap, this was a chance to bring out some really big toys, and handily I actually had a list more or less ready to rock and roll. A few months ago, I’d thrown together a little British Commonwealth collection, more for something to do than to any real purpose. This had been languishing for weeks on my desk until my good friend, clubmate, and Bolt Action Doubles teammate Colin Swinburne kindly offered to paint them for me in time for the event. Normally I wouldn’t play with models that I hadn’t painted (in a hurry) myself, but getting a tournament army done by Colin is a bit like being handed the keys to a Ferrari 296 and told to take it out for a blast – you just don’t say no!
After a little bit of fettling with the army list, I settled on a simple, if rather brutal concept. The Assault Platoon isn’t anything special, but once you get to the Walker Platoon you’ll see what I mean. It is worth noting that our HQ store events are gently ‘comped’ to encourage fun and thematic games over out-and-out list optimisation – I could absolutely make this list nastier, but this isn’t the event to do it at!
| Assault Platoon | ||||
| UNIT | QUALITY | UPGRADES | TOTAL MODELS | POINTS |
| Platoon Commander in Galahad Armour | Veteran | 2x additional soldiers, Heavy Tesla Rifle, PRIAMs, Stubborn, Tough Fighters, 1pt Guts | 3 | 151 |
| Galahad Armoured Infantry Squad | Veteran | PRIAMs, Stubborn, Tough Fighters | 4 | 160 |
| Galahad Armoured Infantry Squad | Veteran | PRIAMs, Stubborn, Tough Fighters | 4 | 160 |
| British Grenadiers | Veteran | Heavy Tesla Rifle, 3x Rifle Grenades | 5 | 117 |
| Artillery Forward Observer | Regular | 2x additional soldiers, 1x SMG, 1x Rifle | 3* | 99 |
| Light Mortar Team | Inexperienced | 2 | 21 | |
| *Marcus left one of the models at home… -ed. | ||||
| Armoured Walker Platoon | ||||
| Merlin Heavy Walker | Veteran | Command Vehicle | 1 | 448 |
| Hornet Medium Support Walker | Veteran | Computational Systems | 1 | 297 |
| Hornet Medium Support Walker | Veteran | Computational Systems | 1 | 297 |
| TOTALS: | 9 Order Dice | 3 Rift Dice | 24 Models | 1,750pts |
Do you like big dakka walkers? I like big dakka walkers! The theory behind this list is very simple – the Galahads and Grenadiers move up under cover to seize crucial objectives, while the walkers sprint around the field, doing the bulk of the damage with their guns and fists. The Light Mortar Team and Forward Observer are, to be perfectly honest, just there to make up the numbers a bit, and in the case of the FOO give me a small unit of Infiltrators that can ‘flip’ an objective at the start of the game and provide a little bit of secondary firepower early in the game with their barrage.
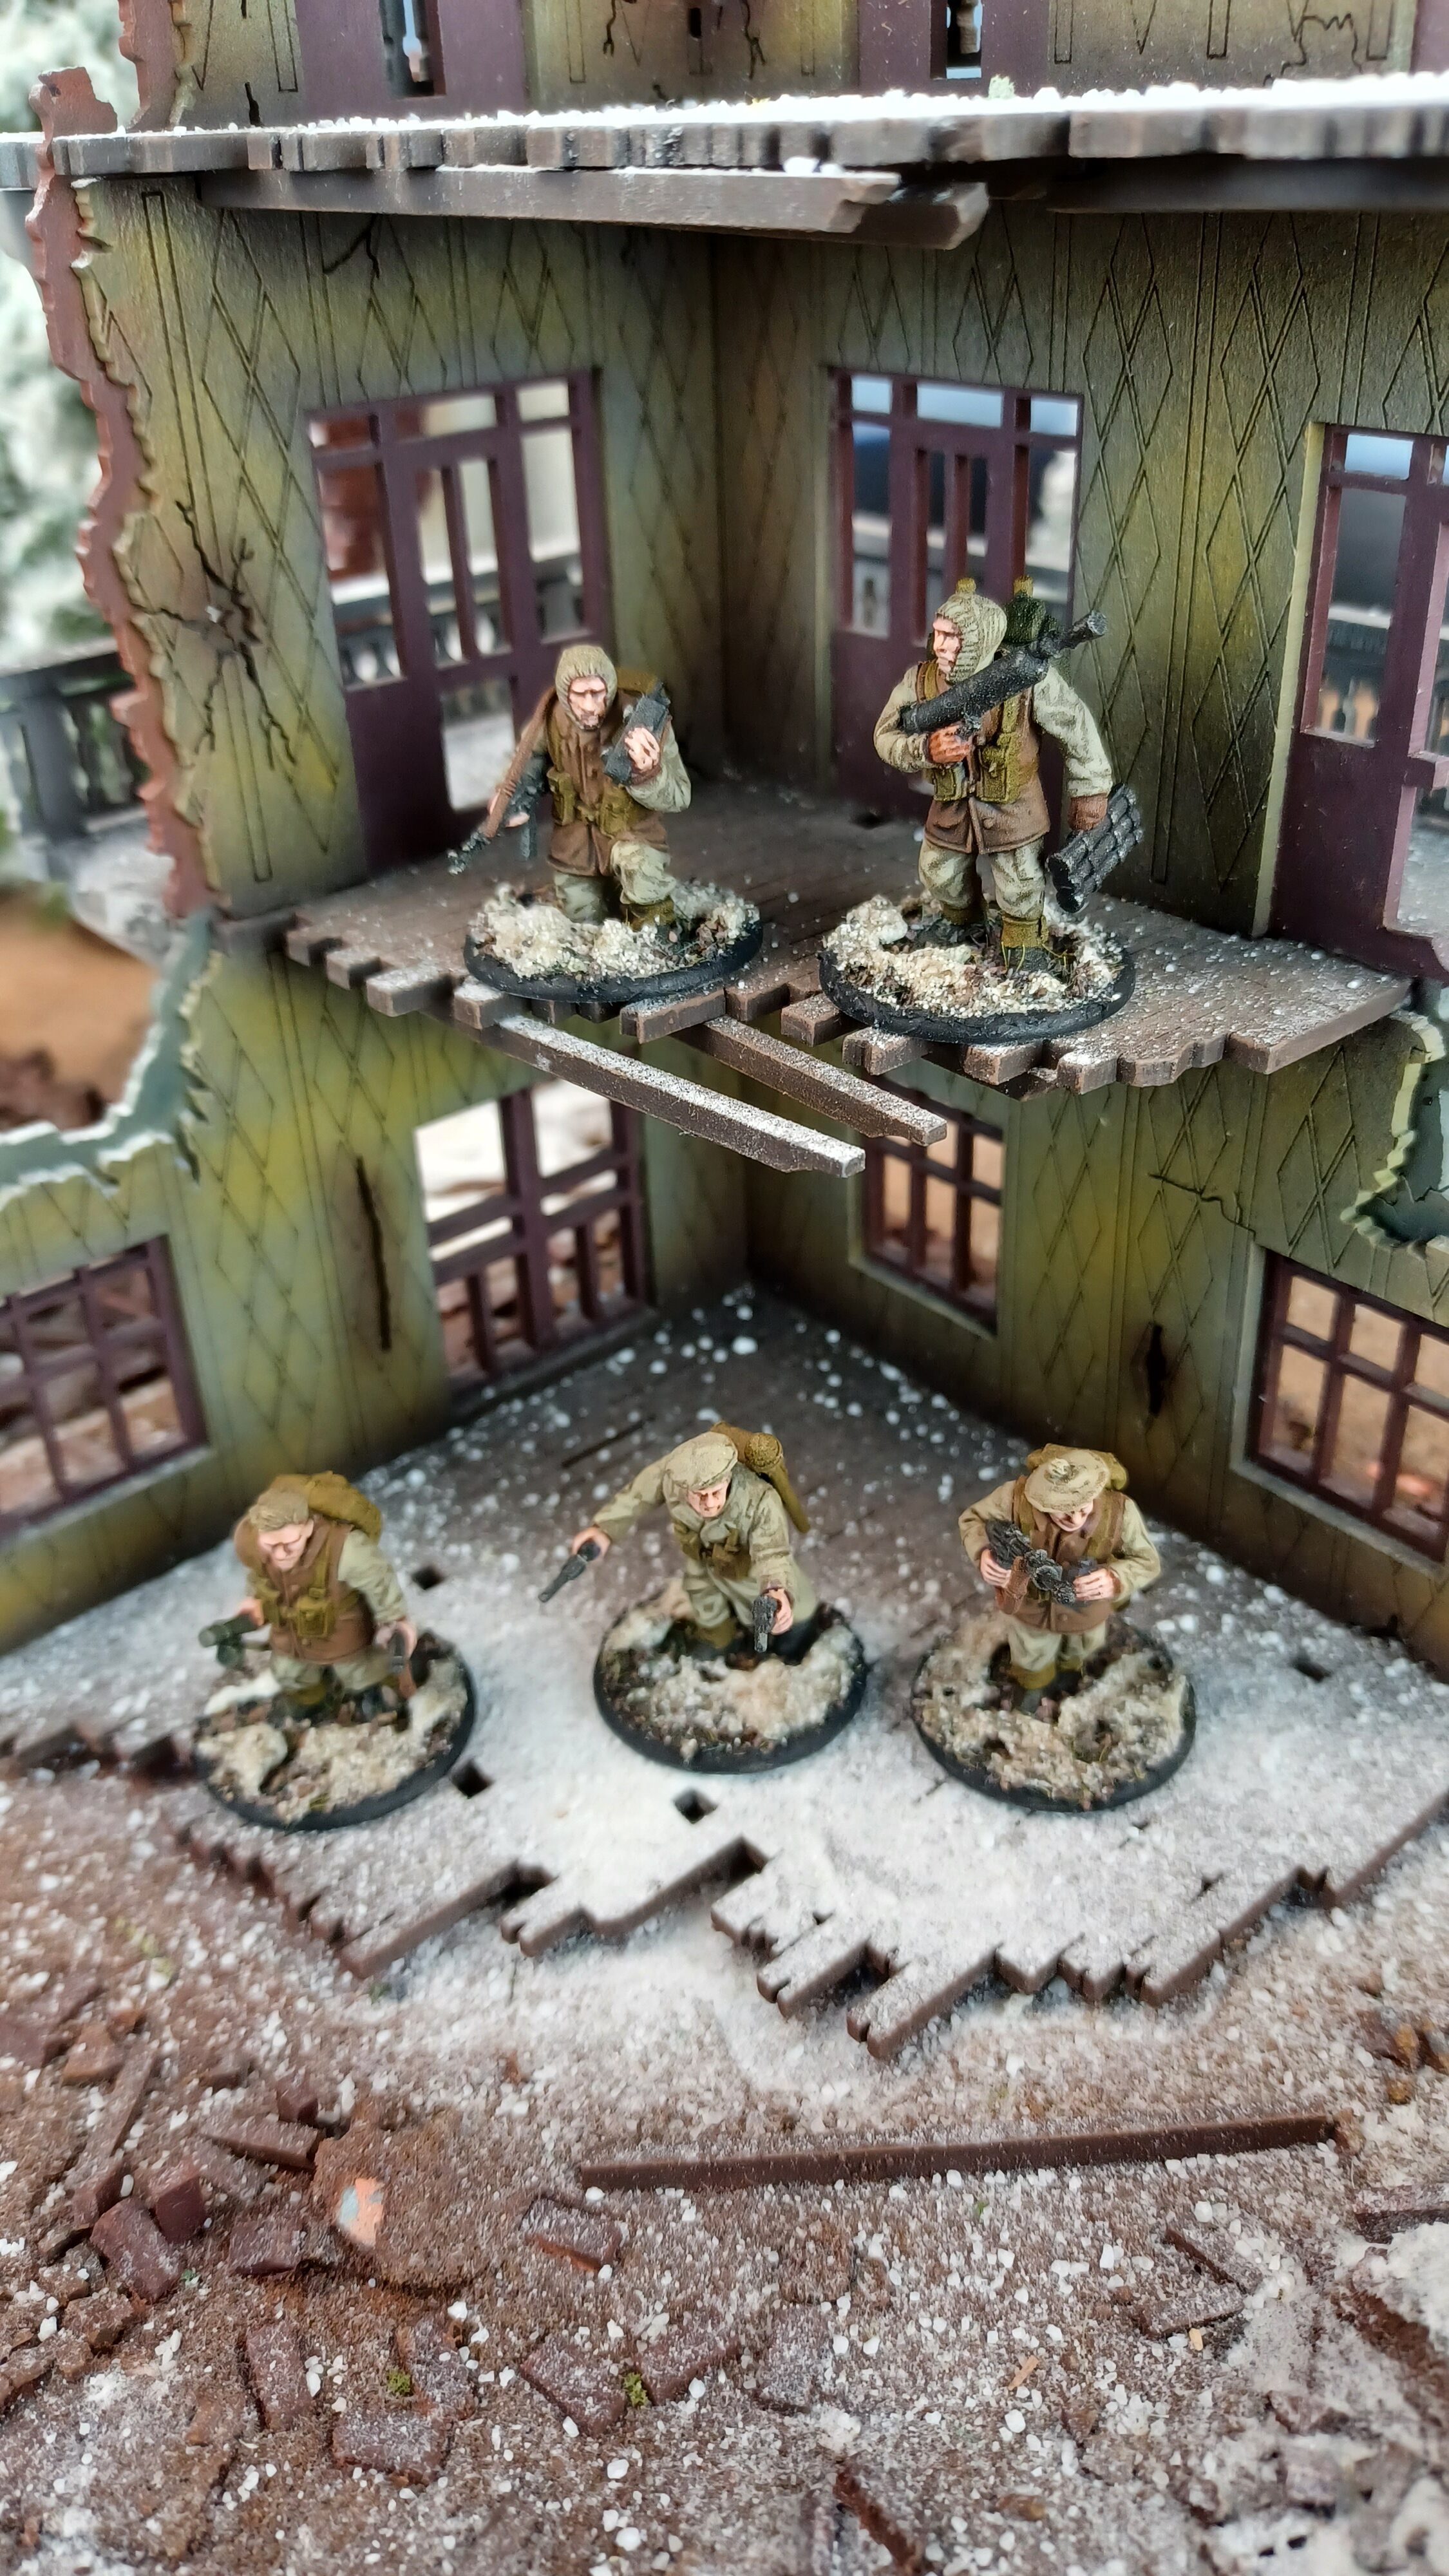
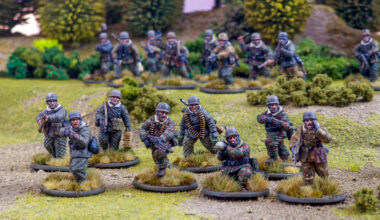
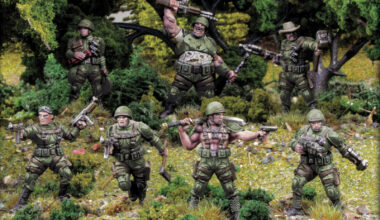
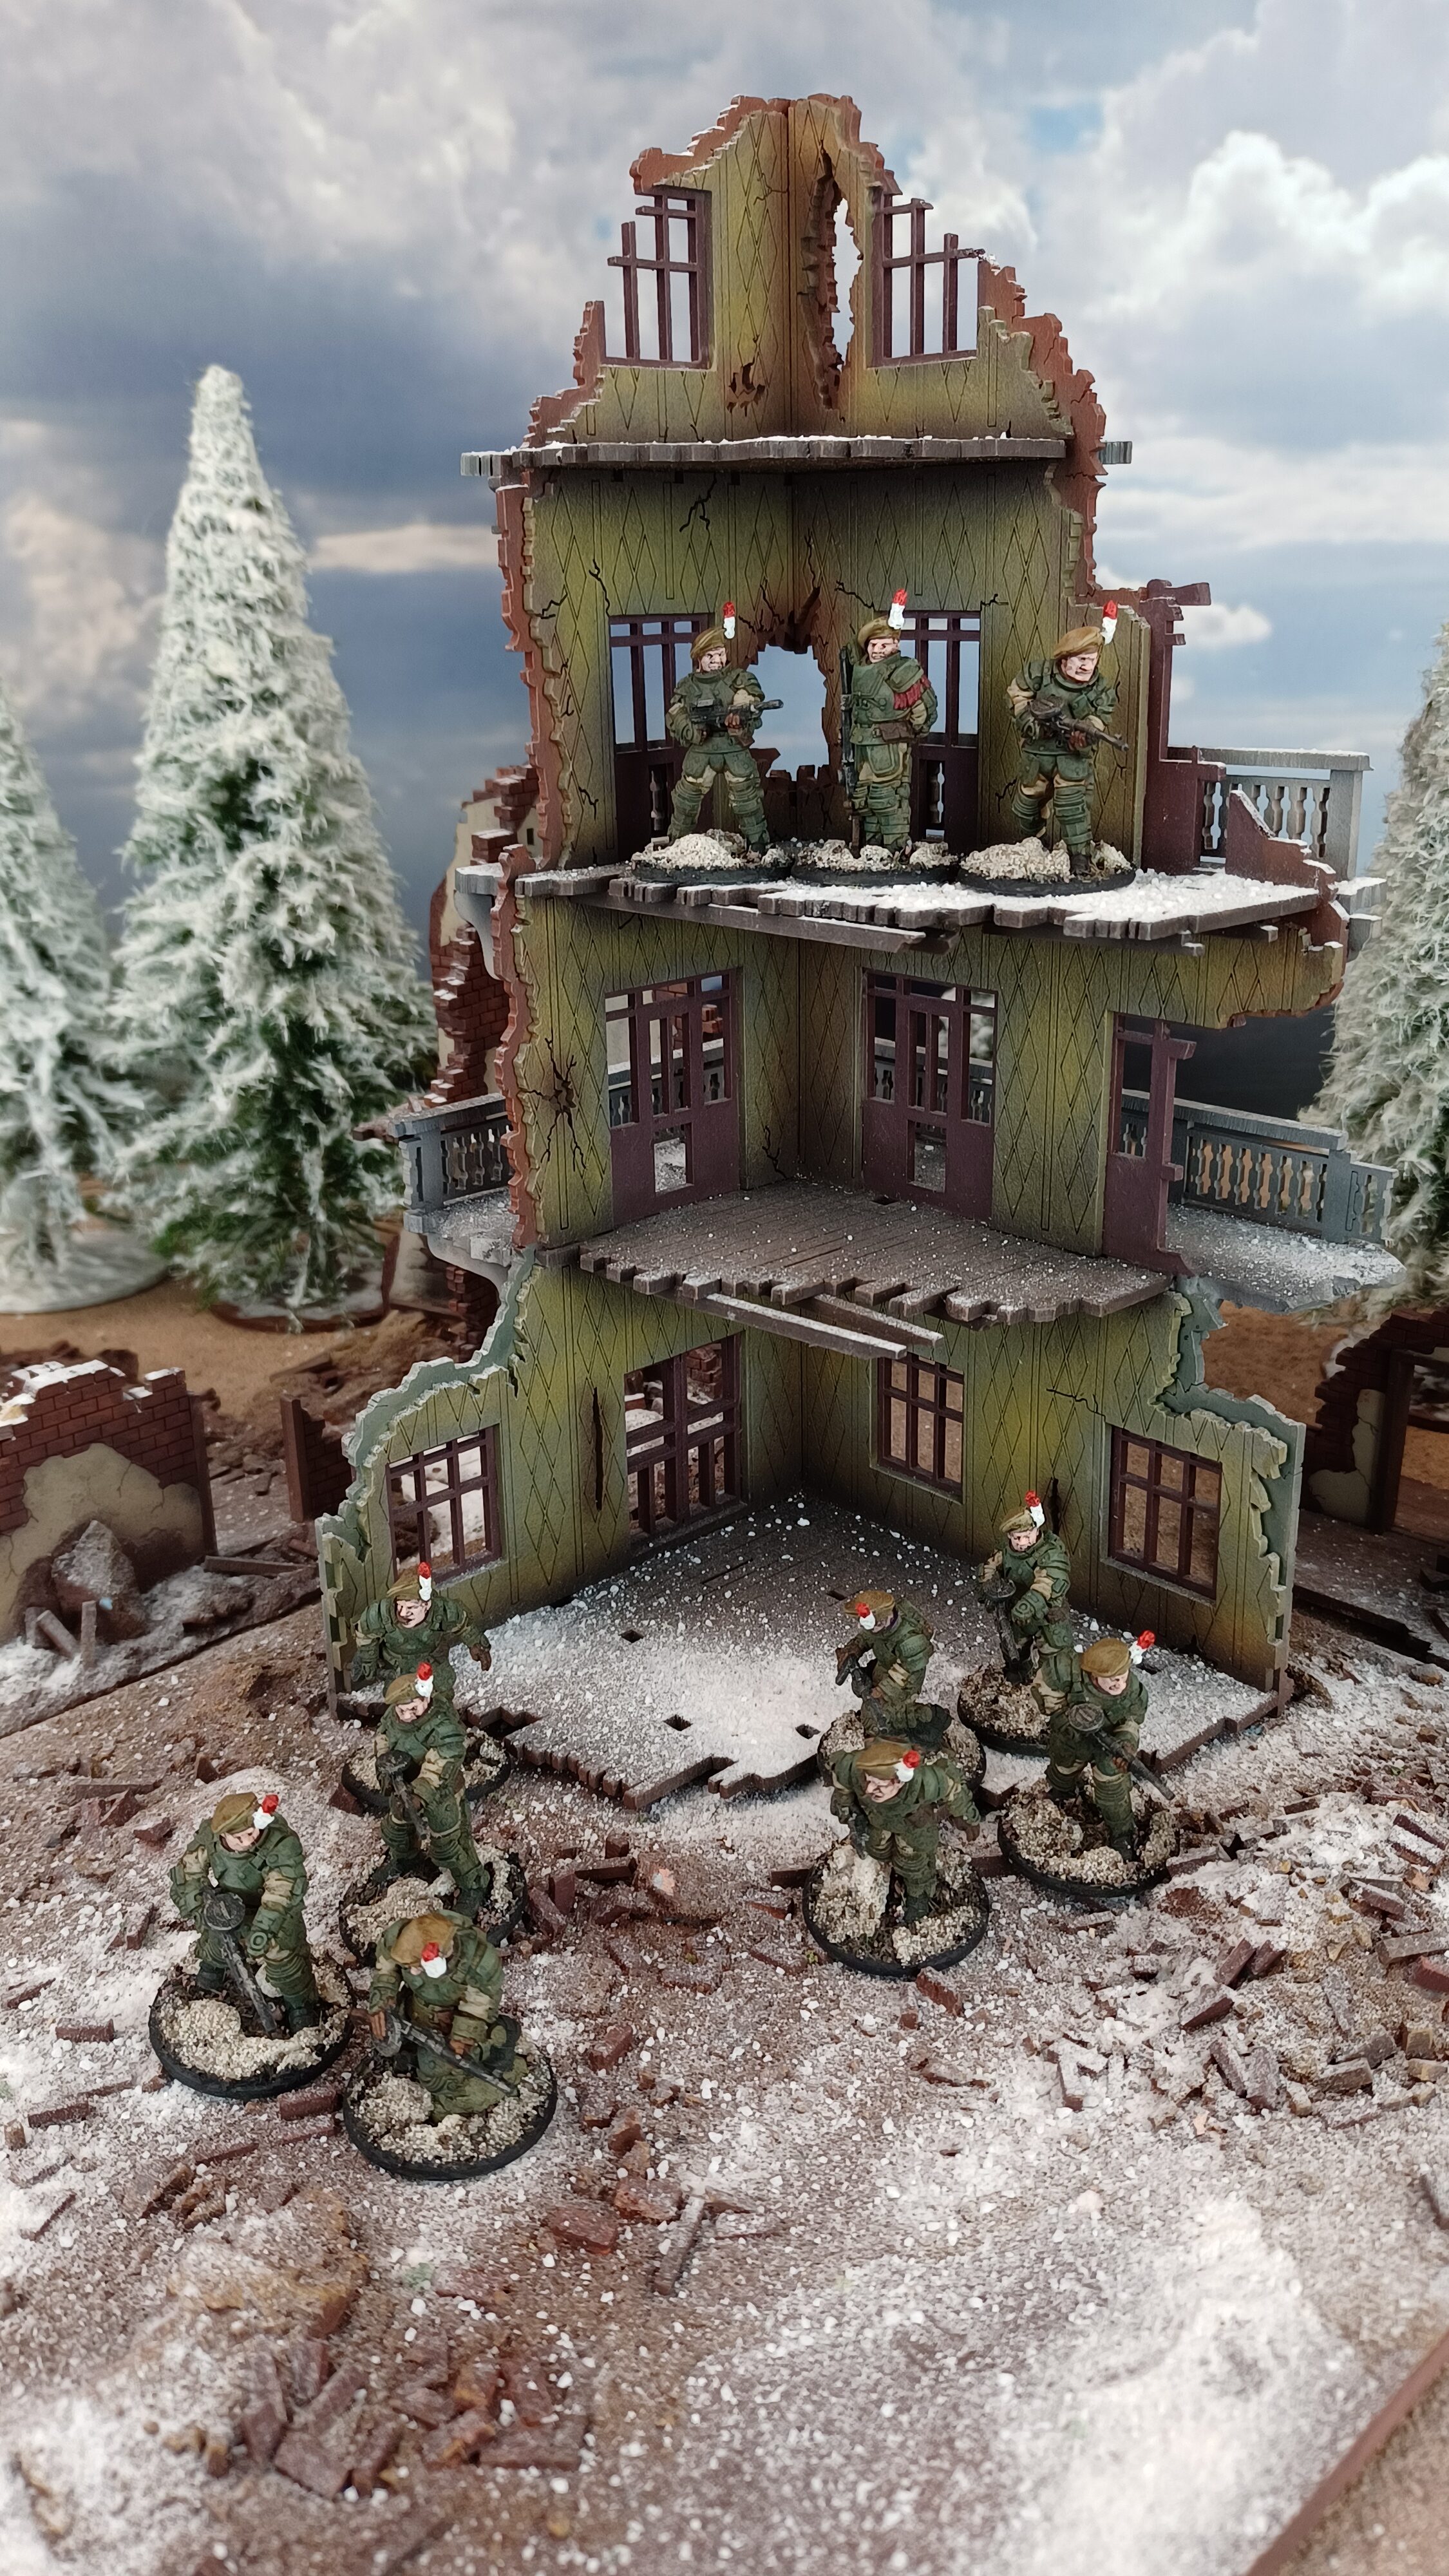
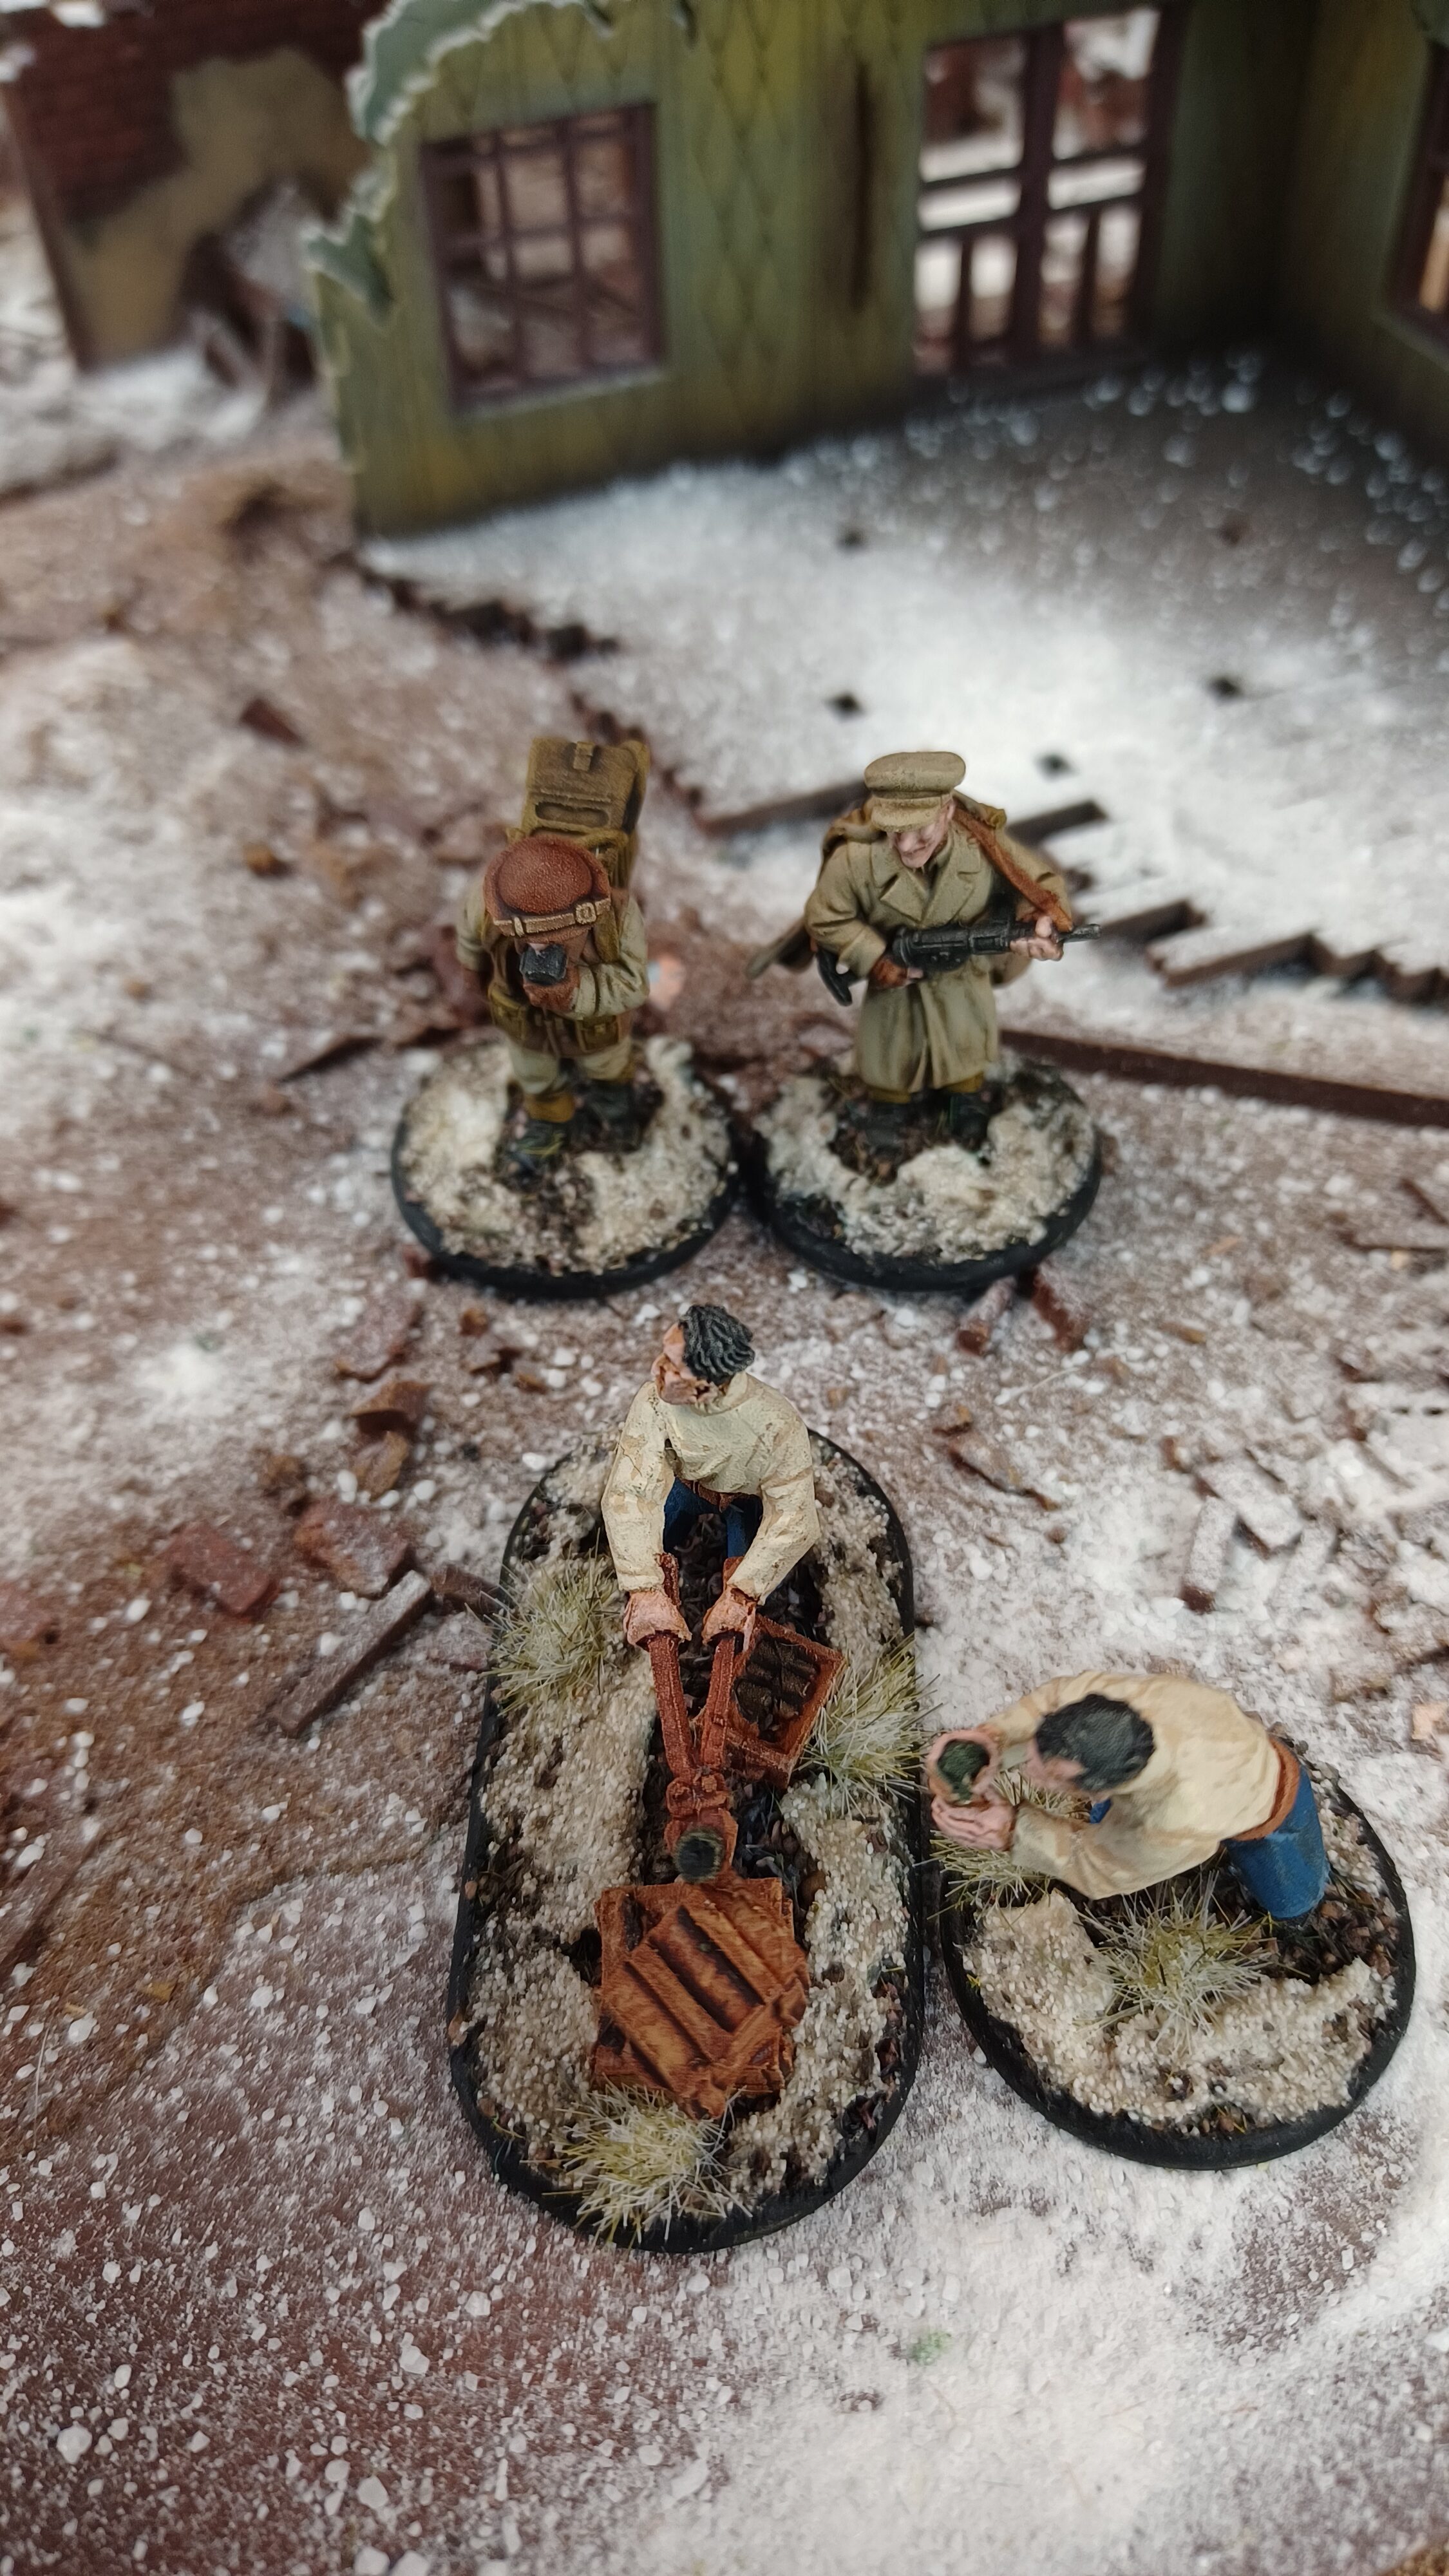
In terms of theming, I’d assembled my army around the ‘frozen’ Italian campaign during the Long Winter of 1946-47. Dug in along the old Gothic Line, I imagined these troops manning a forward outpost in freezing weather – grim, miserable, and very K47! The Galahads are drawn from 25th Battalion, Royal Fusiliers, and as such wear the trademark hackle in their berets. I made these by butchering our metal Napoleonic heads for their plumes, a somewhat wasteful but satisfying endeavour! For the Grenadiers I really went to town to create a unit of slightly maverick SAS troopers, loaded down with plenty of looted Italian equipment and sporting captured German assault rifles over plastic Winter British bodies.
The FOO team is straight out of the box, with an added cloak from the Soviet infantry sprue, while my Light Mortar team is a little left-field. I used the BUF improvised mortar team, and asked Colin to paint them up ‘like fishermen’ – I imagine they’re Italian partisans aiding the Allied cause with their local knowledge, and naturally they were nicknamed Mario and Luigi!
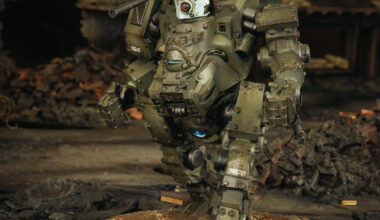
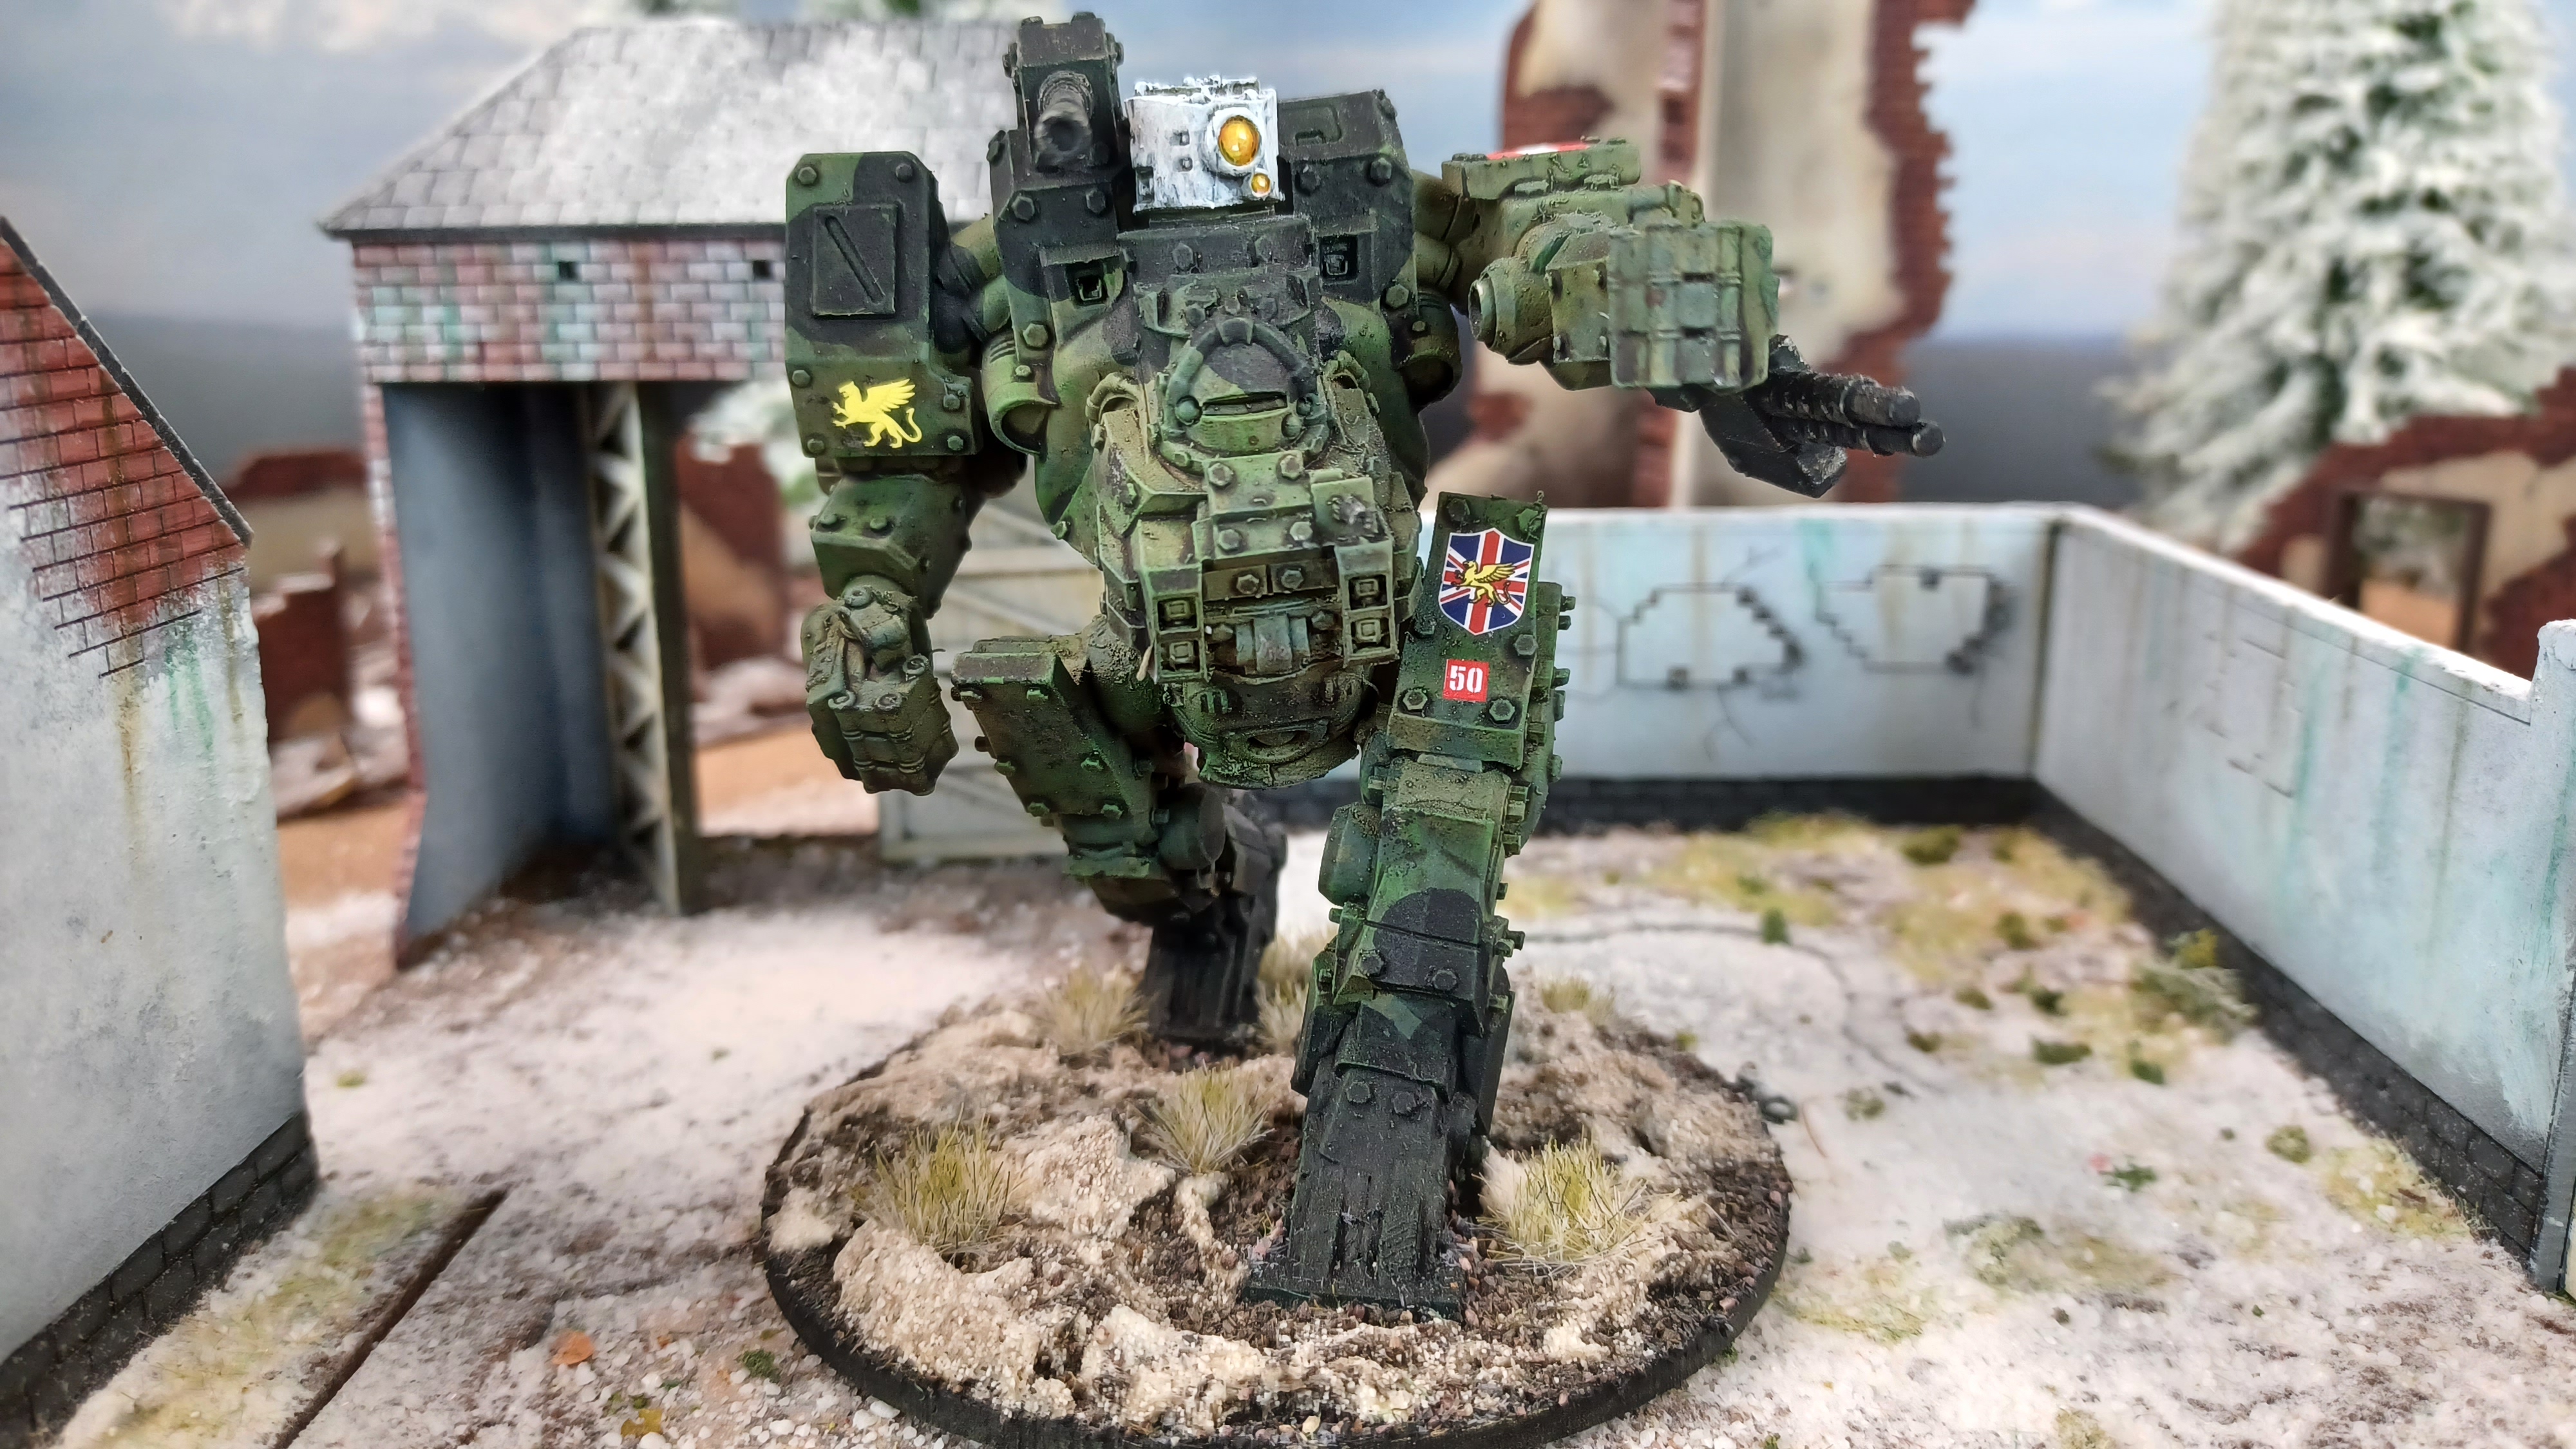
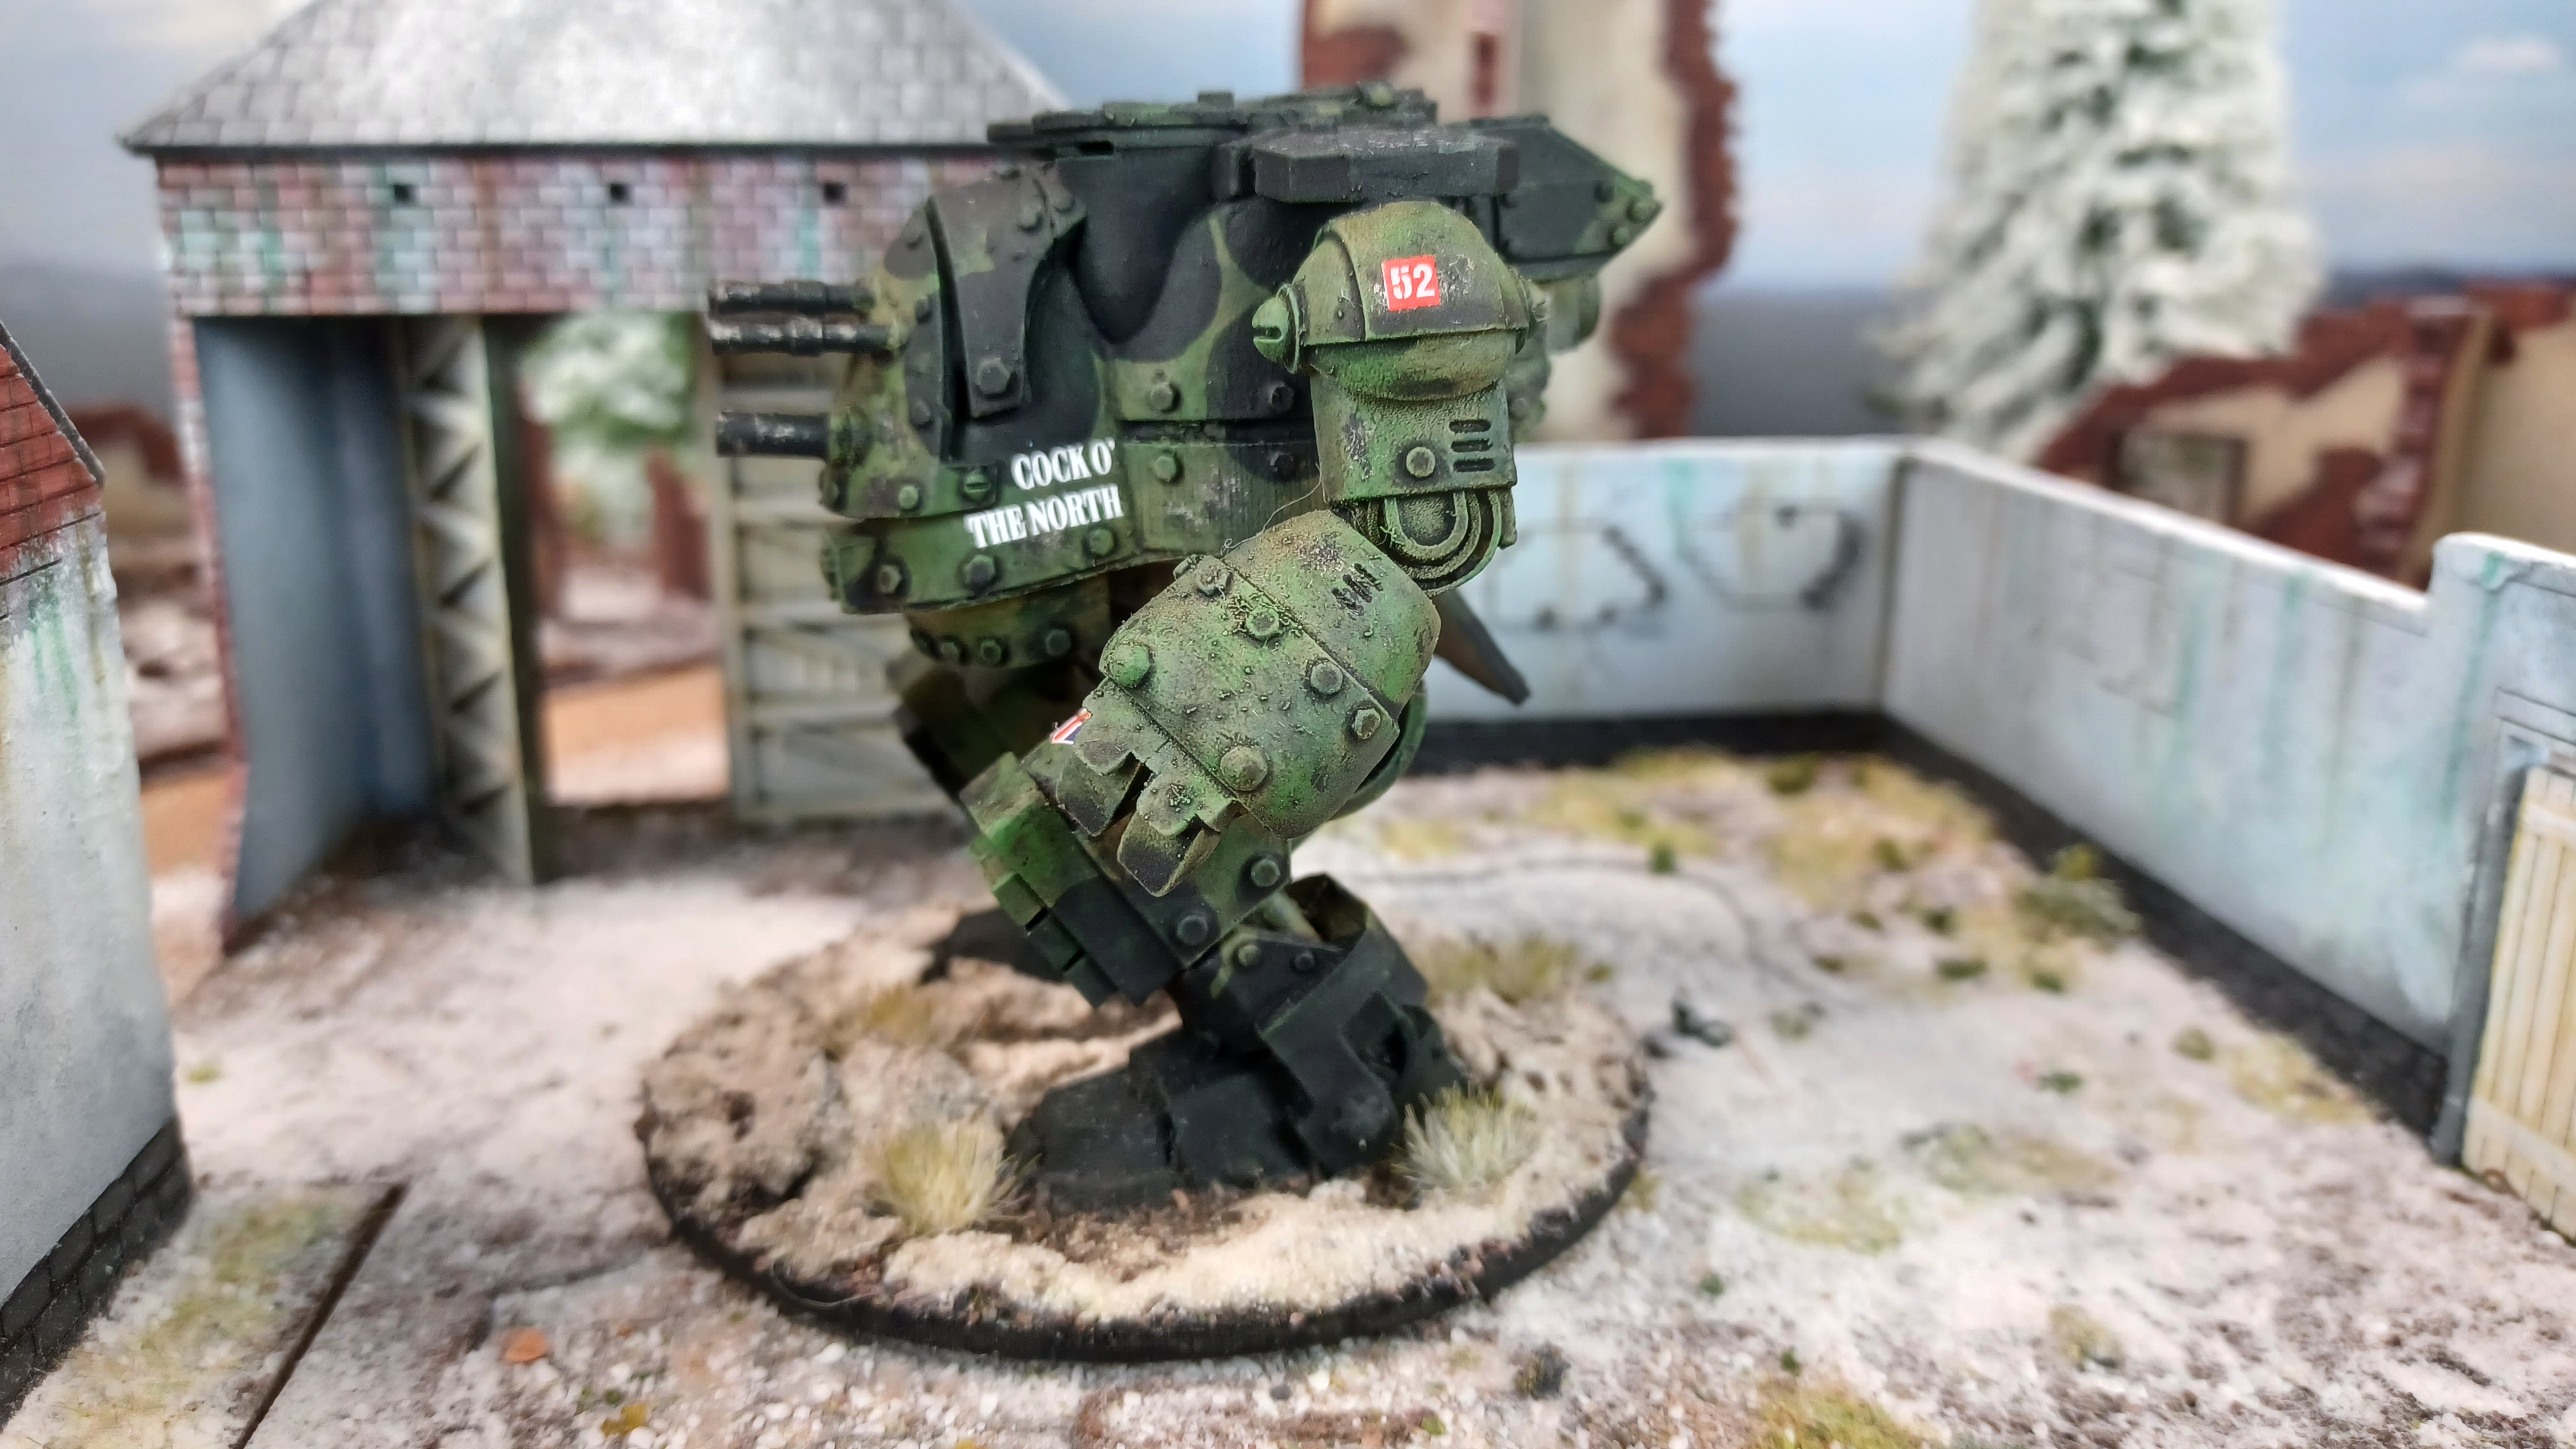
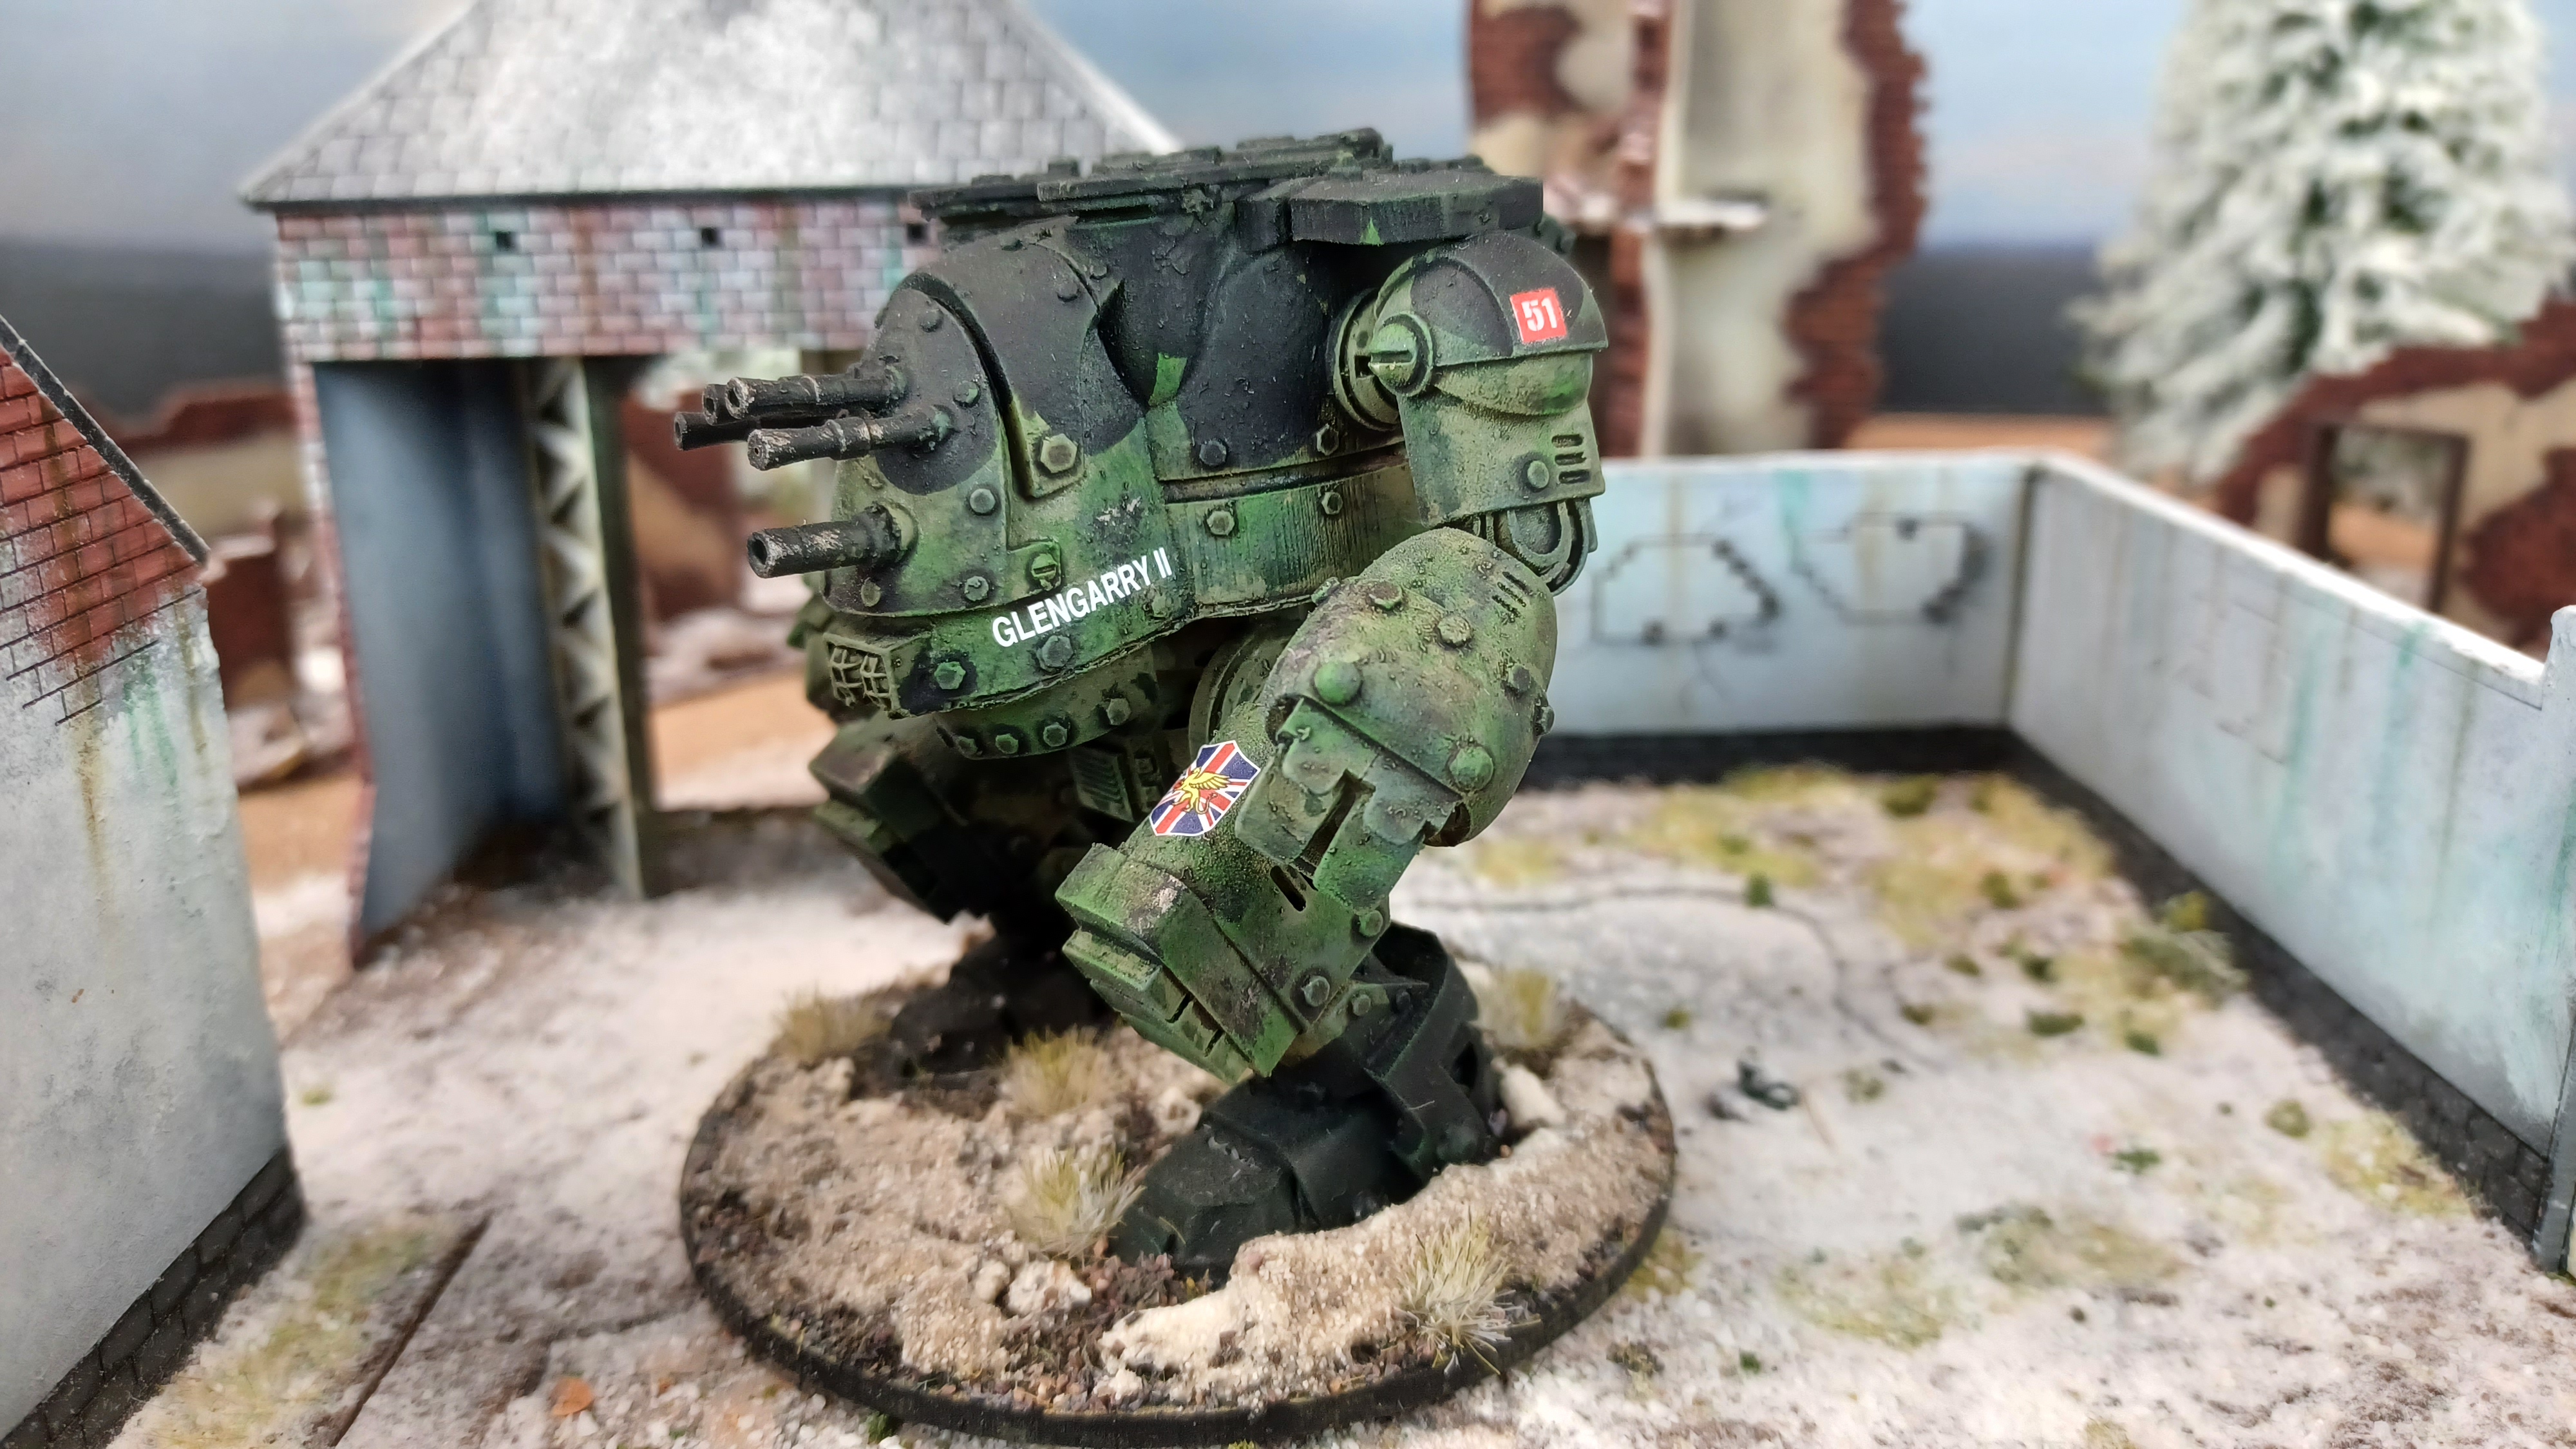
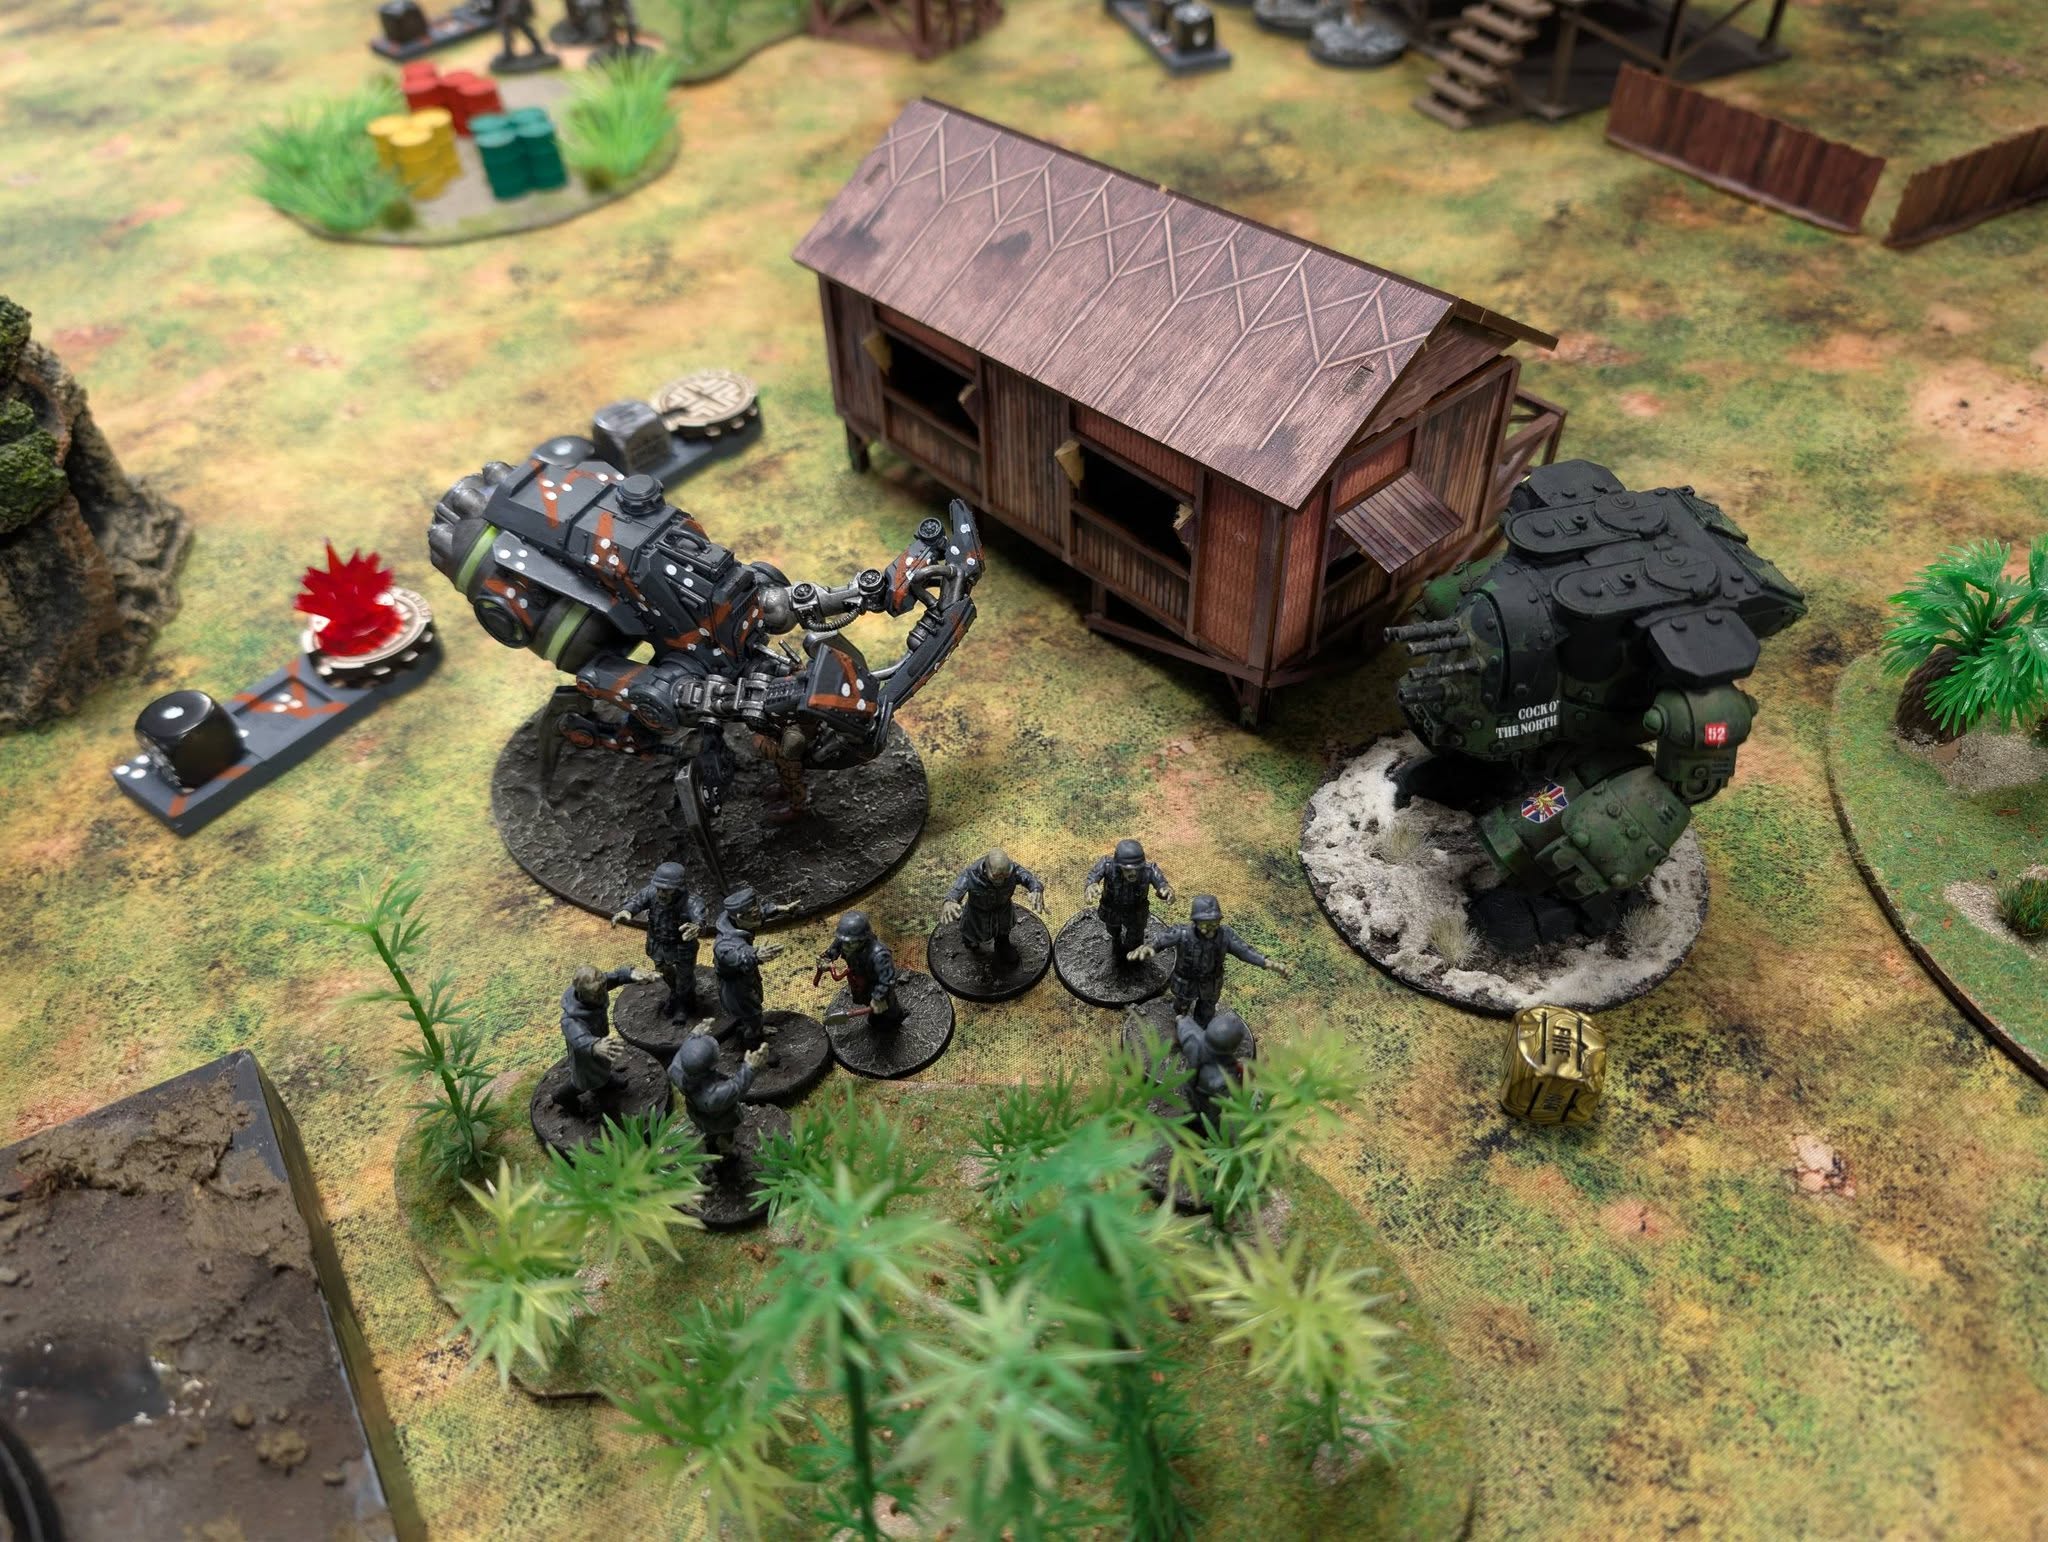
My walker contingent represents a forward battery of 199th (Scottish) Heavy Anti-Aircraft Regiment, Royal Artillery, with the flak firepower coming from the brace of Hornets, aptly named Cock o’ the North and Glengarry II (don’t ask what happened to the first one), and the Merlin (Aberdeen) serving as the command vehicle.
Colin really worked his magic on this force (with some last minute assistance from another old friend and Nottingham Casuals clubmate, Nick Elliott), giving me a really top-quality army that evoked exactly the feeling I wanted. He also sorted me out a fantastic matching transport tray to go with them! I can’t thank him enough – now I just had to make sure I didn’t disgrace my lovely new army on the tabletop!

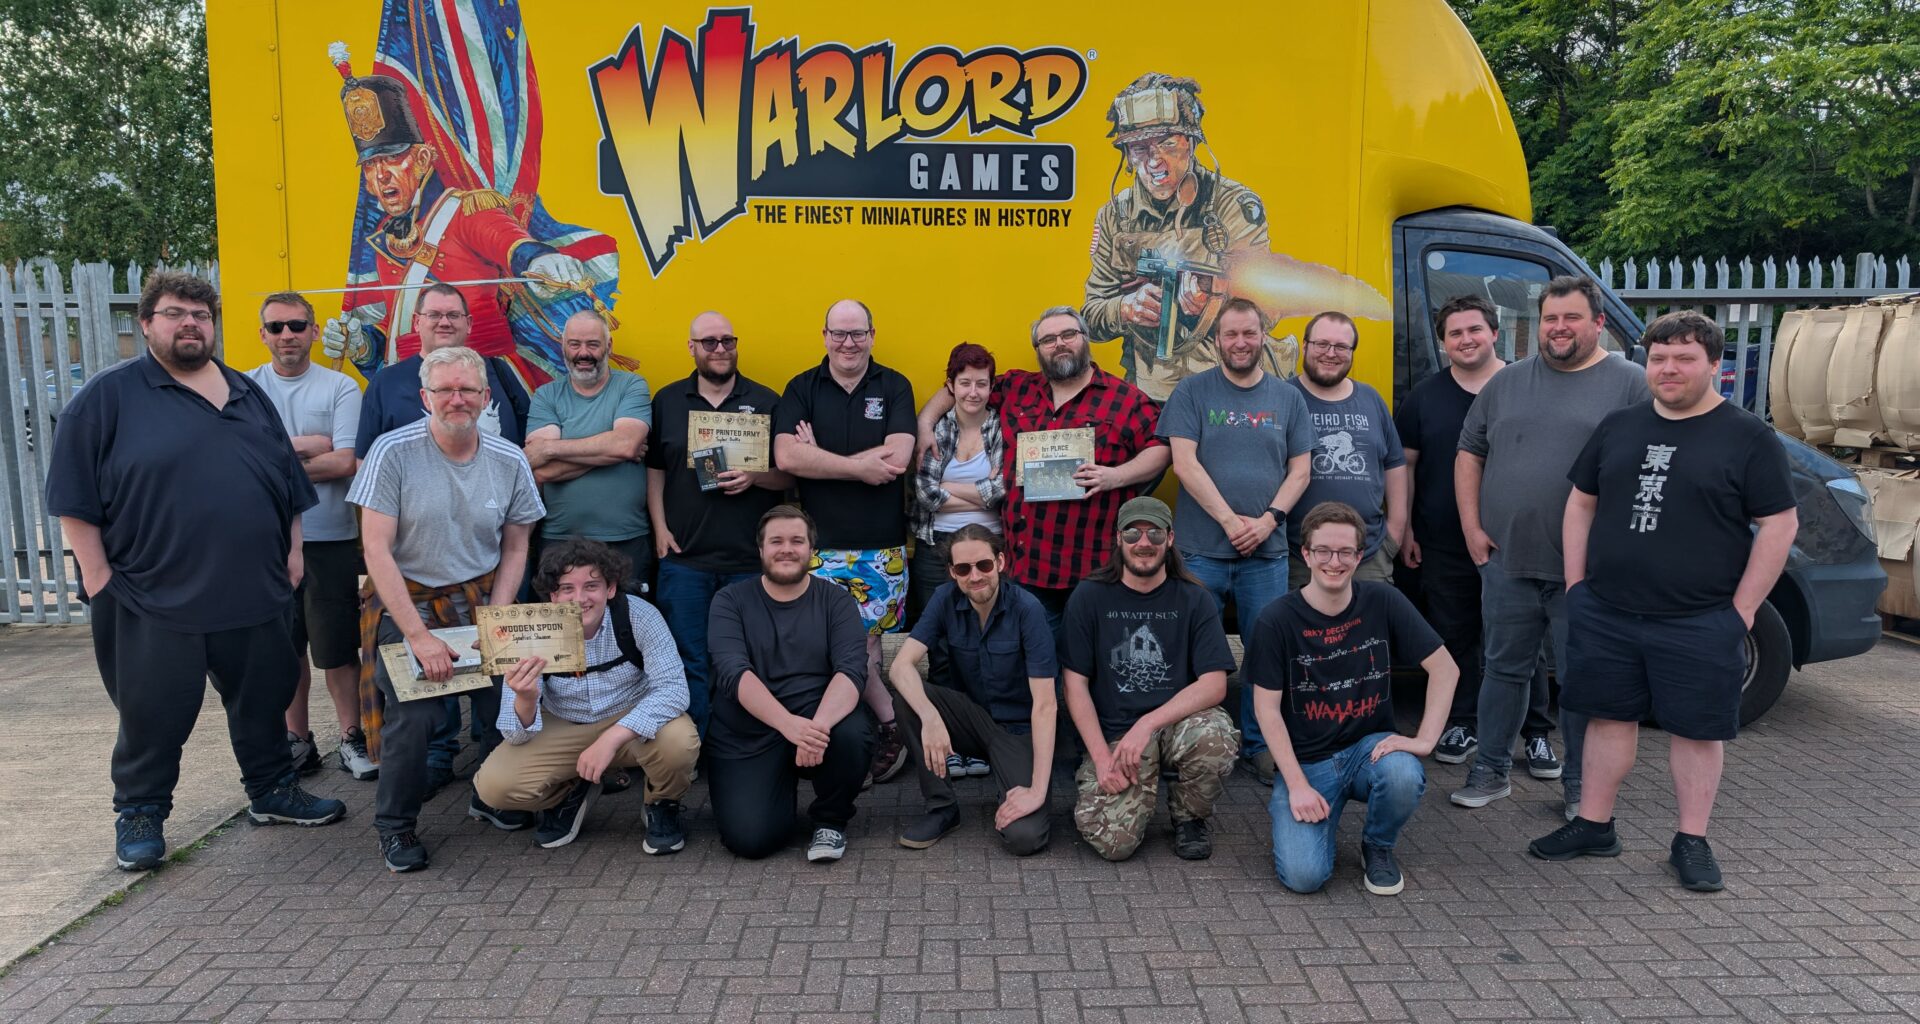
It was a delightful and novel experience to turn up at a tournament having gotten a good night’s sleep beforehand, and I found a cracking 18-player setup through the store and into the foyer and warehouse. The tables looked gorgeous, and a special thanks has to go to IGE organiser Dave Nolan for bringing a couple of his fantastic layouts down to add even more variety. The atmosphere was great, with plenty of familiar faces from the Bolt Action circuit, and even more new people to meet!

I should point out at this point that I’d played precisely zero games with this list, and had absolutely no idea what anyone else would be bringing, or how it would get on. This meant I was mentally prepared to go 0-3-0 on the day and challenge hard for the Wooden Spoon, which stood me in great stead for the event. (Getting the excuses in early… -ed.)
Game 1
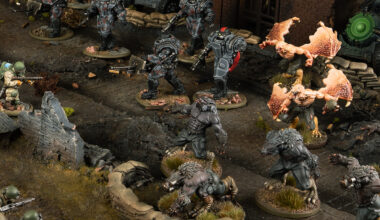
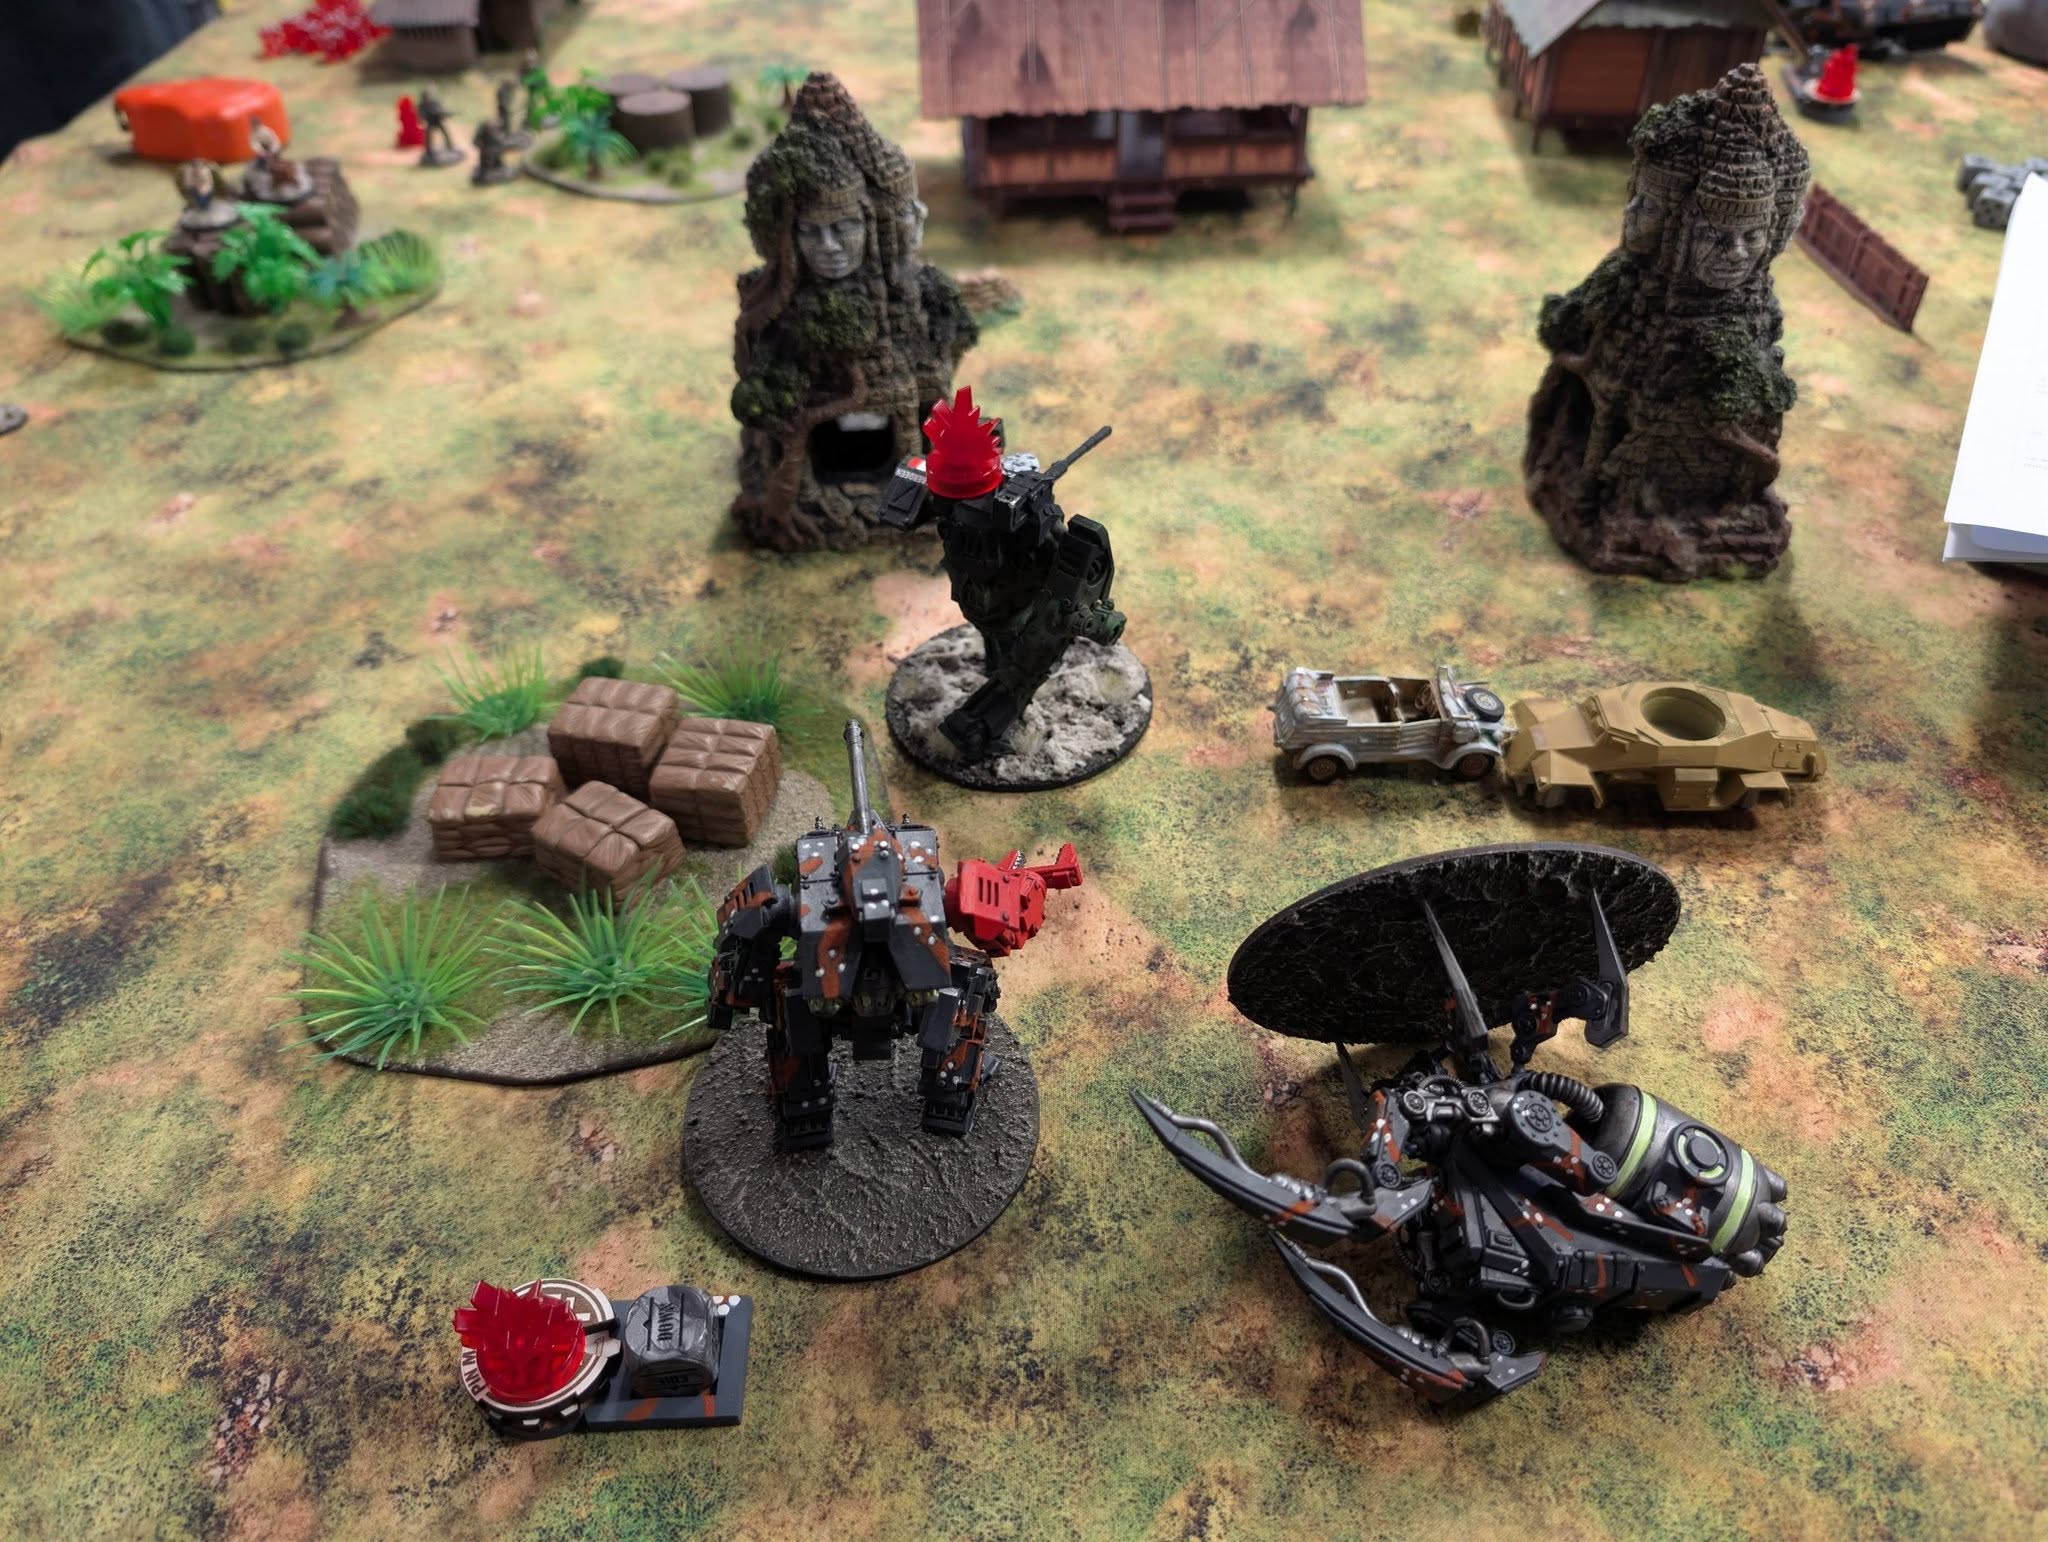
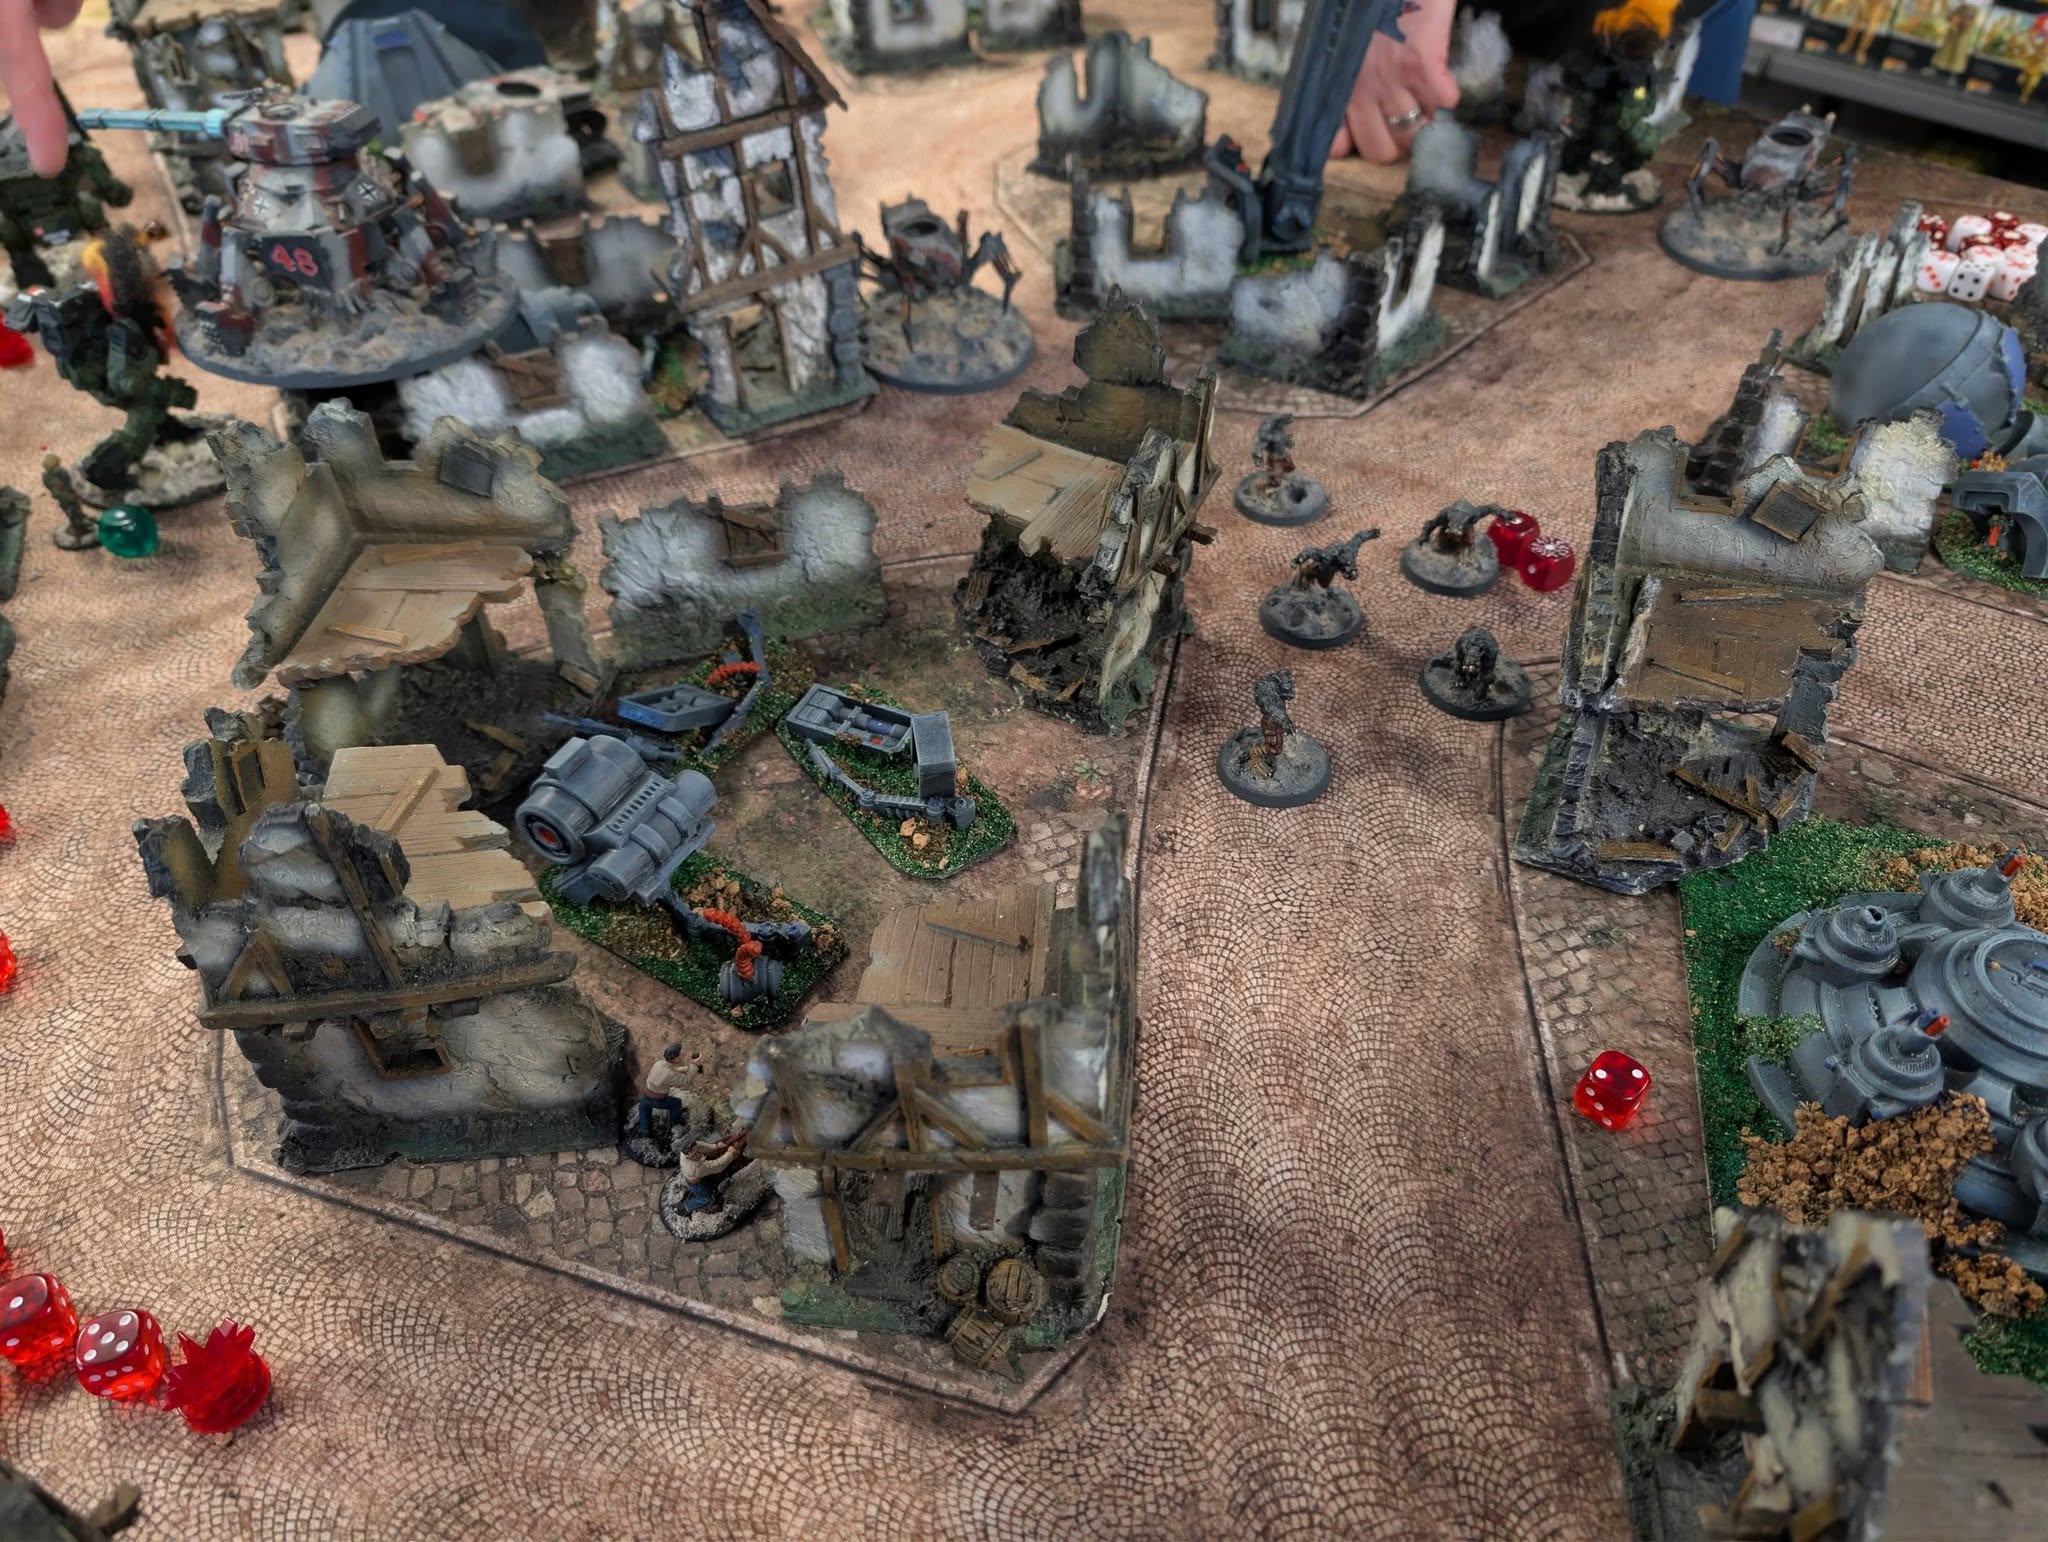
Game 1 was a nice, simple beat-’em-up kill points mission, with Meeting Engagement deployment on the long table edges – AKA the bog standard battle – with a Demolition objective thrown in as the secondary. I drew Christa’s lovely Axis force on a jungle board; a welcome relief from the cold for my lads. Christa’s force was a nice ‘greatest hits’ tour of the Axis list, including a small Totenrotte platoon, Stahltruppen, a Heuschrecke, and of course some Schreckwulfen. I actually ended up playing all three of my games against Axis lists, and all of them featured at least one unit of the lupine monstrosities.
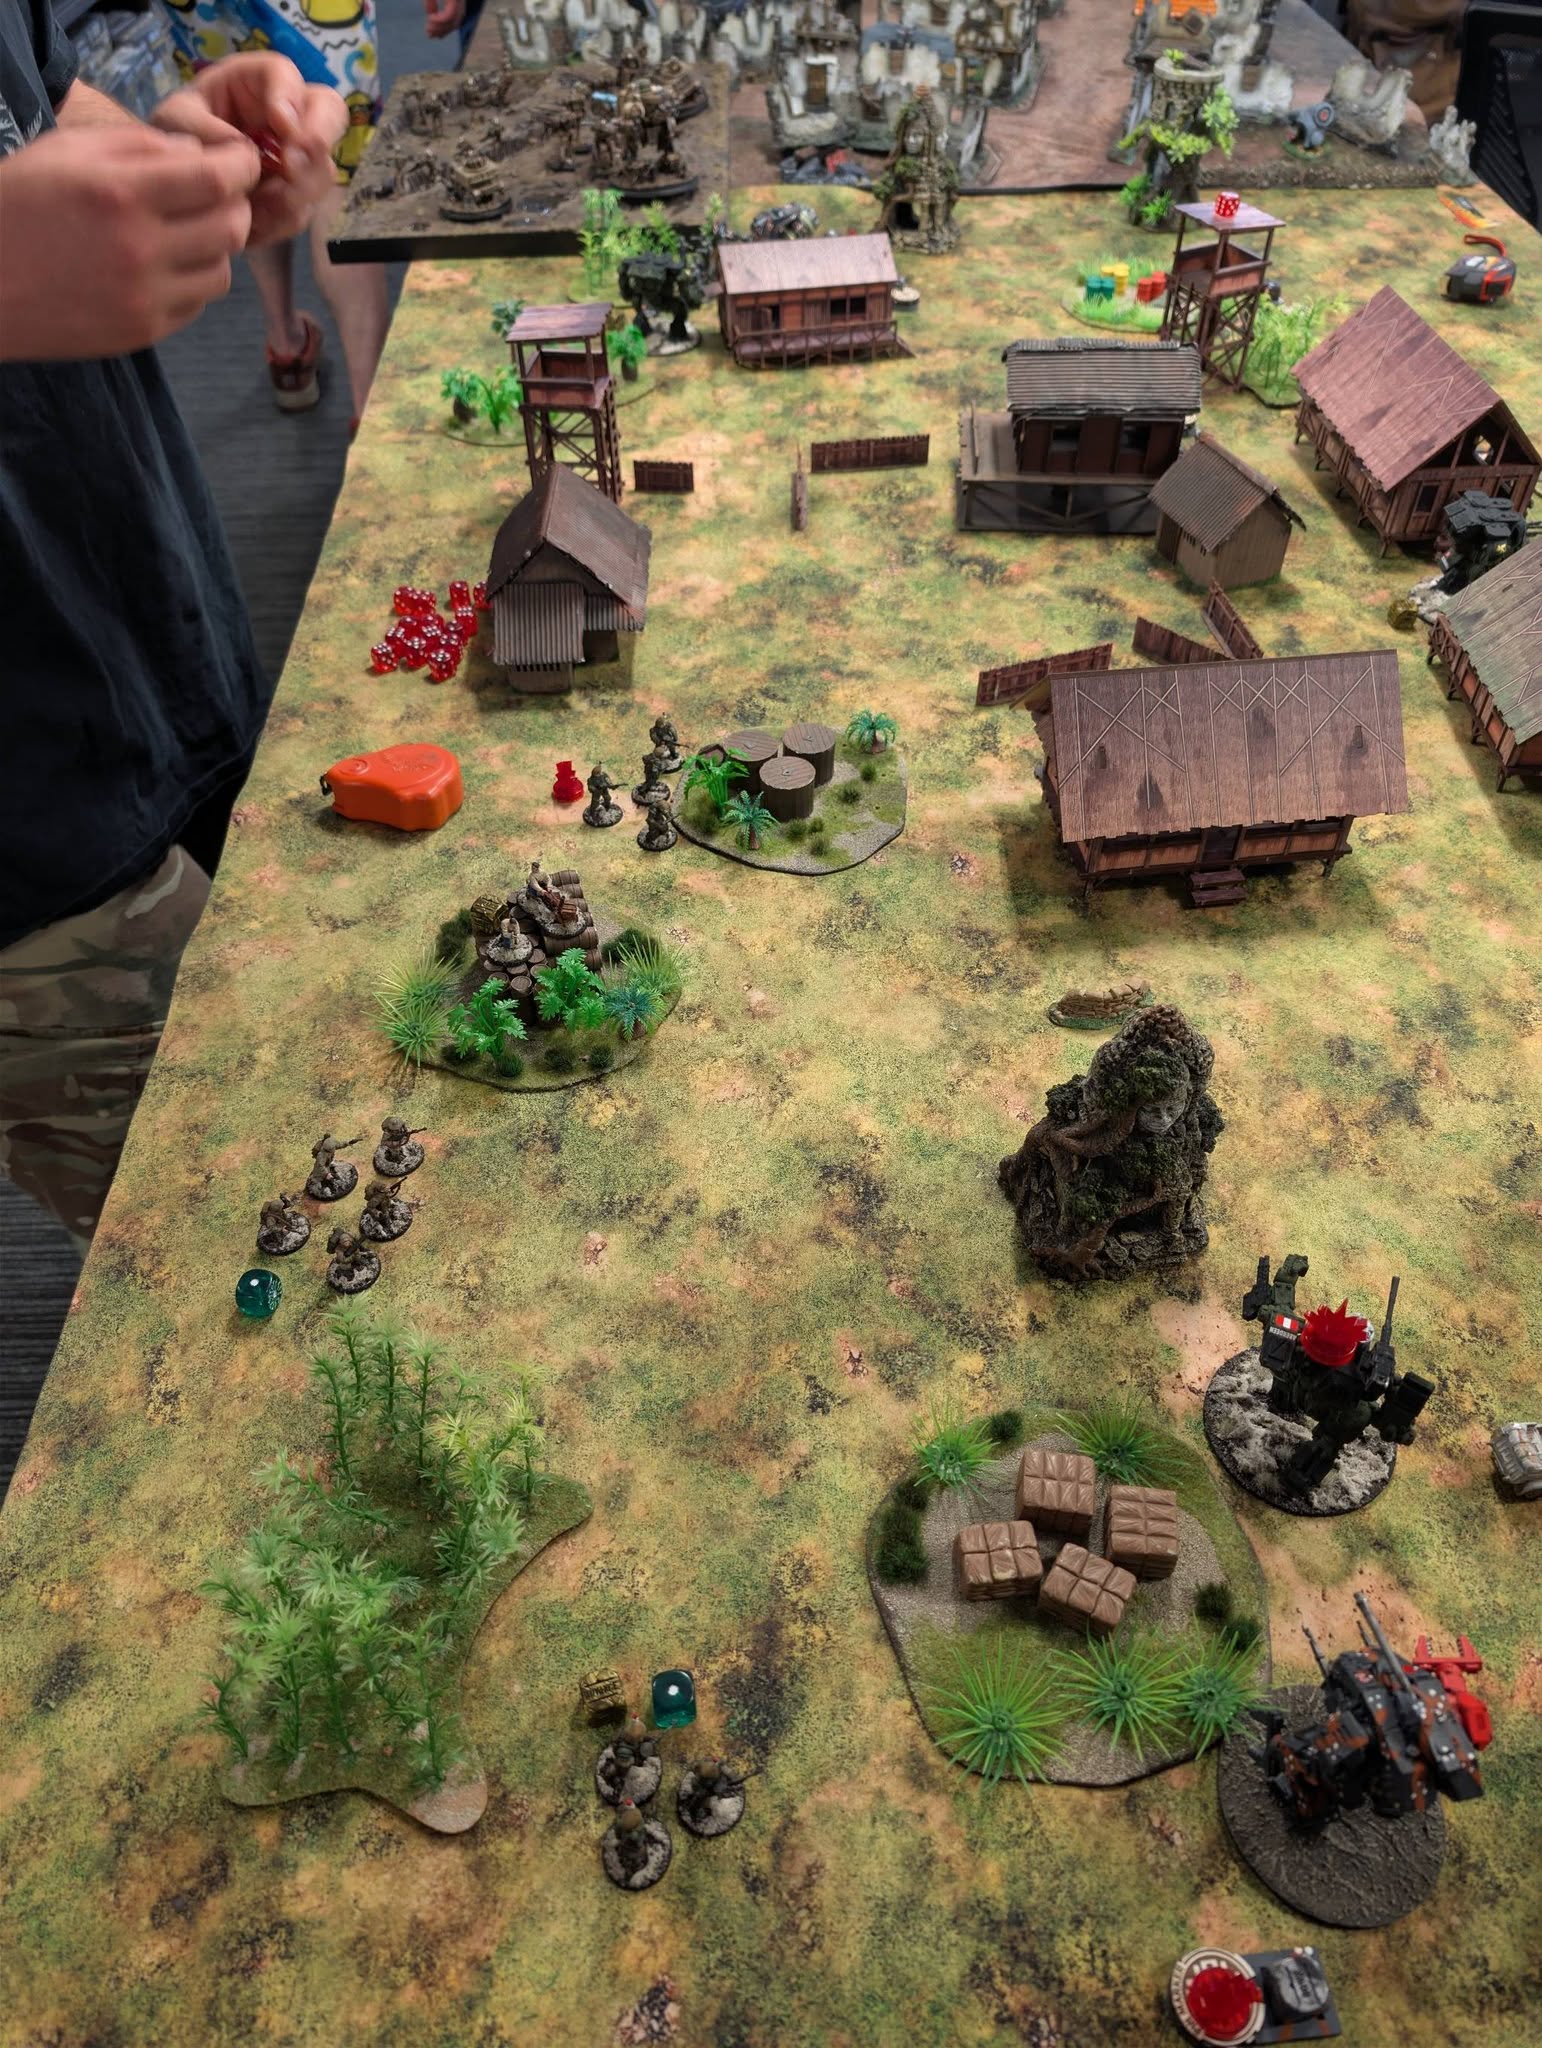
Any Axis player worth their salt will have one unit of Schreckwulfen on a Surging Rift Die by the end of Turn 1, and these can be a real problem for anyone to deal with. Christa did just this, with the added menace of forward-deployed Totenkorps, and her Heuschrecke lurking in the wings, ready to jump in. I decided to take things one step at a time, reducing the Totenkorps and their supporting Nachtzehrer while hiding from the Schreckwulfen. This broadly worked, although the Heuschrecke predictably dropped in and killed my Merlin, and I was able to keep my infantry relatively unmolested while pushing Christa’s forces back.
By the middle of the game, it was becoming apparent that I couldn’t ignore the surging Schreckwulfen any longer, but my walkers weren’t quite in position. One Hornet was putting sterling work in against Christa’s undead, but the other had charged off to clear the path to the Demolition objective, and would need another turn to get into position. The flanks were secure, but that was more by luck than judgement – Christa’s Heuschrecke and surviving Nachtzehrer had both taken Pins from infantry-fired PRIAMs, and her dice refused to cooperate and pass an Order check, allowing me to bypass them. It would all come down to the centre. Having kept them in reserve for just this situation, I sent a unit of Galahads out into the open with strict instructions to look tasty – it was time to feed the dogs! In what became something of a theme all day, the Schreckwulfen couldn’t resist such a juicy target, and predictably the Galahads got chomped. However, this bought me the time I needed to turn the Hornet around and start bringing the pain!
This plan worked really nicely, and I was able to start swinging what had been a pretty close back-and-forth game into a decent opening win for me. Christa was a great opponent, and I think if her dice had behaved she would have had a solid shot at victory, but I was very happy to come away from the first game having got the win and more importantly had plenty of fun!
RESULT: Close but total victory to the Commonwealth.
Game 2
Game two saw me face off in Sectors against none other than the Leicester Juggernauts’ own Toph, who many readers will be familiar with. A very experienced player and TO at the top end of Bolt Action, Toph’s appearance with Schreckwulfen, Vogelspinne, Schwerefeld-equipped Panzer IV, and Wotan in hand was somewhat concerning. In the event, I needn’t have worried. Toph is a significantly better player than I am, but even he couldn’t play against my list, my dice (incredible), and his own dice (treasonous) simultaneously. Everything that could have gone wrong for him did, and for once the Dice Gods decided to smile on me for an entire game.
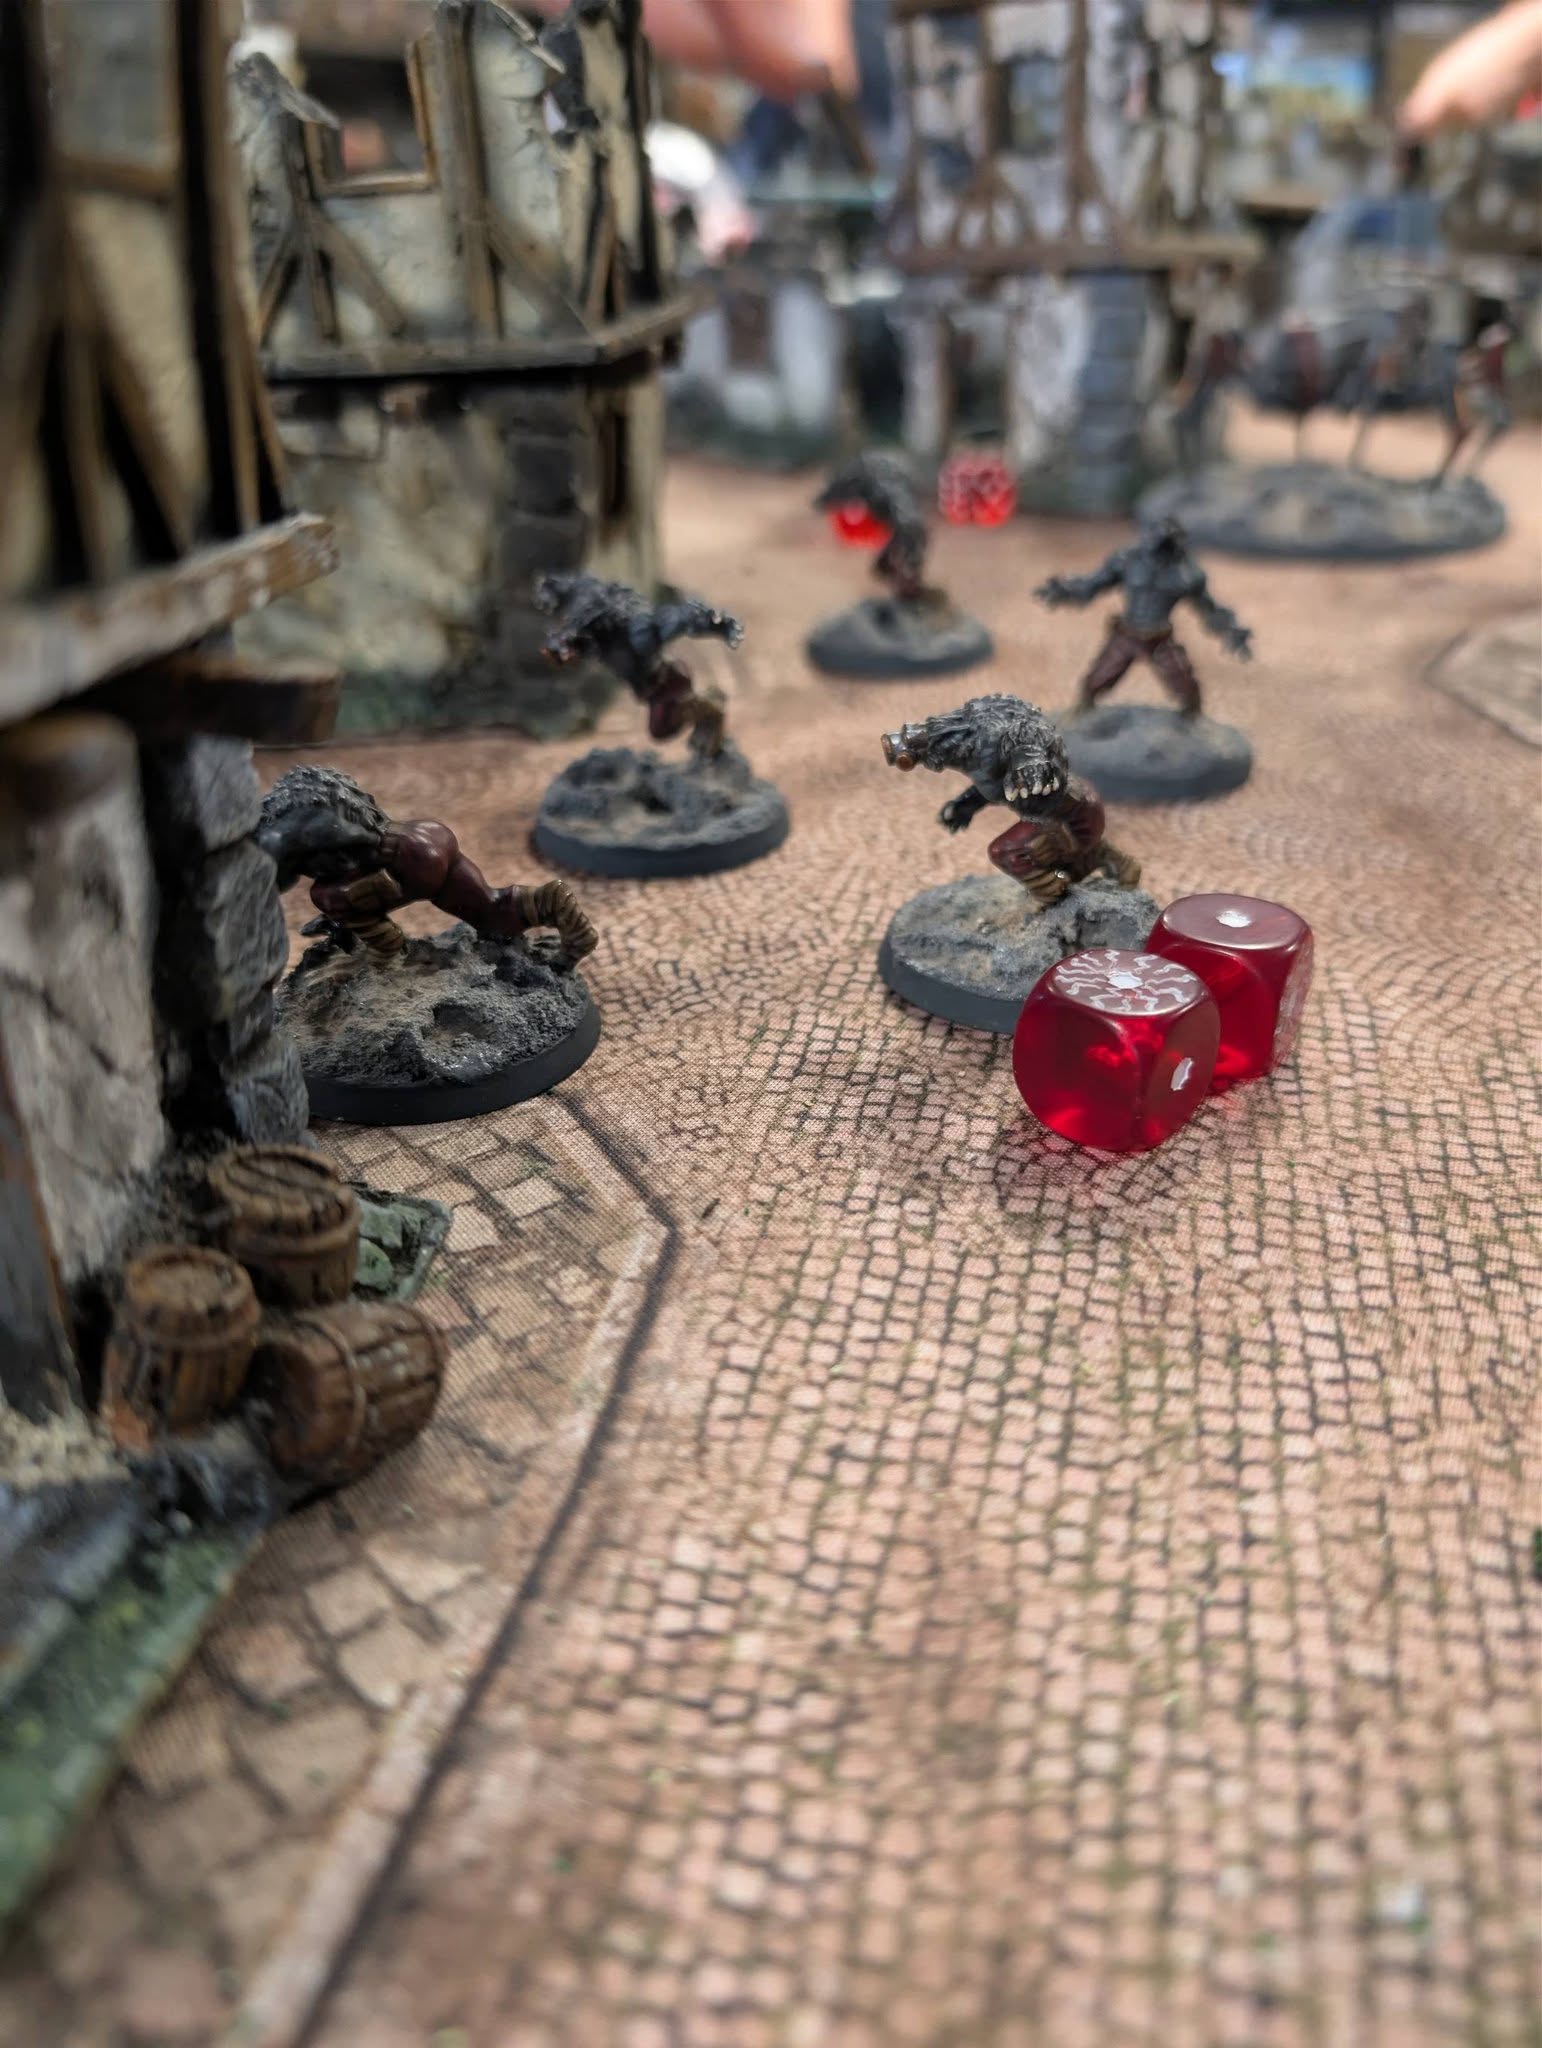
This game ended up being a bit of a walkover, as Toph simply could not get a single dice to roll in his favour. His strategy was solid, and on the incredibly cramped city-fight board he made good use of the terrain, but sometimes skill simply does not matter if the dice decide otherwise. Luckily, Toph is an absolute pro, and we spent the entire game laughing at the ridiculousness of the situation as improbable roll after improbable roll went my way. Highlights included his Wotan repeatedly failing to kill walkers with point-blank Schienenkanone shots, said Wotan being blasted to death from behind by a Hornet, and a lone Galahad NCO (henceforth ‘Sir Galachad’) beating up a couple of Stahltruppen after a nearby FUBAR saw the rest of his squad wiped out by friendly fire.
RESULT: Utterly undeserved beatdown victory for the Commonwealth.
Game 3
Before the final game, I had a quick look at the leaderboards, and discovered that I was (terrifyingly) second overall, and slated to play tournament leader Alex on the top table. This was seriously rarified air for me, and I’ll confess to feeling a little bit of vertigo. There were a couple of other players with 2-0-0 records heading into the last round, meaning it was still all to play for. The final mission was Hold Until Relieved, with Meeting Engagement/Long Edges deployment, and Sectors as the secondary objective. TO Kieran Leishman did a really good job with his mission selection, and I really liked the use of what are normally ‘primary’ victory conditions as secondaries to add a different dimension to the games.
Alex is a lovely chap who was on something of a redemption arc. He’d finished with the Wooden Spoon at his previous (and first) K47 tournament, but had stormed up to the top table at this event with a rather nasty Axis list. Two units of Schreckwulfen in a Hanomag, a brace of Schwerefeld Pumas, two Heuschrecke, and a unit each of Stahltruppen and Falcons, all led by a Totenrotte Platoon Commander (presumably scouting their performance for consideration as future Totenkorps) would pose a serious challenge for my forces!

Although this was a top table game with the overall tournament win on the line, I have to say that it was one of the most friendly, gentlemanly games I’ve played in a long time. While we were both absolutely trying our utmost to win, there wasn’t any spikiness or ‘nickel-and-diming’, and at times we both found ourselves telling our opponent how they could place their units best to avoid our retaliation! This was a game marked by tense tactical movement, bold rushes, and a few funky rolls – one in particular saw Alex’s Schreckwulfen charge my Merlin, and against all the odds not only manage to survive, but actually kill it!
The death of the Merlin really took the likelihood of a win away from me, as I simply didn’t have enough punching power to deal with the rest of Alex’s army and play the objective, but I was determined not to go quietly. This took the form of my one surviving Hornet (the other having, once again, fallen prey to a jumping Heuschrecke) doing his best Kool-Aid Man impression and charging straight through a house full of Schreckwulfen, collapsing it on the beasts. To mangle a figure of speech, you can’t keep a bad dog down, and one managed to pass its Hard to Kill save and claw its way out from under the rubble. This lone wolf was unable to get at any of my surviving infantry in the time remaining, but he was able to stay within range of the central objective. Luckily, I had just enough bodies left to contest it, and the game ended with a well-earned and incredibly hard-fought draw that we’d both really enjoyed.
RESULT: Tight draw.
The Aftermath
With a 2-0-1 record I knew my shot at the overall win had gone (Alex having scored slightly more secondaries than me in the last game), but a podium was still on the cards, and I was rooting for Alex to get the top spot, which I felt he thoroughly deserved. Alas, it was not to be, as two players finished with perfect 3-win tournaments, knocking Alex down to a (still very commendable) third, and me into fourth place. For my first Konflikt ‘47 tournament, and my first three games with this list, I was over the moon with fourth, and this was compounded when, to my astonishment, I discovered I’d won ‘Best Sportsman’ at the prize-giving ceremony. For me, the holy grail of any tournament is a combination of Best Sportsman and a high place, so I really couldn’t be much happier!
All in all, this was an absolutely cracking day out. The atmosphere was fun and friendly, all three of my games were a lot of fun against great opponents, I had a gorgeous set of models to play with, and my list was really enjoyable to play. I’m already thinking about the next one, and what changes I might make to my list. The Galahads and Grenadiers were really effective, and the walkers performed as advertised, but the makeweight Light Mortar and Forward Observer didn’t really move the needle – so much so that I didn’t realise I’d left one of the Observer models at home and had been playing a man down until halfway through the last game! (Marcus is an experienced wargamer who applies his full attention to every aspect of going to tournaments. Clearly. -ed.) Sorry Colin – looks like you might have some more work coming your way!
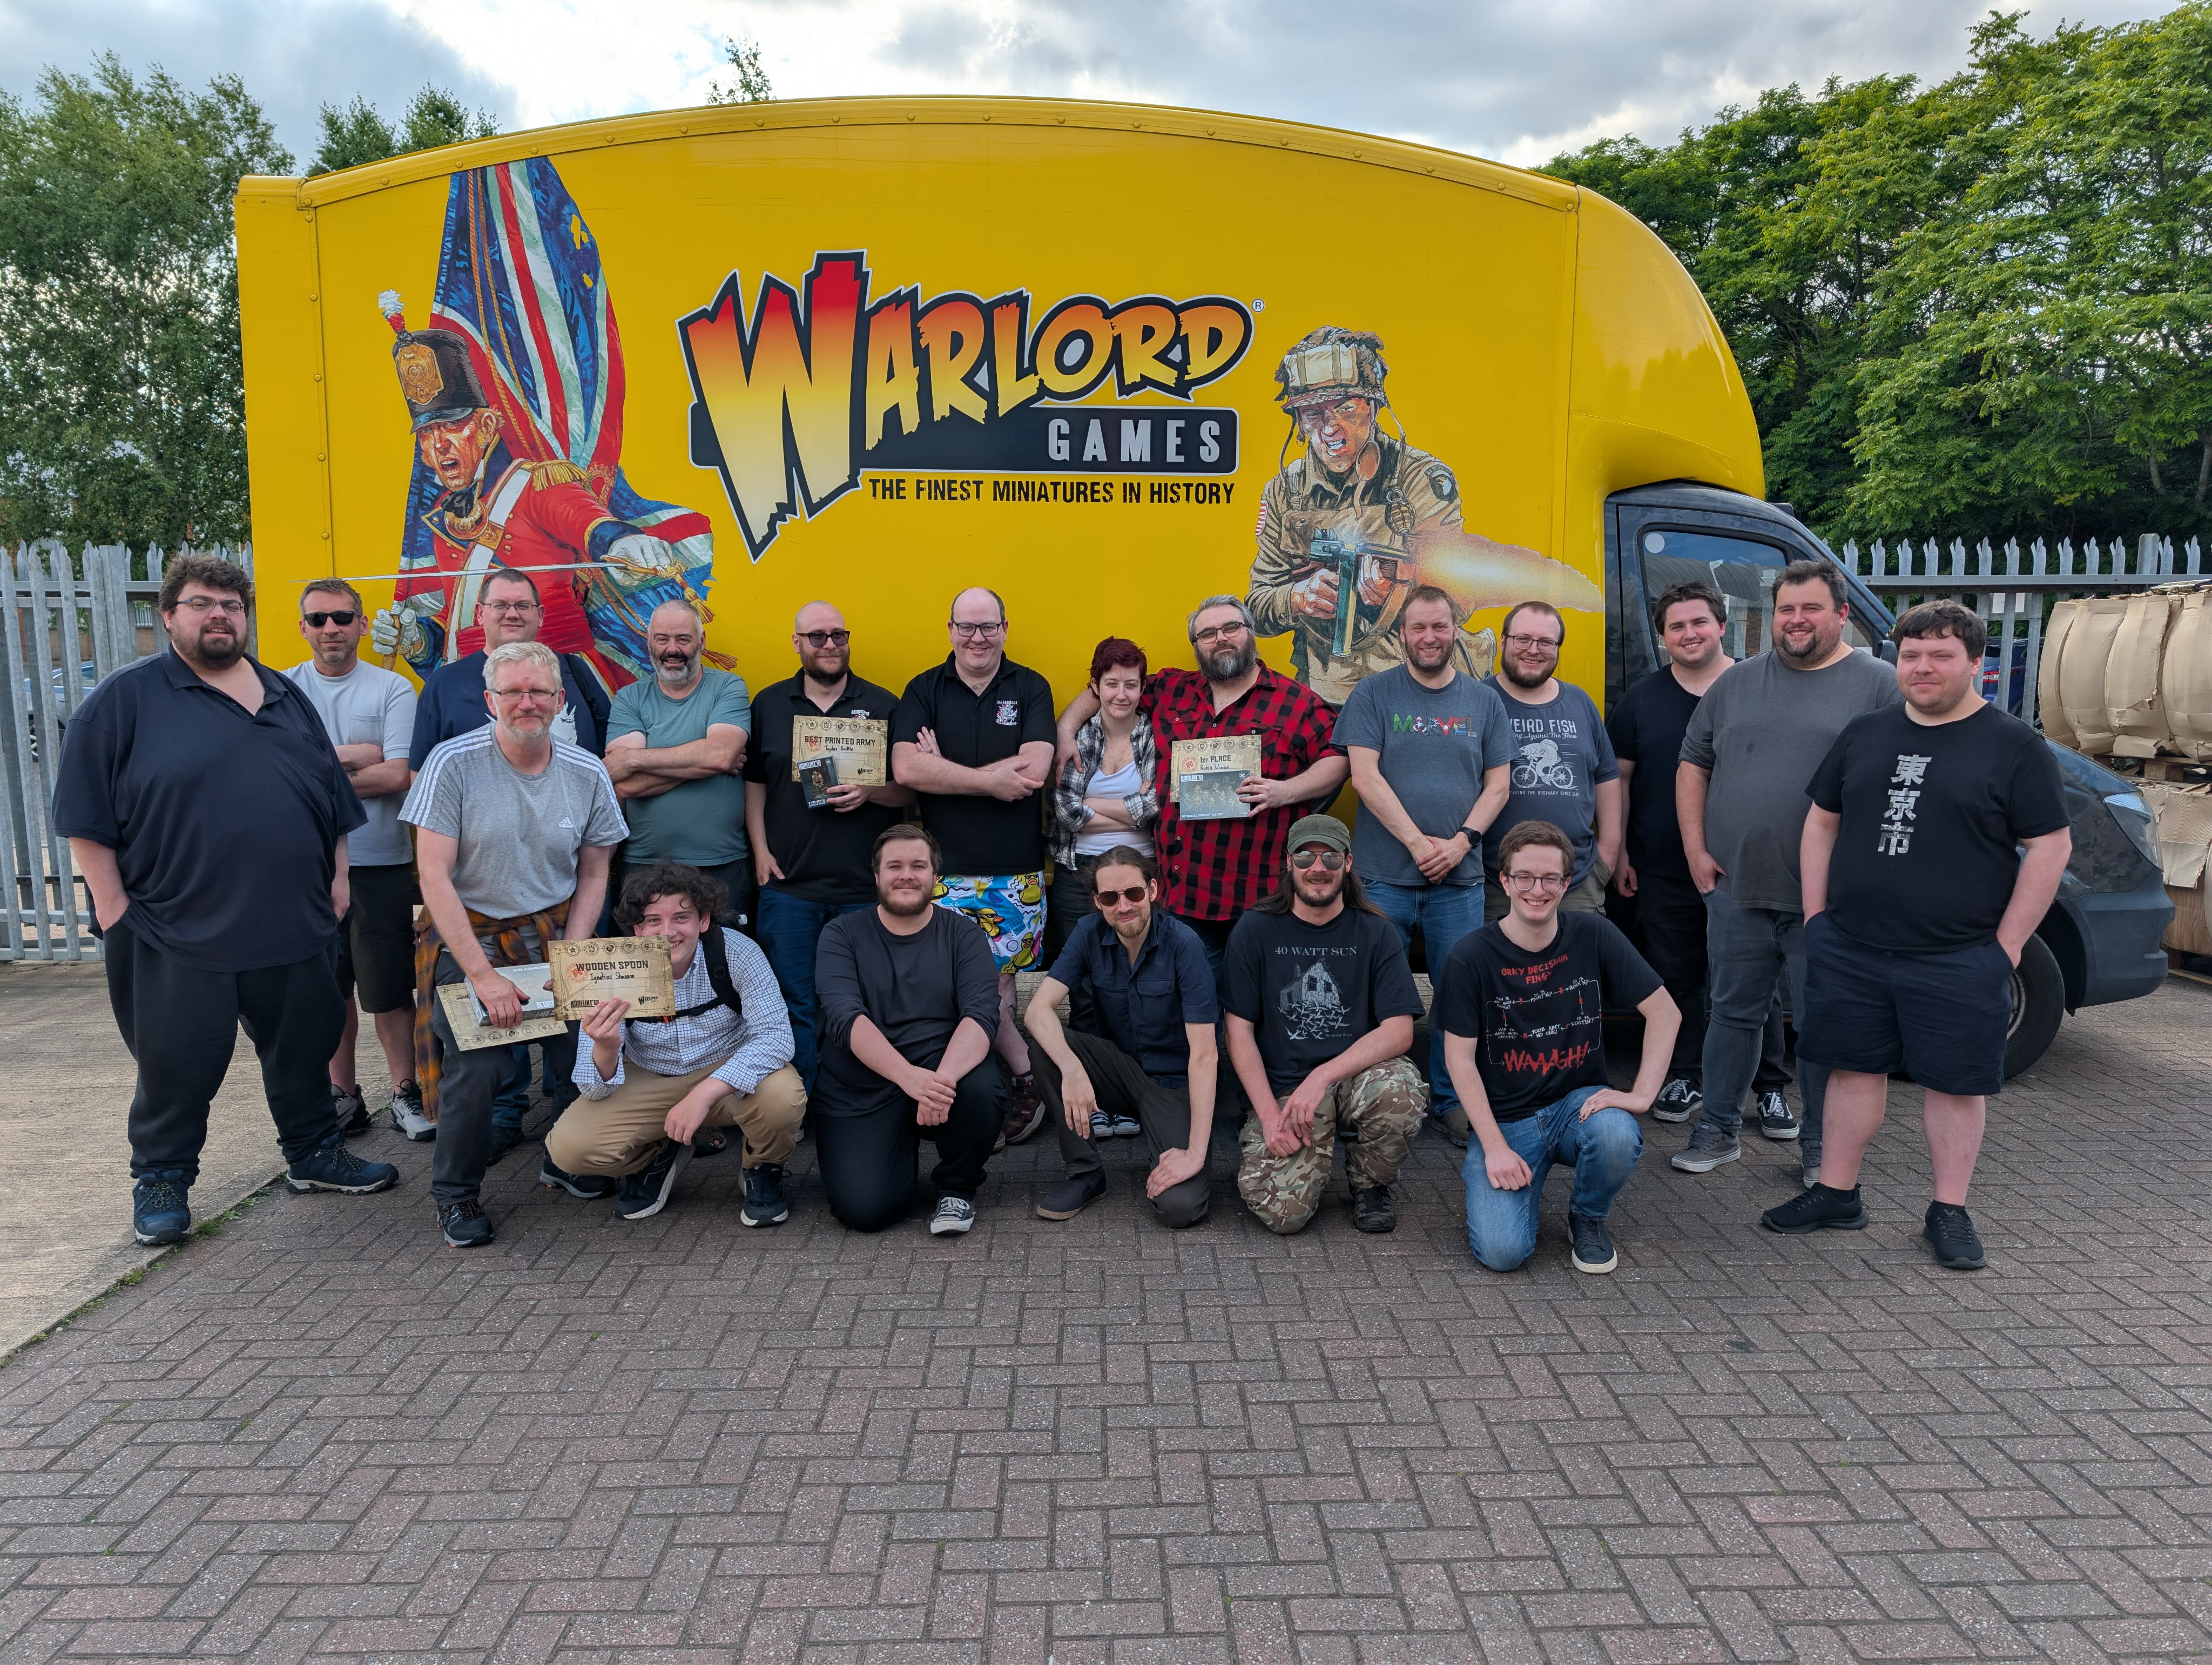
A huge thanks has to go to our HQ store team for putting the event on and keeping it running smoothly, as well as everyone who came down to play and made this such an enjoyable day to be a part of!
Want to get involved with Konflikt ’47?