Gather ‘round, everyone. No shouting and screaming today, and no blackboard lectures. Today’s topic is one with no textbook or ‘right’ way to go about it – we’re looking at a subject that’s all about making educated guesses, based on experience, gut feeling, and an understanding of how tank battles are fought. As commanders, you’ll be privileged to lead a unit of armoured vehicles into combat, and high command is entrusting you with a very rare opportunity – as many of your missions will be of the utmost importance, you’ll be given liberty to select the vehicles and crews you take with you! Now, managing your crew is a whole other kettle of fish, and that’s a subject for next week’s briefing – the metal is equally as important as the meat, and that’s what we’re talking about today!
You’ve all undergone your basic training on the same models of tank, but you can expect to be deployed to far more capable types when you reach the front line. You’ll all have a chance to submit your posting requests to the personnel office before you graduate, but remember – you’re in the army now, so ultimately you’ll go where the military needs you! This training is intended to make you good all-rounders and skippers, and part of that is knowing how to adapt your forces to the mission at hand – you can’t win the big game if you’ve picked the wrong team!
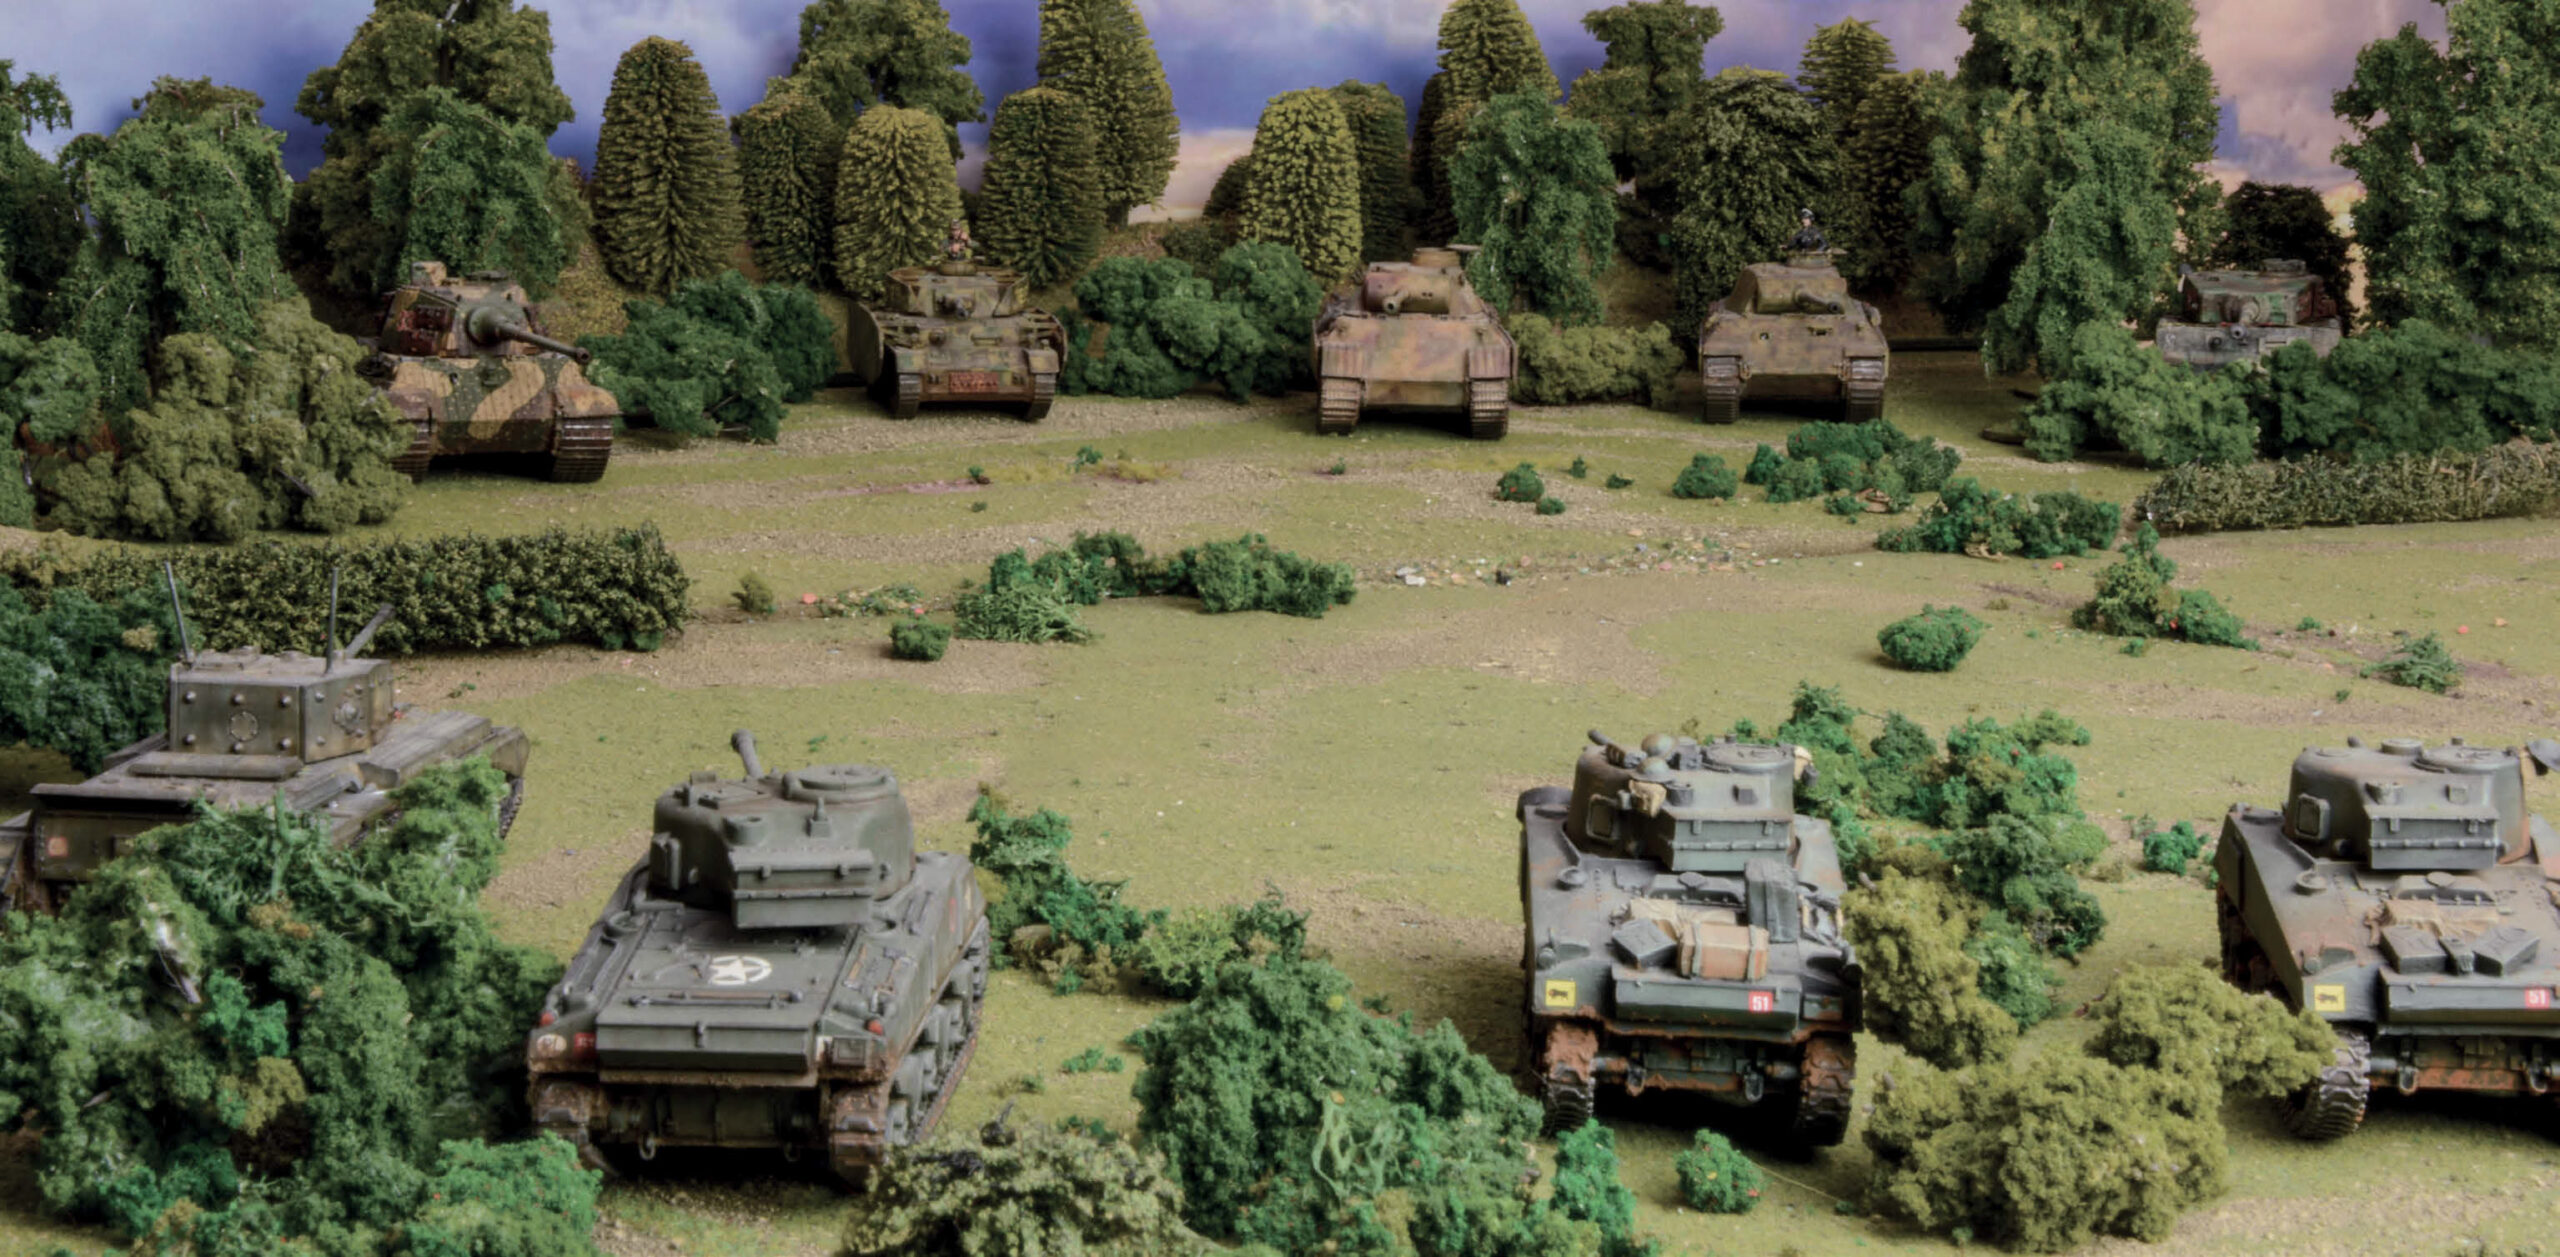
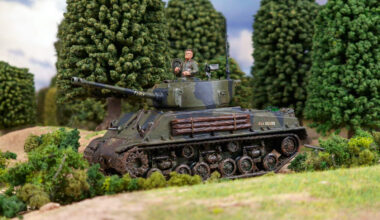
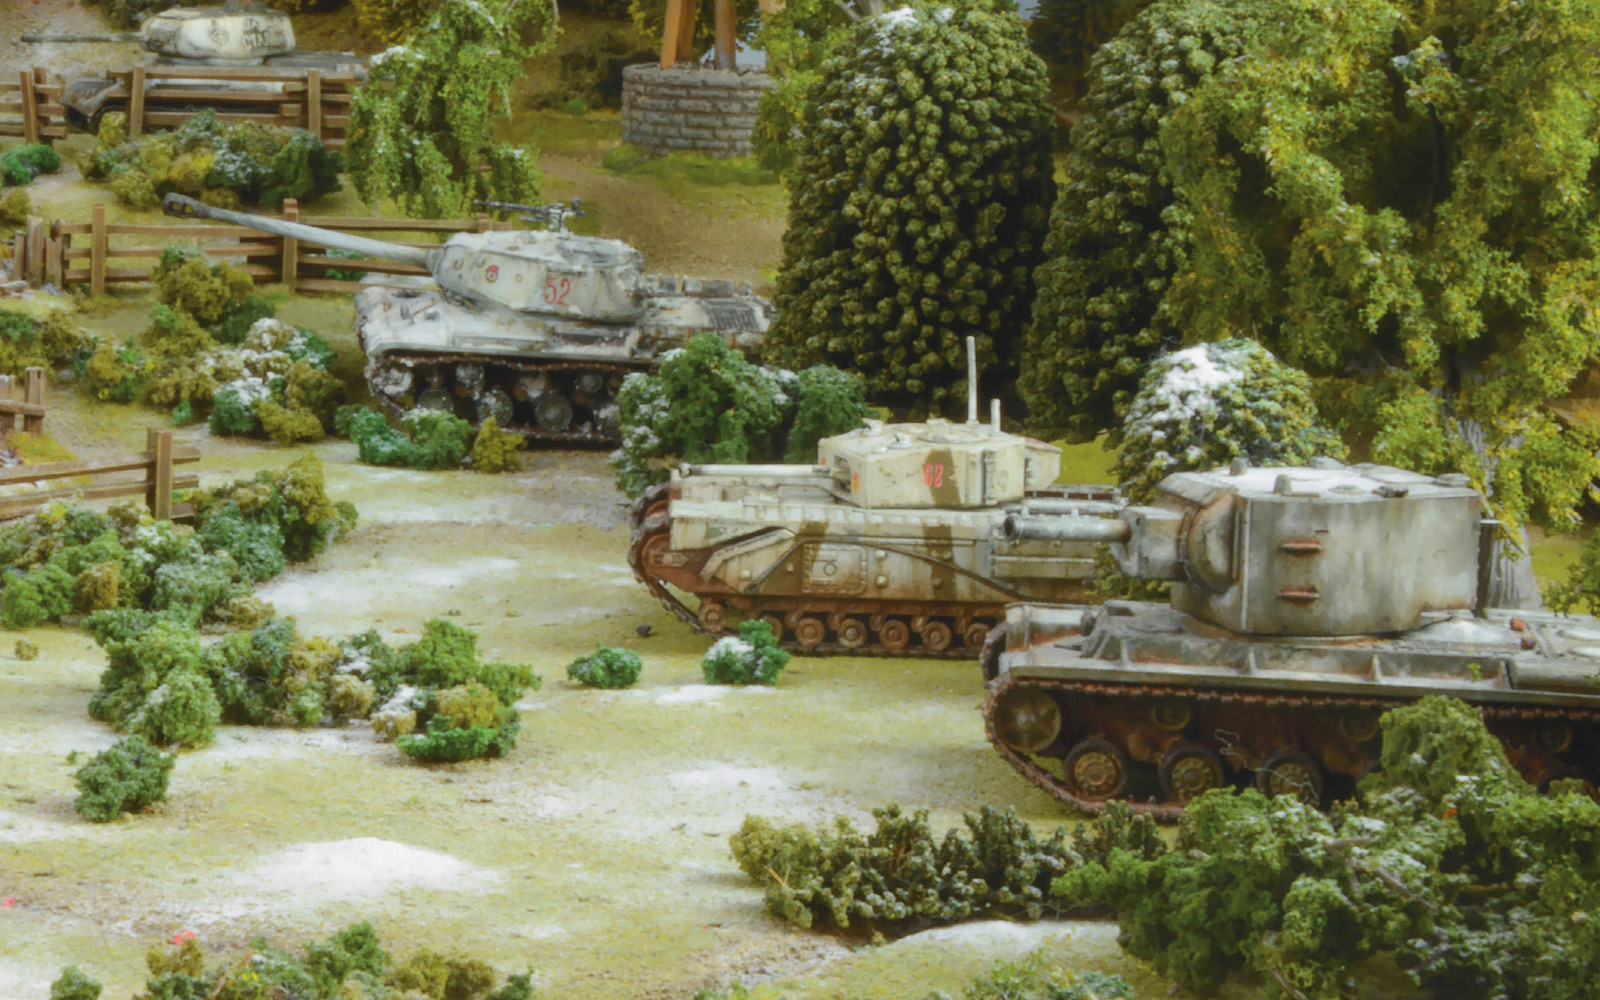
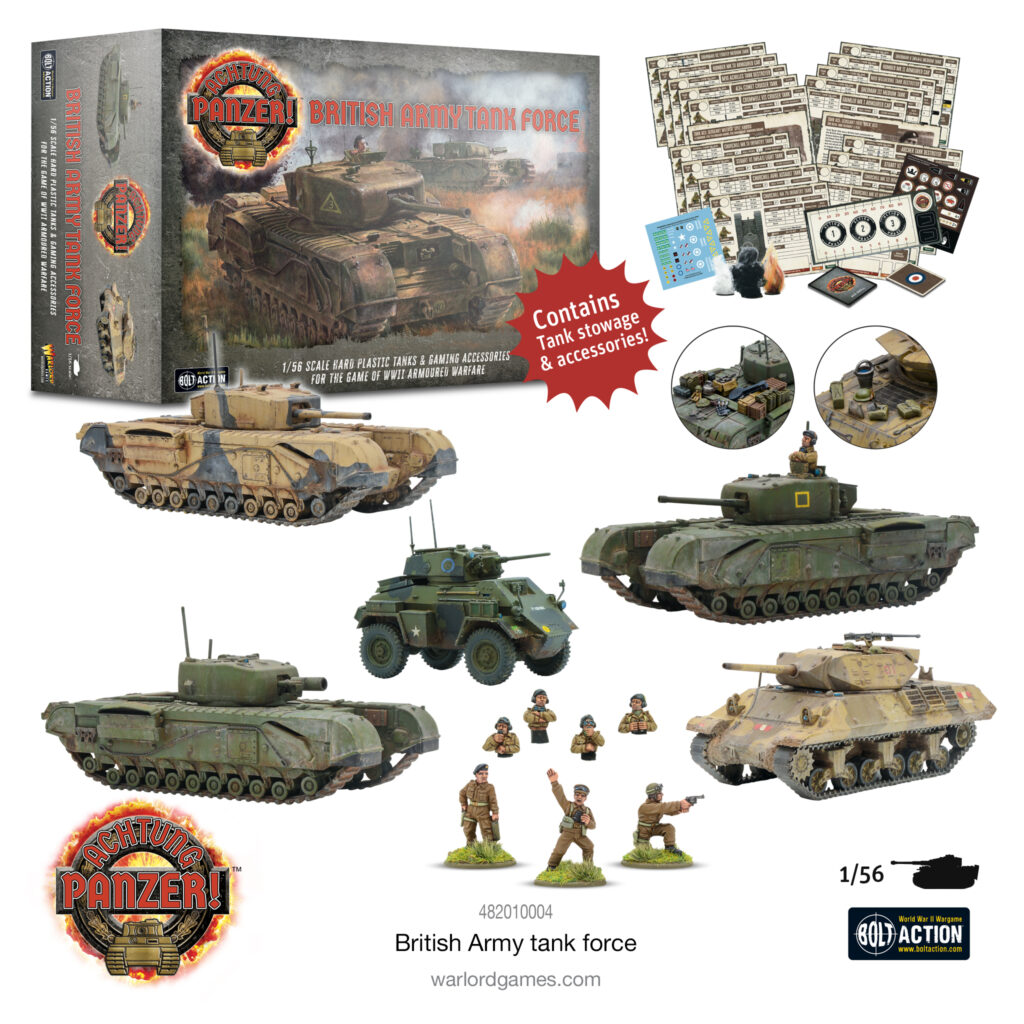
Sometimes you’ll find yourself wanting to deploy your forces exactly as the Good Lord and the Army Board intended – for example, note those three Shermans over there. You’ll note two Mark Vs with the 75mm gun, and that the third is one of the new ‘Firefly’ types with the 17-pounder long gun – a perfectly well-thought-out troop! The 75s can deal with most tanks they’ll come up against, and the 17-pounder is there in case there are any Tigers lurking in the bushes! It’s not just anti-tank firepower, though. The 75mm has an excellent high explosive shell, perfect for clearing terrain features of lurking enemies, meaning this troop can engage all manner of targets with a reasonable expectation of success. Lastly, there’s the oft-overlooked question of mobility and armour – as all three are Shermans, you don’t need to worry about one vehicle lagging behind the advance, or having to protect one that’s significantly less well armoured. The key word for this example troop is ‘balance’ – and that’s how the majority of pre-existing forces are tailored! This makes it nice and easy for you and your opponent to agree on historical formations if you want to recreate a particular engagement, or simply don’t want to use points values in your game!
Blood and Steel
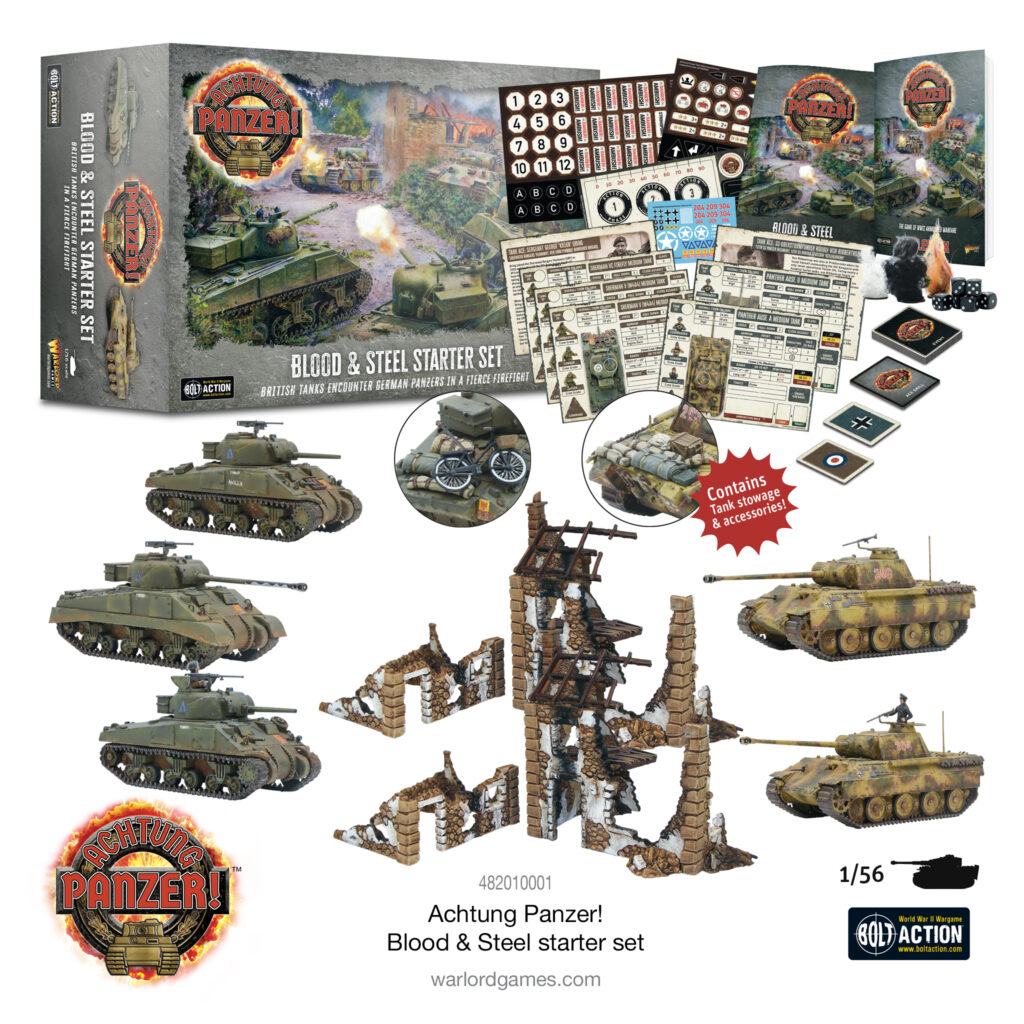
The Achtung Panzer! starter set contains just such a British force with which to get to grips with the core mechanics of the game, facing off against two German Panthers. Within you’ll also find everything needed to get started with the game, including a full-colour rulebook, card decks, game tokens, dice, plastic terrain and even stowage to customise and personalise your own tanks and crews.
Now, while a balanced approach is usually a safe, sensible choice, sometimes in war you need to take risks according to the situations you find yourself in! This could hinge on any number of factors, and how great a risk you take is entirely up to you. For example, if you’re playing the Block Clearing scenario as the attacker, where your aim is to clear as many pieces of terrain as possible, then you may want to go for one or two tanks armed with howitzers specifically for this purpose – of course, that means that if you only have one tank designed to deal with enemy armour, and that gets taken out, you’re in a world of trouble! On the flipside, if you’re defending, with the sole objective of destroying the enemy tanks, then there wouldn’t be much point in taking lots of HE-flingers! Understanding the task at hand is crucial to selecting the right forces, so make sure you pay attention to those aerial reconnaissance photographs and pre-battle briefings – they’ll help you make the decisions that could mean the difference between victory and defeat!
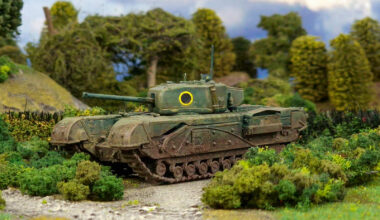
You’ll also have access to some more specialised vehicles, for more specialised tasks! Vehicles with the Support trait are optimised to the task of clearing Ambush Terrain. Such resources are scarce, though. There’s a whole lot of territory to cover and only so many Churchill AVREs to go about, so you’ll only be able to add a single tank with the trait to your platoon.
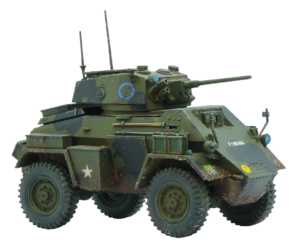
Another trait of particular note is Scout; often, but not always, presented in the armoured car variety. If you end up as driver of a Wheeled armoured car, take caution – these handle a bit differently to the tracked beasts you’ve been used to up to now, nimbler in the open but prone to struggling in rough terrain, and obviously less durable – so keep your wits about you! Do not be disheartened, for they are an essential cog in our armoured machines! The inclusion of a SCOUT in a force is a great boon, allowing you to pass on vital recon straight to your mates. If a scout Spots an enemy vehicle, essentially your whole force has!
Now, what’s to stop you simply amassing a horde of all the best tanks available and just absolutely steamrolling your hapless opponent? Well, command’s willingness to give you all those tanks, of course! You can’t expect them to just hand you dozens of their best and biggest – don’t you know there’s a war on? Armour is needed across all fronts, so there’s a limited amount available for you to pick from. In-game this is represented by points values – a familiar concept if you’ve got any wargaming experience under your belt! Simply agree a points value with your opponent, and select your tanks up to that figure. You may wish to add additional ‘complications’ – for example using the ‘class’ optional rule that classifies tanks from 1-5 based on their armour and gun, and limiting yourself to Class 3 vehicles – or you can go truly free-for-all! You’ll notice that each vehicle has three costs – one for each level of crew calibre (we’ll go in-depth on that next time!), allowing you to potentially squeeze a little bit extra in to you force if you don’t mind a lack of experience – and remember, quantity does have a quality all of its own!
That’s all for this week – we’ll be moving onto crew management and training when on campaign for our final lecture of this series, and then it’ll be time to ship out. Before that, though, there’s also the little matter of your passing-out parade. On that note, I believe Sergeant-Major Davies wants to see you all on the quad for a little bit of square-bashing – and you don’t want keep him waiting!
Muster Your Forces!
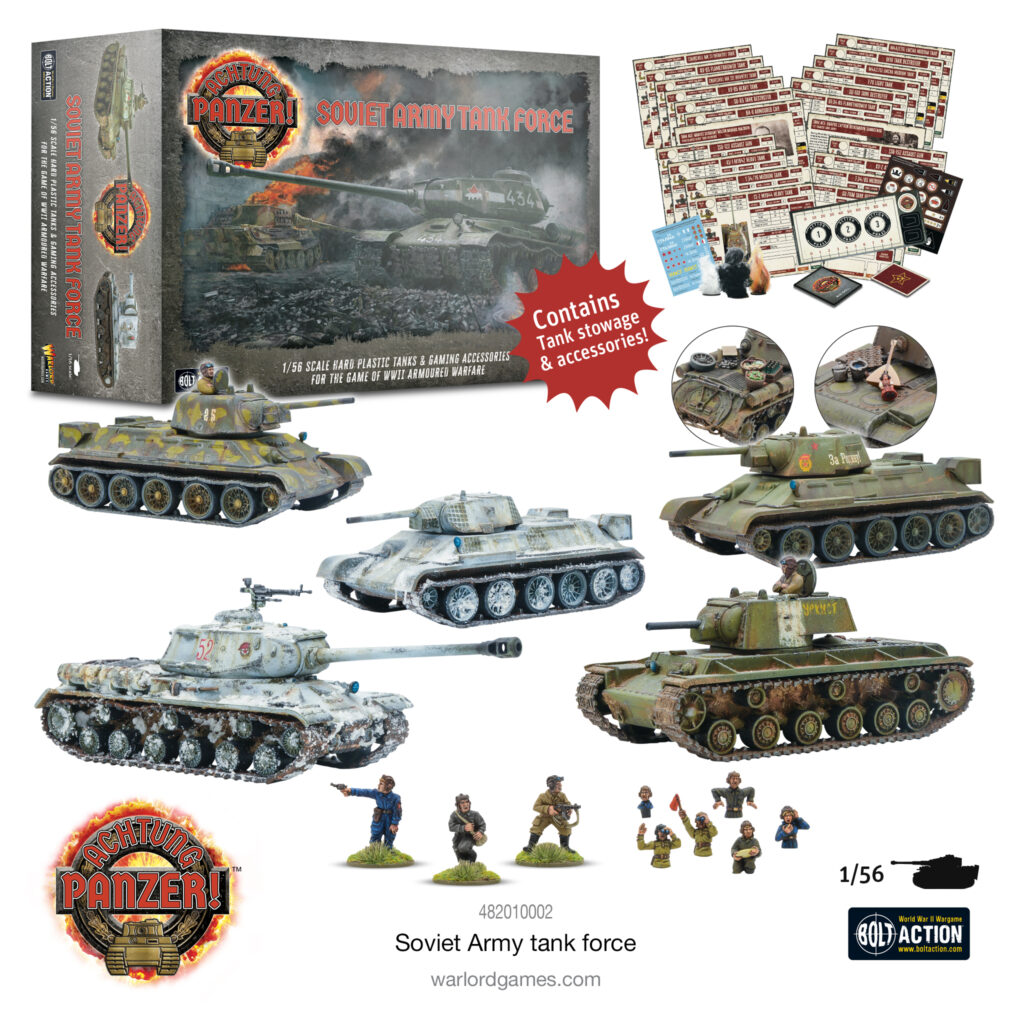
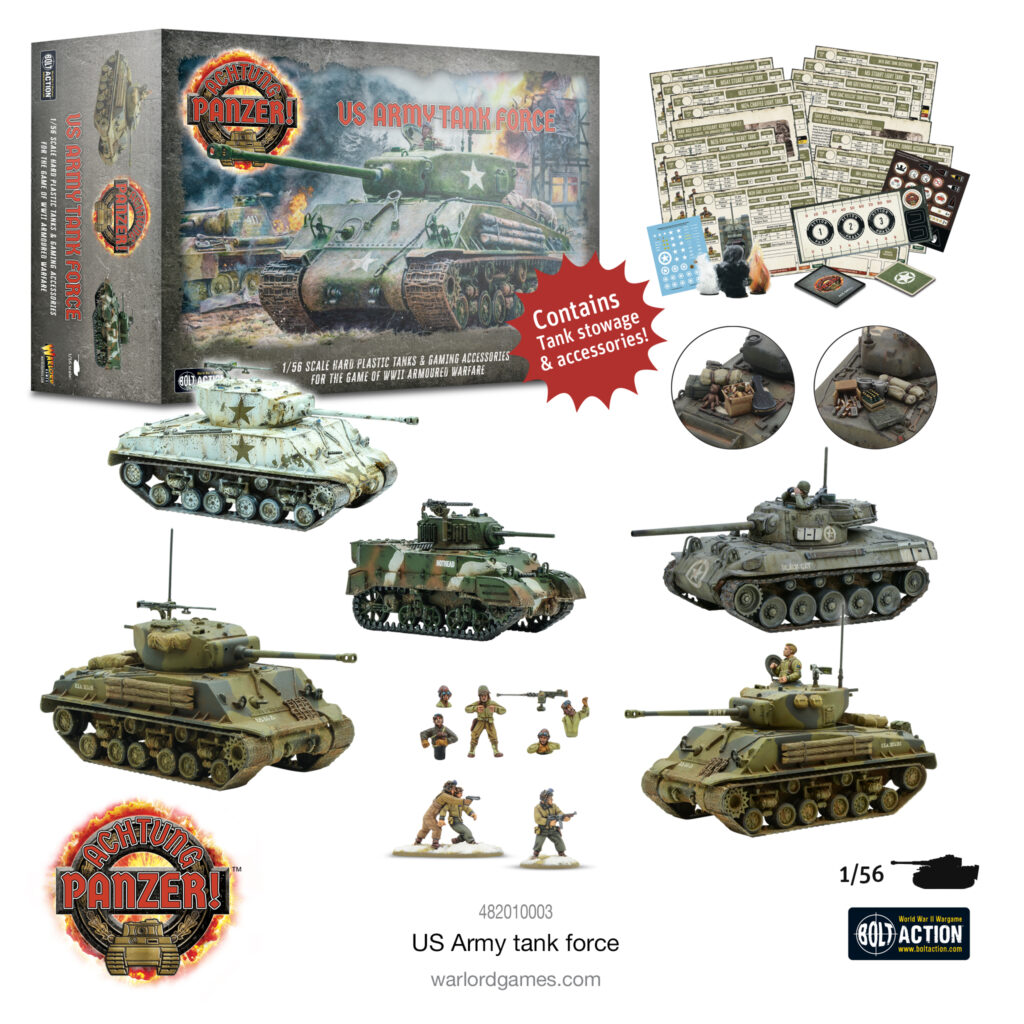
Achtung Panzer! Tank Forces allows you to deploy five iconic armoured fighting vehicles to the tabletop, giving you a variety of options for your tank platoons that each offer their own strengths, weaknesses and Traits. The boxes also contain a plethora of extras including characterful nation-specific stowage items, mounted and dismounted tank crews, nation-specific asset cards and a host of additional vehicle Datacards so you can bring even more types of armour to the fight!

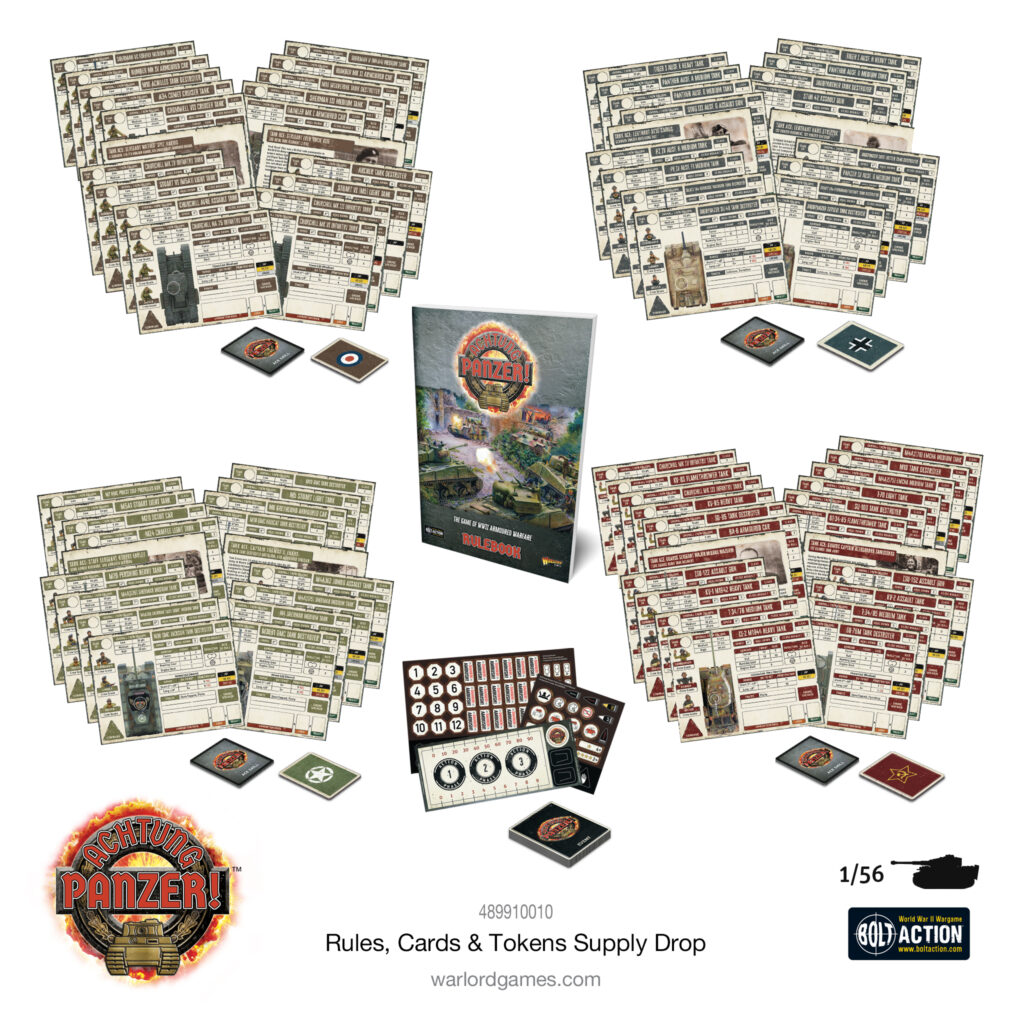
Rules, Cards & Tokens Supply Drop
Already own a veritable horde of tanks? Jump straight into the action with the Achtung Panzer! supply drop. This awesome, great-value, Warlord Webstore-exclusive bundle nets you the rulebook, essential tokens, and every single tank Data, Ace, Ace Skill, Asset, and Event card available at the time of the game’s launch!