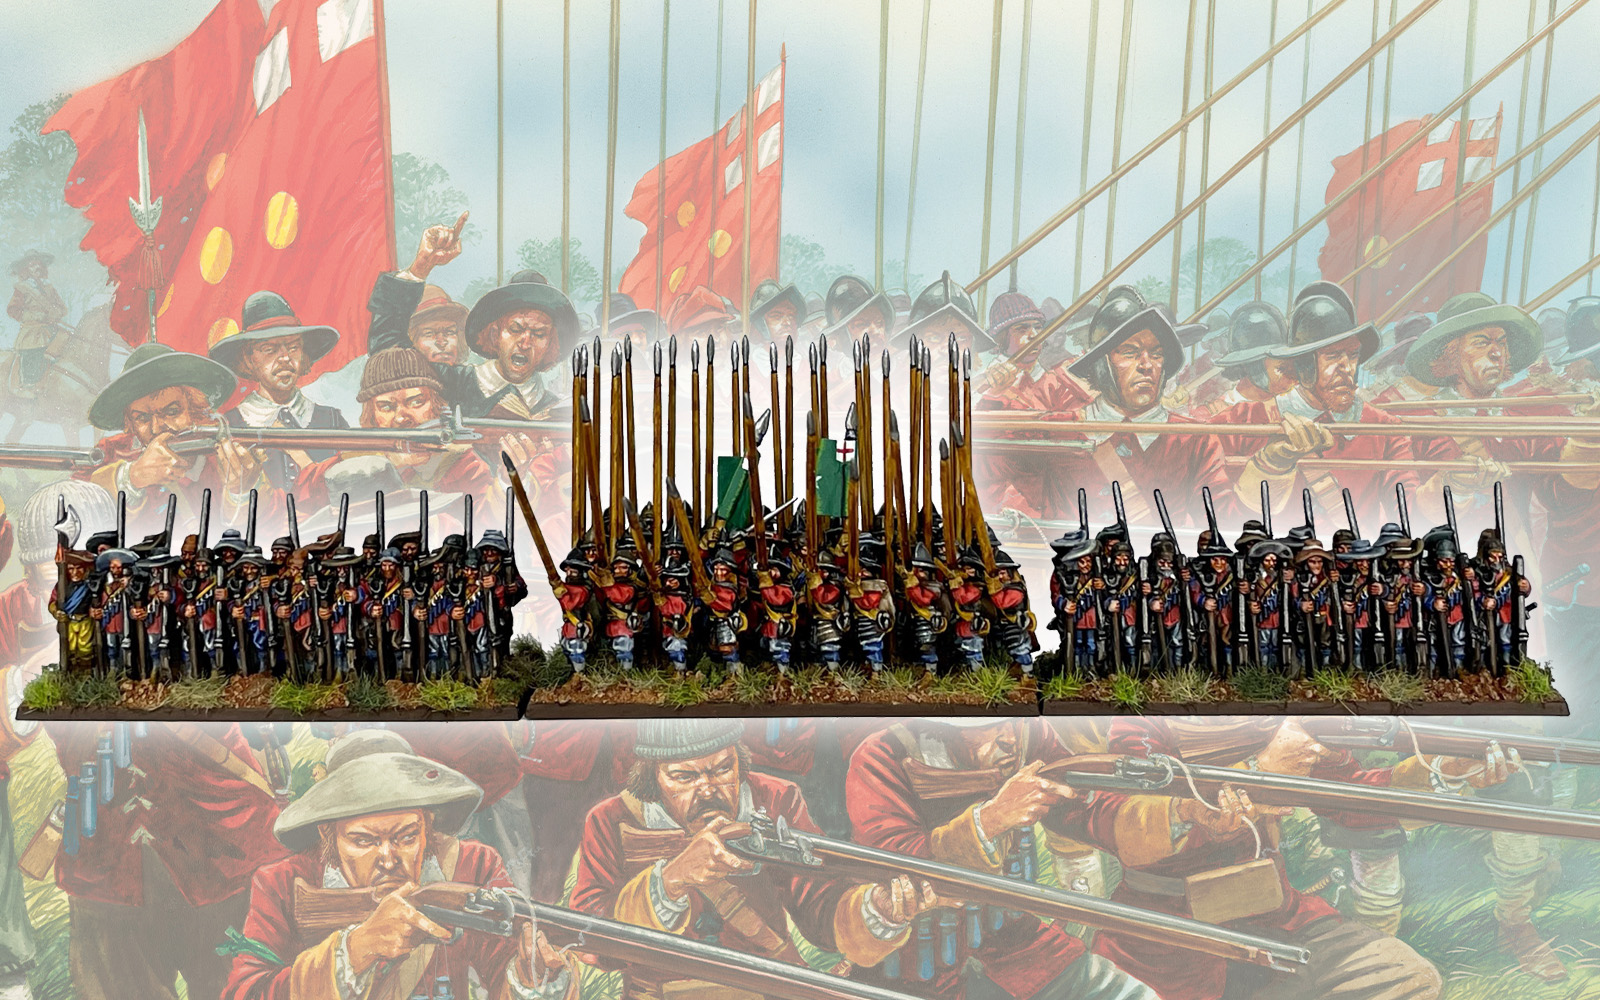
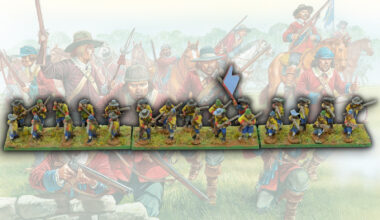
Having been suitably impressed by Paul Mackay’s Black Powder Epic Battles miniatures (you can see some of those models here), we asked him to try his hand at the brand-new Pike & Shotte Epic Battles infantry. He went one step further and did us a handy painting guide for Sir Thomas Fairfax’s Regiment of the Parliamentarian New Model Army.
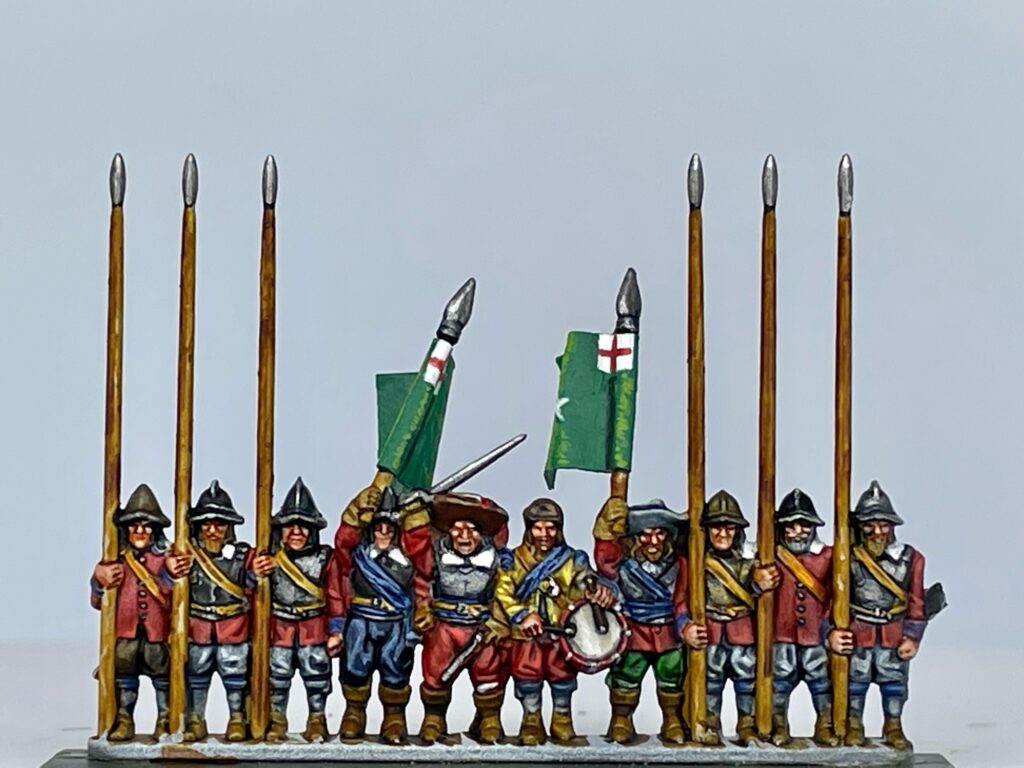
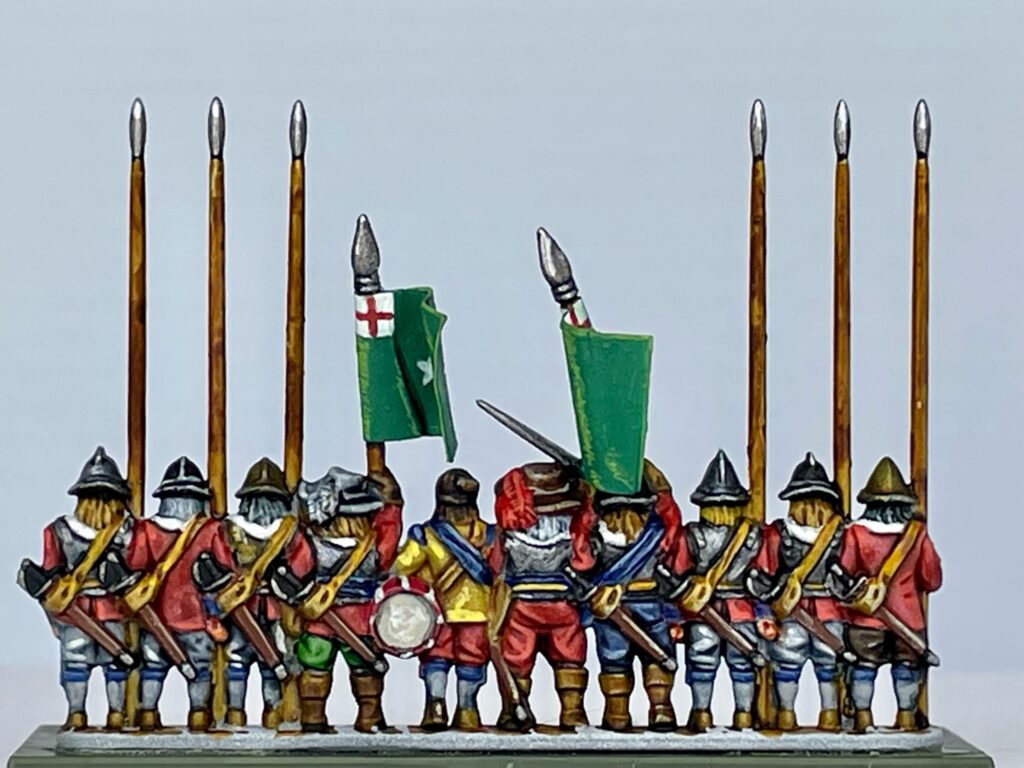
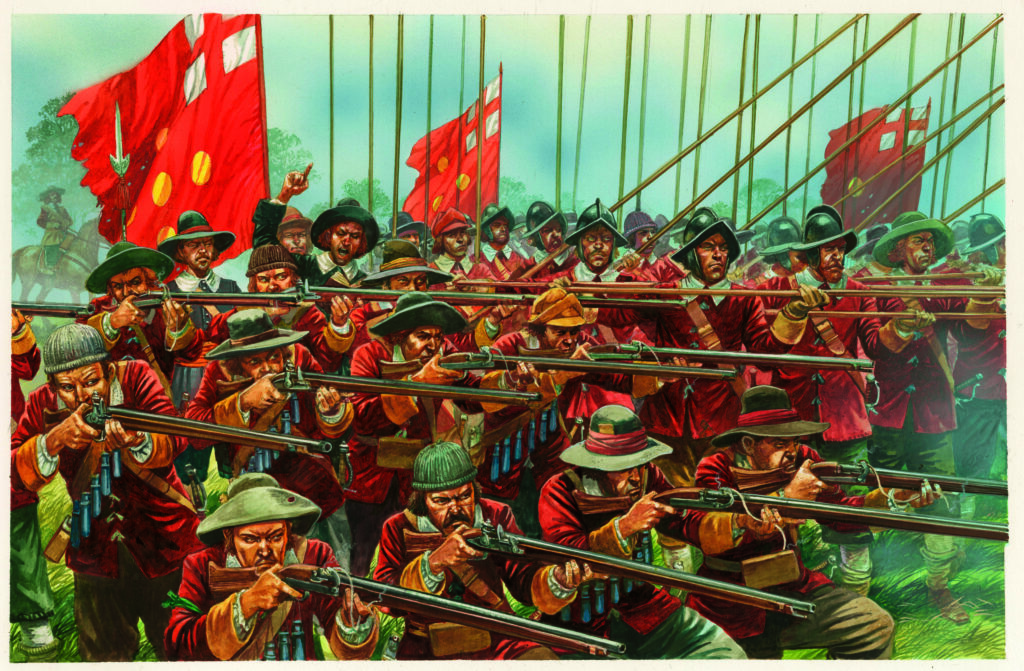
Paul: First, a few notes on my choices of colours for the uniforms. The New Model Army famously wore red coats. They were also outfitted with grey stockings and breeches. I painted a few of the latter in a different colour to provide a less (and probably more accurate) uniform look. The musketeer’s powder bottles were painted blue and were hung on a blue and white string (I painted these solid white). The cuffs on the coats and sashes I have painted blue as there is some evidence (albeit inconclusive) for Fairfax favouring this colour. For the same reason, I also painted the ribbons holding up the stockings blue. I followed the BCW Project’s suggestion for this regiment having a green flag. Note this is a homemade one as I didn’t have access to the Warlord Games flag sheet at the time I was working on these figures. For the armour and helmets I went for a mix of either blackened, munition, or russet-coloured finishes.
Stage One
I undercoated the figures using a grey rattle can spray and then used a white zenithal application. This was followed with a very heavy dry brush with white paying particular attention to the upper part of the miniatures. I used a lot of Games Workshop (GW) Contrast paints on this regiment making the overall process quicker. I used a grey rattle can initially as the lower parts of the figures (stockings and breeches) are principally this colour. I used the following base coats and with the addition of painting the pike points ‘silver’ you could arguably call the figures finished at this stage, should you not want to go the extra mile.
- Coat: GW Blood Angels Red Contrast.
- Collars: Vallejo Off White
- Trousers: Principally GW Space Wolves Grey with the odd one picked out with Garaghak’s Sewer, Snakebite Leather, Gore-Grunta Fur or Leviadon Blue (these are all contrast paints).
- Face and hands: Any flesh colour will work.
- Pike points, Helmets, Armour: Any black.
- Shafts: Scale 75 Thar Brown.
- Hats: GW contrast Basilicanum Grey, Snakebite Leather (I also used this on the gloves), Gore Grunta Fur, Black Templar, Space Wolves Grey and Garaghak’s Sewer.
- Stockings: Space Wolves Grey.
- Ribbons on the legs and cuffs: GW Macragge Blue.
- Belts: GW Nazdreg Yellow contrast.
- Sashes: GW Kantor Blue.
- Bandoliers and The Twelve Apostles (powder-filled bottles): Snakebite Leather (this contrasts nicely with the belts).
- Muskets, musket rests and powder flasks (the triangular-shaped objects on the musketeer’s right sides): GW Wyldwood contrast.
- Scabbards: Vallejo Flat Brown.
- Hair including beards and moustaches: A selection of contrast paints as mentioned above – brown, ‘blond’, black or grey in colour.
- Various bags: Snakebite Leather.
- Blankets: Vallejo Model Colour Yellow Olive, English Uniform, 75 Mojave White and Rainy Grey.
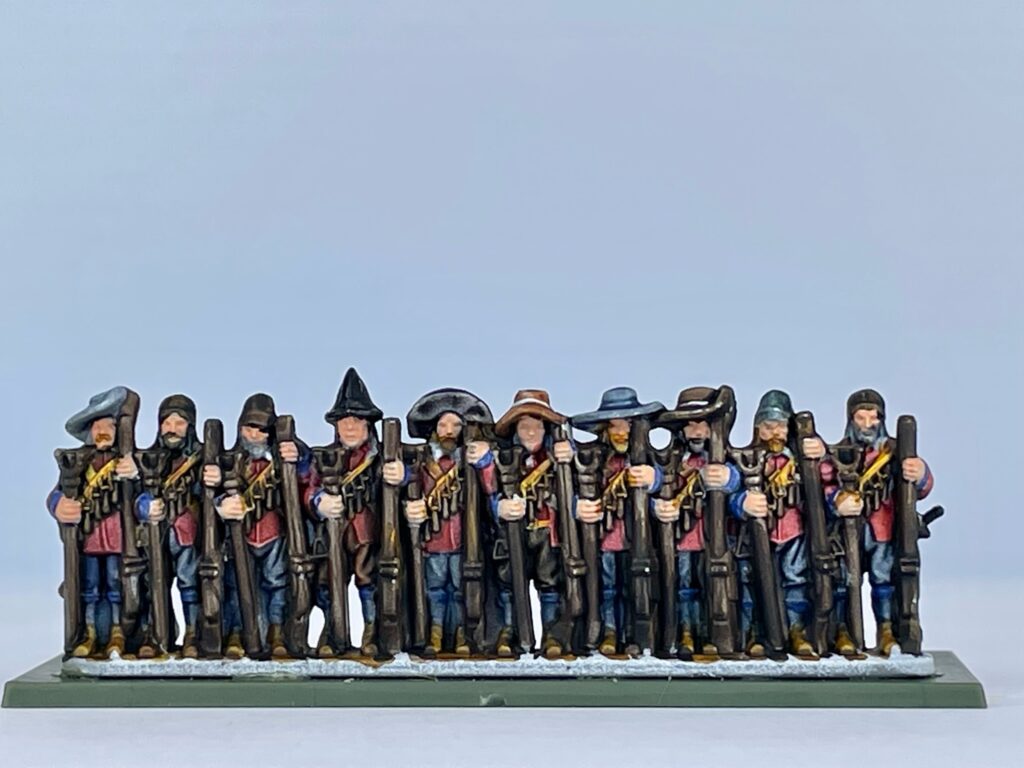
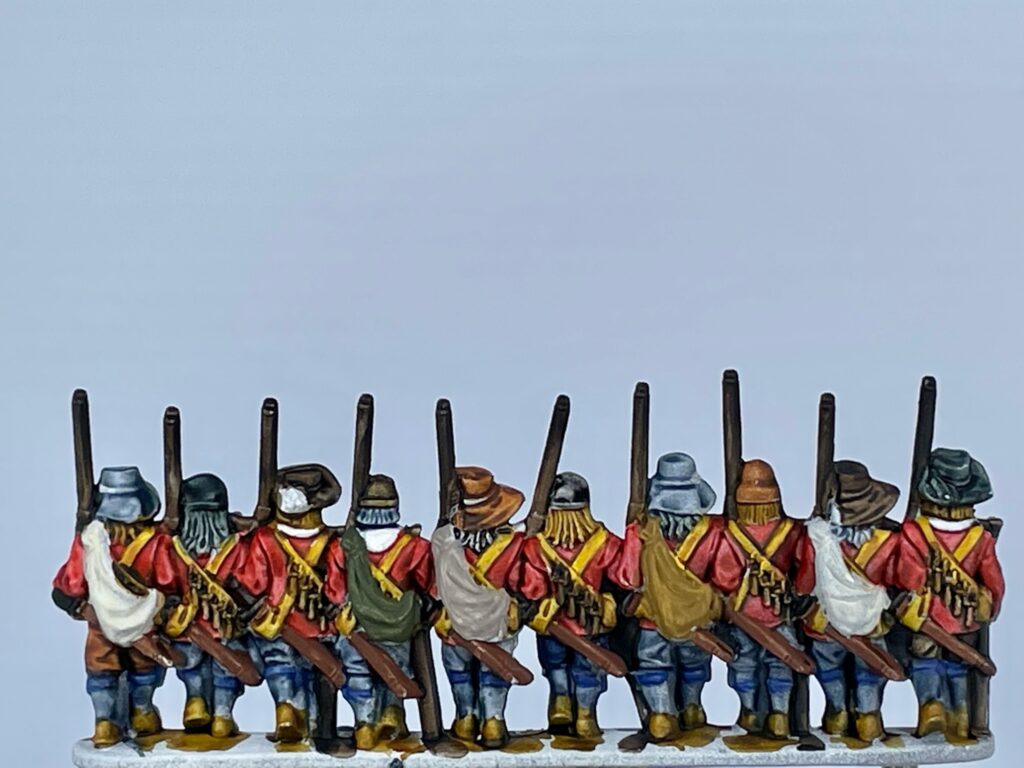
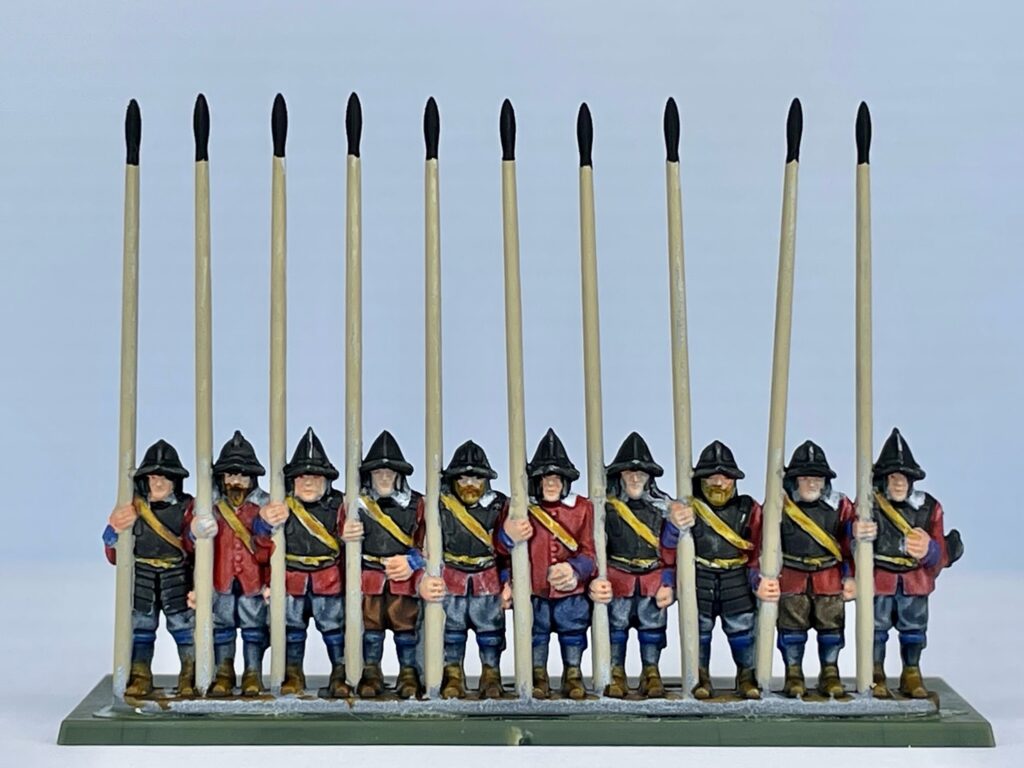
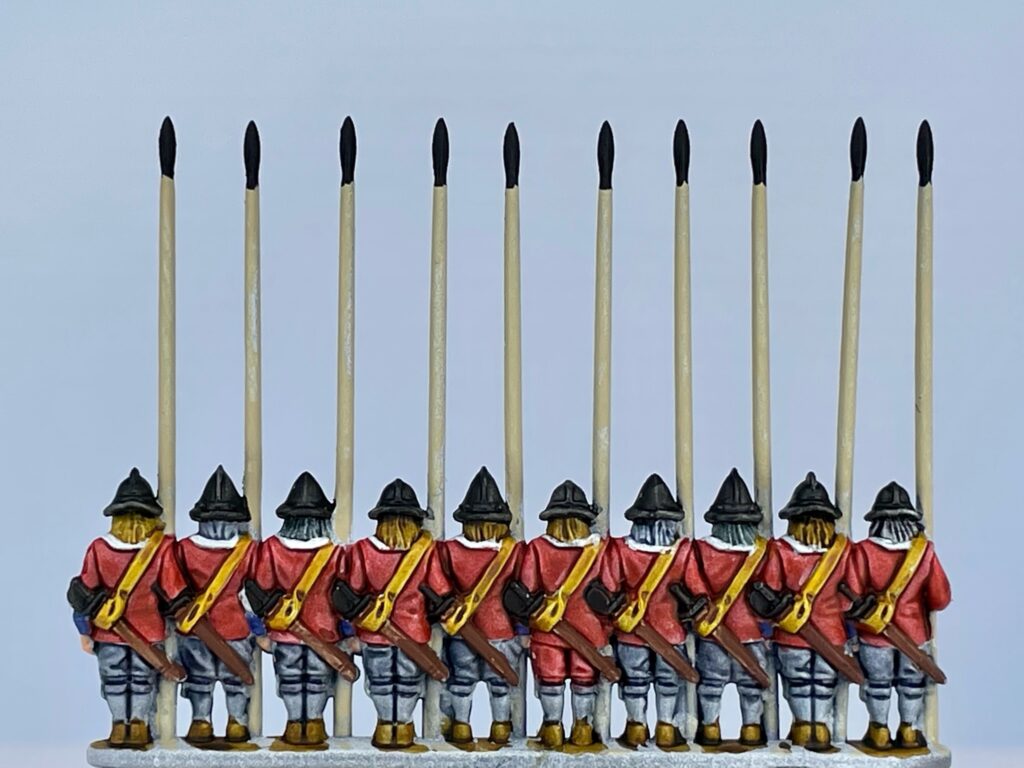
Stage Two
Here I gave the skin a flesh wash that I had thinned with GW Seraphim Sepia. The blankets and bags were washed with GW Agrax Earthshade. The cloth was defined further by applying Blood Angel’s Red contrast paint only to the recesses of the cloth. The grey areas were done in the same way. The use of the contrast paint here nicely separates the ribbons from the stockings. This process makes a considerable difference to the look of the miniatures. I also used brown ink to add a little more separation between the belts and the coats.
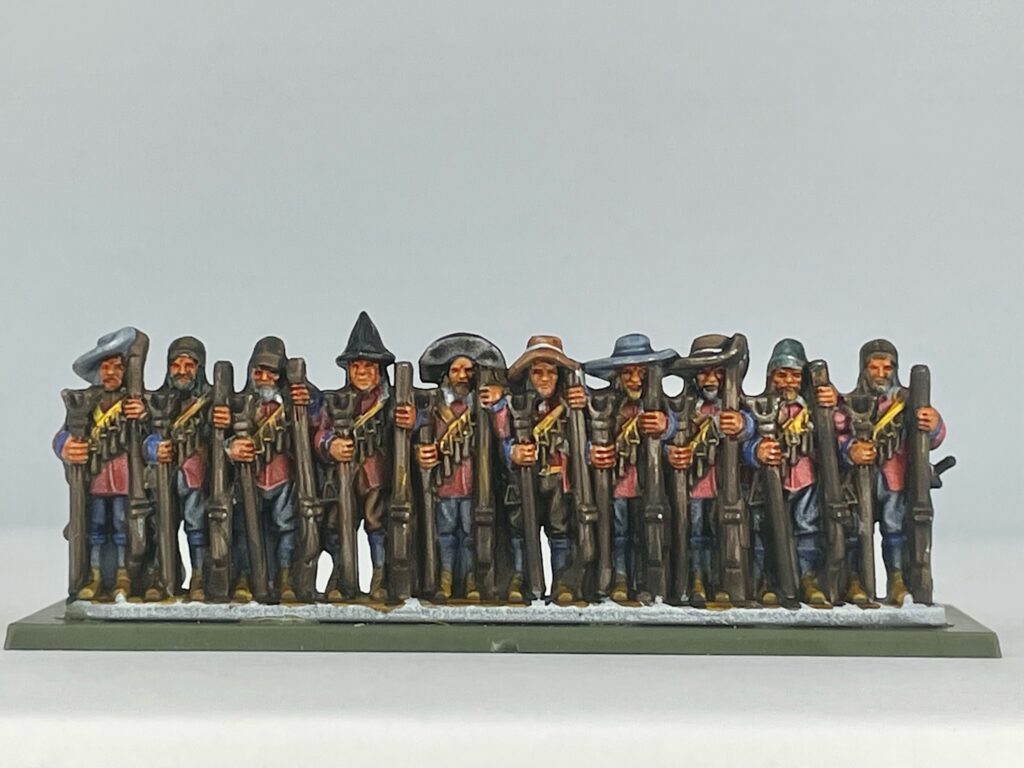
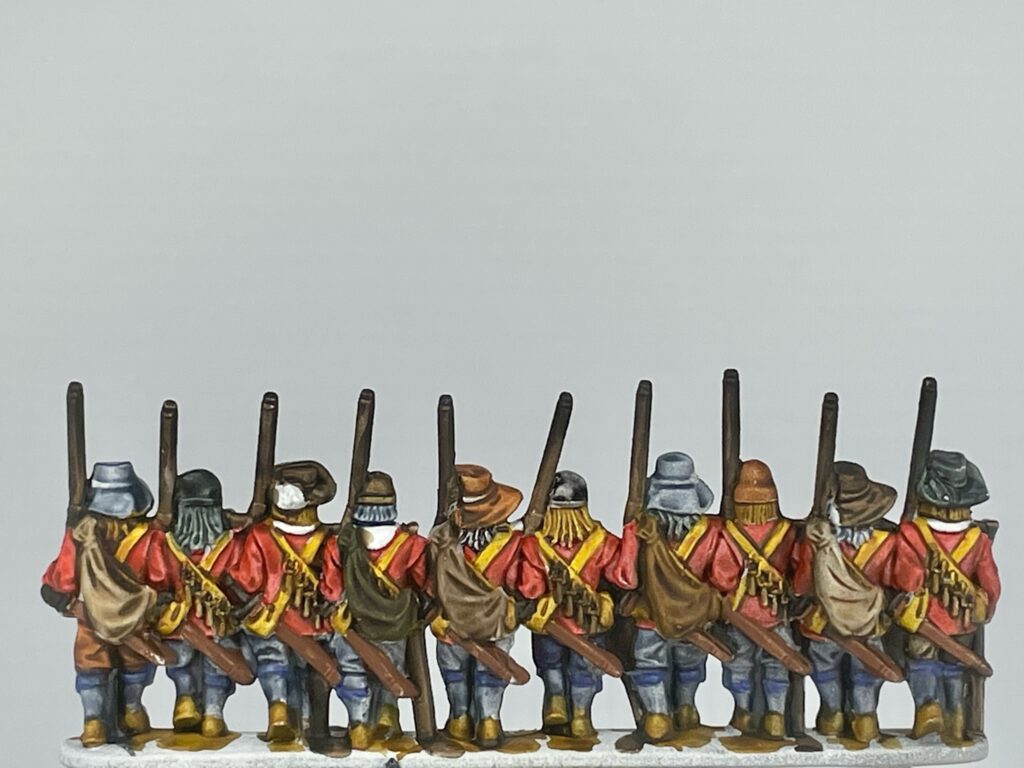
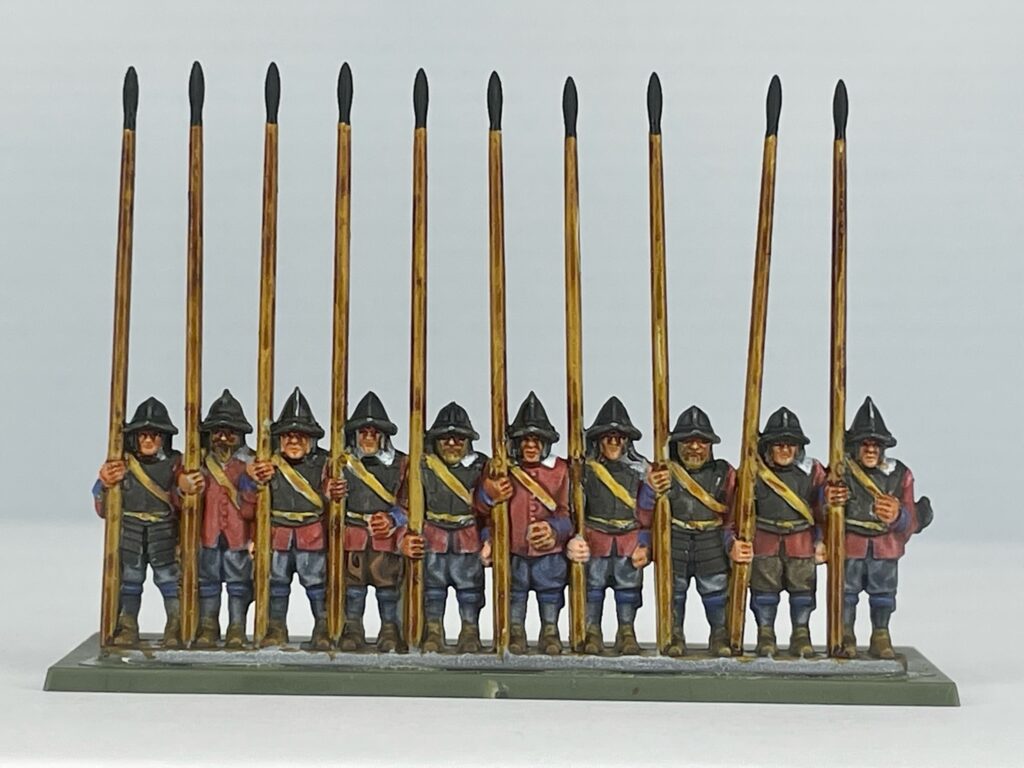
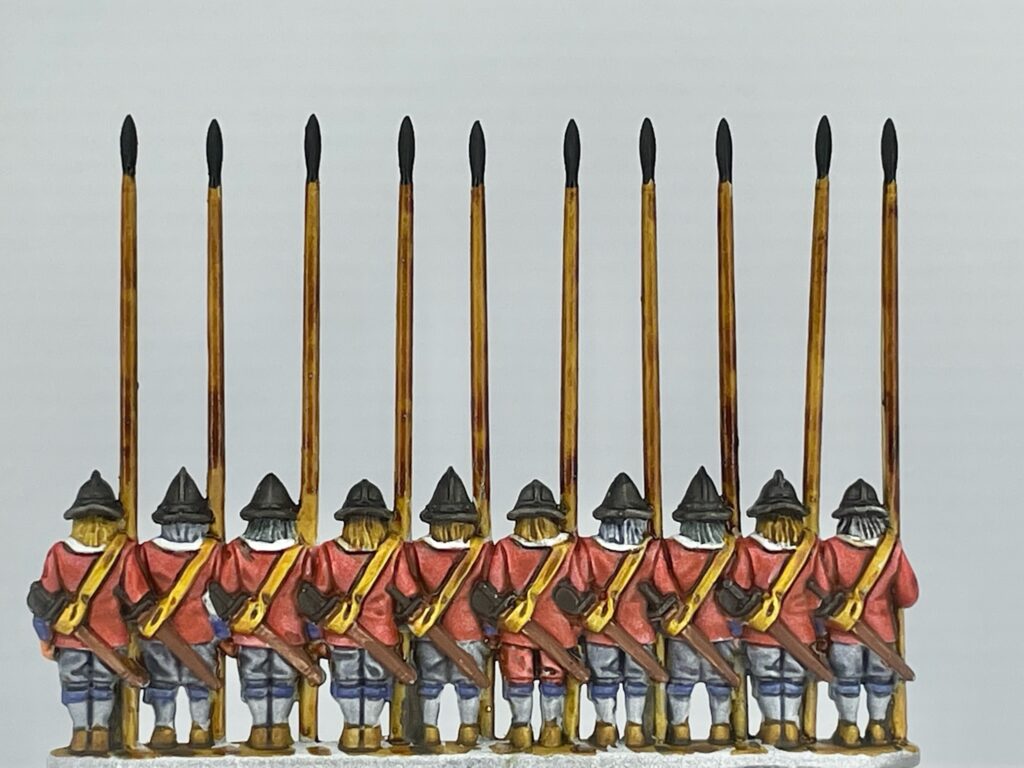
Stage Three
This stage is where the figures really start to pop! The blankets were highlighted with their original base colour and then further highlighted with this mixed with white. The coats received a highlight of GW Wild Rider Red. The Snakebite Leather and Nazdreg Yellow however were highlighted with Vallejo Yellow Ochre. The metal parts of the muskets and musket rests are painted black. All the raised areas of the flesh were touched up with their base colour and then further highlighted with an additional mix of the original flesh colour mixed with Vallejo Game colour Pale Flesh. Where necessary I further defined the eye sockets with Raw Umber Ink from Liquitex. I also picked out the feathers on the hats with either any white paint or for variety, some GW Contrast Blood Angel’s Red.
All the hats were highlighted with a mix of their original contrast colour and white. I used Ulthuan Grey to highlight the trousers and Administratum Grey to give a cleaner look to the stockings. The ‘blackened’ armour and helmets were highlighted with Ulthuan Grey. I used GW Ushabti Bone to edge highlight the scabbards. The body armour, helmets, metal parts of the muskets, ends of the scabbards and sword hilts (the grips were left black) were all painted with GW Leadbelcher. I washed the helmets, breastplates (that I had decided not to leave blackened) and tassets (thigh armour) with either a very, very diluted mix of blue and black ink or with GW Agrax Earthshade (some armour was russeted to protect it from the elements). The Leadbelcher was then highlighted with GW Stormhost Silver. I also added a spot of this on the ends of the pikes. The shafts were washed with thinned Scale 75 Inktense Wood Ink to give it a more seasoned look. I did not bother with further highlights on the metal parts of the muskets.
The powder bottles were painted with Macragge Blue. The original dark brown was left in the recesses and the strings attaching them were picked out with white. I washed and further highlighted the feathers and sashes to make them pop more. For the white feathers I used Basilicanum Grey and for the red parts of the figure I used a highlight of GW Fire Dragon Bright. Finally, I dotted in visible buttons and buckles and added details by highlighting and shading the cuffs, powder bottles and sashes, and separating different areas of the figure with GW Rhinox Hide. It is worth noting that when ranked up and glued to their bases, some elements will be simply less visible so they may not need so much attention to details such as metalwork and highlights. I finished the figures with Vallejo Matt Varnish. Note, I do this before applying any metallics to retain the paint’s lustre.
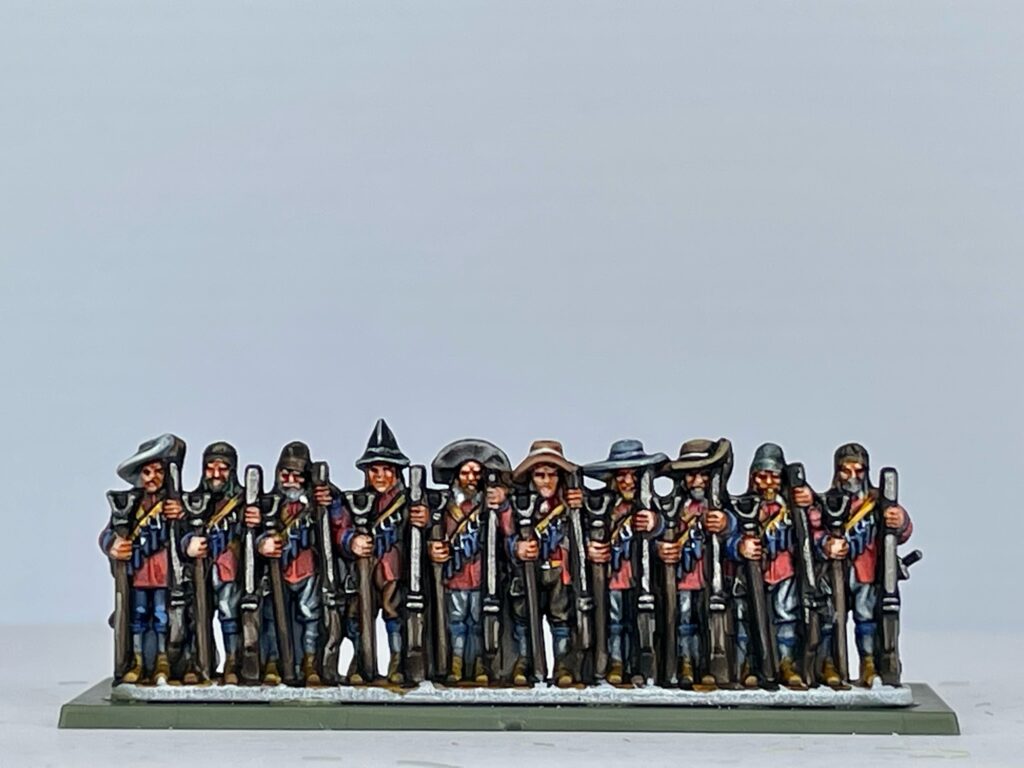
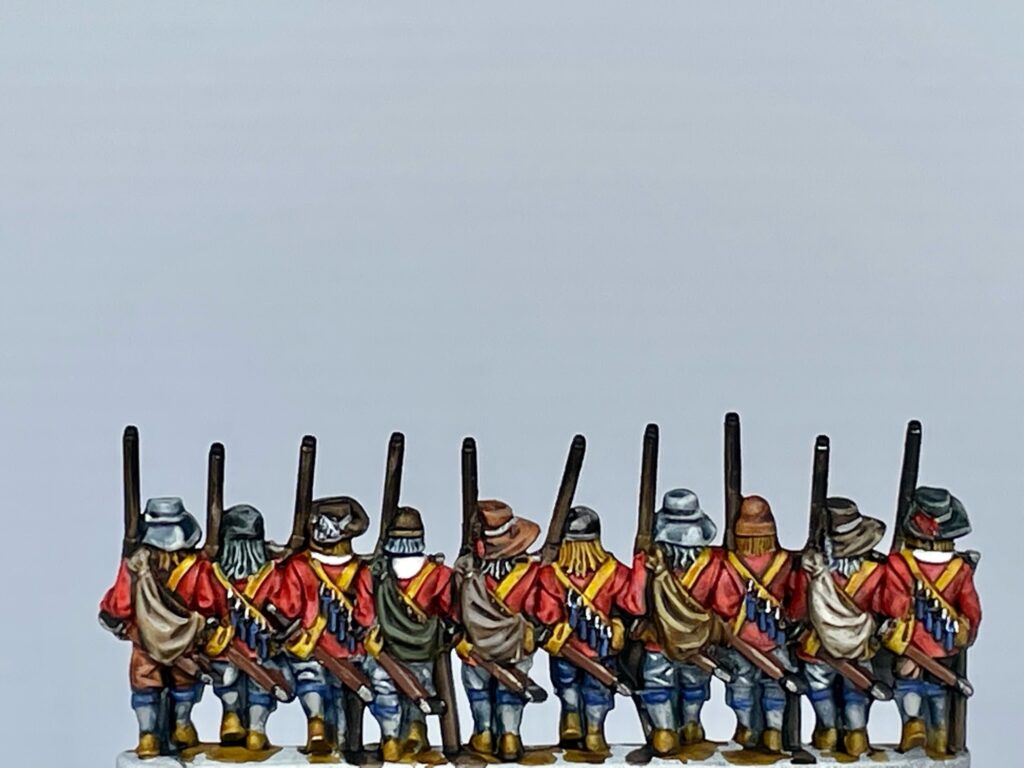
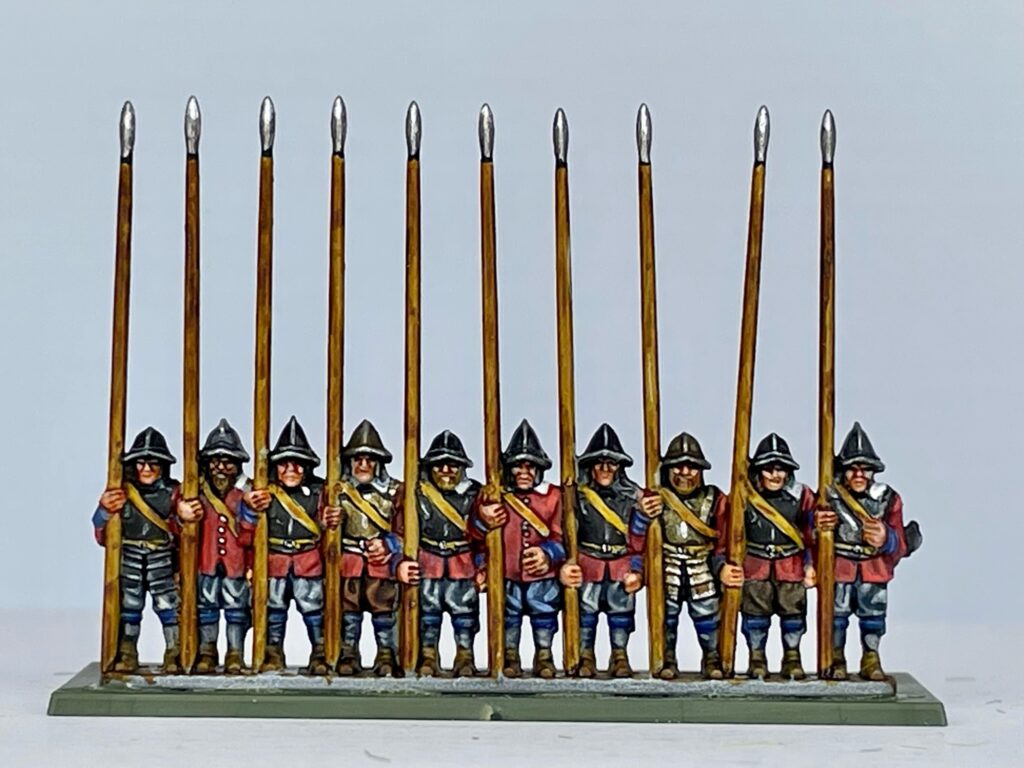
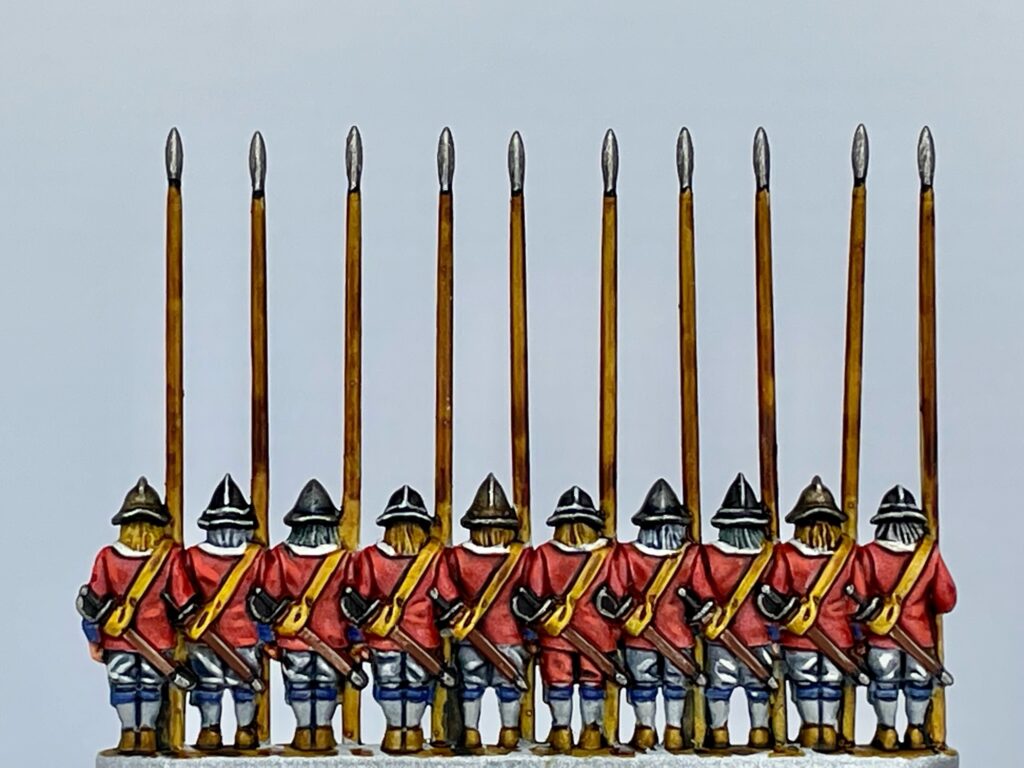
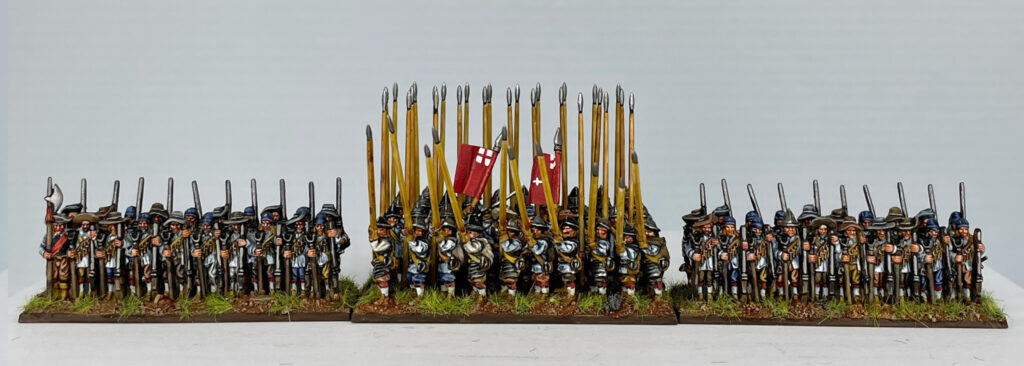
I have included a front and back view of the command base too. I painted the front and back to the same standard so you can appreciate the fine detail of the miniatures. Here you can see the extra variety with the officers and drummer’s dress.
Conclusion
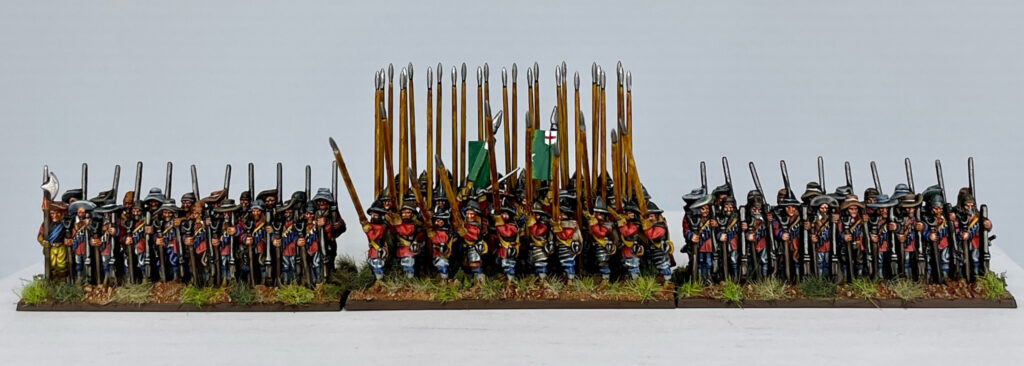
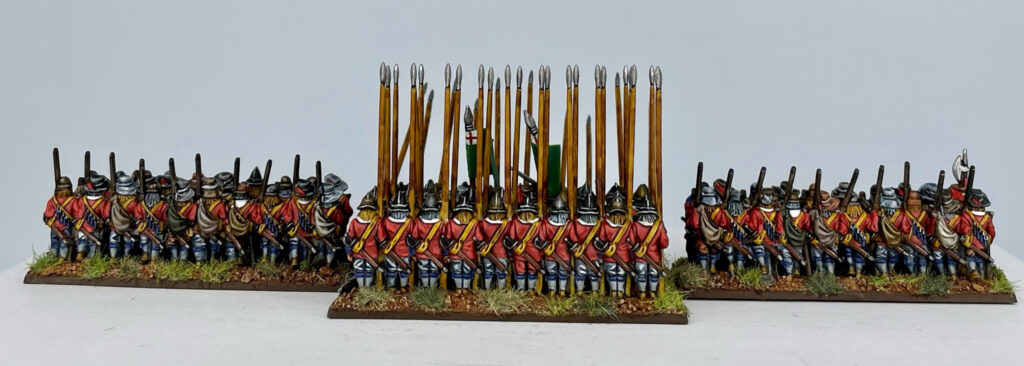
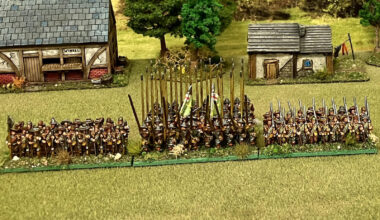
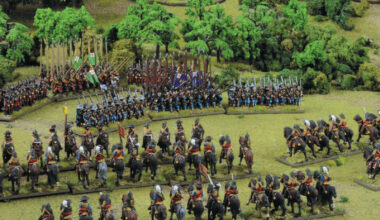
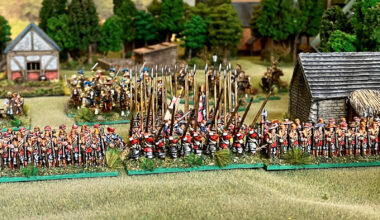
Few of us may want to paint entire armies to this standard as the time involved would be prohibitive but hopefully, this article outlines what is possible with these figures. I have also deliberately broken up the guide into the above three stages so each hobbyist can find which level is best suited to them. I think this is an excellent set of figures from Warlord and my favourite Epic Battles release so far. I’d also like to thank Andy of the Friends of General Haig wargaming club for his sage advice.
If you found this guide useful, I have also written a tutorial on painting the famous Royalist regiment Newcastle’s Whitecoats. This can be found in April’s edition of the Miniature Wargames magazine.
Get Started with Pike & Shotte Epic Battles
Pike & Shotte Epic Battles: Push of Pike provides you with everything you need to refight the wars that raged across Europe in the seventeenth century on an epic scale, with period-specific additions that capture the tactics, conditions, and prominent personalities of both the Thirty Years’ War and English Civil Wars.
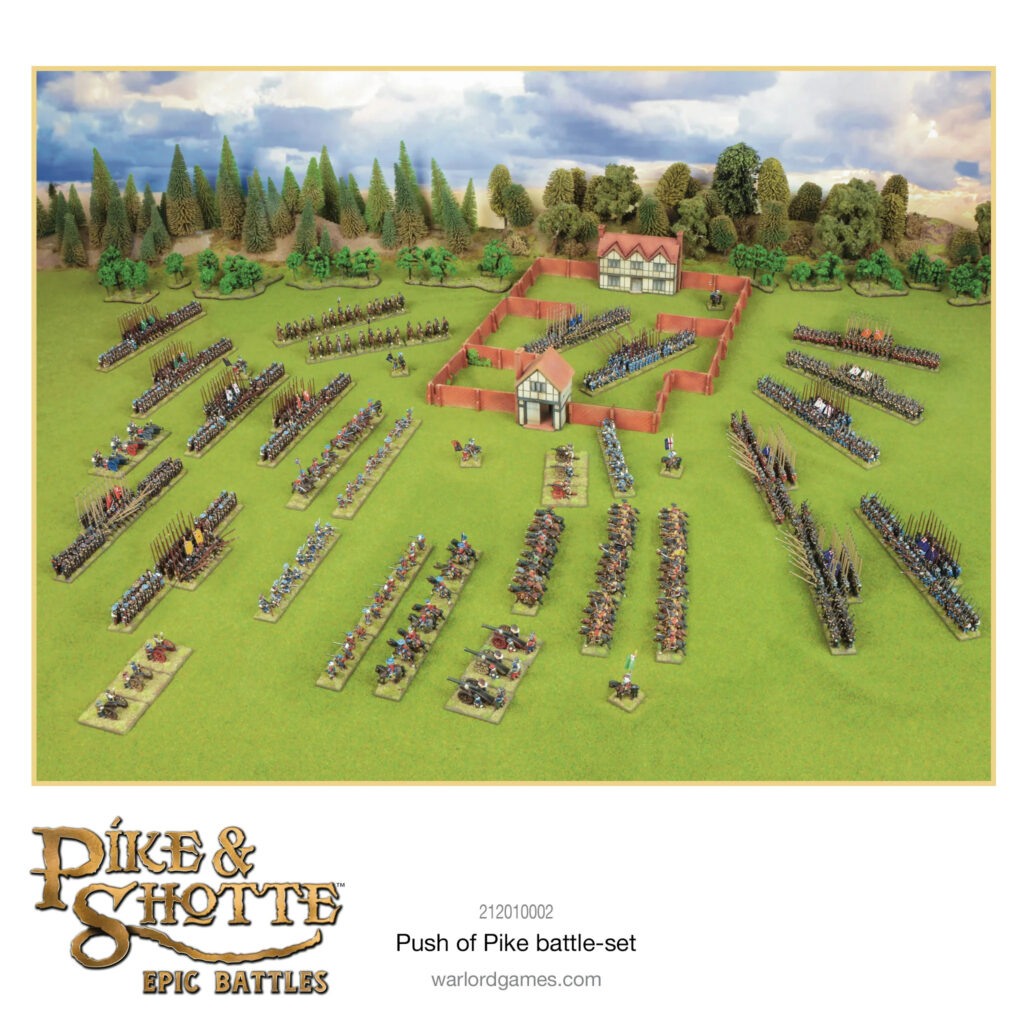
Pike & Shotte Epic Battles – Push of Pike battle set contains:
- Tan and grey hard plastic figures: 6 mounted battalia commanders, 6 ensigns, 6 mounted cornets, 14 combined pike & shot regiments (80 soldiers each), 36 commanded shotte, 60 cavalry, 12 cuirassiers, 18 mounted dragoons, 30 dismounted dragoons, 6 Saker cannon and 6 Falconet light guns
- Green plastic bases for all figures
- A5 260-page Pike & Shotte Epic Battles rulebook
- Quick Play reference card
- Assembly & painting guide leaflet
- Flag sheets for both the English Civil Wars and the Thirty Years’ War
- Laser-cut MDF fortified manor house complex
- Six D6 dice
4 comments
Another sponsored “painting guide” forgetting one picture’s worth. Those serried ranks give little or no help in the painting process.
Also these guides using colours from a single paint range using that ranges techniques, base coat upwards etc only speak for those invested in that paint range.
There are enough reviews about that range asking questions about the high cost of little bottles causing painters I know to invest in paints with higher cost effectiveness. I have bought paints from the range because they might make a colour I like the look of but looking at my rack of “ready rounds” there are very few manufacturers not represented. I once bought some of a range that were, by their odour Dulux and Crown (if it smells like a duck and spreads like duck paté the jar is duck full) and duck all use as a paint.
Finally , is there a decent Yoot Choob tutorial that covers this? I feel that with this internet source that’s where these paint guides should live as there are some terrific film clips out there
Nuff sed
🐞🌻🌊
And yes, I did notice occasional reference to Vallejo before that gets pointed out, but I didn’t feel it balanced the picture. 🐞🌻🌊
Have a look at Keep Your Powder Dry for contemporary colours and paint codes from other manufacturers.
There’s no evidence for Fairfax’s foot having blue linings in their coats. It’s a misinterpretation of a contemporary reference to Fairfax’s cavalry flag.
Thanks for the detailed painting guide! Particularly great for those of us who have picked up Wargames Illustrated this month too (and had the benefit of the free sprue!)
Comments are closed.