This article was written by frequent guest contributor, Rhys Pogson Hughes Emanuel. If you’d like to feature your own Warlord Games game reports, conversions, miniatures or armies get in touch via articles@warlordgames.com!
In my last article I conducted some small painting experiments using the new Hail Caesar Epic Battles Republican Roman sprues. This time around I’ll be doing something similar with Allied infantry, specifically the Italian Allies and Celtiberians. Such troops could have found themselves on either side during the Punic wars, hence the title. I will also be experimenting with different techniques to bring uniformity to units, as well as the paints I use, to see which methods are friends or foes to me as a painter!
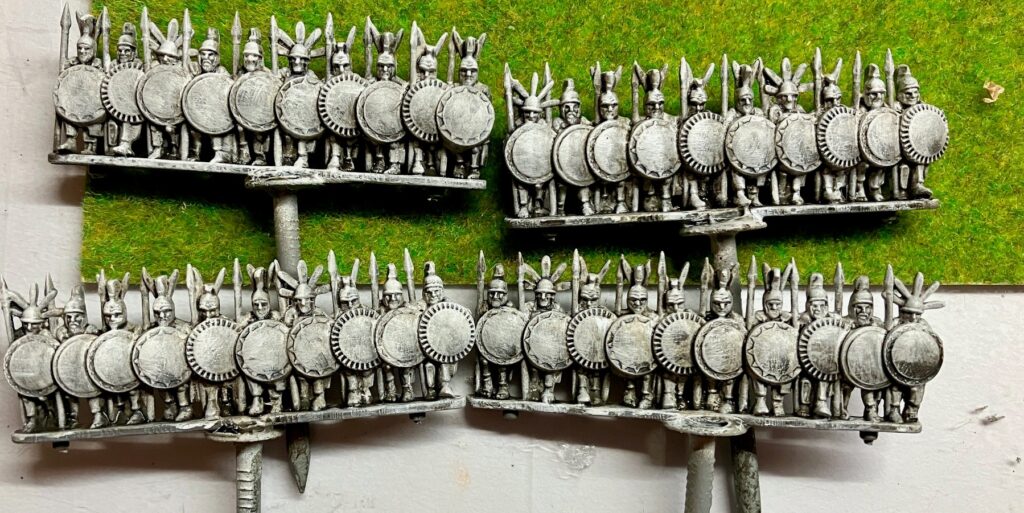
The period is still very new to me and thus required some thorough research before I committed paint to brush. This sprue focus article was my first port of call. I also referred to Osprey’s Armies of the Carthaginian Wars 265-146 BC and more interestingly Armies of the Macedonian and Punic Wars 359 BC to 146 BC by Duncan Head. Very quickly I found myself building an image in my head of how I felt the models should look – and from there a plan of action.
As with my first Hail Caesar Epic Battles article, I wanted to directly compare the results of painting with Speedpaints against more traditional layering methods. But I also saw the opportunity for something else as well. I wanted to trial how (or should I say if) I could make a stand look uniform enough to feel like a cohesive unit, without painting them in uniform colours. These two very different troop types presented me the opportunity to trial this in several different ways.
Italian Allies
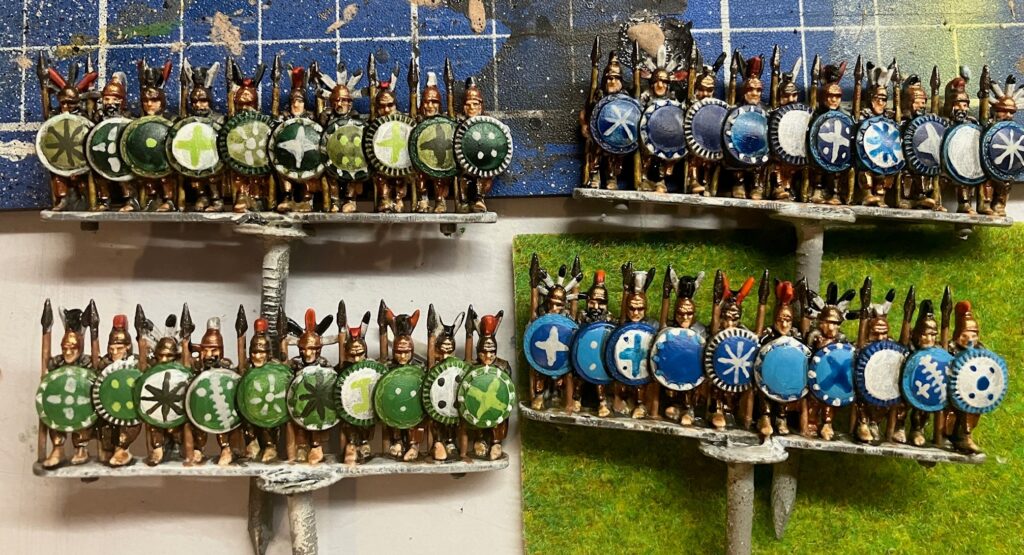
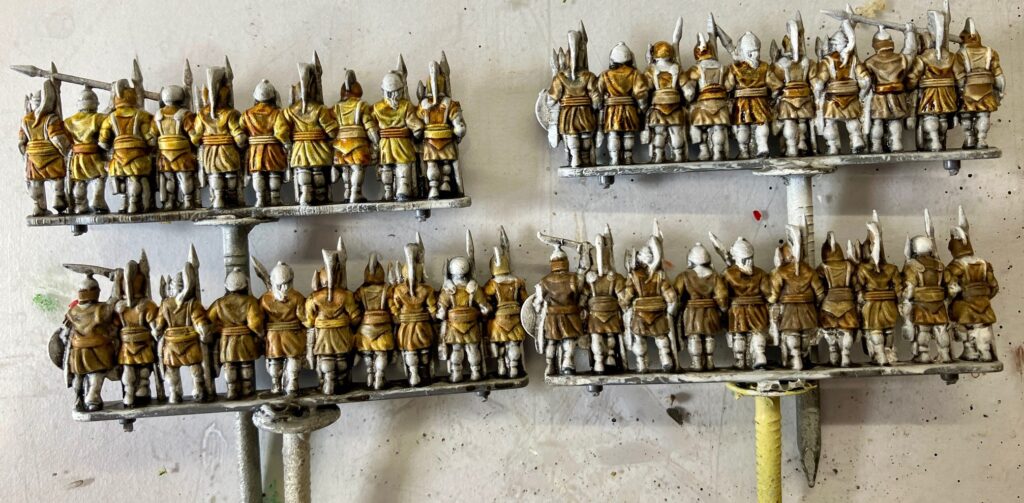
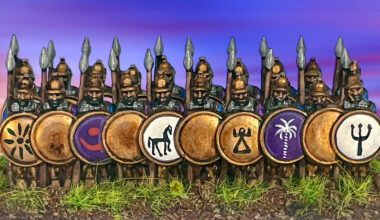
For the Italian Allies, I wanted them to feel like they came from an urbanised background. I also decided that I wanted to be able to distinguish between two different Italian city factions on the battlefield; between Oscan and Lucanian for instance. My research identified that they were thematically attired, but there certainly was no uniformity.
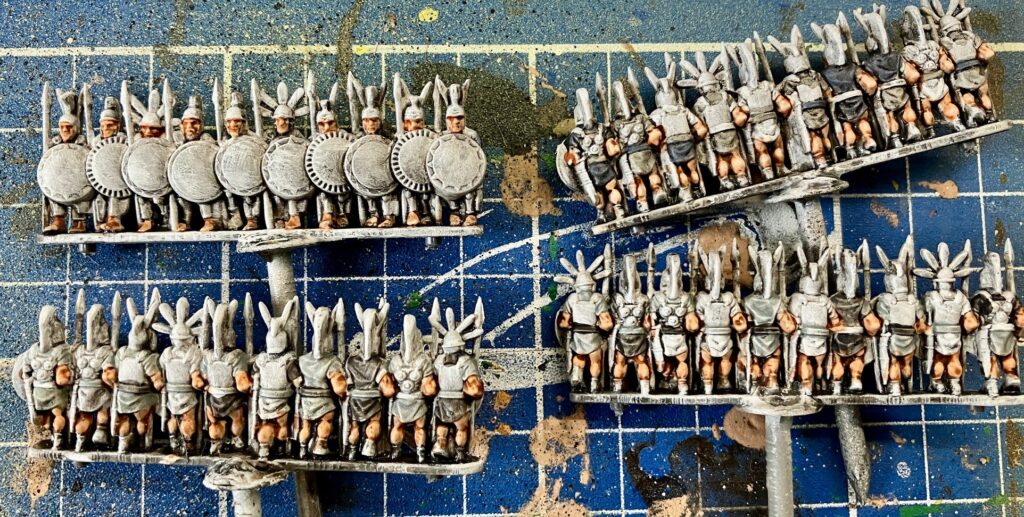
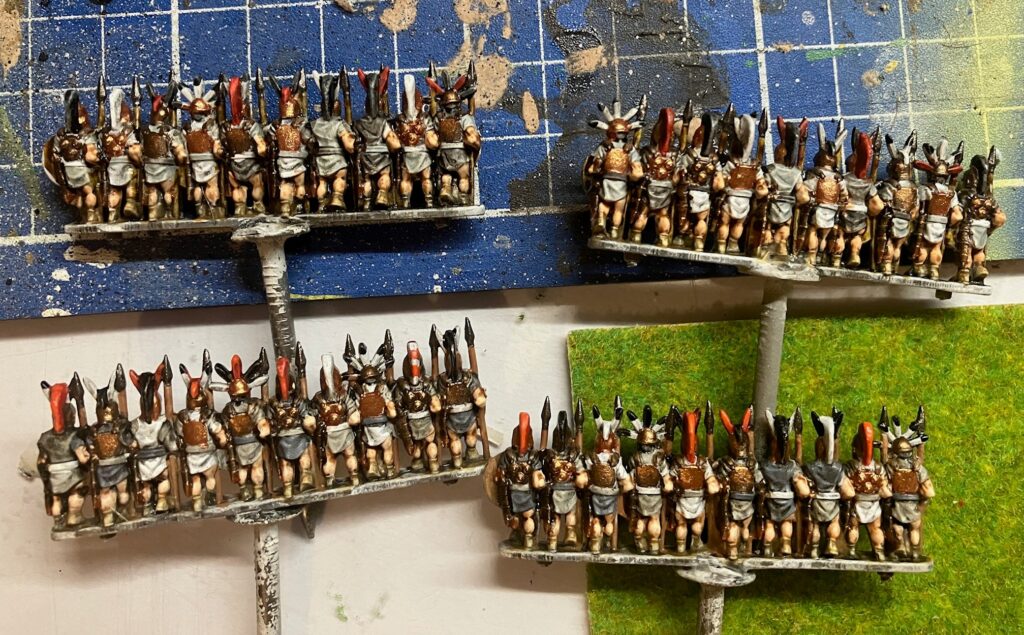
To achieve the urbanised feel, I opted for a range of whites through greys. This reflected, in my mind’s eye, the stone and marble of ancient Italy nicely. To achieve the randomised effect, I simply alternated along the strip with one colour. Starting with ‘top’, then ‘belt’ and then ‘bottom’. Once complete I started the next colour ‘belt’, ‘bottom’, ‘top’ etc, and kept going until all the clothing was complete. This worked just as easily for speed painting as it did for layering, in fact I kept on forgetting which strips had which.
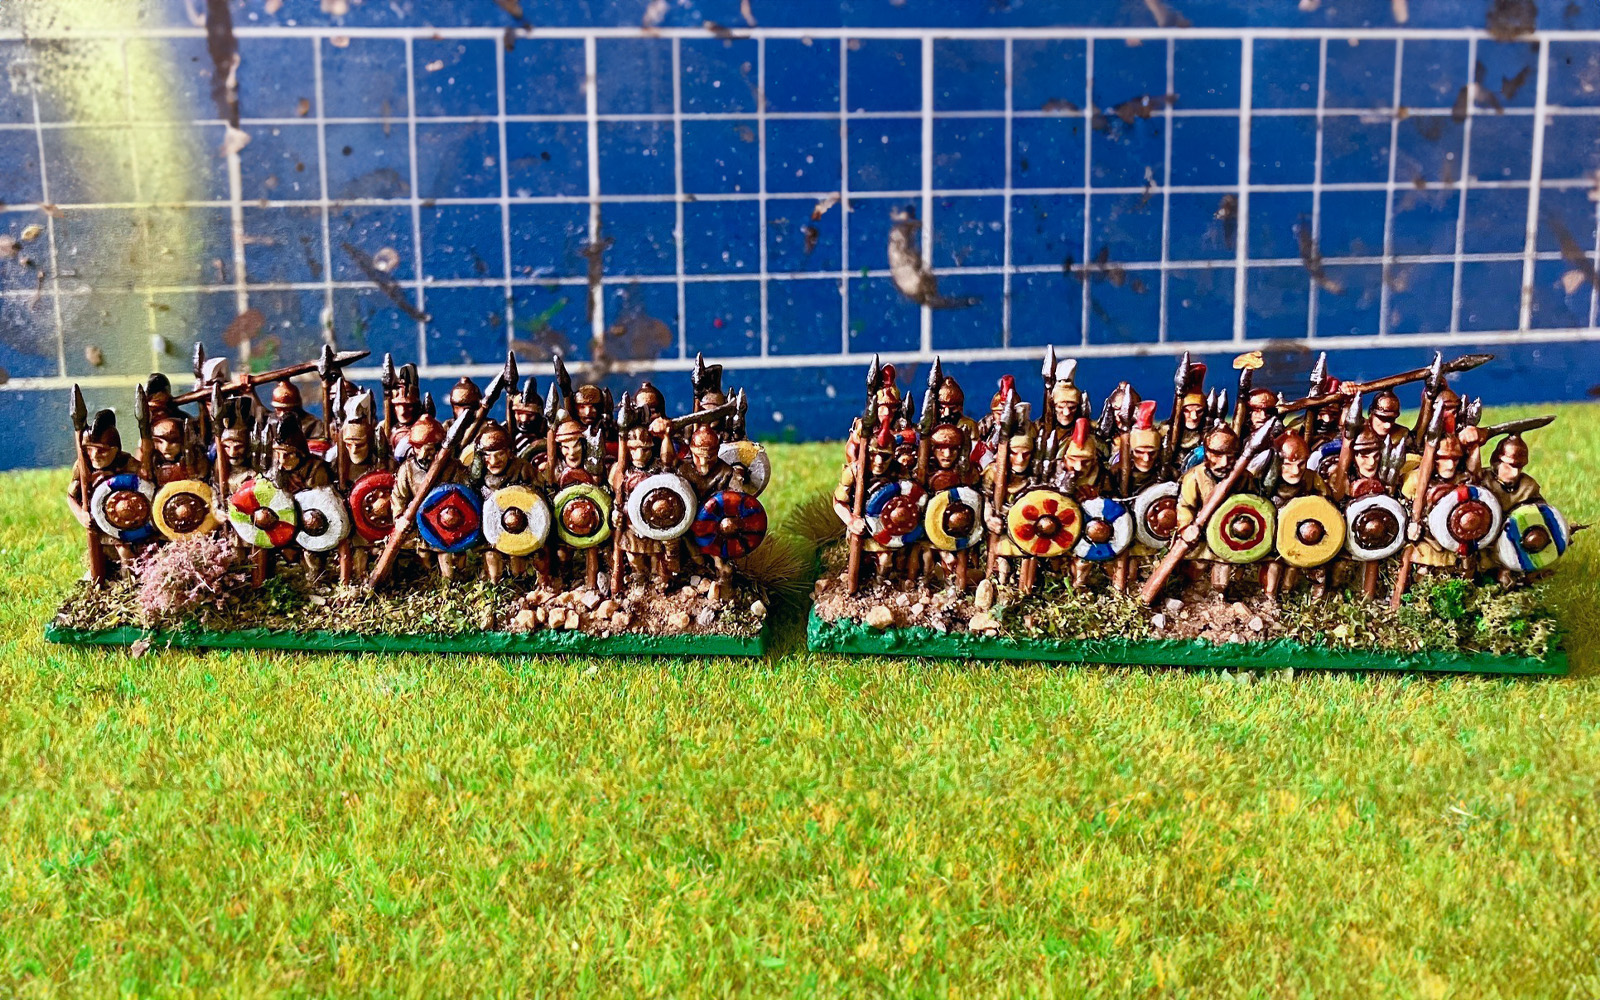
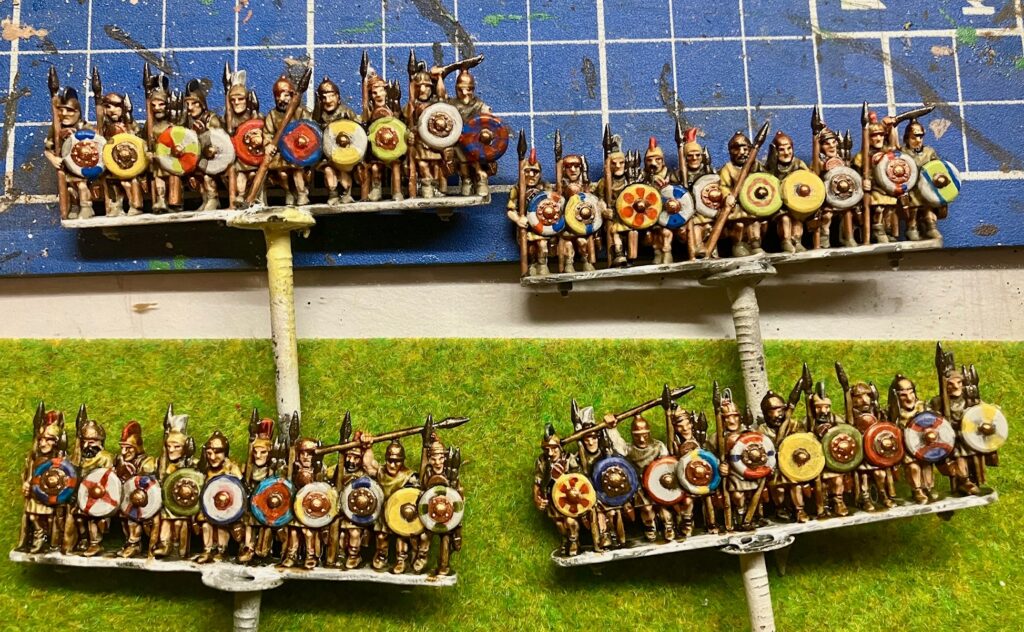
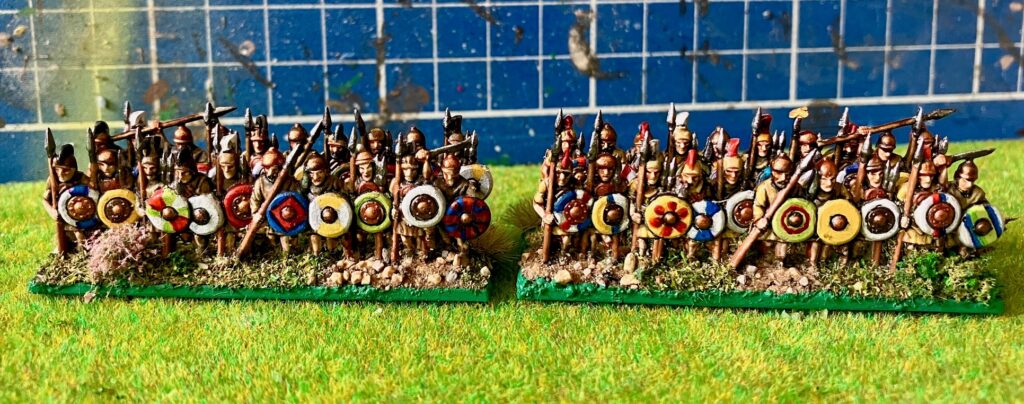
I then started to tackle the shields. The patterns and, more importantly, the colours of the shields, were to be the mains means of differentiation between the two Italian states. Once I had an idea of the designs, I simply painted one set of strips with white and greens and the other with white and blues.
Here my experiment yielded results! I quickly established that the layering method was much more efficient when it came to painting shield designs. And I all but defaulted to this on all strips to achieve a result I was happy with.
For the helmet plumes I used the same colour palette across both units. To help reflect that, whilst being from different states, they were fighting on the same side.
I used a mix of bronzes and a separate combination of coppers to add variety between the soldiers’ armour.
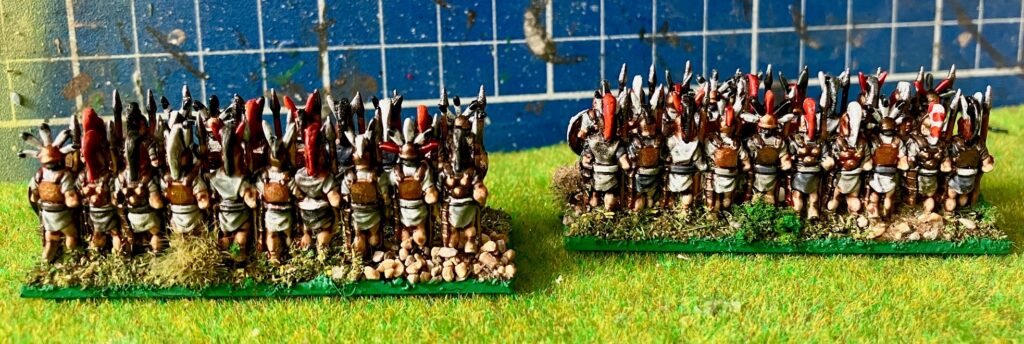
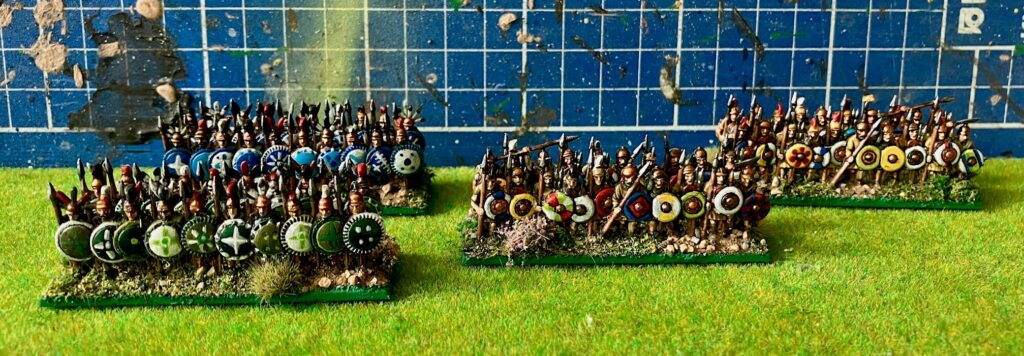
I was very pleased with how the clothing colour randomiser worked, with the colour palette lending an urban feel. In my research I did note some evidence for blue and red tunics, as well as stripes and edging. I plan to sporadically mix these elements in when painting more bases in the future to keep up the variation across the whole force. The shield colour system works too; ok, it’s probably a bit unrealistic, but I still like it. As I add mounted units, skirmishers, generals etc to the force, I will use the same systems to align each unit/stand to either state, painting their shield patterns in either a mix of blues or greens.

Celtiberians
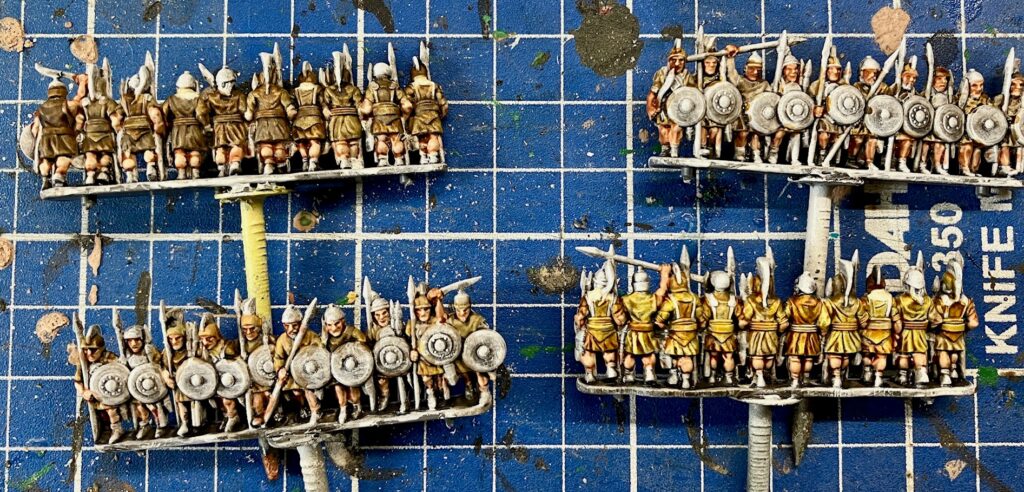
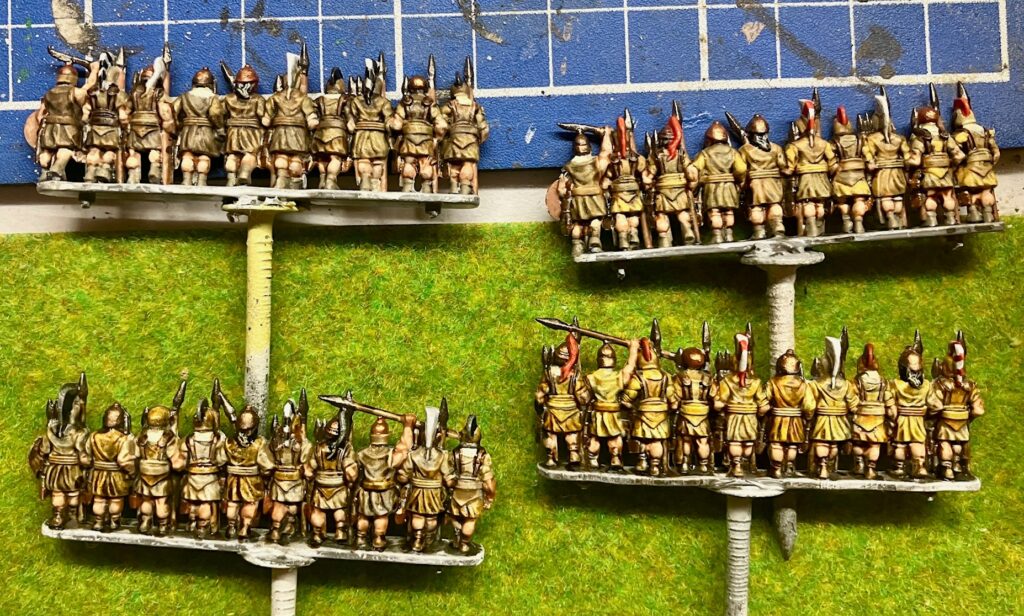
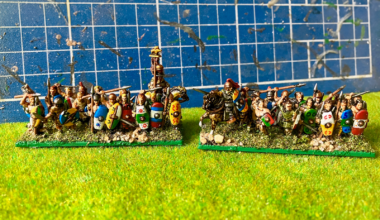
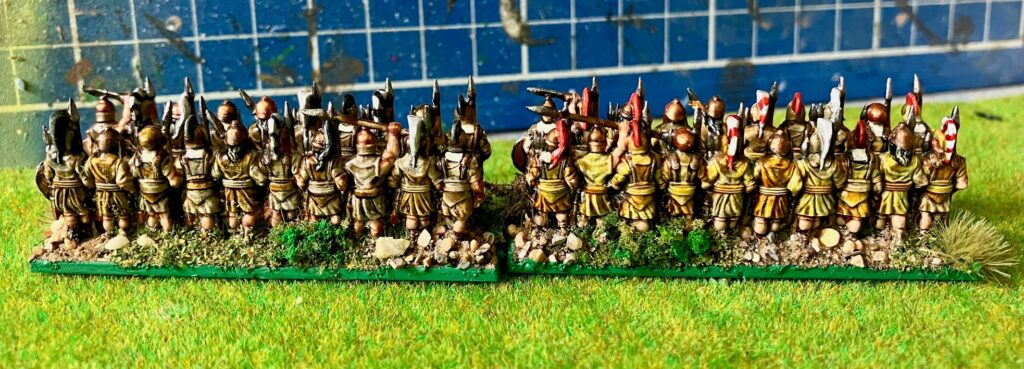
I wanted to try a different method for distinguishing between two tribes for this faction. The shields I wanted to be thematically linked across both, as well as the overall clothing (a more naturalistic calling into mind the countryside). To this end I decided to paint one tribe in a variation of browns, and the other in a variation of buffs and yellows.
I used an identical randomiser system to that for the Italian strips for painting. The speed painting method quickly revealed an issue however, and as I progressed with layering it was only reinforced. Looking closely, I could see the difference, but it wasn’t different enough. It seemed I had been too conservative in the brightness (in my attempt to also keep them thematically similar).
As I add new stands to each tribe, I will lighten and emphasise the yellows and darken the browns. I think this will help. To rescue these two stands I used a red and white plumes on one tribe and black and white on the other to help differentiate them visually. Hopefully when these then appear en masse it will exaggerate the effect.
I added some off-white as per some historical references. But importantly avoided pale white and coloured edging. I wanted to save that for the Iberians (that’s why you plan ahead!), to help them stand apart. As before, I used a mix of bronzes and coppers to add variety to their armour.
I knew I would also be painting Celts and Iberians in the future, and having a plan for both of these really helped whilst I was painting these Celtiberians! This allowed me to include aspects that would hint at a link to both those troop types, whilst maintaining thematic schemes that make them stand out as unique. From my limited research I couldn’t tell how different they would have looked in reality, but out of respect I felt they deserved to stand out visually as their own troop type.
I felt all the systems I used worked well enough for me to continue employing them (with the aforementioned adjustment). This seems to have done the trick in avoiding uniformity, whilst thematically linking bases together, and marking them out as different troop types. I also liked that this was done in two different ways, emphasising the difference between factions such as Italians and Celtiberians. Of note, Martin Brooks’ 7th Son YouTube Channel contains more examples and thoughts on how this can be achieved with Hail Caesar Epic Battles strips.
Final Thoughts
The key lesson I took from this experiment is – at least for me, that speed-painting for clothing works well whilst layering is better for flat surfaces and design. So, a combination of both techniques is entirely appropriate. For professional examples of how to combine both methods, it is worth watching Stu Mack’s latest painting tutorials on his Miniature Realms YouTube channel.
Up next – Celts, an absolute personal favourite, and a whole different set of painting challenges.
~Rhys
Allied Troops in Hail Caesar Epic Battles
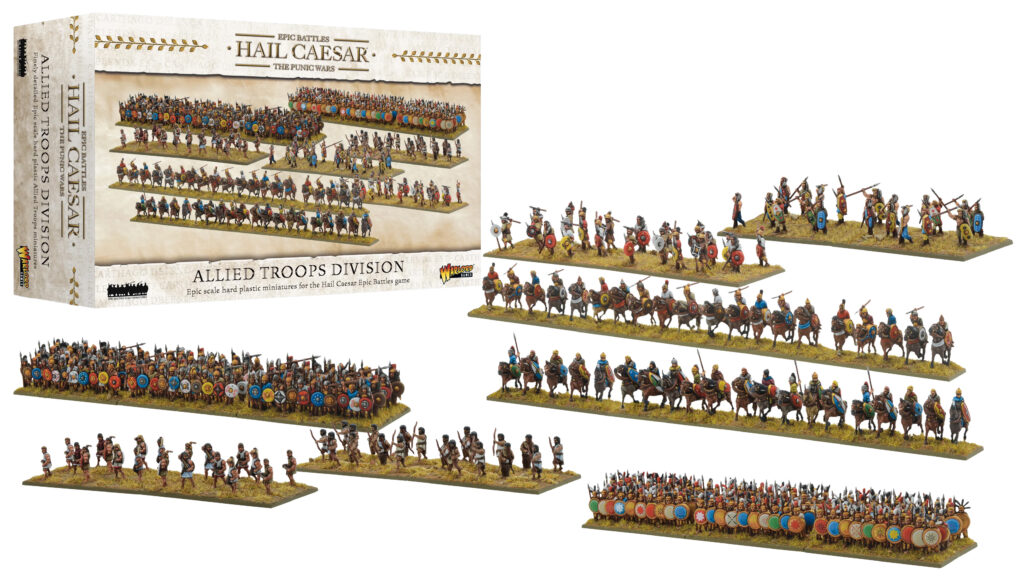
Allied Troops Division
