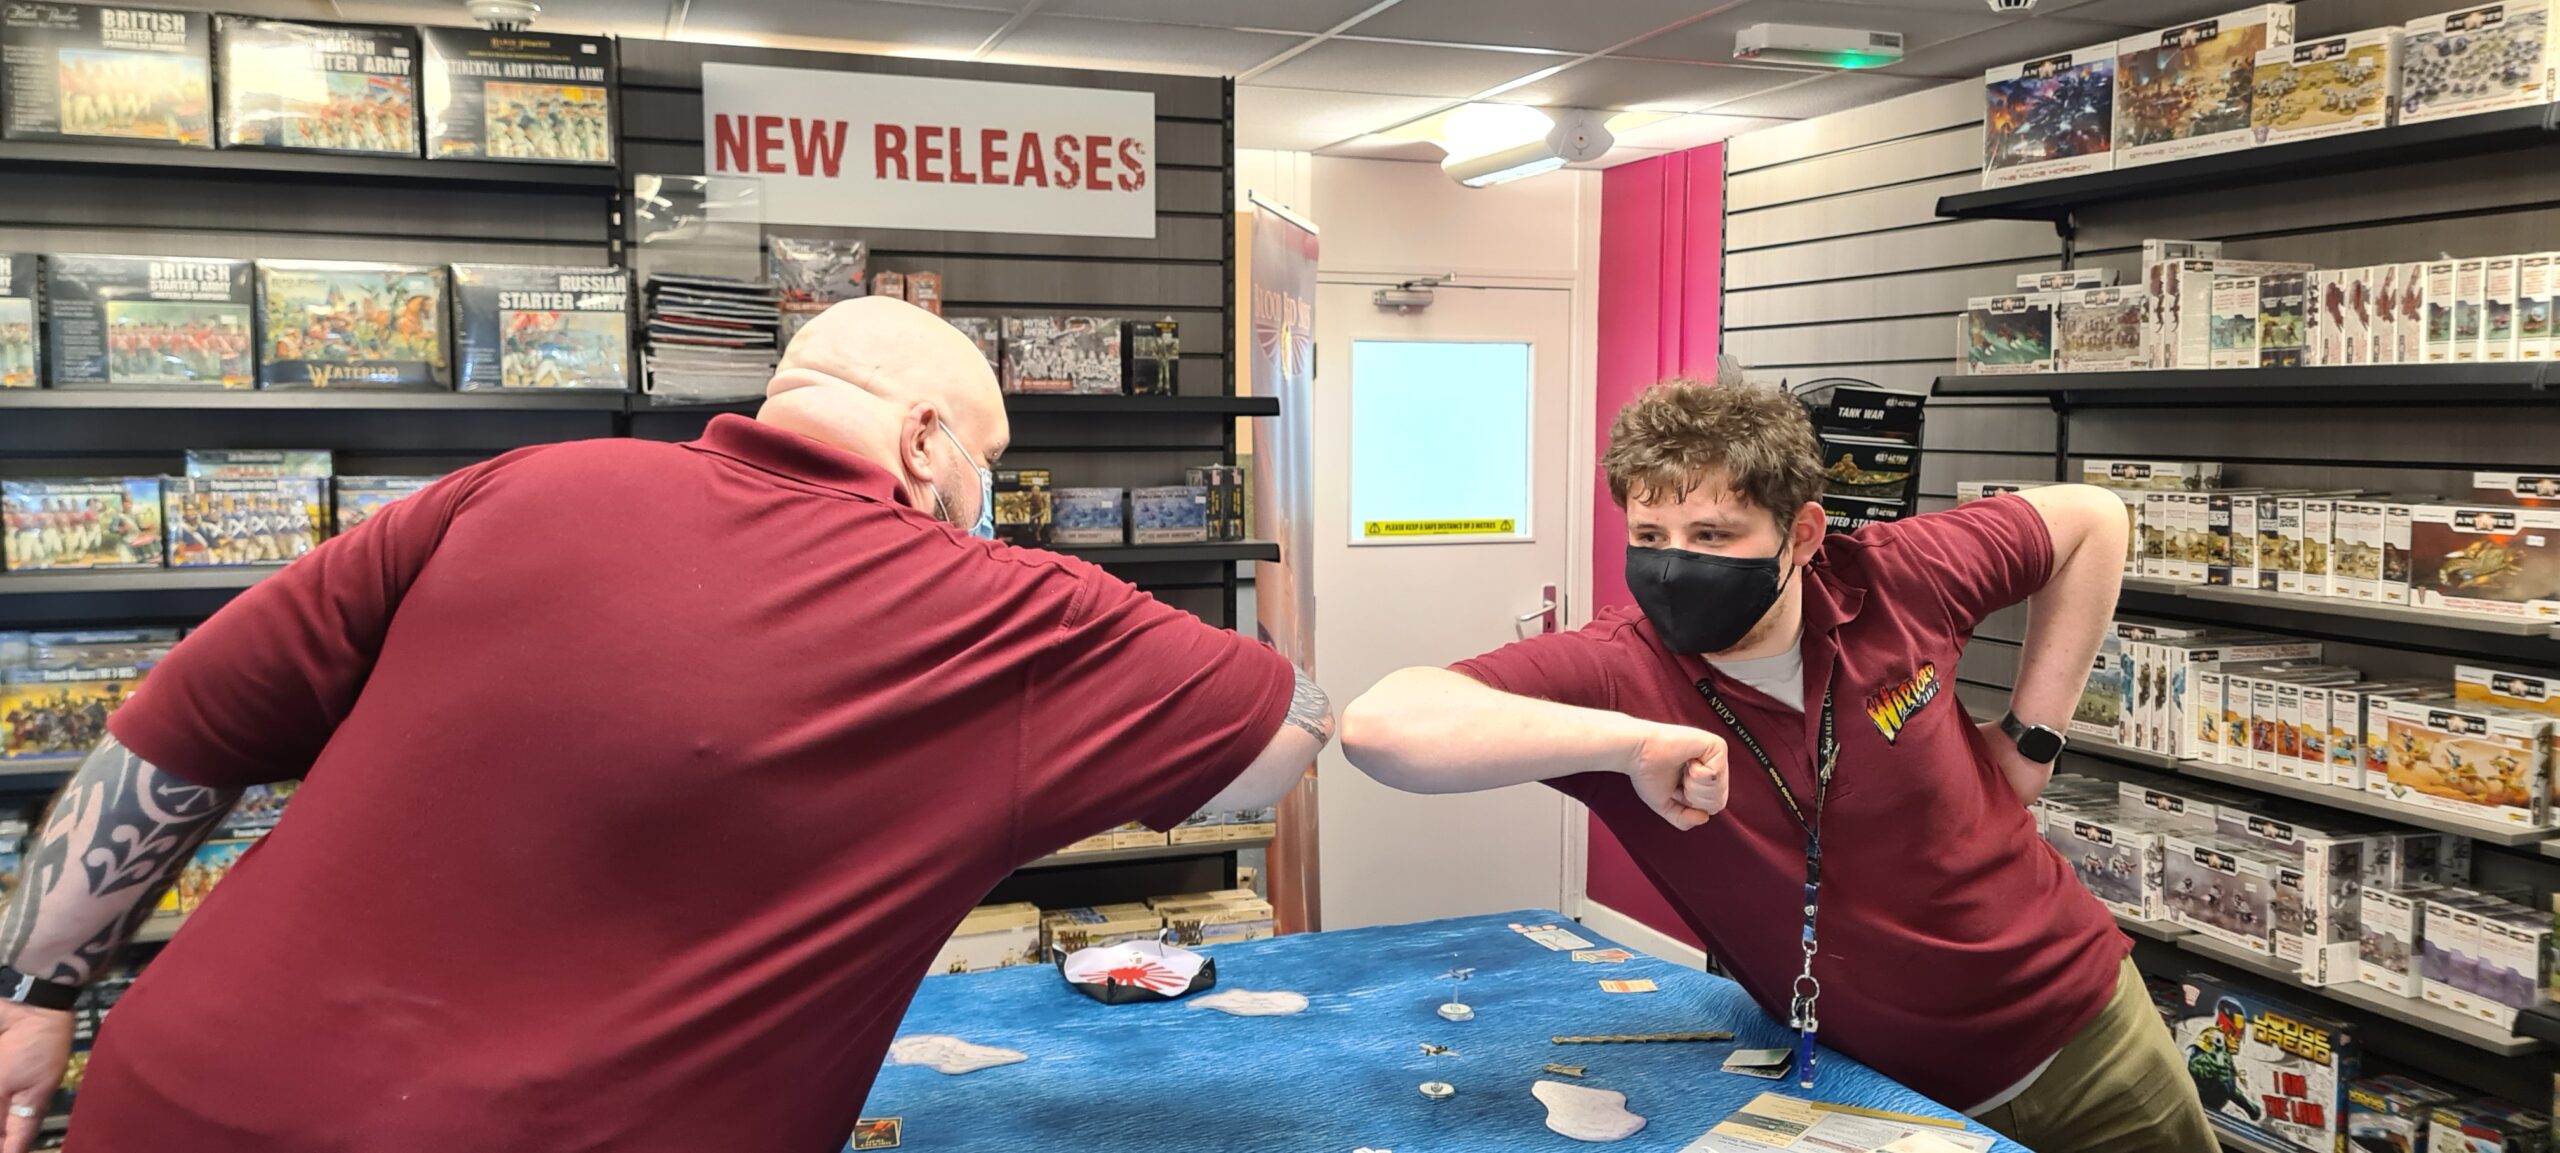
Blood Red Skies: The Battle of Midway is now in stores and we thought it high time to have a dogfight or two. Hightailing it down to Warlord HQ it transpired that store manager Dave B had yet to play a game. Wing Commander Conor Hind, a veteran of many a high-altitude skirmish was only too pleased to dip in and show Dave how it was done. The two graciously allowed us to sit and watch (and prod and pry a little too).
If you’re new to Blood Red Skies, we’ve written up a couple of handy guides that will set you on your way and may give you a better understanding of the Battle Report outlined below:
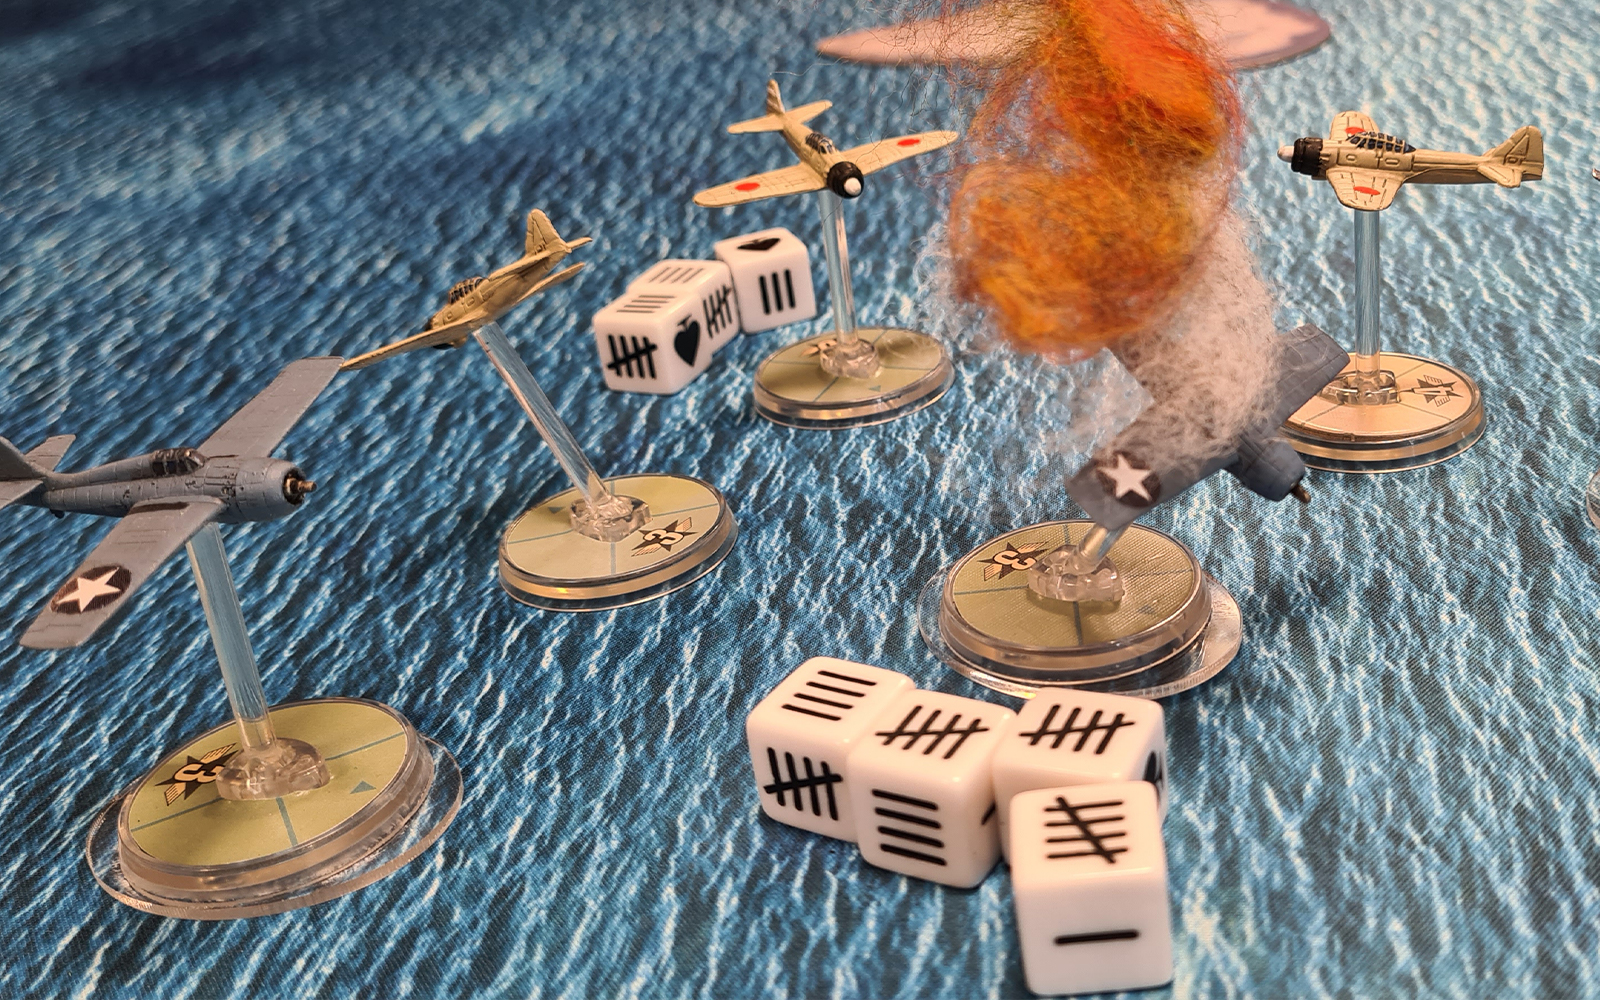
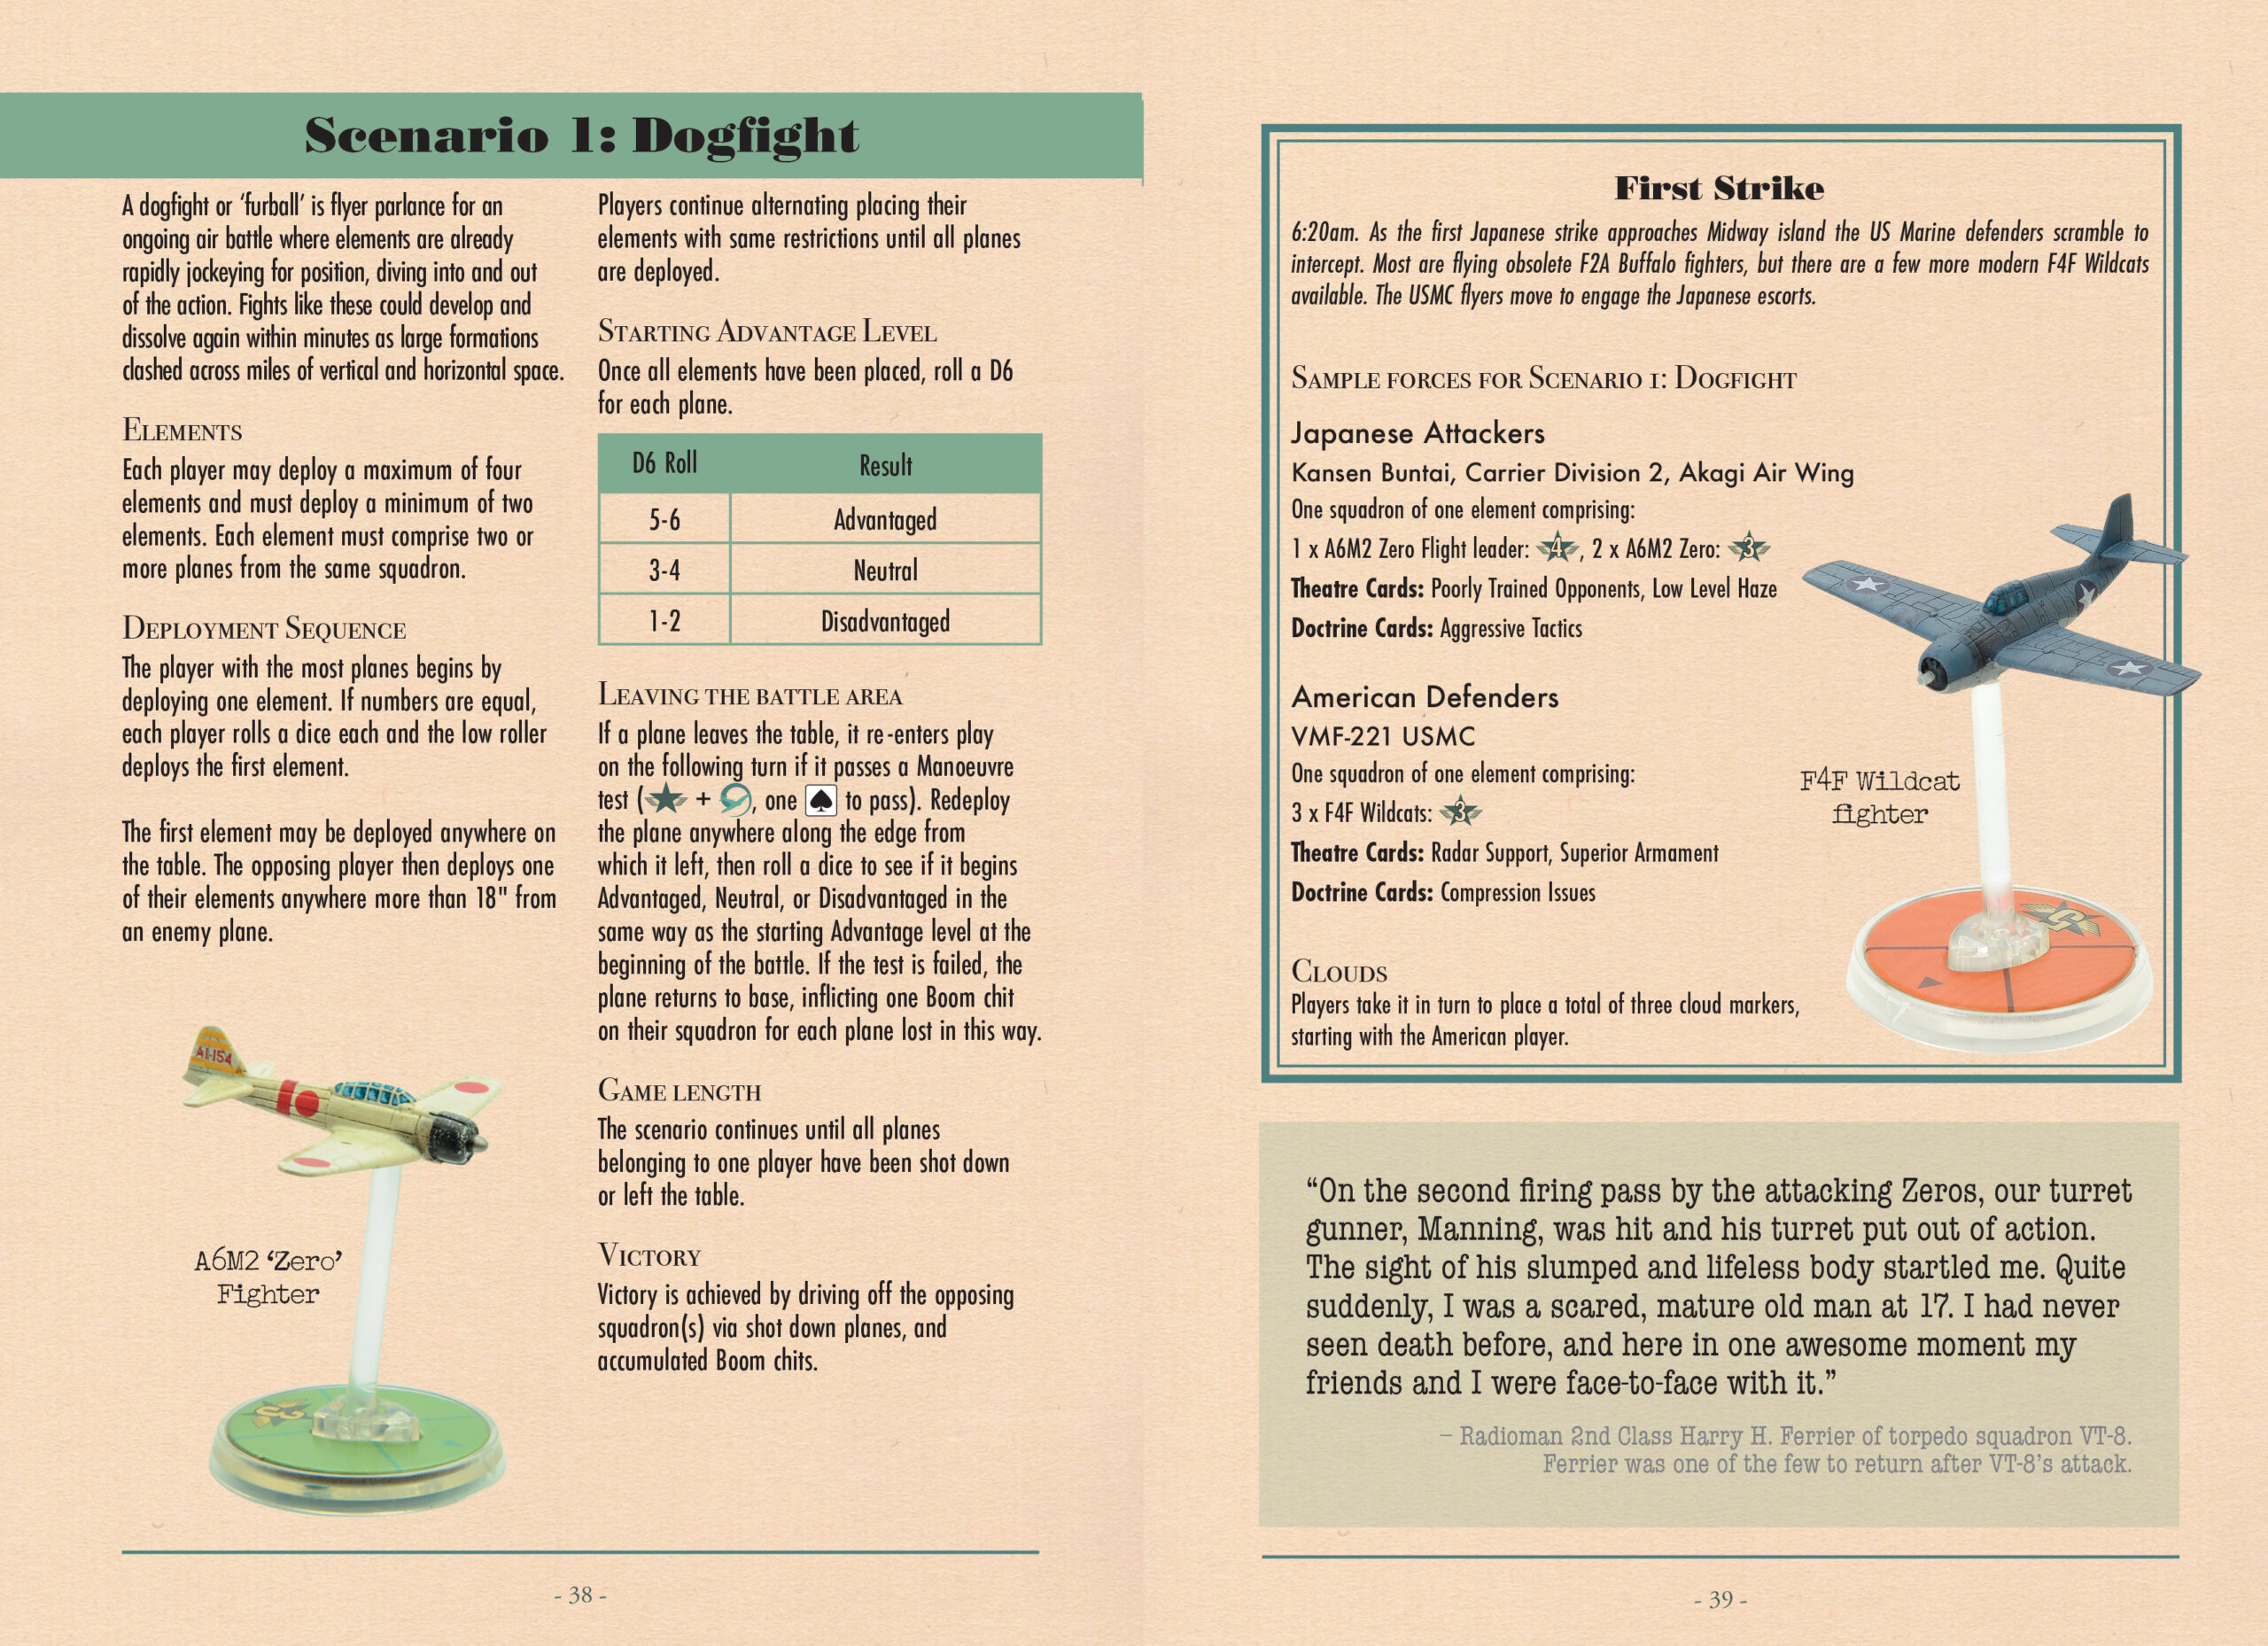
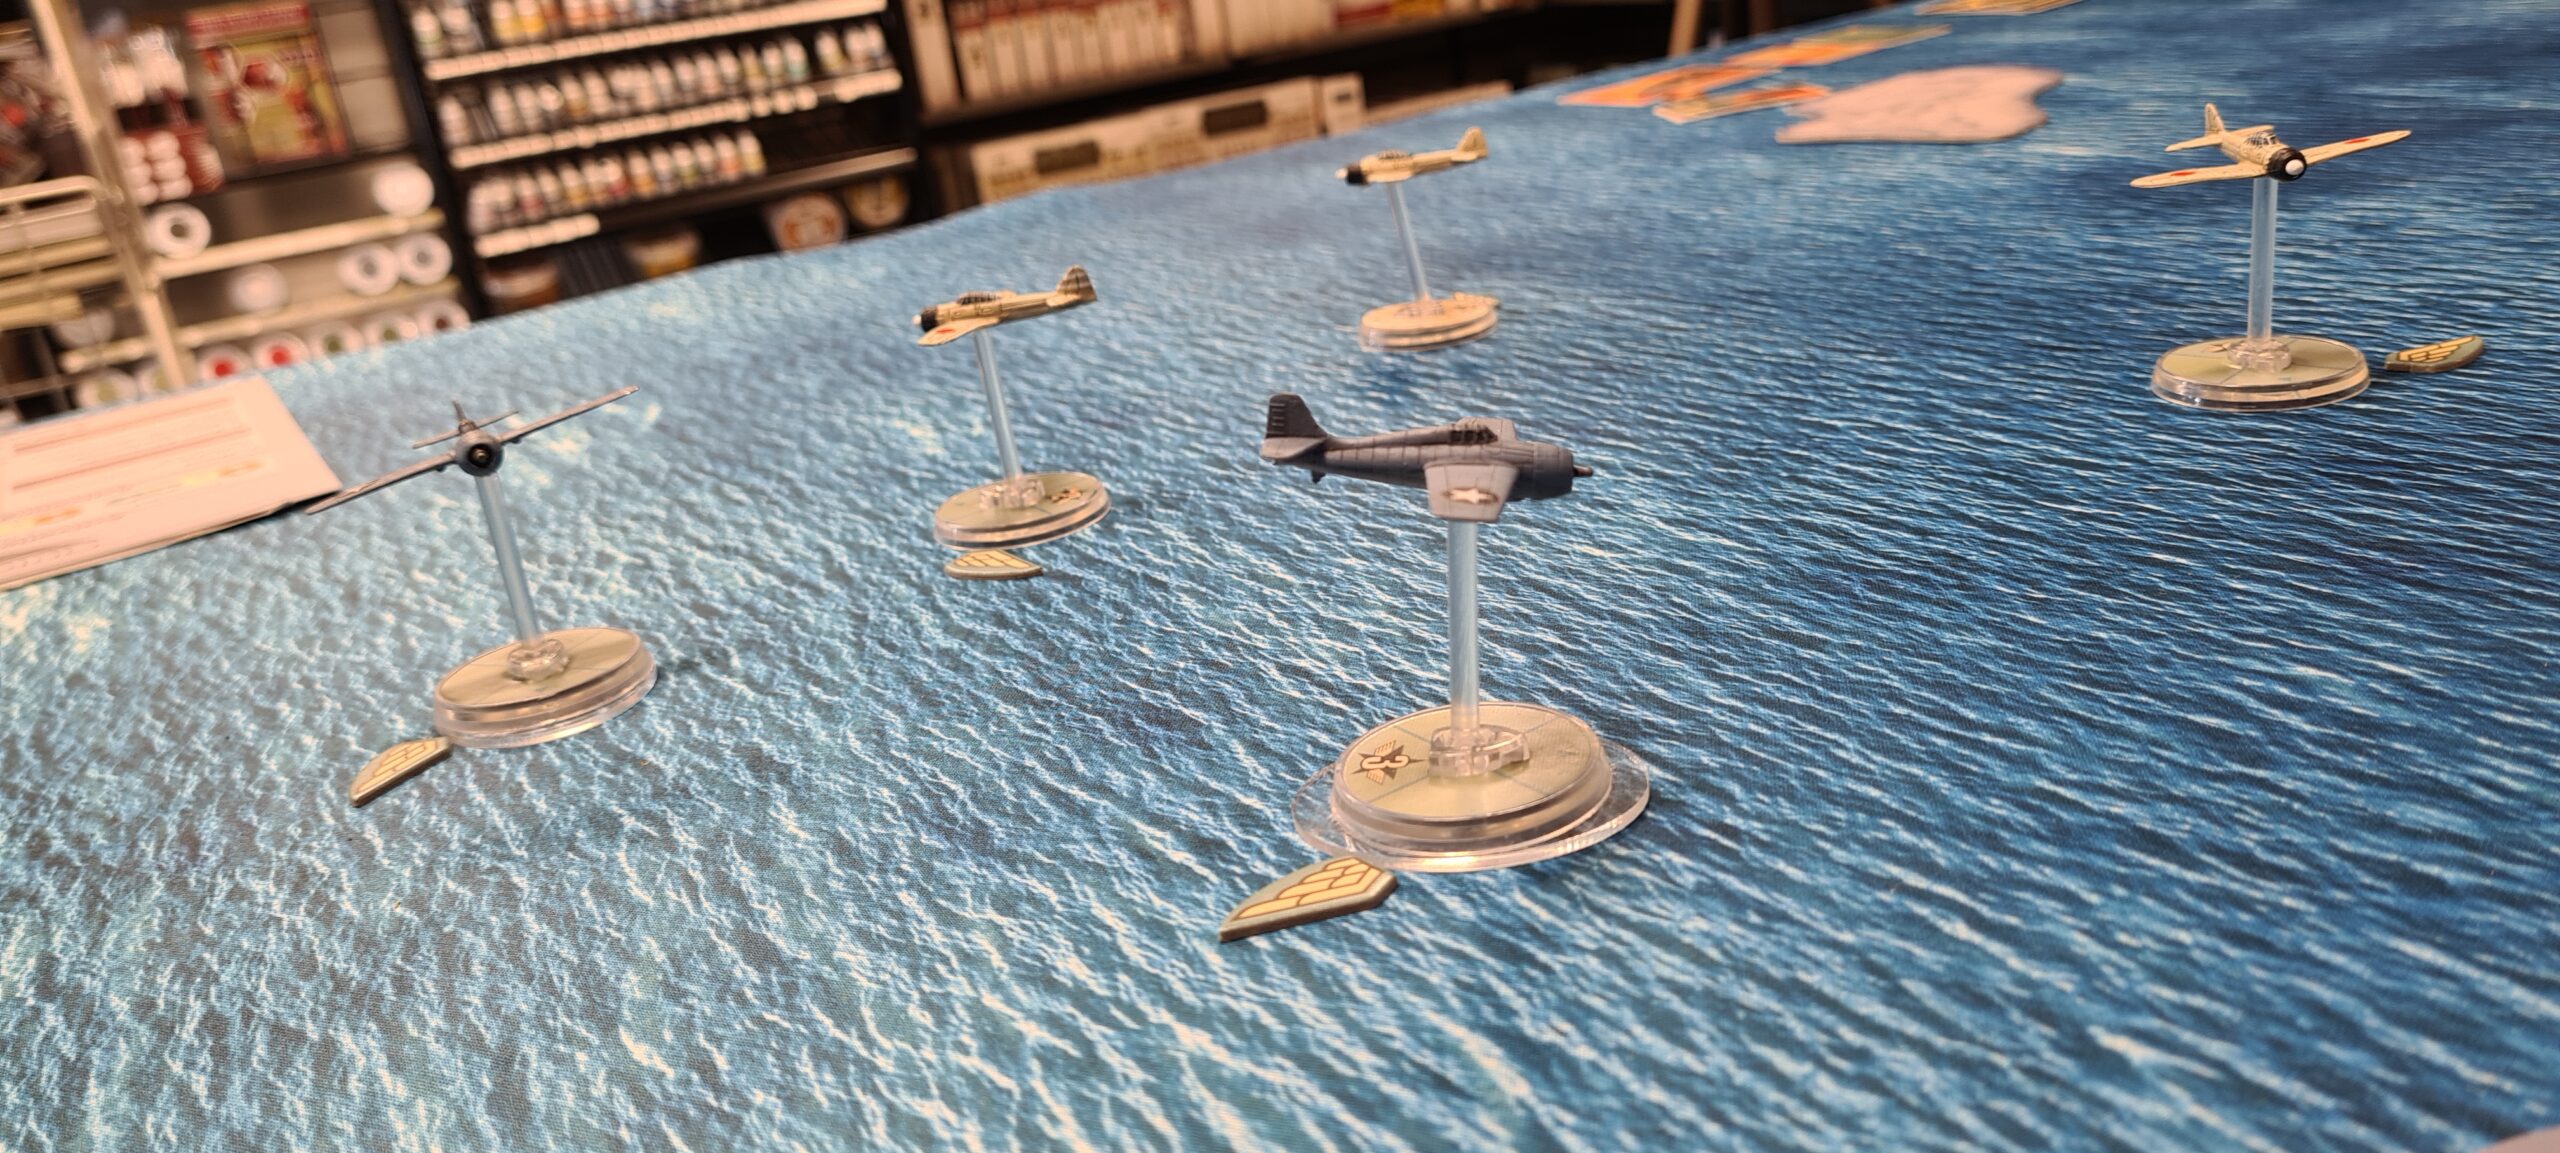
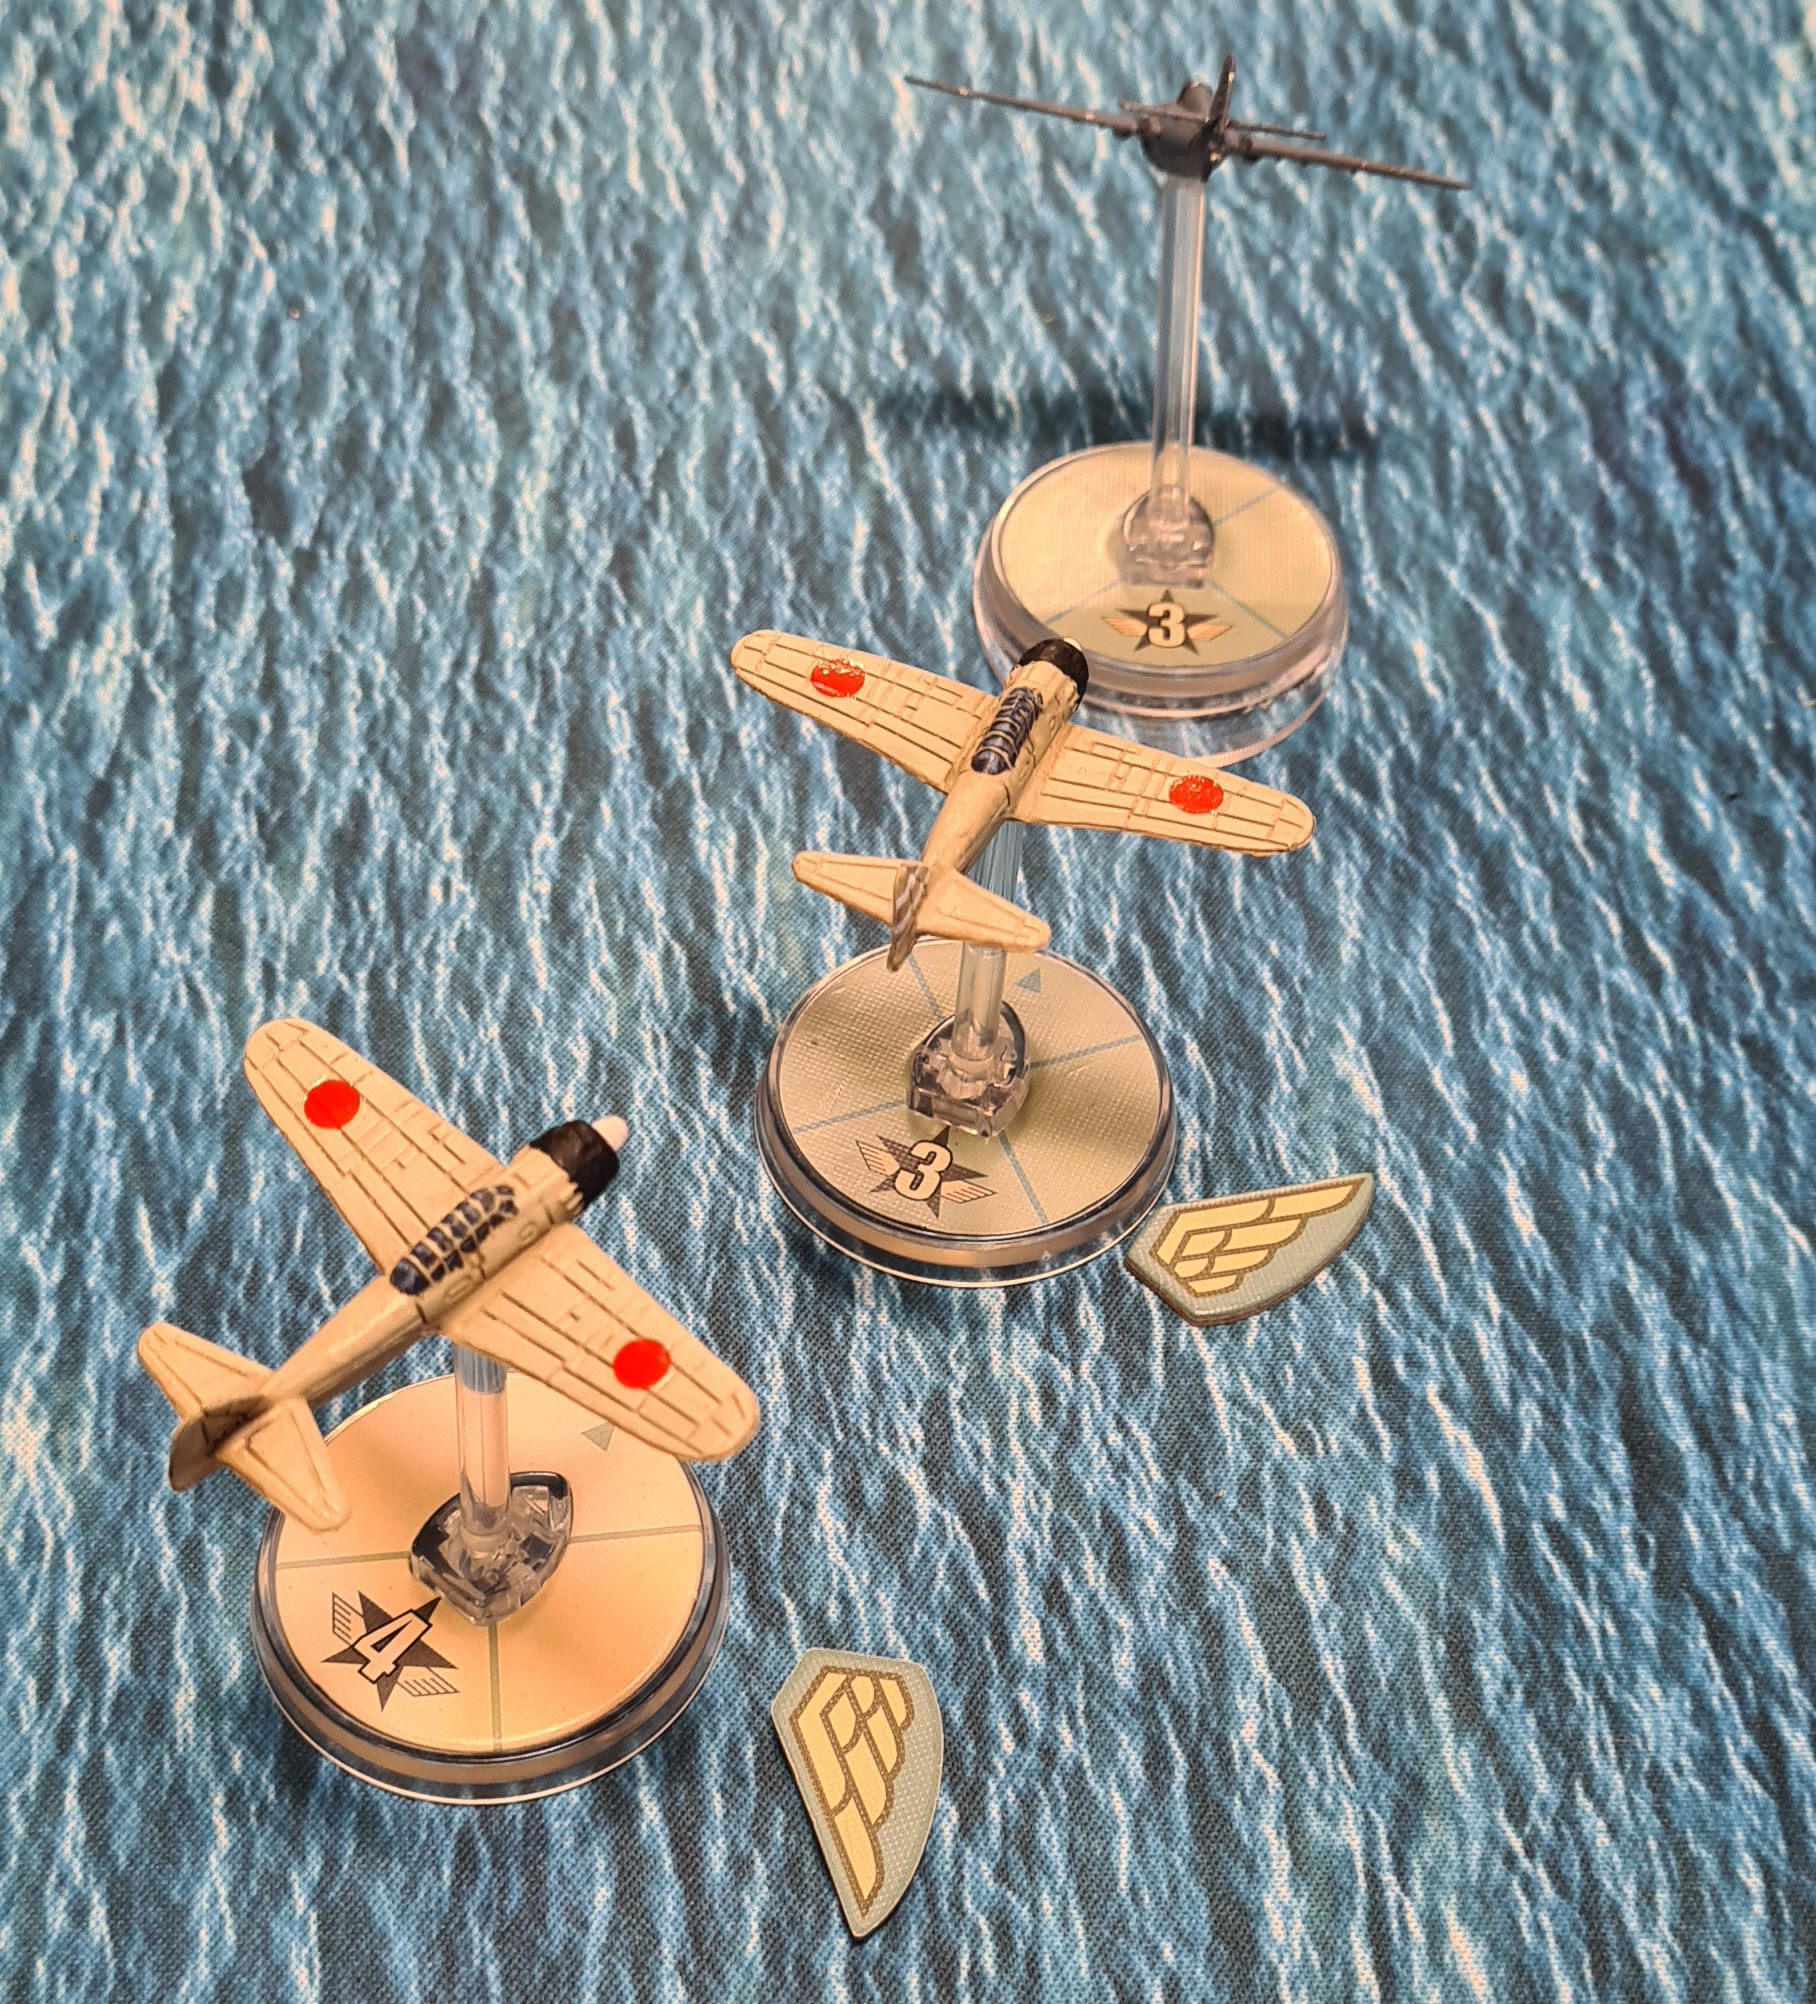
As it was his very first game, they chose to play the first scenario from The Battle of Midway scenario booklet, Dogfight, using the suggested aircraft and action decks. As the new pilot, Conor gave Dave the option to select whether he would like to fly the IJN or the US air forces. Casting his eyes over the miniatures, Dave opted for the ‘Zeros’, for their high manoeuvrability and sleekness compared to the more “Robust” design of the Wildcats.
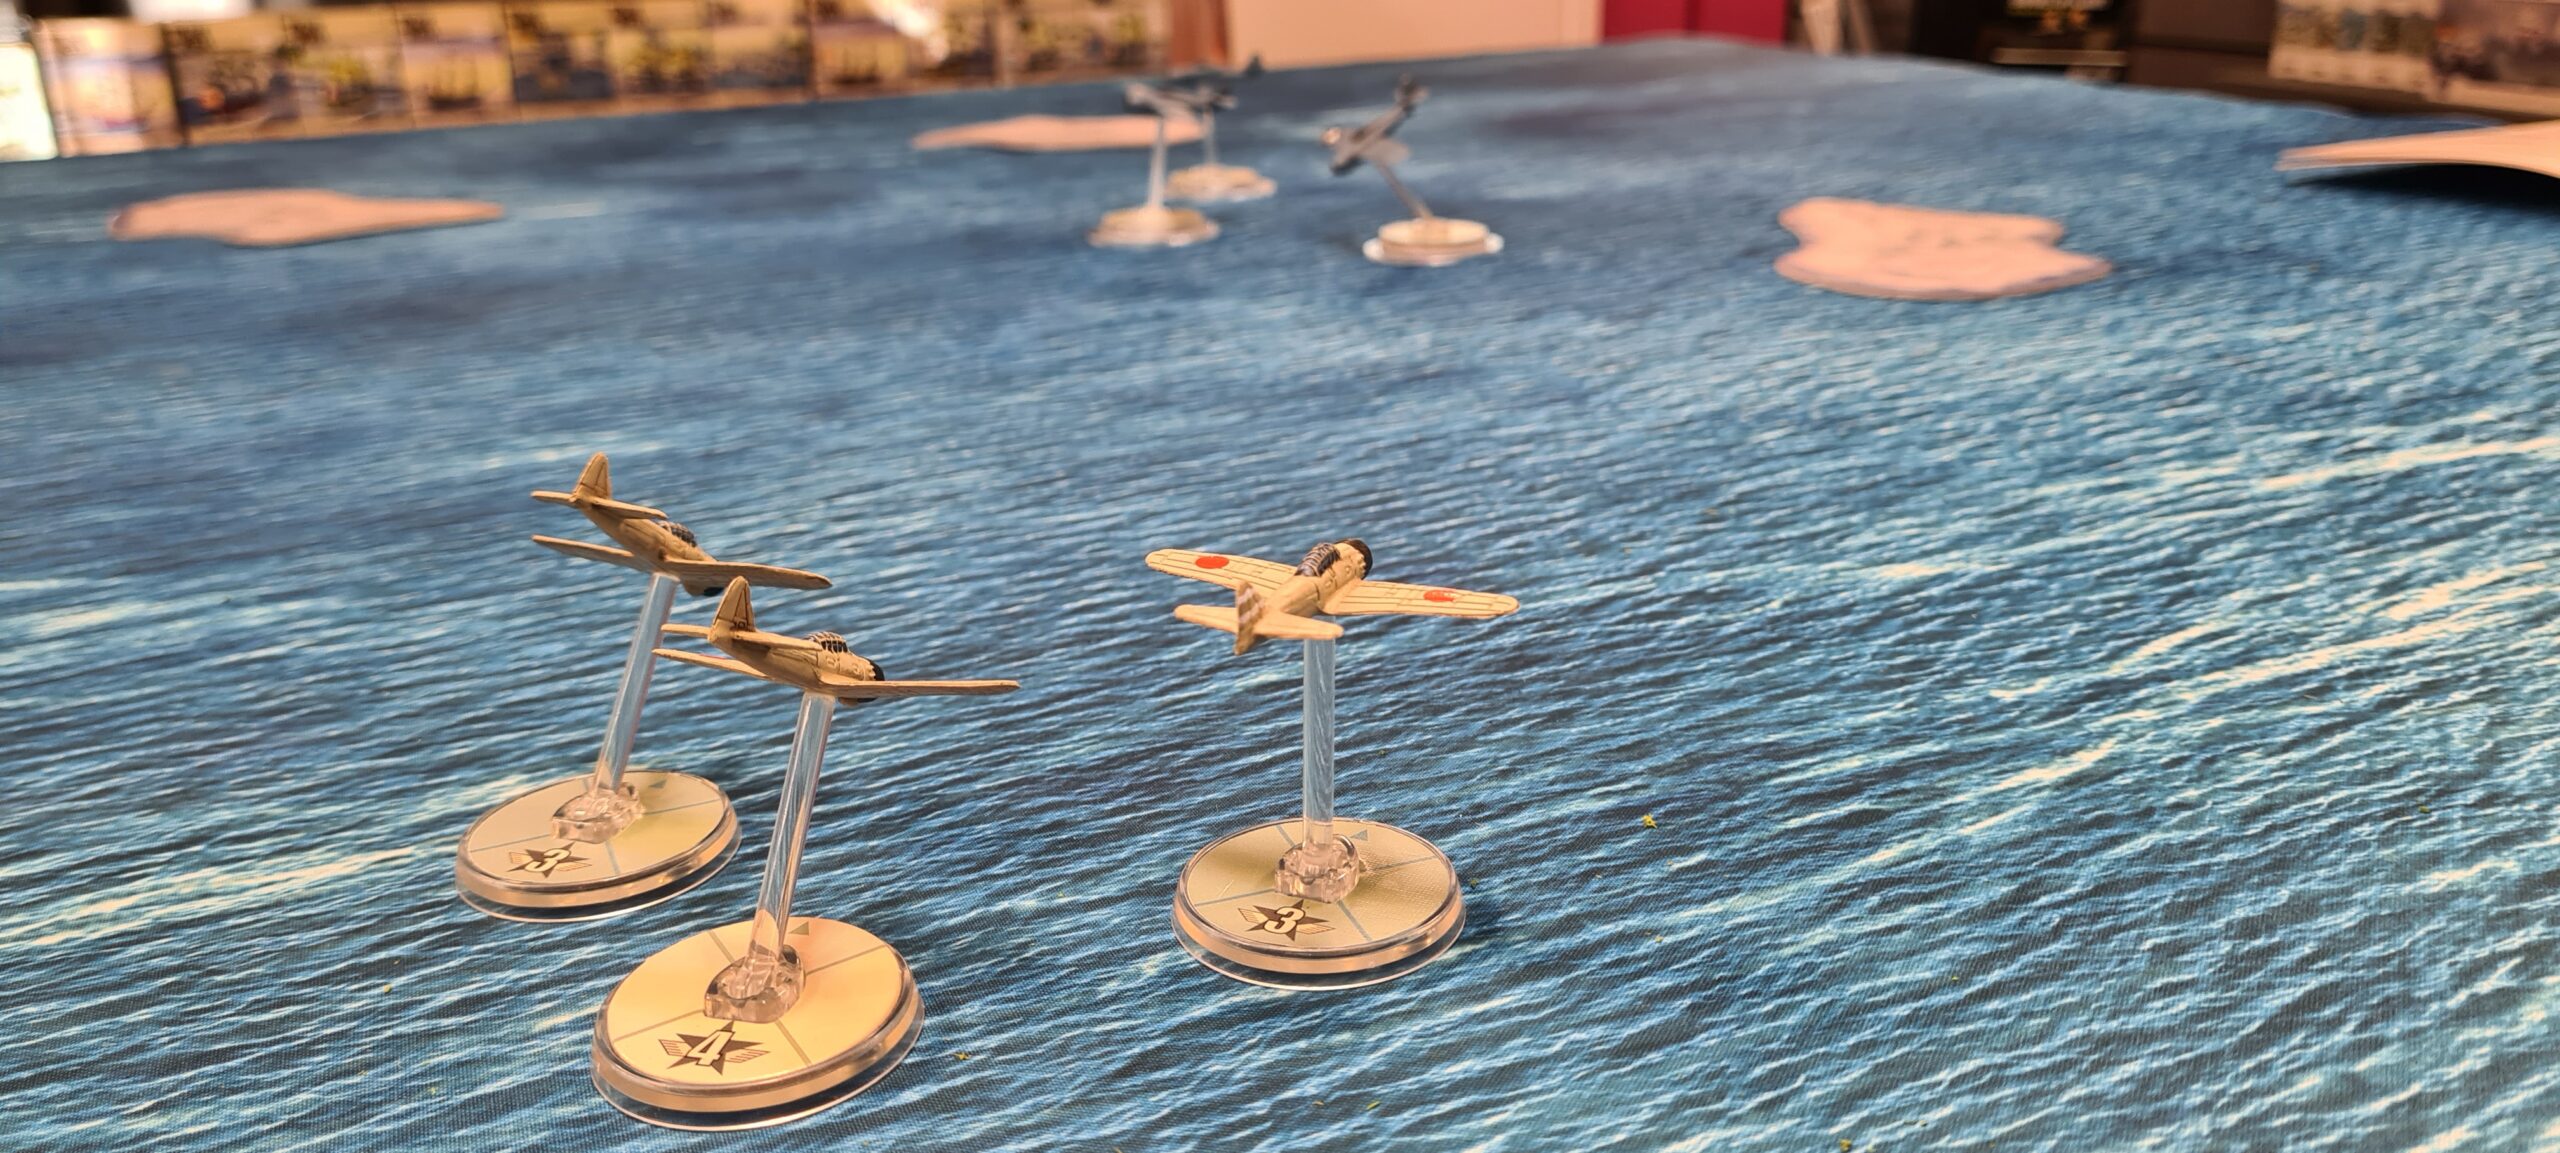
Deployment
Rolling low for the initiative, Conor must deploy first and opts for the mid-table. Dave sets his element in an aggressive flanking position. Alas, they must have overexerted their aircraft in their efforts to achieve the more favourable position, as regrettably, two of the Zeros begin disadvantaged.
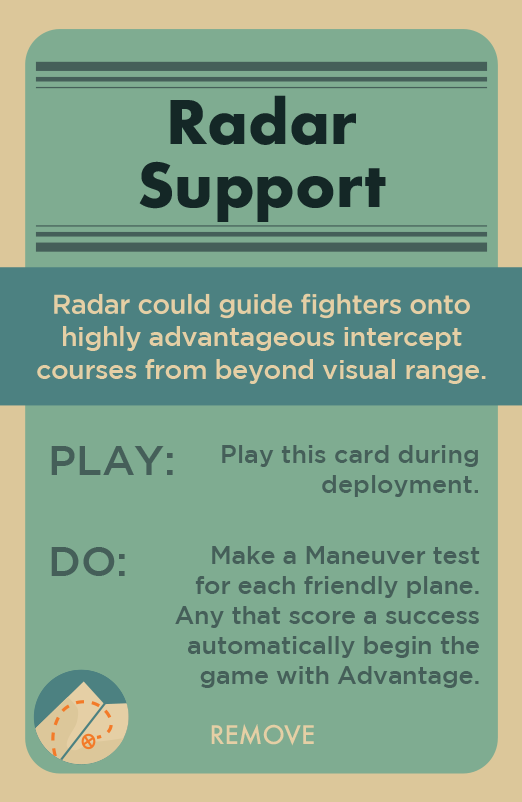
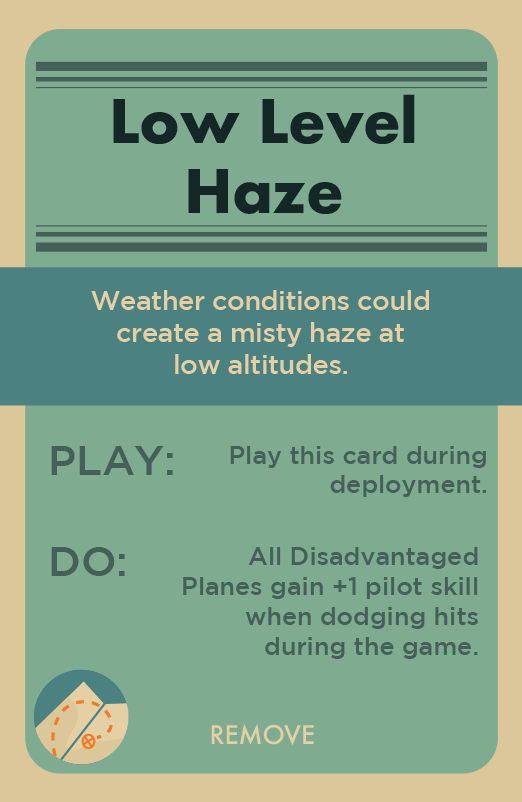
Both players action decks contained deployment-specific theatre cards. For the US, Conor had played the Radar Support action card to absolutely no effect. Dave plays Low Level Haze, to give his disadvantaged Zeros more of a fighting chance throughout the game.
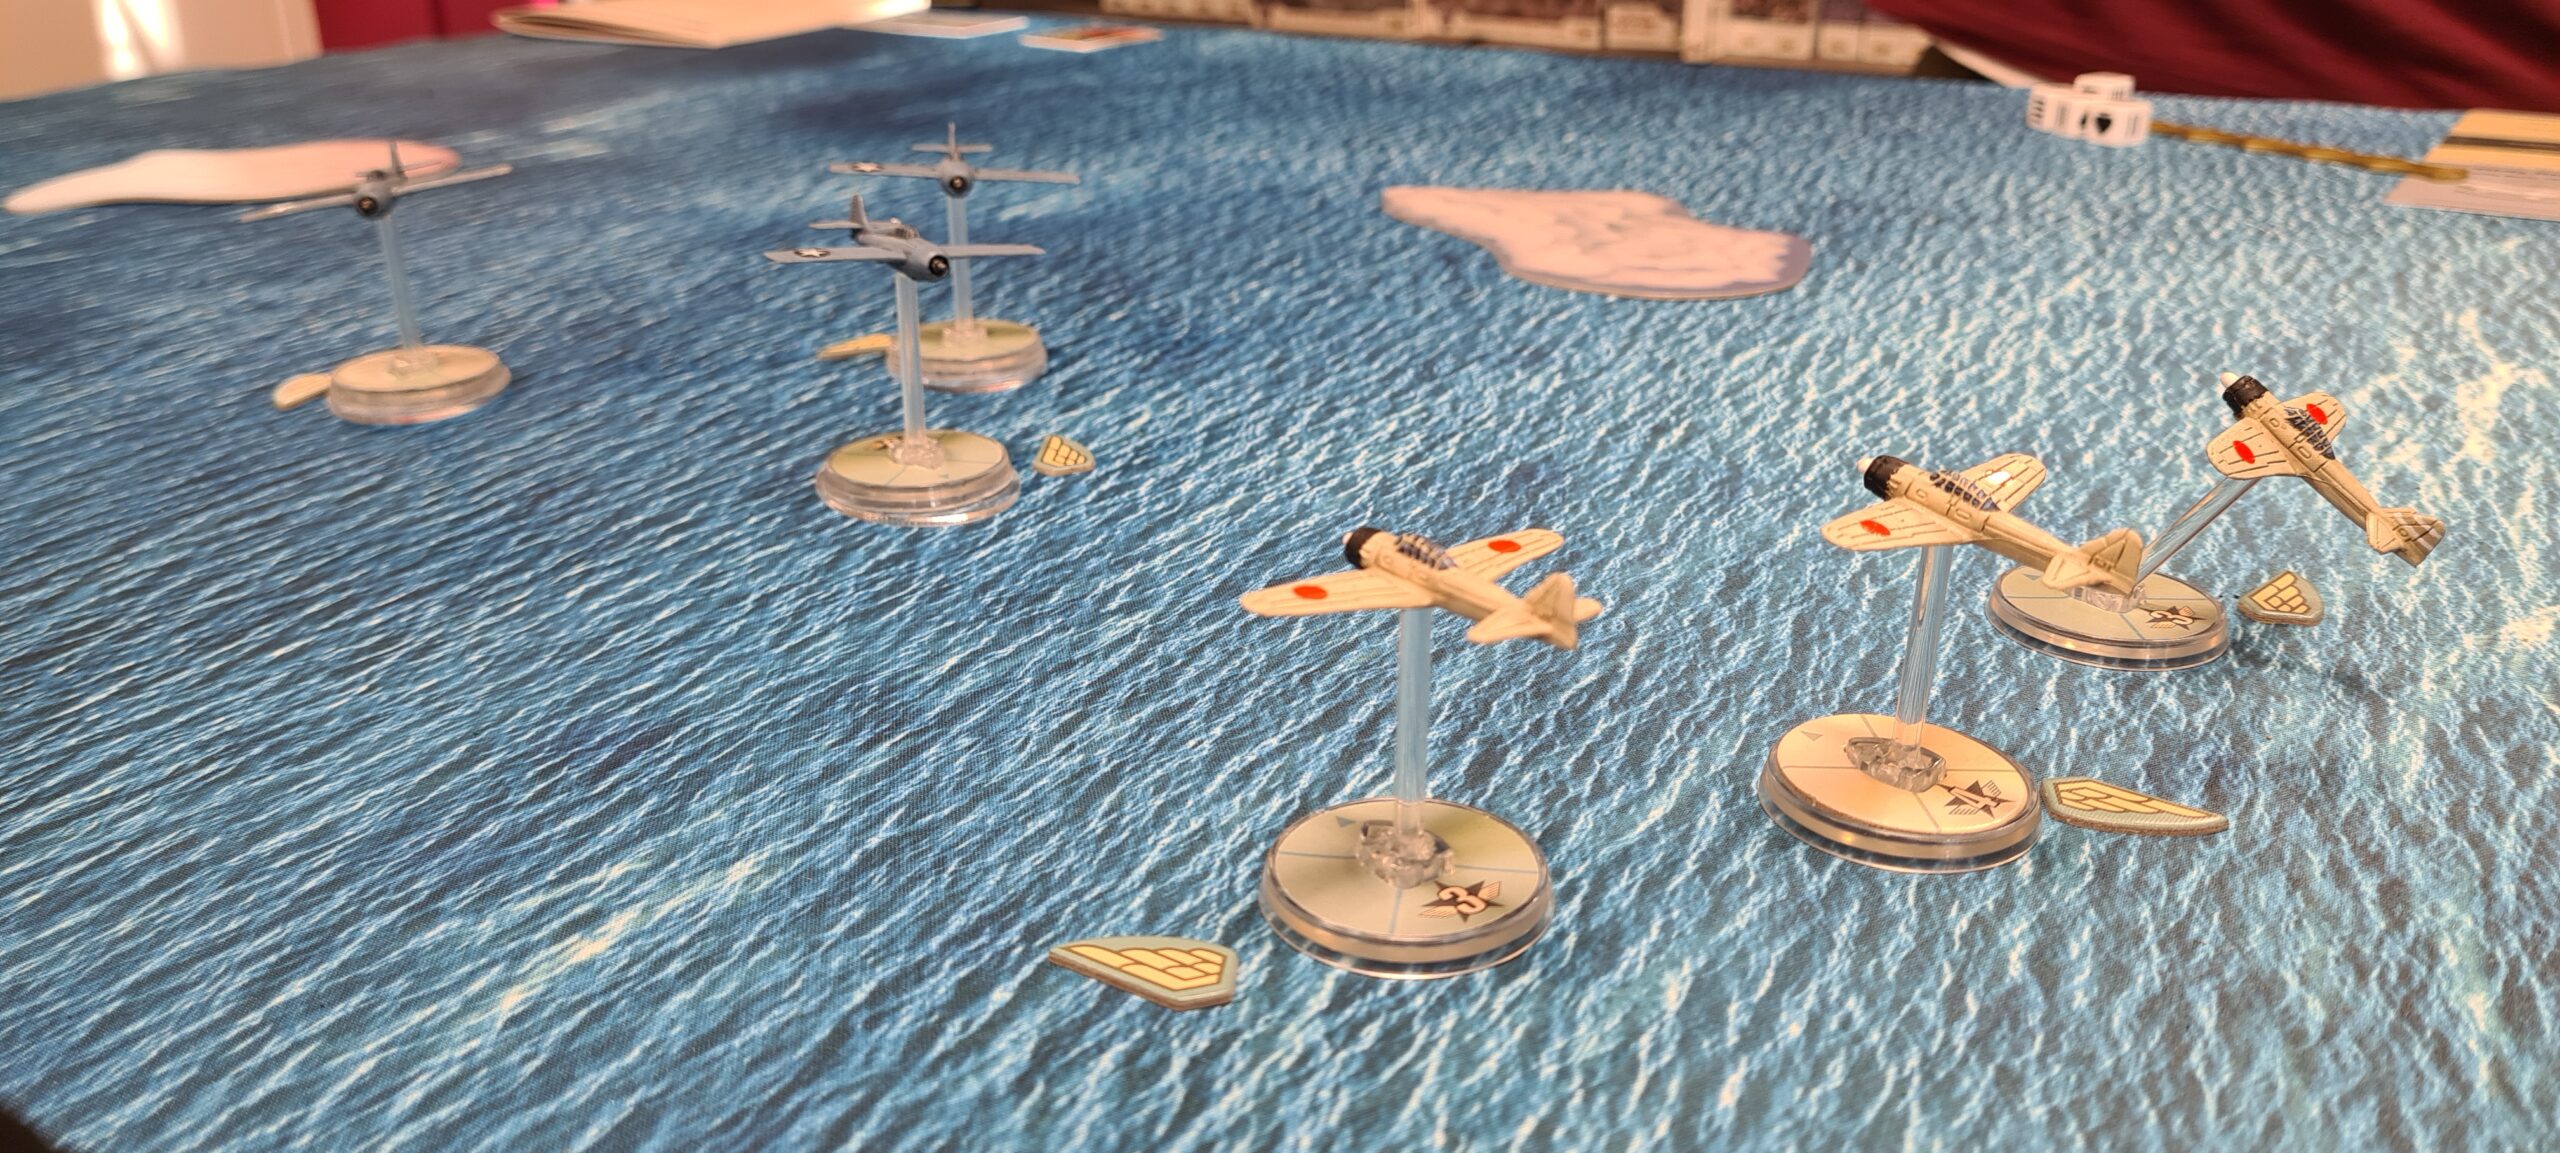
Turn One
Hoping to bail out of a potentially sticky situation, Conor burns advantage to set up for a head-on engagement in the next turn, hoping that his more durable aircraft will fare better against the vulnerable Zeros. The Japanese surge onwards. Regardless.
In the action phase, fighters are activated, one at a time, in turn order. Advantaged planes will always activate first (in descending pilot skill order), followed by neutral aircraft, and finally disadvantaged aircraft. Any ties are are settled by comparing aircraft speeds.
Score: US 0 – IJN 0
Turn Two
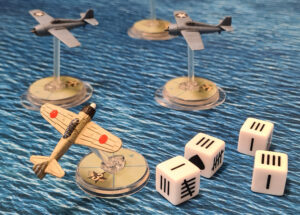
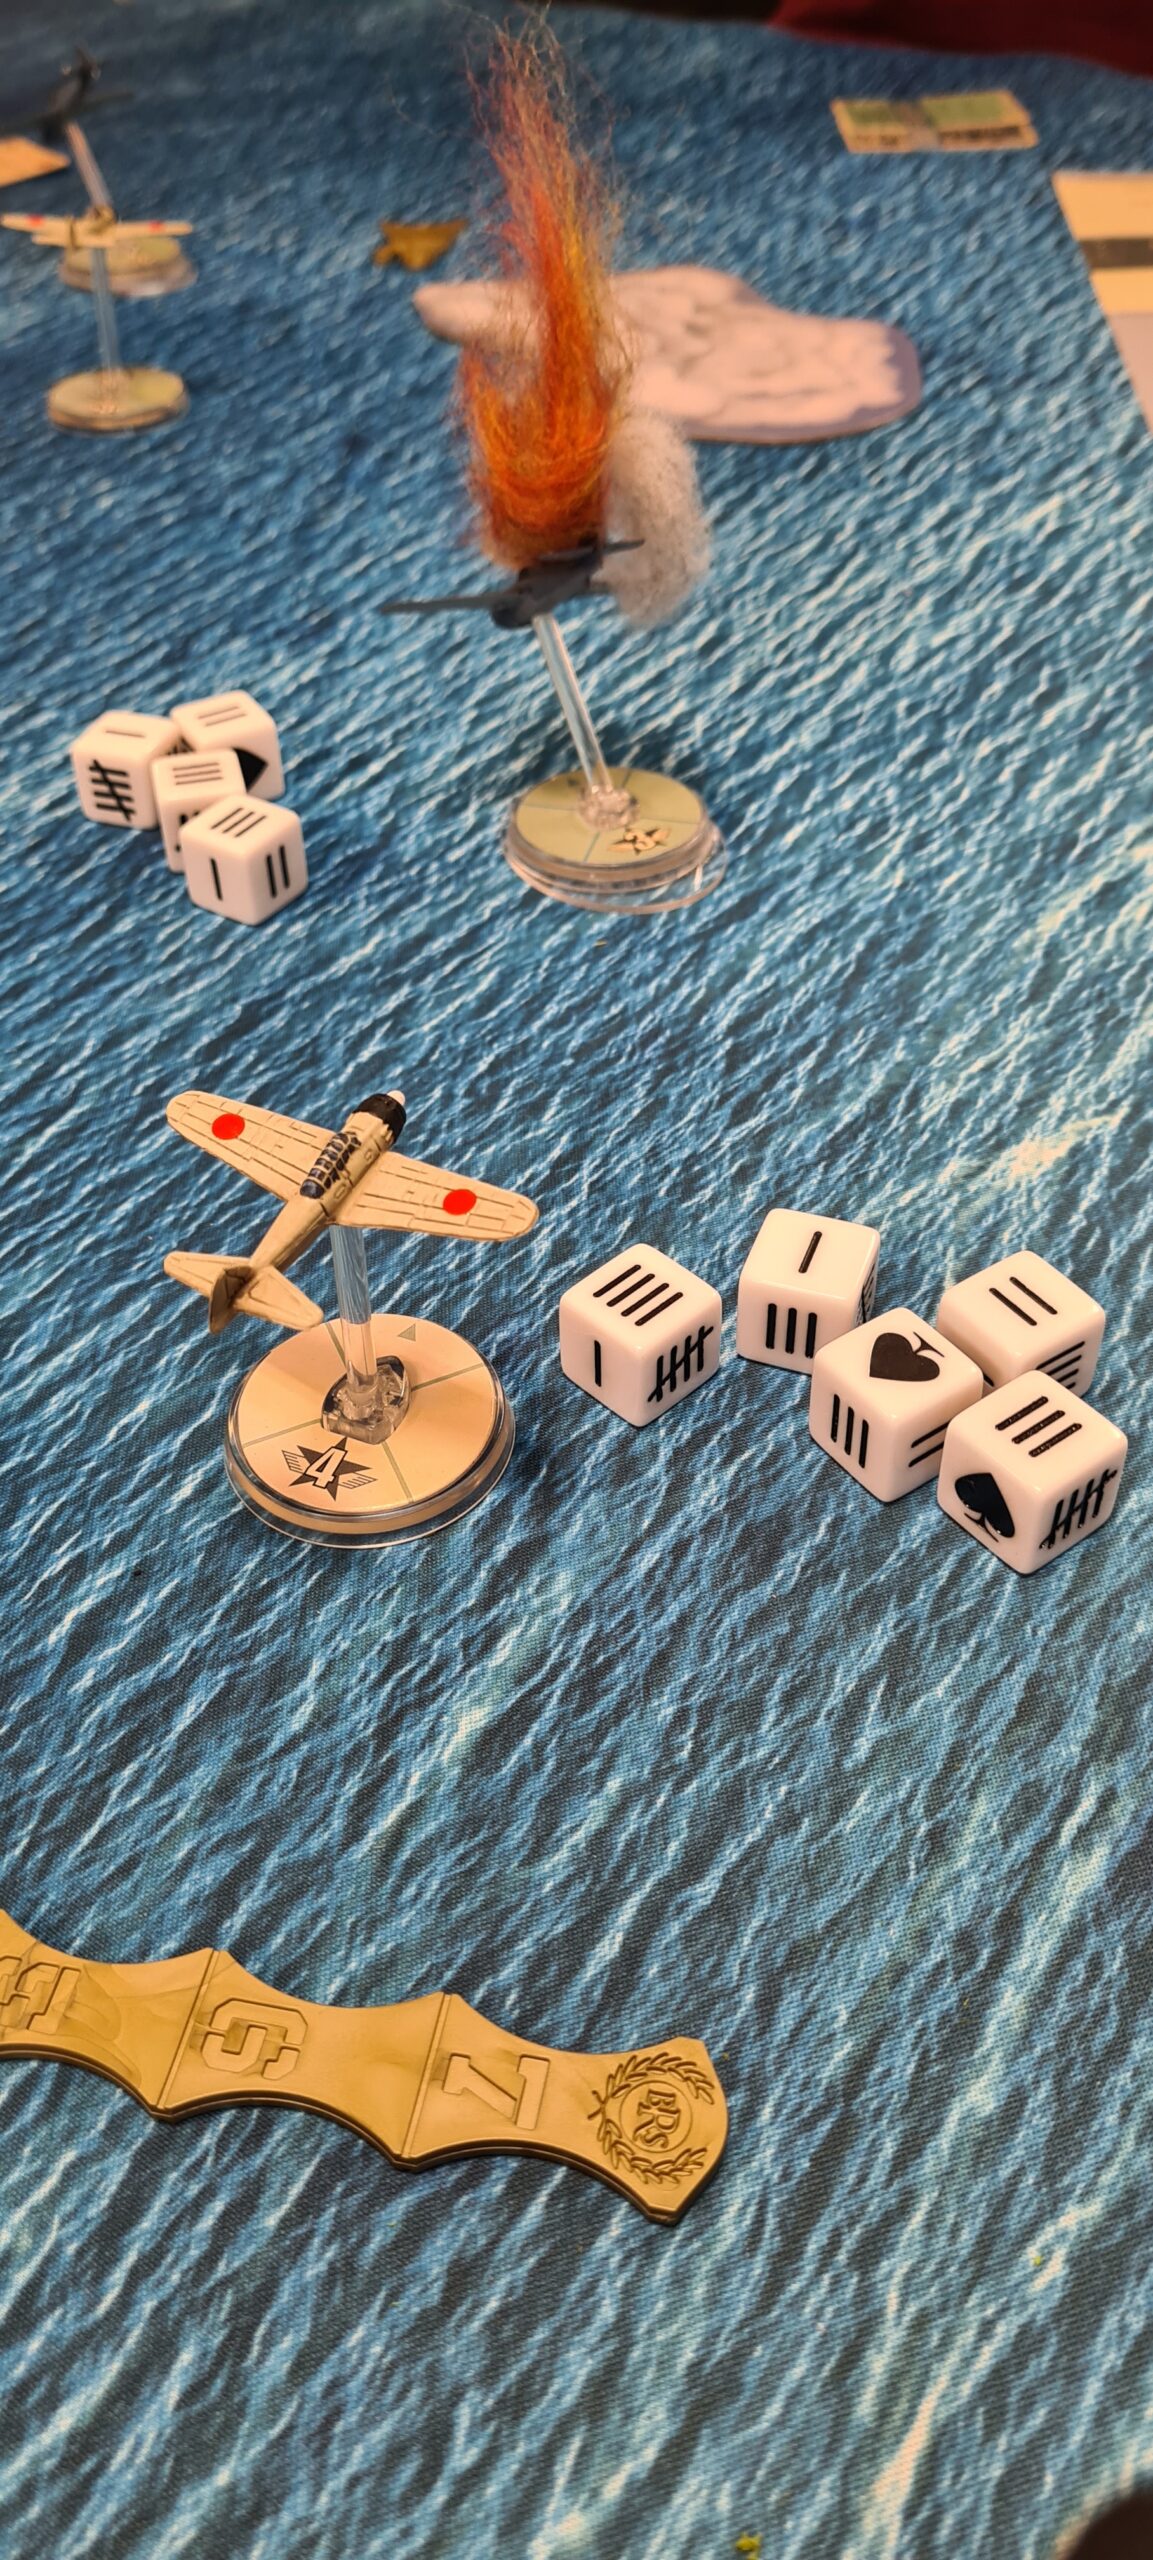
The first shots are fired! A difficult flanking shot, to no avail, before the real action begins, head-on Action. The Veteran Zero, already advantaged, moves first sweeping through the thick of oncoming aircraft and performing an outmanoeuvre action on the lead-most Wildcat, leaving it in dire straits for the next activation from a pilot Skill 3 Zero (Dave definitely said this was his first game? -ed.). Disaster, despite the perfectly lined upshot – no hits!
With gleeful abandon (too much glee for a teaching game one thinks), Conor plays Superior Armament on his return shot! He scores a critical hit. There is little Dave can do except pray to the Dice Gods – But the superior armament in combo with the Zero’s Vulnerable Negative trait is more than enough to play to the odds. Dave receives a Boom Chit and his Zero becomes disadvantaged. Bugging out, the Zero swoops through the oncoming Wildcats and desperately climbs for advantage.

Editor’s Note- it turns out at the time the Boom Chit was received, Dave was holding a Deep Pockets card, which would have negated it – but Dave was very much focused on learning the tabletop mechanics at the time, so we’ll forgive him this misplay…this time.
Jostling for superior positioning, all the Wildcats end their second turn advantaged, whilst a series of Outmaneuver actions leave two of the Japanese Zeros in a precarious disadvantaged position.

Score: US 1 – IJN 0
Turn Three
Dave relishes an opportunity to get into the first tailing situation of the game.
A pilot was at his most deadly when he got in close range to the rear quarter of an enemy. From here it was much easier to follow the target’s moves and deliver deadly-accurate gun attacks. Ending movement with a plane pointing directly at an enemy plane within its rear arc and within 6″ counts as “tailing”, and reduces the enemy plane to a Disadvantaged state immediately.
Conor uses a Robust action card to reduce Dave’s attack pool by one. This proves to be a fruitless exercise, as Dave scores a hit anyway on only three dice. Conor has four dice to avoid losing his aircraft. Failure results in twofold misfortune. As his Wildcat was disadvantaged it is downed and removed from the game. He also receives two boom chits (one for the scored hit and one for a downed aircraft). This makes his position quite unfavourable – if he receives one more Boom Chit, he will be forced to withdraw.
Consequently, for the remainder of the turn, he tries to bring his remaining aircraft around, climbing for advantage to make each Wildcat less vulnerable.
Dave counteracts by playing a No Stalling card to keep his aircraft in a favourable position.
Score: US 1 (with Two Aircraft Remaining) – IJN 2
Turn Four
Dave’s veteran kicks off the turn by burning advantage to get into a better position to outmanoeuvre pilot action a Wildcat, reducing it to a neutral position, though his other Zeros are not yet in a position to take advantage of this development, as all aircraft are neutral and unable to fire upon one another. He thus elects to again play No Stalling, using the Zero’s superior manoeuvrability and speed to set up for the next turn’s engagement.
Conor tries to subvert this by attempting an outmanoeuvre pilot action, but a swift manoeuvre check from Dave puts an end to that idea. All aircraft end the round in a neutral position.
Score: US 1 (with Two Aircraft Remaining) – IJN 2
Turn Five
The veteran Zero goes first and swoops into a tailing position, lining up for a potentially game-ending shot. In a stalwart effort to escape defeat Conor once again produces a Robust card to reduce the attacking dice pool, this time successfully and no hit is scored. The Wildcat is not out of the fire yet – following his wing commander, a second Zero pours lead towards the Wildcat. Once again, a Robust card comes out and saves the terrified pilot from a watery grave. The Wildcat moves and attempts to climb, but a Poorly Trained Opponents action card from Dave prevents this pilot action.
The final Zero lines up for a deflection shot in the following turn. Spotting the danger, the Wildcat elects to burn advantage in order to dive, sweeping past the line of fire before it has a chance to establish.
Score: US 1 (with Two Aircraft Remaining) – IJN 2
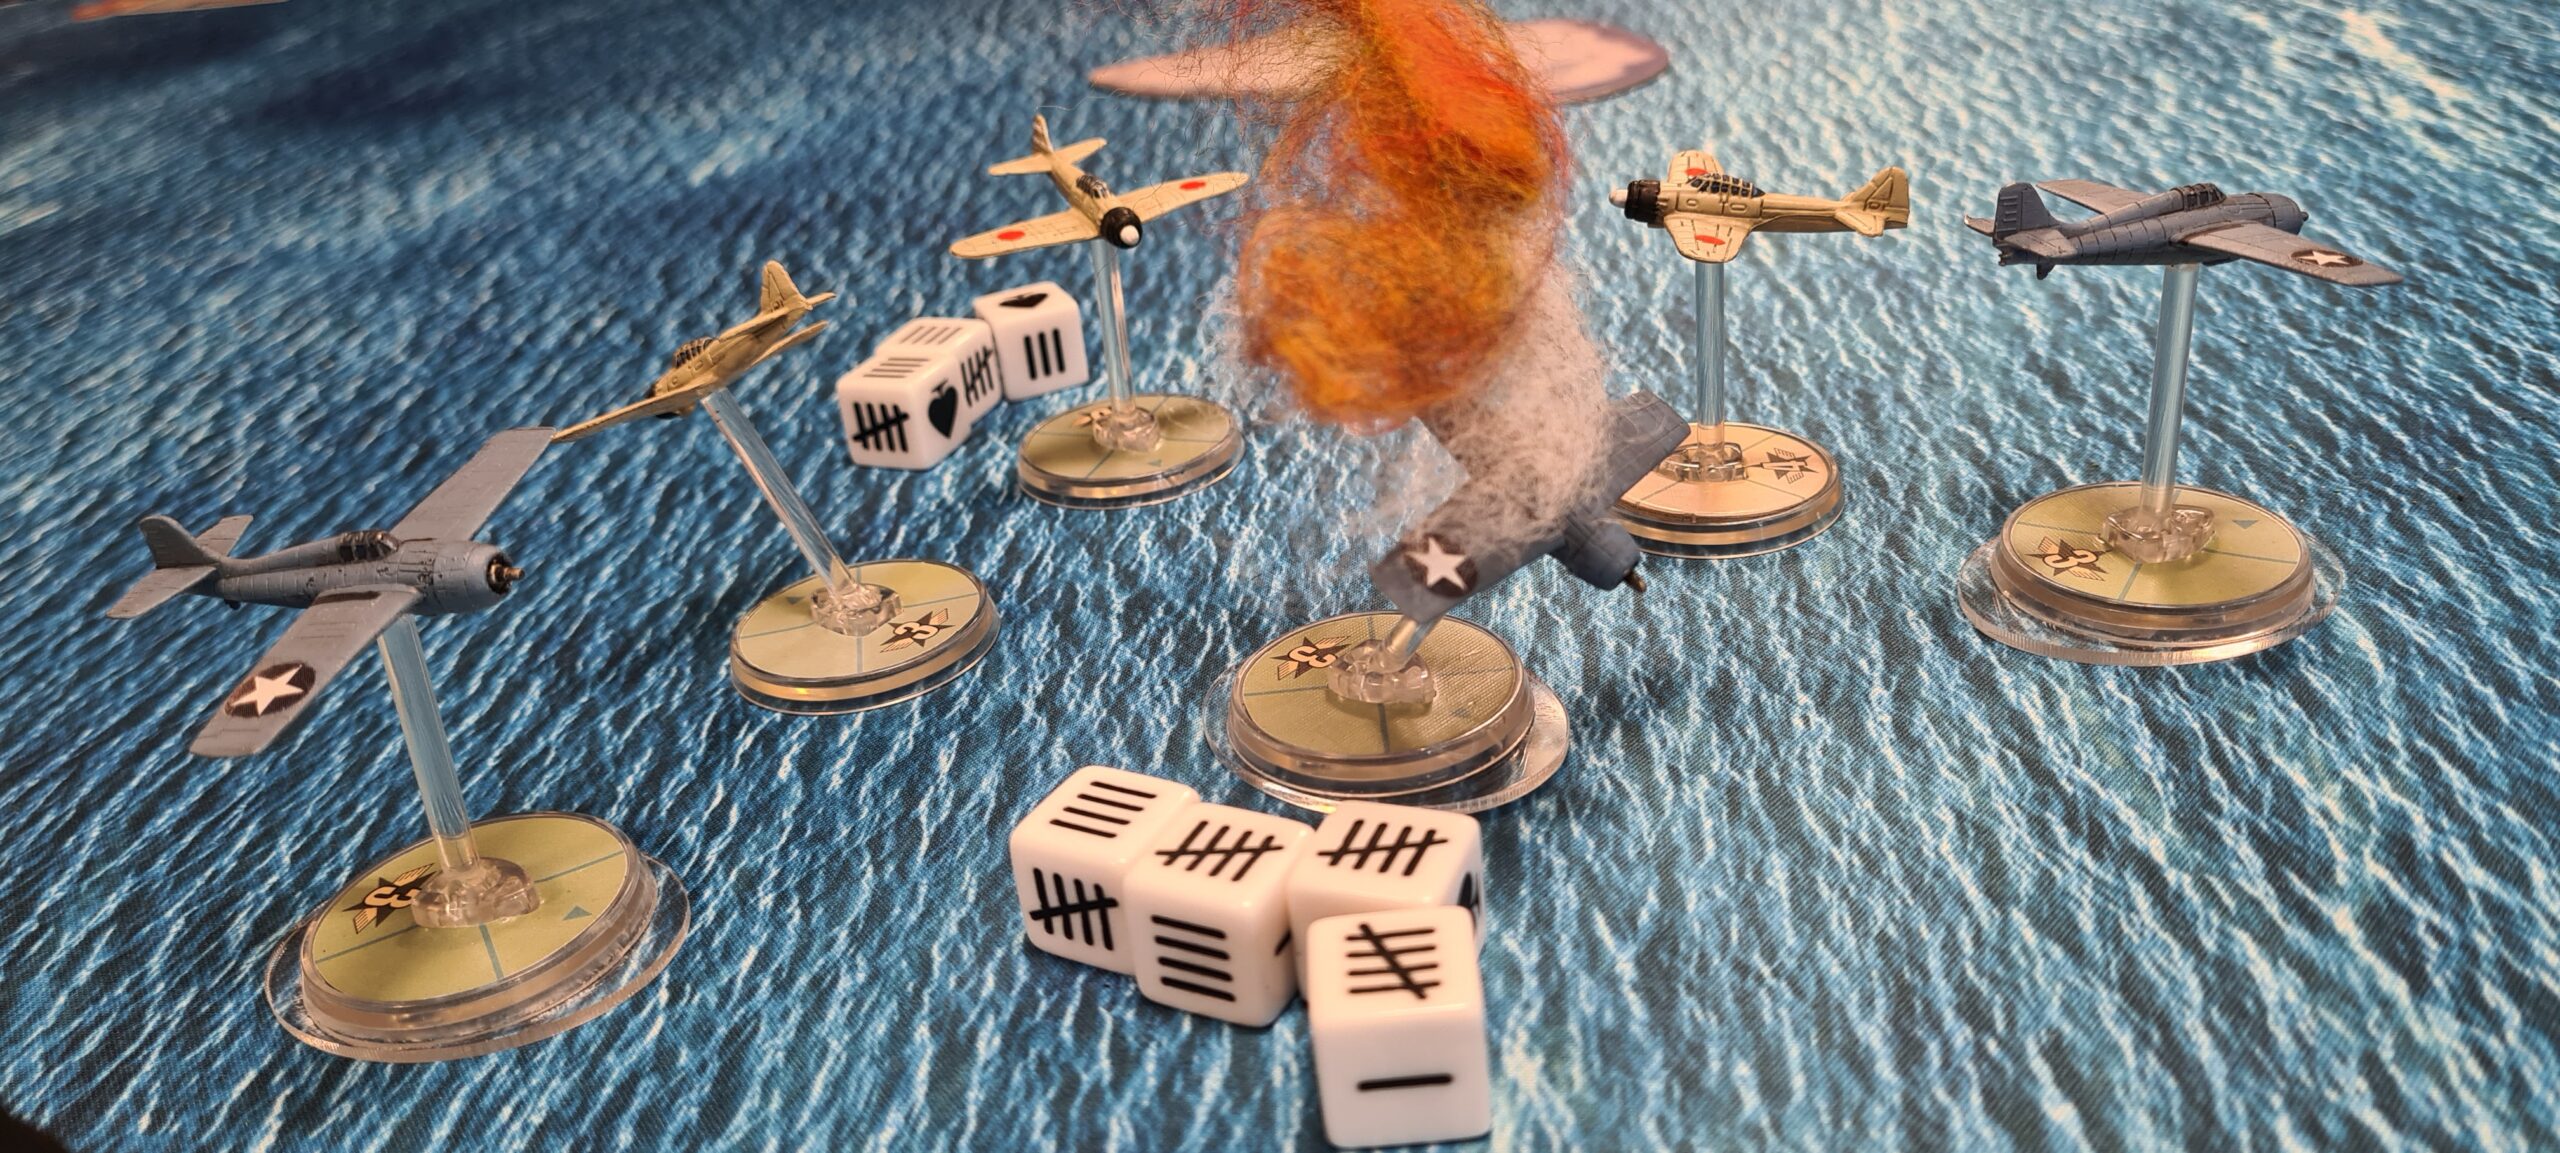
Turn Six
In a somewhat risky manoeuvre, the advantaged Zero burns advantage to catch the fleeing Wildcat, tailing it though potentially exposing its own tail to the other Wildcat, should it survive. A Robust card once again comes out and no hits are scored.
However, Dave has two more opportunities to down the second Wildcat before Conor has a chance to manoeuvre, and Conor’s supply of Robust cards has already been exhausted. The Wing Commander’s raking fire claims the Wildcat, bringing Conor’s total Boom Chits to four, far exceeding the solitary aircraft he has remaining. He must withdraw at the end of this turn. Victory to the IJN.
Final Score: US 1 (Withdraws) – IJN 4
Final Thoughts

Conor: “I was hoping that superior positioning and the Wildcats’ relative hardiness might earn me the day. Alas, it was not to be. The dice were not with me and the Zeros’ high manoeuvrability and speed proved my downfall. In most situations, I was having to move reactively. Next time, I’ll be pickier about the elements and action deck I select rather than sticking to the suggestions, but I suppose you have to go easy on the new player!”

Dave: “Speed really gave me the advantage, allowing me to effectively control the flow of the engagements in most turns, and allowing me to outmanoeuvre the enemy. It was a very enjoyable game, though those Wildcats sure are ‘Robust’! I’ll look to fly again very soon, perhaps looking to the other scenarios in the Battle of Midway scenario booklet to gradually introduce new elements like escorts and bombers. “
The Warlord HQ Store team are a helpful bunch and are always happy to accommodate your gaming needs here in Nottingham. Why not sally-on over to the Warlord HQ Customers & Gamers Group over on Facebook, where you can check out what’s coming up in store, arrange games or engage in general hobby chat with like-minded folks!
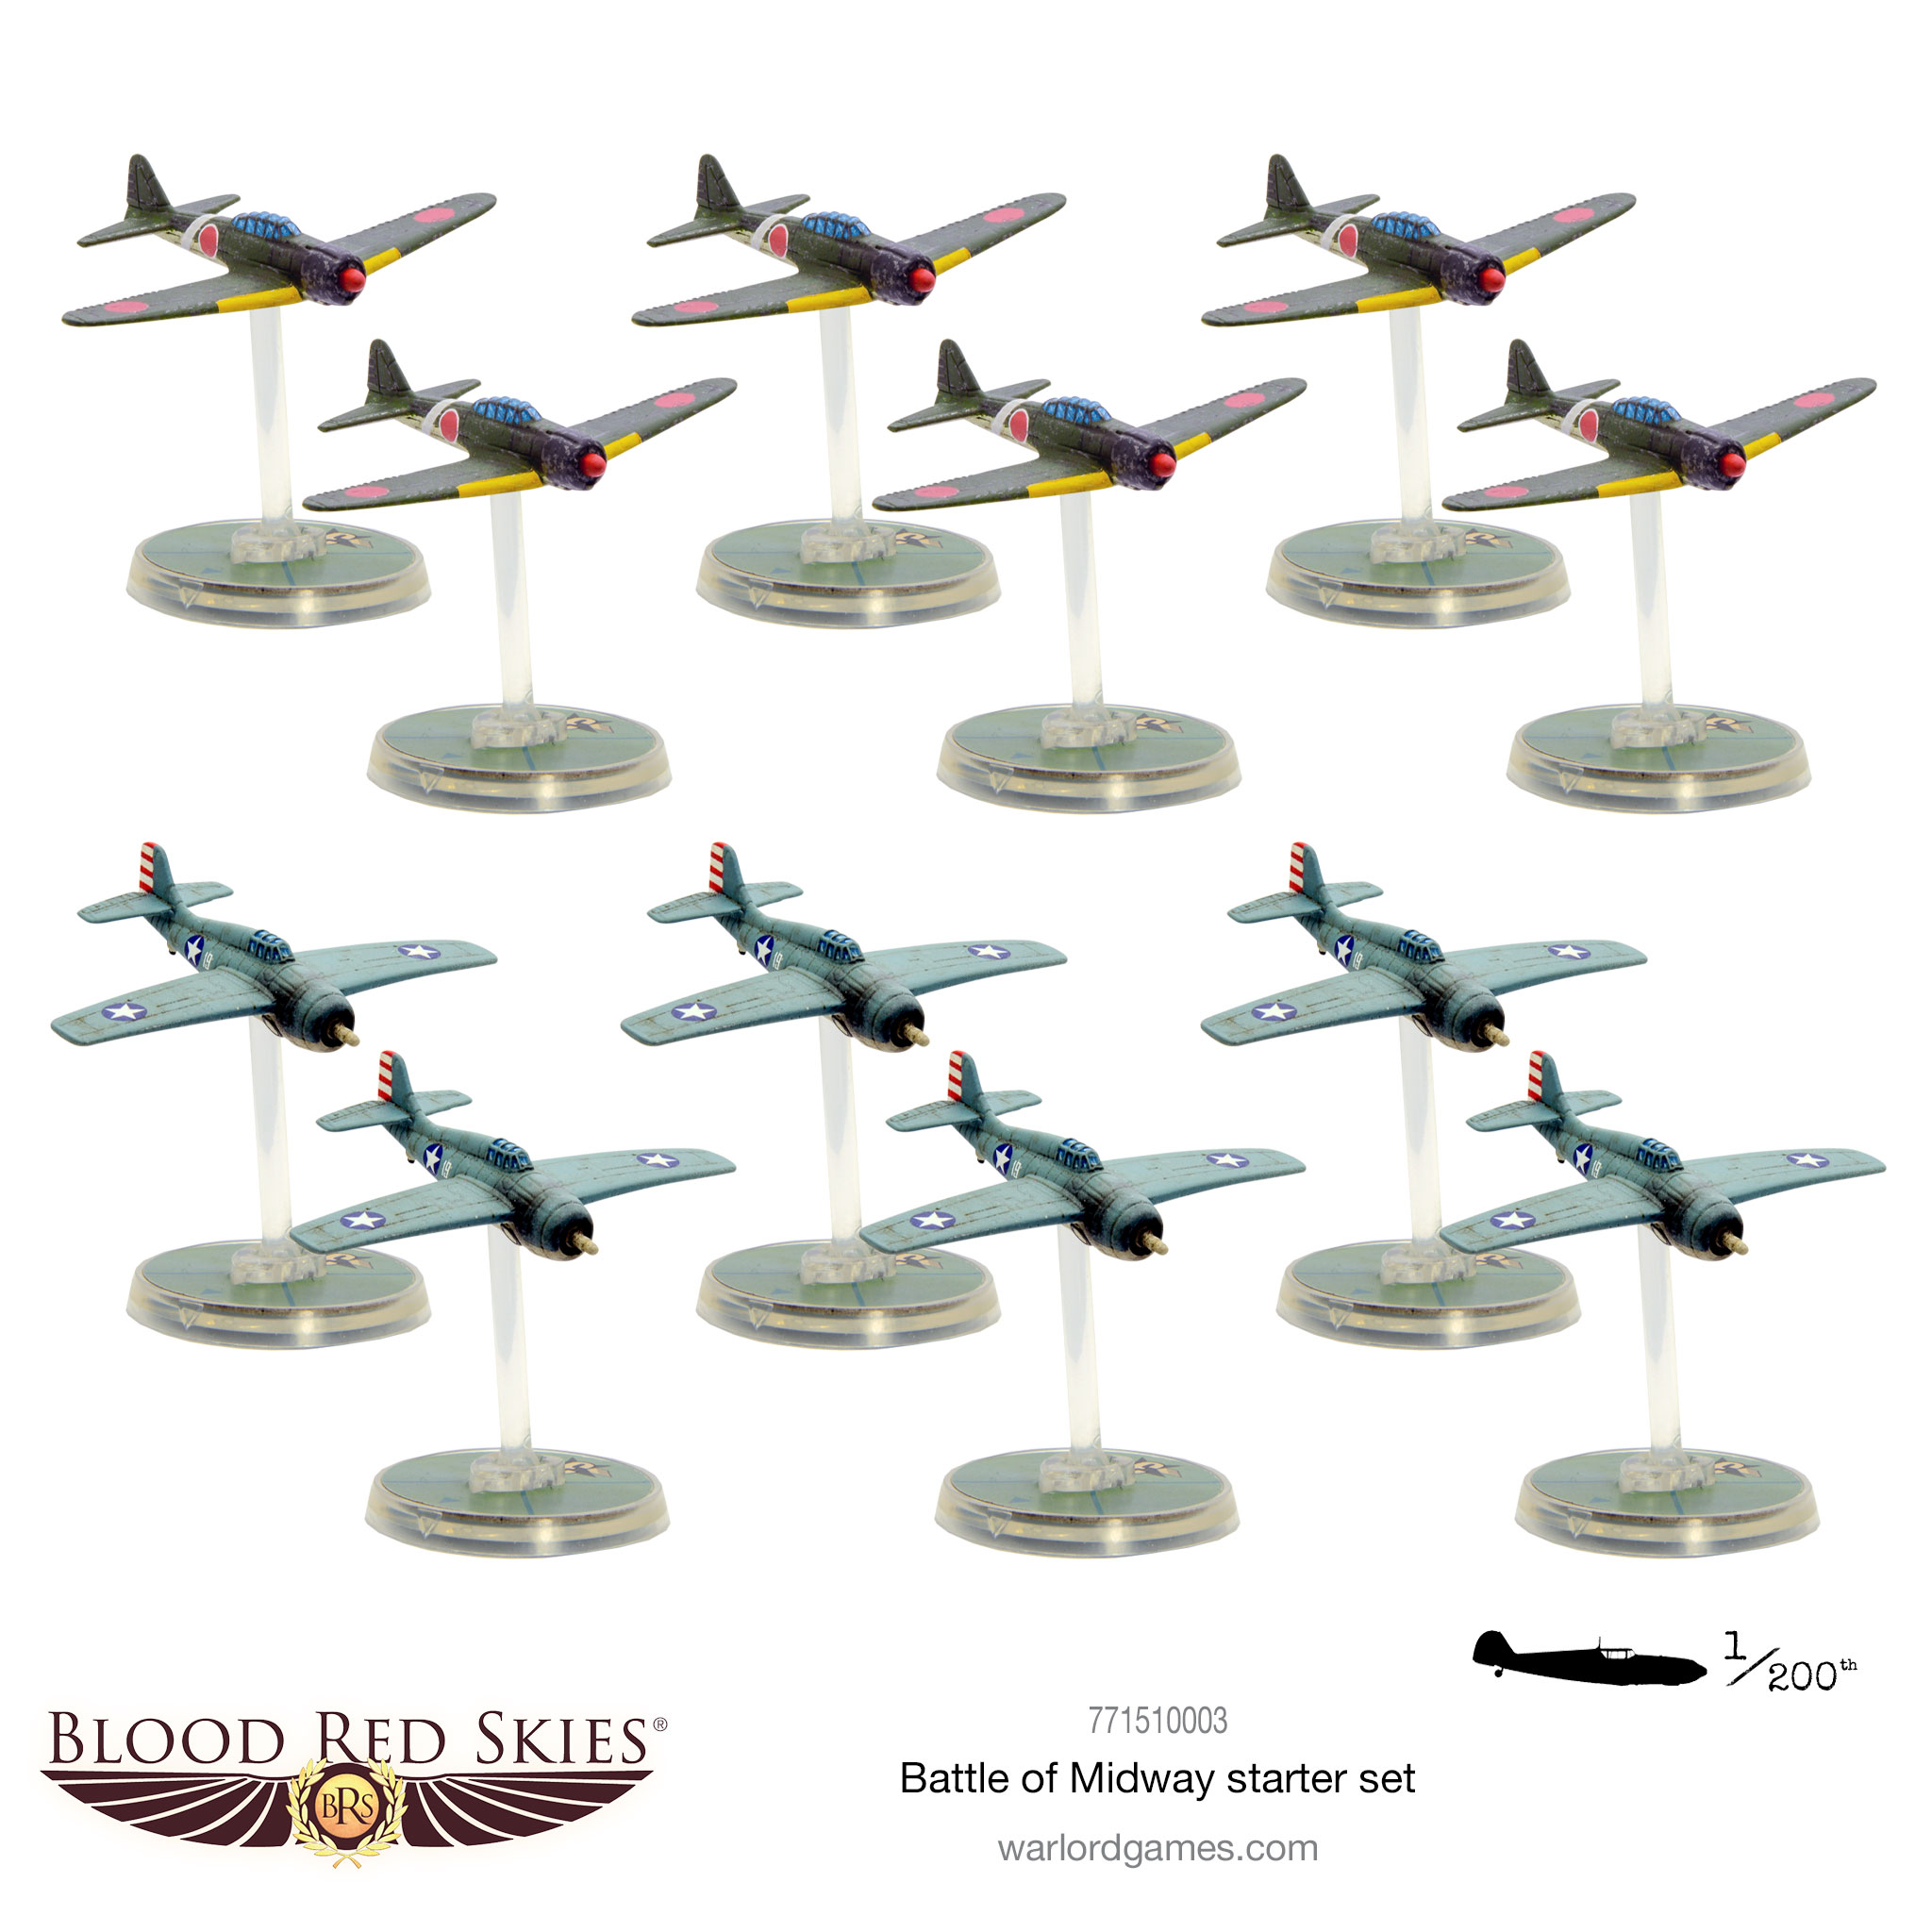
Blood Red Skies: The Battle of Midway
You’ll find everything used in this battle report within the new Battle of Midway starter set, and much more besides:
- 12 x Warlord Resin aircraft (6 x Mitsubishi A6-M2 Zero & 6 x Grumman F4F Wildcat)
- 12 x BRS Advantage Flying Bases
- 2 x BRS Midway punchboards
- 1 x BRS Plastic Token Sprue
- 1 x BRS Battle of Midway Rules Booklet
- 1 x BRS Quick Reference Card
- 6 x Aircraft Cards (Douglas Dauntless, Douglas Devastator, A6-M2 Zero, Aichi D3A ‘Val’, Nakajima B5N Kate & F4F Wildcat)
- 6 x Aircraft Trait Cards
- 17 x Doctrine Cards
- 18 x Theatre Cards
- 12 x BRS Combat Dice
- 1 x USN/IJN Self-adhesive sticker sheet
- 1 x USN/IJN waterslide decal sheet