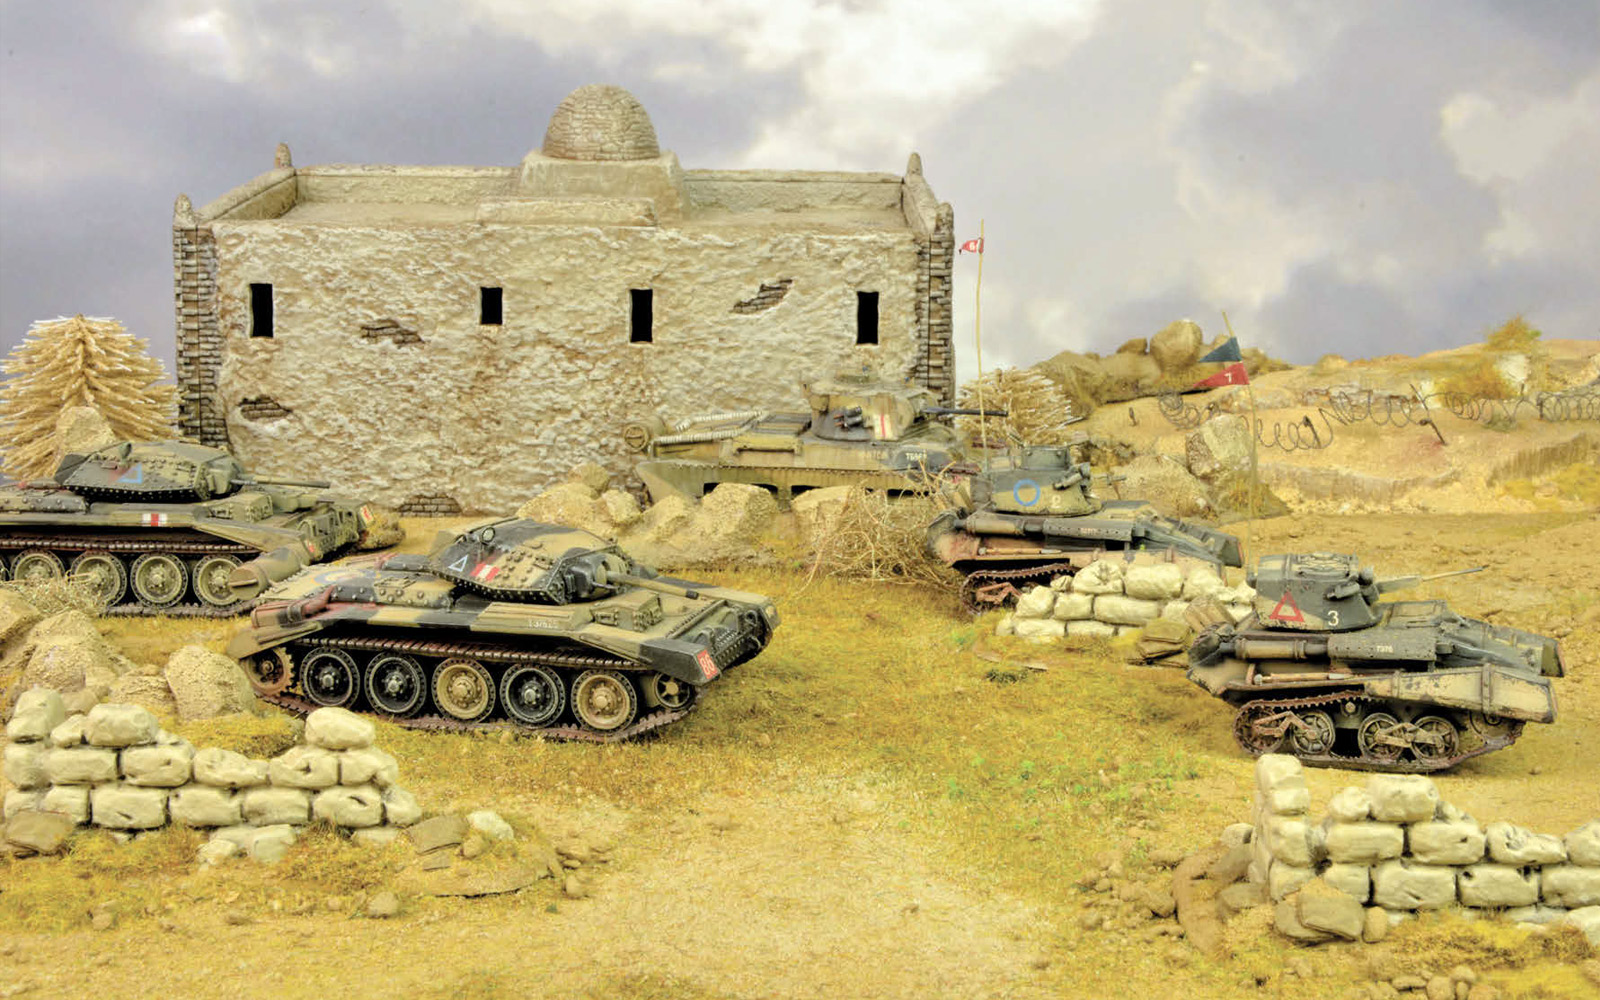
The Western Desert campaign was fought over vast distances, with much of the terrain consisting of flat, open plains and low ridges. As such, it was in many respects the ideal campaign for armoured warfare, and all belligerents made extensive use of a wide variety of armoured fighting vehicles. With a fantastic range of Bolt Action armour available, and the forthcoming release of the A Gentleman’s War starter set, now feels like the perfect time to take a look at the wide range of tanks, armoured cars, and self-propelled guns used throughout the campaign. Mount up, start up – and don’t forget your dust masks and goggles. It’s going to be a long ride!
We’ll start specifically with tanks of British and Commonwealth forces. Entering the war with three tank ‘concepts’ (Light, Cruiser, and Infantry), the British tank arm was relatively mature, having benefitted from a good degree of study and investment in the interwar period, combined with British industrial experience and know-how. Experience gained with the British Expeditionary Force’s armoured units in France revealed significant flaws in both tank doctrine and in the designs of some existing vehicles, and it was quickly realised that a significant overhaul of British armoured forces would need to be undertaken if they were to be effective in the face of the rapidly expanding German Panzertruppen (armoured troops). This was underway but by no means complete by the outset of the Western Desert Campaign.
Light Tanks
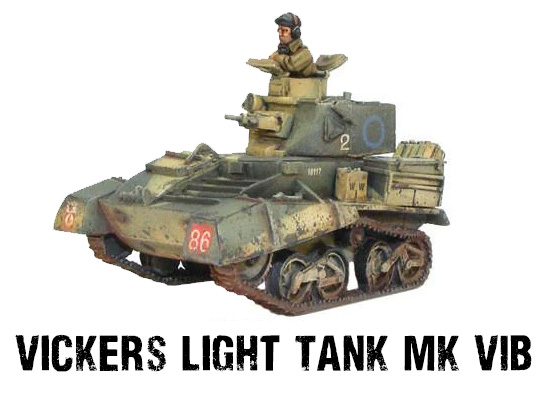
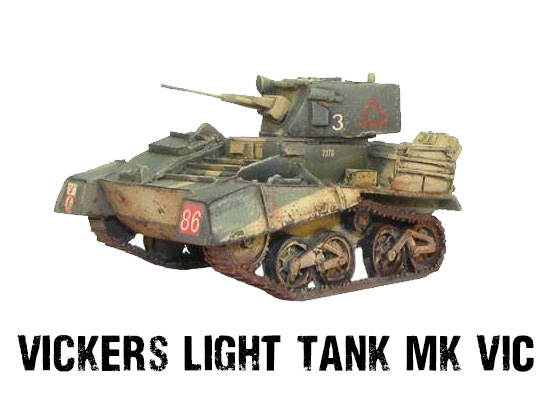
Starting with the light tanks, fast vehicles primarily designed for reconnaissance work without much armour or heavy armament, the majority of the British tanks at the start of the War were Vickers Mk VIBs or Cs, the last in a line of successful vehicles that had been much-used for colonial policing duties in the inter-war years. Armed with a pair of machine guns (VIB) or a light autocannon and co-axial machine gun (VIC), they were capable enough in the scouting role and when used against infantry, but were never intended for anti-armour work, and suffered accordingly when facing enemy tanks or anti-tank positions. On the Bolt Action tabletop, they provide surprisingly good value relative to their points cost, and the VIC is a good choice for any early-war British force, with light autocannons being especially efficient against the prolific infantry and light vehicles of the period.
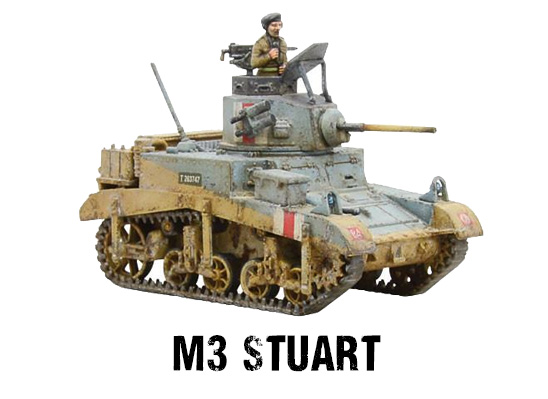
The other primary light tank used by the British in the desert was the American M3 Stuart I, acquired through the Lend-Lease program, whereby the USA supplied the UK and Soviet UNion with military materiel. Decently mobile, and armed with a 37mm gun that was more than capable of penetrating the armour of its primary opponents, the German Panzer III and Italian M13/40, British crews praised its mechanical reliability and smooth-riding suspension, earning it the nickname of ‘Honey’. The awkward interior layout and two-man turret drew criticism, however, as did the limited fuel capacity. Despite the capable main gun, a lack of experience both tactically and strategically led to poor utilisation, and the Stuarts were rapidly withdrawn to a reconnaissance role. Many of these were converted to the ‘Recce’ configuration, removing the turret to reduce weight and lower the vehicle’s silhouette. In-game, the Stuart is a capable little vehicle, mounting a pair of hull-mounted MMGs in addition to its turret-mounted Light Anti-Tank Gun and co-axial MMG. While not quite the ‘lawnmower’ variant beloved of competitive players (mounting even more machine guns), it certainly puts out an awful lot of anti-infantry firepower at a very reasonable points cost.
Cruiser Tanks
Cruiser tanks were a uniquely British concept, being named for their naval namesake in a reflection of their anticipated battlefield role. Faster than the plodding infantry tanks, but more heavily armed and armoured than the lights, they were designed for fast, slashing attacks around enemy flanks. The technological requirements and pace of tank development in the interwar period resulted in a bewildering array of types, most named in the traditionally opaque British style of the time (the A13 Mk II, Cruiser Tank Mk IV is a particularly egregious example). The cruisers deployed to the Western Desert were by and large of very similar style, being lightly armoured (the product of a school of thinking that declared the best protection for a tank was high speed) and armed with the 40mm ‘2pdr’ gun. This weapon, considered excellent for its era, was certainly capable in the anti-armour role, but suffered badly for want of a high explosive shell, having initially been issued only with solid shot. Many of the cruiser types took part in the African campaigns, including some of the very earliest, and we have models and rules for a lot of them!
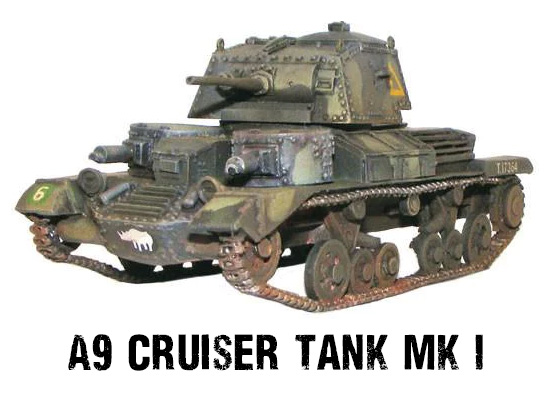
The A9 Cruiser Mk I was something of a relic of the interwar years, boasting two small ‘sub-turrets’ mounting Vickers machine guns in addition to the 2pdr in the main turret. Suffering from an unreliable track design and extremely poor ergonomics for the crew, as well as overly thin armour, the A9 nonetheless had a reasonable main gun, enabling it to fight back with some efficacy against the early German and Italian types. On the tabletop it functions very much like the M3 Stuart, combining a Light Anti-Tank Gun with a pair of MMGs, and makes for a really characterful option for the very early desert battles. Its larger cousin, the A10, sacrifices the MMG turrets for improved armour, having been somewhat clumsily designated a ‘heavy cruiser tank’. By the start of the war, the armour was still rather inadequate. In the desert, the ride quality and mechanical reliability were generally well-liked, although it continued to suffer with thrown tracks. Boasting a ‘mighty’ (for the era) 8+ Damage Value, it gives British forces a vehicle with a little bit more staying power for the early desert campaign. The A9 and A10 both had variants armed with 3.7” light howitzers, known as ‘CS’ for ‘Close Support’. This version can be surprisingly deadly on the table, equally able to remove infantry and Pin enemy vehicles with ease.

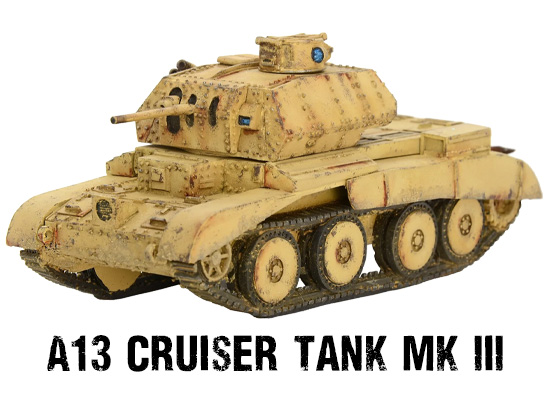
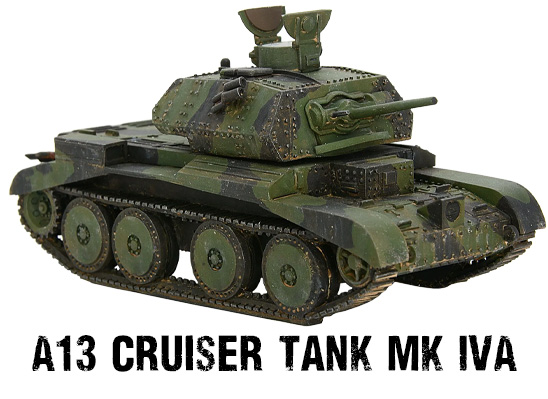
The A13 was really the first successful development of the cruiser concept, incorporating the highly successful ‘Christie’ suspension (most famously used on the Soviet BT-series light tanks) to improve mobility and reliability. While the A13 (confusingly the ‘Cruiser Tank Mk III’) was really more of a developmental model, the A13 Mk II, (similarly named ‘Cruiser Tank Mk IV’) was produced in significant numbers and formed the mainstay of the early British armoured divisions in North Africa. Armed with the ubiquitous 2pdr, it served well in Africa in spite of its relatively light armour. Unfortunately, despite the production run, there were never enough to go around, and most ended up serving alongside older and less capable models in ‘mixed’ formations, which curtailed their effectiveness somewhat. Many were lost in the desert, both to enemy action and mechanical issues, but stiffened the British ranks admirably when called upon. The Mk III and Mk IV variants are very similar in terms of rules, but the Mk IV brings an extra point of armour, with an 8+ Damage Value, again with their 2pdr gun – this can really be considered the staple stat line of the early cruisers.
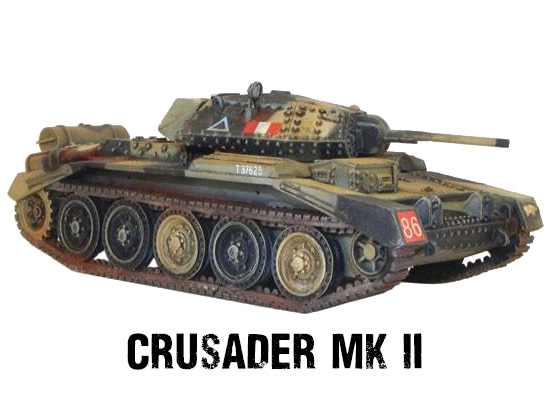
The workhorse of the British tank units in the Western Desert was undoubtedly the Cruiser Mk VI – more commonly known as the Crusader. Essentially an enlarged Mk IV in concept, using the proven Christie suspension and the turret from the Mk V Covenanter (produced in large numbers after the Fall of France but only ever used for training, being obsolete when it entered service), it also had something of a throwback to earlier designs in the form of a small machine gun sub-turret. Ordered, as many of the preceding cruisers had been, ‘off the drawing-board’ (that is, before any prototypes had been built), it was designed to utilise existing components where possible, due to the urgent need to replace vehicles lost in action. Due to the rushed nature of its development, reliability suffered, particularly in the harsh desert conditions, but modifications continued throughout the campaign. The Crusader II deleted the machine gun turret and improved the armour somewhat, but the most significant variant was the Crusader III. This added a new, more reliable engine, but most importantly replaced the 2pdr (by now starting to lose effectiveness against the heavier German tanks) with the excellent 6pdr. The turret required an extensive redesign to accommodate the larger weapon, as well as the reduction of the crew by one, but the modification produced a fast, reliable tank with an excellent main gun. Crusader IIIs were the mainstay of British armoured units in the Western Desert, until the arrival of Lend-Lease Shermans, and is a fantastic choice for any British force. Combining Light Tank mobility and armour with the punch of a Medium Anti-Tank Gun for a very reasonable 145 points.
Infantry Tanks
The final concept governing British armour doctrine was that of the ‘infantry tank’. As the name suggests, these were slow-moving, heavily-armoured vehicles designed to spearhead and directly support infantry attacks. Once a breakthrough had been made, it could be exploited by the faster light and cruiser tanks, but for the infantry tanks the priority was armour above all else. This doctrine led to some very tough but very, very slow vehicles!
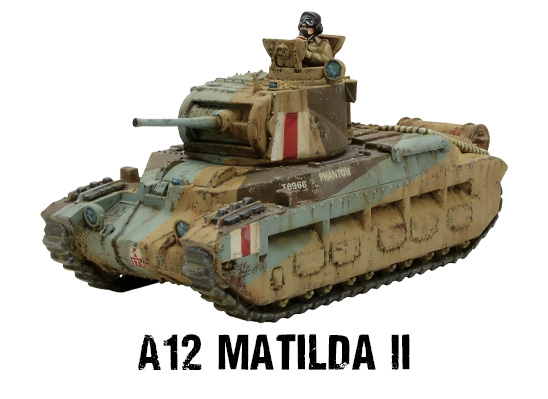
The first British infantry tank to see service in the desert was the excellent Infantry Tank Mark II, better known as the Matilda II (the Matilda Is being a completely different design, most of which were lost during the Fall of France). The only British tank to be in service from the beginning of the war to the end, it was famed for its thick armour, especially around the turret, which provided excellent protection from most contemporary anti-tank guns. Armed with the ubiquitous 2pdr gun, it was effective enough against the lighter Italian and German tanks, but attempts to up-gun the Matilda were thwarted by the narrow turret ring and small turret. This meant that it was gradually replaced throughout the campaign, but surviving vehicles continued to serve with distinction. After the desert campaign, many were sent to the Far East, where they continued to be useful against the lighter Japanese tanks. On the table, the Matilda II provides an excellent low-cost vehicle with a 9+ Damage Value, meaning opponents will need to dedicate a fairly significant amount of anti-tank firepower to take it out, while the 2pdr can be useful against lighter enemy vehicles.
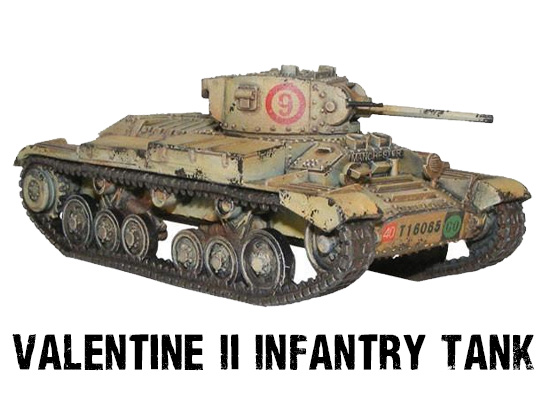
The Infantry Tank Mk III, or Valentine, was one of the most-produced British tanks of the war – in fact, over a quarter of all British tanks produced were Valentines! They were also supplied in significant numbers to the Soviet Army. Often pressed into service to replace lost cruiser tanks, the Valentine earned a reputation as a reliable and well-protected tank, but (as with most British tanks of the era) suffered over time for want of a larger gun than the 2pdr. Unlike the Matilda, it was up-gunned later in the war, but none of these variants saw service in the desert. Nevertheless, the Valentine gave good service, and in games of Bolt Action has exactly the same statistics as the Matilda II – for my money, however, it’s by far the better-looking tank (this started some hotly contested ‘discussions’ around these parts -ed.).
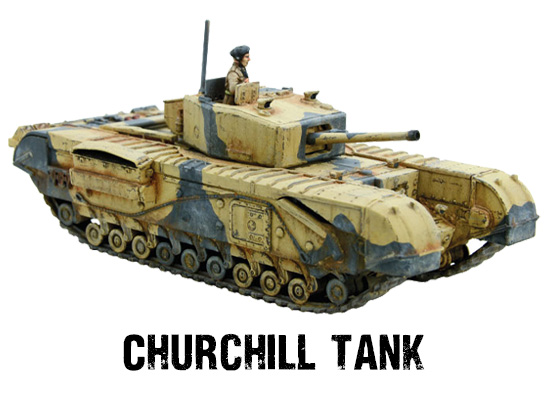
The final British infantry tank to be fielded in the Western Desert was the legendary Churchill. First used in the disastrous Dieppe Raid (August 1942), a number of 2pdr-armed Mk IIs were sent to Africa for field trials, along with (more crucially) the Mk III, which mounted the excellent 6pdr gun. With impressively thick armour (albeit at the cost of mobility), the small number of Churchills present proved stunningly resilient to enemy fire, and a Mk III managed the impressive feat of knocking out a Tiger I when a 6pdr shot jammed the big cat’s turret, causing the crew to bail out. The Tiger, now known as Tiger 131, currently resides in the UK, and is well worth a trip to the Tank Museum, situated in Bovington, UK, to see! The Churchill served with distinction throughout the war, albeit with a large number of later upgrades, but for British players looking for some seriously heavy armour to take to the desert, look no further than the Mk III or slightly cheaper Mk II. More than capable of handling its German and Italian opponents, and capable of withstanding all but the heaviest enemy fire, it’s certain to cause a stir on the tabletop! Our plastic kit is fantastically flexible, allowing you to produce one of no less than seven variants of this iconic tanks – covering its entire service history.
The M3 Medium Tanks and Sherman
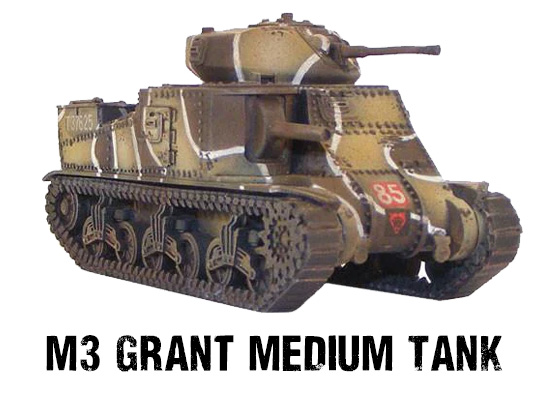
The final tank used in significant quantities in the Western Desert was the M3, another US Lend-Lease design. While somewhat outdated in concept, with its high, flat sides and sponson-mounted main gun, it was nevertheless a capable machine, and the 75mm gun proved an effective and enduring weapon. Retaining a 37mm gun in a high-mounted turret, the M3 was capable of engaging both infantry and tanks beyond the effective range of many common Italian and German anti-tank weapons. Indeed, in the opinion of many German commanders, the M3 was at the very least equal to the best Axis designs in the desert, and while certainly not invincible (the high silhouette proving a tempting target, and the riveted superstructure having a nasty tendency to spall when hit) was more than capable of holding its own against the Panzer IIIs and IVs it encountered. British service led to a redesign of the turret, but losses meant both British and American-style turrets saw service, with the original version being known as the Lee while the versions with the British turret were designated Grant. Really only a stopgap while the M4 Sherman entered full-scale production, the Lees and Grants were well-liked and used to good effect in the Western Desert. Sadly, they tend to be rather scarce on the Bolt Action tabletop – this is a real shame, as they bring a surprising amount of ‘oomph’ for a reasonable points cost, especially with the excellent 75mm gun giving them a larger HE blast that other Medium Anti-Tank Guns!

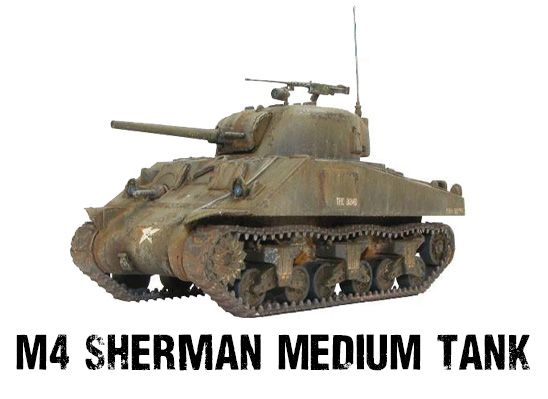
While much more famous for its US service in North-West Europe, the legendary M4 Sherman actually made its combat debut with British forces in late 1942, at the Second Battle of El Alamein. Several hundred early models were provided under Lend-Lease, and quickly proved why the design would go on to be so successful throughout the world. While the Sherman really deserves its own article (and it’ll get one in the fullness of time), to look at it very briefly, it brings the same 75mm main gun as the M3, while being cheaper, slightly more durable, and a little easier to hide – for the end of the desert campaigns, accept no substitutes – after all, your German-playing friends will be looking for any excuse to break out their Tigers and Flak-88s!
Essential Reading
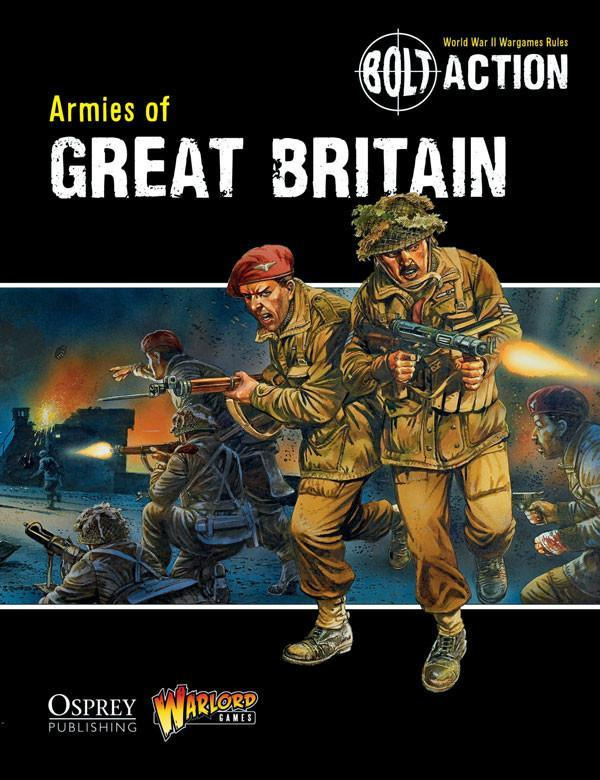
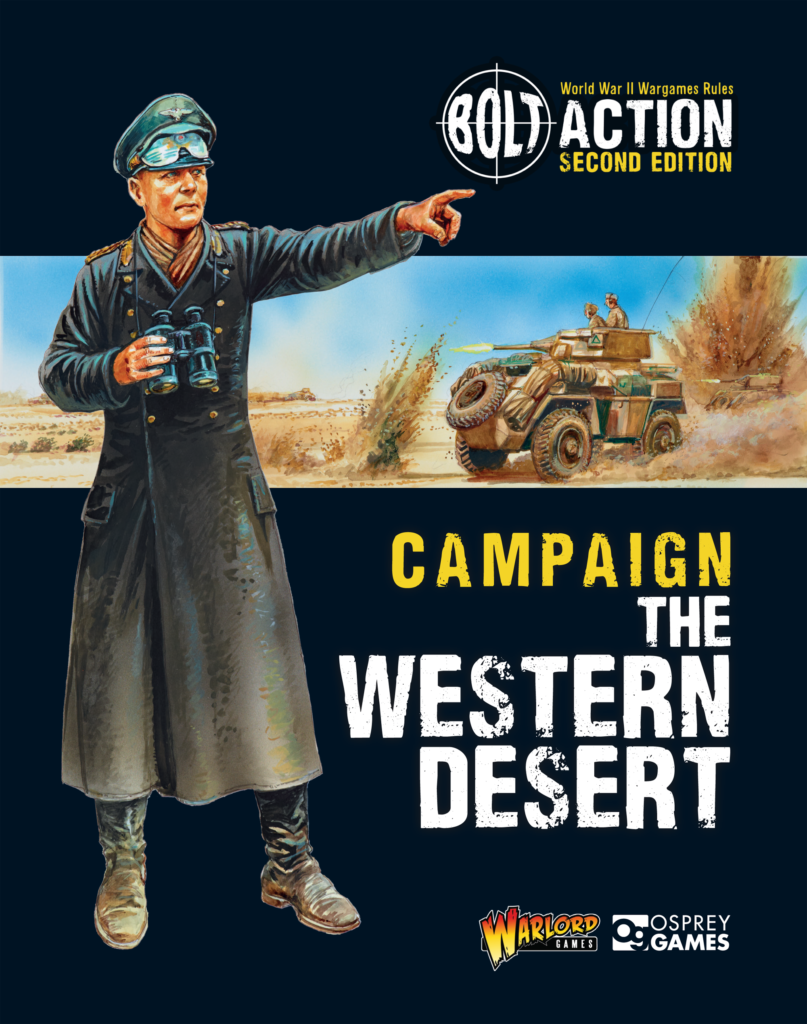
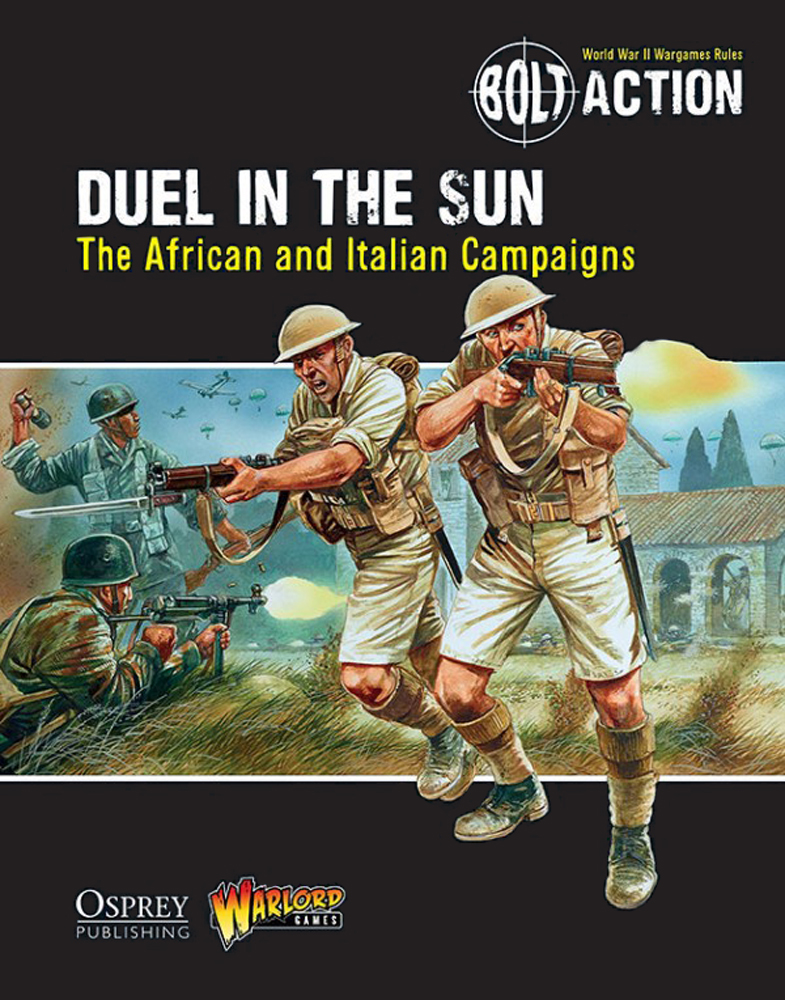
All the rules required to field any of the discussed tanks in Bolt Action can be found in the Armies of Great Britain book. Additional guidance pertaining specifically to the desert warfare battles of North Africa, including bespoke theatre selectors, can be found in Campaign The Western Desert & Duel in The Sun. All three books are essential companions to those looking to replicate the feats of British or Commonwealth Bolt Action forces using Bolt Action.
Get Started with Bolt Action
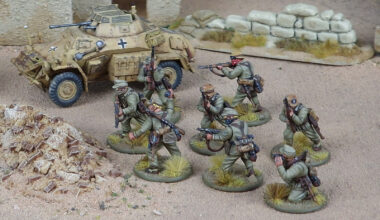
A Gentleman’s War is a brand-new Bolt Action starter set, pitting the forces of the British 8th Army (more commonly known as The Desert Rats) against their Axis foes, the Deutsche Afrika Korps. Containing two opposing plastic forces set amongst the conflict across the arid desert war of the North Africa campaign, A Gentleman’s War contains the Bolt Action rulebook as well as a theatre booklet that guides you through your first steps in the game. It’s everything you need to get started with Bolt Action.

A Gentleman’s War contains:
- A5 Bolt Action rulebook
- A Gentleman’s War – Bolt Action Starter set booklet
- 24 Afrika Korps plastic infantry
- 1 plastic Sd.Kfz 222/223 armoured car – exclusive to this boxed set
- 24 8th Army (Desert Rats) plastic infantry
- 1 plastic Humber Mk II/IV armoured car – exclusive to this boxed set
- Waterslide decals
- Plastic Bolt Action templates & tokens
- Plastic Pin Markers
- 6-sided dice
- Bolt Action Order dice

3 comments
Just because I’m feeling a bit spicy, I’ll throw a wrench in the editor’s note there: The Valentine is the prettiest infantry tank, but the Crusader is the beauty queen of the desert campaign.
Also, keep up the good work! I’m a bit behind because I mostly get prompted by Facebook to come read these, but they are a highlight of my day when I get to do so.
I feel I have to defend the reputation of the Churchill. The article states, incorrectly “With impressively thick armour (albeit at the cost of mobility),”, the Churchill was slow, but it had greater mobility than virtually any other tank in the war and was renowned for being able to go places that the Axis forces thought tanks could not get to.
An interesting comparison with a Sherman, in a very different environment.
https://www.awm.gov.au/collection/F07352
Always had a real soft spot for the Crusader. Probably my favourite tank of all time.
Rules-wise the thing that bothers me most is that whilst we have the Slow rule for ungainly tanks, we don’t have a Fast rule, so tanks like the Crusader which were notably capable of outrunning the opposition don’t really get their strengths represented on the tabletop. I’d absolutely like to see a rule introduced where tanks like the Crusader could move 24″ at a run, but still 9″ in the advance (since they wouldn’t be going fast and shooting anyway).
Comments are closed.