At the start of the Second World War, the British Royal Navy was the largest in the world, boasting over 1,400 ships of all shapes and sizes. By long tradition the greatest naval power in the world, Britain required this enormous fleet both for national prestige, and crucially to police and protect its sprawling global Empire. Backed by the industrial might of Great Britain, and beloved of the populace as the ‘Senior Service’, the Royal Navy was seen as the final line of defence of the British Isles, as well as the ultimate arbitrator of foreign policy. Naturally, this mighty force is well-represented in Victory at Sea, and a popular choice for many wargamers – let’s find out why with a look at the Starter fleet!

A Royal Navy fleet is an incredibly varied and versatile thing to collect. Fighting in all theatres right through the war, your British ships can fight pretty much anyone, anywhere, anytime, meaning you’ll never be short of an opponent! The Starter Fleet is (naturally) a great place to start, giving you a good mixture of vessels perfect for service on the high seas of the tabletop. We’ll take a look at them now!
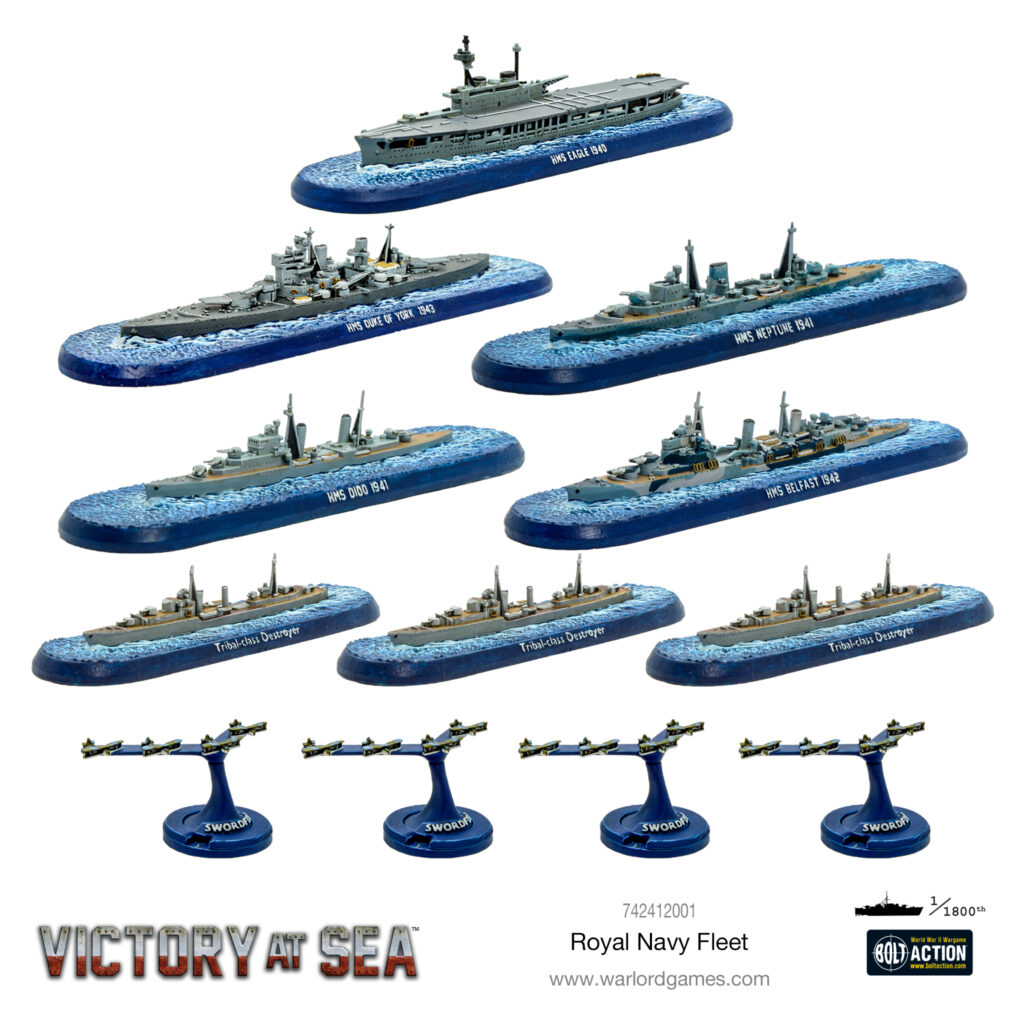
The Battleship
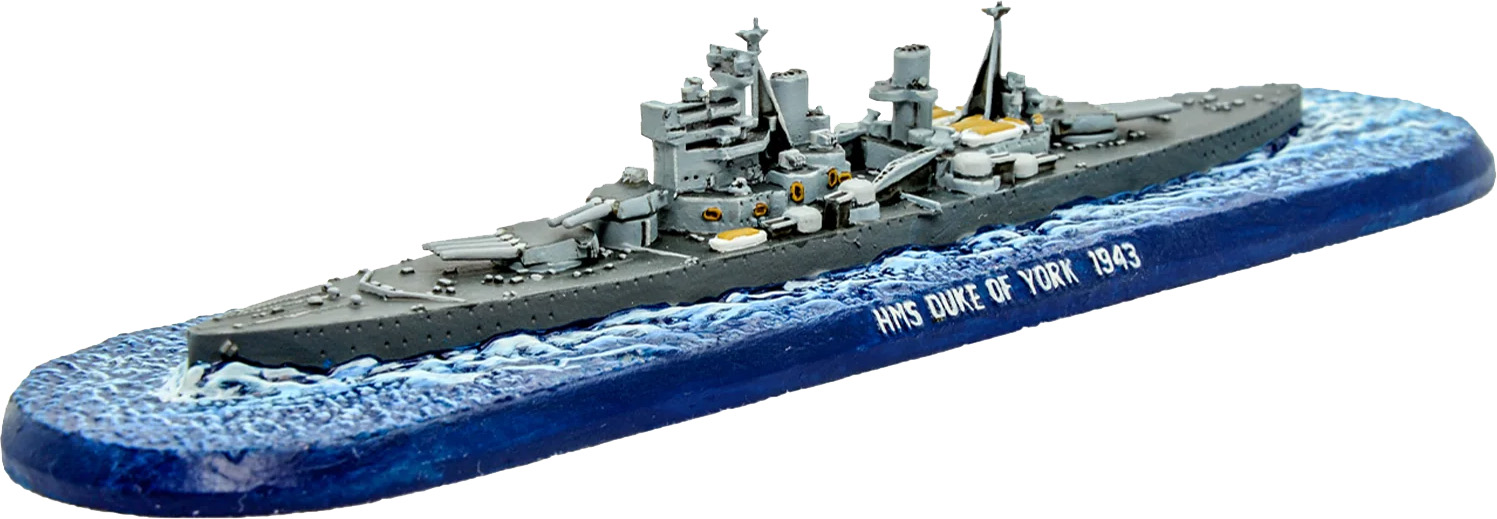
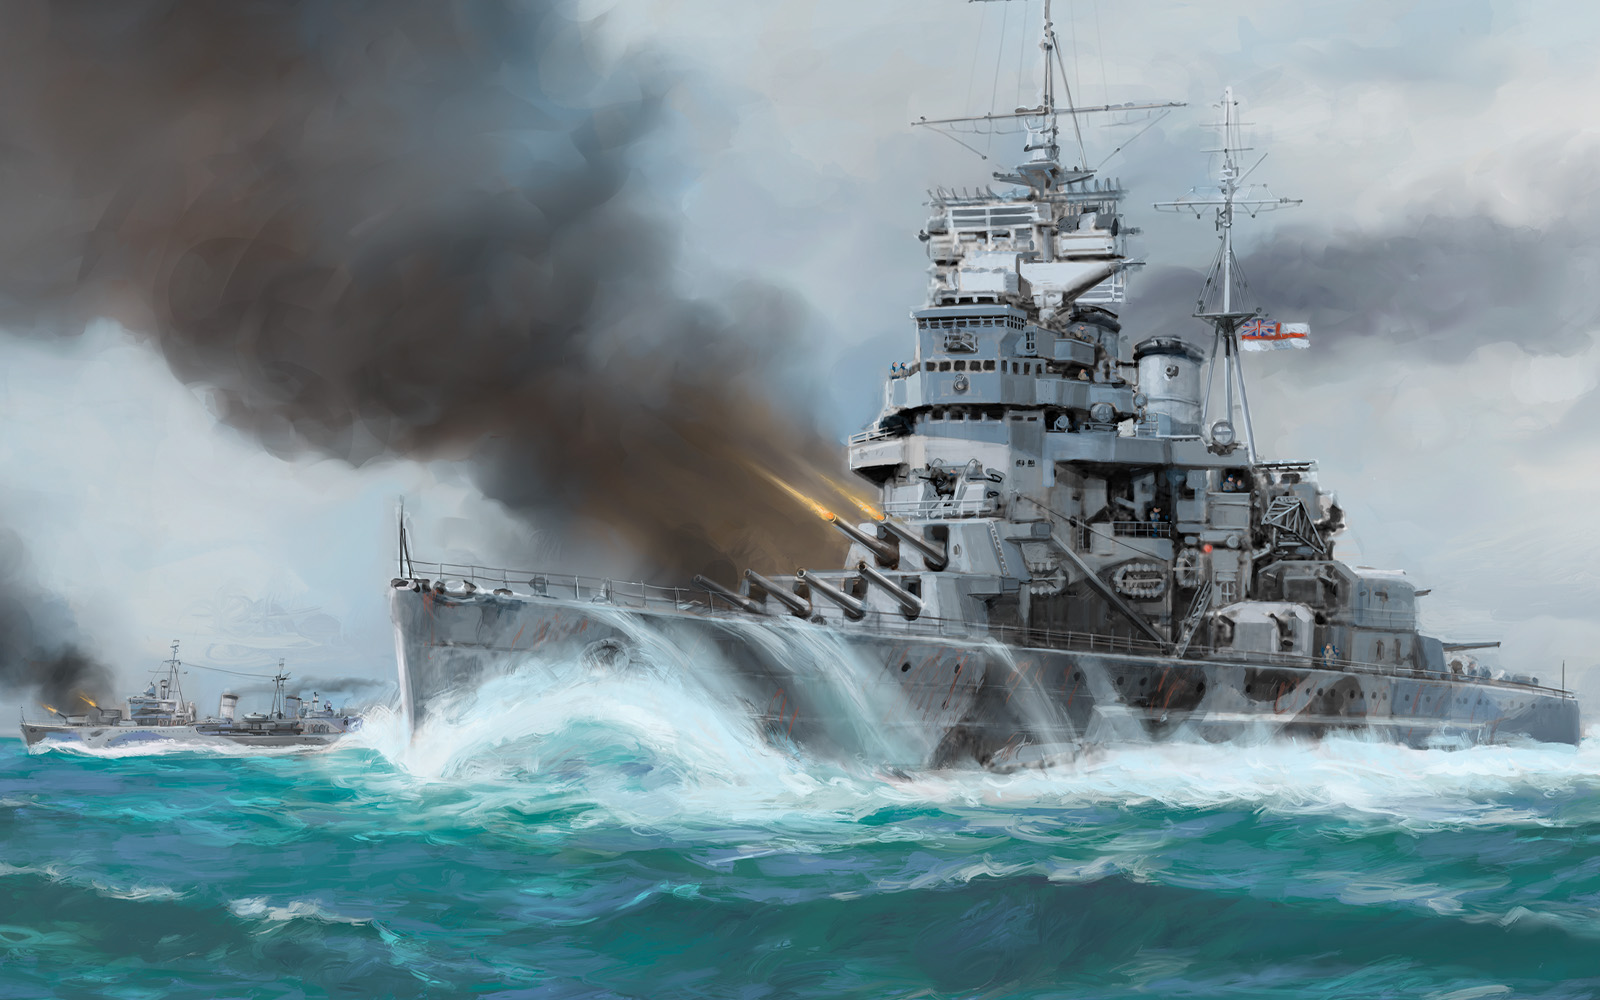
The Royal Navy maintained far more battleships than any other nation, in part due to having deliberately pursued a policy of absolute numerical superiority for decades, enabled by the wealth of the Empire. By the outbreak of World War II, the majority of these were veterans of the previous conflict and somewhat outdated, albeit significantly modernised and crewed by experienced and well-trained men and officers. The newest ships in service were the King George V class, commissioned shortly after the war started. Something of a compromise design with only 14″ guns (as mandated by the Washington Naval Treaty), they were nevertheless fast, heavily-armoured, and modern ships, forming the backbone of the Royal Navy’s battleline. Appropriately, you get one of these beasts, HMS Duke of York to build your fleet around. With 7+ Armour and 89 Hull values, she can take a beating, and her ten combined 14″ Attack Dice from her main battery mean she can dish one out too. Her Armoured Deck and Torpedo Belt 3 help her survive at both long and short ranges, and there’s a wide number of refits available to allow you to tailor her and your fleet to whichever period of the war you’d like. She’s the perfect ship for a new admiral to hoist their flag in!
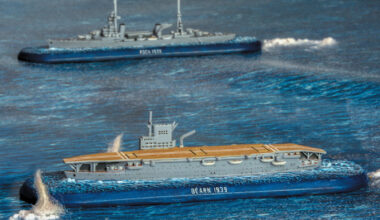
The Carrier and Aircraft
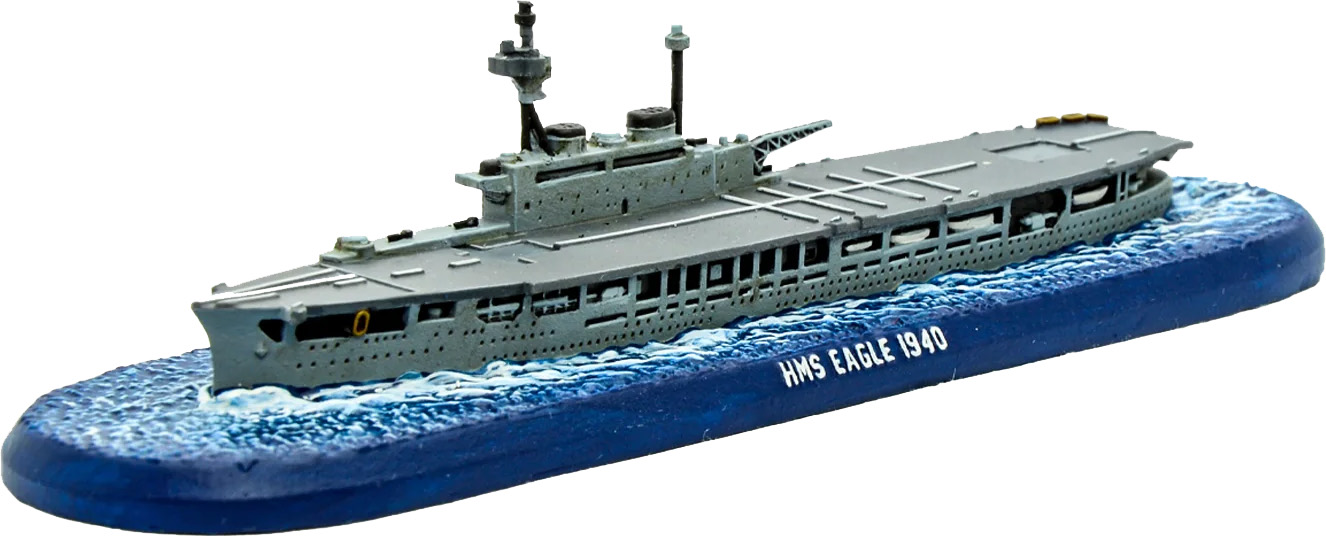
The Royal Navy had been an early adopter of carrier warfare, with a wide variety of experimental designs in service throughout the interwar period. Unlike the US Navy, who would go on to churn out standardised classes by the dozen, the British, especially early in the war, had a large number of one-offs, conversions, and unusual types available. One of these was HMS Eagle, a conversion of the incomplete battleship Almirante Cochrane that was being built in Britain for the Chilean Navy. The First World War and subsequent politicking delayed her completion until 1924, when she was introduced to service as a genuine fleet carrier. Serving initially in the hunt for Graf Spee, she would spend most of her career on convoy escort and aircraft-ferrying duty in the Mediterranean, before being sunk by torpedoes from U-73 in the dramatic and pivotal Operation Pedestal. On the tabletop, Eagle provides space for five flights of aircraft, giving her commander a potent aerial punch while the carrier remains safely in Deep Deployment. If she is forced into close action, she can defend herself to an extent with her light guns and 54 Hull value, although her 3+ Armour is unlikely to stand up to heavy fire. HMS Eagle is a powerful asset, but take care to keep her safe!
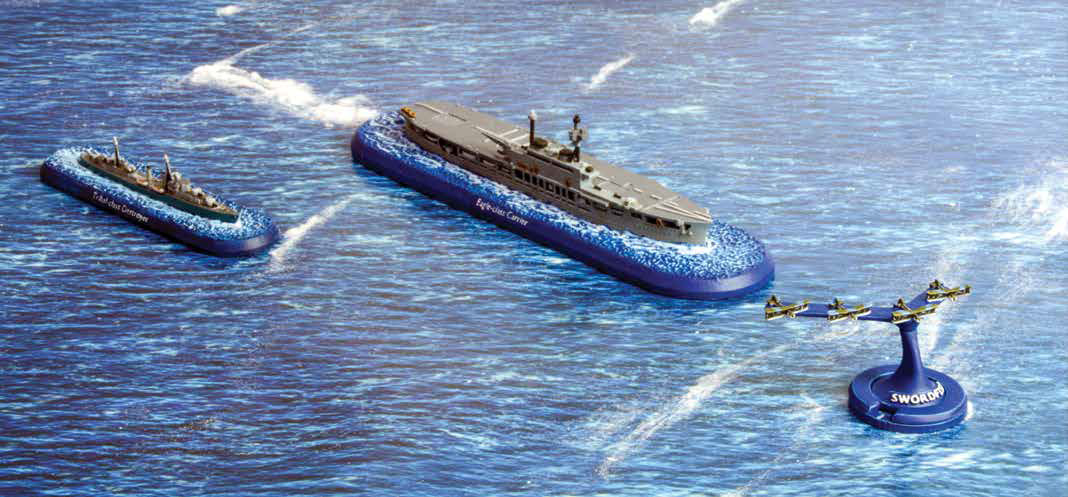
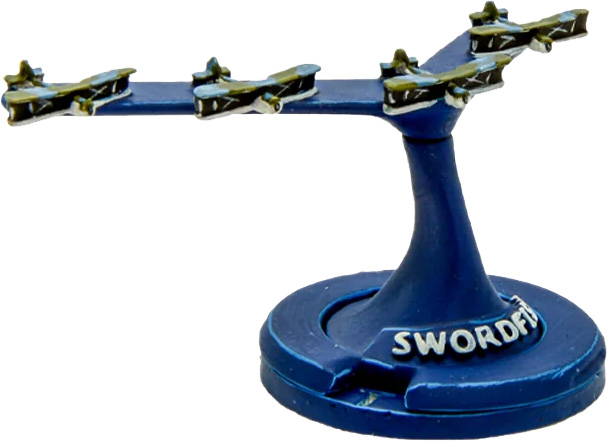
Flying off Eagle in the Starter Fleet are four flights of Fairey Swordfish torpedo-bombers. These ancient-looking biplanes were perceived to be obsolete at the outbreak of war, but proved to be endlessly rugged and adaptable, and were lovingly nicknamed Stringbags by their crew, on account of the huge amount and variety of stores they could carry. Most famous for their raid on Taranto and the hunt for the Bismarck, Swordfish served all through the war on a variety of fronts, and are a great choice for your burgeoning Fleet Air Arm contingent. Slow with just 10″ Flank Speed, in their torpedo-bomber role they are nevertheless very dangerous, having 4 Damage Dice and the Devastating special rule – not bad at all for ten points per flight! Just watch out for enemy fighters…
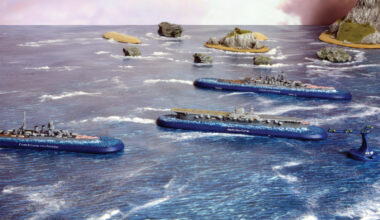
The Cruisers

With such a vast Empire to patrol, the Royal Navy was well-furnished with cruisers. These vessels were ideal for overseas service and commerce protection, as well as providing escort and support to the capital ships, and there were a large number of different classes in service throughout the war in all theatres. Appropriately, the Starter Fleet has three light cruisers, all of different classes! We’ll start with HMS Neptune, of the Leander-class. Historically, she served a short career in the Mediterranean, performing very creditably against the Italian fleet at Calabria, before being sunk by mines in December 1941. Boasting eight 6″ guns and a pair of powerful torpedo launchers, she can threaten enemy ships large and small, but her 3+ Armour and 18 Hull mean care must be taken not to get too close to heavy enemy units unsupported.
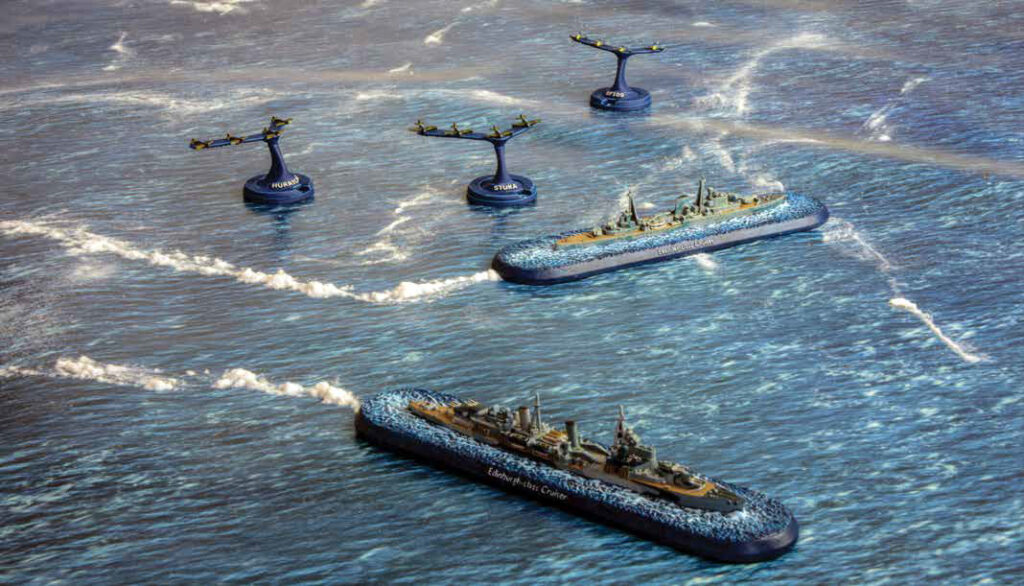

The second of the three cruisers needs little introduction – the Edinburgh-class HMS Belfast, preserved as a museum ship to this day on the Thames in London, and well worth a visit! Mounting twelve 6″ guns alongside two torpedo launchers and a decent battery of 4″ Light Guns, she offers greater firepower and survivability than Neptune, albeit at the cost of some agility. Nevertheless, she’s more than capable of fulfilling a similar role, and her service throughout the war means there are a good few upgrades and refits available to her, making her progressively more capable, particularly in the anti-aircraft role.
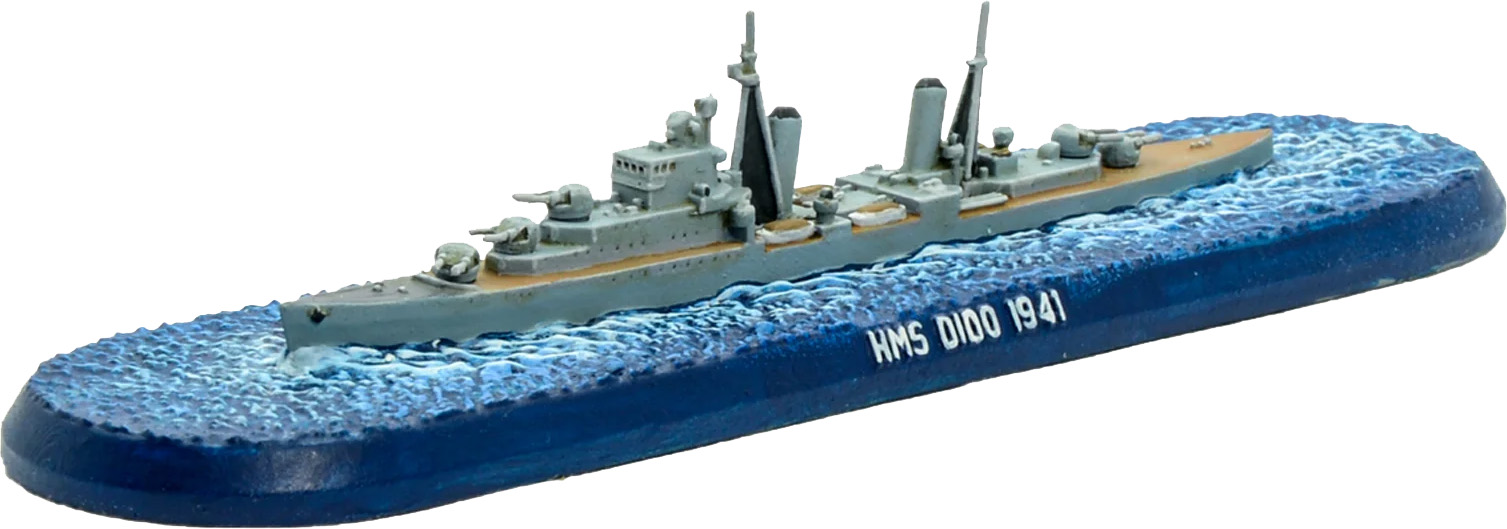
Finally, you’ll find the HMS Dido of the eponymous class. Another veteran of significant Mediterranean service (and a survivor of the entire war), Dido is an interesting ship. A little lacking in the firepower department compared to her compatriots, and the least survivable of the three, she does still boast a limited torpedo capability as well as the always-useful Agile, Radar, and Sub Hunter special rules. A canny admiral won’t use her alone, but instead keep her with Belfast and Neptune, or perhaps escorting the Eagle. Alternatively, she’d make a good leader for the destroyer contingent. Speaking of which…
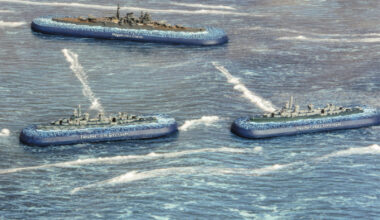
The Destroyers
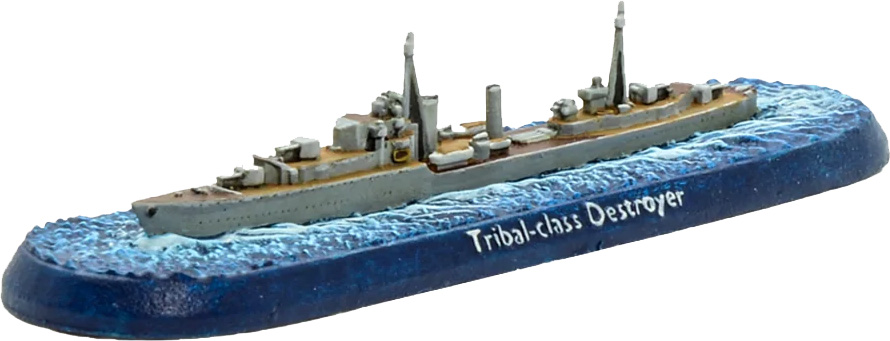
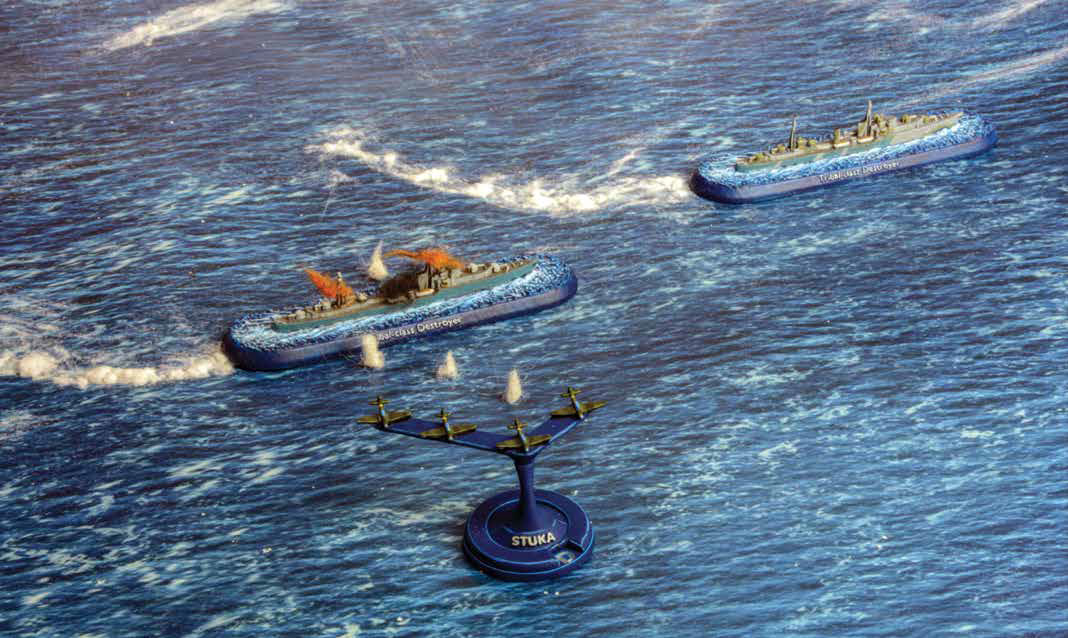
Rounding out the Starter Fleet are a trio of Tribal-class destroyers. These large, advanced escorts were some of the best available to the Royal Navy, and served in quantity on all fronts throughout the Second World War. Prioritising guns over torpedoes, and as vulnerable as most destroyers (1+ Armour and 5 Hull value being more for moral support than anything else!) they are at least reasonably speedy and hard to hit, as well as having Sub Hunter and Depth Charge for dealing with those pesky underwater adversaries. Their extensive service also means there are loads of useful refits available, most of which add Radar and increase their (originally not fantastic) anti-aircraft performance. While not game-winners on their own, your opponent will still have to respect them, and all three of them in formation with HMS Dido can pose a serious mobile threat to incautious ships! Alternatively, they can also be used in a defensive ‘screening’ role to disrupt incoming enemy attacks – either way, no self-respecting admiral should be without some destroyers!
Next Steps
Once you’ve got your Starter fleet built and painted (okay, half-painted, we know what we’re all like!), and got a few games under your belt, it’s time to think about where to go next. I’d always recommend adding some more destroyers as a priority, whether they’re more Tribals or a handful of J-Class, to give you an increased screening or fast attack capability. For heavier assets there’s plenty of choice – you can go big and modern with HMS Prince of Wales, or weird and wonderful with HMS Nelson or Rodney. Alternatively, you can bring out some absolute classics with HMS Warspite or Hood – it’s all up to you! HMS Ark Royal is a good partner for Eagle, while there are Motor Torpedo Boats, submarines, and aircraft abound – the world is your oyster.
Raise steam, and win Victory at Sea (see what I did there?!) with the Royal Navy – the Starter Fleet is the best way to jump straight into the action!
Other Navies in Victory at Sea
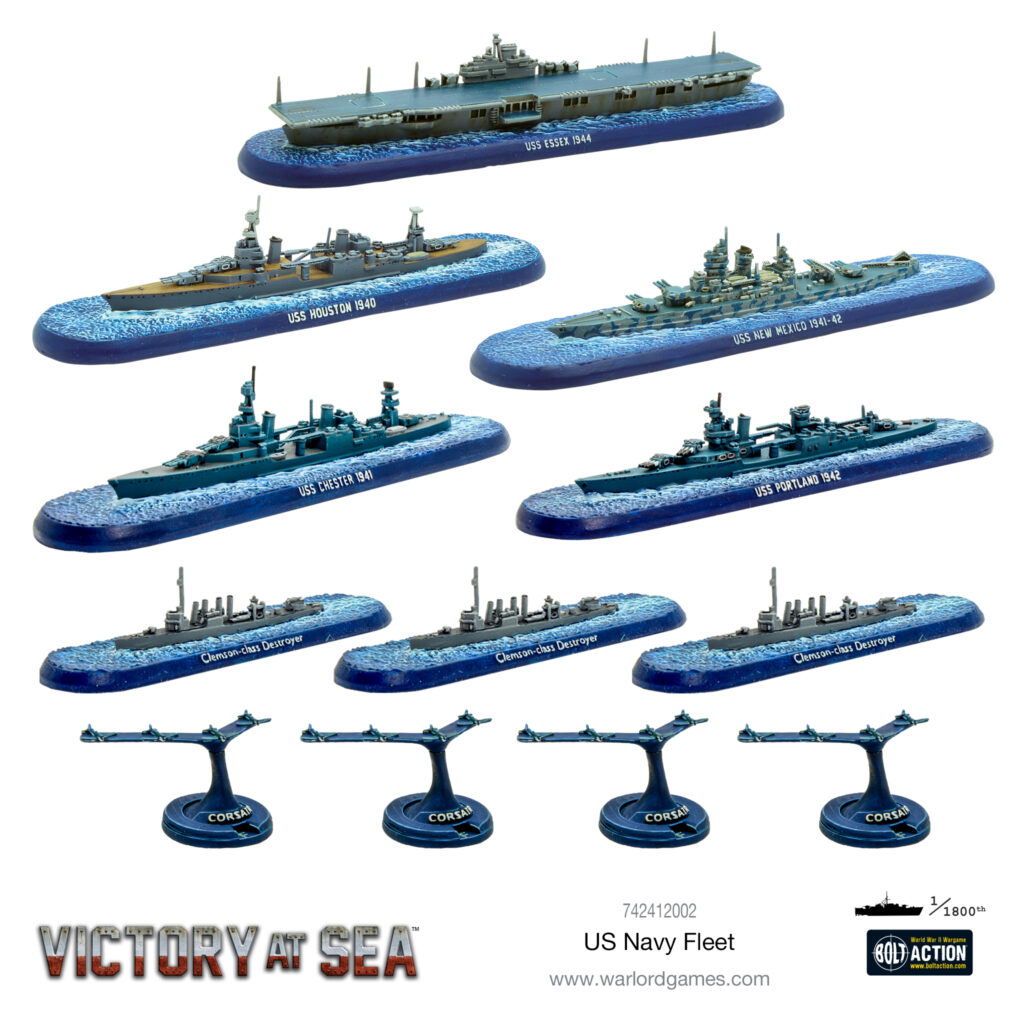
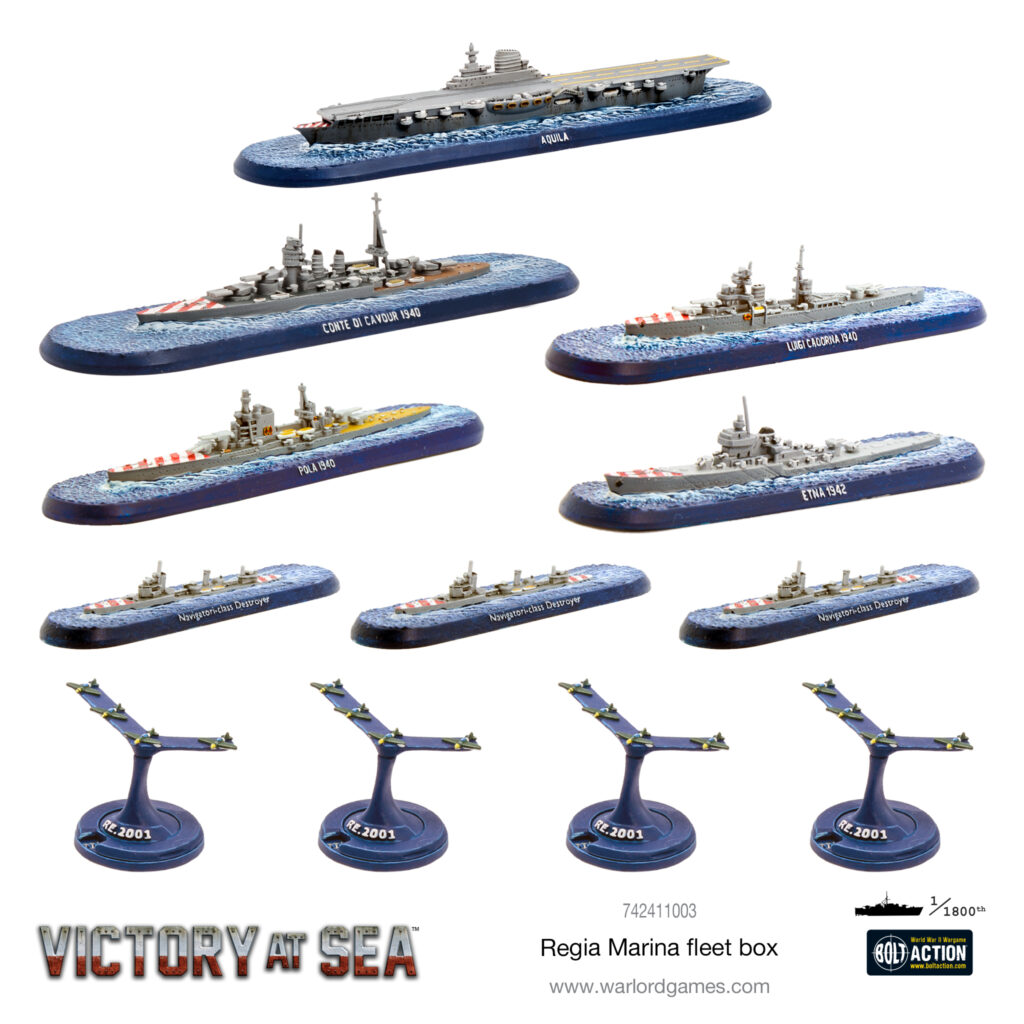
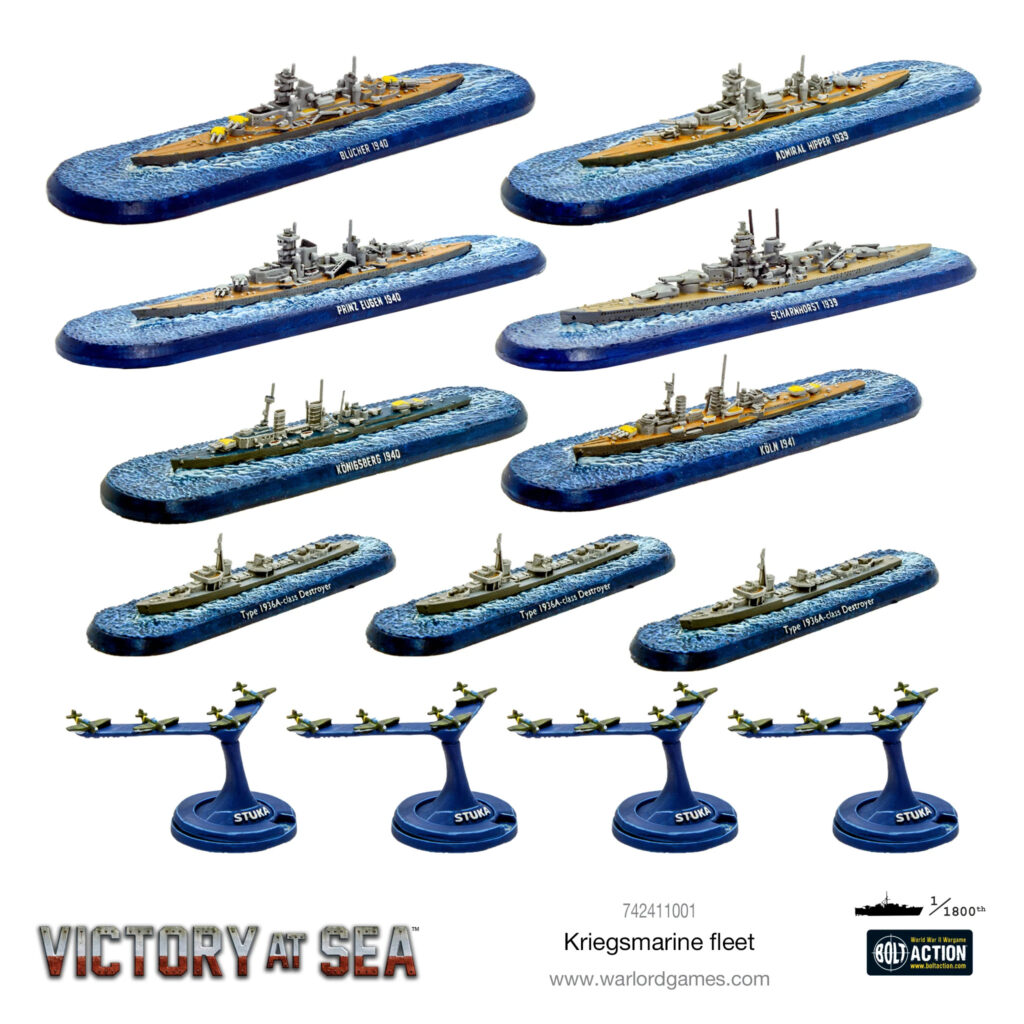
Perhaps you wish to challenge the might of the Royal Navy on the tabletop? No problem! The Kriegsmarine, Regia Marina, US Navy, Imperial Japanese Navy & Marine Nationale starter fleets will similarly arm you with a great variety of vessels that all make for a solid base on which to build a Victory at Sea collection!