Marcus – Over the past few weeks I’ve been periodically sitting down with Warlord Games’ founder and CEO John Stallard to discuss his enormous (and ever-growing) horde of Ottoman Turks for Pike & Shotte, and today we come to the last instalment where we’re talking about his cavalry, commanders, and the all-important casualty markers.

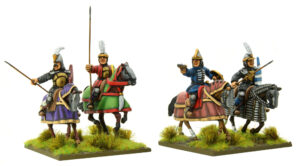
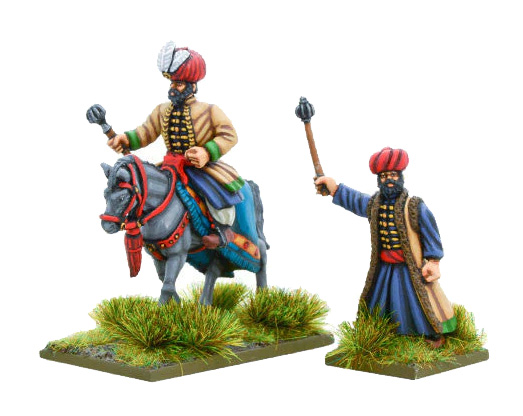
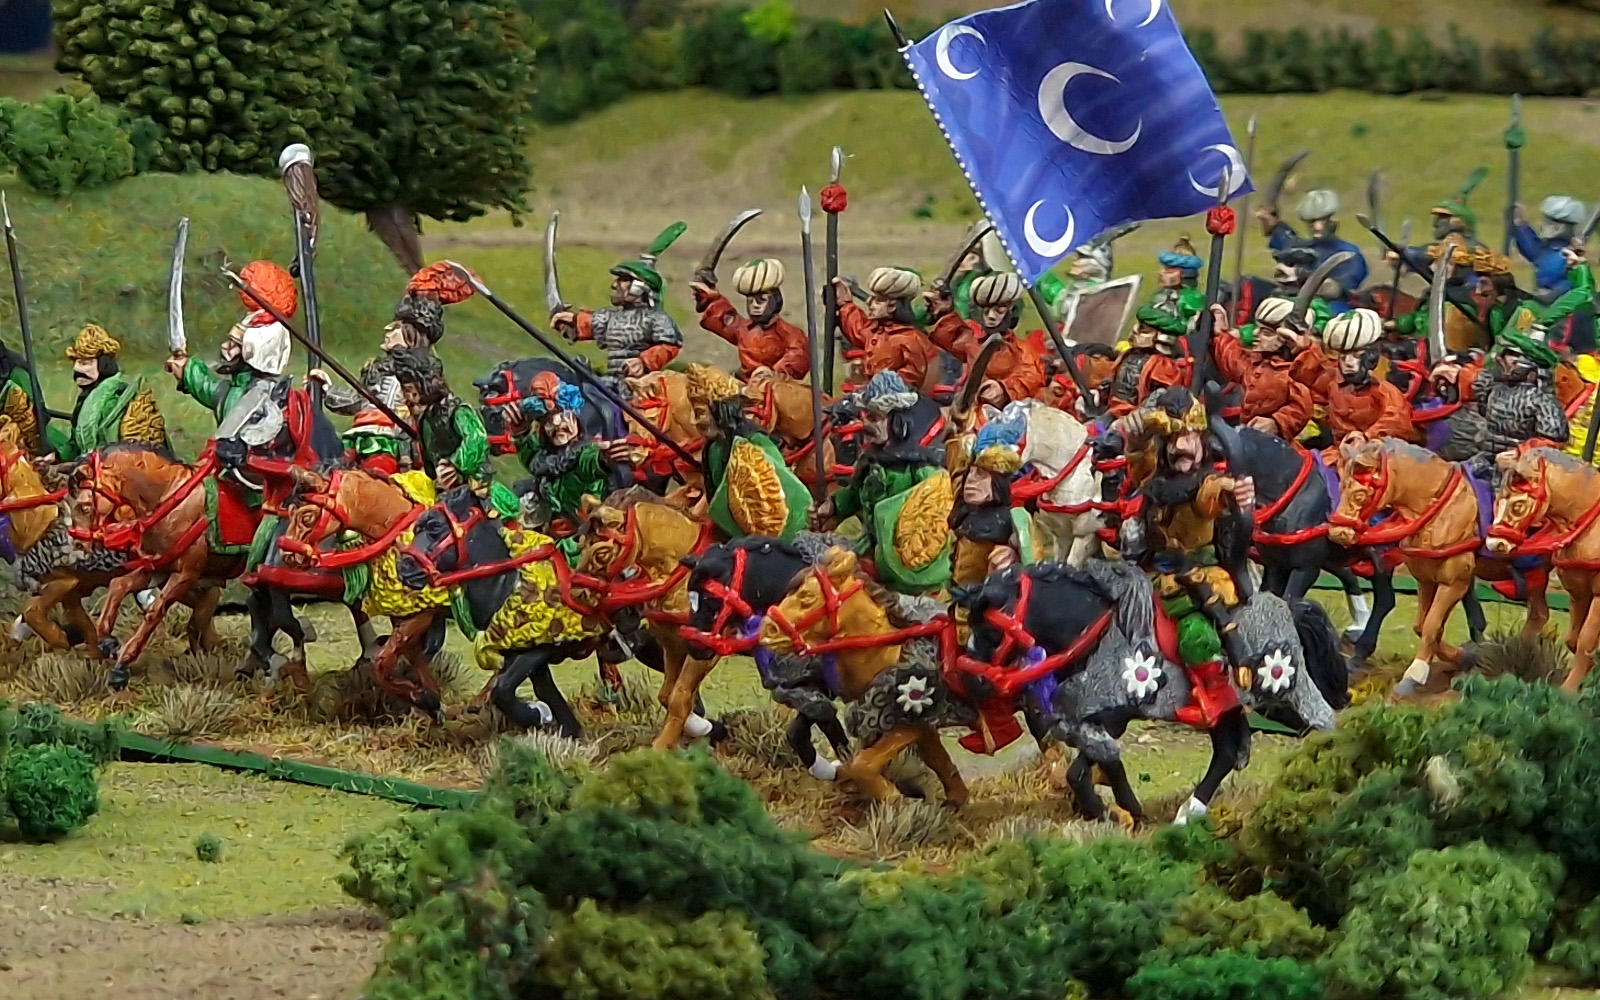
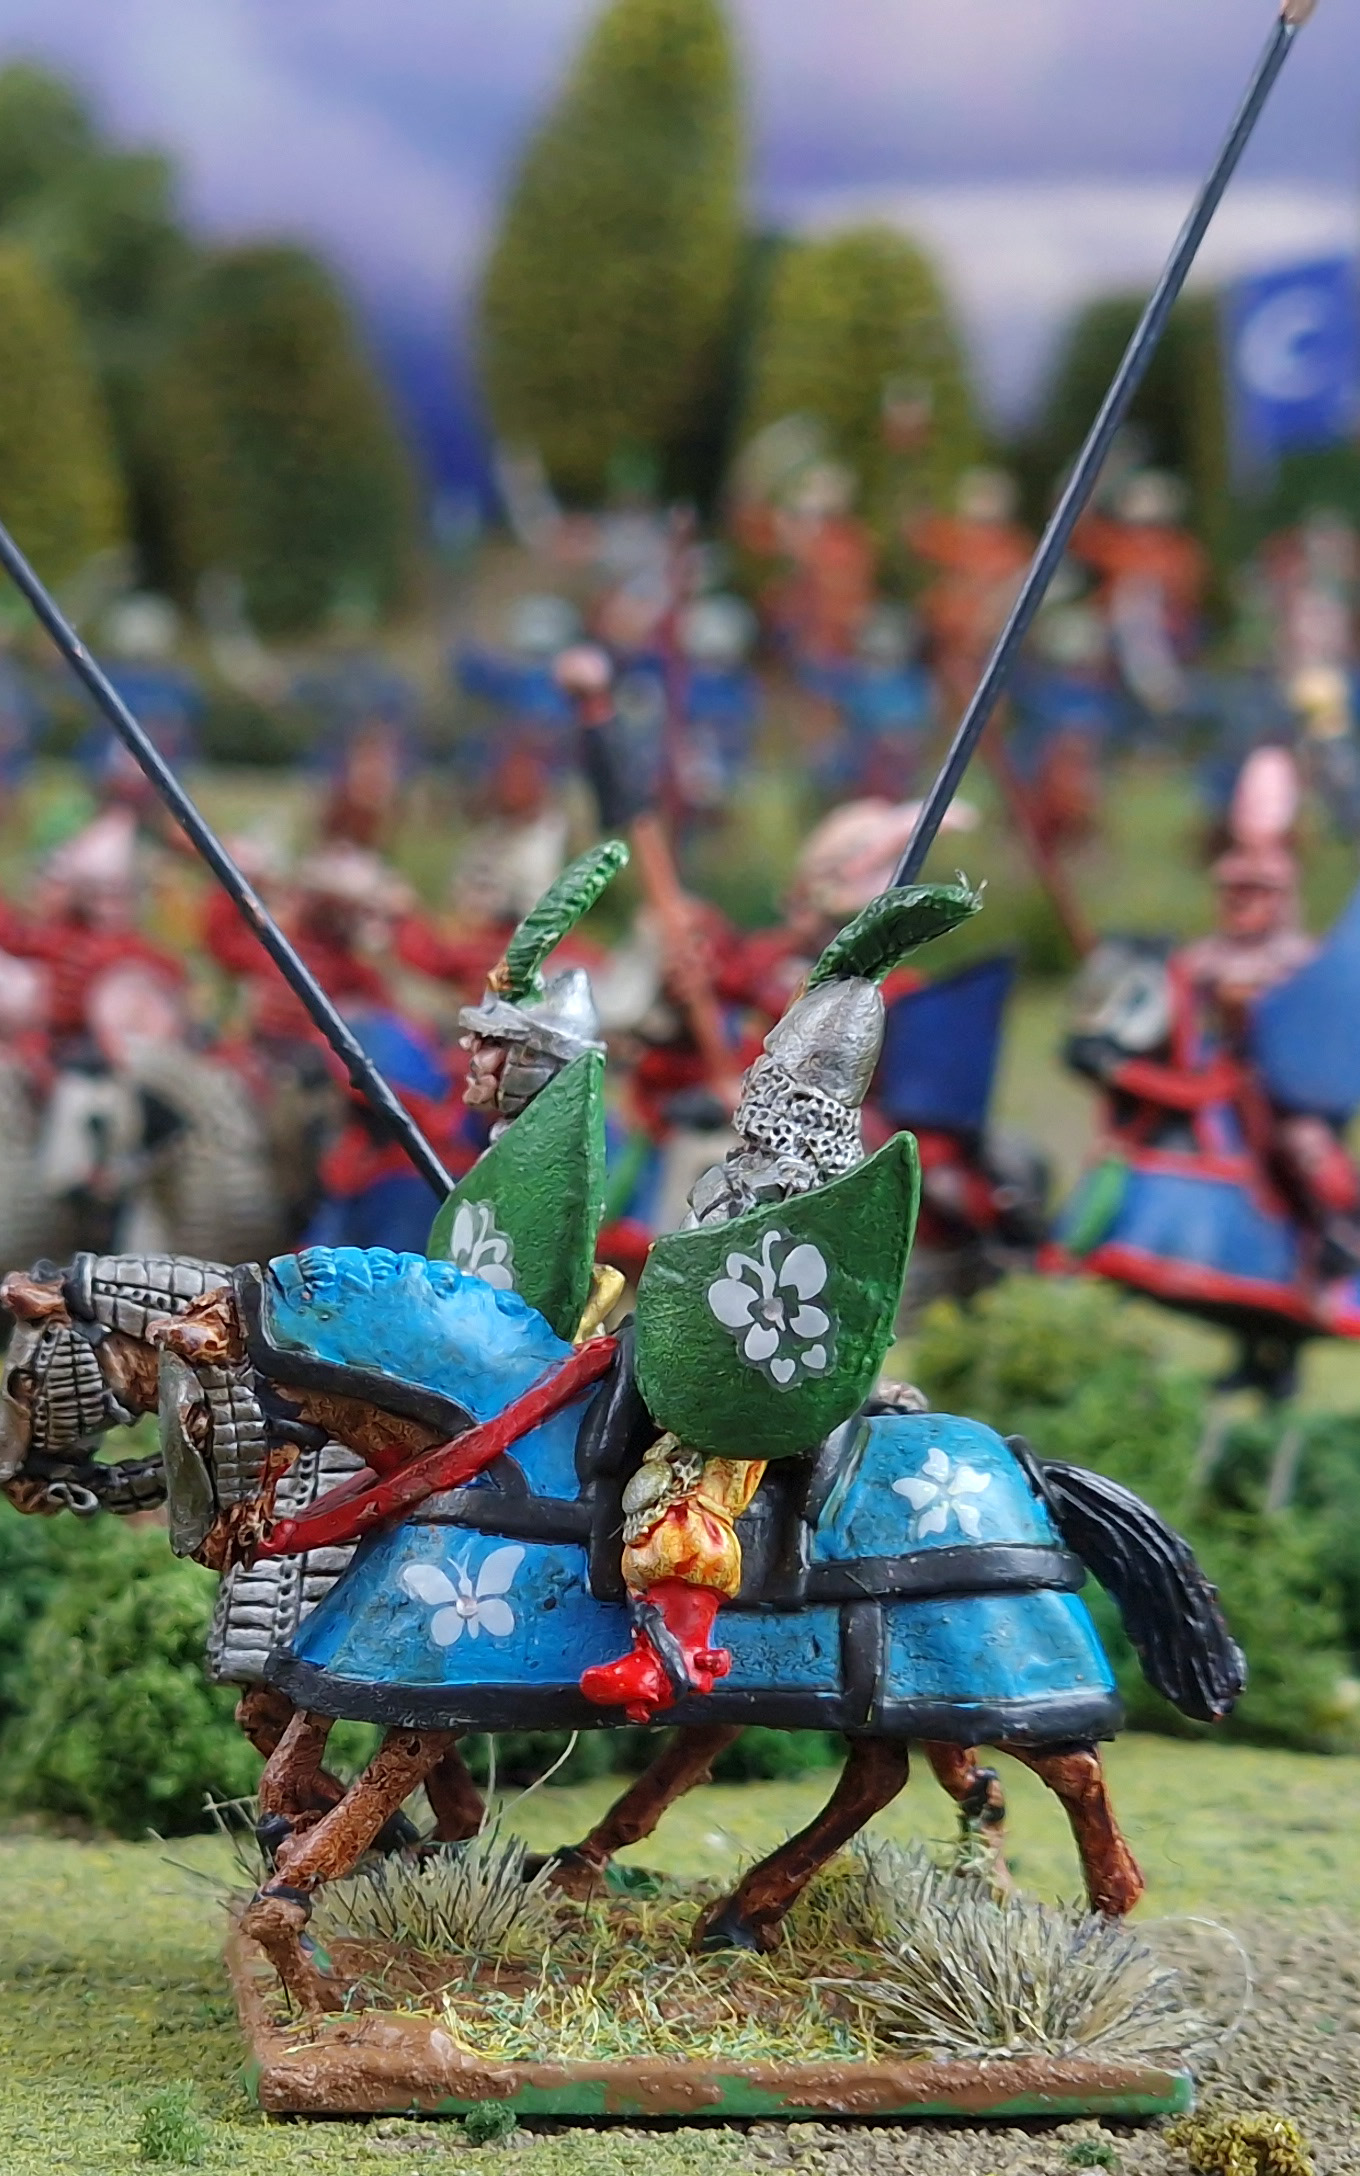
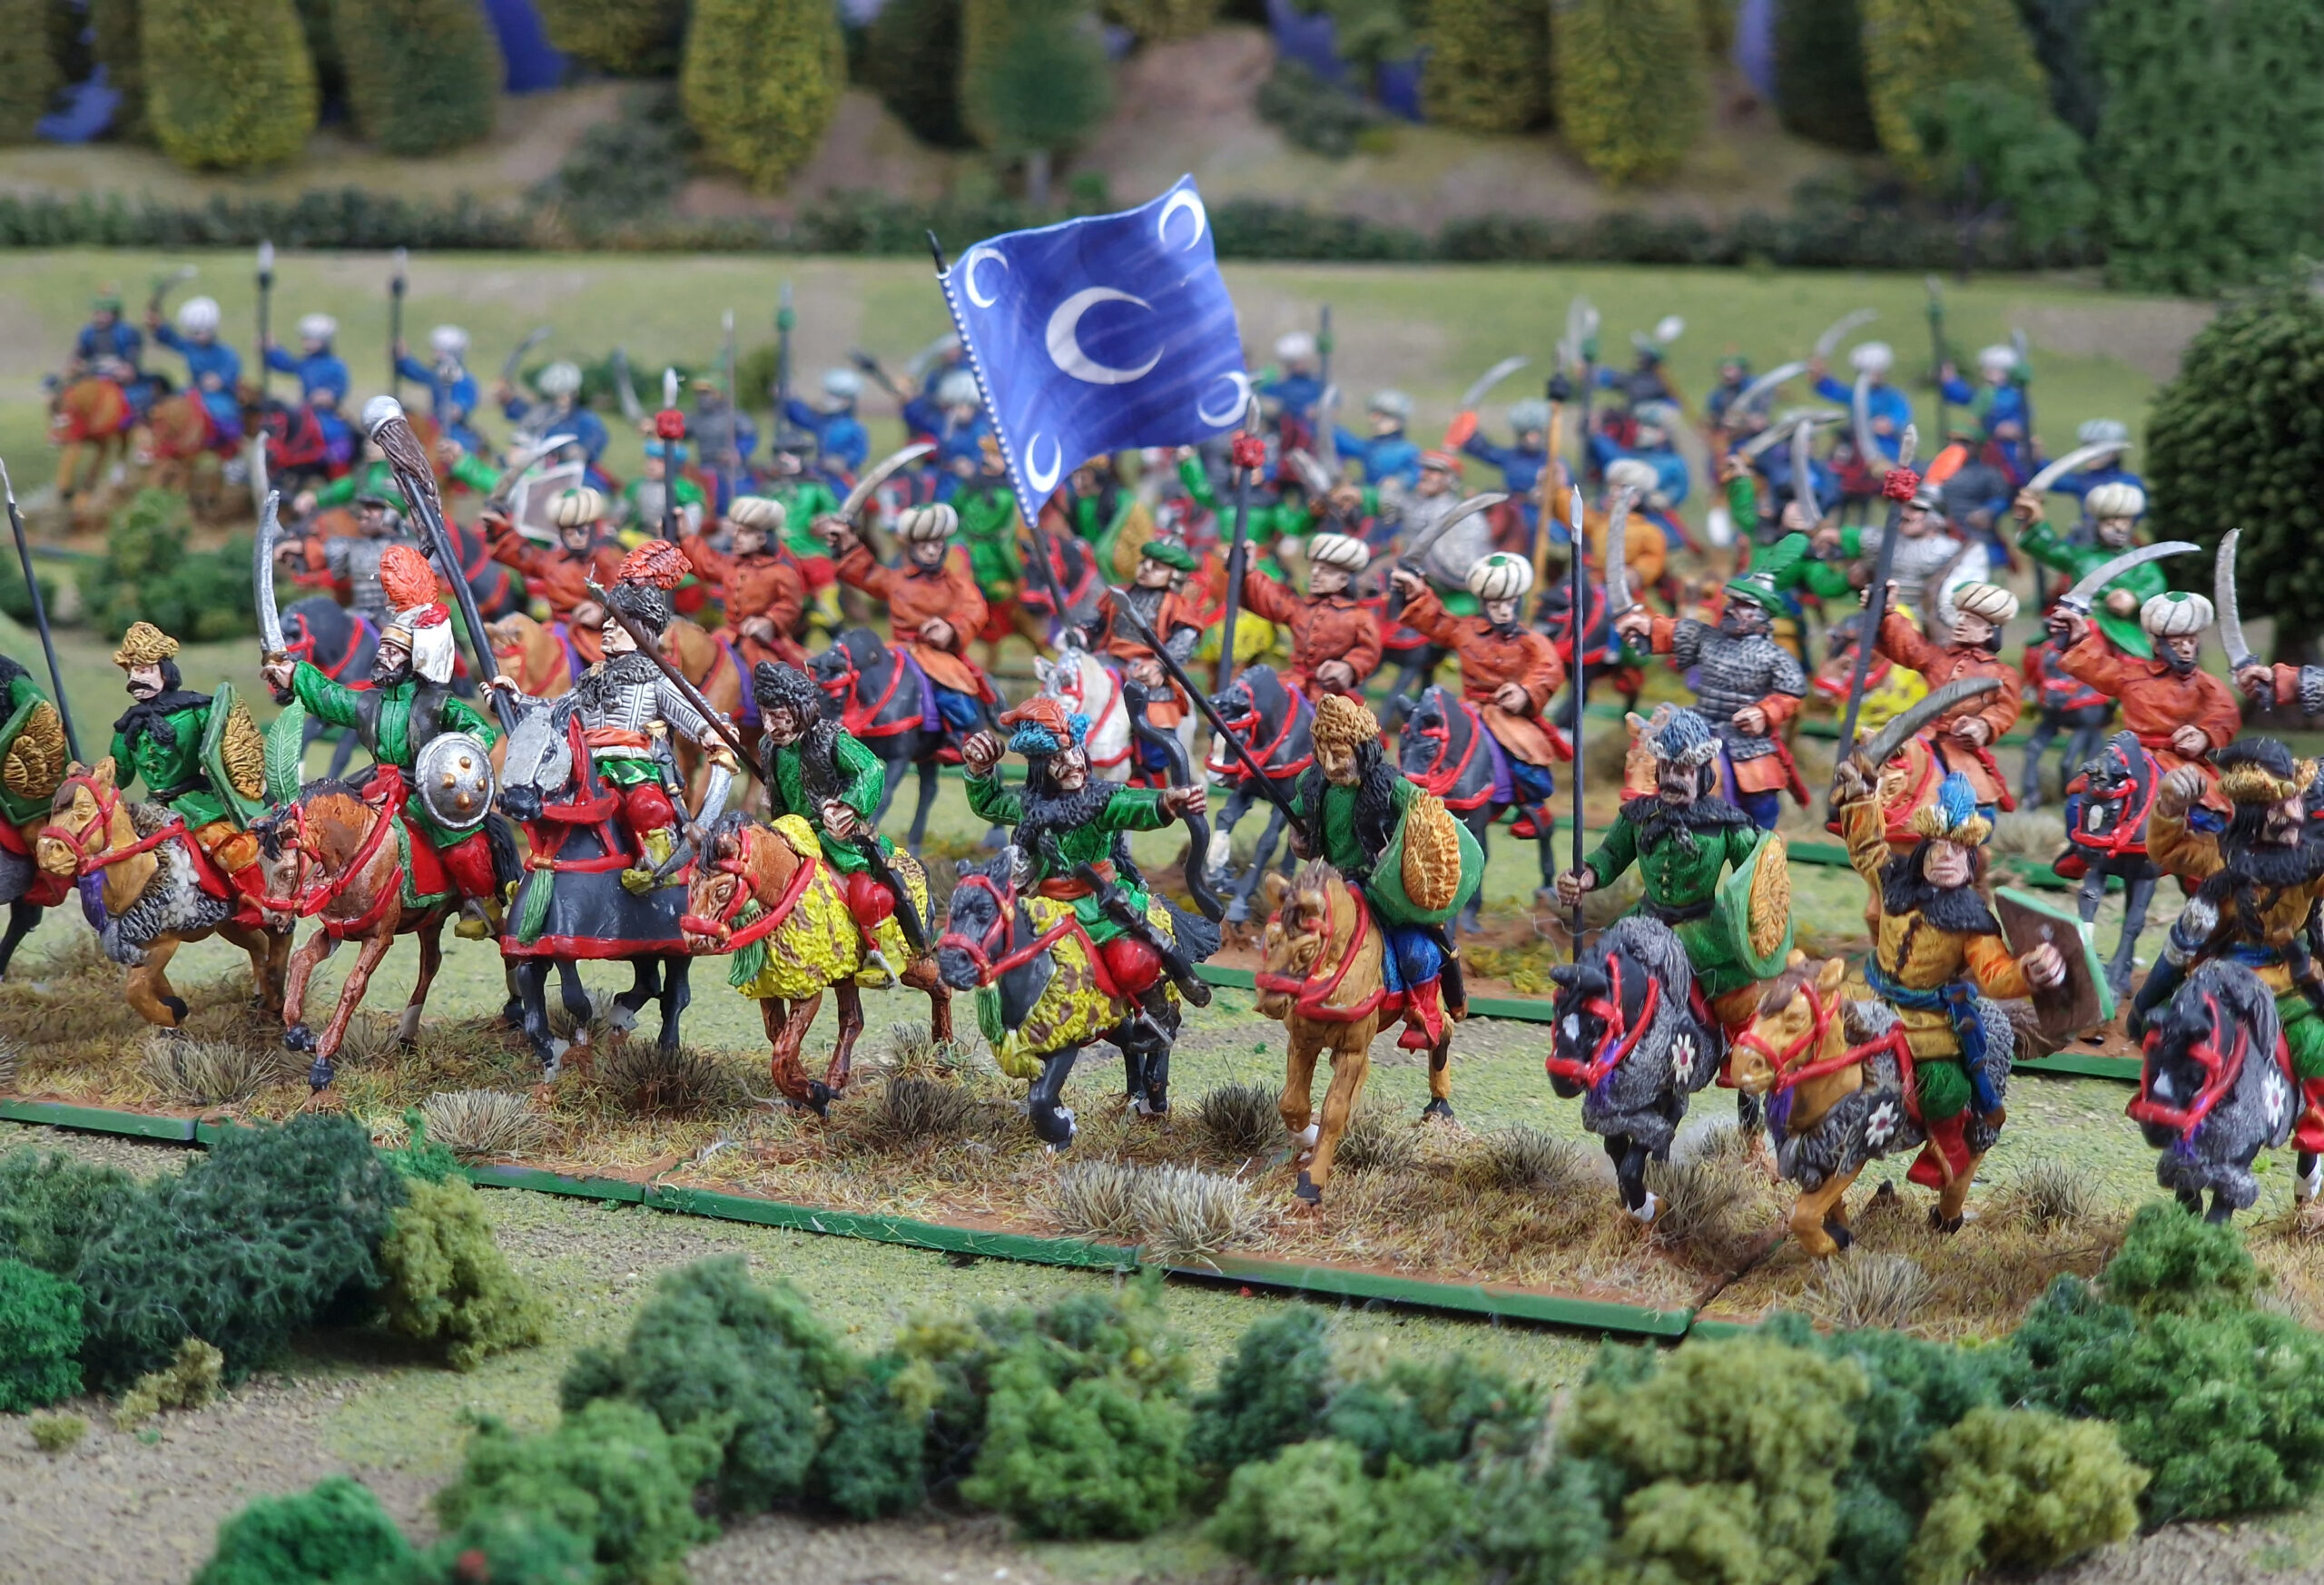
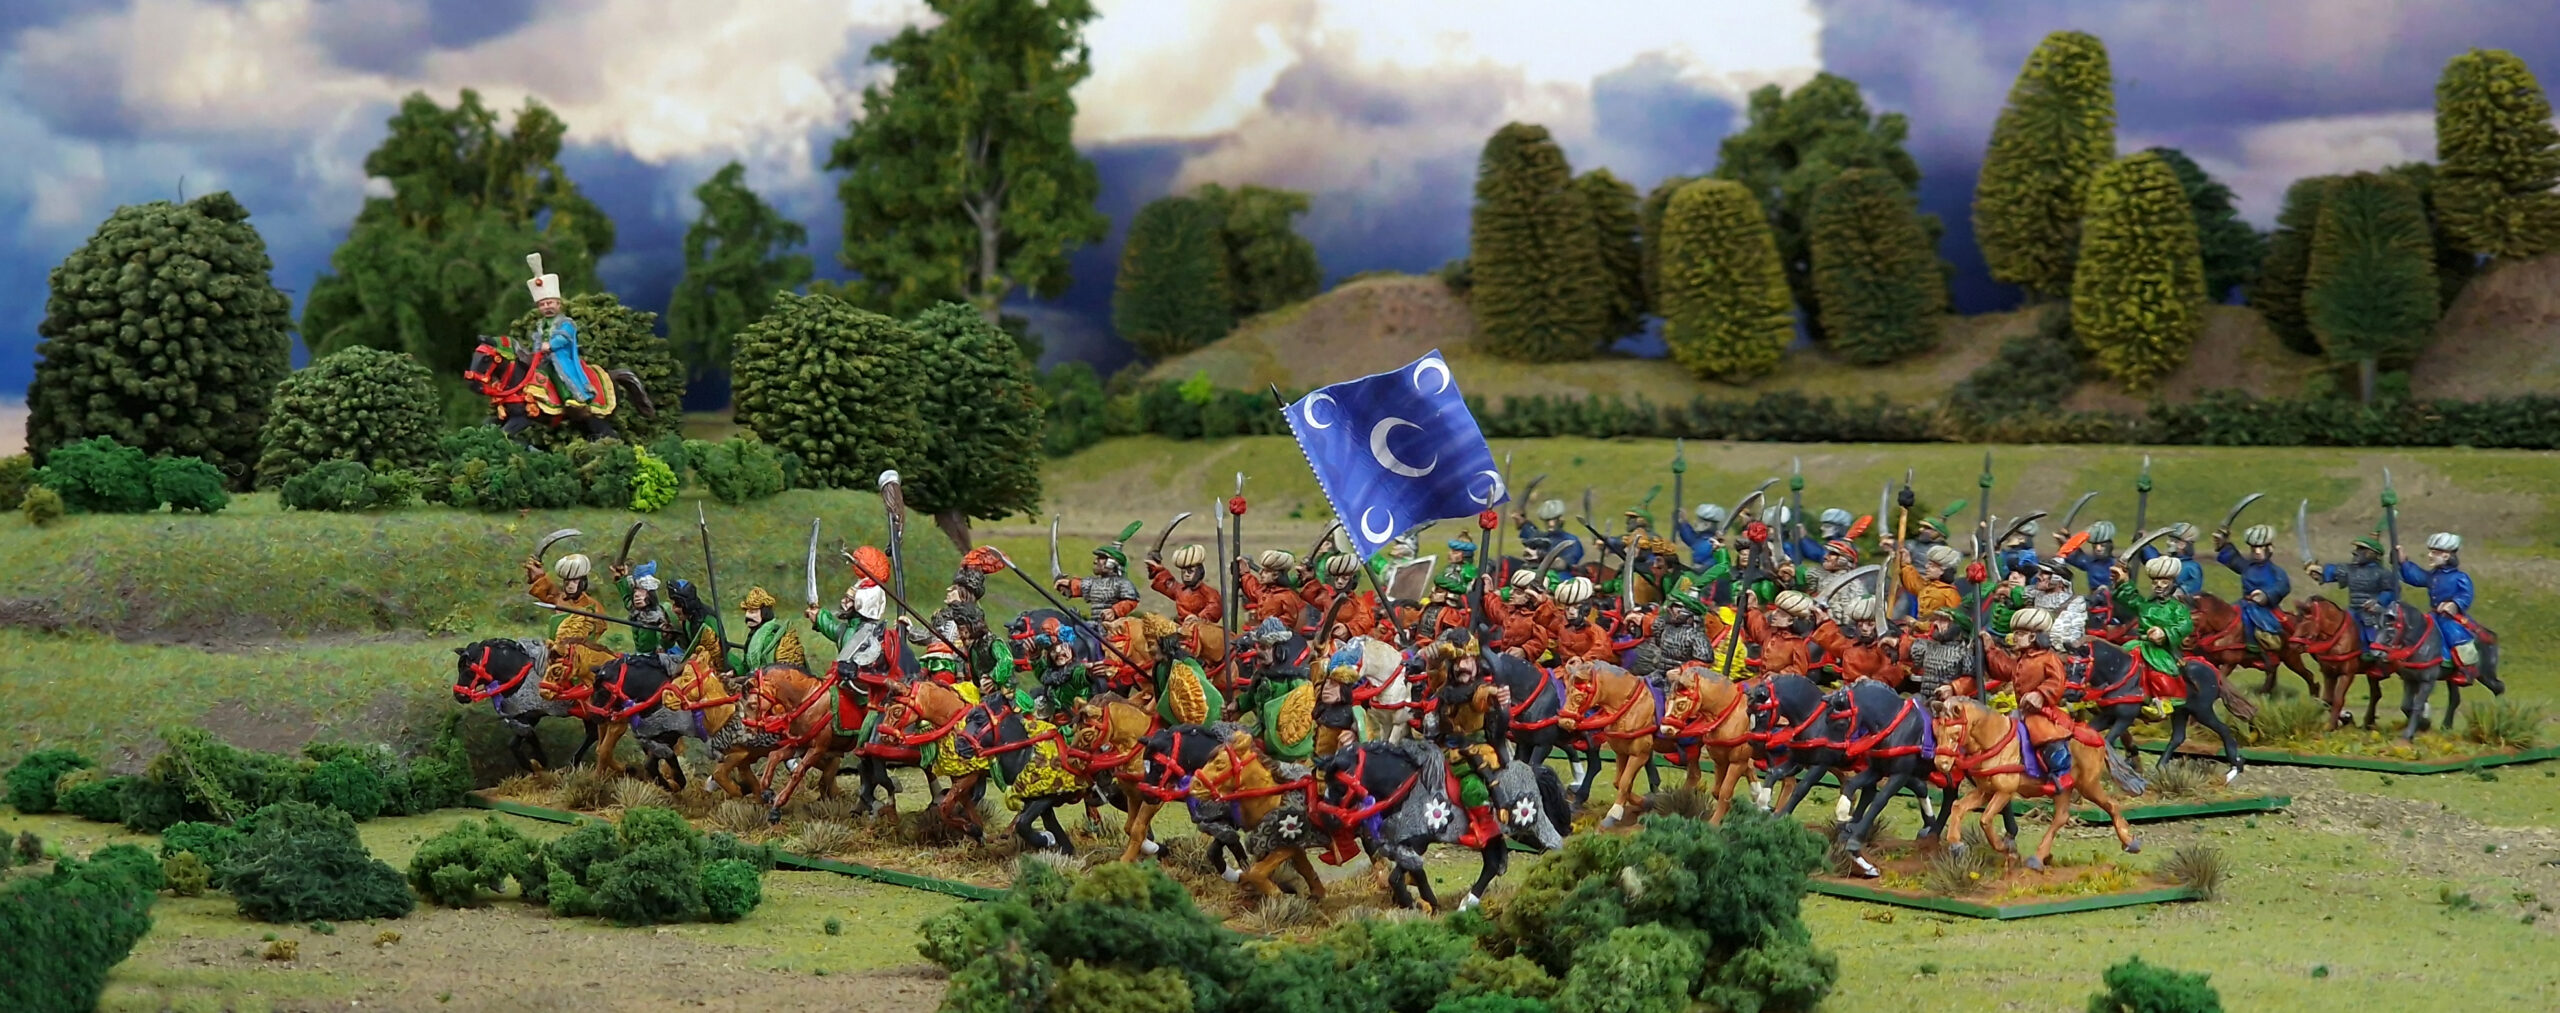
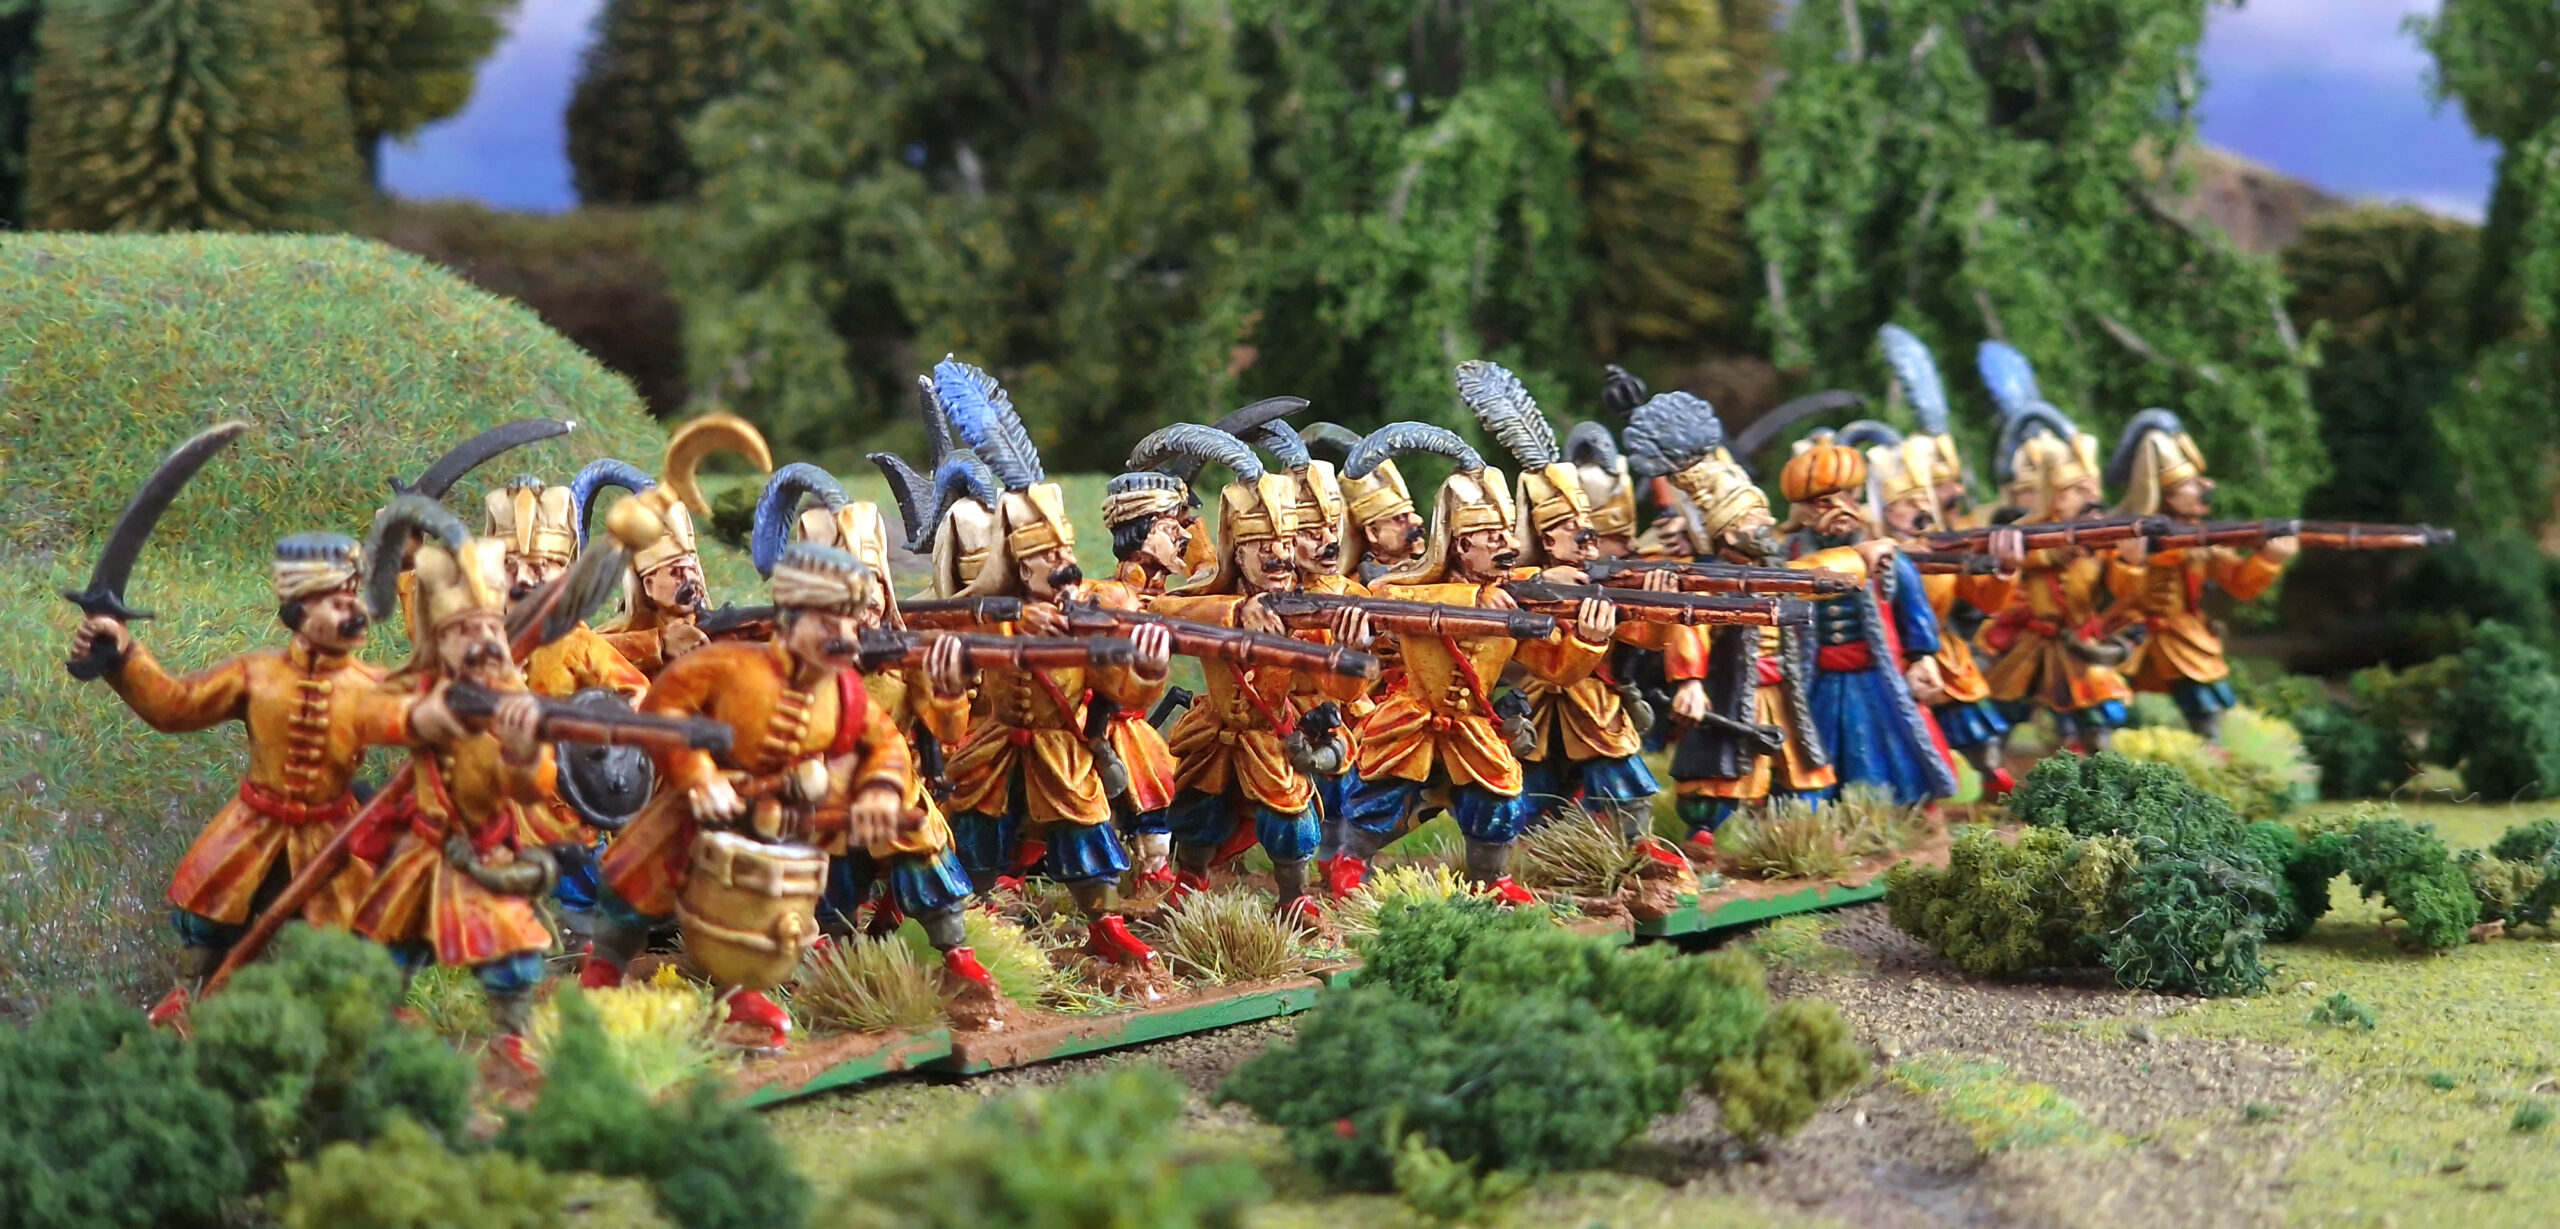
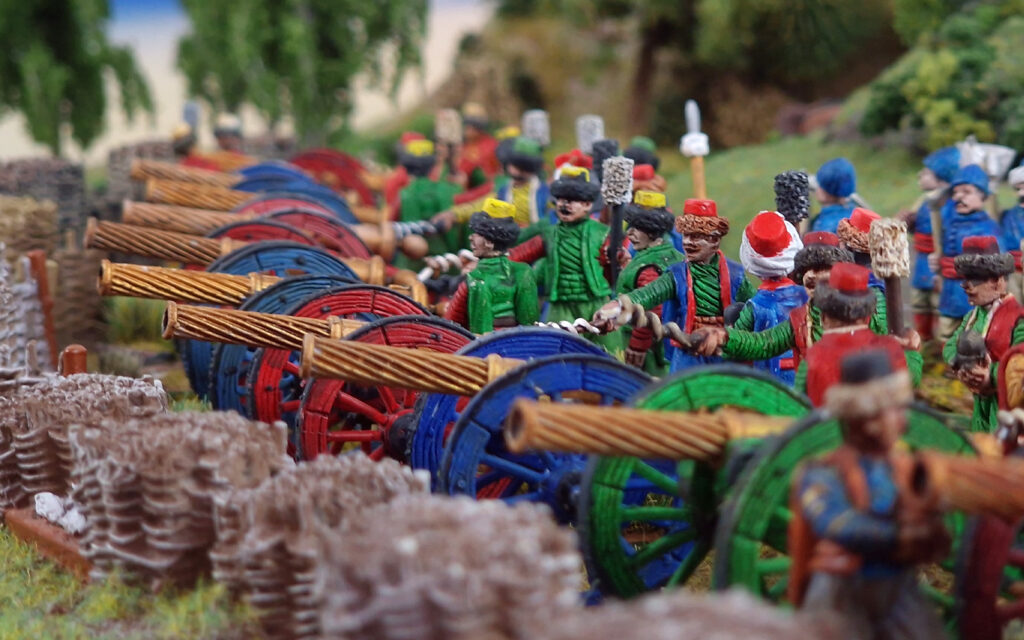
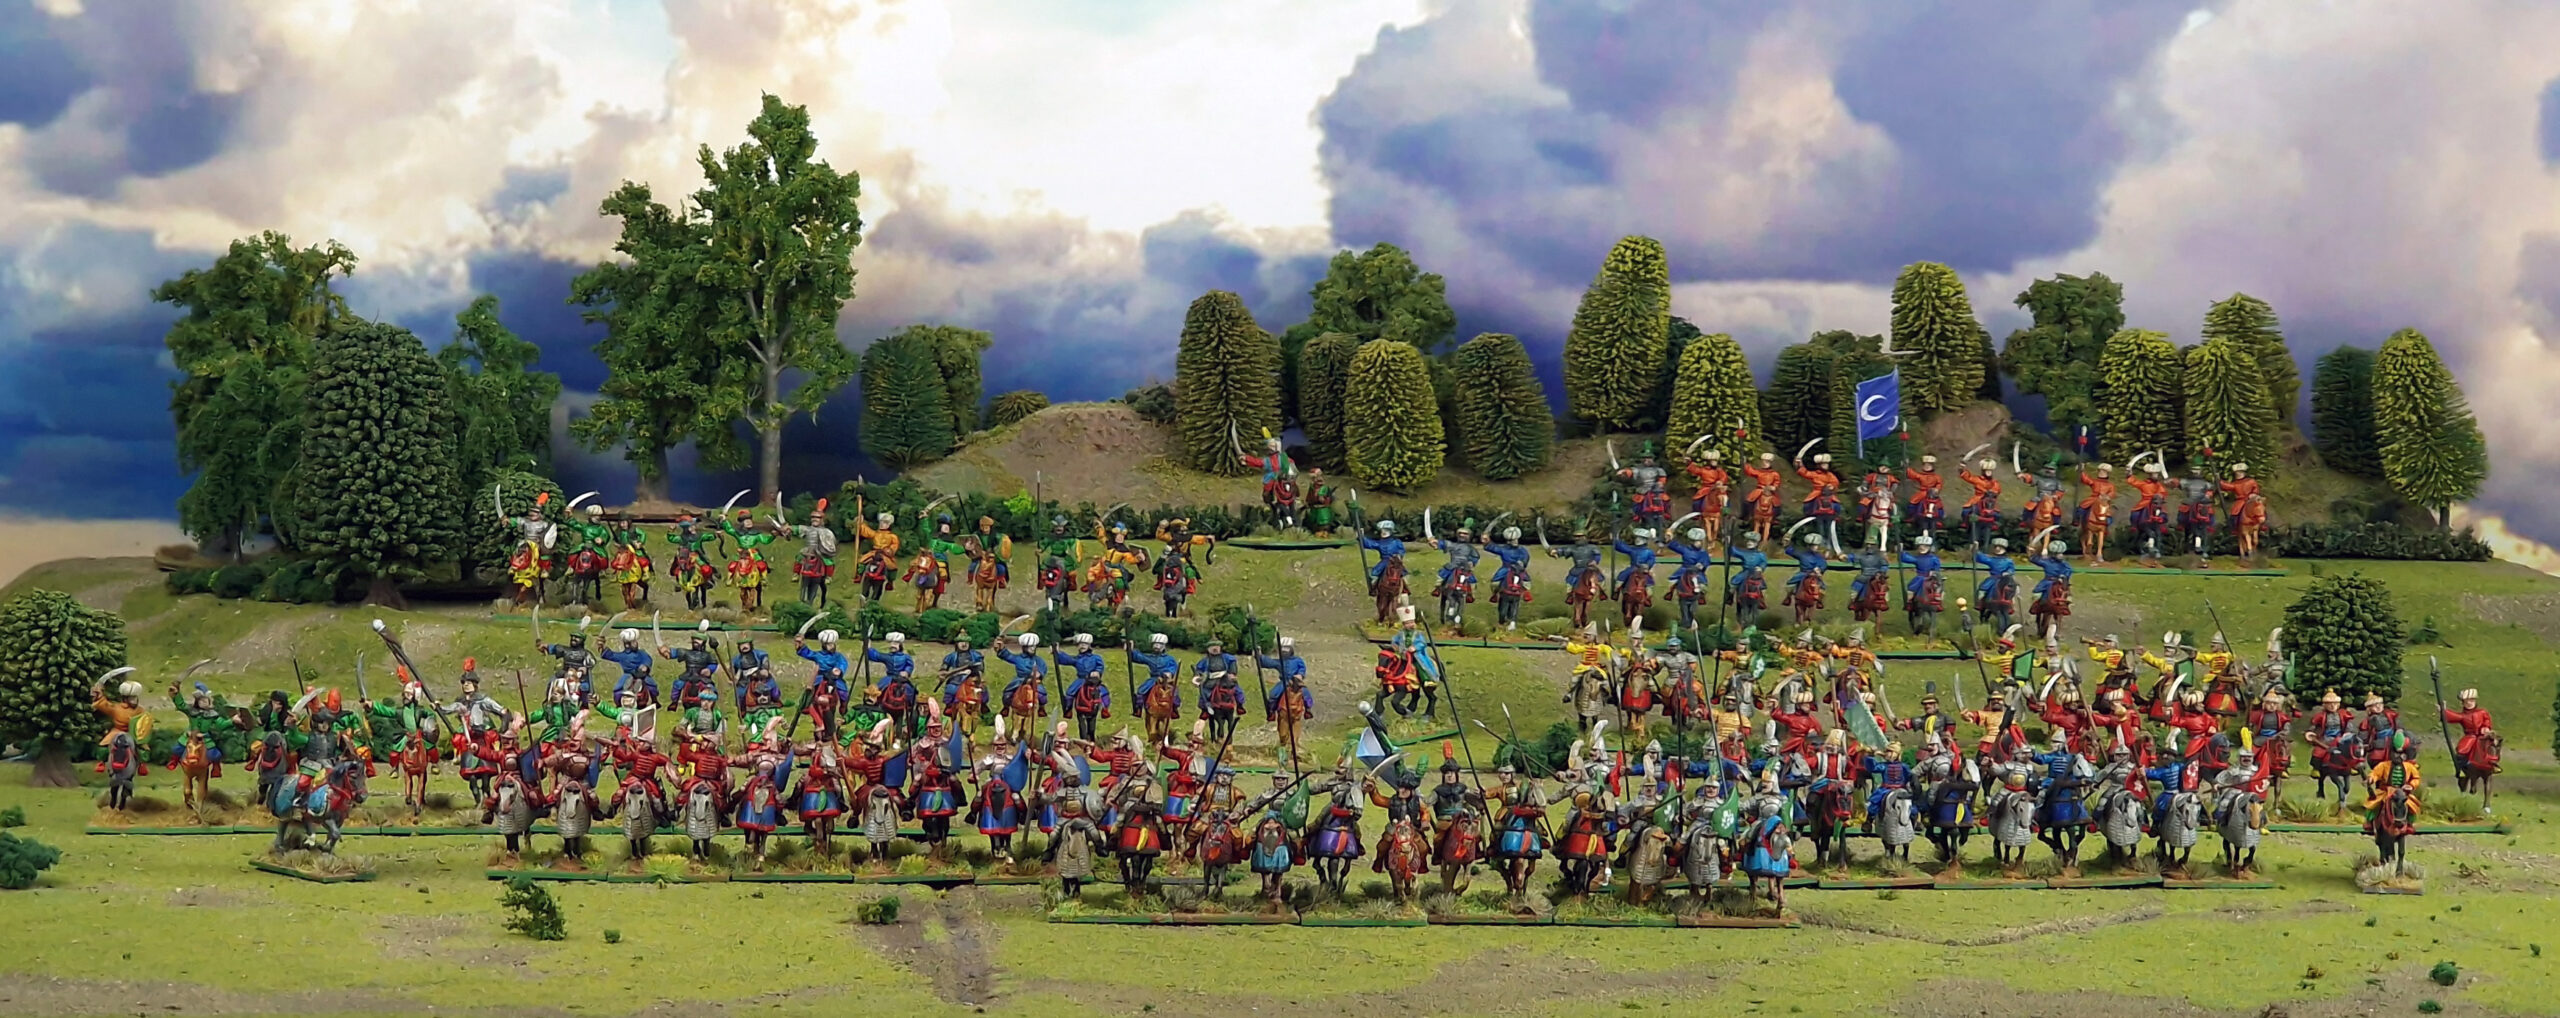
John – While many will think immediately of Janissaries and massed artillery when they imagine an Ottoman army, the Sultan’s forces also included large numbers of cavalry, of several distinct varieties. Naturally, I’ve tried to get as many into my army as possible! Leading off are the famous Sipahi of the Porte, the elite heavy cavalrymen of the east. Clad in maille and mounted on barded or armoured horses, these ferociously skilled warriors brandish extremely long lances, as well as an array of axes, swords, maces, and firearms, and are the best horsemen available to an Ottoman commander. Interestingly, they’re available in two flavours, ‘first-’ and ‘second-rate’, with the latter being a little cheaper and less effective. Given that the two look much the same (especially if they’re charging headlong at you!), I like to be a little sneaky and not declare which is which if I’m using both! I simply make a note of it so that I can show my opponent it’s all above board and watch them have to treat both as though they’re the really dangerous one! While not quite as nasty as Polish Winged Hussars (who really have to be considered the gold standard of the era), they still have the Heavy Cavalry 1 rule and can do serious damage if well handled.
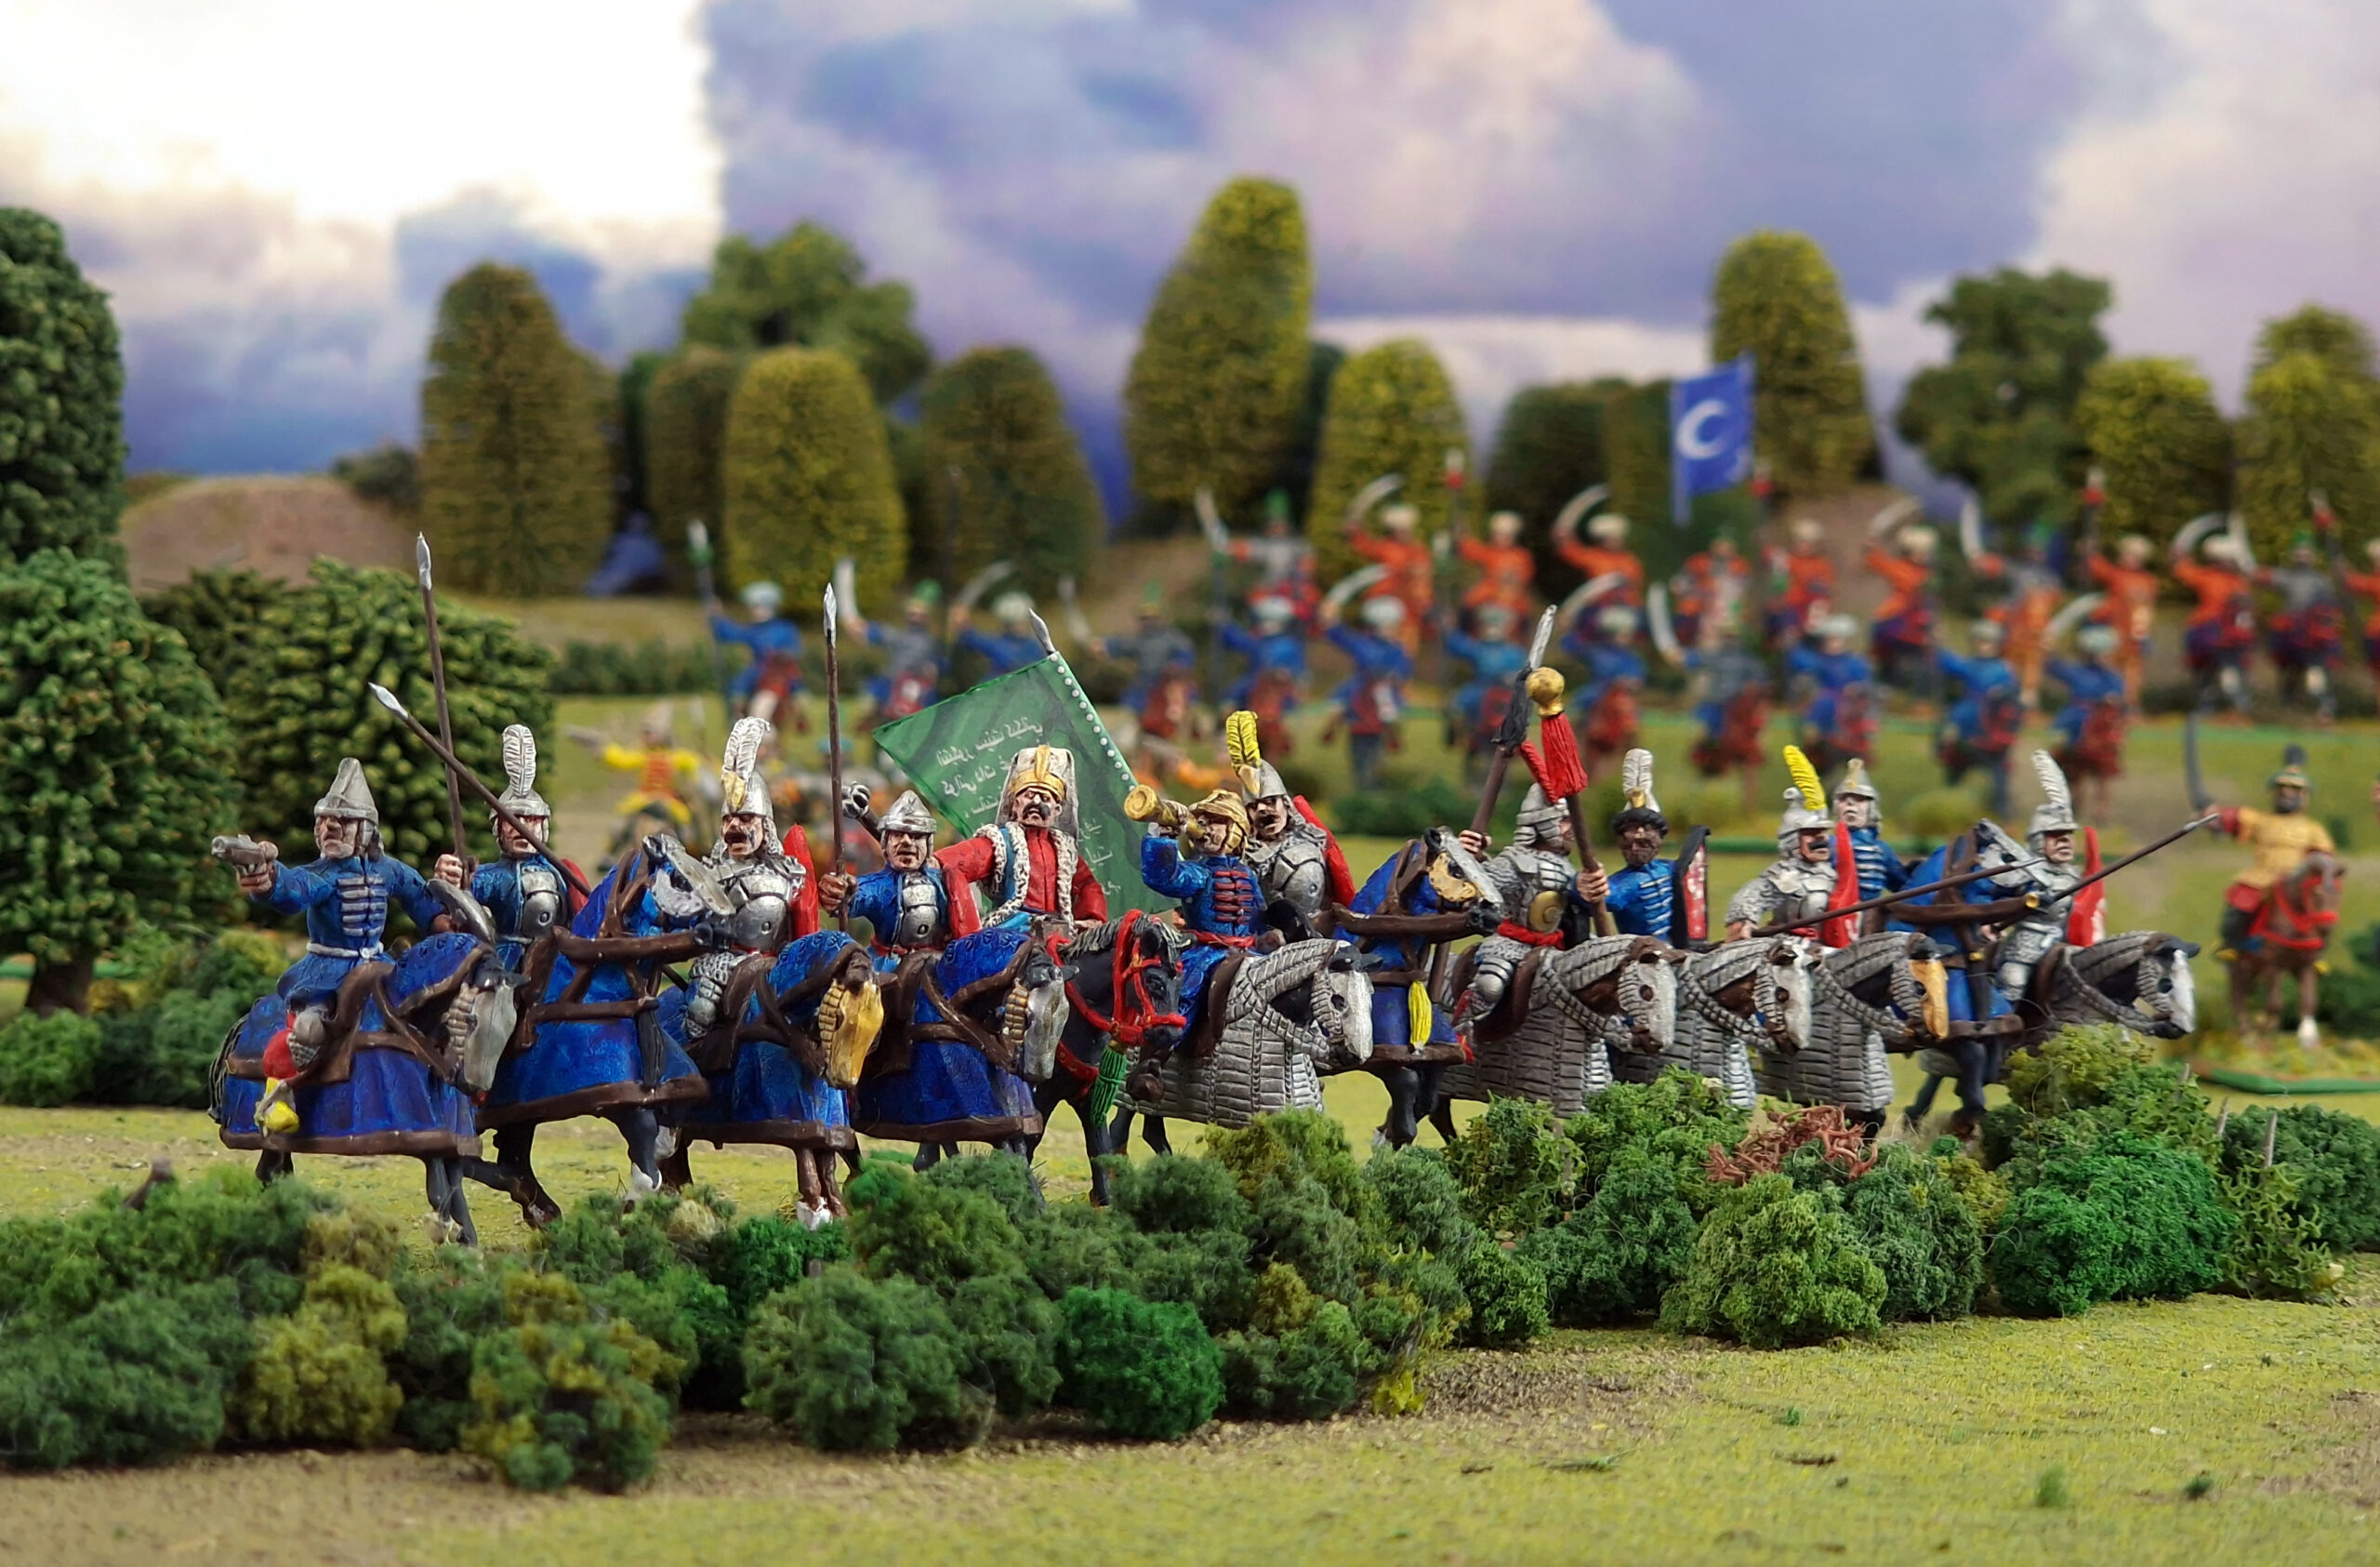
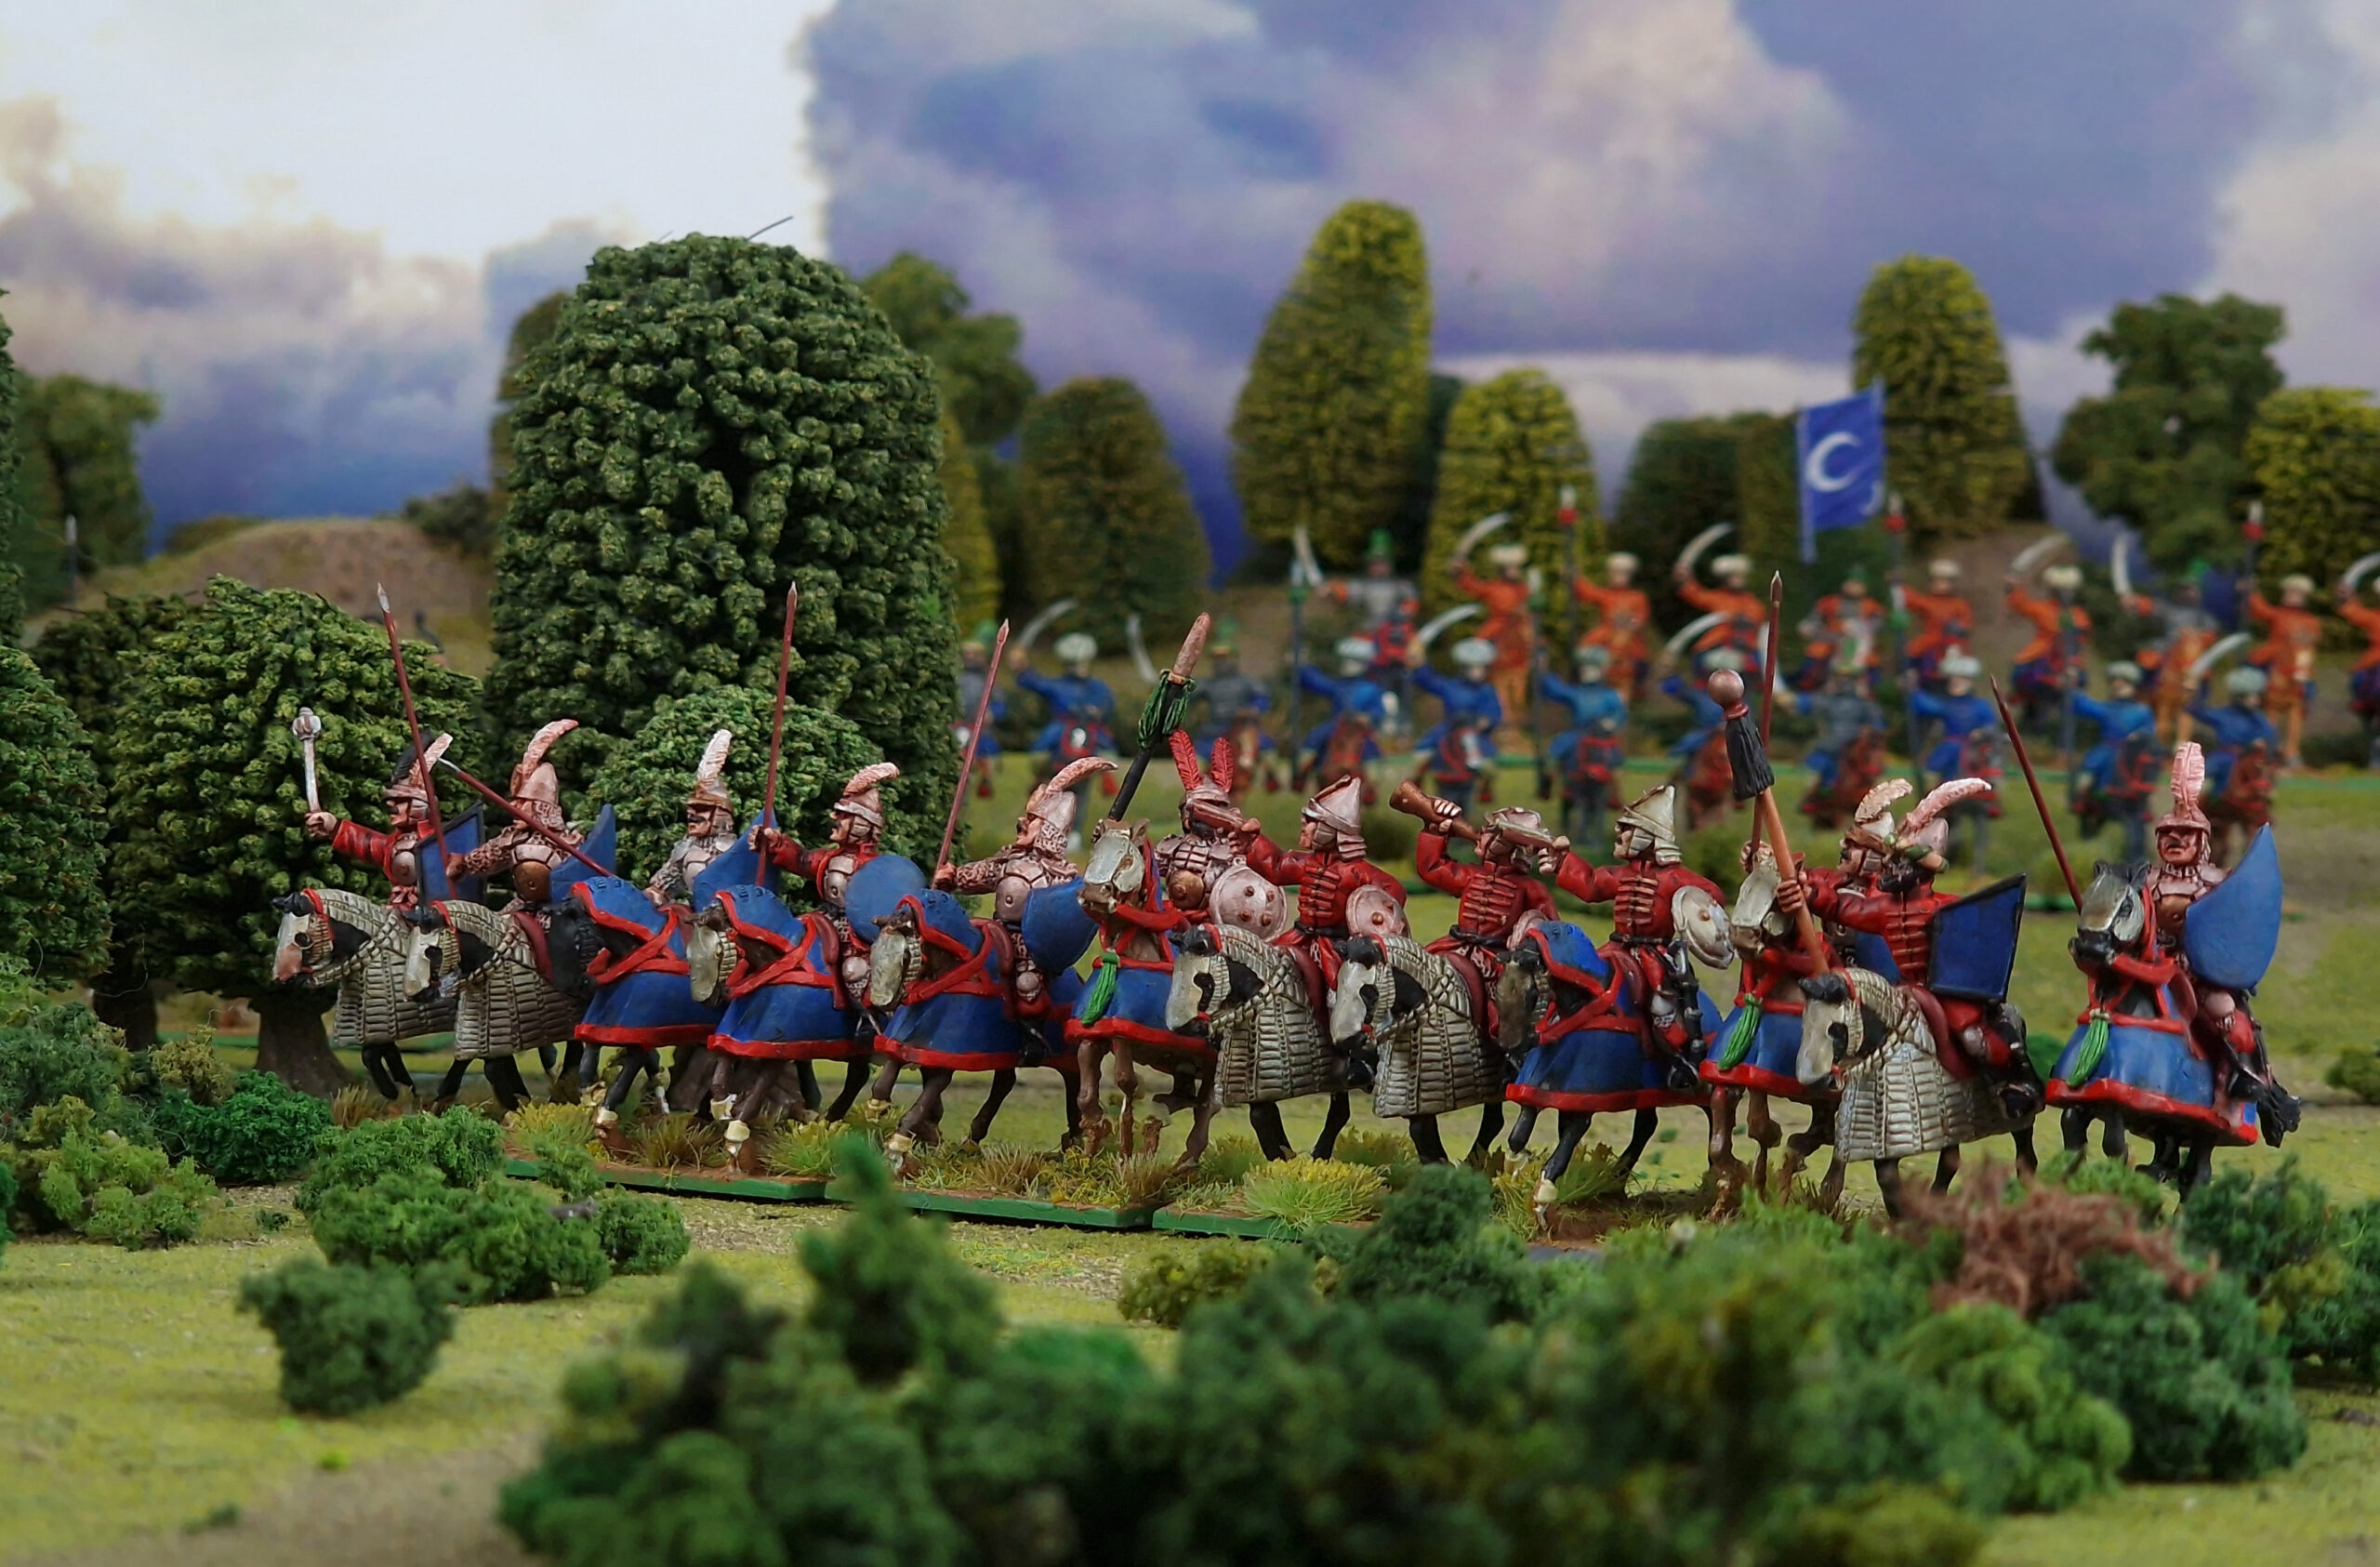
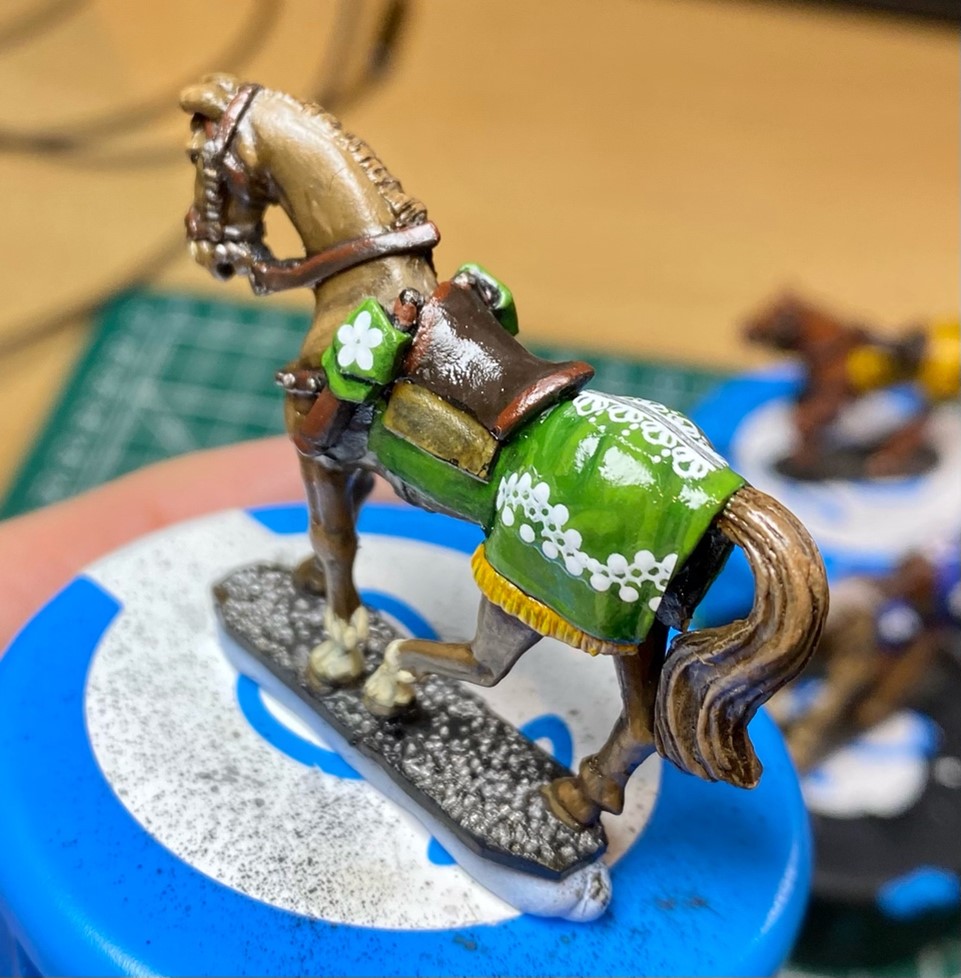
With plenty of metalwork, as well as bright silks, they were a lot of fun to paint, and the keen-eyed may notice a few geometric and flowery details on the barding of the horses. These aren’t freehand, or even transfers… but nail art stickers! Now, why do I have nail art stickers? It’s nothing to do with my fashion choices, but an idea I pinched from Andy, a good mate of mine from the Friends of General Haig wargames club. Andy has young daughters, and he noticed that some of the stickers they had laying around would make great decorations for banners and caparisons – how right he was! (You can see some photos of Andy’s handiwork below!) I ordered some for myself, and they really are as simple as peeling them off the backing and sticking them on the model once the paint is dry – it doesn’t get much quicker or easier than that!
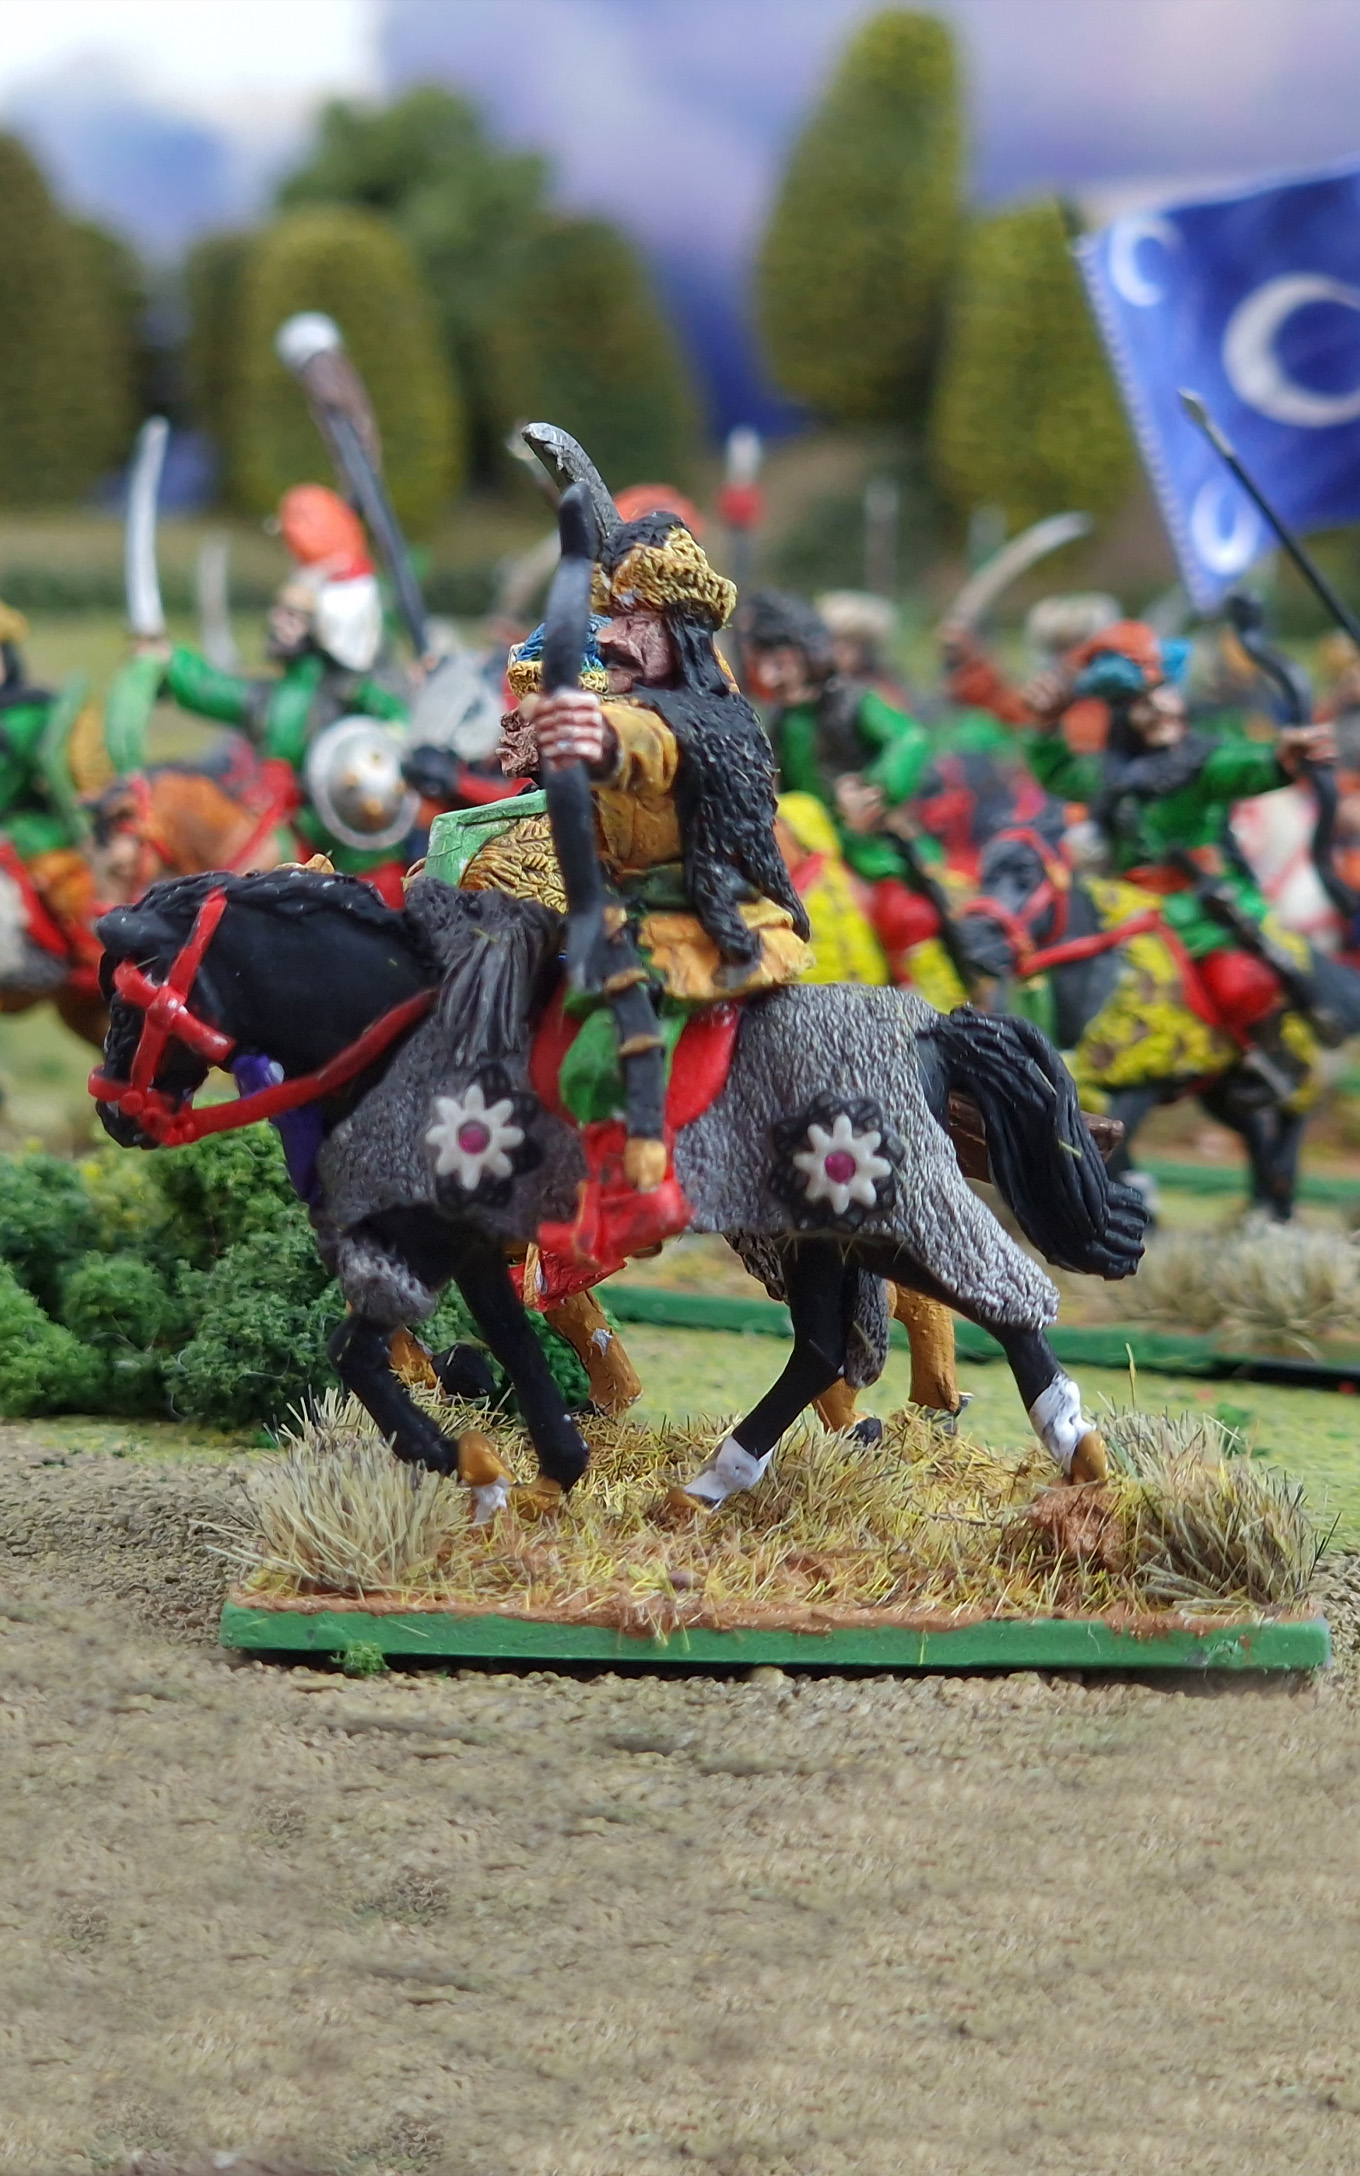

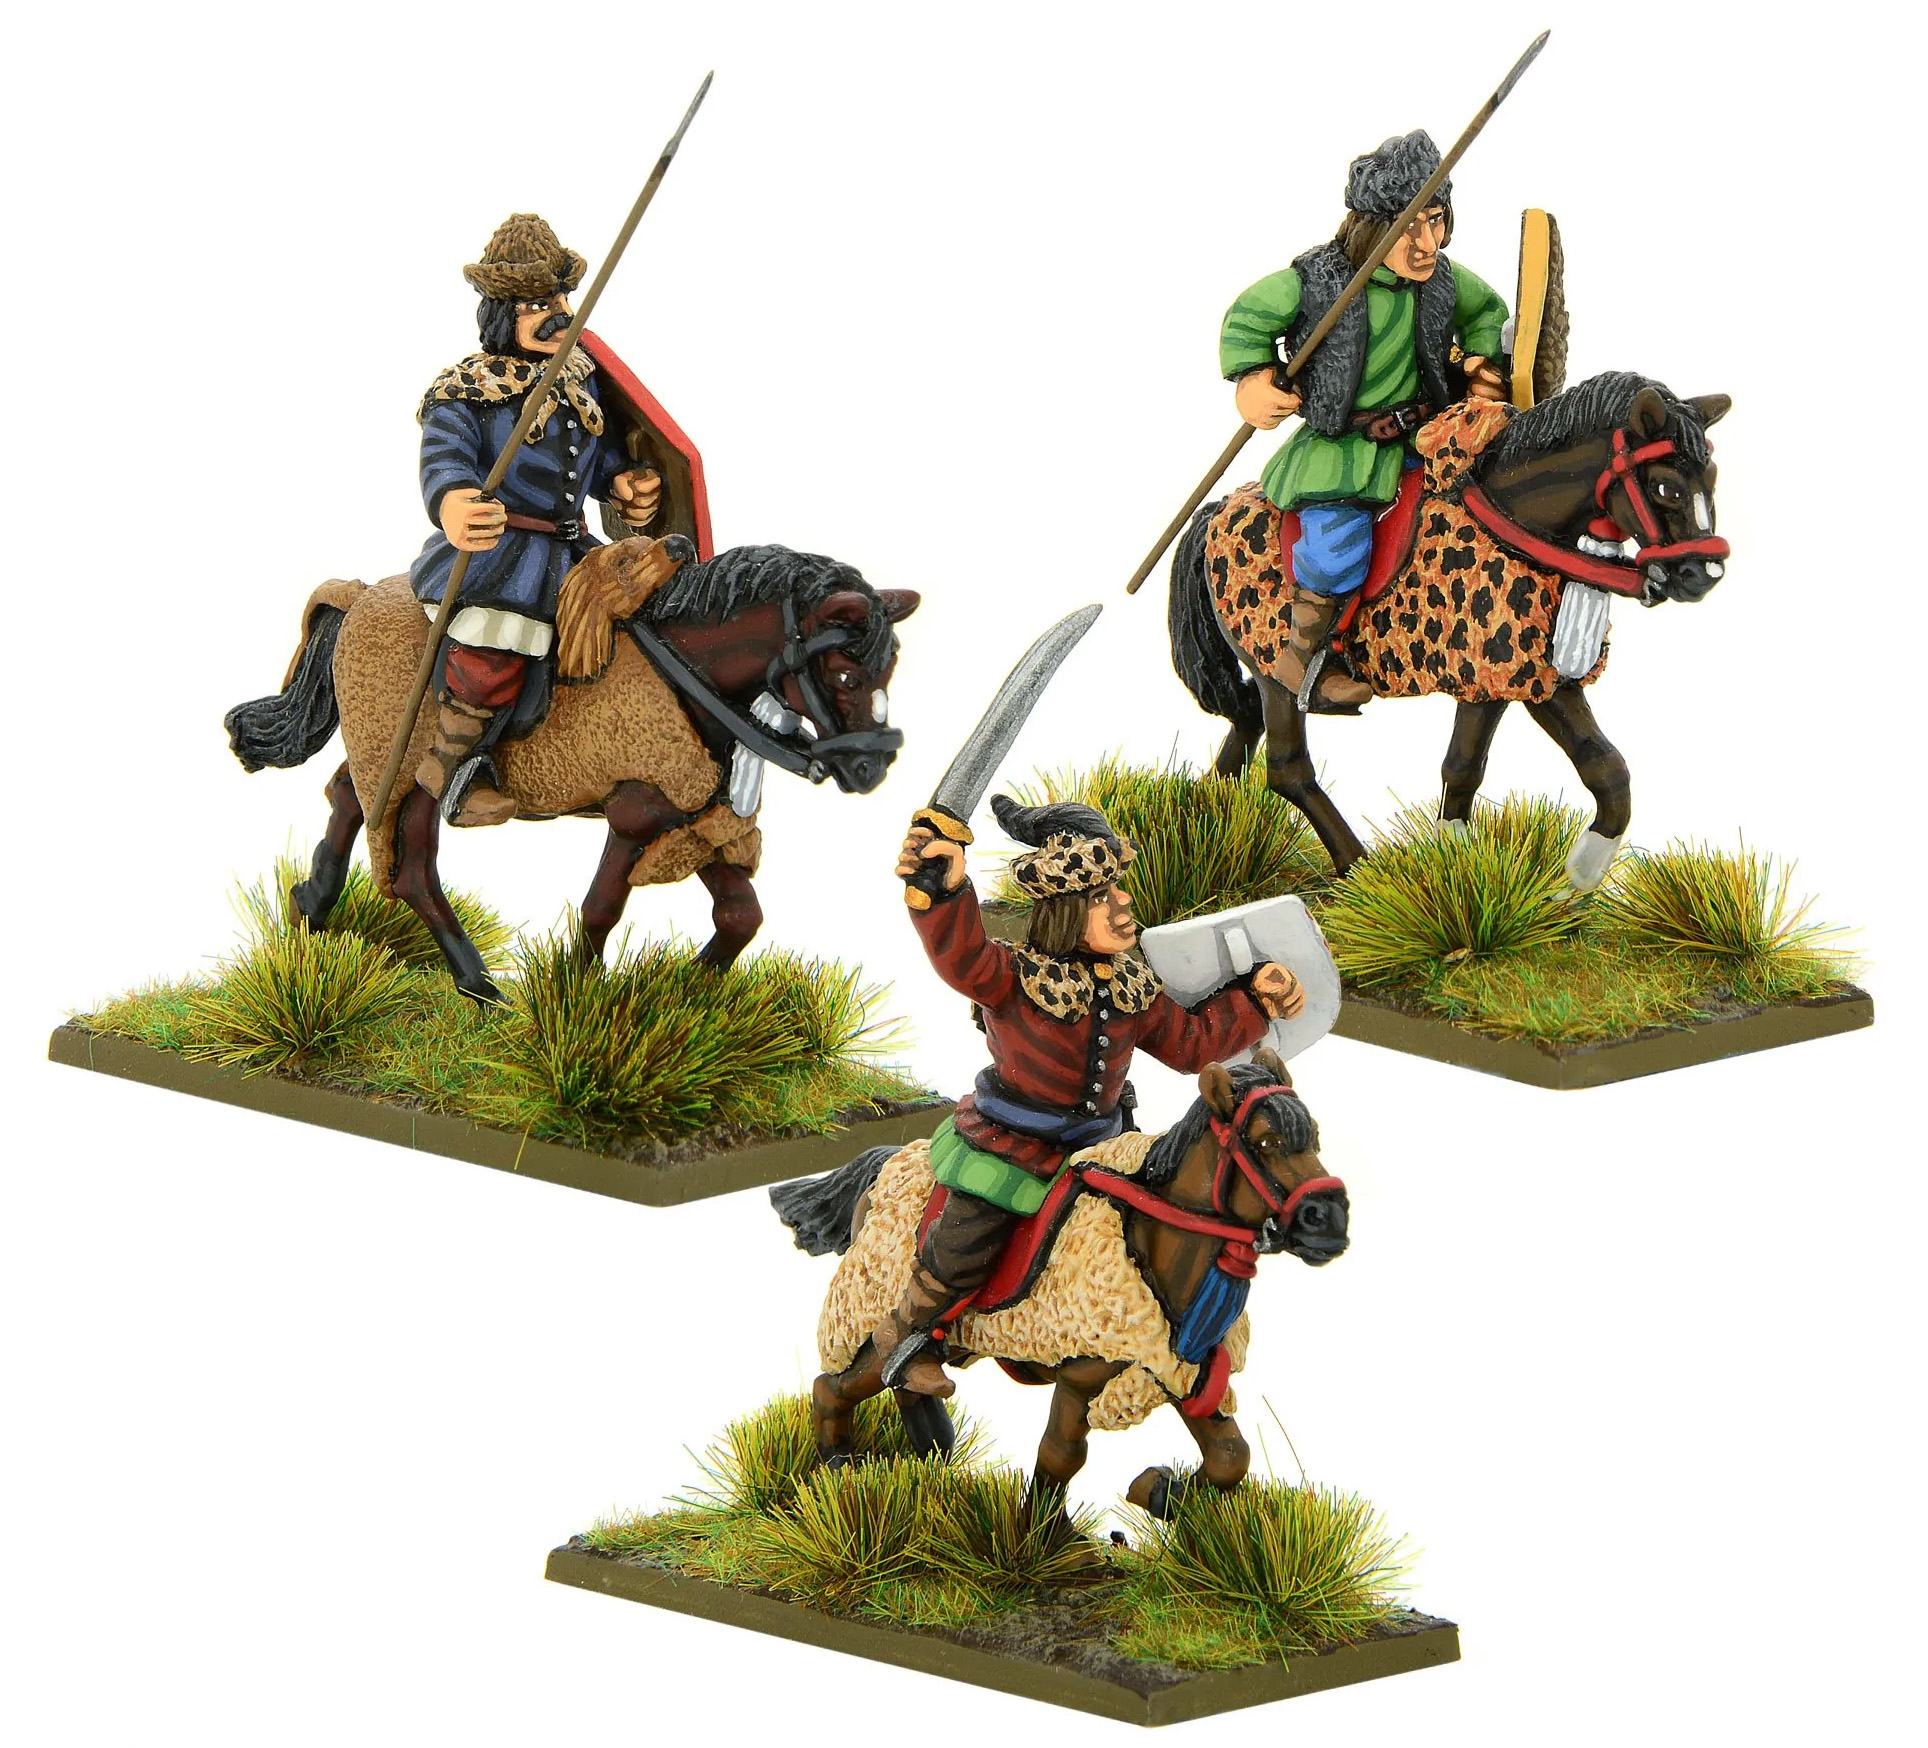
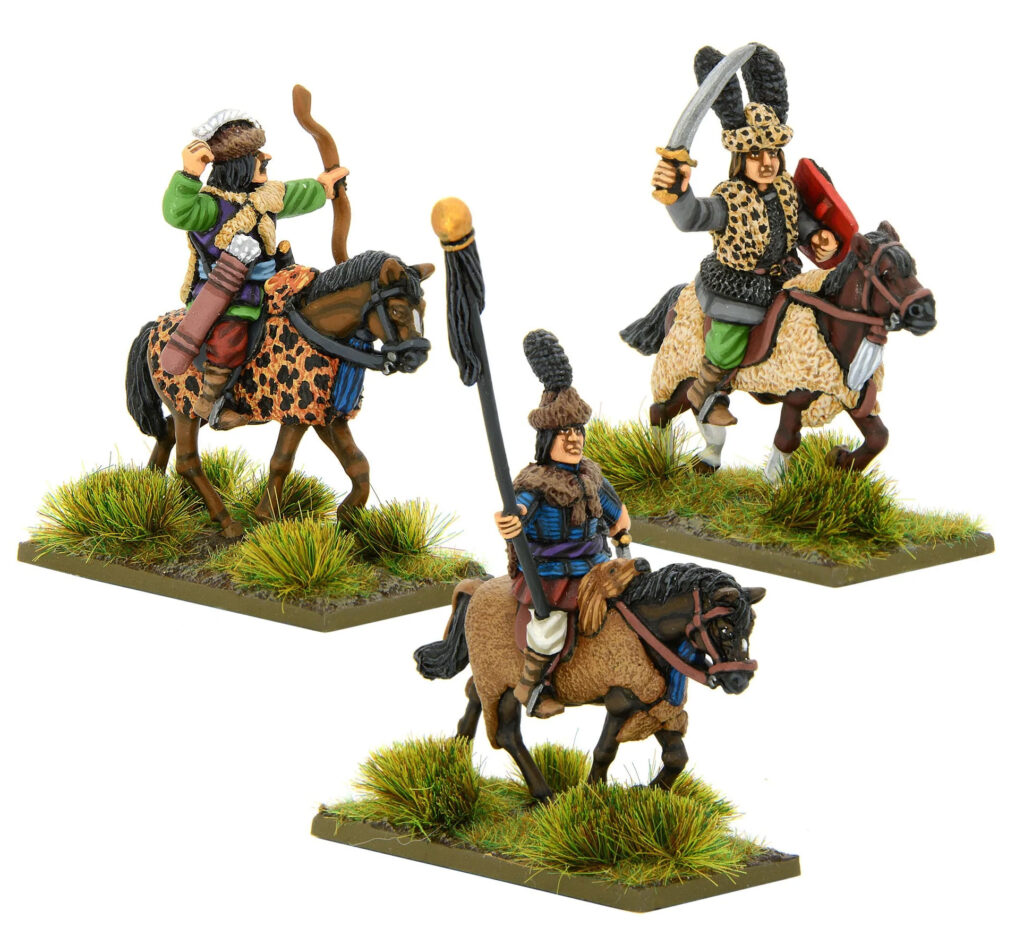
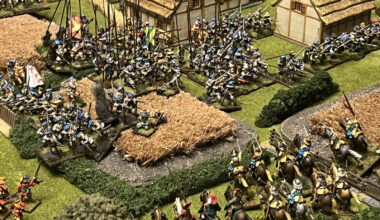
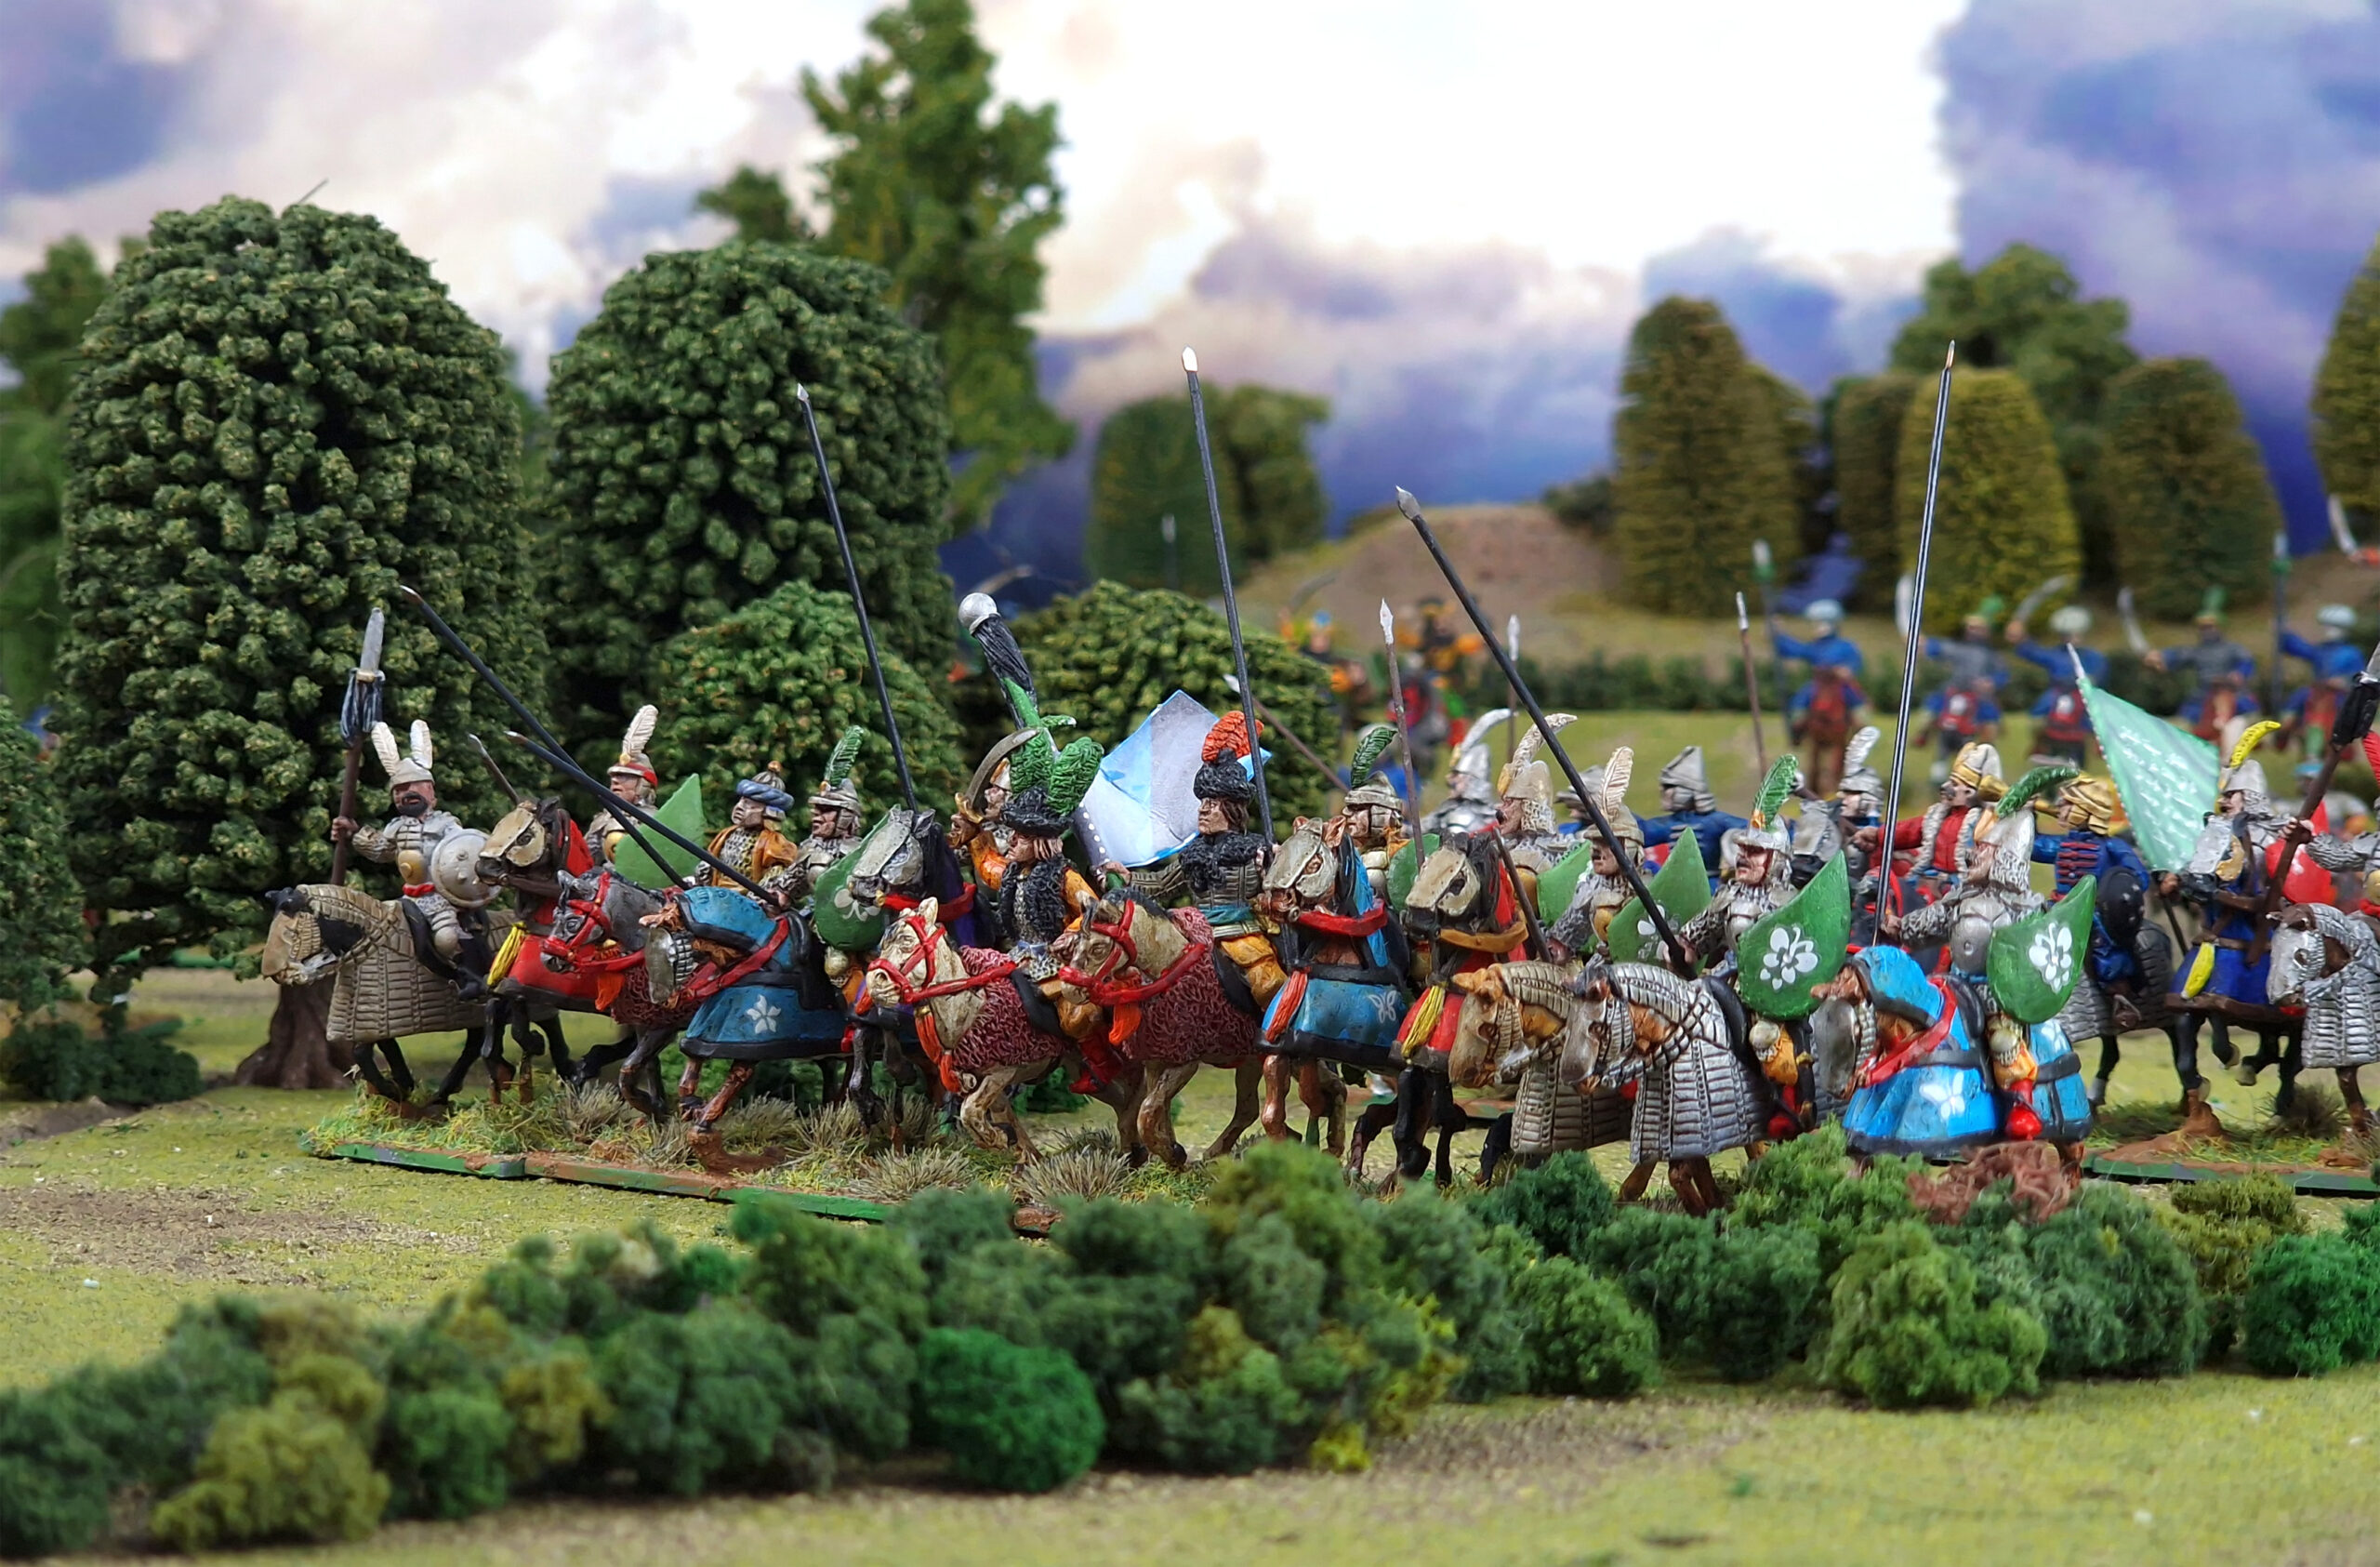
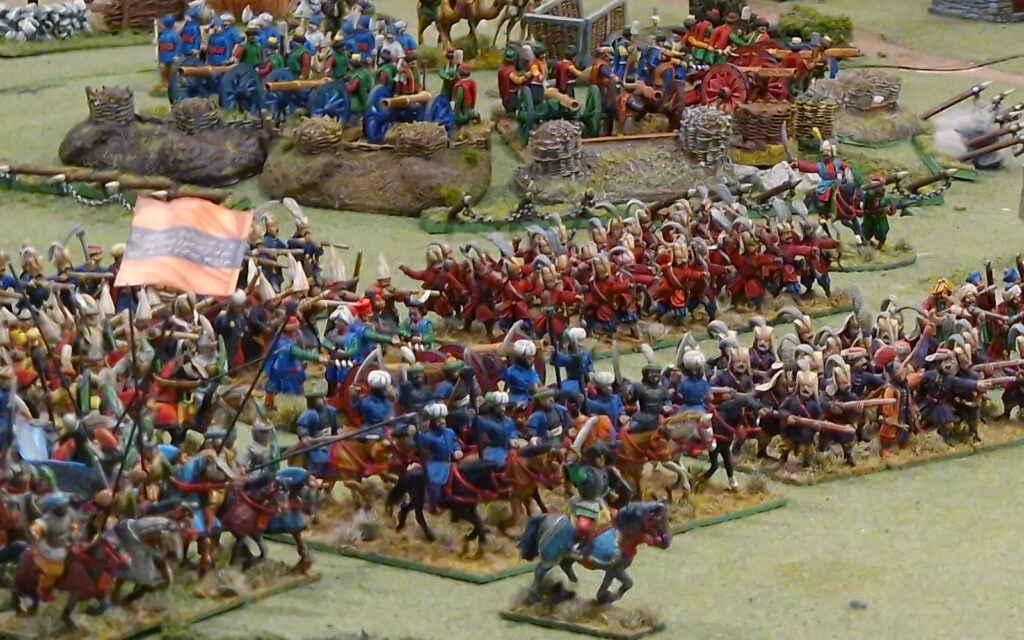
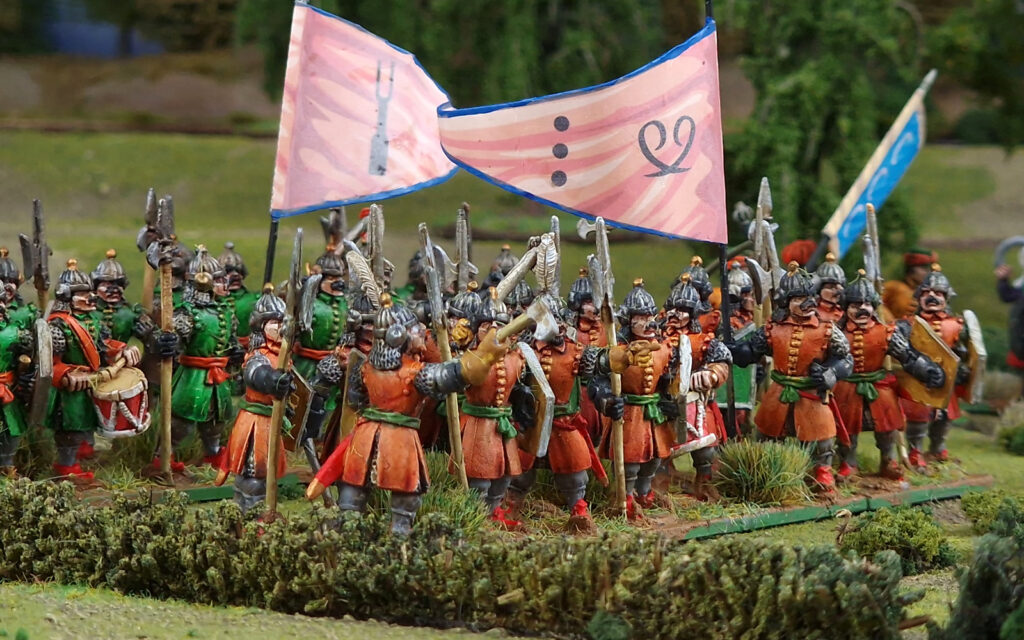
I also have a veritable horde of lighter cavalry – we use ‘Arab’ or ‘Azab’ as a catch-all term, but in reality these models represent a huge variety of different groups from across the Ottoman Empire. Men from the Balkans were particularly notorious for their banditry and ferocious raiding, and would cheerfully serve the Sultan as mercenaries. While quite capable on the attack, they really can’t take much punishment in return, and thus are best used either as ‘speedbumps’ (if you’re a particularly cruel vizier!) or to go marauding around the enemy flanks. They may not be the most devastating unit out there, but they’re cheap and cheerful, and nobody likes discovering a load of bad-tempered bandits in their rear! Their flowing robes make them great fun to paint, using the same quick techniques as the rest of the army, and they’ve actually done okay on the table for me, so I’m planning to add a bunch more!
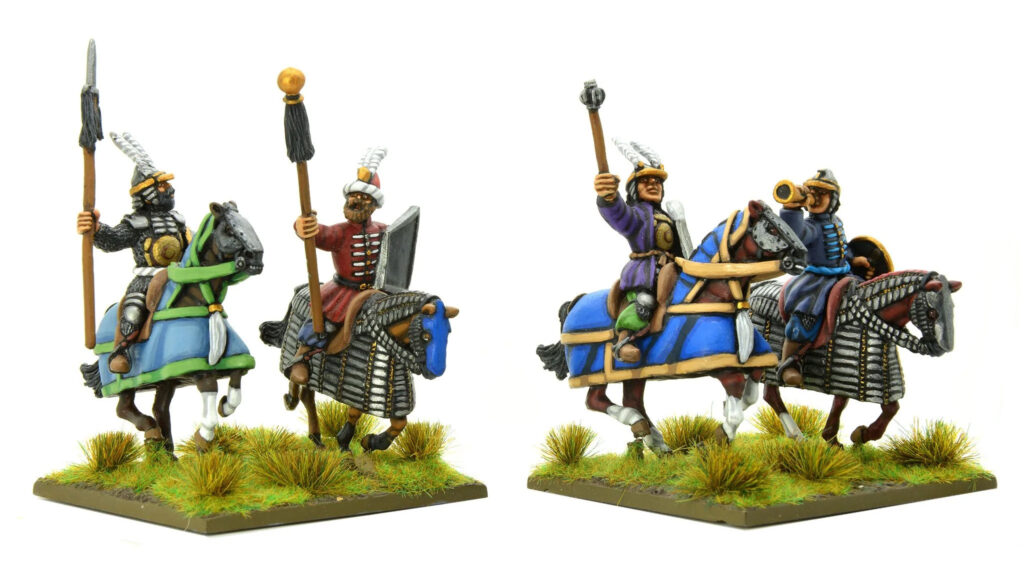
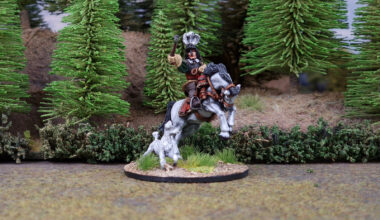
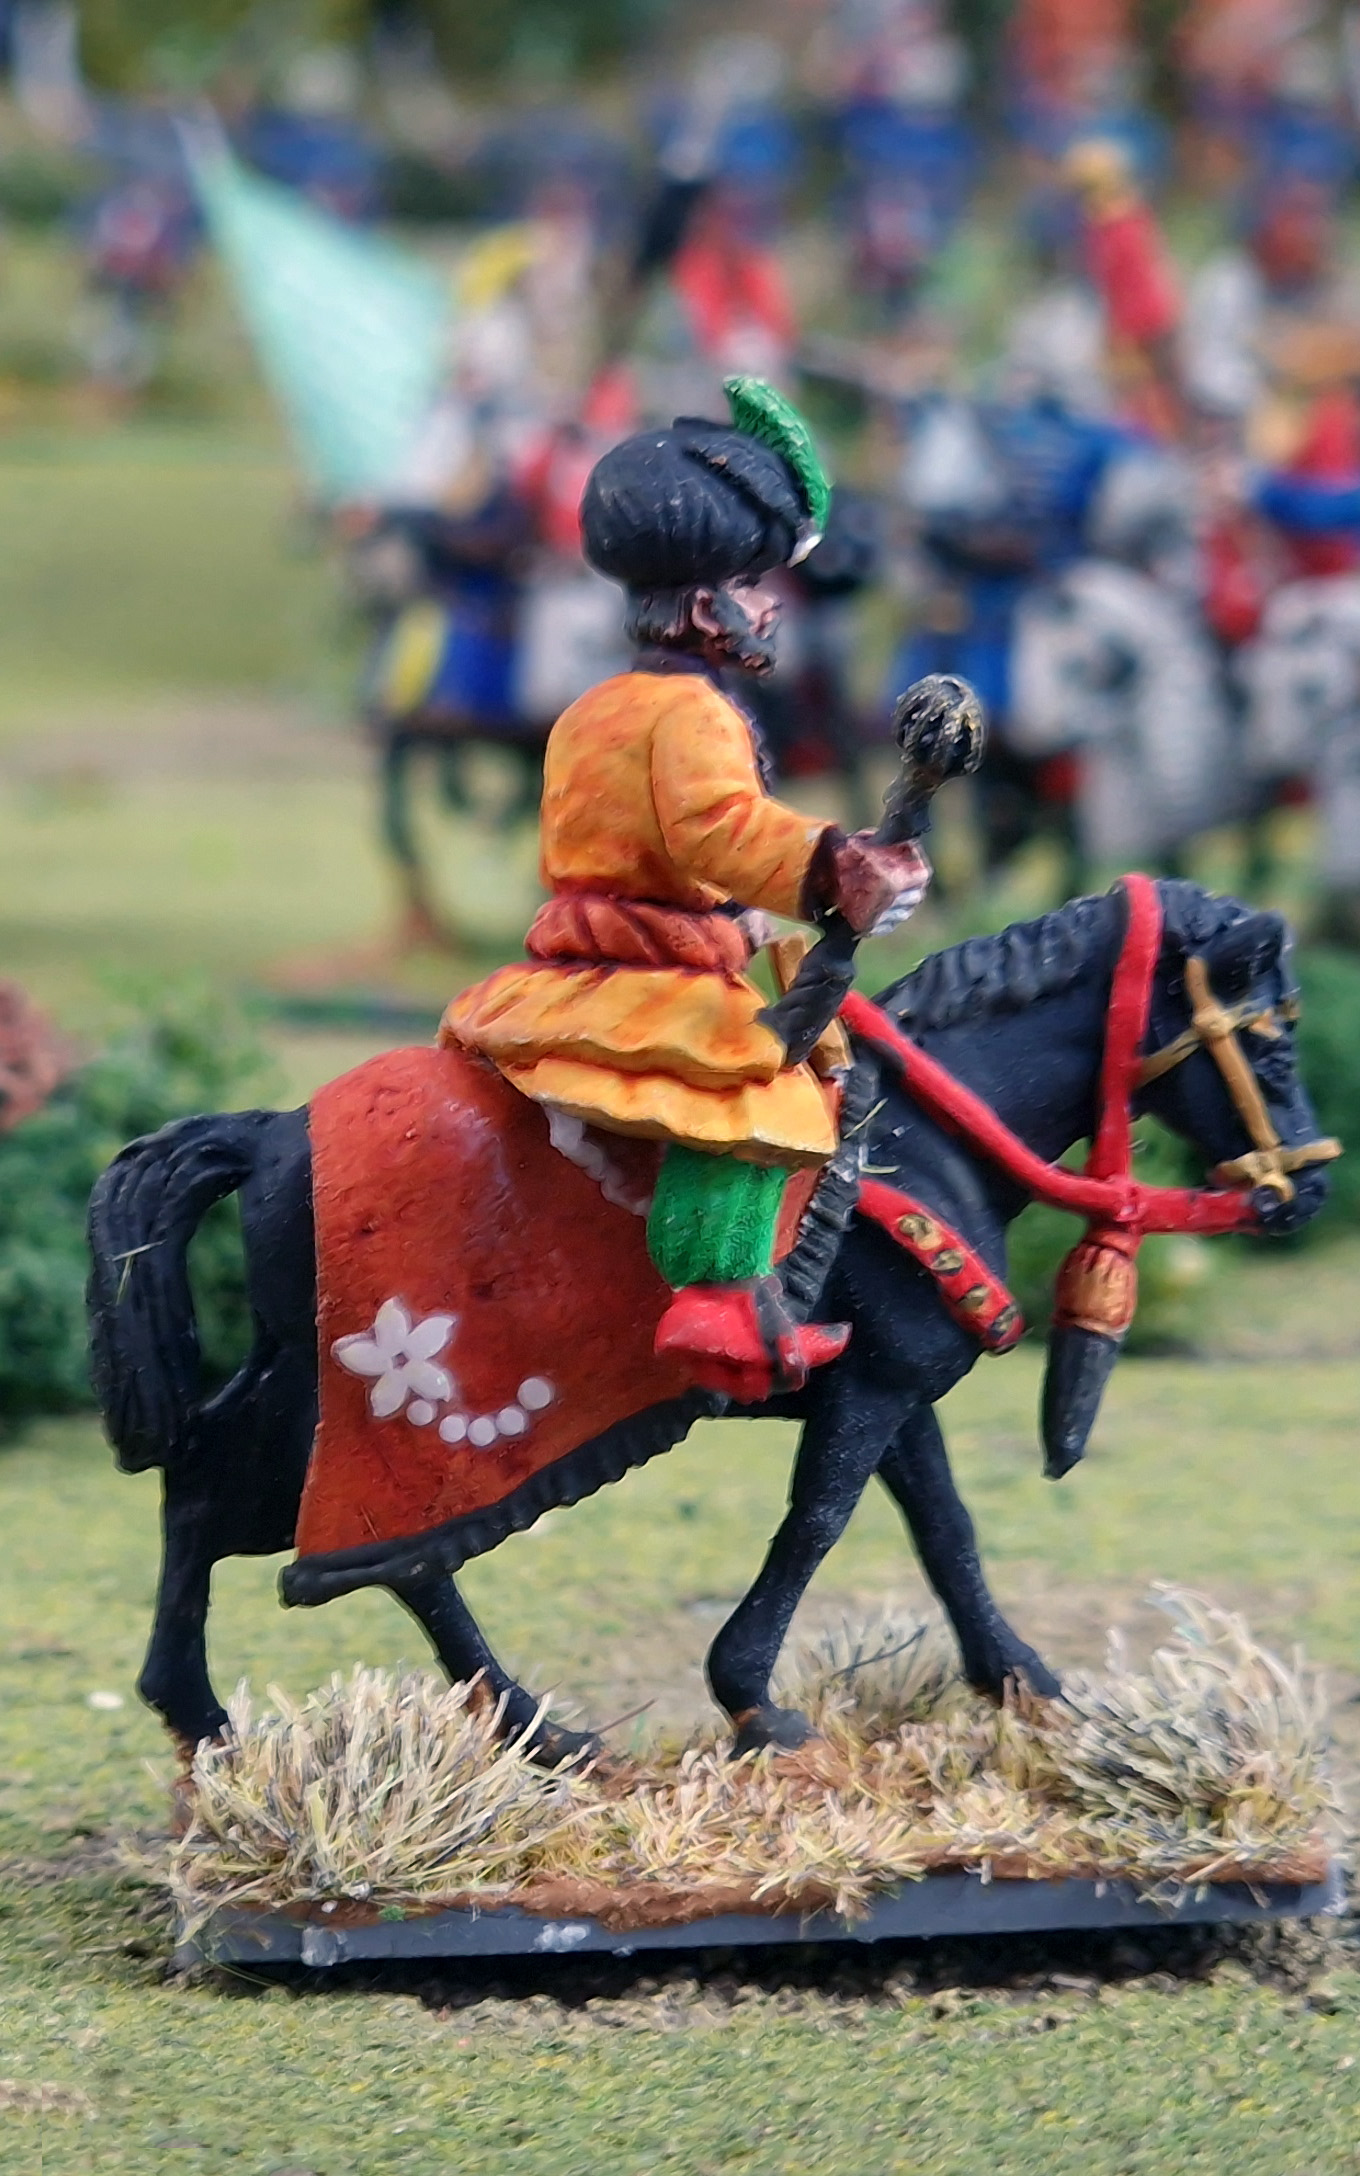
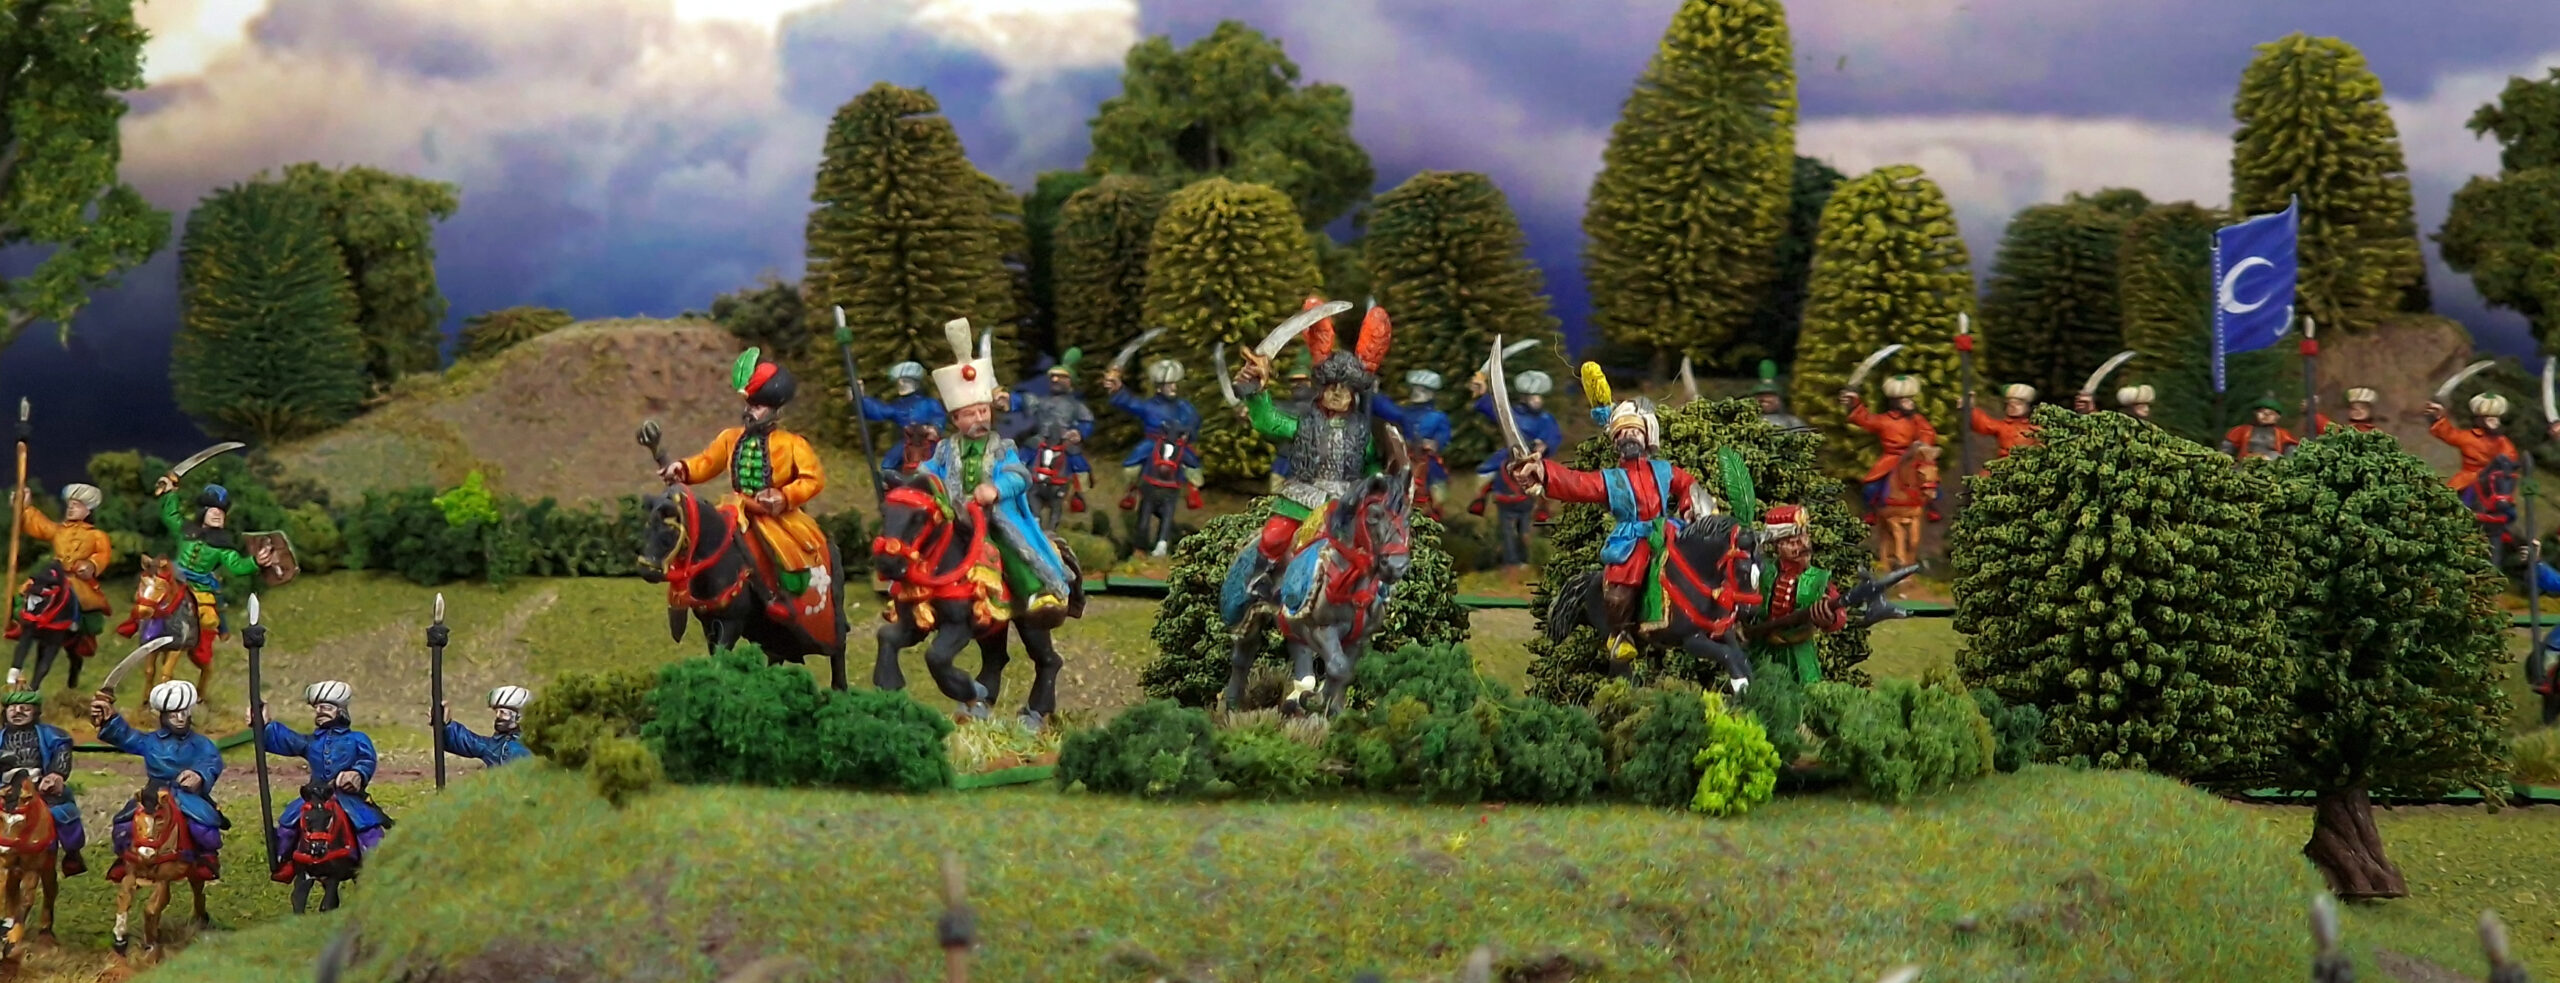
Moving on to my commanders, I’ve got a fair selection of ‘generic’ characters from the Trent Miniatures line, alongside (naturally) Suleiman the Magnificent – you can’t have a Turkish army without him! Historically, Ottoman generals were very much a mixed bunch, and you might well have a perfectly competent military man on one flank, an enthusiastic amateur on the other, and a complete berk in the middle! This would all be tempered by the fact that failure was often punished by death, meaning it took a really brave commander to go out on a limb and use much in the way of their own initiative. Historically, Ottoman morale was quite fragile – excellent when winning, but prone to sudden collapse in the case of a reverse. To bolster their men, Ottoman commanders used huge musical bands, known as meterhane, which would play throughout the battle as a sign that things were going well. On one occasion, a general fell from his horse, prompting the band to stop playing in order to retrieve him. This caused the army’s morale to collapse, and they broke and fled in disarray! This unpredictability is perfectly represented by rolling to decide the Command value of each of your commanders pre-game. When I model my commanders, I like to keep their stands relatively simple so that they don’t get in the way too much, especially as I like to make use of the Follow Me! order (particularly with my Sipahi) to get stuck in – generally, I’ll only add an extra model or two at most to the base to accompany them.
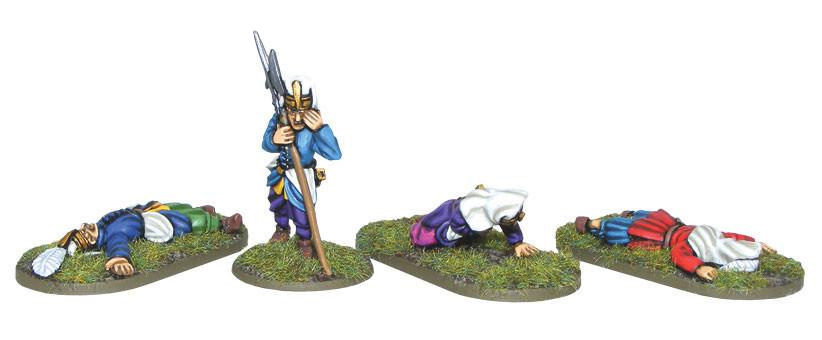
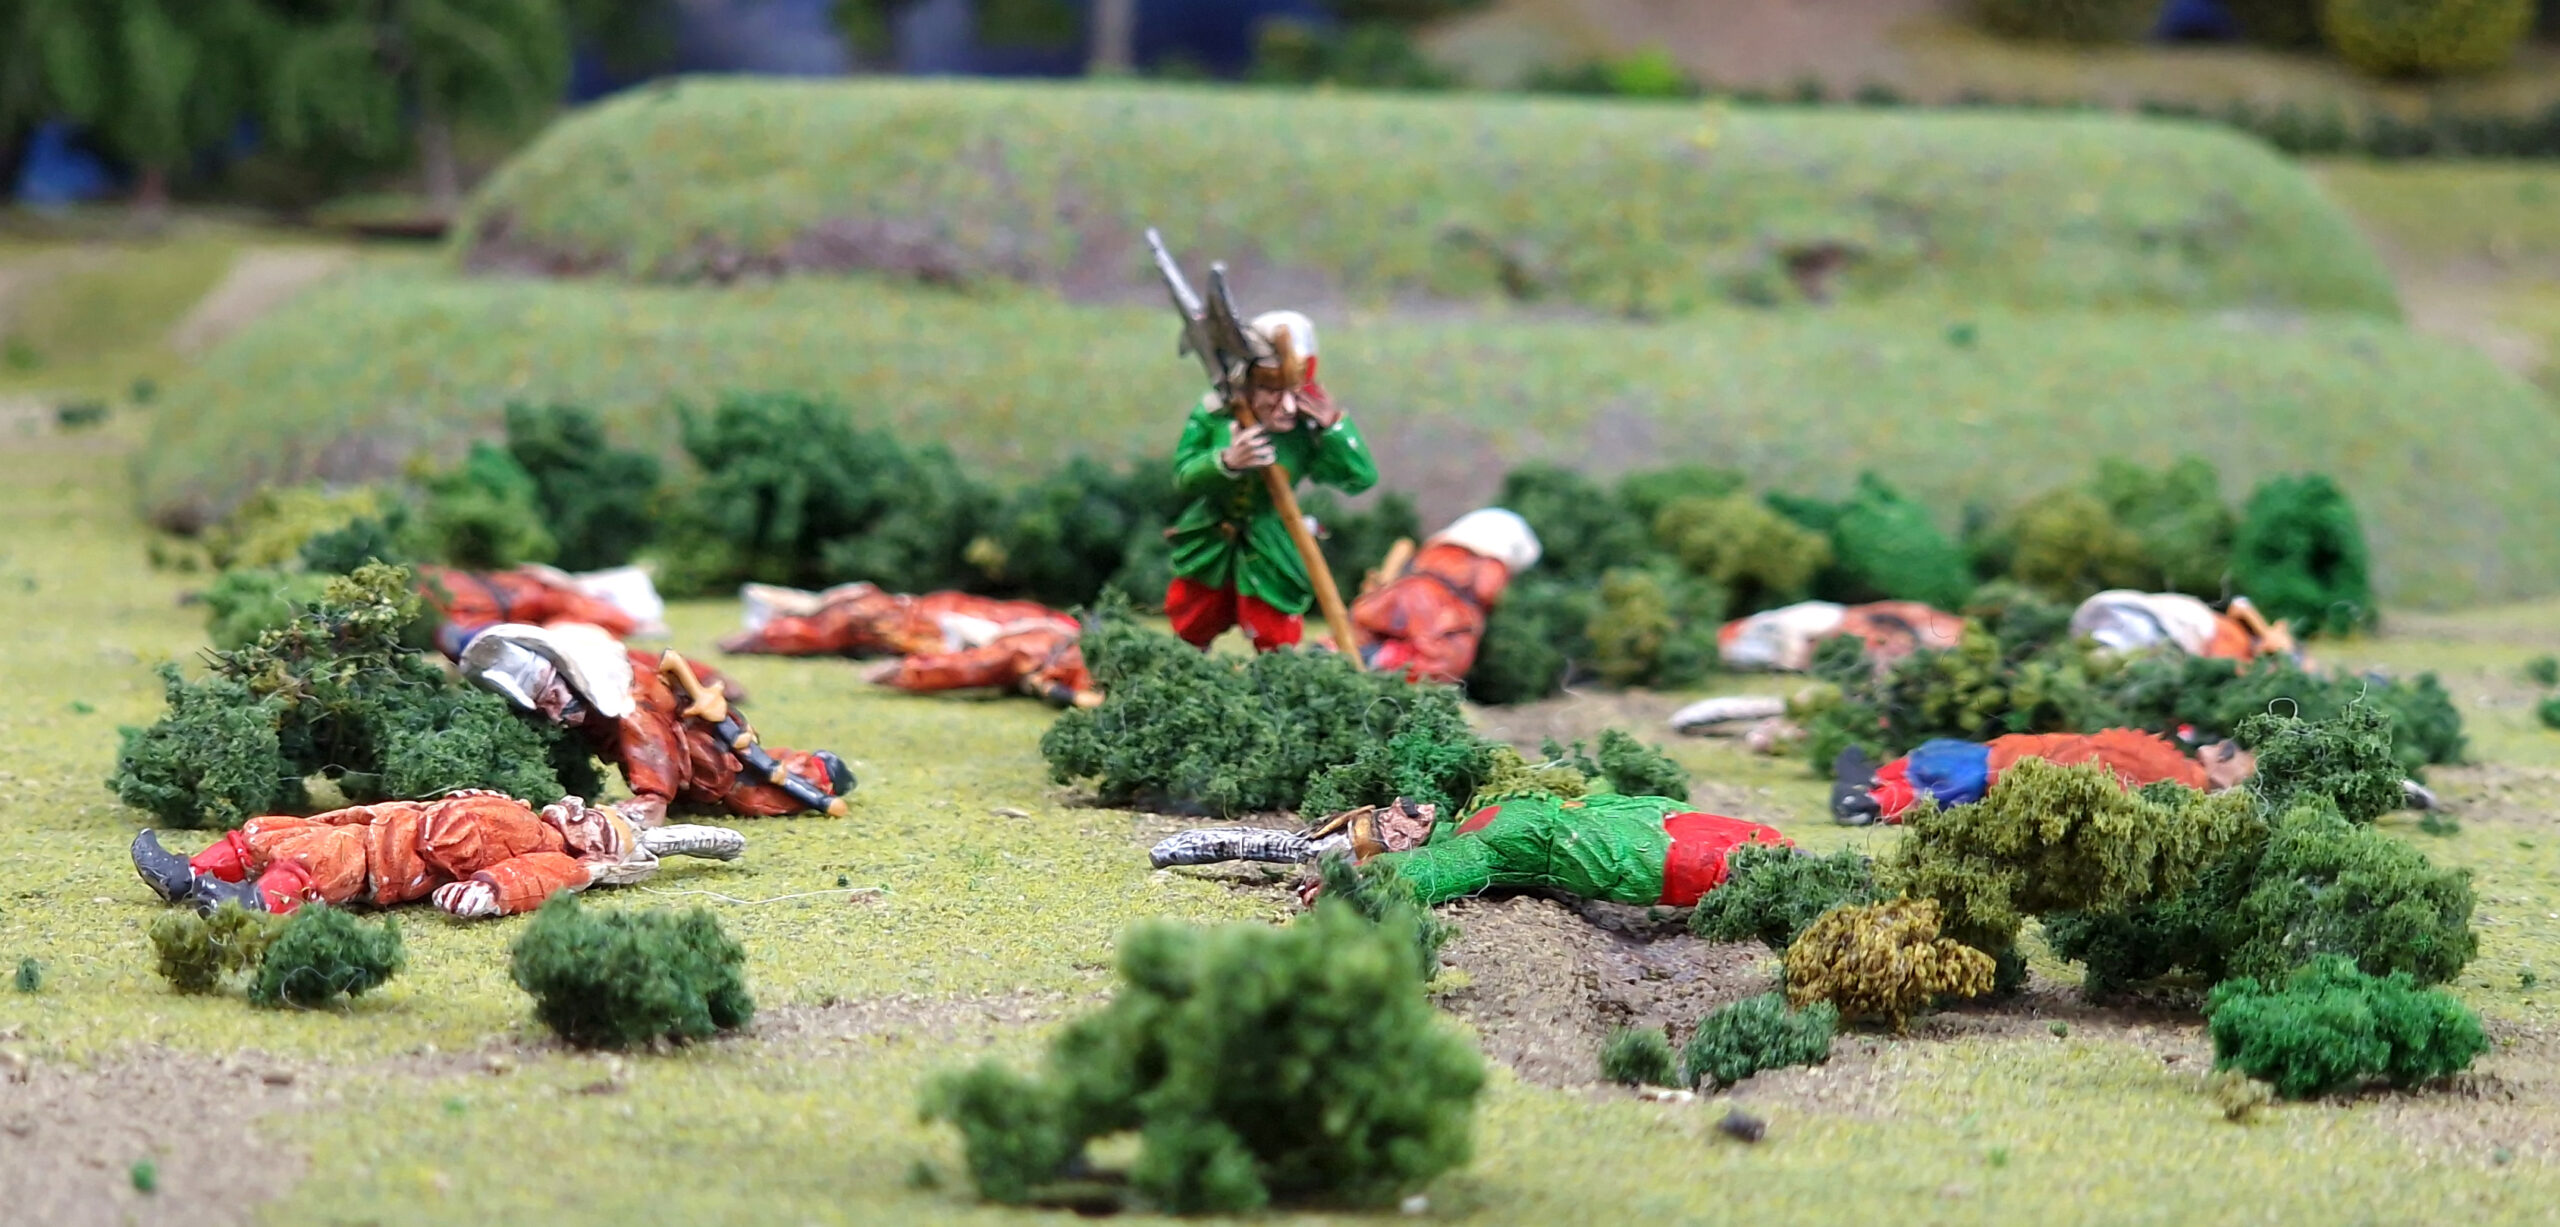
Finally, there are the casualties – one of the most important aspects of any ‘rank and flank’ gaming experience for me! Sadly oft-overlooked, they serve the important purpose of (obviously) showing how many casualties a unit has taken for gameplay record-keeping, and also make your table look as ‘natural’ as possible – the fewer random dice and tokens laying about, the better in my book! They’re also incredibly quick and easy to paint – I reckon I can get one done in just a few minutes once sprayed up, using Army Painter Speedpaints. You can quite literally never have too many dead bods, so they’re a great thing to crack on with if you only have time for a short hobby session. Luckily for me, our Ottoman range has plenty of different casualties, and for my cavalry I use dead horses from across our range.
Marcus – And that’s that – for now! We’ll be featuring this force in an upcoming battle report to see how it gets on in the hands of its general, but as every hobbyist knows, no project is ever really finished. We’ll turn over to John again for the last word to tell us what he’s currently working on and has planned for the future.
John – I’ve just finished another unit of Janissaries, which were a bit of a speed test for myself. I wanted to see how quickly I could get them from the box to the tabletop, and using my tried-and-true methods, I polished them off in four hours! My golden rule is to try and do a couple of hours of hobby every night, so two evenings for a unit isn’t bad going at all. Next up, I’m planning to do some more trainee Janissaries in their iconic tall hats, and after that… even more Janissaries! These ones will be in a less ‘parade ground’ appearance, as I’ve come across some illustrations of them wearing simple skullcaps on campaign. Trent Miniatures do a range of separate heads including these, so I’m going to put a couple of more ‘rough and ready’ units together inspired by this. After that… who knows? Certainly more guns, more cavalry, more everything – no Sultan can ever have too many men!
If you haven’t checked out the previous articles find them via the below links:
Inspired?
Feeling inspired by John’s example and fancy trying your own hand at an Ottoman army? We’ve got a wide selection of miniatures to help you along from both Warlord Games and Trent Miniatures (via Skytrex) and carve out your empire in Pike & Shotte.