In the first part of this series, I discussed the various factors that went into planning the Mines of Shamasai table and its underlying building blocks. This time, I’ll be looking at the basics – marking up and carving the boards, the tools and (cheap) materials that would be chosen to create the mine.
The approach we’ll be going through is my own, potentially idiosyncratic way of doing things as I have a neurological problem and tend to do things to compensate. If you’re thinking of building your own table and want some alternate tips on planning or on making your own, cheap materials or are looking for advice and tips on how to build, then try Lukes APS/Geek Gaming or even Mel Bose, the Terrain Tutor on Youtube. And, of course, Warlord’s own basing materials are great for small areas and details.
Where?
In the last article, I decided on an open-cast mine with underground side tunnels as the most usable and practical design for what I was looking for. The next step would be to ask where it was located, because this would guide the colours.
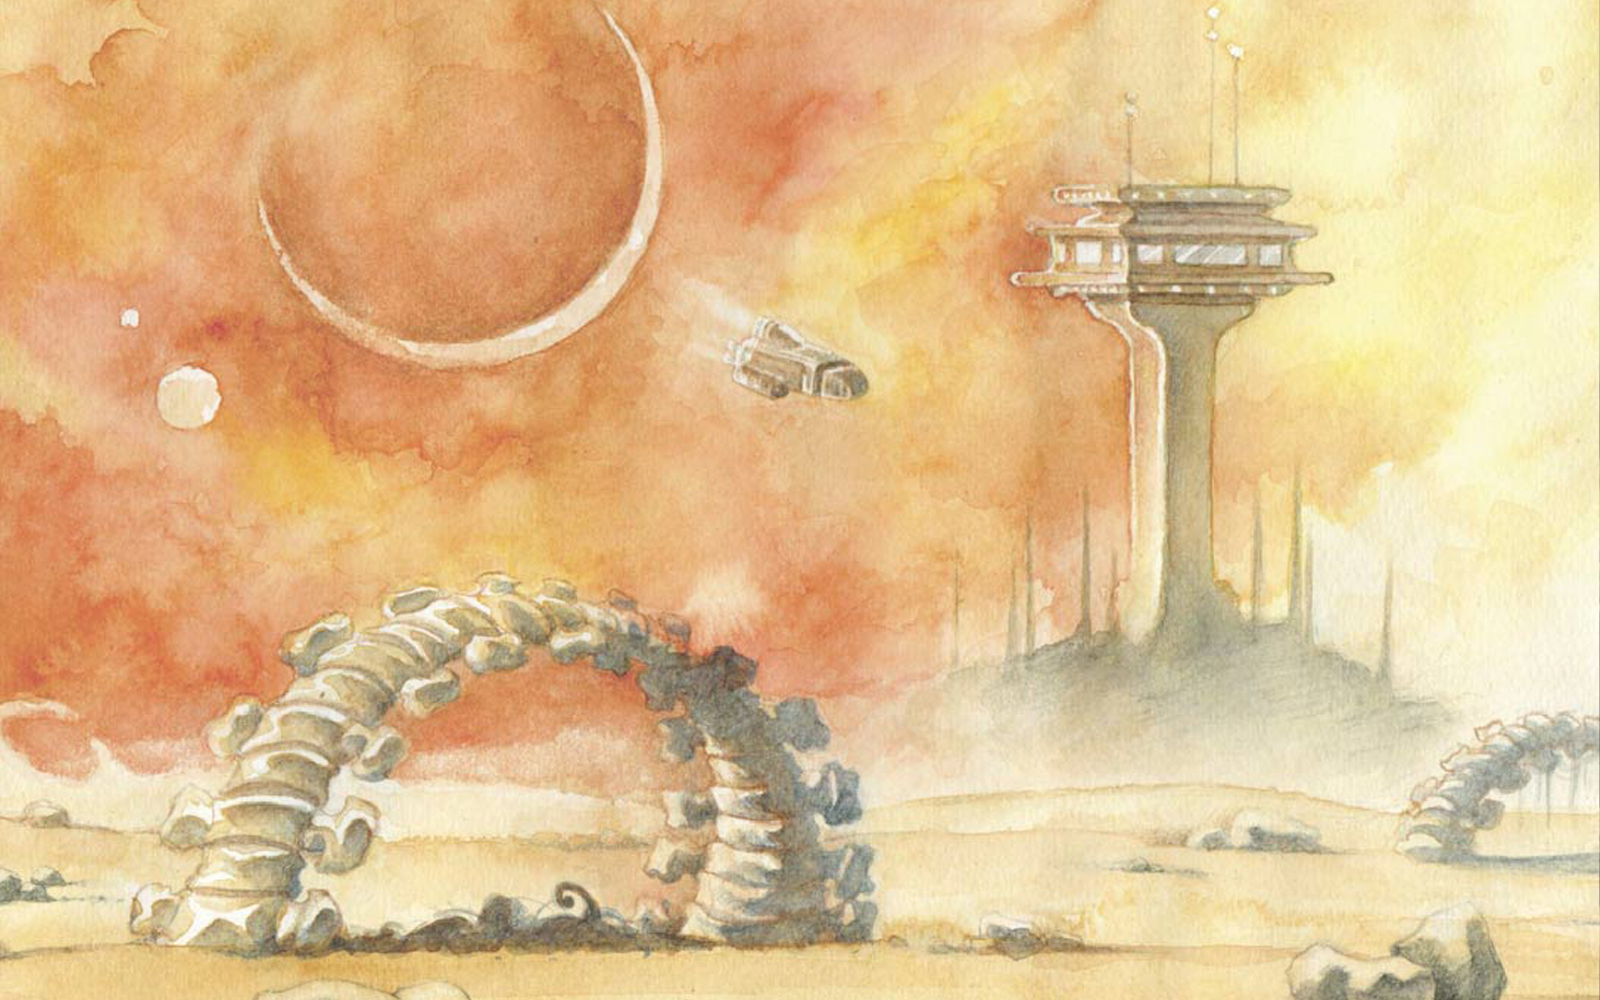
As regular Antareans will know, I wrote a series of short stories based on Shamasai, a deadly planet that was largely a desert waste with the occasional ruin still standing. What’s more artefacts can be sensed beneath the surface of the desert and dust that appear to be working still. What made it so deadly was the remnants of a biological nanosphere that caused dust storms across the surface of the planet. This Shamasai dust is sandy-red in colour and whilst it did not infect everything on the planet, like the IMTel nanospheres it has a tendency to regard other nanospheres as hostile.
The only known panhuman survivors of the Shamasai dust infection were Prince Batu and Baray Tsulmari from House Delhren. A few Ghar were known to survive and it is thought they only managed to do so due to their lack of a nanosphere. The Shamasai Dust is deadly and immensely powerful and whilst much of the planet was bombed by Ghar, eventually their ships were contaminated by the dust that acted to defend itself. This leads to an interesting possibility: a powerful nanosphere that many would want to study; artefacts beneath the surface; and Boromites who can and often do operate without much in the way of a nanosphere.
Hence, the Shamasai Mines. I’d need desert-coloured items and to represent the sparse vegetation and struggling growth, would probably need some reddish and tan grass. The colour palette might work well with ochre and, as a bonus, some of my armies might fit on the table as I’d based them for Shamasai anyway (others are based for Taskarr and Xilos!).
What Materials?
We’ve already discussed the base boards in MDF and polyboard but it’s worth stressing the MDF use is moisture-resistant, not the standard MDF in a DIY store. This helps to limit warping with gluing and painting but also helps in storage as it adds a degree of resistance to damp (just don’t try burying it in water, though!).
As the table would have to be transported and would be used for demo games at shows, a tough surface is needed. Before going anywhere, I checked my garage for anything I might have left over from a cream/magnolia phase (we have a dark house) and found some dried-up tins of various creams, now at the tip, and also – hoorah! – a half-used tin of a sandy-cream, textured, exterior paint.
The intention was to cut out the boards and have plenty of vertical areas on which figures could be placed. The vertical ‘carved out’ sections would have to be coated with a mix to deliberately roughen the material as I didn’t want the oft-seen ‘carved polyboard’ effect and also wanted to make the rocky, vertical cuts clearly visible.
And this brings us to something I would need to be careful of. Whilst the plans had a mix of straight and rough tunnels (carved out by lavamites, no doubt), one of the issues with polyboard is that it really can cut cleanly as long as a fresh blade is used. As I had no wish for any surface coating to slip down, the vertical edges of the board would have to be ridged and cut where the coating was to be applied to act as a ‘key’ for the coating. This would also give some additional shape to the sides, as if they had been carved out by a giant engine, or by tractor mauls, and would also hide the join between the two 25mm layers!
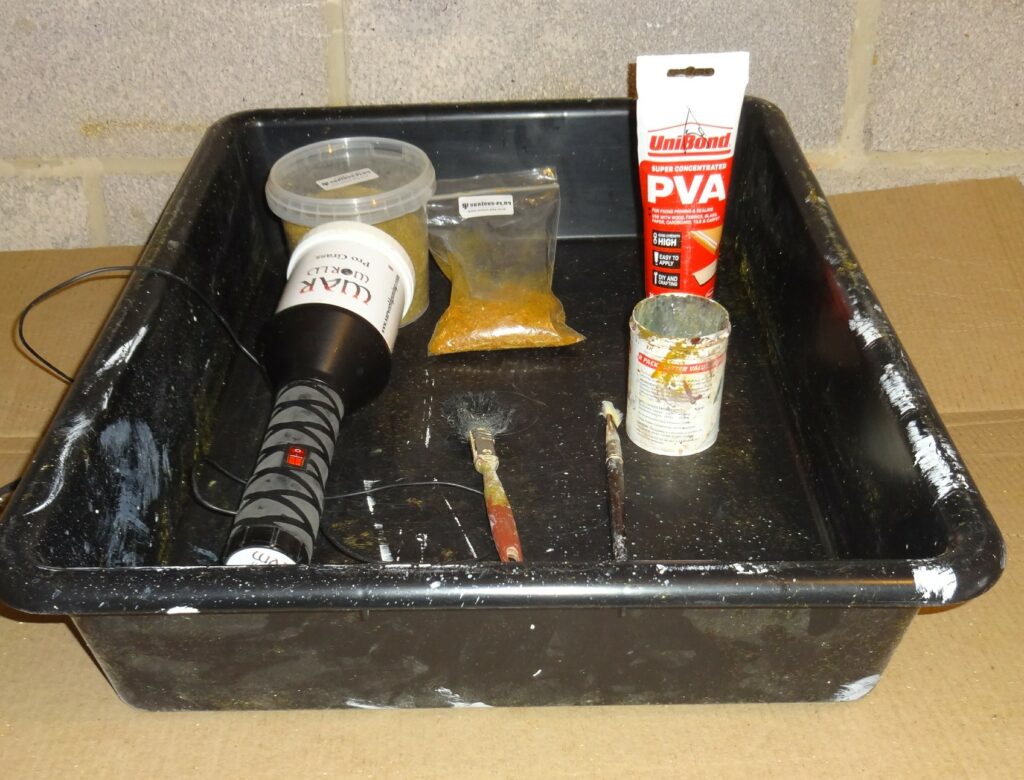
For the main mix I use a 1:1 mix of grey exterior filler and rough sand, with substantial dollops of PVA, perhaps 1/5 at most, whatever colourant I was using and finally a little water to make the mixture to the right consistency. For the cave walls I just used the sand as it came, but for the straight-walled sections I use sieved sand to remove the grit. The exact mix varies by personal preference but I find the above works well.
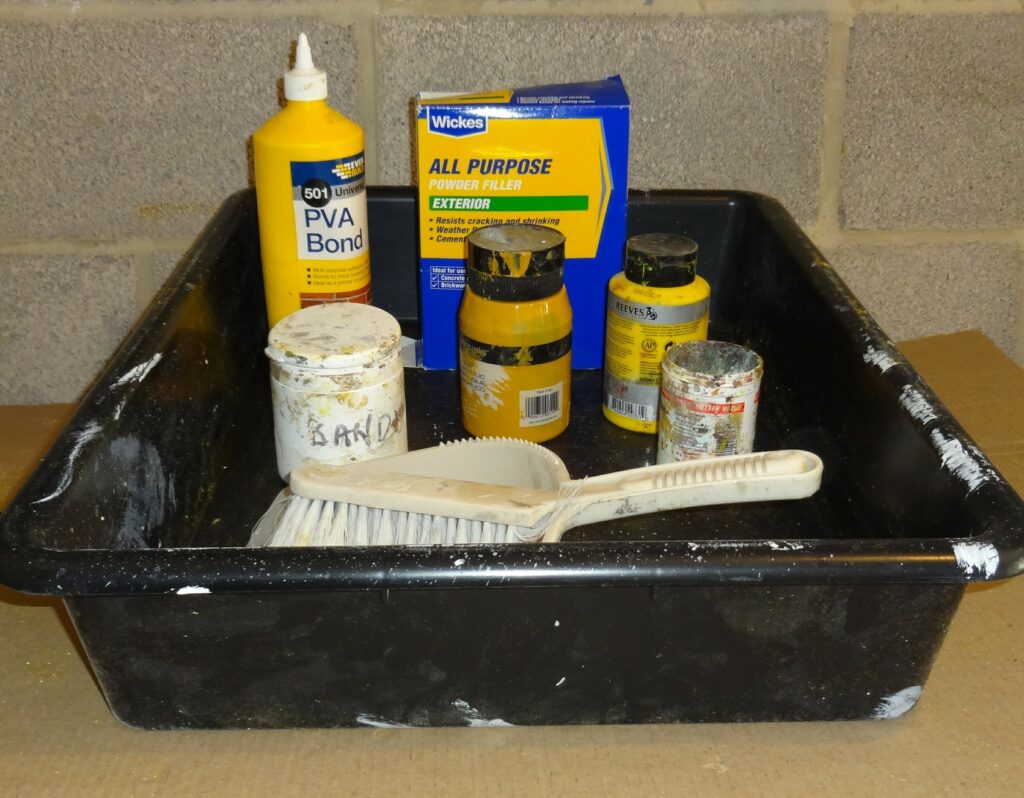
For an applicator I use a mix of a very cheap 1” brush from a cheap set bought on offer from a local B&Q. This is also supplemented by an ancient putty knife which is useful for applying larger amounts and getting into corners. The filler powder and PVA was from a bargain centre whilst the sand used was part of a bagful bought from B&Q, then dried in the sun and boxed up – I still have loads and regularly give it away to wargamer friends. The colourant is some cheap acrylic paint from places like The Range but for the ochre I had to hunt a large pot of the stuff from the web – one of the more expensive items (~£7).
As an aside, I also bought a cheap(!) pot of pre-mixed filler I could use to fill in the inevitable gaps before putting on any final finish.
On top of this, I would need something to represent the blasted vegetation. I like the texture and finish of static grass and, as is common nowadays, find the occasional tuft sprinkled in quite effective. I could have used Warlord’s static but the quantities I had in mind would have meant a lot of pots so after buying some trial packs, I bought a 1L tub of ‘Muddy Dead grass’ with some smaller packs of Canyon and Ruby Red. On top of this, I also purchased a mix of tufts at 4mm, 6mm and 10mm to spread over the surface.
I had some concerns about the levels slipping so hooked out some 6mm dowels: if need be I could retrofit these to stop any movement. As they would likely wear badly, I also purchased a pack of 6mm washers into which they could slip, the idea being the washers could be sealed in place and the dowels slot into them.
Tools
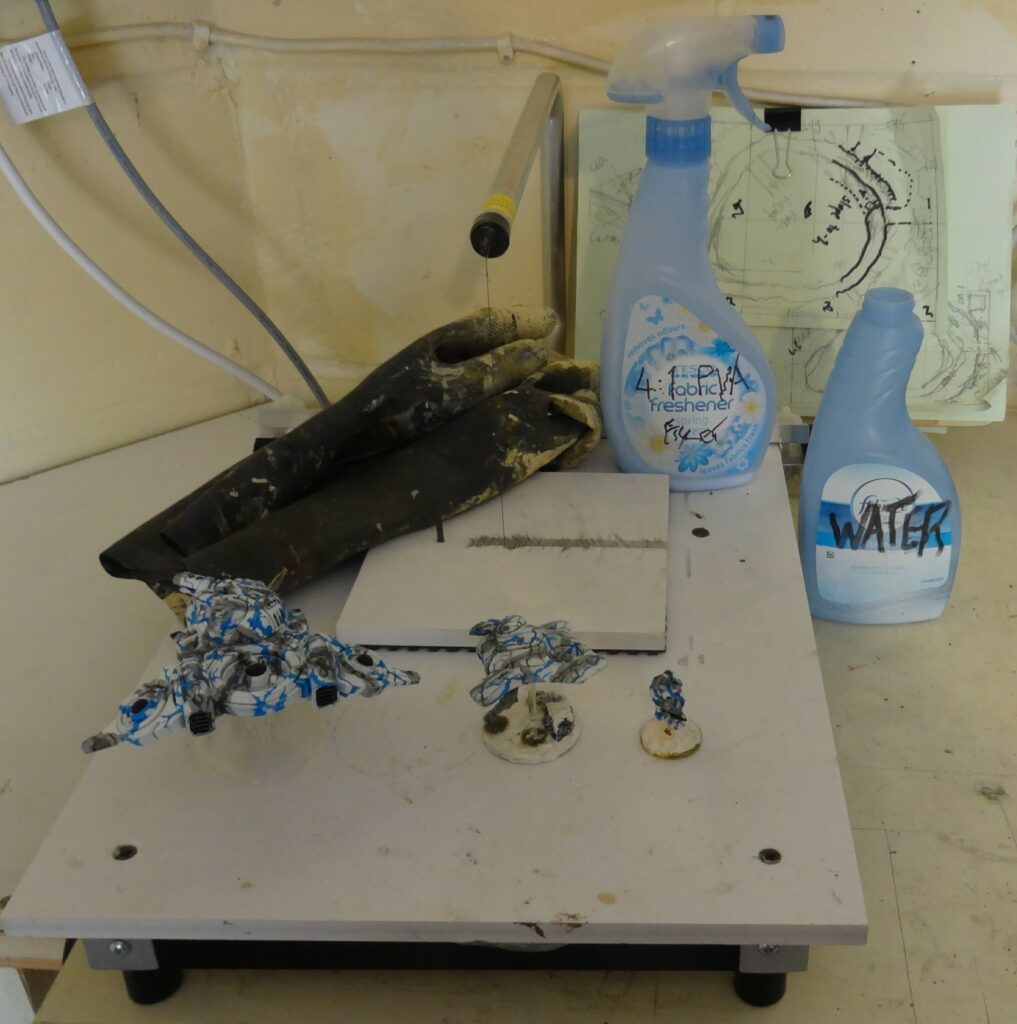
The main tool for cutting polyboard is a decent hot-wire cutter. You can cut it extending a cheap snap-off blade and heating it, but my nerve issues make this perilous, to say the least, and inaccurate every time, so the hot-wire platform means I can cut through several layers of polyboard. It’s worth mentioning that when putting the polyboard together I deliberately only use dabs of PVA and keep it away from the edge I intend to cut: when set it can be difficult to cut through and when wet it slows the cutting down a lot.
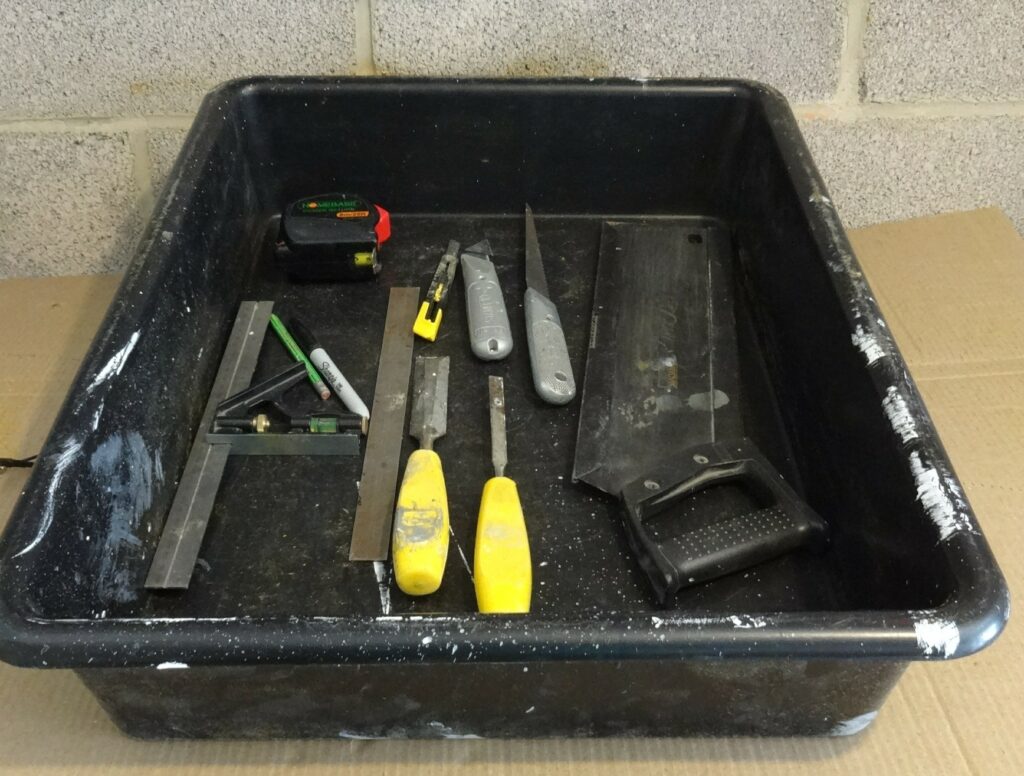
I use two knives: a basic, chunky Stanley knife for cutting single boards and for heavy work or cutting the MDF and a lighter retractable, snap-off-blade craft knife. The extension on the craft knife means I can cut down two boards width at the edges to make the ridges needed and they are cheap enough so it doesn’t really matter that the blades become worn in an odd fashion! As it happens, I have a saw attachment for the Stanley to make rougher cuts.
For shaping the base boards, I used a jigsaw that can cut at an angle – about 60-75° on most boards – and, of course, have a mask. |Occasionally I use a tenon saw both for the boards and for cutting the slopes of ramps.
For rulers I have a cheap, large right-angle (from the local market) and for accurate right-angles a combination square – which I use around the house, anyway. One of my wargaming steel tape measures is also pressed into service as is a 12”/30cm steel ruler.
I also have some ancient, cheap, gash wood chisels that are used to chipping off the inevitable solid lumps of filler that drop.
Apart from the cheap brush(es) mentioned, I also have another that I use for dry-brushing or for detail. This is a flat brush about ½” wide that came with… a set of something aeons ago. I guess I tend to collect potentially useful tools! I also use the 2” brush from that set to brush up static grass from the 65cm×50cm black trough (see in some photos) I use to catch the unused static grass – without having a box or trough to apply the static over, you waste a lot of grass!
On top of this are basic things like gloves such as Marigolds and heavier gloves, mucky painting/work-wear and shoes (I don’t know about you but I find paint and filler goes everywhere, especially when dry-brushing), and Sharpies for marking out the boards and pencils. But one of the most useful and most frequently used tools is a brush-and-dustpan: cut polyboard goes everywhere!
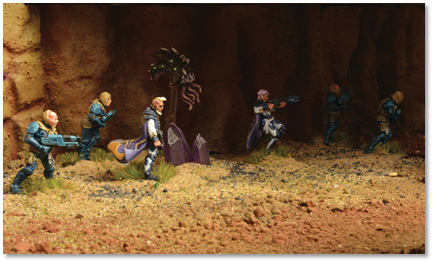
Finally, one of the most important tools are figures from the set you intend to sue the board with. For this table I used three: a 25mm base infantry figure, a 40mm base command drone and a vehicle (a C3M4). These are used to measure gaps, edges and tunnels to make sure the figures can fit!
Next Instalment
Having established all the basics, next instalment I’ll be going over the process of cutting and shaping the boards as well as the first, basic layers.