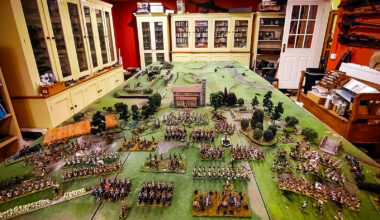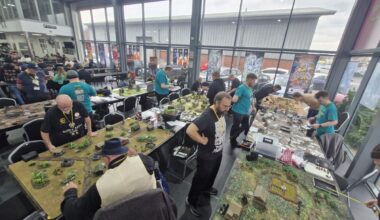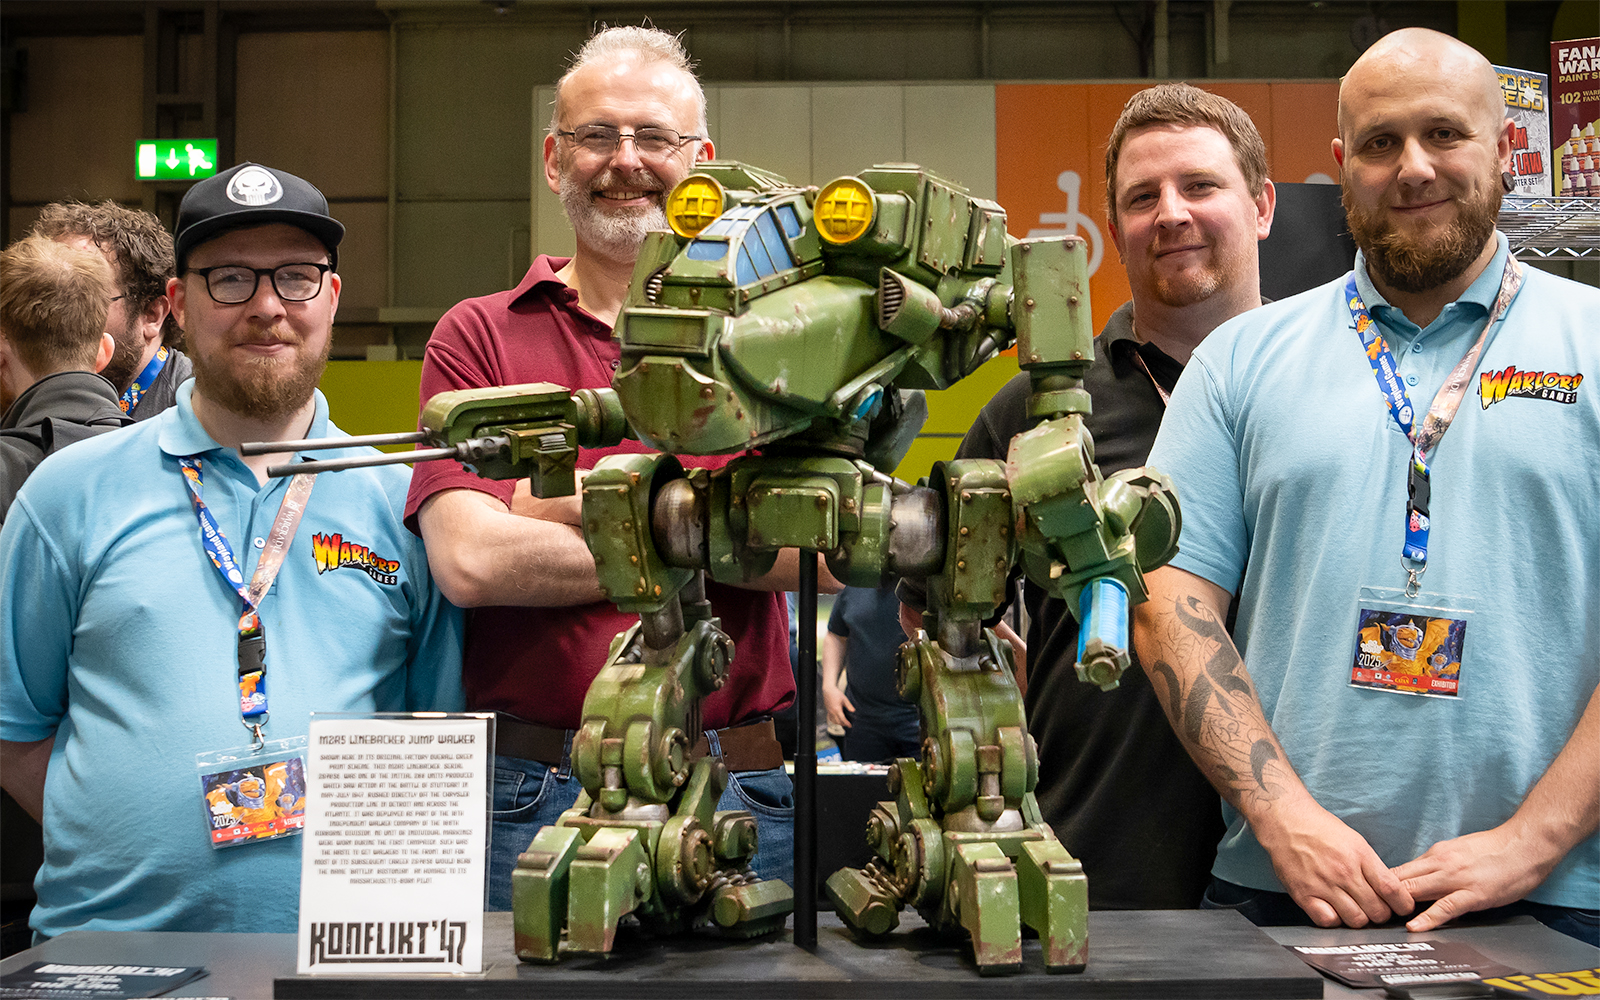
At the UK Games Expo, we had a very special guest at our stand. No, I’m not talking about Hobby Content Producer Chris Bilewicz and his radiant smile, but about the gargantuan Konflikt ‘47 Linebacker jump walker! We recently looked at how Steff Sorensen and her team went about assembling this monster – now let’s find out how she painted the beast!
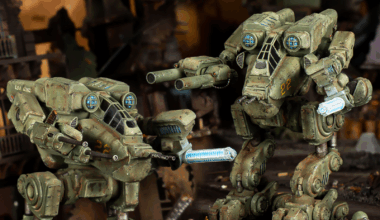
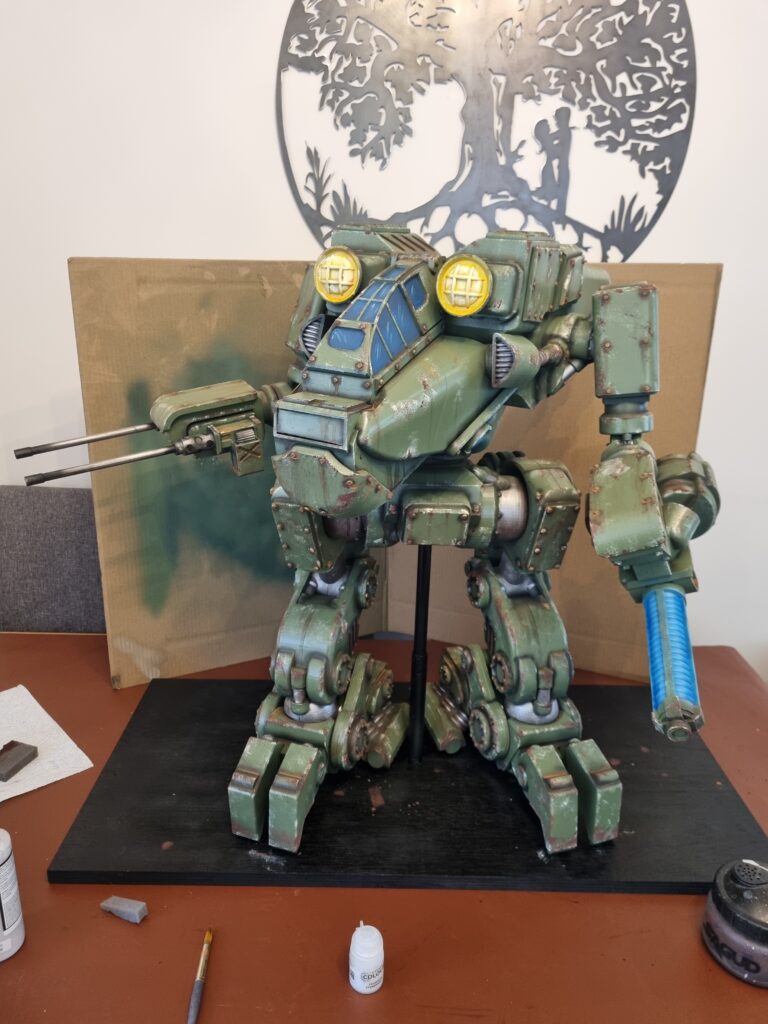
Steff – Once the Linebacker was assembled, I took stock of my situation. I had all of my paints and tools lined up, and about 24 hours – and this mech needed painting! It was time to get cracking. We’d decided that the colour scheme would be very much ‘standard US Army’, so I started off with an overall spray prime of Army Painter Angel Green to give me a base to work from. Once that was dry, I went back over with Army Painter Army Green spray, covering all but the deepest recesses. This gave me some built-in shadows and depth, right from the off.
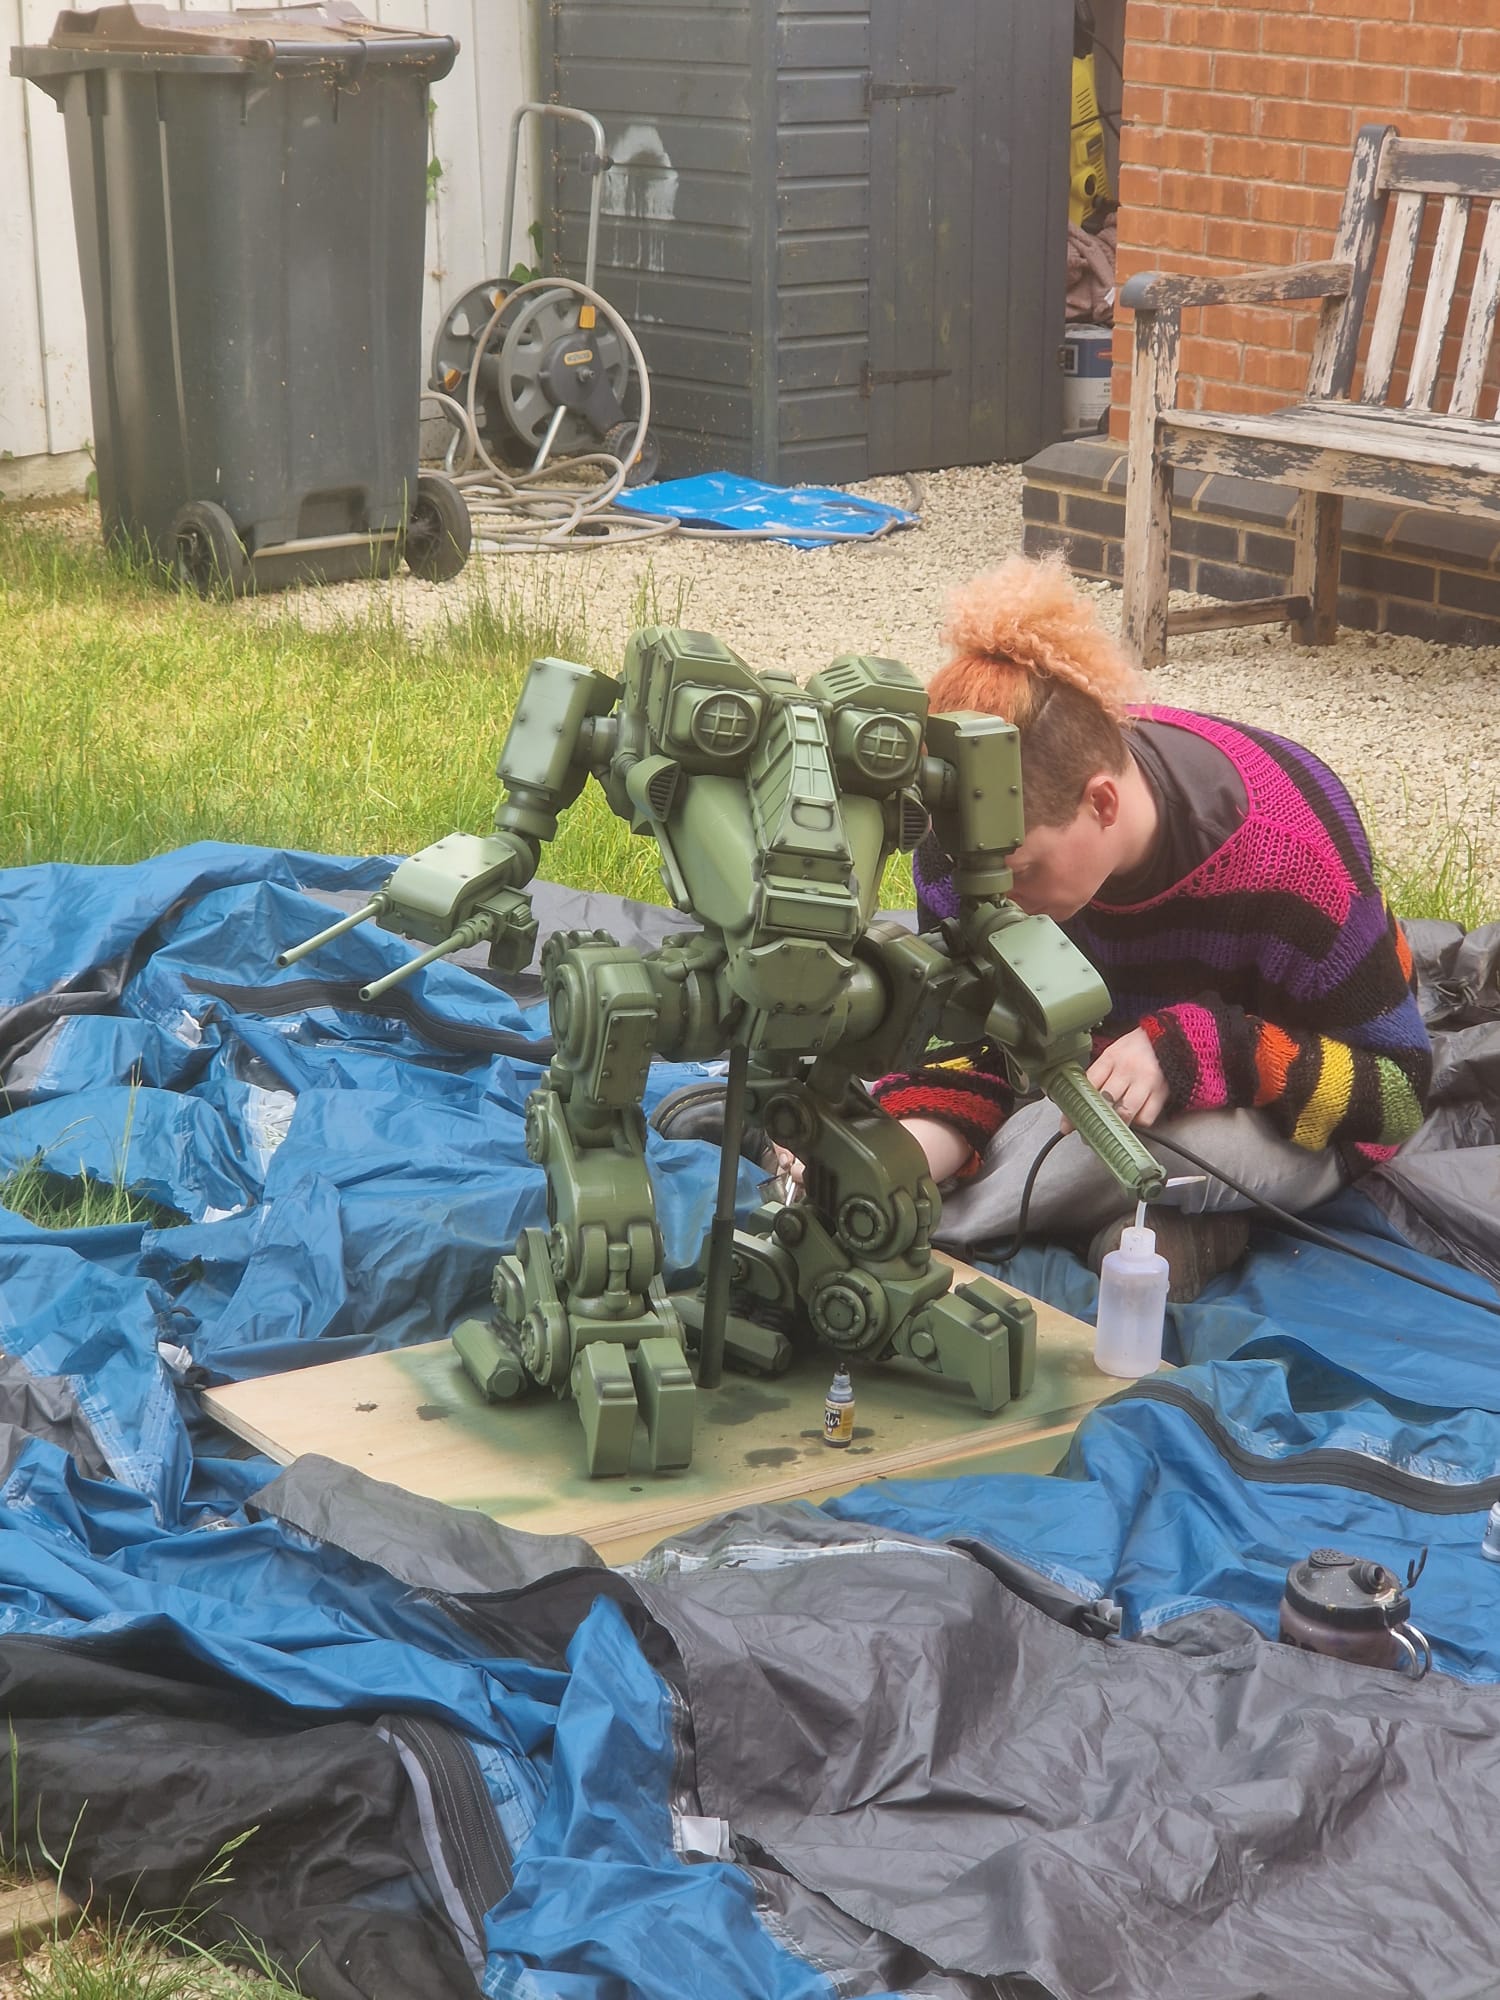
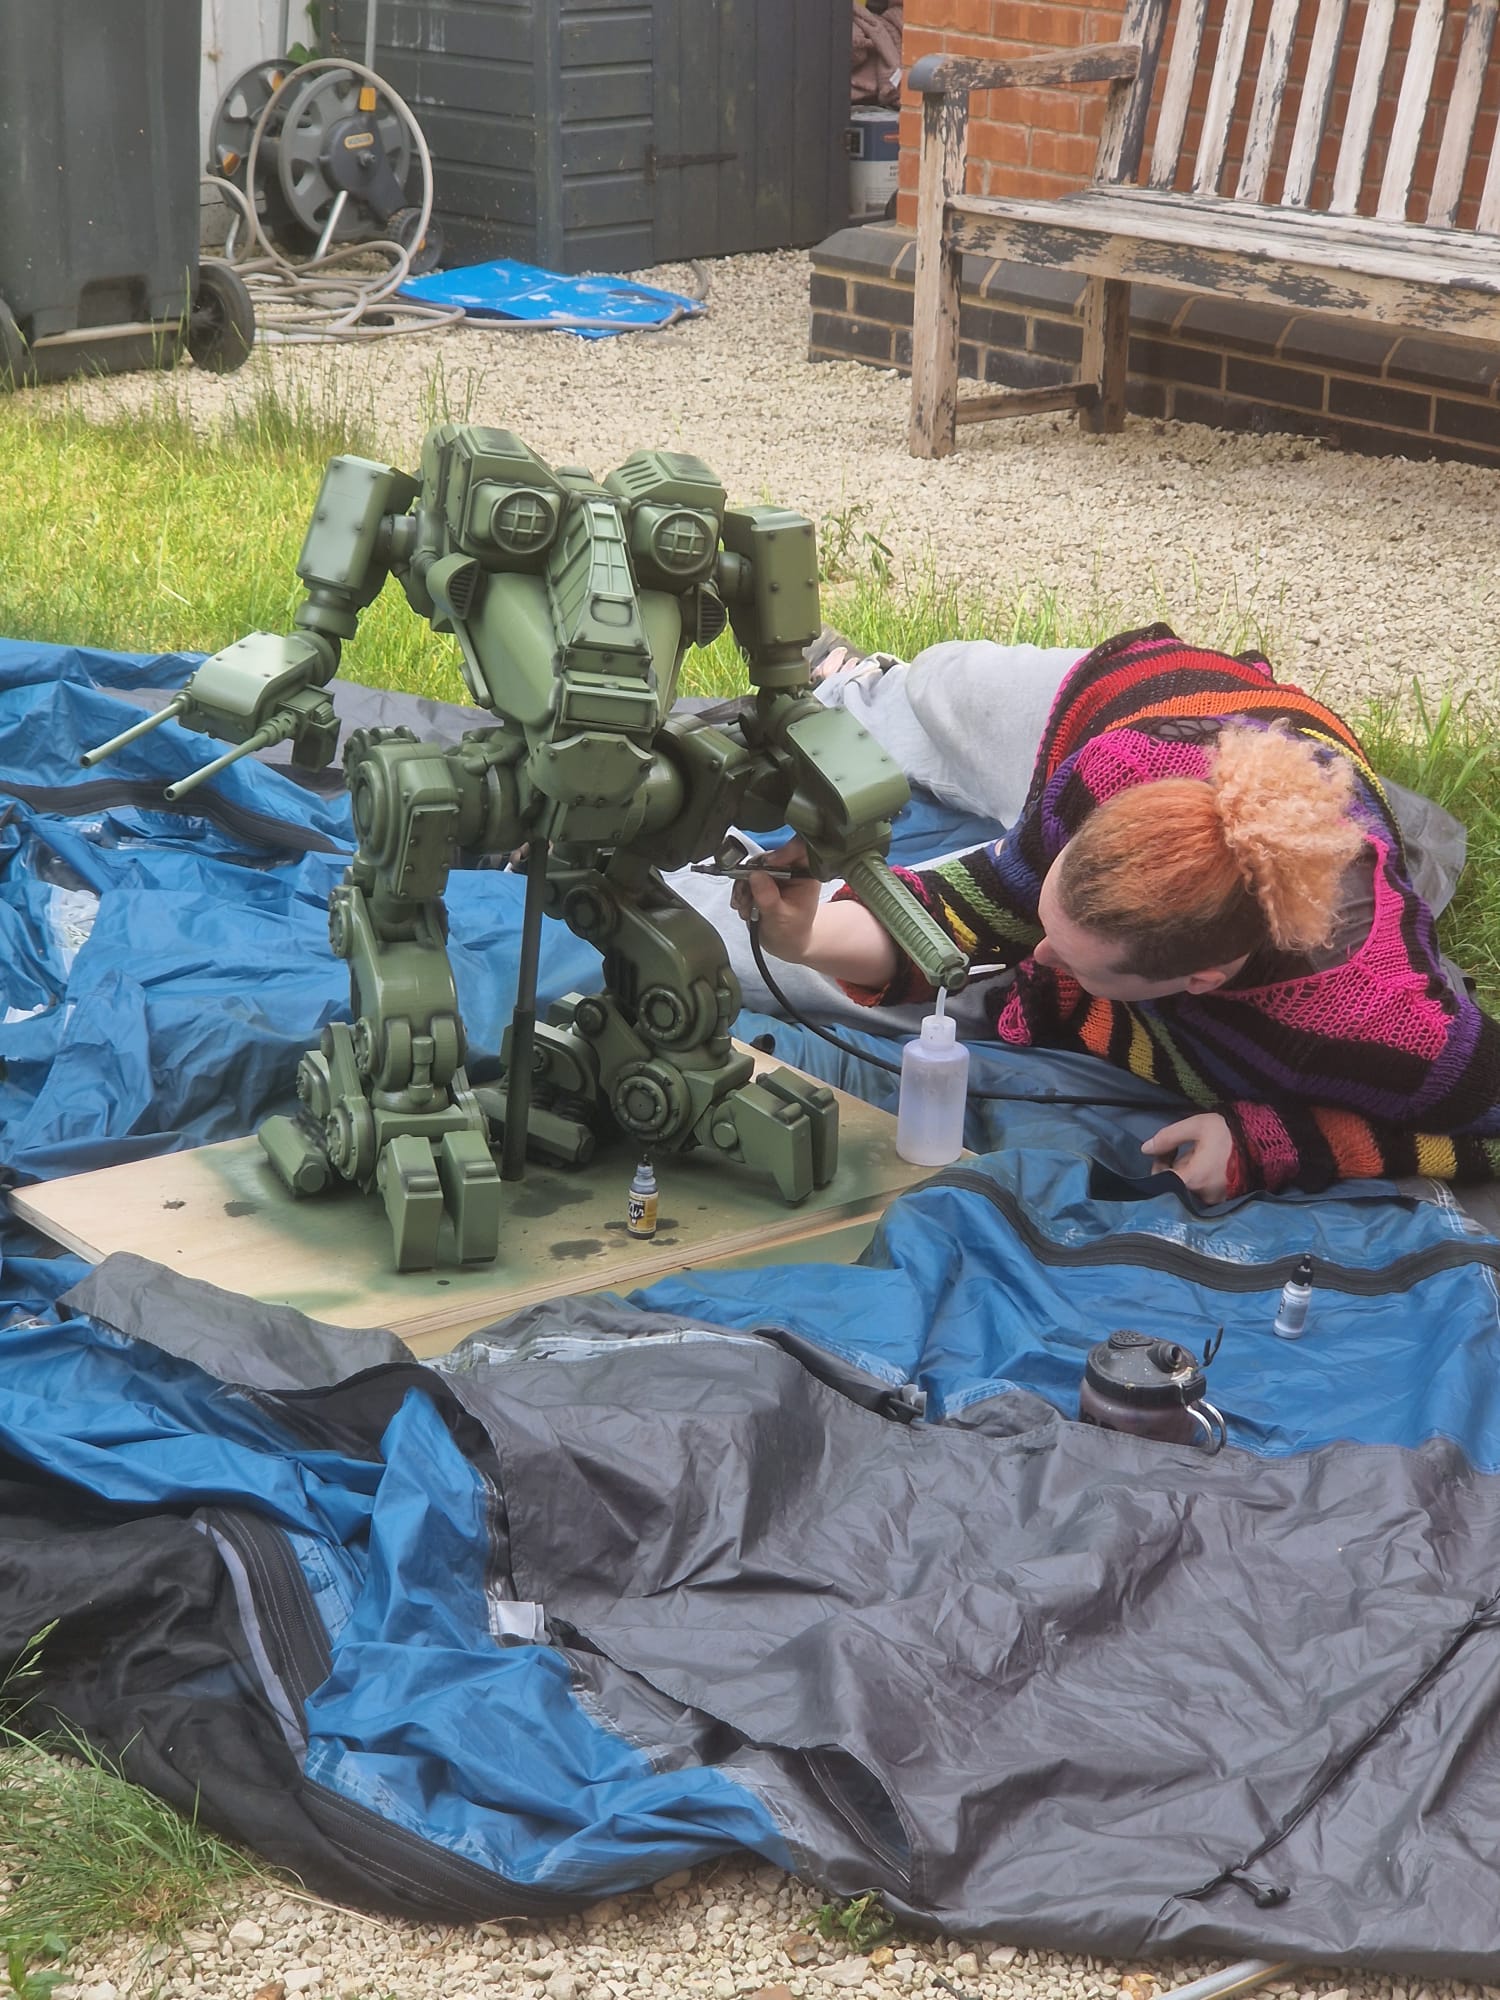
The next step was to ‘black line’ every single panel line, bolt, crevice and joint with my airbrush. This step helped make details ‘pop’ overall, and also gave me a visual guide to the model’s angles and how the entire thing looked as a three-dimensional object. It sounds complicated, but I just loaded up the airbrush with a 50:50 mixture of black paint and water and sprayed away, keeping the lines feathery and sticking closely to the line of the details.
Next came the longest part of the job, the weathering stage! With any large model, particularly one this big, you really have to approach the weathering as a way of telling a story. Throughout the entire process, I was asking myself questions like ‘where would this Linebacker scratch its paint?’ and ‘ where would rust or rainwater gather’ to help me decide where and what to weather.
I did a pass over the whole model with a sponge from a blister pack, tearing the surface so it was uneven. Then I dipped it in light yellow paint, wiping off the excess just as if I was drybrushing, and lightly tapped it across edges, angles, bolt, screws, and anywhere else I felt needed some details.
Once this was done, I took some dark reddish-brown craft store acrylic paint and sponged this lightly over any area that the yellow had hit, making sure not to cover the yellow. This represents two types of chipping – light scrapes in the paint, and deeper chips down to the bare metal that might be oxidising, but not yet rusted.

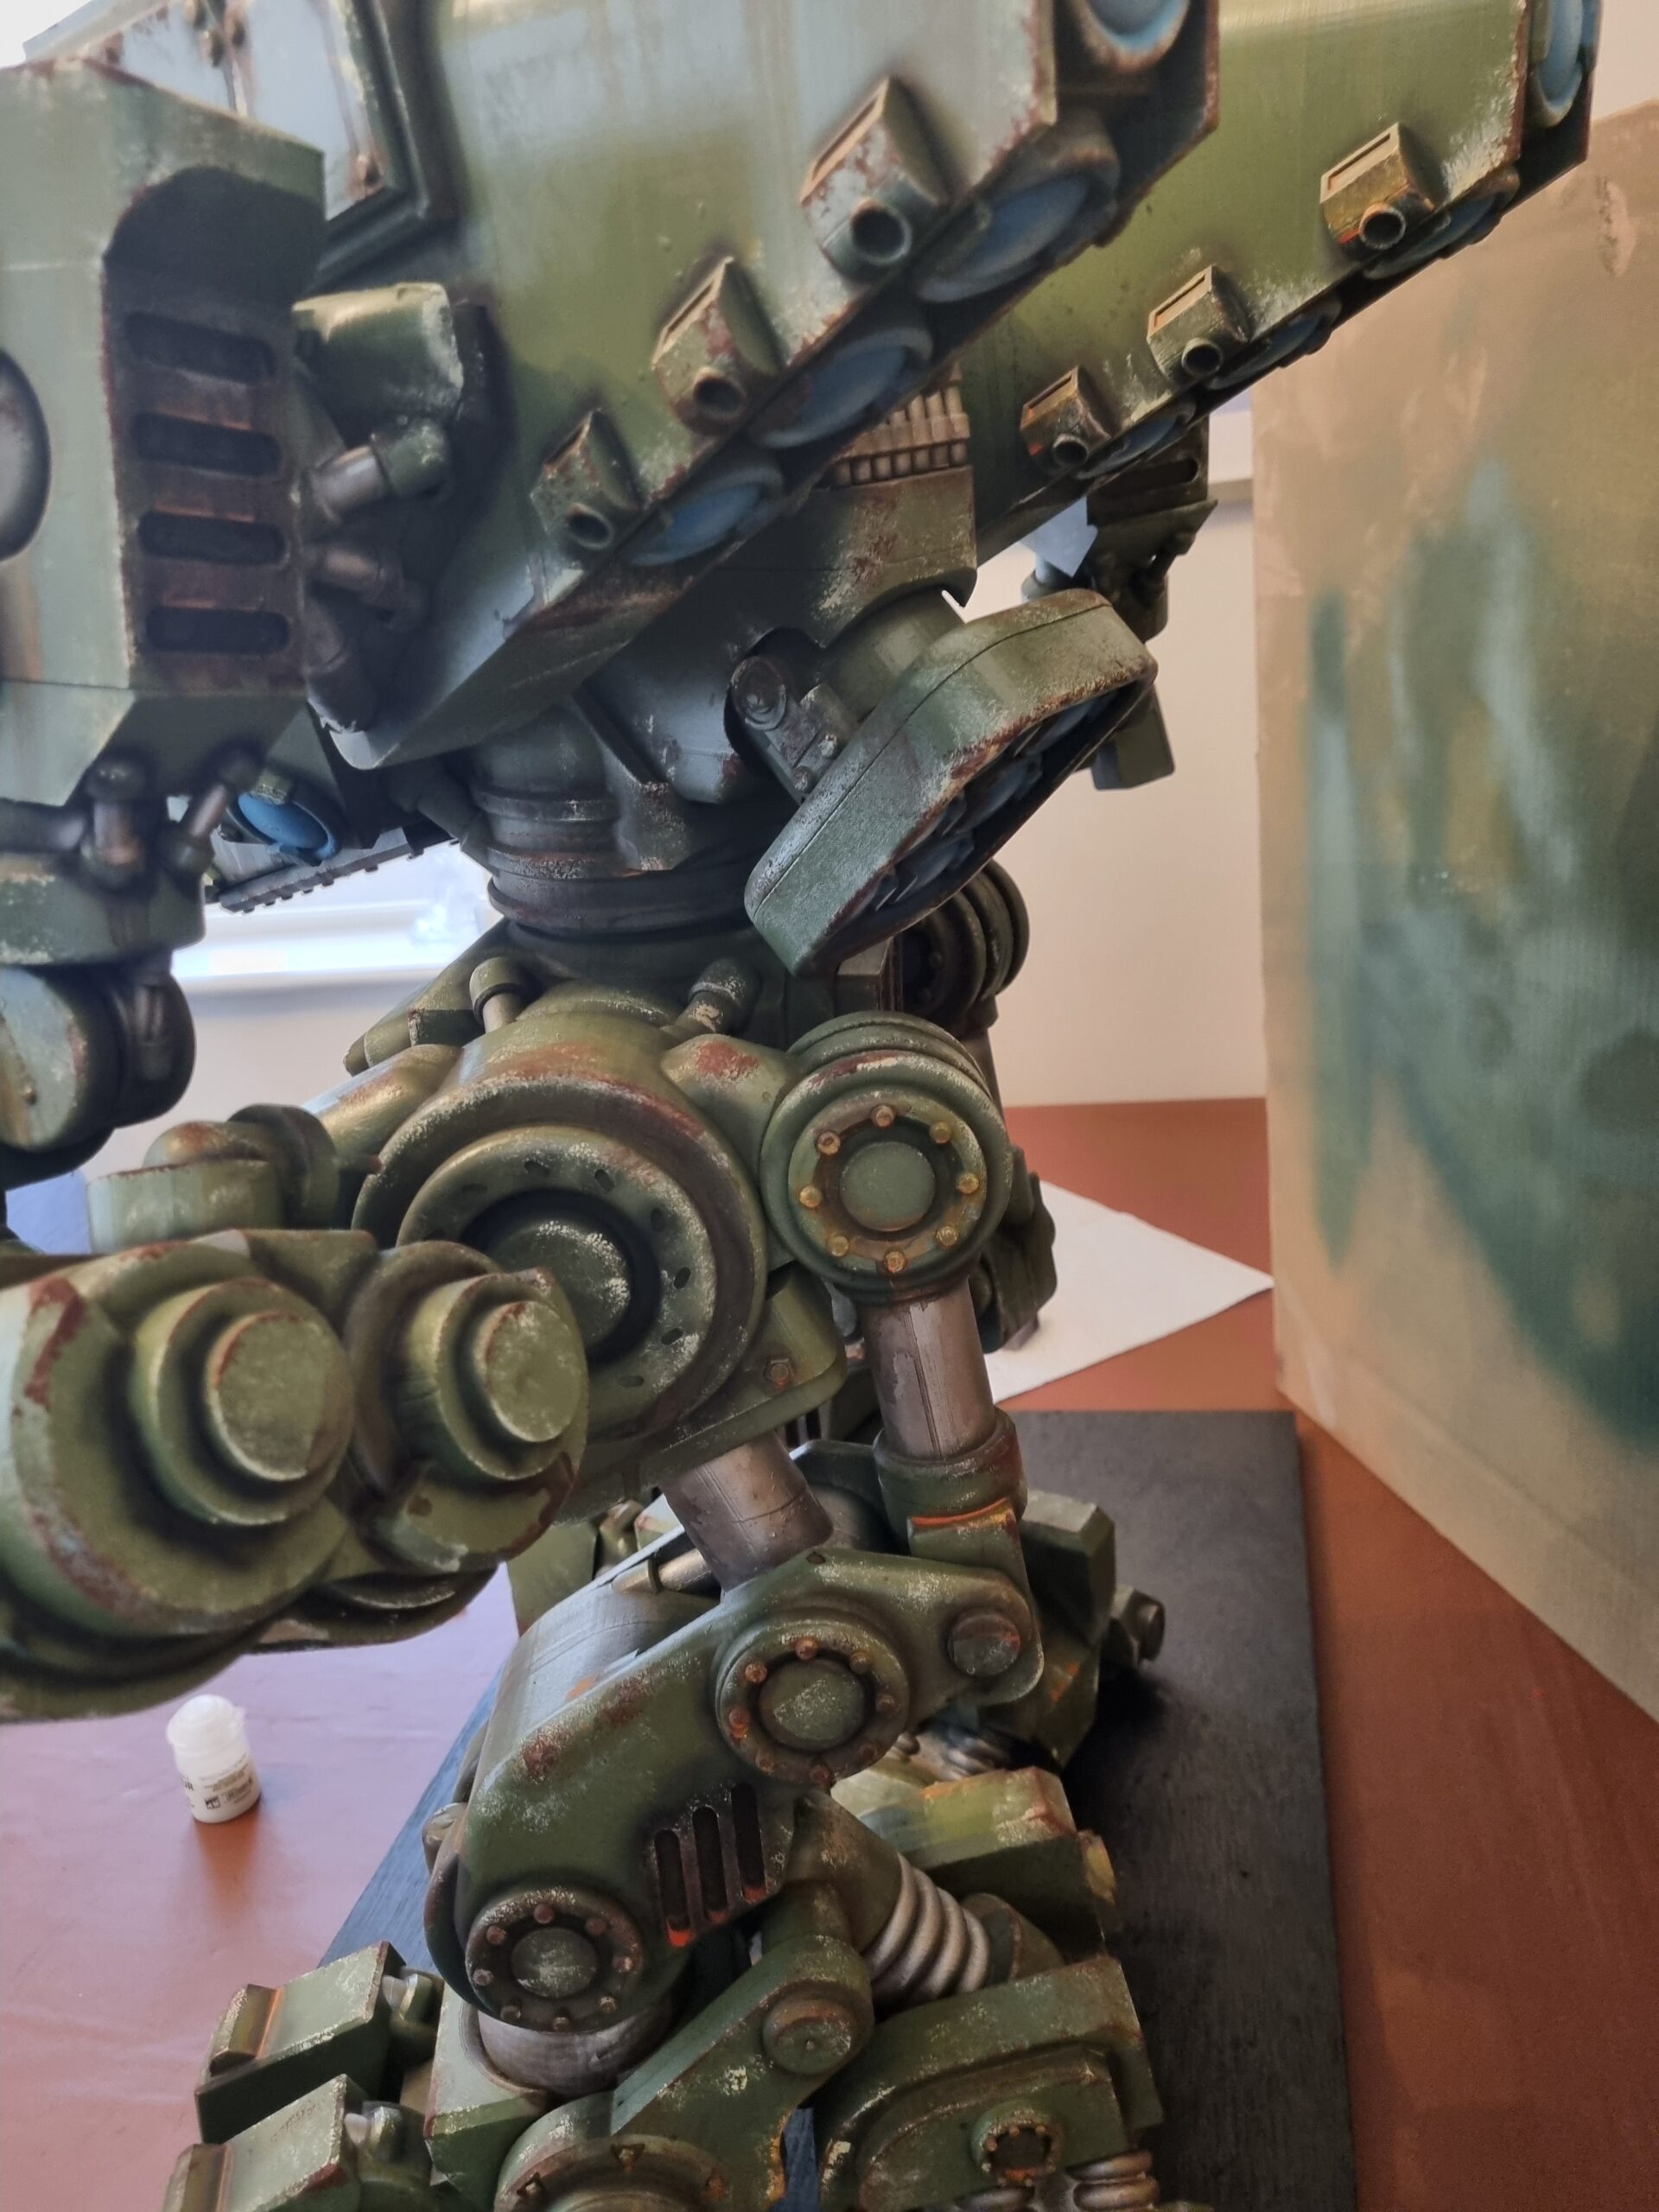
Next I picked out all the metallic areas with silver, and mixed up the cheap acrylic brown paint with 70% water and washed it over all metal surfaces. This gave a really great base for the ‘grime’ over the whole model, but it wasn’t enough depth to really show off the sculpt yet.
I took the same watered down brown wash, and added in some black paint to make it a dirty brown, almost oily colour. This got messily washed around joints, sockets, and anywhere that I felt would see a lot of movement, as well as the vents.
Then I mixed orange 50:50 with water into a thick wash, and went over every bolt and rivet, letting it pool and run down. Any upper surface like the top of the chassis also got the same wash, but it was dabbed on, to show rainwater settling in place and causing surface rust. This gave a really good ‘used and abused’ effect.
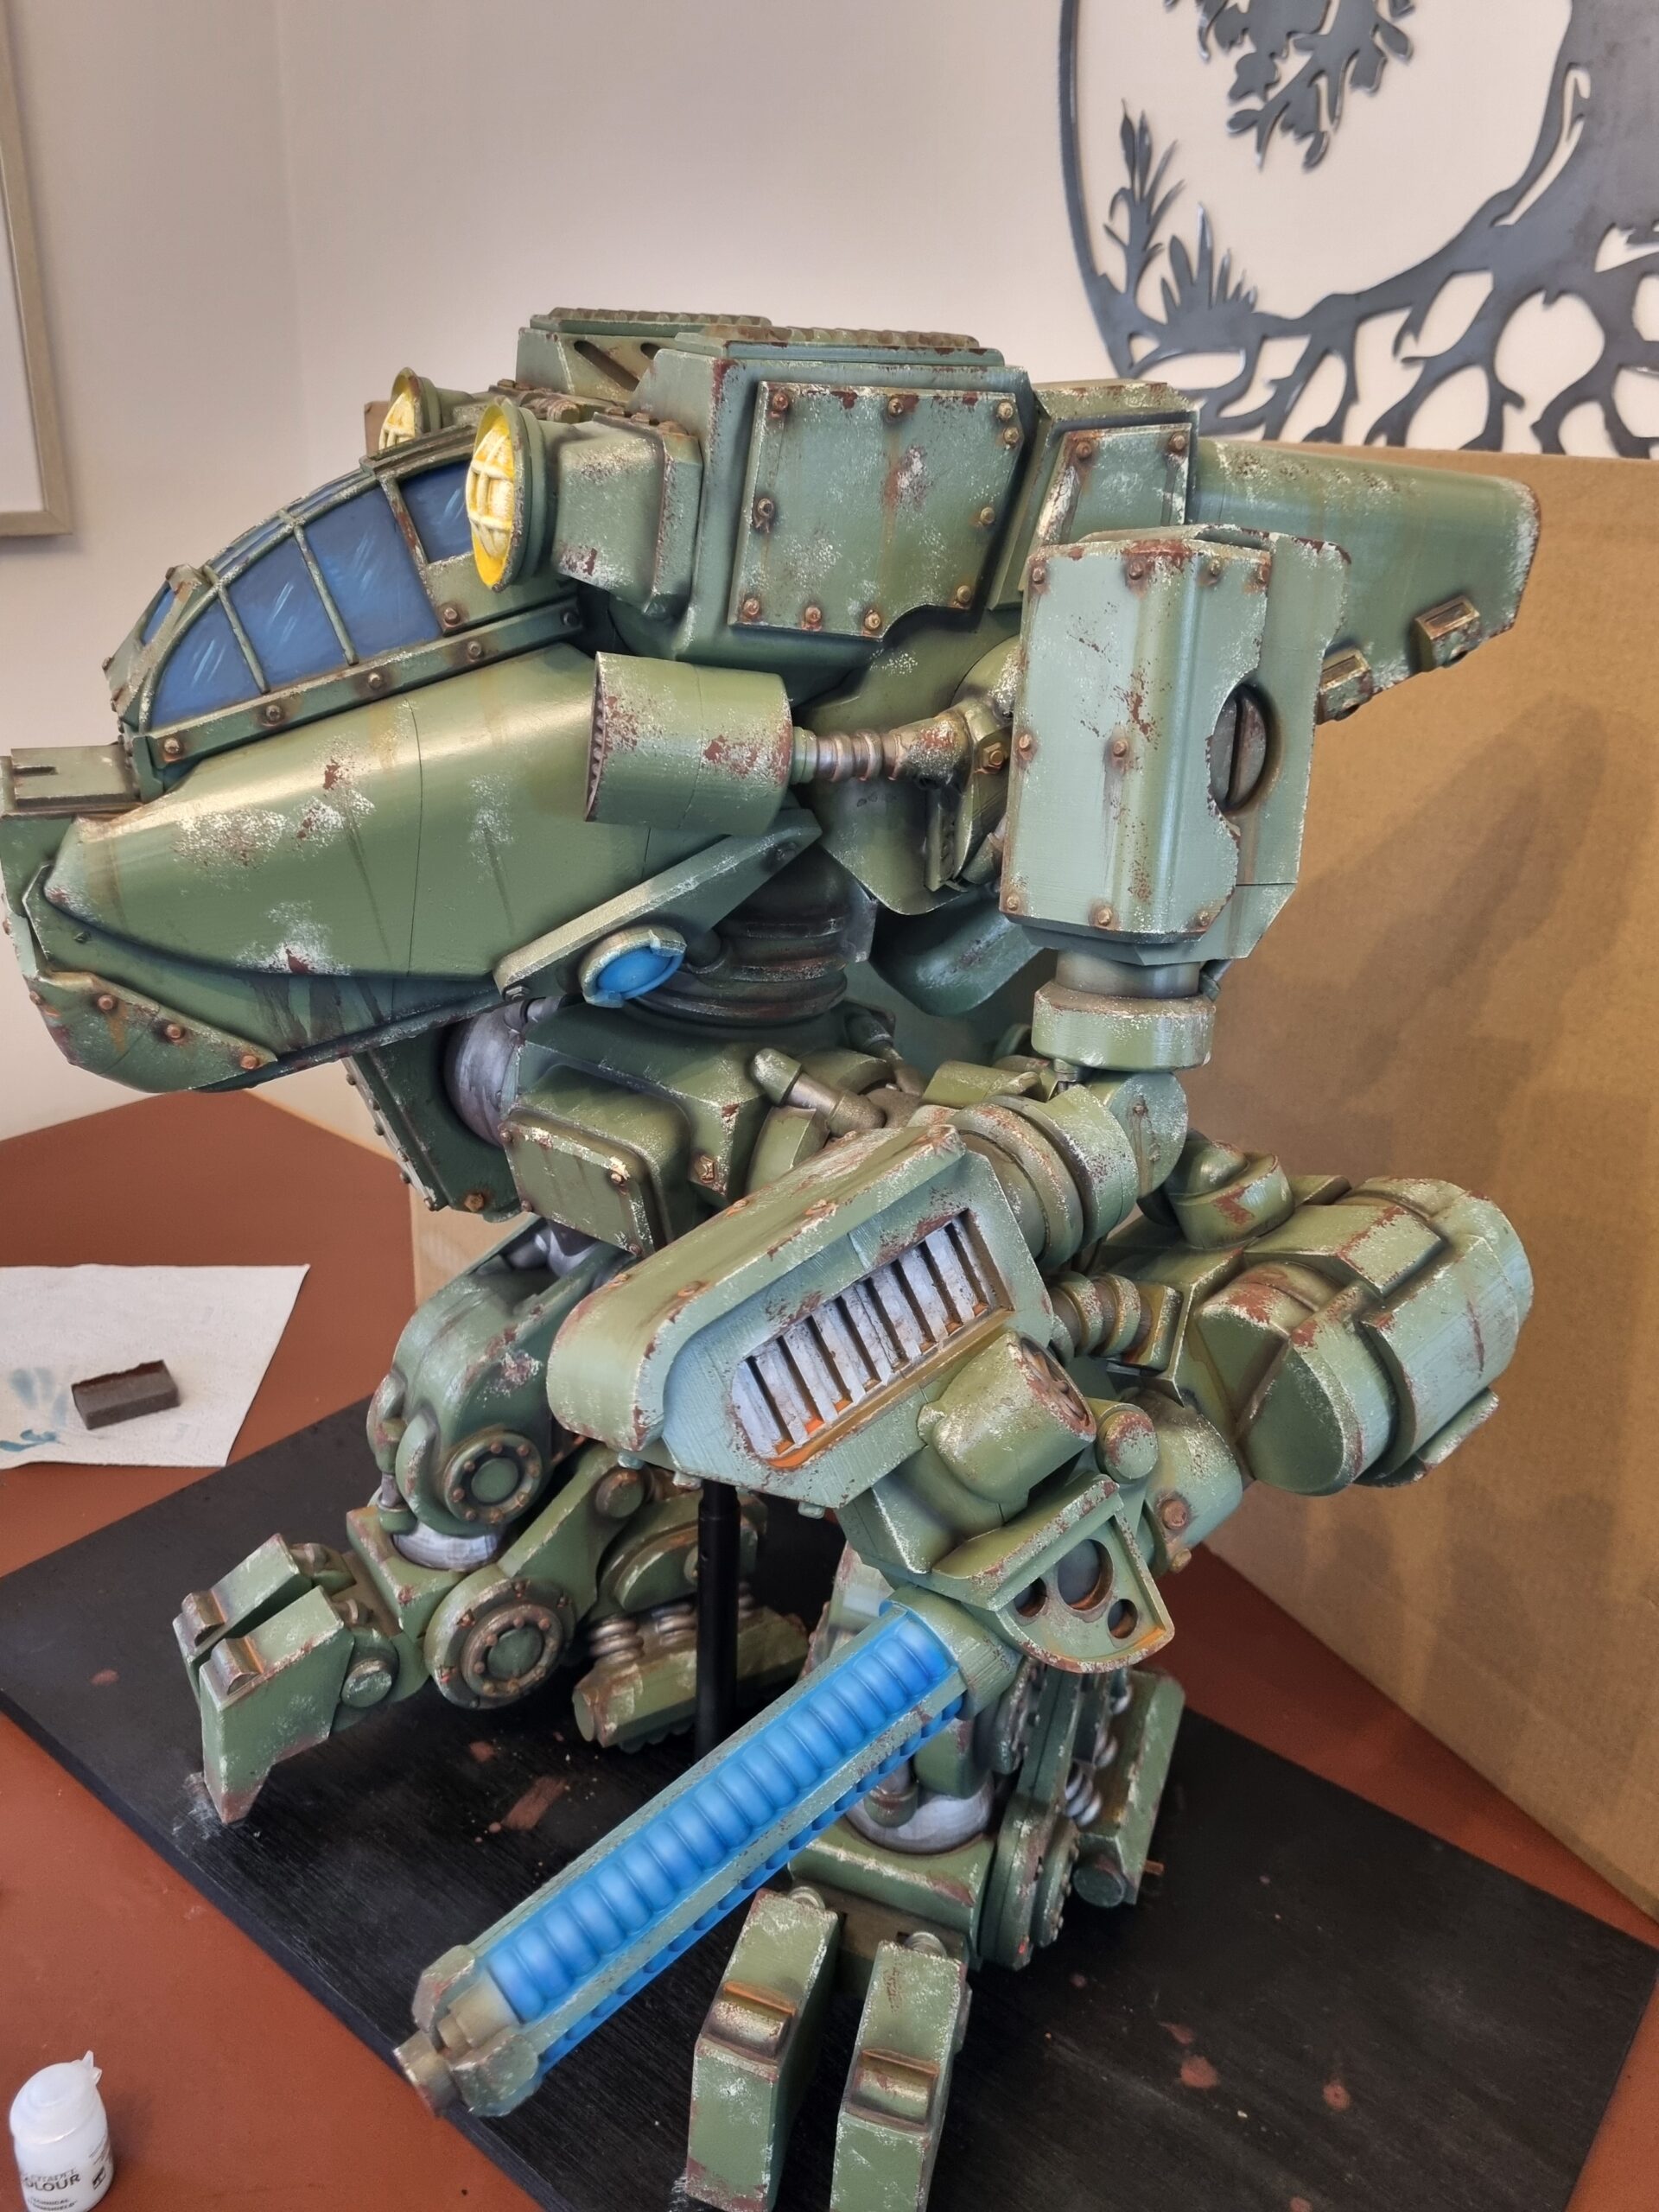
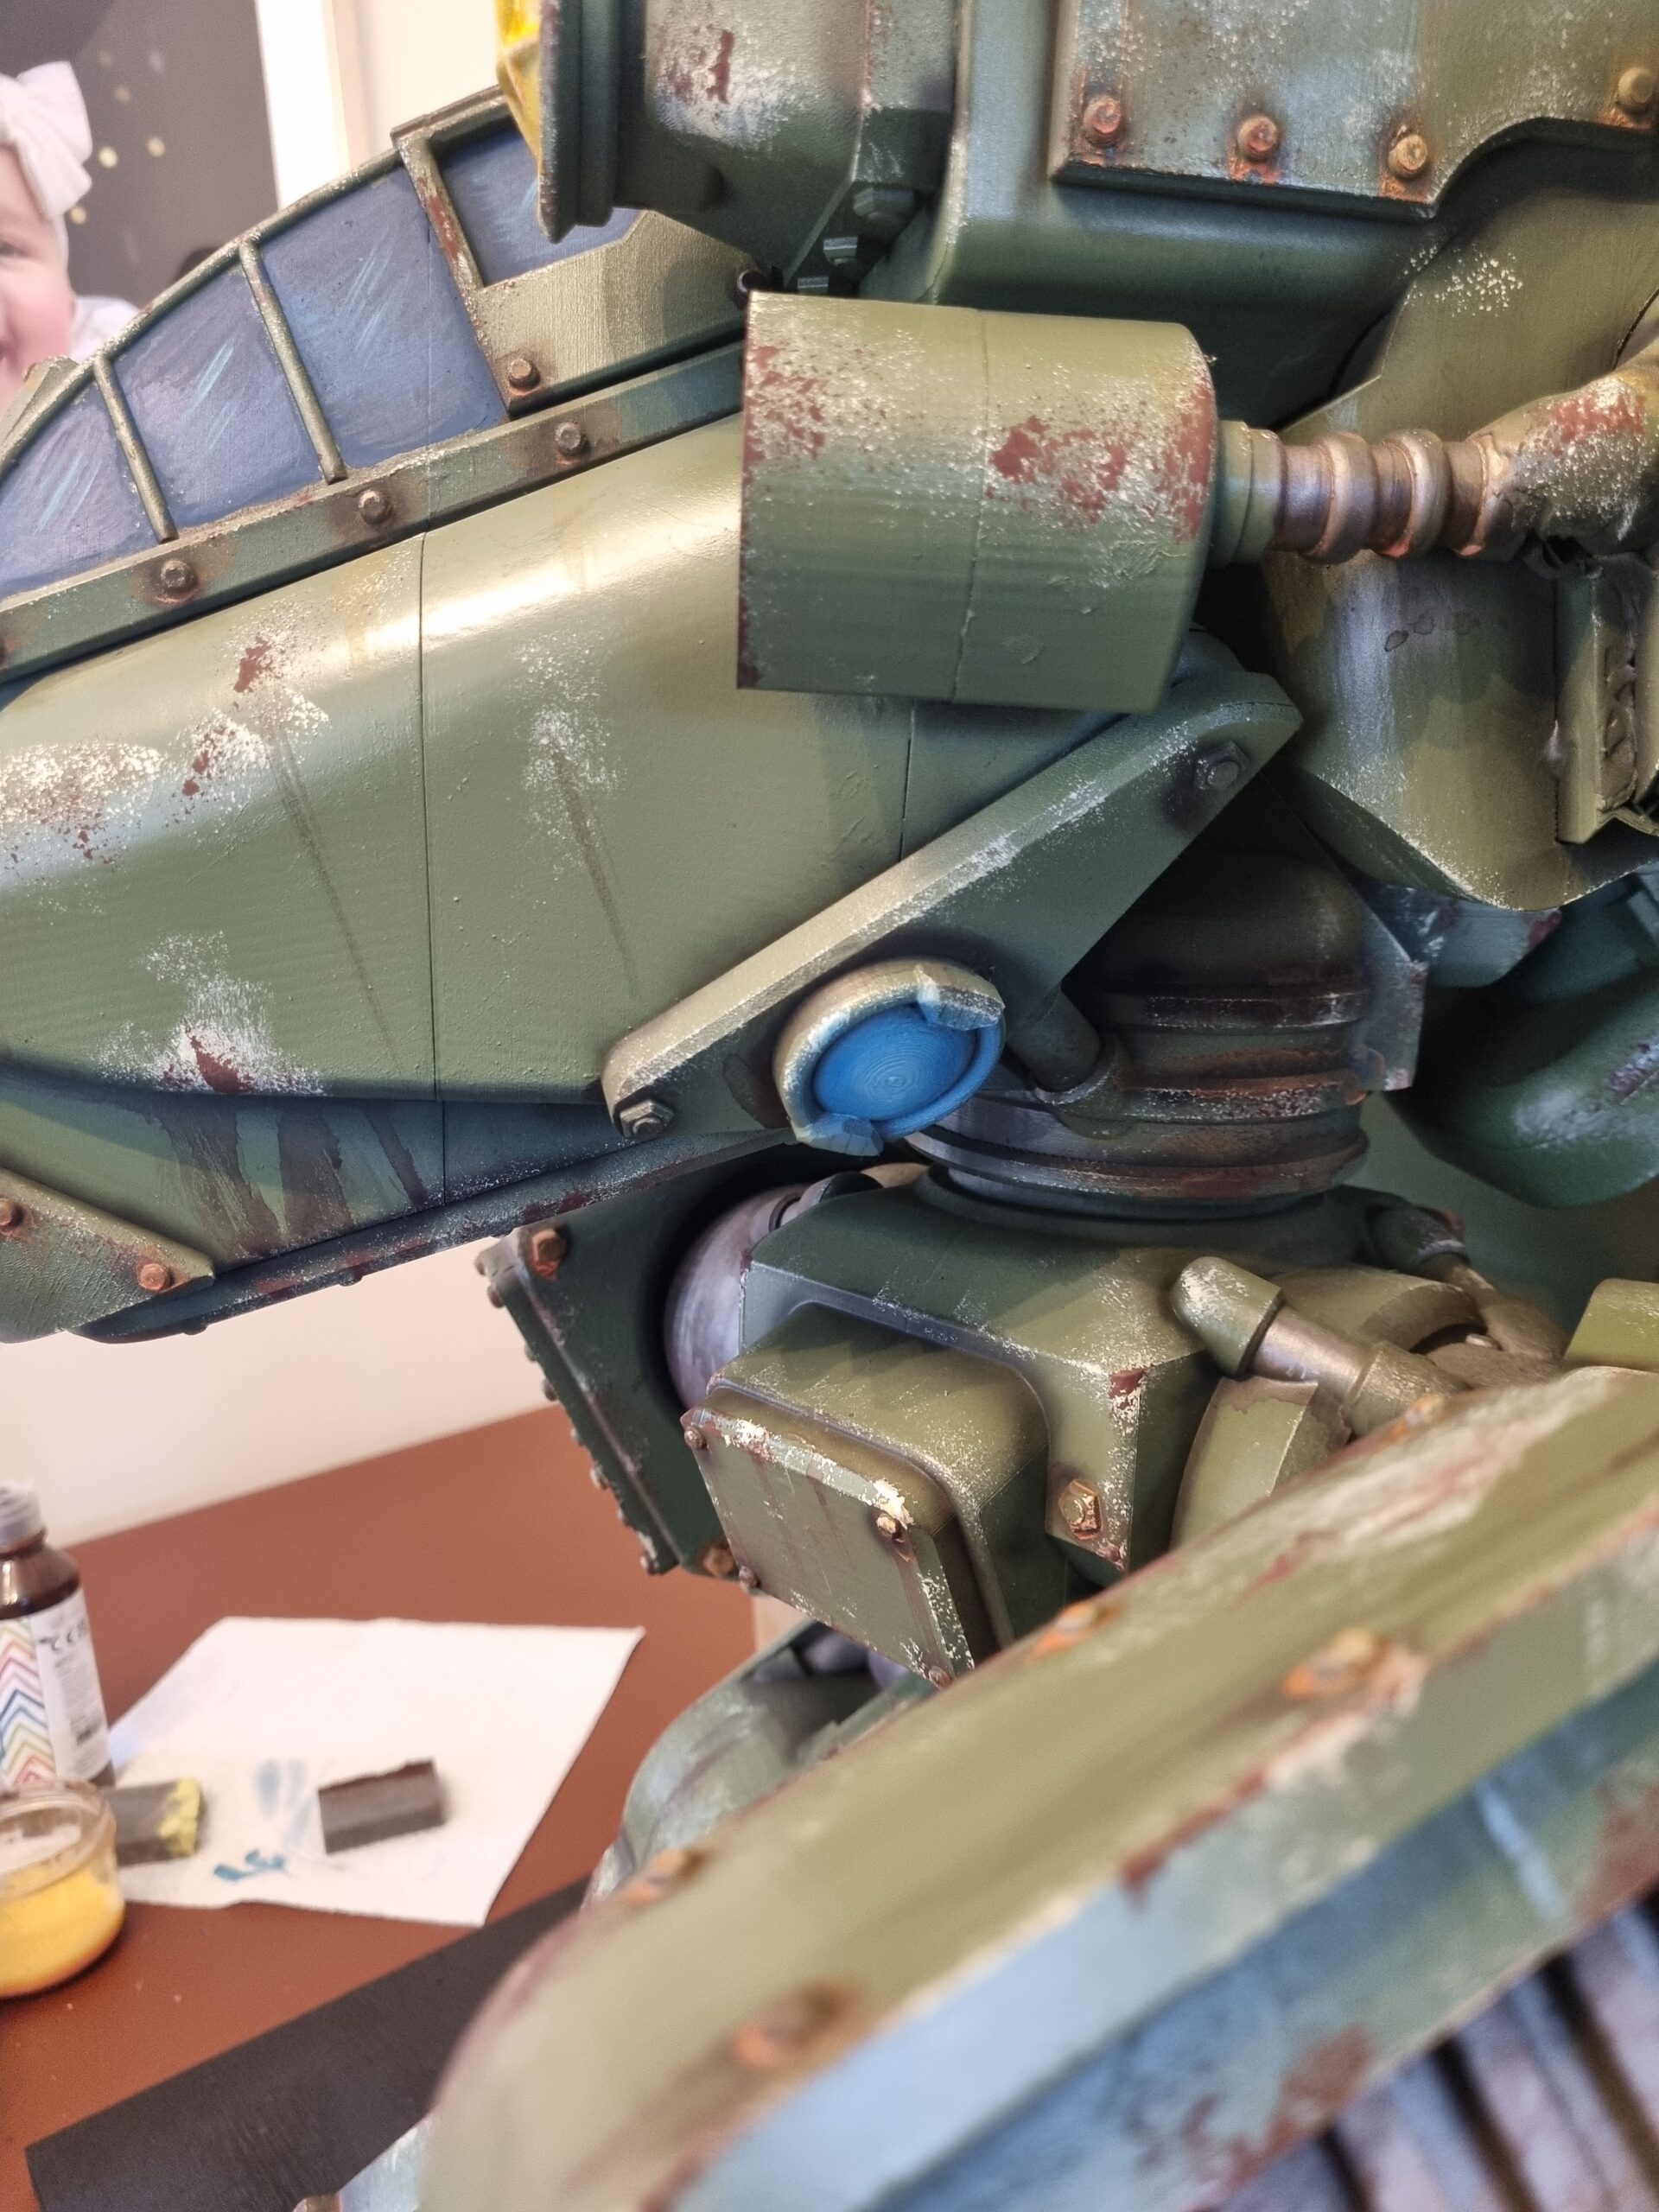
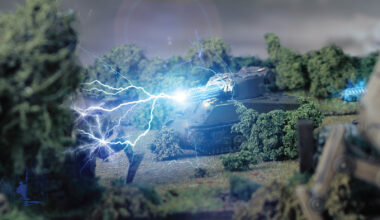
Once everything had dried, I took it outside to do a little bit more airbrushing. The first bits to do were the lights, repulsors, cockpit, and Tesla cannon. I first primed them grey, then hit the lights and repulsors with Magic Blue speedpaint through the airbrush. I followed this up by adding a bit more grey to the mix, and spraying it back over the blue areas, finishing with pure grey to add some glow to the middle of the repulsors.
The lights got an orange ink wash, followed by a medium yellow glaze, and finally a sponge of light yellow, while the cockpit glass was painted dark blue-grey, followed by blue, and a little streak of yellow right at the end. Finally, I did a once-over on all the surfaces with washes and more sponging where I felt it was missing details or depth, and that was that! The giant Linebacker was completed, and with plenty of time to spare!

Has this giant mech got you excited for Konflikt ’47? Sign up to the dedicated Konflikt ’47 newsletter below to get all the latest news delivered straight to your inbox before anyone else!