Listen in, troops! Kris Sherriff is back to continue his lecture series, teaching you how to get the most out of your British Commonwealth forces in Konflikt ’47. Today he’ll be dealing with the essentials of automation, which – as we all know – are the key to our success on the battlefield. Pay attention, and you’ll come away with everything you need to be victorious, happy, and glorious!
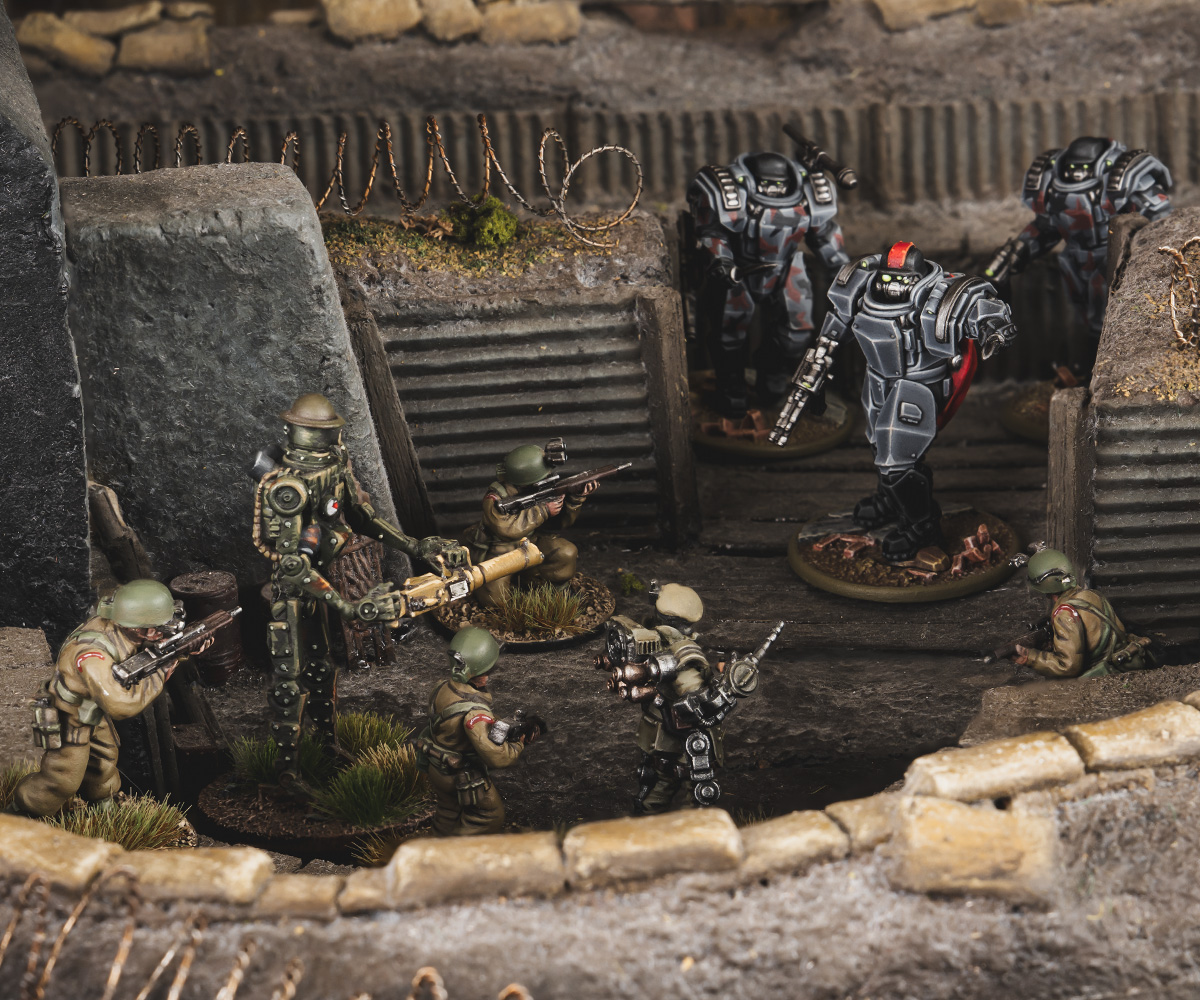
In Part One, we explored the British Commonwealth’s living forces, from the dependable Grenadiers and Riflemen with their versatile rifle-grenades, to the Cerberus Squads who bring teeth to close-quarters fights. We also looked at the Galahad Powered Armour infantry and the imposing Churchill Meteor, a true anvil whose Corrosive Rift payload forces opponents to react the moment it rolls onto the field.
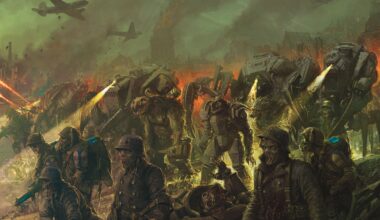
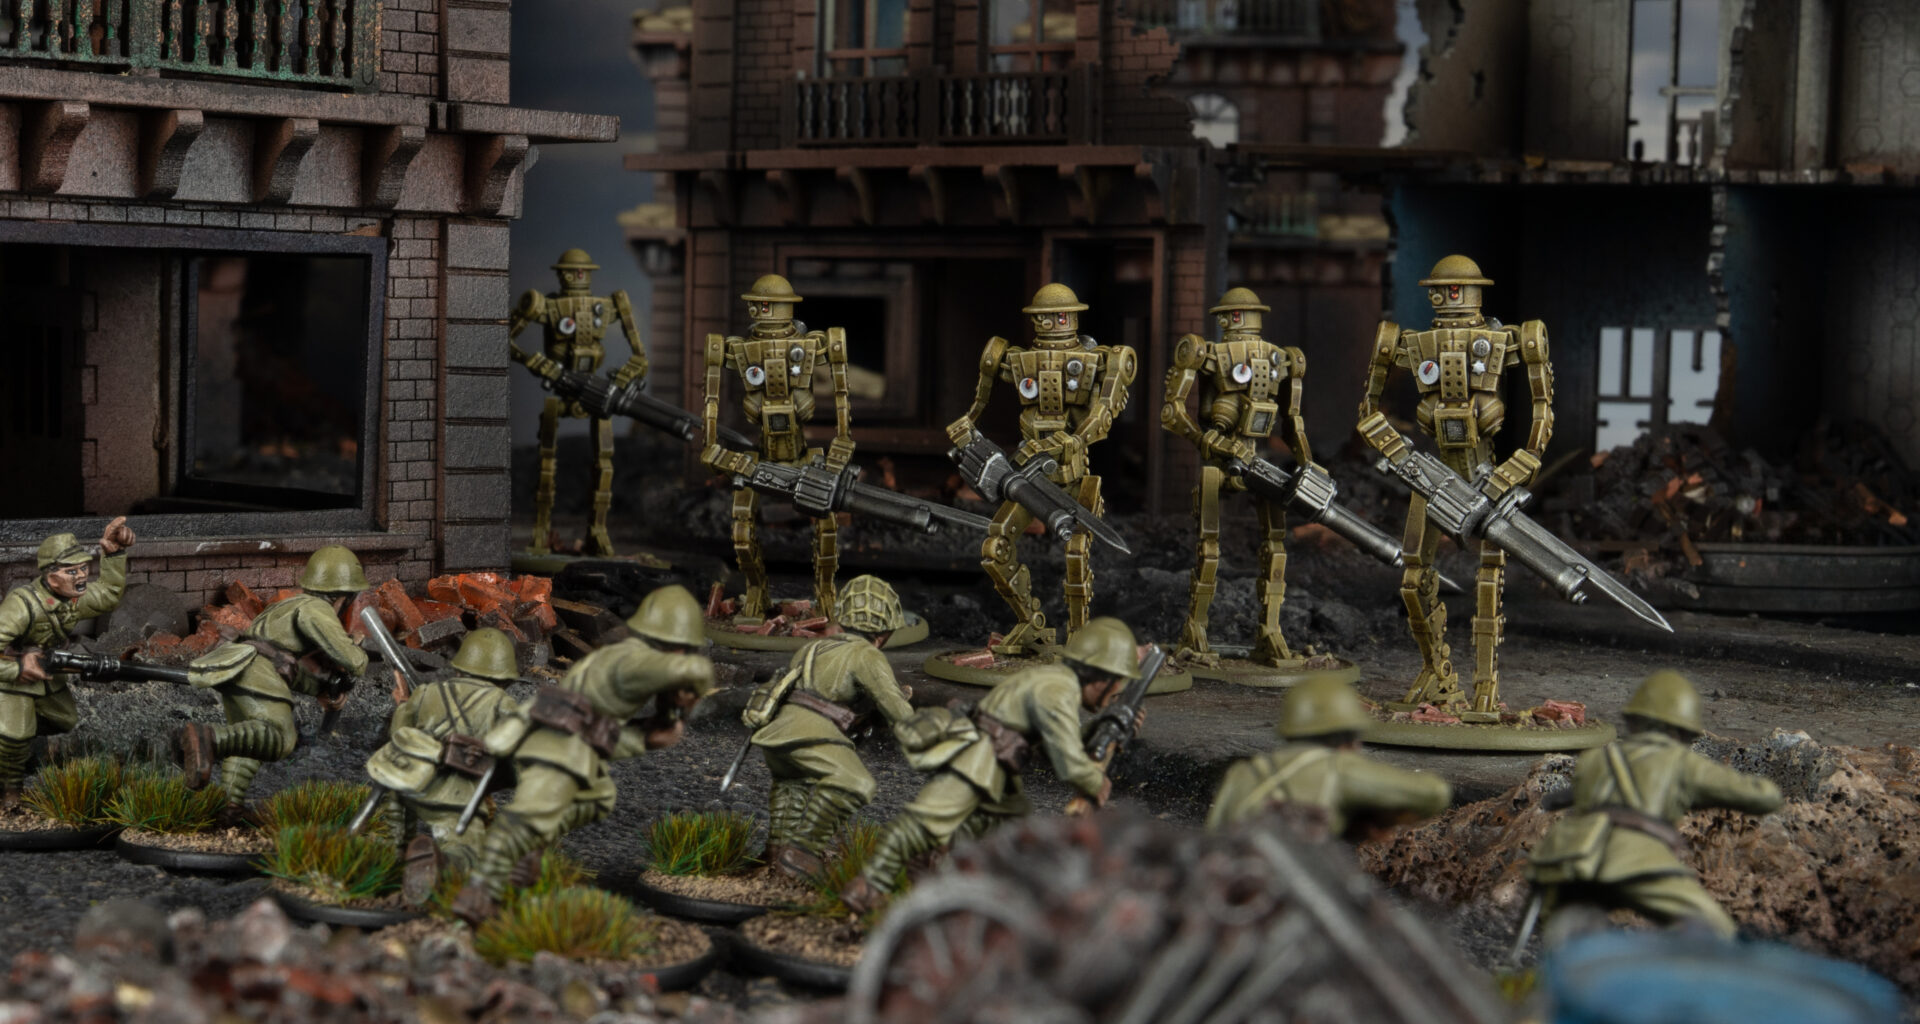
This time, we turn our attention to the Commonwealth’s Automated assets: tireless, unflinching constructs designed to advance, hold, and complete their assigned tasks with mechanical certainty. These machines form the second pillar of the faction’s battlefield identity, pairing human decision-making with robotic consistency.
Mk II Automated Infantry – The Backbone of the Programme
For clarity, I’ll refer to the Mk II Heavy Automated Infantry simply as ‘Mk IIs’. They are the refined workhorse of the Commonwealth’s automation doctrine: a small number of durable models delivering accurate, repeatable fire at ranges most infantry simply cannot contest.
They come loaded with rules that support this battlefield role. Augmented, Large, and Wide Formation ensure their guns can be brought to bear efficiently; Fearless and Hard to Kill keep them in the fight far longer than their profile might suggest. Computational Systems pairs with Lumbering to create their trademark stoic, inevitable advance.
A base unit of two is already a meaningful presence. Adding extra models compounds their staying power, and upgrading a Light Automatic Cannon to a Heavy Automatic Cannon extends both reach and threat. Maintaining Pen at distance makes them a real problem for targets like Grade 2 powered armour, and while they don’t enjoy the defensive perks those suits receive at long range, they also don’t hand opponents the bonus for Point Blank fire. Which, combined with Computational Systems, encourages the Mk IIs to keep closing and keep shooting.
Co-Ordinated Strike – A Double Edged Sword?
The Mk IIs’ Co-Ordinated Strike Active Rift Enhancement lets them ignore friendly units when determining Line of Fire. With Hard to Kill and intervening friendly models, they benefit from a 3+ cover save while still firing at full effect.
However, this ability is also one of the pivotal decision points when running the faction. The sequencing Rift Dice across multiple automated units (especially those with First Off the Line) is where British players express skill. Timing Co-Ordinated Strike when it matters, without compromising the wider rift economy, is often the difference between a resilient battle line and a stalled one.
And yes, Mk IIs can absolutely function as a straightforward ‘beat-stick’ when you need a reliable block of firepower and resilience at a reasonable points cost. However, the real strength of the unit lies not in its raw numbers but in how those numbers integrate with every other automated element in the list. This interplay is a fundamental pillar of the Commonwealth’s character.
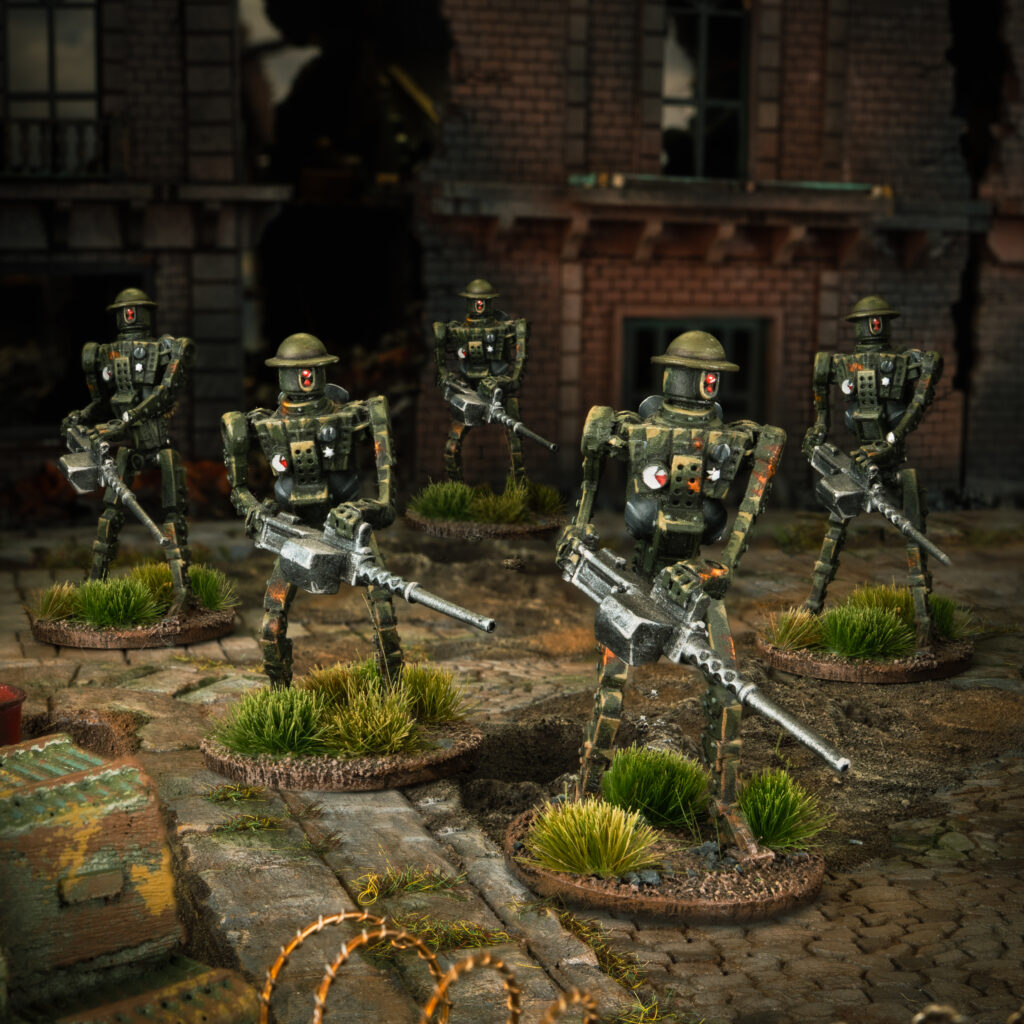
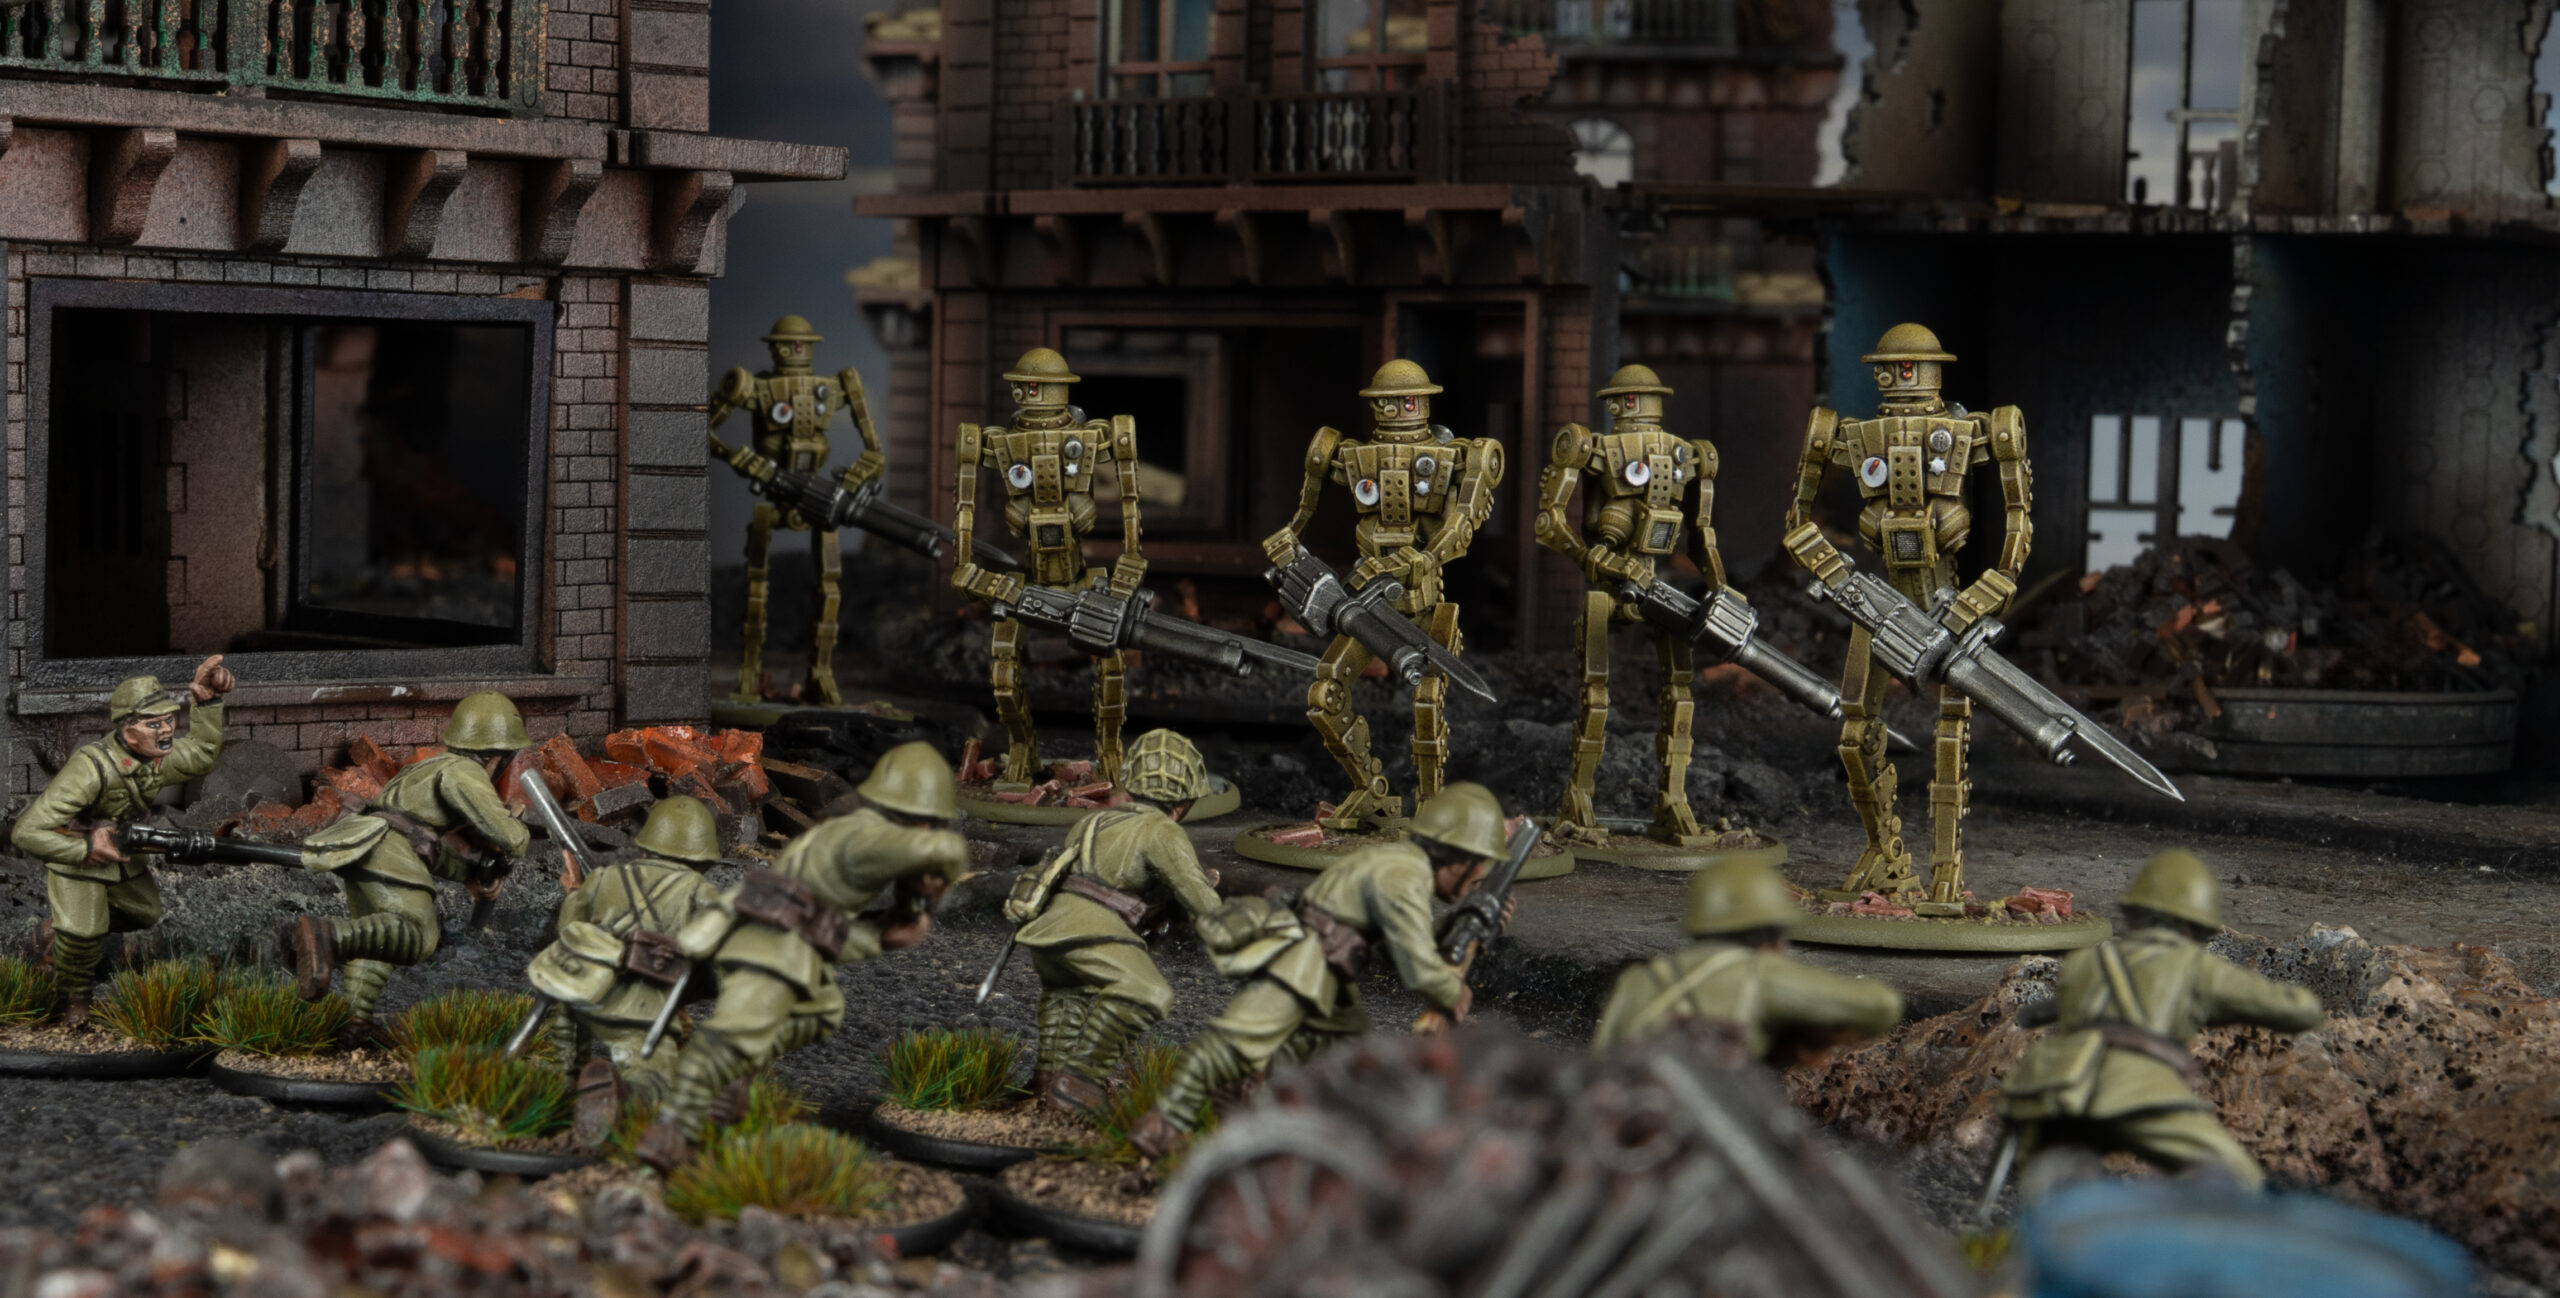
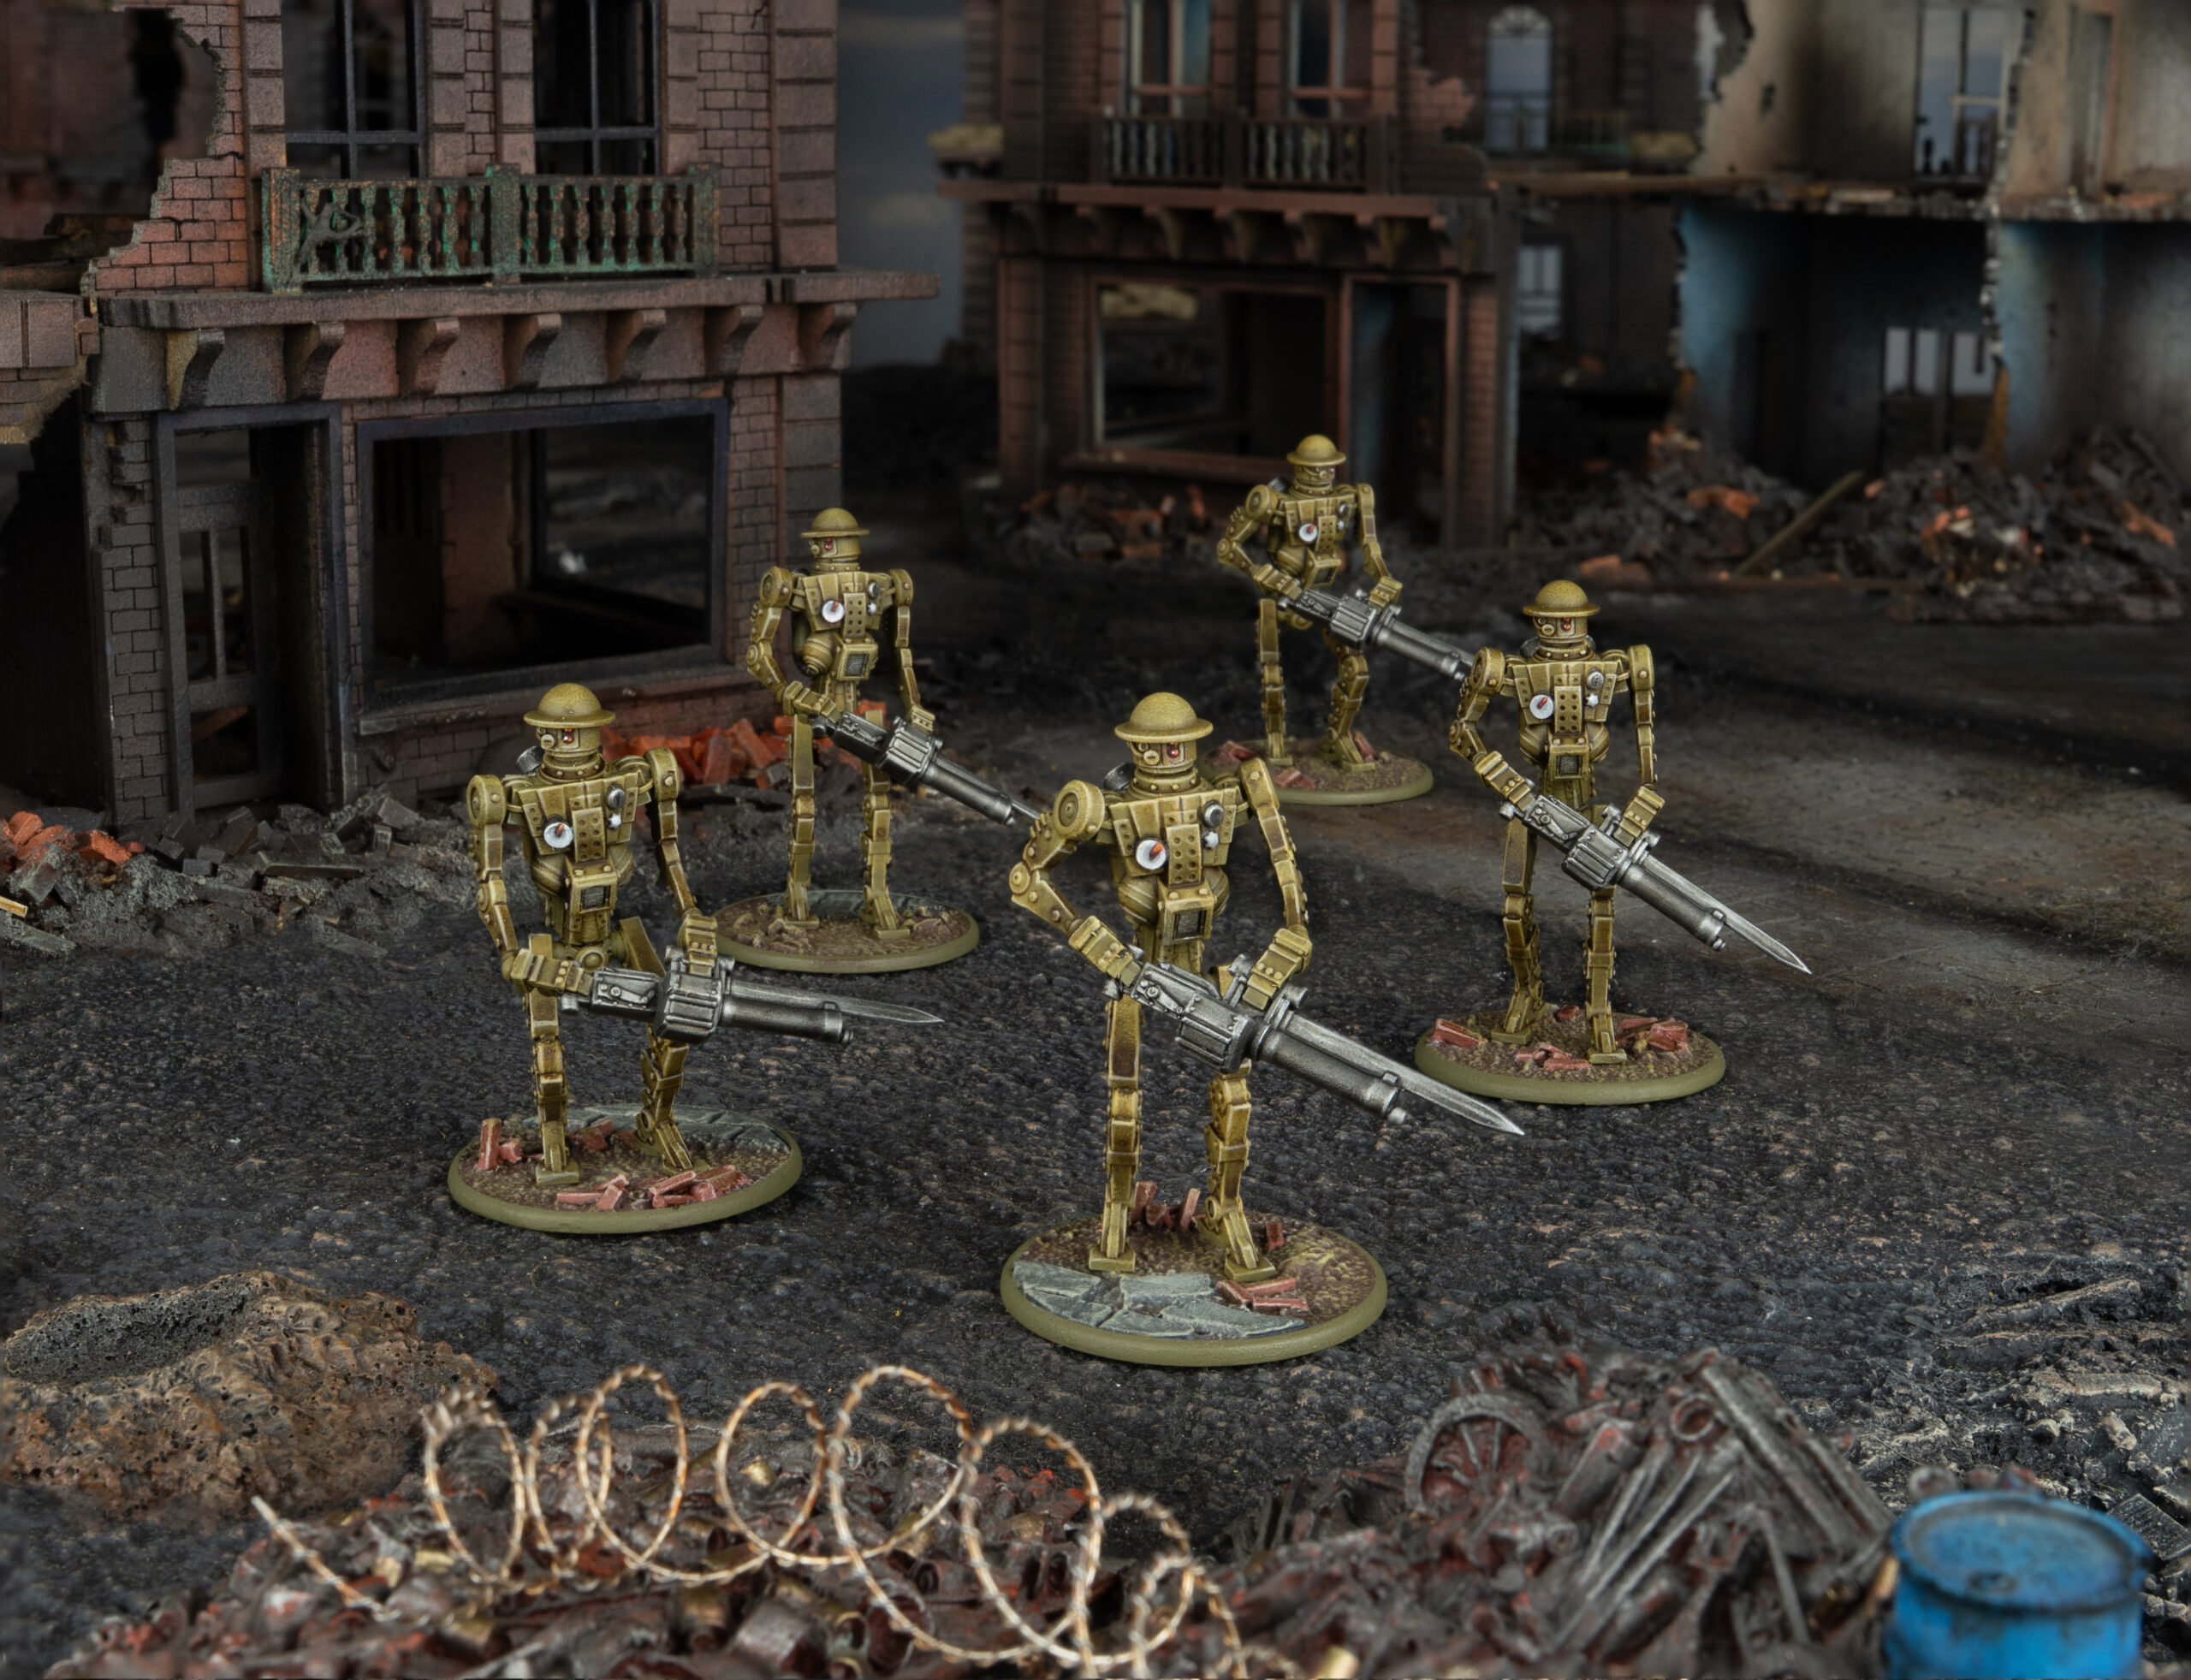
Mk I Automated Infantry – The Prototype
If the Mk II is the polished instrument, the Mk I Automated Infantry is the industrial foundation it was built on. At first glance, they appear similar. Lumbering, Augmented, Large, Fearless, Computational Systems are all shared Special Rules, but the defining difference is another defining characteristic of the faction: First Off the Line
This applies a flat –1 to hit when shooting. Combined with Computational Systems, a Mk I squad consistently hits on 5+, whether Advancing or Firing. Being Fearless, they never carry Pins, and therefore don’t degrade under pressure. For a slow unit that needs to Advance every turn just to stay relevant, this consistency is surprisingly liberating.
Their standard loadout is the MMG: six shots per model means even a minimum unit throws 30 dice (typically generating around ten hits) Upgrading to HMGs increases range and Pen, helping counter their slow movement and letting them contribute earlier in the battle.
This profile alone would make them a useful tool, but Rift units always have more depth.
High Voltage! – Power at a Price
The Mk Is’ Active Rift Enhancement has two parts, and understanding when to use each is what separates controlled automation from reckless overload.
1. The Synergy Buff
While the Mk Is have an Active Rift Dice, and are within 6″ of a friendly Mk II unit that also has an Active Rift Dice, they lose First Off the Line. That simple change pushes their hit rate to 4+, which is a huge jump given their volume of fire. A minimum-size Mk I unit goes from ~10 hits to ~15. That makes them a real threat to DV7+ targets caught out of position.
2. The Overload Shot
Exhausting the Rift Dice grants each model an extra shot, but each model then suffers a hit equal to its own weapon’s Pen value.
With HMGs, that risk is obvious. A unit of five will often lose a model or two for just five extra dice. The maths rarely supports using this mode unless the game state absolutely demands it.
As a rule of thumb:
If it’s easier to wound yourself than the enemy, save the Rift Dice.
If both units are equally vulnerable, ask whether the trade matters right now.
Be cold. Be calculating. Rift Dice are a resource, not a reflex.
Even in optimal conditions, point-blank into Shreckwulfen on a 2+ to hit, wounding on 6+, you gain only a marginal increase in expected unsaved wounds, and still risk losing models. This is why Mk I units thrive when their Rift Dice remain active. The synergy with nearby Mk IIs is the real engine of their output.
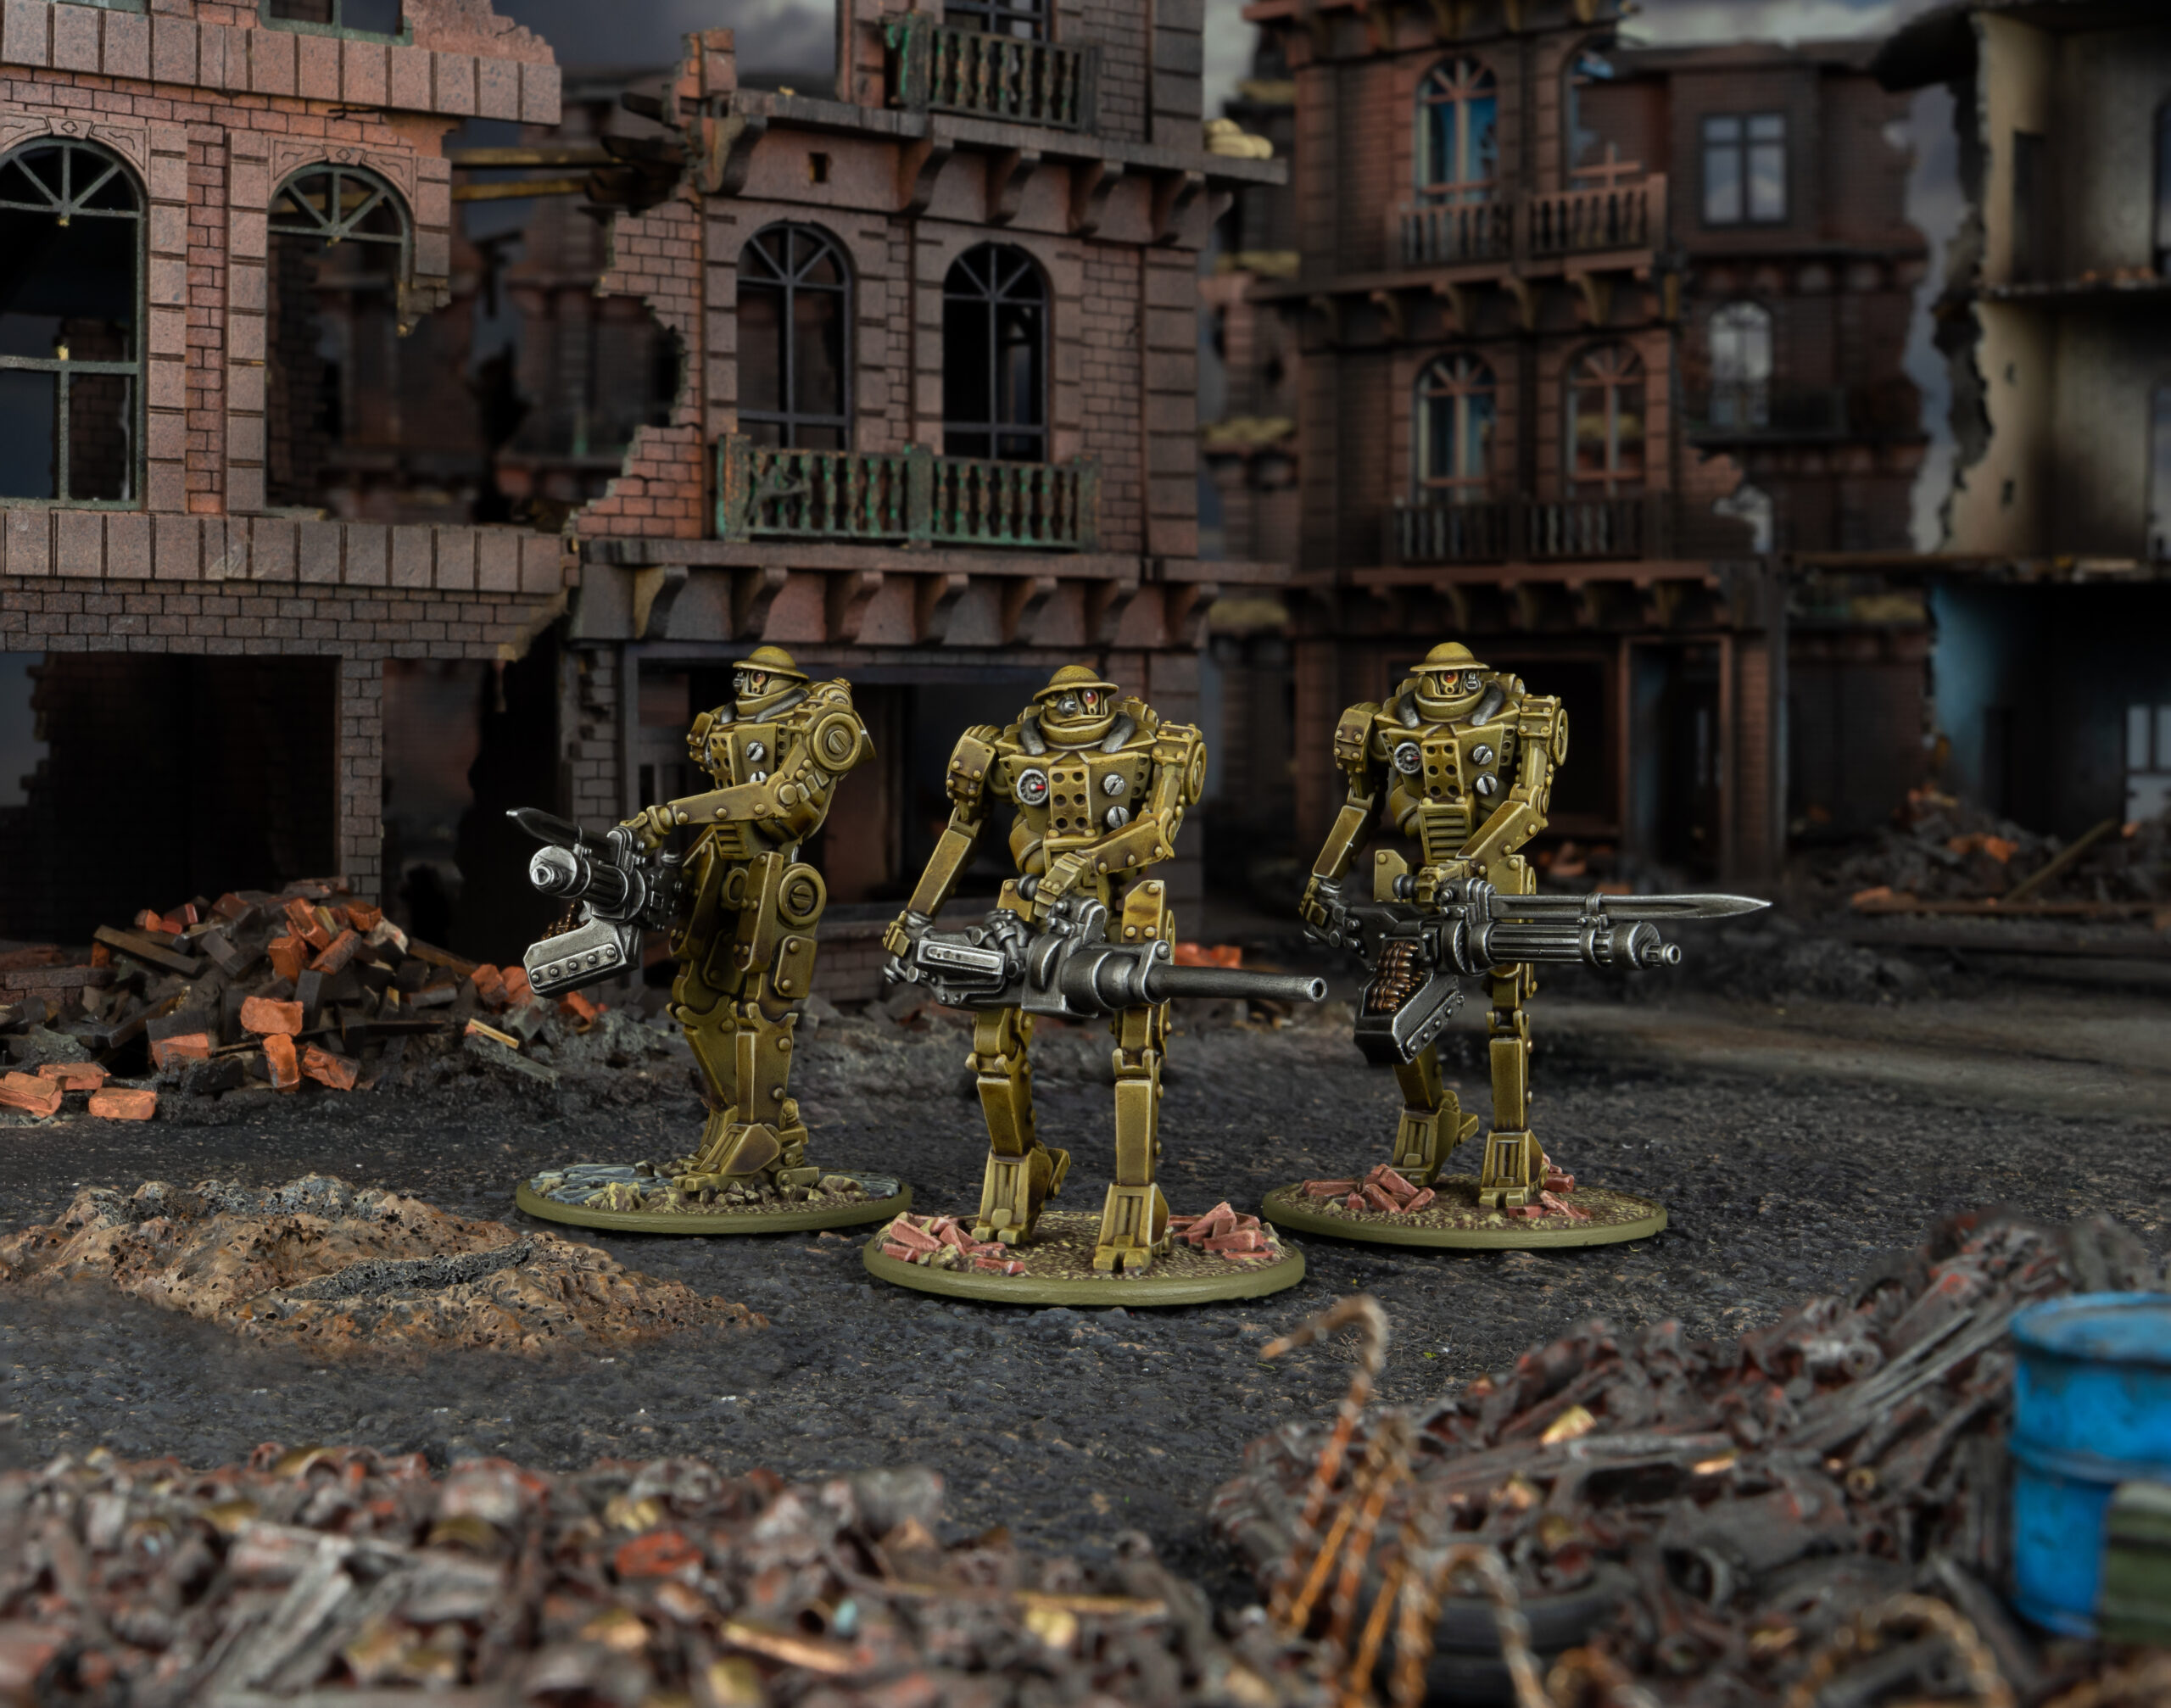
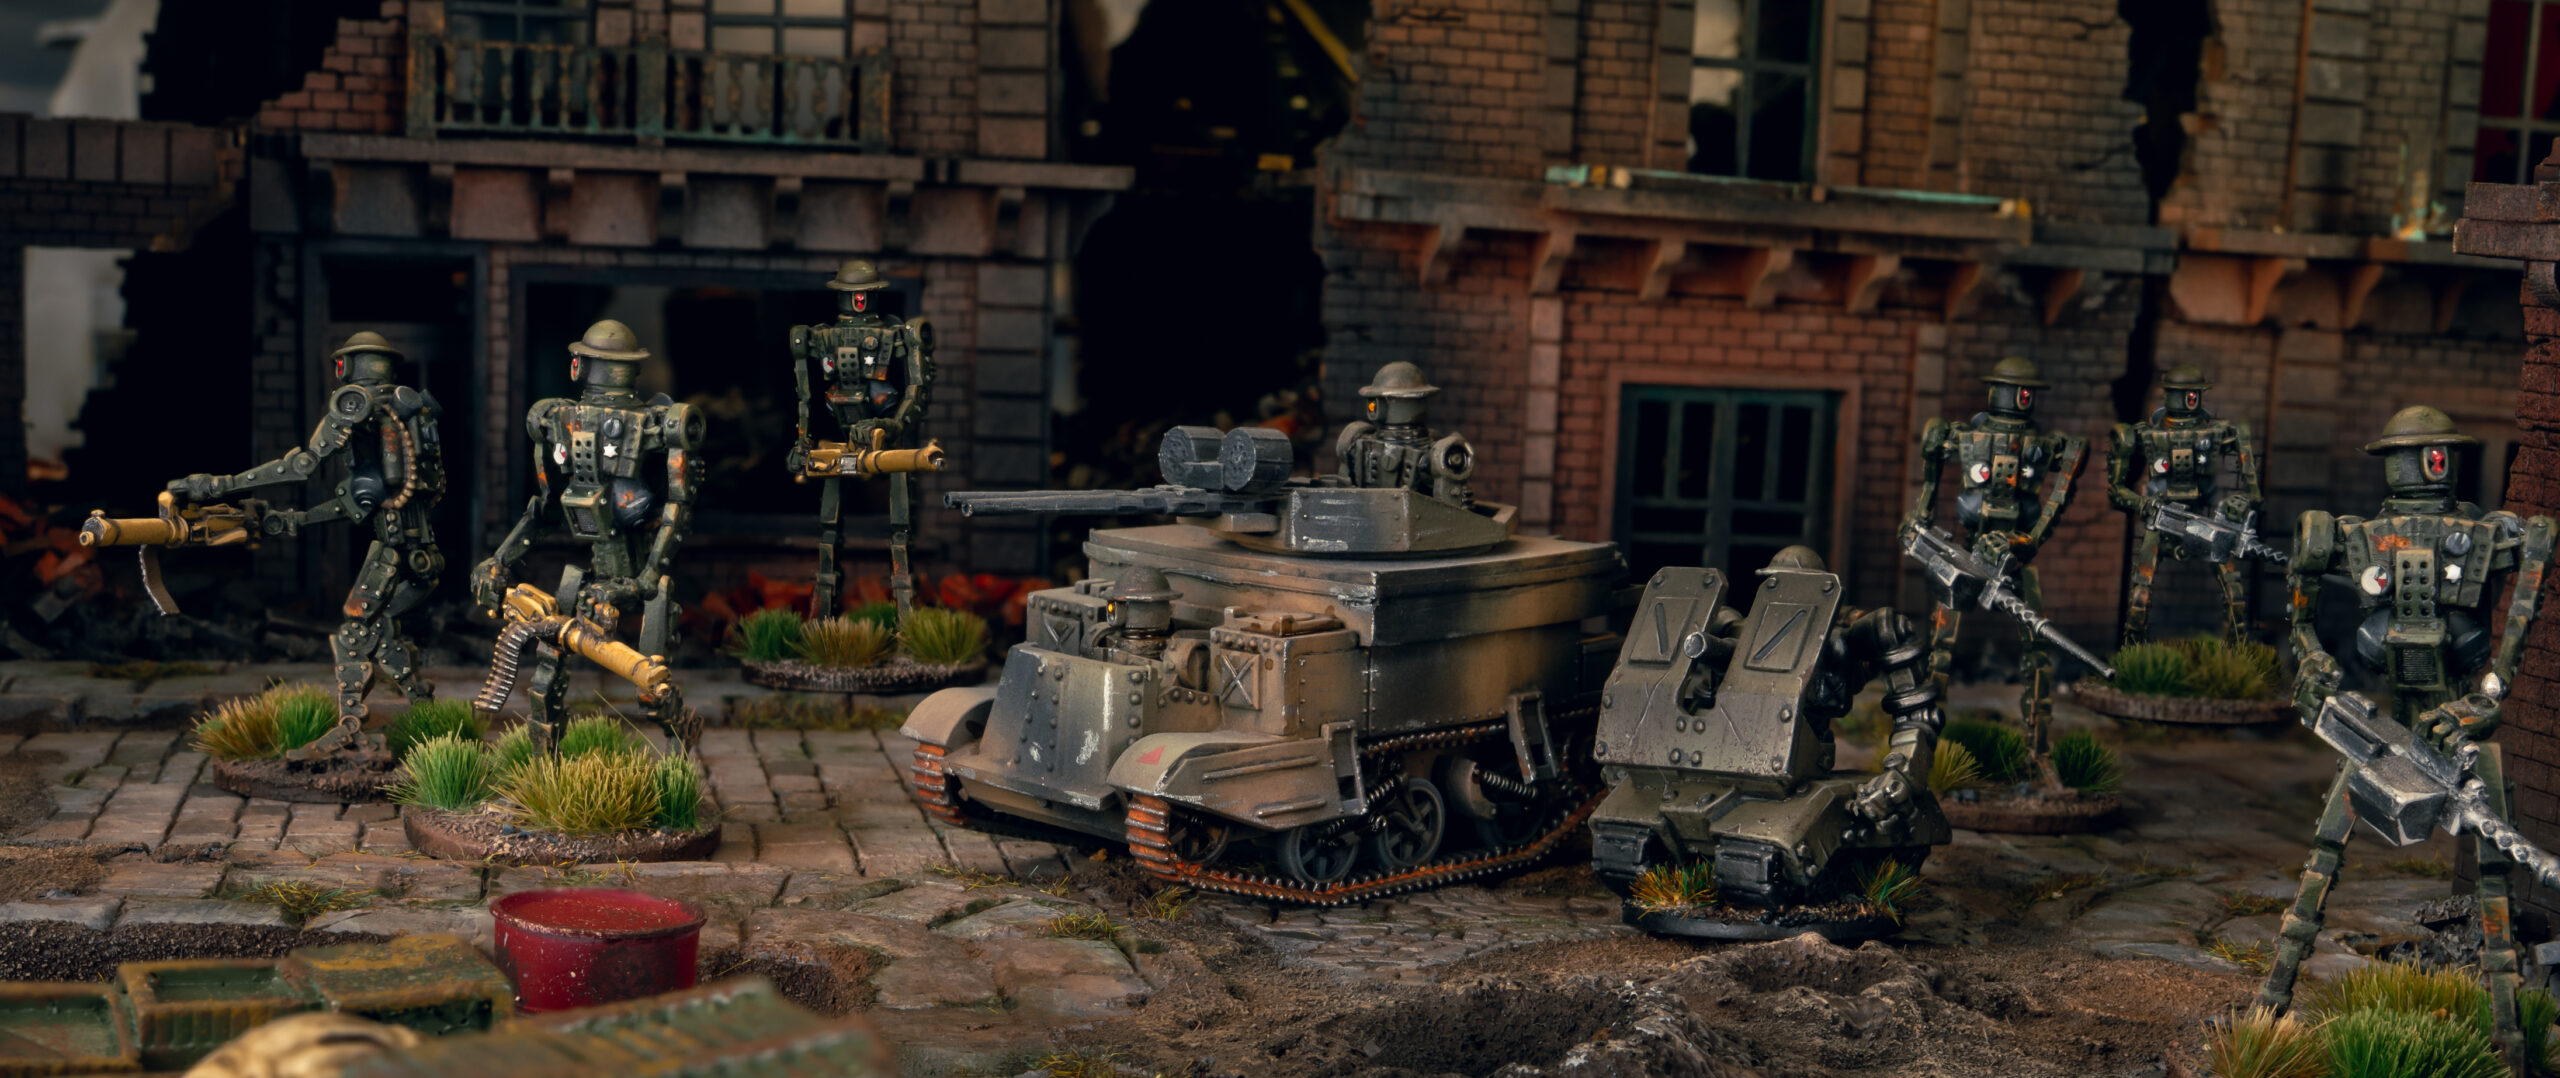
Automated Mobile Platforms – Specialist Tools
To further expand the automation programme, the Commonwealth fields several tracked platforms, essentially automated weapons teams capable of carrying heavier ordnance than a standard infantry chassis.
These platforms share much of the Mk I and Mk II rule package: Fearless, Augmented, Computational Systems, First Off the Line, Large, Hard to Kill, and Bulky, preventing transport use. Each platform fills a distinct battlefield role.
Automated Mobile Platform ‘Bombardier‘
The Bombardier is a flexible Light Howitzer on treads. Once ranged in, it can operate independently thanks to Computational Systems, dropping indirect fire reliably turn after turn. It also benefits from the same line-of-fire trick as the Mk IIs, enabling it to stack cover and Hard to Kill for a 3+ save while still contributing.
Against the right targets, its 2″ HE template can be devastating and as a Howitzer, the Bombardier can direct fire which benefits from the support of nearby Mk IIs, temporarily shedding First Off the Line.
It can use High Voltage! to fire it as if it were a Medium Howitzer, but doing so inflicts D3 Pen +1 hits on itself. Situationally powerful, especially when you are already ranged in, it’s still a risk. Use only when the payoff is worth the chassis, which it will do around 38% of the time.
Automated Mobile Platform ‘Lancer‘
The Lancer is the outlier in points cost and the reason becomes obvious once you count the barrels. Three HMGs on a single 32mm base is a startling package, and terrain only makes it better. A single model is easier to hide from massed enemy fire, and the Mobile Platform DV6+ and Hard to Kill can do work in keeping them around longer than it feels like they should.
High Voltage! is harsher here, sharing the same function of the MK Is, of giving an extra shot per HMG. The D3 Pen+1 backlash will kill you more than a third of the time, so those extra 3 shots had better be worth it! Still, when positioned well, the Lancer delivers a volume of fire that demands an answer.
Automated Mobile Platform ‘Hunter’
The Hunter provides the Commonwealth with a mobile Light AT Gun, and importantly, can be taken in the Assault Platoon as the Anti-Tank team slot. It brings a Pen 4 shot at 48″ with no reliance on Rift tech to function. Against walkers and powered armour, it maintains a meaningful threat at 24″. Toughness-wise, it requires significantly more small-arms fire to remove than a Veteran Super Bazooka Team, yet costs fewer points.
High Voltage! upgrades it temporarily to a Medium AT Gun, granting extra range and Pen 5. This mode is less about aggression and more about reach, the ability to tag a target you would otherwise be unable to meaningfully threaten can be with that risk…
Automated Carrier – A Different Kind of Support
The Automated Carrier is a veteran-grade vehicle with a very different battlefield rhythm. Its defining rule, Automated Crew, makes it immune to the psychological effects that normally trouble vehicles, it automatically passes every Morale Check, meaning it never dies to On Fire and can never receive Pins keeping its accuracy up and Order Tests automatic. When combined with Automated Recovery, allowing it to ignore Crew Stunned results, it’s a solid little package that can annoyingly shrug off even some penetrating hits to little or no effect.
Because its armament mirrors the Veteran Humber with Twin Automatic Cannons, the two are natural points of comparison: same style of guns, similar armour, both using Computational Systems to keep their fire accurate while moving. The Humber retains constant Recce, making it the more traditionally evasive platform. The Automated Carrier instead gains situational Recce through a Surging Rift Dice, trading frequency for the stability and resilience of its crewless systems.
Unlike the Mk I–derived chassis, the Carrier does not use High Voltage! as its Active Rift Enhancement. Instead, it benefits from Firing Solution, granting a +1 to hit that can be layered with the Mk II synergy that removes First Off the Line. Under optimal conditions, this allows the Carrier to hit on 3+ whether Advancing or taking a Fire order.
And, because it never takes Pins, even without Mk II support the Carrier bottoms out at a very respectable 4+. Reliable, steadfast, and unfazed by battlefield chaos, the Automated Carrier is a natural fit for commanders who want their fire support to remain exactly where they left it.
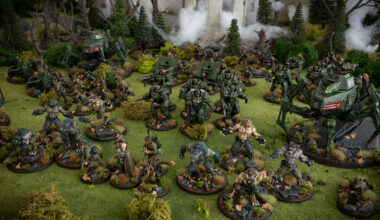
Building Cohesive Platoons (Concepts, Not Lists)
While it’s not currently possible to field a pure automation force, the following concepts illustrate how Automated Infantry and Platforms combine into effective battlefield teams.
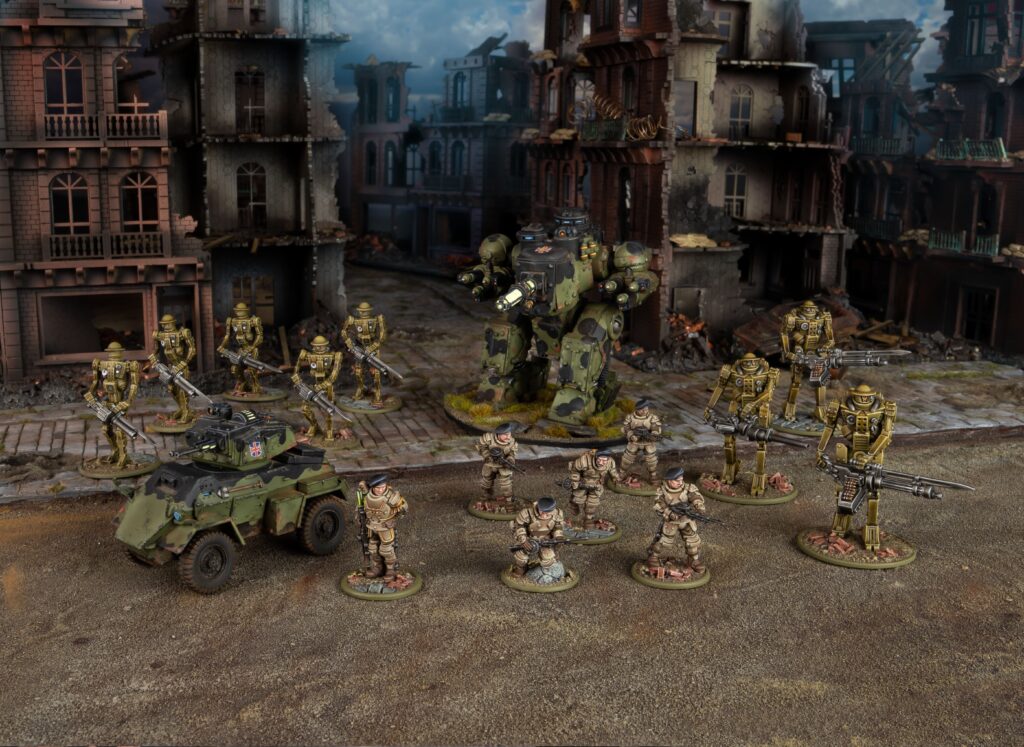
Concept 1 – The Army Box Special
Using the contents of the British Commonwealth Starter Army, you can build a solid foundational platoon. The Mk IIs advance behind a screen of Mk Is, letting both units maximise their rift interactions. A Galahad Officer with Rift Mastery can pass an additional Rift Dice to the Mk IIs early, maintaining their Active Dice longer and freeing your sequencing from immediate pressure. After that, the Officer is free to support the wider battle while the robots get the job done.
Concept 2 – Pressure and Presence
Two units of Mk IIs radically reshape board control. Even at minimum size, their Wide Formation provides around 17″ of lateral coverage for their aura. This allows them to meaningfully support Mk Is, Hunters, or Lancers advancing alongside them. The Mk IIs themselves deliver firepower equivalent to an Automated Carrier or Humber at a lower cost, and DV7+ paired with Hard to Kill makes them difficult to shift.
This setup shines when paired with multiple Platforms in a Heavy Weapons Platoon, letting you ensure the right part of the table always benefits from the Mk II synergy.
Concept 3 – Pen Everywhere!
If protected, Automated Carriers are excellent Ambush pieces. They provide early-turn overwatch, then transition into the mid-game with enough speed and firepower to meaningfully pressure enemy Jump Infantry or even chip away at high-end threats like the Ursus.
Automatic Cannons from the Mk IIs combine with the Bombardiers’ 2″ HE to blanket the board with Pen 2, while the Hunter brings cost-efficient mobile AT support, provided it isn’t exposed unnecessarily.
Closing Thoughts
The Commonwealth’s Automated Infantry and Platforms form a flexible, resilient technological backbone for the faction. From dependable Mk I units to refined Mk IIs and their mobile support chassis, these machines enable commanders to maintain tempo, pressure, and battlefield integrity across a wide range of scenarios. In the next instalment, we’ll look to the larger autonomous assets – the Tanks and Walkers that expand these doctrines into full combined-arms warfare.
Ready to lead your unwavering, unflinching, unfeeling mechanical troops into the maelstrom of battle? There’s only one thing left to do…