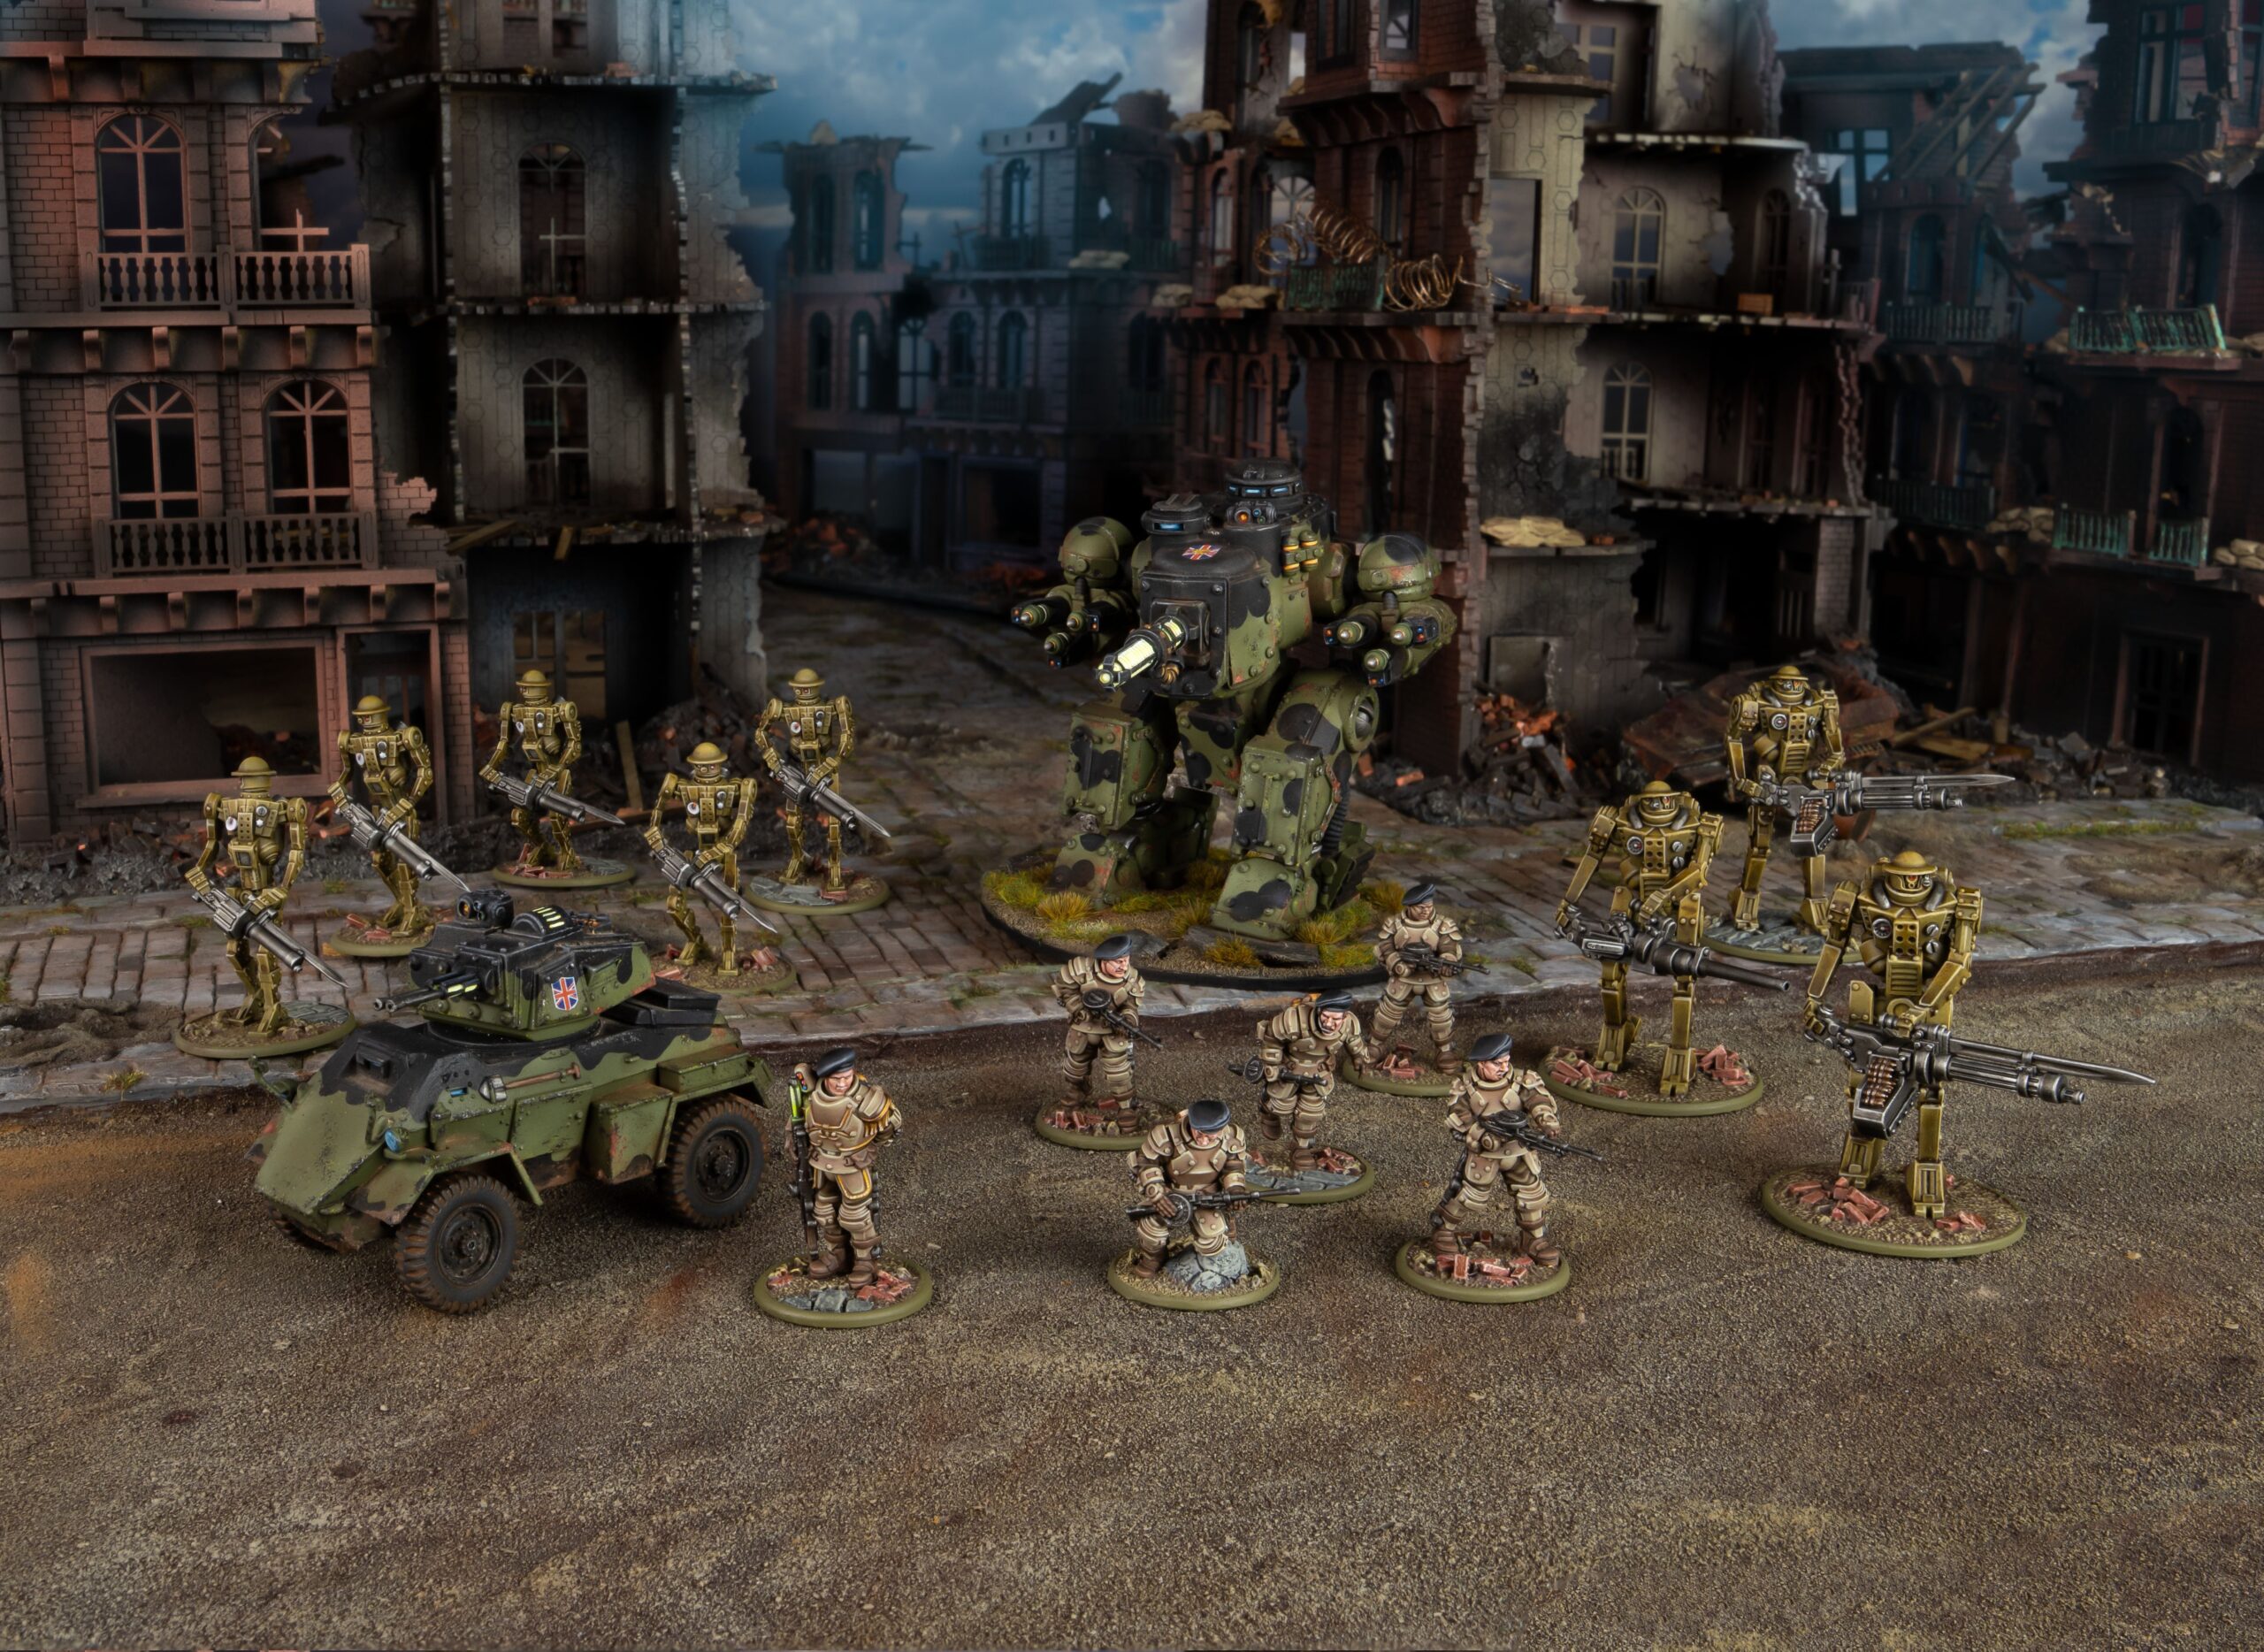
Eyes front, soldiers! Kris Sherriff has one more lecture to deliver, and it’s important. Today, he’ll be instructing you on the proper use of armoured vehicles and walkers – essential components of the British Commonwealth troops you’ll be commanding in Konflikt ’47. Listen, learn, and in no time at all you’ll be back in Blighty for tea and medals. Fail to pay heed, and everything we’ve fought for comes crashing down. Do you want to see abominations marching on Piccadilly Circus?!
In the first part of this series, we looked at the British Commonwealth as a faction defined less by raw technological dominance and more by a deliberate approach to warfare. An approach built around cooperation, adaptability, and the careful integration of new ideas rather than their unchecked adoption. The second article explored how automation fits into that identity, not as a replacement for human crews, but as a means of extending their effectiveness under the pressures of a rift-tech fueled conflict.
This final article brings those ideas onto the tabletop. Rather than treating the Commonwealth’s walkers and vehicles as isolated unit entries, we will look at how automation shapes their battlefield roles, how individual designs support one another, and how these systems combine to create a force that prioritises reliability, control, and sustained pressure over momentary bursts of power.
From light infantry support walkers to heavy autonomous platforms, the Commonwealth approach is consistent performance. While some of the units covered here are able to operate as lone centrepieces, it’s how they function as parts of a broader, interconnected force where automation smooths out the gaps that would otherwise slow an advance or stall an engagement that really solidifies the Commonwealth faction’s feel in Konflikt ‘47.
Foundations of Commonwealth Walker Doctrine
Before automation and onboard assistance became defining features of Commonwealth walker design, early platforms were built to answer more immediate battlefield problems. The Guardian and Hornet sit firmly in this space, providing relatively accessible walker options that prioritise direct interaction with the battlefield over technological refinement.
One of the most important distinctions these walkers bring is access to functional combat arms. In a game that frequently asks close-range, physical questions, the ability to quite literally throw hands is not a minor consideration. The Guardian and Hornet provide this capability on low to mid-cost platforms, offering practical solutions without requiring the investment associated with heavier, more advanced designs.
This stands in deliberate contrast to later walkers such as the Percival, which for all its sophistication is designed to fight at range and lacks access to its arms for combat purposes, or the Merlin, whose versatility and autonomy come at a significant points premium. In this context, the Guardian and Hornet are not outdated designs, but focused ones. Reliably able to answer specific battlefield problems that remain relevant even as automation becomes more prevalent elsewhere in the Commonwealth roster.
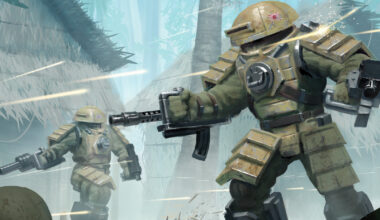
Guardian Mk I/Mk II Light Walker
The Guardian is the most direct expression of early Commonwealth walker doctrine. It is not designed to trade fire at range or dominate firing lanes, but to force engagements at close distance, where its weapons and physical presence can be brought fully to bear.
Without access to advanced computational assistance, the Guardian rewards commitment. To function effectively it must close the distance, with getting within six inches allowing its HMG and flamethrower to shine. Point-blank bonuses to hit help offset its baseline accuracy, while a mix of Pen 1 and Pen 2 shots and access to pass-through attacks make it a credible threat once it commits
As a Single-Crew Walker, all of the Guardian’s weapons must target the same unit, which in practice pushes it firmly into a bullying role. It excels at aggressively contesting space and punishing enemy units that lack the means to disengage or respond effectively at close range.
This reliance on proximity is not a flaw, but a defining feature. The Guardian is at its best when used to apply direct pressure and force uncomfortable decisions, rather than attempting to outshoot more sophisticated platforms at distance.
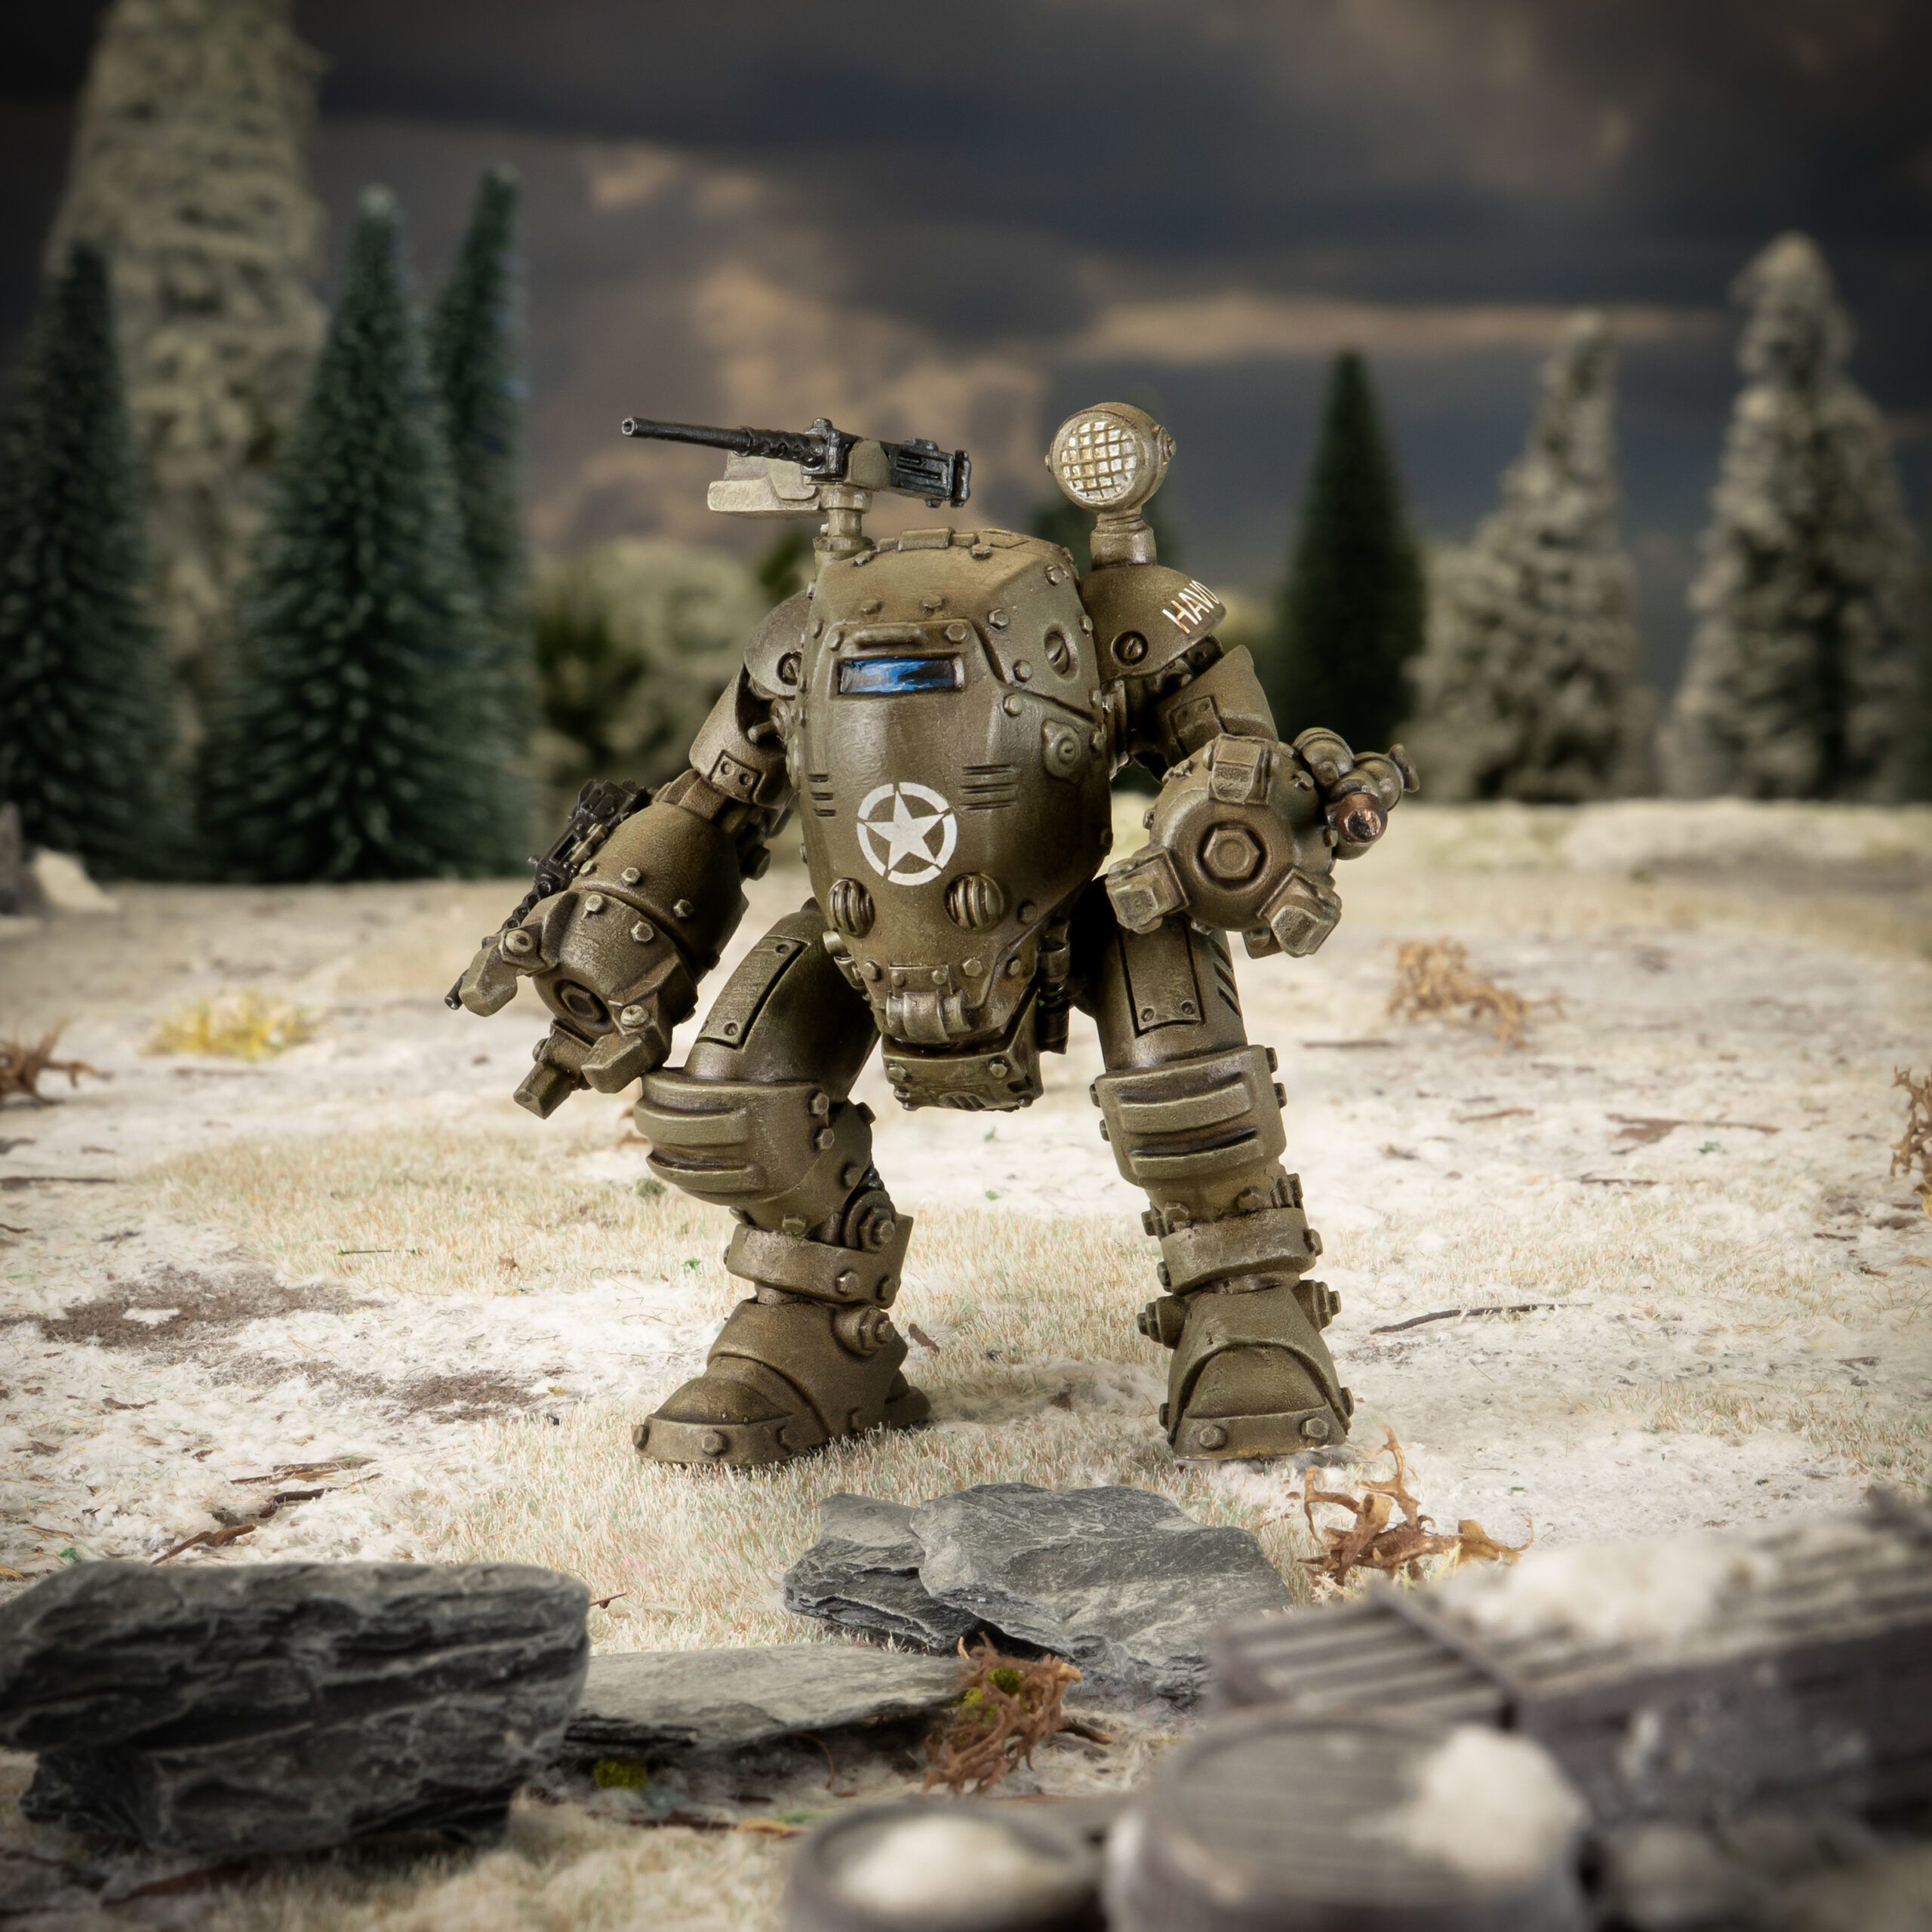
Hornet Medium Support Walker
The Hornet builds directly on the same close-range, physical philosophy as the Guardian, scaling it into a tougher and more imposing mid-cost platform. It is designed to advance with intent, using weight of fire and its physical presence to suppress infantry, contest ground, and make it costly for enemy units to hold forward positions.
Like the Guardian, the Hornet is most effective when it commits to the fight. Closing to within six inches allows it to leverage point-blank bonuses, apply multiple pass-through attacks, and bring its array of weapons to bear in a way that mitigates its lack of inherent accuracy. In this role, the Hornet functions as an area bully, exerting pressure over sections of the battlefield rather than focusing on individual targets.
What sets the Hornet apart is that this behaviour is not fixed. When taken at Veteran, the option to add Computational Systems subtly but meaningfully shifts how the walker operates. Automation does not replace its close-range role, but stabilises it by allowing the Hornet to maintain pressure while advancing, reposition more flexibly, and apply its firepower without the same degree of commitment required of earlier designs.
In practical terms, this shift meaningfully alters the Hornet’s decision tree. Without automation, the incentive is often to commit early. Running forward to establish a dominant position, leveraging pass-through attacks, and applying pressure before the opponent has fully settled into the engagement. With Computational Systems in play, the Hornet can instead afford a more measured advance, taking additional turns to close the distance while continuing to apply accurate fire on the move, reducing the risks associated with overextension.
Neither approach is inherently correct, with both choices reflecting how and when the Commonwealth player wishes to apply pressure. Either by seizing ground aggressively in the opening turns, or by advancing methodically while maintaining control and cohesion across the force.
Automation and Reactive Control
The Hornet’s ability to stabilise its advance through automation highlights a broader shift within the Commonwealth roster. While early walkers rely on commitment to apply pressure, other designs use automation not to push forward more safely, but to retain control while reacting to the flow of the battle.
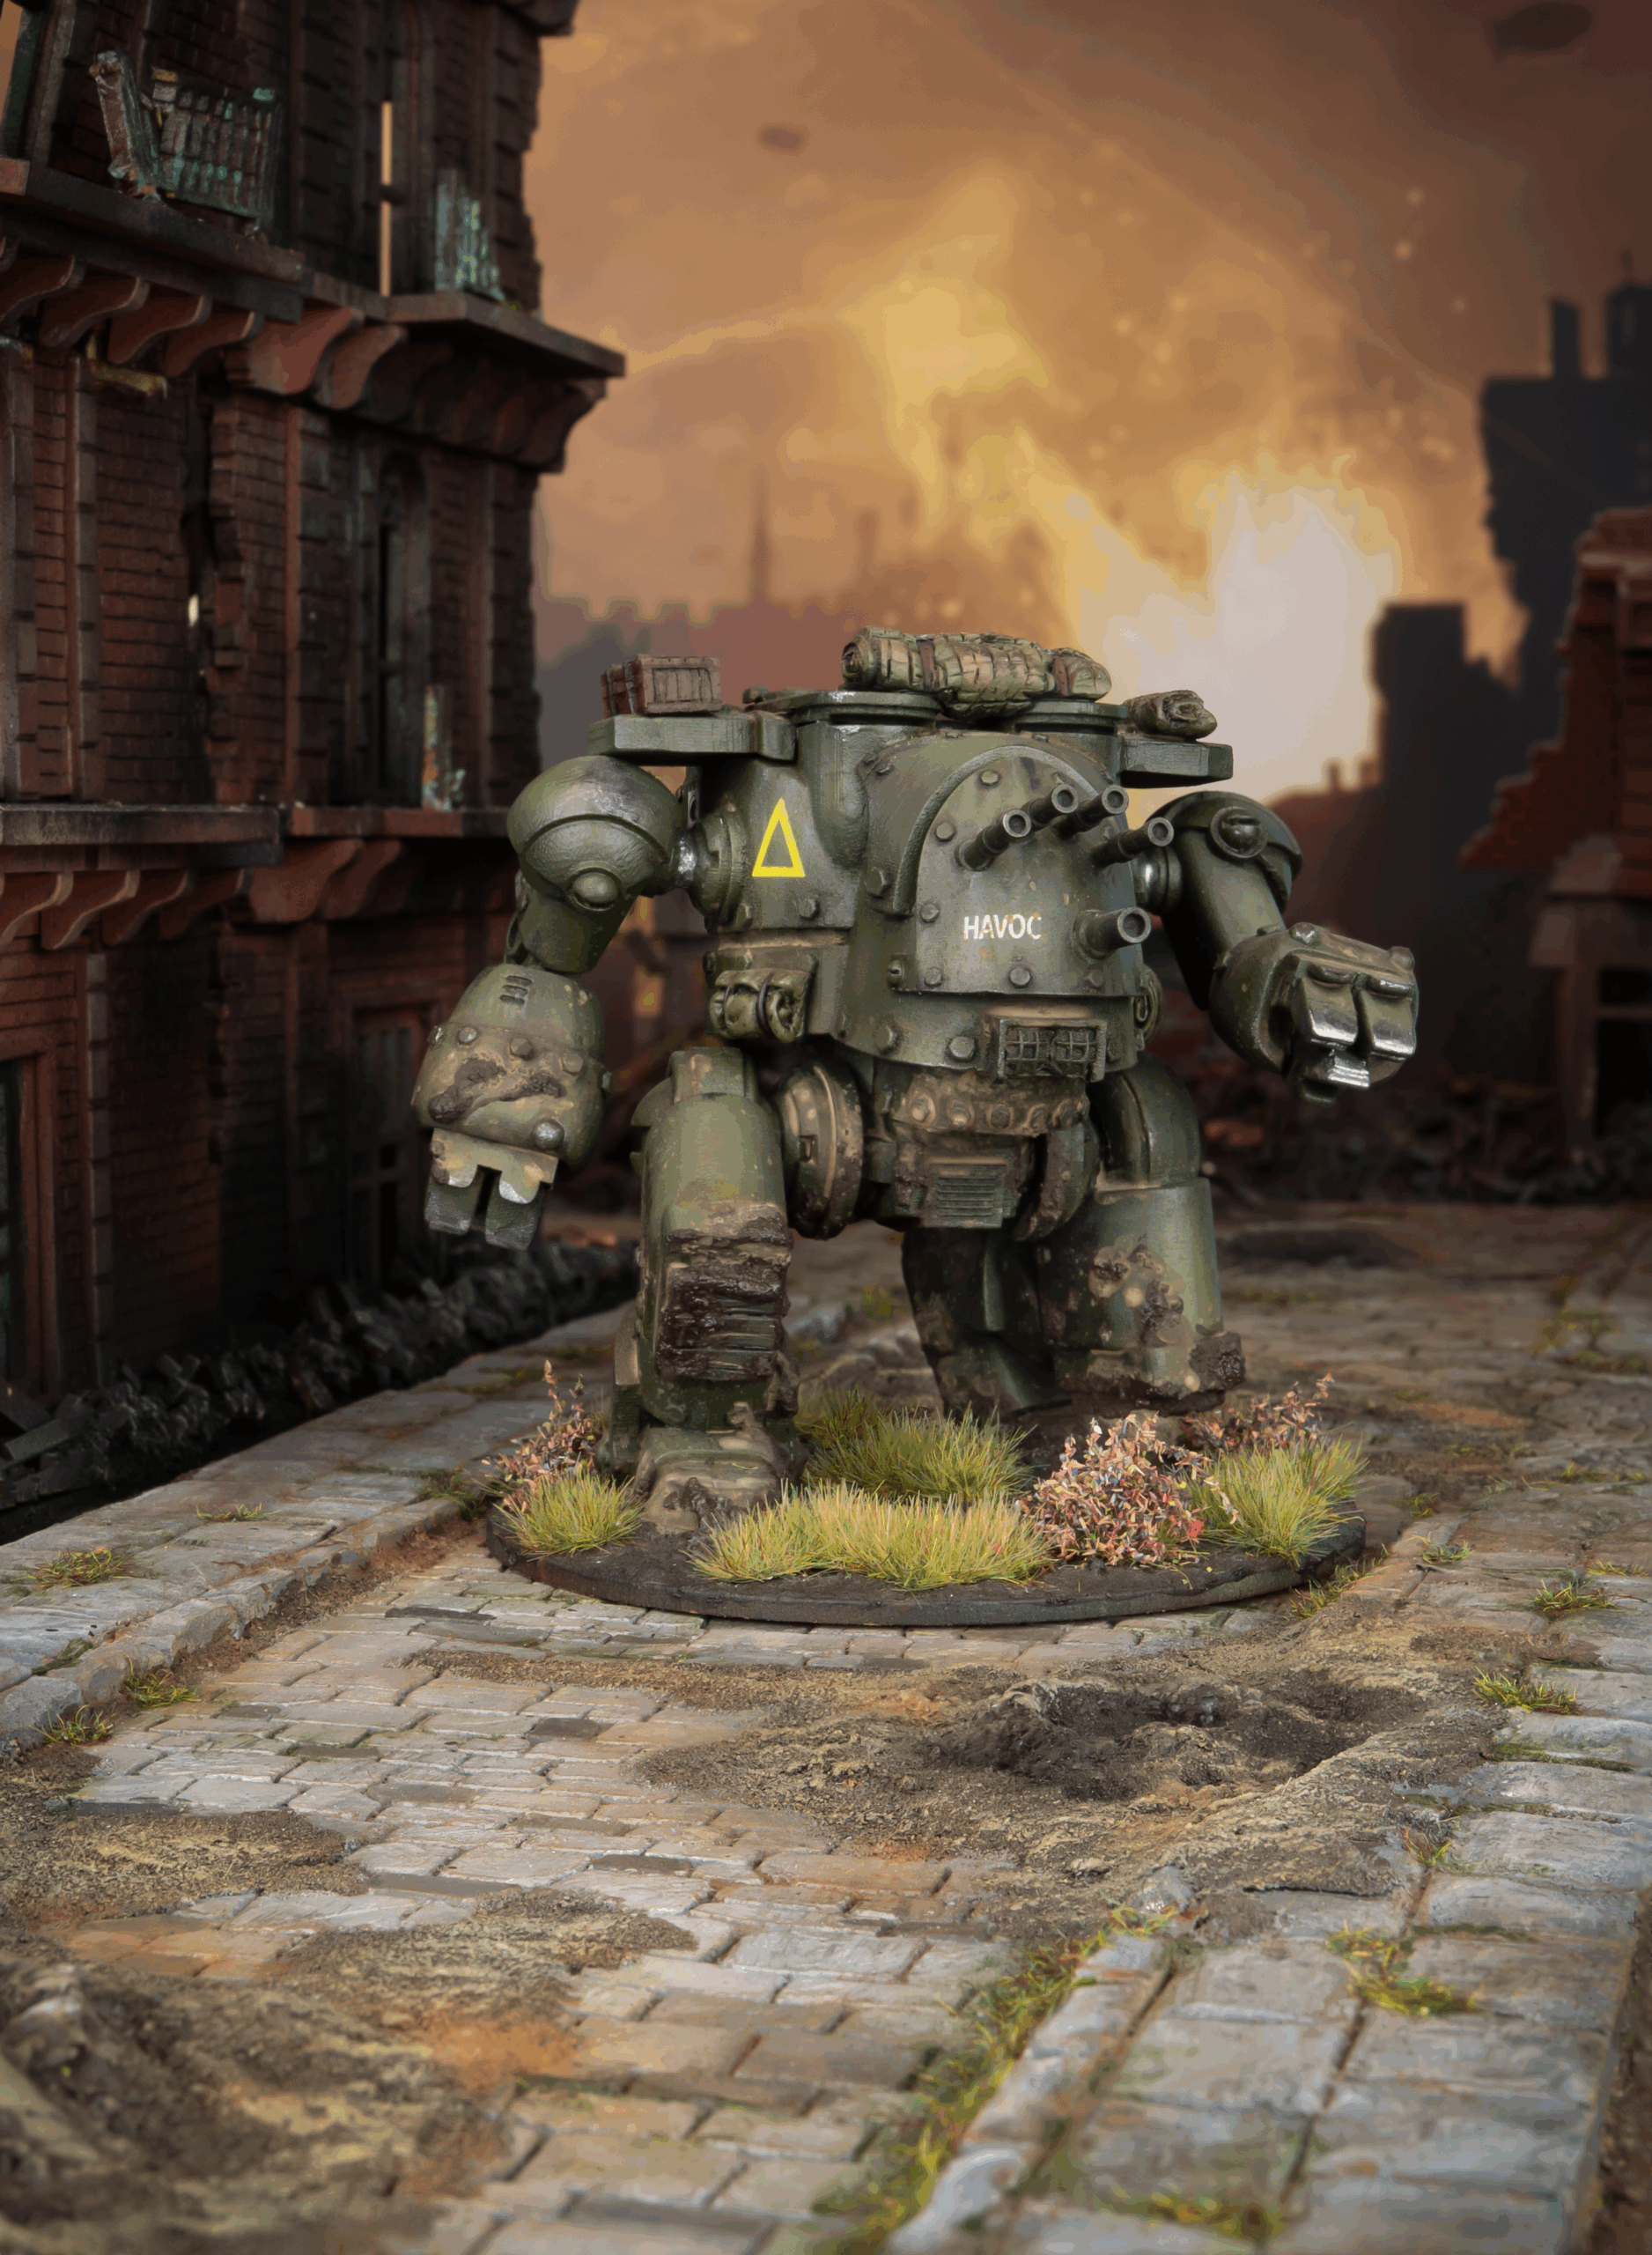
Humber Armoured Car Mk VII
The Humber Armoured Car Mk VII represents one of the clearest examples of automation being used to enable reactive play. Fast, lightly armoured, and equipped with accurate automatic cannon fire, the Humber is not designed to force engagements, but to exploit them as they emerge.
Computational Systems allow the Humber to reposition freely without sacrificing accuracy, making it well suited to responding to enemy movement, reinforcing threatened areas, or punishing overextension. Rather than committing early, the Humber thrives on patience, maintaining threat while waiting for the opponent to create an opening.
This stands in direct contrast to walkers such as the Guardian and Hornet. Where those platforms apply pressure by advancing into contested space, the Humber applies pressure by existing, and bringing tools like Recce allows it a modicum of safety that even the heaviest armour sometimes lacks in Konflikt ‘47. It functions best when it is projecting reach, influencing movement, and retaining the flexibility to disengage or redeploy as the situation changes.
Cromwell-T Cruiser Tank
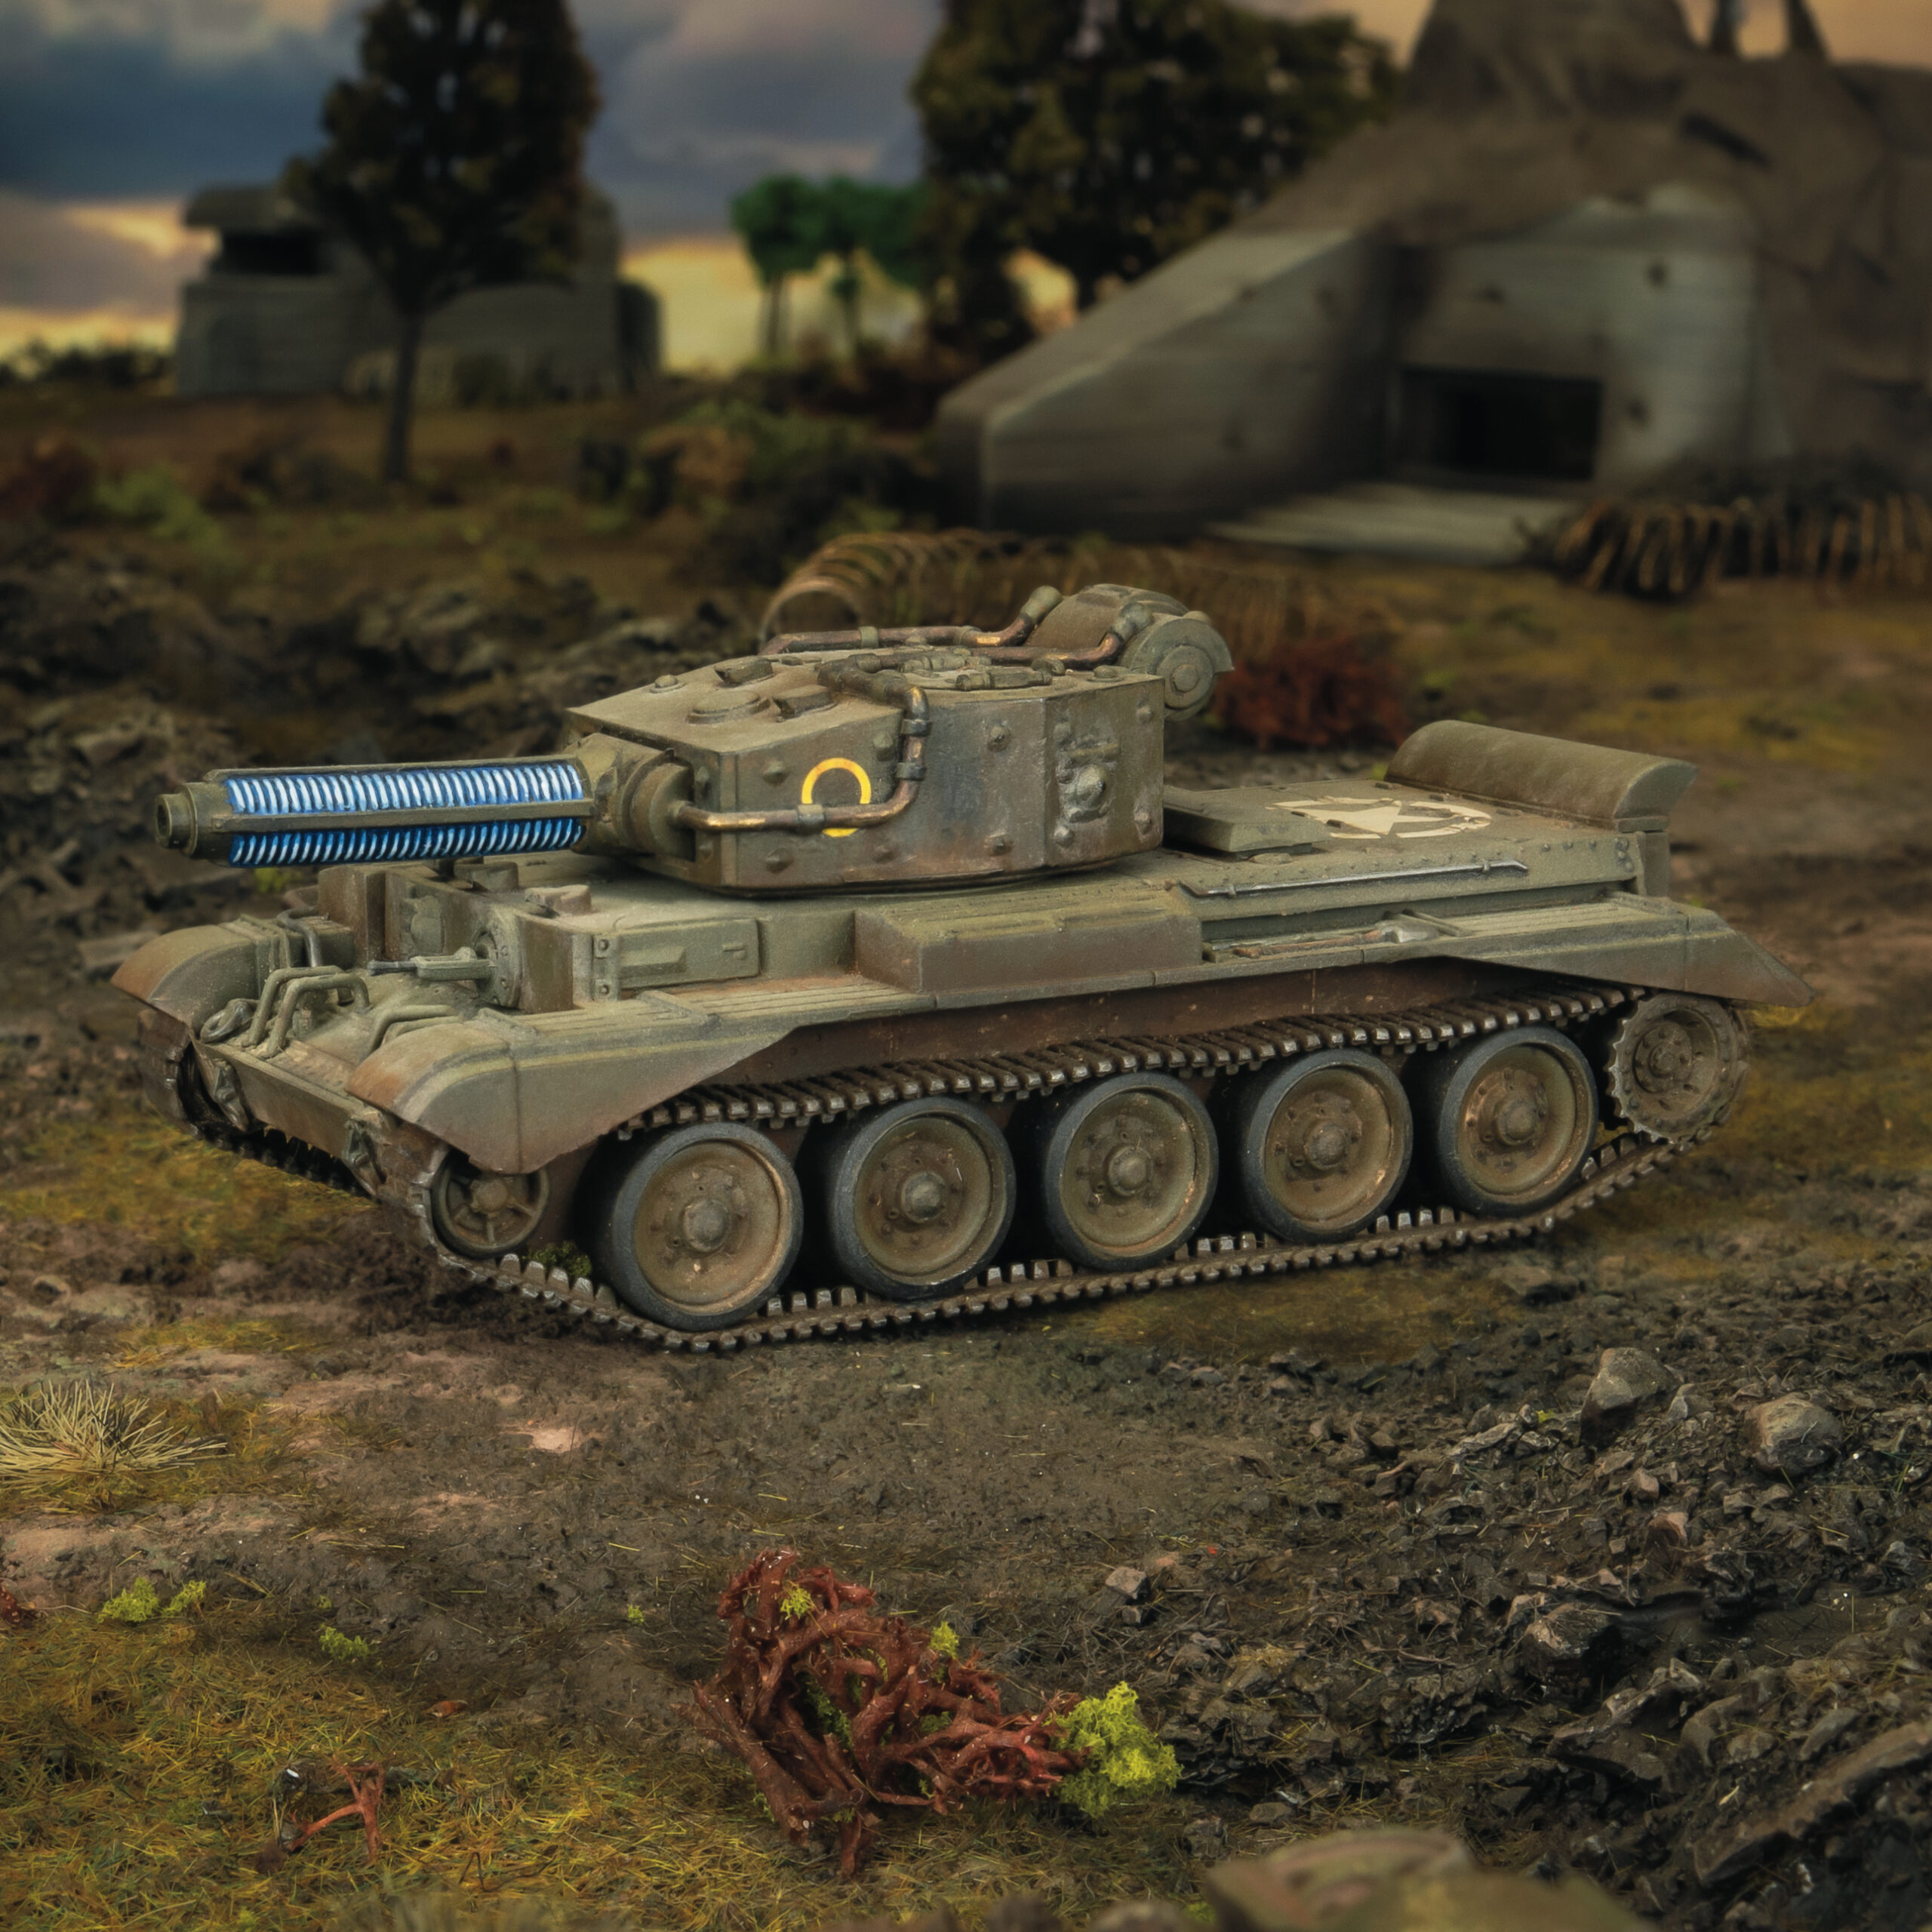
The Cromwell-T builds on this reactive philosophy, but adds a further layer of resilience through automation. Like the Humber, it benefits from Computational Systems, allowing it to manoeuvre and engage without the usual penalties associated with movement. Where it differs is in its integration of Automated Recovery, enabled by its status as a Rift Unit.
In practical terms, this allows the Cromwell-T to absorb disruption more effectively than conventional armour. Crew Stunned results that might otherwise halt momentum are mitigated, meaning the tank is less likely to lose entire turns to bad timing or concentrated fire. This reliability is particularly important for a platform intended to operate on the flanks or in support of advancing elements, where losing tempo can quickly undermine its role.
The Cromwell-T does not seek the early dominance of close-range walkers, nor does it rely on singular moments of commitment. Instead, it exemplifies a more measured form of battlefield control. Its Fast rule allows it to reposition aggressively while still applying pressure, and with an effective 48″ threat range from its M17 Tesla Cannon, it can influence vehicle lanes and dug in infantry without needing to close to point-blank range.
This combination allows the Cromwell-T to contest space reactively rather than proactively, shifting to where pressure is needed, punishing overextension, and maintaining accuracy while on the move. Unlike close-range platforms that must commit to realise their value, the Cromwell-T retains agency across multiple turns, applying pressure when opportunities arise rather than forcing them.
Inevitability by Design
As Commonwealth automation matures, its role shifts from stabilising individual decisions to shaping the outcome of an engagement as a whole. At the highest end of the roster, this philosophy reaches its clearest expression in two closely matched platforms that approach the problem of battlefield certainty from different directions.
Rather than eclipsing one another, the Percival and the Merlin represent parallel solutions to the same question: how to apply sustained pressure while minimising the impact of disruption and miscalculation. Both are designed to reduce variance, preserve tempo, and ensure that once committed, the Commonwealth player retains control over how the battle unfolds.
Percival Medium Assault Walker
The Percival represents a decisive shift in Commonwealth walker design. Where earlier platforms rely on proximity or resilience to manage risk, the Percival is built to minimise exposure altogether, applying pressure from a position of control rather than commitment.
Unlike the Guardian and Hornet, the Percival does not make use of its arms for close combat. This is not a limitation, but a deliberate design choice. By focusing entirely on ranged engagement,the protection of Reinforced Frontal Armour, and Automated Assistance, the Percival removes the need to close distance in order to remain effective. It is intended to dictate the terms of an engagement, not react to them.
Automation plays a central role in this approach. Computational Systems allow the Percival to reposition without sacrificing accuracy, while its Tesla cannon and Medium Rocket System provide consistent threat across a wide area. Rather than seeking decisive moments through aggressive advances, the Percival applies steady, predictable pressure, forcing opponents to respond on unfavourable terms.
In practice, the Percival excels at controlling lanes, denying space, and supporting advances without overextending. Its influence is felt over multiple turns, not through singular spikes of damage, but through the cumulative effect of accurate fire, positional control, and reduced variance. Once established, the Percival is difficult to dislodge without committing significant resources.
Within the Commonwealth roster, the Percival offers inevitability through control. It avoids the risks associated with close-range dominance, reduces reliance on perfect timing, and allows the player to shape the battlefield from a position of relative safety. Where earlier designs demand commitment, the Percival ensures that pressure can be applied without it.
Merlin Heavy Walker

If the Percival represents inevitability through control, the Merlin represents inevitability through commitment. It is the Commonwealth’s answer for players who want to press forward decisively, contest space directly, and remain effective even when fully engaged with the enemy.
The Merlin’s strength lies not in any single system, but in the way its tools reinforce one another. As a Rift Unit, it benefits from Automated Recovery, while its Active Rift Enhancement, Guinevere, gives the Merlin a level of adaptability and outcome control unmatched elsewhere in the roster. This does not remove uncertainty, but it allows the Merlin to manage it.
Unlike the Percival, the Merlin retains full access to its combat arms, making it a credible threat in close-range engagements. With a natural DV of 10+, it is capable of fighting effectively against all but the heaviest vehicles, and in mech combat this matters as much as winning the engagement itself. Even when damage is exchanged, a higher DV ensures that the Merlin can capitalise on success while limiting the impact of retaliation, allowing it to stay in the fight turn after turn.
At range, the Merlin remains a versatile platform rather than a specialist one. Its heavy anti-tank gun provides reliable answers against armoured threats, while the Improved HE profile ensures it remains relevant against infantry and clustered. Supporting this is a substantial HMG output, matching the Hornet’s 12 shots and reinforcing the Merlin’s role as a pressure piece rather than a single-purpose hammer.
In practical play, the Merlin excels when used as a focal point for an advance. It can commit into contested space, absorb attention, and continue to apply pressure across multiple turns without losing relevance. Where other platforms must choose between safety and aggression, the Merlin is designed to operate effectively while exposed, making it the natural choice for players who want to drive the engagement rather than shape it from a distance.
Within the Commonwealth roster, the Merlin offers inevitability by allowing commitment without collapse. It does not replace the Percival’s control-based approach, but stands alongside it as an equally powerful alternative and one that rewards decisive play and sustained pressure, rather than positional restraint.
Controlling the Moment
Across this series, the British Commonwealth has been defined not by singular advantages or isolated mechanics, but by a consistent approach to managing risk and pressure on the battlefield. From the earliest infantry support walkers to the most advanced automated platforms, each element of the roster reflects a deliberate attempt to control not just where engagements happen, but when they unfold.
Force-level tools such as Superior Codebreaking and Rift-enabled command structures reinforce this philosophy. The ability to guarantee first activation at a critical moment allows Commonwealth players to dictate tempo in ways that are particularly effective when combined with the units discussed throughout this article. A close-range bully already in position can be unleashed before an opponent has the opportunity to disengage, while a reactive platform can be given the time it needs to stabilise or reposition before pressure is applied elsewhere.
This interaction is not about explosive openings or singular power turns. It is about preserving agency. By controlling the moment of activation, the Commonwealth player ensures that commitment, whether aggressive or cautious, occurs on their terms rather than as a forced response to enemy action.
Taken together, the units and systems explored across this series present a faction built around intent. Early designs demand proximity and decisiveness. Later platforms stabilise movement and response through automation. At the highest level, the Percival and Merlin offer two equally valid expressions of inevitability, one through control and the other through commitment.
In Konflikt ’47, the British Commonwealth does not seek victory through raw output or isolated moments of dominance. Instead, it succeeds by ensuring that when decisions are made, to advance, to commit, or to hold, the force is structured to follow through with consistency and purpose.
Across this series, the British Commonwealth has been defined less by singular advantages and more by the way its tools work together. It does not rely on stronger Tesla weapons, free Rift abilities, or brute-force durability. Instead, it rewards planning, coordination, and measured execution. The Commonwealth succeeds when pressure is applied deliberately, risks are managed rather than ignored, and engagements are entered on favourable terms. In Konflikt ’47, it is a faction that asks players to keep calm, commit with intent, and trust that a well-structured force will carry decisions through.
Ready to lead the forces of the British Commonwealth to victory?