Mud, mud, glorious mud – they say there’s nothing quite like it for cooling the blood… or weathering your vehicles and basing your infantry! I always like my miniatures to look like they’re fighting over a real battlefield, and that usually means churned up, muddy ground, particularly in the Second World War. As such, I use a lot of mud for my armies, whether as a first layer of basing, or as the entire base itself. Luckily, I’ve got a handy hobby hack for producing large quantities of the sticky stuff. With the able assistance of our HQ Store’s hobby maestro, Conor Hind, I’ll take you through the process from start to finish.
Components
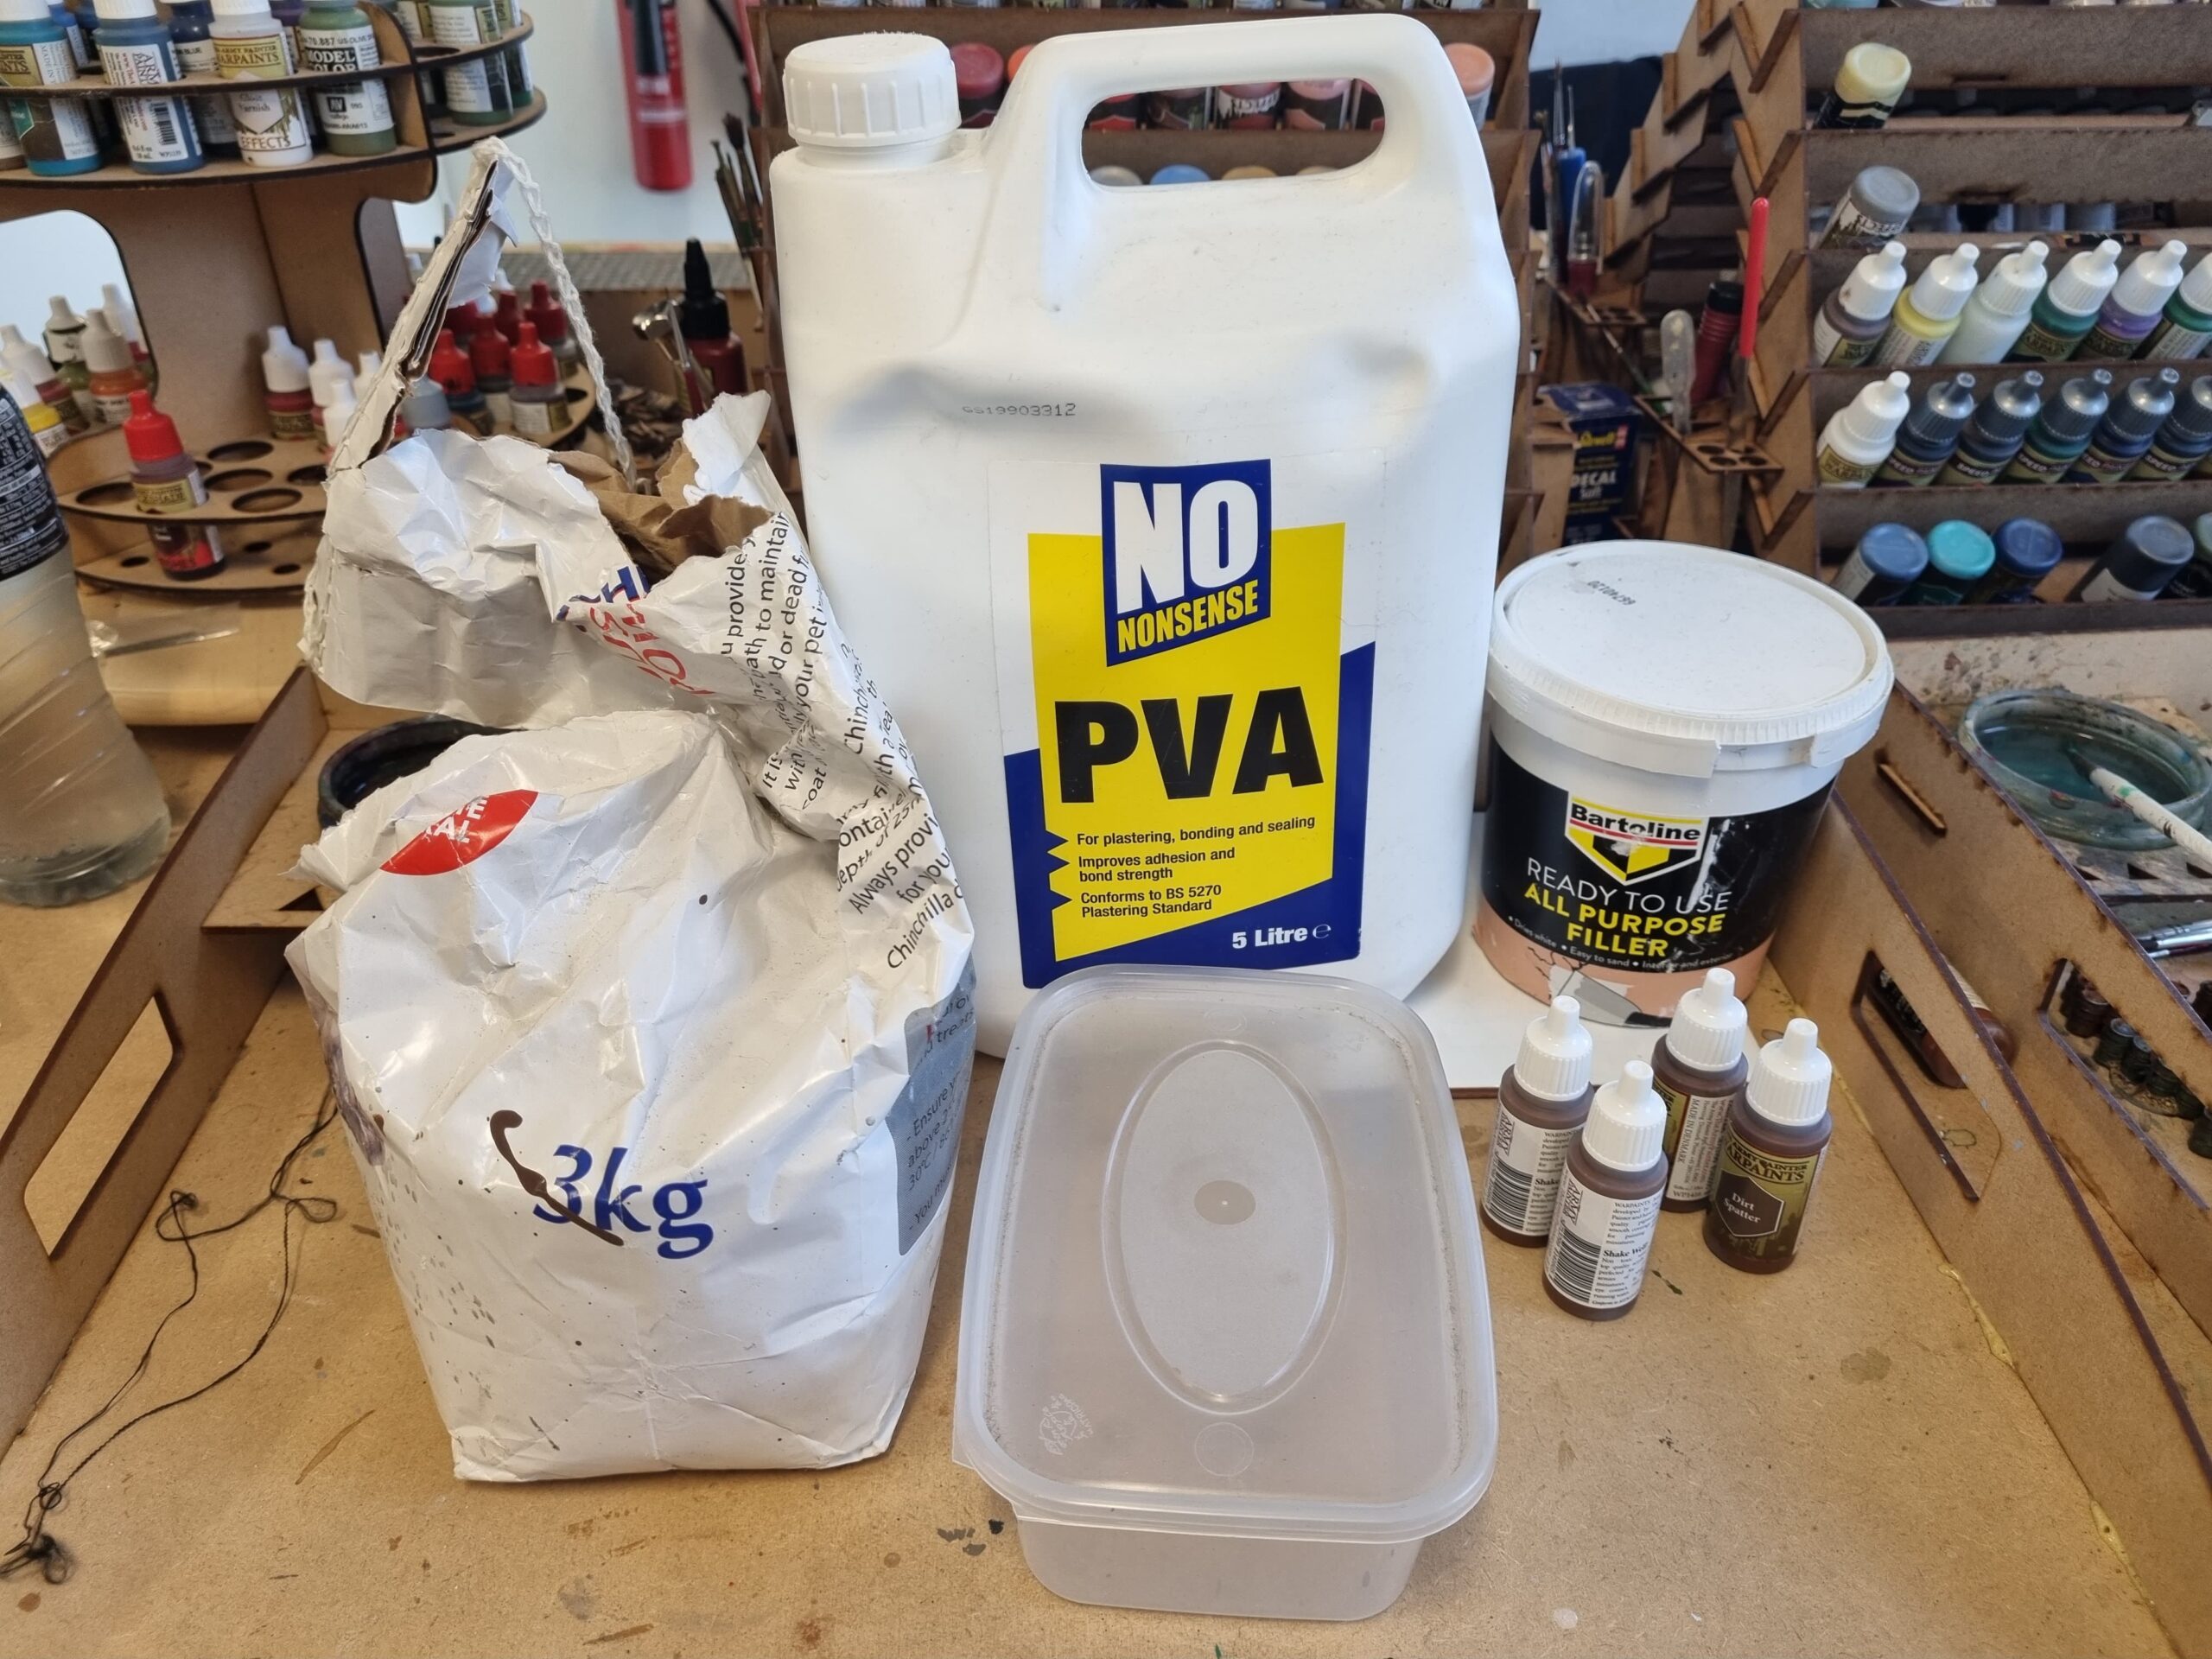
First, you’ll need to gather your constituent parts and equipment. Here’s what we used to make a nice big batch, suitable for an entire army or more:
- A container: An old ice-cream tub or kitchen Tupperware is ideal for this. Make sure it’s clean and has a tight-sealing lid!
- A stirrer: A hobby spatula or knackered old paintbrush does the job nicely.
- Polyfilla: Available from any DIY shop under a variety of names – a 1kg tub will last you through loads of batches.
- Sand (fine and coarse): We used cheap chinchilla bedding for the fine, as you can get it in bulk, and standard basing sand for the coarse.
- PVA glue: Ideally a big tub from an arts and crafts store – you’ll need a decent amount of it!
- Paint: Your dirt colour of choice – Army Painter’s Dirt Spatter is my go-to. You’ll need at least two pots for a tub of the size we used.
- Something to weather! Conor very kindly donated a T34 he’d previously painted.
To make more or less mud, follow all the steps below, but simply increase or reduce the quantity of ingredients used in equal measure.
Making the Mud Mixture
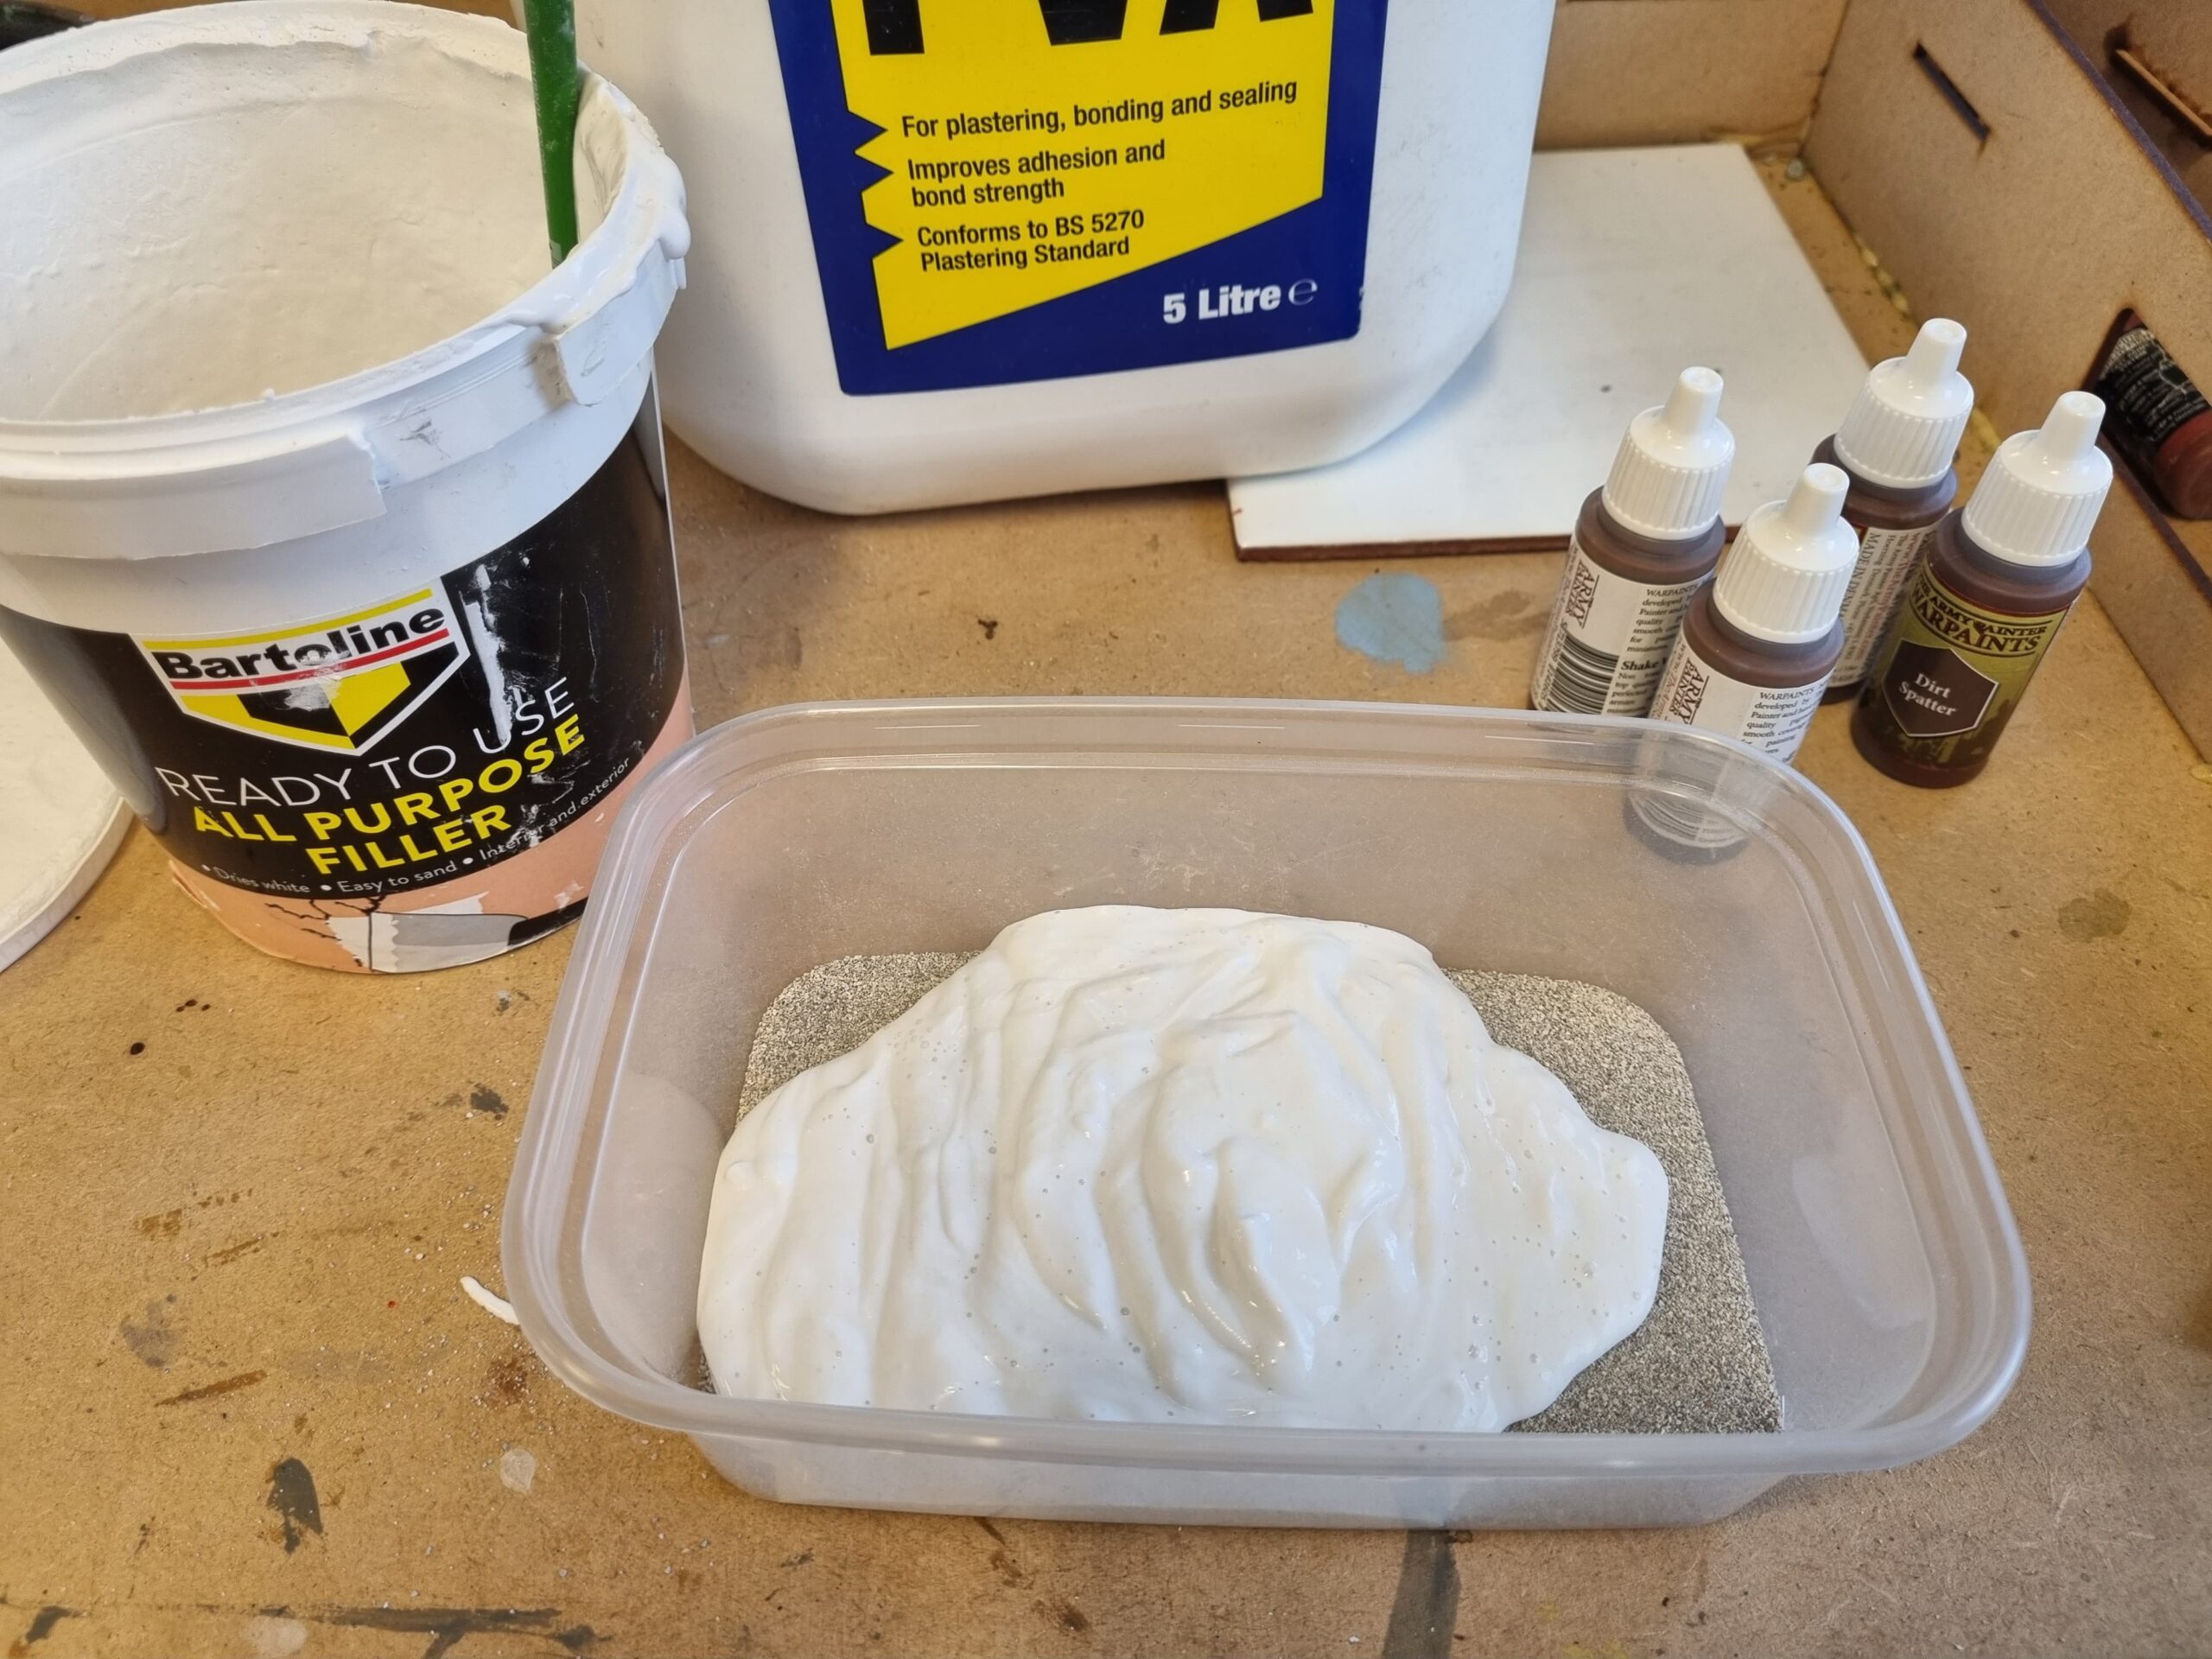
First, apply a layer of your fine sand across the bottom of the tub – enough to cover it will do.
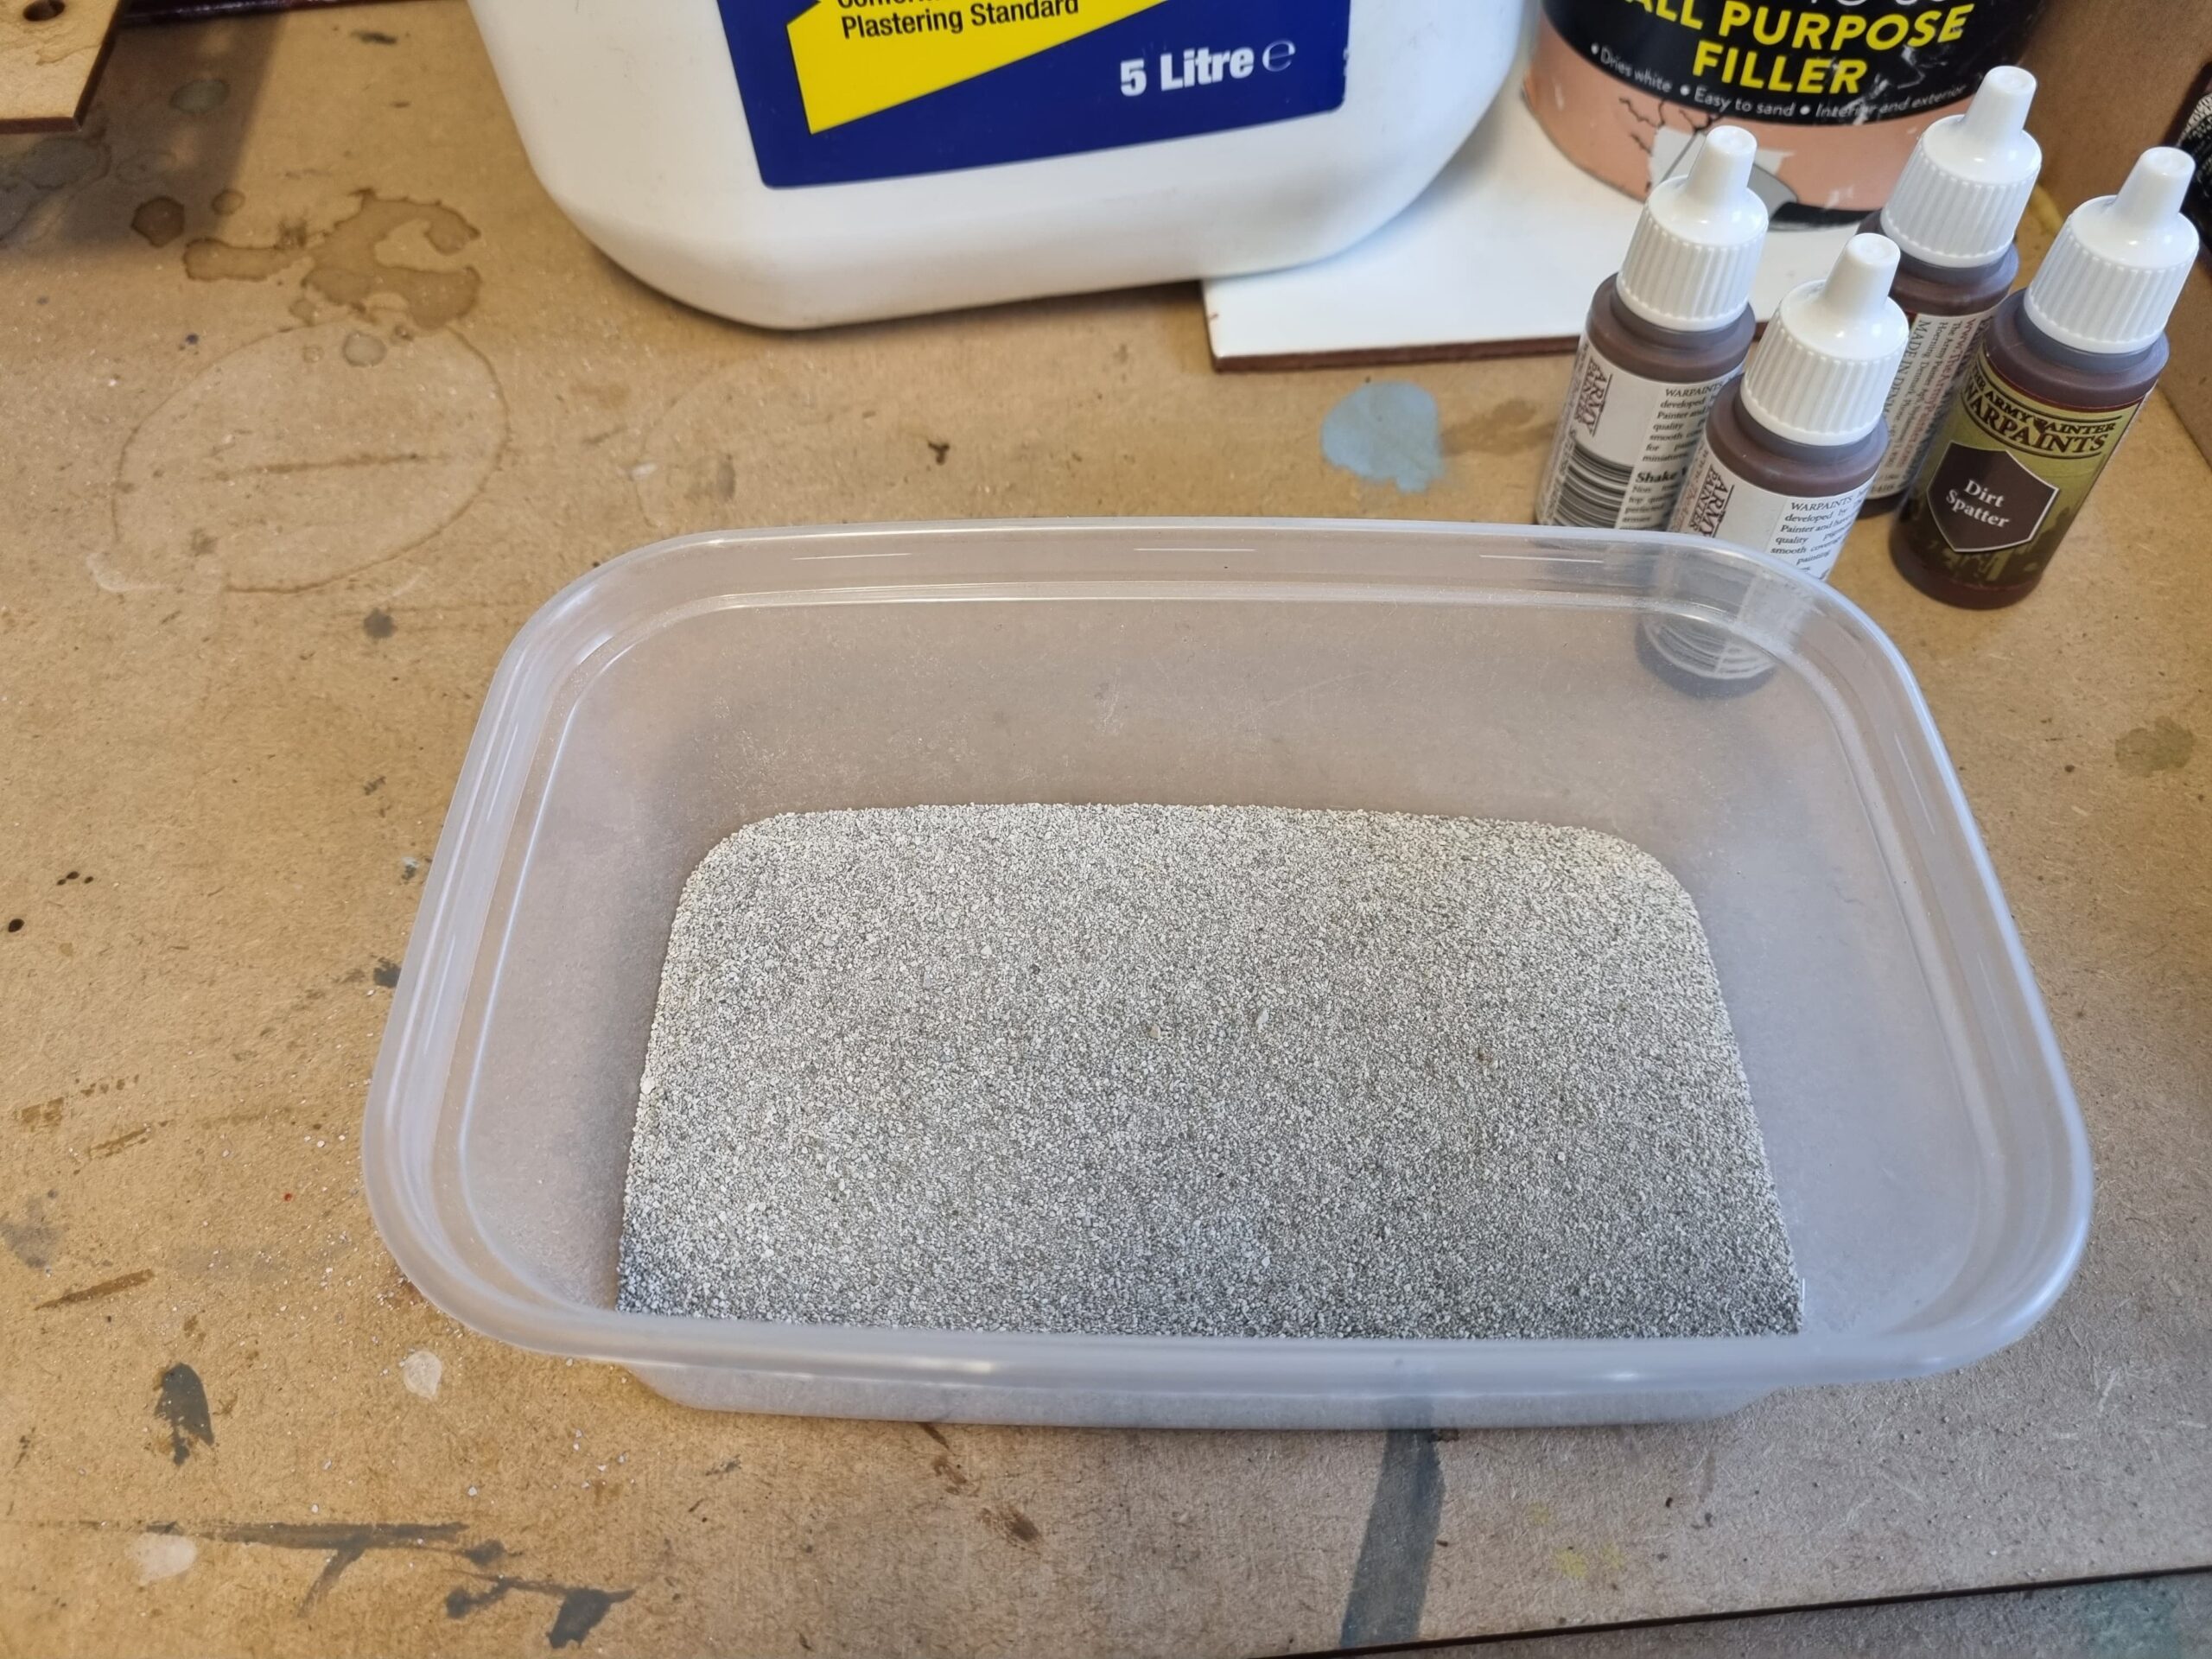
Next, add a decent amount of Polyfilla – no need to be too precise, this is very much the ‘eyeball method’ of working!
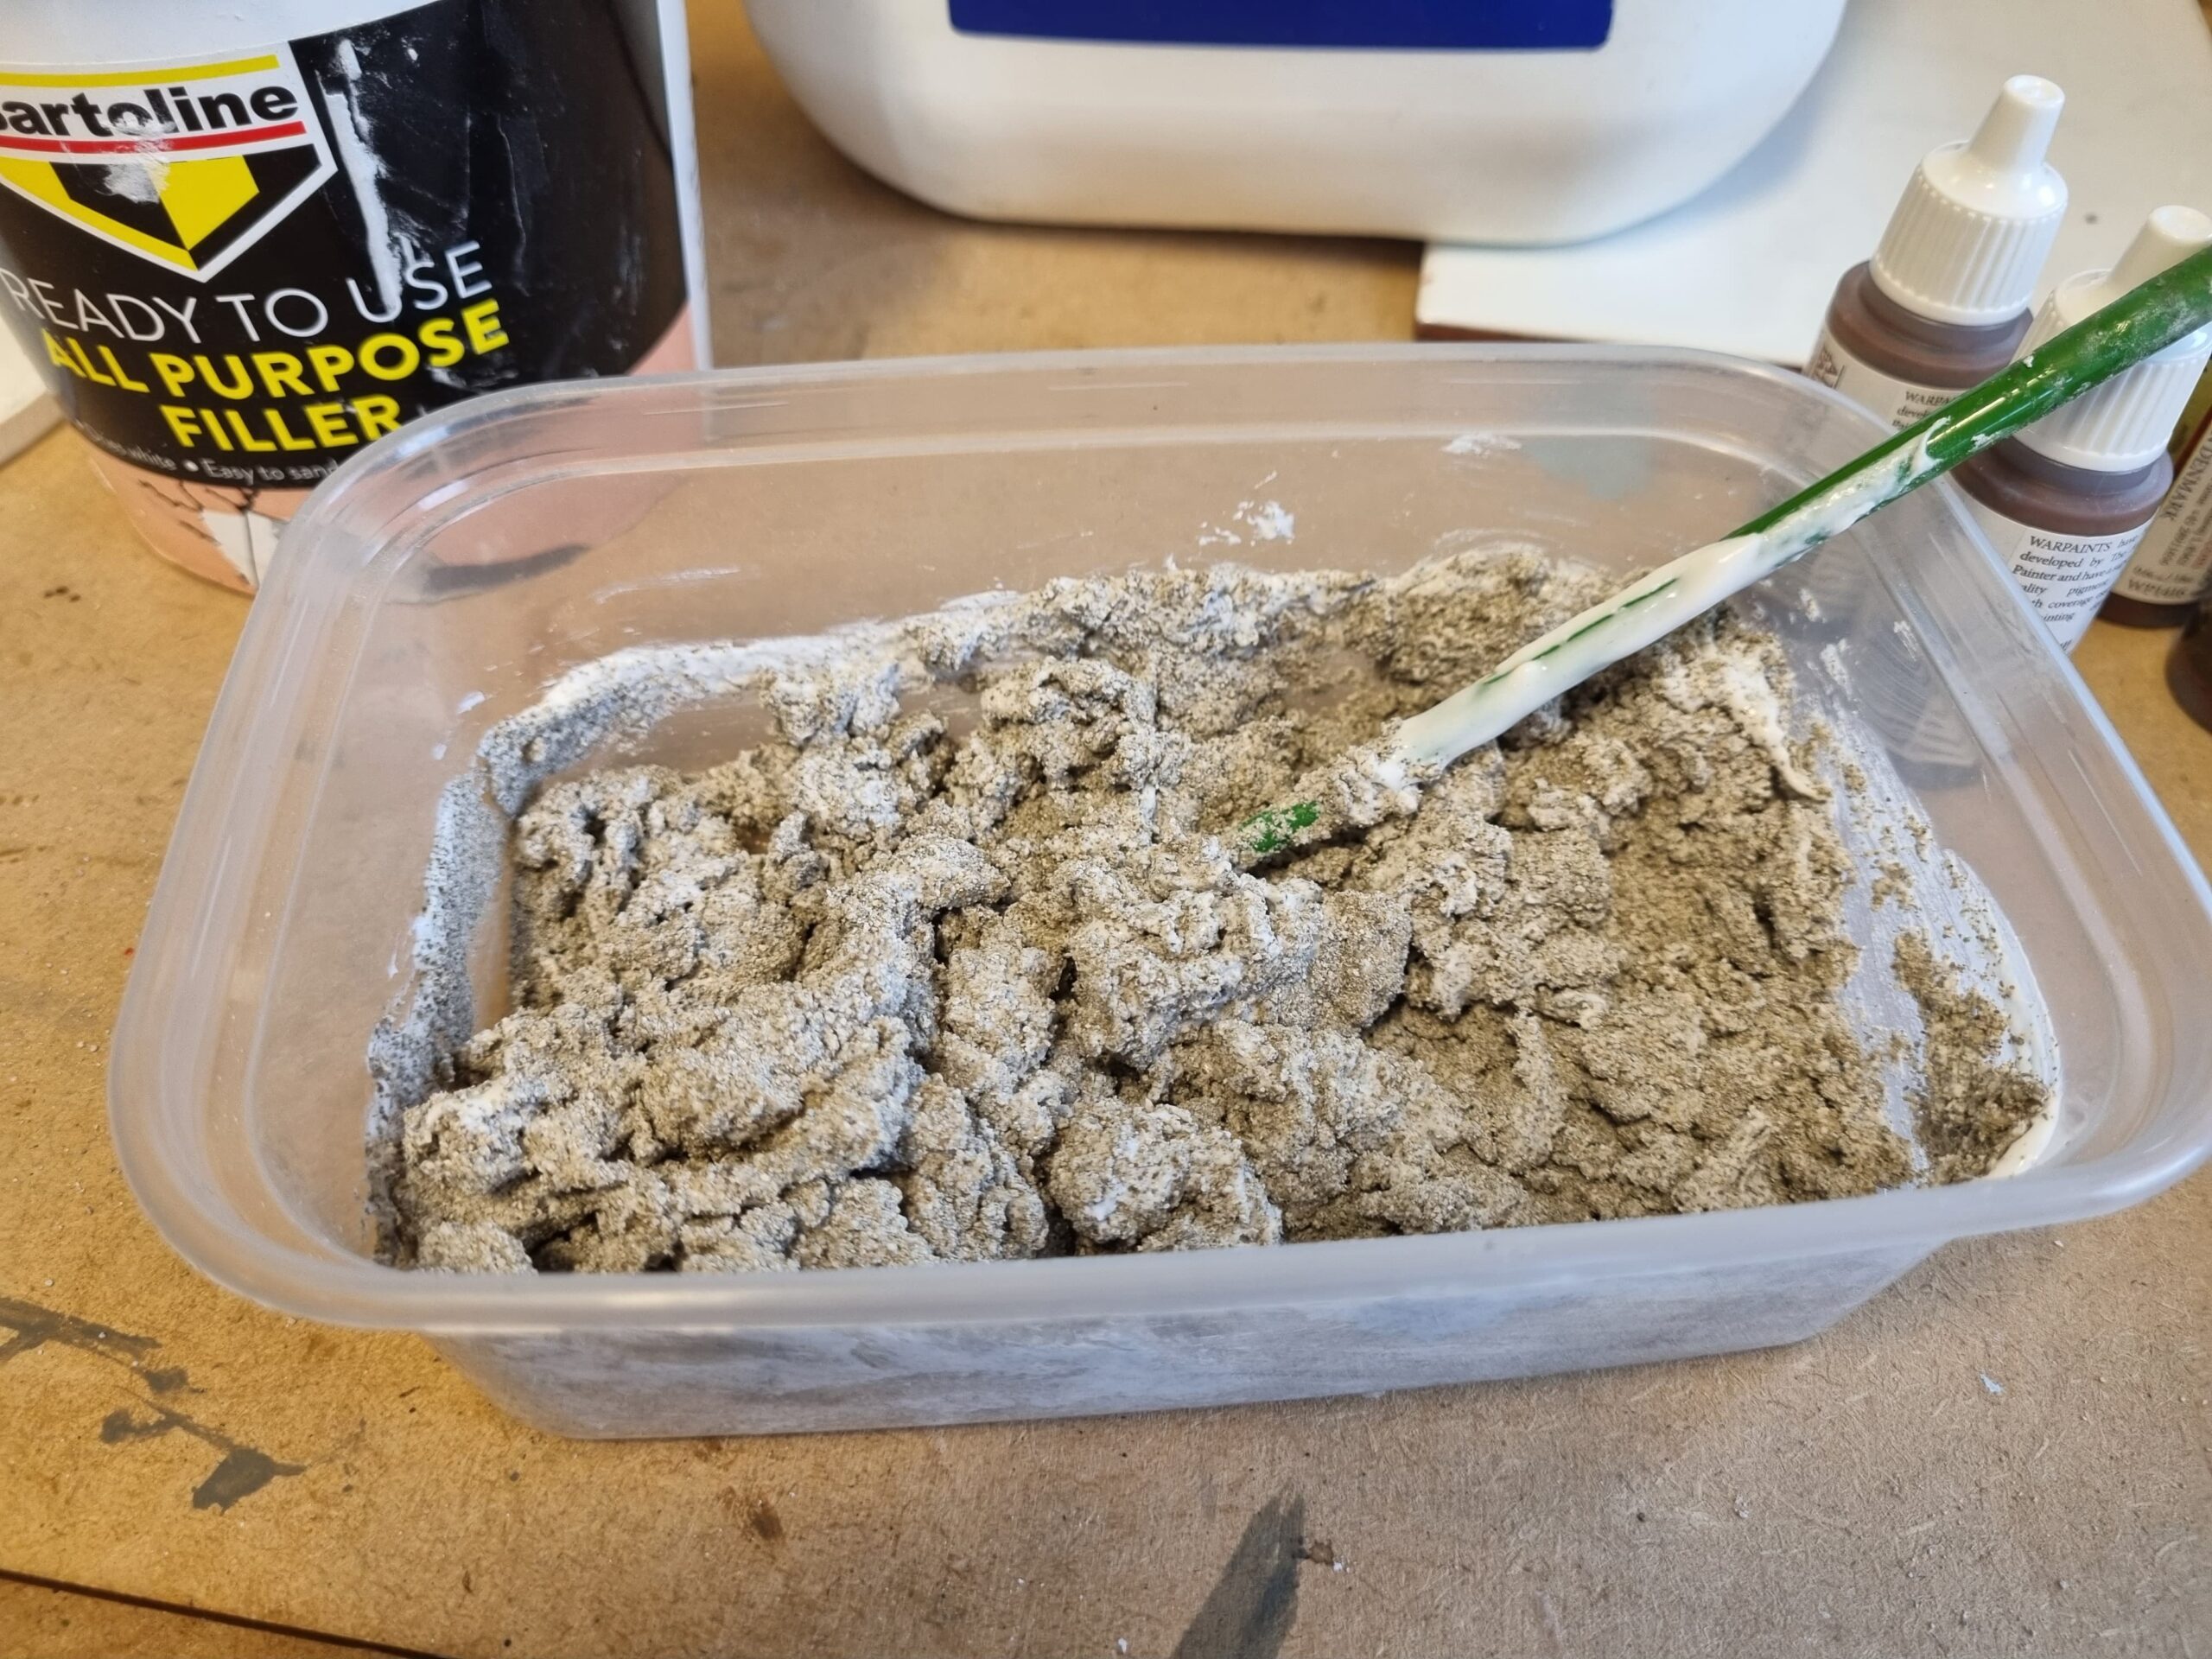
Mix the two together until you have a vaguely ‘doughy’ mixture.
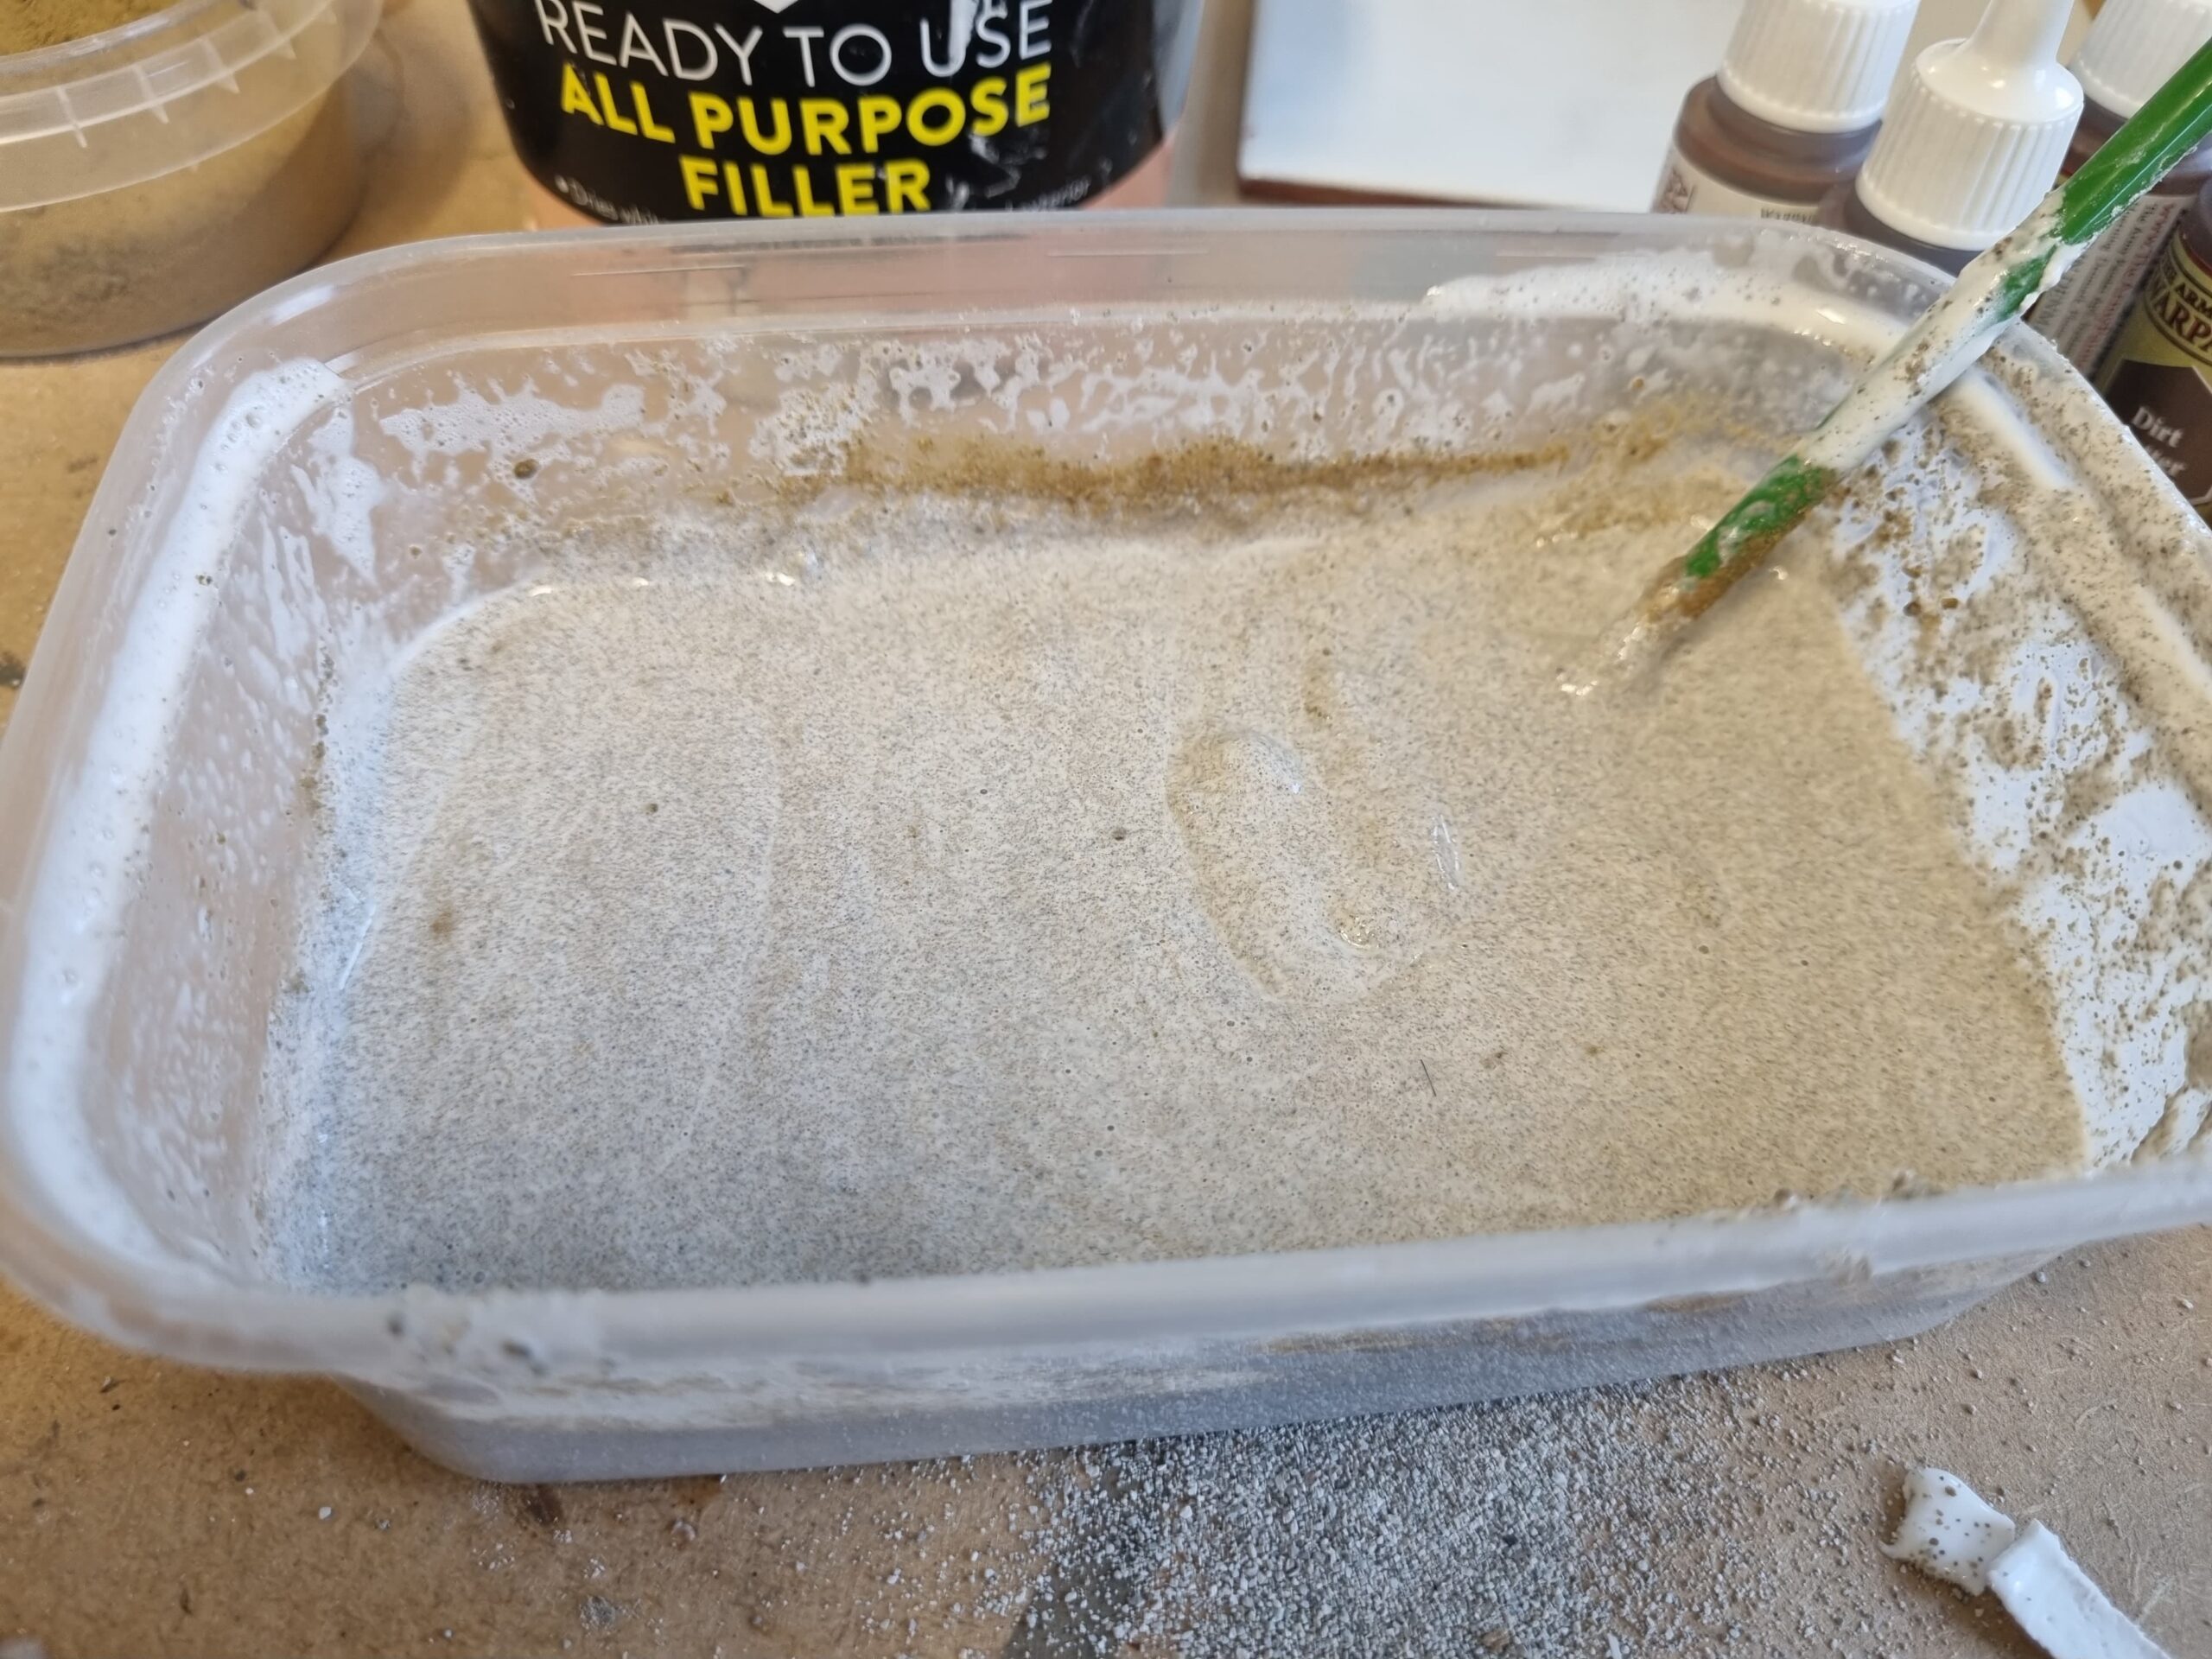
Then, add a generous dollop of PVA glue, and mix until you’ve got something roughly the consistency of chocolate mousse (I’m not kidding!). If the mixture feels too dry, you can add small amounts of water and/or PVA to get it to the right level. If it’s too wet, simply add some more sand and Polyfilla.
At this stage, toss in a decent handful of your coarse sand and mix it in – once you’re happy with the texture, it’s time to add the paint. No need for exact measurements, just dump a couple of pots in and stir until you have a consistent muddy brown colour. Don’t worry if it looks a little ‘chocolatey’ – it’ll dry much lighter!
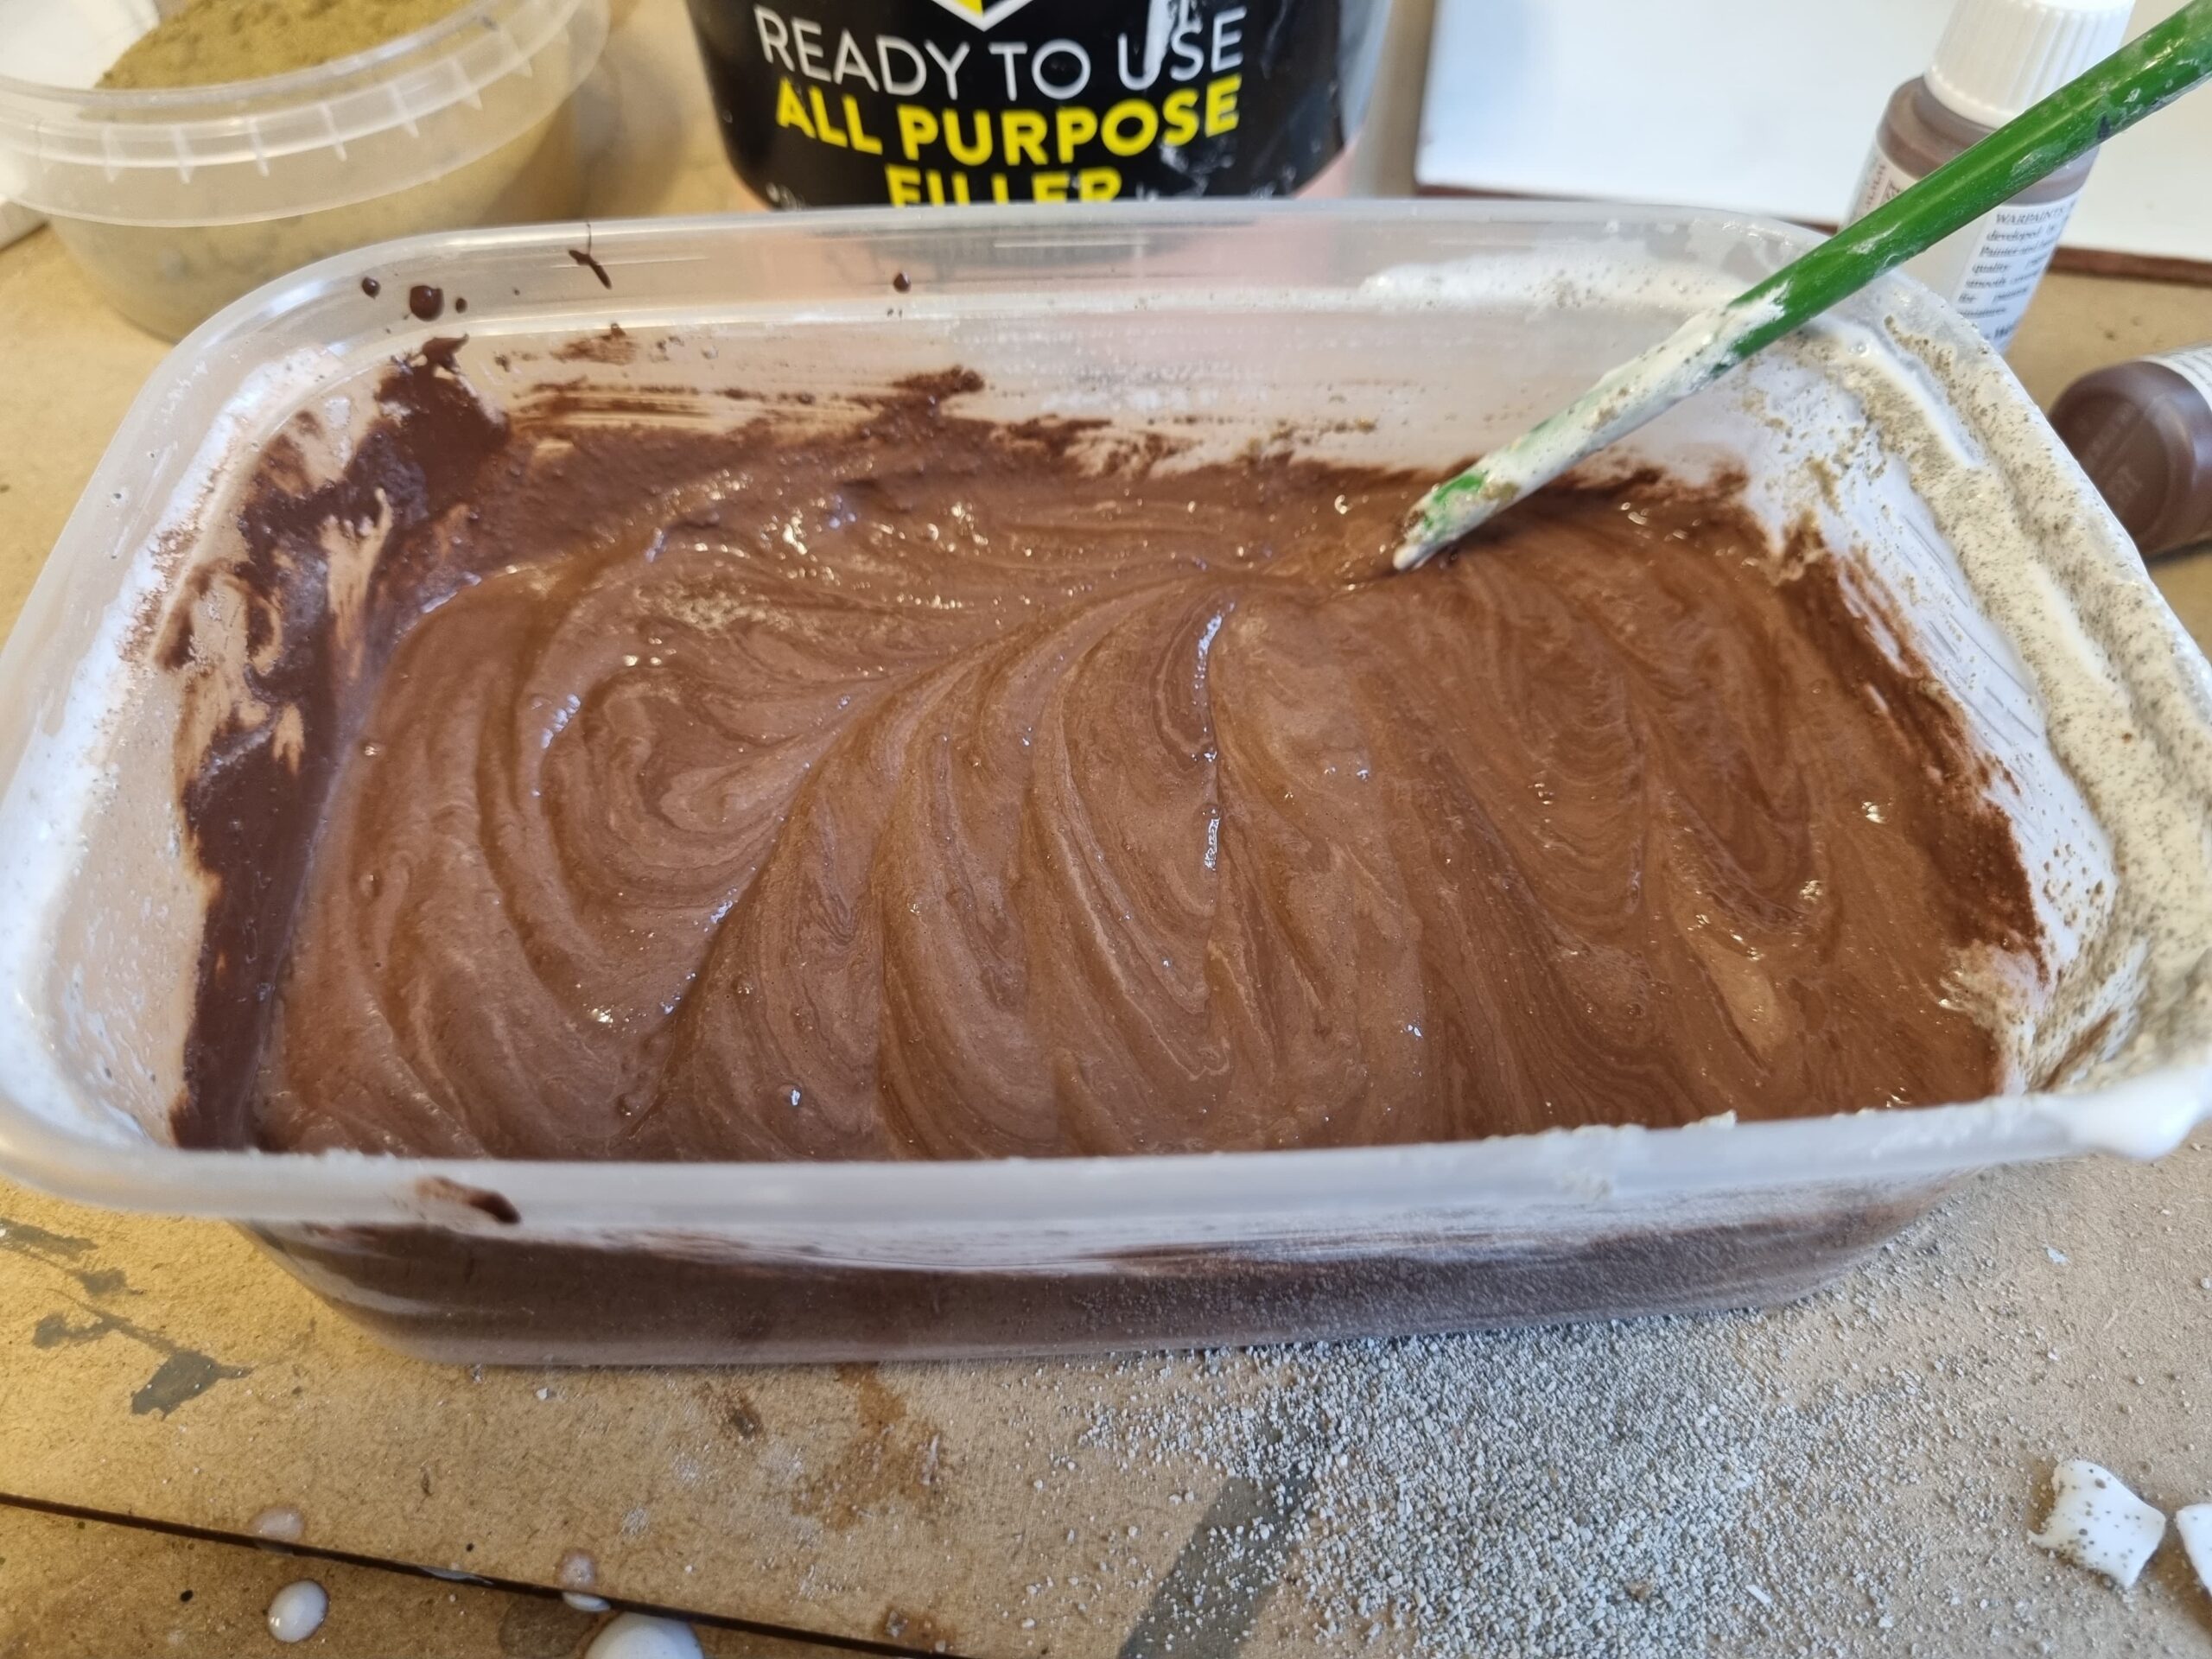
Once you’re happy with the colour, leave it for ten minutes to ‘settle”, and then it’s time to get down and dirty!
Application
I try to make a large enough batch of mud to do my entire force – infantry and vehicles – as this means I don’t need to break up my basing flow to make some more. Make a little more than you think you’ll need, and you can actually store it for some time – just make sure it’s in a sealed tub, and ‘feed’ it a little PVA and water when you next come to use it! If it’s not in a sealed tub, it can develop mould if left for too long, and nobody wants that!
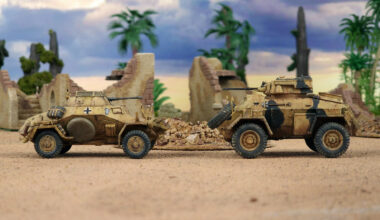
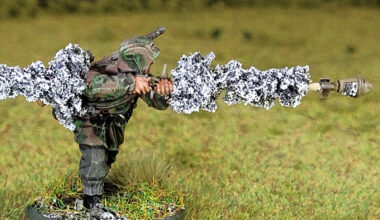
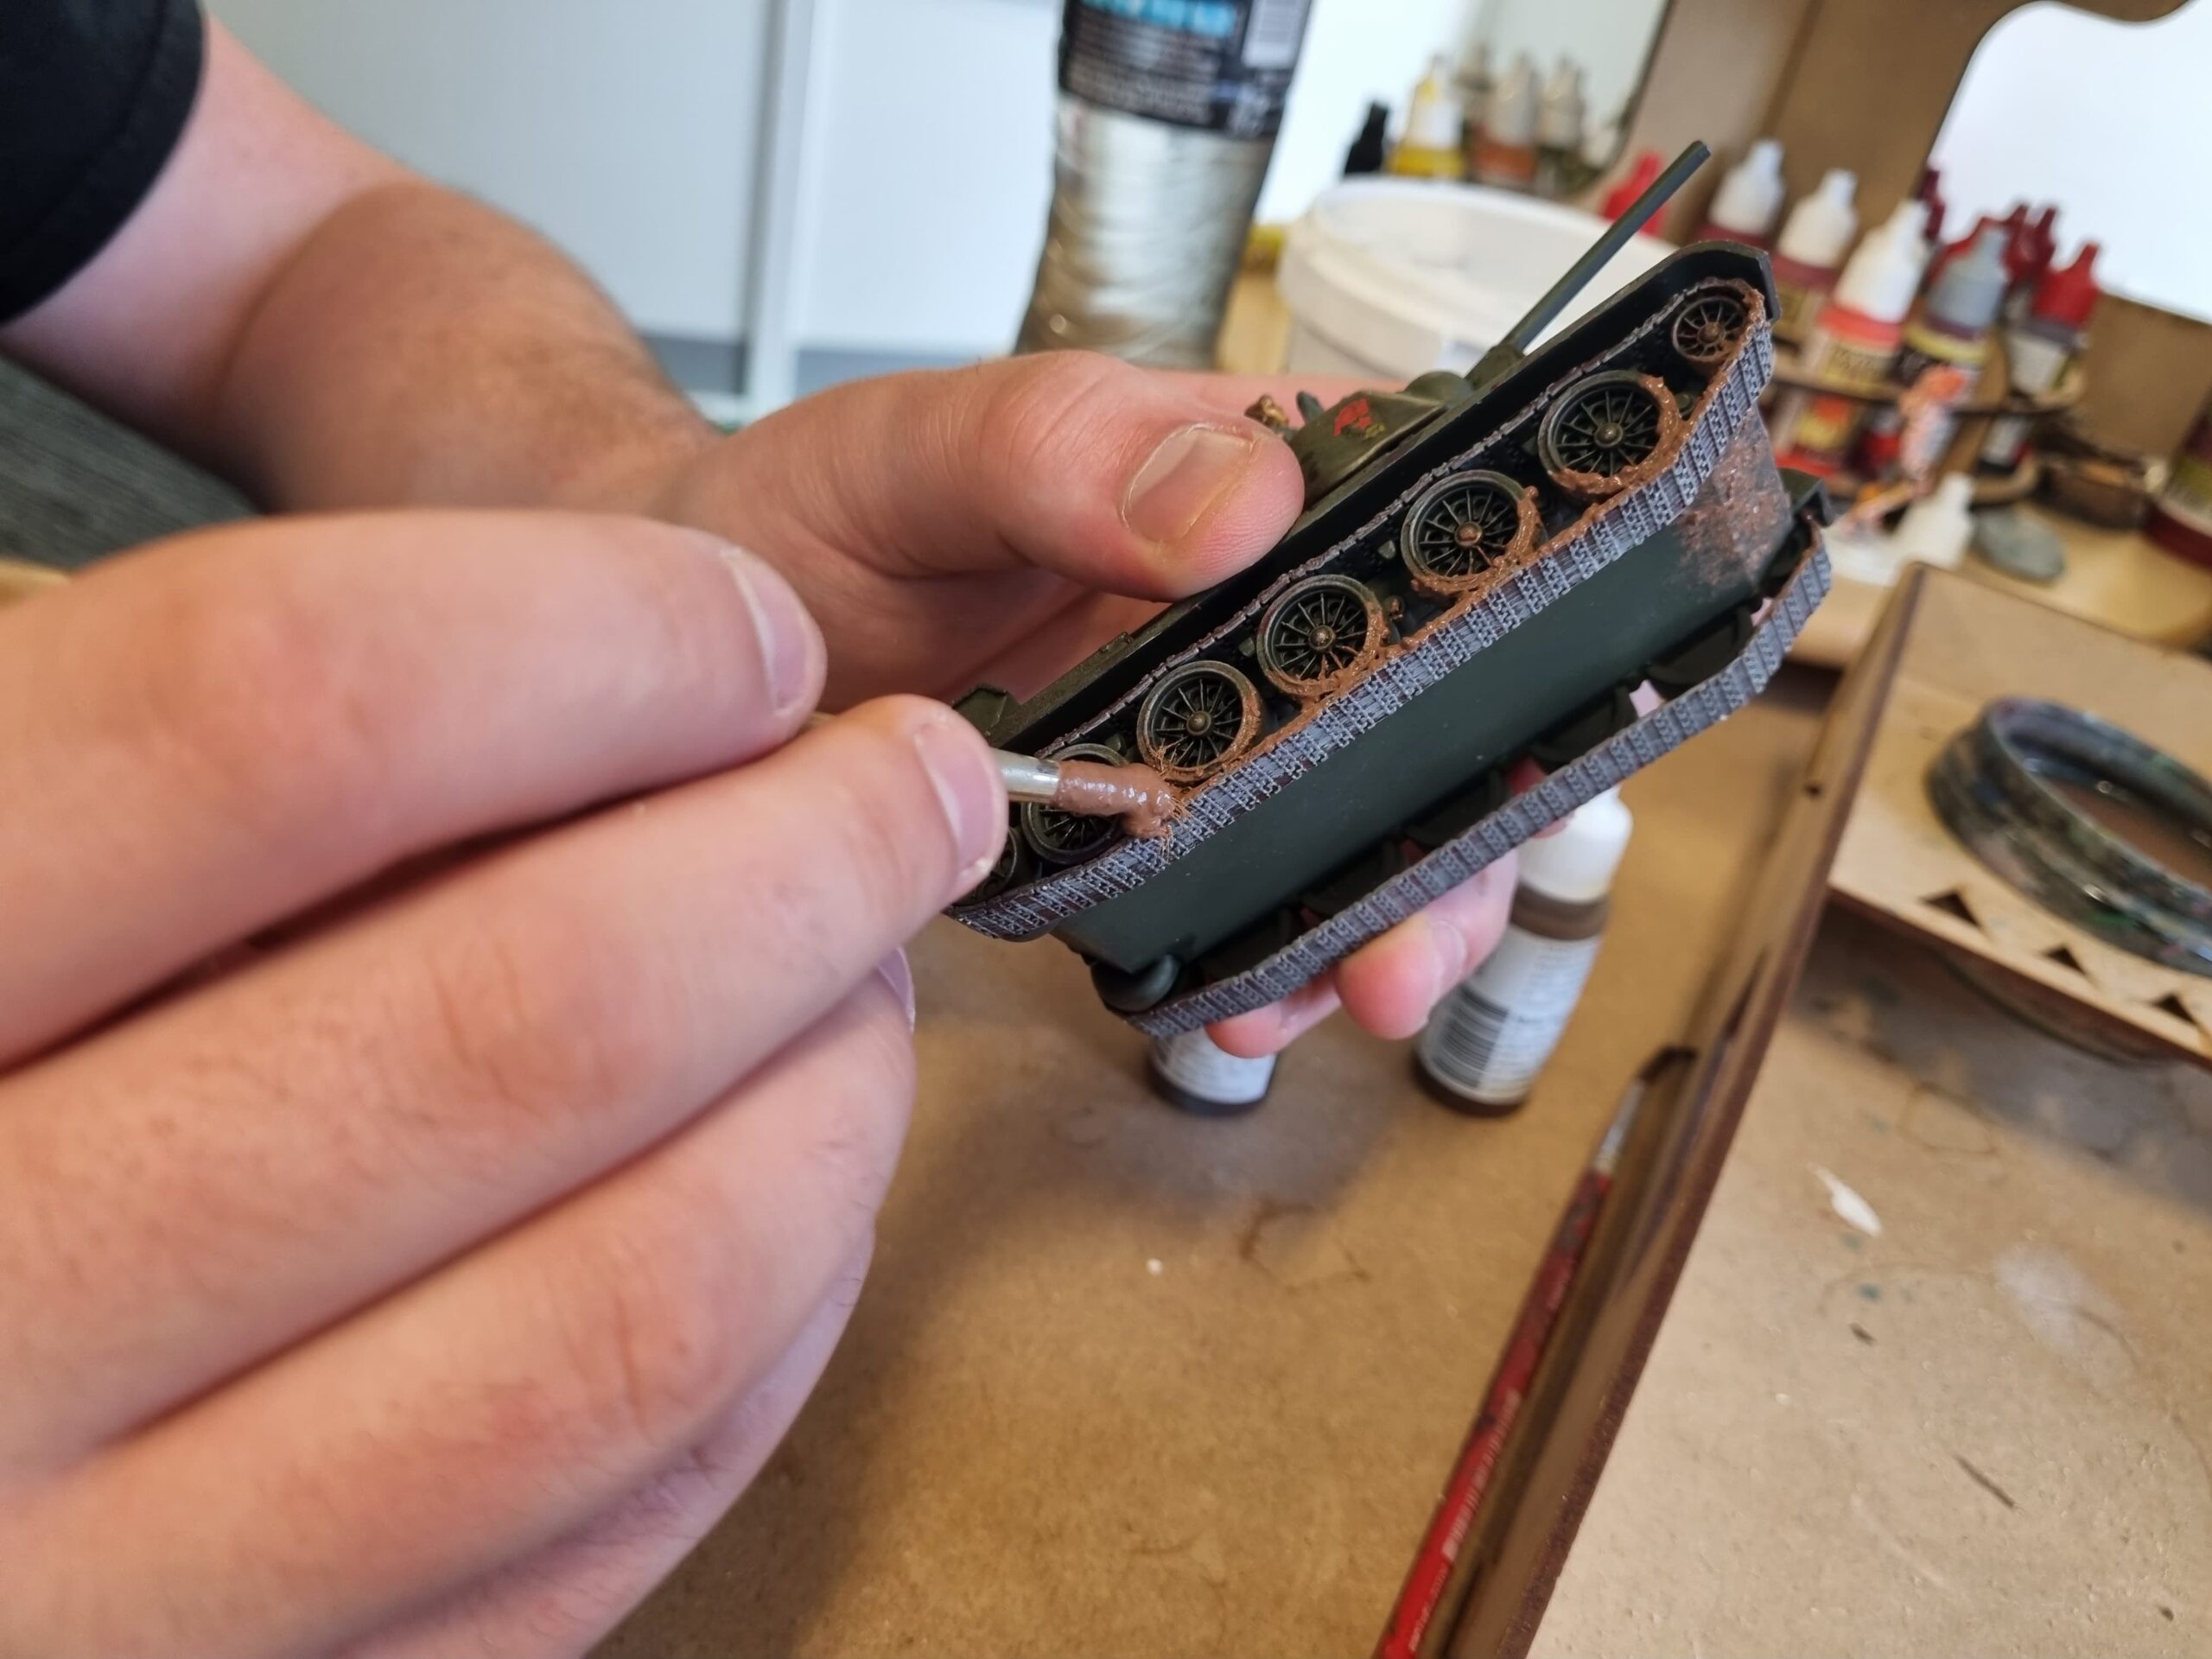
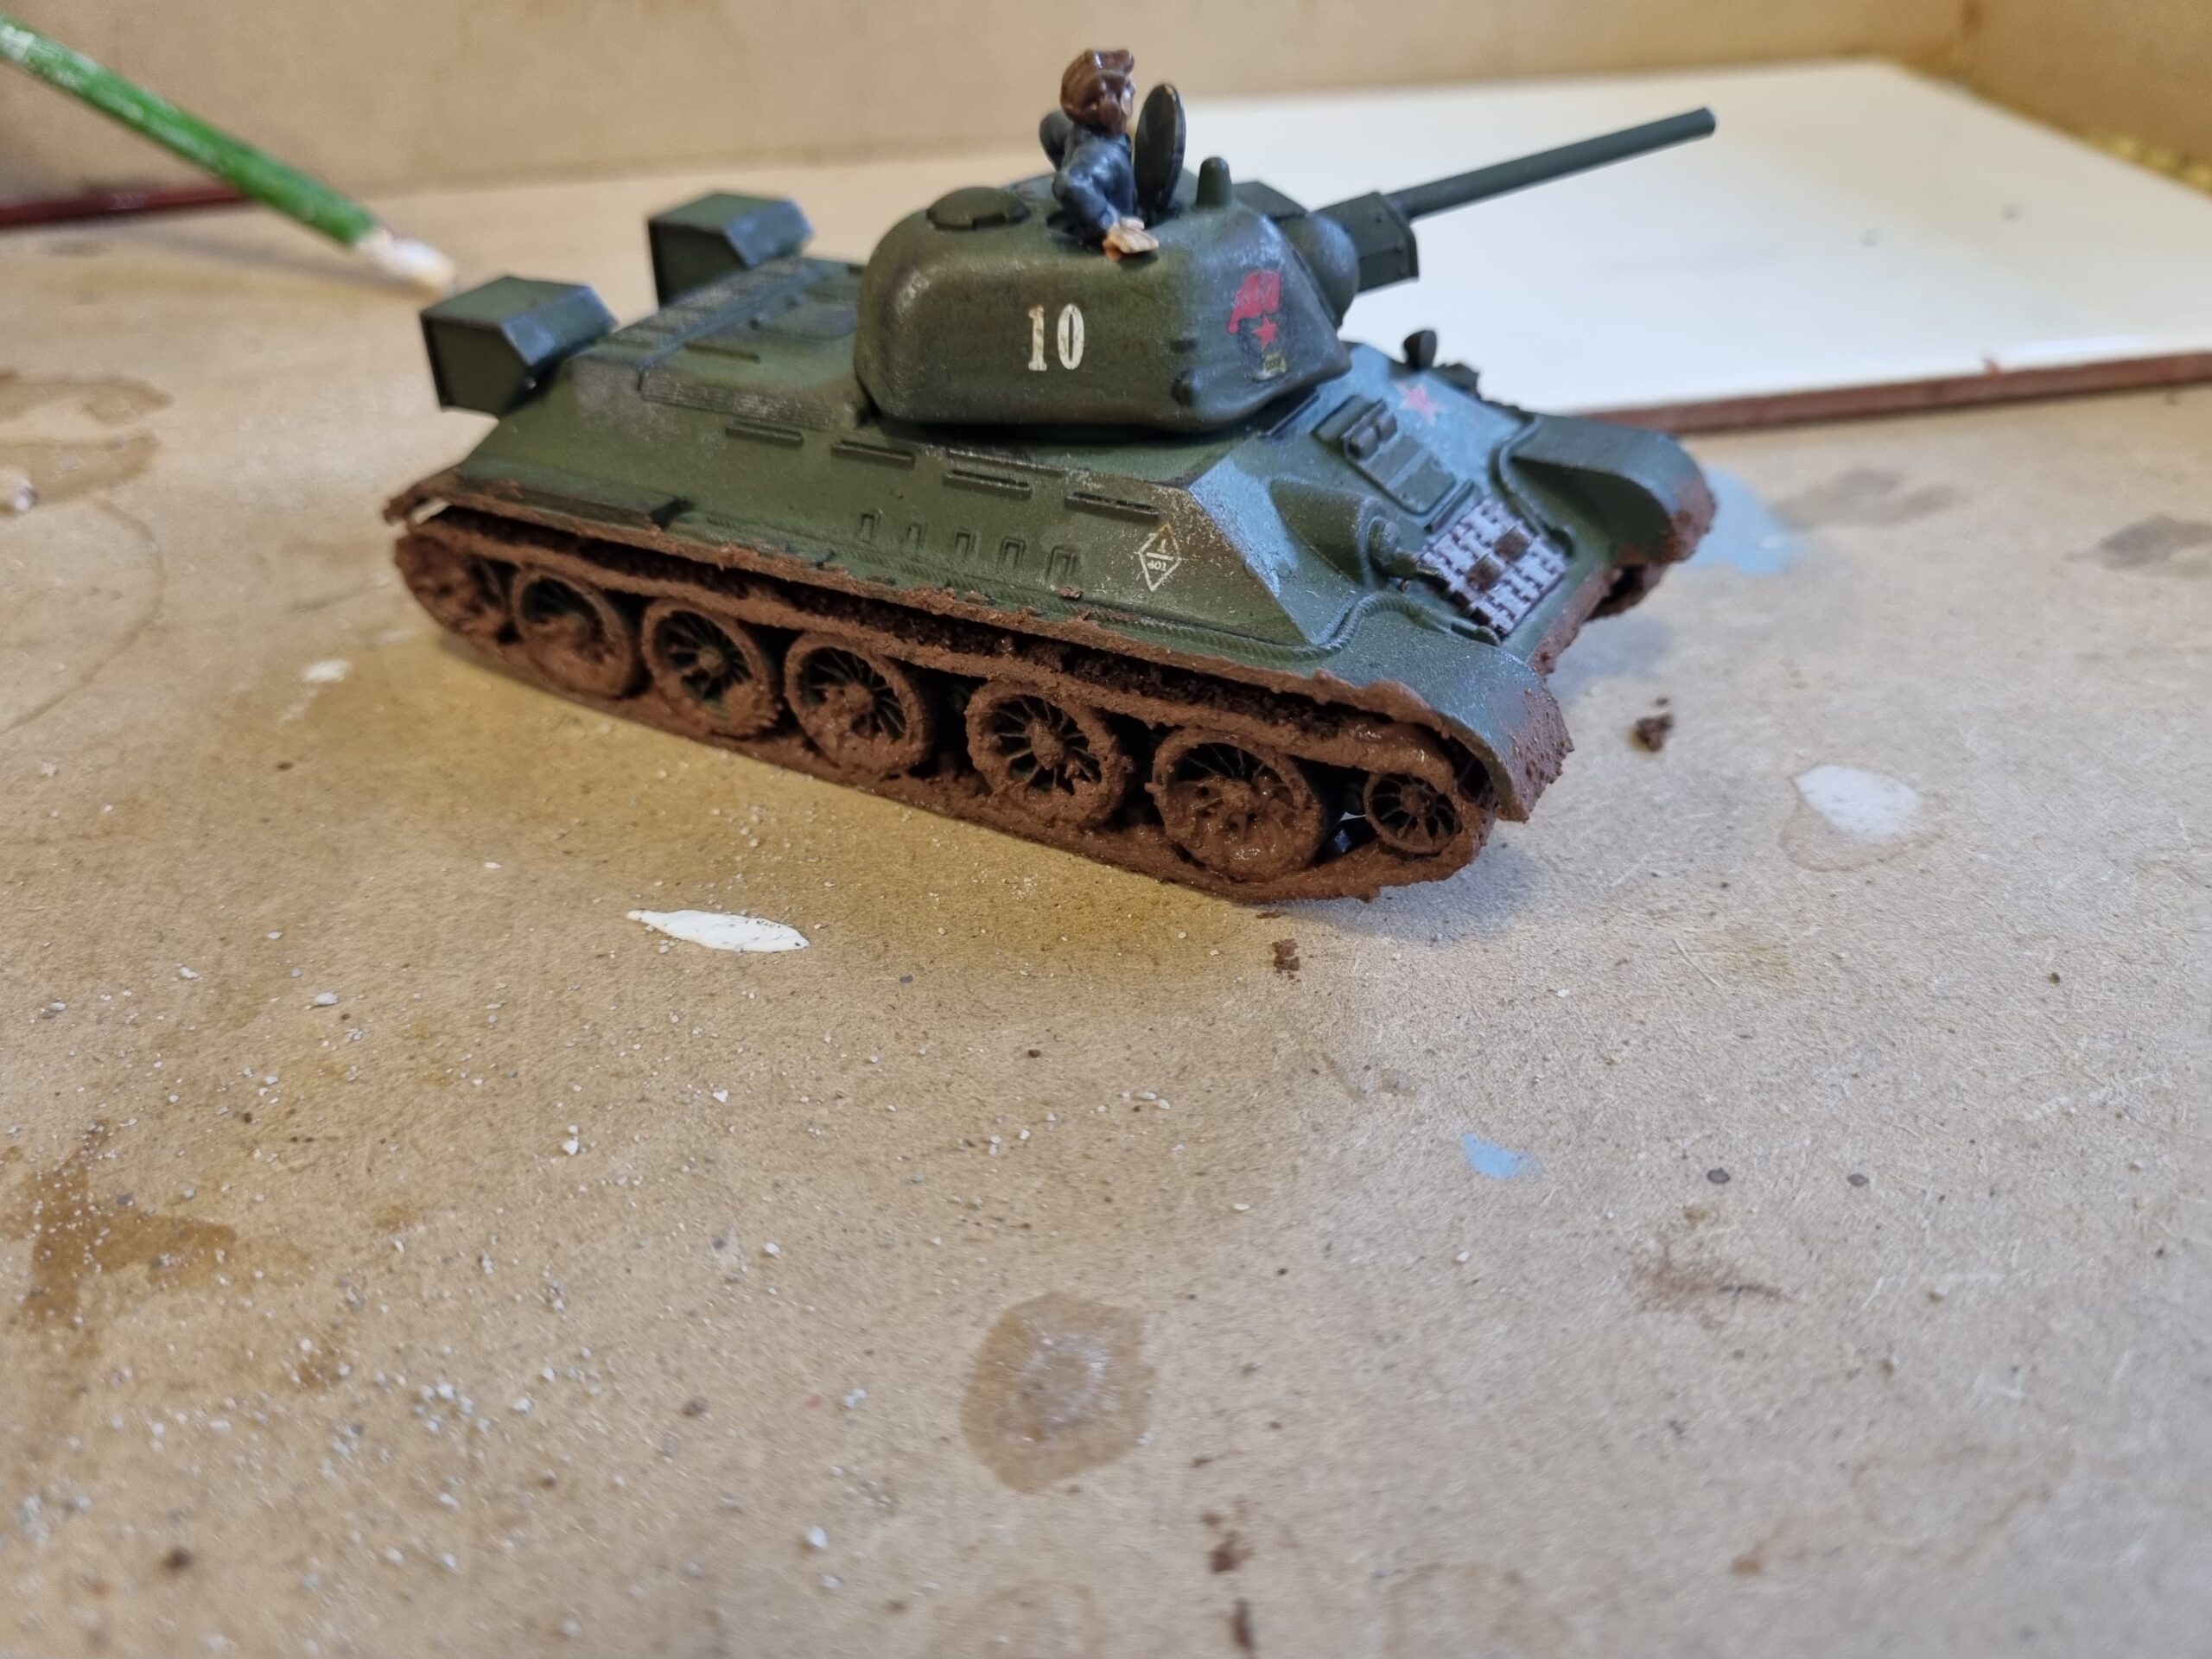
For vehicles, I find using a very stiff and otherwise dead old brush is the best way to apply the mud. Stipple it on around the most likely areas for mud to build up – the tracks, mudguards, roadwheels, and the like. Don’t go mad on the first coat – it actually works best if you build the accretion of dirt up in layers! After two or three passes, you’ll end up with something like this:
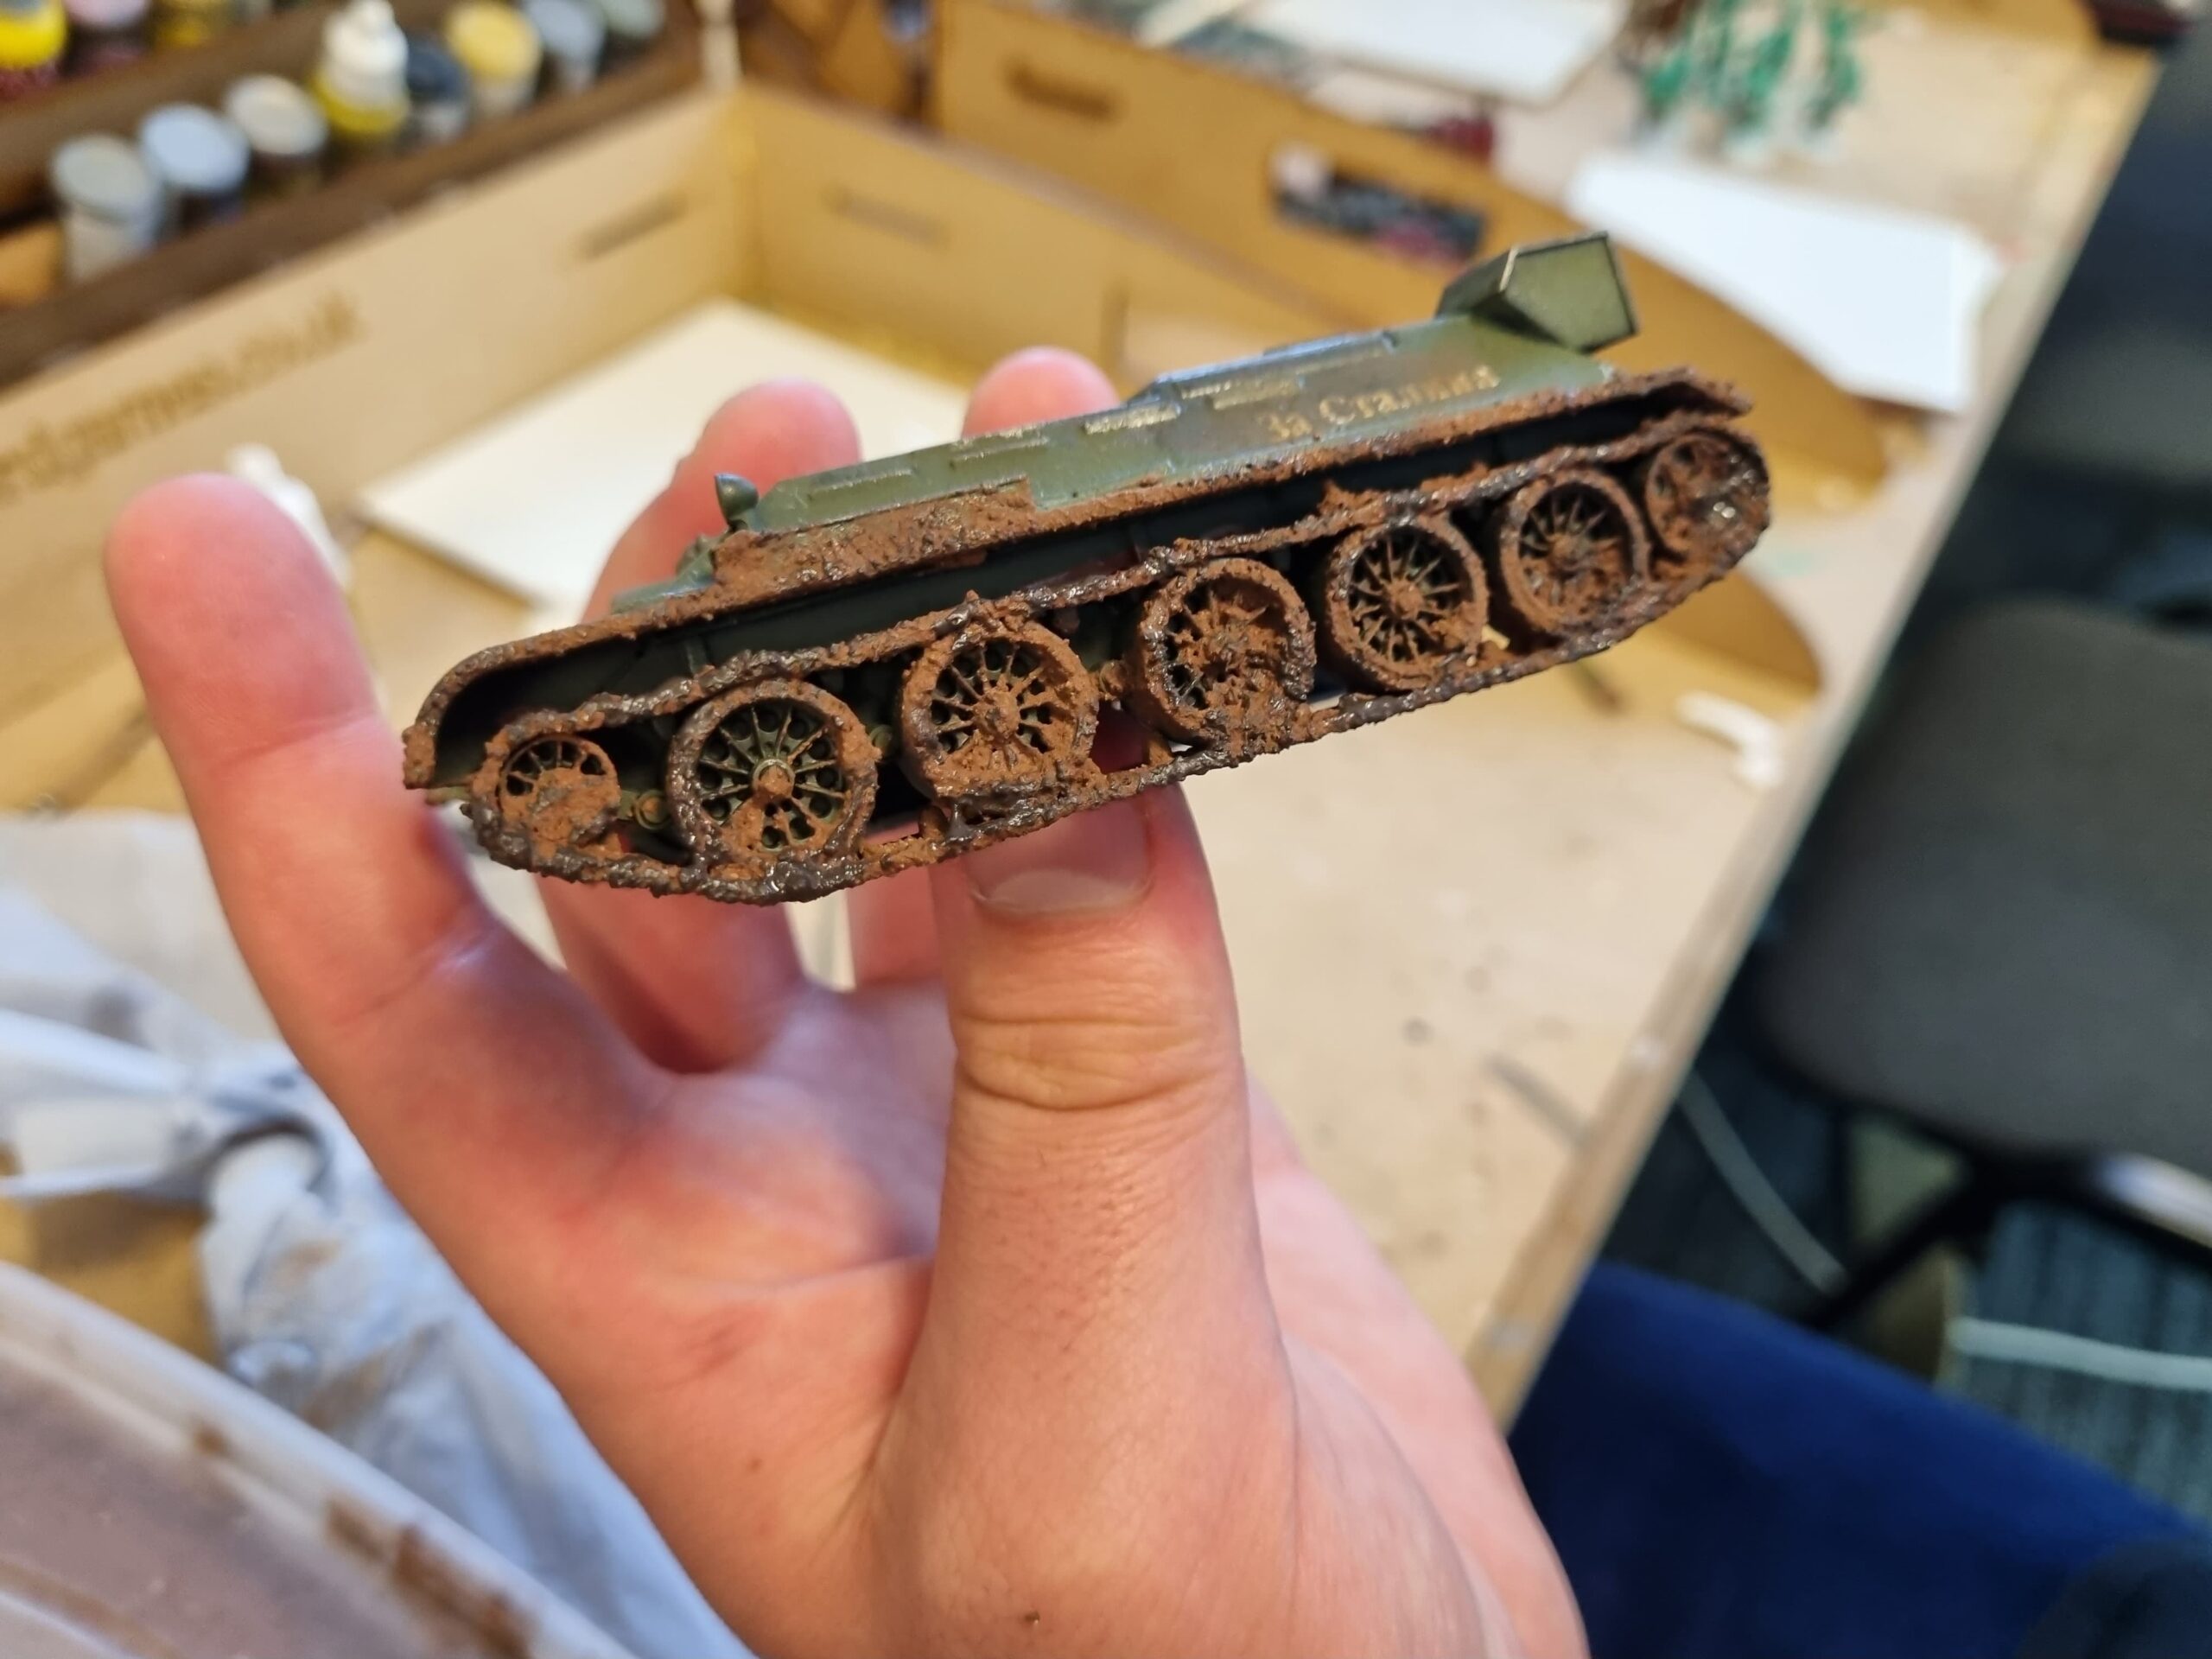
As it is, this would be absolutely fine to put on the tabletop, but you can always go the extra mile to improve the overall effect. Mud tends to lighten as it dries, so splotch on some darker spots to represent wet, fresh mud – I use Army Painter’s Dark Stone for this. Once dry, you can also give the darker patches a gentle brush with some Gloss Varnish to really nail the ‘wet look’.
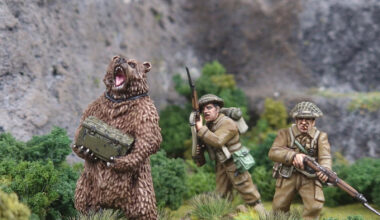
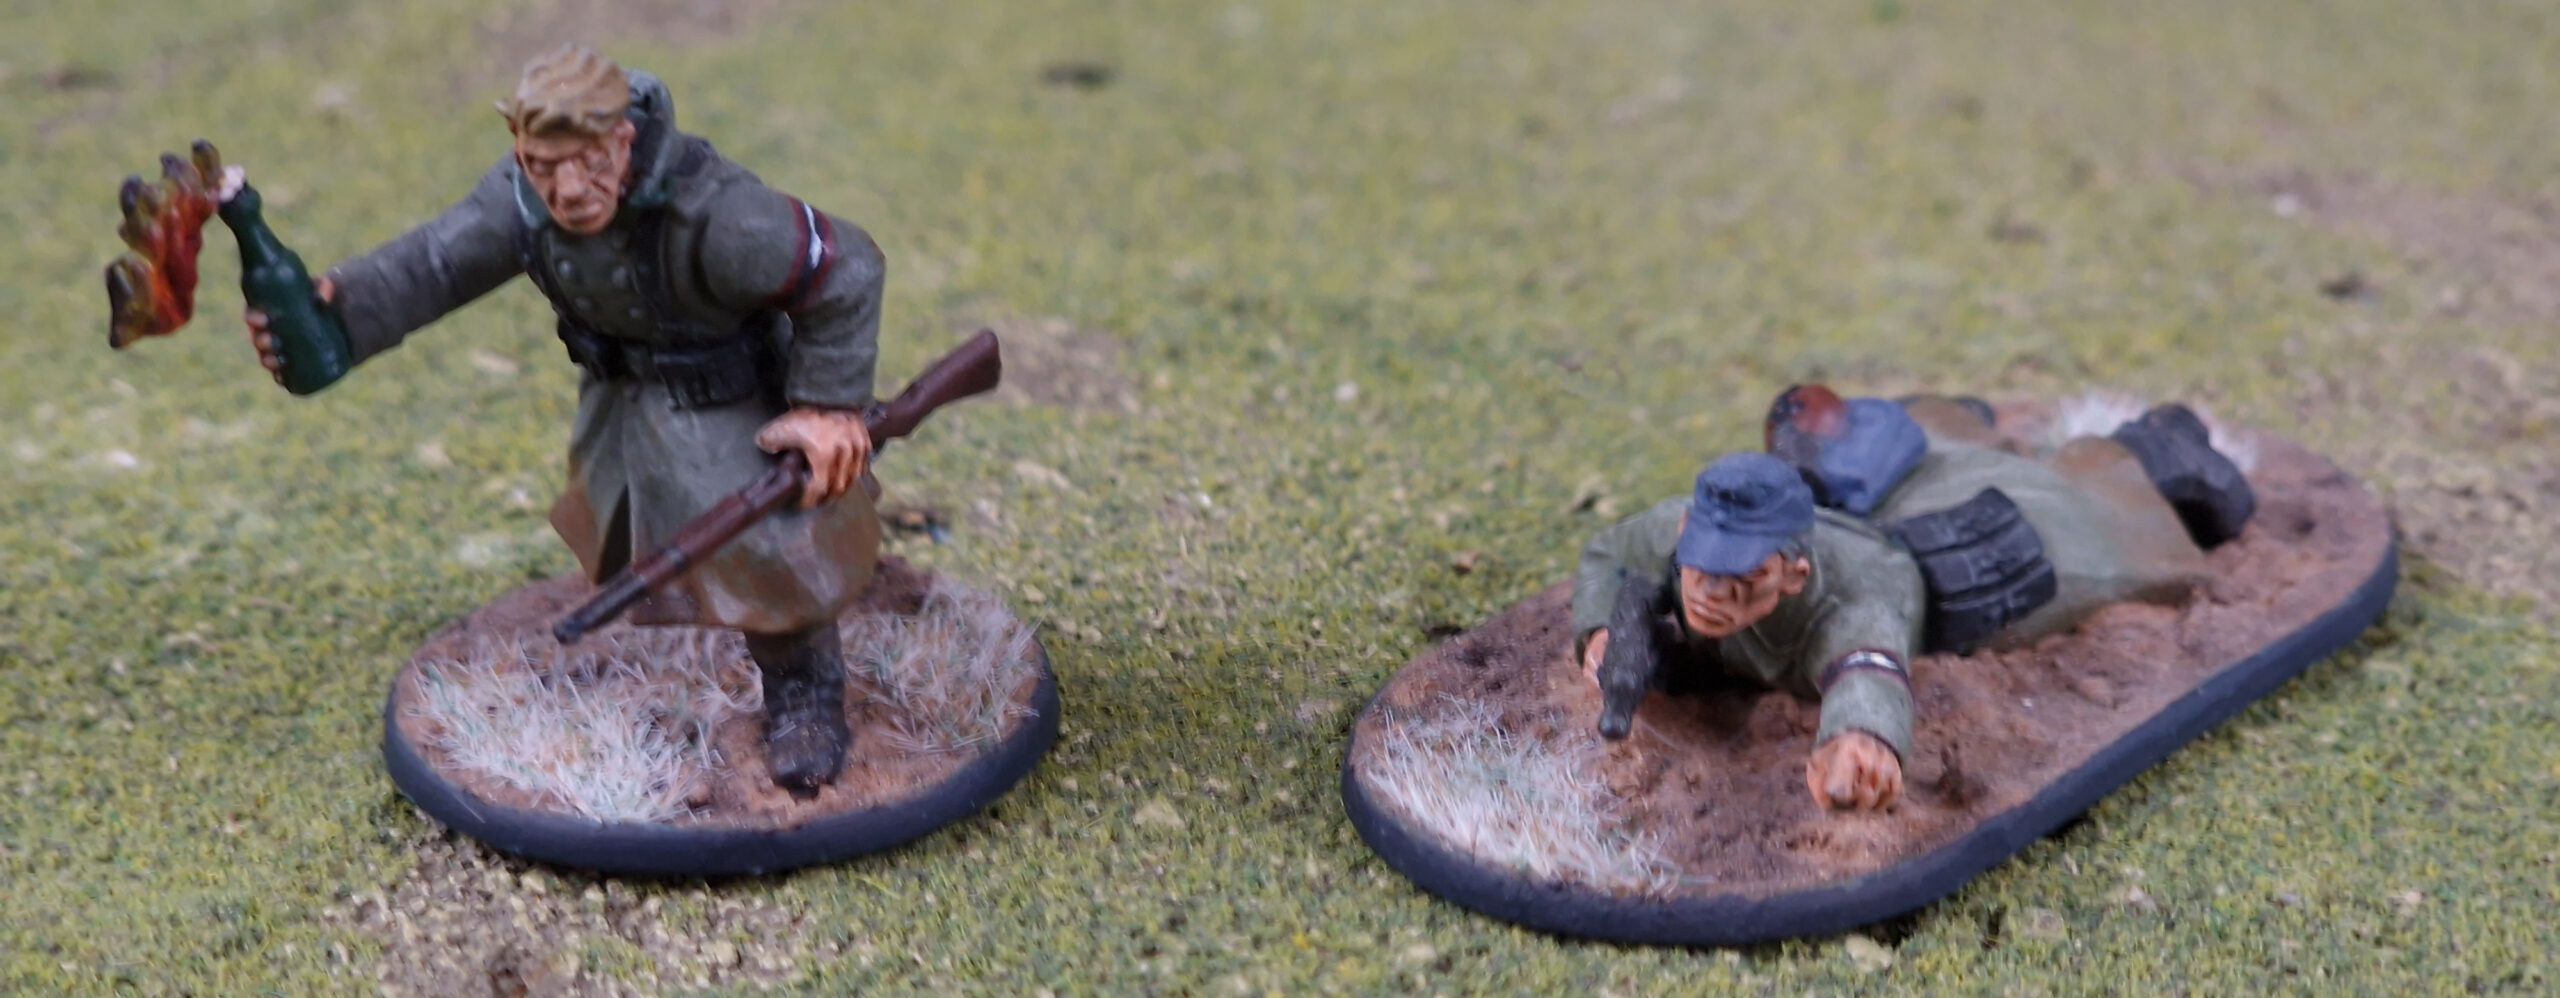
Let it dry, then you’re good to go! At this stage, you could pick out the very edge of the texture by applying a light drybrush of Army Painter Fur Brown, though this is entirely optional. You can also use your mud on infantry bases – I find it really helps to tie the army together. Just apply it with a spatula, add your choice of tufts or snow, and suddenly your brave soldiers are slogging through a horrible quagmire! Perfect!

You can also use your mud on infantry bases – I find it really helps to tie the army together to use the same basing for vehicles and infantry. You can either use the mud on its own for a really muddy battlefield, or as a base layer over which you can add your choice of grass, tufts, or snow flock. Simply apply it with a small modelling tool, taking care not to get any on the model, let it set, and then add any ‘toppings’ you might want. Before you know it, your troops will be slogging through some nasty terrain – perfect! I also find it helps add to the overall effect to gently drybrush the elbows and knees of the infantry with the same colour brown as you used to colour the mud mix, particularly if you’re doing an all-mud base.
This is just one of the many, many ways to base your miniatures – for more inspiration, check out our wide range of basing materials, suitable for any battlefield and any era!