This article was written by frequent guest contributor, Rhys Pogson Hughes Emanuel. If you’d like to feature your own Warlord Games game reports, conversions, miniatures or armies get in touch via articles@warlordgames.com!
Rhys: Hello Warlord Games community. Epic Battles has expanded to the world of ancients, in particular the Punic Wars, and thus I have once again taken up the painting brush. To terribly misquote Cato the Elder, ‘Ceterum censeo Carthginem esse pingendam’!
When the team at Warlord asked me if I was interested in writing a few articles on painting up a few sprues, I obviously jumped at the opportunity. Especially, as I have never painted Romans before, in any scale (I know, crazy, what wargamer doesn’t have a Roman Army?!). I love exploring new periods when I conduct preparatory research prior to a new painting project, so this is doubly a treat.
As much as I was excited, I was also struck with the niggling doubt as to what it was I could realistically contribute. I am not a bad painter or gamer, but there are many in the community who already champion different aspects of the various Epic Battles ranges so well; Stu Mack of Miniature Realms‘ painting tutorials for instance, or 7th Son’s battle reports. I had also already seen a number of excellent, and very comprehensive, detailed looks at the sprue on various channels (I heartily encourage you to look these up on YouTube).
So for my contribution I thought I’d tackle research and resultant ‘force design’, the ‘always start with a plan’ school of thinking. I also thought I’d use a couple of different methods for painting the sprues and compare them. I usually use a mixture of speed painting with layering, glazing and washes, but for this exercise, I decided I would try to paint some with exclusively Speed Paints and some exclusively in more traditional methods, and compare and contrast the results.
I couldn’t resist starting with the Romans, so I jumped into my library to find out what could read up on the legionaries of the Punic Wars. As it turned out, very little, but with enough hints and references to point me in the right direction. There are a plethora of sources on the subject, and thanks to YouTube, a number of pithy videos that were swift to get me up to speed. I also found that Roman Republican Army 200–104 BC and Armies of the Carthaginian Wars 265–146 BC (both from the Men at Arms series by Osprey Publishing), coupled with the Steven’s Balagan website, contained the points of detail I sought. I married the images therein up with the sprues themselves, to see which details were the most prominent and were key to get right on the miniatures.
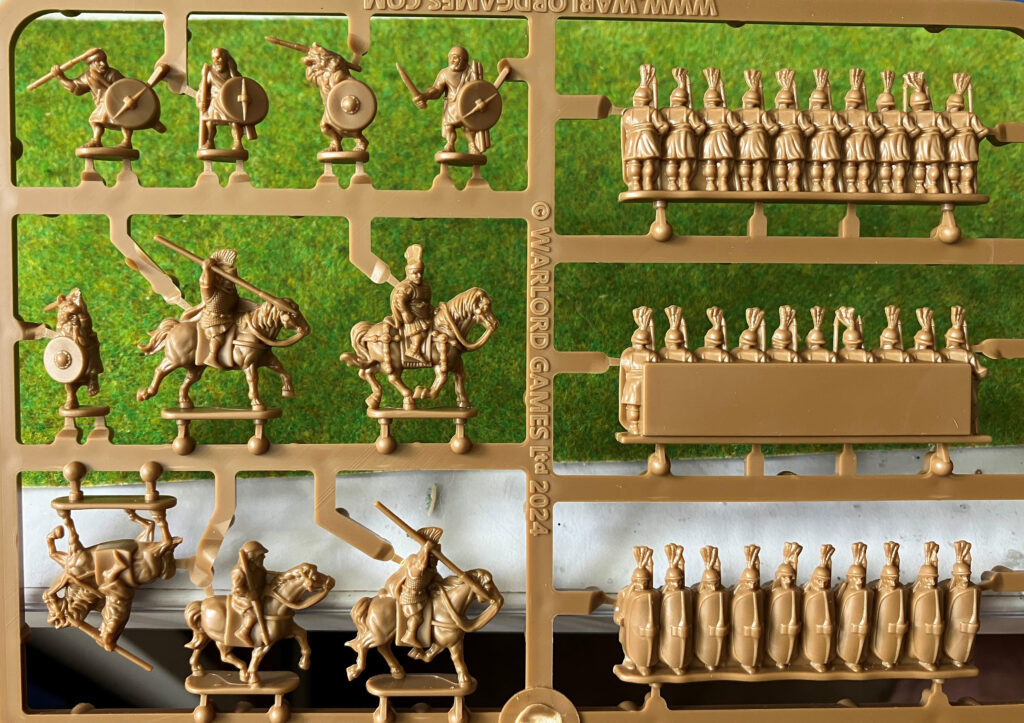
Though shields are mostly plain, they are prominent, as are the helmets – these are distinctive features that add a lot of character to the miniatures, and with the new basing design of three-rank-deep legionaries, the clothing is only important on the rear strip. Arms legs and feet have minimal exposure, as are the majority of the weapons, excepting the tips. These observations dictated where I should prioritise my efforts:
From my research, I discerned the following:
- The quality of clothing and armament improved as you went up through the ‘seniority’ of the legionary – from Velites up to Triarii.
- Academic research is inconclusive when it comes to the colouration of clothing; it was just as likely to be all off-whites as it was to be a particular colour per unit.
- Shields may or may not have been individually painted but were possibly coloured by unit.
- The manipular system was in full swing, with cohorts already being experimented with.
- Cavalry/Equites were wealthier than other units, so there was more evidence of red cloth.
- Velites were poor and would have been a mixed bag of dress states.
- Feathers would have been red, white or black.
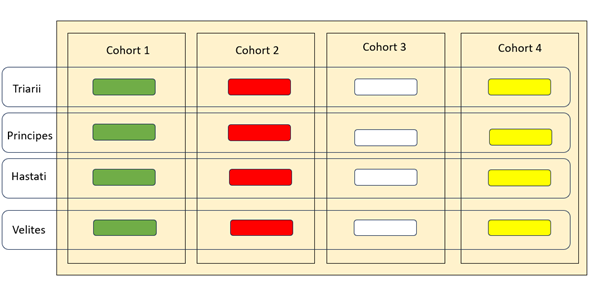
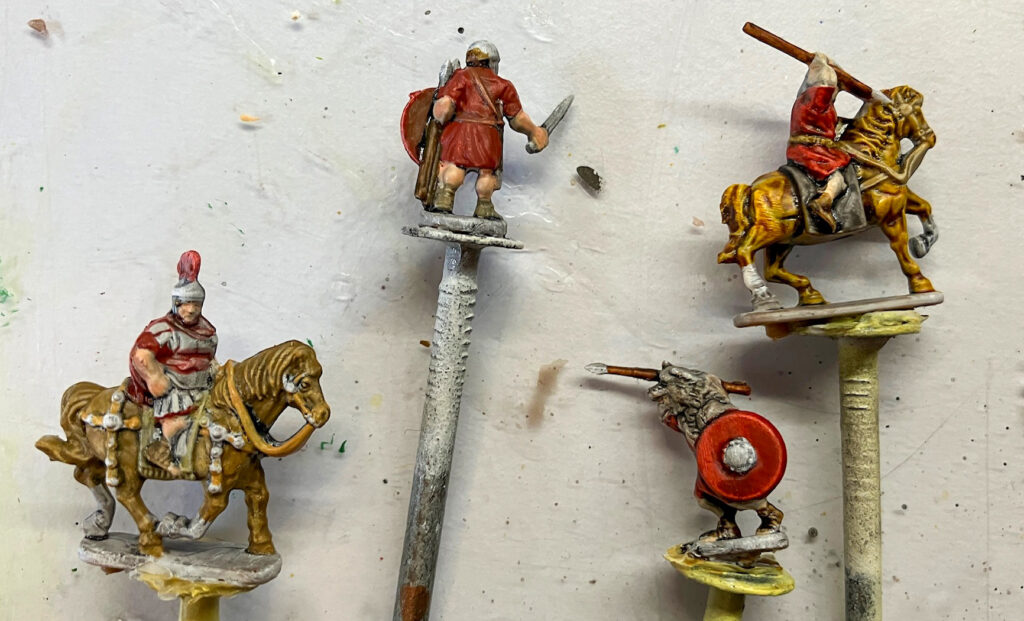
This offered me far more freedoms than it did constraints, so I decided I would go with an approach of artistic license within the realm of academic interpretation. A general uniformity, which improved the further up the manipular system progressed. My basic scheme would therefore look something like this:
With my plan settled upon, it was full steam ahead with the painting. I always undercoat Epic Battles miniatures in the same way: a white primer, followed by a thin black wash, with a second overbrush (a heavy drybrush) of pure white once dry. This method works very well for Speed Paints, helping to define the natural shades and folds of the miniature, but admittedly holds a lot less benefit for traditional layering methods.
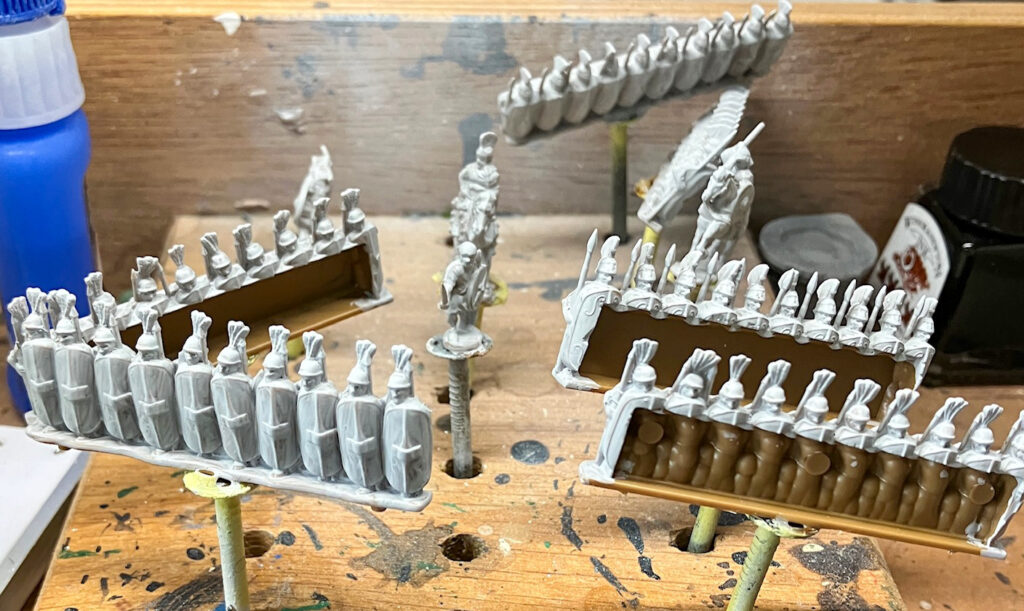
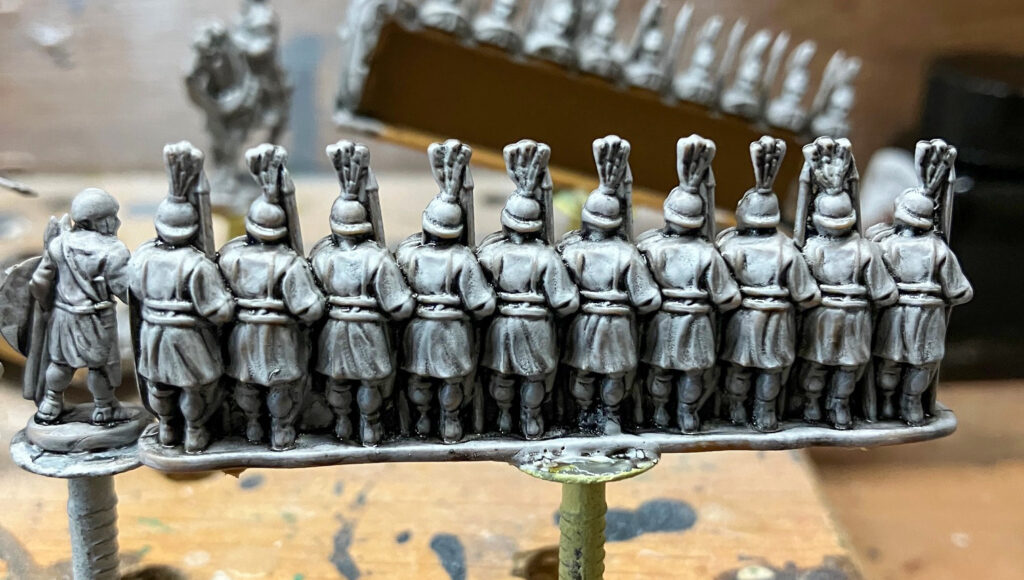
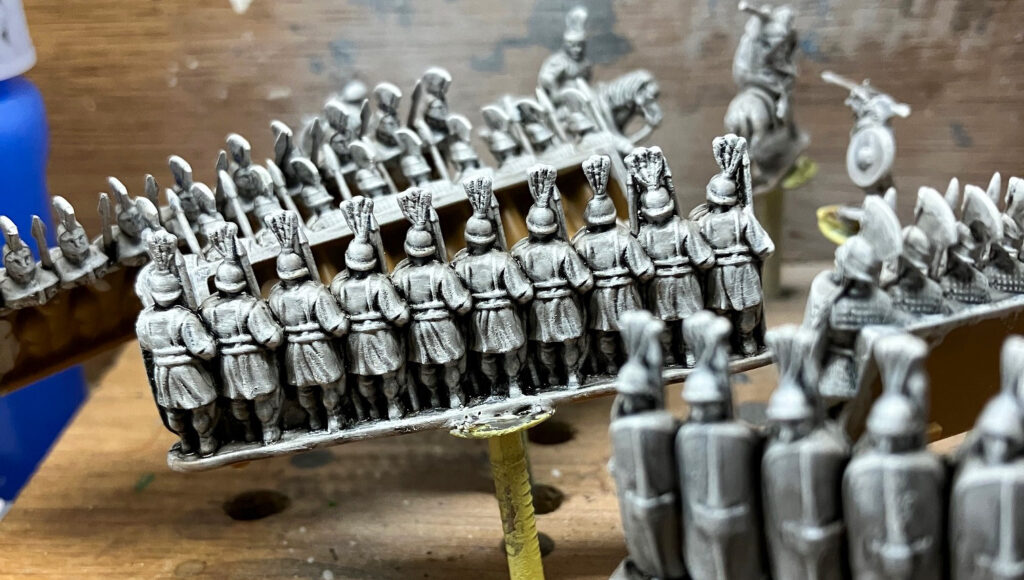
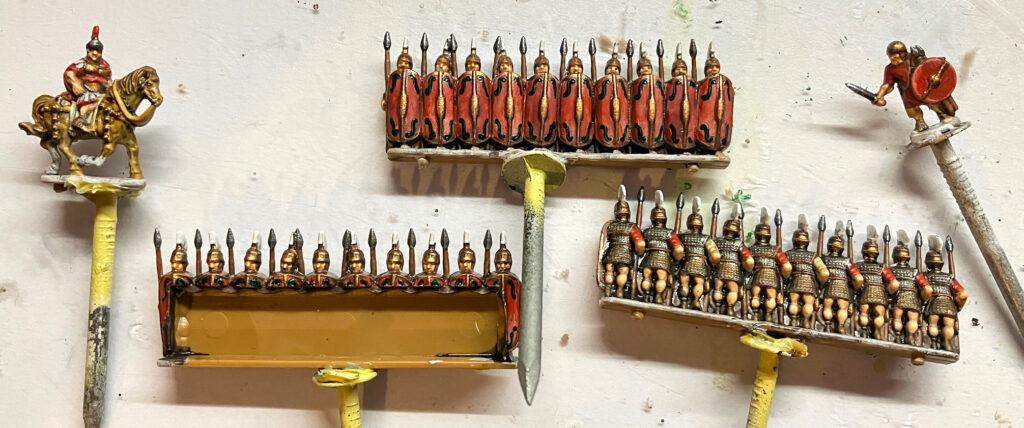
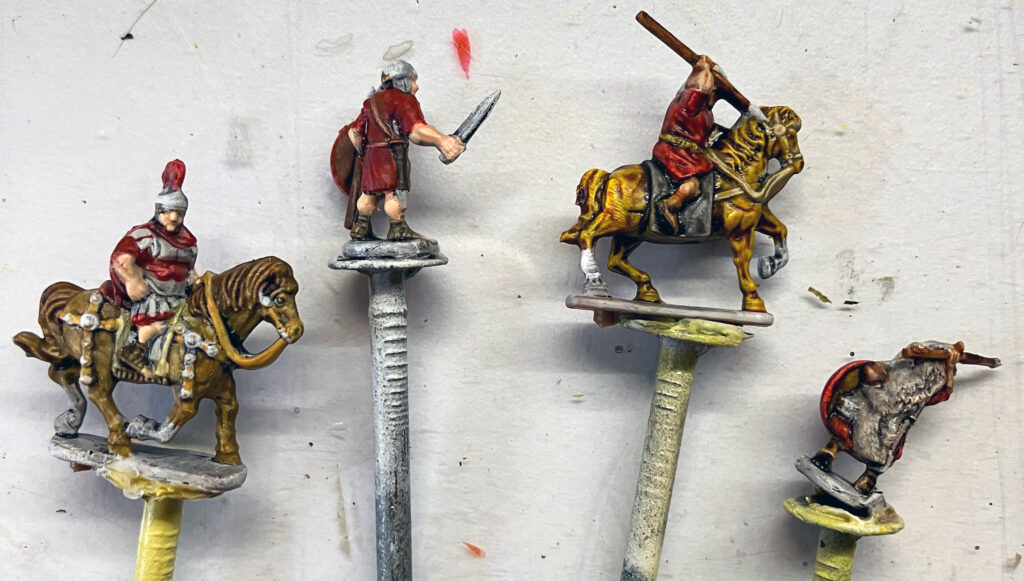
The next step was to block in all the primary colours. This is the same for both styles, but you can already see how the Speed Paints method looks considerably further along at this stage.

For the shields, I thinned down the paint more than I normally would. As these are probably the most prominent features on the front rank, I wanted to transitional effects between layers more noticeable than ‘usual’.
With the exception of the metals, the Speed Paint strips were more or less complete at this stage, but for the traditional method, I went back to the other colours at this point, proceeding to add more layers, with gradual highlights and, in places, using washes to tie them together.
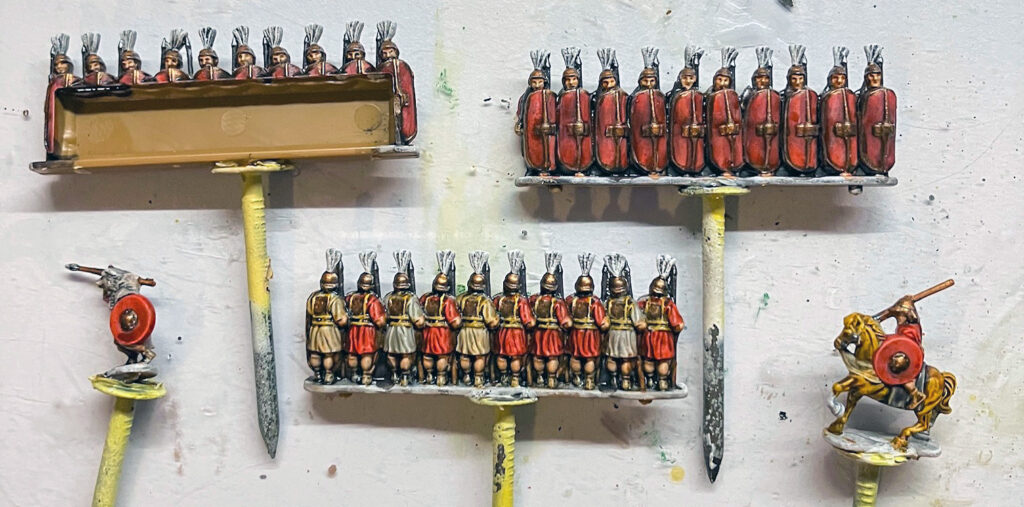
For the shields I used thinned Speed Paints and washes to make some of the shields look a slightly different hue and lend variance within units, though the final effect was minimal. Perhaps a method with less subtlety will serve me better when painting future bases.
For the metals, I always use the same method. A Dark base layer, lighter midtone and a final drybrush with a colour of a bright finish. For the bronze this was tin, brass, then gold acrylics. For steel I used a gunmetal base, steel and then silver acrylics.
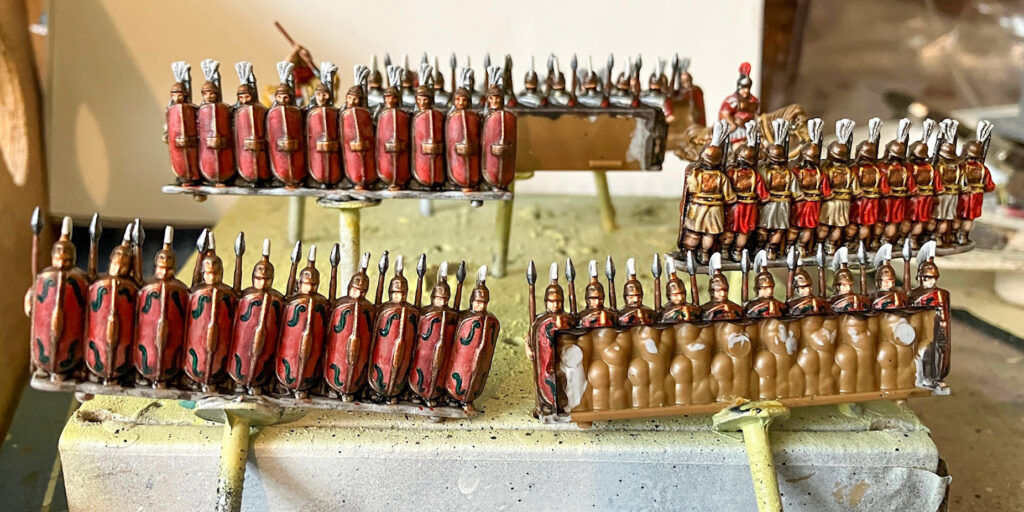
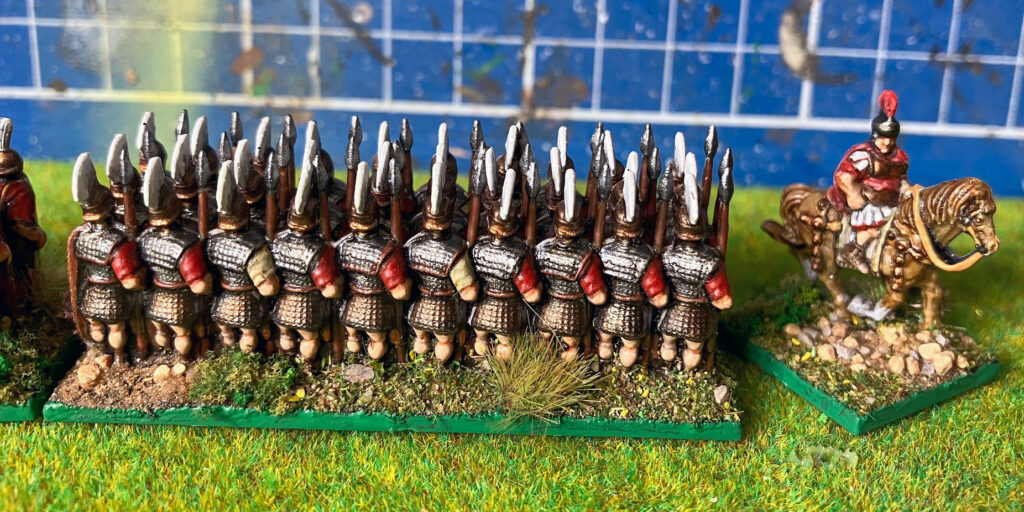
For both methods, following any corrections, I give everything a protective wash with my homebrew mix of floor polish and matt varnish.
I then absolutely cheat! For the final touch-ups, I use a selection of 0.05mm ink pens to add edges and blacklining. This covers up a multitude of sins, and is fast to boot!
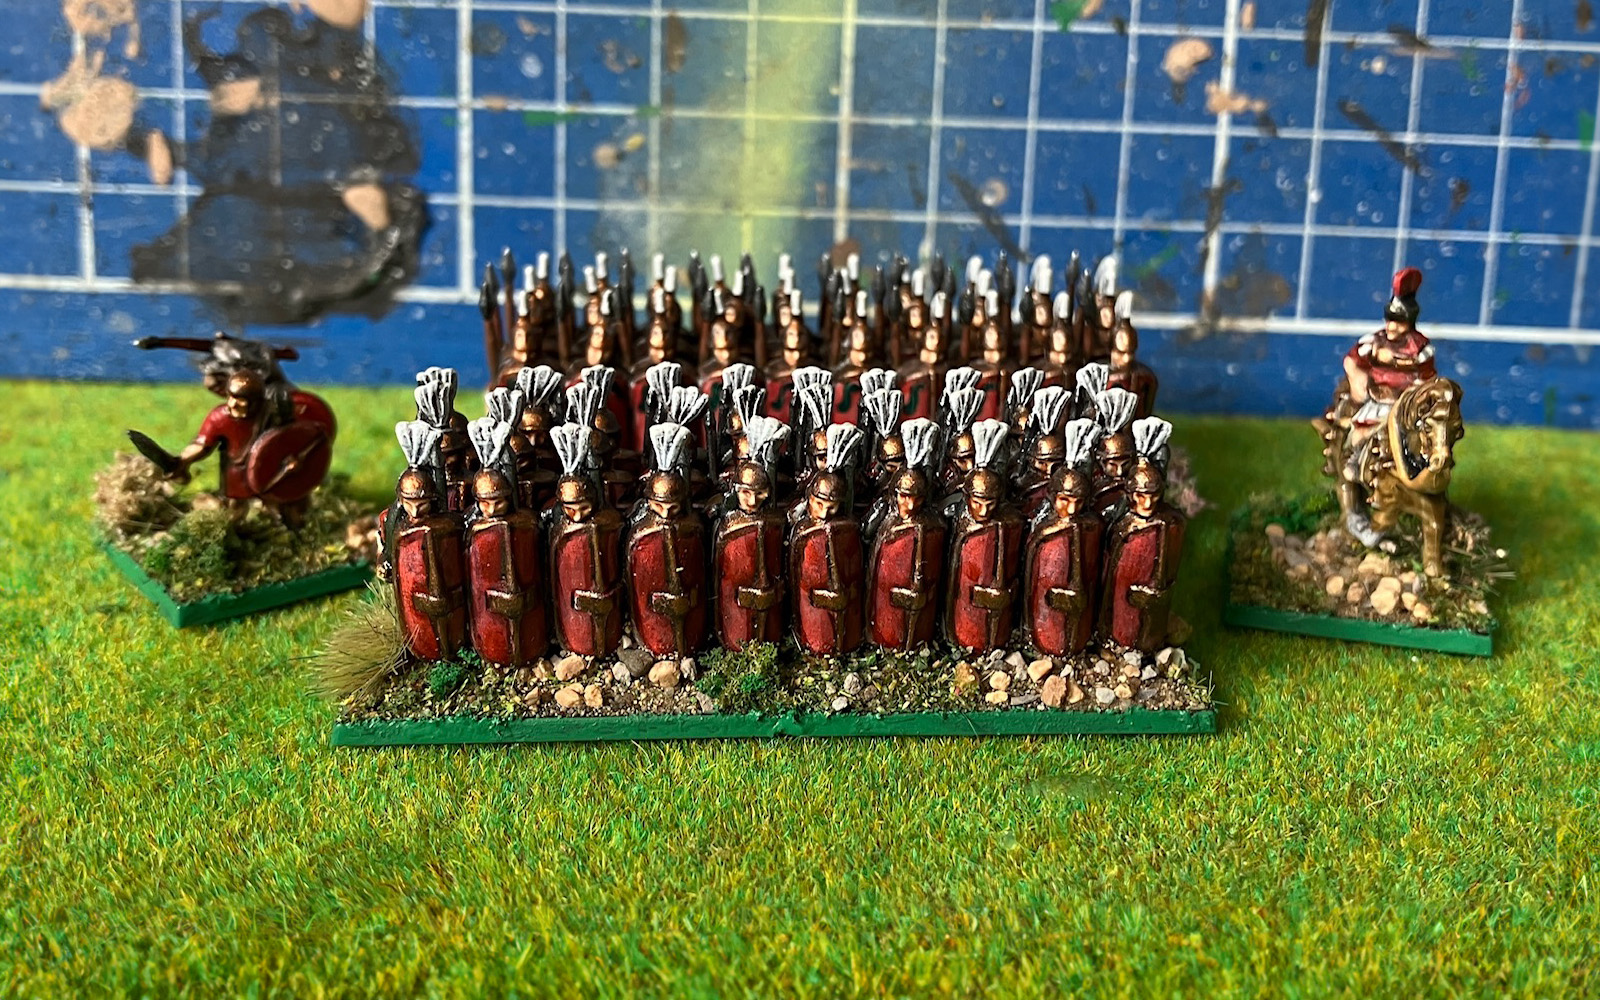
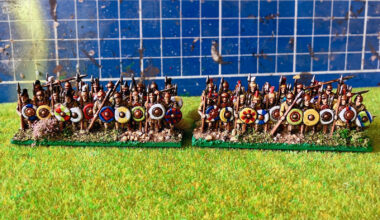
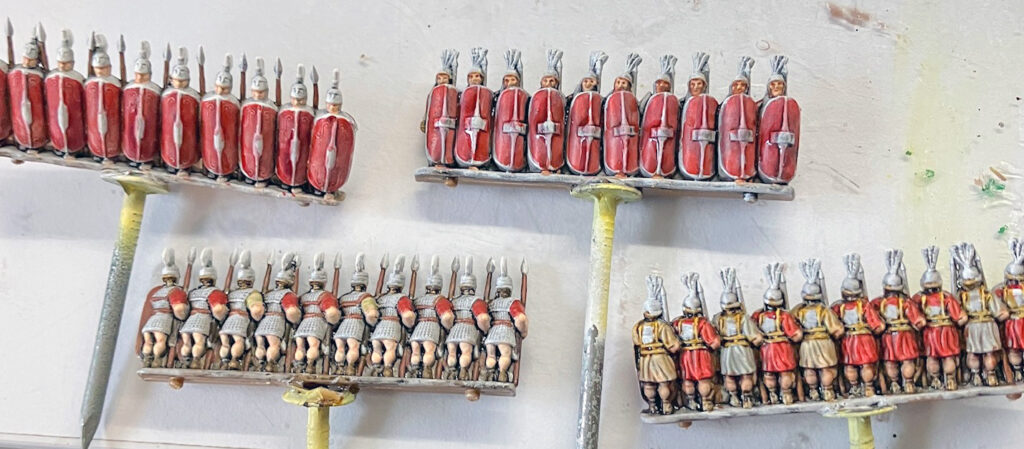
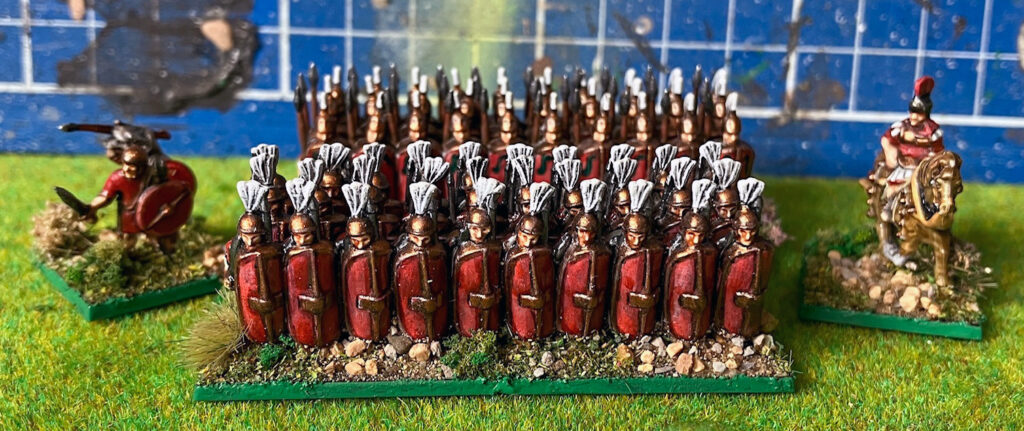
Below are my finished examples, I feel there isn’t too much between the two methods as far as the finish is concerned. The obvious takeaway is that the Speed Paint methods took me about two-thirds of the time of the traditional approach, though this segways neatly to my overall takeaway from the experience. These new Epic Battles Romans paint up quickly, surprisingly so. Thanks to the simple, elegant design, without shirking from detail, both stands took me under three hours (and that is while messing about with two different approaches, drying time, and experimentation). I can imagine, that when batch painting, efficiency will exponentially increase, and it’ll be quick and easy to get units painted and onto the wargaming table.


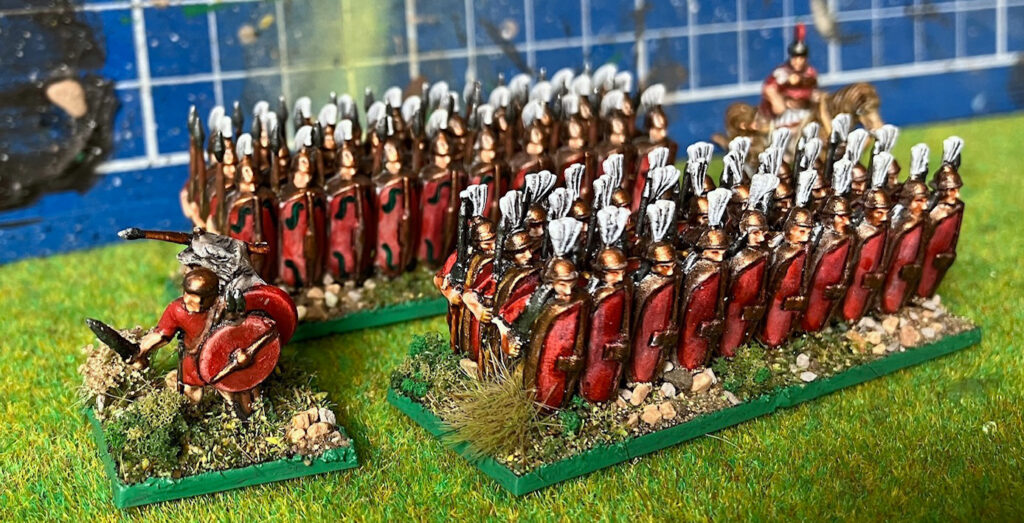
These were thoroughly enjoyable to paint up. Next, I’ll be looking at the Italian Allies and the Celtiberians. These should present a different type of challenge, that of achieving a feeling of uniformity despite the troops exhibiting varying equipment and clothing styles.
~Rhys
Collecting Republican Romans
Scipio Africanus’ Roman Legions
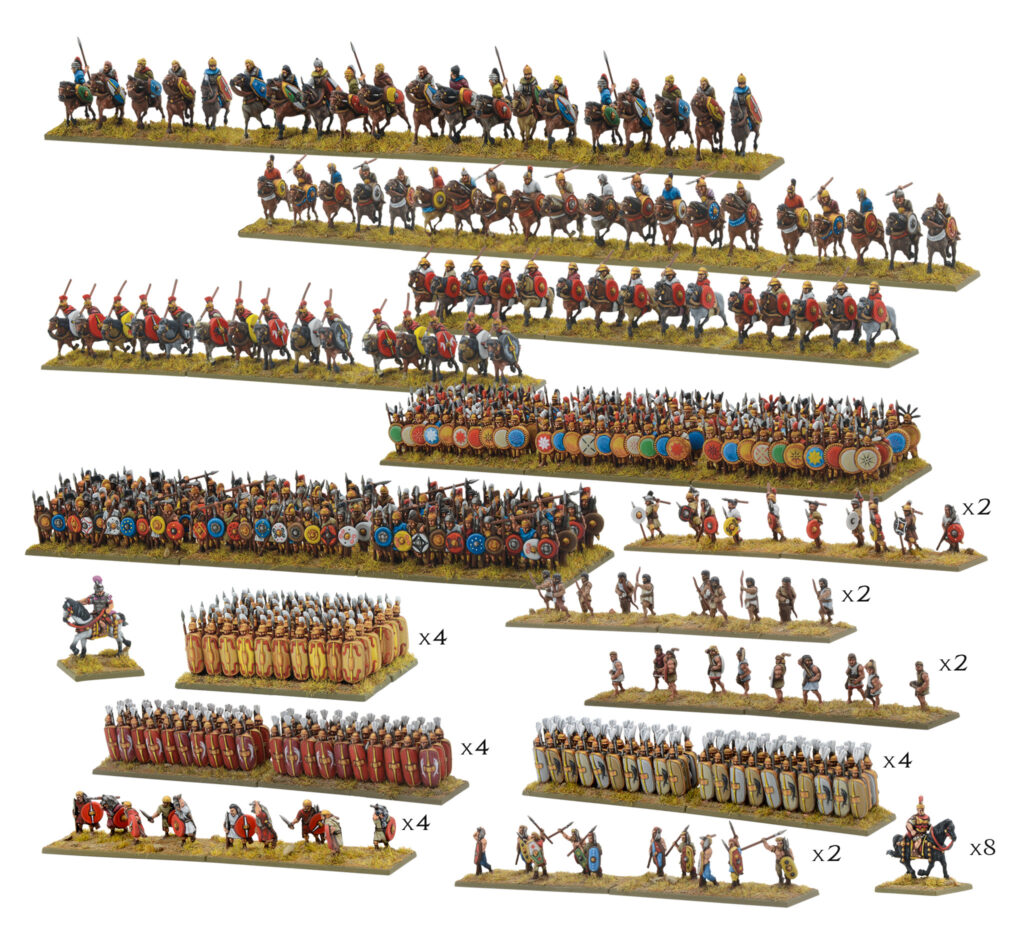
Republican Roman Division
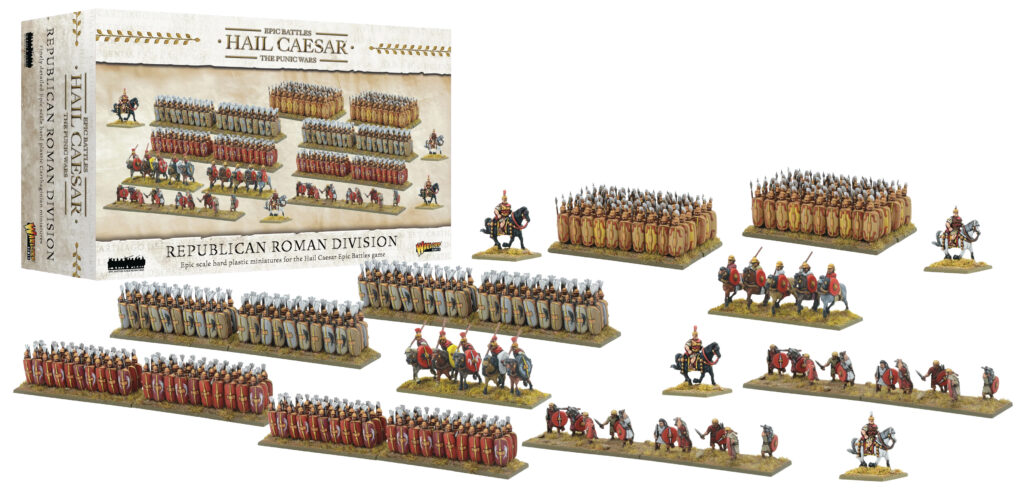
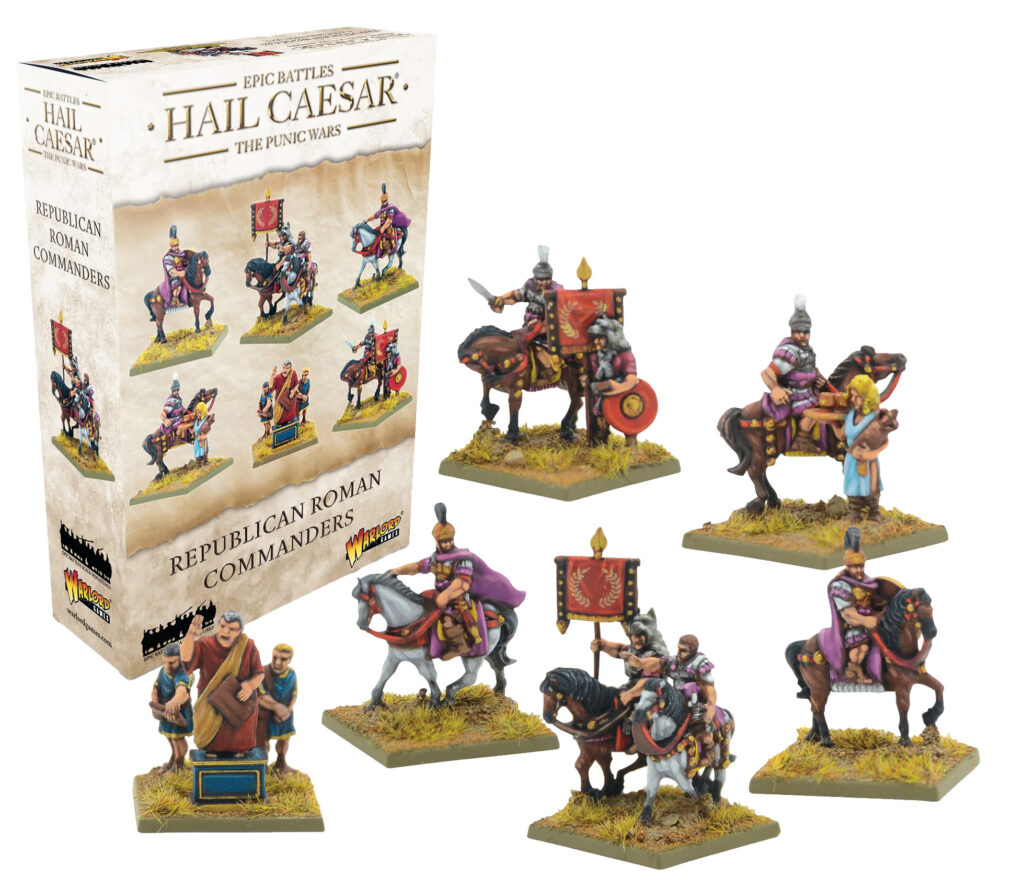
Republican Roman Commanders
Republican Roman Casualty Markers
