
Rogue Heroes!
by Marcus Vine
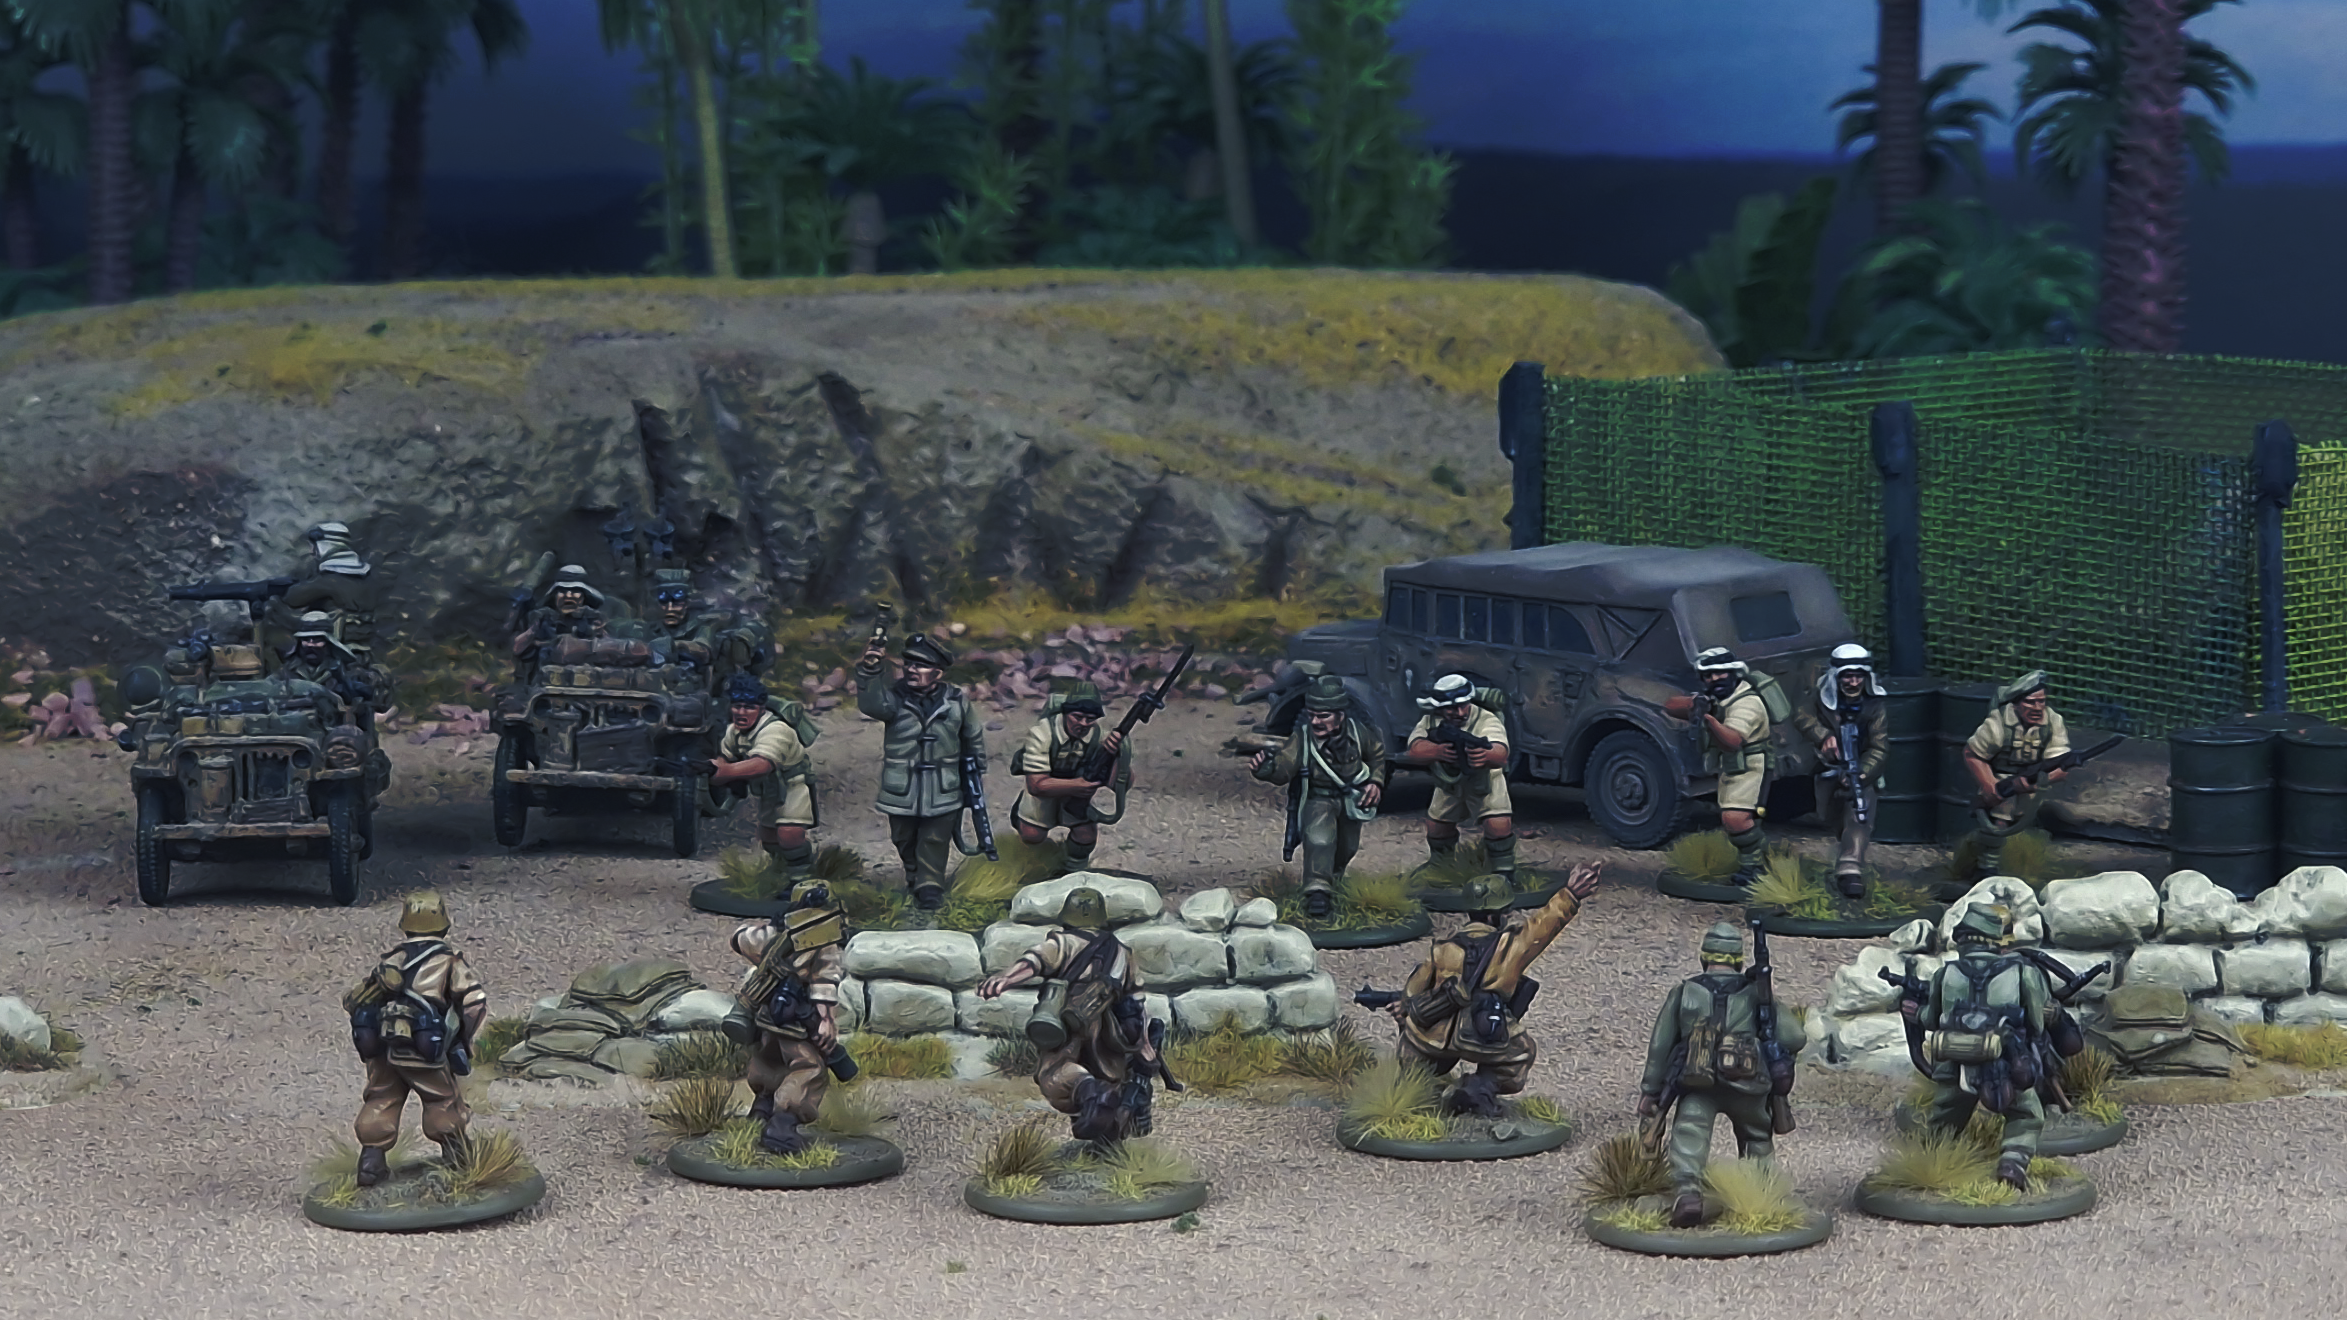
In the dead of the desert night, David Stirling, Jock Lewes and Paddy Mayne lead their sections towards an Italian-held airfield. Their target: the fighter-bombers lined up on the taxiway, and the fuel and ammunition dumps beyond.
Out in the dunes, their heavily armed jeeps await – extraction if the mission goes well, backup if it does not. The Italian defenders are nervous, of course; they’ve heard the stories of the ‘Phantom Major’, but they are well-armed and (so they think) well-prepared…
Inspired by the hit BBC show SAS: Rogue Heroes, this scenario, penned by Marcus Vine, puts all three of our SAS-themed Soldiers of Fortune on the tabletop in a daring airfield raid. Which of the heroes will claim the most objectives? It’s all down to you!
Campaign Italy: Soft Underbelly – Additional Scenarios
Our Bolt Action Campaign books are so stuffed with scenarios, new units and special rules that sadly not everything can make the cut. Thankfully we have this platform to share the unused scenarios from the latest book Italy: Soft Underbelly.
Scenario 1 – A Spot of Bother, What?
On 16 September 1943, Captain Roy Farran was ordered to conduct a reconnaissance to the north west of Taranto by Brigadier John Hackett, commander of the 4th Parachute Brigade. Hackett needed to know the strength of the enemy and their currently deployed locations. After days of reconnaissance, with a few skirmishes along the way, D Squadron made contact with a Canadian Armoured car squadron of the Eighth Army at Pisticci. Faced with a railway tunnel tunnel ahead, Hackett sent a patrol led by Lieutenant James Mackie to see what was on the other side. As they passed through, Mackie left two men to guard the entrance and pressed on. Further up the road, the patrol made contact with a group of Germans which they engaged. Before they could blink the small group of Germans turned into a throng that threatened to cut them off.
Scenario 2 – Strongpoint Lilienthal
As the last of the rockets hit the German defences of Strongpoint Lilienthal, just south of Salerno on the Italian shore, the assault forces of the 2nd Hampshires, 128th Brigade began piling out of their landing craft. As they moved up to the sand dunes, they were surprised by the lack of fire being directed against them. They also noticed River Asa to their left, which should have been to their right. Finally, to the Hampshires left, Strongpoint Lilienthal opened up on them – they were on the wrong beach.
In some ways this turned out to be a good thing, it had allowed them to make a good foothold but now they had to attack Lilienthal from the right across the Asa river. Landing on Sugar Amber beach they were also mixed in with the 2/5th Queen’s Regiment of 169th Brigade (56th Division) – who had landed on the right beach – creating utter confusion in the pre-dawn darkness. The fact that they had to wait for engineers to clear a way through the minefield added to the chaos and slowed their
plans to attack Strongpoint Lilienthal.
In the meantime, the 2nd Hampshire’s support units were landing on Uncle Green, the correct beach. As the weapons teams landed, they were sprayed with machine gun fire and soon German artillery zeroed in on the beach. The navy did their best to provide supporting fire but the rain of bullets did not stop. The German artillery fire on the beach became so bad that the support units lugging their equipment choose to attempt to push off the beach through the minefields without engineering support.
The beach became a scene from hell with crashing explosions, burning landing craft, streams of black smoke pouring skywards and broken weapons and the dead laying in clumps.
Scenario 3 – The Struggle for White Cross Hill
Salerno, 14 September 1943. Kampfgruppe Stroh of the 15th PG Division had been pushing up the Avellina road for days with the goal of taking back the only decent sized port in the area: Salerno. The British X Corps’ bridgehead was dangerously shallow and the two hills flanking the Avellina road were vital to its defence. ‘Hospital Hill’ on the left flank narrowly held out against German assaults on the 11th. On the same day, the 139th Infantry Brigade are pushed back to ‘White Cross Hill’ on Salerno’s right. The attack had only been stopped by full commitment of divisional artillery and the intervention of naval gunfire. On the 13th, the guns of the Germans had fallen silent, then, minutes after midnight, an artillery cannonade opened up on the 4th Hampshires defending the hill. The bombardment continued for hours, then the grizzled panzergrenadiers moved up the hill in preparation for the assault…
The SNLF in Combat: Early War Scenarios for the Rikusenta
by Jon Cooper
Presented here is an examination of one of the most unique and versatile units of the war, the Imperial Japanese Navy’s SNLF (Special Naval Landing Force, or Rikusentai). Additionally, three scenarios are included, each involving a significant action by the SNLF. Ranging from a daring push to take a vital bridge to desperate retreat and extraction by sea. The elite Japanese SNLF were prepared to fight wherever needed.