
Anyone who’s visited our HQ store will likely have run into Conor H – an always enthusiastic font of wargaming and hobby knowledge, always ready to lend a painting or army building tip. When he heard about the plan to have staffers play a multiplayer battle of Achtung Panzer!, with an eclectic collection of their own newly built vehicles, he couldn’t sign up quickly enough! Plumping for an M10 (the British Wolverine version as opposed to the previously showcased US version from Marketing’s Peter), he very quickly was brandishing his finished tank at us! We’ll let Conor tell you about the build in his own words:
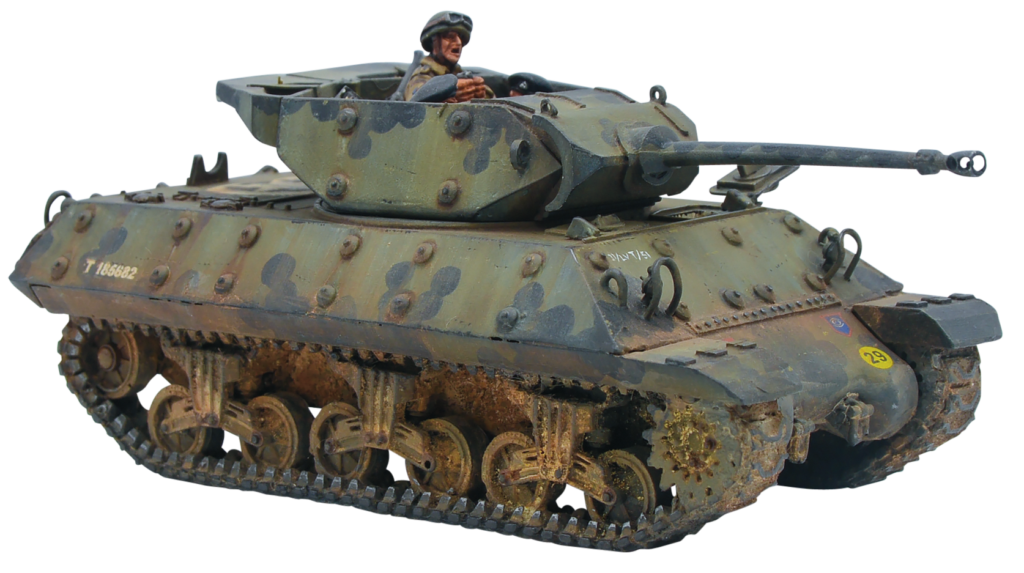
Conor: “Already having a large collection of Normandy-themed British armour for Bolt Action, I thought it only natural to expand my 7th Armoured Division, by way of an M10 Wolverine – that way it could serve dual purpose for both Achtung Panzer! and Bolt Action.
Building
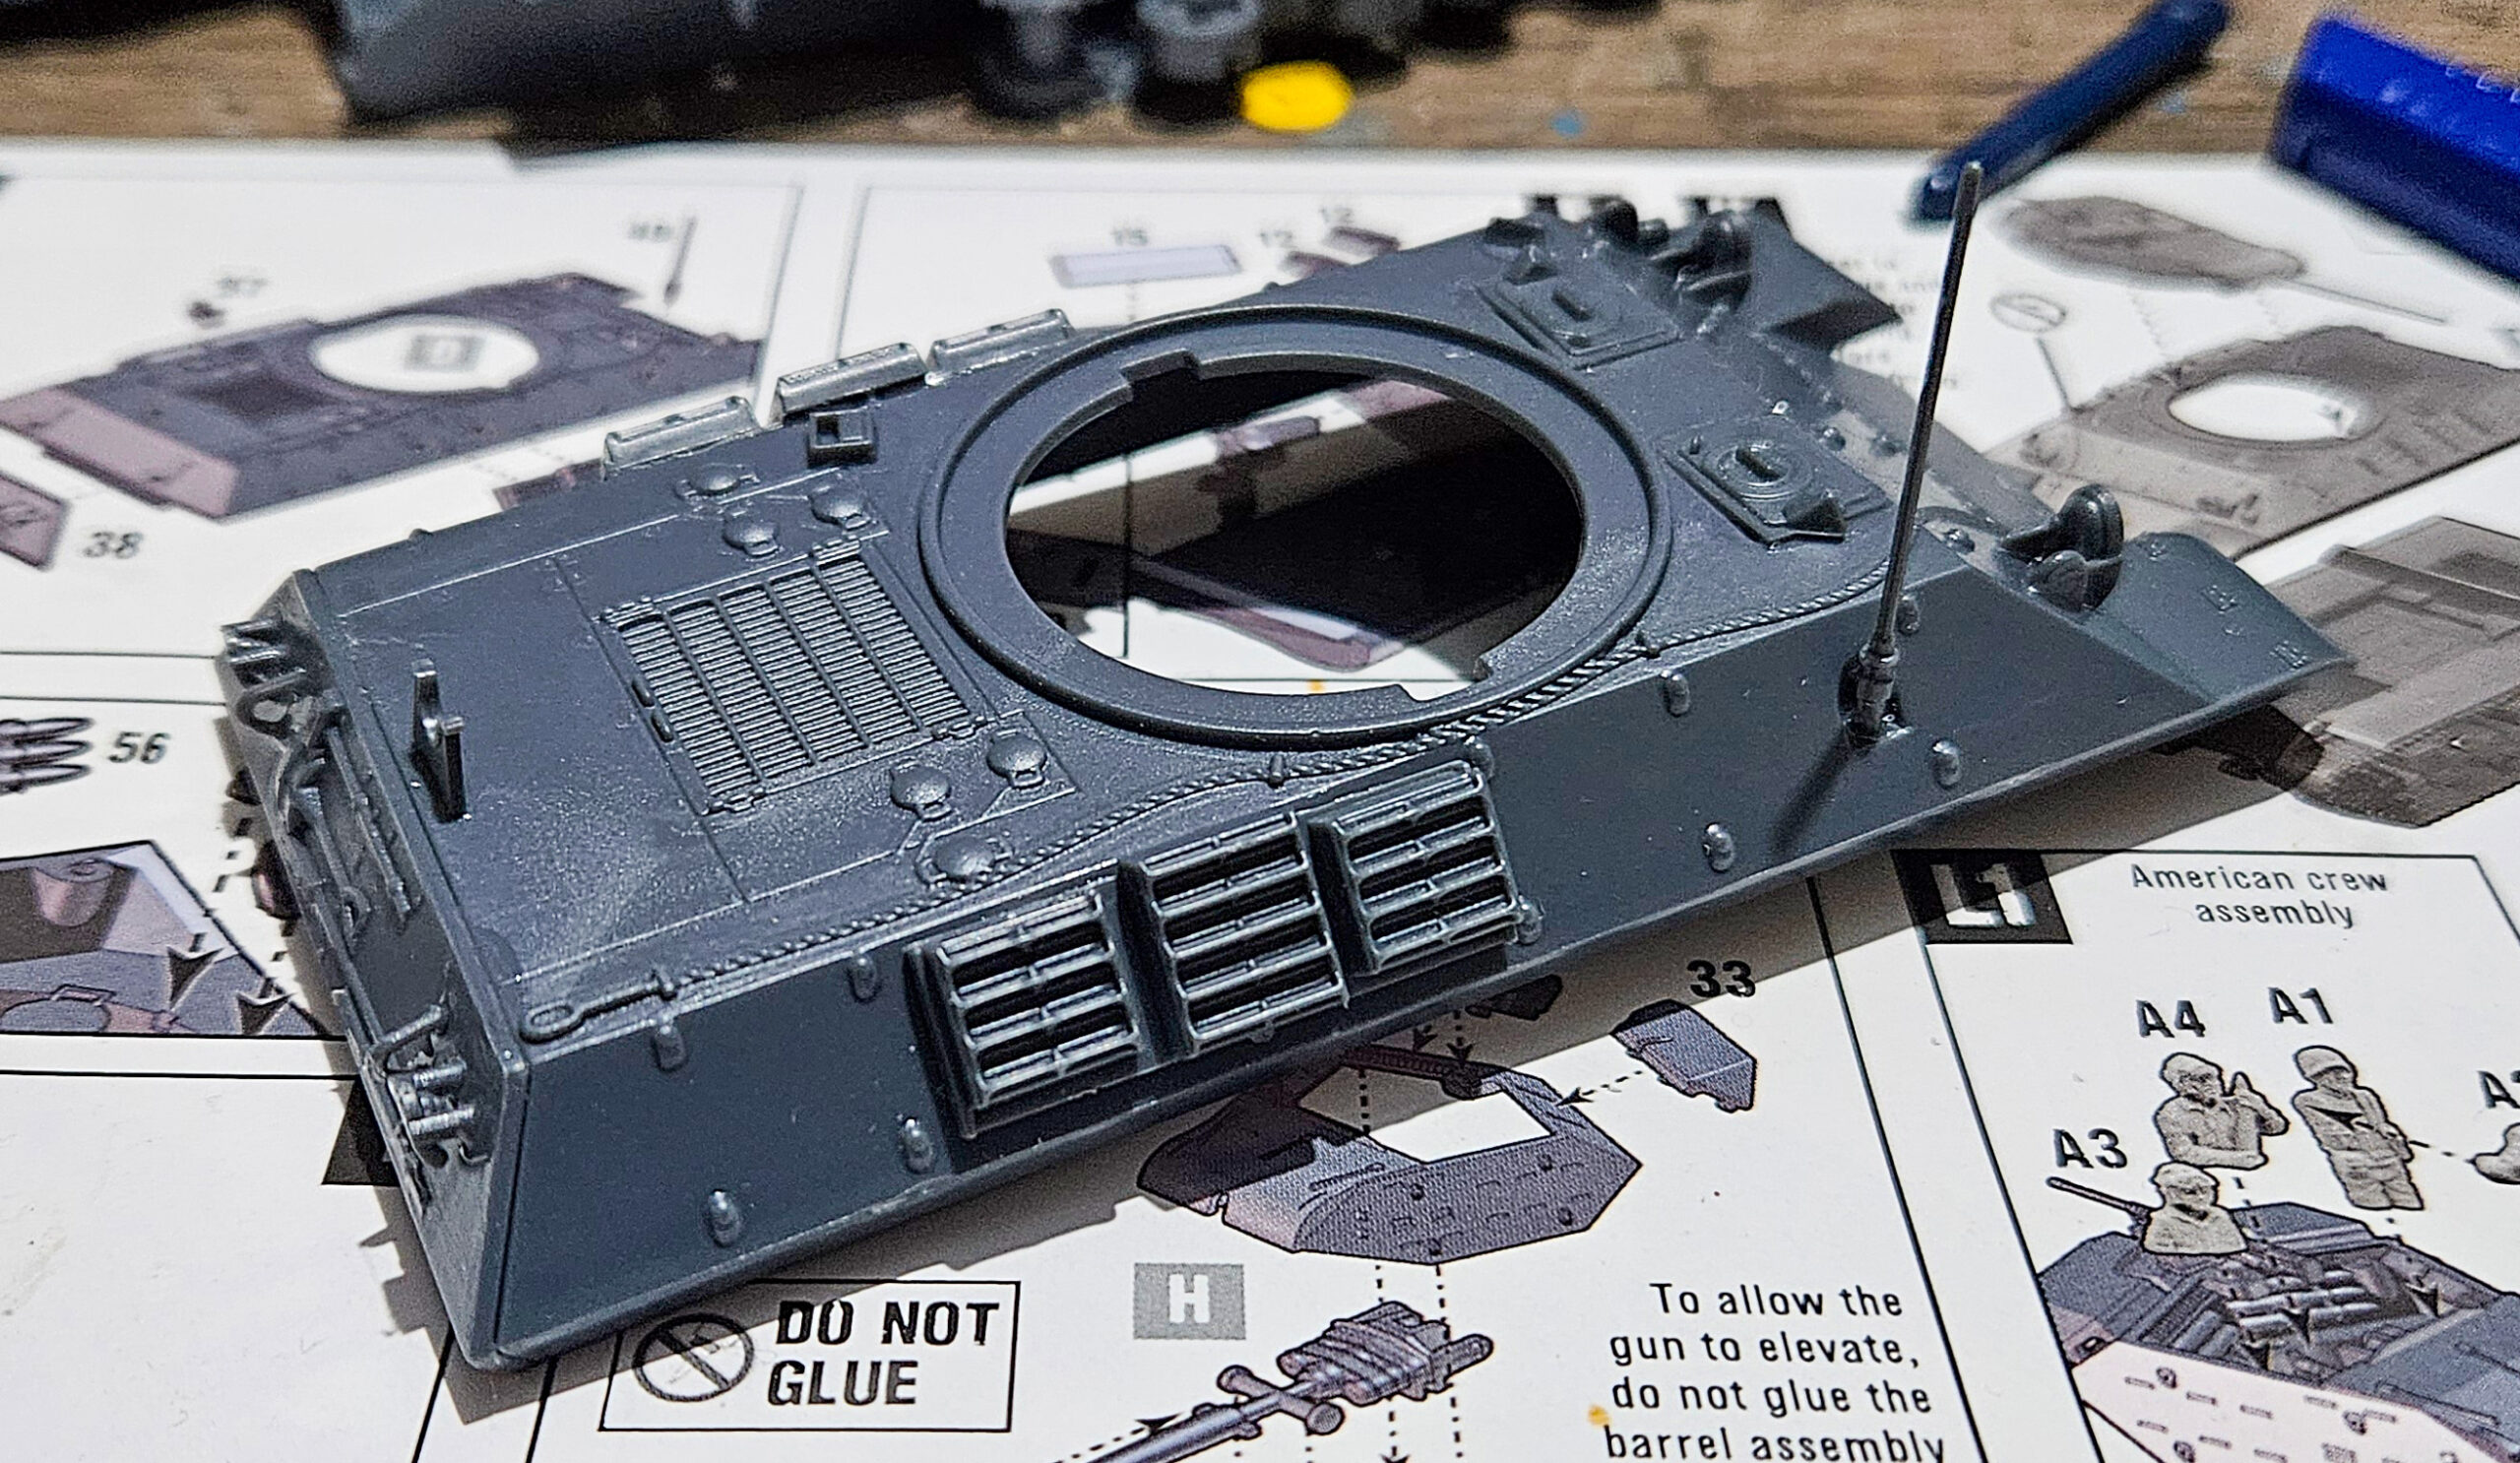
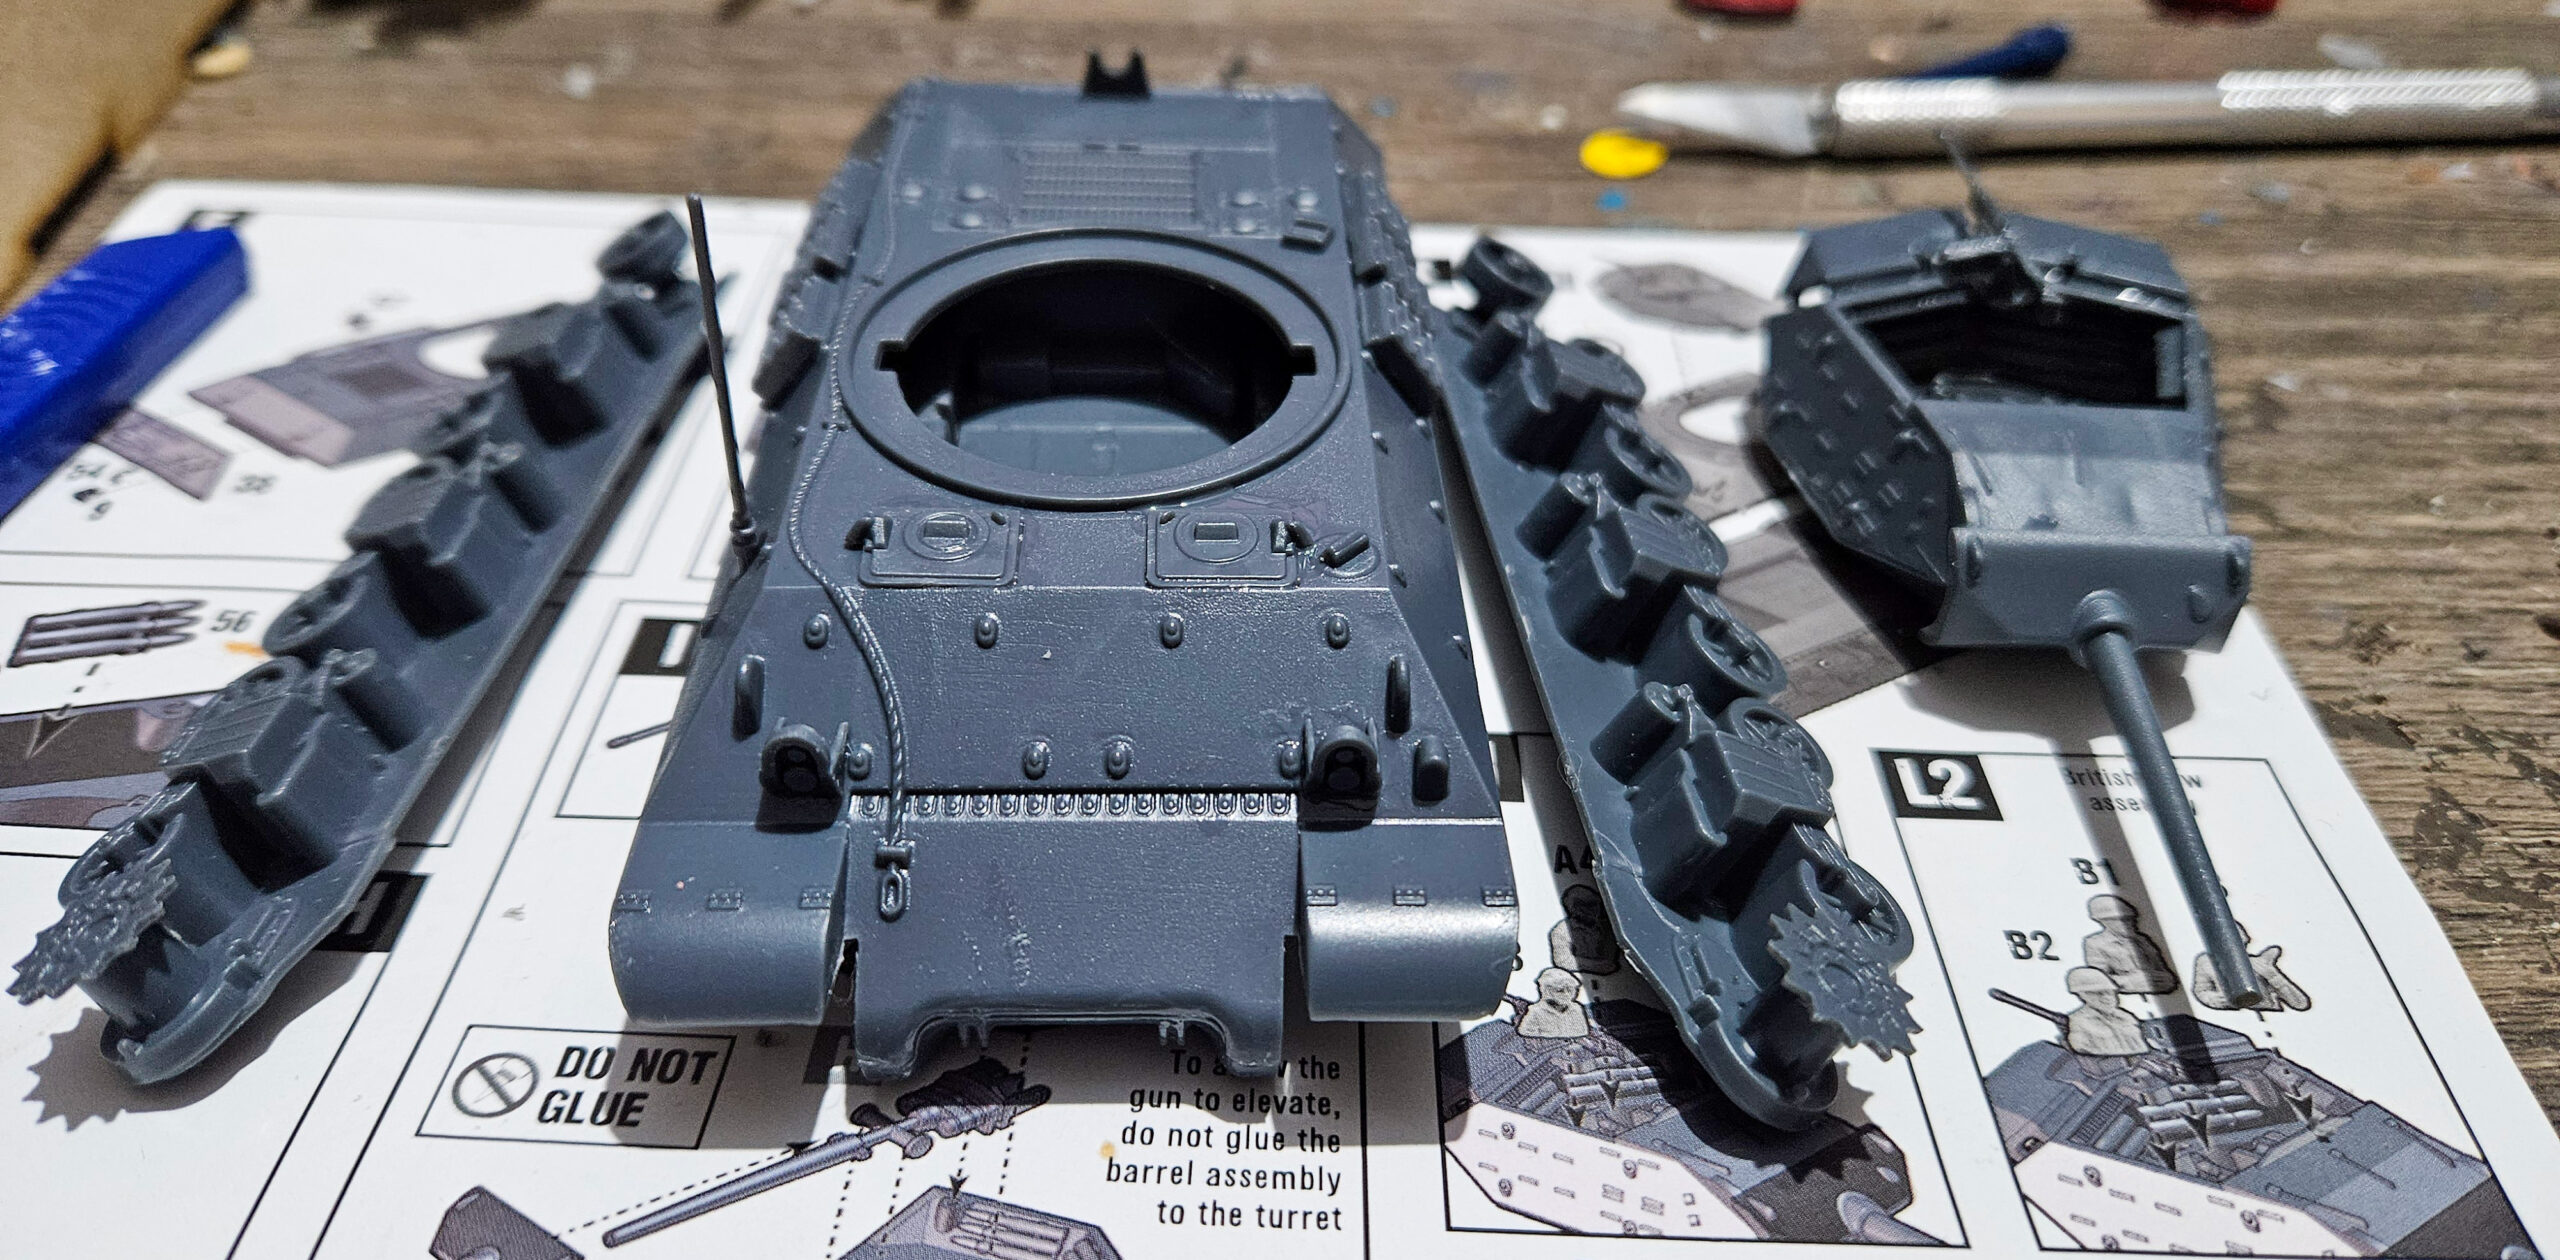
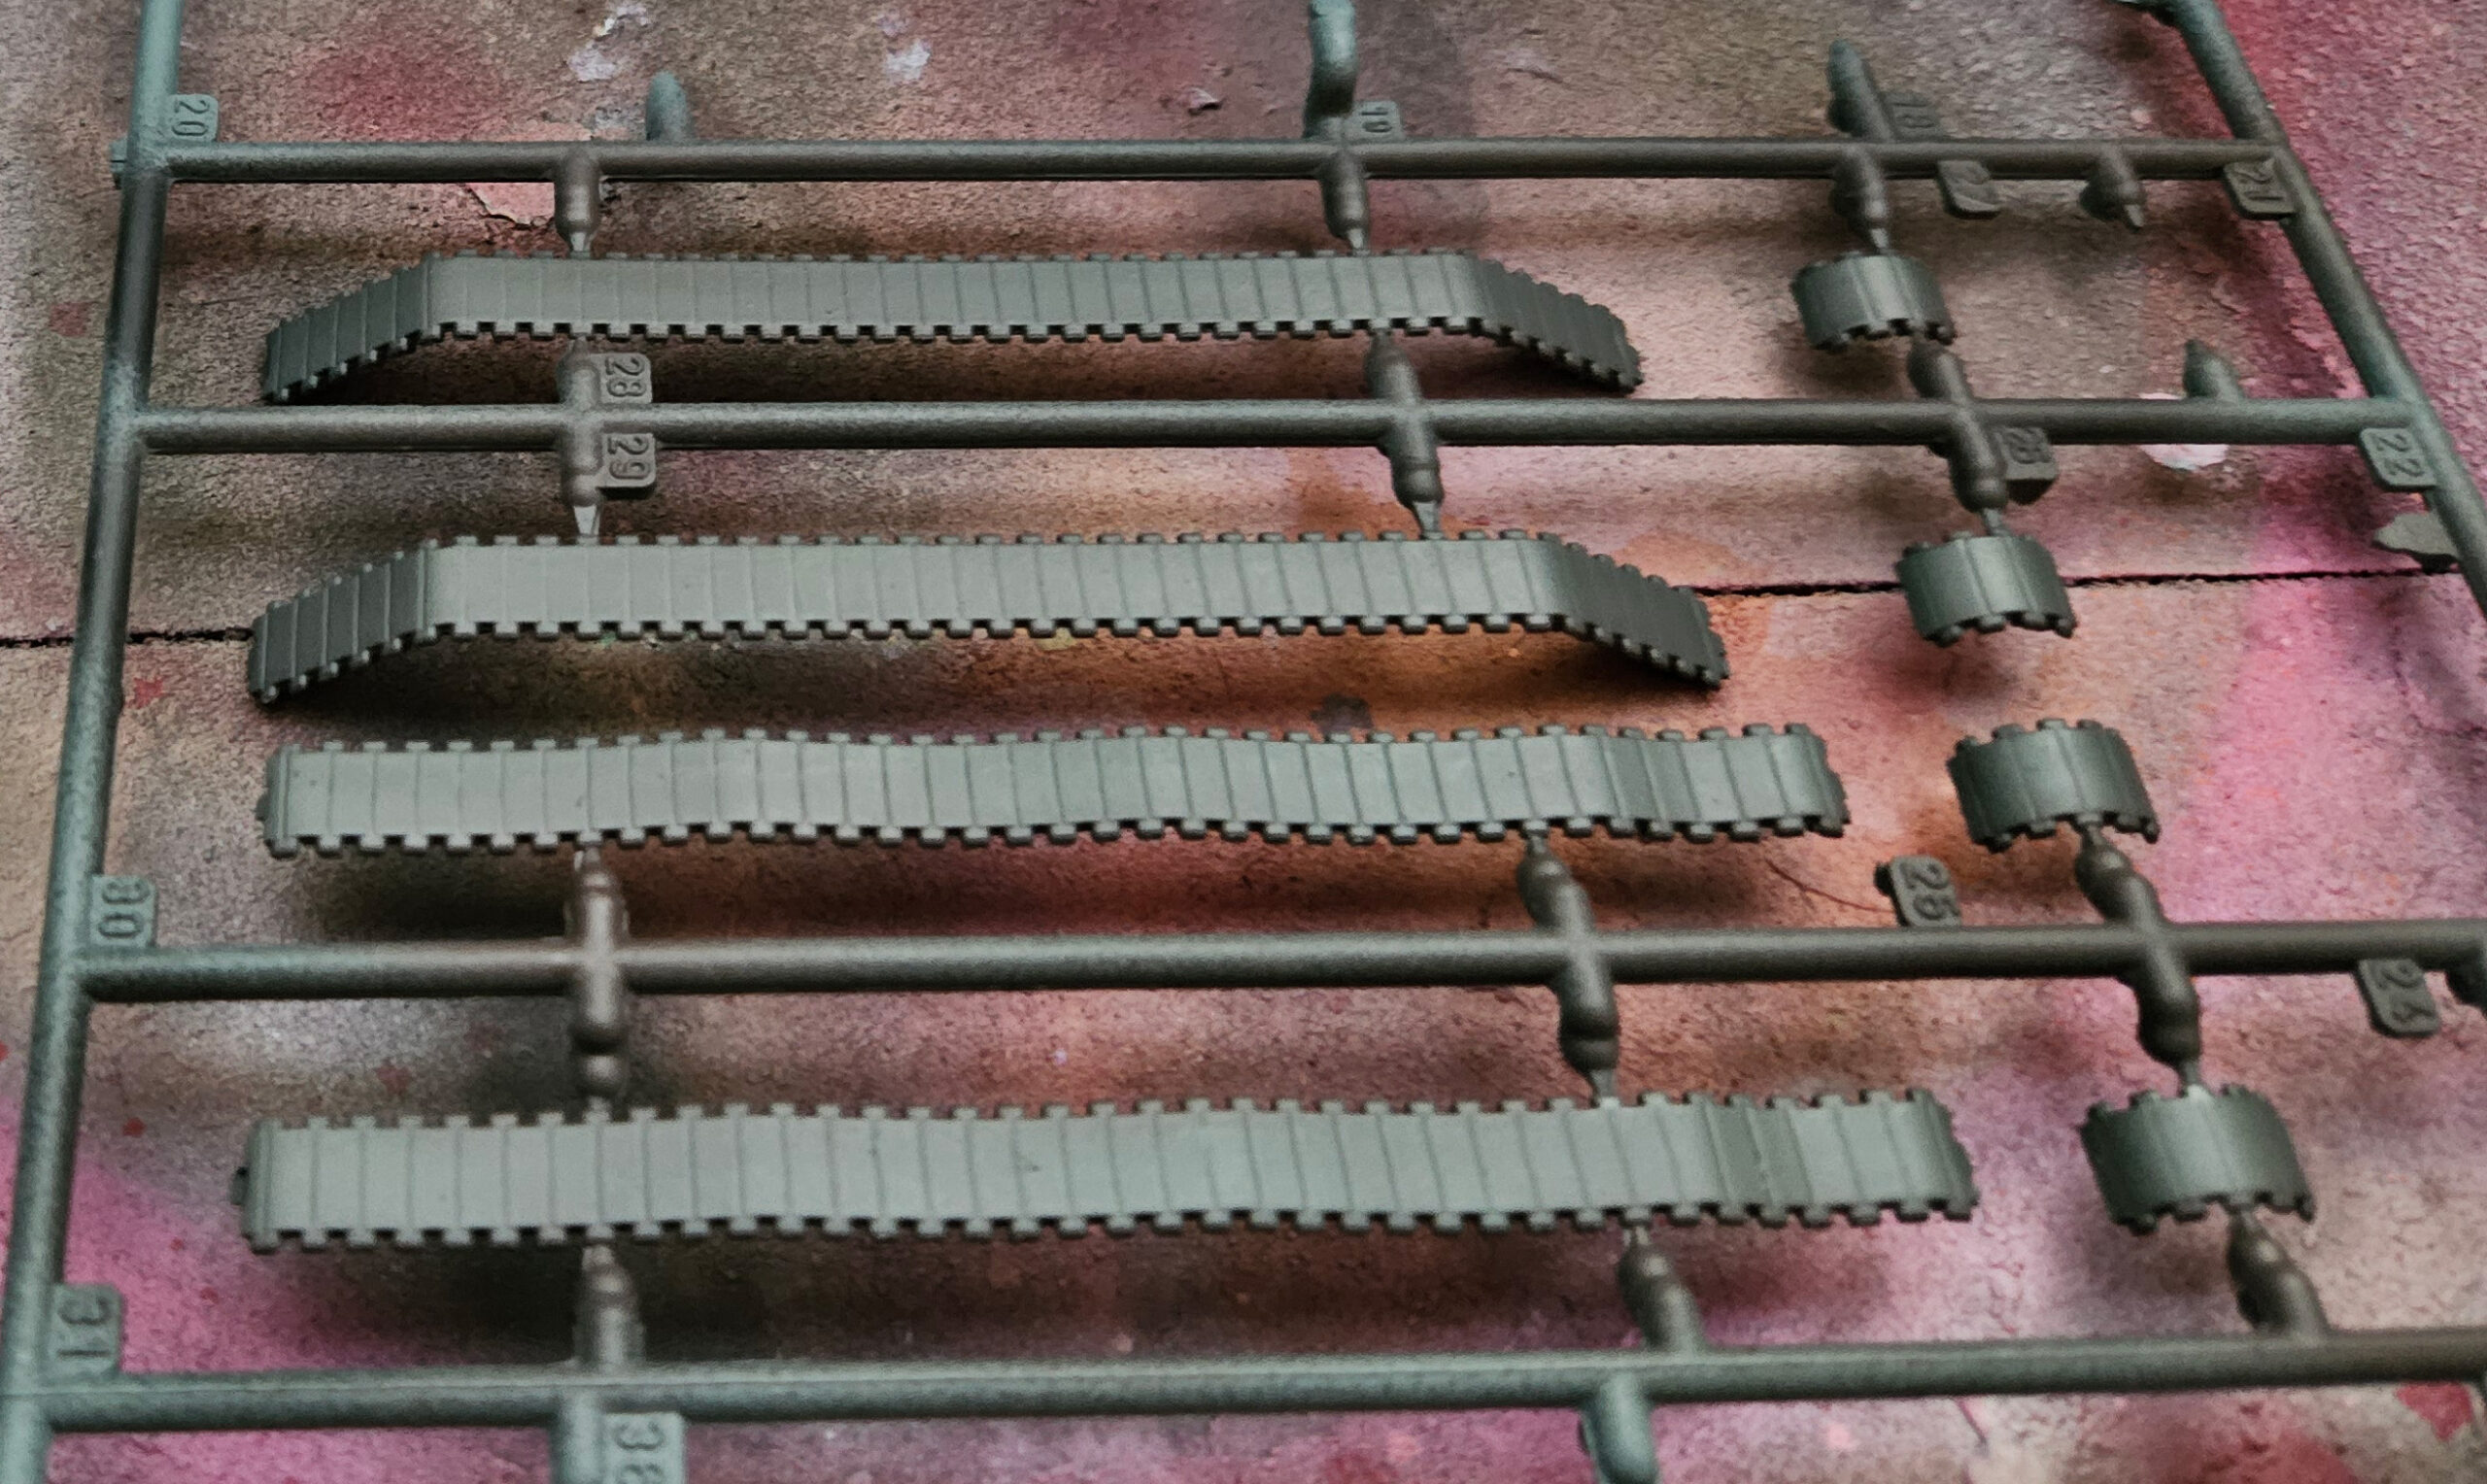
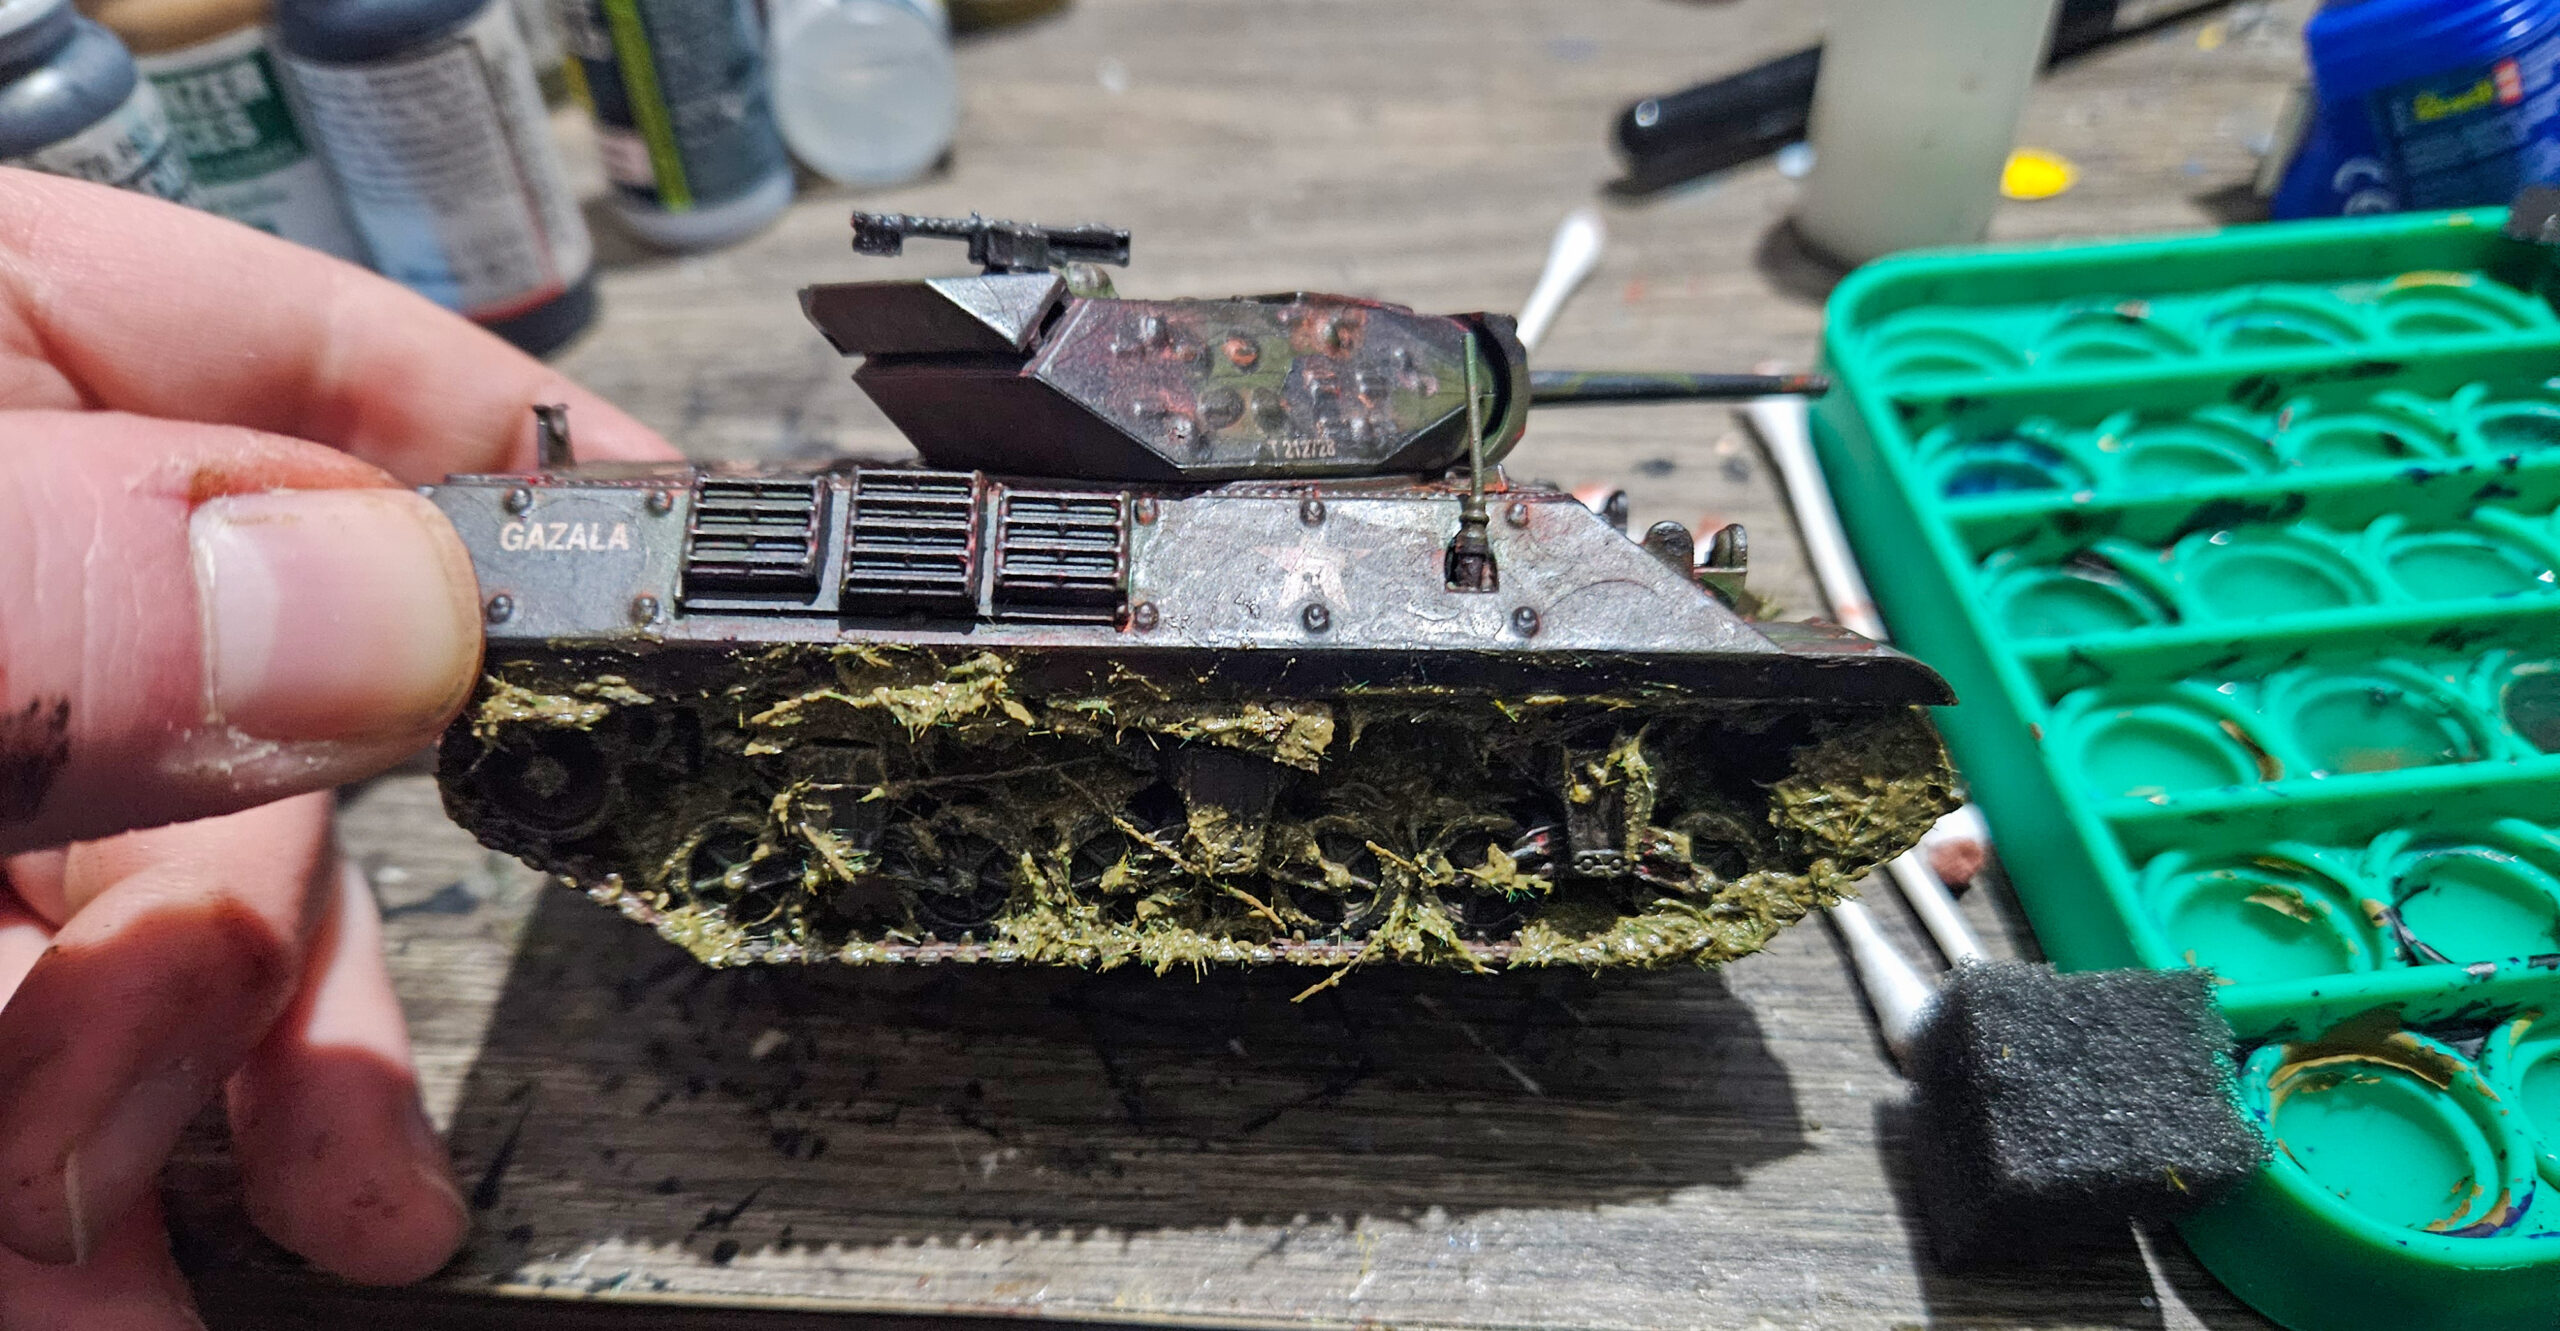
I opted to build my Wolverine with a couple of sub-assemblies, making it easier to access areas that would be otherwise hard to reach when painting, so I left the tracks on the sprue, and did not attach the wheel assemblies to the tank’s hull. With this kit (and all kits), I recommend dry fitting the parts prior to glueing – it helps to visualize the end result in conjunction with the instructions, which, with the best will in the world, are not always easy to interpret.
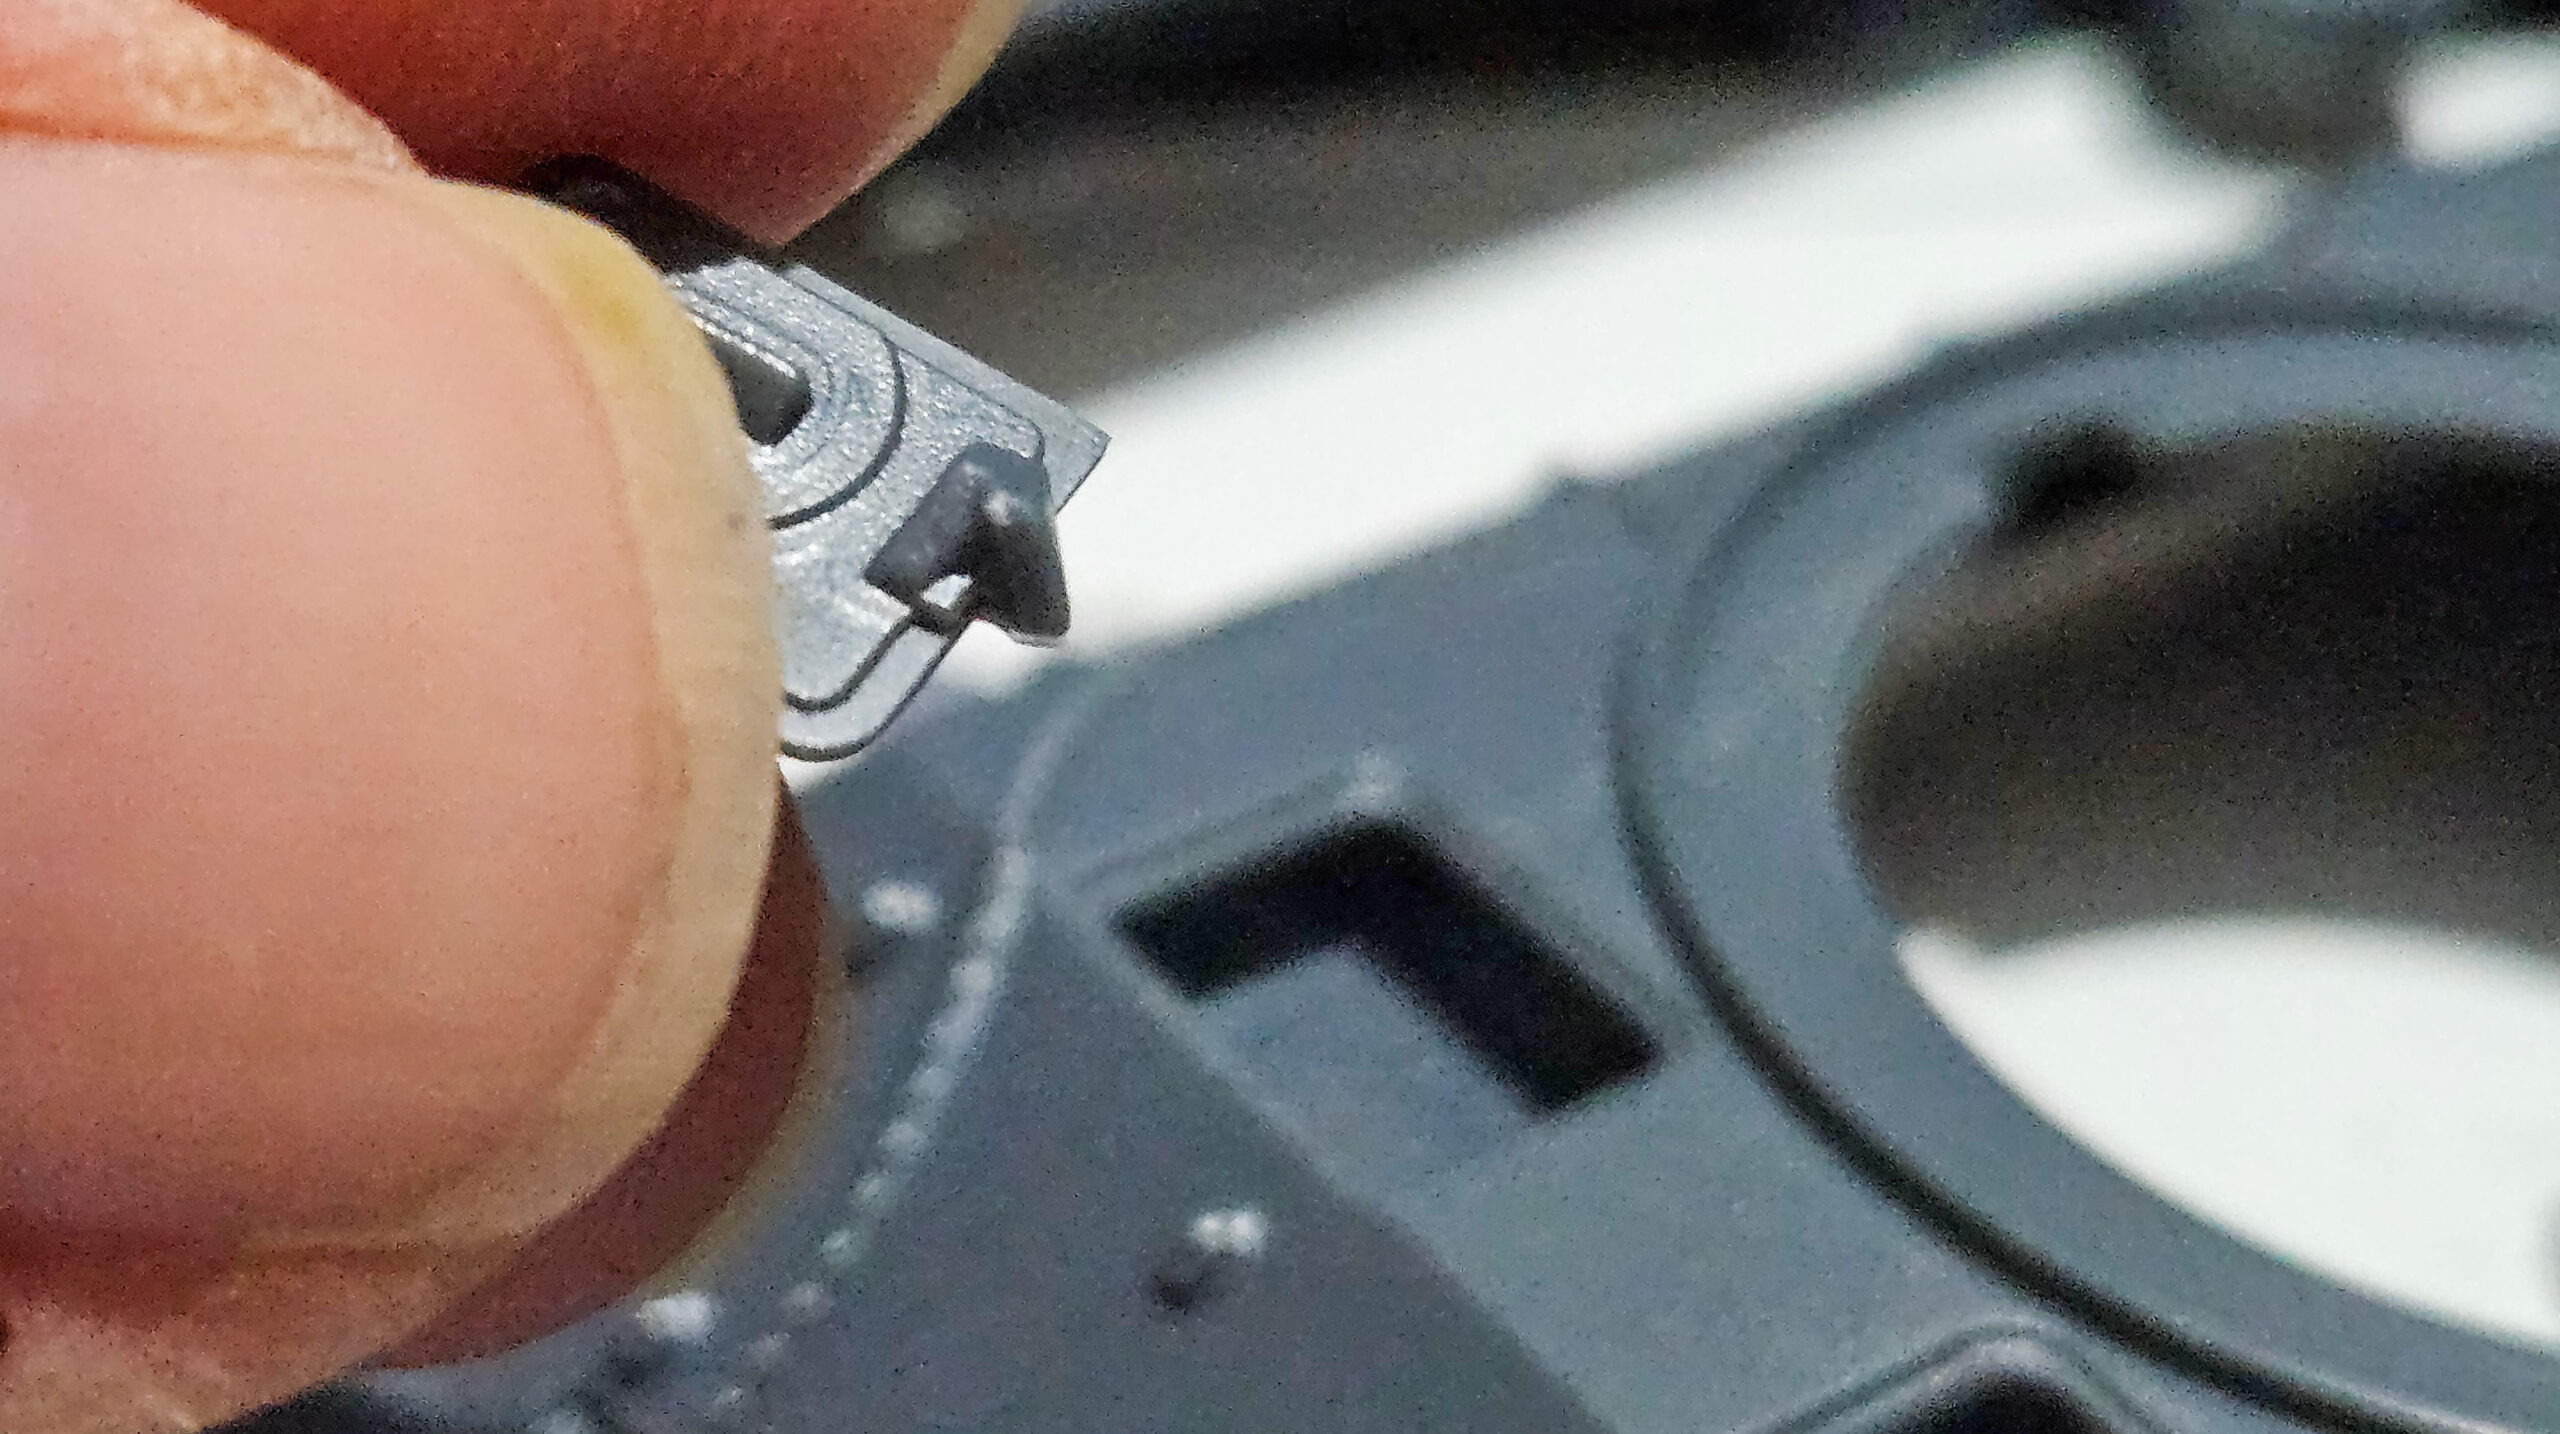
For the back plate (stage B), some drilling was required, this was a simple task using a pin vice with a 1mm drill bit – just take it slow and carefully clean any residual flash with a hobby knife.

I assembled the crew hatches as closed, but it got my hobby brain ticking for the next time of build a Wolverine, particularly with a new range of Warlord Resin tank crew figures available – I envisage a driver taking a cheeky peek fitting nicely – there’s always next time!
The kit is full of detail, particularly the interior of the open-topped turret, which does mean a fair few fiddly small pieces. Keep track of all your parts, don’t clip off more than you need for the stage you’re working on, and exercise patience and you’ll be fine. There was also a fair amount of flash for me to deal with, which was easily taken care of with a trusty hobby knife.
Naturally, I also kept the crew separate for painting, also left on the sprues.
Painting
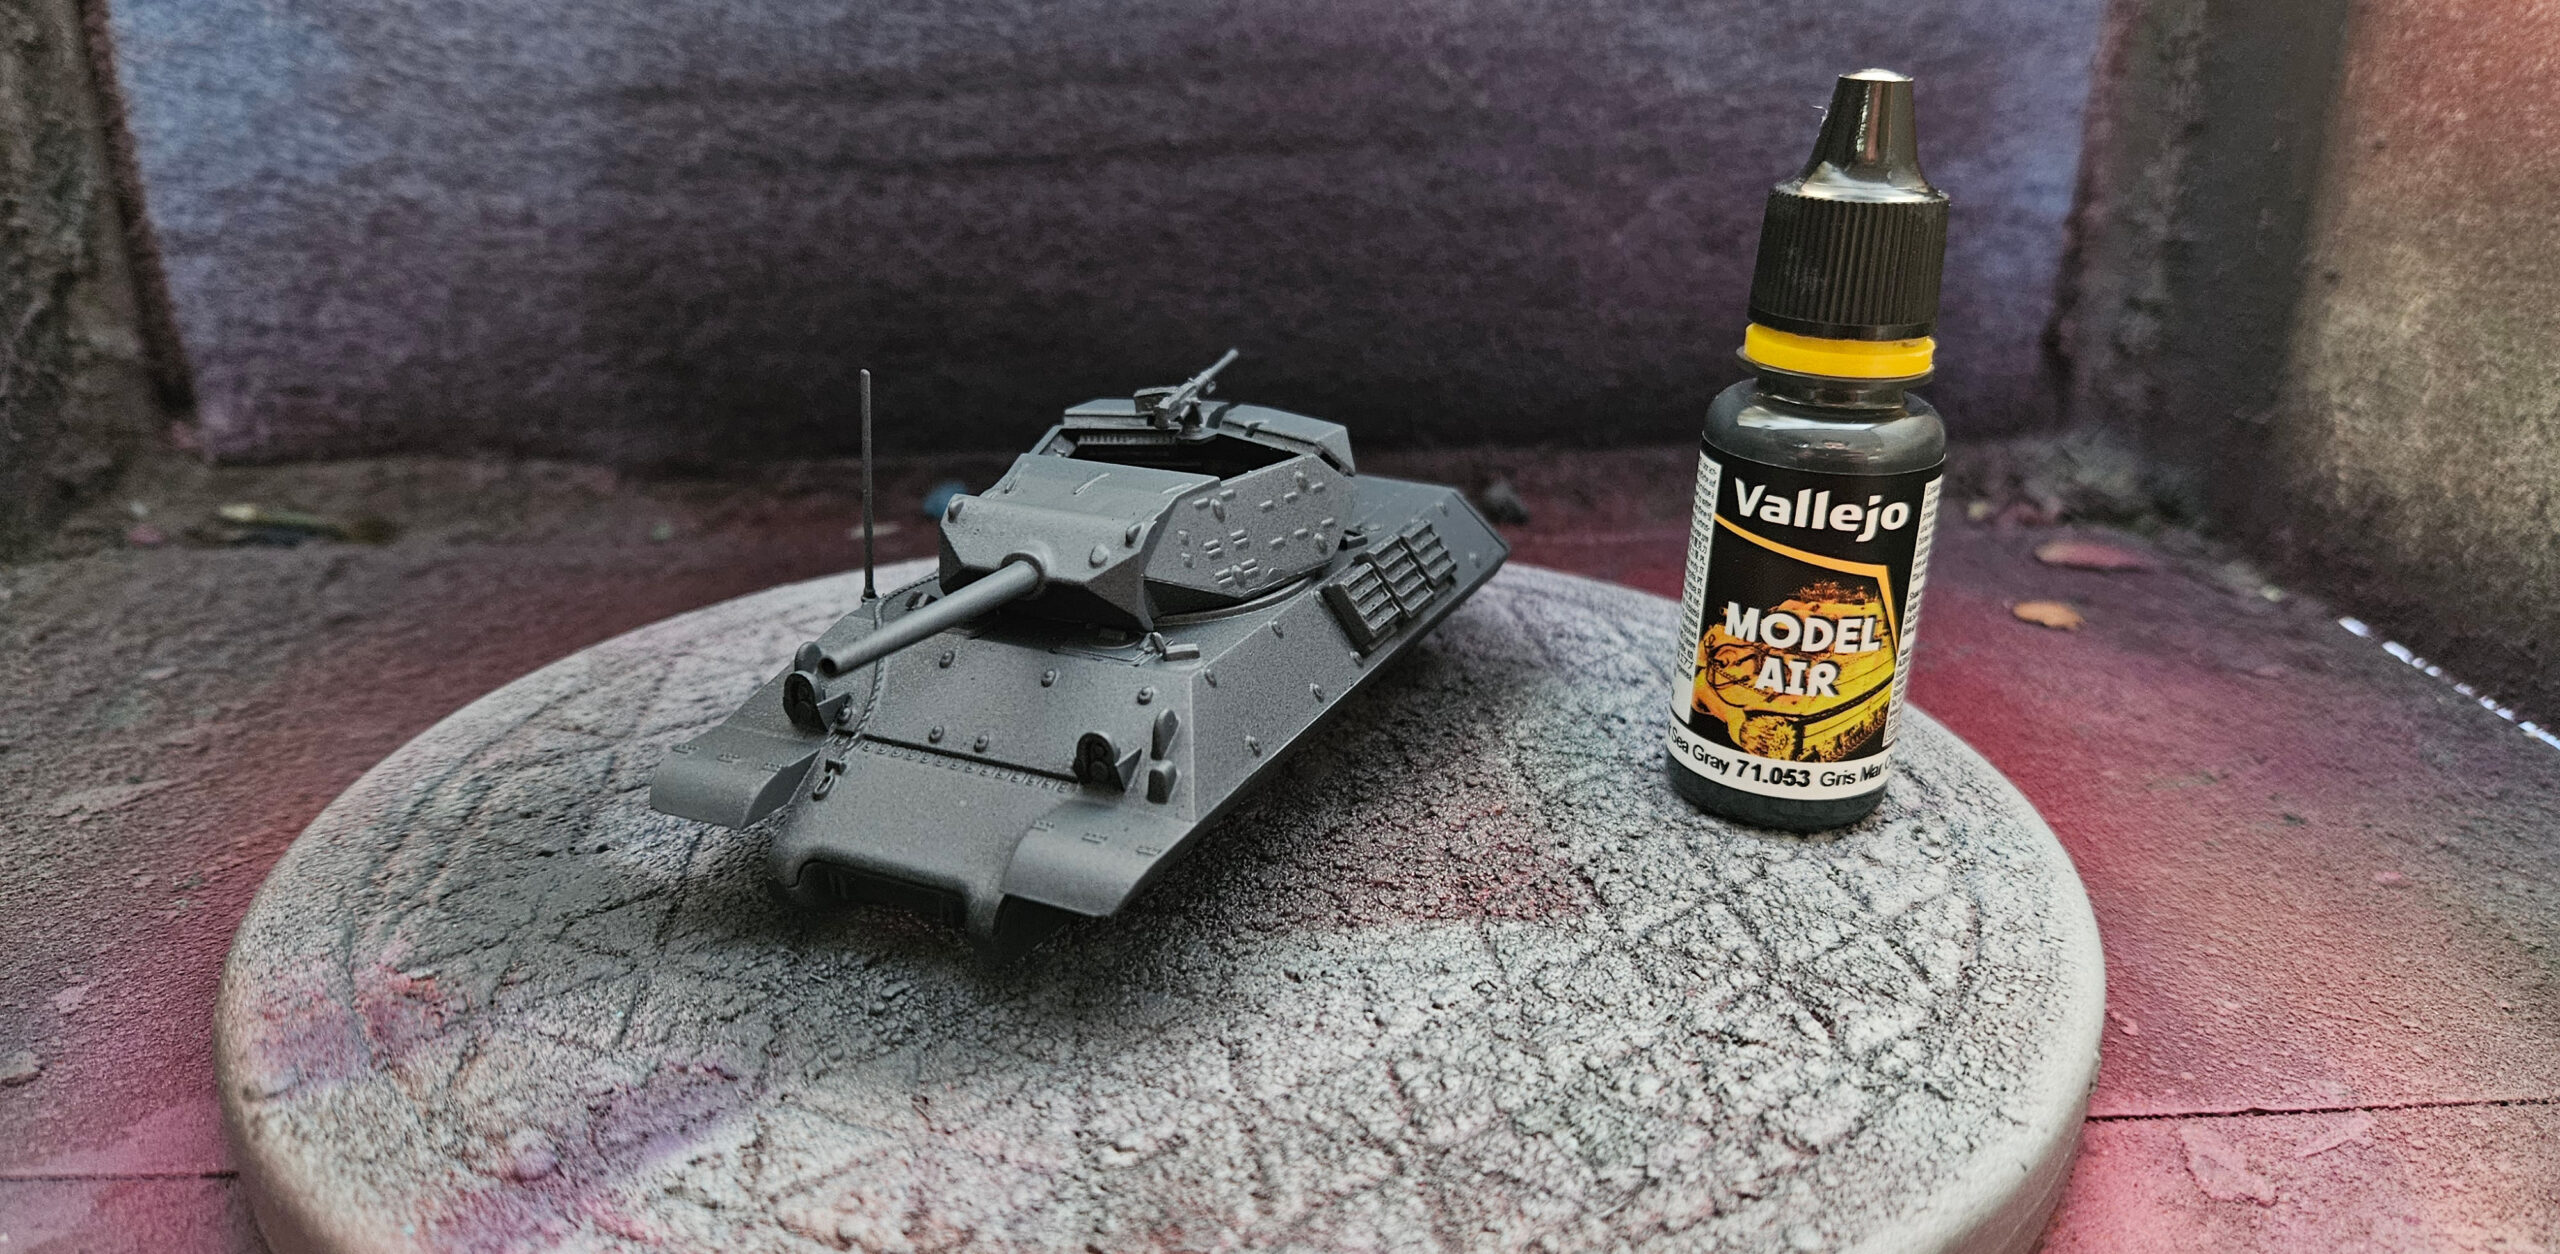
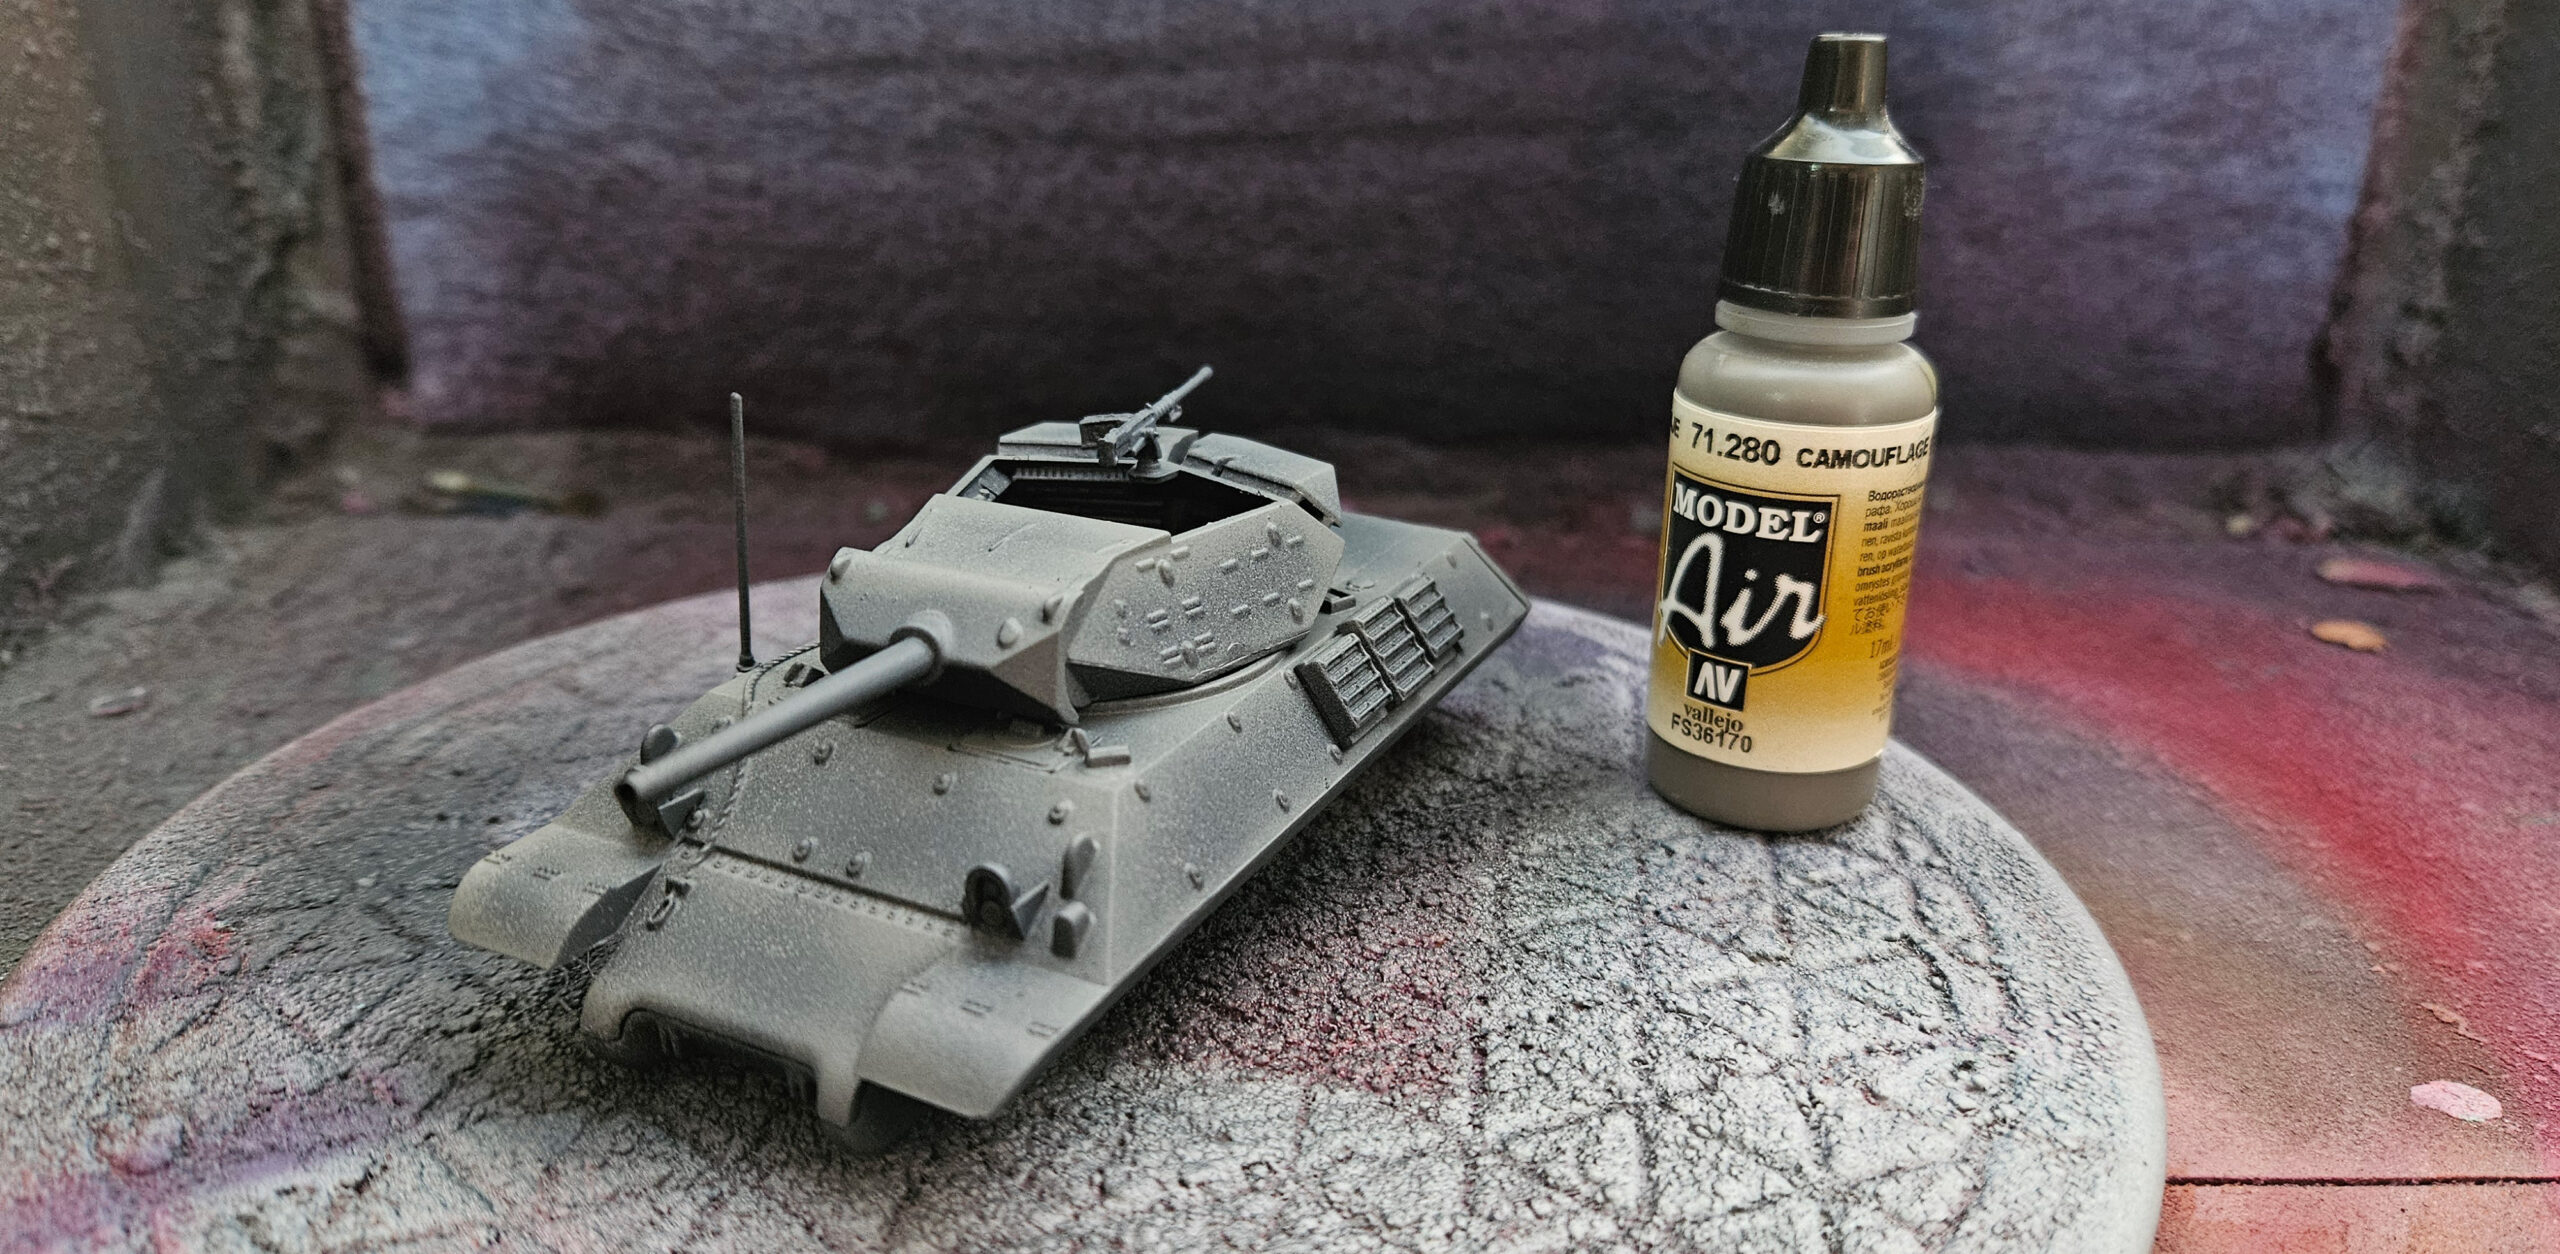
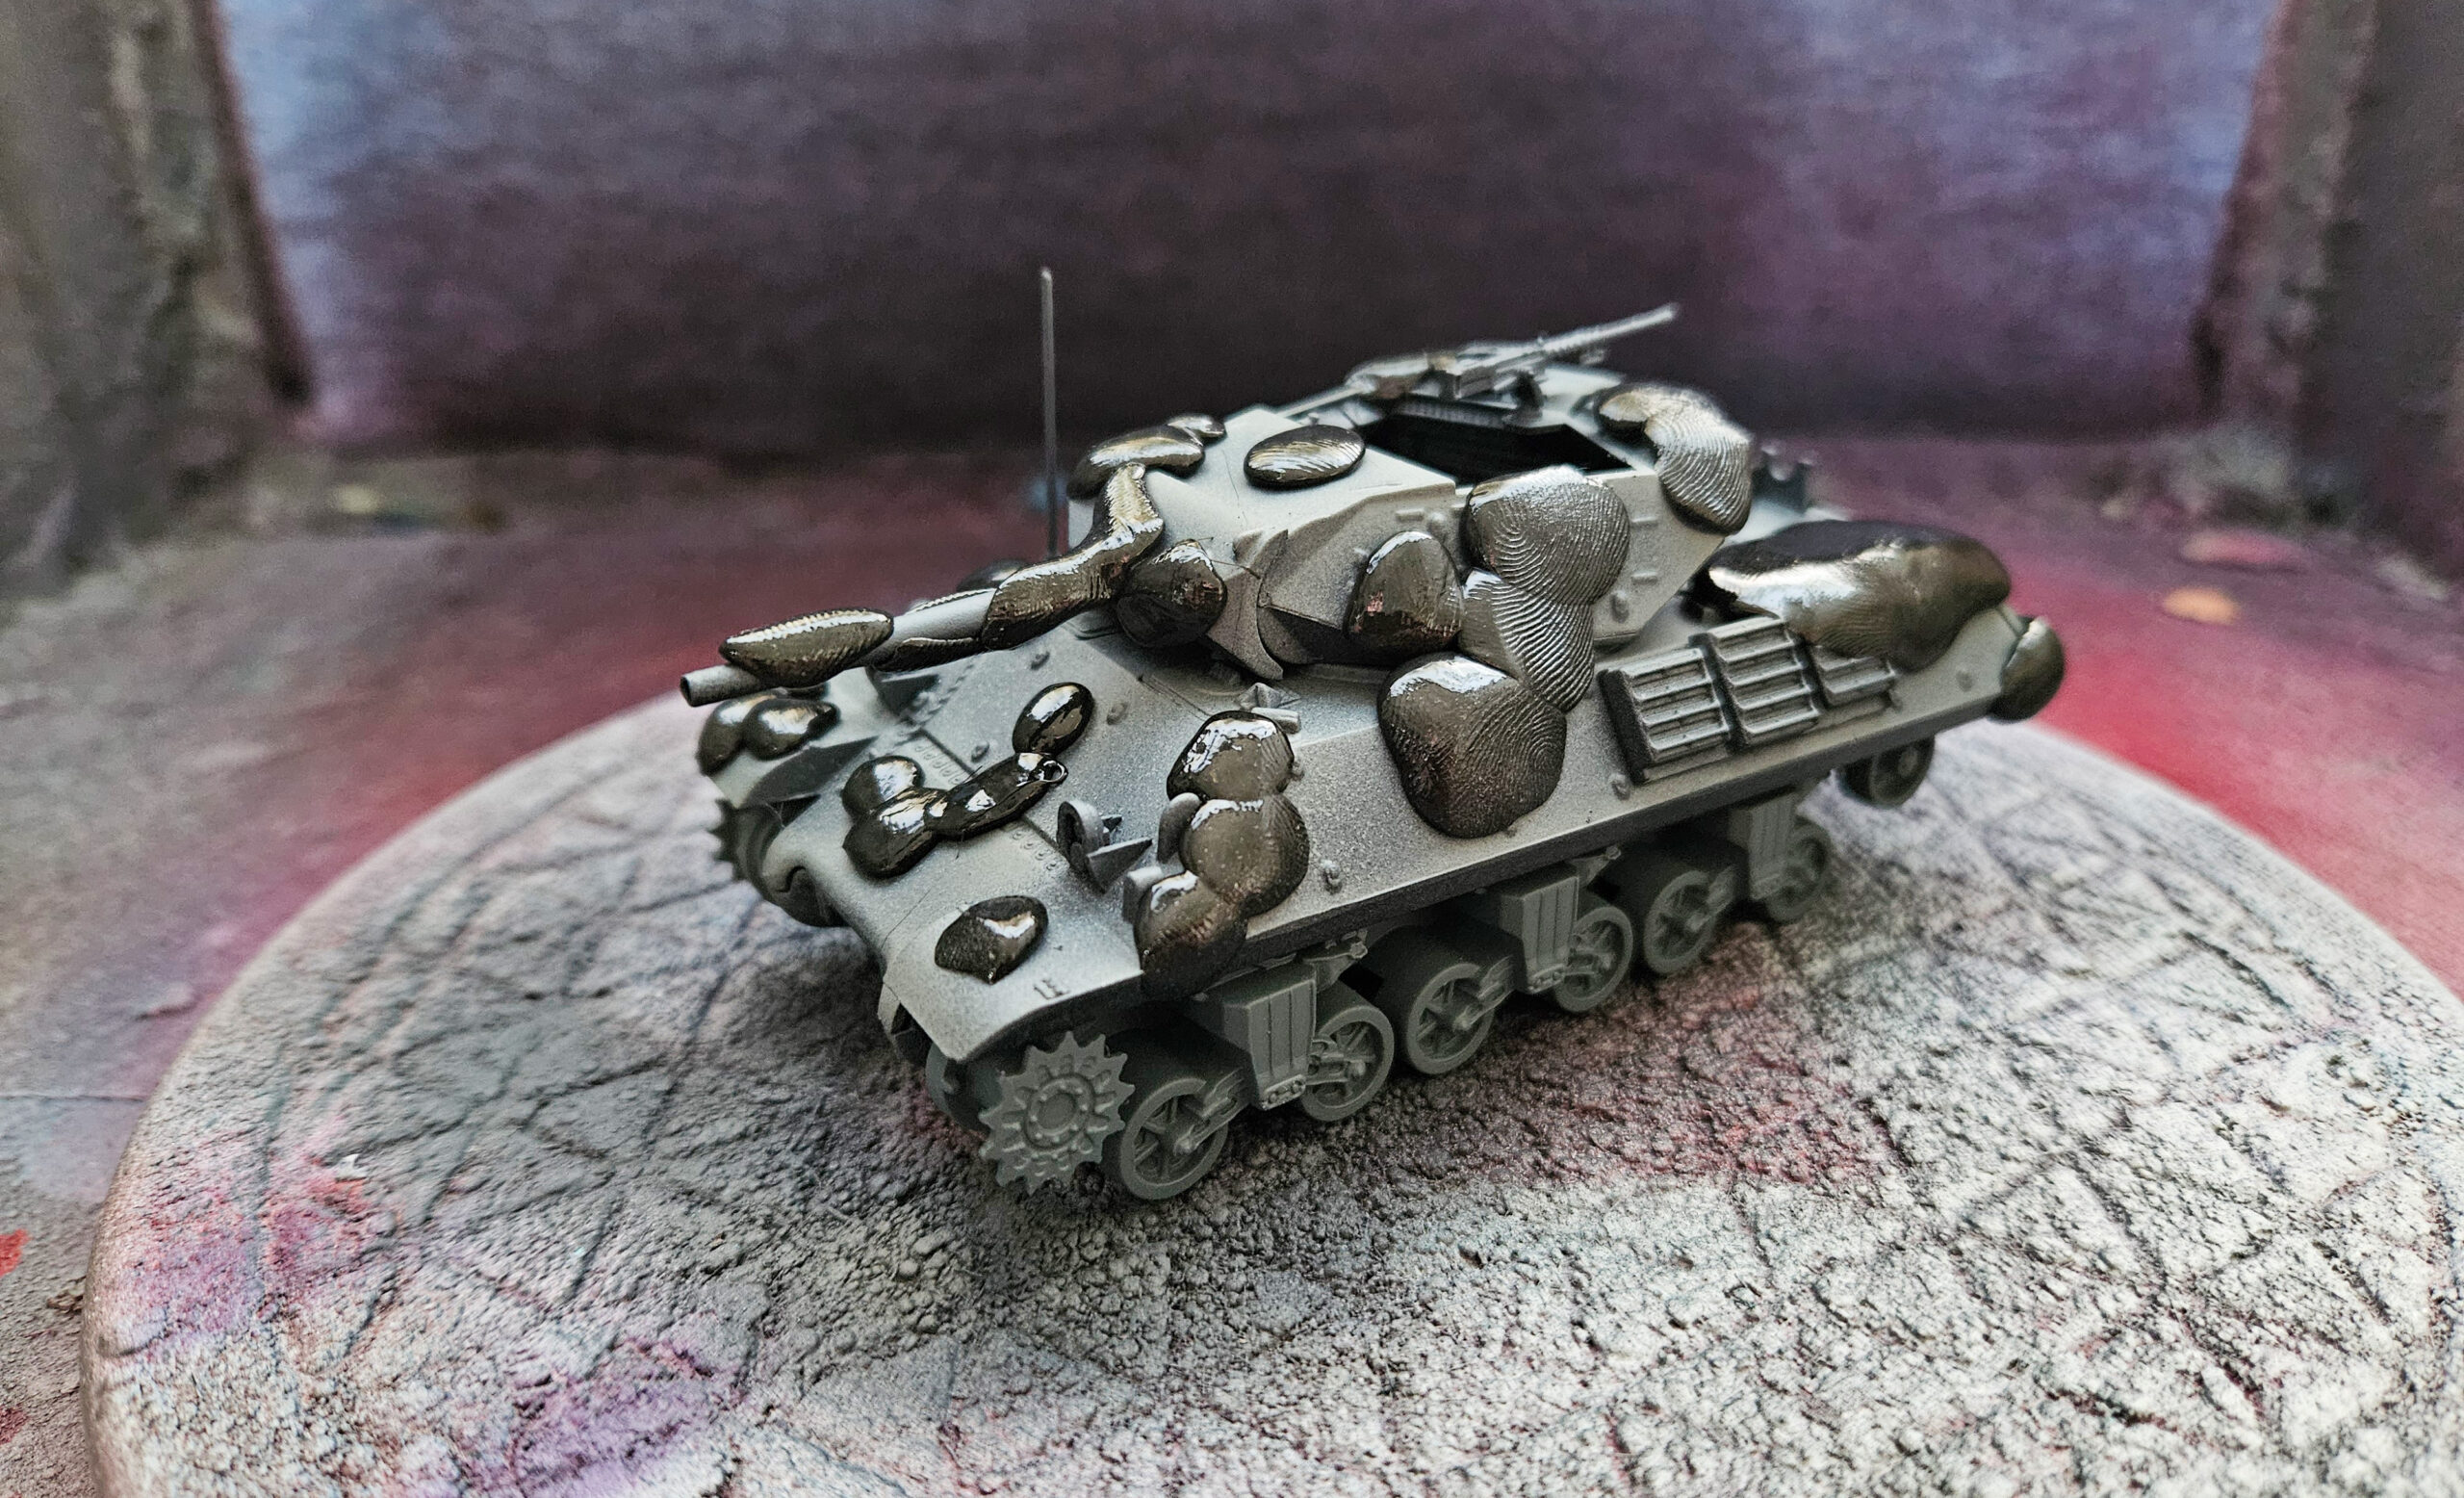
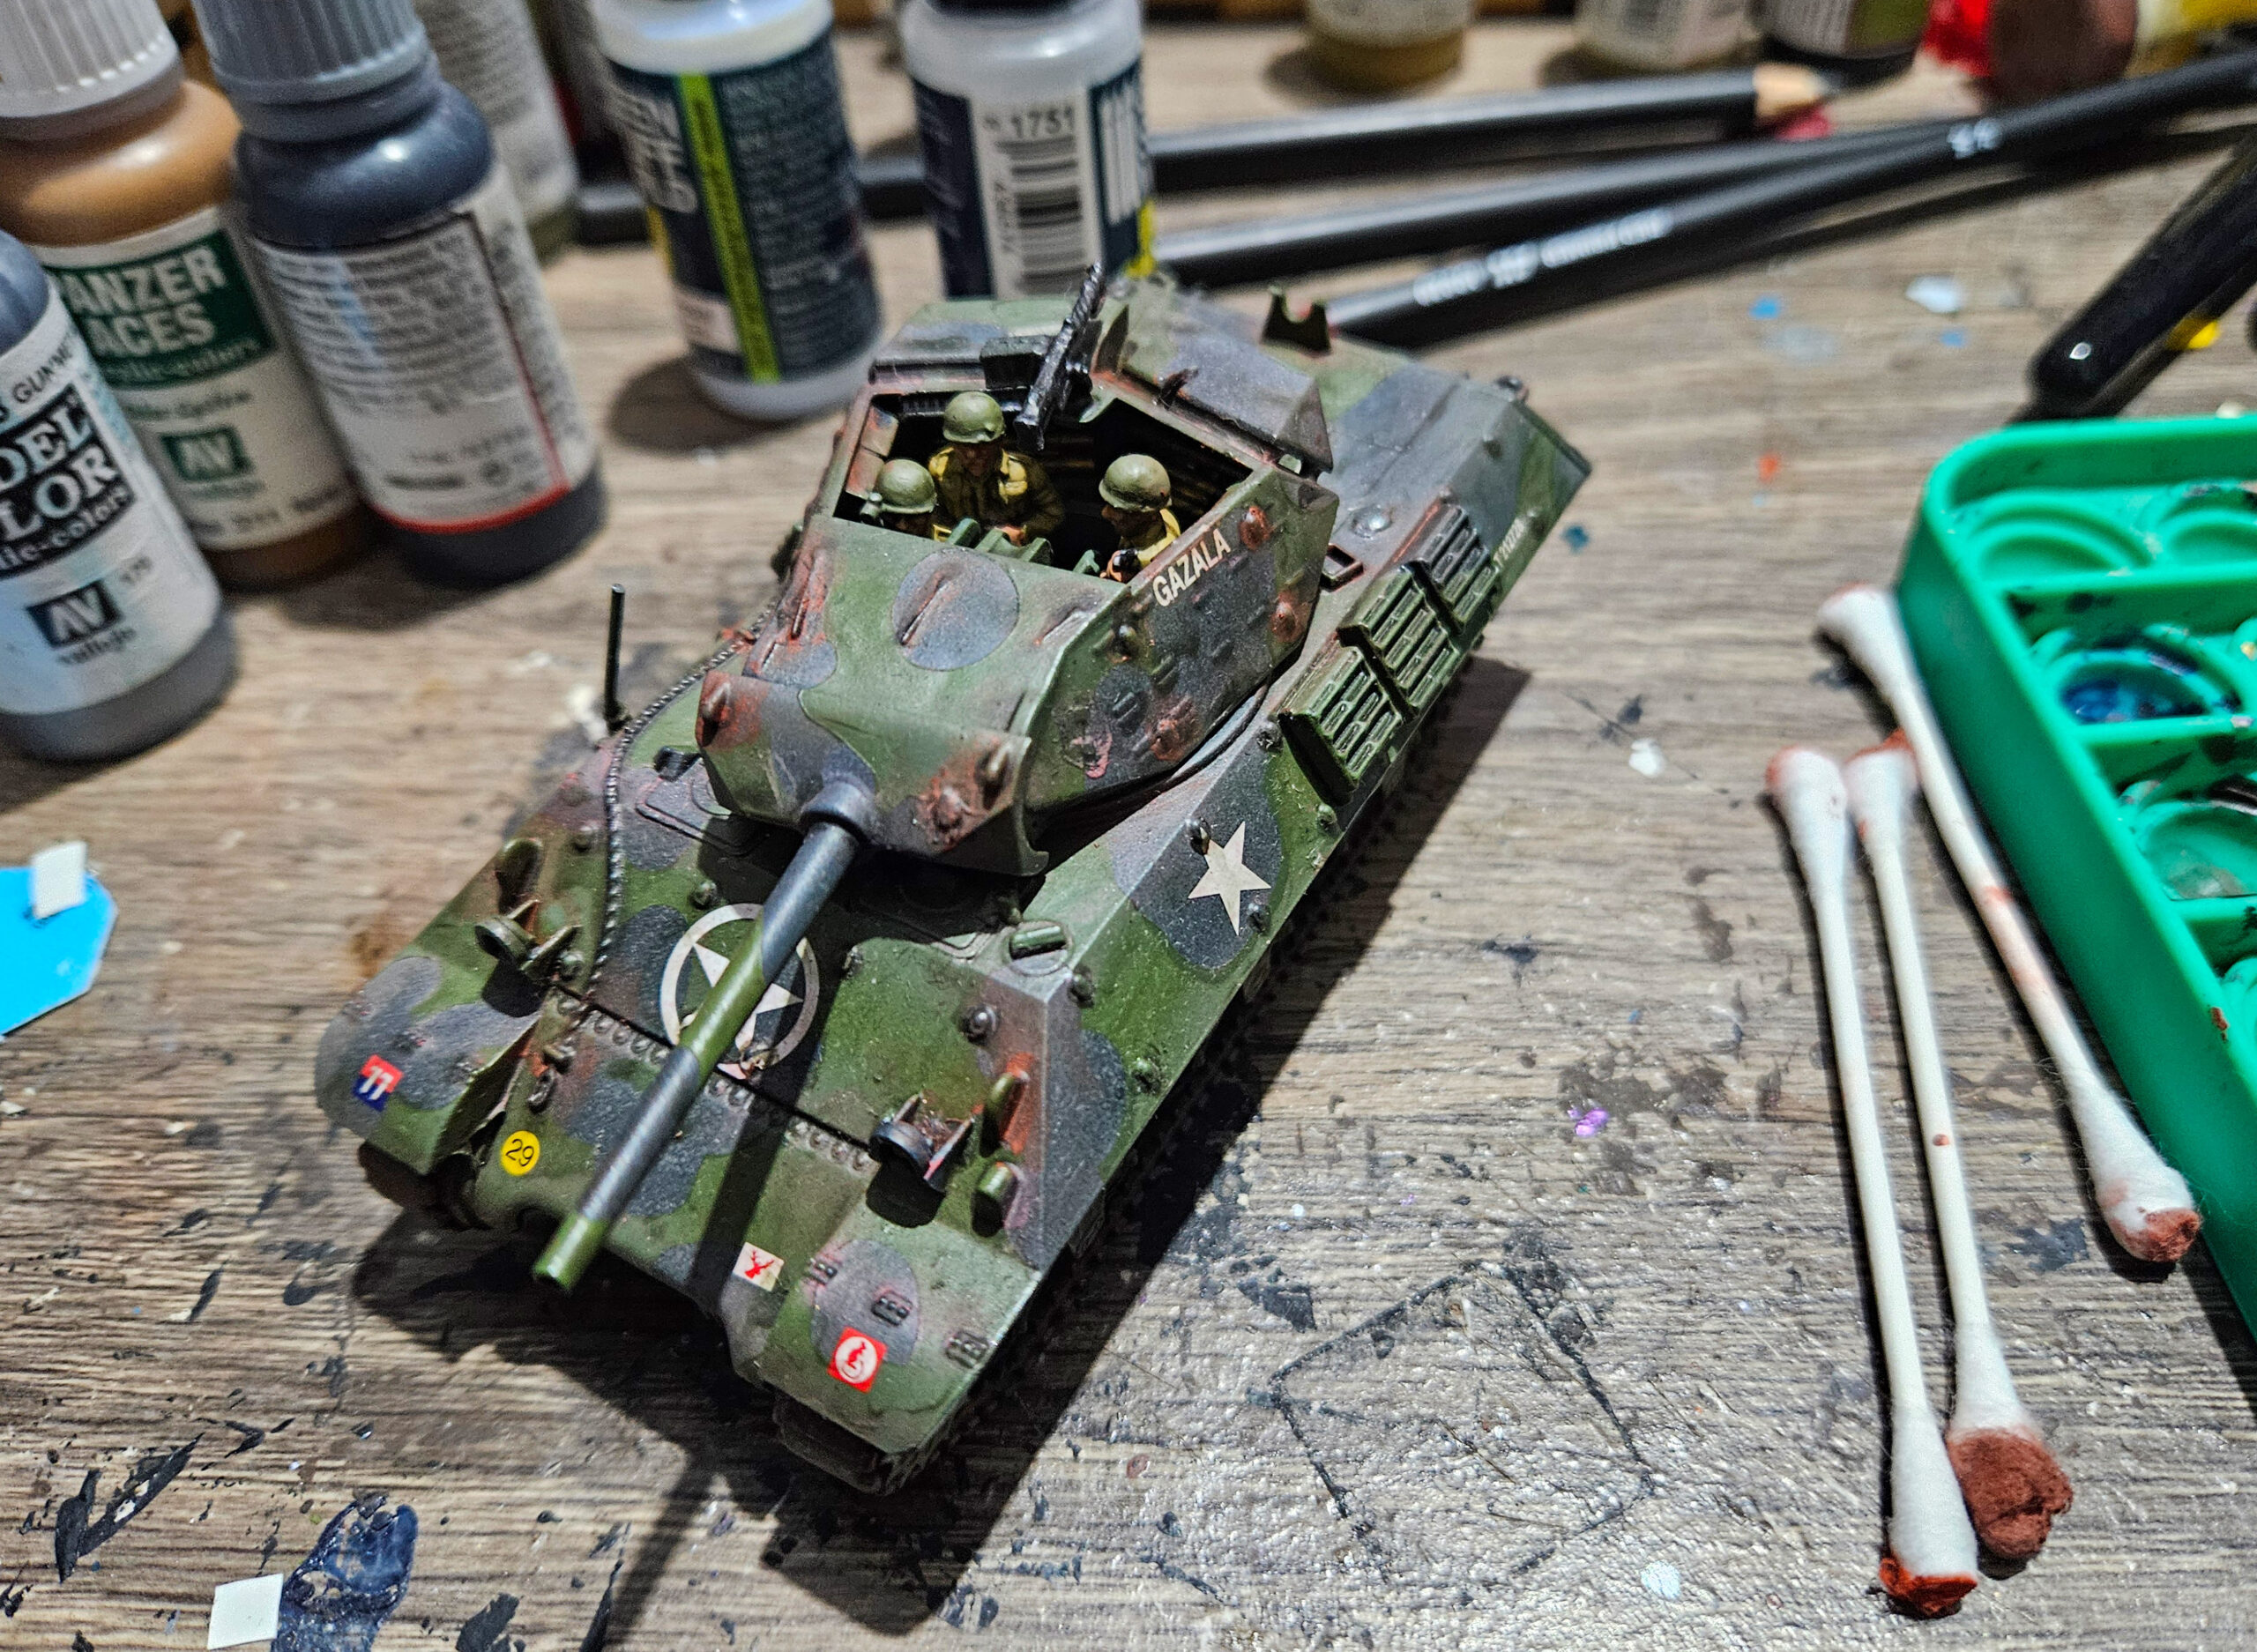
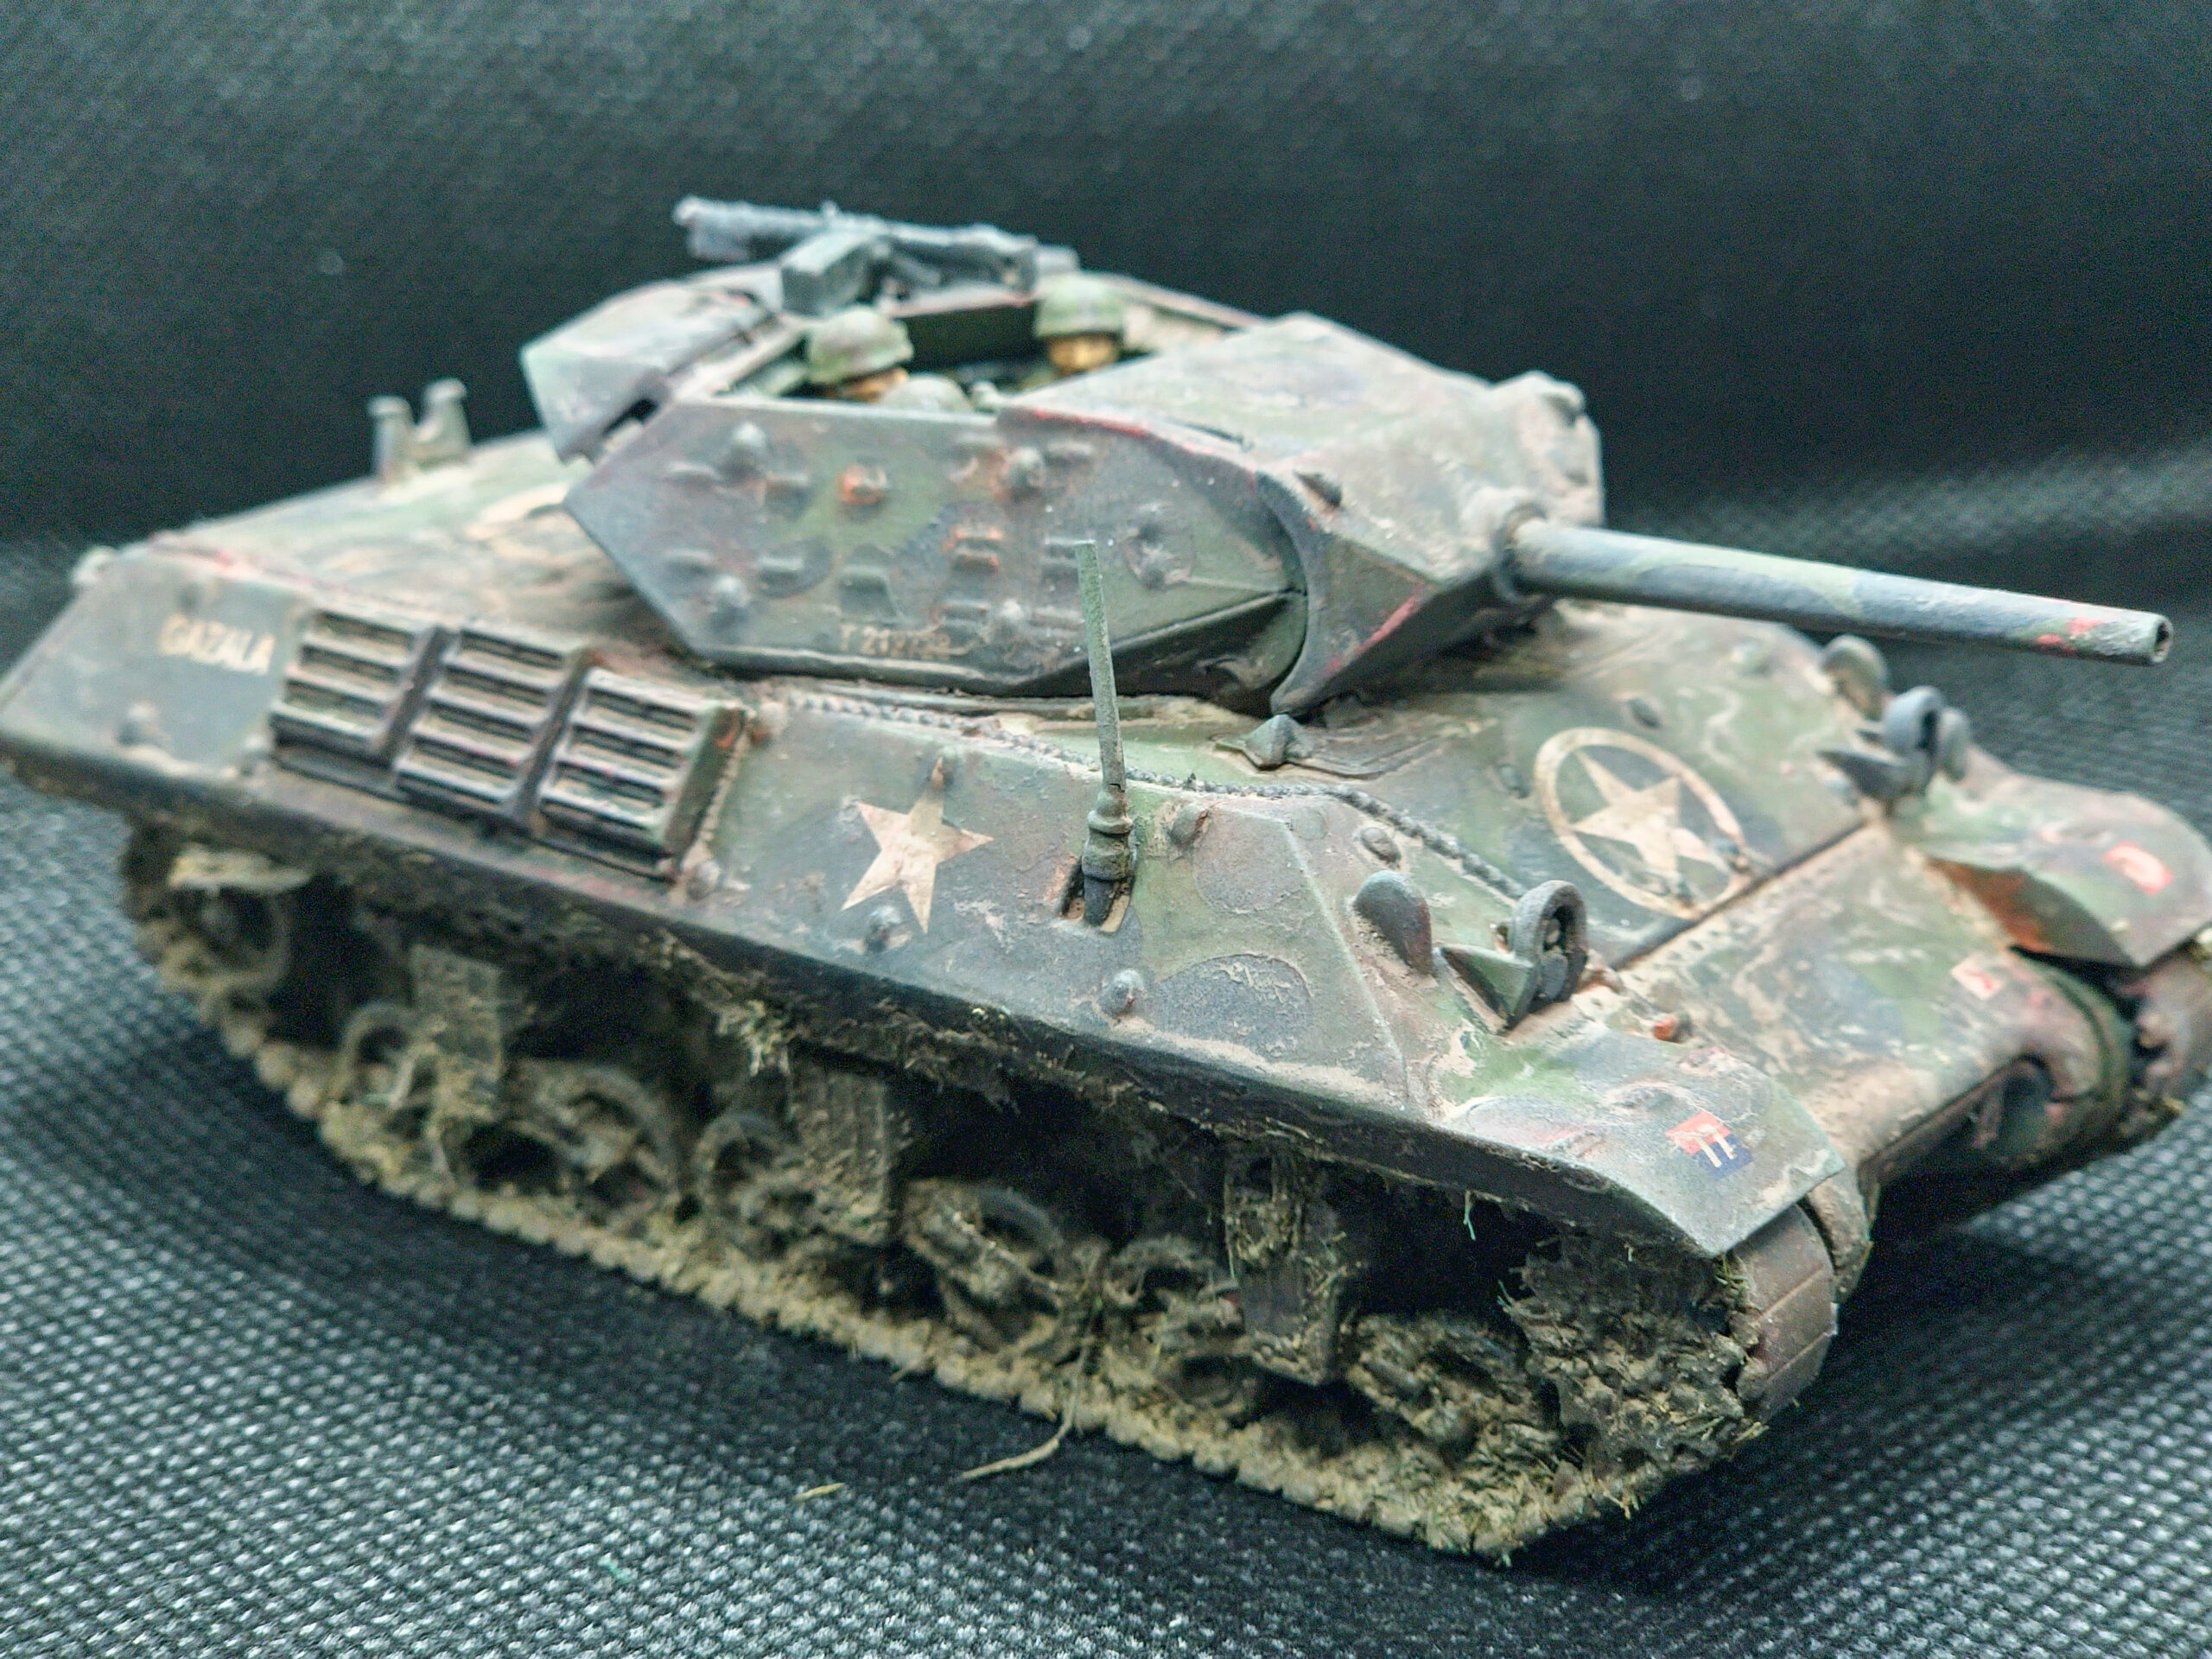
I cracked out an airbrush for the main colouration of the tank, aiming for a two-tone “Mickey Mouse” camo scheme. I started with a basecoat of Army Painter Air Warpaints Matte Black (any black will do), applied with an airbrush to the hull, turret and tracks (still on sprue). This is all that’s truly necessary for the basecoat but I wanted to take things a little bit further. I thus followed up with a layer of (Vallejo Model Air Colour Air 71053) Dark Sea Grey, followed by an edge highlight with (VMC Air 71280) Camouflage Grey, using a detailed airbrush head. After all that, the tank needs sufficient time to dry (at least two hours) so in the interim I turned my attention to the tracks and crew.

Below I’ve listed the colours used for the crew:
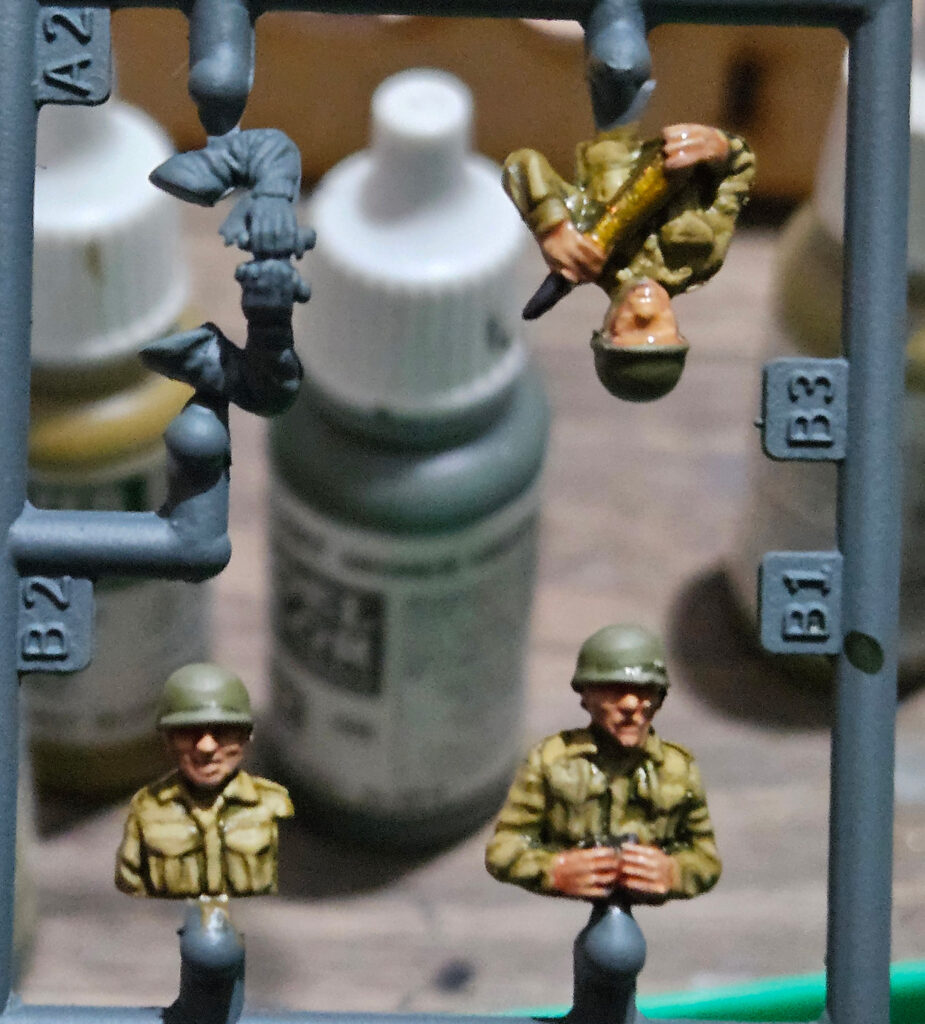
- Uniform – Basecoat: VMC 70921 English Uniform Brown) / Layer: VMC 70317 British Tank Crew / Wash: 2:1 mix AP Military Shader with Medium / Highlight: 2:1 VMC 70317 British Tank Crew with 70321 Highlight British Tank Crew
- Helmet – Base Coat VMC 70897 Bronze Green / Layer VMC 70924 Russian Uniform / Wash – 2:1 AP Military Shader with Medium / Edge Highlight: VMC 70886 Green Grey
- Belt Straps – VMC 70988 Khaki
- Skin – Various AP Speedpaint flesh tones, mixed 1:3 with medium
Many tracks on lend-lease US tanks were hybrids of rubber and metal, and the M10 is no exception. I used a reddish (VMC Air 71042) Dark Brown for my basecoat, followed by (VMC Air 71315) Tire Black on the track exteriors only. For the inside, I drybrushed them with Gun Metal. I then “washed” the entirety of the tracks with a coat of (VMV Air 71080) Rust, thinned with three parts medium.


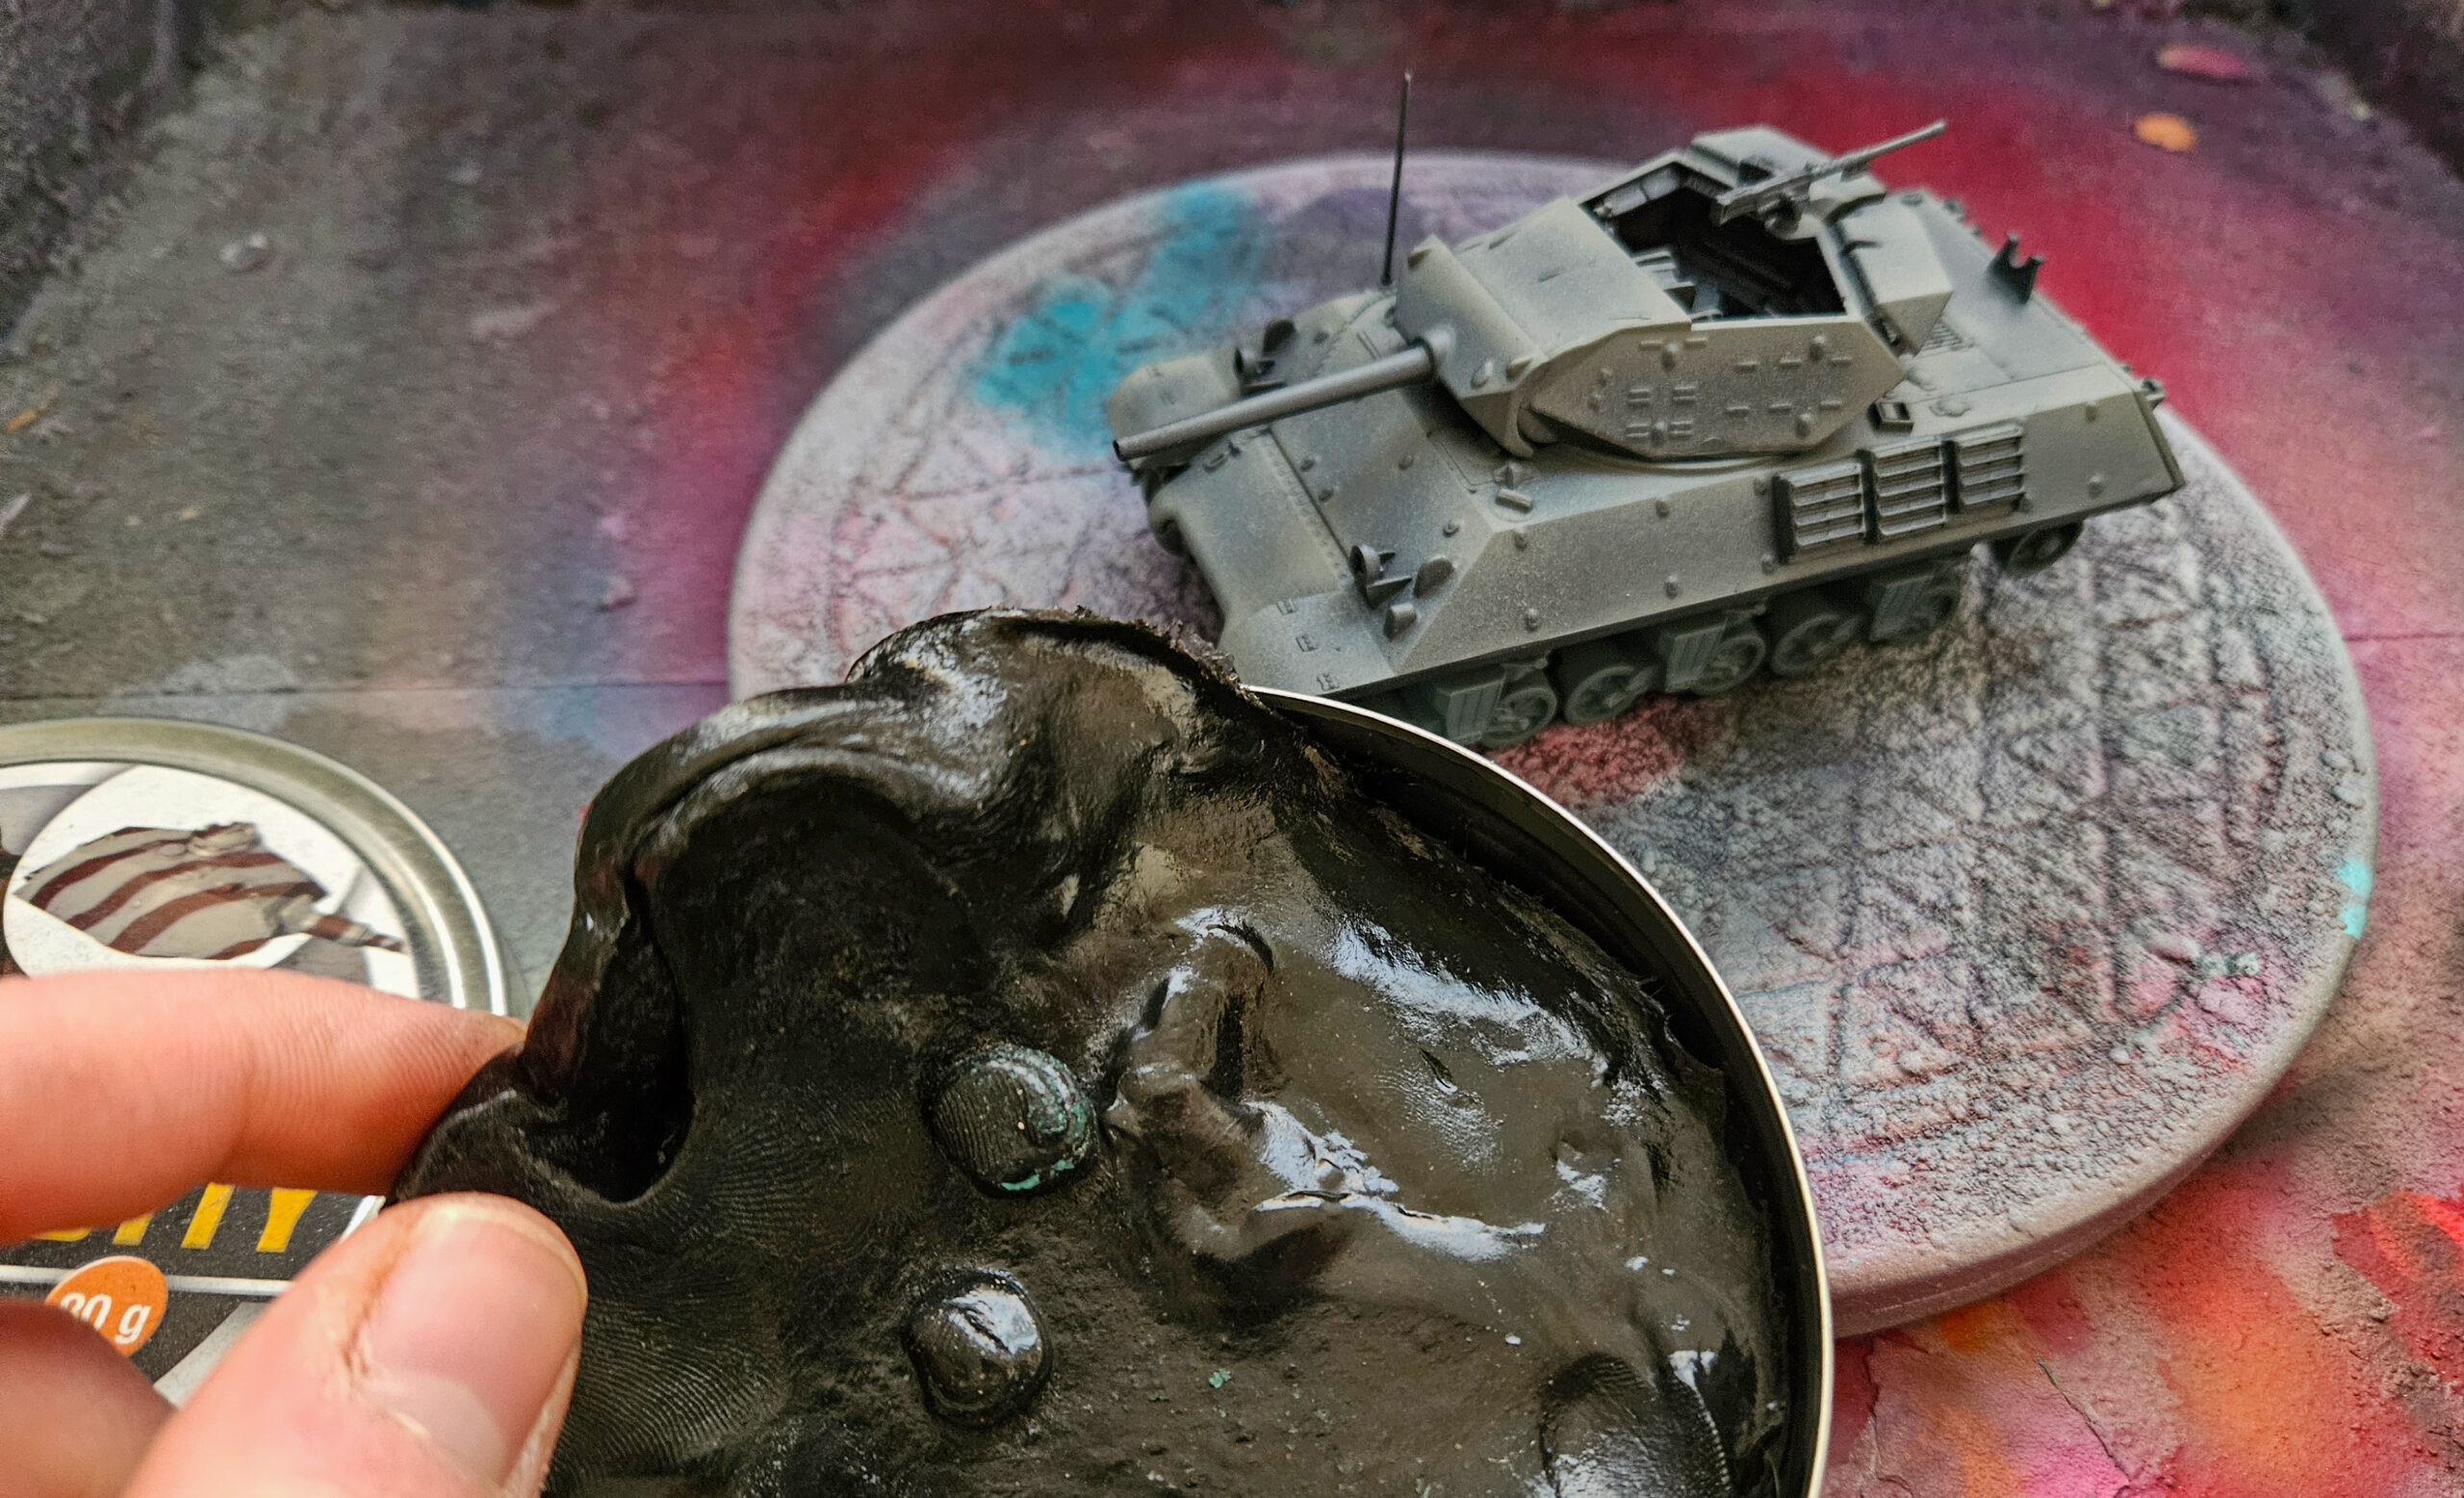
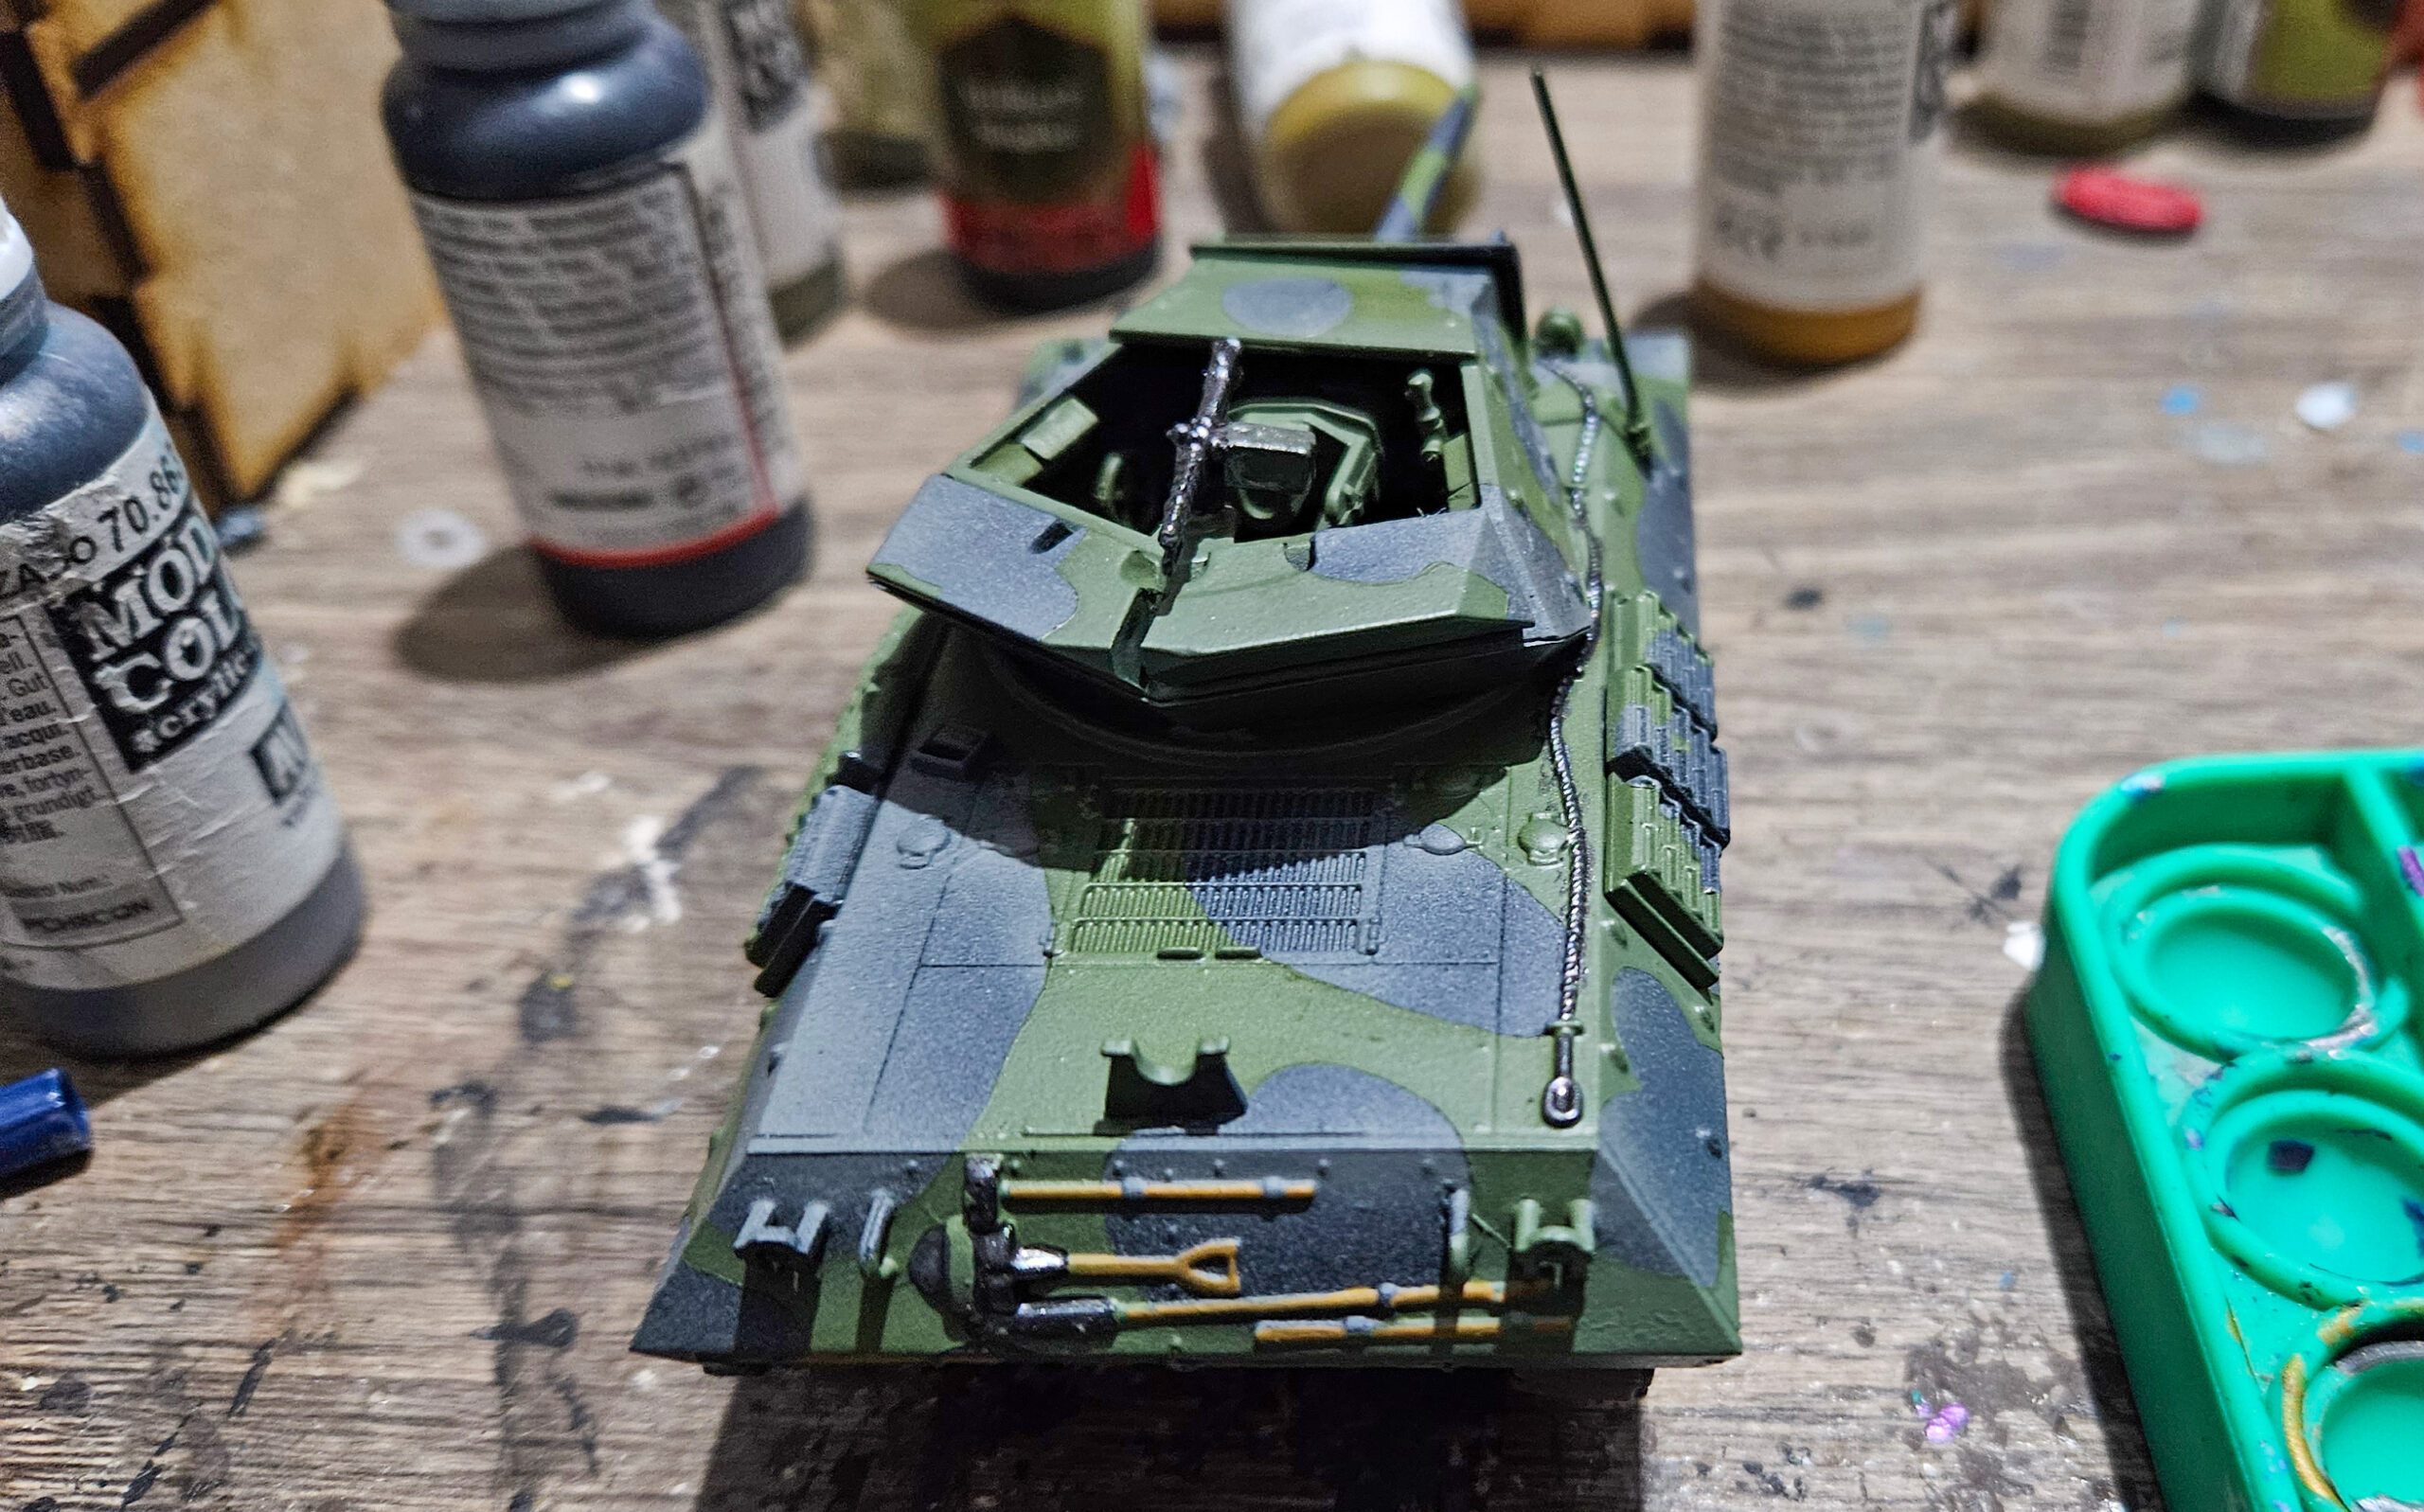
Returning to the hull and turret, now long dry, I turned my attention to masking so I could apply the “Mickey Mouse” camo. To create the random shapes that would make up the black portions of the scheme I used Camouflage Masking Putty from Ammo by Mig, though any putty would do, placing random blotches and shapes over the hull and turret as shown in the pictures. The advantage of doing it this way is it is very malleable and easily conforms to the model but leaves little to no residue when removed.
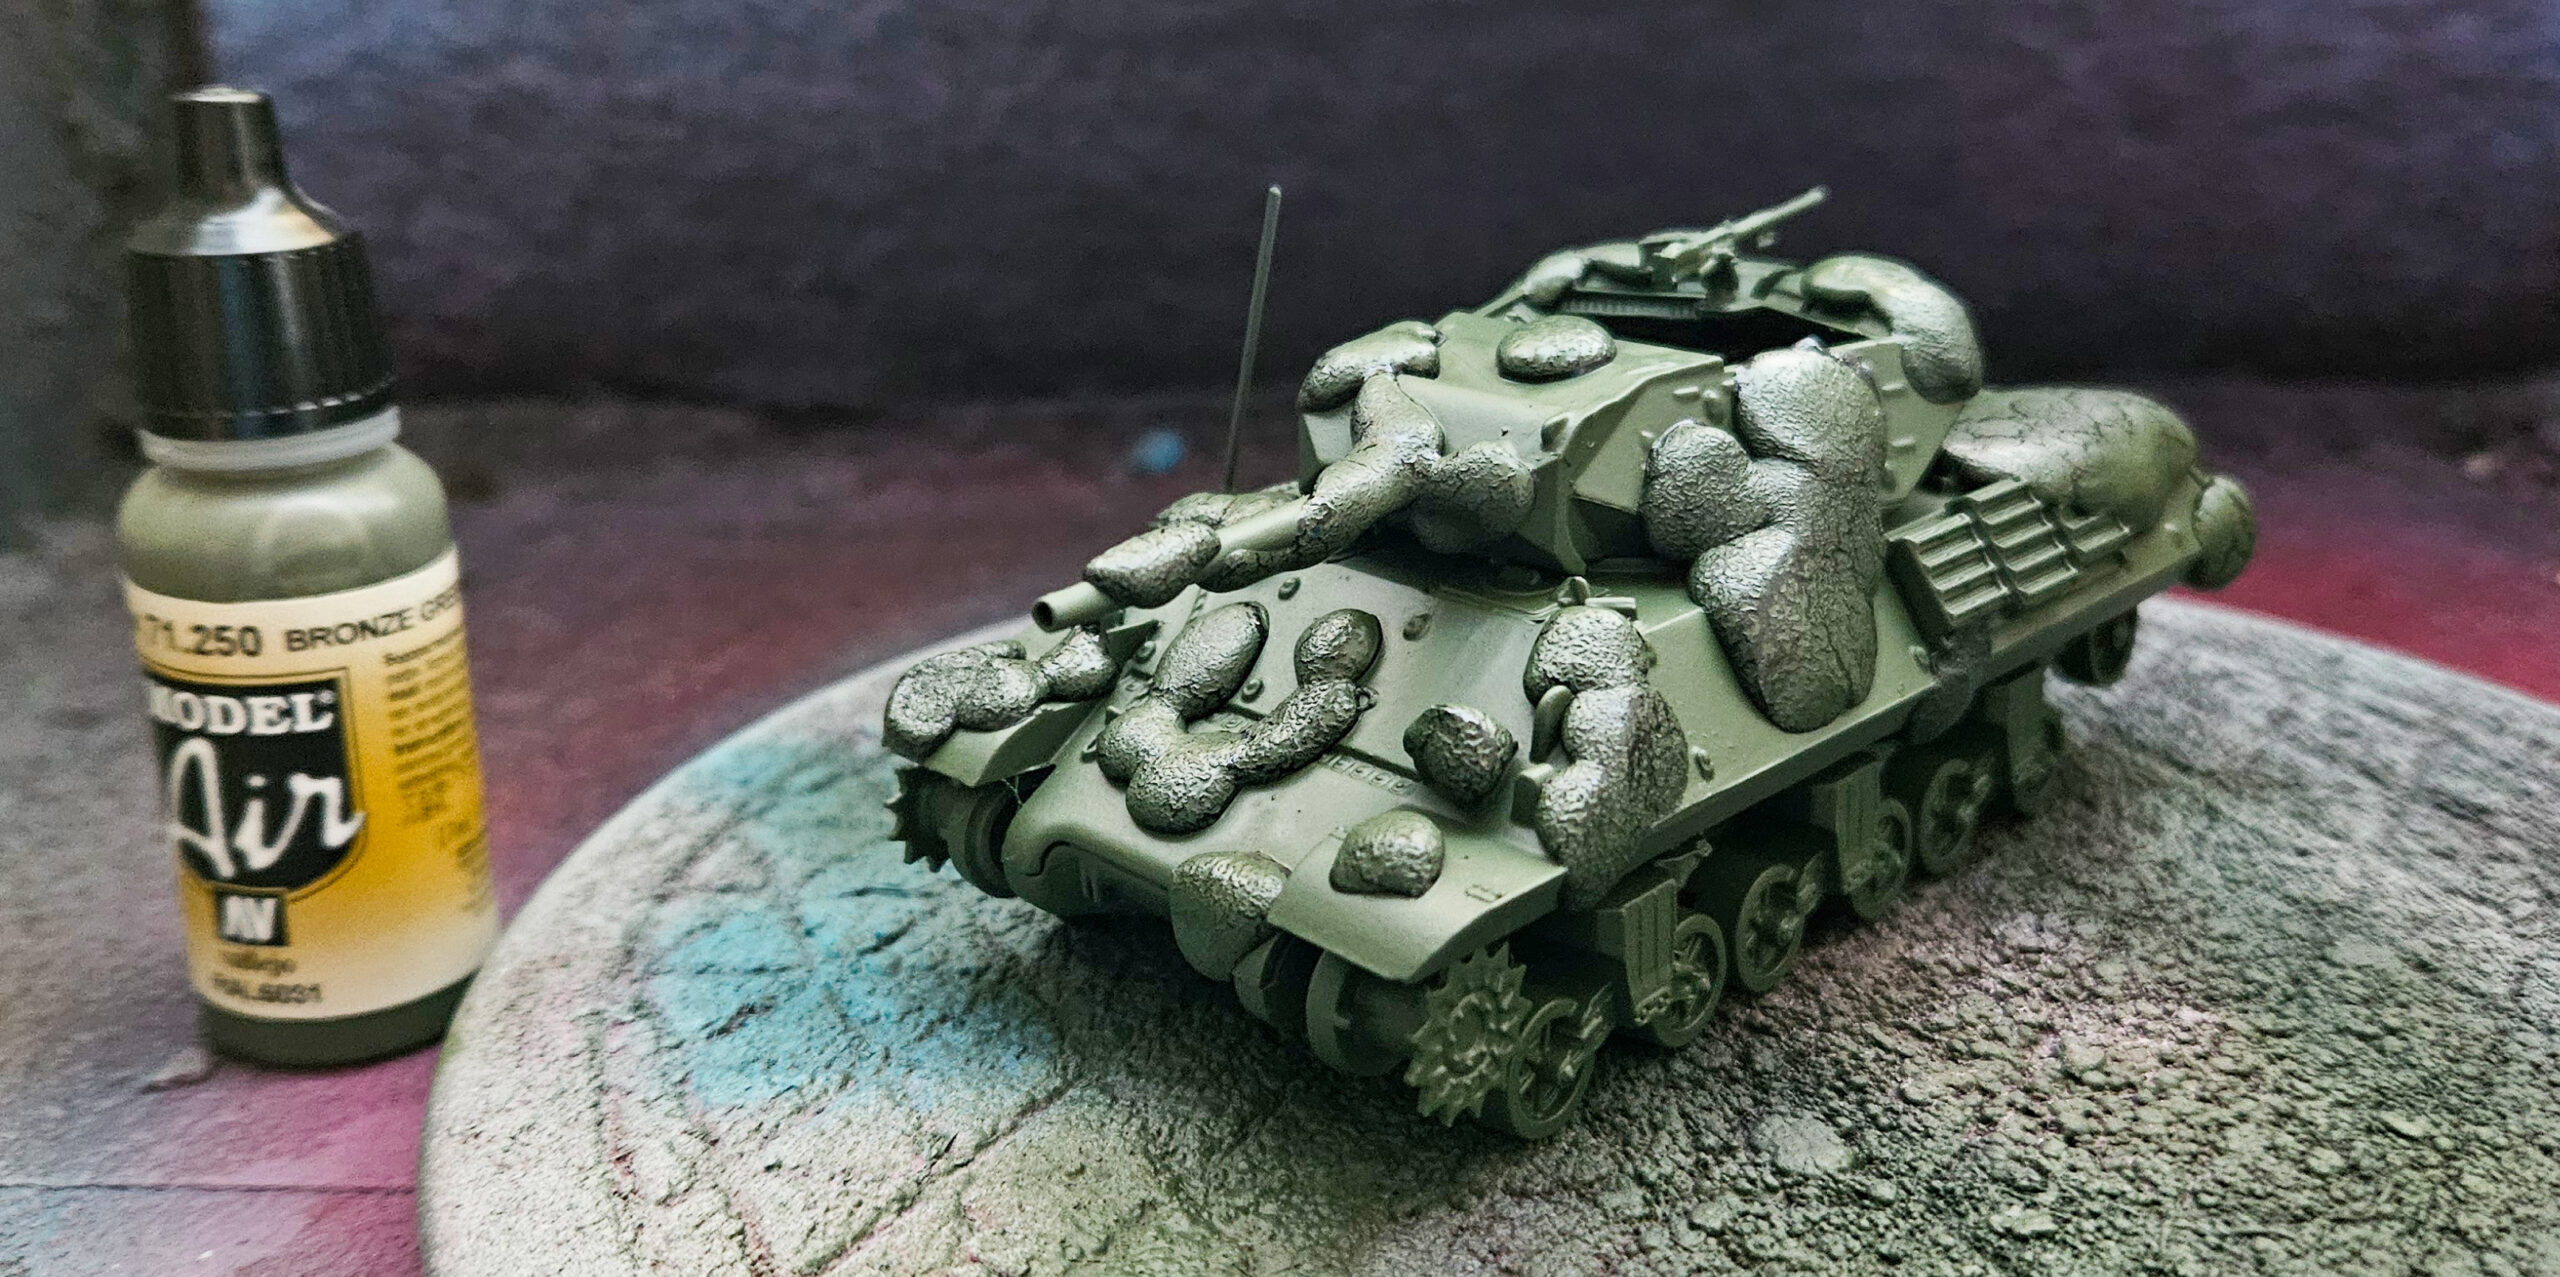
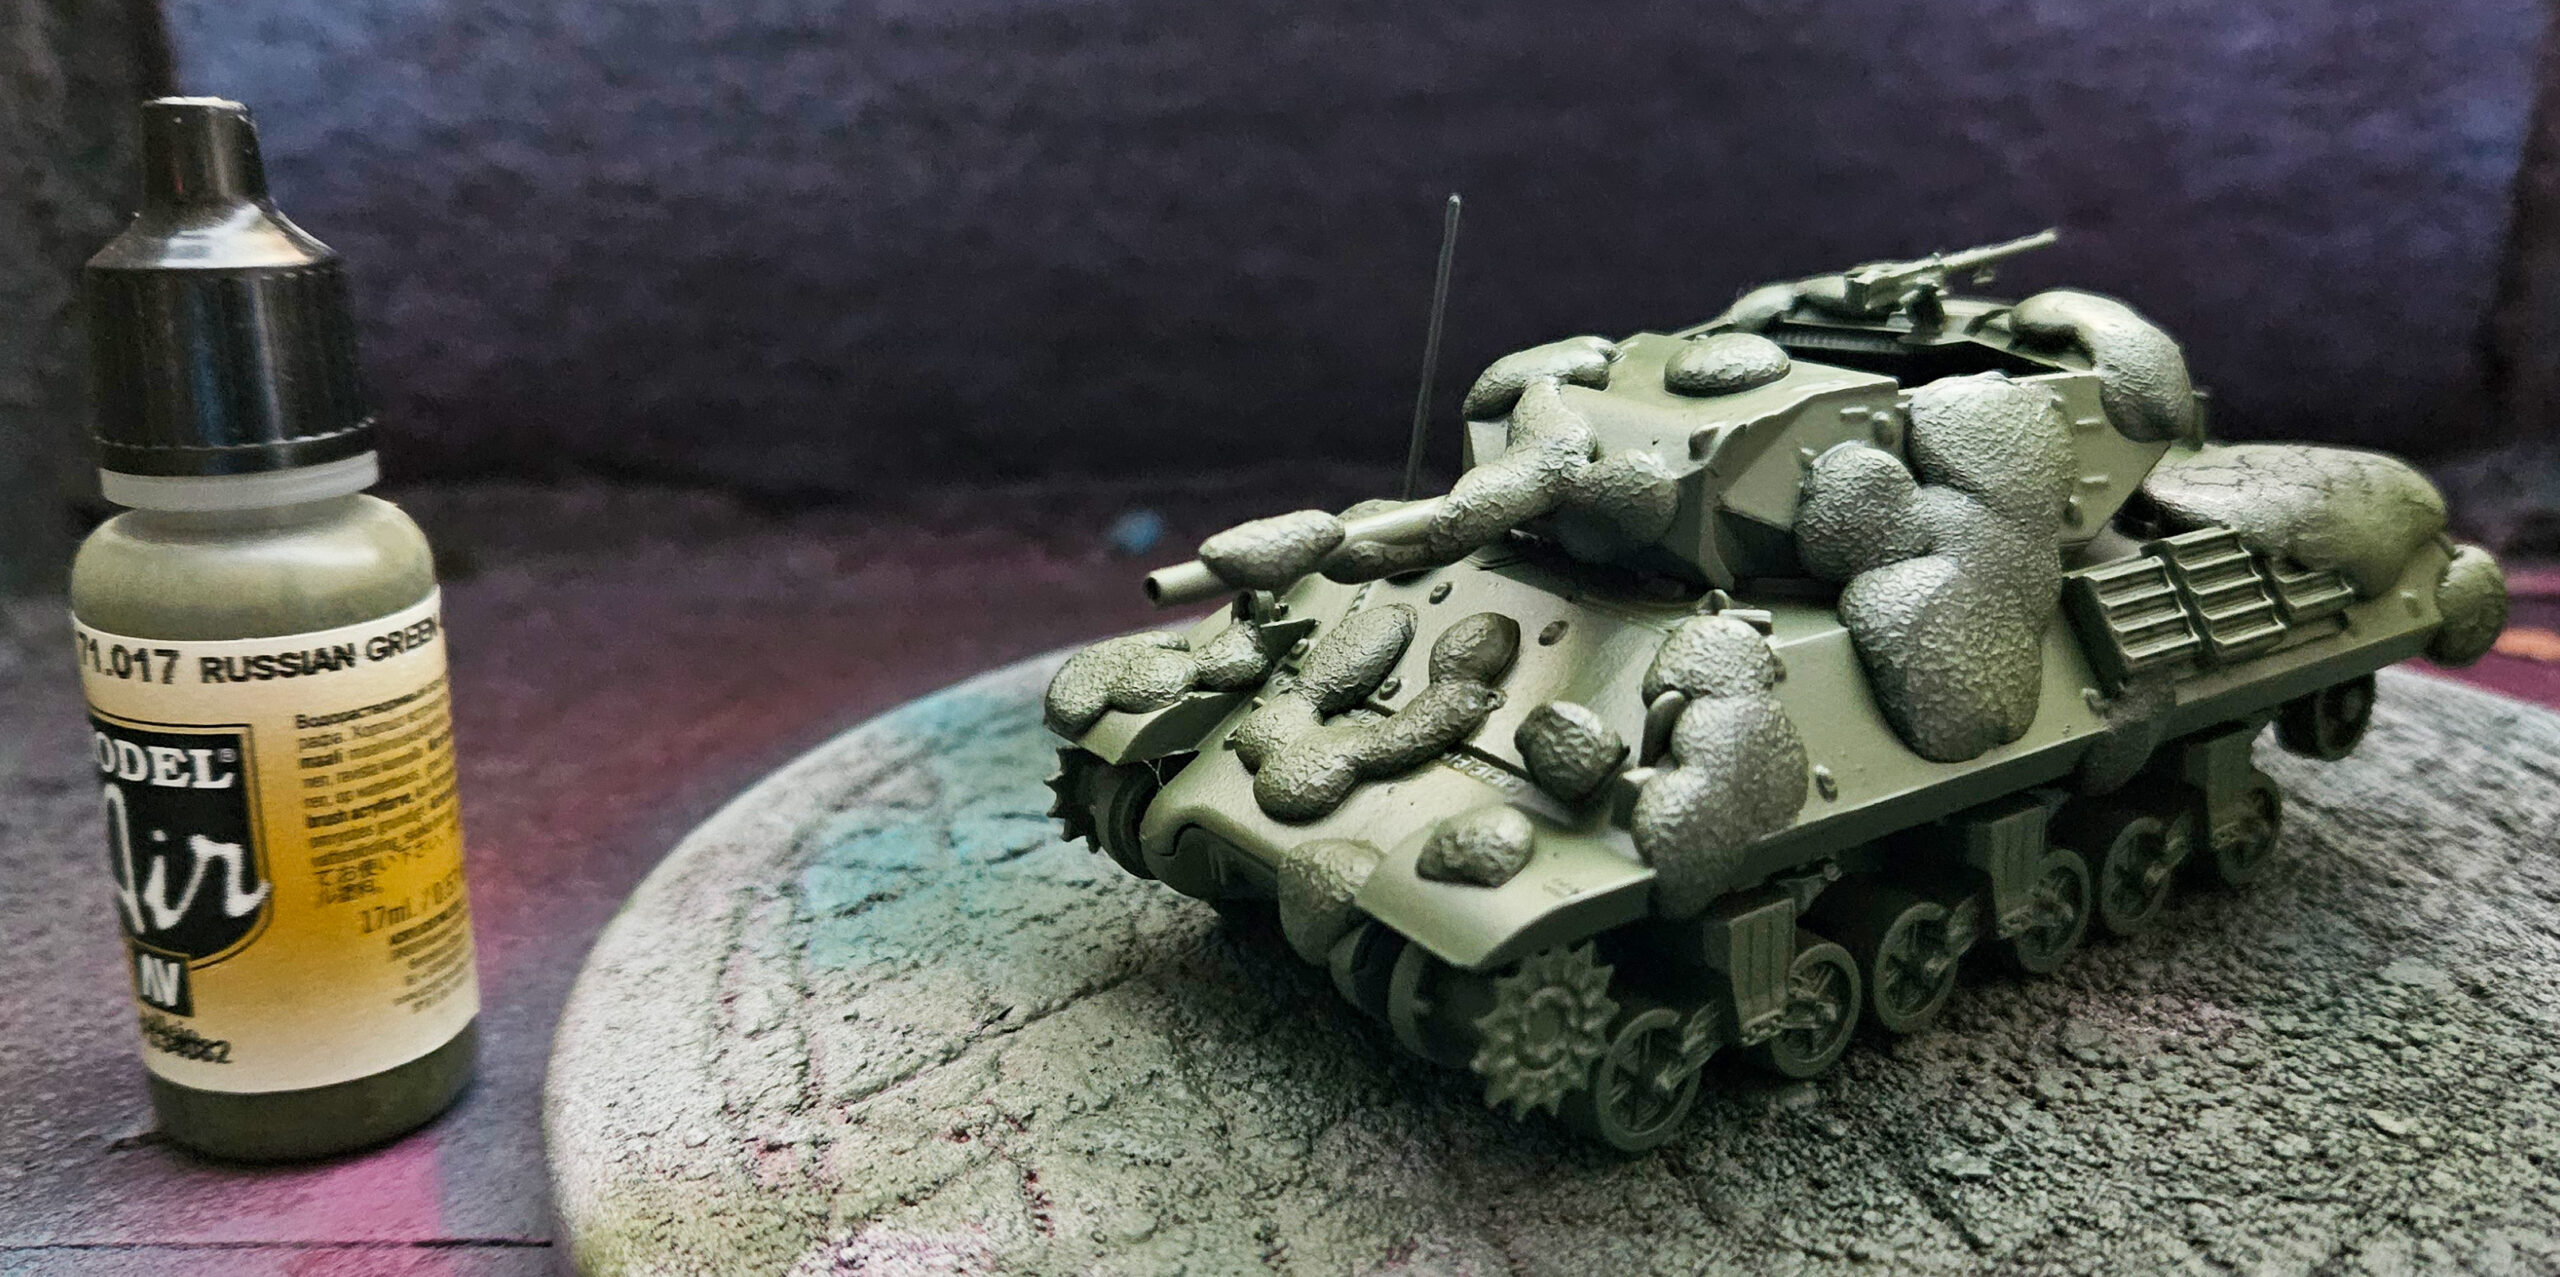
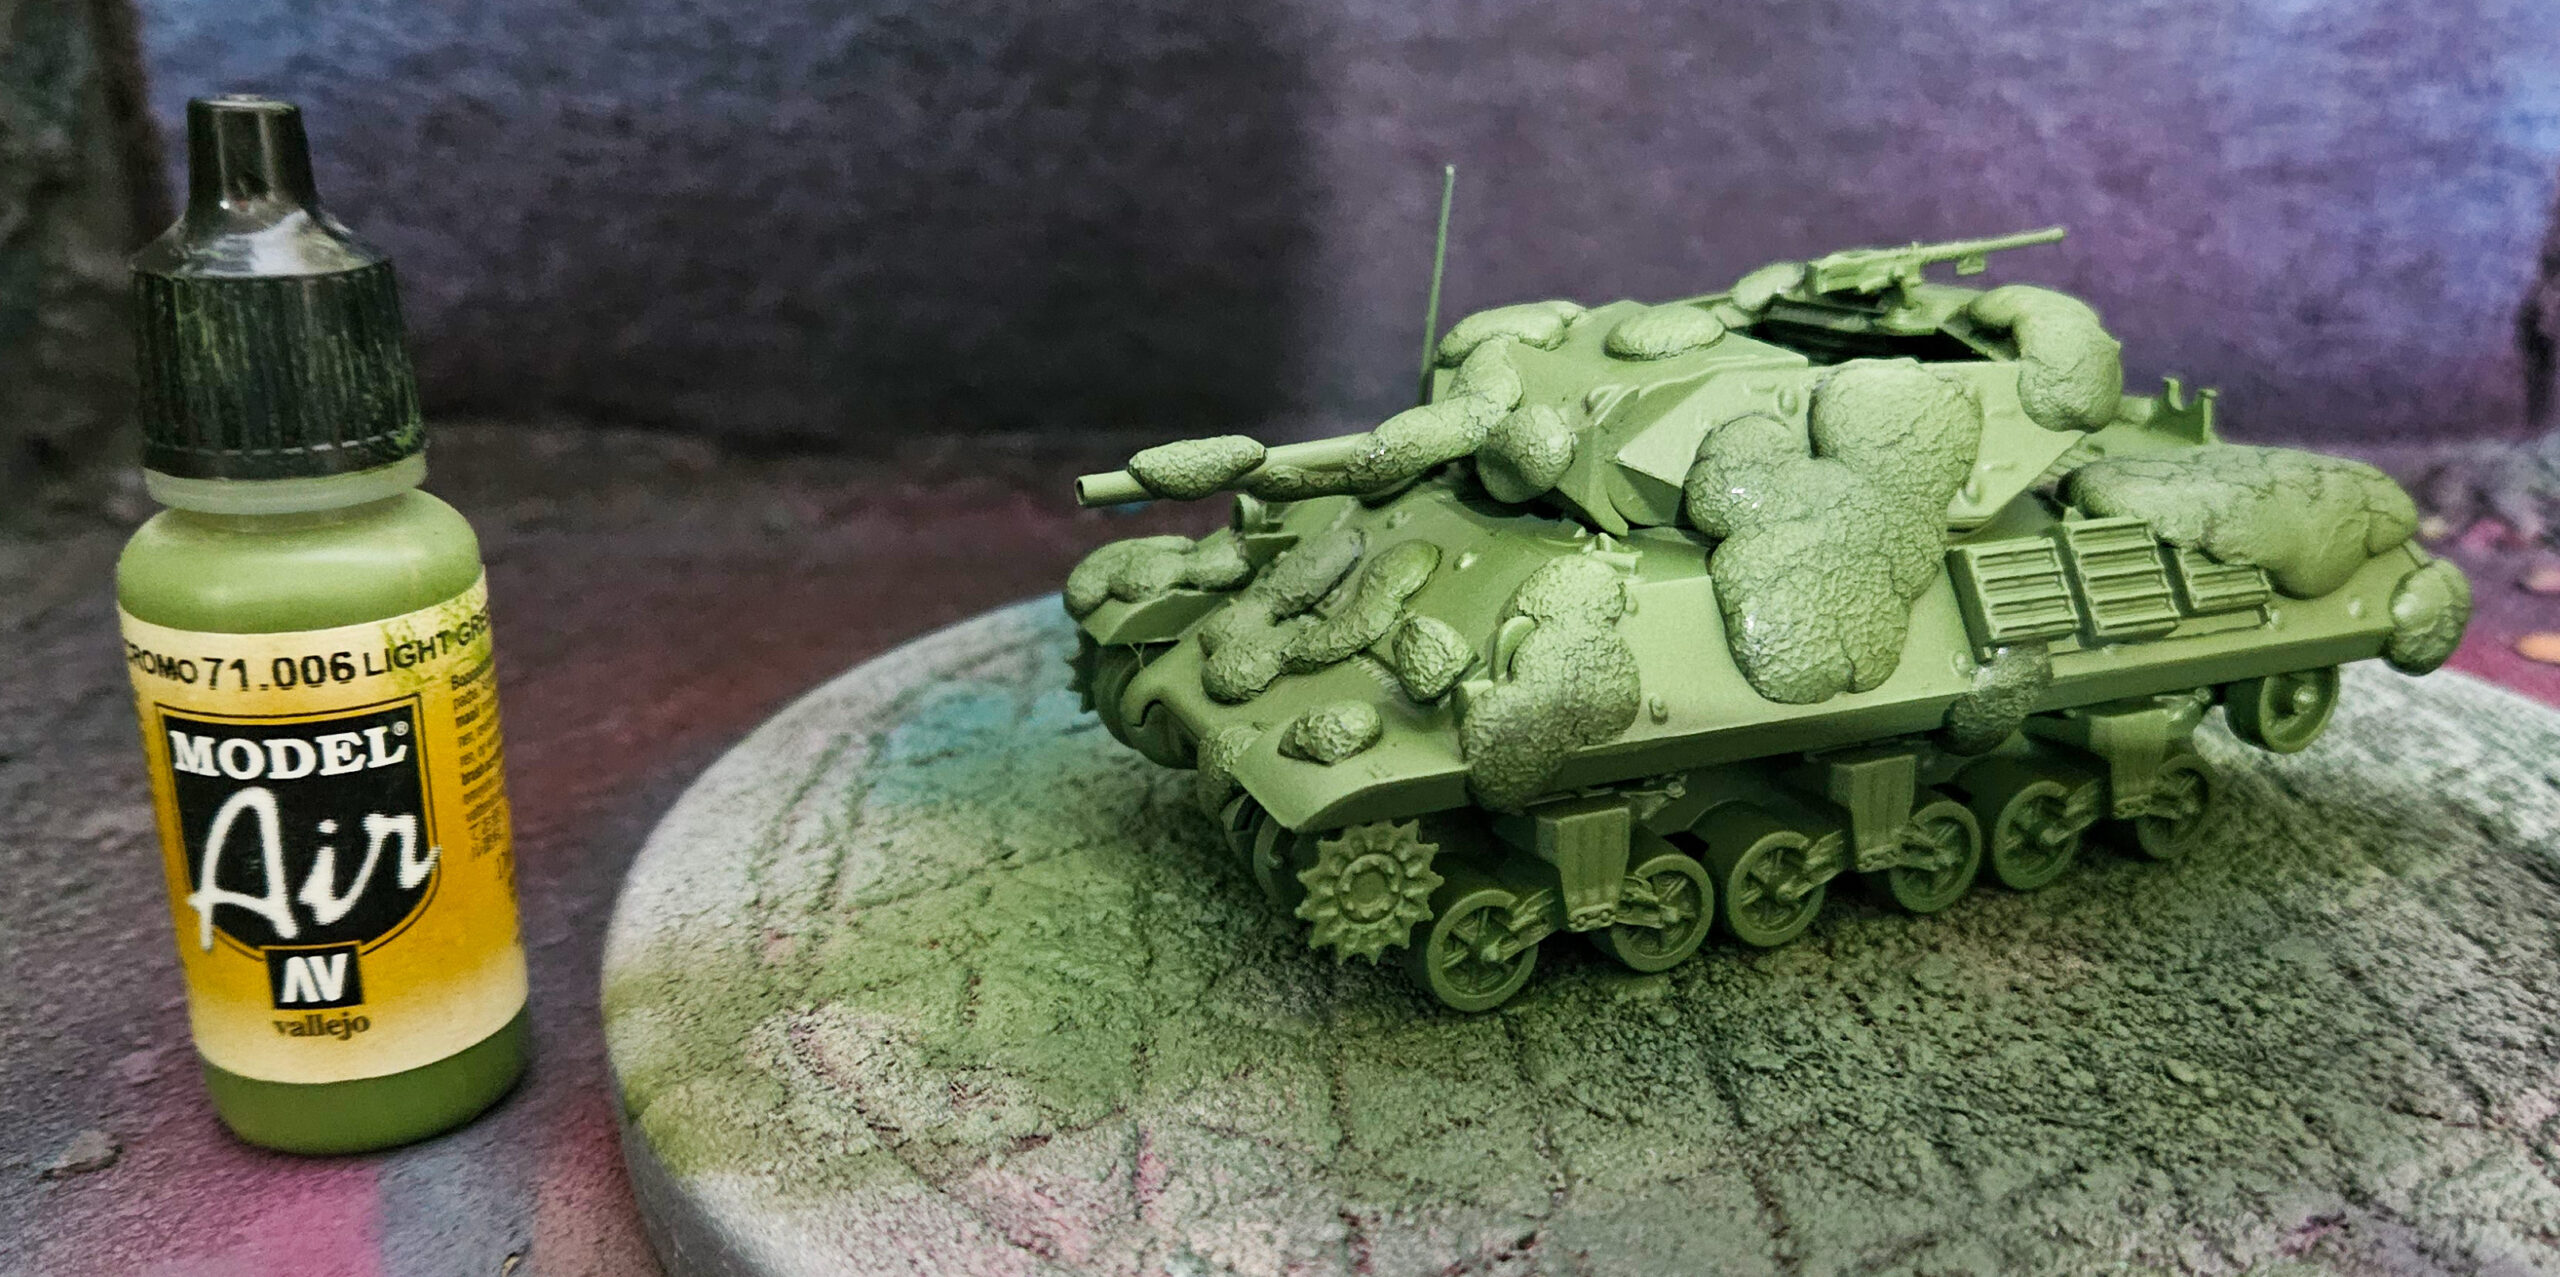
Before I commenced spraying, I attached my wheel subassemblies to the hull with tack, so that the paintwork would be consistent between them. I then sprayed the entire tank with (VMC Air 71250) Bronze Green, followed by a layer of (VMC Air 71017) Russian Green. I then highlighted by concentrating on the raised areas with a coat of (VMC Air 71006) Light Green camouflage, followed by an even more selective highlight of (VMC Air 71606) Light Slade Green. The overall result was somewhat brighter than I liked, but that could be taken care of when it came to weathering later.

Once dry, I removed the masking, and put together my subassemblies, beginning with clipping off the tracks. Remember to dry-fit, and if using plastic glue, it’s worth scraping off any paint for better adhesion at the points of contact.
With that done it was over to pick up the final details:
- Road Wheel Tires – Matte Black
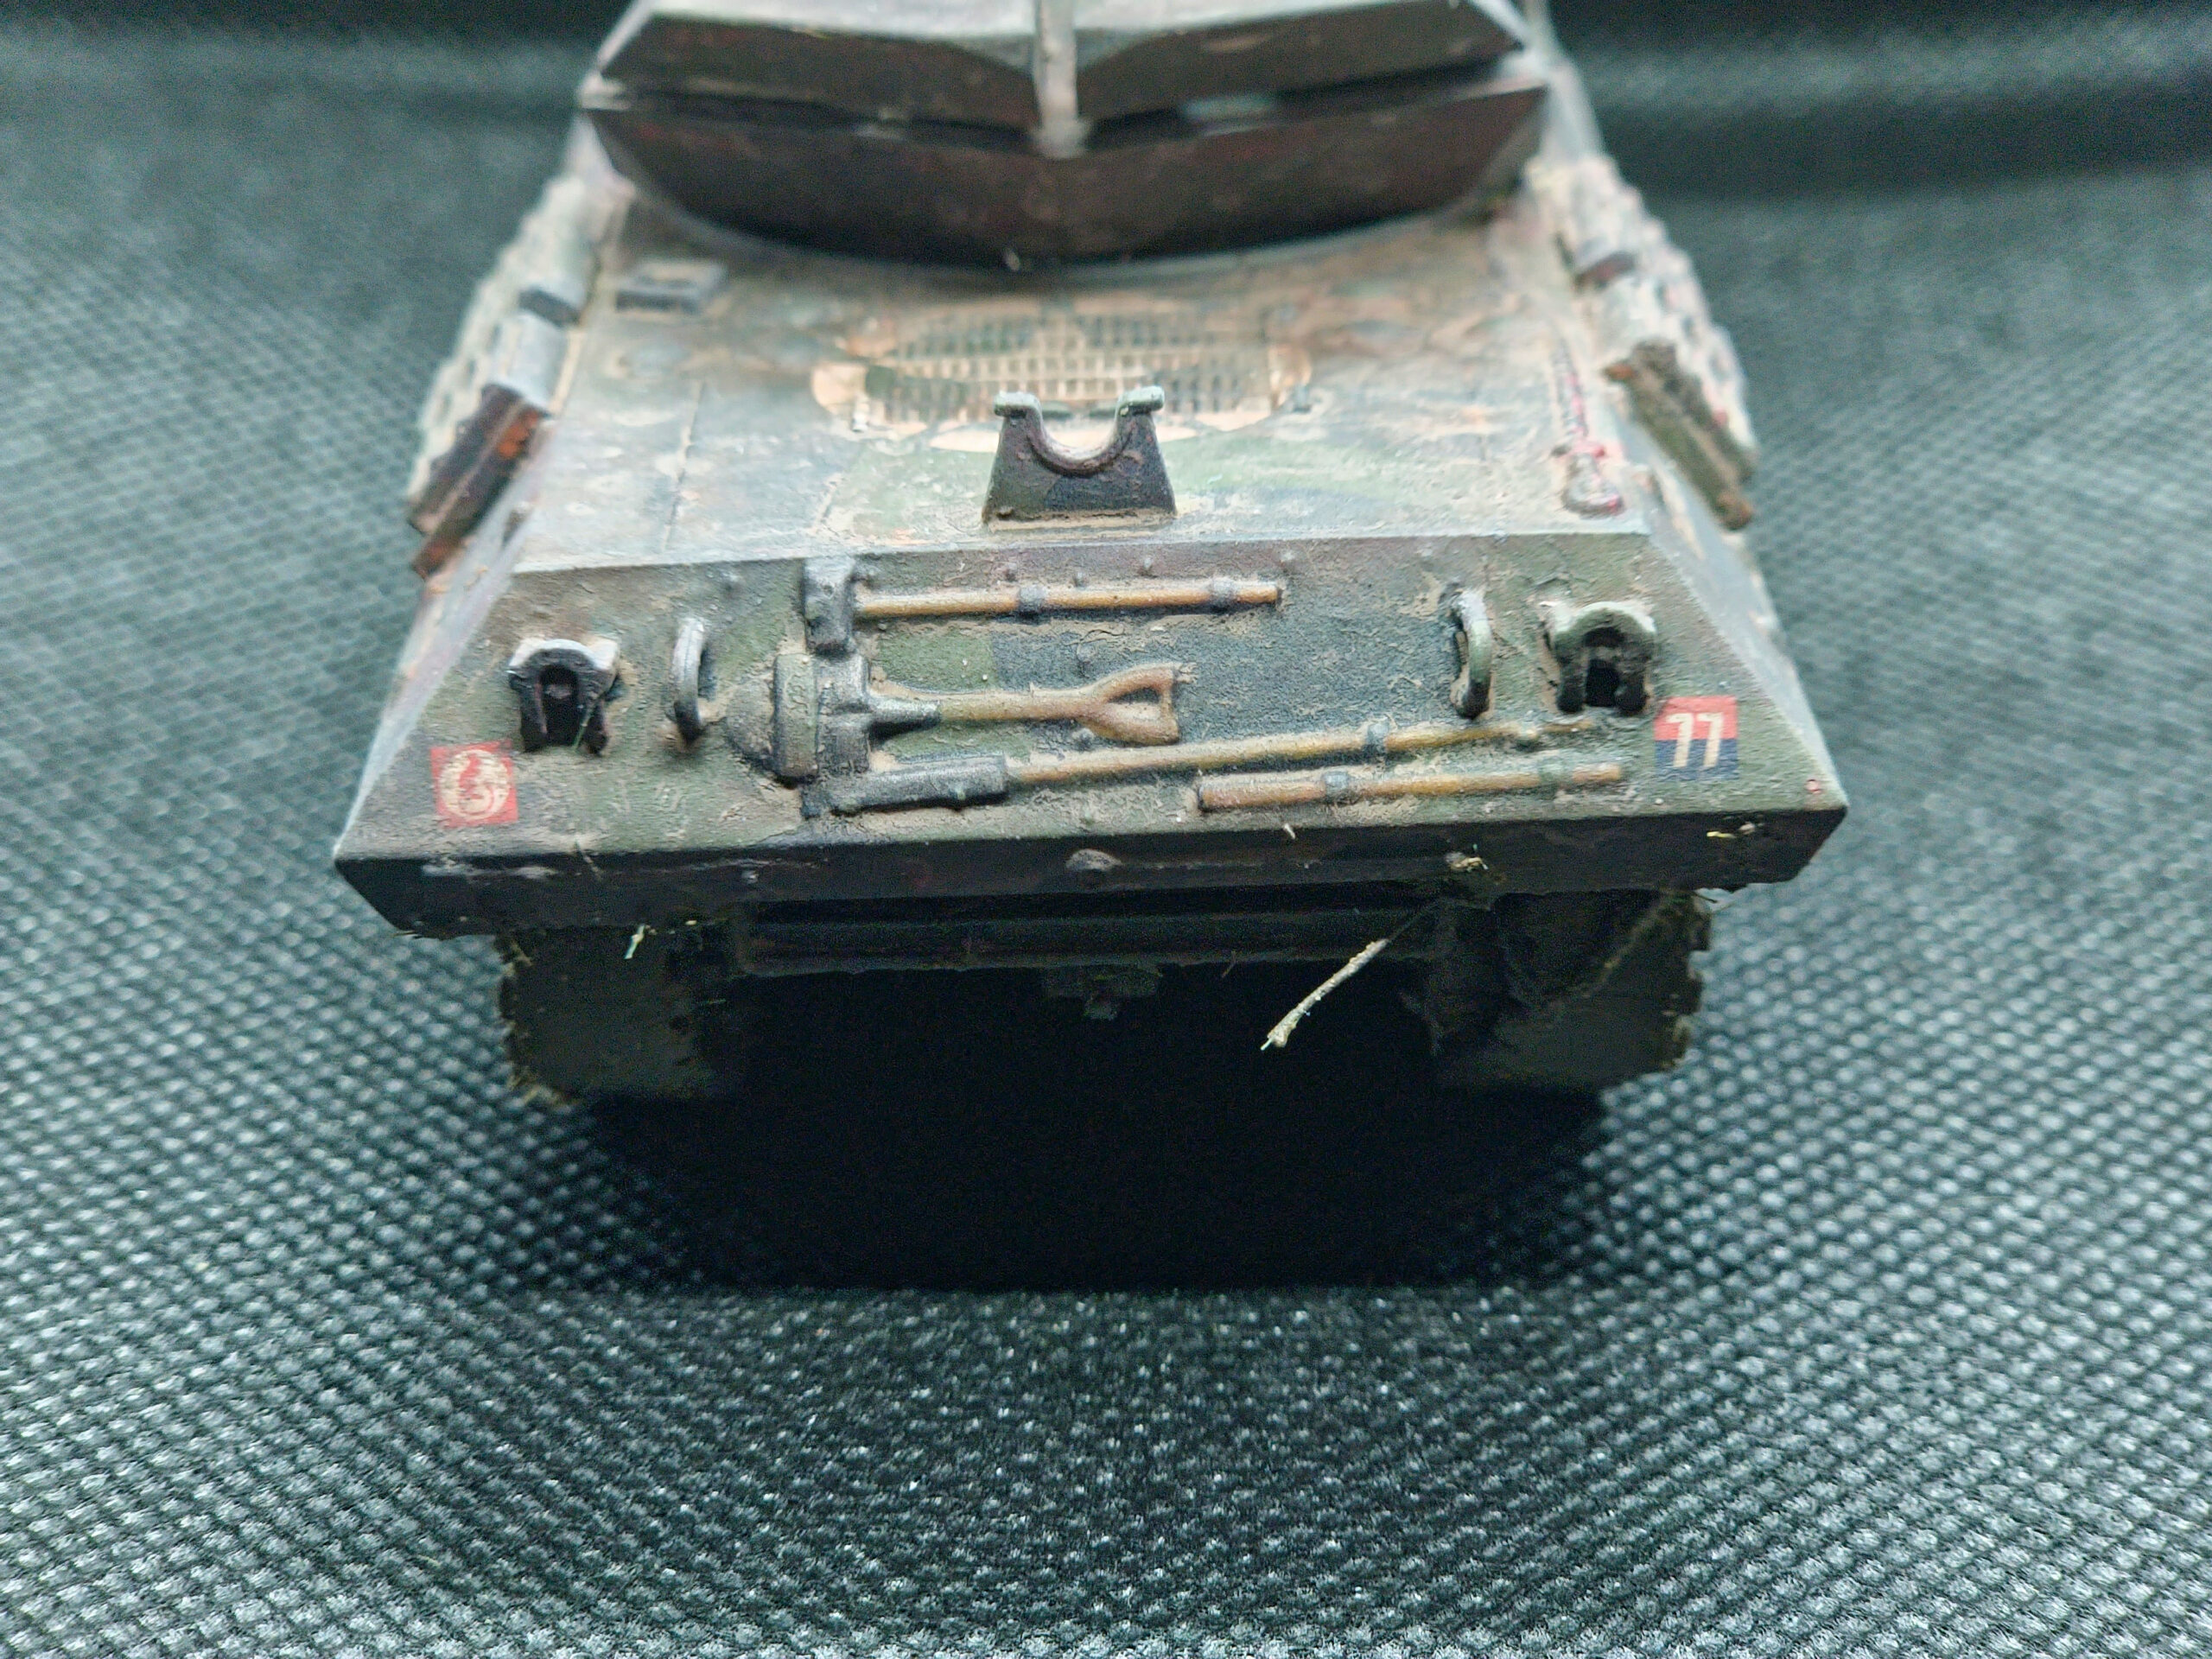
- Wooden Handles – Basecoat: Panzer Aces 311 New Wood / Highlight: VMC Air 71077 Wood
- Metals – Basecoat: Rapid Deployment Dark Gun Metal / Highlight: VMC 70863 Gun Metal
- Anti-Tank Shells – Basecoat: Rapid Deployment Dark Gun Metal / Highlight: VMC 70801 Brass

With the details complete, I snipped the completed crew from their frames and glued them in position.
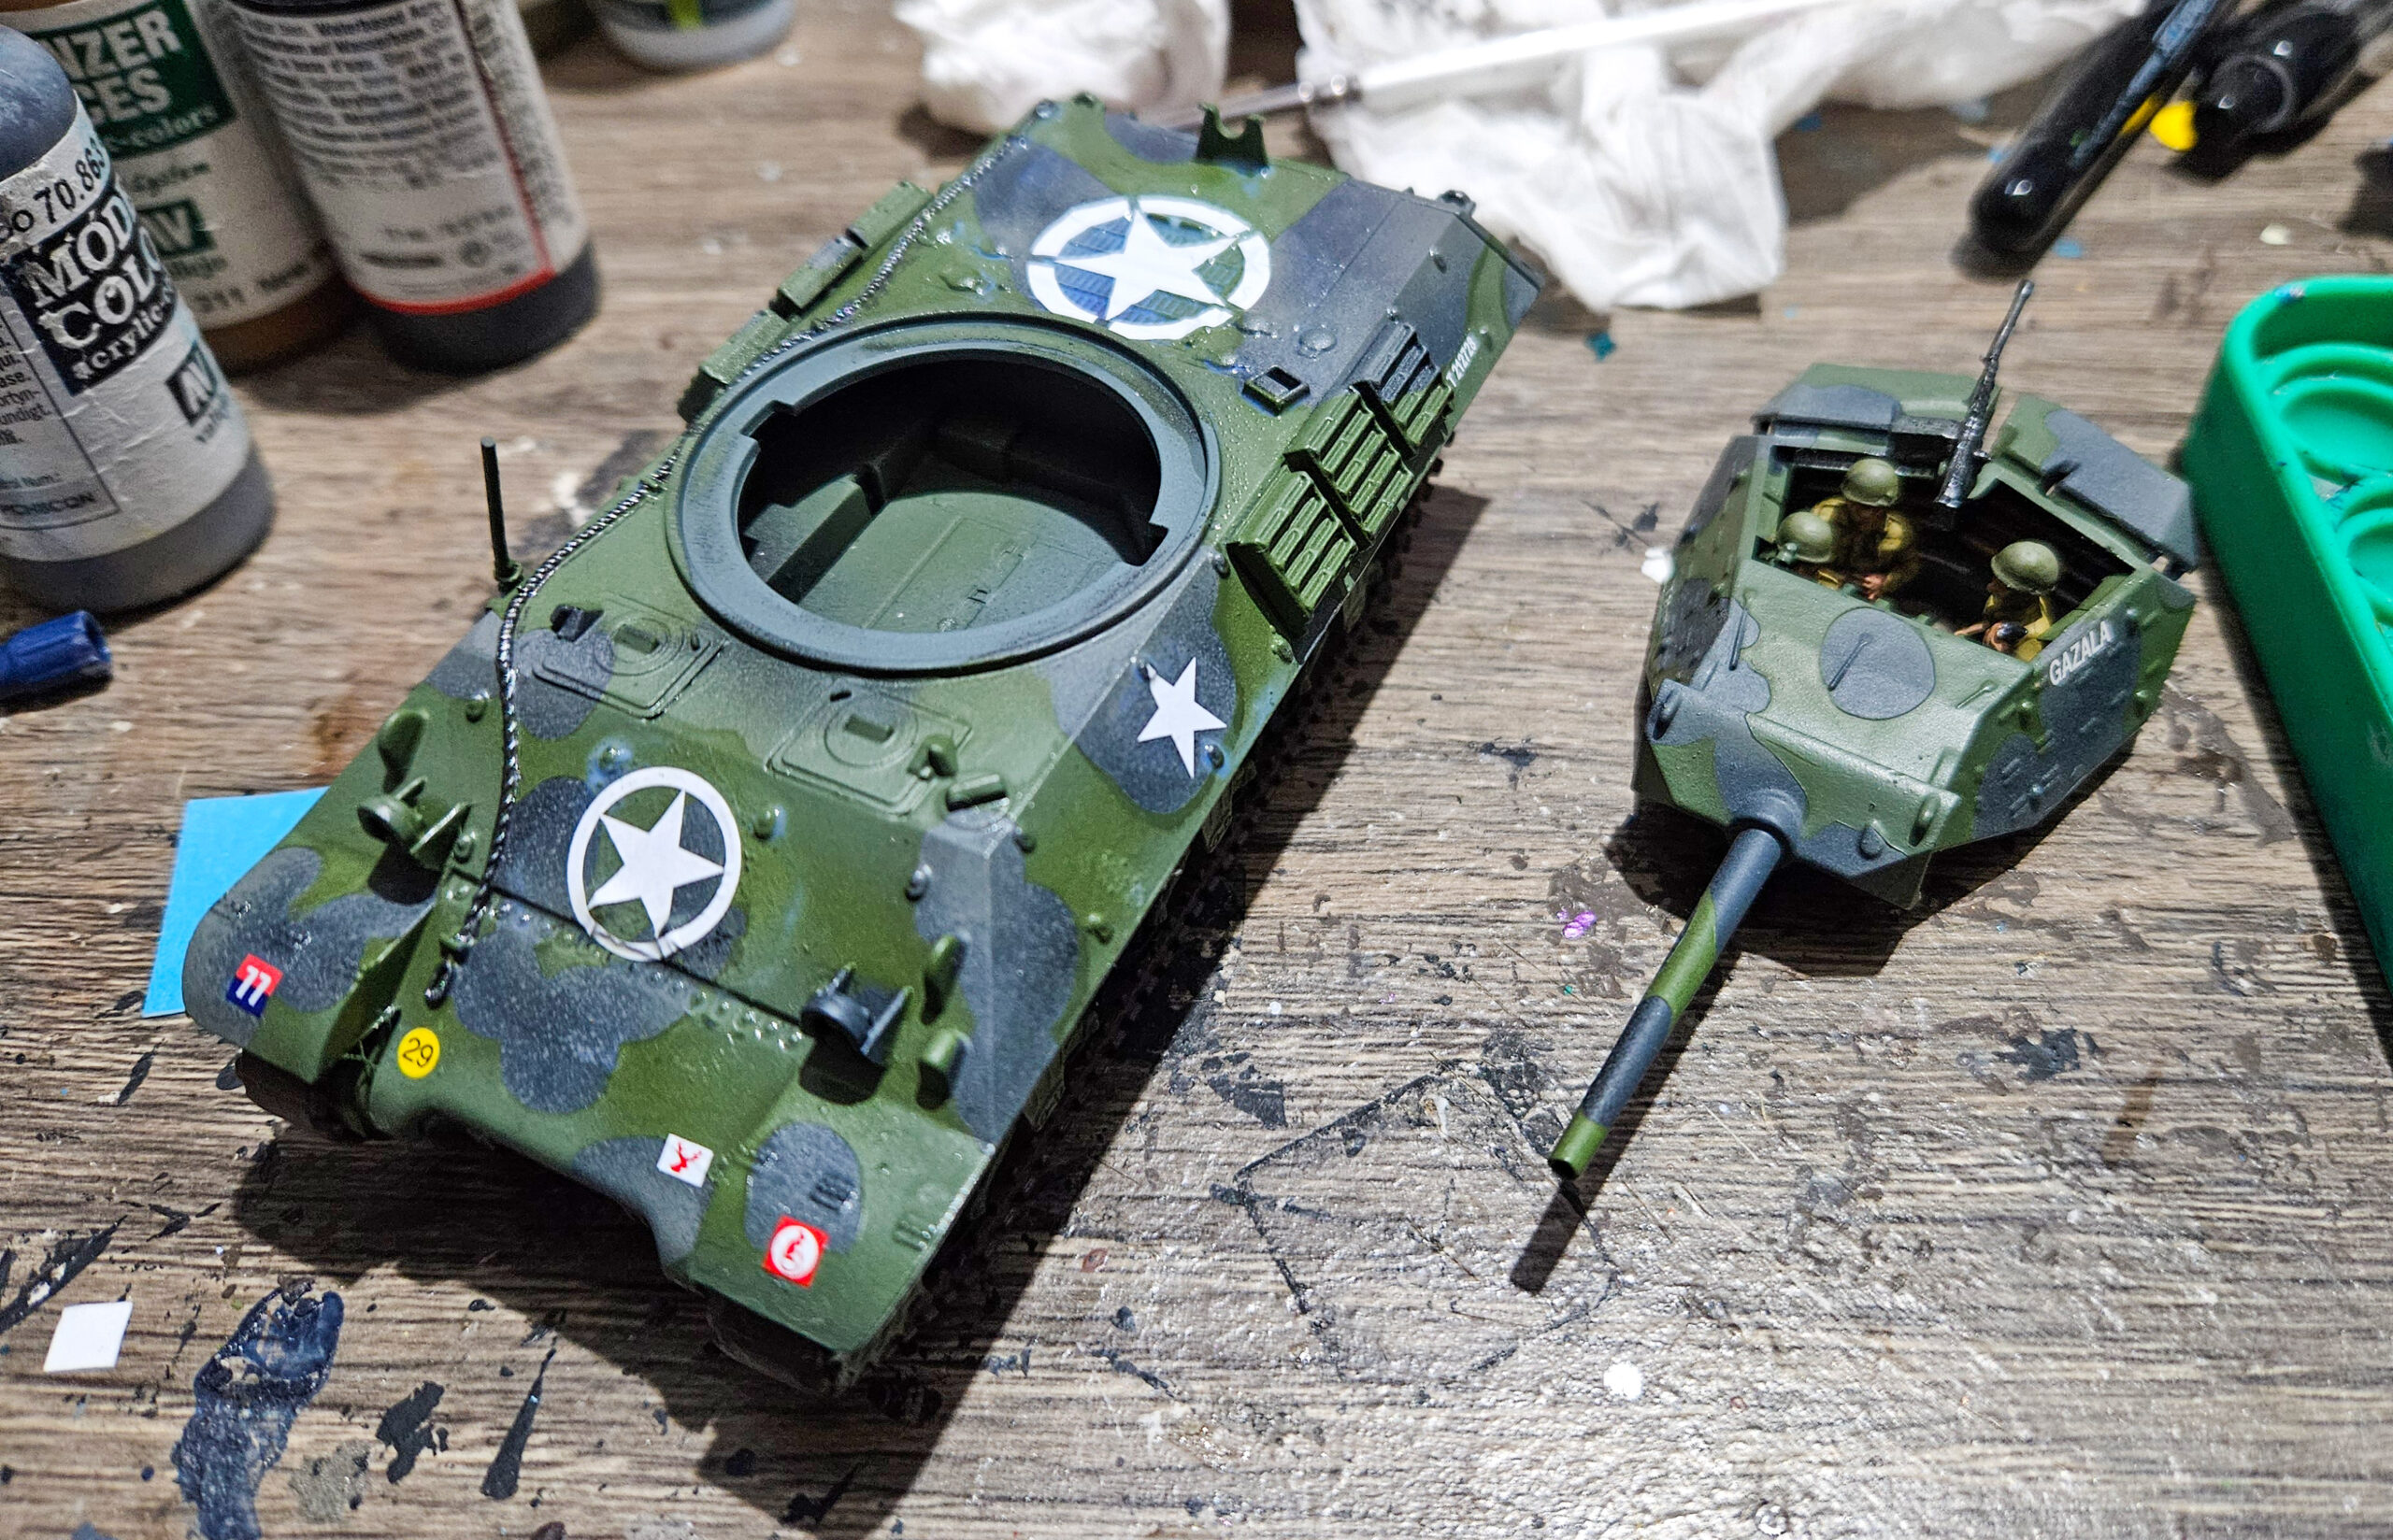
Decals
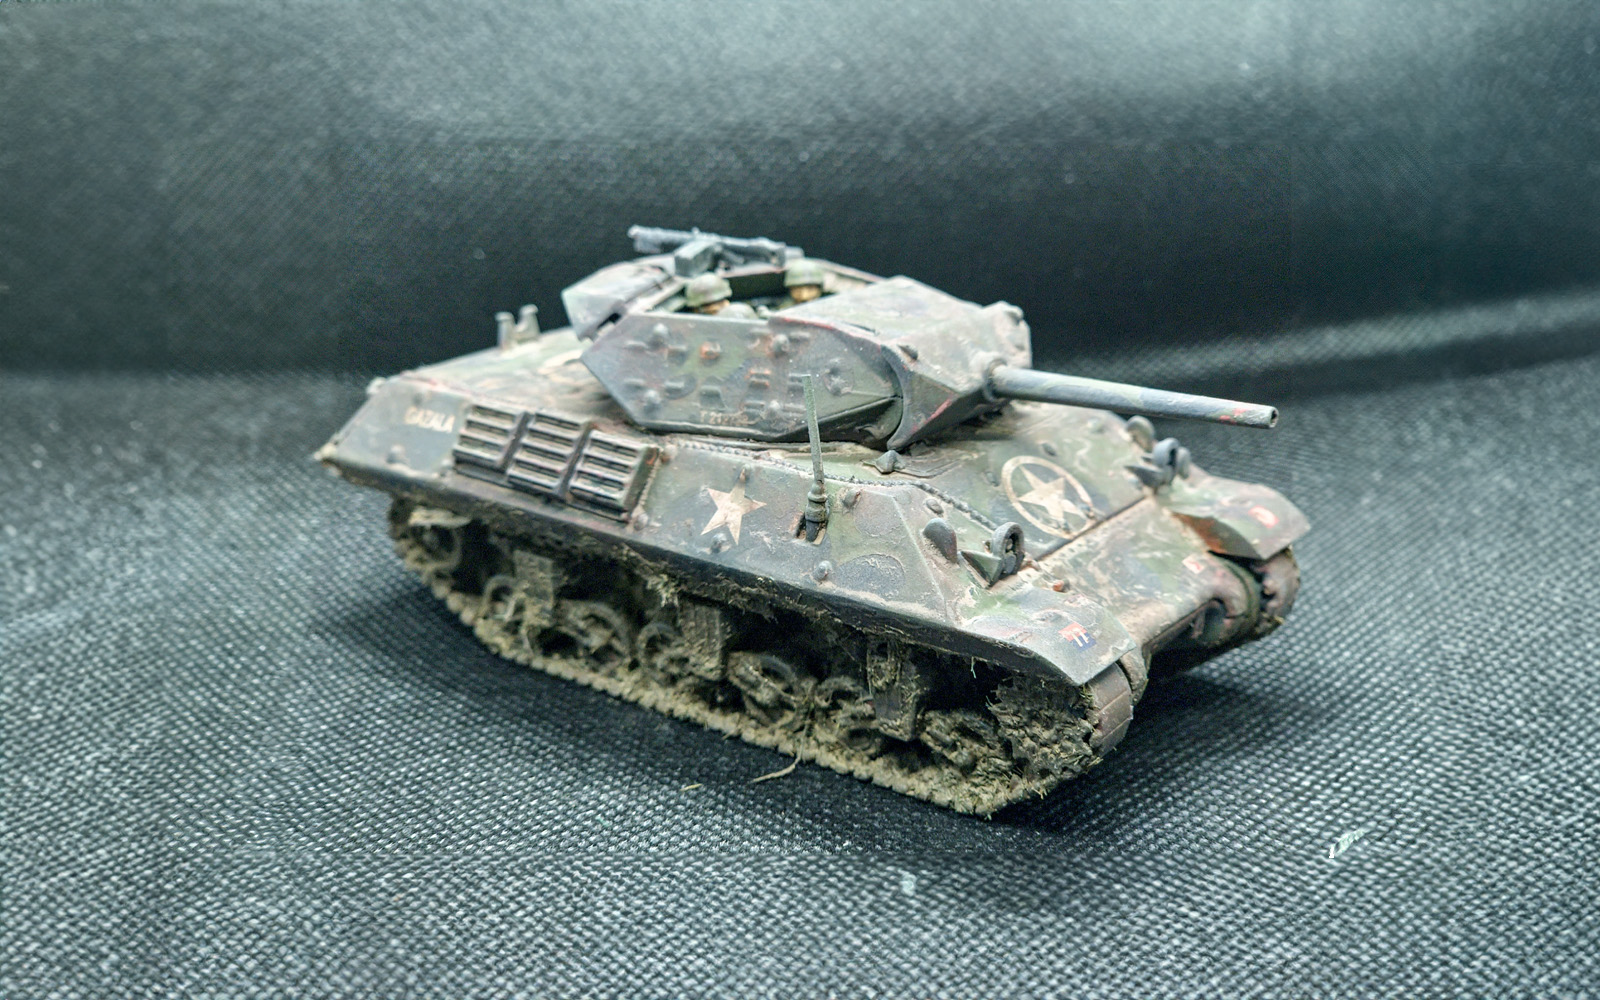
The markings of the British Armoured Division can be pretty daunting to new tankers. Each marking has a specific meaning and I wanted my Wolverine to be accurate.
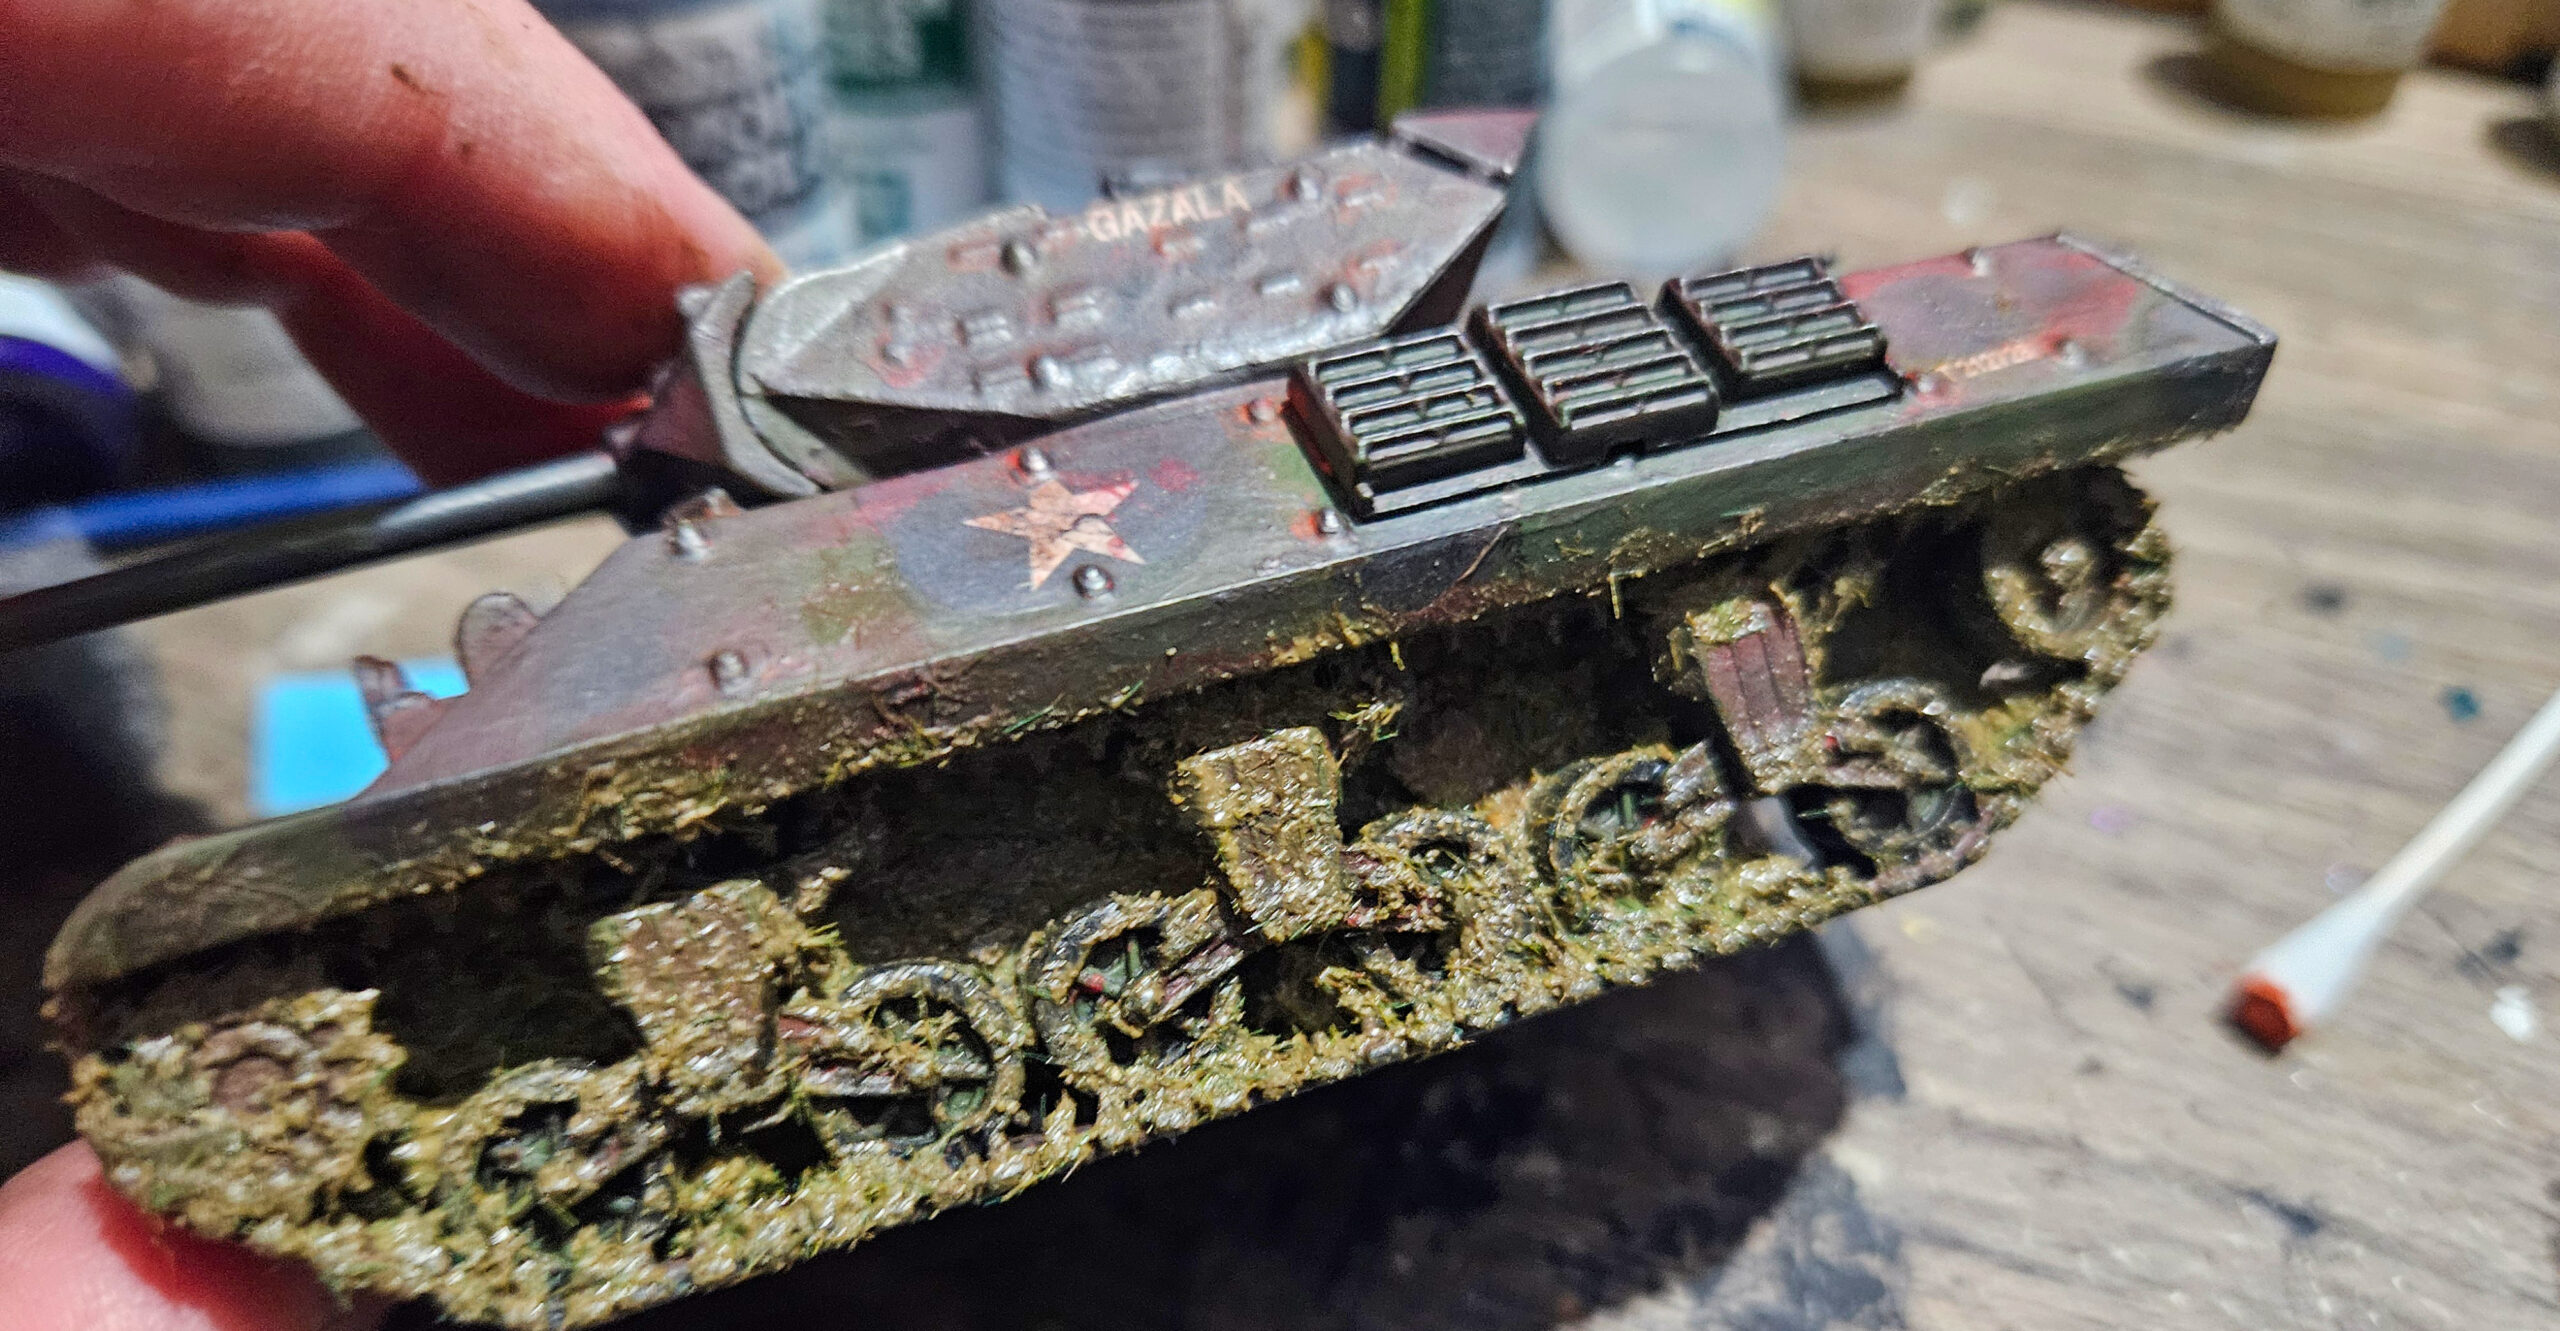
Historically each division had their own logo and an associated name, in the 7th Armoured’s case, the ‘Desert Rats’, with their Jerboa emblem resonating with their name-making stink in the North African theatre earlier in the war. Then there was the brigade marking, coloured squares with higher numbers denoting how ‘junior’ the specific brigade was, as well as tactical markings, and bridging discs. To ensure historical accuracy I recommend doing some research and getting hold of some reference illustrations or photography. You can see my chosen decals in the images.
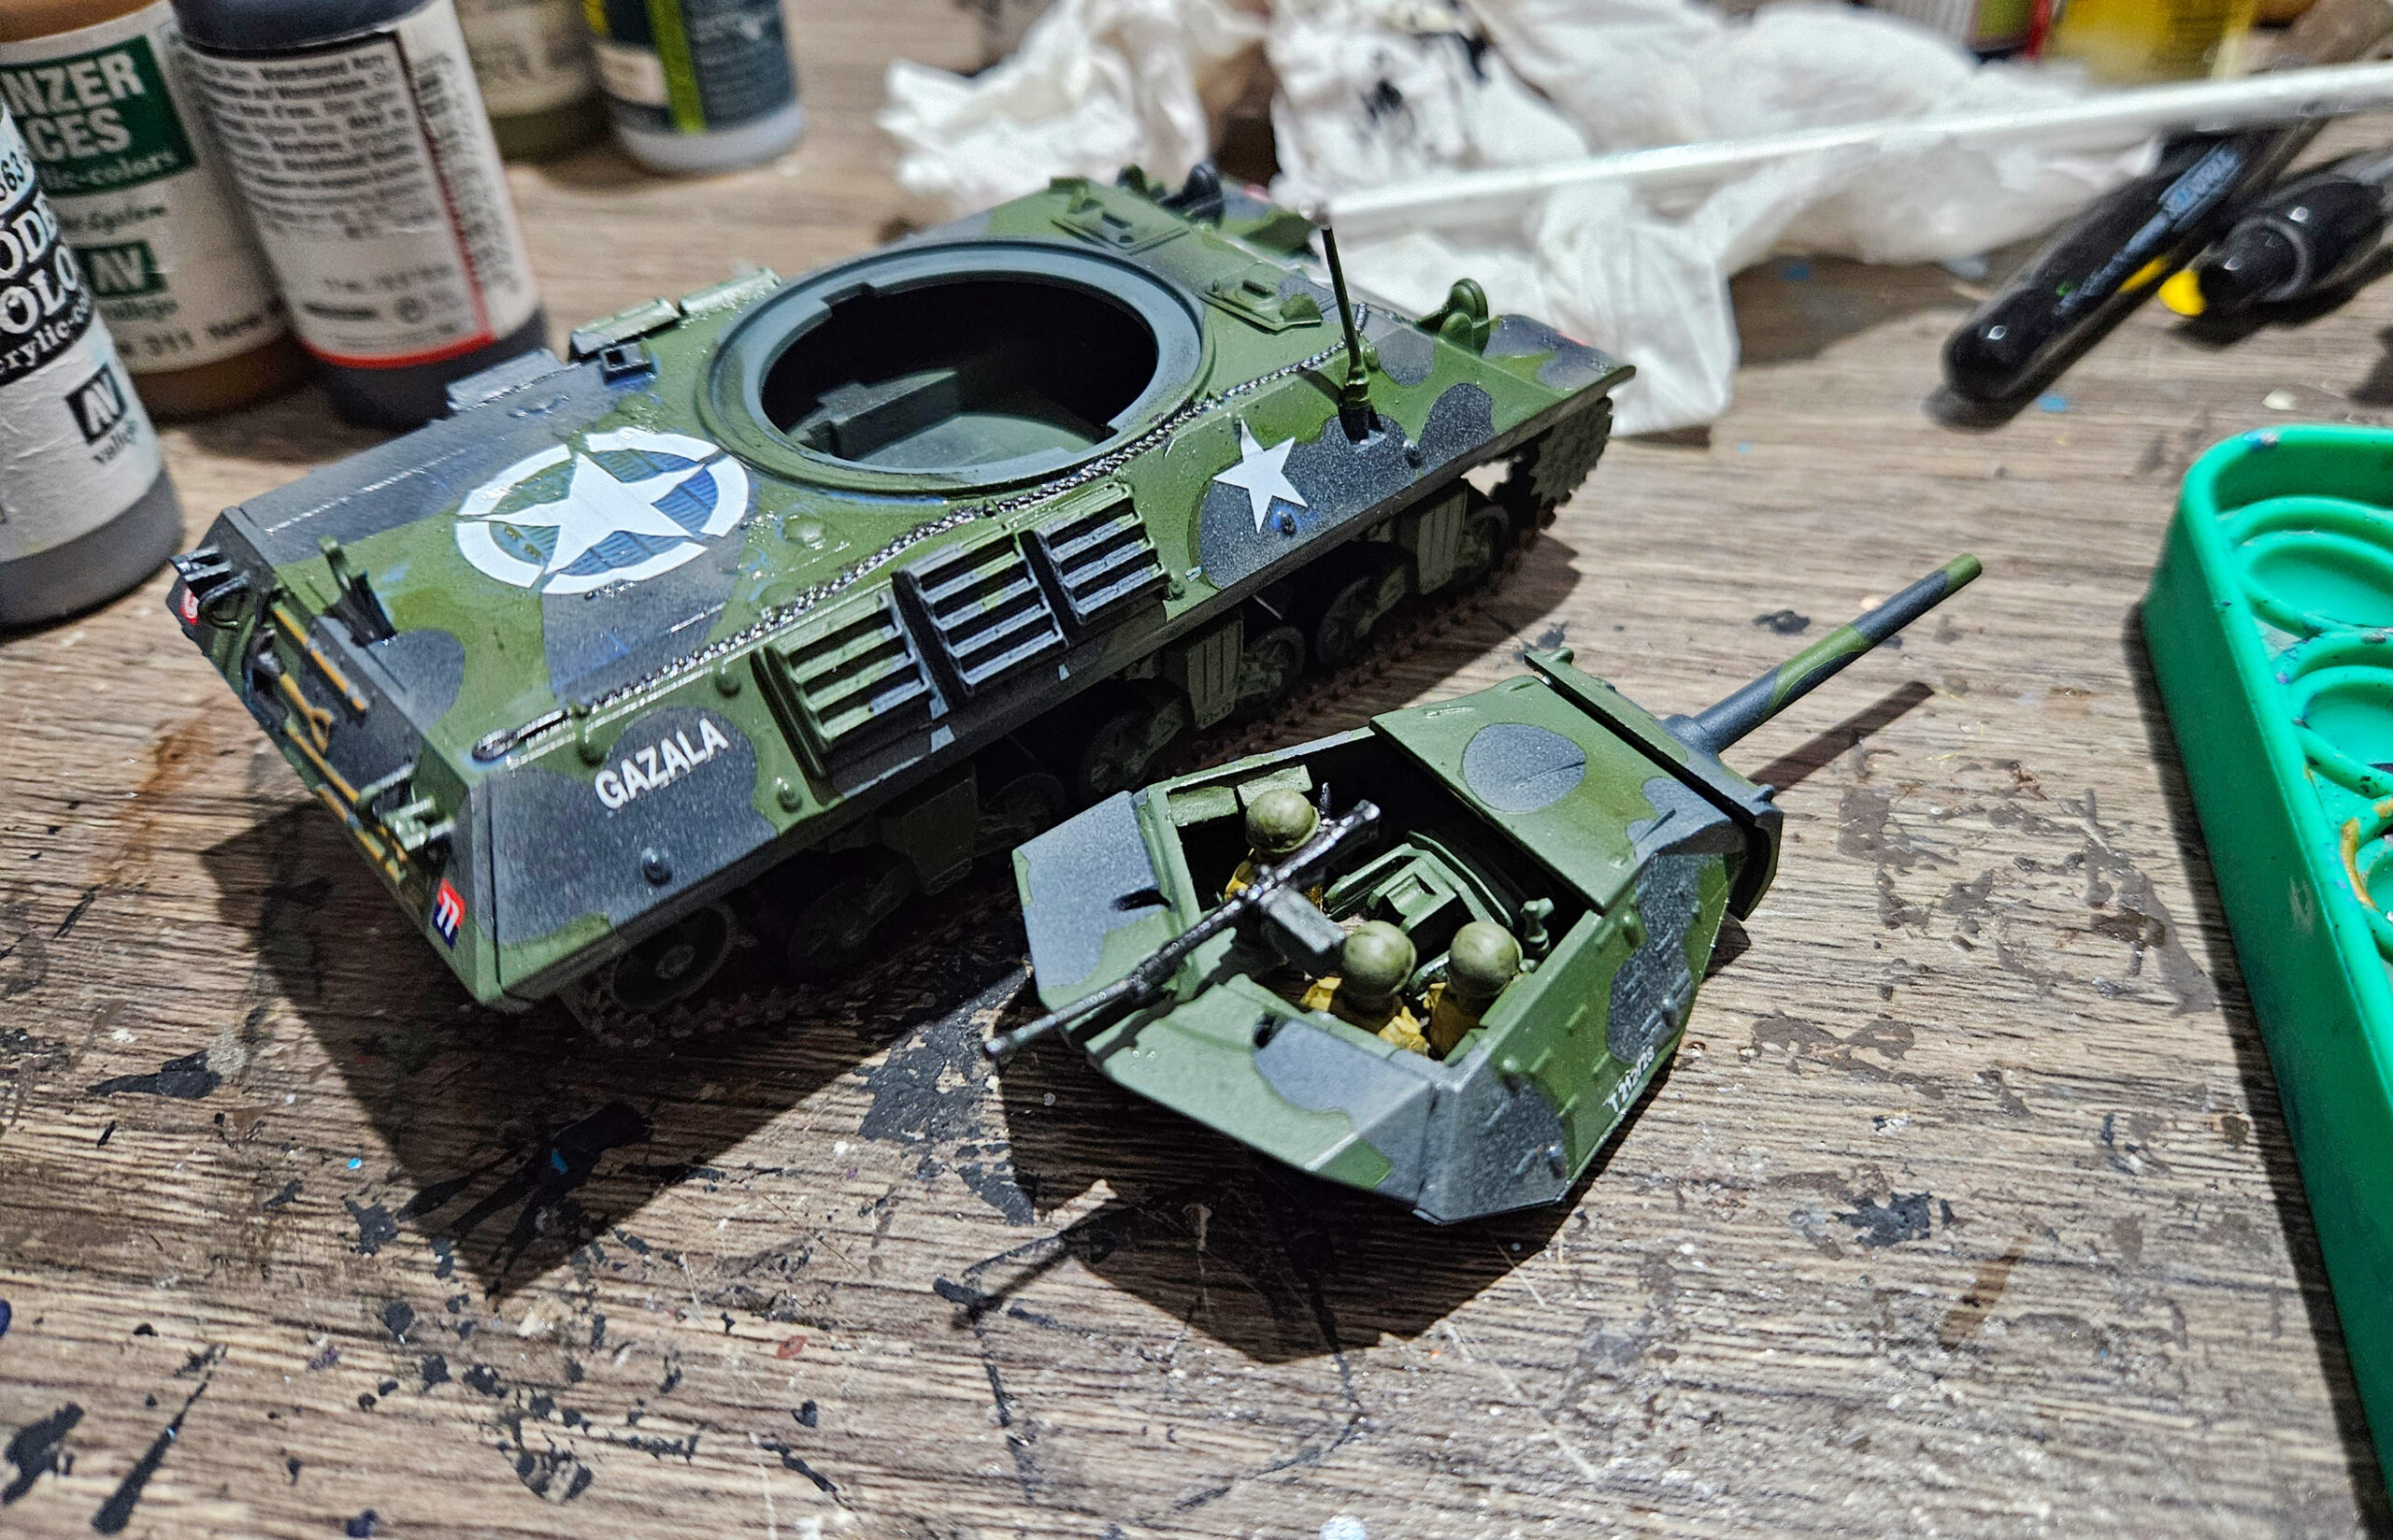
Weathering
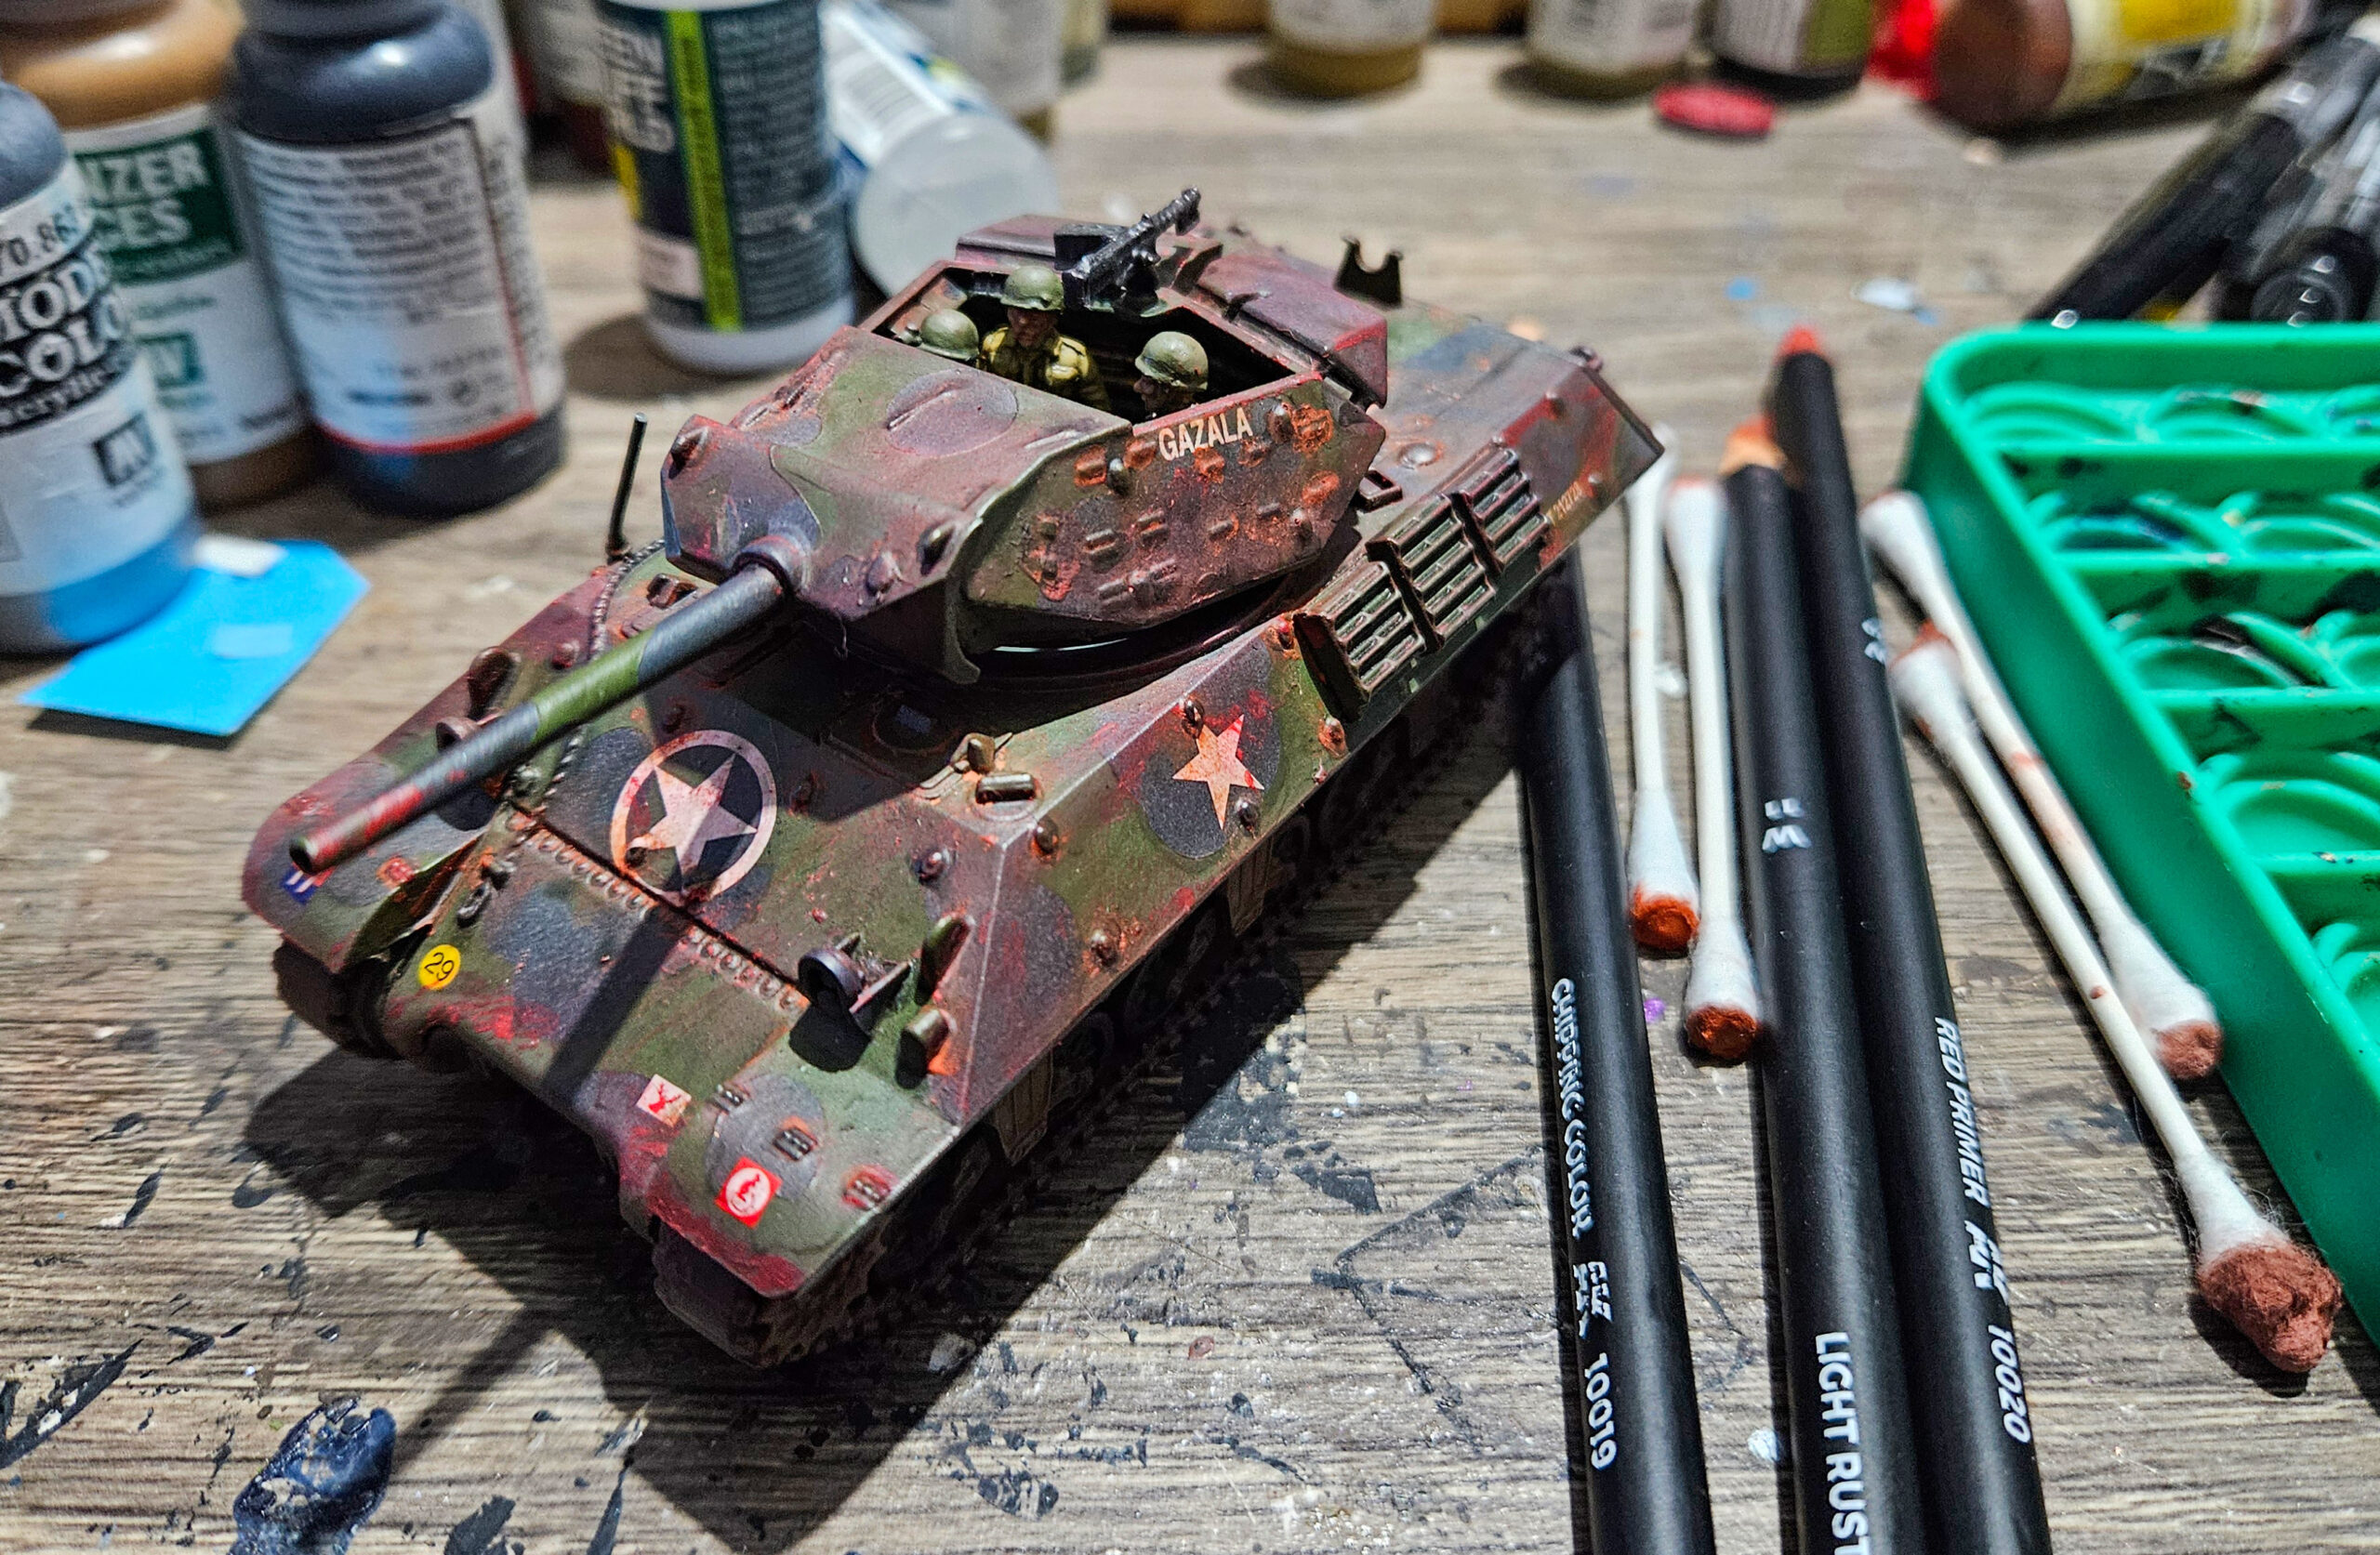
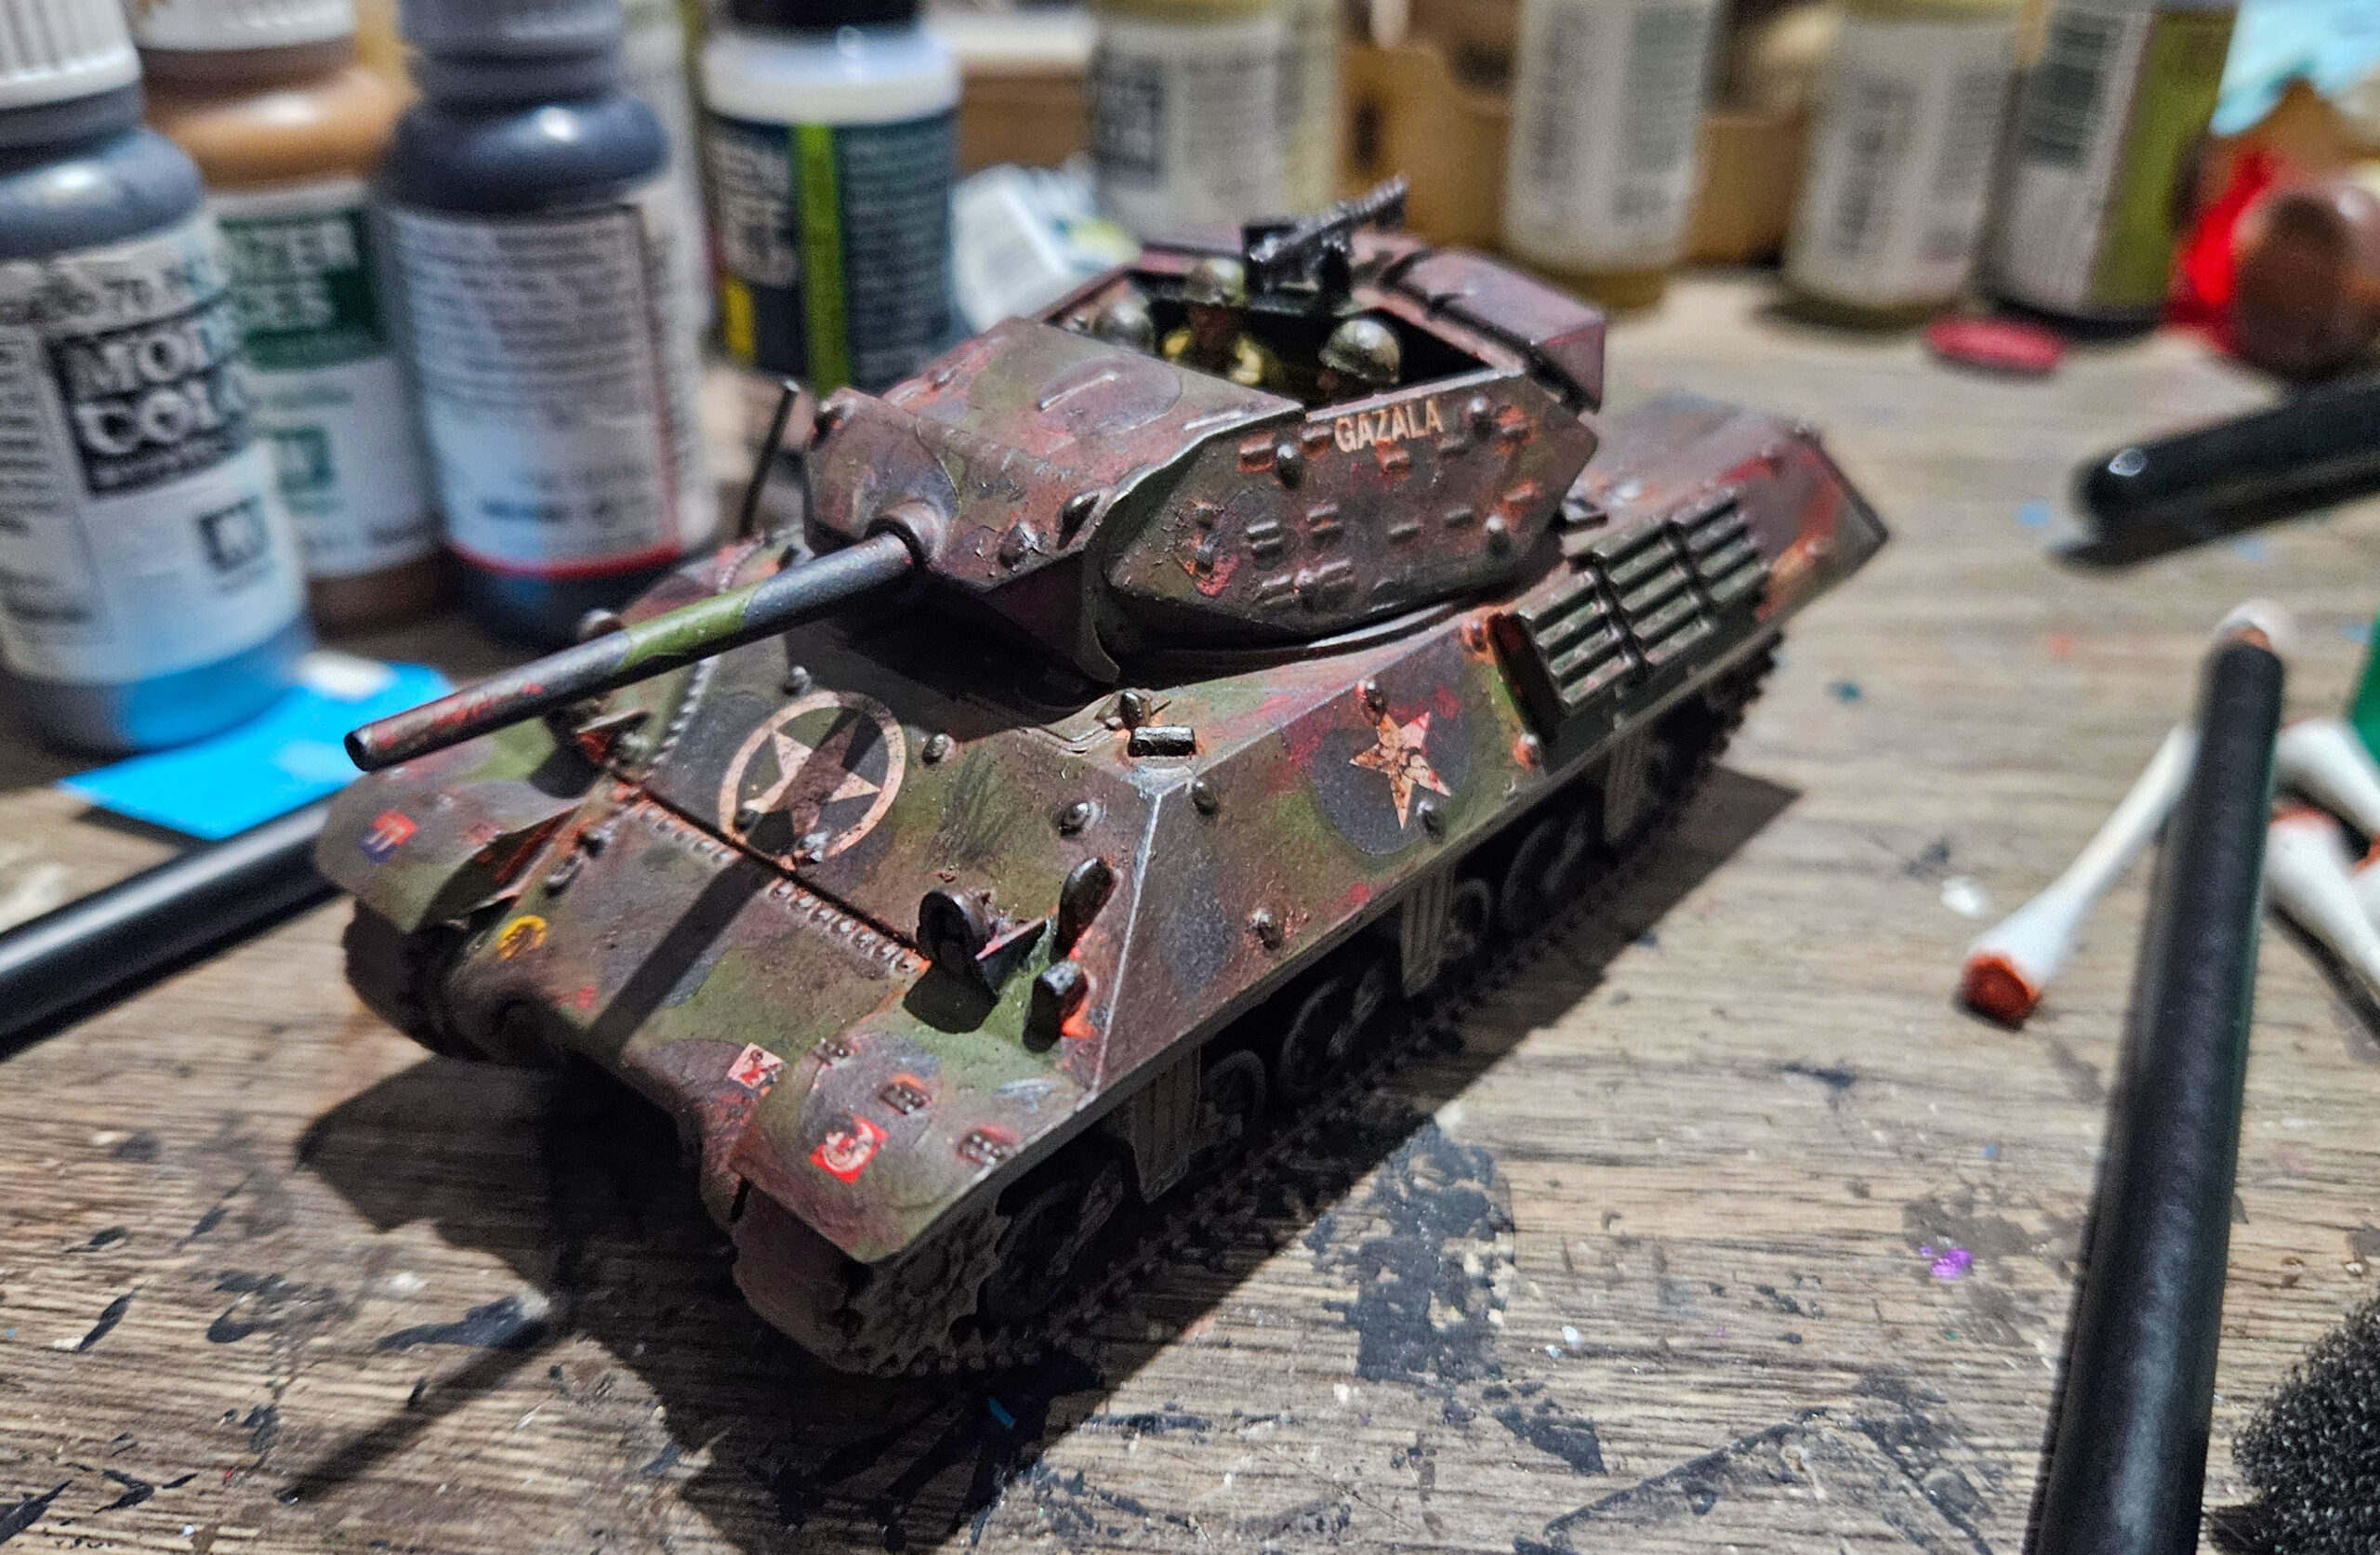
The final step was to make the Wolverine look like it was battle-worn, which meant two final additions. Firstly, using some acrylic weathering pens, I roughed up the tank a little, using a succession of reds to give the impression of rust. I initially concentrated on areas where moisture would naturally get trapped such as recesses and around raised area of detail using the brightest red. Once applied, I worked it into the paintwork a little using cotton buds.
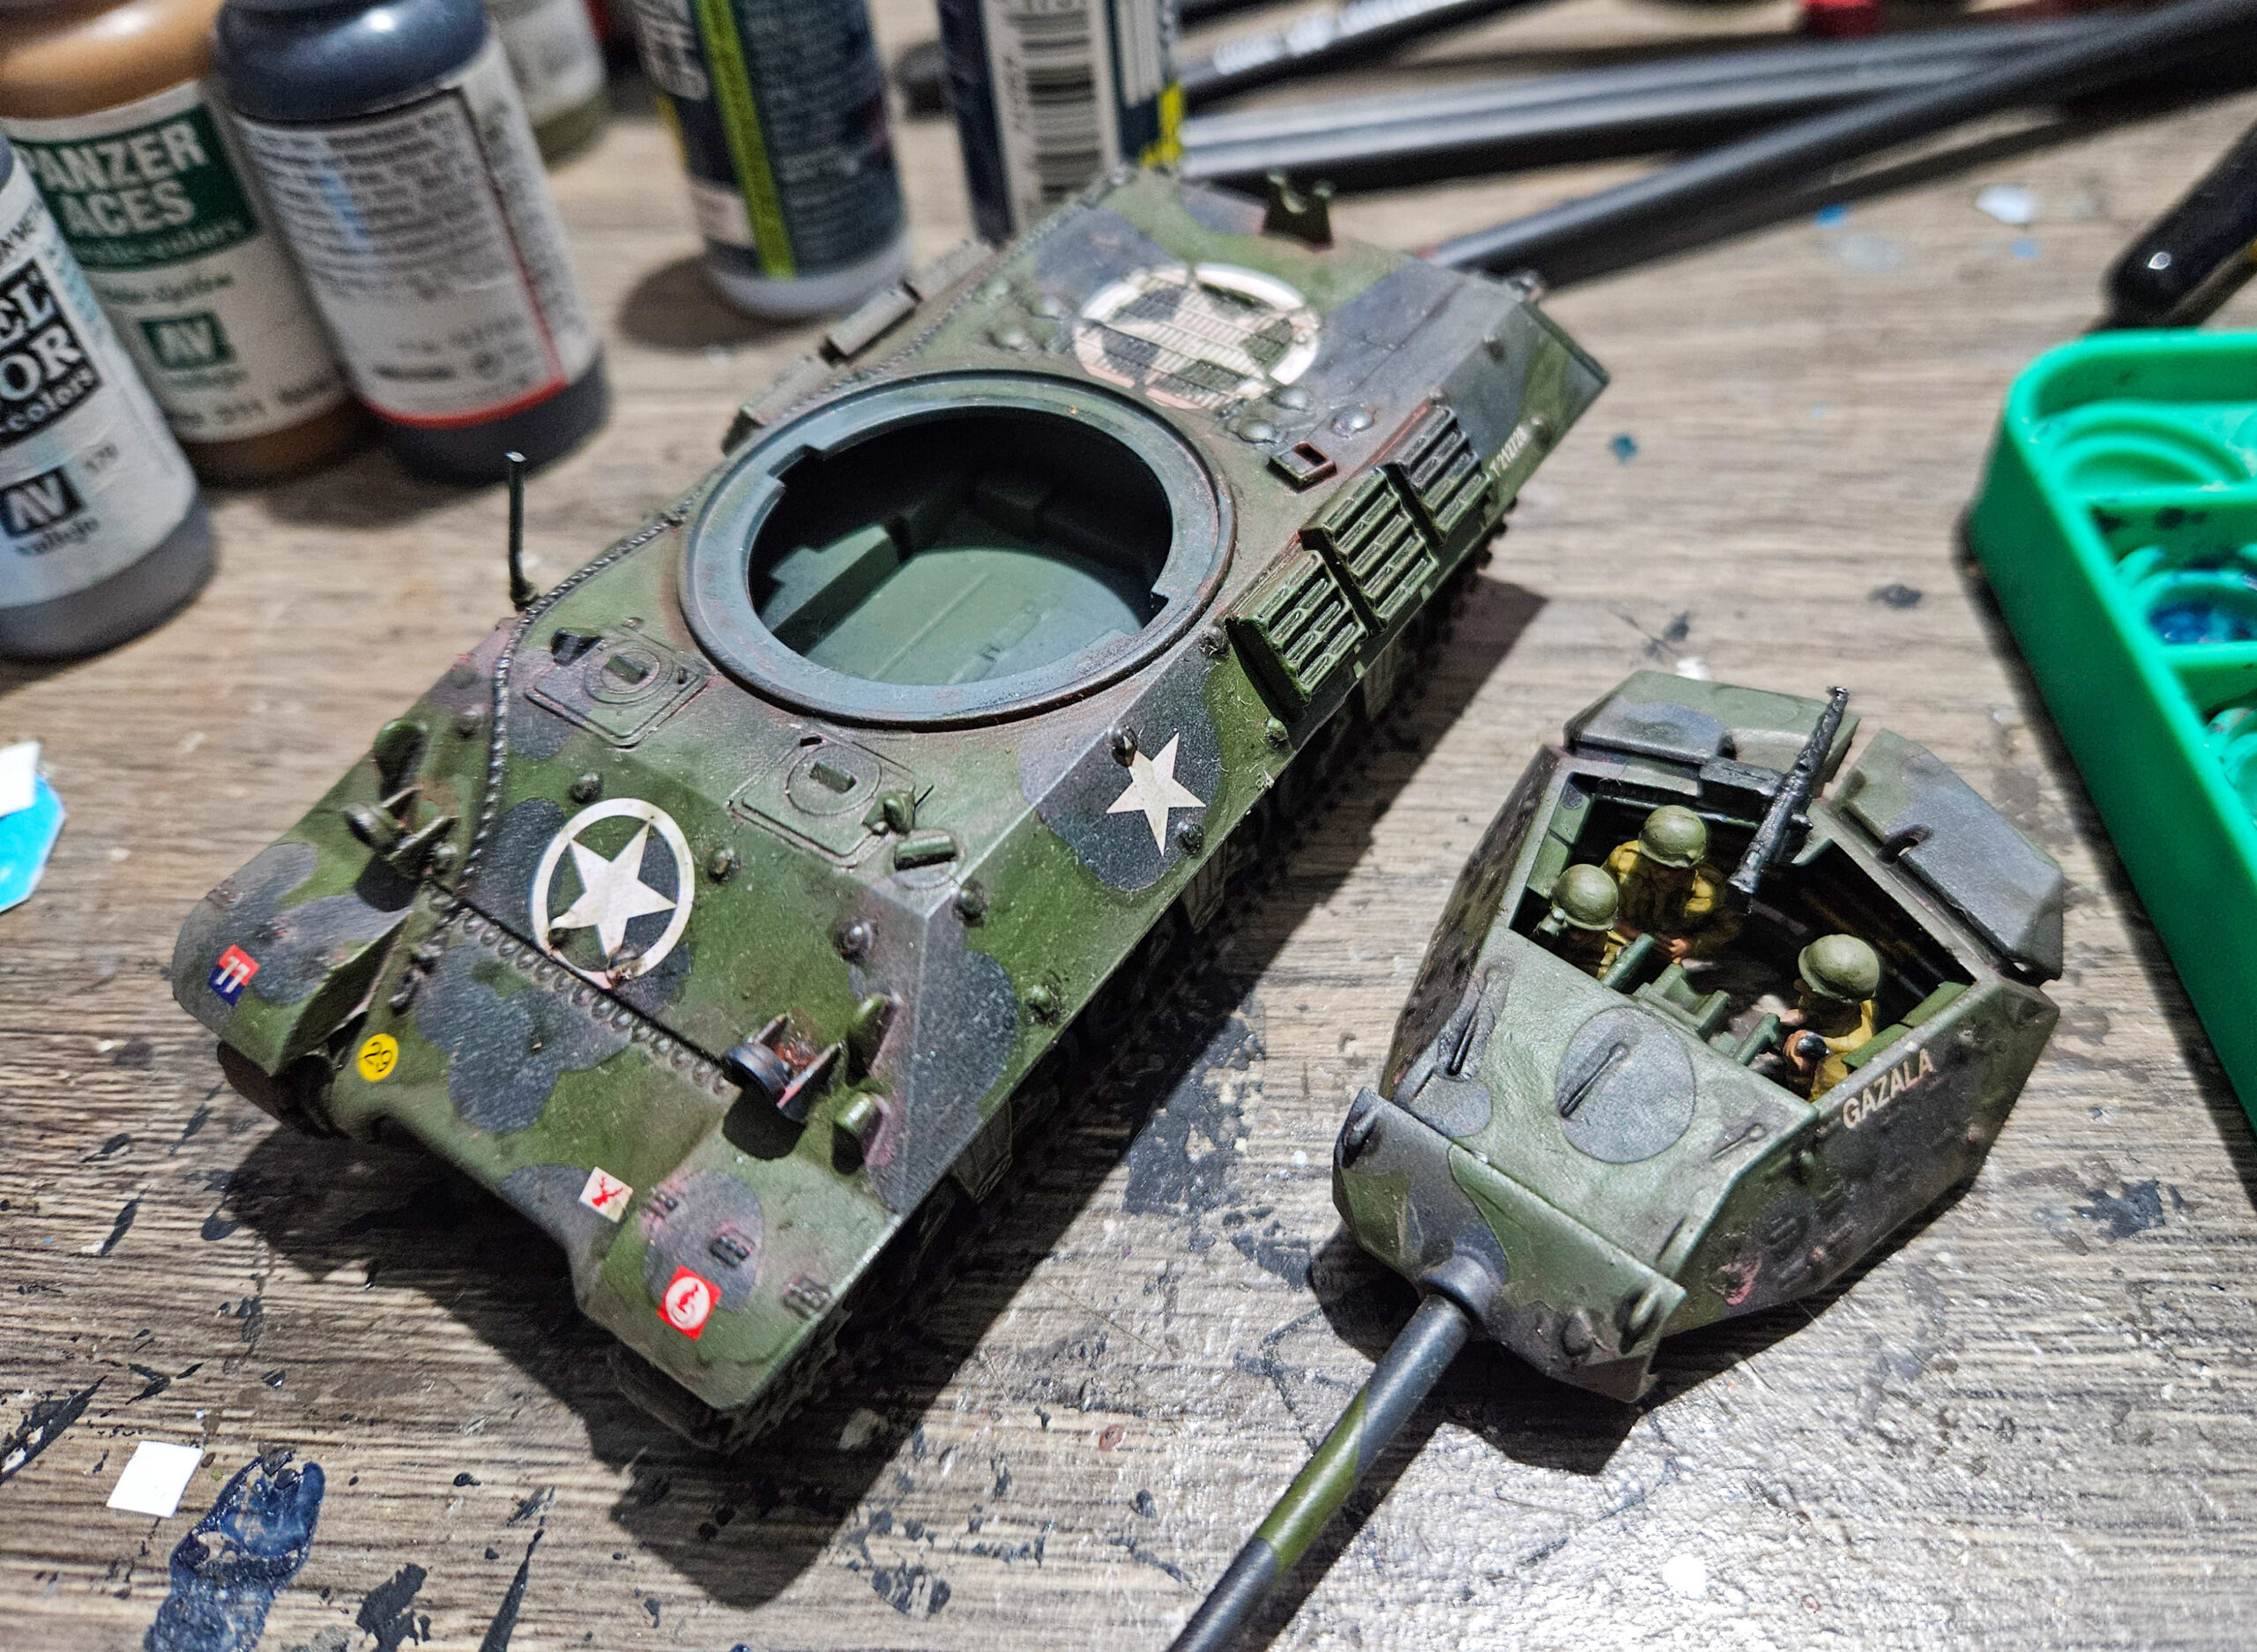


I then used a darker red weathering pen more liberally across the rest of the tank, but concentrating around the edges, including towards the end of the barrel. The final effect is one of a combination of rust and grime, with some areas of the tank naturally deteriorating more quickly than others
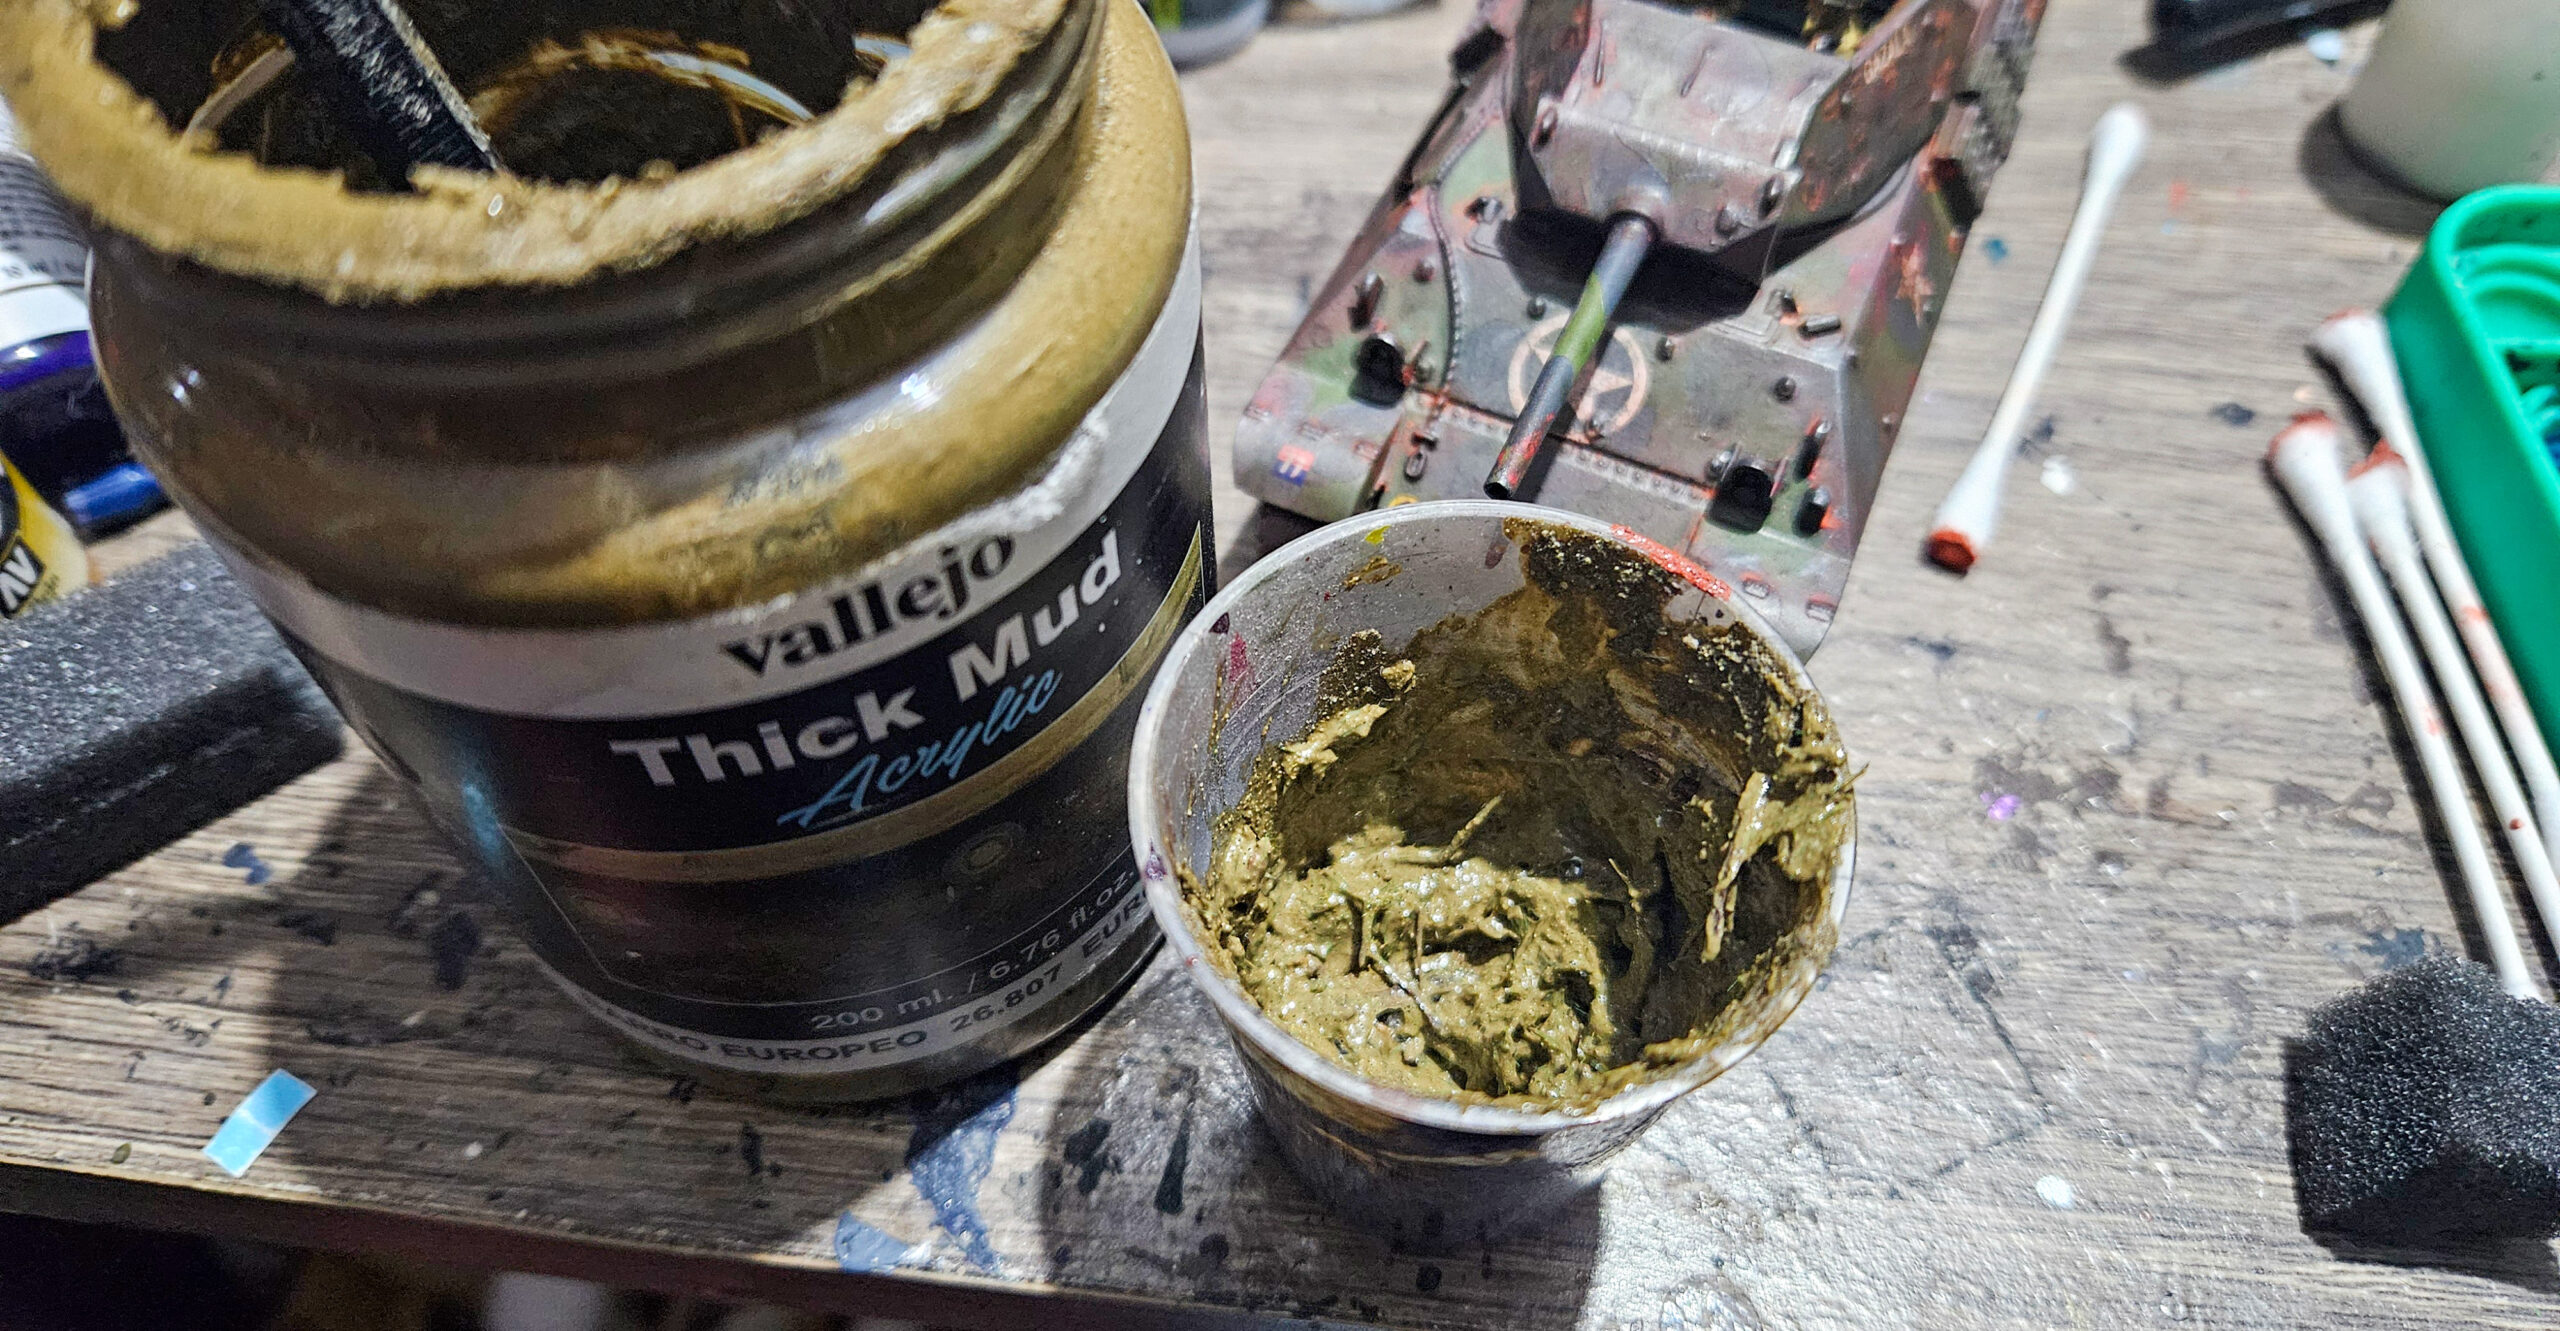
Finally, I liberally applied Vallejo Thick Mud Acrylic across the tracks, but I added some static grass into the mixture, to really give the impression that the M10 had torn up some muddy fields in Bocage country.
Et voilà! Battle-hardened and battle-ready!

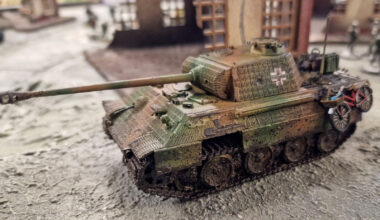
M10 Tank Destroyer/Wolverine Plastic Boxed Set
The M10’s M7 3-inch (76.2mm) anti-tank gun was a considerable improvement over the 75mm carried by the Sherman. The M10’s relatively thin 37mm of armour (and open-topped five-sided welded turret) on the other hand made it vulnerable to anti-tank weapons, so its main role became defensive, often firing from concealed positions.
The M10 was also widely used by the British, who called it the Wolverine. As such this plastic set comes complete with a choice of US or British crew plus extensive decal sheets to gear up your tank hunters for action!
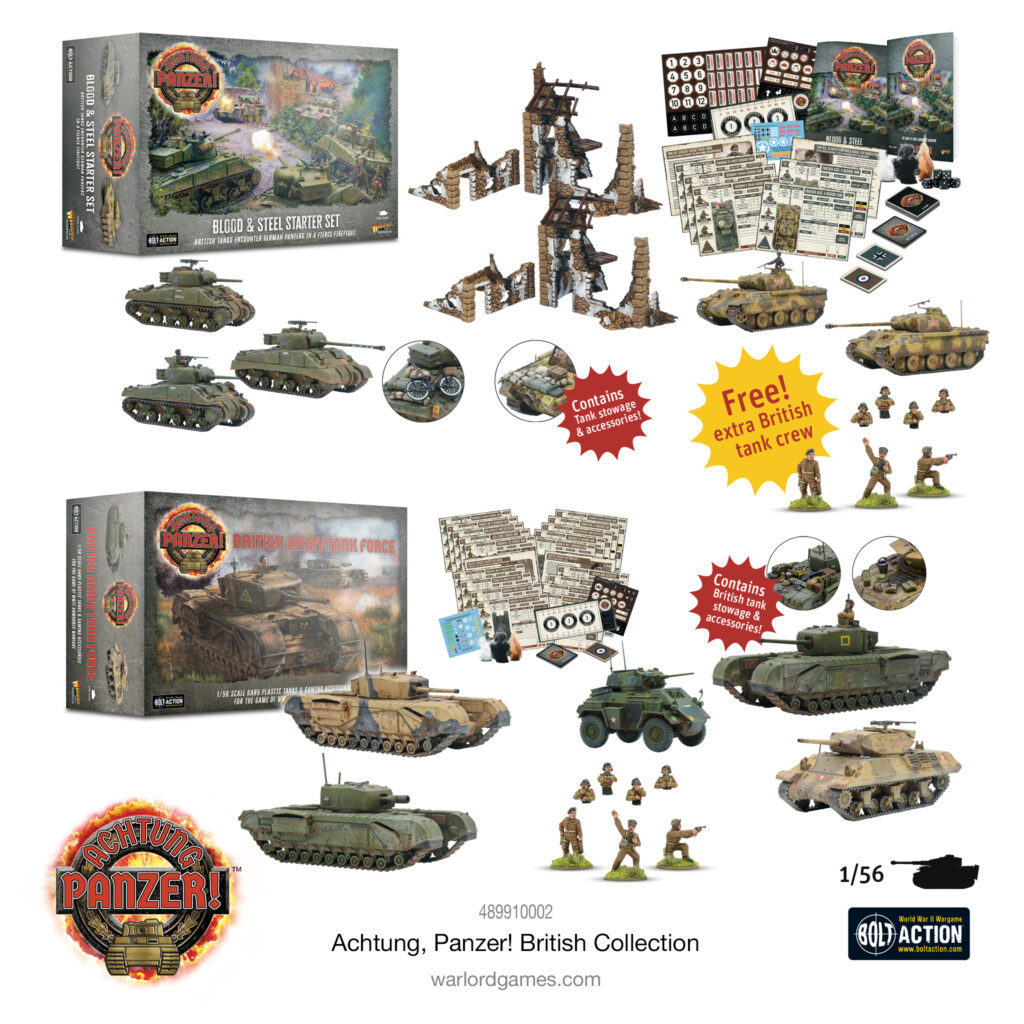
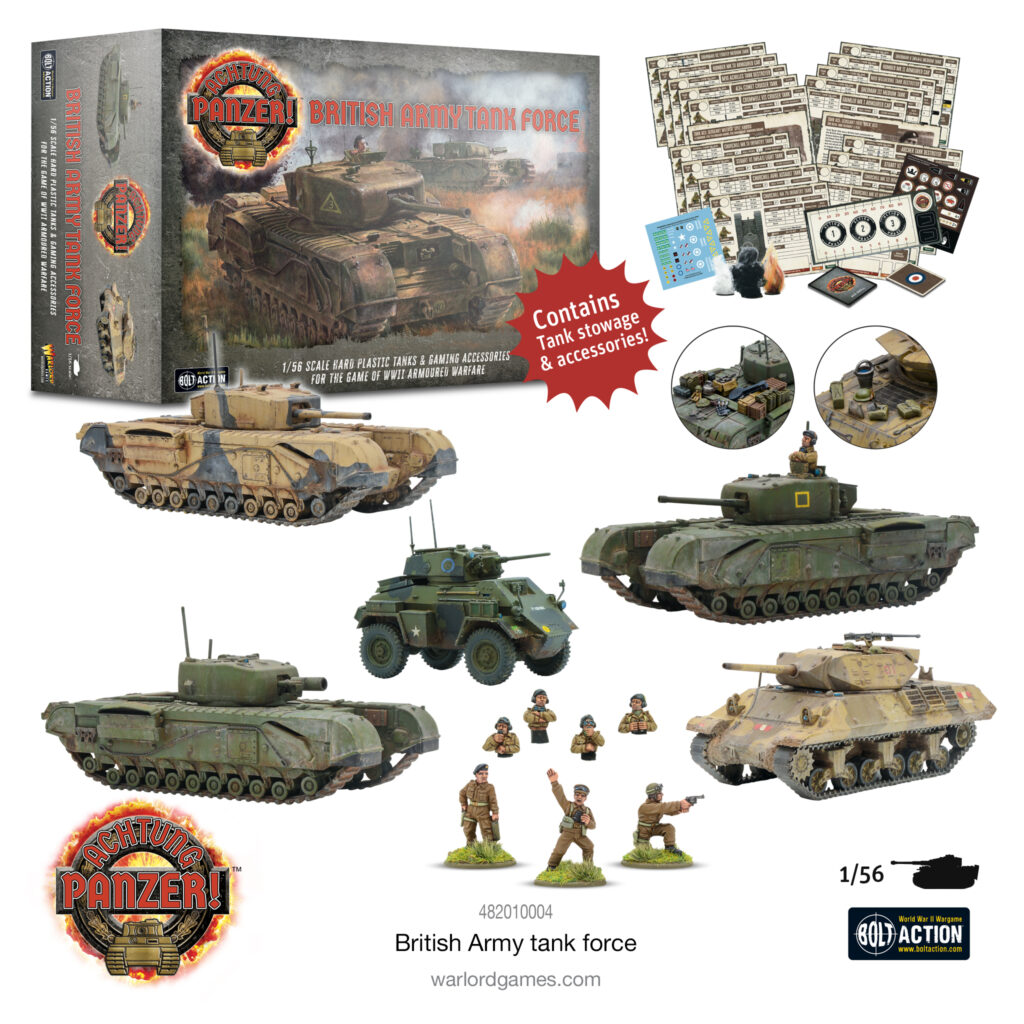
Achtung Panzer! British Tank Force
The Achtung Panzer! British Army Tank Force gives you five legendary armoured vehicles to bring the battle to the Axis. Centred around a trio of rugged Churchill infantry tanks (which can be assembled in one of no fewer than seven variants to suit your specific playstyle or chosen theatre), and backed up by the potent firepower of a Lend-Lease M10 Wolverine tank destroyer and rapid mobility courtesy of a Humber armoured car, this set allows you to get right into the thick of the fighting! It also makes a brilliant first expansion for your British force if you’ve already got the Blood and Steel starter set!
In addition to the brilliant plastic vehicle kits (and a fantastic set of characterful stowage items), the included British and Commonwealth-specific Asset cards, plus Datacards for 18 different tanks (letting you bring a wide array of British and Lend-Lease vehicles into action at a moment’s notice), Tank Ace and Ace Skill cards, game tokens and markers along with mounted and dismounted tank crew figures give you everything you’ll need to fly the Union Flag on the tabletop – For King and Country!
Also Available
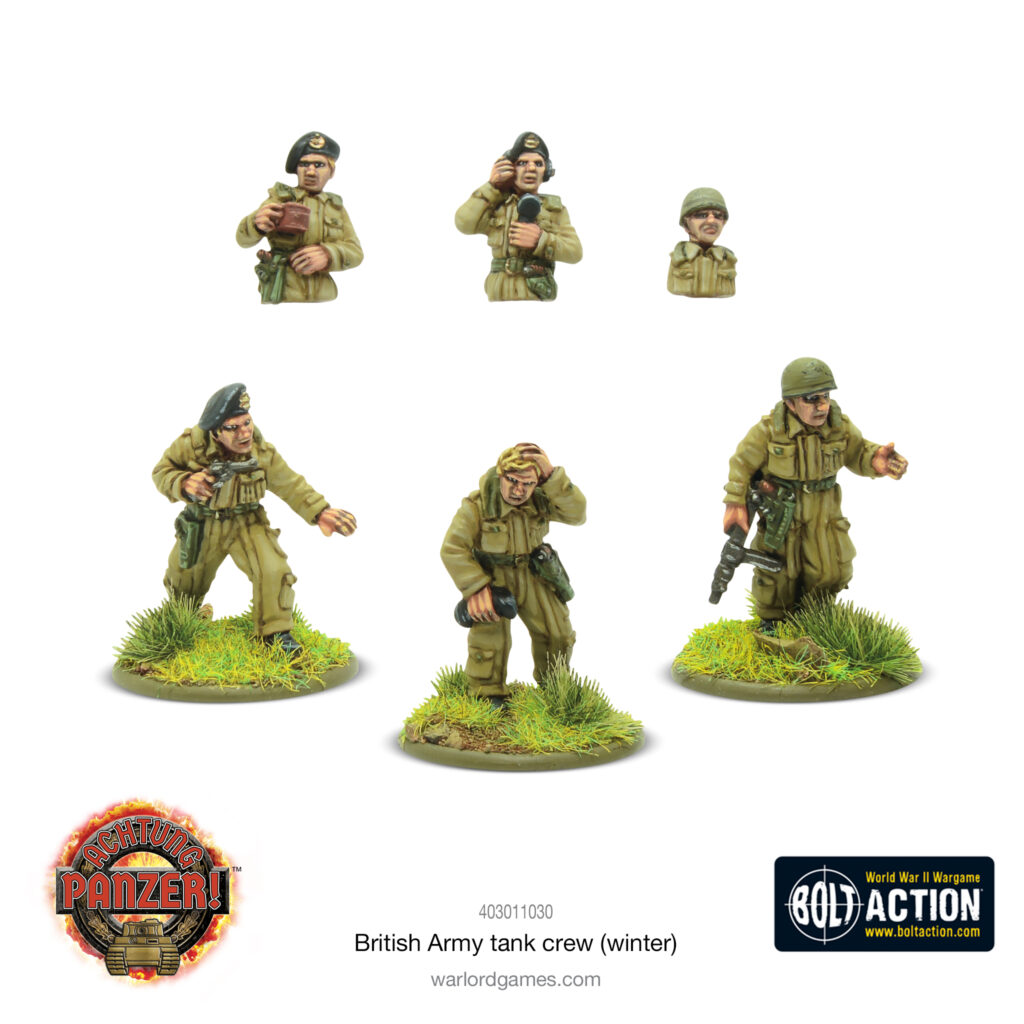
The perfect way to jump into Achtung Panzer! on the side of the British Army, the Achtung Panzer! British Collection nets you both the Blood & Steel starter set and the above British Army Tank Force, along with a set of British tank crew included for free! The crew are also available separately, or consider the Winterised British Army crew for even more customisation options – suitable for both Achtung Panzer! and Bolt Action collections!