A small gathering of gamers met up at John Stallard’s games room to fight out a battle between Henry VIII’s English and James IV’s Scottish forces as a ‘what if’ prelude to Flodden field.
It is September 1513, and Henry’s army has marched north to repel a Scottish incursion into Northumberland. Short on food and tired from weeks on the march, the English army were keen to engage the enemy and relieve them of their supplies. The Scots have sent out scouts and are aware of a large English force closing on them, so have set up a strong defensive position on high ground. The English Horse have eluded them, however, and although the main English thrust is expected from the south (over the only strong bridge for miles) there is a risk of cavalry attack from any direction.

English Army
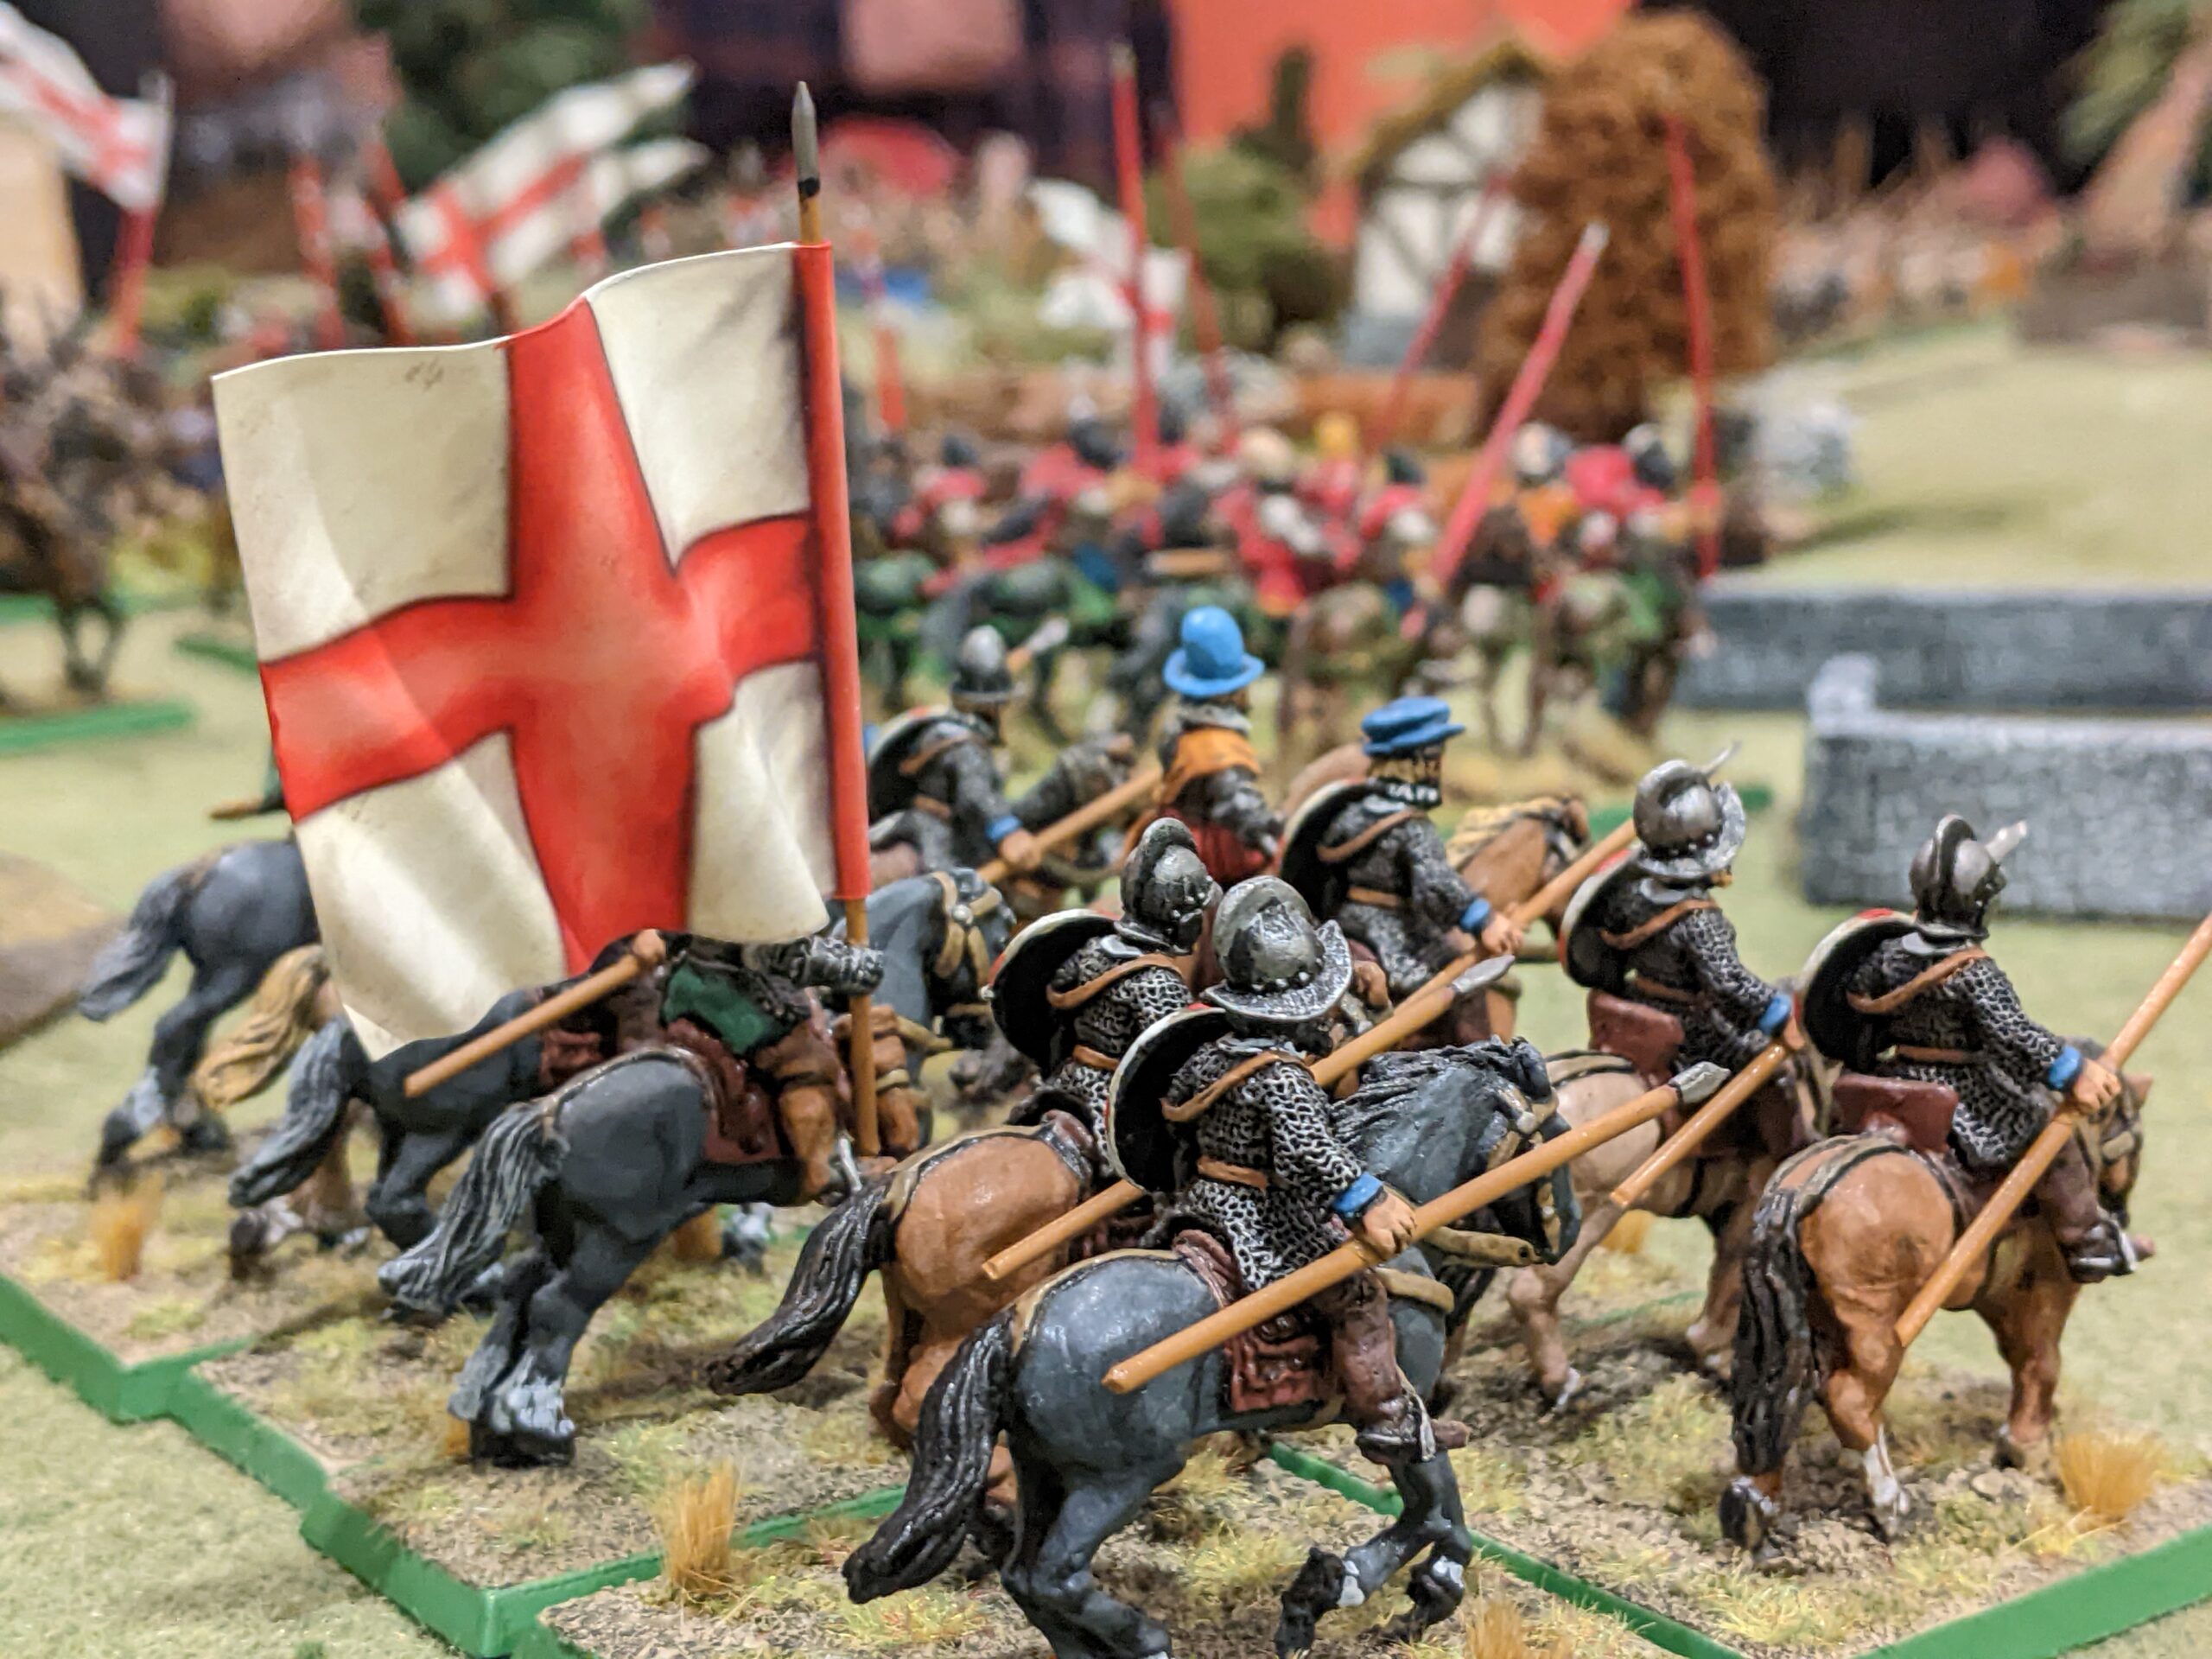
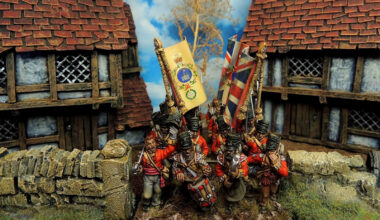
Henry VIII’s army was based on the tried and trusty regiments of billmen, supported by archers and some new handgun formations. The army is bolstered by Italian and German mercenaries as well as English Noble Cavalry to provide a hammer blow. This type of army was rather old fashioned compared with some of the advances in the rest of Europe, but had a proven track record.
Earl of Surrey’s Battalia (Wojtek Fils) Command Rating 9
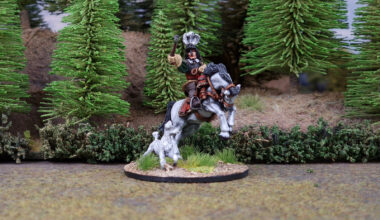
2 Units of Heavy Noble Horses with Lances
1 Unit of Italian Mounted Harquebusier Mercenaries
Dacre’s Battalia (Robin Scott-Blore) Command Rating 8
2 Units of German Reiter Horse
1 Unit of Border Horse
Stanley’s Battalia (Alister Daire) Command Rating 8
2 Units of Billmen
1 Unit of Arquebus (Large)
1 Unit of Bowmen (Large)
1 Medium Ordnance
Howard’s Battalia (Colin Stone) Command Rating 8
2 Units of Billmen
2 Units of Bowmen (Large)
1 Unit of Bowmen
1 Heavy Ordnance
Morasi Battalia (Lorenzo Pala) – forming a Forlorn Hope. Command Rating 8
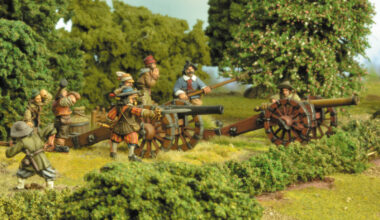
2 Units of Italian Arquebus & 1 Small Ordnance piece
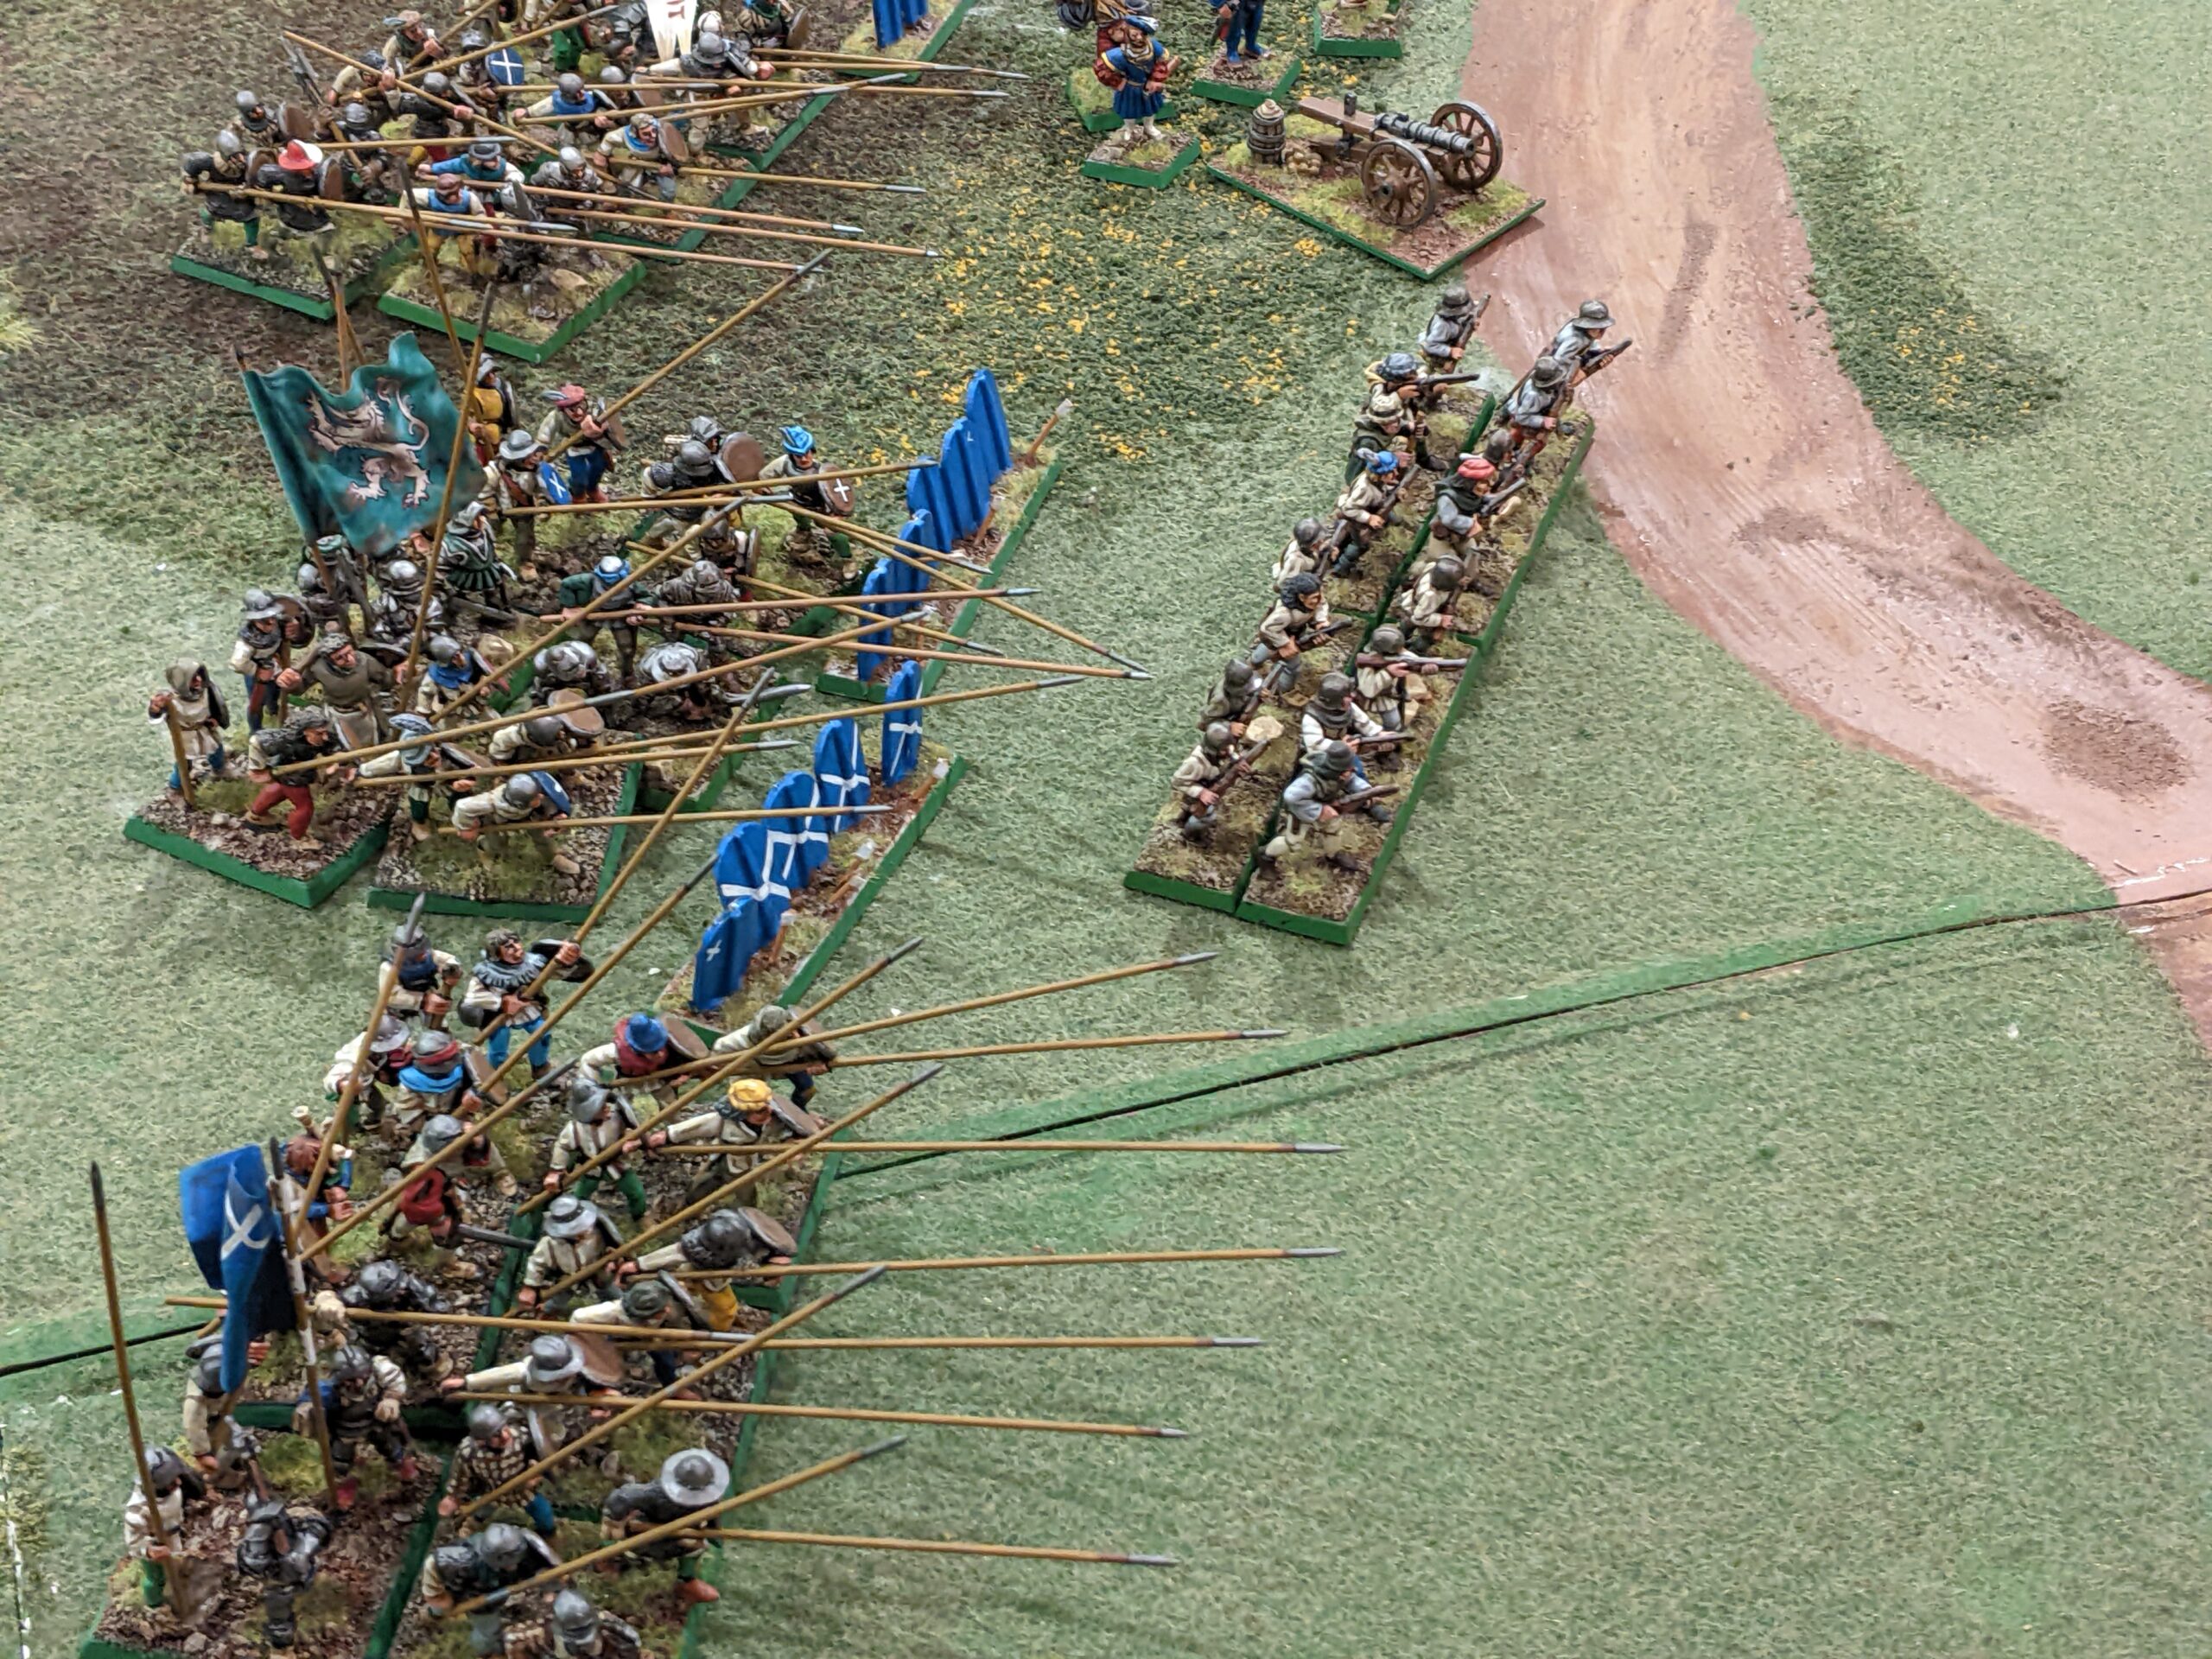
Scottish Army
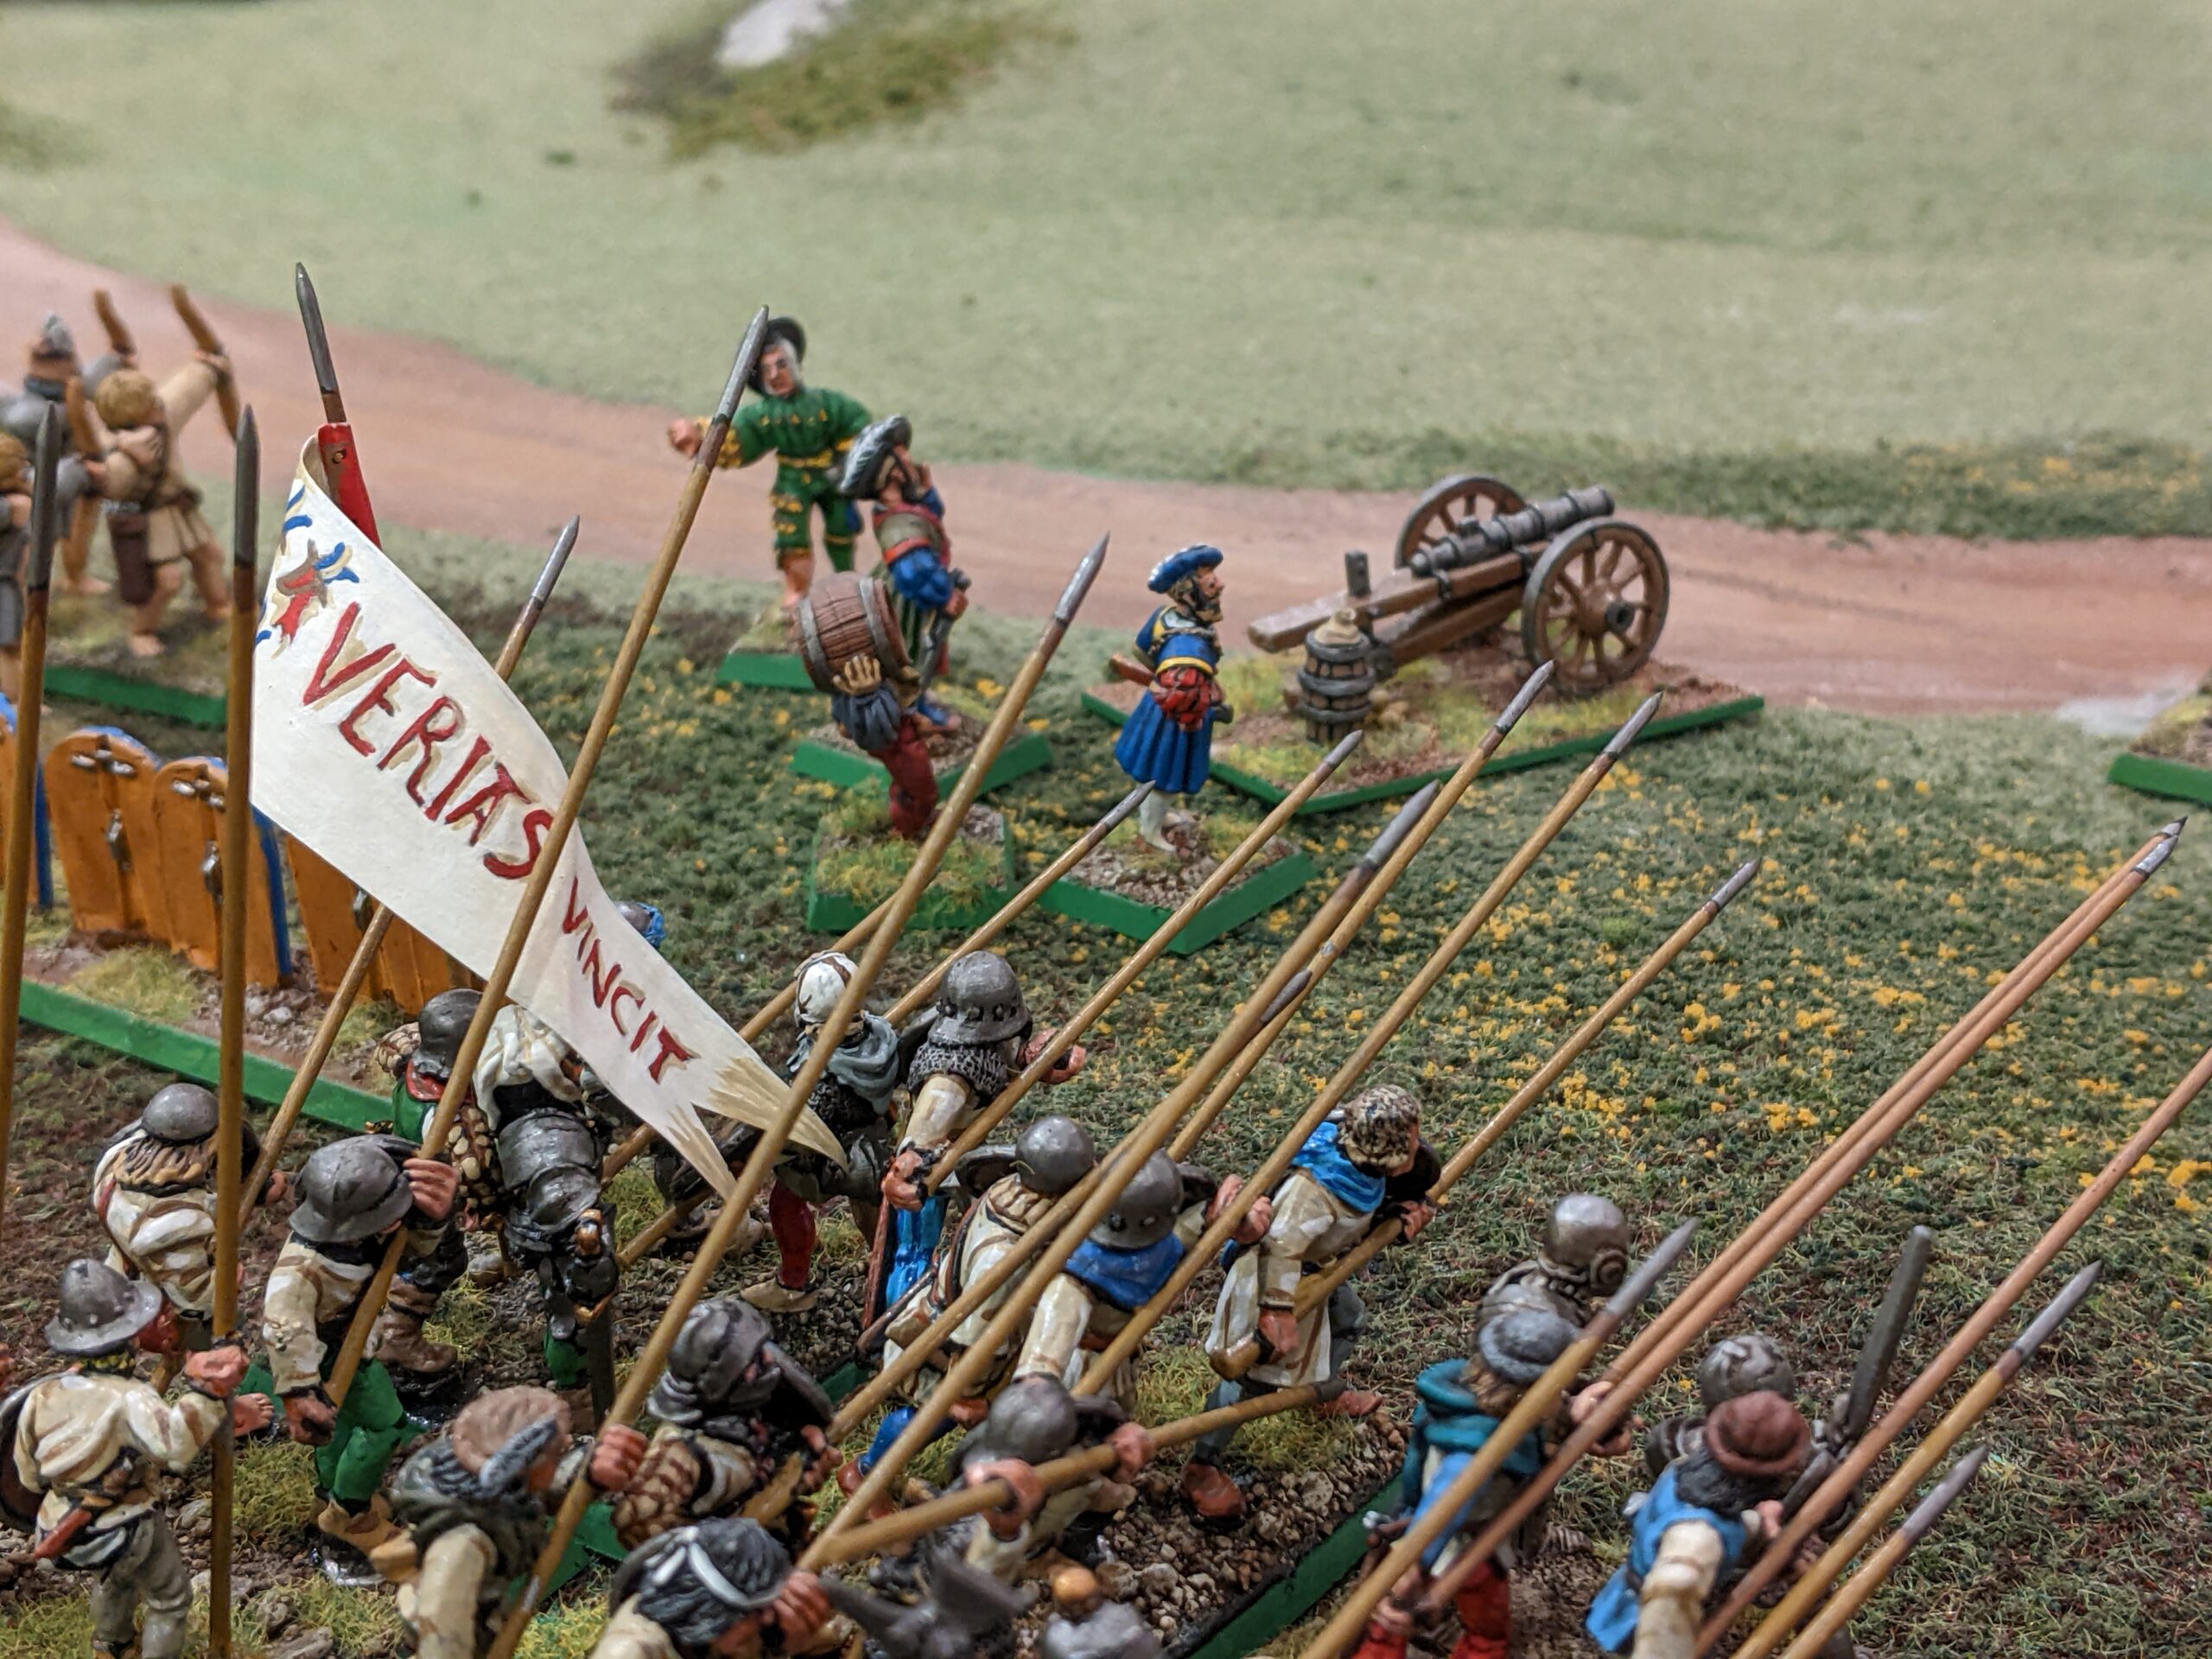
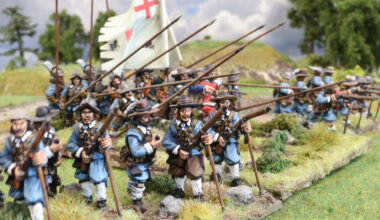
The army of James IV was undergoing an overhaul to bring it up to date with European fashions. France had sent over a cadre of officers to get regiments formed using the new pike warfare techniques, supported by handguns. This process is ongoing which results in an army where the old-style clans formations sit alongside drilled blocks of pike. The Artillery available is stronger than that of their English counterparts, it being a matter of pride for the Scots.
Earl of Huntley’s Battalia (Pete Gosling) Command Rating 8
1 Pike Block
1 Clansmen Unit
3 Peasant Militia
2 Heavy Ordnance
Crawford’s Battalia (Alex Robins) Command Rating 8
3 Pike Block units
1 Arquebus unit
1 Medium Ordnance
Erroll’s Battalia (Alan Merrett) Command Rating 8
3 Pike Block units
1 Bowmen unit
1 Medium Ordnance
Bothwell’s Battalia (Combined Control) Command 8
3 Border Horse units
Set Up
The Scottish army had to plot its positions in advance where they were encamped, and had been given barricades and stakes to place to represent the preparation time they had been given to fortify their position
Fully expecting the bulk of the English army to come from the south, these defensive works were placed across the southern approaches of both the West and East roads.
The English were given a rough map of the area but are unaware of the exact dispositions of the Scots. All of the ‘Foot’ must approach from the south on the road over the bridge, and an order of march was drawn up. The two ‘Horse’ battalia were allowed to enter over a ford in the northeast corner of the table, and the decision was made that both would do so. The two entry points are shown on the map by red arrows.
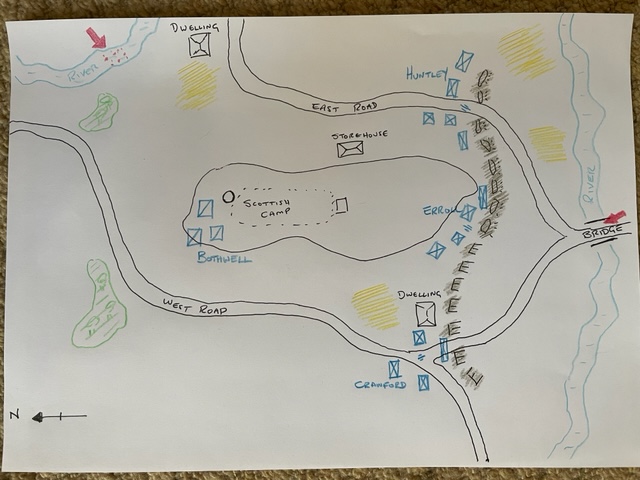
The English objective is to drive the Scots from the high ground and secure supplies. The Scots must push the English back and retain their encampment.
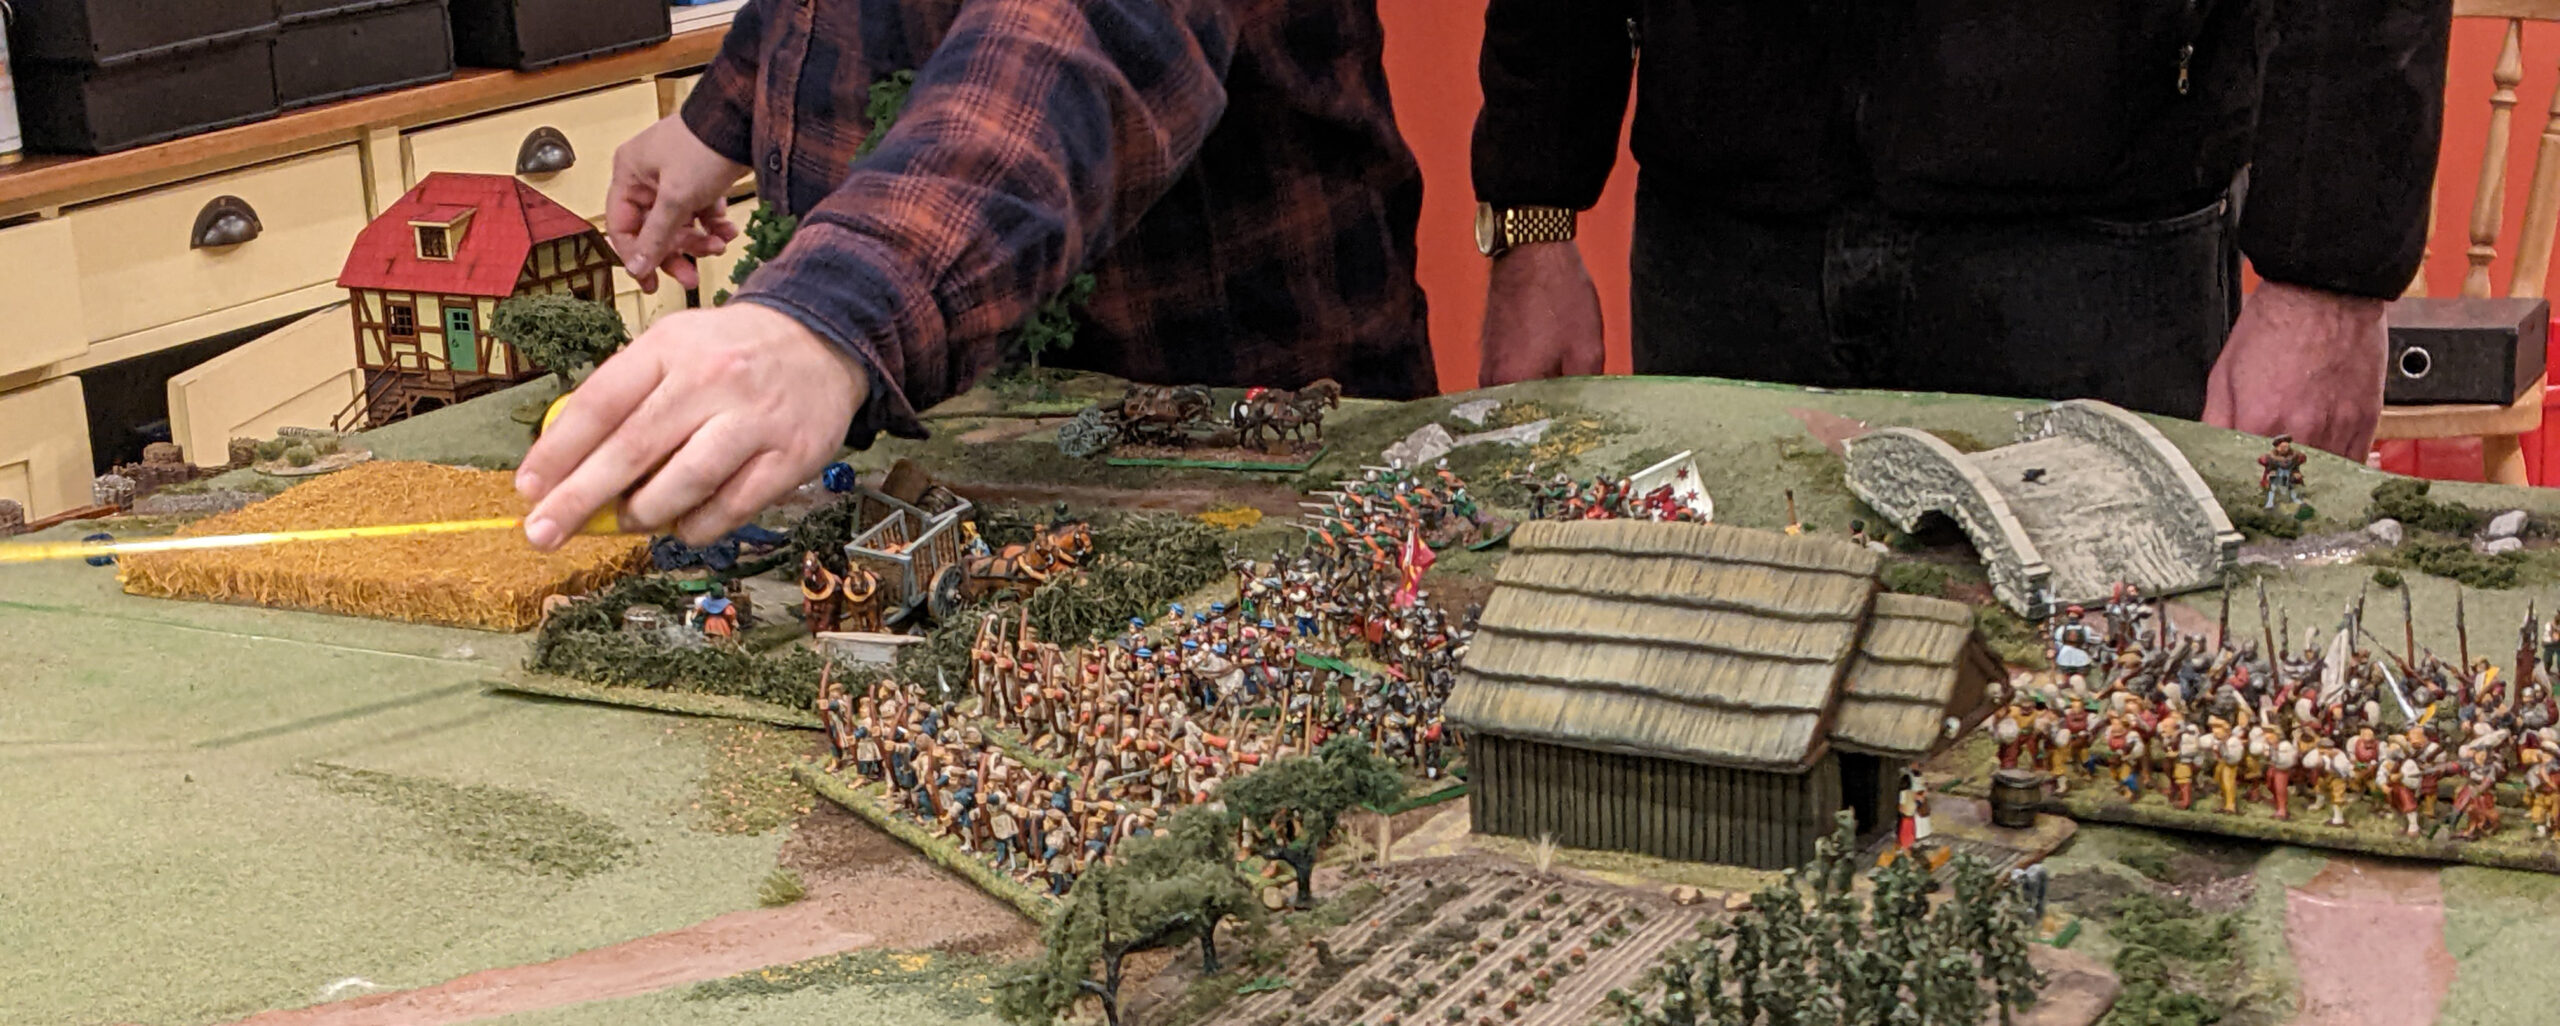
The Game
The English were given the first turn as they were the attacking force. The curse of Lorenzo’s dice struck early and Morasi’s Forlorn Hope decided they would rather be a strategic reserve and failed to move. In contrasting fortunes, the rest of the English Foot stormed over the bridge and deployed for the upcoming assault (units moving along roads were given double march moves for the battle).
The Scots were taken aback by the sudden appearance of two full battalia of Horse to their rear, but had cunningly placed their own cavalry in reserve so could at least offer some resistance while waiting for support from Crawford’s Battalia who pulled back from their position on the West Road to rush northward.

After this initial flurry of activity, the English advance faltered with a series of poor command rolls (this would set the trend for the battle for Alister) and the forces to the south remained out of shooting distance with only the Italian Battalia (which was trying to push its way to the front to become the Forlorn Hope once more) advancing. Seeing this, the English cavalry in the north decided to provide an aggressive example and charges were declared against the quickly reorganizing Scottish. Luckily for the Scots only one charge succeeded but this was enough to see off one of the Scottish Border Horse at the hands of German Reiters.
Scottish ordnance fire from the hill started to have an impact, disordering the English Noble Horse and the men of Huntley’s battalia began taunting their opponent’s lack of nerve to, with the clansmen even forfeiting their defensive positions to throw rocks and insults at the enemy.
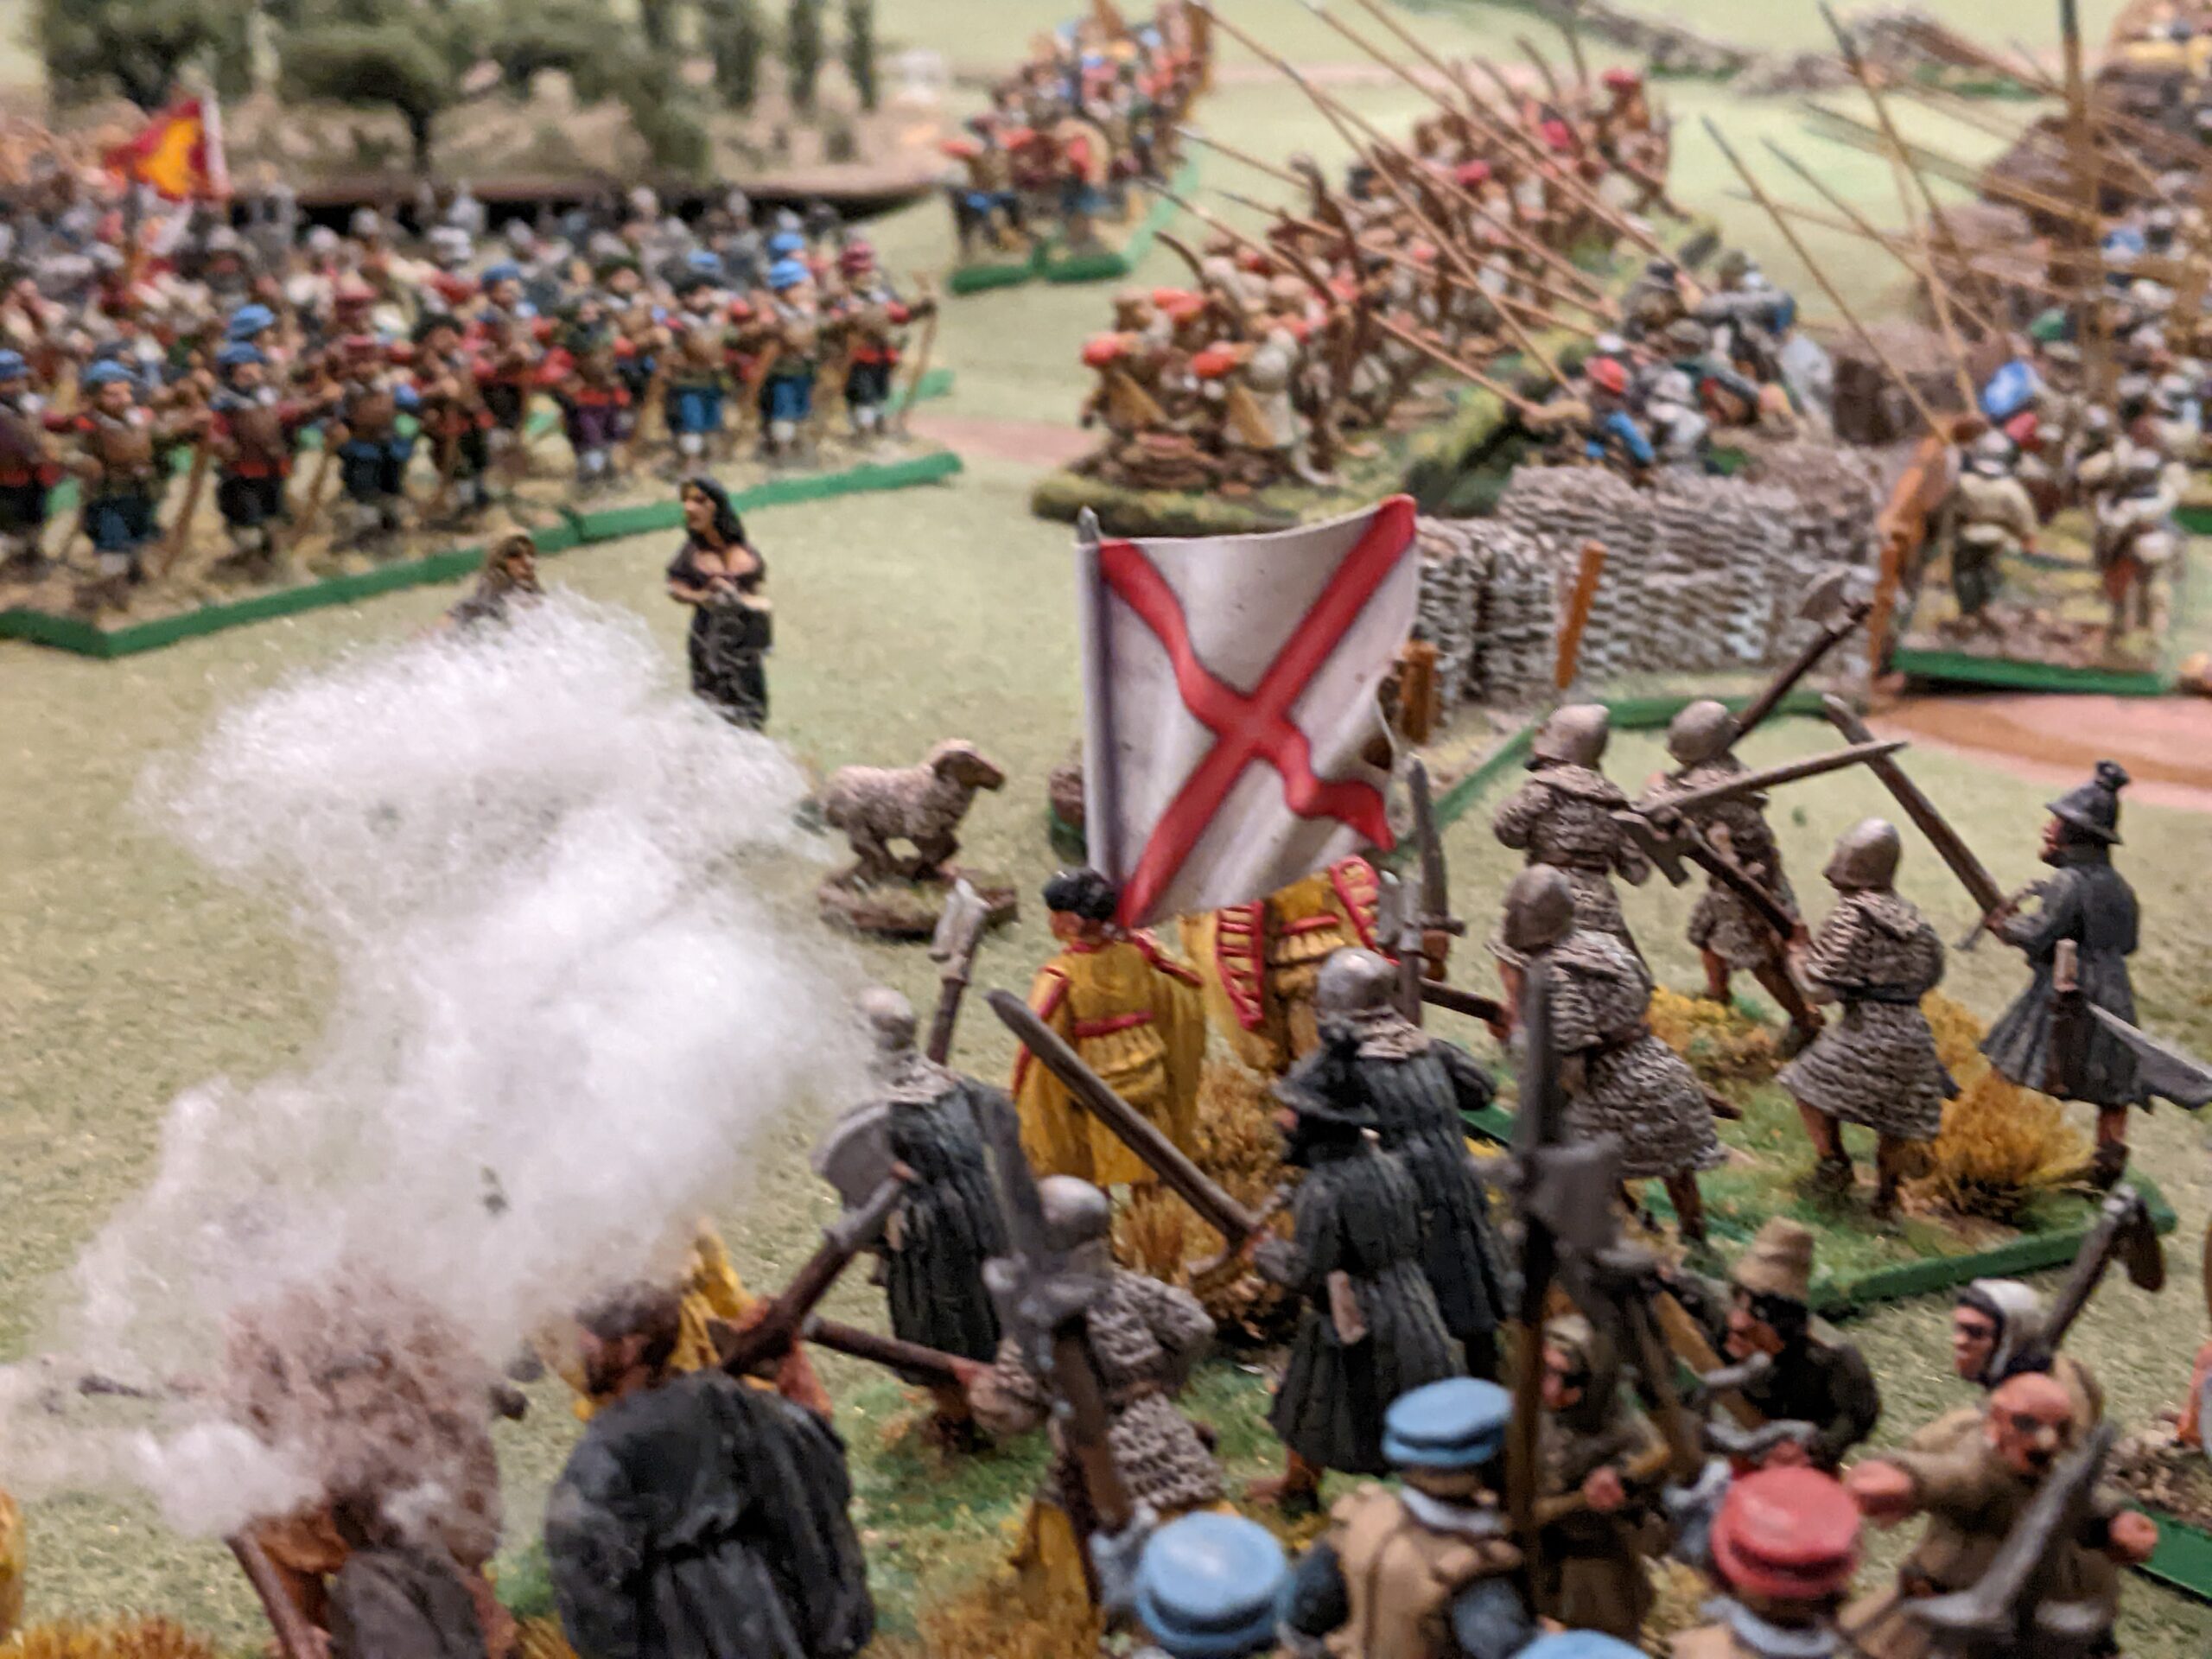
The English Foot started to get things moving under this barrage of abuse, and with some encouragement the southern attack started to go in with both Morasi’s and Howard’s battalias pouring fire on the defensive works and closing to assault. This much-anticipated shooting phase from Howard’s battalia was rather ruined by Colin’s appalling dice, and a flurry of 1’s (including all 4 of the shots from his large bowmen unit).
On the West Road, Alister’s dice rolling was cause for Scots merriment as they refused to move and seemed to be setting up camp despite the road being open to them as Crawford’s Scots originally positioned to defend the road had headed further north to offer aid against the marauding German Reiters.
The delays allowed Alan and Pete to consolidate the positions of the Erroll and Huntley units, with one of the pike blocks pushing over the earthworks to destroy a regiment of archers before retiring back to their positions.
The sedate pace of the English advance seemed to cause an outbreak of confidence in the Scottish camp and they started making aggressive moves of their own, even threatening charges against cavalry who had pushed into their lines from the north, as well as giving up strong defences to get to grips with the enemy. Unfortunately, this coincided with a change of fortunes for the English, and successful charges from the Noble Cavalry from the north and strong advance from the south (even by Alister this time) and suddenly the Scots were hard-pressed on both fronts. The Scottish horse were finally seen off by Dacre’s Horse (and some very ‘enthusiastic’ dice rolling from Robin) and English were in the guts of the Scottish positions.
As the battle drew to a close a final push up the hill into the teeth of the heavy guns by the English Noble cavalry (with only 1 Stamina point remaining) actually survived the hail of shot to capture the hill and ride down to gun crews. With all the Scottish units off the high ground, and the West Road now firmly in English hands the game was called.
Conclusion
A tactical victory for the English, but a probable strategic victory for the Scots. Although the Scottish army had given up the hill (and storehouse attached) all of the newly trained pike formations were still standing, and could march off to fight another day. The losses inflicted on the English, the Heavy Noble Horse in particular, would be difficult to replace and would make further campaigning for the English very tricky, even with their newly won supplies. It was pointed out, that Alister’s command of Stanley’s battalia had not taken a single casualty in the entire game! I’m guessing they may form a Forlorn Hope in future engagements in the campaign.
Thank you to the gamers who played with great spirit and sense of fun, and John for hosting (and feeding) us all.
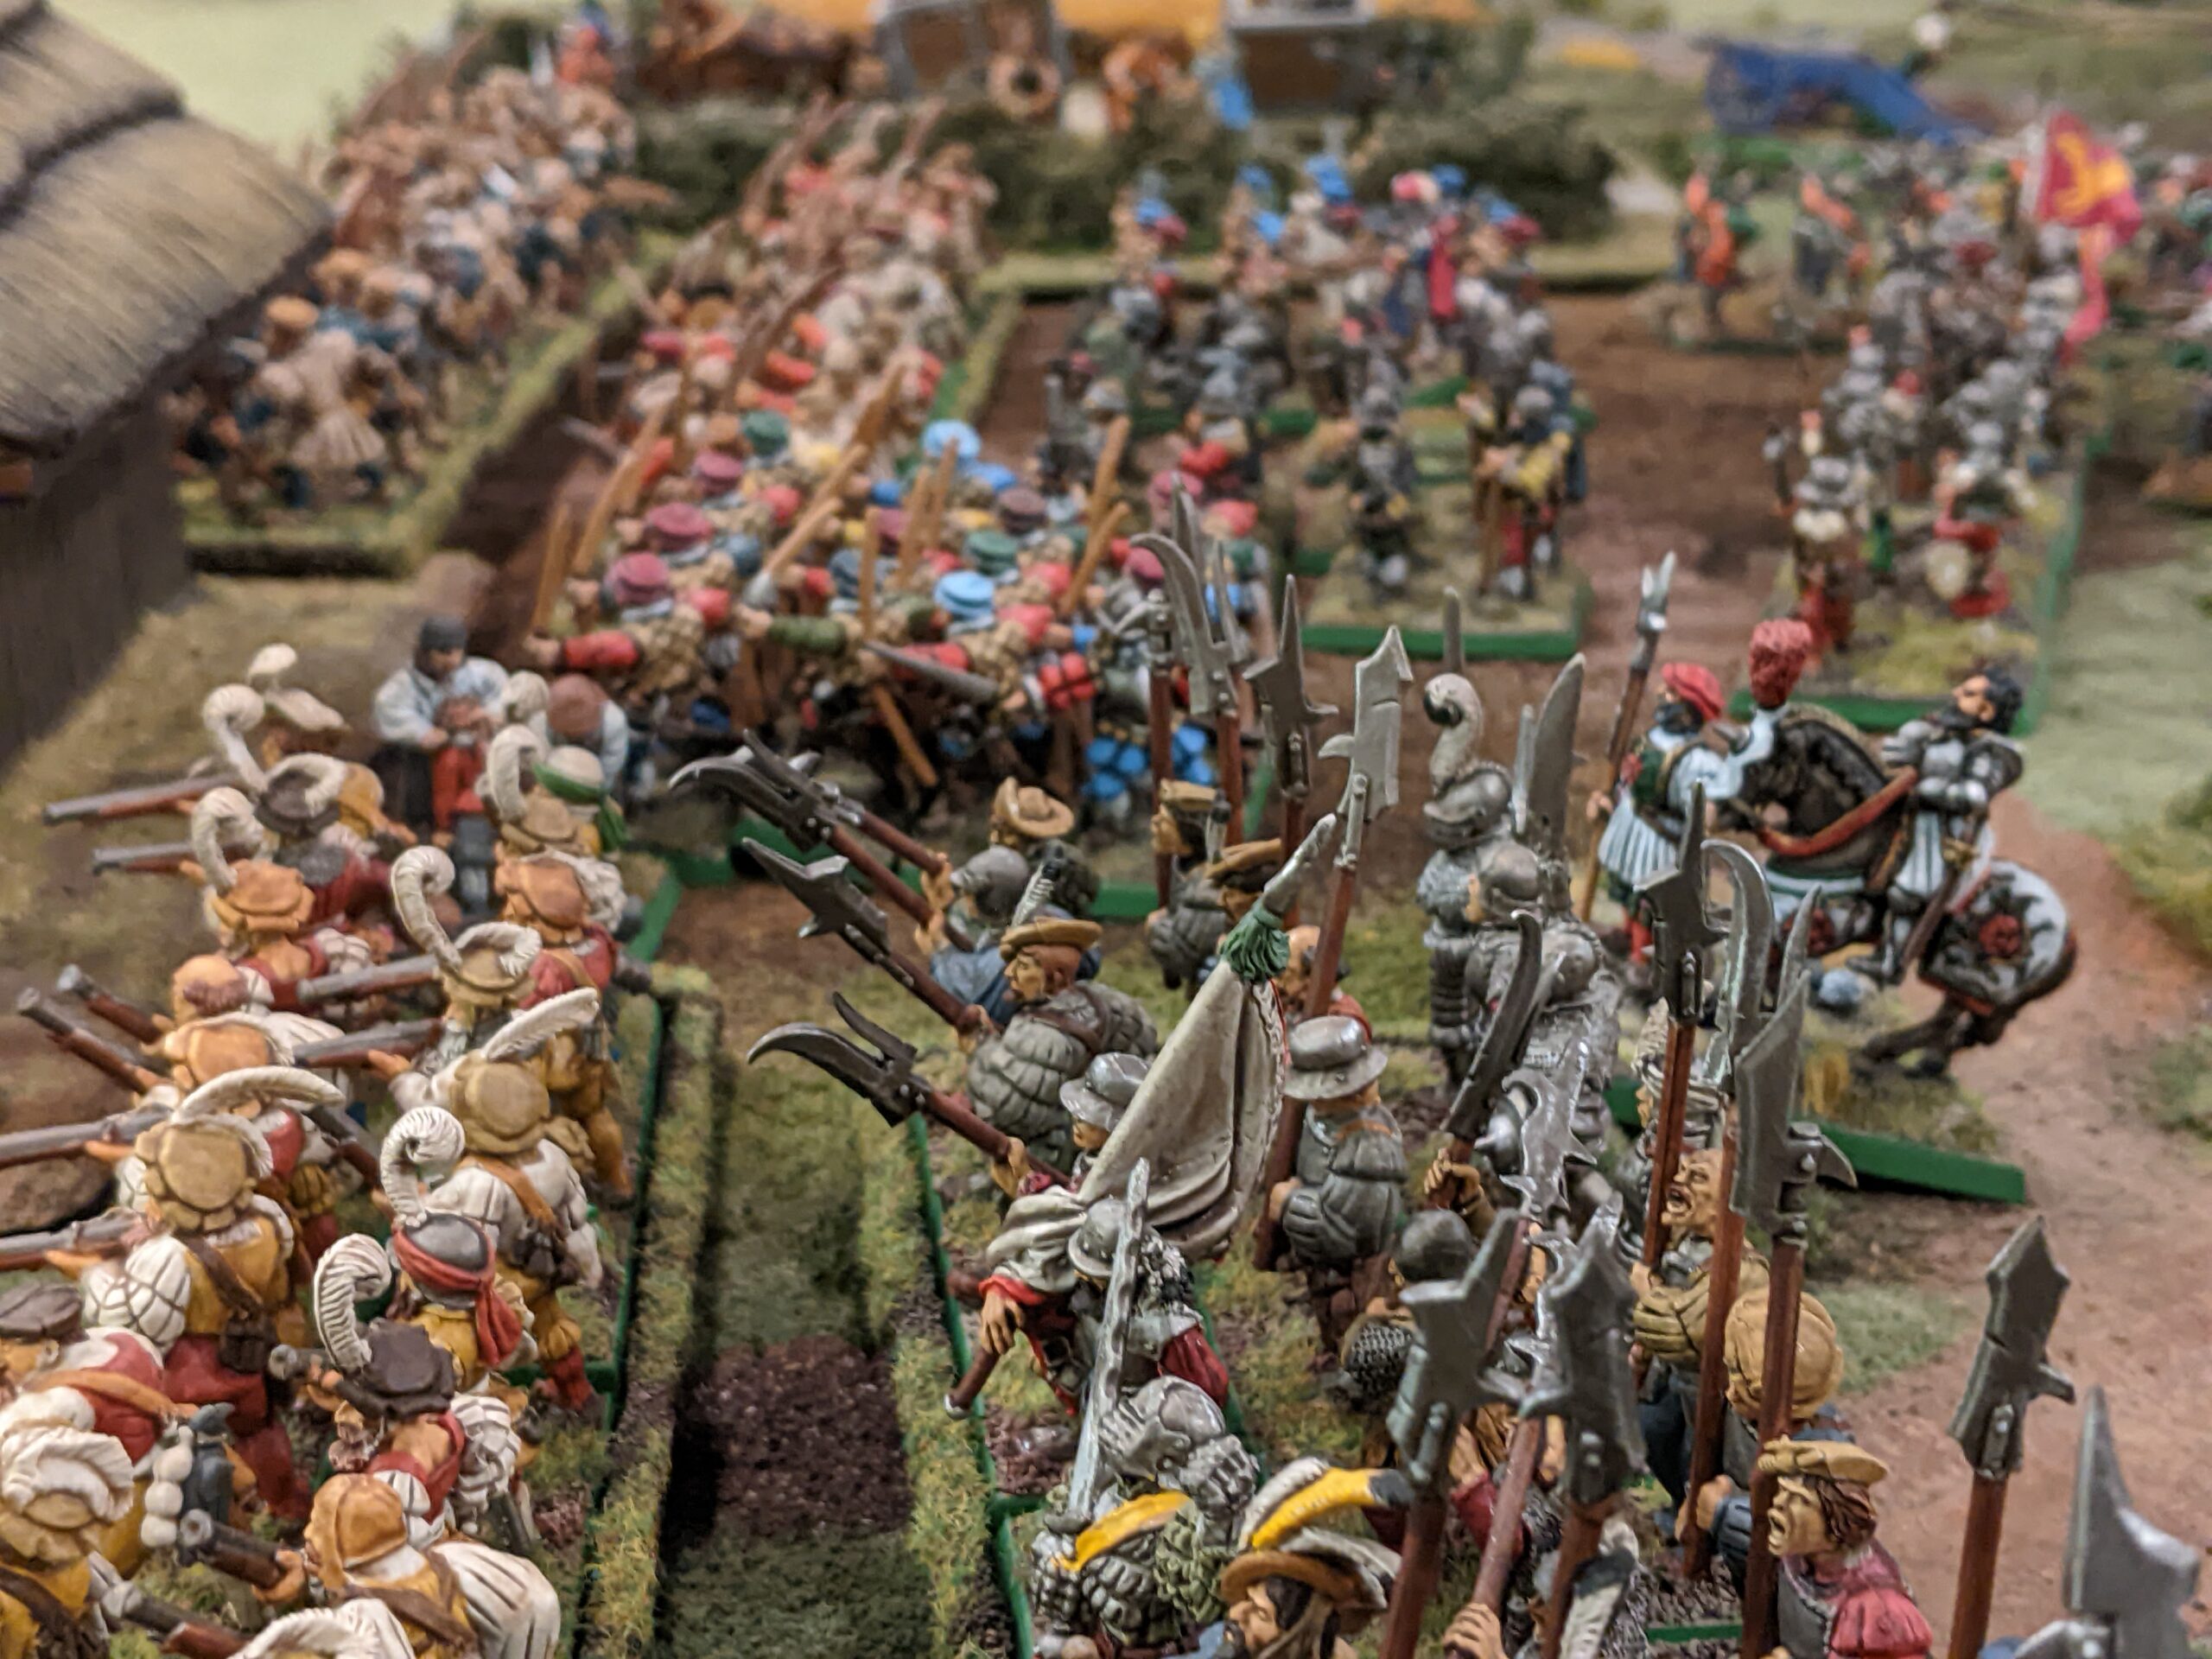
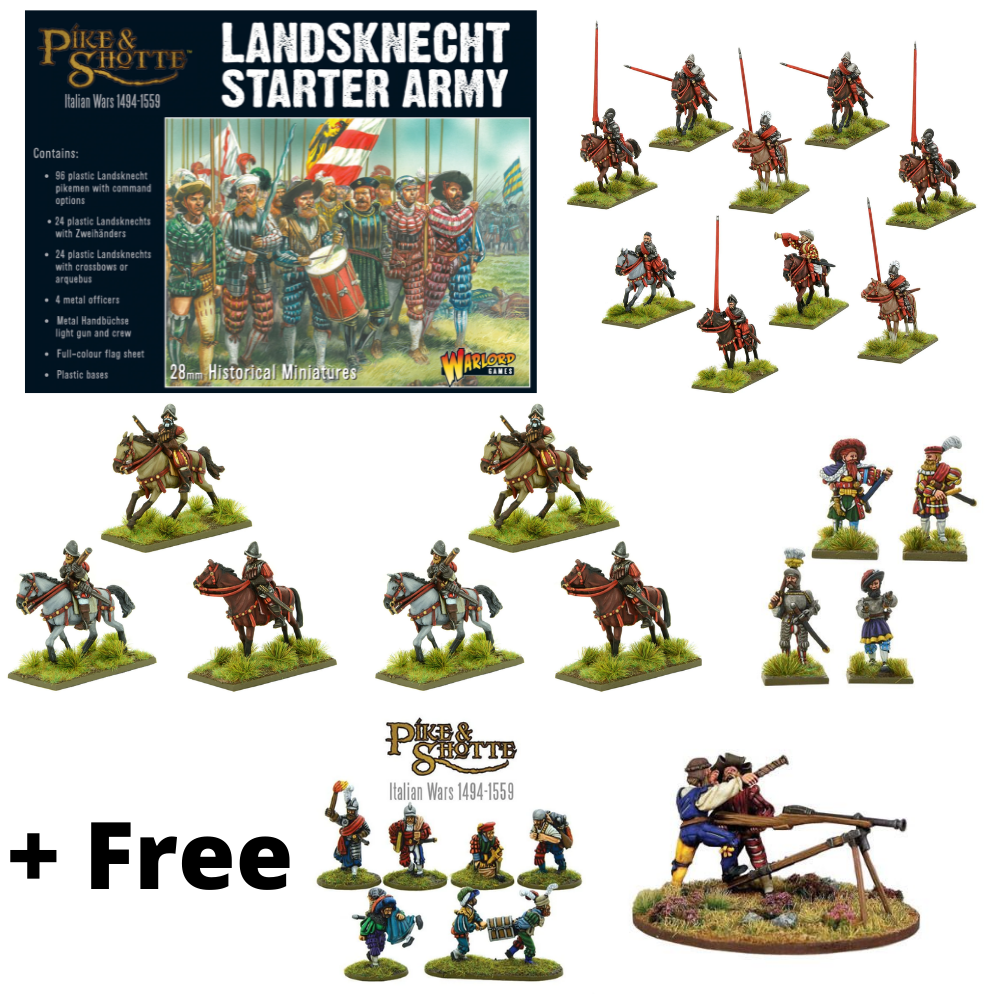
Start Collecting Landsknechts
A portion of the English Army featured in this battle report was composed of Italian mercenaries.
The late 15th and early 16th centuries in Europe were defined by near-constant warfare. National ‘standing armies’ were unheard of and the ambitions of empires were reliant on the mercenaries they could afford to hire.
Landsknechts were instigated by the Holy Roman Emperor, Maximillian I, as a reaction to the Swiss Mercenary Pikemen that had dominated battlefields for decades before the Italian Wars (1494-1559).
Over the course of the Italian Wars, however, the Landsknecht tactics adapted far more than the Swiss and the use of firearms in conjunction with the Pike would give them the edge, at least tactically.
This bundle is designed to get you started with a Landsknecht Pike & Shotte army. Anchored by a solid core of pikeman ably supported by missile troops to achieve the tactical edge that came to dominate the period of the 15th – 16th Century Italian Wars. We’ve included mobility by way of mounted Arquebusiers and Gendarmes, as well as officers to lead your new army.
Free with this bundle, you’ll also receive the highly characterful Looting Party as well as additional fire support by way of a Handsbuchse Light Gun.
2 comments
A great battle report and thanks for posting this. Any special rules for the Scottish as they aren’t featured in the Pike and Shotte book as an army list?
Love seeing renaissance content
keep it up
Comments are closed.