Grunts. Footsloggers. The Poor Bloody Infantry. These chaps are at the core of every Bolt Action force, and using them effectively can be the difference between victory and defeat. Learning how to command your infantry is a crucial skill that every Bolt Action player must master, and while there’s no single best way to do it, there are two basic playstyles that see your infantry behave quite differently. Let’s take a look at them!
Defensive Play
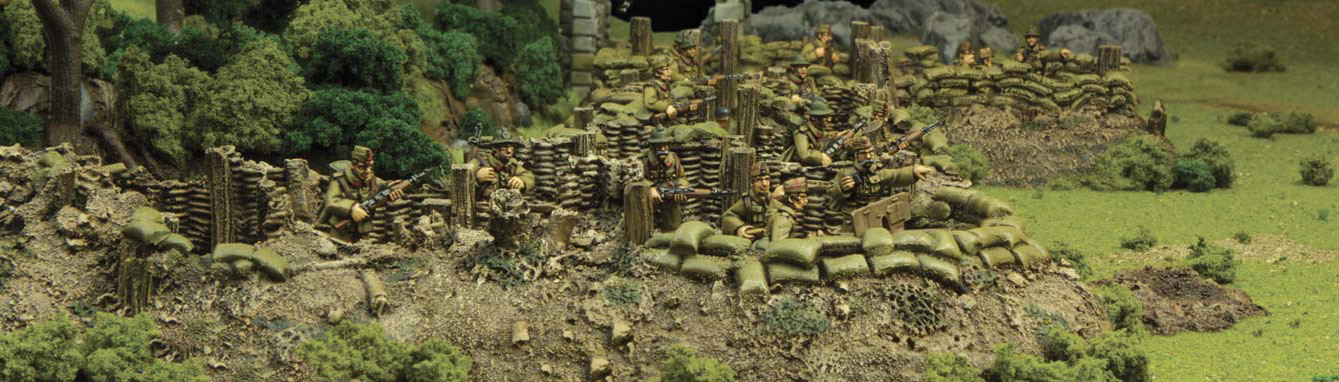
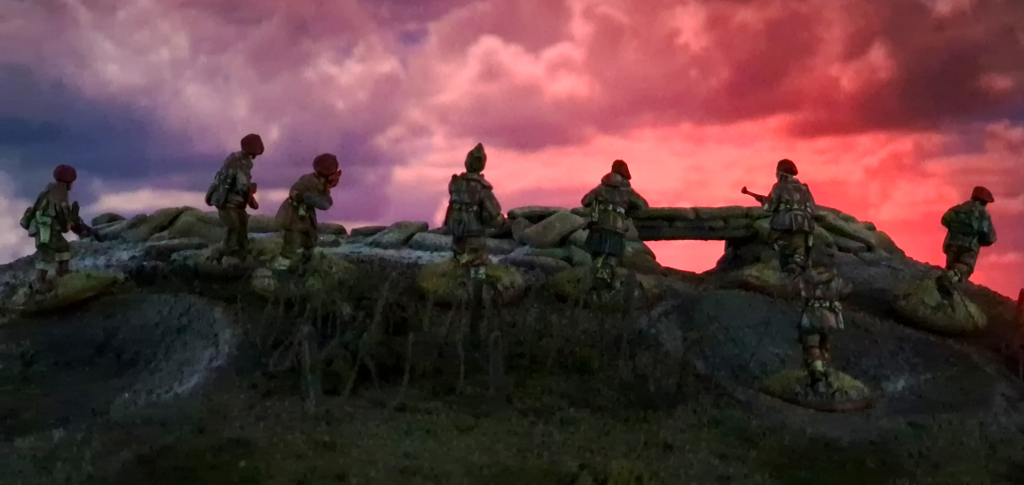
This style of play sees infantry making best use of the terrain and board layout to hold their ground and prevent the enemy from completing their missions – be that taking an objective, getting off a board edge, or simply destroying other units. Now, this doesn’t mean that your infantry should be passive and just sit behind the biggest piece of cover they can find, but it does mean that you need to be thinking about keeping them alive to do their job. That means moving to block enemy advances and take advantage of any mistakes (such as an enemy unit being caught in the open), staying out of the sights of any nasty anti-infantry units and keeping in as much cover as possible, while also making good use of the Ambush order with supporting units to block off areas of the table.
Every style of play is more suited to some types of infantry unit, and less to others. I’ve always found that defensive play suits Regulars and Veterans better than it does Inexperienced units. Firstly, there’s the simple matter of durability – Inexperienced troops are just a little too easy to kill for my liking – and in addition, you’re going to want to be shooting at the enemy, so the -1 to hit penalty for being Inexperienced isn’t ideal.
Similarly, the composition of the squads you’re using is important. If you’re planning to hold an objective or crucial piece of cover with a unit, it’s not much good spending a whole bunch of points on submachine guns. Consider a light machine gun or two to lay down longer-range firepower, enabling you to reach out and hit enemy units before they get too close, and save the SMGs for a ‘quick reaction’ squad to counterattack or deal with enemy breakthroughs. You also want to think about numbers – if a squad needs to hold onto an objective or position, it’s going to take plenty of incoming fire. A ten-man unit may be able to survive a few turns of being shot at where a five-man one wouldn’t. However, you don’t want to go too large – it’s not easy to hide a 20-man ‘blob’, or get 50% of them into cover!
You’ll need to watch out for key threats to your infantry here – indirect fire weapons in particular are a big killer, particularly against more static units. Don’t be afraid to move around to ‘break’ ranging in, or preferably – take out those spotters! Similarly, try to avoid bunching your units together wherever possible, as multiple launchers can absolutely decimate your infantry if they score a couple of hits. Snipers and counter-battery fire from your own heavy weapons are your friends, and remember, if you’re using your infantry defensively, you should probably be attacking with the other elements of your force!
Attacking Play
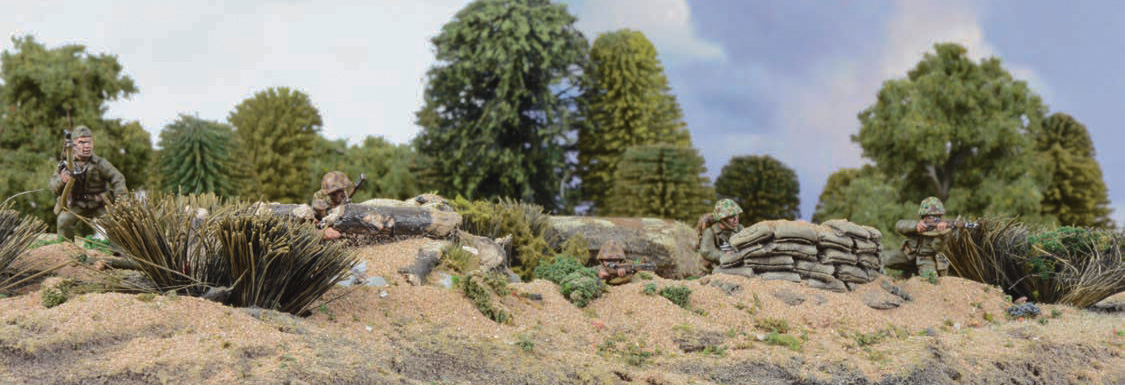
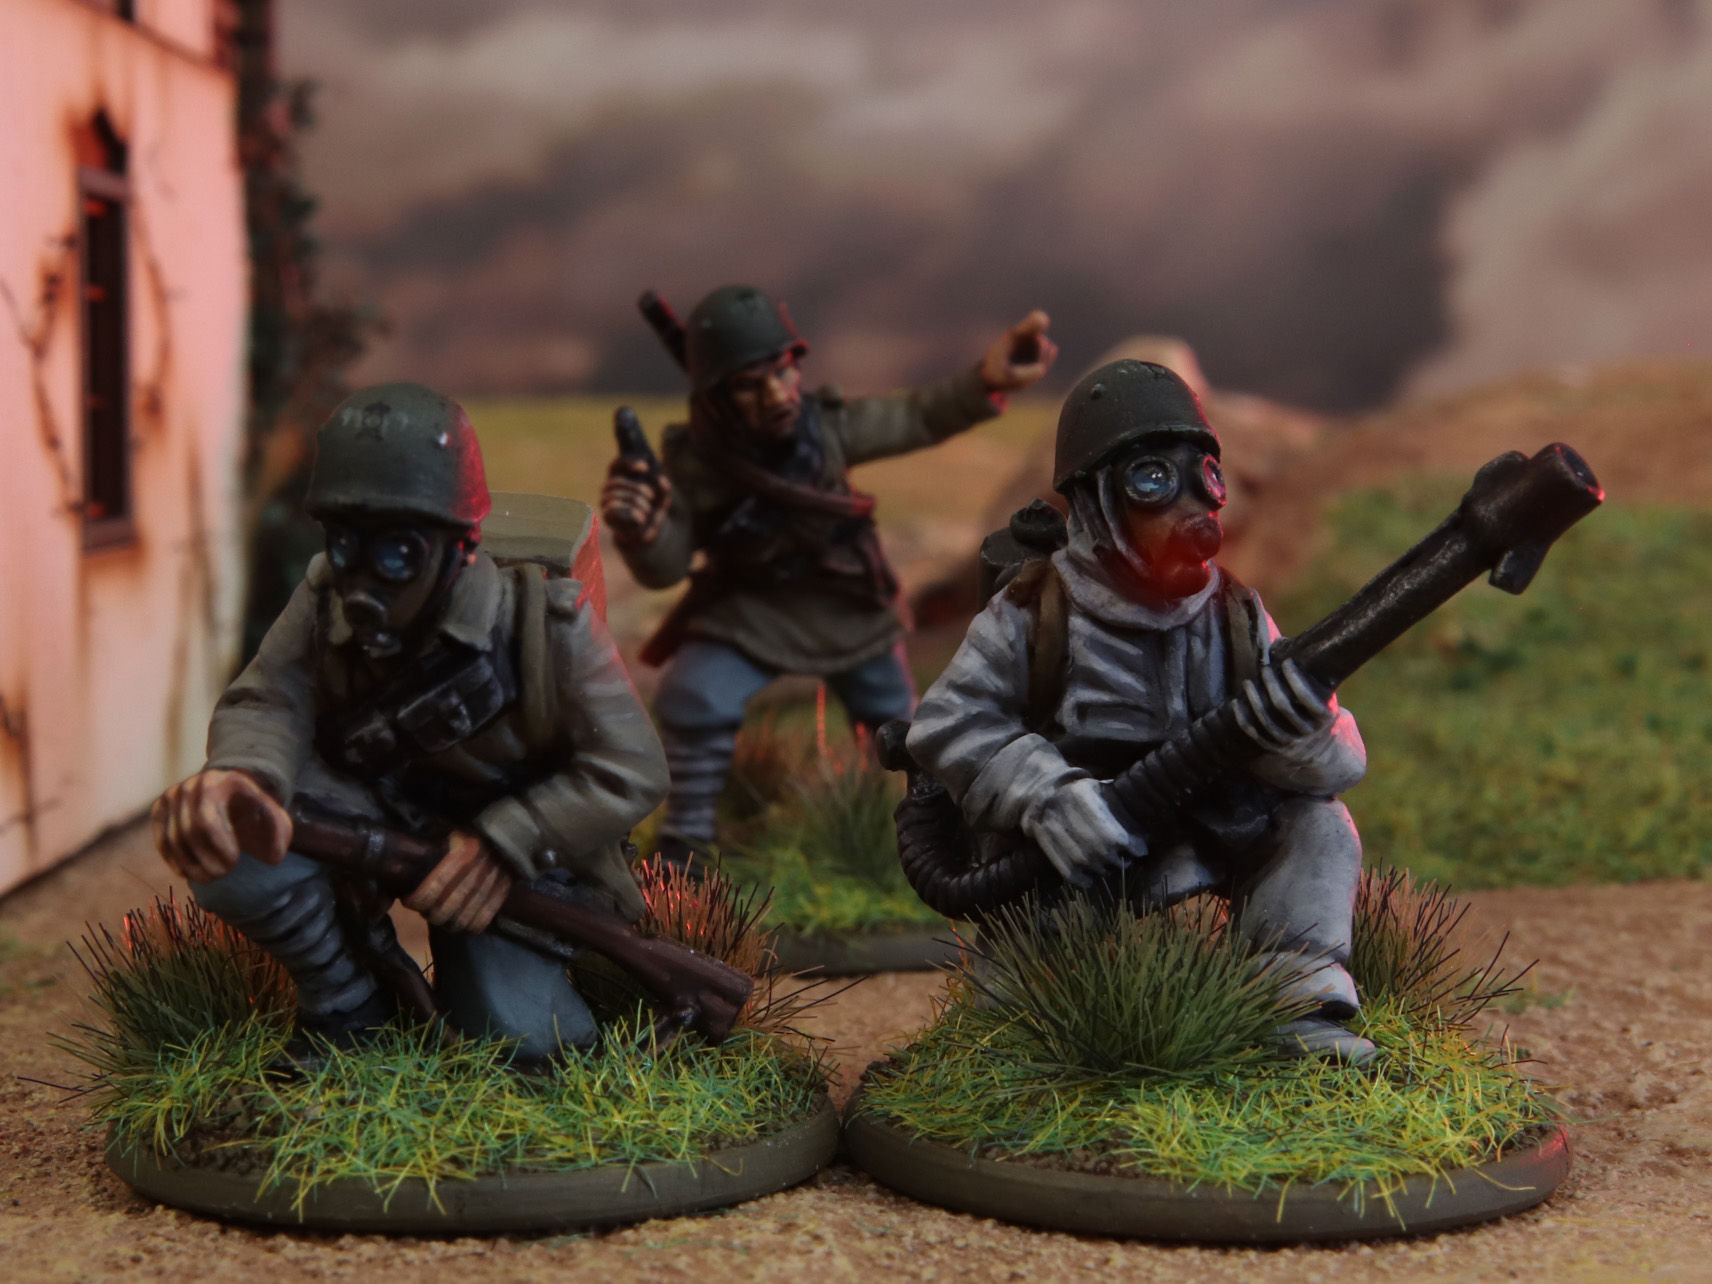
Sometimes you just need to get up close and personal with the enemy! Infantry are at the heart of any attacking gameplan, surging forward to seize objectives and destroy enemy units. The keys here are mobility and destructive power. You want to close with your opponent’s units, and destroy them, ideally as quickly as possible. This requires a rather different approach and mindset when constructing your units. As we know (and many of us have learned the hard way!), massed SMGs at point-blank range are absolutely lethal in Third Edition, and one of the most effective ways to get rid of enemy infantry. Sometimes you really do just need a unit to go away – 10 or 20 shots hitting on 2s or 3s will do just that! Don’t underestimate the humble rifle and LMG either – they can be a great lower-cost option for putting out damage, particularly against smaller units.
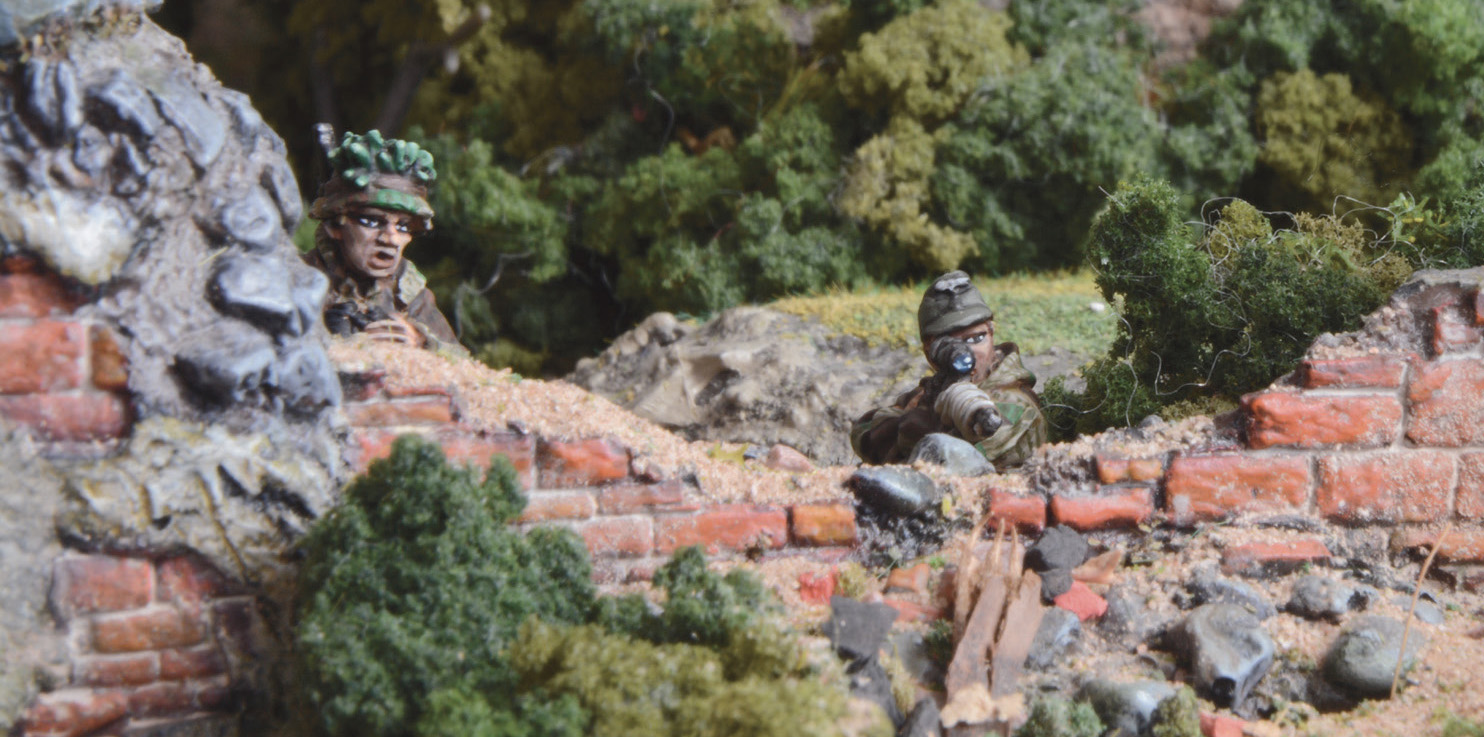
Now, this isn’t just a blind rush headlong across the board. As with a defensive strategy, you’ll still want to make best possible use of cover and line of sight blocking terrain as you close in on the foe. A great way to get across the board without being shot is to simply not be on the board at all! In missions which allow Outflanking, appearing from one of the short table edges much closer to the enemy (or even behind them, in some cases!) can be an incredibly powerful way to deploy your troops right into the thick of the action. Remember, you can enter the board on an Advance order, which means you can march right up to a target and open fire. Just be sure to watch out for enemy units on Ambush, and don’t forget that you can be just as vulnerable if your opponent has outflanking units of their own!
Veteran units are often best-suited to this tactic, as they’ve got the best chance of passing the test to get onto the board, and can usually take the most automatic weapons. This is a place where small, tooled-up squads can often have the maximum impact on the tabletop, and Engineers with flamethrowers also really shine here. Close Quarters can also be a viable option, particularly if you’re using squads with Tough Fighters or Fanatics, but that brings its own risks, and needs to be very carefully considered indeed.
For those who prefer to keep their models on the table, but still want to get stuck in – consider giving them a ride! Armoured transports in particular are a great way to get your troops across the board in relative safety, and can often chip in with some supporting firepower of their own. Units of any experience level can really benefit from being transported, whether they’re hard-core Veterans or cheap and cheerful hordes of Inexperienced troops. I particularly enjoy putting a lone Platoon Commander and a small squad of SMG-toting Veterans or flamethrowing Engineers into a half-track, and with one fell You Men, Snap to Action! springing them across the table to deal out some damage. Be careful, though – this can easily leave your troops exposed if you don’t support them!
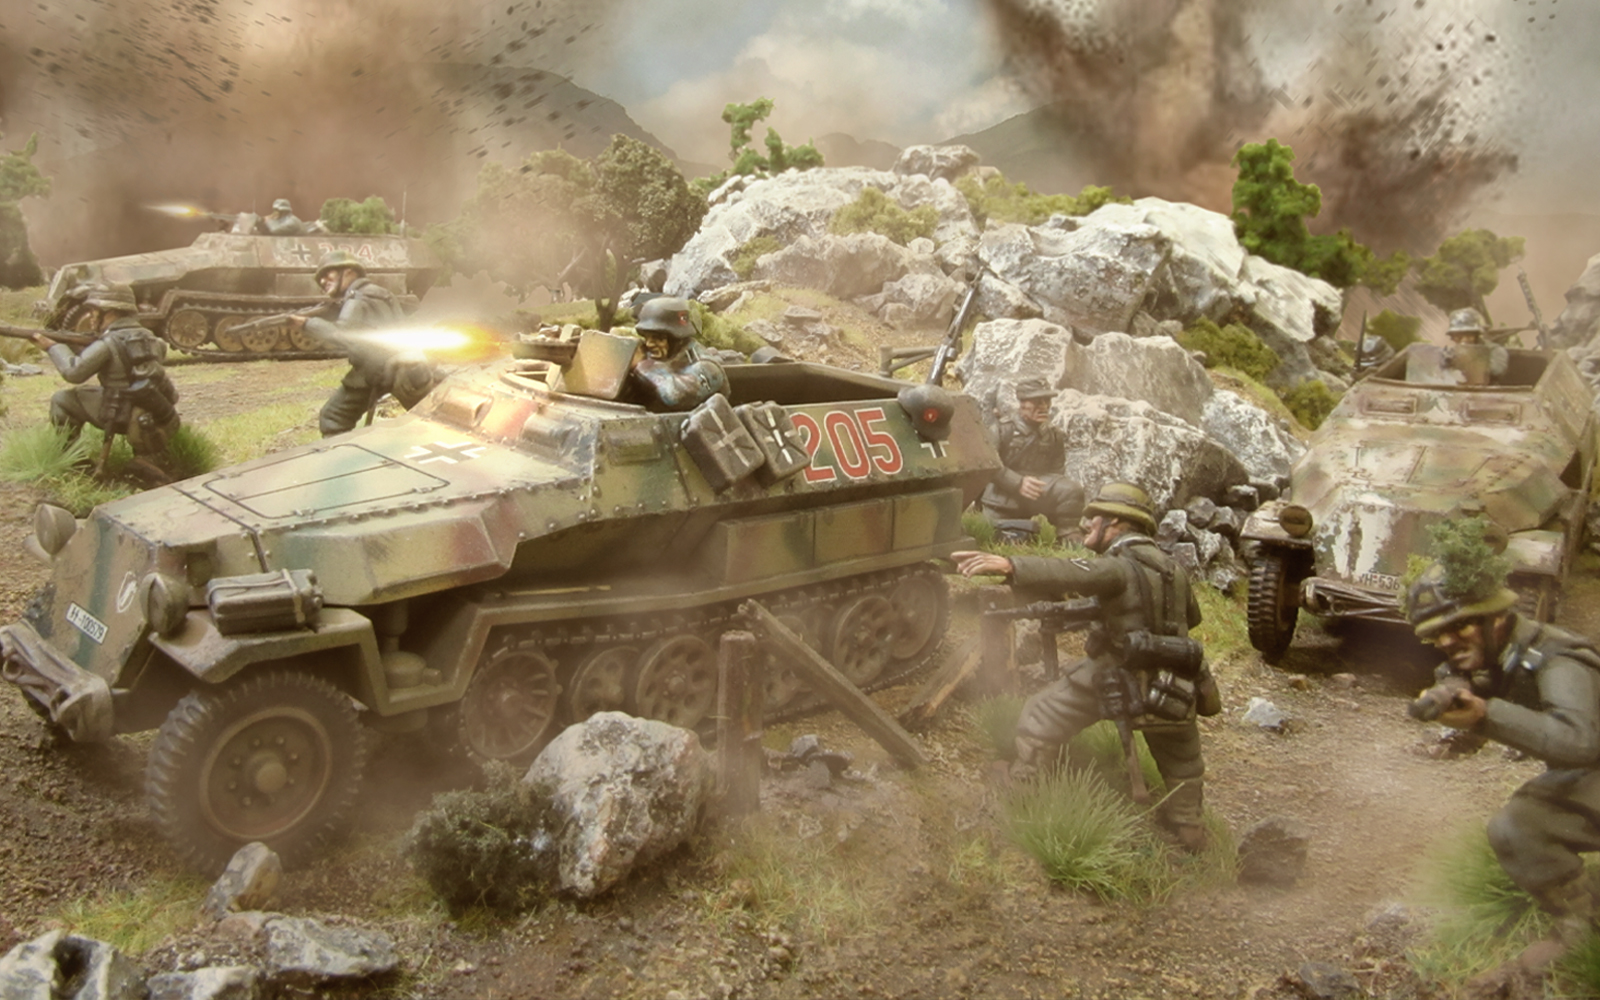
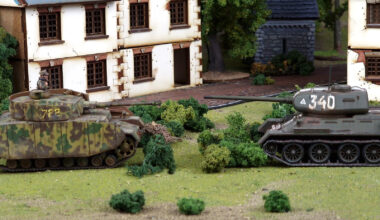
The half-tracks lead the attack!
This is just the tip of a very, very large iceberg when it comes to utilising your infantry – there’s a whole world of sneaky tricks and brave gambits out there to exploit, but at its core it all boils down to a choice – will you attack, or will you defend?