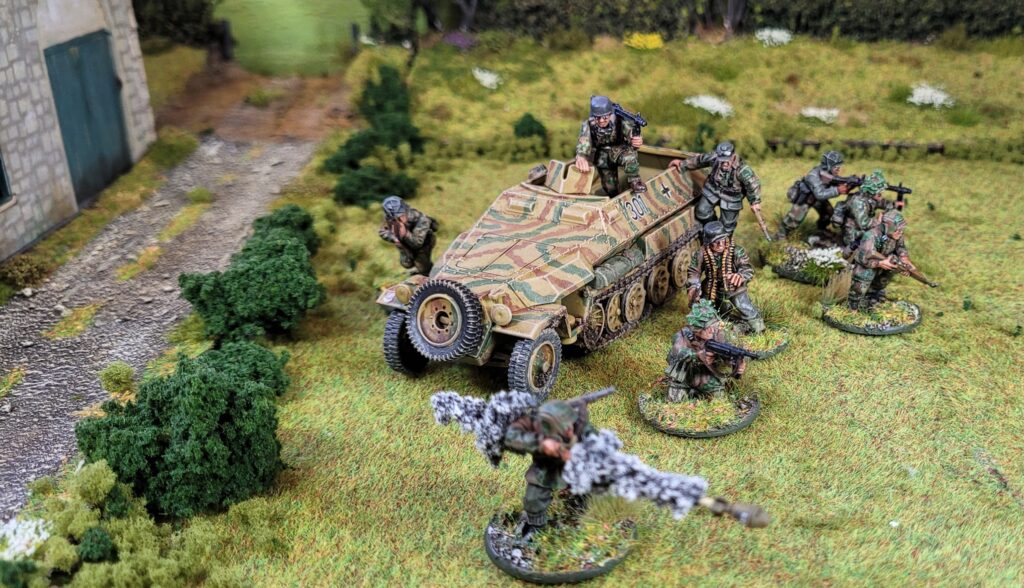
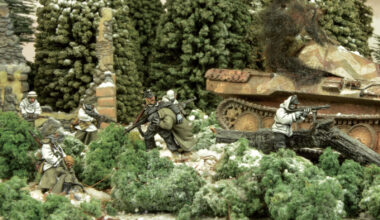
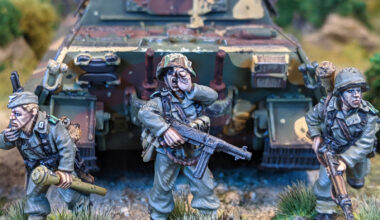
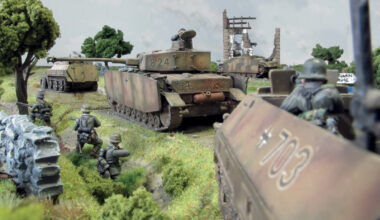
A couple of years ago I found myself greatly inspired to make a German Recce unit having seen photos of Bryan Cook’s Motorcycle and sidecar teams which feature in the Fortress Budapest campaign book (see below). My aim was for a 12th SS Hitlerjugend Reconnaissance battalion army (find rules for this in D-Day: British & Canadian Sectors) as part of my ongoing passion for the Normandy campaign. I also found inspiration from the Warlord Metal Firing Panzerfaust figure and the Dismounting Panzergrenadier figures. I wanted a force that looked as if it was reacting to contact or to an ambush.
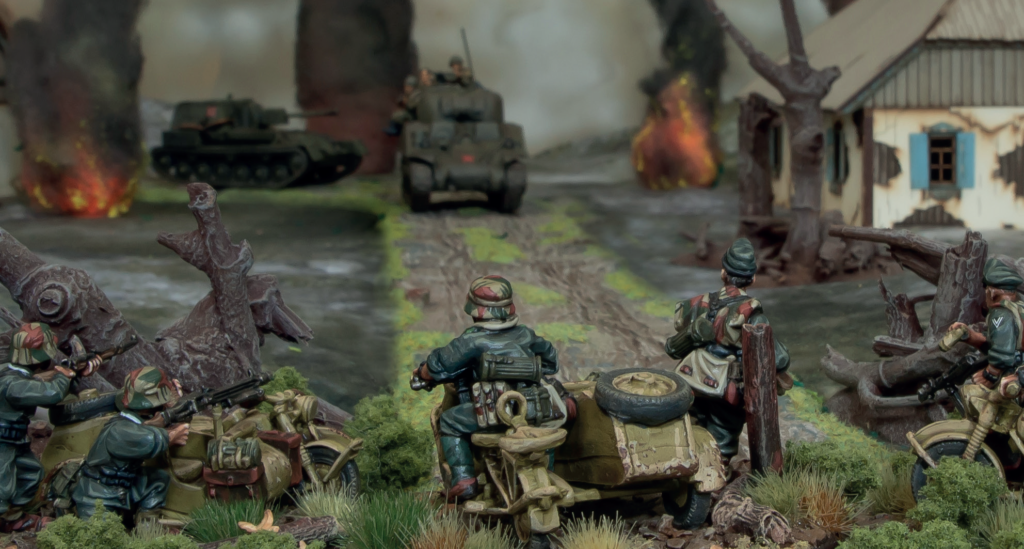
I have a thing about plastic so the aim was to maximise the use of it throughout the force for both figures and vehicles. Though this was only partially successful with the vehicles, I managed to totally remain on point with the figures. To keep with this trend I attempted to recreate the firing Panzerfaust in plastic.
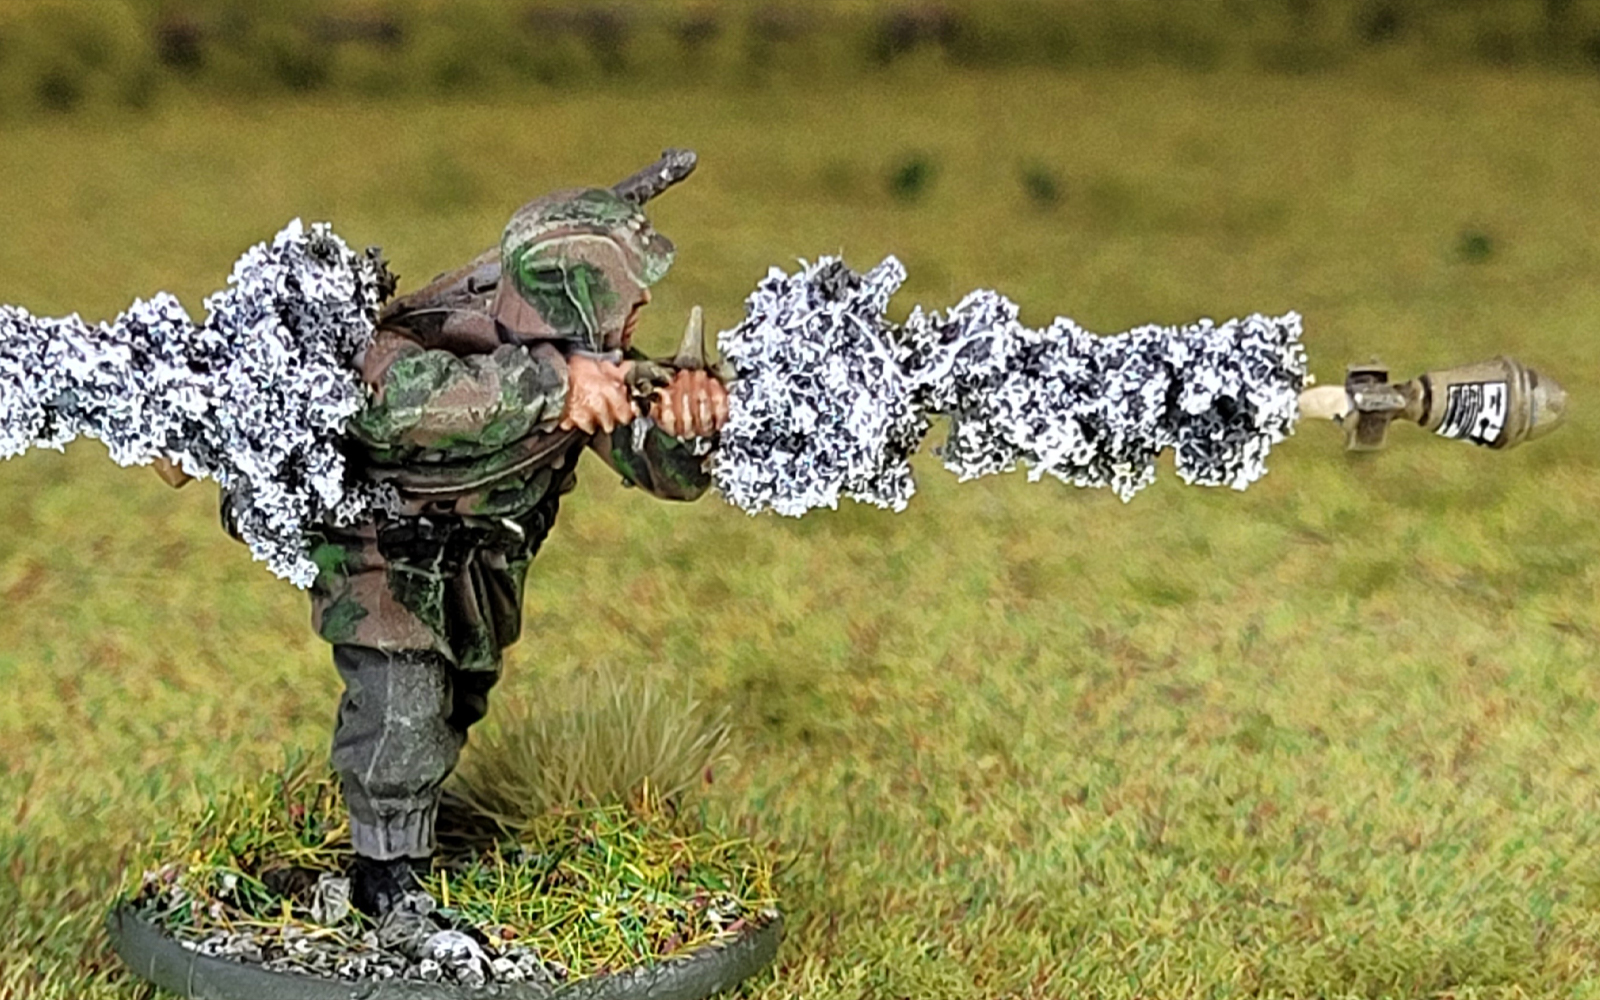
You can’t have a late-war German army without Panzerfausts – it simply wouldn’t be right. While the various German Bolt Action sprues feature them being carried, or on the point of firing, for example, I wanted to recapture the drama of the launch itself. A little bit of trial and error followed; largely research into historical examples of it being fired, both still photography and more modern videos fit the bill. There is a reasonable amount of smoke, but it does disperse quickly.
Since I would be modelling the army as a ‘moment in time’, in the process of an ambush where vehicle crews are in the midst of dismounting and seeking cover, I thought it perfectly acceptable to capture the shot of the Panzerfaust at its most dramatic too- AKA the point when you see the most smoke! I found that it wasn’t actually as difficult a process as might have been imagined. The second example which I whipped up for this tutorial took approximately half an hour to complete (accounting for some drying time. So, want to capture the drama yourself?
You’ll need:
- A Figure of your choice.
- Panzerfaust arms- SS or PZ Grenadier
- Length of Floral wire
- Thin Plasticard
- Foam flock.
- Scalpel or blade of choice
- Pin vice and small drill bit.
- Tweezers
- Superglue
- PVA / Water 50:50 mix
The Method
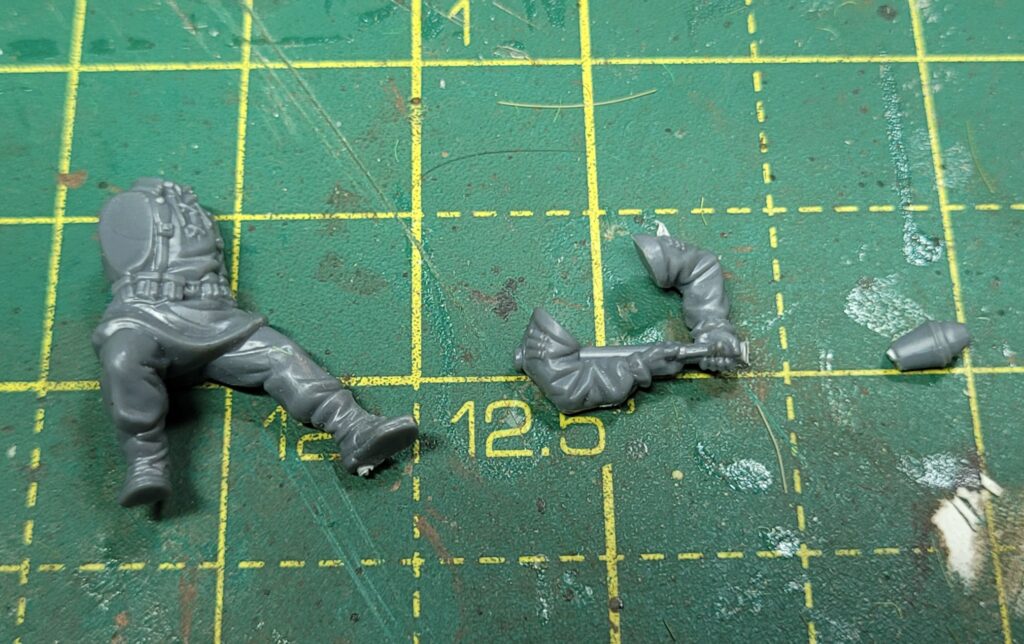
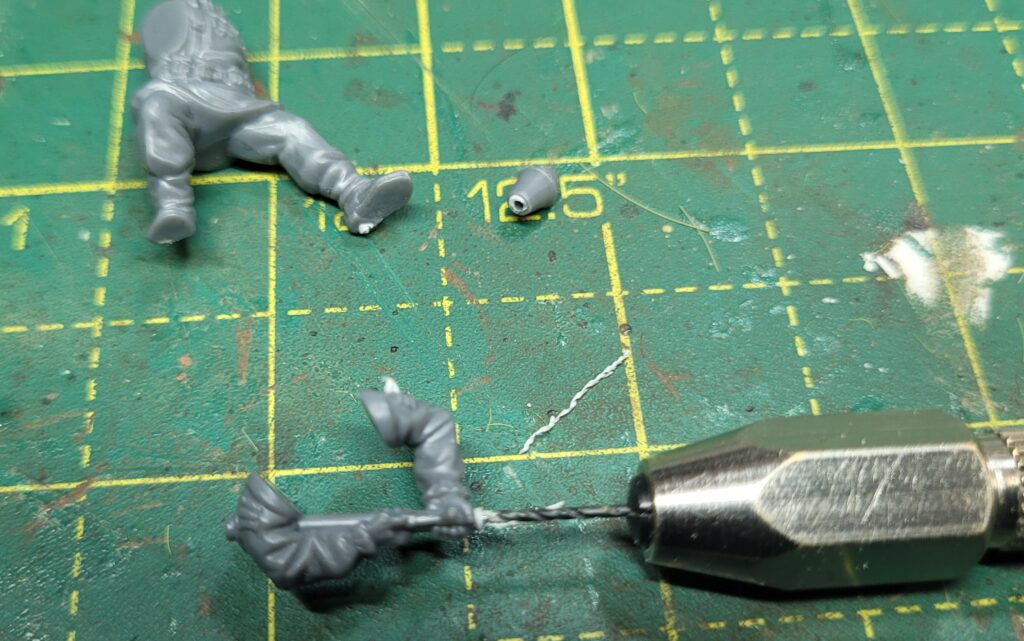
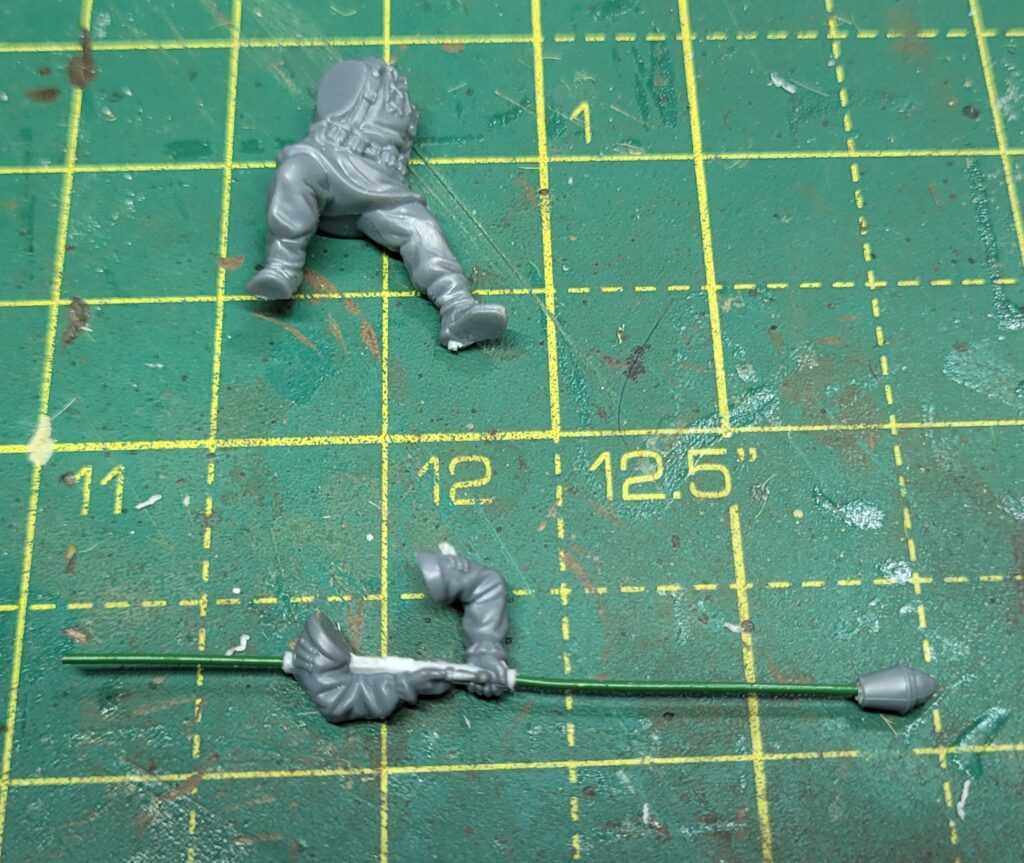
Cut the business end of the Faust and set it aside. Drill a small hole in the warhead to the size of your floral wire.
Drill through the full length of the launch tube, all the way through, this is the tricky bit, and you will note the white ‘distressed’ look on the picture here. That’s because I wasn’t able to get the angle absolutely right and started to drill through the side, so I started at the other end too and met the hole I had already drilled midway. When I first experimented with this, I did try to part drill each end and use 2 bits of wire, but it didn’t align correctly and didn’t look right, so although it’s quite fiddly it’s still worth doing it this way. One advantage of this particular set of arms is that once in place any slight damage isn’t really noticeable and certainly when painted will just disappear.
Superglue the warhead on. I didn’t actually glue the wire in place through the tube, the addition of the smoke will secure it.
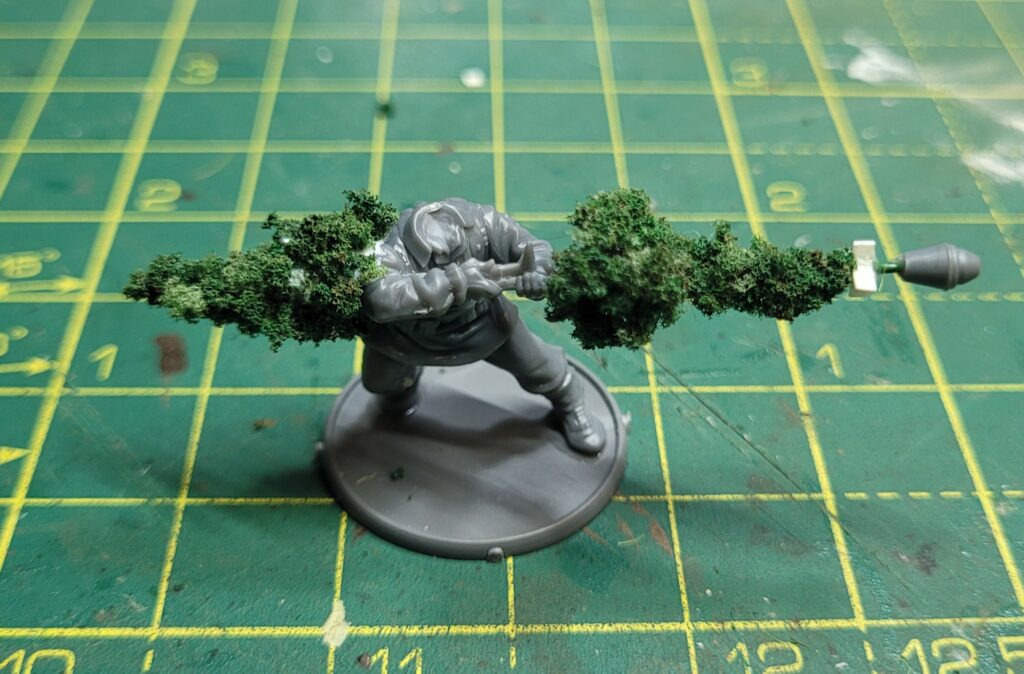
Cut fins from the plasticard. They are really simple, just small rectangles. Glue them as a square around the wire as per the image here – strongly recommend the use of Tweezers for this.
Smoke time. Coat the wire in superglue, gel I find works best. Attach your flock to it. I did this in 2 stages. Firstly, evenly along the wire and then built up at both ends of the launch tube. For the second stage, I used PVA rather than superglue; it’s a bit more forgiving when making adjustments. Then soak all the flock in watered down PVA and leave to dry.
So that’s it- add the extra parts, head, rifle, field gear and deploy against that pesky Sherman. Paint the smoke up to personal taste – I sprayed it black, and progressively dry-brushed with grey and then white.
I hope this will inspire you to try a bit of converting, after all, that is the beauty of plastic figures, the possibilities are endless, and drama can be added aplenty.
Words and images by Andy Lilof – to see more of his wargaming and hobby adventures take a look at his blog: Able65.co.uk
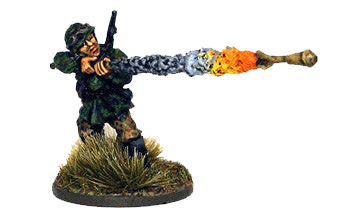
To celebrate Andy’s efforts we have once again made available the original metal model that inspired him.

1 comment
That mini looks SO cool!!!
Comments are closed.