With so many new people coming into the Bolt Action hobby, we thought it would be a good idea to help people get started. Jim’s written a series of articles based on his own experiences starting out in Bolt Action. In this one, he’s starting out with the British, and looking at how their plastic infantry boxes can be used to get the basic building blocks of a force quickly and easily. It helps that we only rescued Jim from a life of corporate servitude relatively recently, so he’s got first-hand experience of starting Bolt Action pretty fresh in his mind!
The most common question I see on social media is “I’ve bought my first plastic infantry platoon and the kit looks great, but I’m a bit overwhelmed with all the options, where do I start?” In an age where most plastic kits are ‘monopose’ and can only be built one way, the possibilities that the Bolt Action infantry sets offer can seem a bit daunting at first. Stuart from Tesseract Miniature Studios does a good job summarising the differences in this video.
The Bolt Action community are, on the whole, a very helpful bunch, but advice can sometimes be contradictory because everyone has a different way of approaching the hobby, and they tend to see the choices through their own preferences. Some people focus on historical accuracy, others on optimising for competitive games, and this can leave the new player even more overwhelmed with options.
There are over 30 plastic infantry platoons available for Bolt Action, and though every one has a different range of weapons and equipment, what they all have in common is that they allow you to build an infantry platoon which at minimum consists of two or more infantry squads, made up predominantly of soldiers with rifles, and an officer to lead them. Many of them also allow you to build support teams like snipers, light mortars, various anti-tank weapons, machine gun teams and even flamethrowers, but these are all optional.
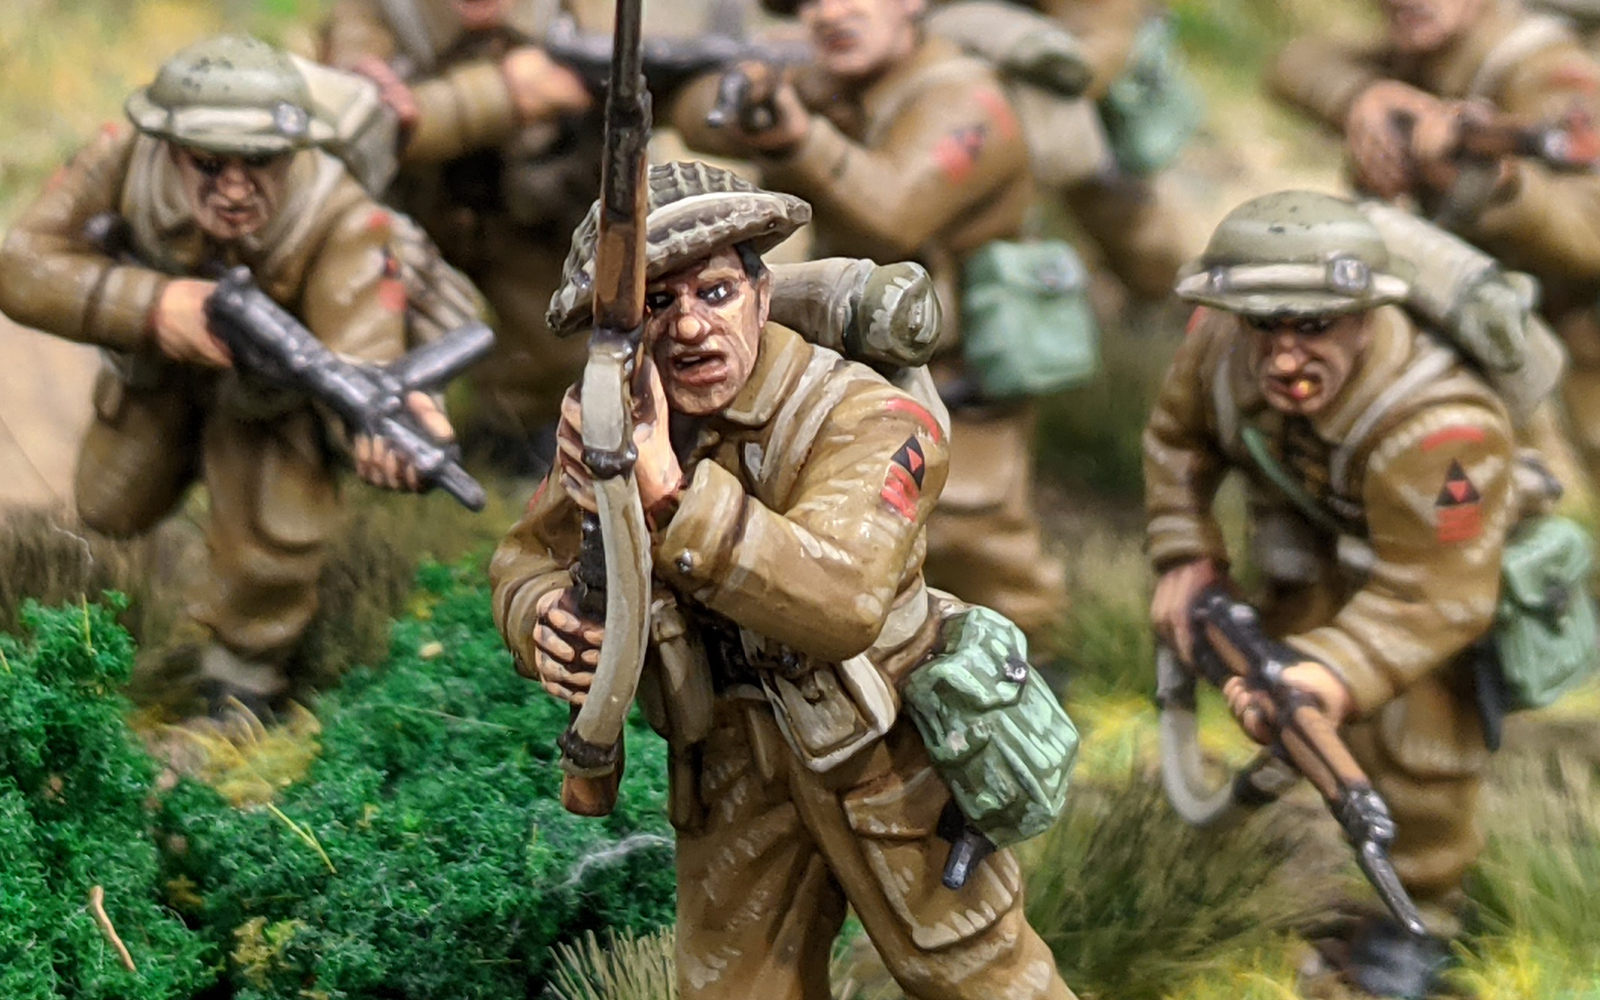
When starting out building a Bolt Action army, the best place to start is with your first infantry squad. You’ll need plenty of these in your army, and it’s a great way to learn what’s on the frame so you can start planning the rest of your force. (As a great woman once told me – if in doubt, build more riflemen! -ed.) Let’s take a simple example to illustrate: we’ll use the British & Canadian Army Infantry box to make a rifle squad.
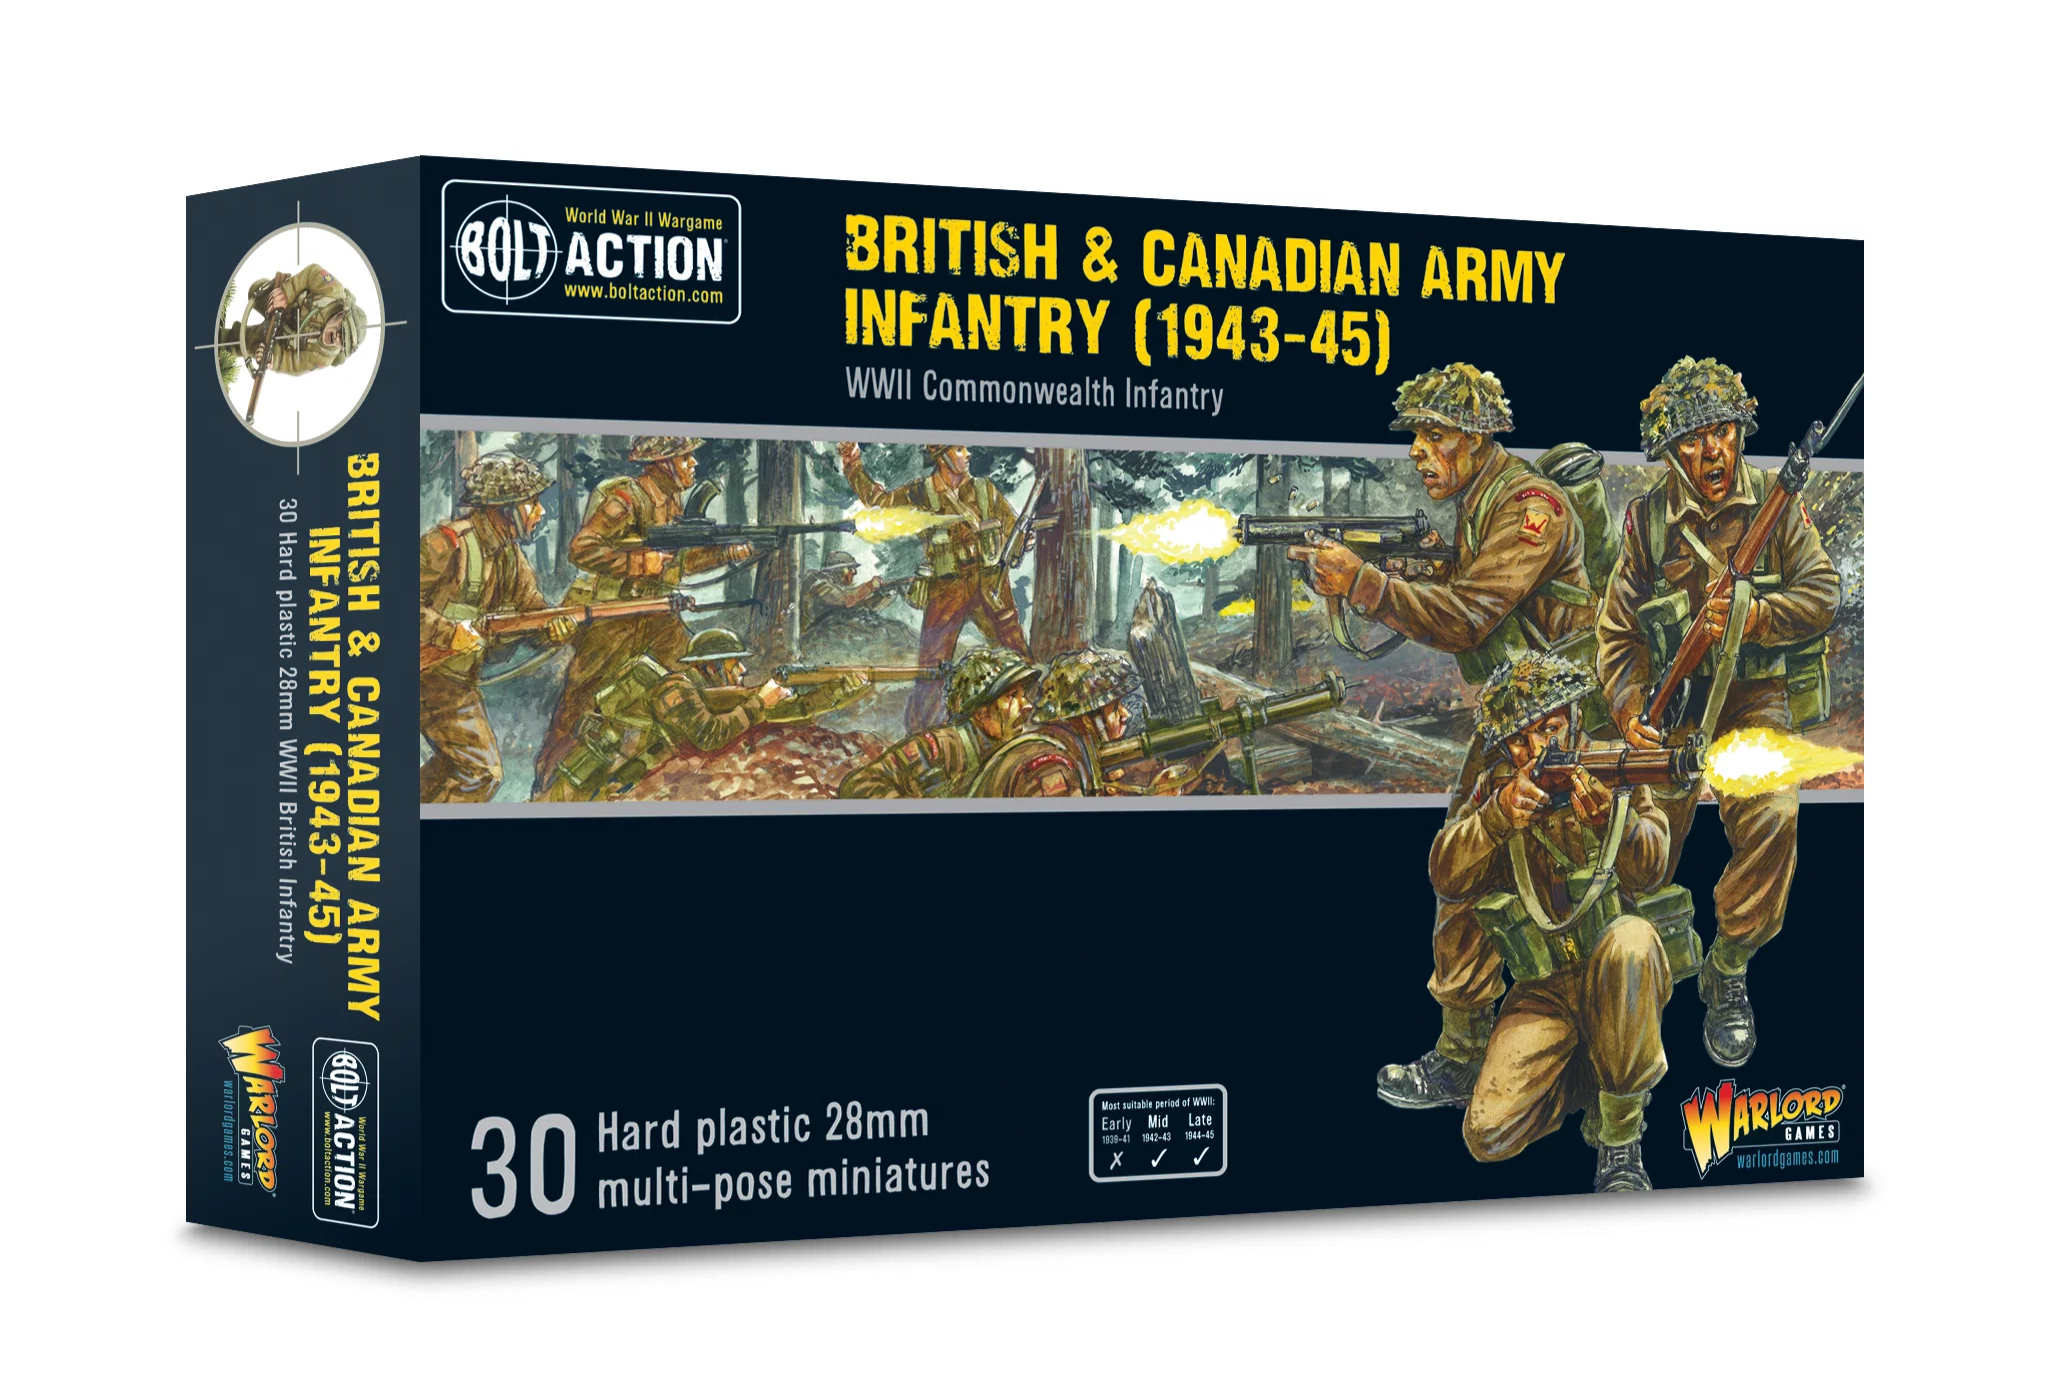
With 5 sprues, each containing enough parts to make 6 soldiers, you have enough to make an infantry platoon, with a commander (who can have a handful of bodyguards) plus a few infantry squads and, optionally, some weapons teams. Let’s look closely at the sprue:
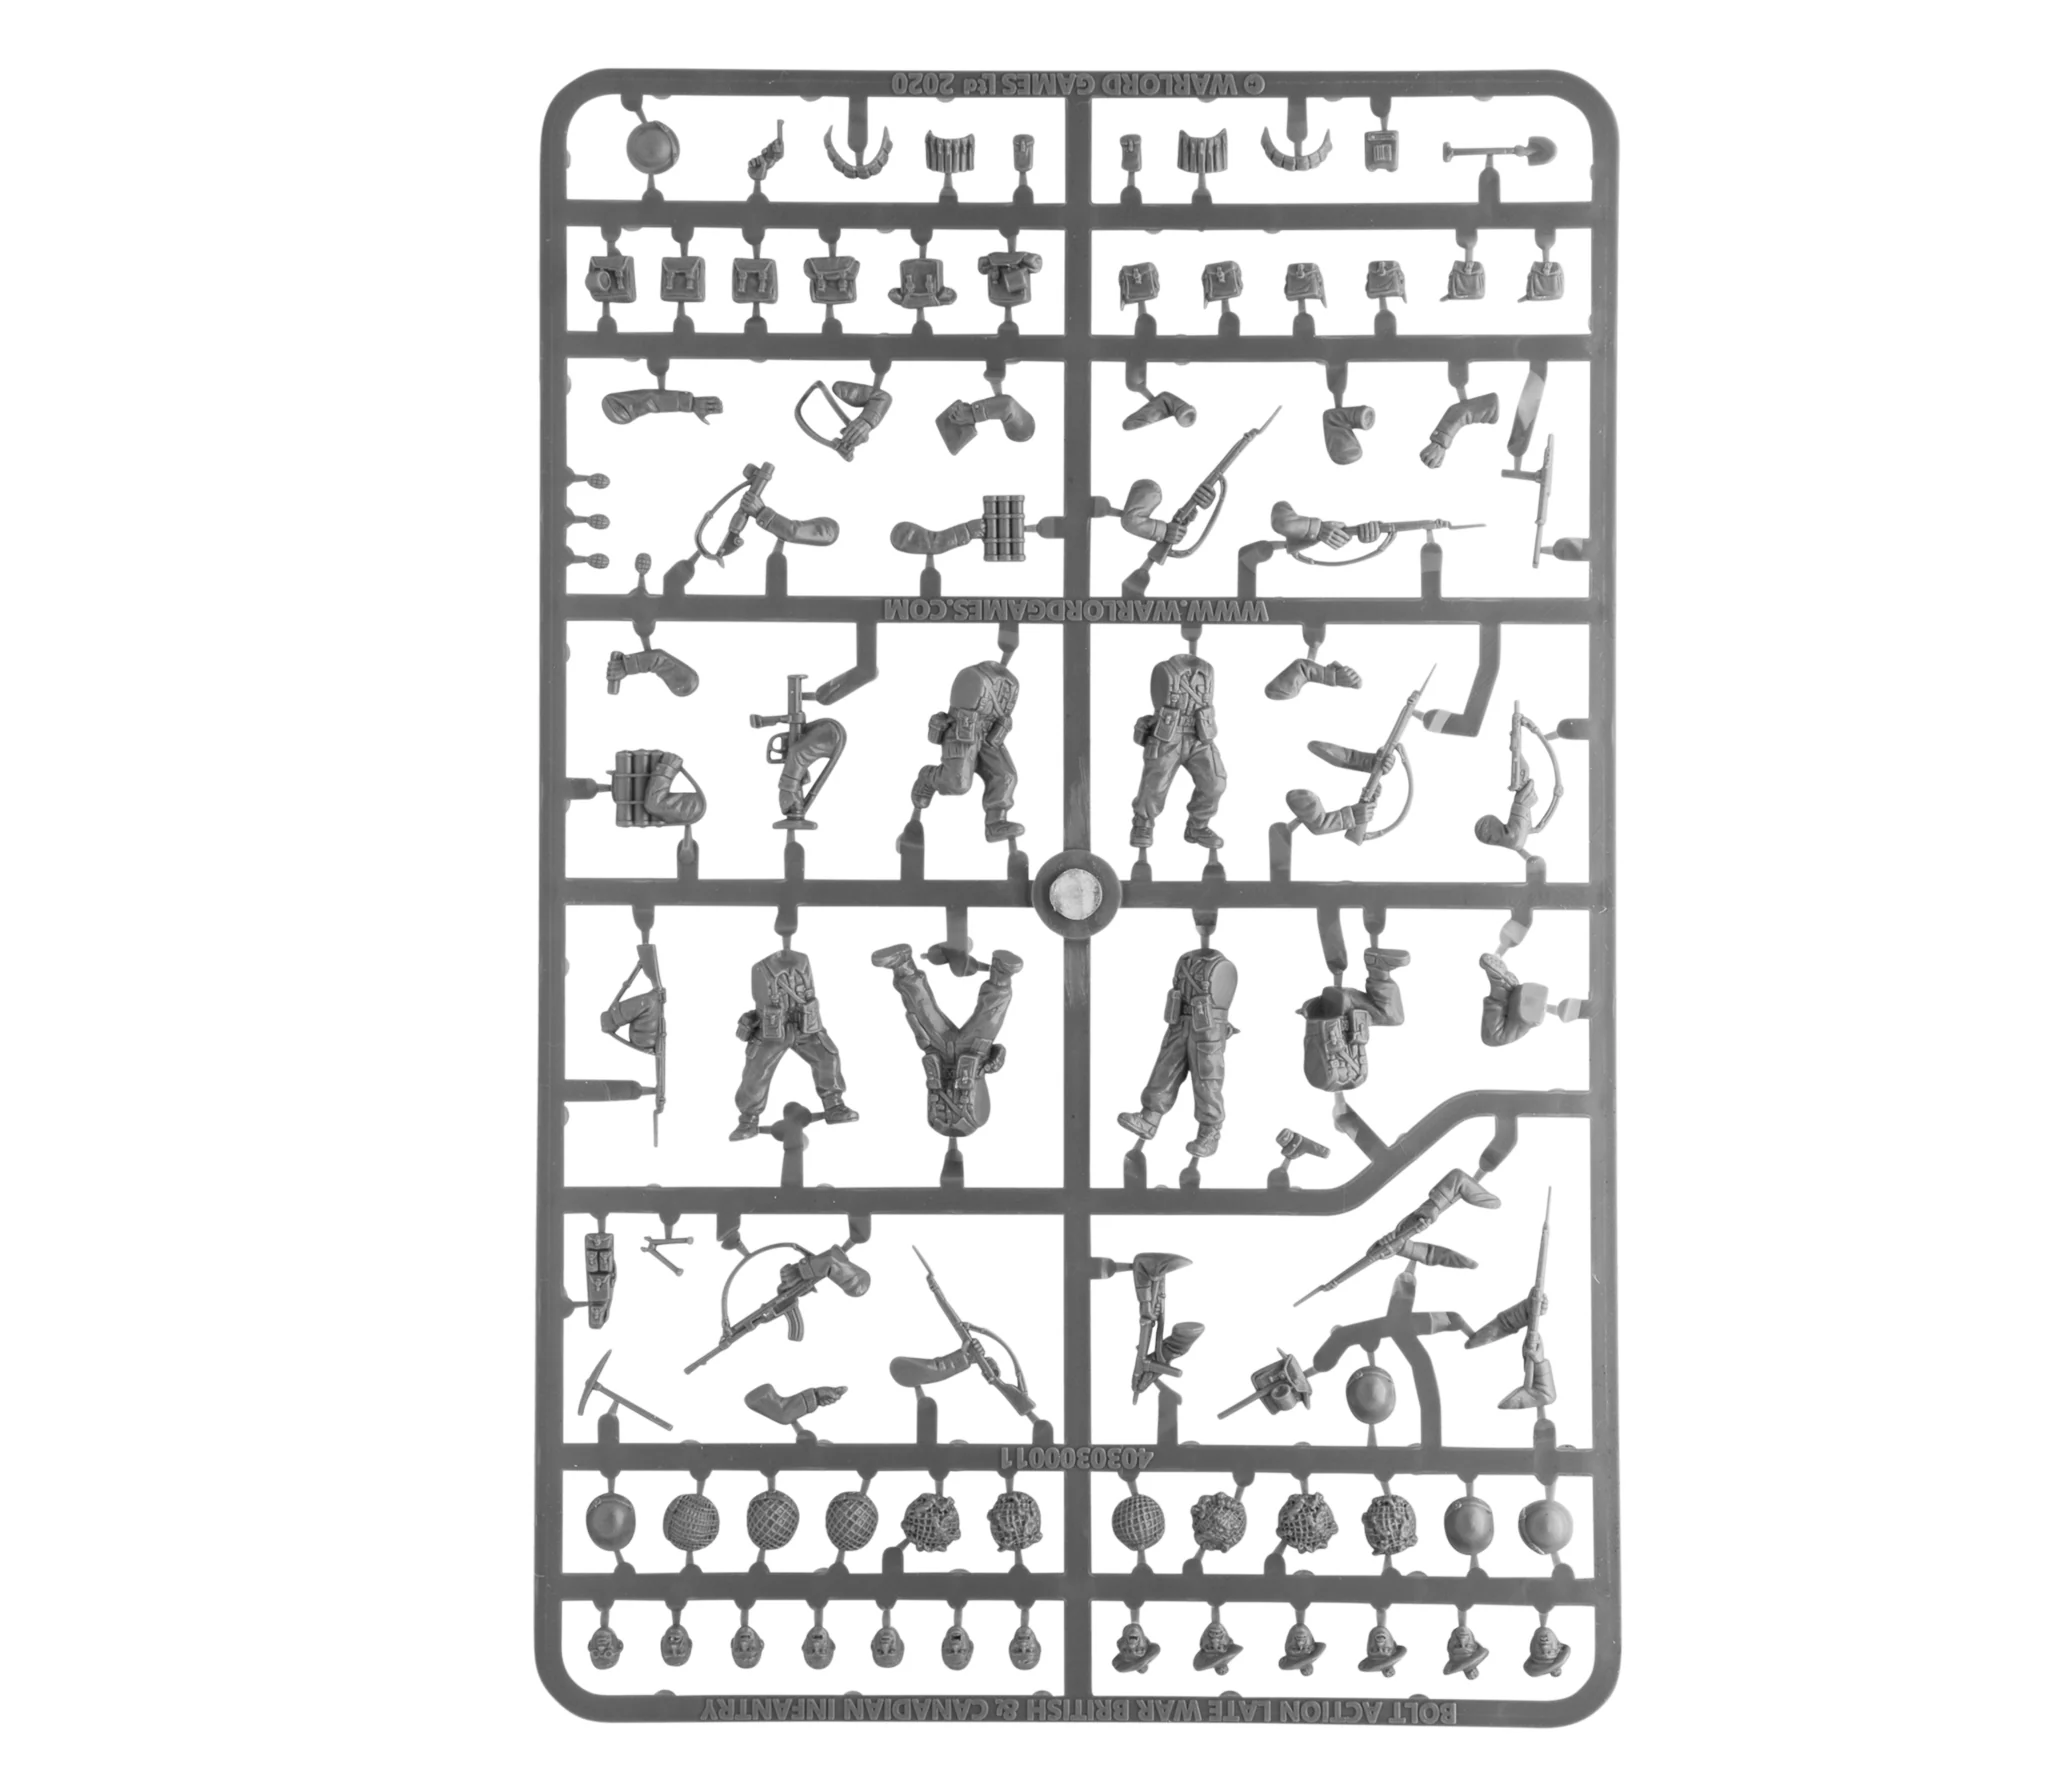
There’s a lot on there, but for now you can ignore the light mortar and the PIAT, as well as the ammunition for them. There are also hands and arms which work great for officers – binoculars, a map or a revolver. For your infantry squad you’ll be choosing from five rifles held in both arms plus two more being carried one-handed, two Sten SMGs being fired and one that can be modelled slung, plus a Bren light machine gun. Let’s have a look at the army list and what options we have:
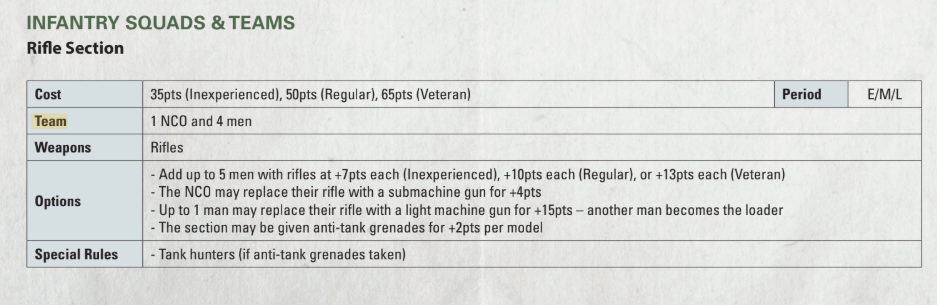
The army lists are intended to help you theme armies that are historically accurate, while giving you enough flexibility to create armies to suit your narratives and your preferred gaming style. A British Army rifle section in 1944 consisted of ten men – one carrying a Bren gun and the rest (including the Bren loader) with Lee-Enfield rifles. Section leaders, usually corporals, often carried Sten guns, but this wasn’t universal.
As you can see, the rules set a minimum size of five men, with ten as a maximum. This allows you to build a full-size squad or smaller squads to represent inevitable losses during battle – or just to fit to your preferred gaming style. Lots of smaller squads give you more flexibility on the battlefield and more Order Dice, but they are quite fragile, and can quite quickly be rendered useless. Some people prefer to have both the SMG and LMG in the squad, whereas others have one but not both, so that they can have squads that specialise in either long-range fire support or assaulting objectives.
For your first unit, I’d suggest you build a full strength squad of ten men, including an NCO with a Sten gun and a Bren gunner – one of these rifle-armed men needs to be assigned as the loader for the Bren gunner. Some kits include hands carrying spare magazines, but in this case you might just want to use the slung rifle to make him easy to identify. The NCO (short for Non-Commissioned Officer, the bloke in charge) can have an SMG or a rifle like the rest of the squad. It’s a good idea to mark him out in some way, as he has some extra rules on the tabletop. There are loads of ways to do this, with the most common being to have NCOs with different headgear to the rest of the squad, or in a ‘pointing’ pose – they’re giving the orders after all!
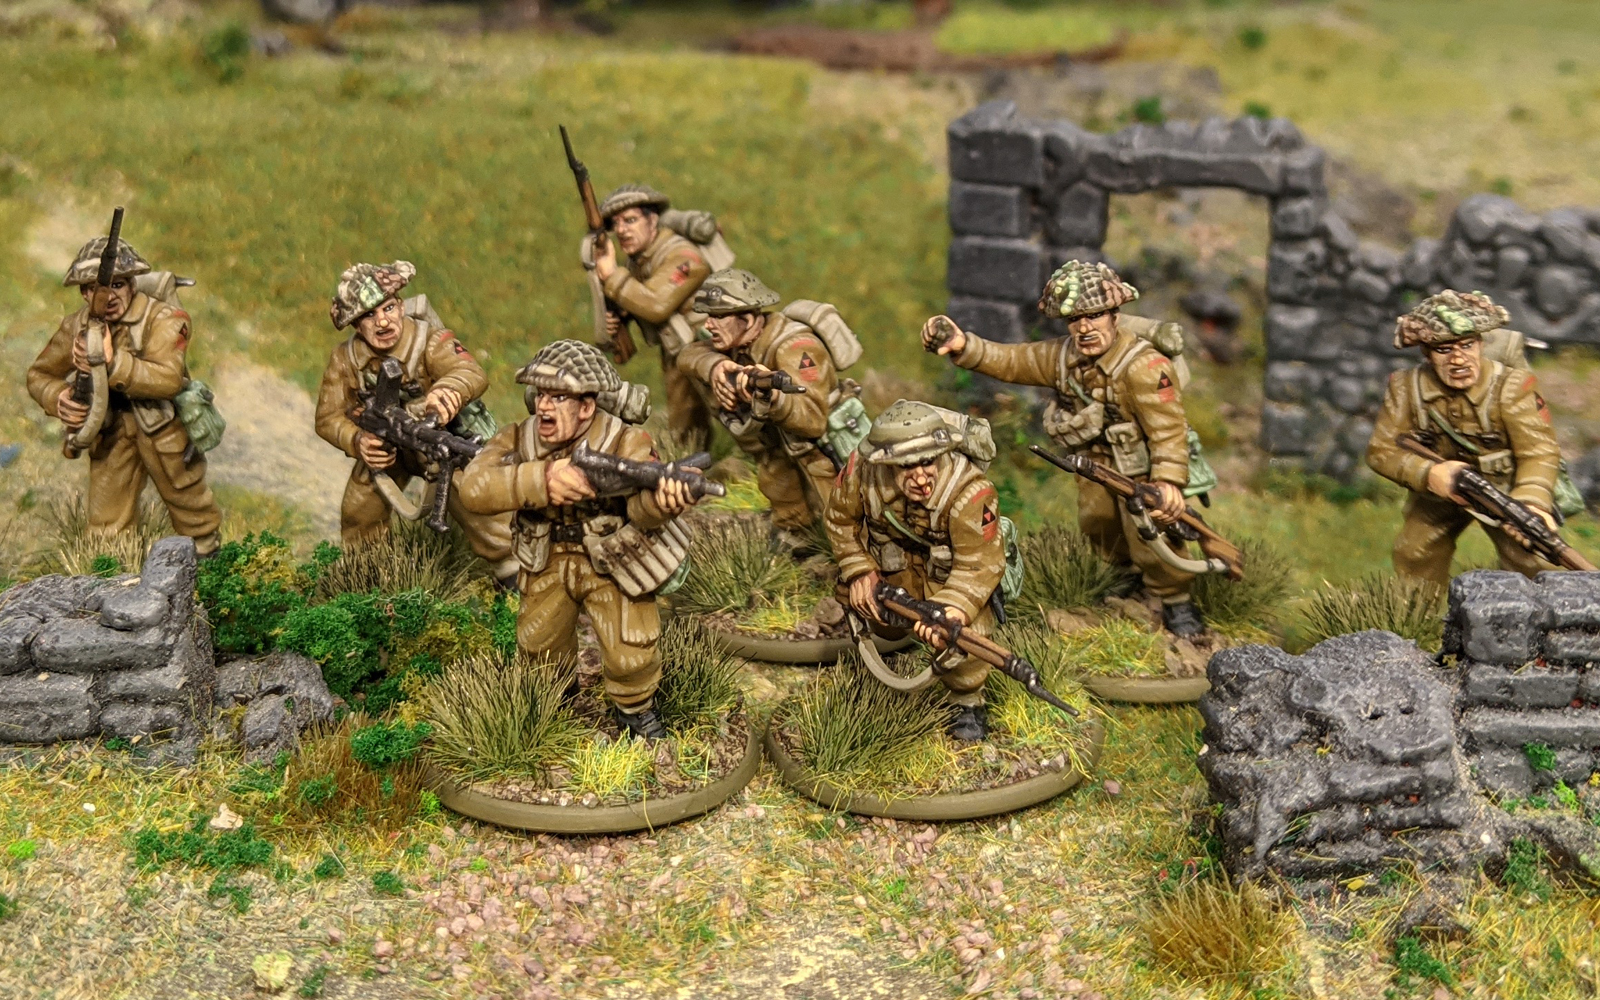
There are a selection of heads, including some with tam o’shanters to represent Highland Regiments or their Canadian counterparts. The rest of the heads are bare with separate helmets – some with webbing and some with foliage attached. Some of these are the traditional Brodie helmet, some are the more modern Mk III ‘turtle’ helmet. You can mix and match these as you prefer, or use them to theme each squad. Similarly the backpacks and pouches can be used as you like, they have no bearing on the game but they do add an extra layer of detail to the models.
You’ll see that in the rules the squad has the option to upgrade to have anti-tank grenades. While these don’t have to be modelled onto every miniature, some kits include parts to represent anti-tank grenades. In this case there are no specific components – you may want to add a few extra pouches and give every model at least one fragmentation grenade to help you and your opponent remember.
Once you’ve built this full-strength squad you should have a good feel for how the kit goes together. You can then build another squad, then a platoon commander (perhaps with the map or binoculars and a pistol), and either some support teams or another small infantry squad. Whatever you choose, you’ll have a Rifle Platoon, the backbone of an army, and enough units to play a small game with. Each Rifle Platoon allows you to field one each of the other types of platoons – engineer, recce, artillery, heavy weapons, or armour.
This kit is one of the simplest, so let’s have a quick look at the other British and Commonwealth kits. All these allow you to make rifle sections, platoon commanders and various weapons teams. However you decide to assemble them, you’ll be left with a ton of spare weapons, equipment and heads – make sure to save these in your bits box because almost all the pieces are compatible with other kits!
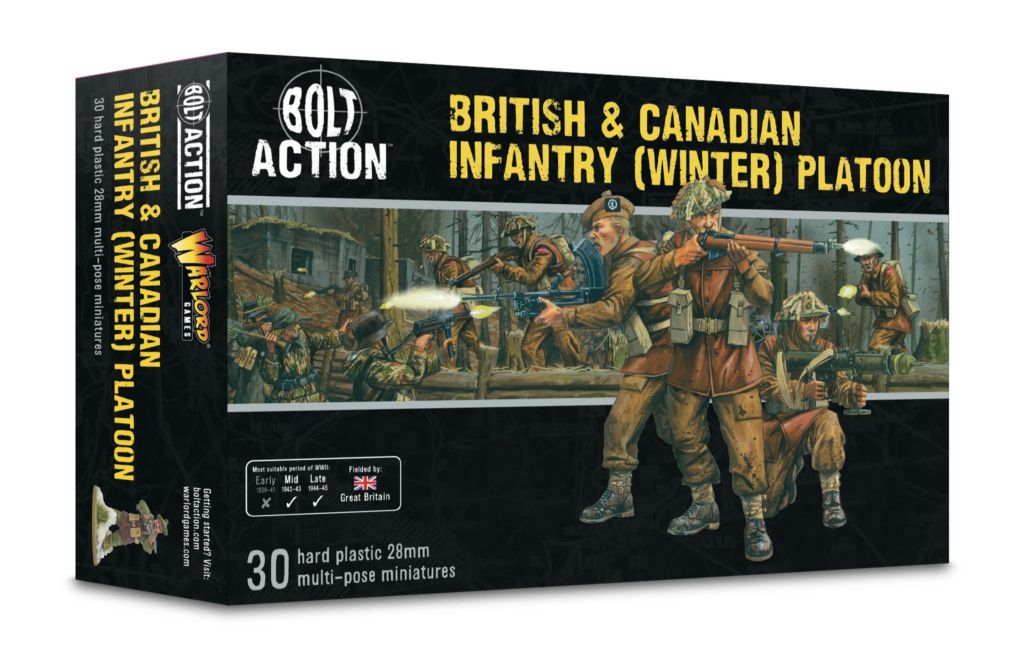
The winter versions of the mid- to late-war British infantry have lots of extra options. One thing to note is that five of the bodies are in battledress and leather jerkin, whereas one has a greatcoat. You can of course mix and match these as you choose, but if you use the greatcoat bodies for NCOs and officers they will be easier to spot on the tabletop. The biggest difference with this kit is the range of extra equipment you can use to make engineers, including a mine detector and a flamethrower. As well as a light mortar and PIAT, this sprue also has a scoped rifle to make sniper teams. There are also a couple of peaked caps for officers – remember that all these kits are pretty interchangeable, so many parts from this kit can be used to add extra options to other boxes.
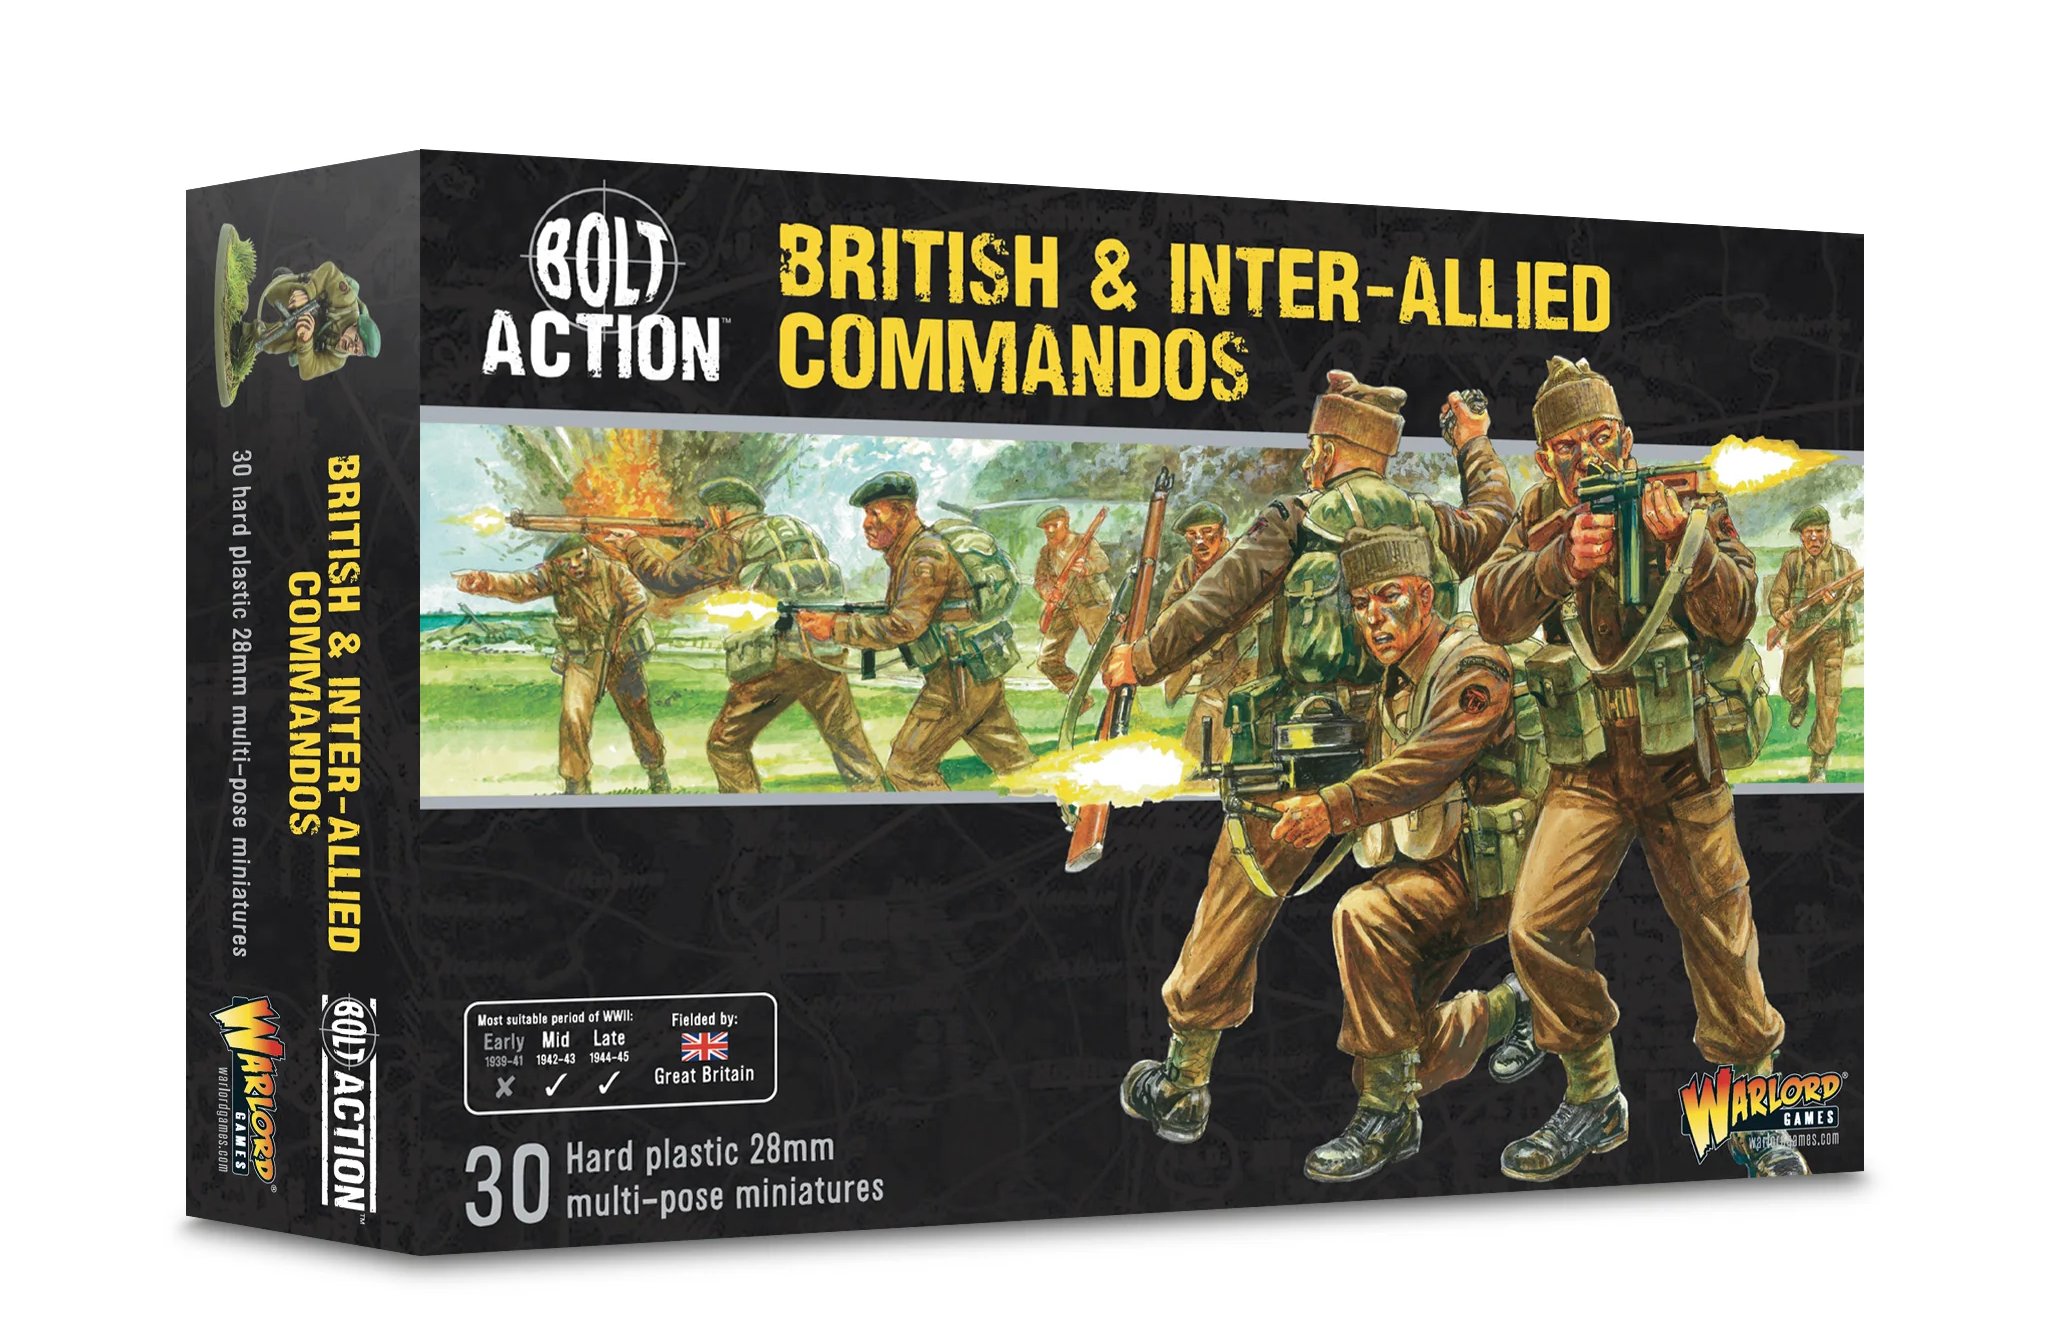
The Commandos are easily identified by their (huge) packs, full of all the gubbins they need to sneak up behind unsuspecting German sentries, and the sprues sport plenty of their trademark Fairburn-Sykes fighting knives. With a PIAT, light mortar, and plenty of Thompson SMGs, the sprue also has a Vickers K gun instead of the standard Bren. Commandos can have either type of LMG in their squads, so grab a couple of sprues from the other kits if you need some Brens.
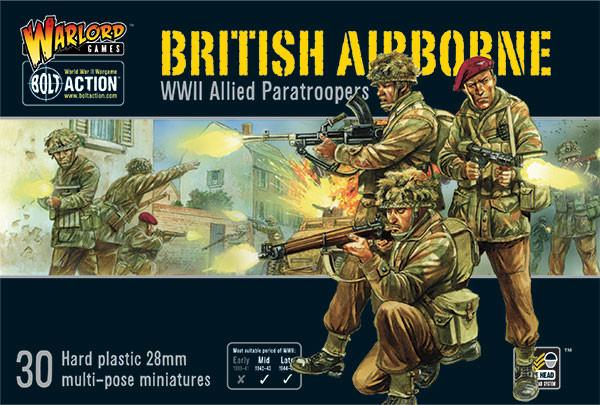
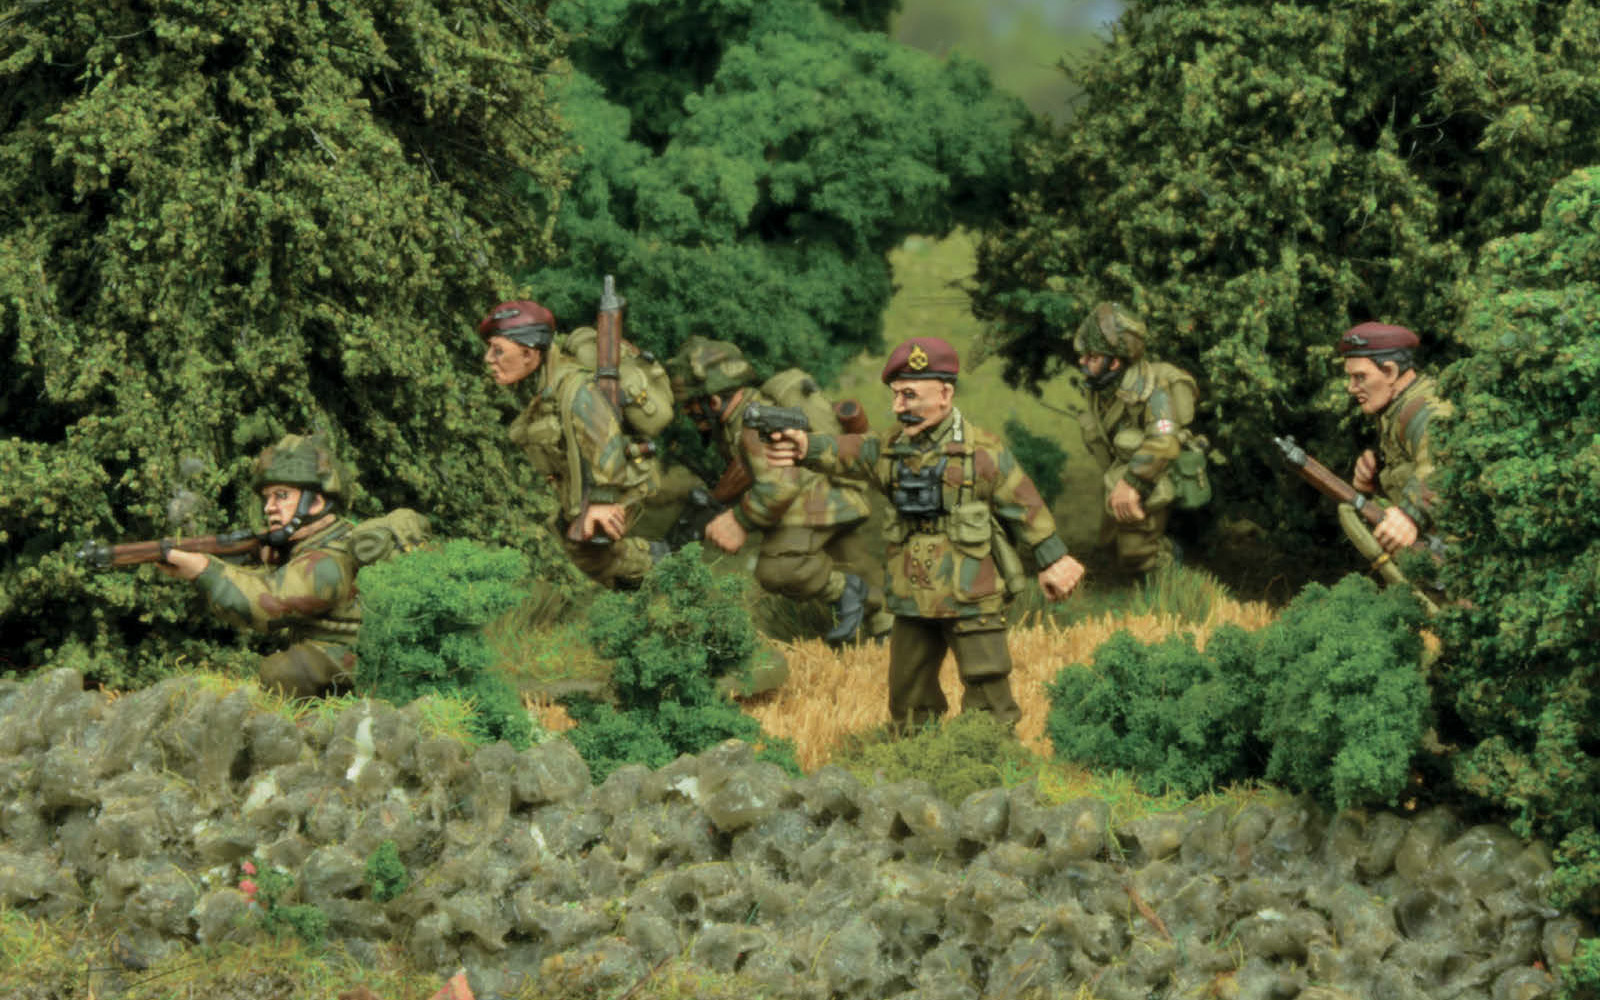
The paras get a Bren and a couple of Stens on each sprue, plus the PIAT (“Bring up the PIAT!” – ed.) and light mortar. Most importantly they get a hunting horn – one of those great little characterful details that make these Bolt Action kits so much fun to assemble!
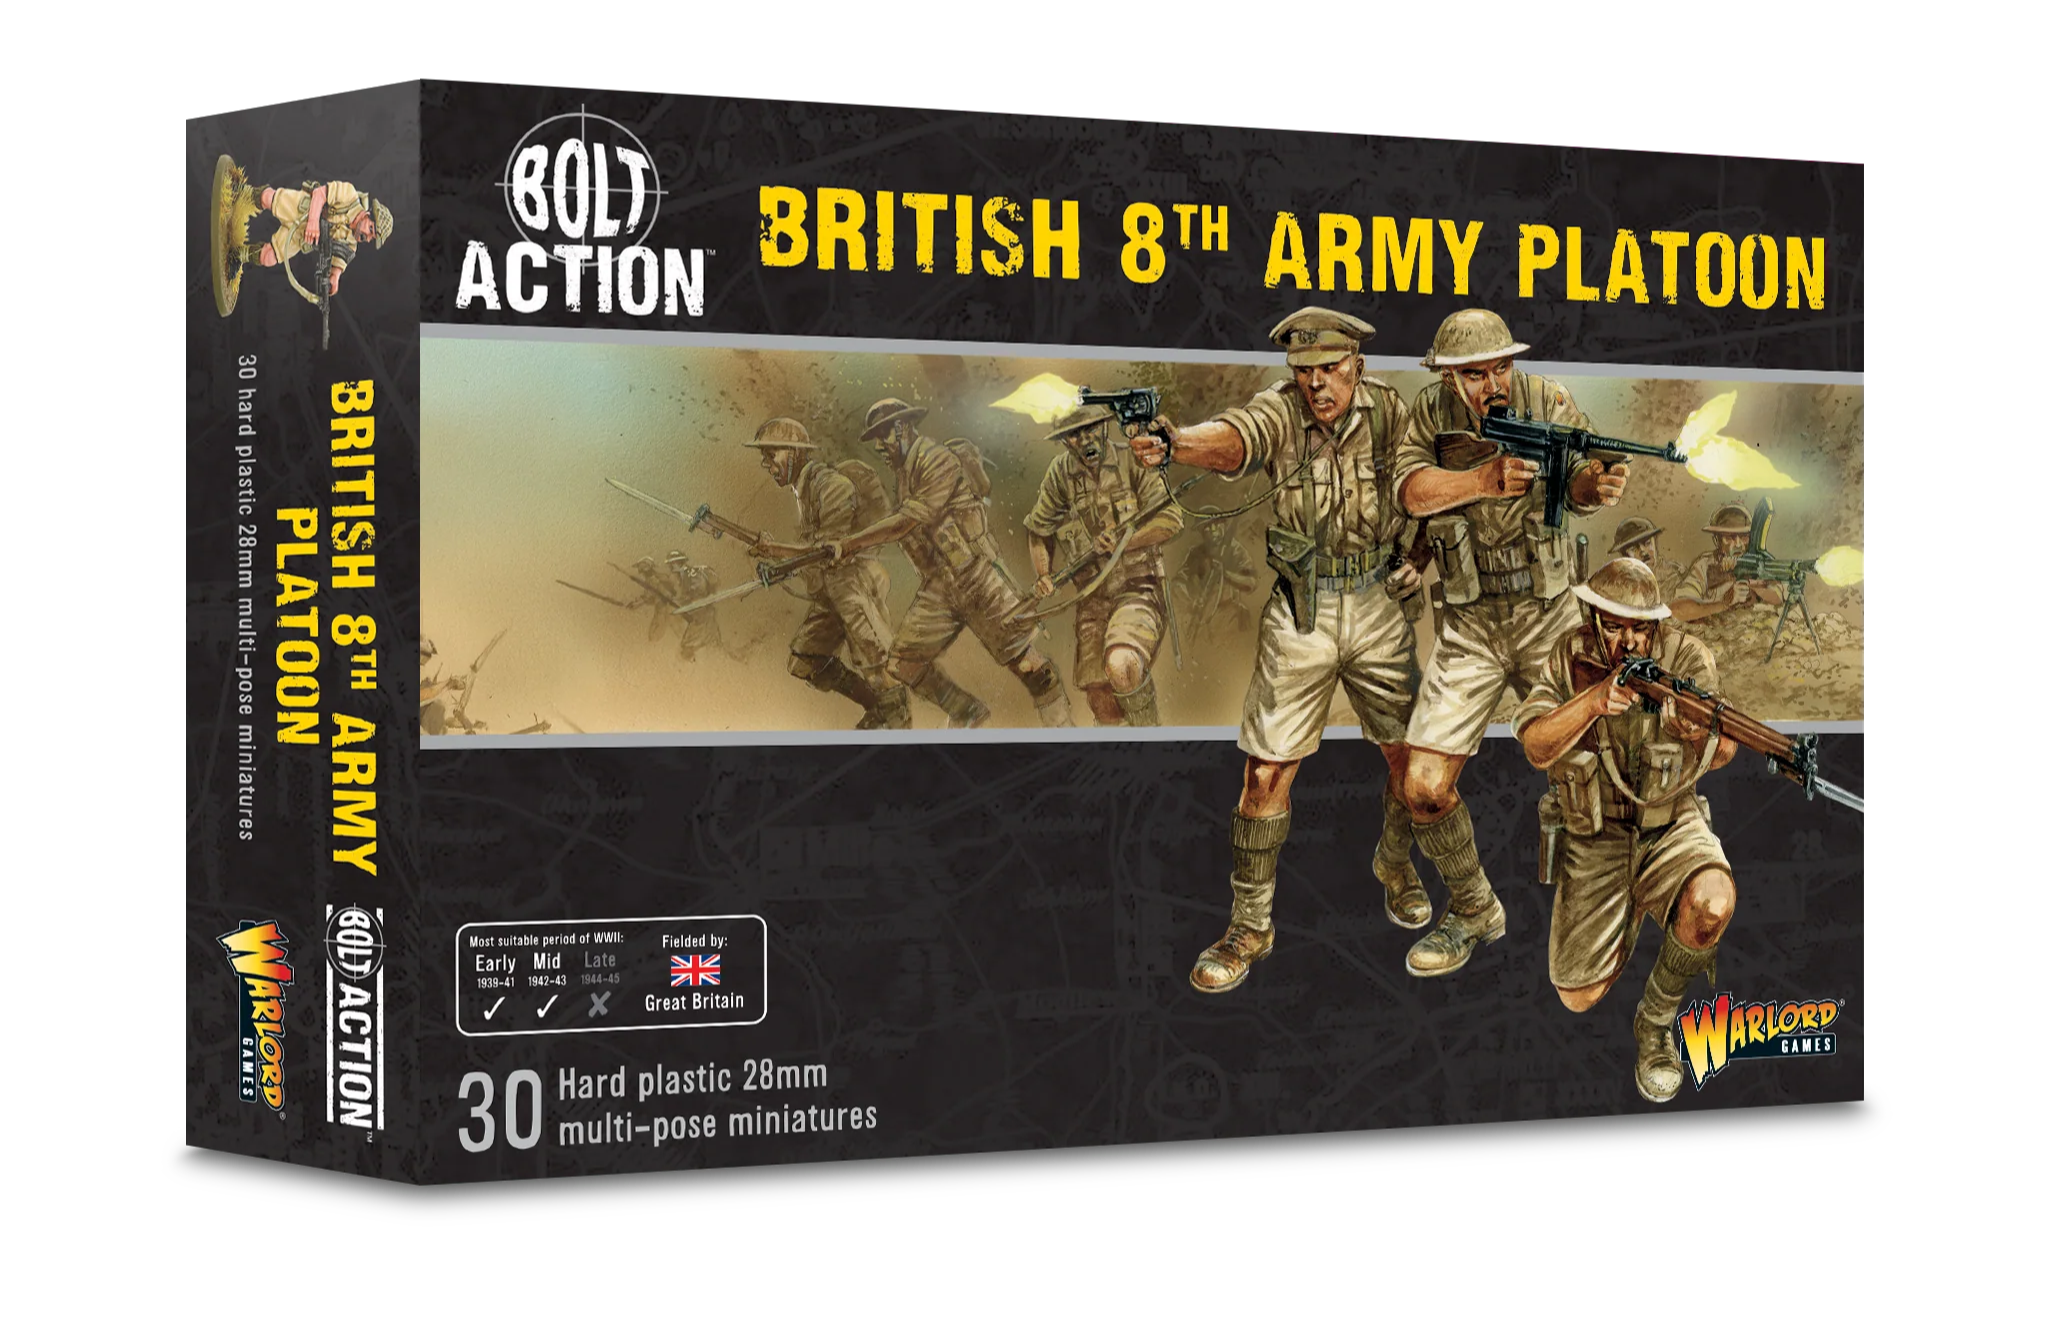
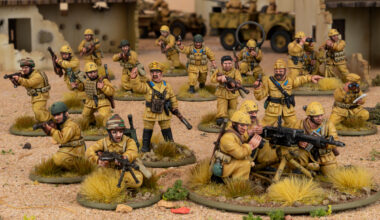
An earlier war kit, the 8th Army Platoon has a Boys anti-tank rifle rather than a PIAT; otherwise it’s got a similar range of weapons – a light mortar, Bren gun, and SMGs. It includes a prone model and base, perfect for the Bren or AT rifle, and also has a couple of sandbags for basing. Most notable is the range of different heads – as well as tin helmets there are tam o’shanters, Sikh heads and heads to represent Punjabis or Yusufzai troops.
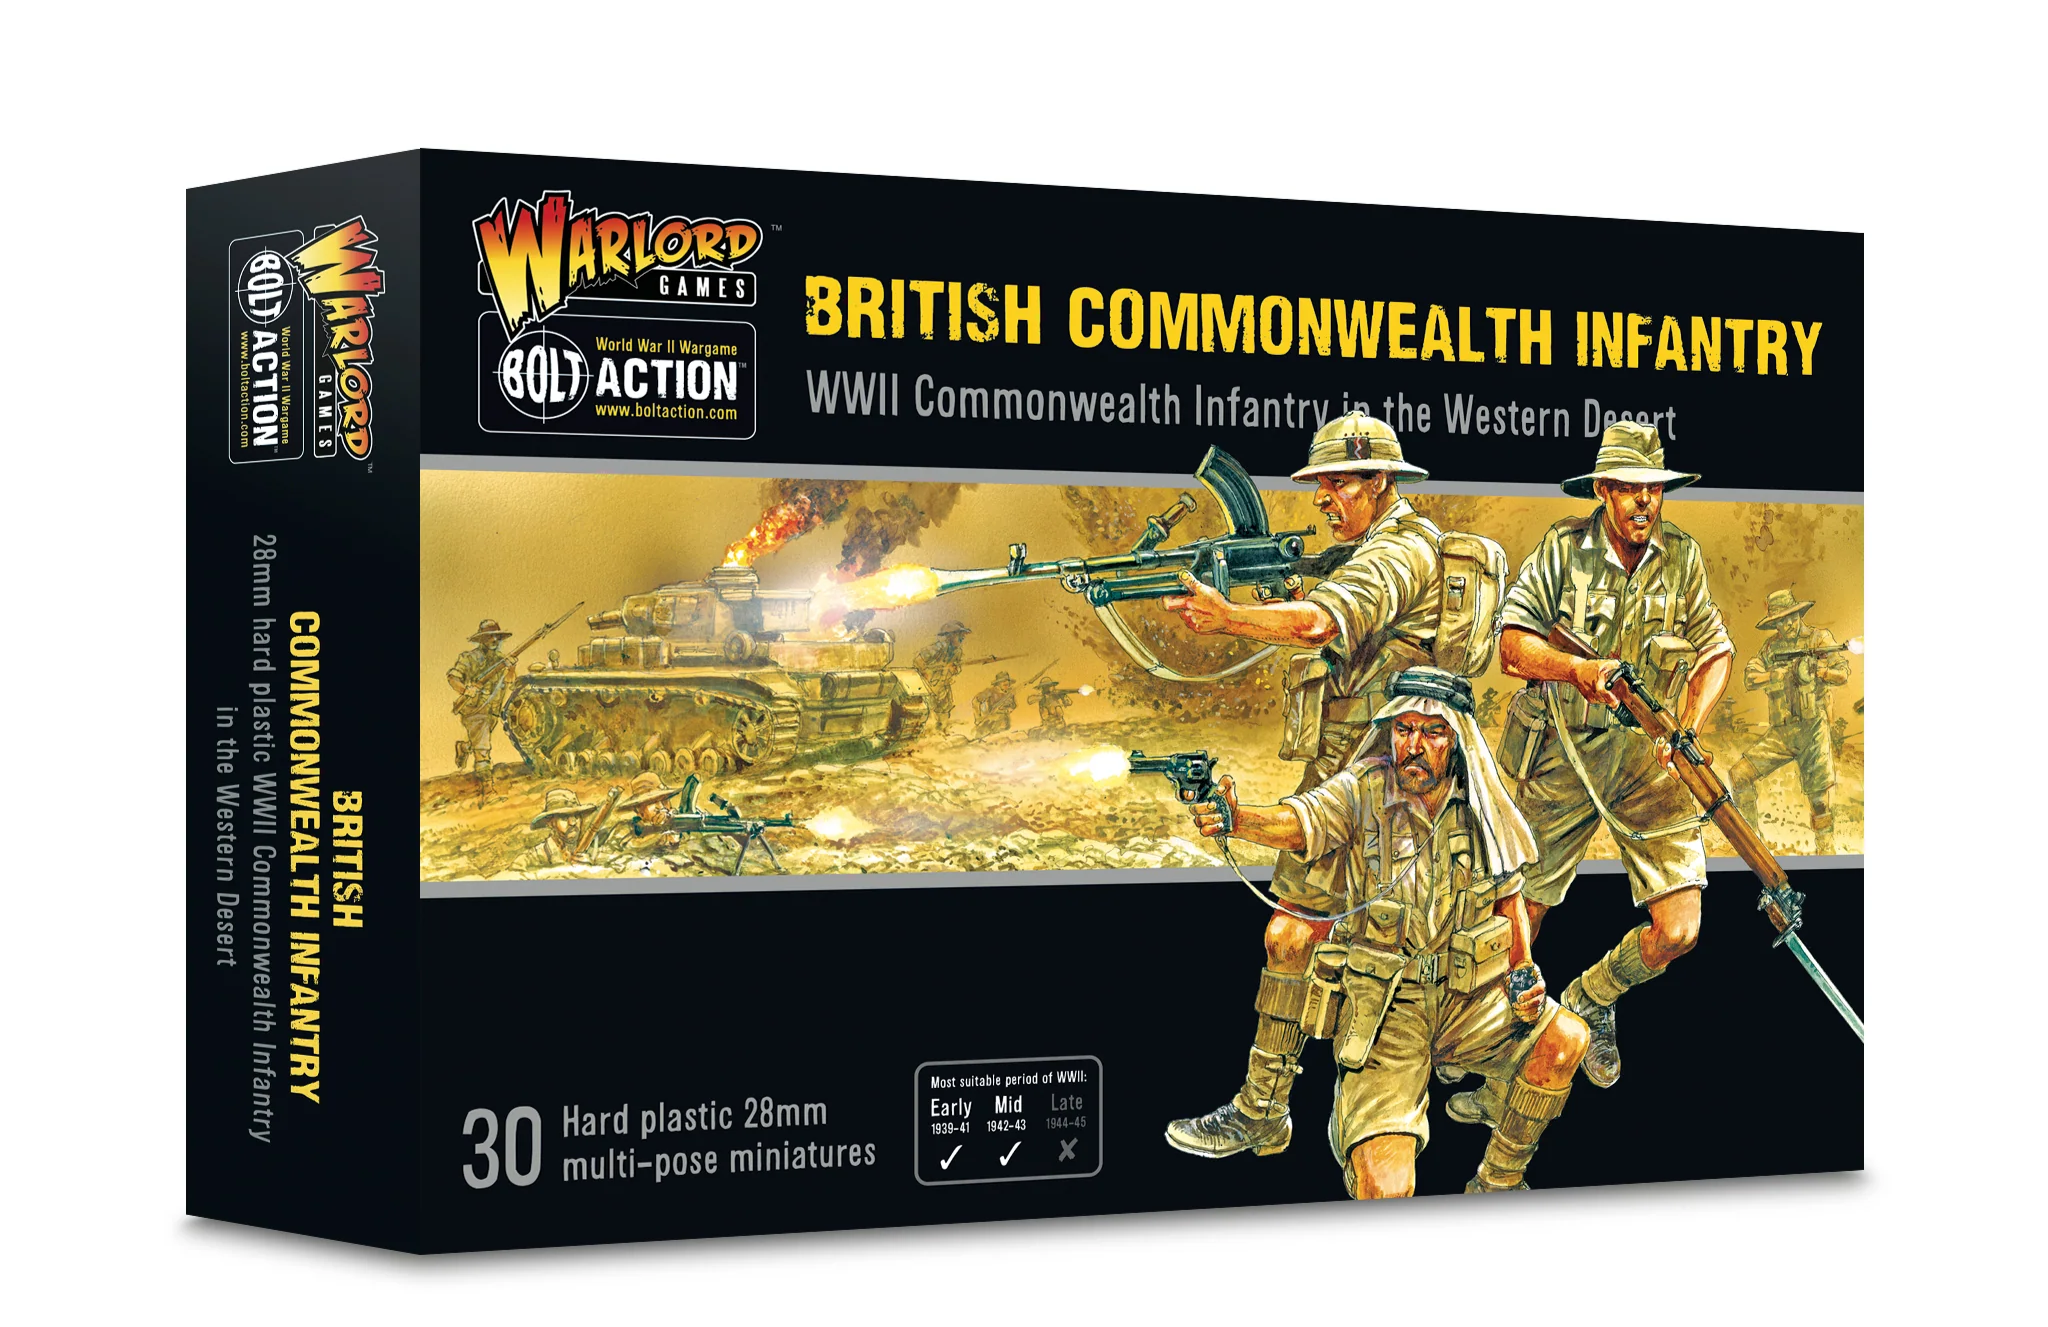
The British Commonwealth kit uses the same bodies in their desert uniforms, and the same weapons, but swaps out those heads for an eclectic mix of headgear to make SAS or LRDG troops, plus Australian slouch hats and South African sun helmets. The two kits are fully interchangeable and all you to represent all the Commonwealth forces who fought in the Western Desert.
And that’s yer lot – for the British at least! While the huge array of Bolt Action infantry kits may seem bewildering at first, if you keep in mind that at their core, they’ll always build you a couple of squads and an officer, you’ll have the foundations of an army in no time at all. Remember – if in doubt, build more blokes with rifles!
Want to get into Bolt Action?