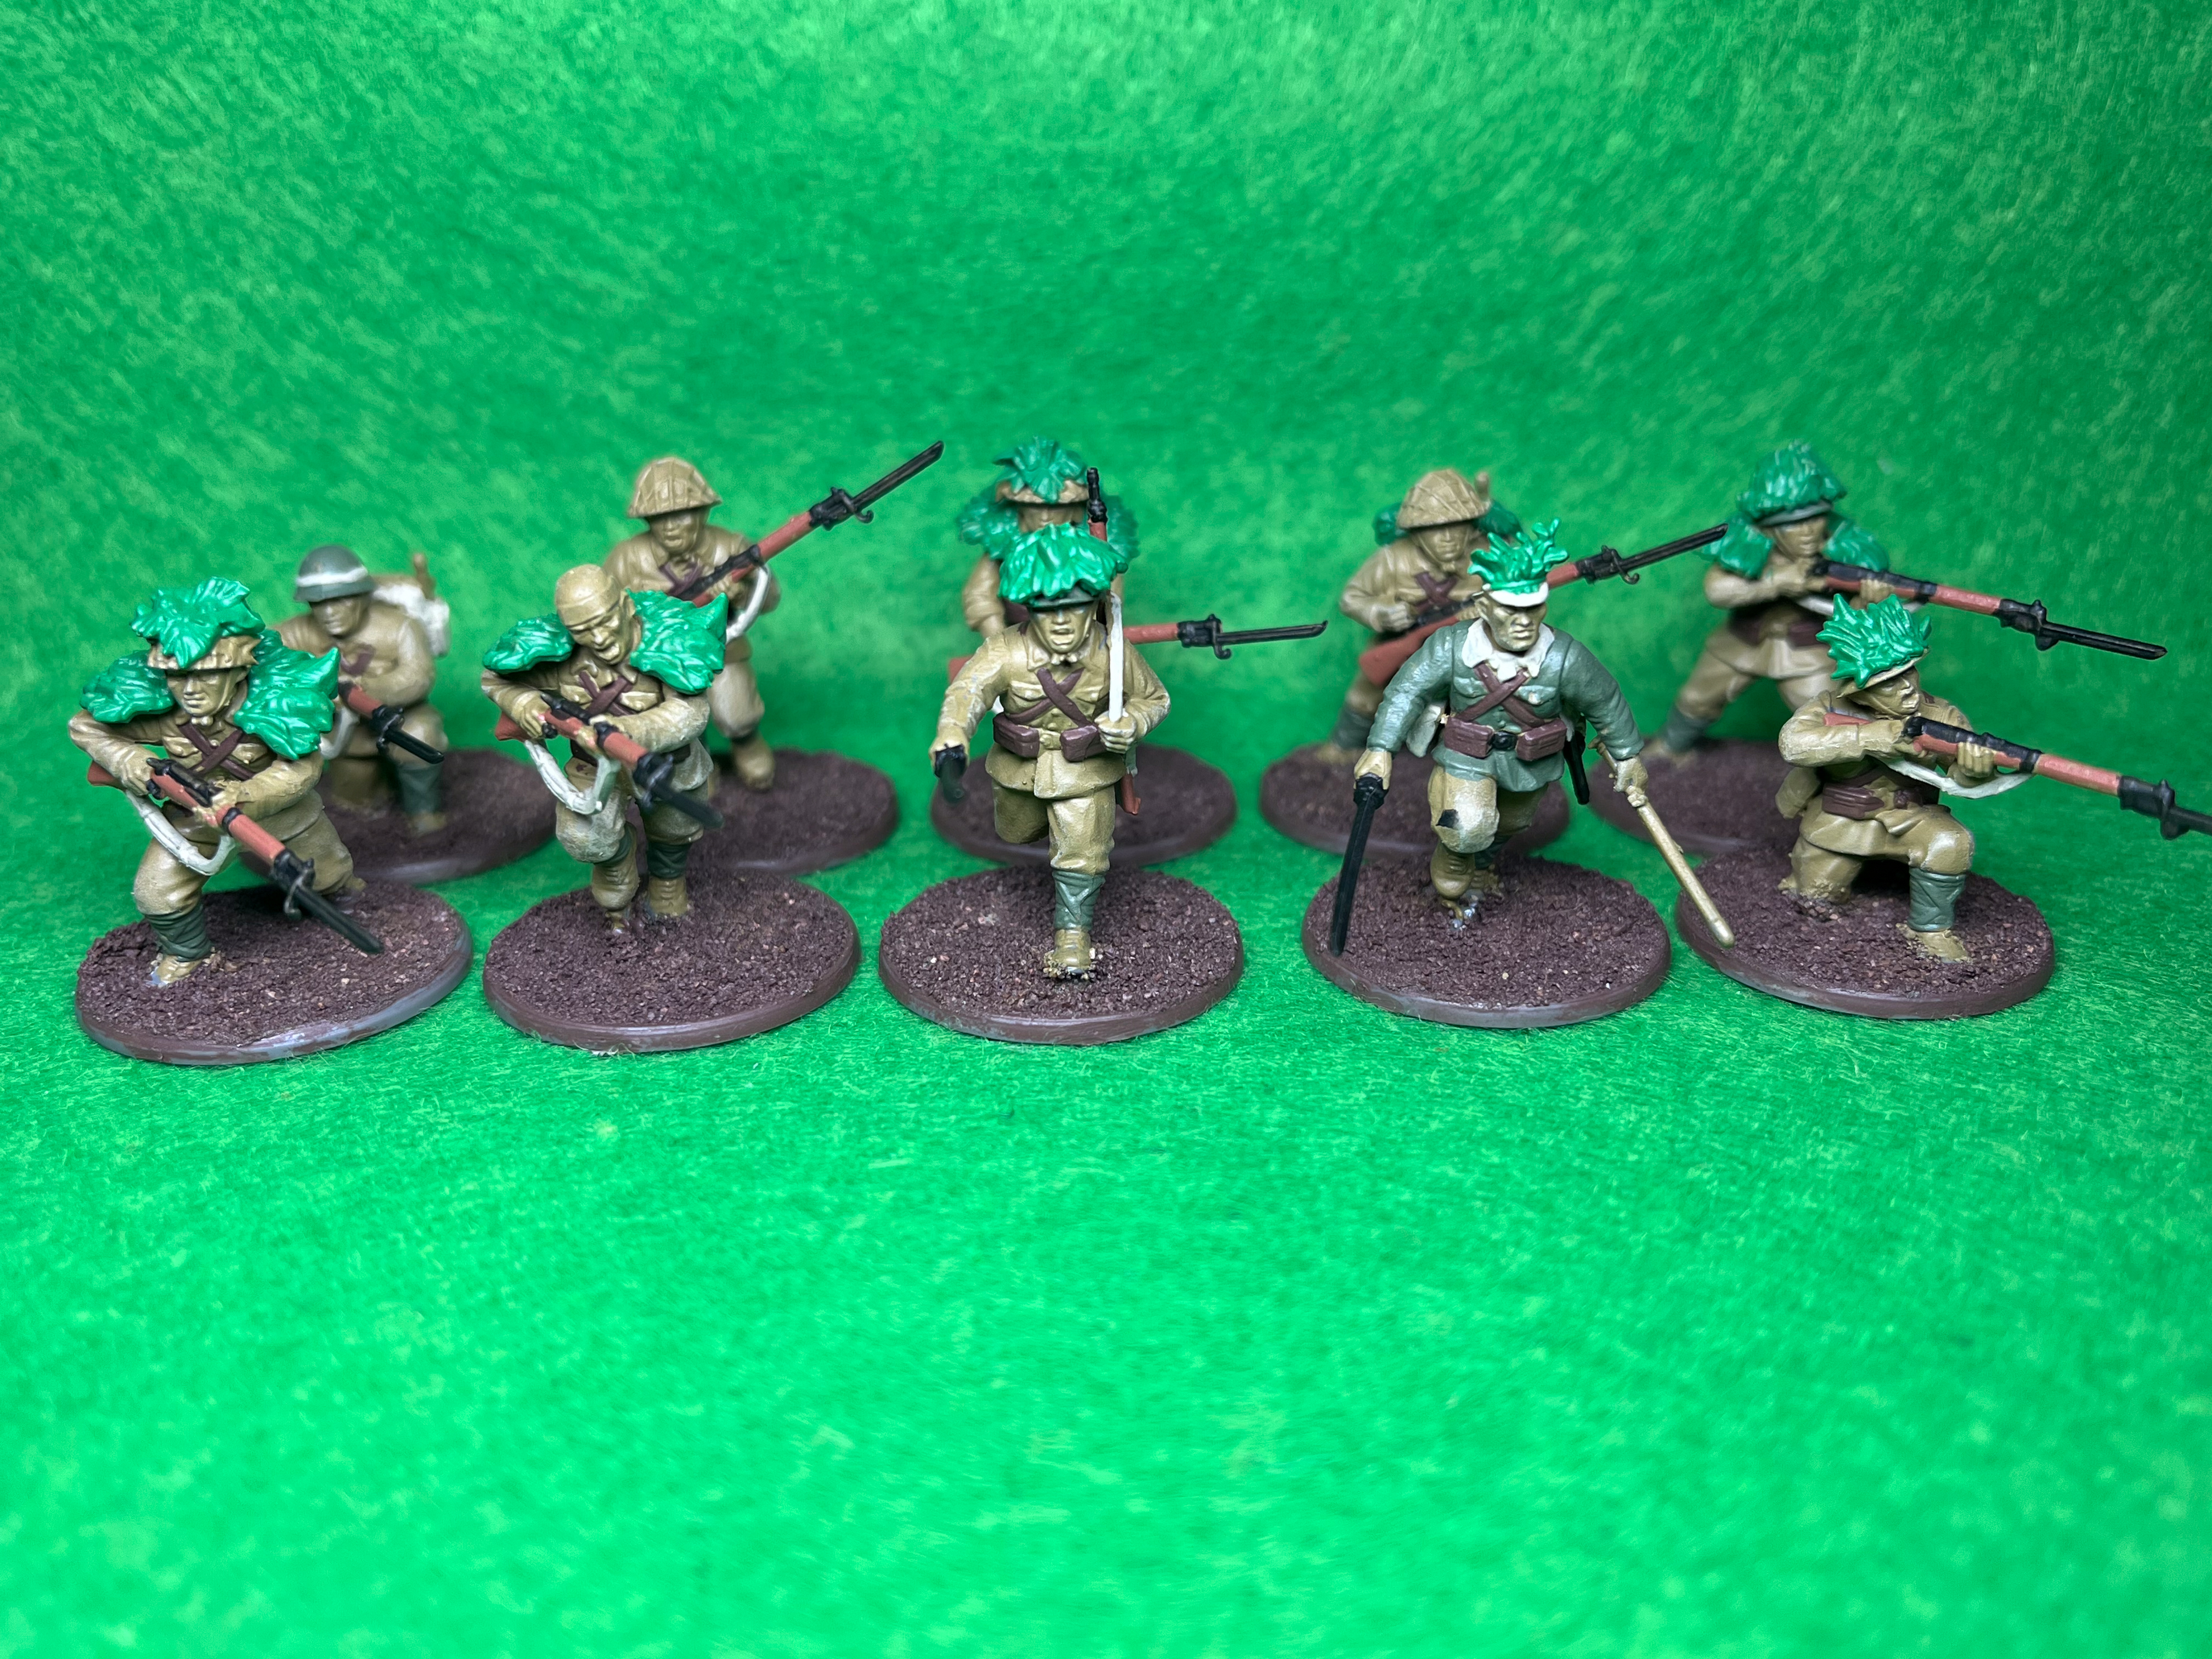
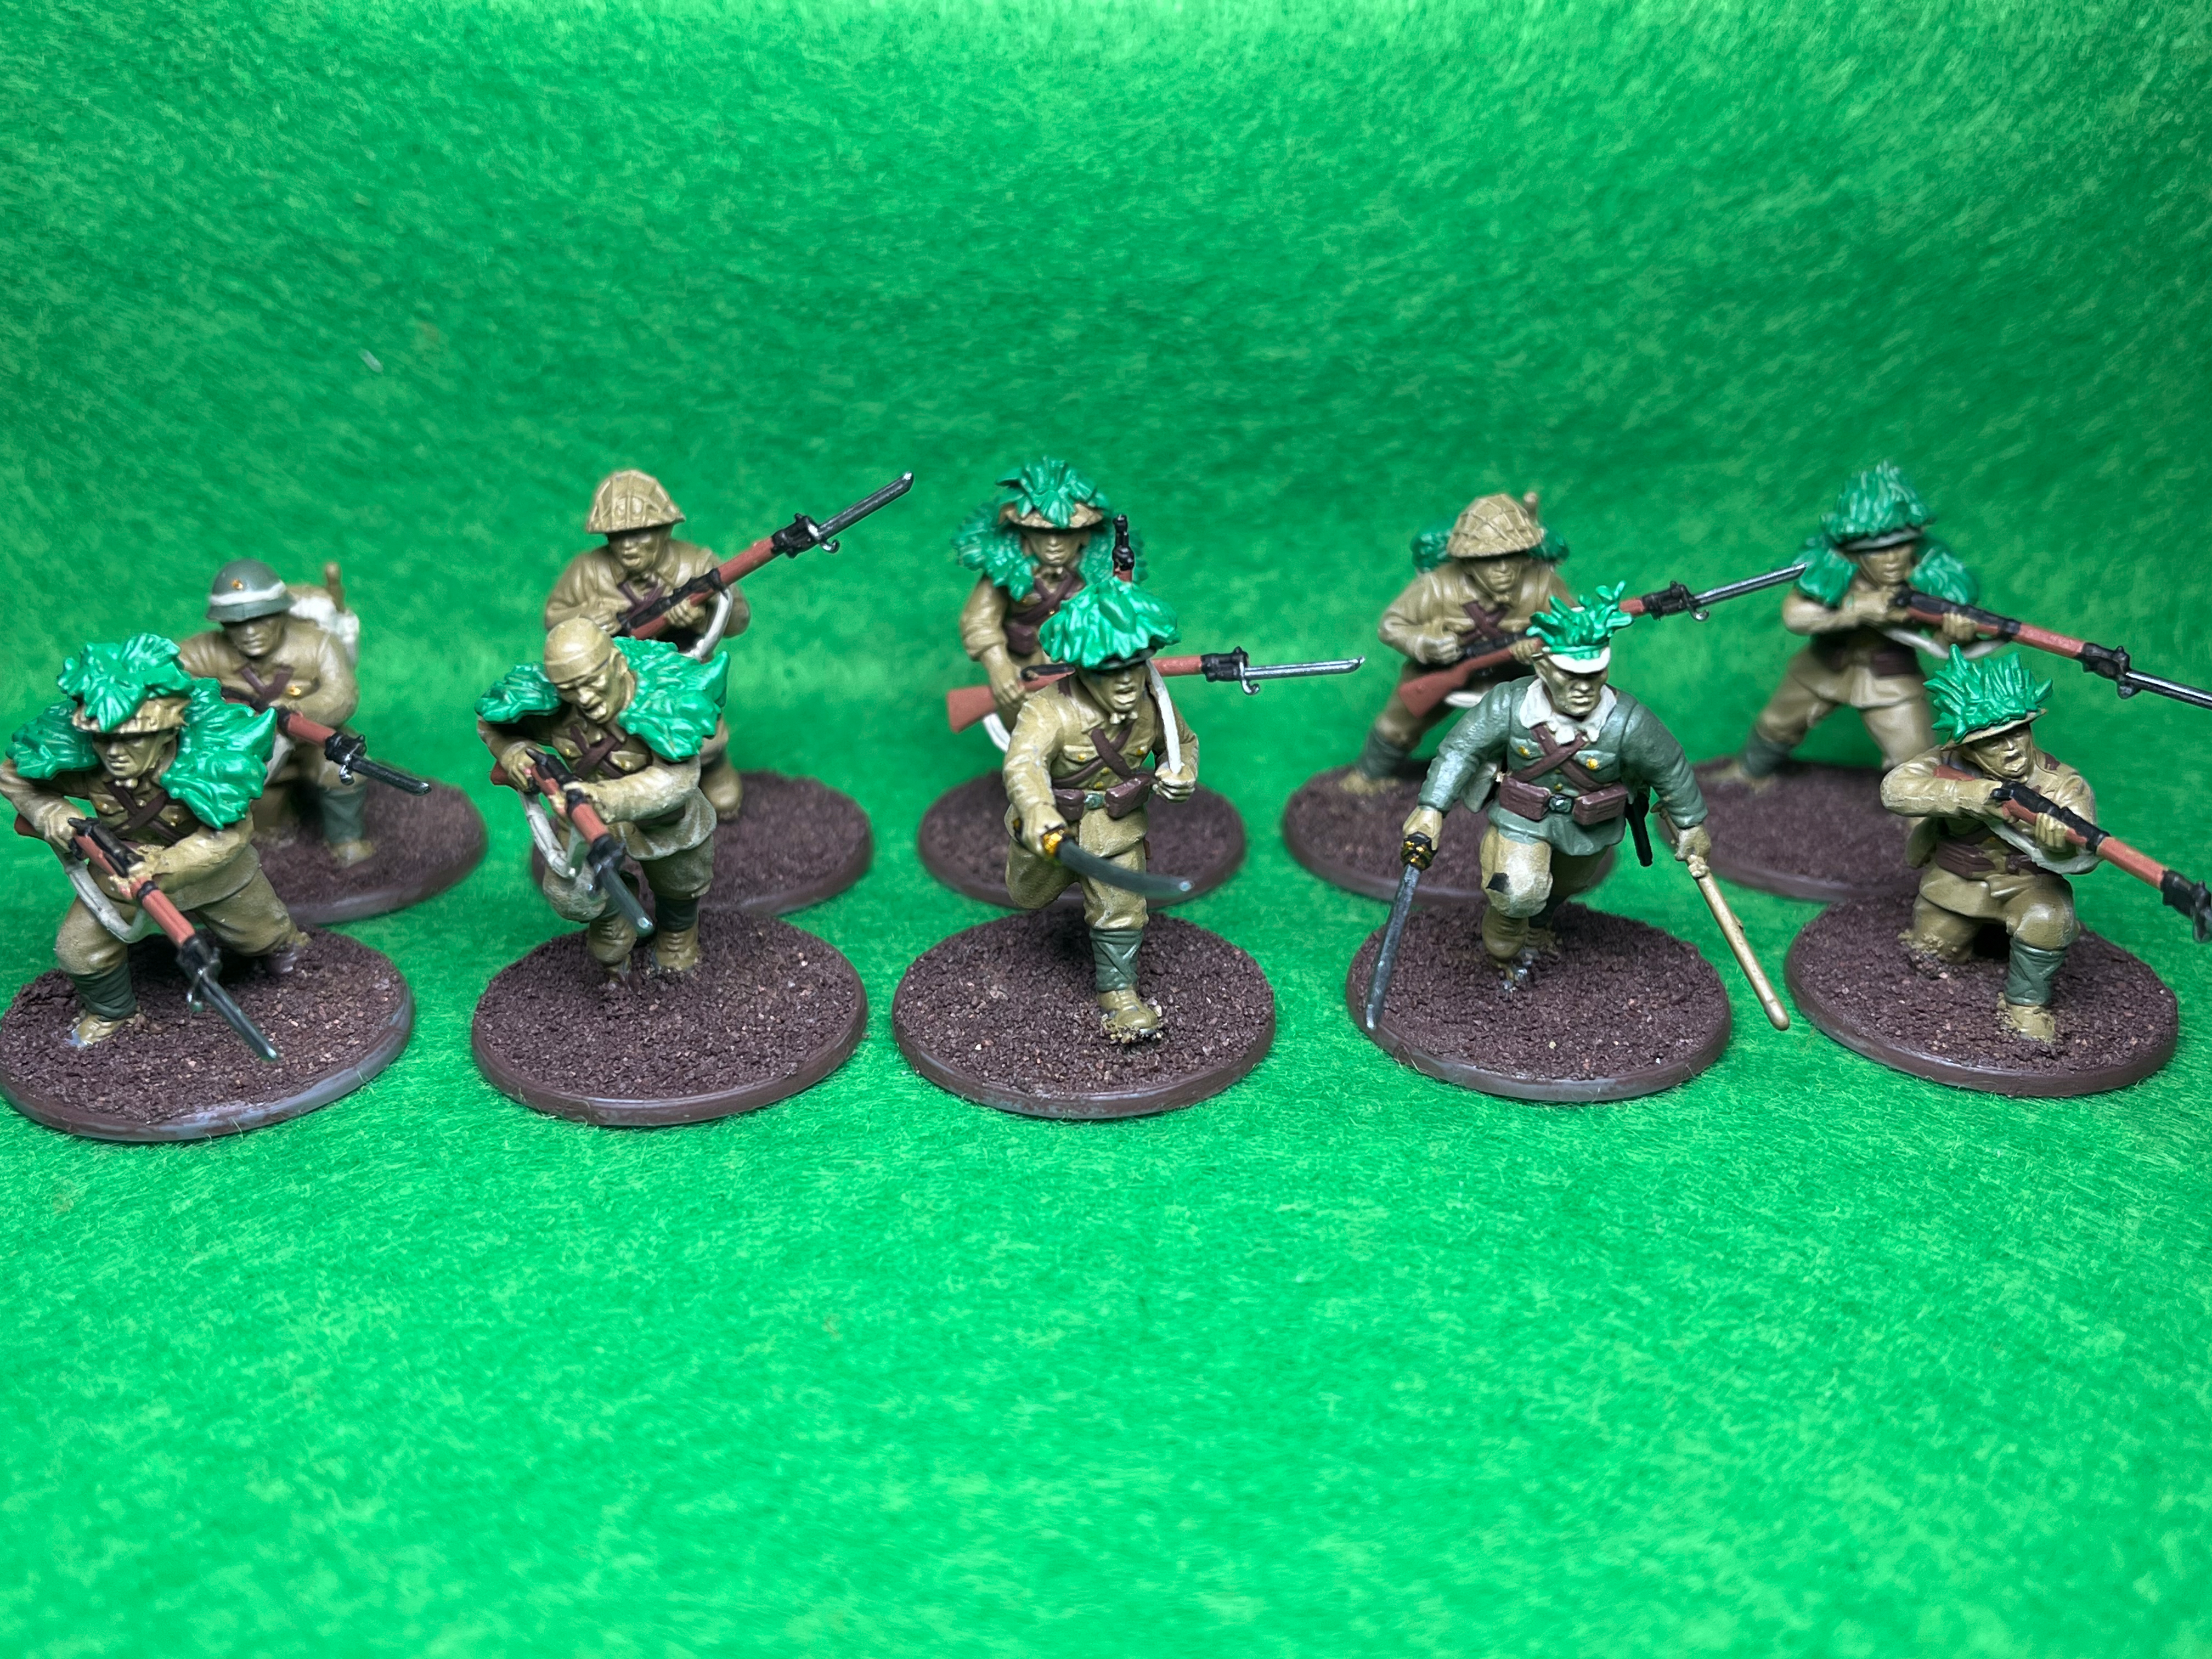
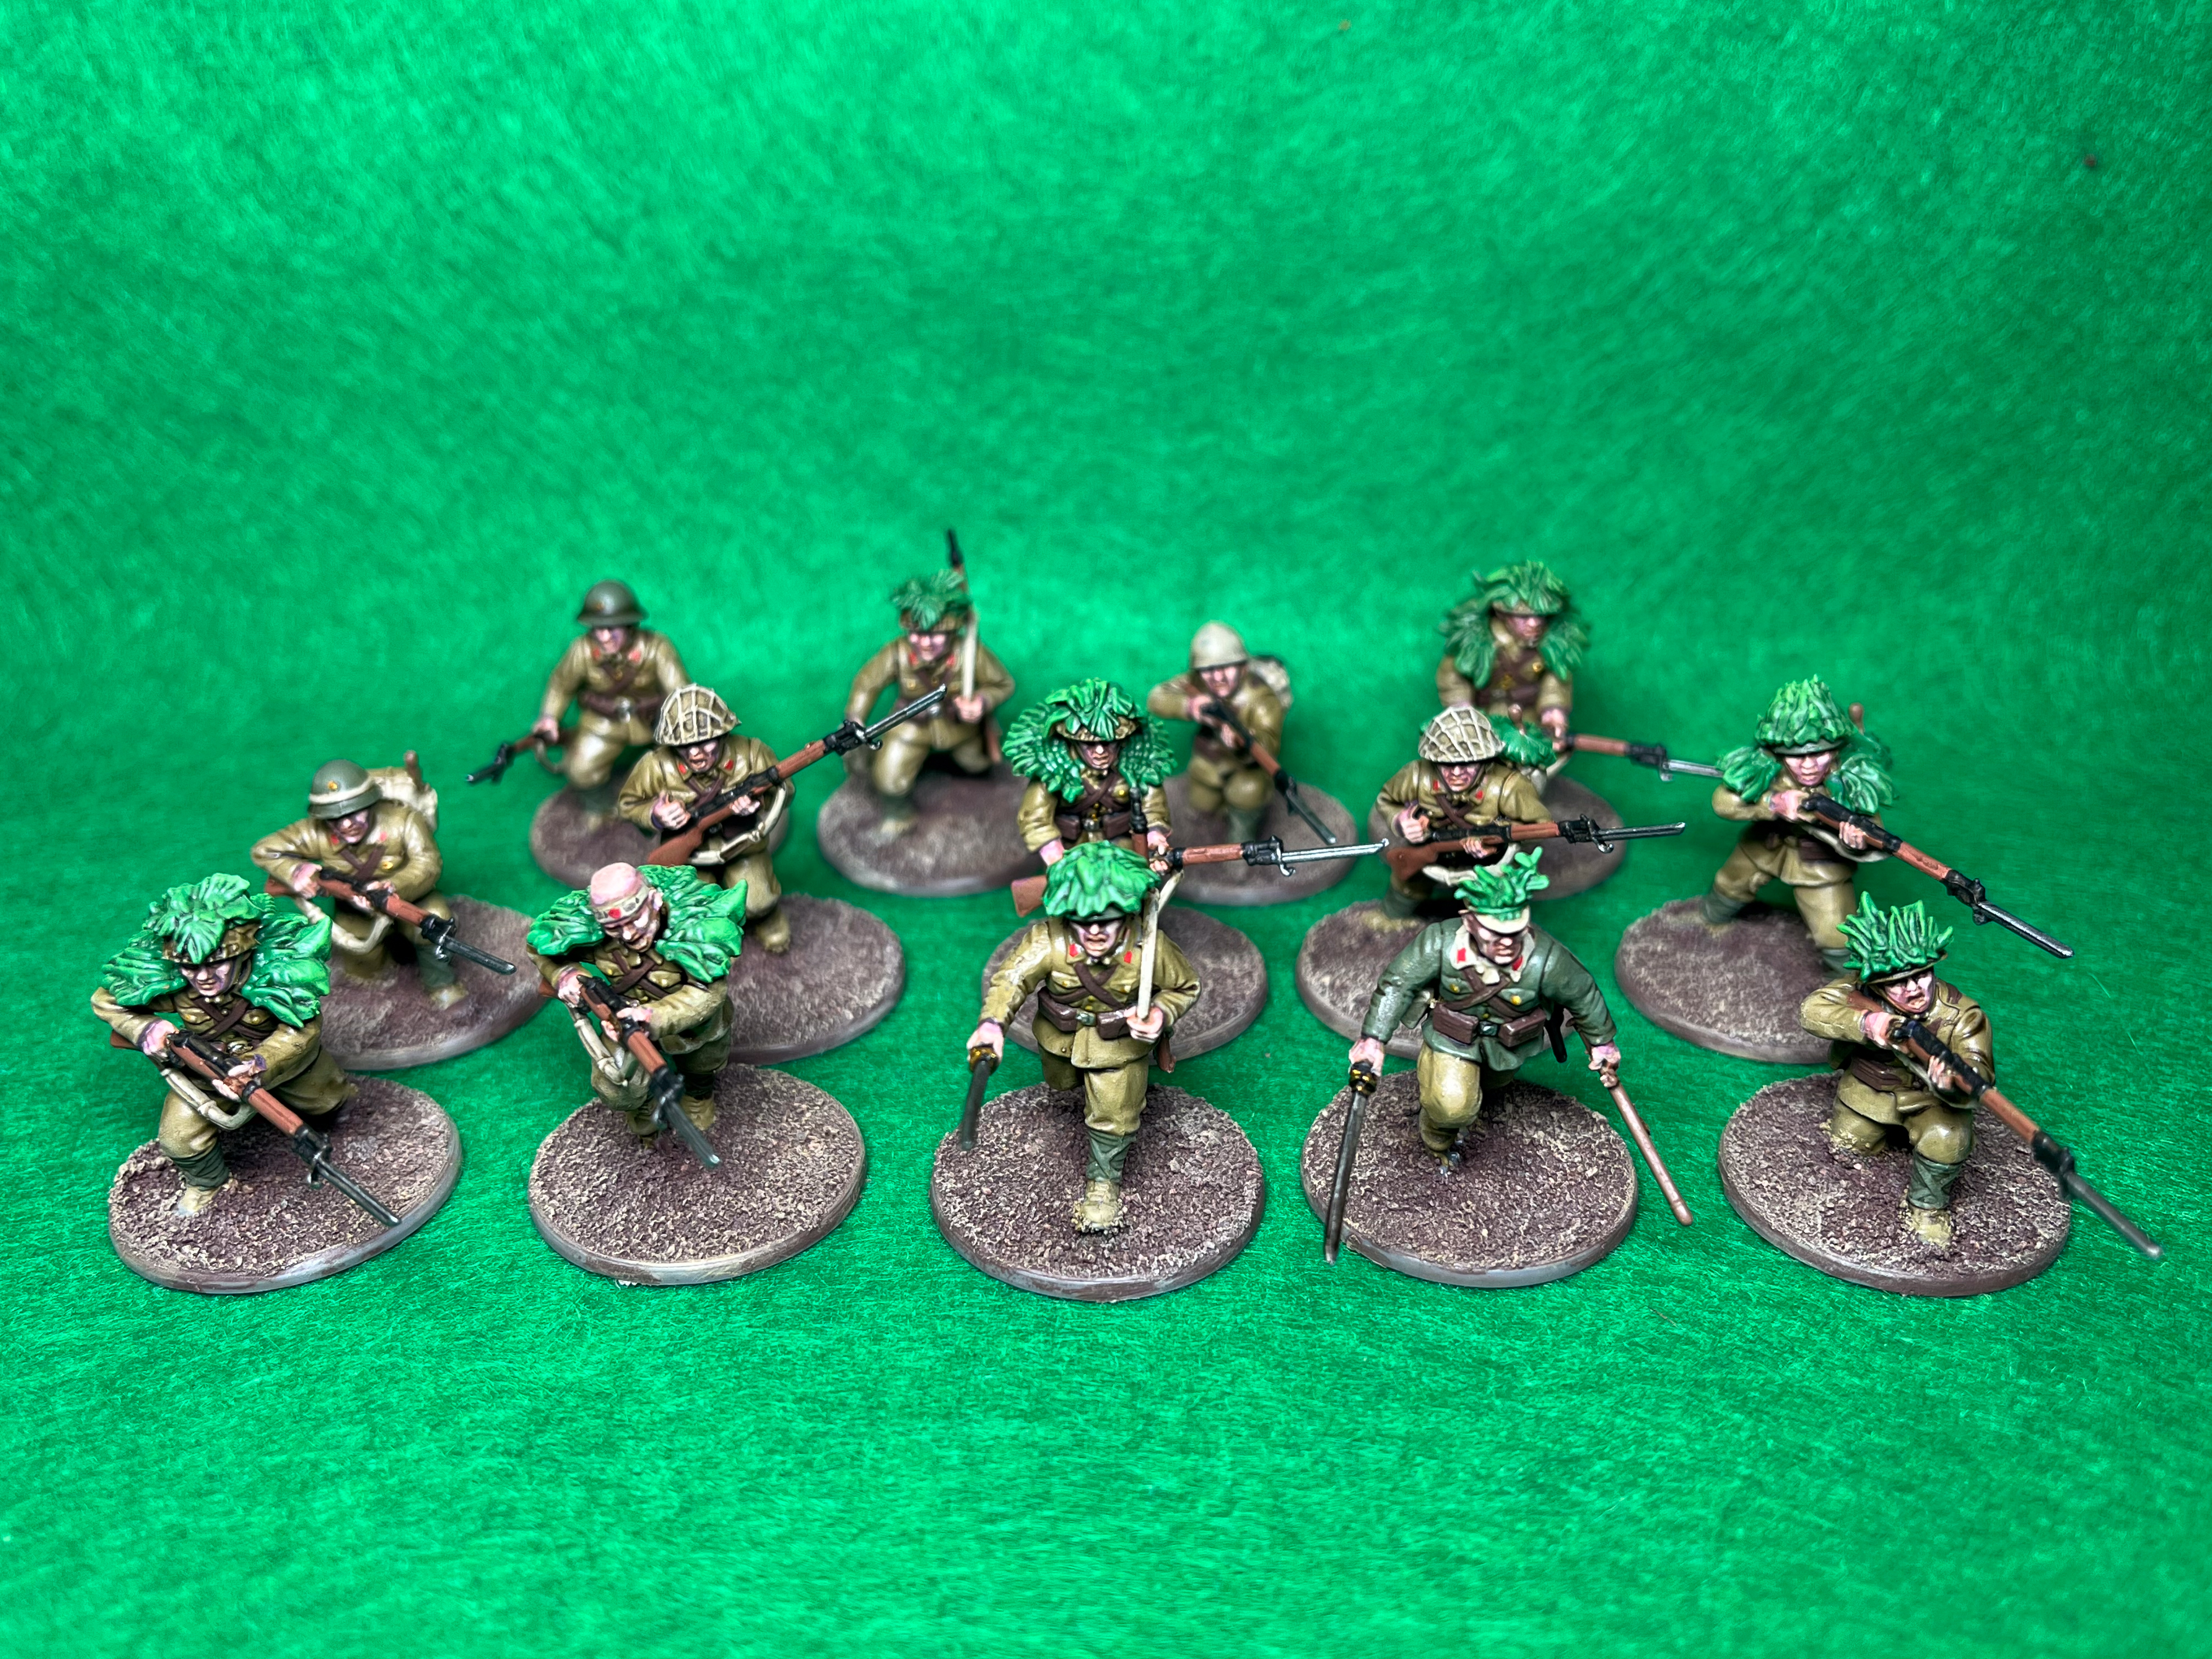
It’s always a good day when Iain lets us know that he’s finished another painting project, and this one’s an absolute doozy. Sit back, relax, and let Iain show you how to paint up our new plastic Japanese infantry – and more!
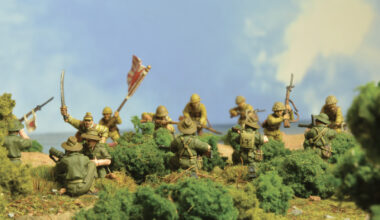
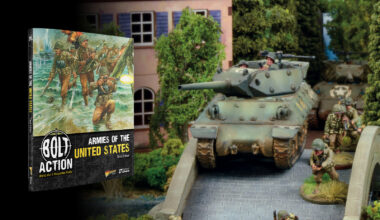
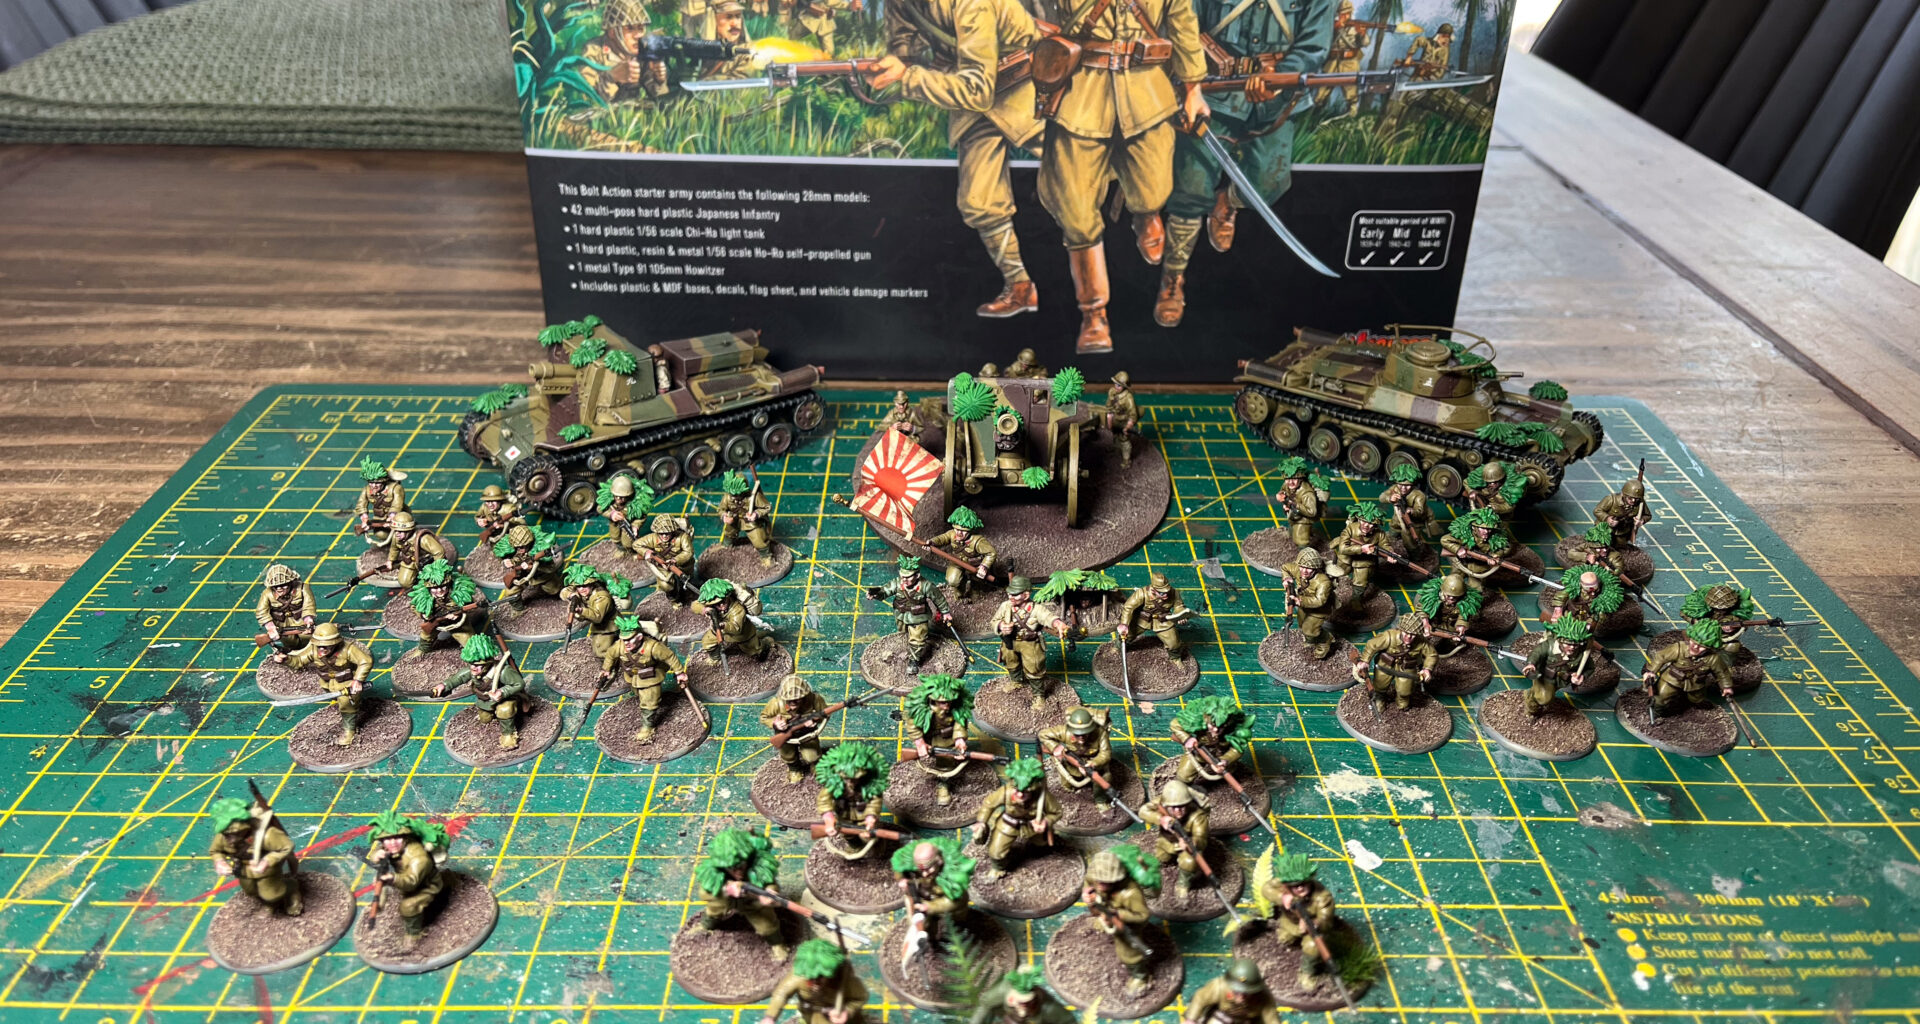
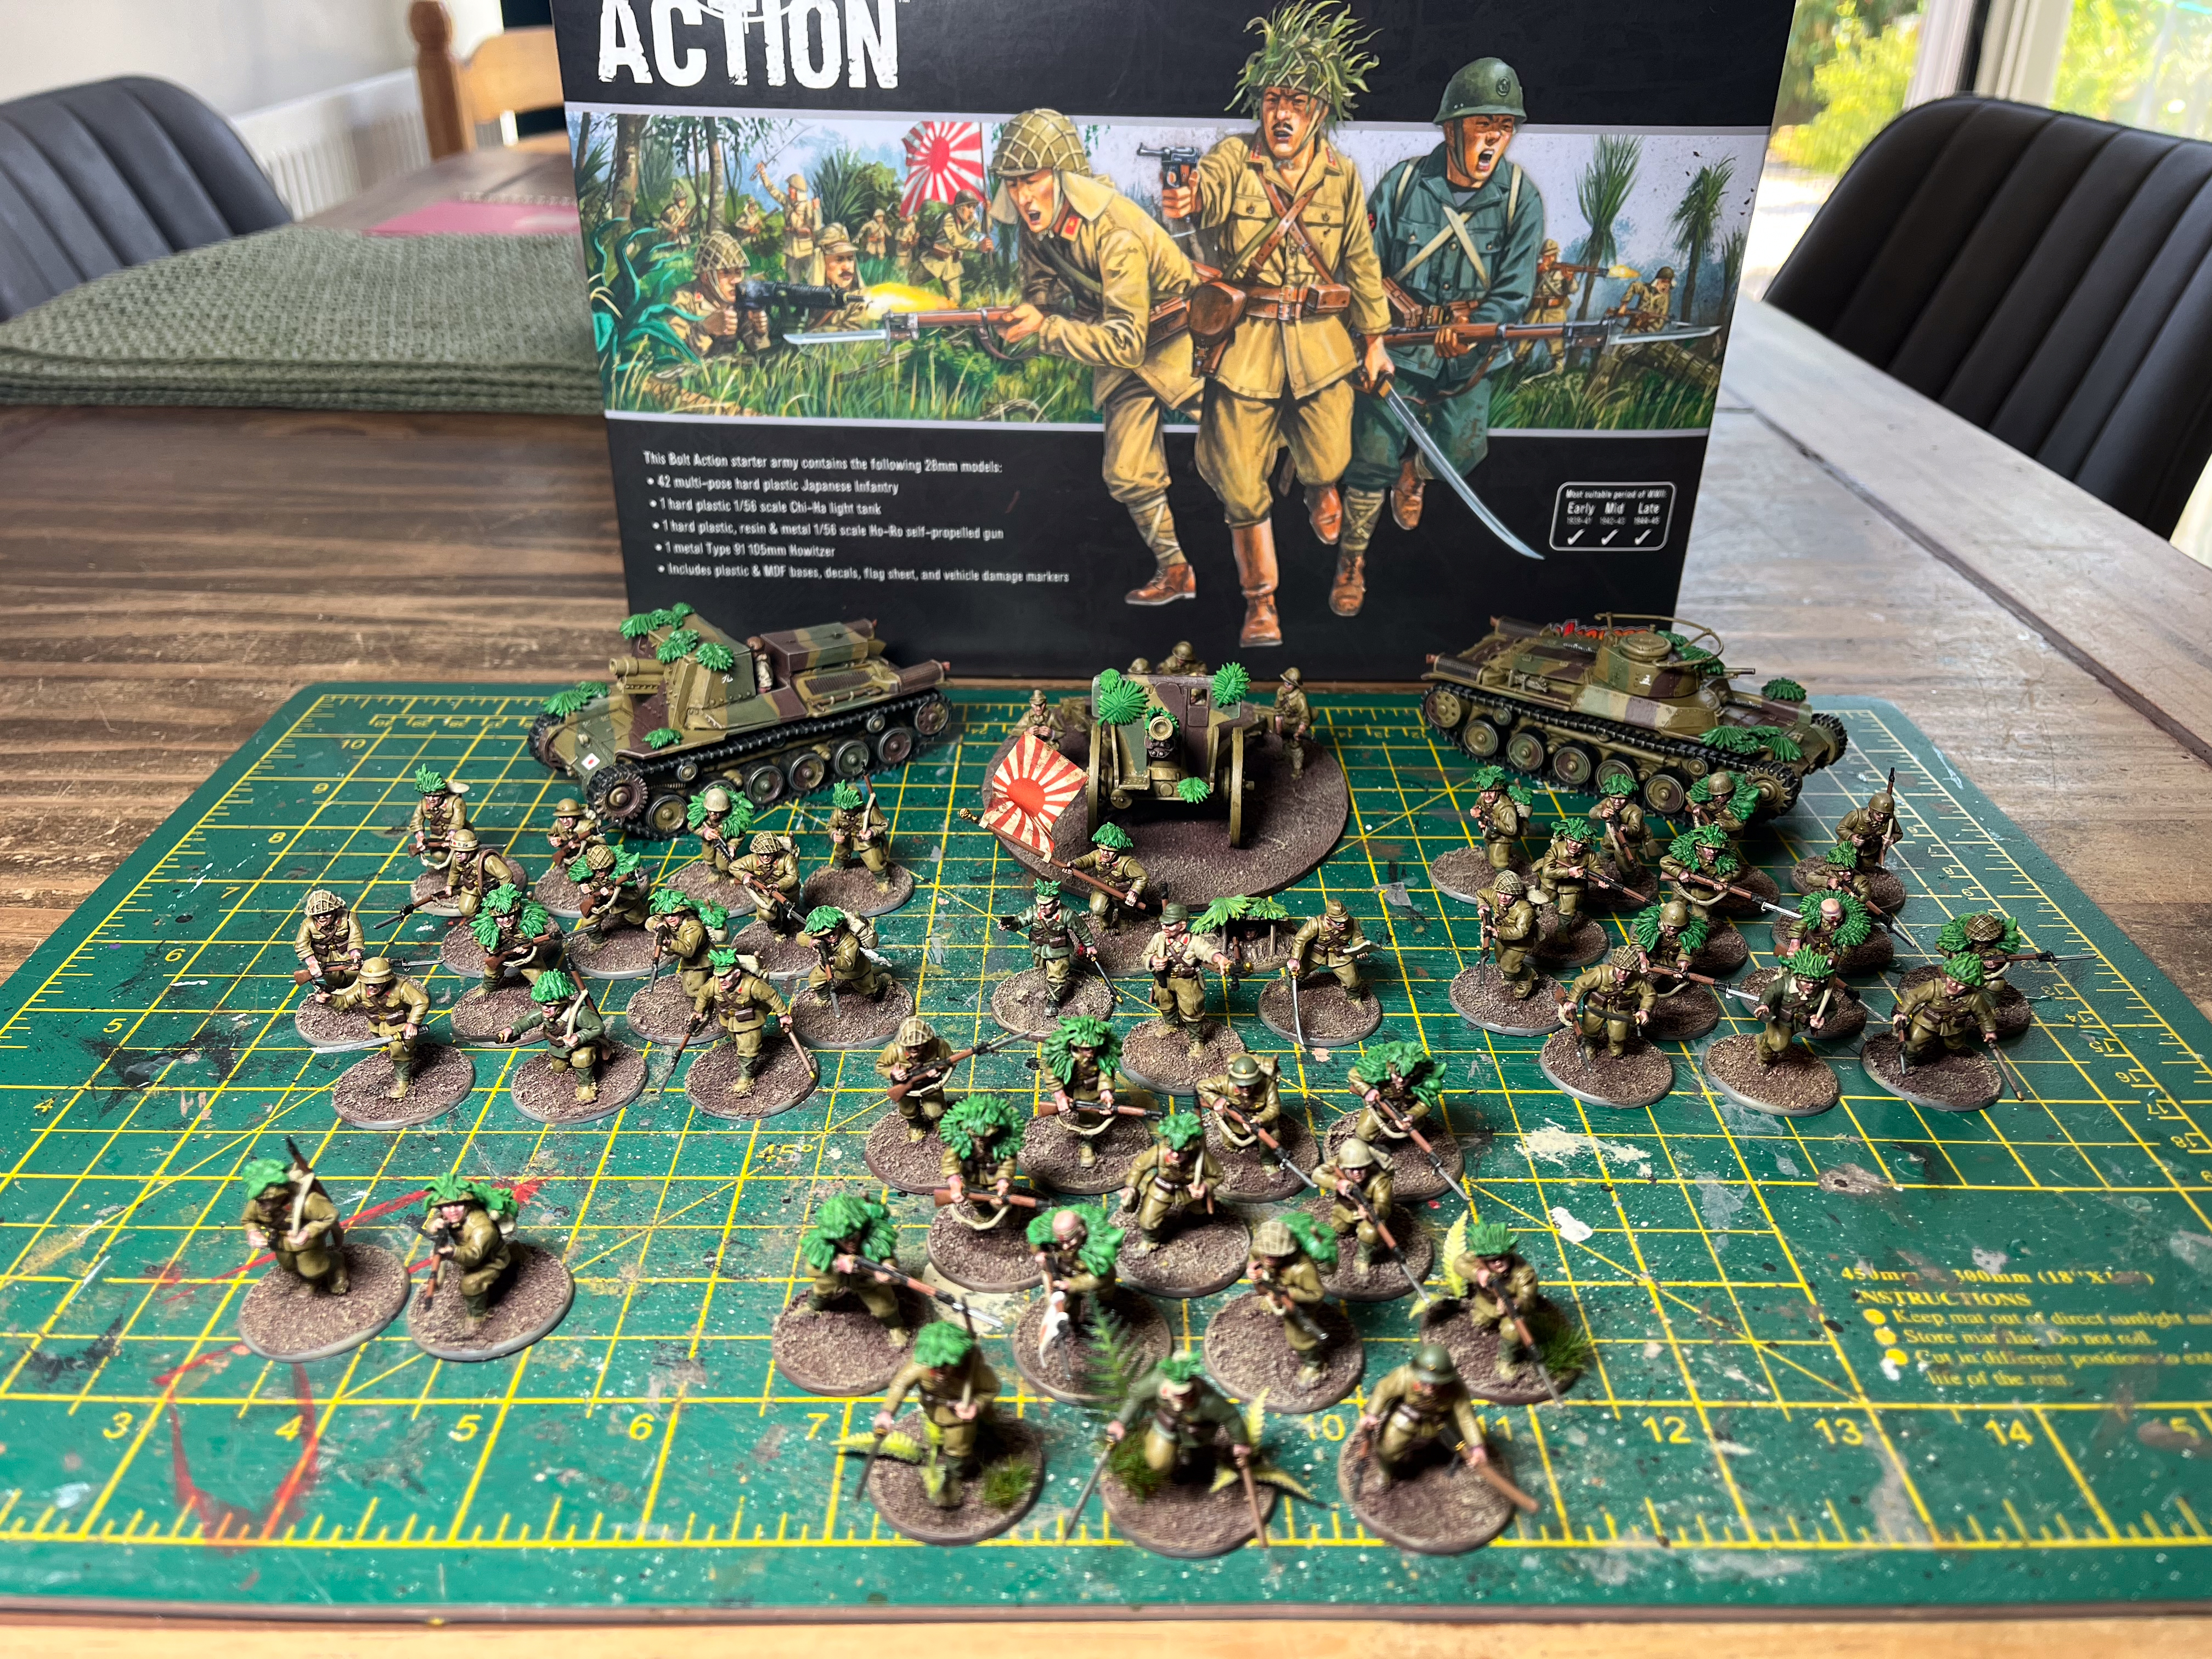
With Warlord Games having recently released the new Imperial Japanese earlier this year, I thought it was high time I started a new Bolt Action project set in Burma, and having recently received the For the Emperor! starter army, I decided this would be the perfect opportunity to show you how easy it can be to paint and field a World War II Japanese army, in the shortest time possible.

All the paints used from here on out will be Warpaints Fanatic, unless otherwise stated. I also used Vallejo Dark Earth texture paste to cover the bases before I start painting, as I intend to paint over it once it’s dry. With that preparation done, let’s crack on with the painting!
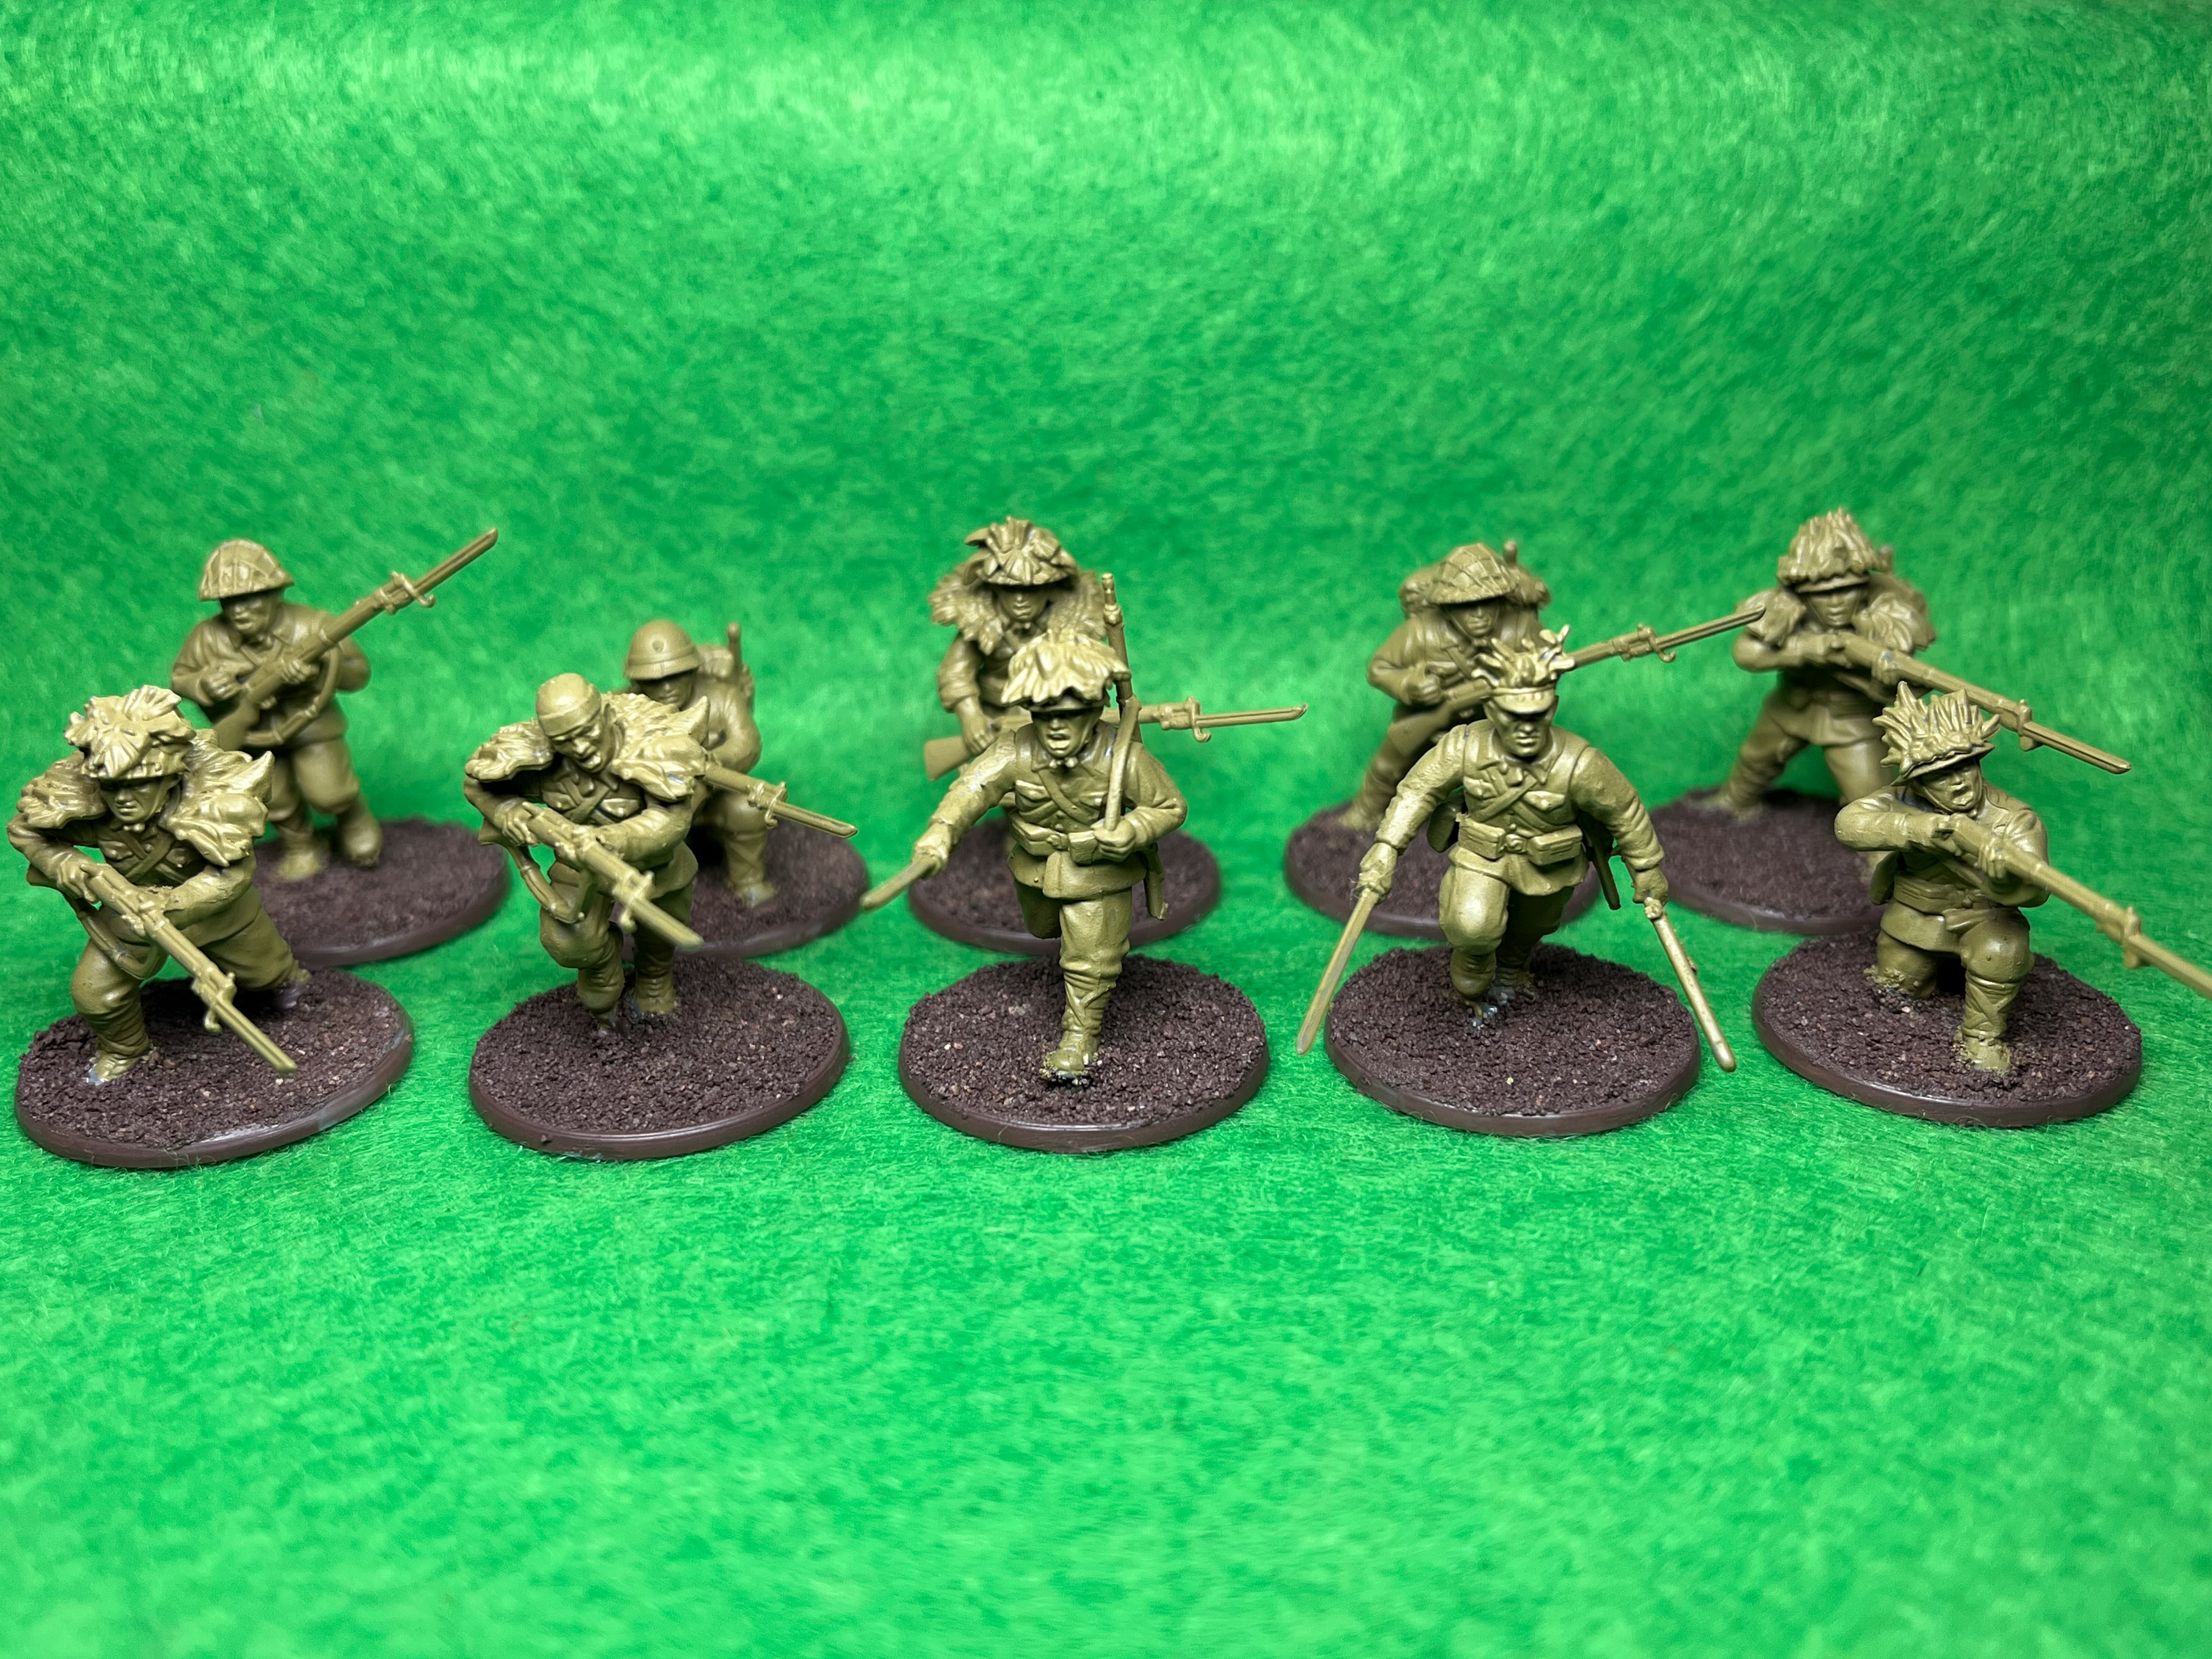
Starting with the infantry, I decided to give them an all over prime using Prairie Ochre. This is about the right colour for the Japanese uniforms, and if you make sure to give the miniatures 100% coverage, it’ll save you having to go back and repaint the bits you missed.
Next, use Oak Brown, mixed 1:1 with water, to cover the base entirely. Don’t worry if you go over the feet, as we’ll tidy that later.
Next up we’ll pre-highlight the miniatures by drybrushing Skeleton Bone over the entire miniature, but not the base. When we add the wash later, the raised areas will appear highlighted without having to lift your paintbrush!
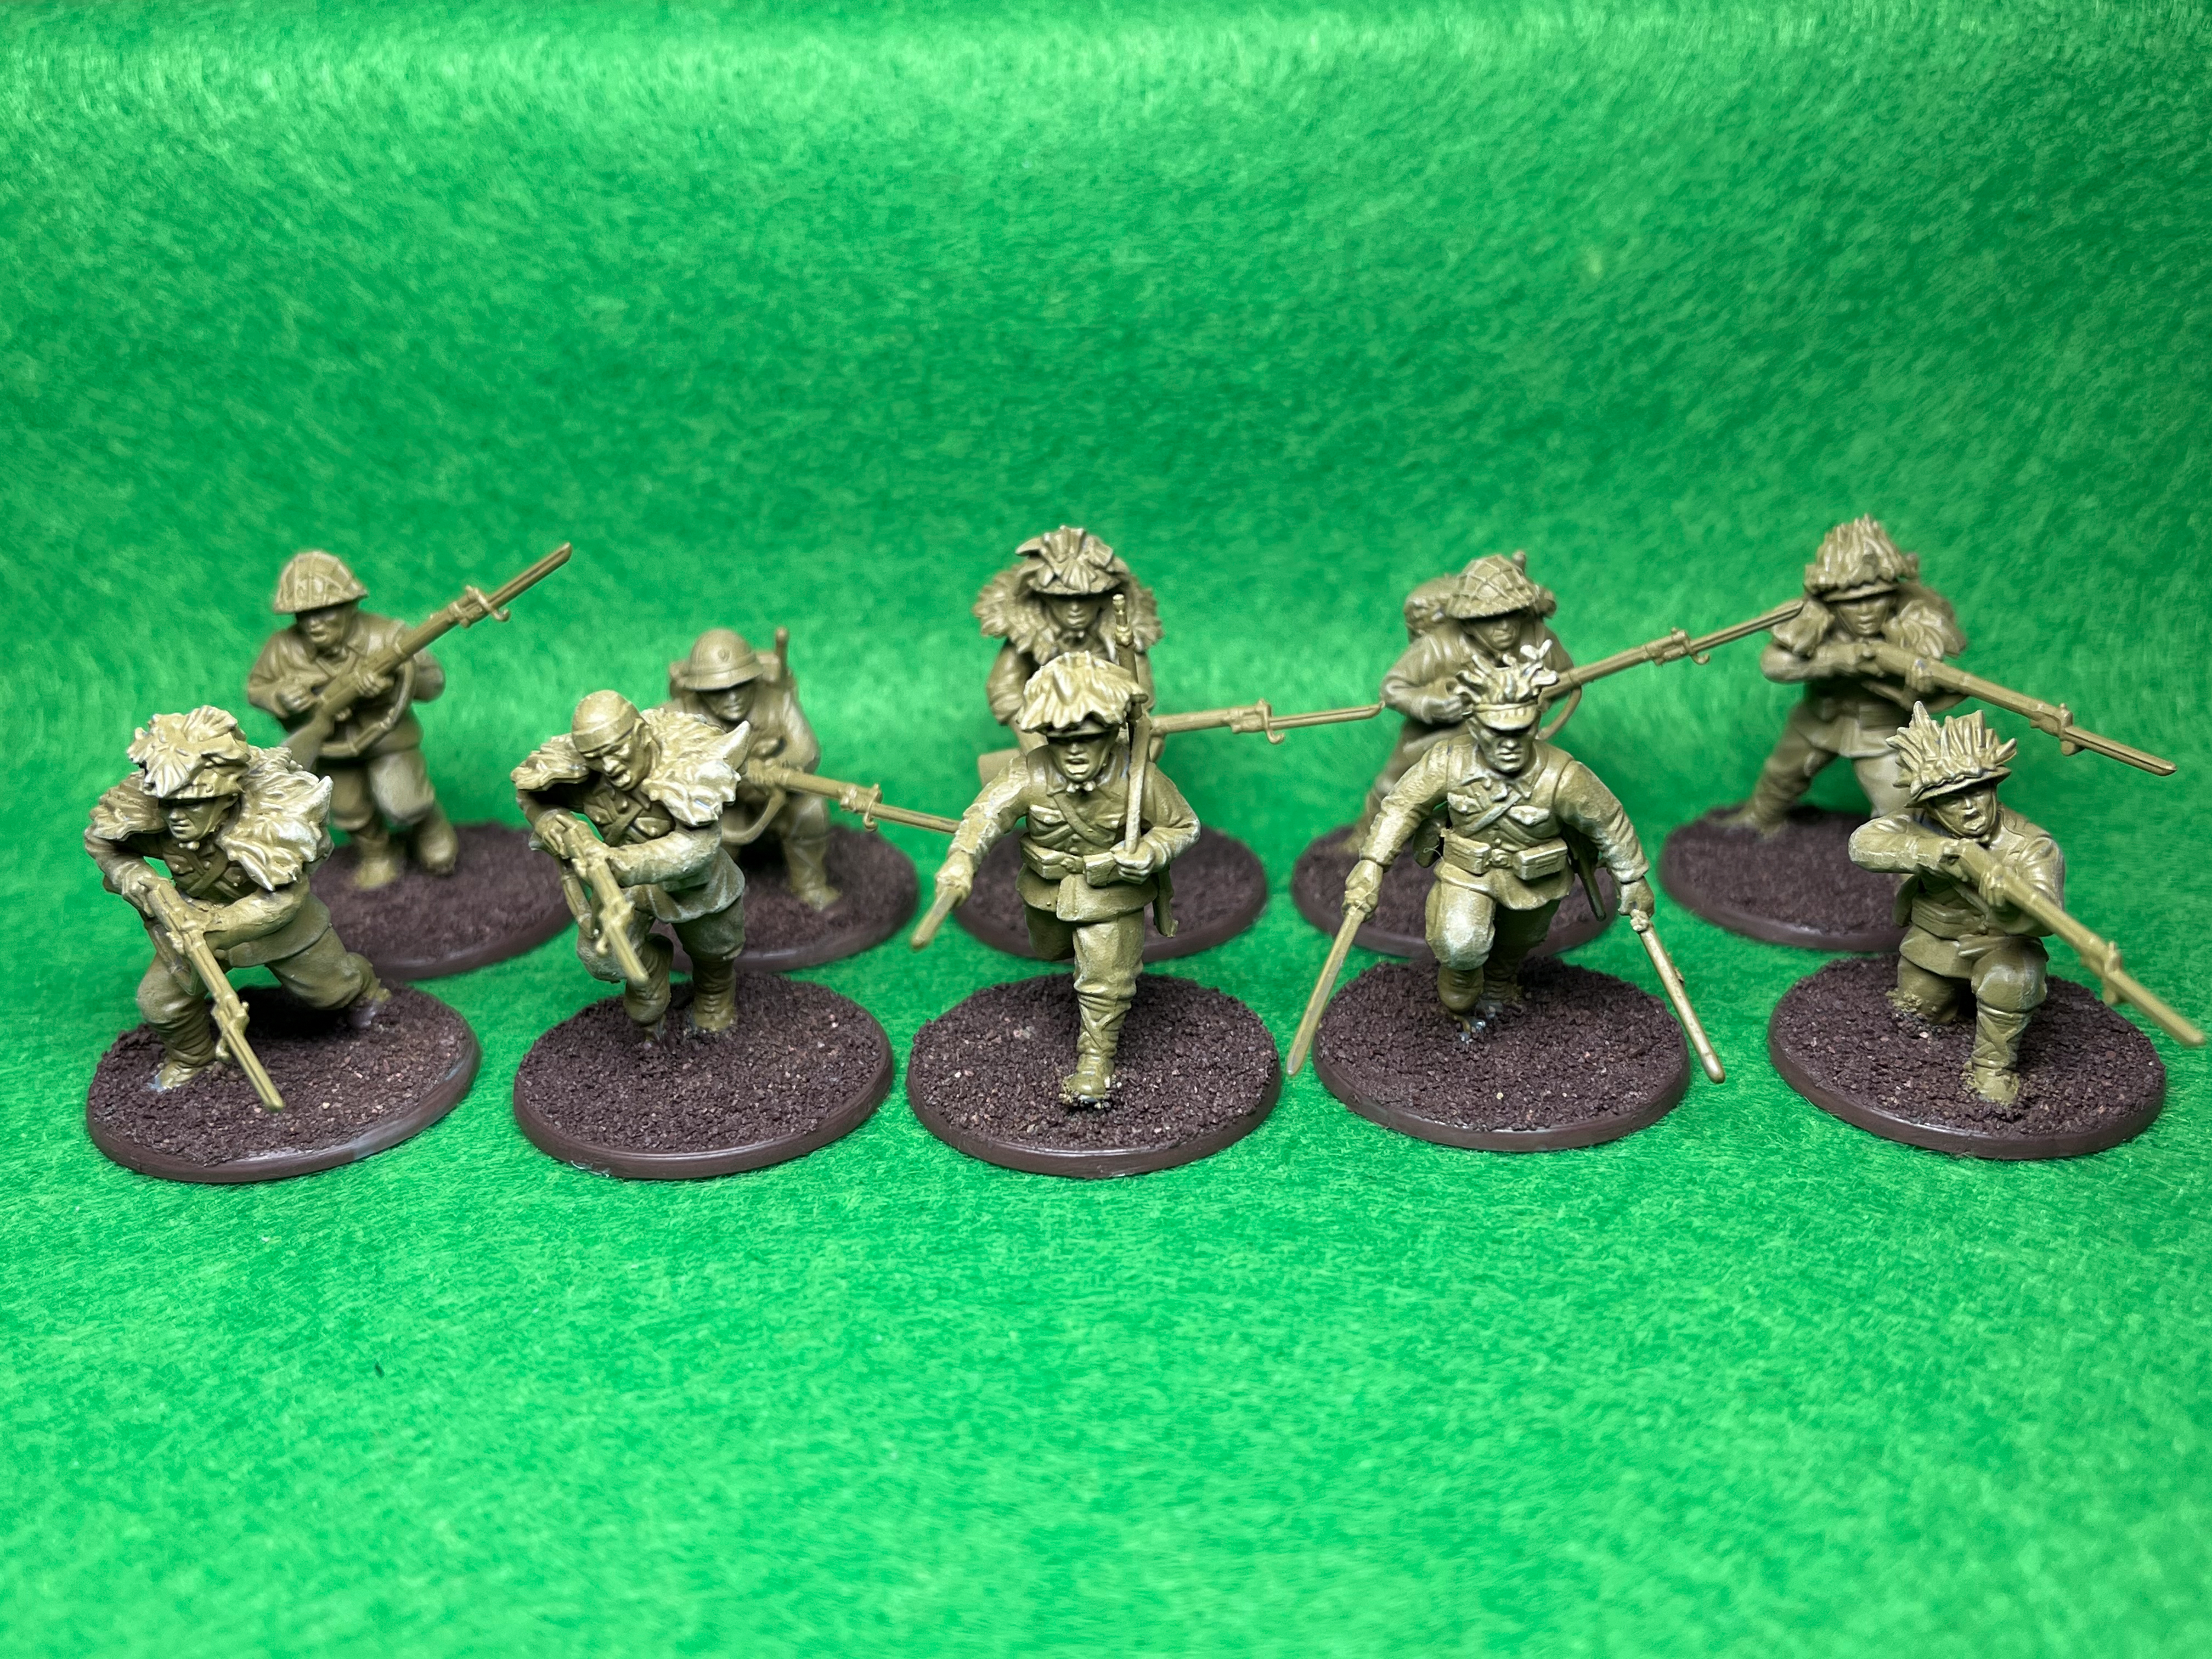
We’ll take Woodland Camo next and apply that to the wraps around the lower part of the legs. Again, don’t worry if you go onto the boots or trousers as we can tidy that later.
Now we’ll go around and pick out all the webbing and pouches, minus any backpacks you’ve given your squad, with Oak Brown.
This next part can be a little fiddly, so take your time. Taking Fur Brown, paint in all the wooden parts on any rifles or submachine gun stocks.
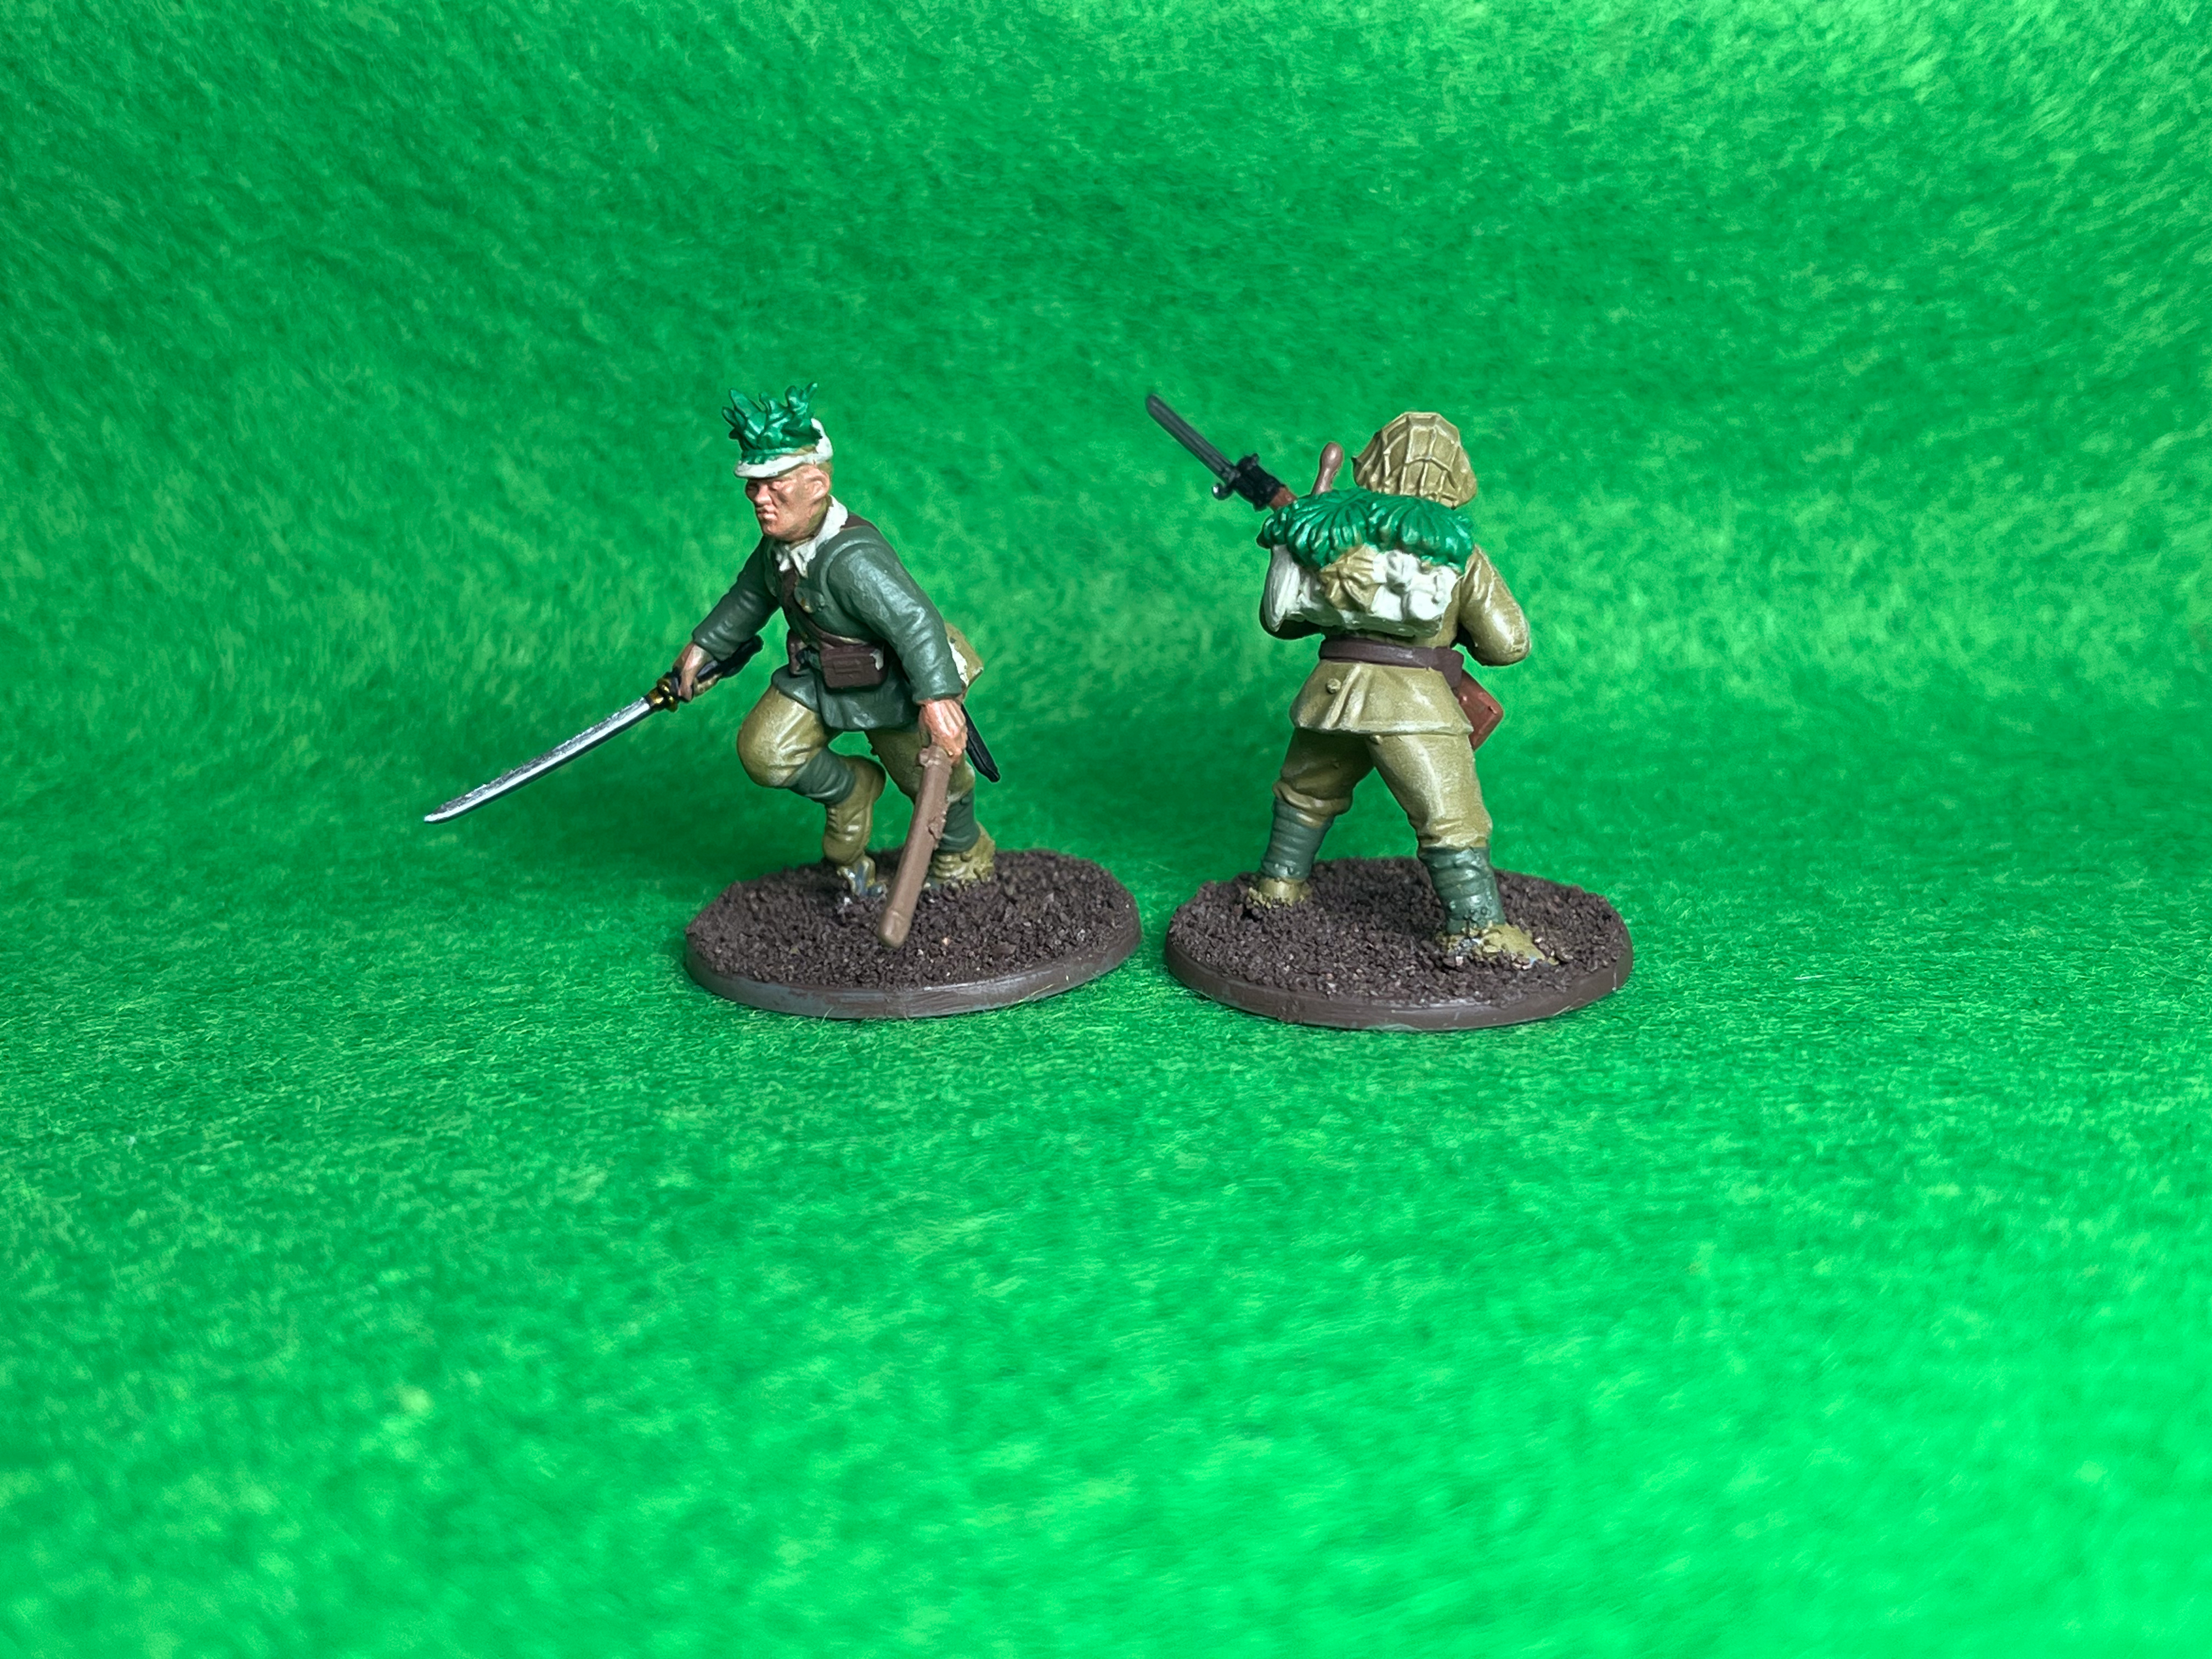
Now we go back in with the Skeleton Bone, this time picking out any weapon slings and backpacks and larger pouches you may have added. Also, if you want to give your NCO a khaki collar or soft cap, then Skeleton Bone will be perfect.
Once the wooden parts of the weapons are dry, we’ll now take Matt Black and paint all the rifle bolts, working parts, triggers, barrels and bayonets. If you have any NCOs with a Shin Guntō, paint those too. The black will give a nice dark base for when we add some silver later.
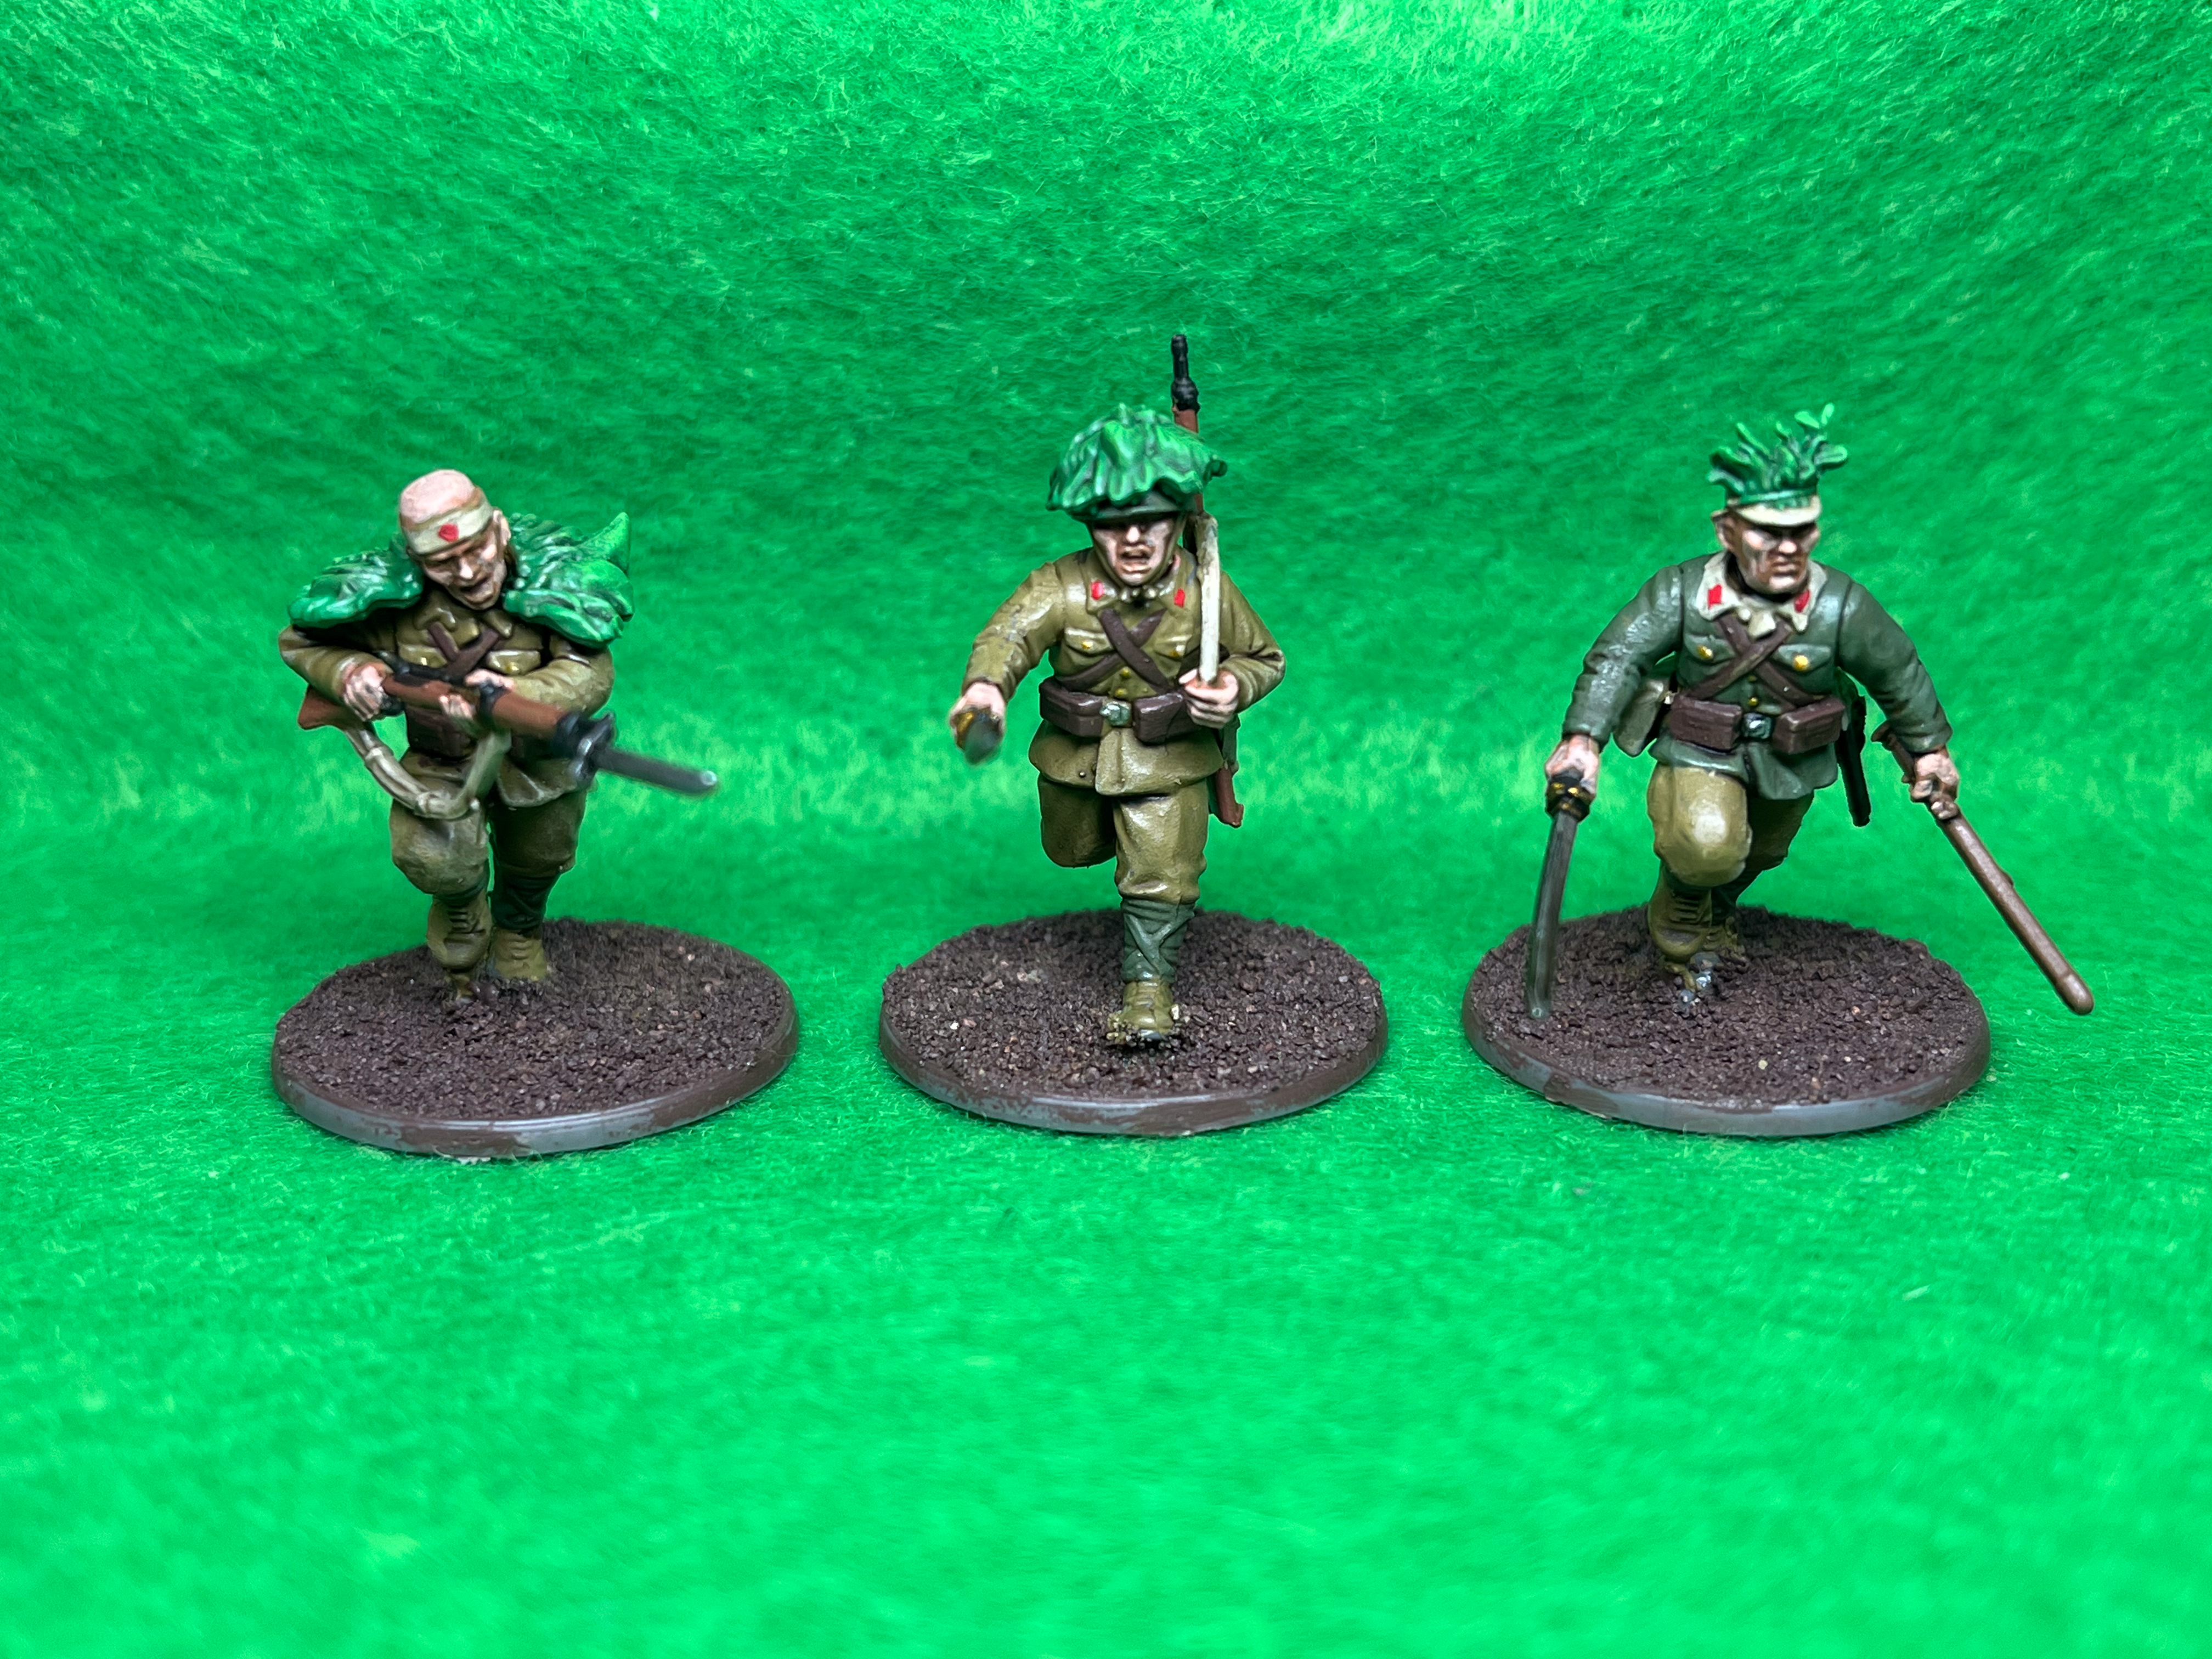
Now for the foliage. Using Greenskin we’ll pick out all the leafy camouflage on any helmets, backpacks and around the shoulders. If you’ve not used any on your infantry, then you can skip this stage.
Now for some metallics. Use Plate Mail Metal to paint the patient blades, as well as the blades of the Shin Guntō.
Sticking with the metallics, we’ll use Greedy Gold to dot in any buttons on tunics, belt buckles and for hand guards on the Shin Guntō.
Next, it’s time to paint in the flesh base colour. We’ll use Tanned Flesh as it gives a nice deep colour in which to add the lighter tones later on. Again it can be a bit fiddly picking out the hands, so just work your way round the miniatures slowly and we’ll tidy any mistakes later.
We’ll use Leather Brown next to paint any trench shovel handles and the scabbard of the Shin Guntō.
Next, taking a small detail brush, add a little Pure Red to any collar tabs you can see. These can be a little tricky to do, so take your time.
Now for the wash phase. Using a mix of Strong Tone and water (1:3), wash over the entire miniature, but not the base. Start from the top of the miniature and work your way down. Make sure to do under the arms and between the legs and give a nice even coat. If it pools too much, just soak up any excess with a clean dry brush.
Once the wash has thoroughly dried, we can move on to some quick highlights. The fatigues shouldn’t need any highlights, thanks to the pre-highlight we dry brushed over them with the earlier steps. However, if you like a more obvious highlight, take Prairie Ochre and Matt White and mix them 1:1. Then apply this mix to the raised folds in the uniform. Try not to get any on the flat recesses or you’ll undo the work of the wash.
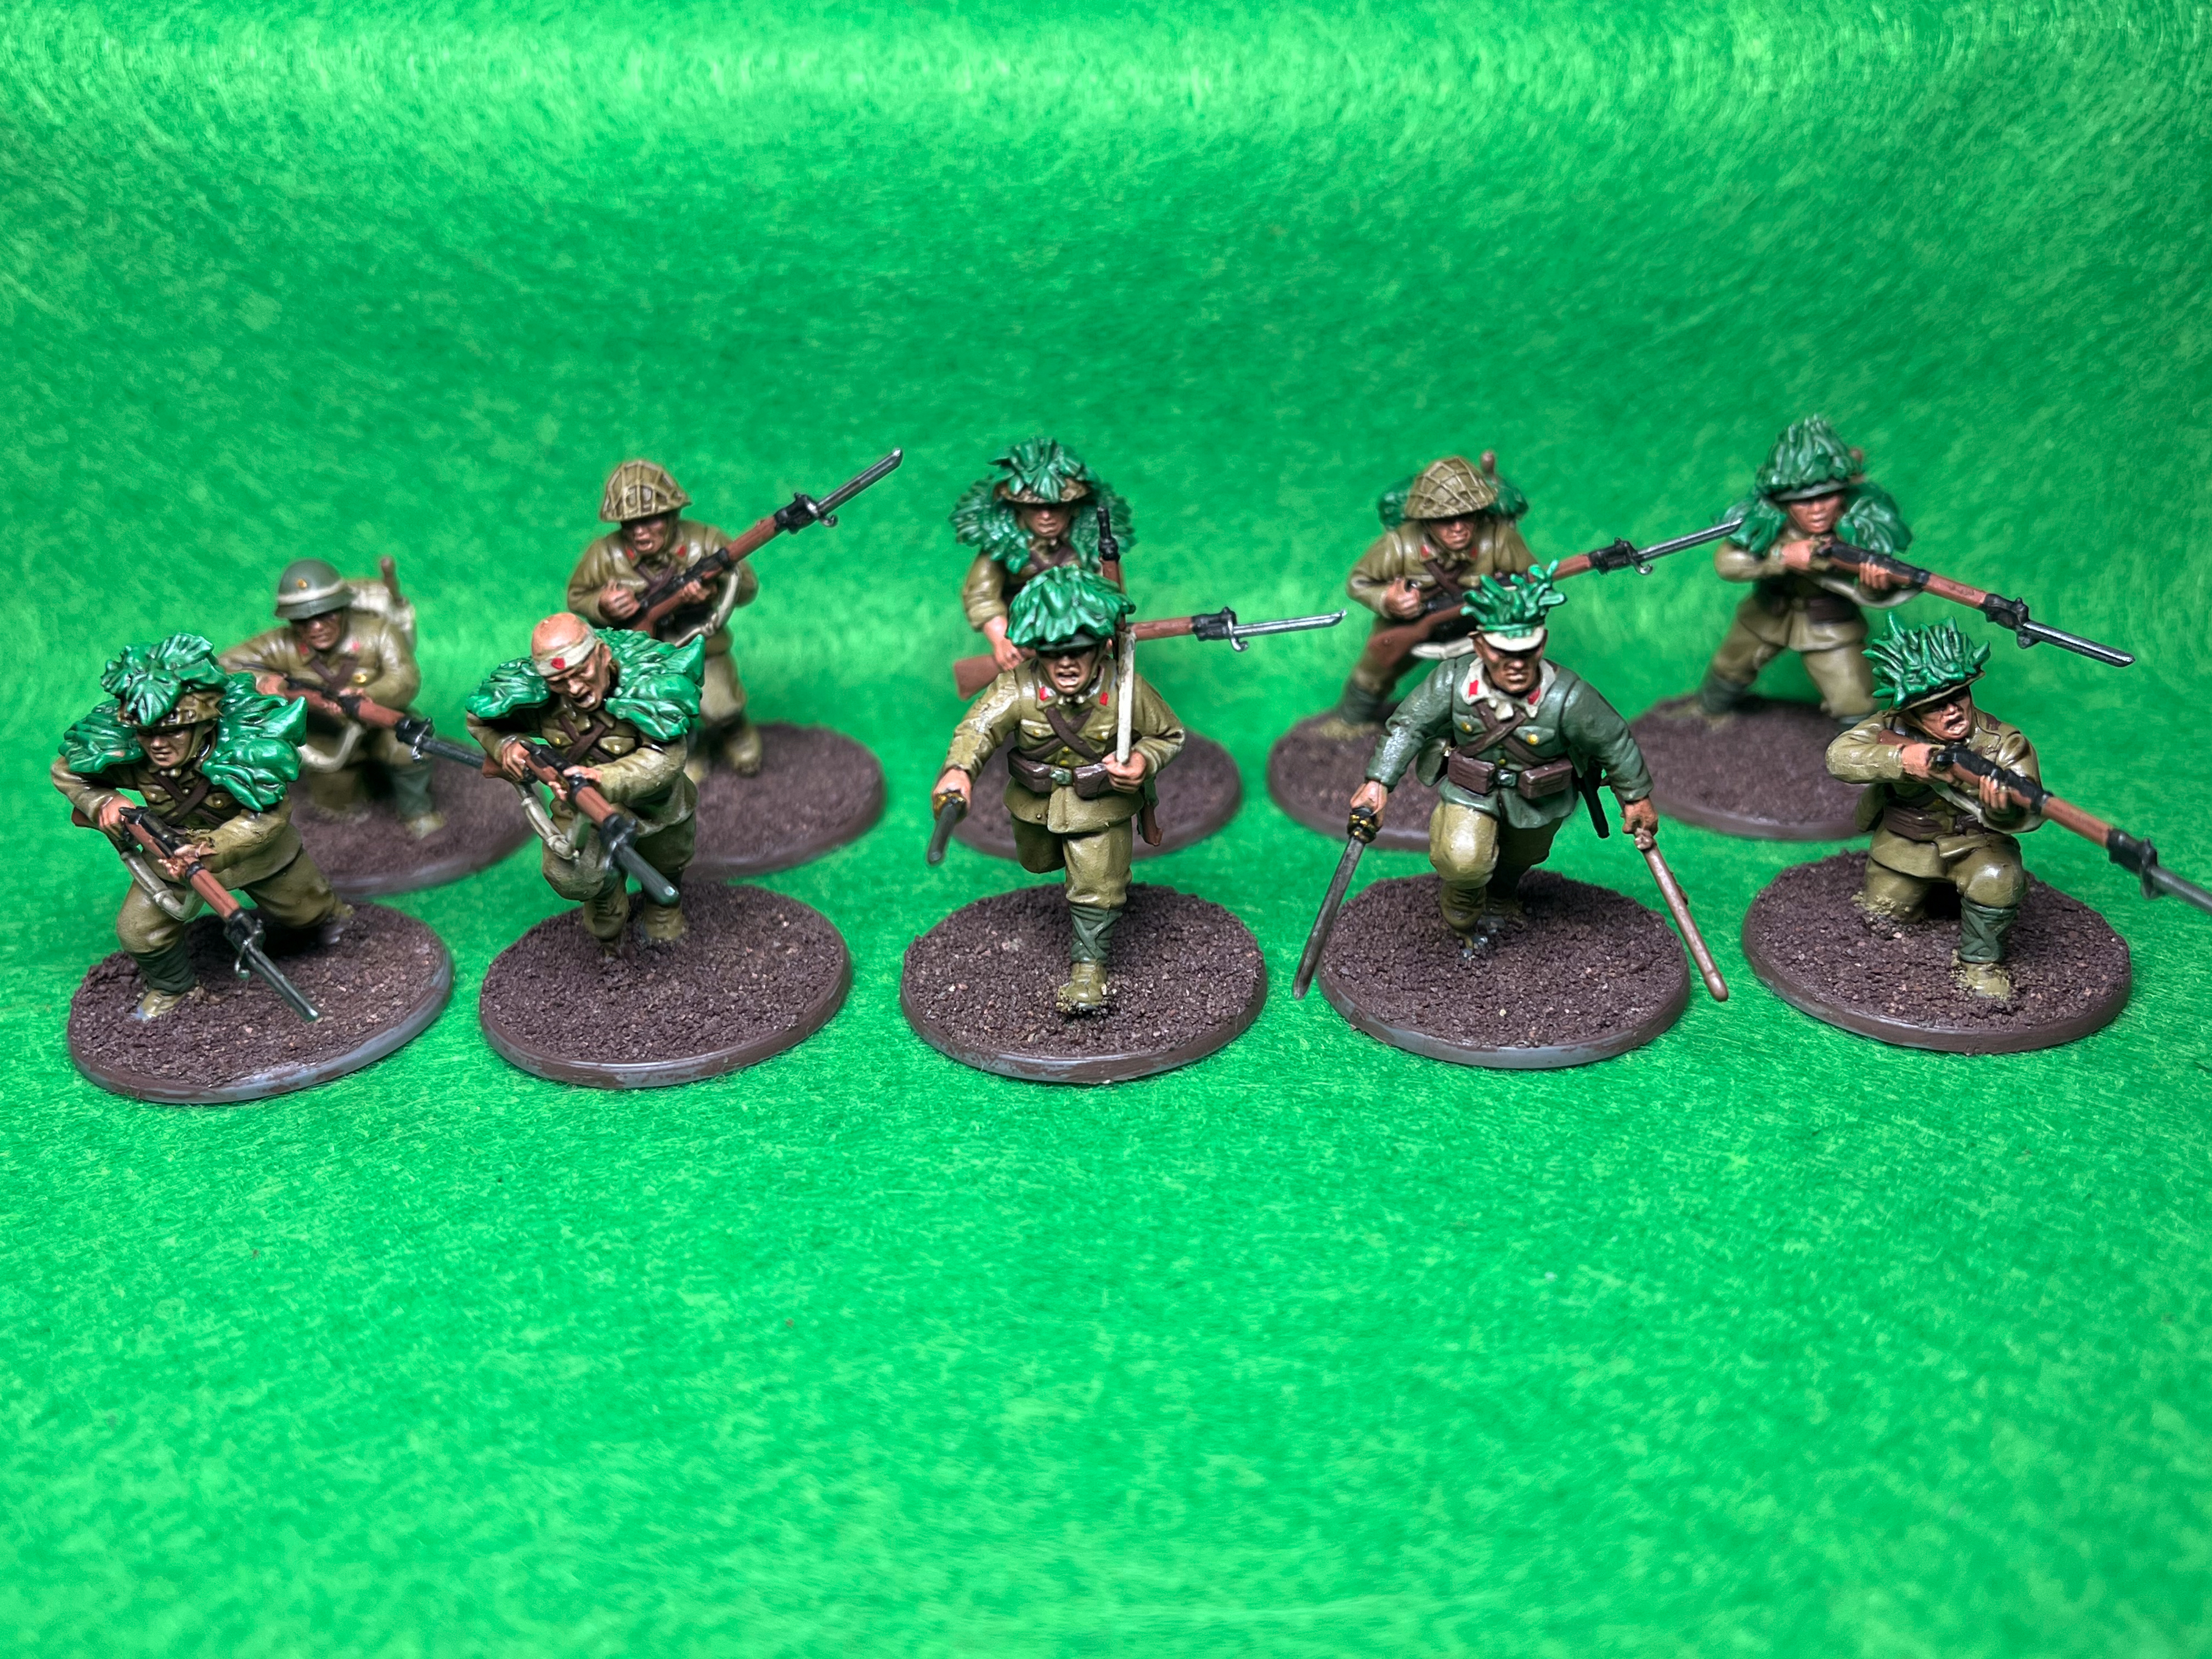
To highlight the leaves, we’ll take one part Greenskin and one part Daemonic Yellow and mix them thoroughly. Taking a small drybrush, fill the bristles and then wipe off any excess onto a paper towel. Then lightly brush across the leaves, making sure not to brush any onto the uniforms or backpacks. If you prefer, you can always use a small paint brush to paint the tips of the leaves, but for the purposes of speed, the drybrush is best.
Now we’re on to the skin. Having given our miniatures a good base coat of Tanned Flesh, we’re now going to soften the look by using Barbarian Flesh. Using a small detail brush, paint the nose, cheekbones and chin on all the faces and then pick out the backs of the hands and fingers. If you can, try and pick out each finger and leave some of the darker tones between each.
For a further highlight, mix 1:1 Barbarian Flesh and Matt White and then take your smallest detail brush and apply a dot to the tip of the nose, the tops of the cheekbones and the knuckles on the hands.
Although it’s not necessary to do this next step, I like to add some colour to the shadows on the skin. So take some Alien Purple and water it down heavily with 1 part Alien Purple and 4 parts water. You’re looking for a wash consistency. Then, taking another small brush, add the wash to the wrists or where the sleeves meet the skin, as well as between the helmet straps and the face and on each side of the nose, running down towards the mouth. Once dry this should make the shadows look a little warmer and more natural.
The final step is to add some colour to the bases. Depending on the theatre your army is fighting in, is dependent on what colours you can use. I intend for my Japanese army to be fighting in Burma, so the Oak Brown base we painted in an earlier step will be fine for the ground, however I’ll lighten it by giving it a drybrush of Vallejo Desert Yellow and following that up with a dry brush of Skeleton Bone. Then it’s just a matter of adding any tufts and plants to the base. I’ve gone for some Gamers Grass Bracken and Deer Ferns, as well as some standard grassy tufts here and there.
Finally we can coat the miniatures in a layer of Matt Varnish and once dry, your infantry are ready to use.
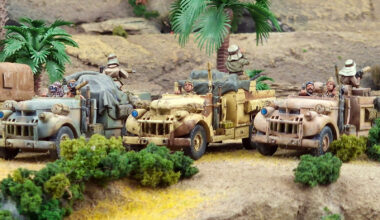
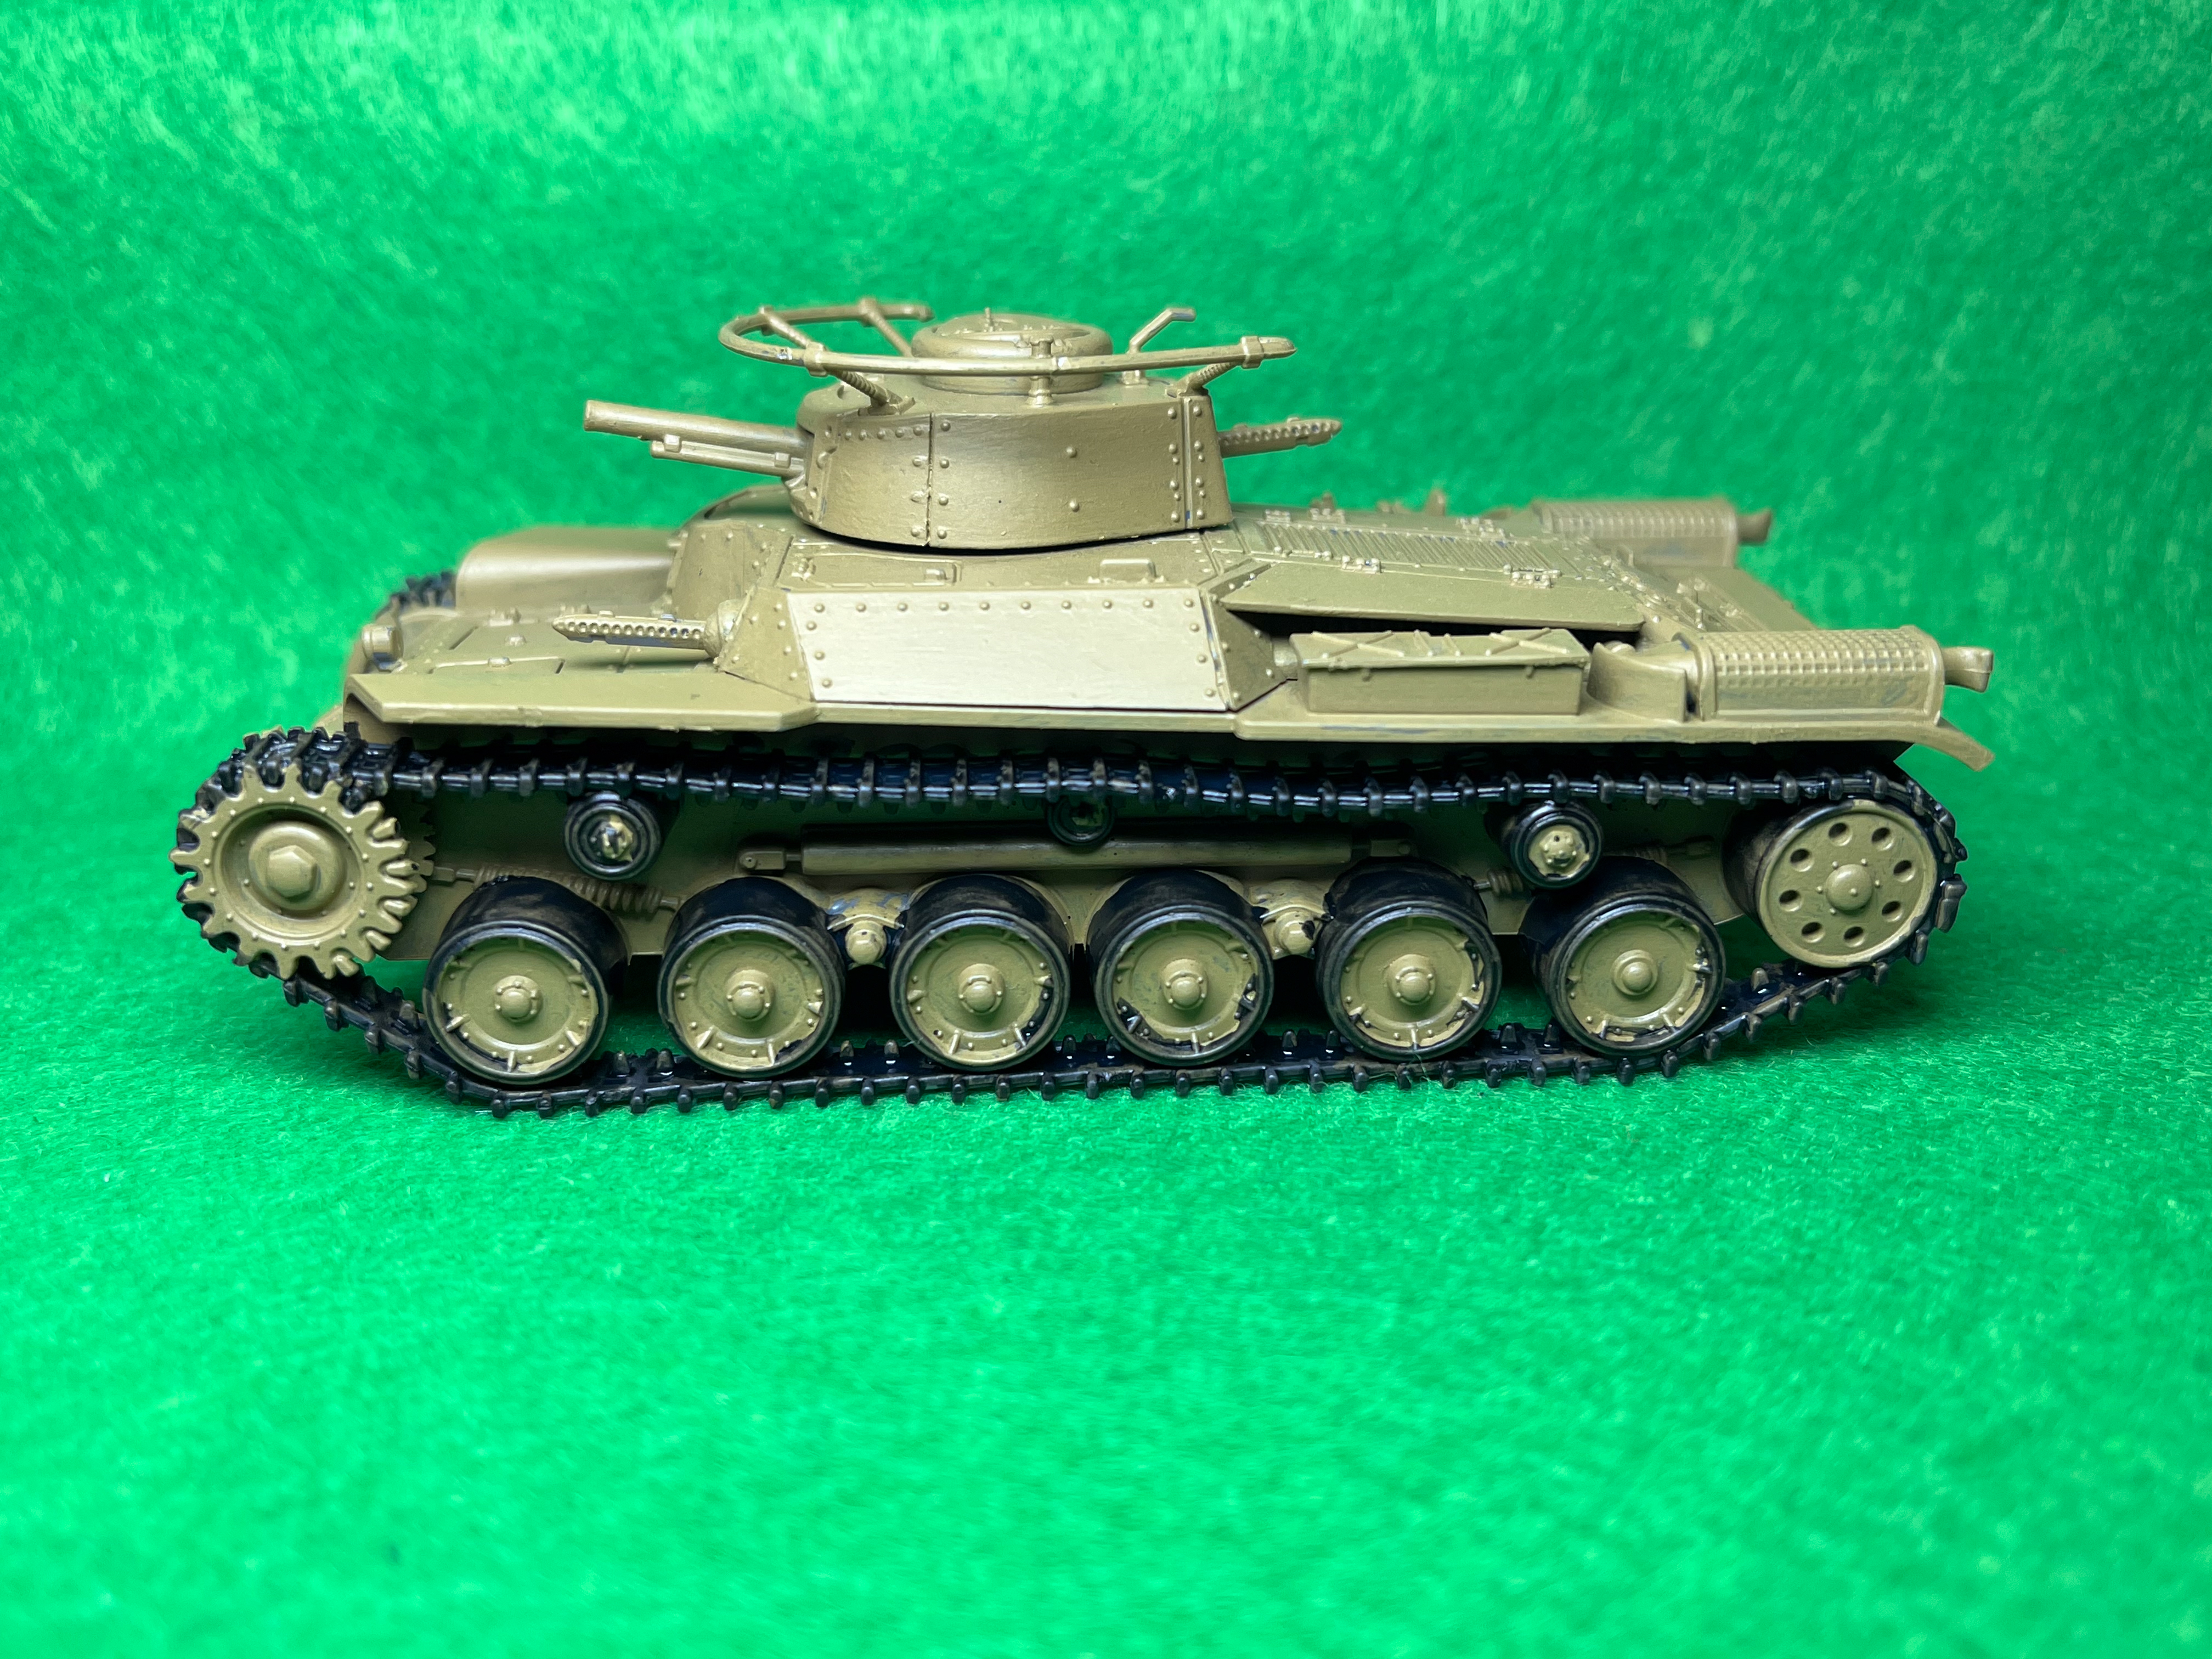
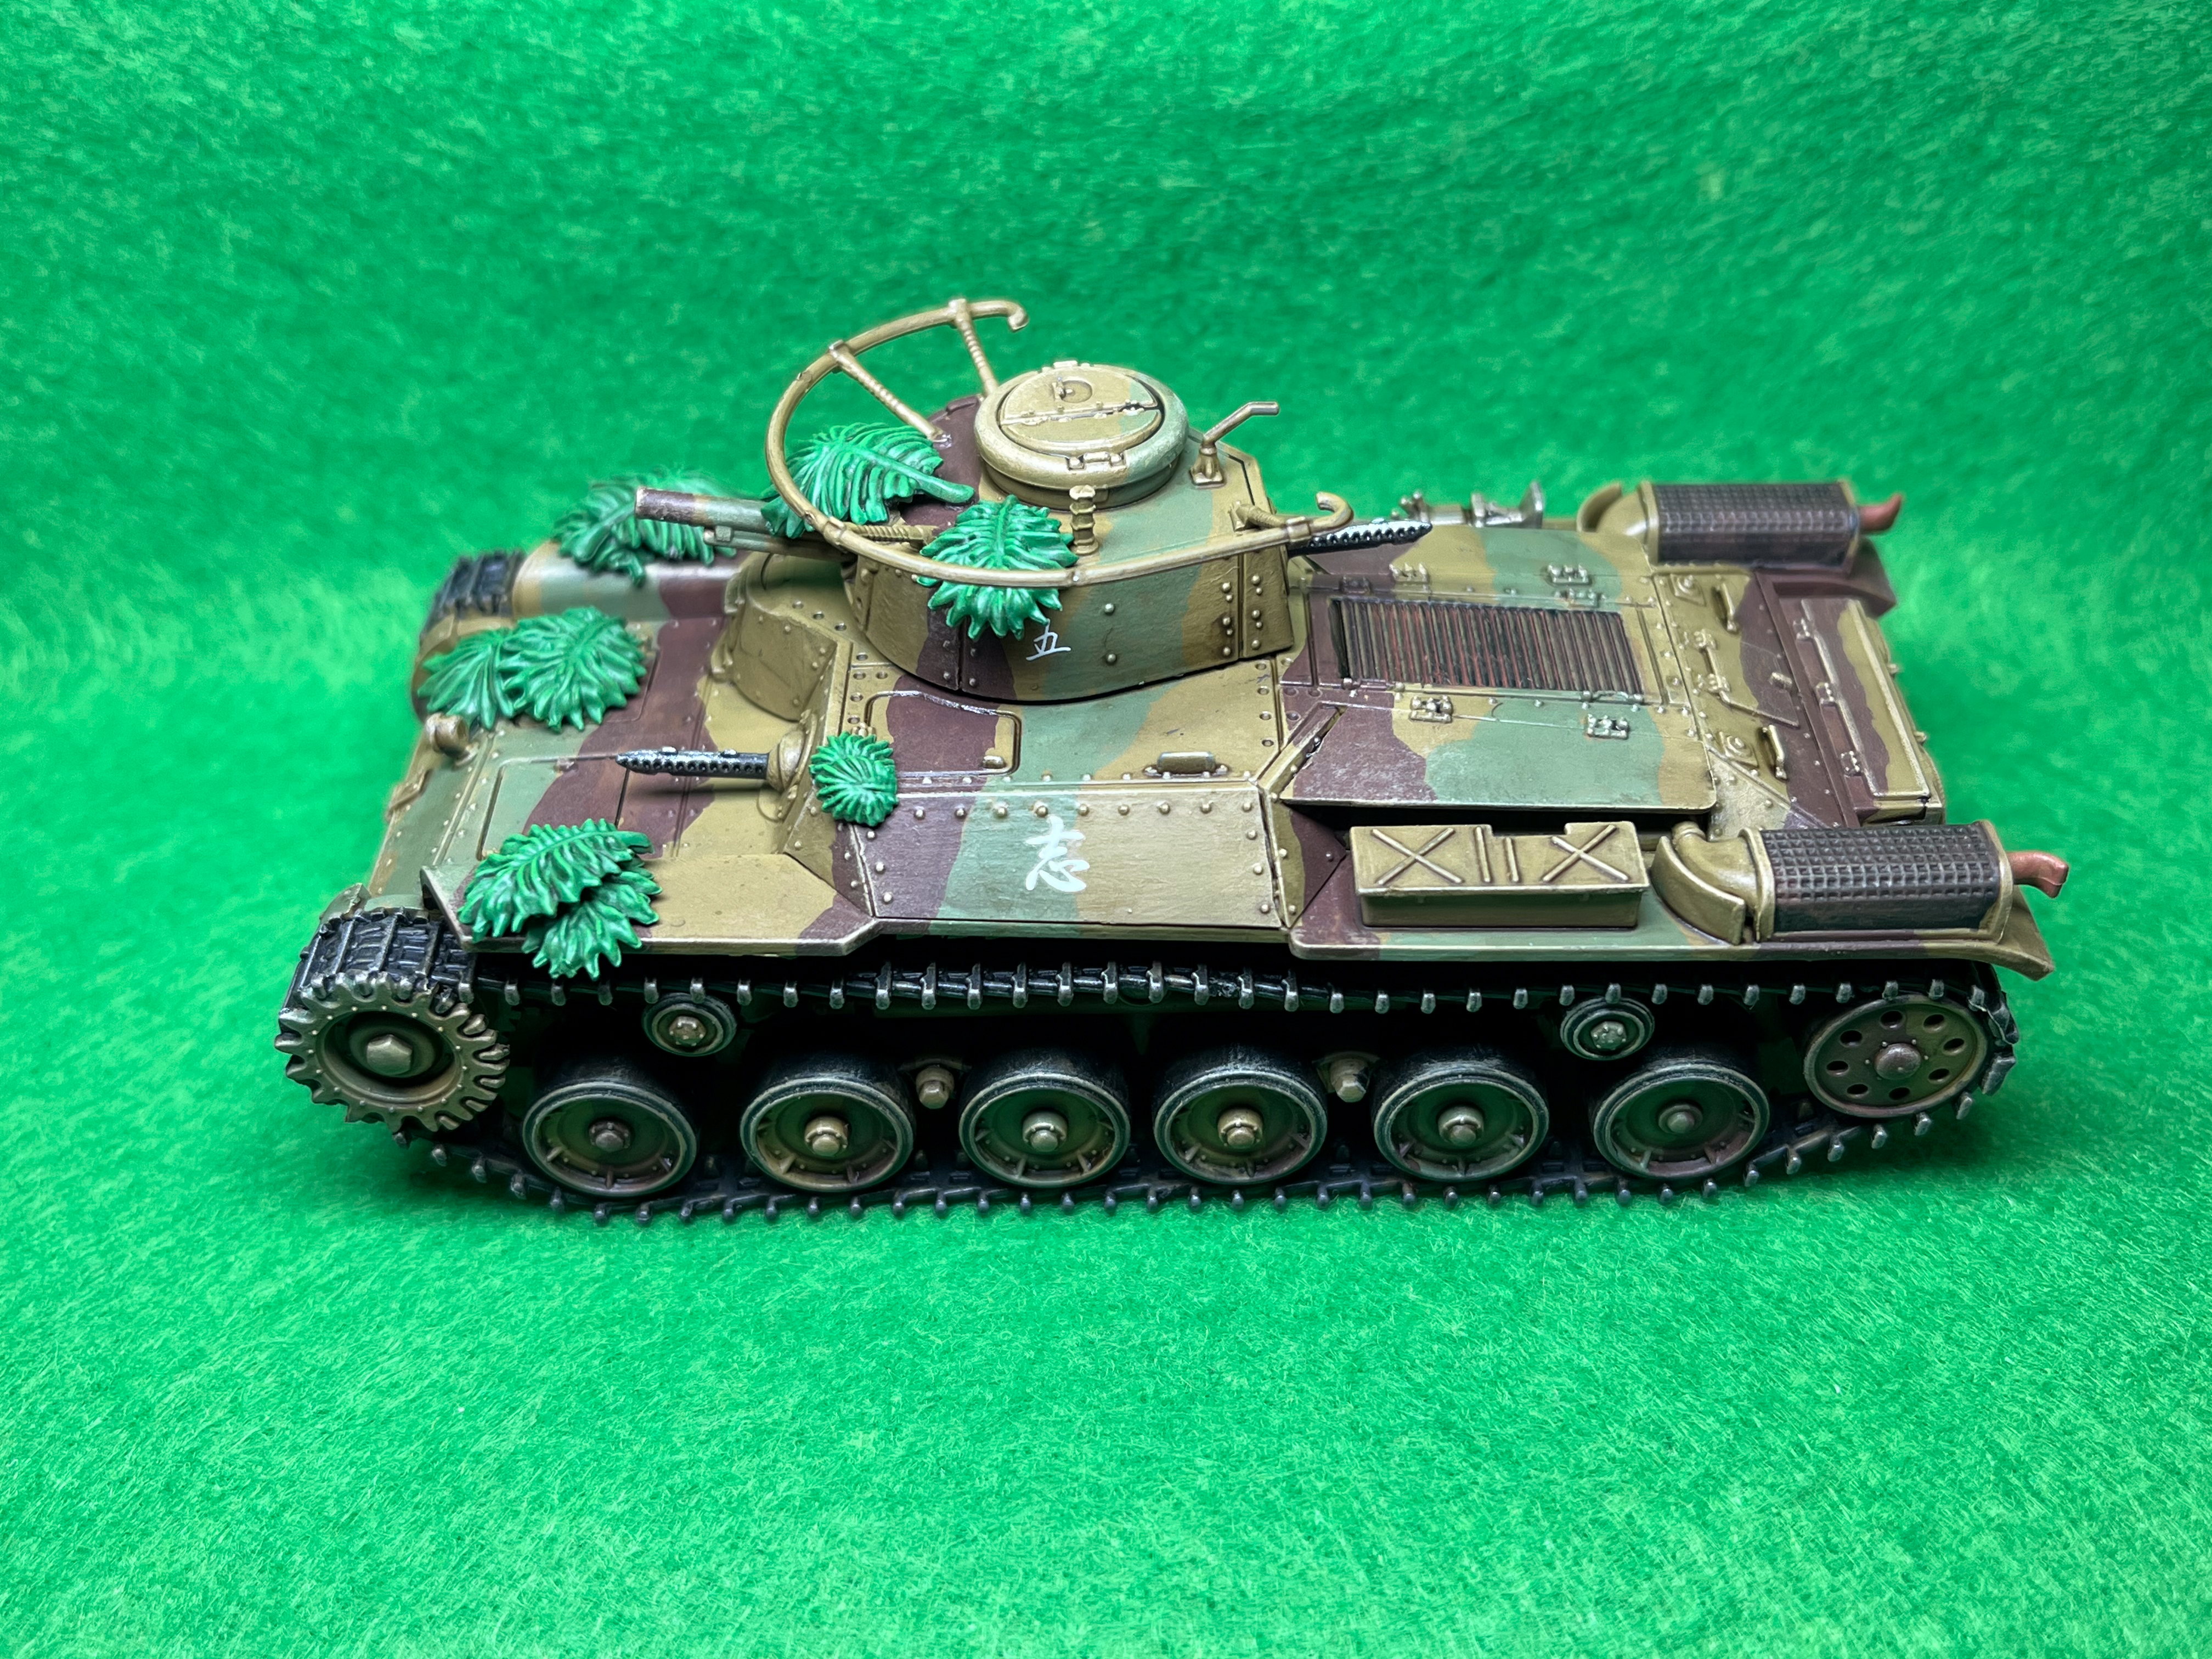
Next, we’ll turn our attention to the Japanese armour. In this case, we’ll be painting a Chi-Ha medium tank.
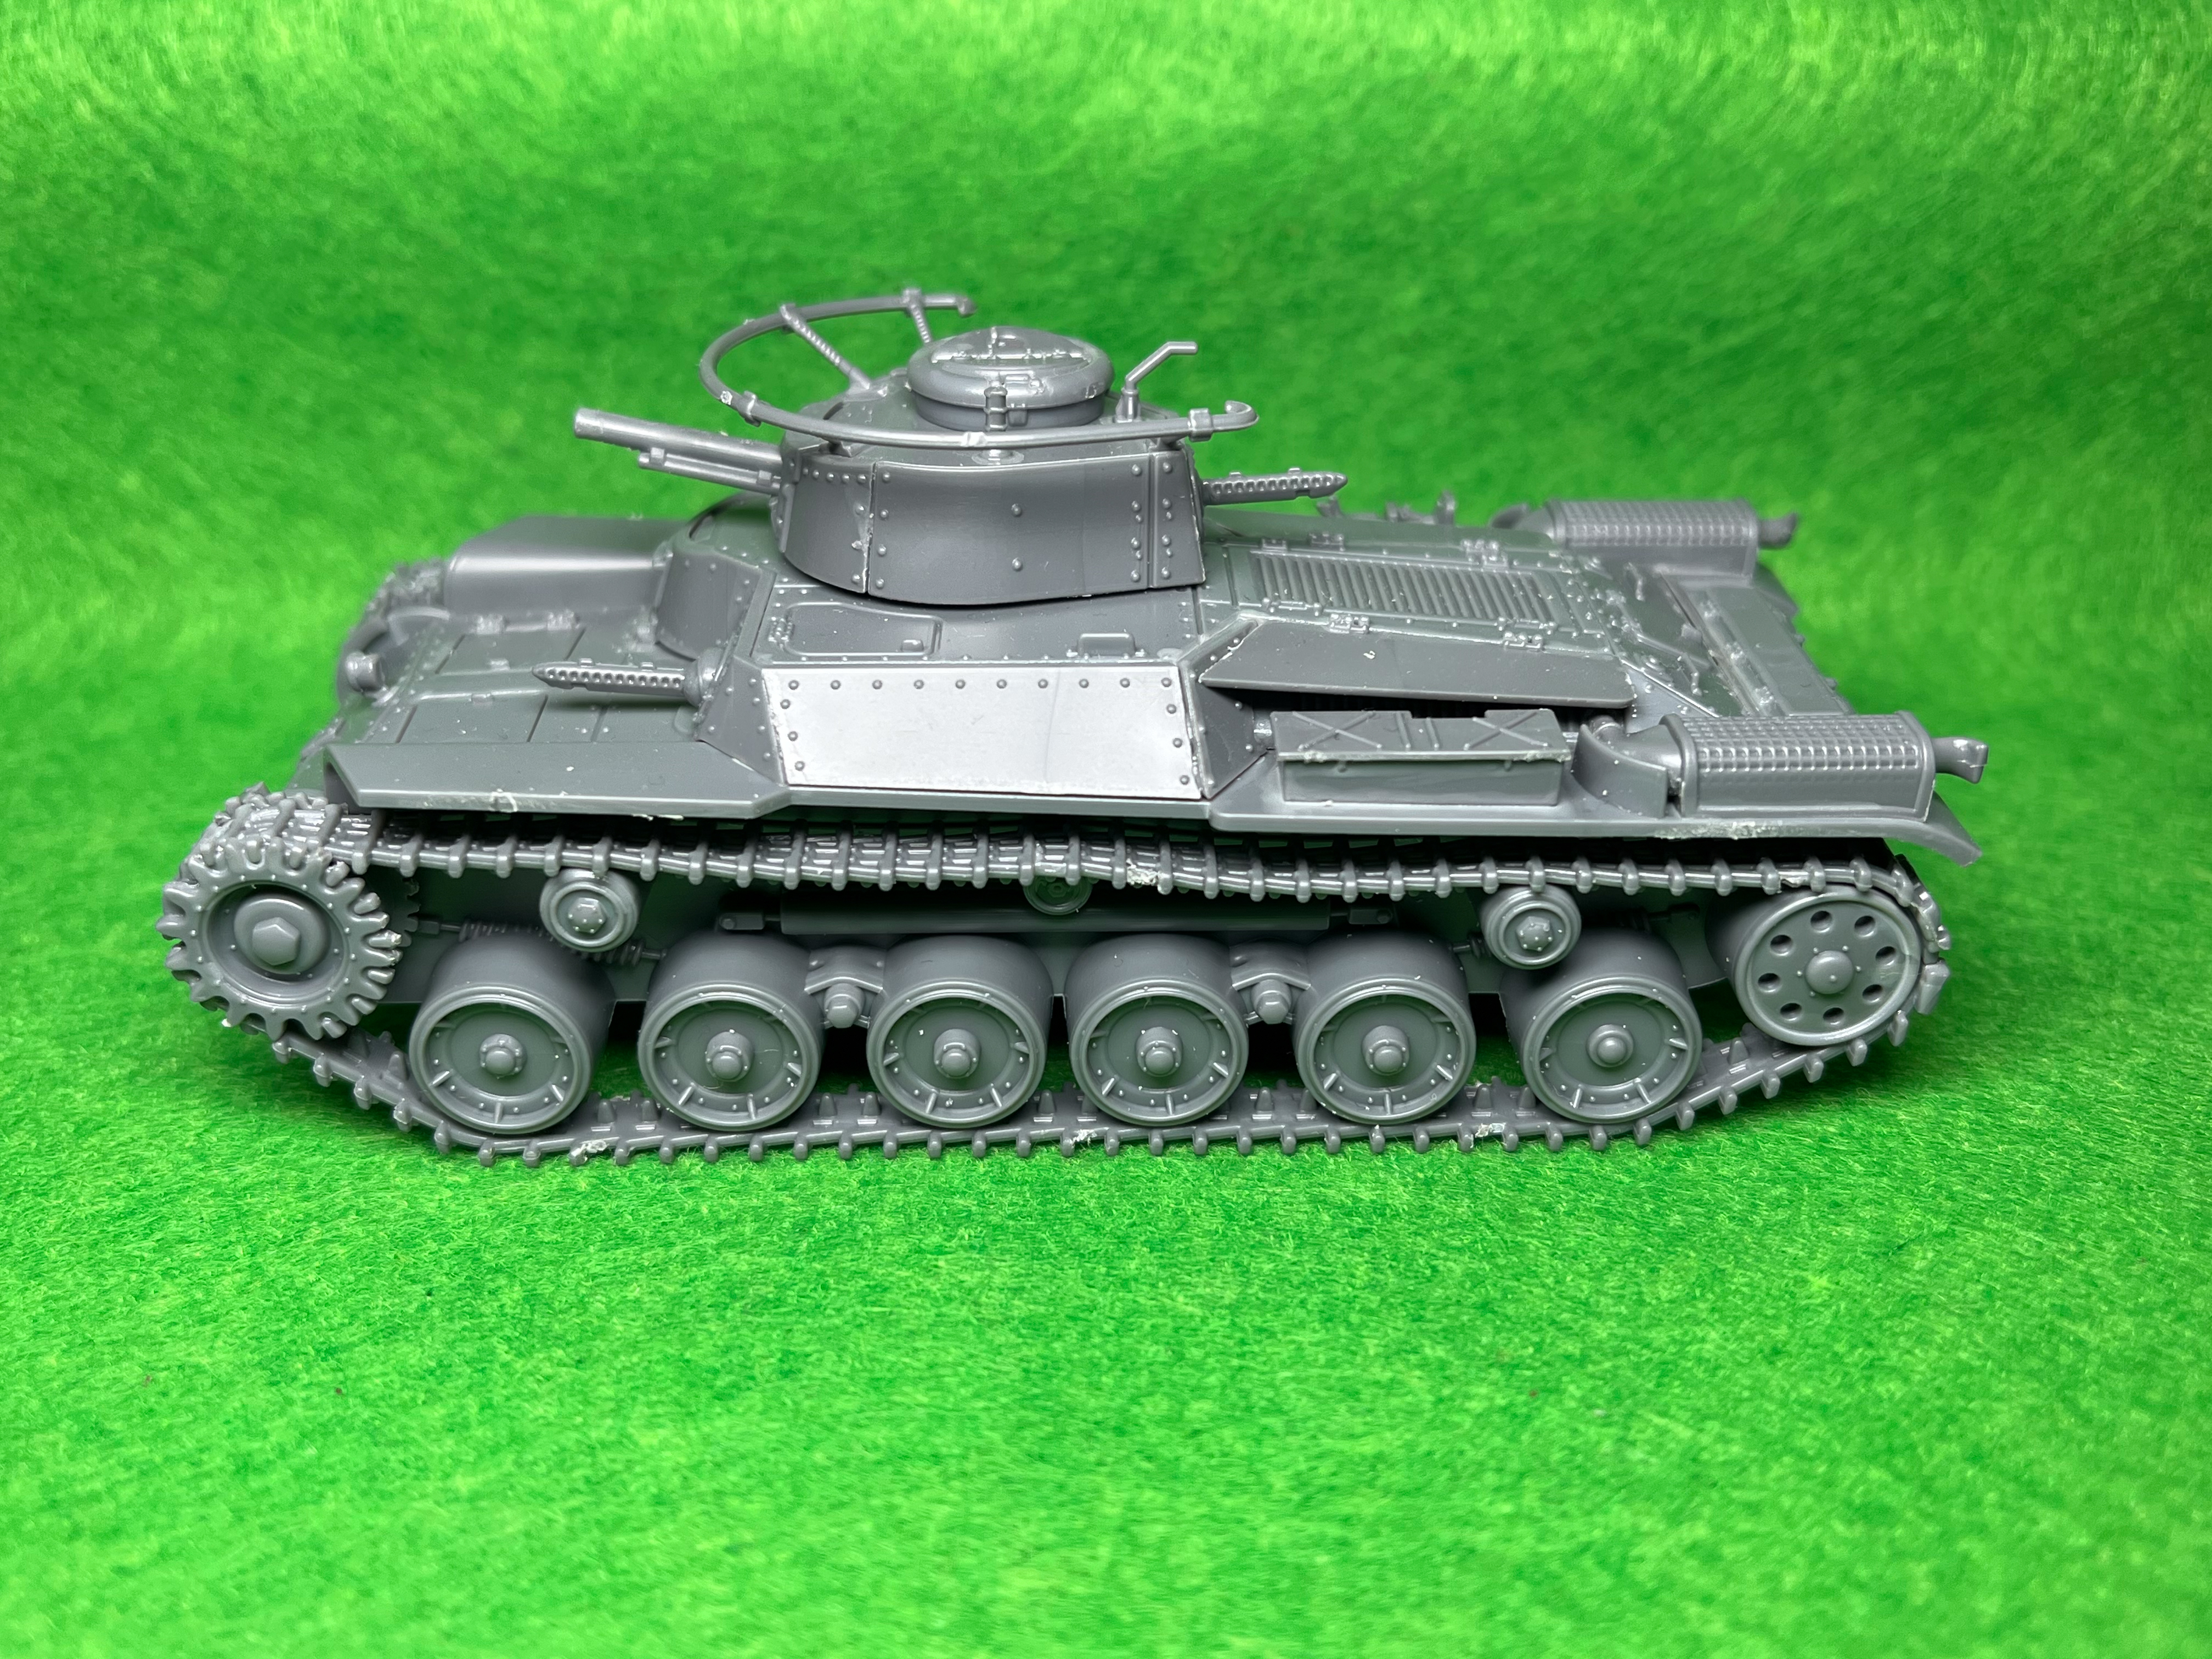
Having built our tank to whichever specifications you’ve chosen, it’s time to give it an all over base coat of Prairie Ochre. Take your time here and make sure to thoroughly cover it and get in all the nooks and crannies. This colour will make up the main bulk of the model, so try and get a nice smooth coat all over. Remember, it’s easier to apply multiple thin coats by slightly watering down your paint and this avoids a thick, gloopy finish. Alternatively you can use a spray to prime your tanks, just make sure to follow the instructions and avoid covering any details because you sprayed too close!
Once the prime is dry, we’ll start with the tracks. Taking Matt Black and adding a touch of water, brush this onto the tracks, making sure to paint them thoroughly too. Once done we can use the same mix to paint the rubber around the 7 larger wheels on the bottom of the track, as well as the 3 smaller ones above them.
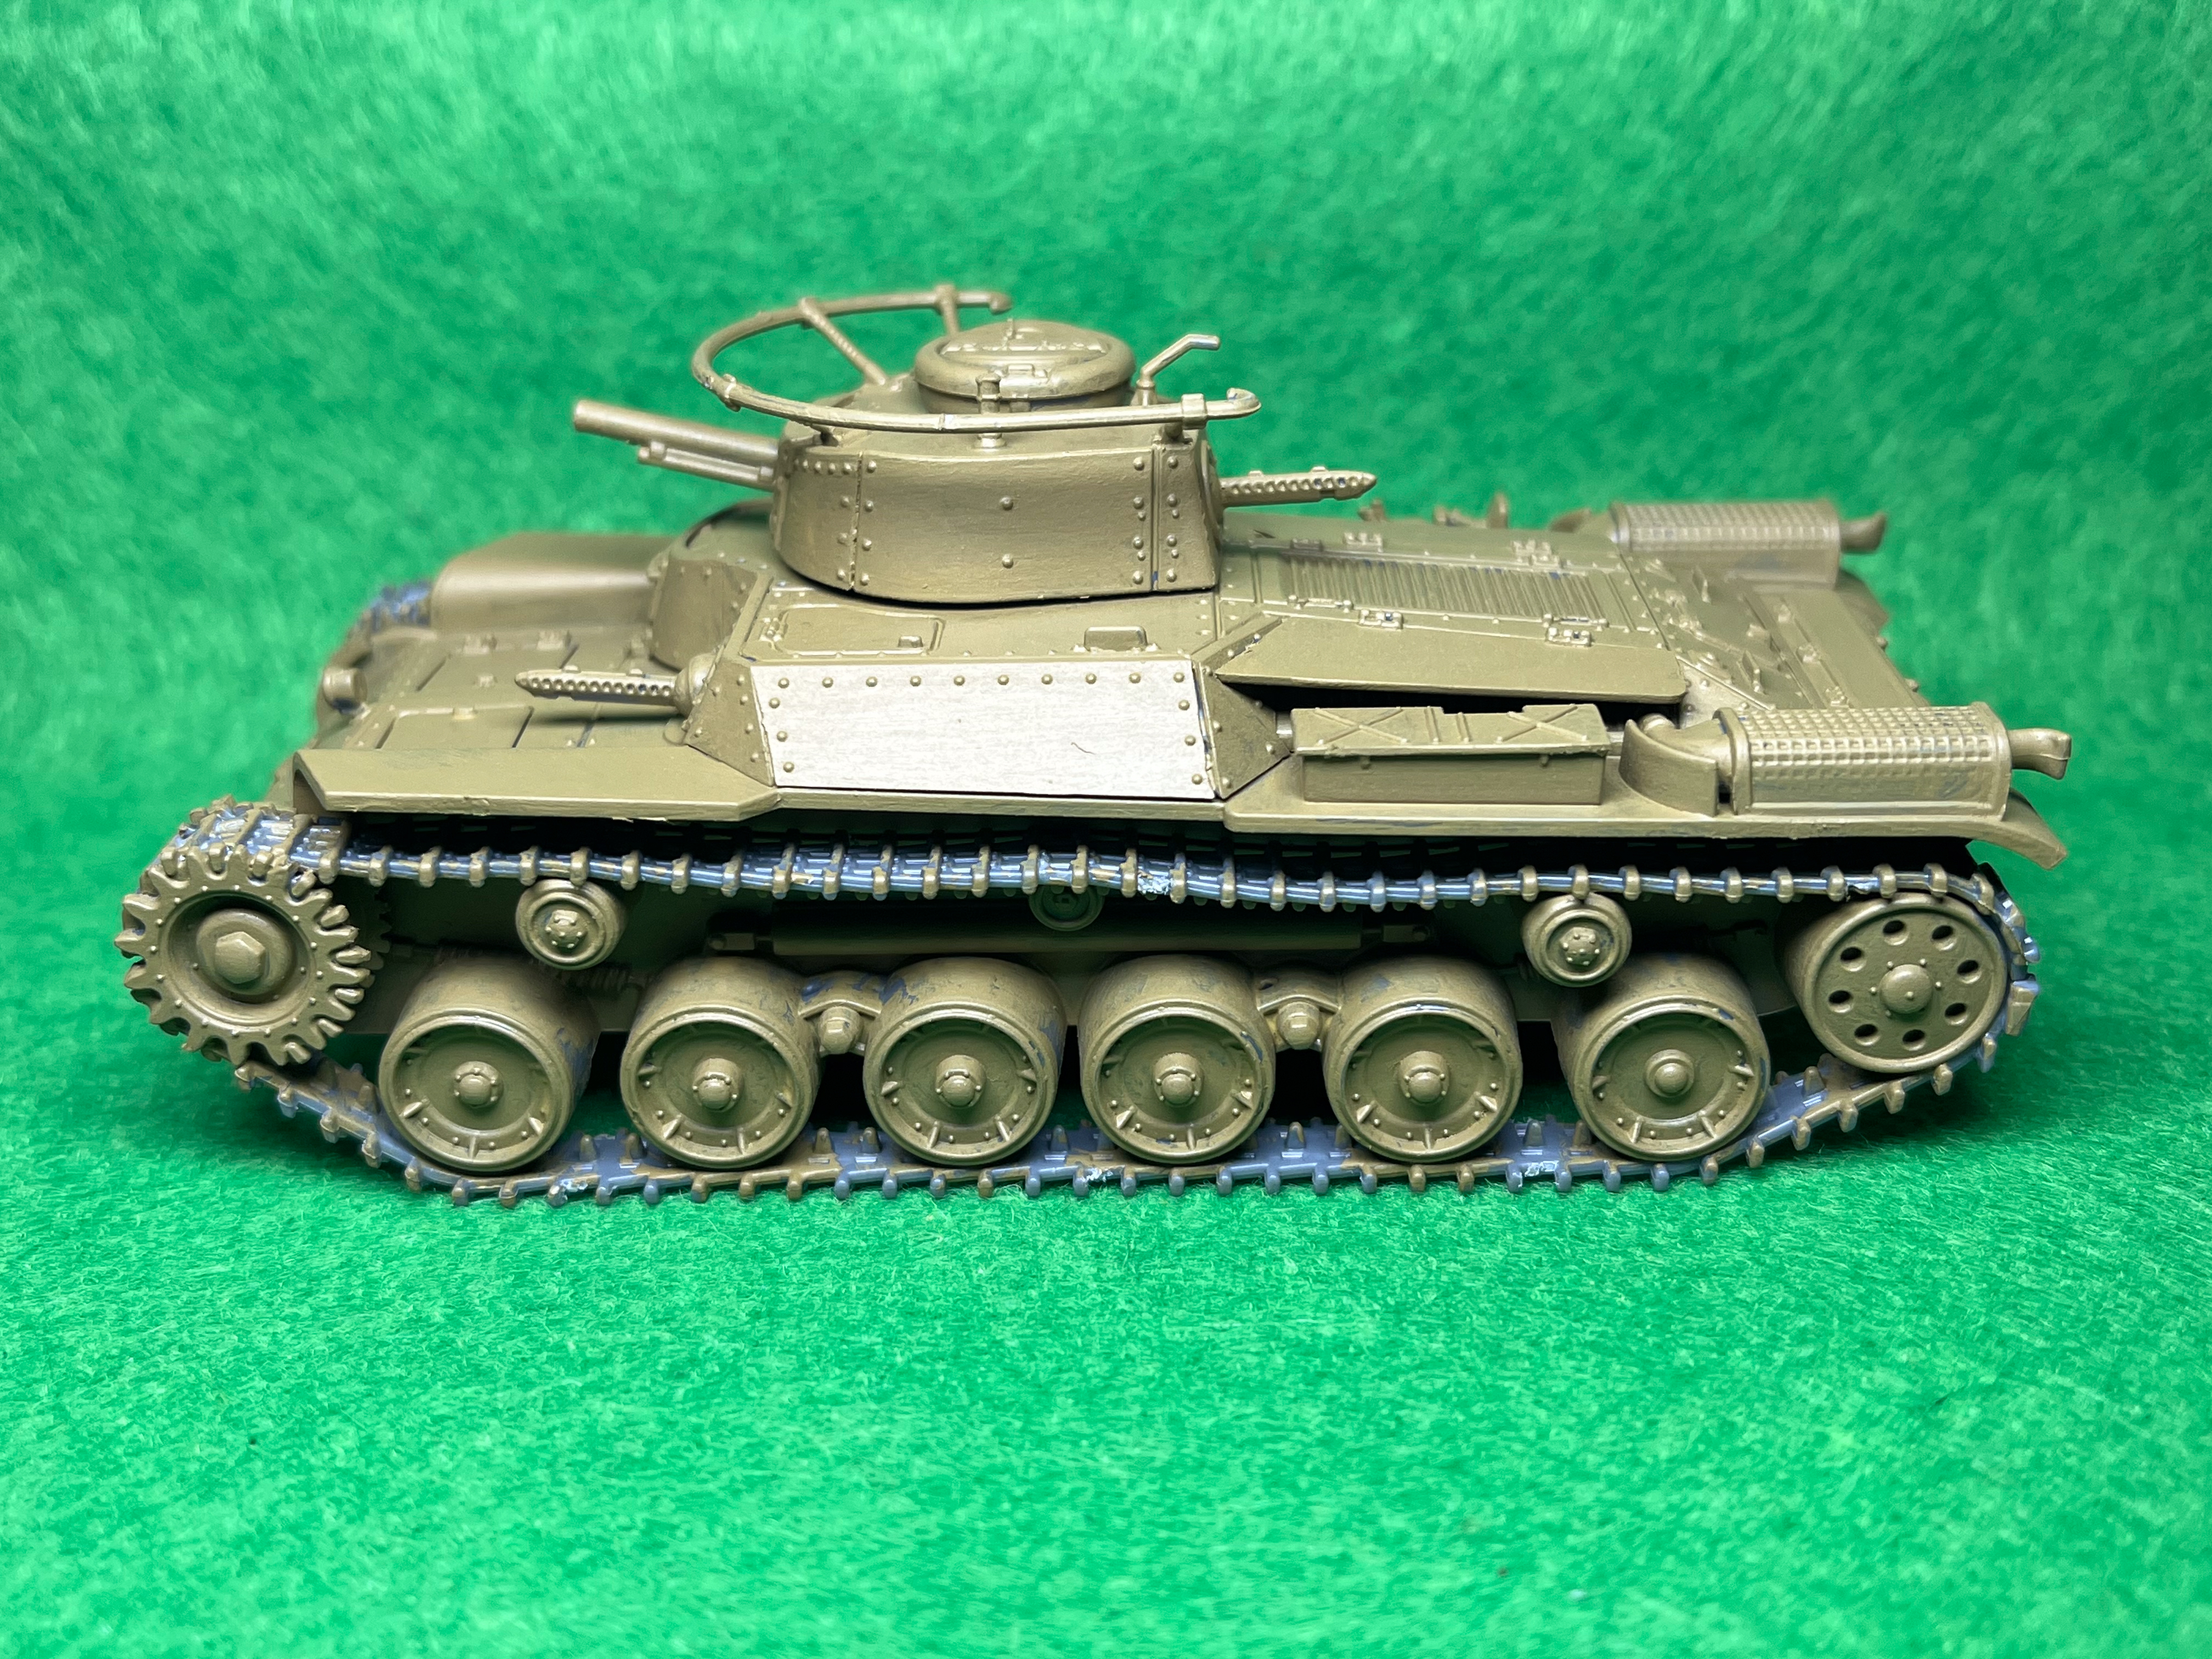
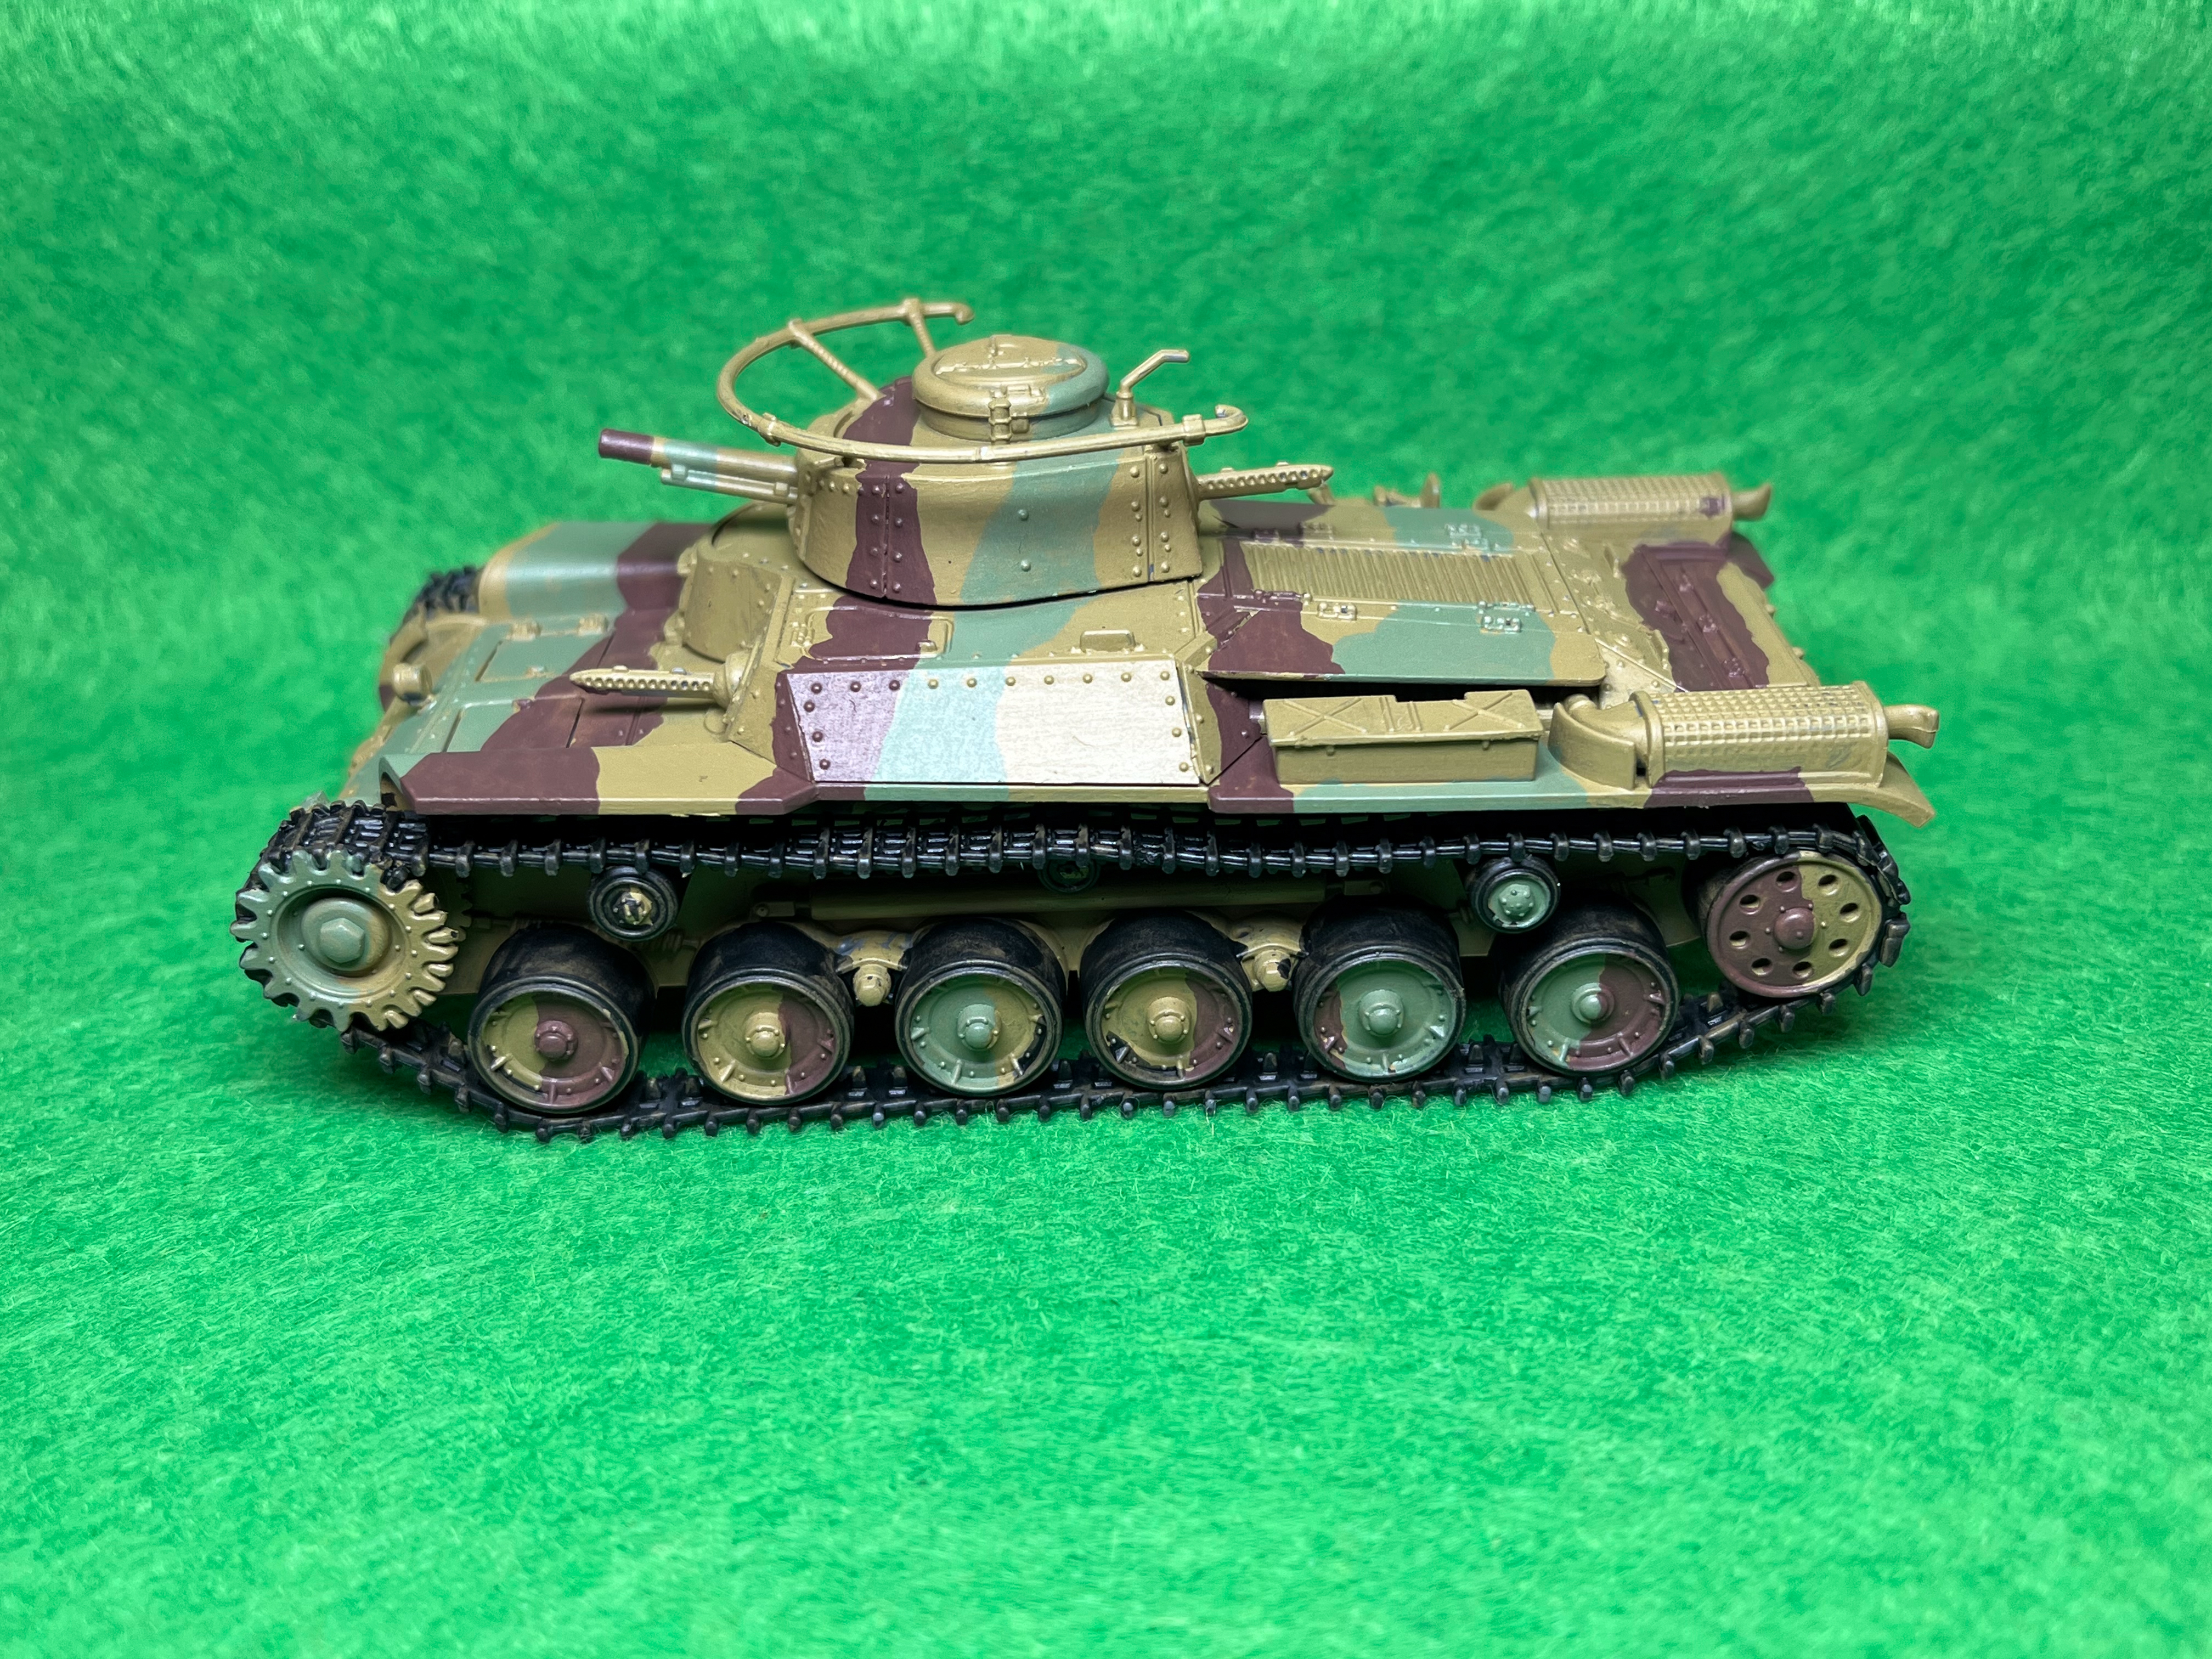
Now it’s time to add some camouflage to the hull and wheels. Firstly using Oak Brown and Woodland Camo, paint in alternate areas in camouflage. Remember, there is no set pattern you have to follow, however if you aren’t sure, just use the reference photographs included with the building instructions, or this article! Just make sure to not go too heavy and cover over all the base colour.
Next we’ll add some detail to the exhaust vents on the back of the tank. Taking Matt Black and watering it down to a wash consistency, we’ll apply this over the vents, letting it pool in all the little holes and vents. You want a bit of the base colour showing through, so don’t worry if you can still see it, as once it’s dry you want it to have a look of dry carbon about it.
We can also use some of the Matt Black to block in the front- and rear-facing machine guns. Again, don’t be too worried about details showing through as these guns will get a metallic drybrush later.
Just as we did with the infantry, we’re now going to apply a drybrush all over the tank using Skeleton Bone. Again, this will act as a pre-highlight before the wash goes on later. Make sure to brush over the wheels and tracks too, as this will give the appearance of dust later on.
Once the drybrushed Skeleton Bone has dried, we’ll add a coat of Fur Brown to the ends of the exhaust pipes. Then, taking that same Fur Brown, but watered down to a wash, we’ll apply that over the same exhaust vents we washed with Matt Black earlier. This will give a nice grimey rusty look to it.
Once everything has thoroughly dried, it’s time to wash the tank. So taking our Strong Tone and watering it down to 1 part Strong Tone to 3 parts water, we’ll wash this over the entire tank, starting from the turret and working our way down. It’s a good idea to spend 10 minutes or so checking to make sure it doesn’t pool in areas, as this will leave ugly dark stains once it dries. If the wash does start to pool, just use a clean dry paint brush to soak up the excess.
Leave the wash to dry for at least 2 hours before moving on to the next stage: decals.
Affix your chosen decals and then once in place give them a coat of gloss varnish and then matt varnish, just to really seal them in place. You may find it helpful to use a brush-on varnish here for more control.
Finally, for an extra bit of detail. I used some of the spare leaves from the infantry sprues to give my Chi-Ha that extra bit of camouflage and to help tie it in with my infantry. Make sure to use the same Greenskin to paint the leaves and then give them a 1:1 Greenskin and Daemonic Yellow dry brush to highlight them.
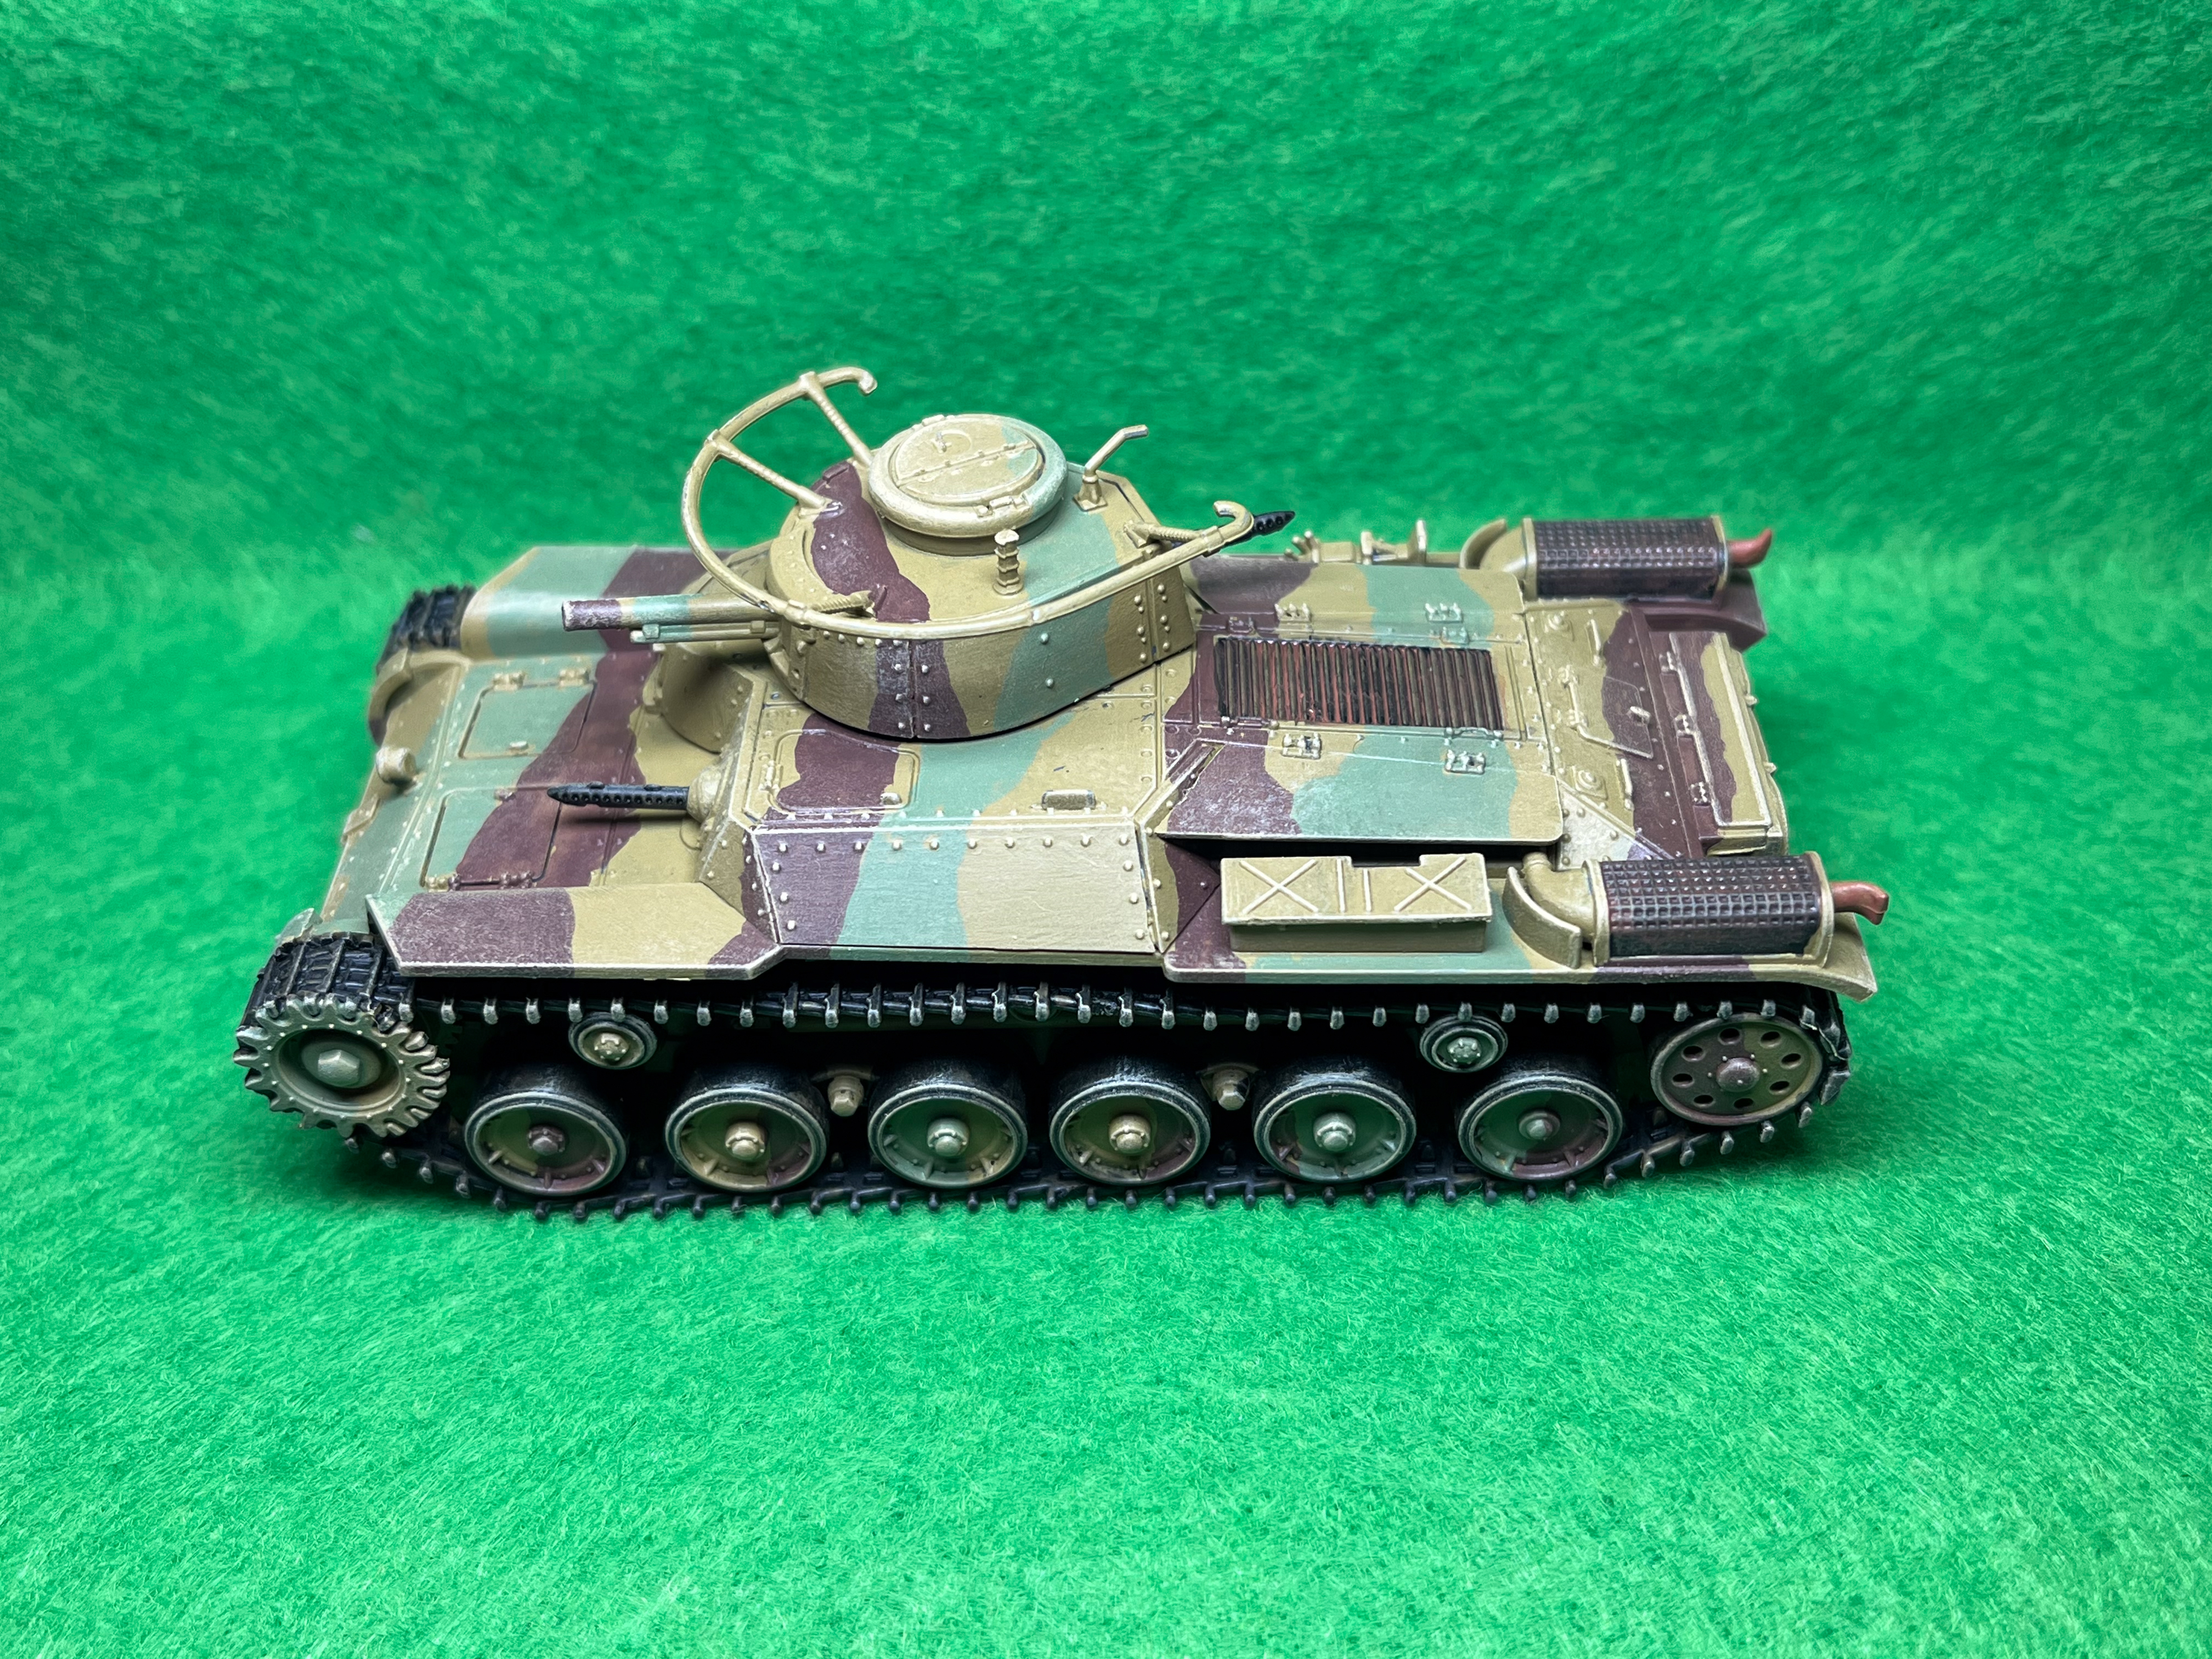
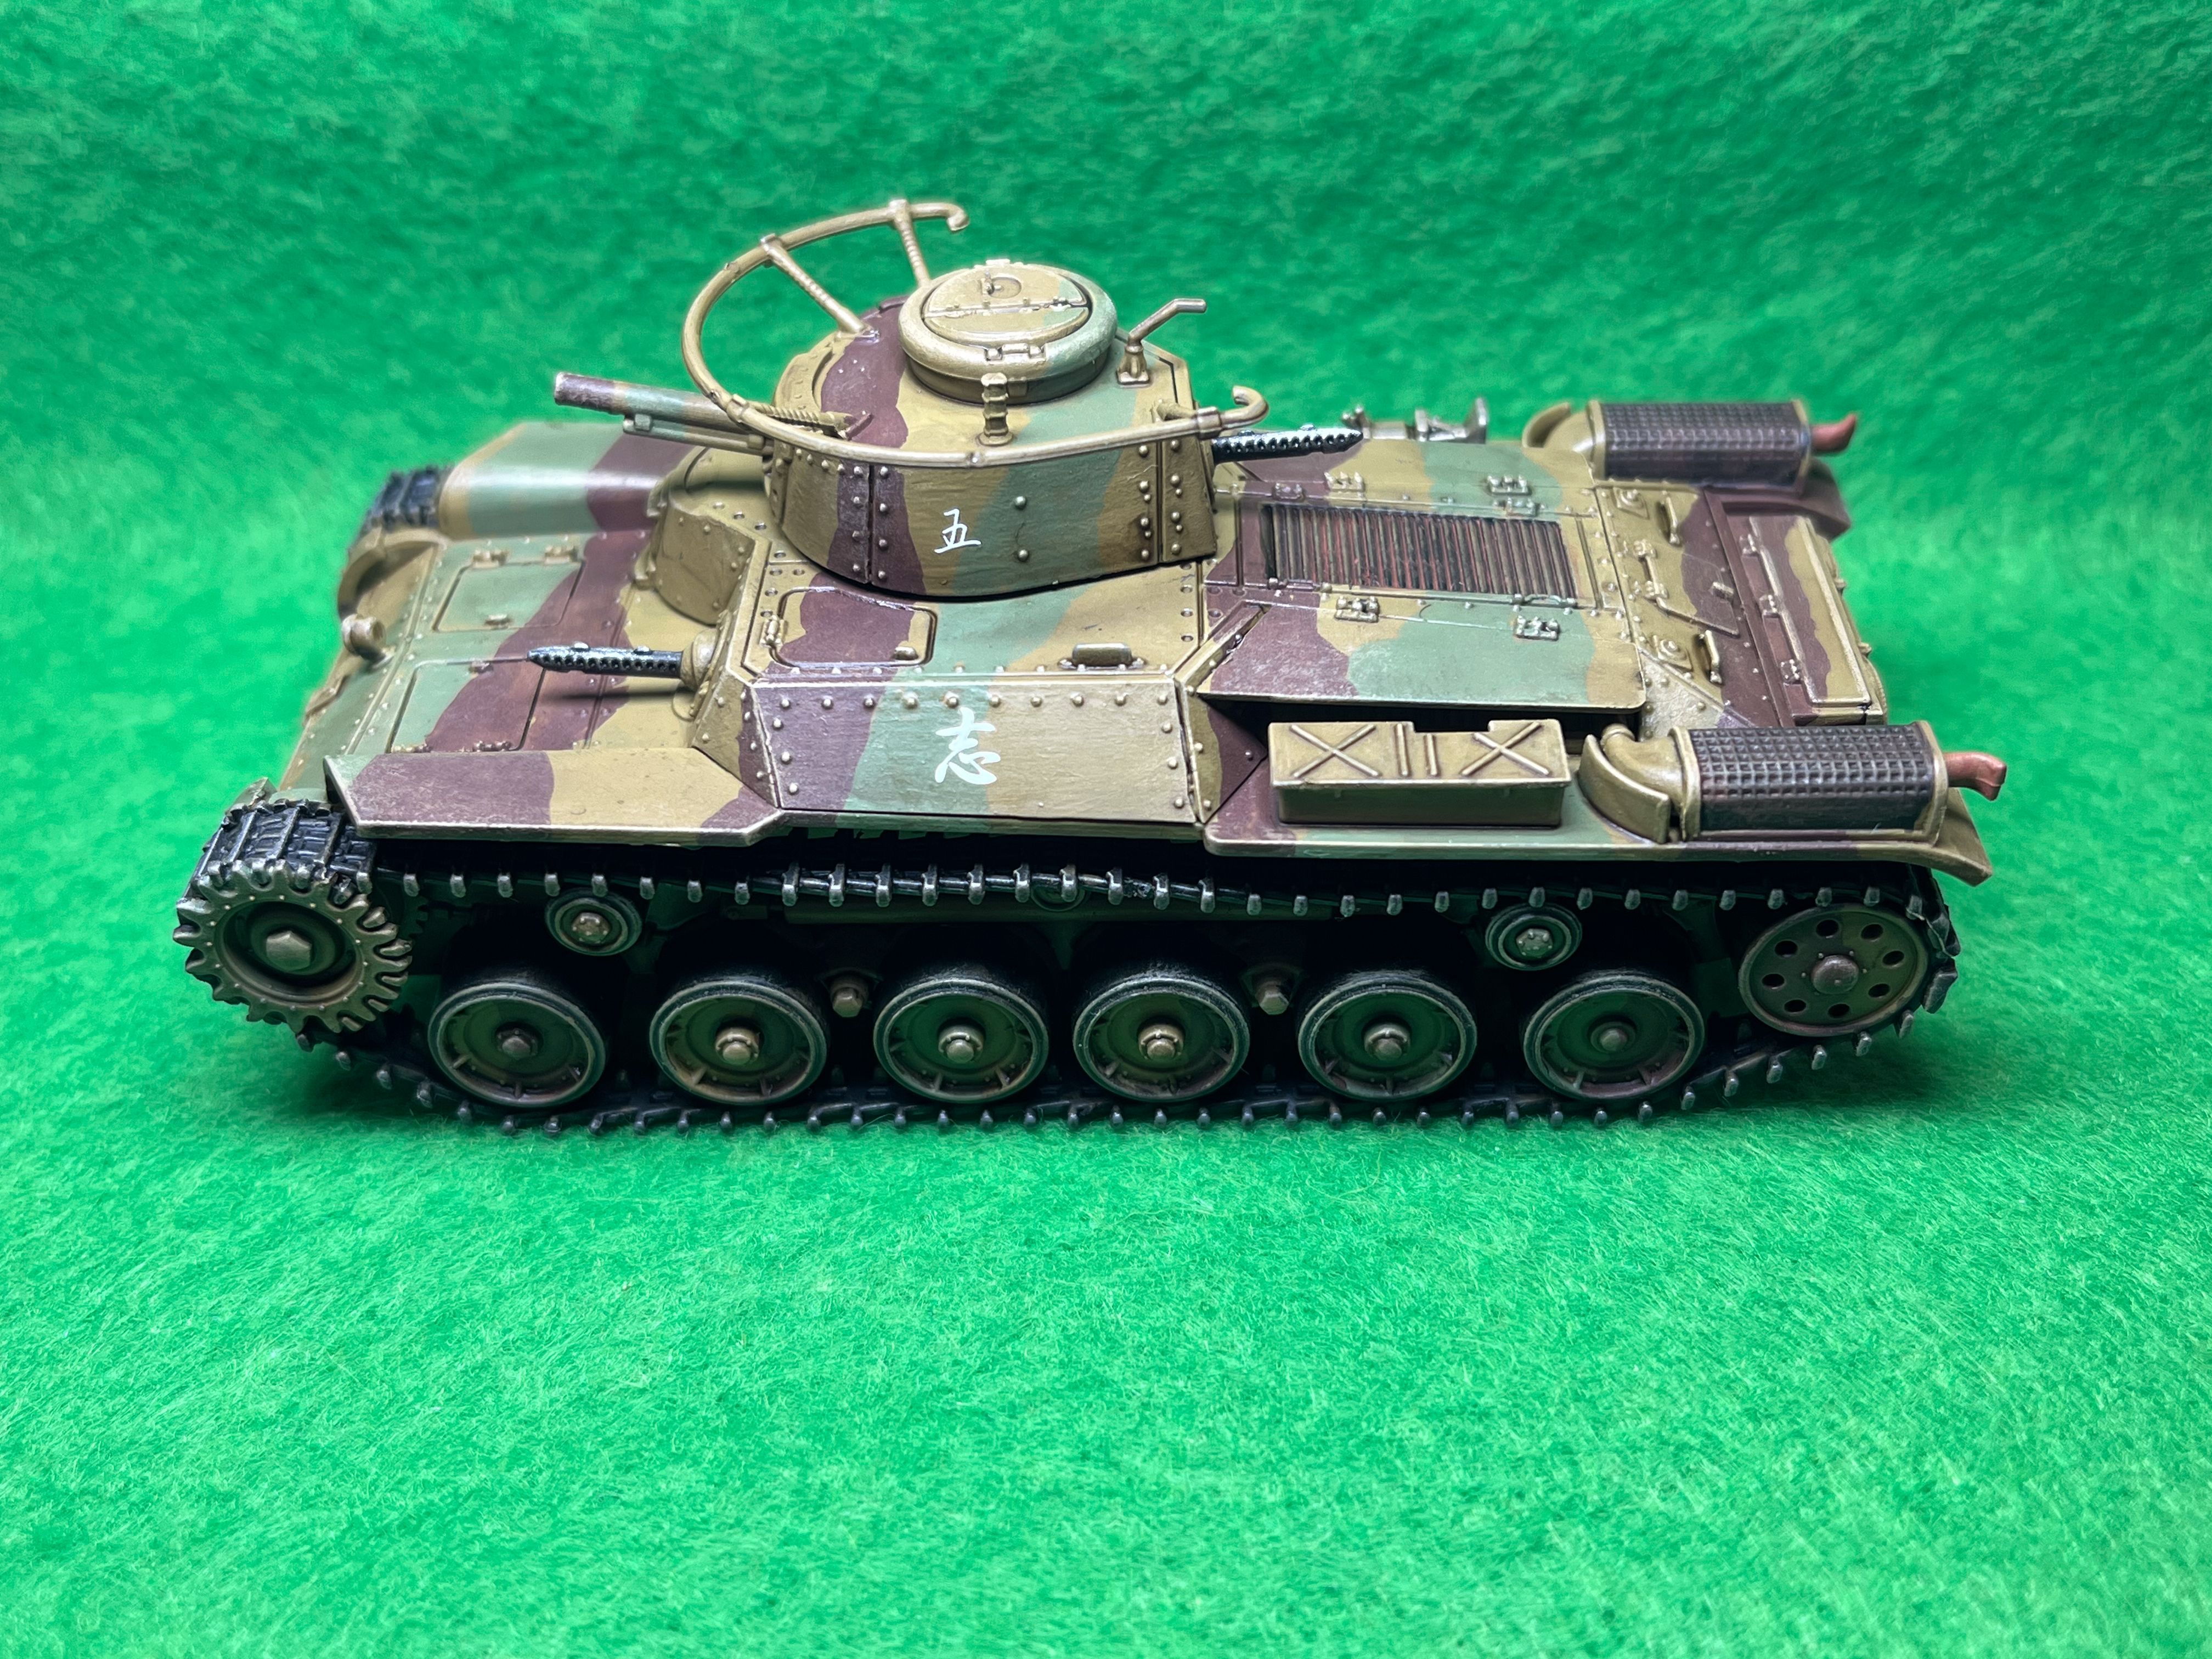
The final step is to give your Chi-Ha a coat of matt varnish. You can use a spray varnish for this stage, however if you have the time, a brush on varnish is just as good.
And there you have it. A completed Chi-Ha ready to support your infantry. You can use this exact process for painting all Japanese armour, whether it’s the tiny light tank, a Chi-Ha medium tank, or the Ho-Ro assault gun.
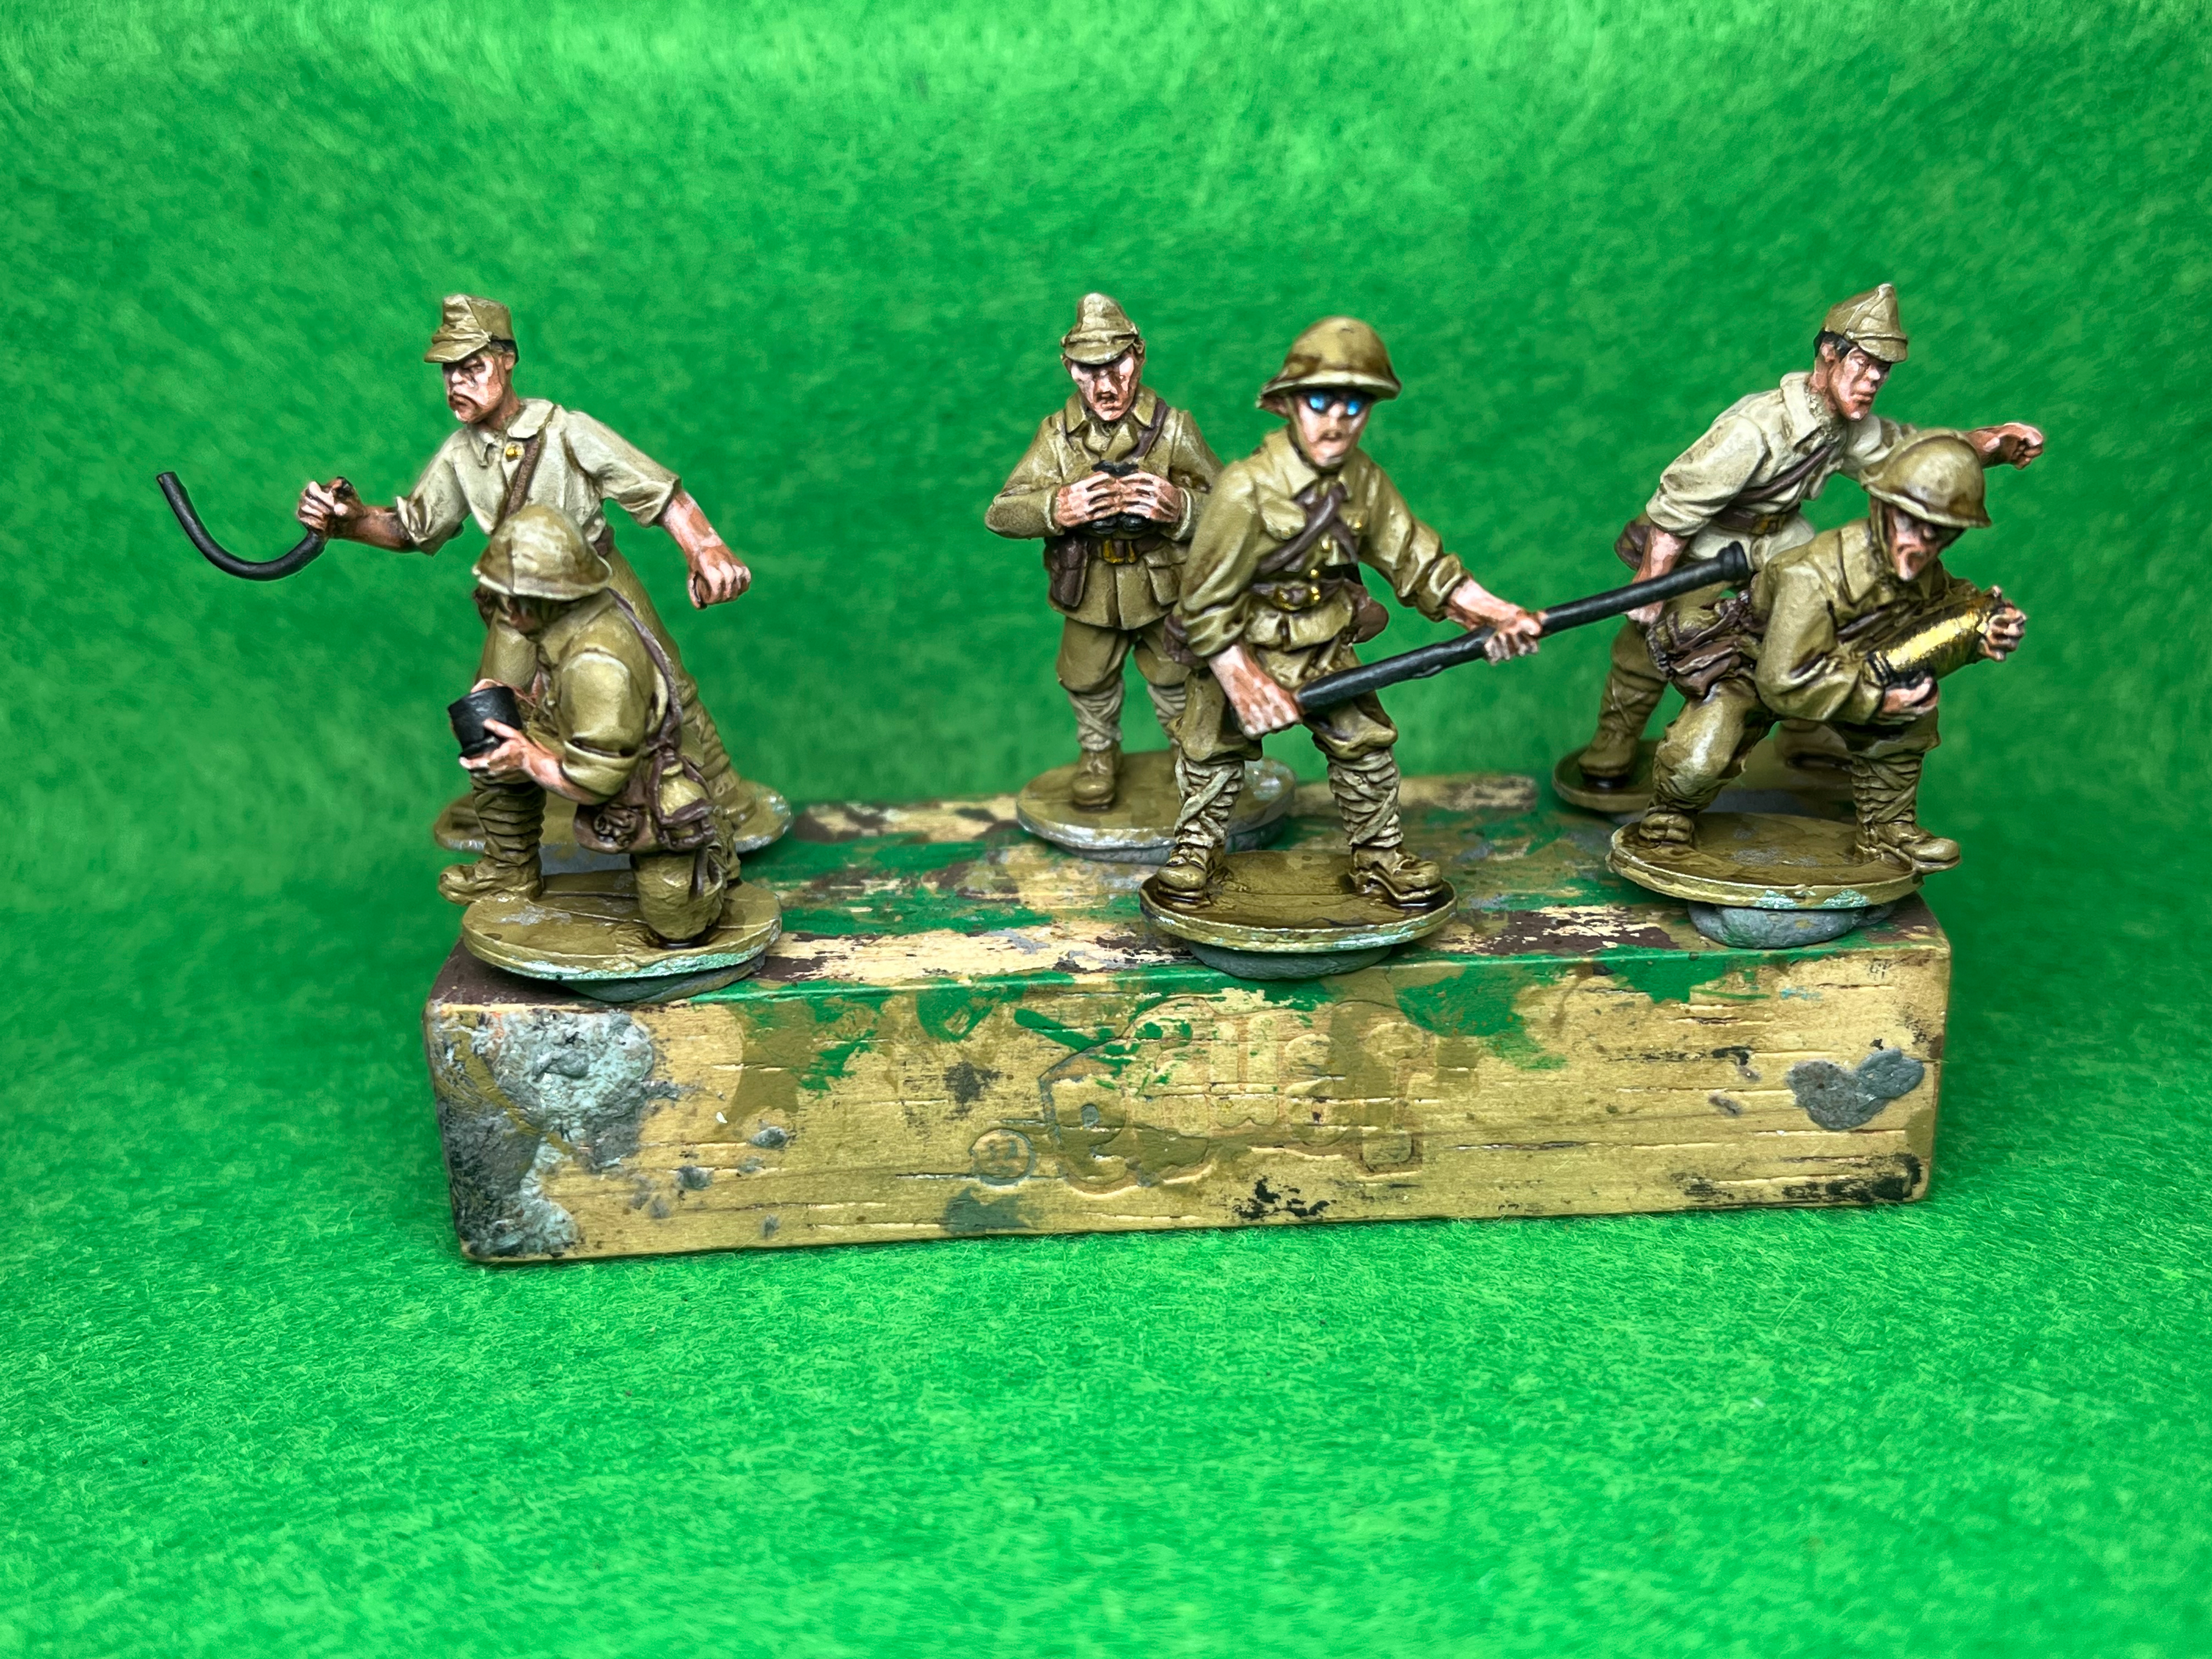
Finally I’ll show you a quick way to paint a Japanese Type 91 105mm Howitzer. Most of these steps you will have already seen above, but it’s a recipe that works across the entire Japanese army.
Once again we’ll start with that all important Prairie Ochre base coat. Cover the entire miniature in this colour and once dry we’re going to add an extra step and apply a matt varnish over the prime coat. I tend to do this every time I paint any metal miniatures and it just adds an extra layer of protection when you’re handling the miniatures.
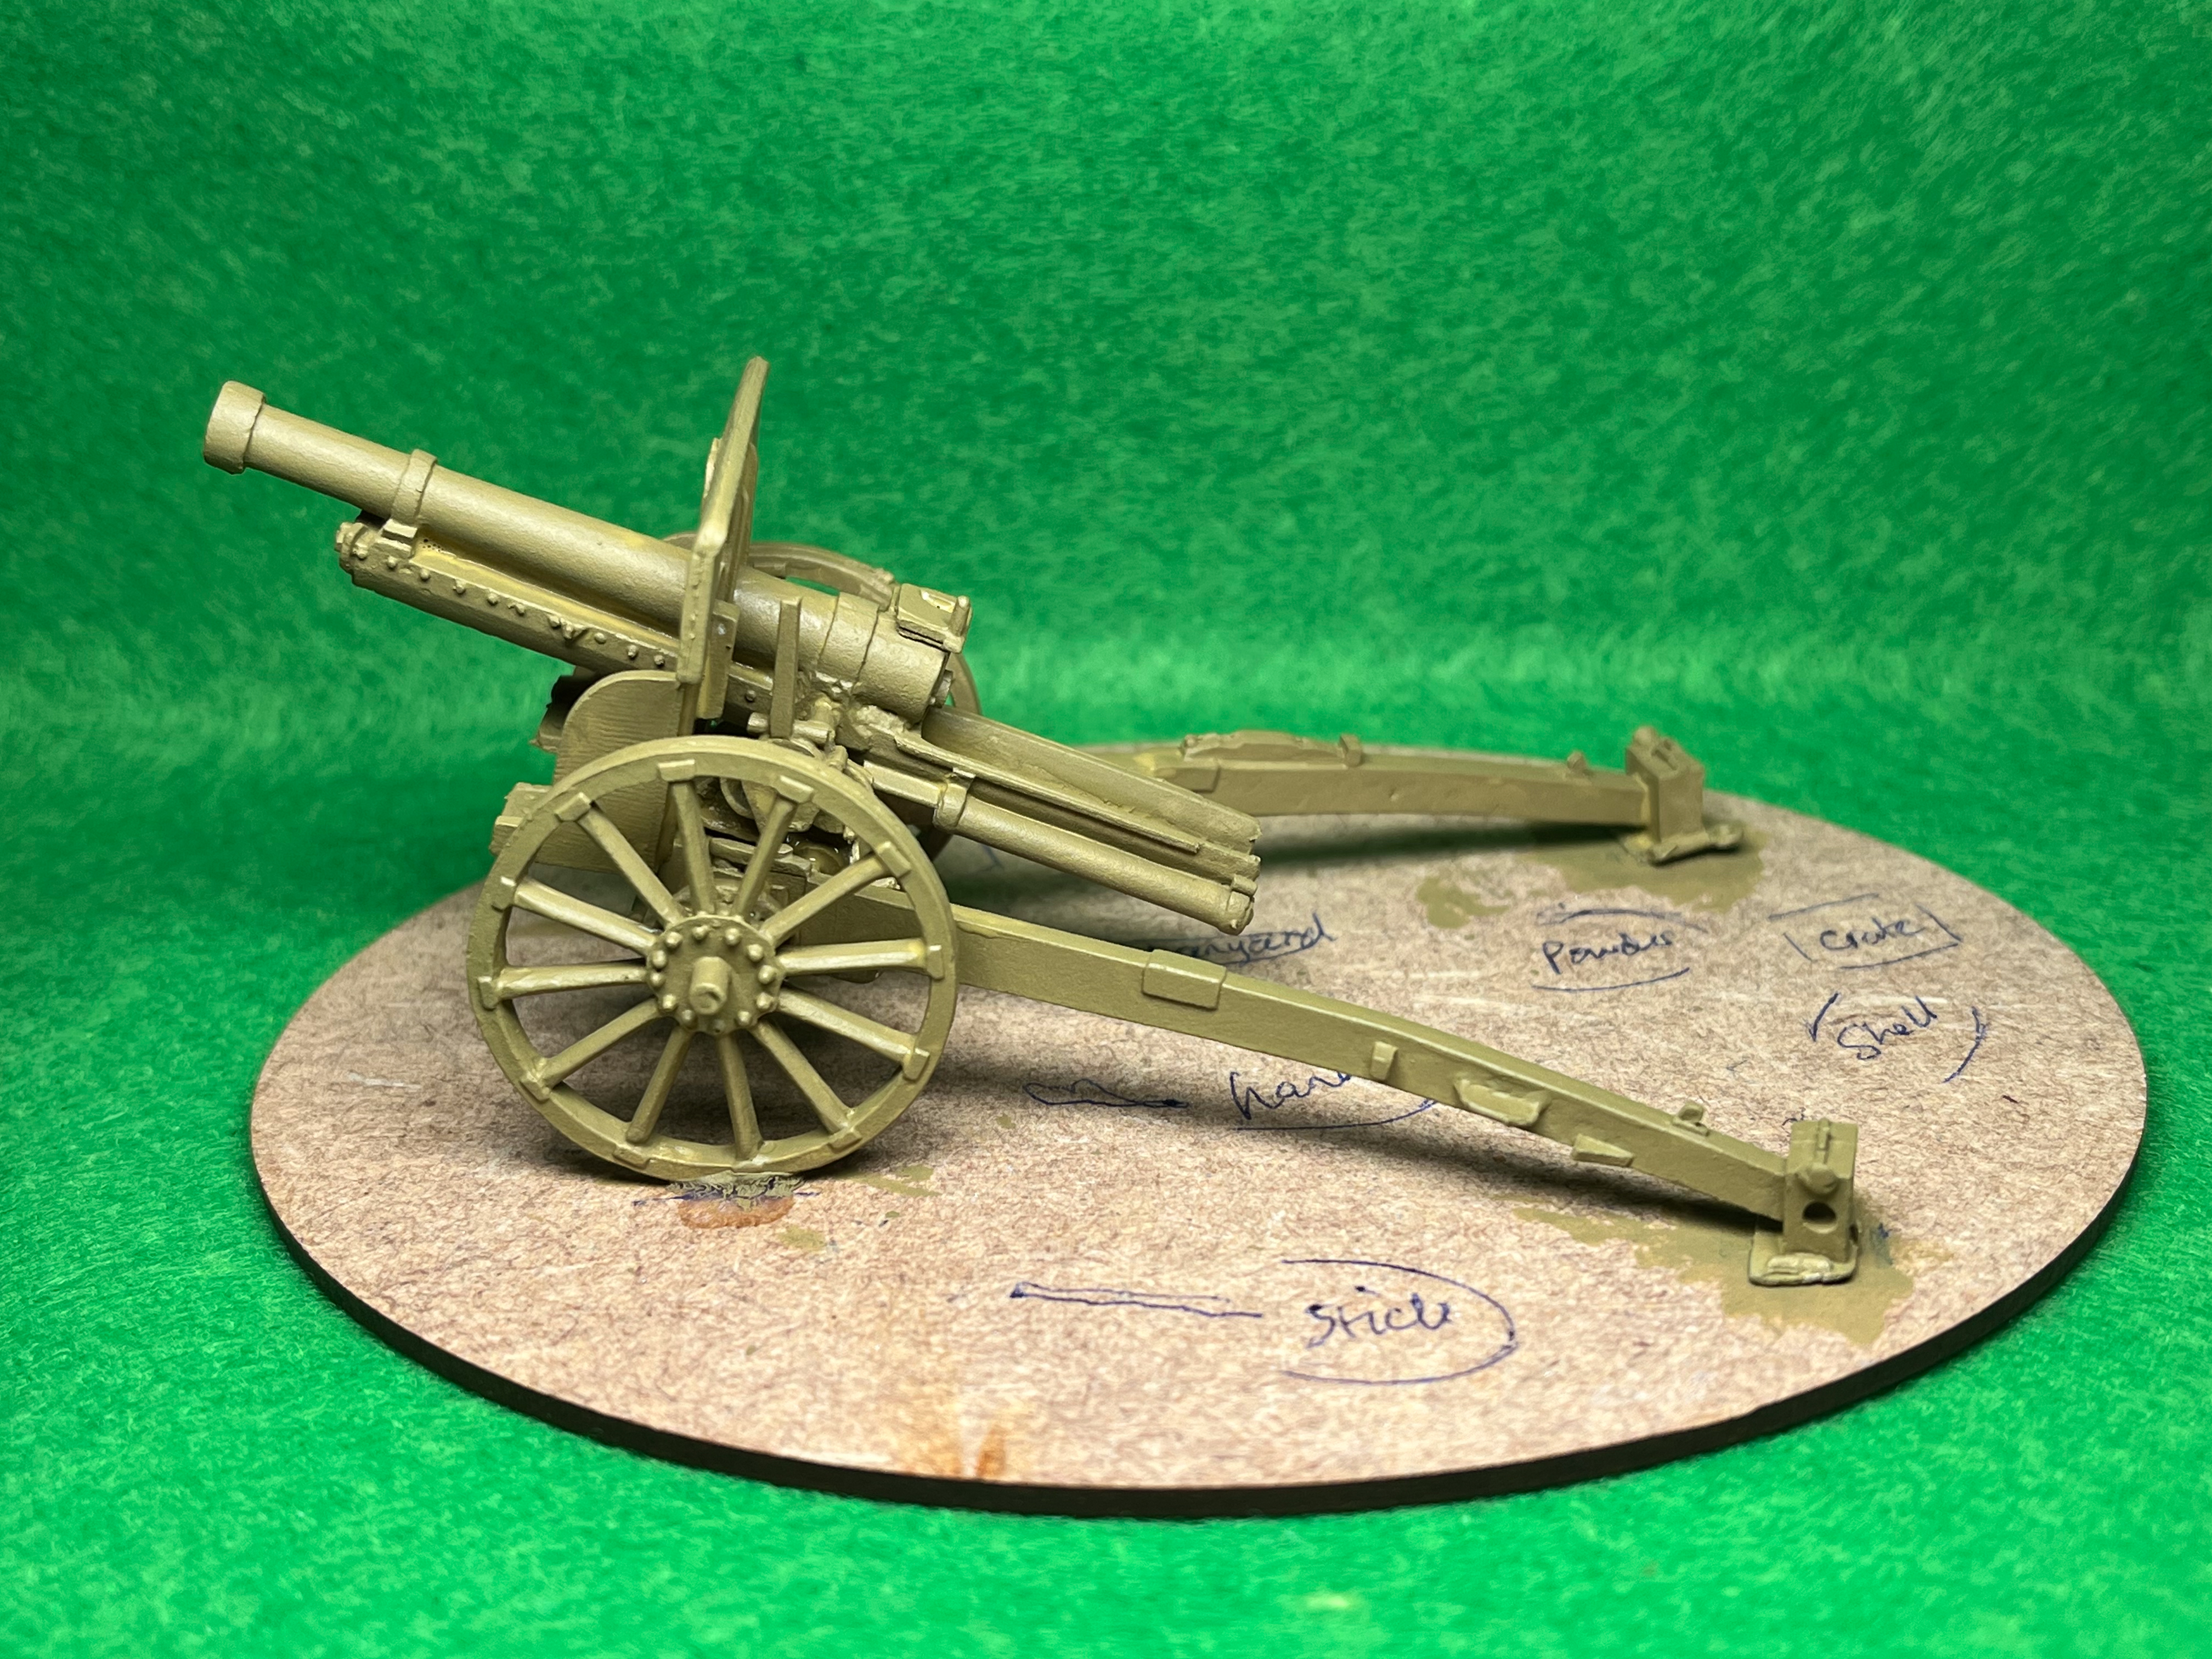
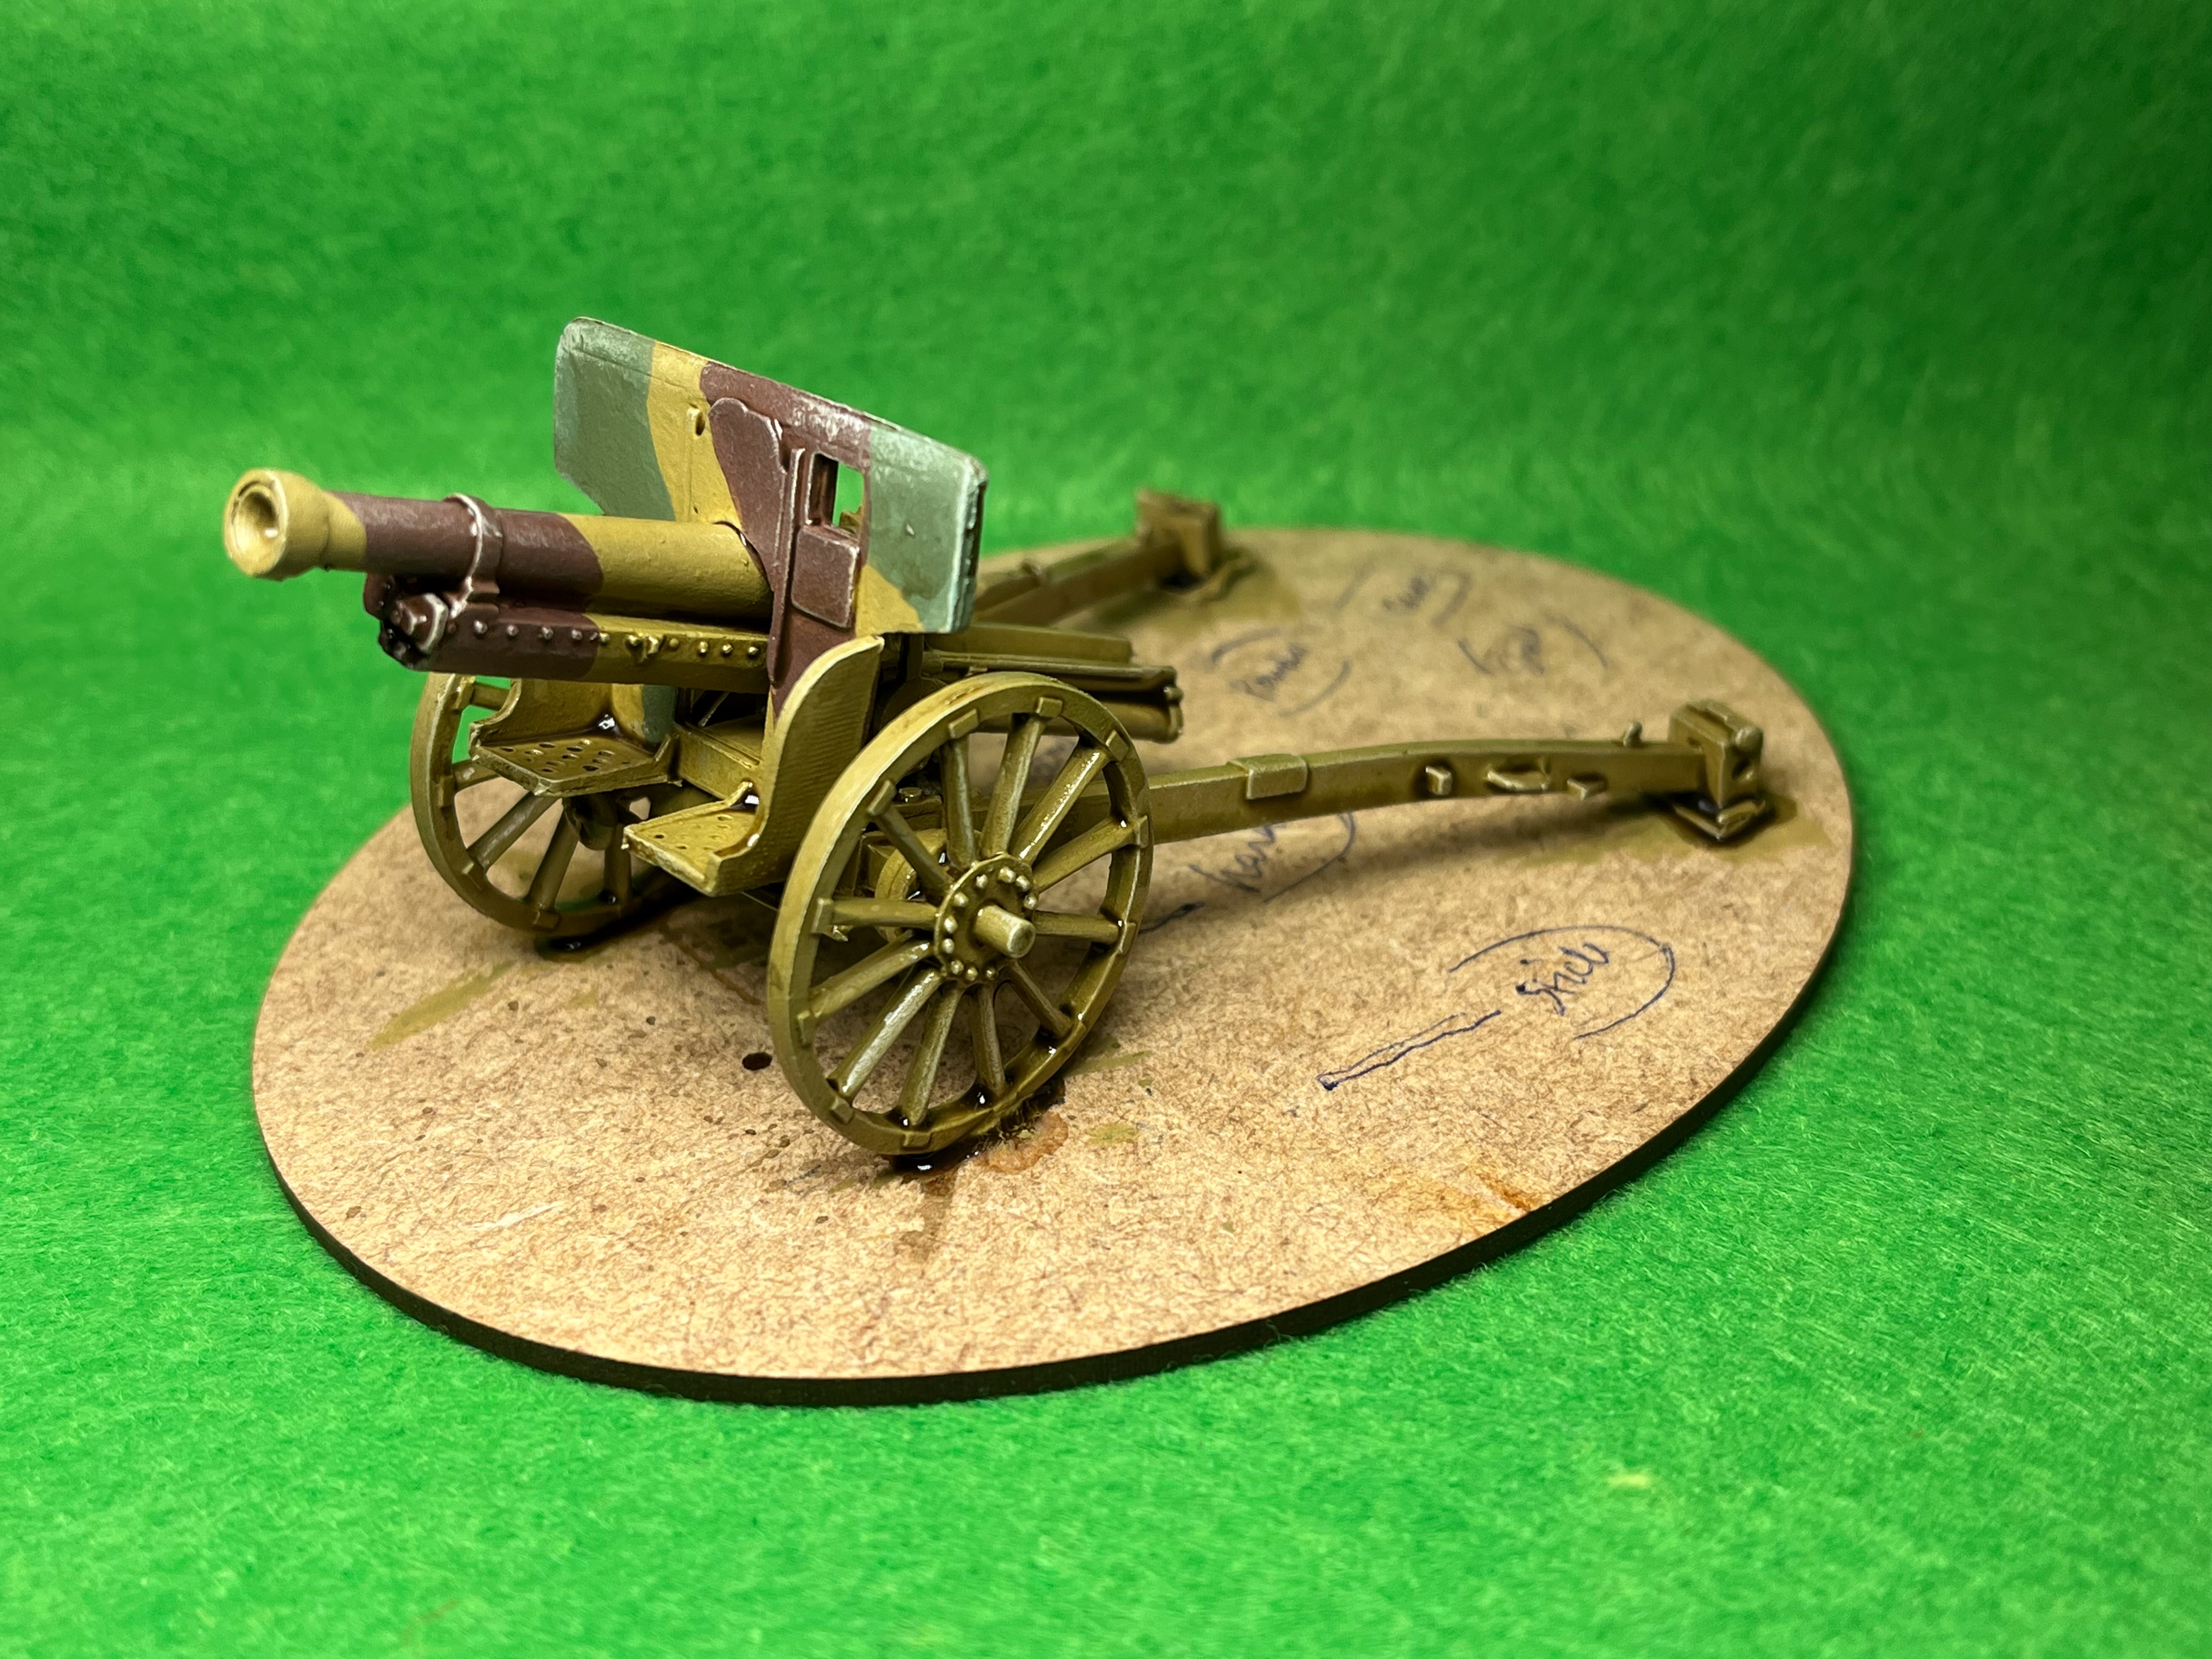
Once the varnish has dried we’ll use Oak Brown and Woodland Camo to add that same camouflage pattern that we added in the Chi-Ha. Again, there is no set pattern for painting a camouflage scheme, so just go with what you like the look of.
We’ll follow that up with a dry brush all over with Skeleton Bone, remembering your trying to bring out the details ready for the all important washing stage.
Once the dry brush has dried thoroughly, we can give the entire artillery piece a wash with watered down Strong Tone at a ratio of 1 part Strong Tone to 3 parts water. Again, it’s worth spending the time making sure the wash doesn’t pool too much and just removing any excess with a clean, dry paint brush.
Once dry, the pre-highlight stage should have taken care of any further highlighting, but if you want to add some extra highlights, then do so now.
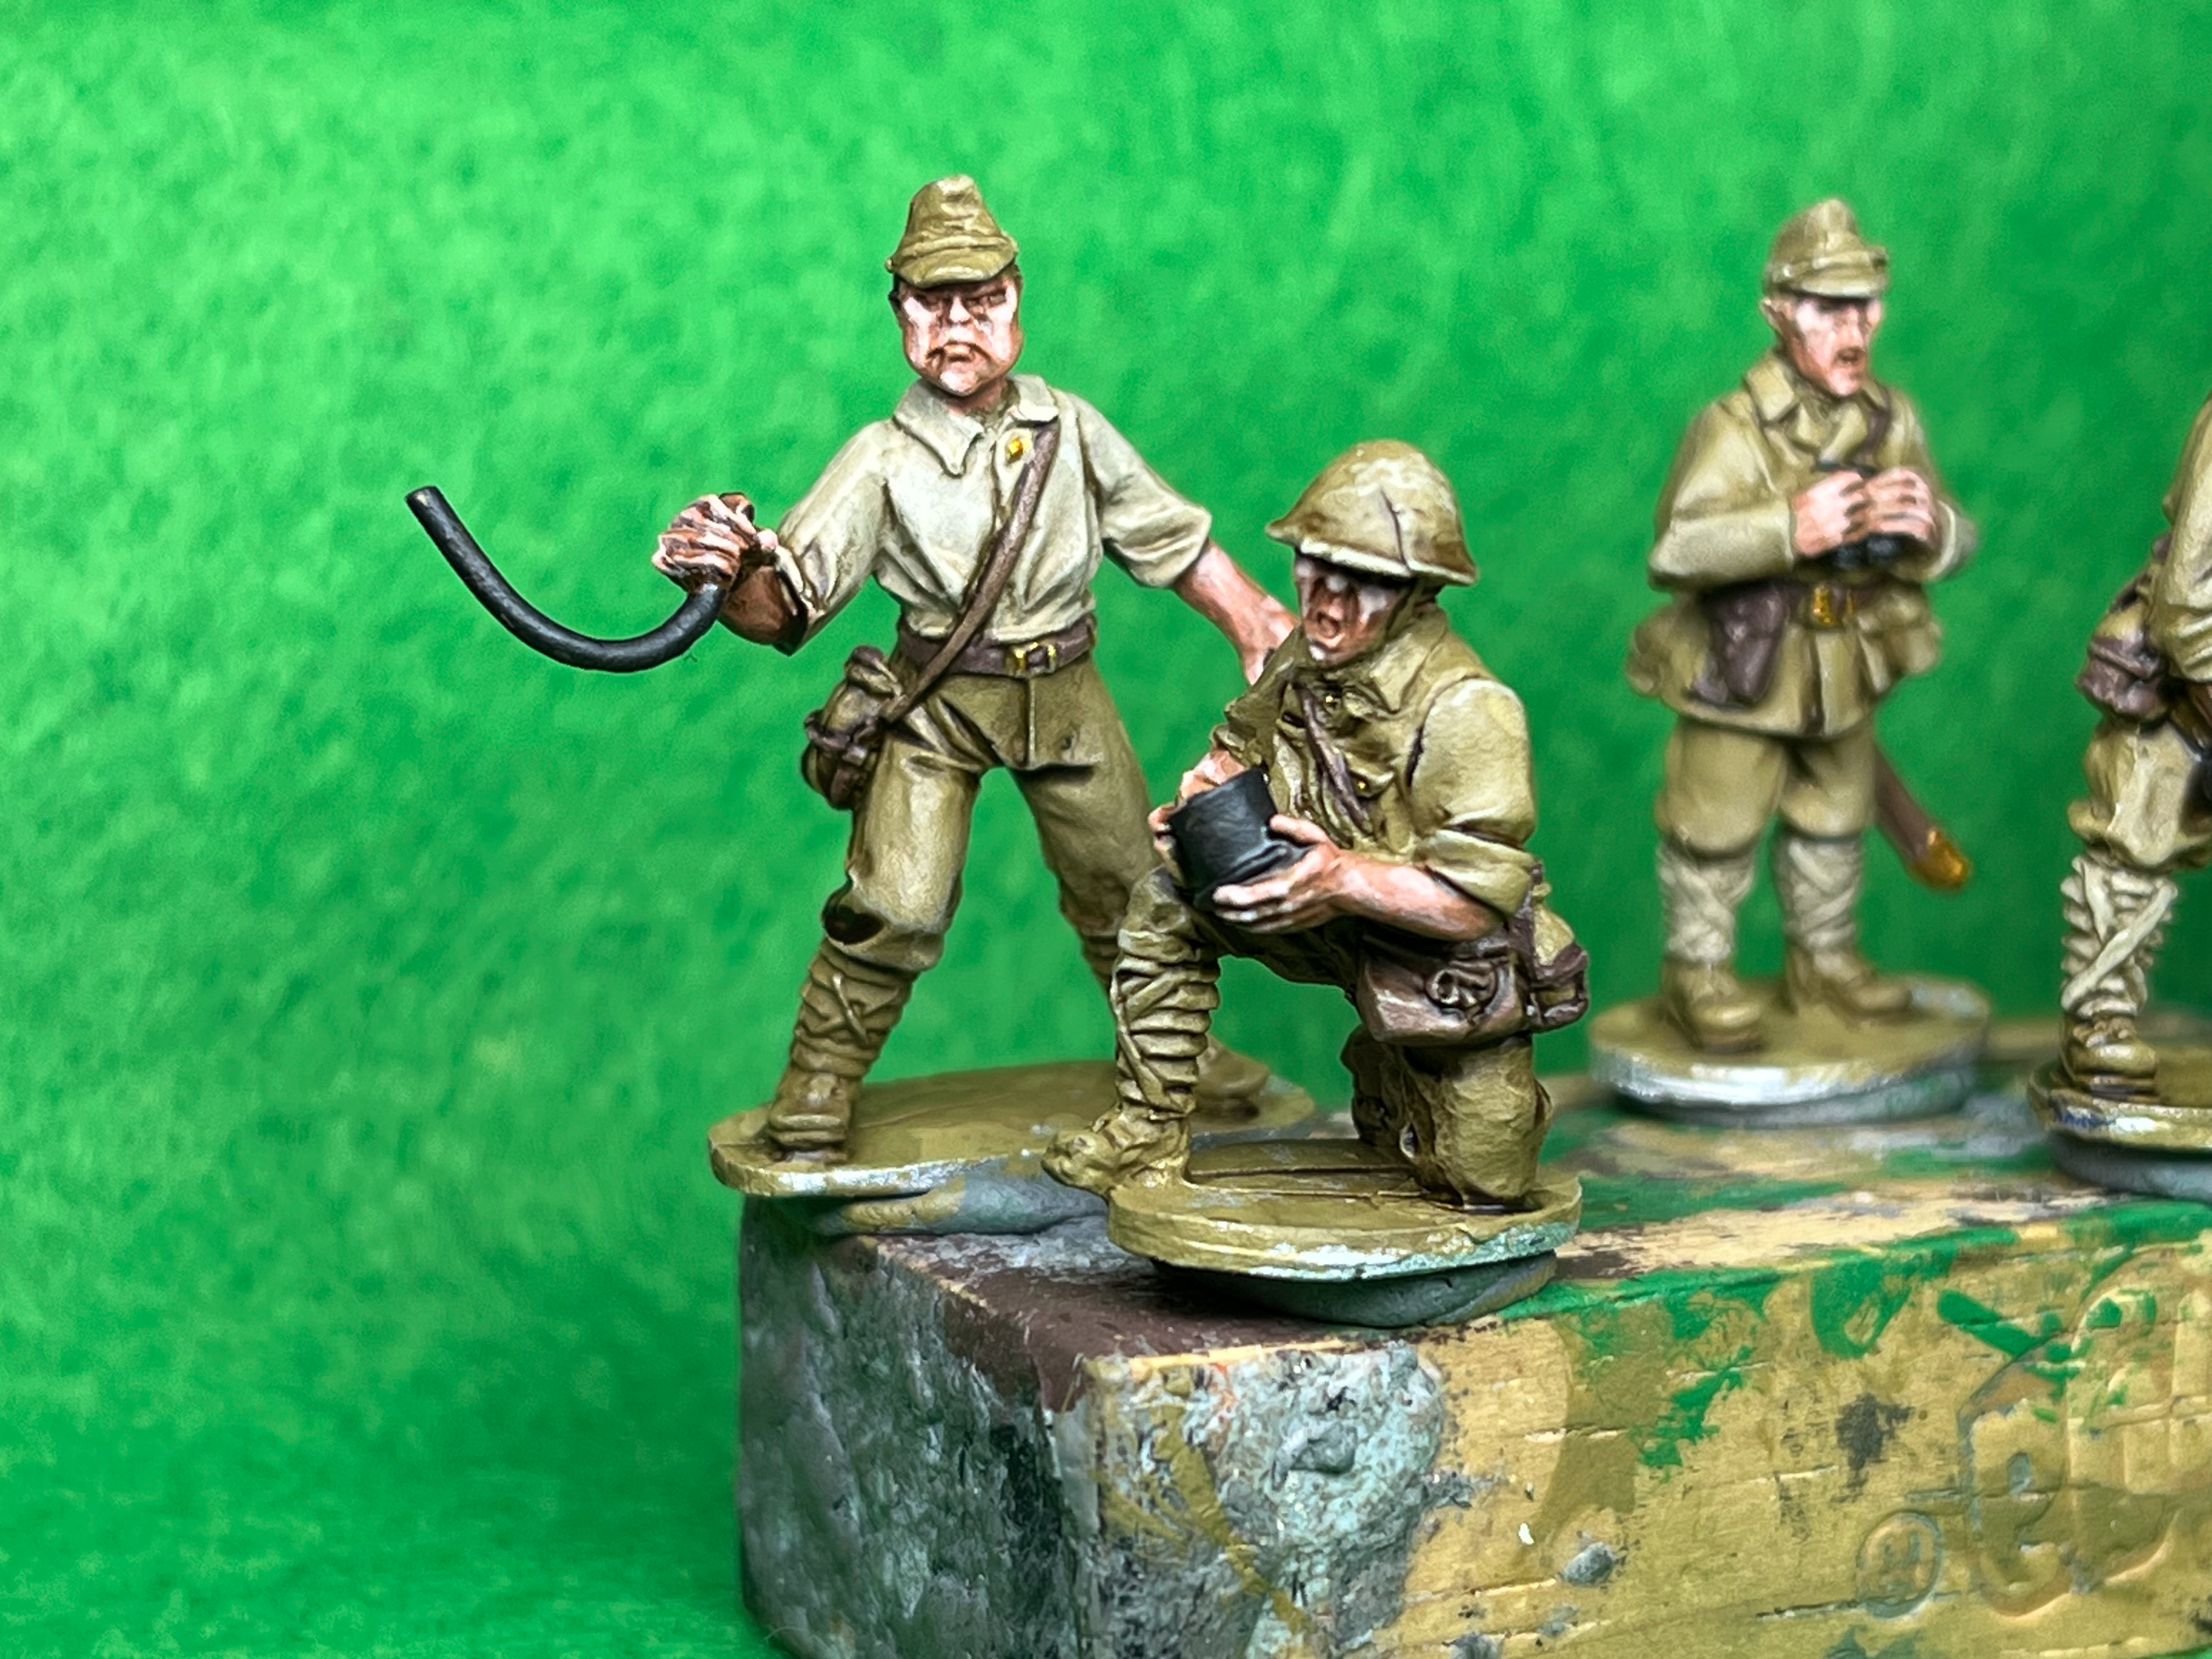
We can paint the gun crew in exactly the same way as the infantry. You’ll notice that two of the crew are in shirts with rolled up sleeves, so we’ll go ahead and paint their shirts Skeleton Bone.
Then we’ll take some Matt Black and paint the officer’s binoculars and the large adjusting tool held by one of the crew, as well as the firing lanyard the other crew member is holding.
Next, to break up all the khaki and ochre, we’ll get some Greedy Gold and paint in the tunic buttons, belt buckles, Shin Guntō details and artillery shell being held by one of the kneeling crewmen.
We can now give a base layer on all the skin, using Tanned Flesh.
Once dry, we can give all the crew the same 1:3 wash using watered down Strong Tone, and again soak up any excess in the pooling areas with a clean brush.
Once the wash is all dry we can go in with some highlights on the skin using Barbarian Flesh, making sure to only add the lighter colour to the raised areas, such as noses, cheekbones and knuckles.
You can then, if you want, add a mix of 1:1 Barbarian Flesh and Matt White and dot in the tip of the nose, tops of cheekbones, chin and knuckles on the fingers.
Your Type 91 and crew should now be finished and ready for a coat of Matt Varnish.
Finally, with the varnish dry, we can base our Type 91 and crew on our large oval base. Once you have them in a position you like, glue them in place and once dry, use Vallejo Diorama FX: Dark Earth texture paste to cover the base. Whilst the paste is still drying, sprinkle on some fine sand, just to break the base up a bit and add some other textures.
As with the infantry bases, once dry, we can add some Oak Brown all over the dry texture paste and sand, being careful not to get any paint on the crew and gun.
Once the Oak Brown is dry, it’s on to the dry brushing stage. Using Vallejo Desert Yellow, apply a light drybrush all over the base, followed by another light drybrush of Skeleton Bone.
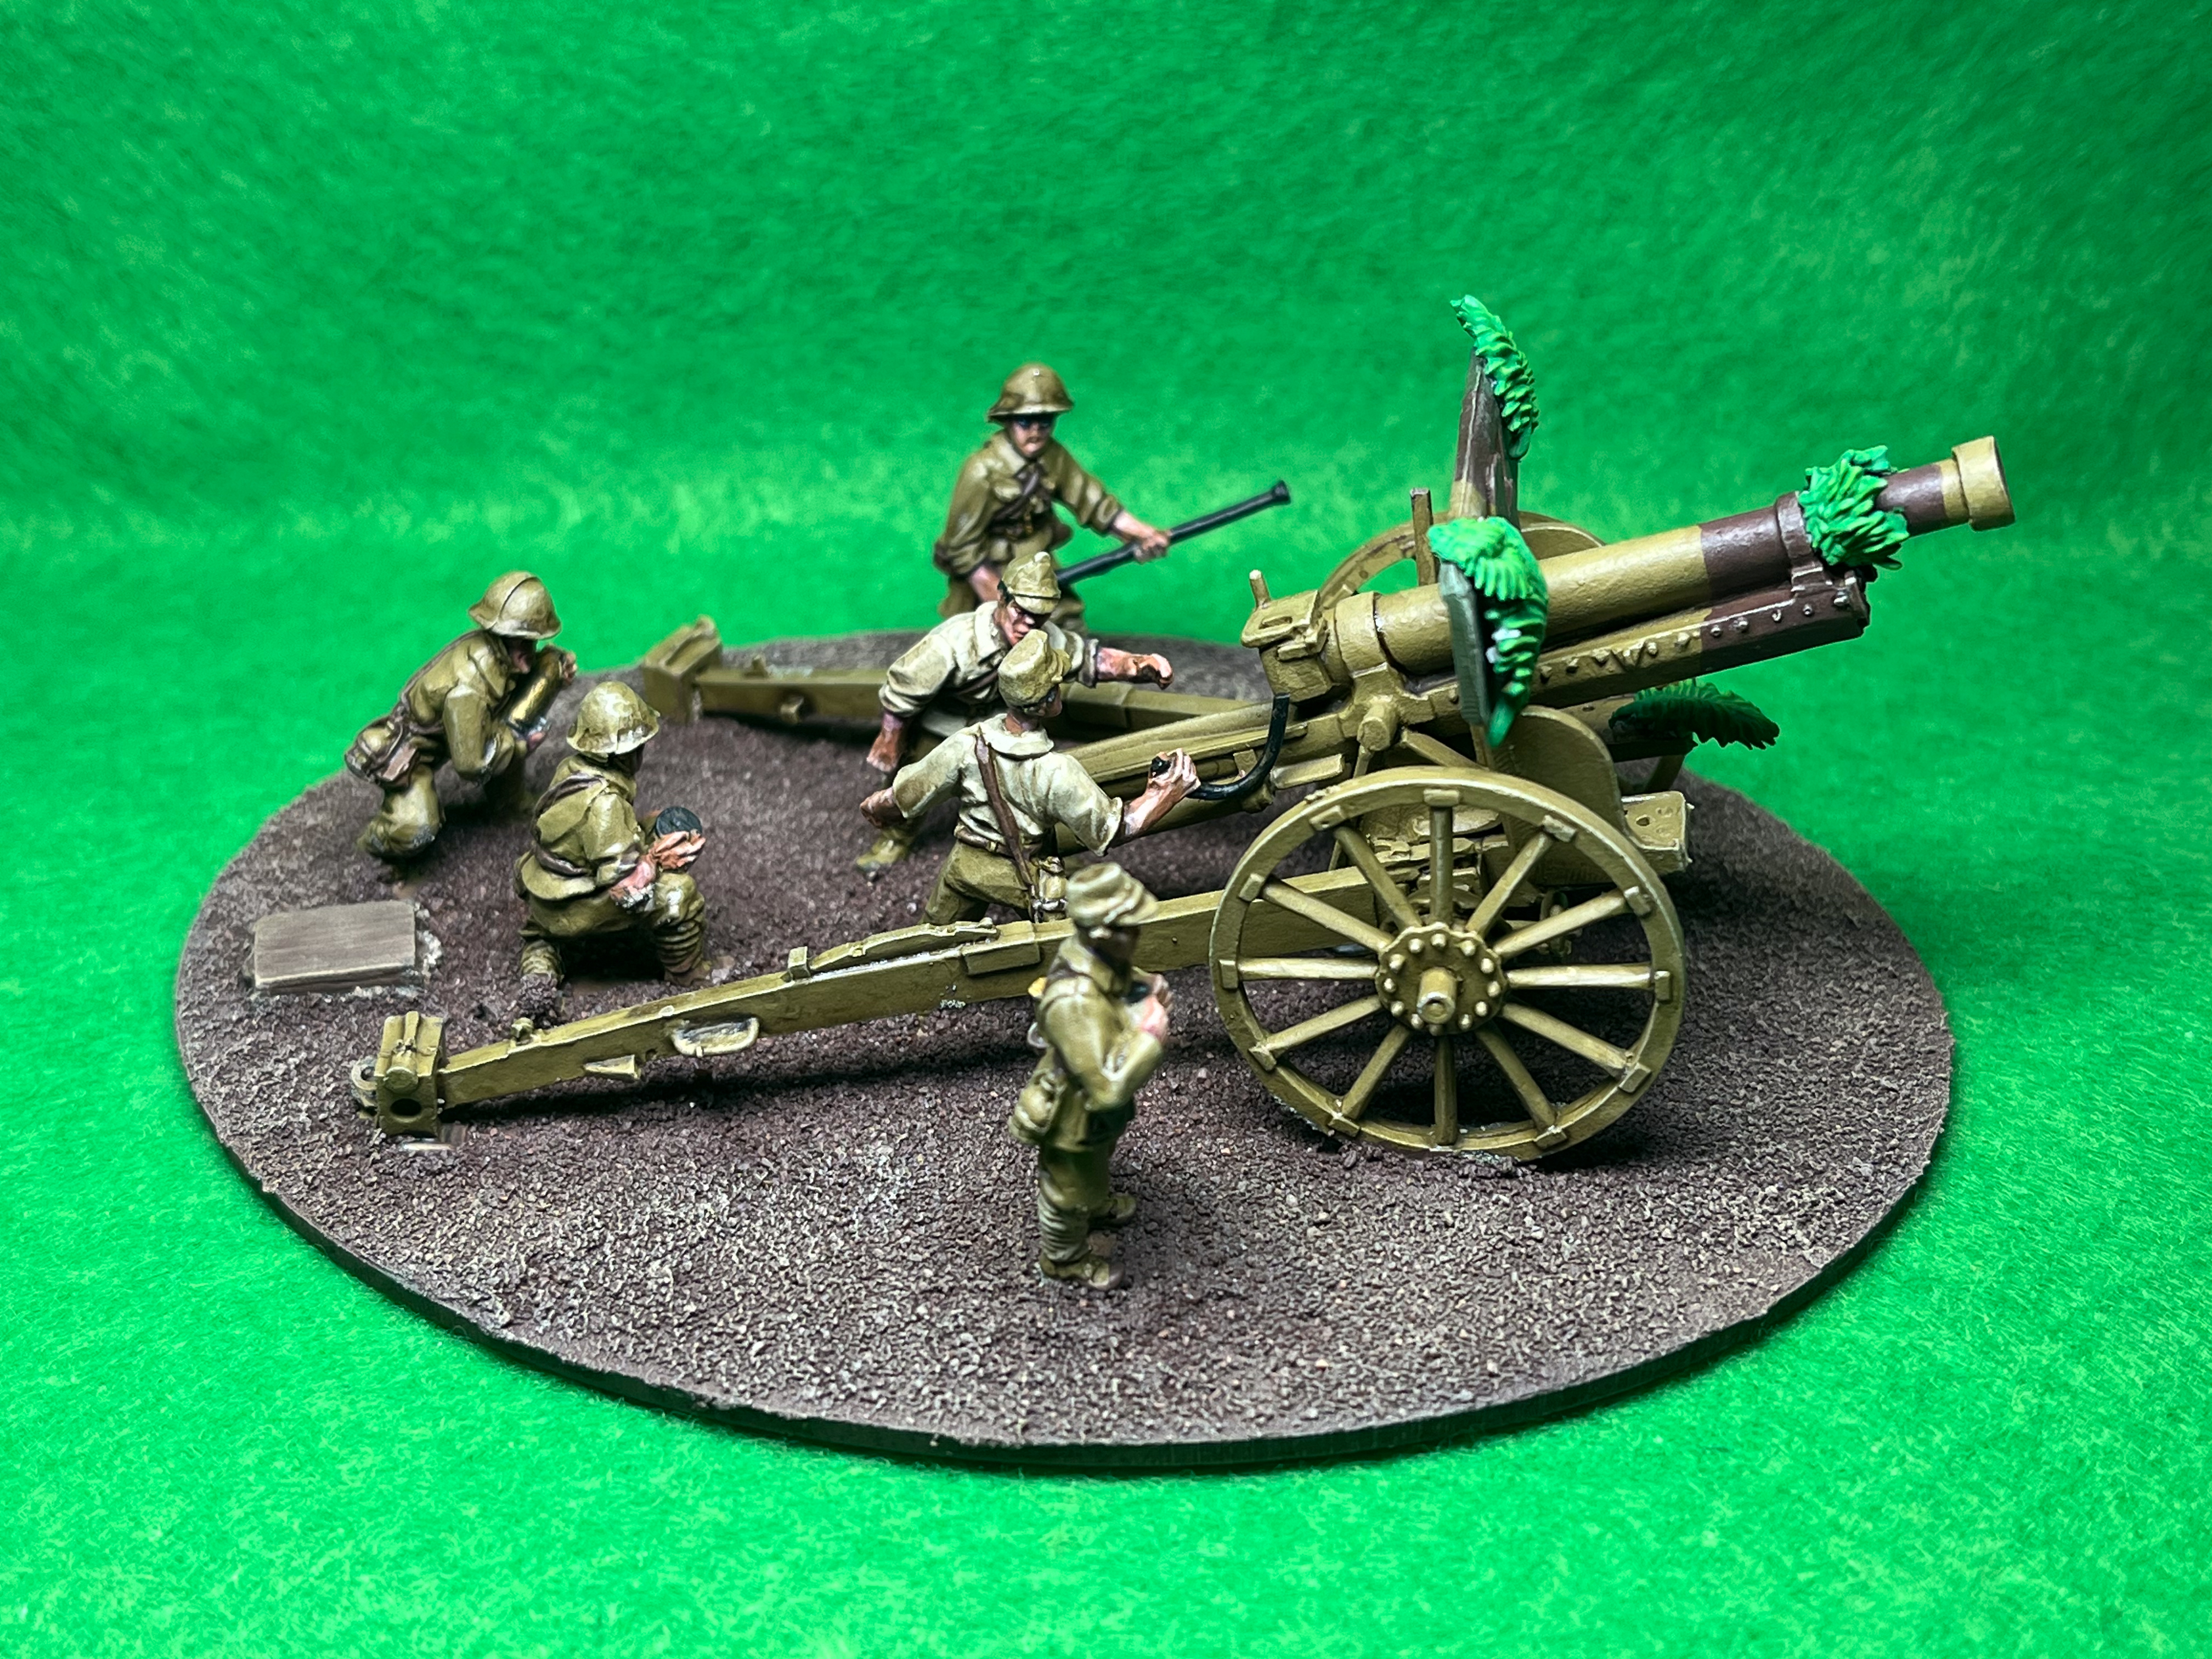
Finally, add whichever vegetation or basing materials that will fit in with your chosen theatre and seal those in place with some superglue.
And there you have it. If you follow the above recipe you shouldn’t have any problem bashing out a painted Japanese force in next to no time!
Happy gaming!
Want to follow Iain’s example with a Japanese force of your own?