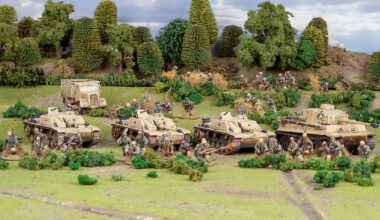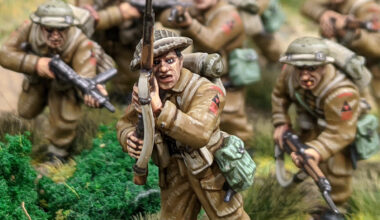
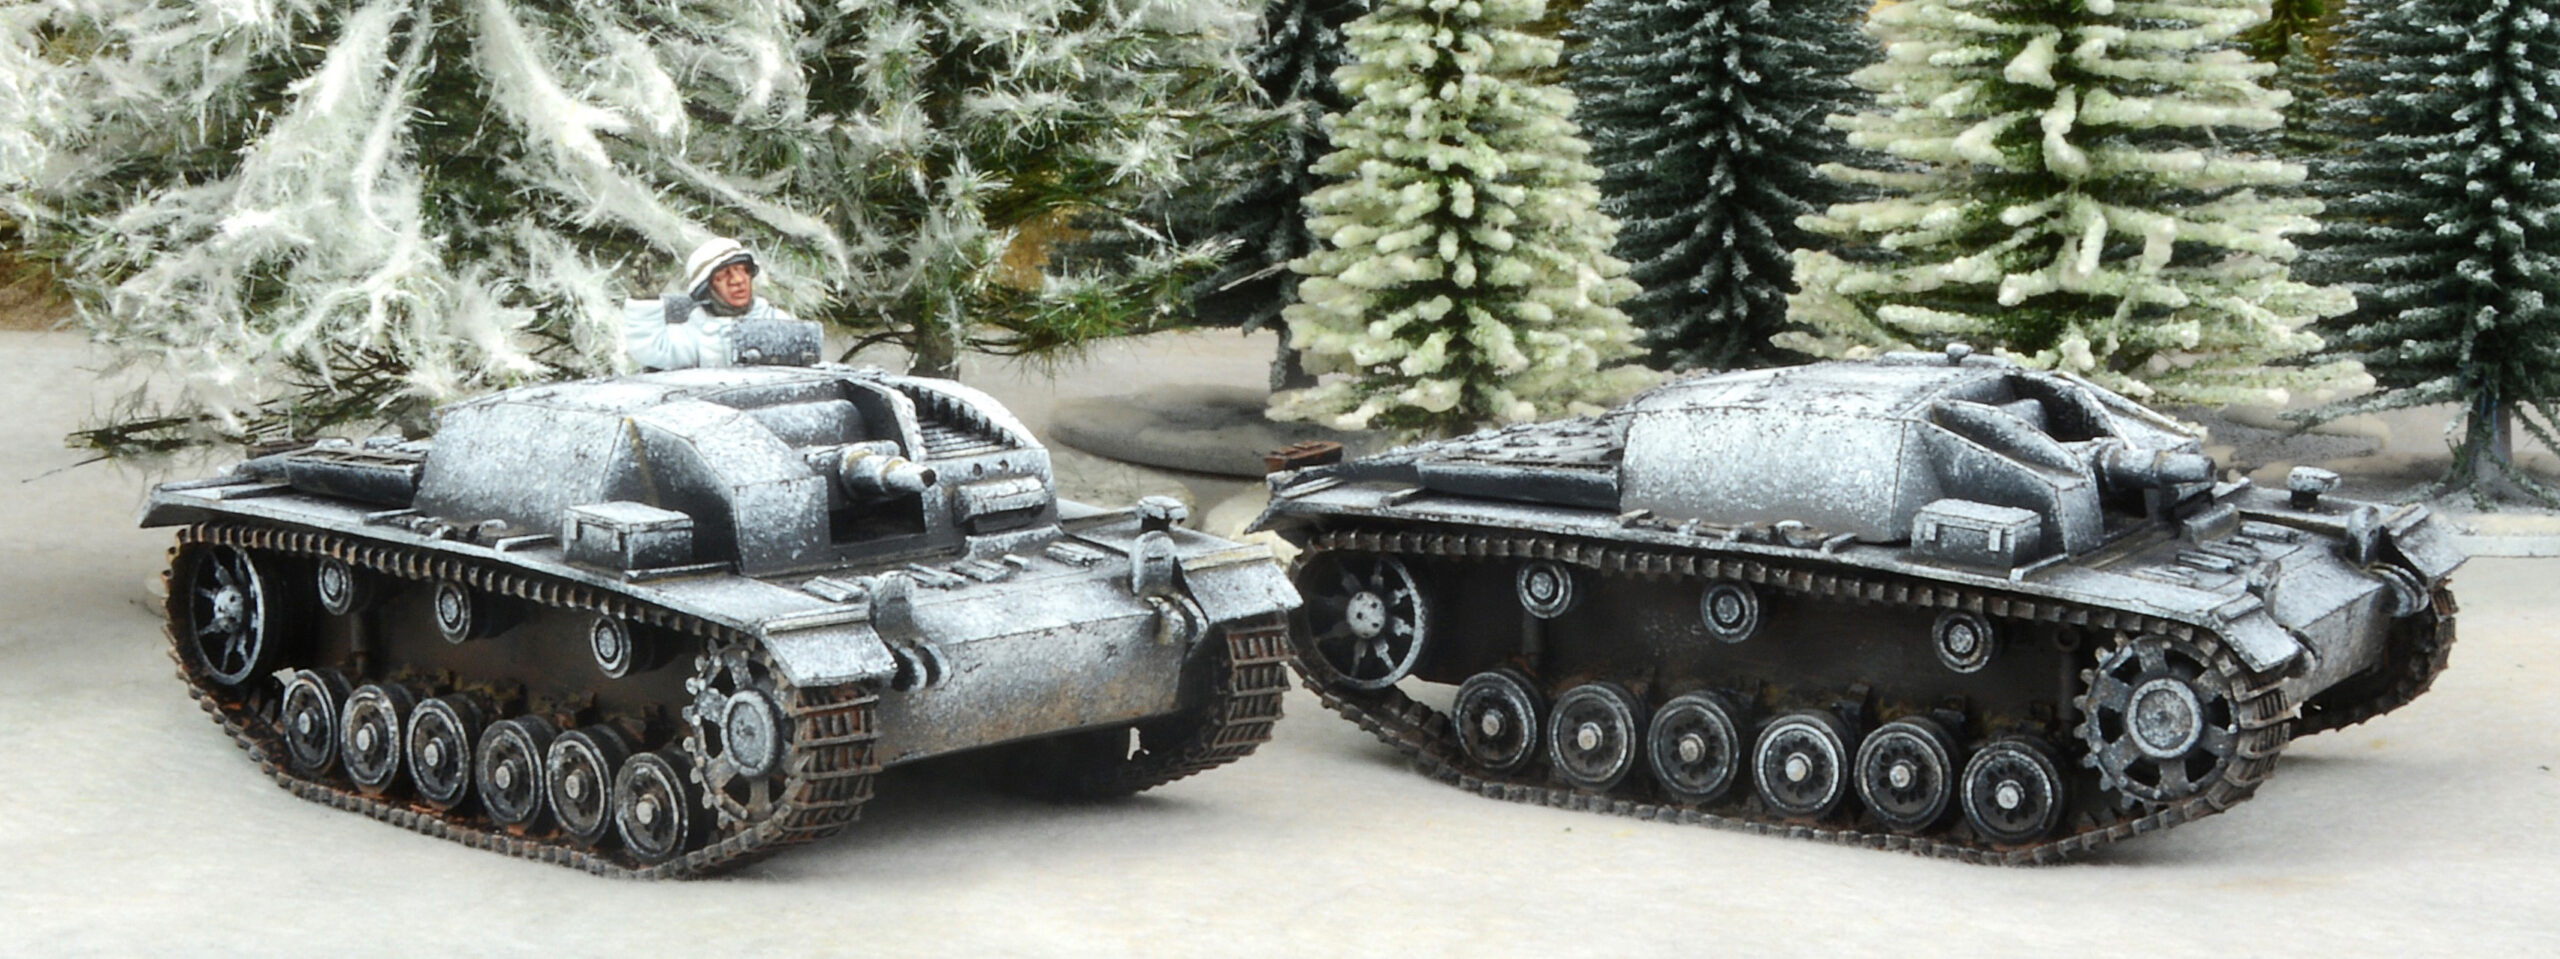
DH – With three platoons now under his belt, Andrés has decided to add some heavy armour to his Spanish Blue Division. With a pair of StuGs giving him an Armoured Platoon, the core army is more or less complete. The man himself explains all!
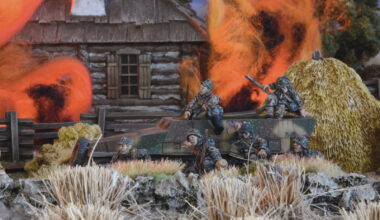
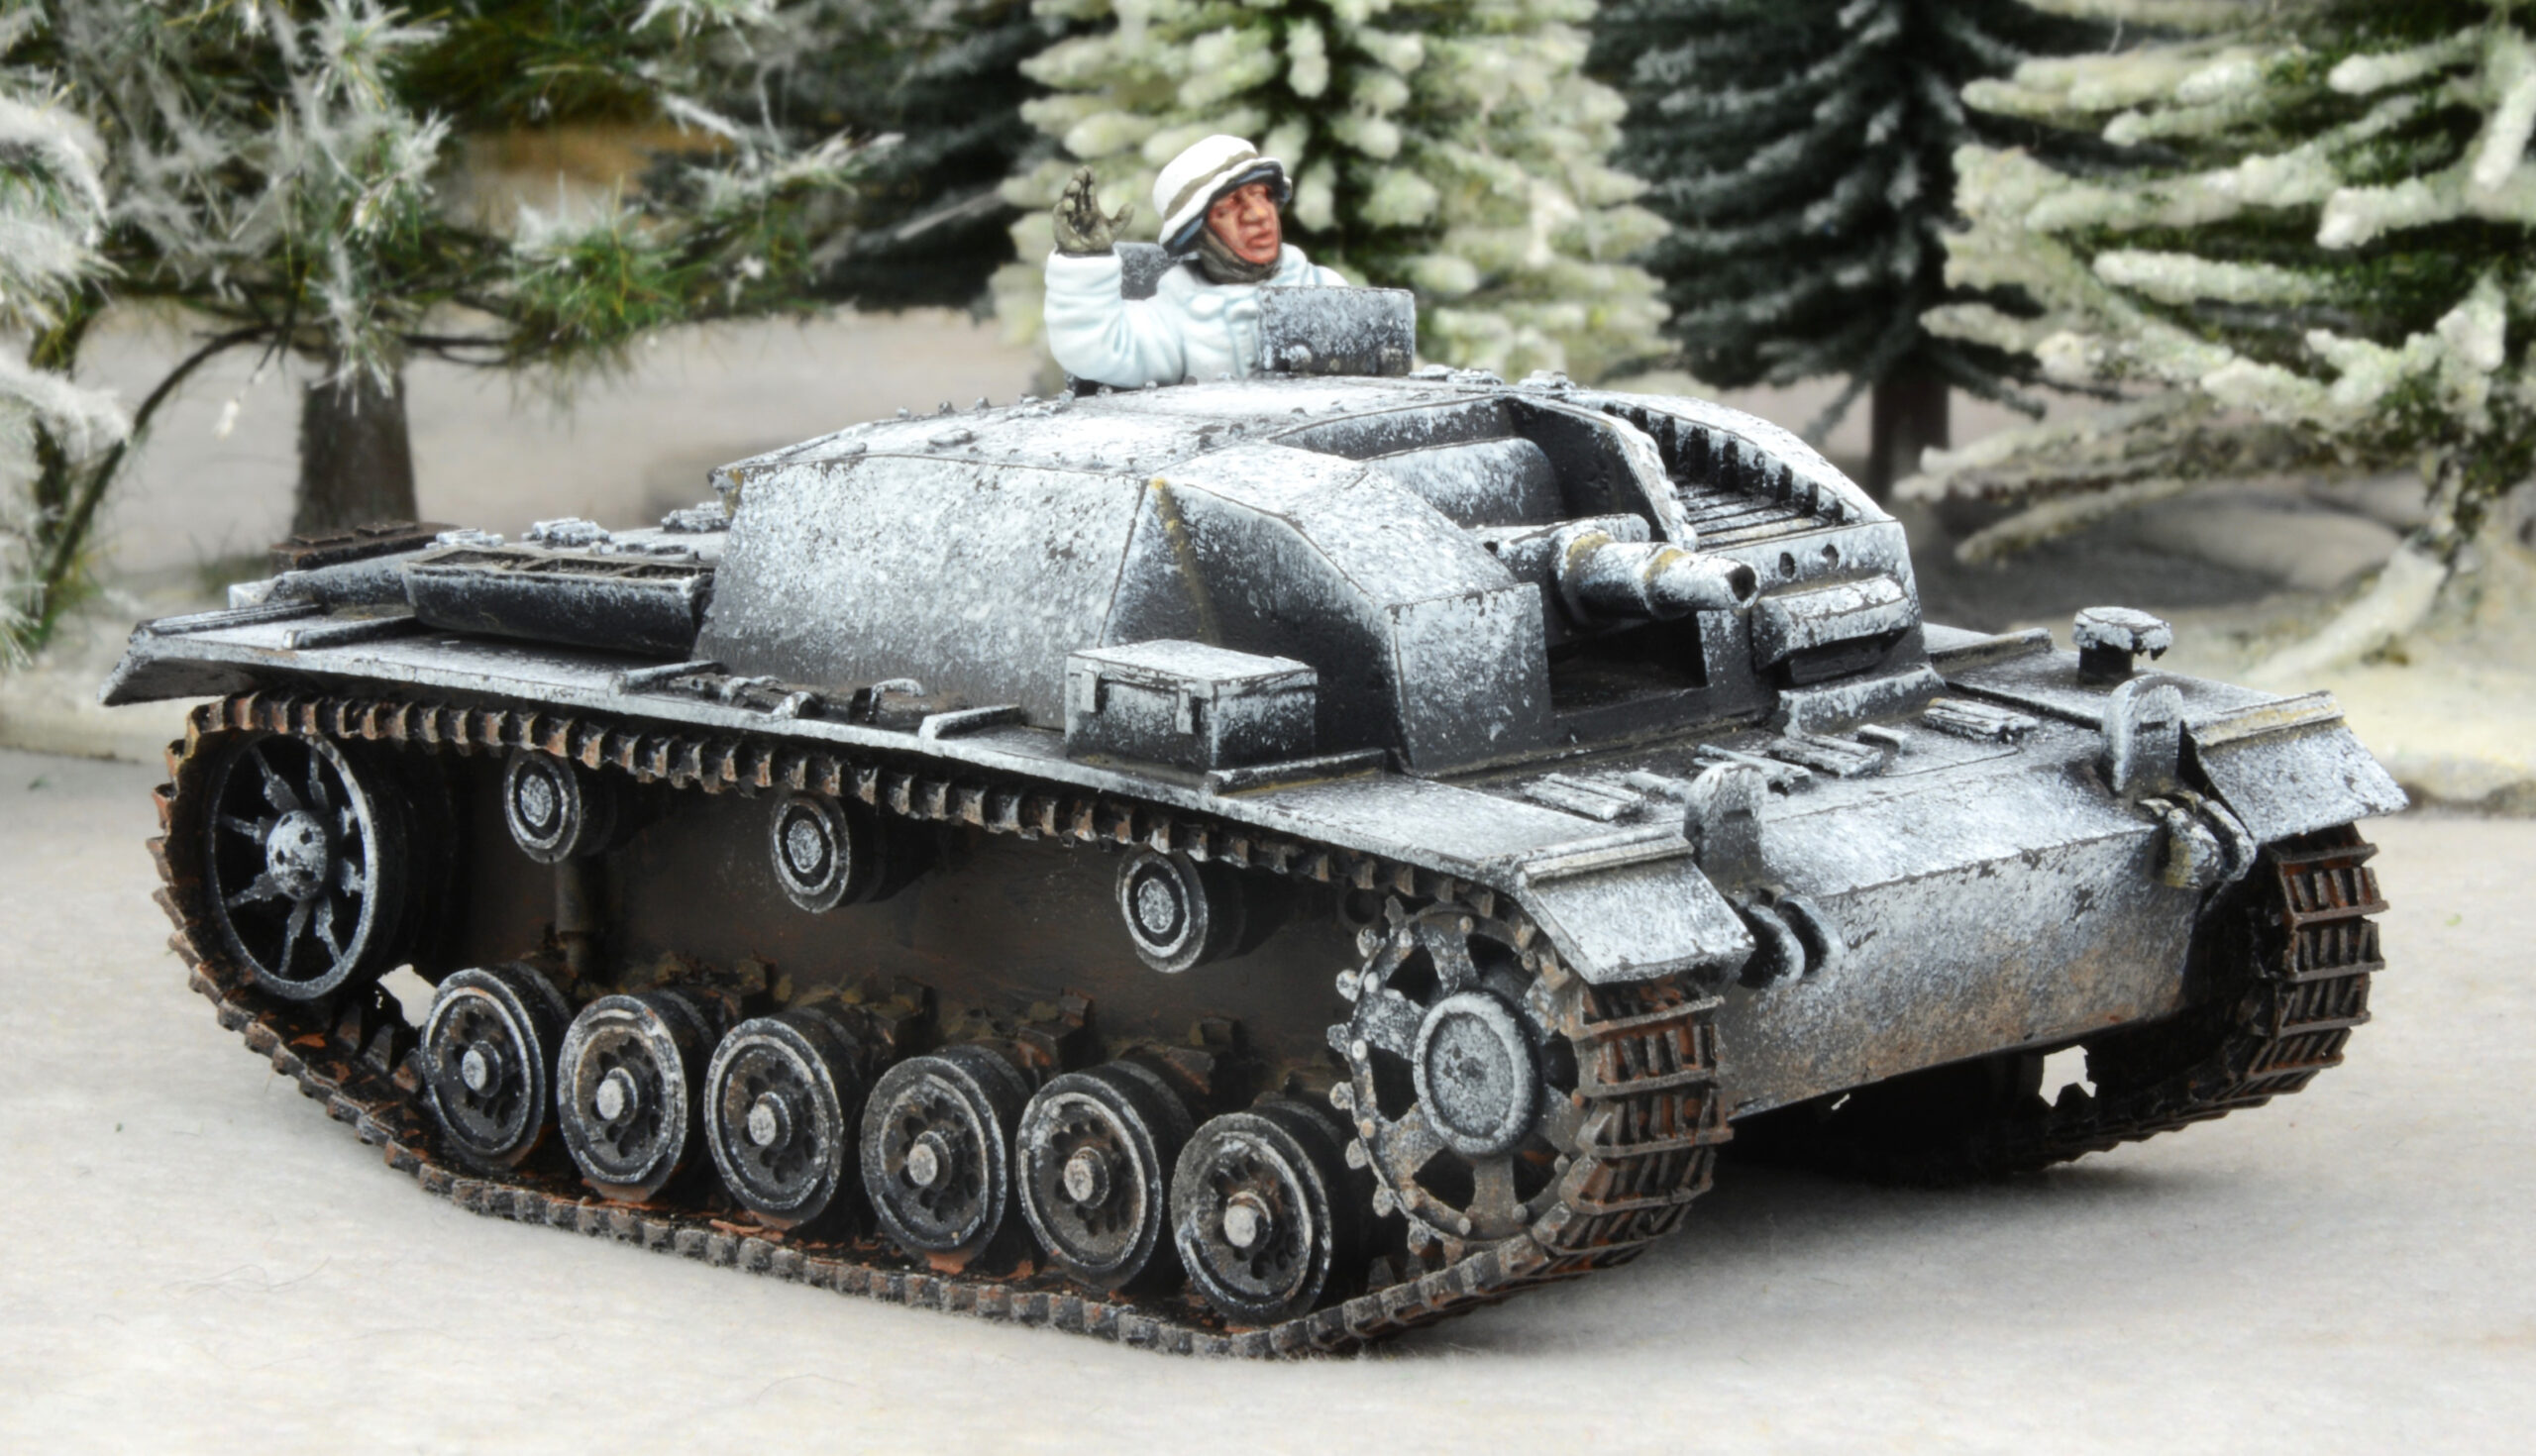
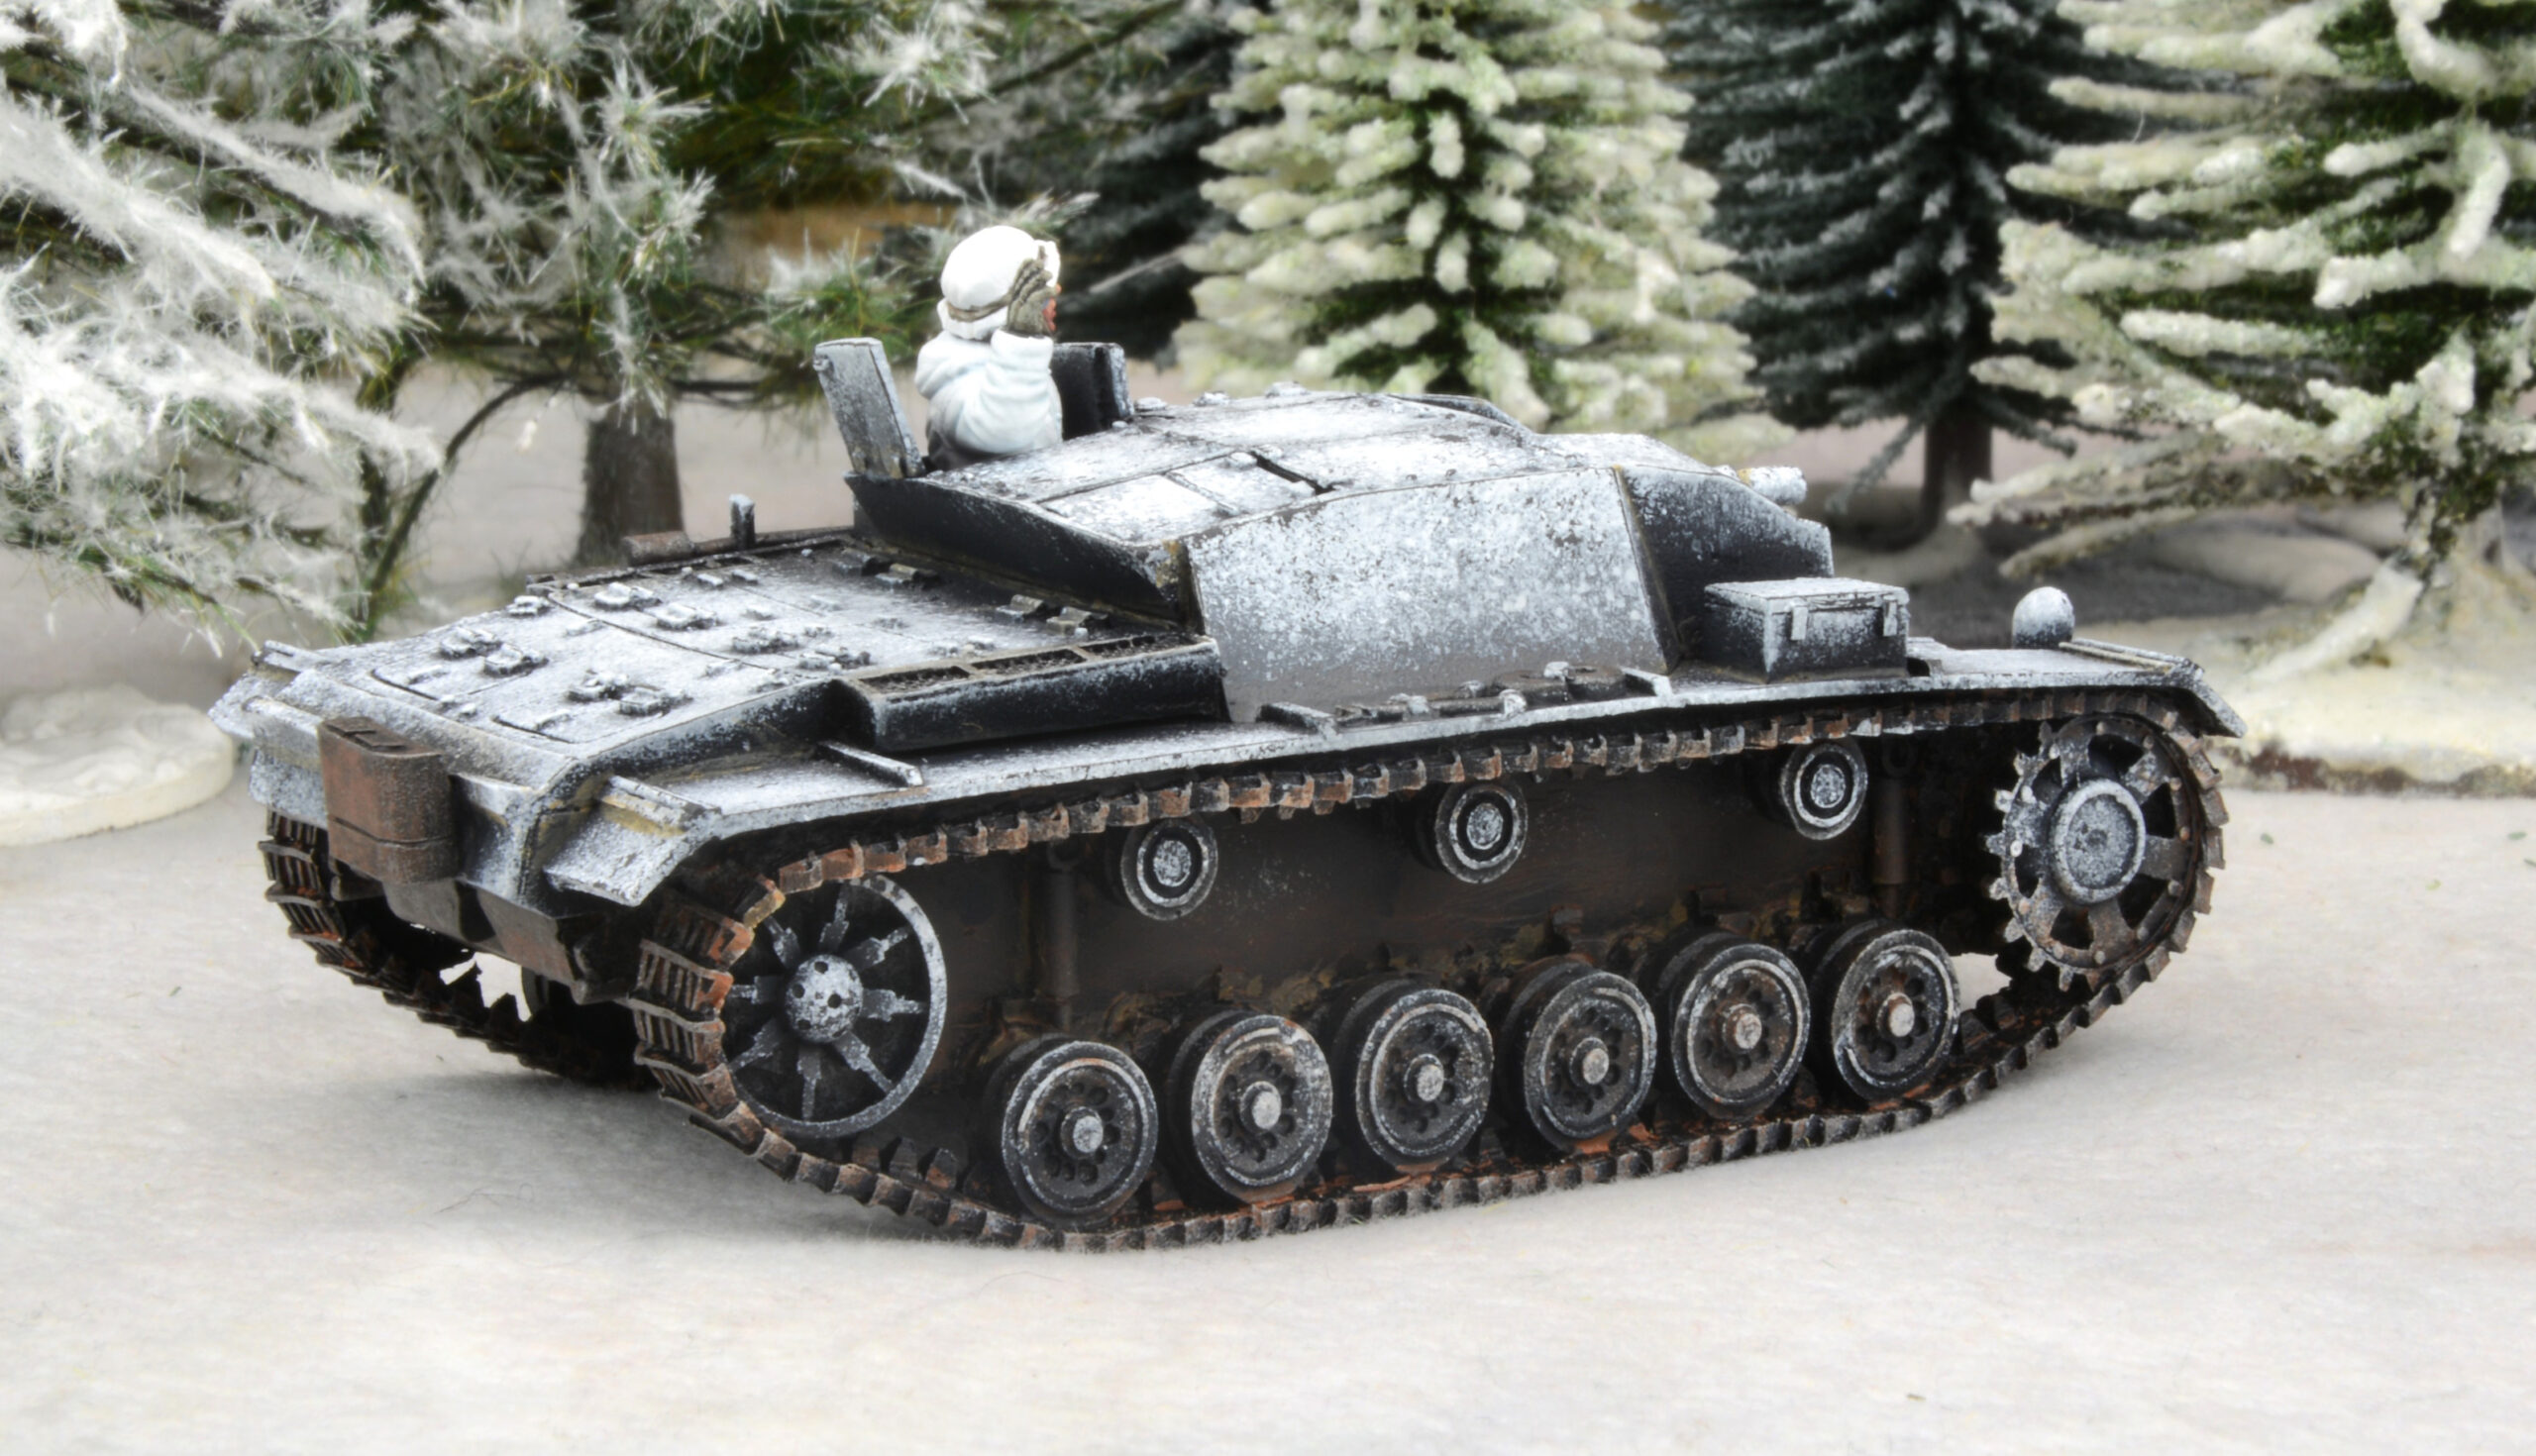
AF – With two platoons more or less complete, it was time to add in some heavy support! Though the Spanish Blue Division was a Wehrmacht infantry division, and didn’t include tanks or assault guns, they could count on the support of other Wehrmacht, Luftwaffe, or SS divisions. I settled for a couple of StuG IIIs; armed with howitzers they would lend my other divisions much needed fire support. I could just as easily have gone for Panzer IIIs or IVs, but the StuGs look the part to me, certainly more unusual. Most times when building armies, I’m led by aesthetics first. What can I say?
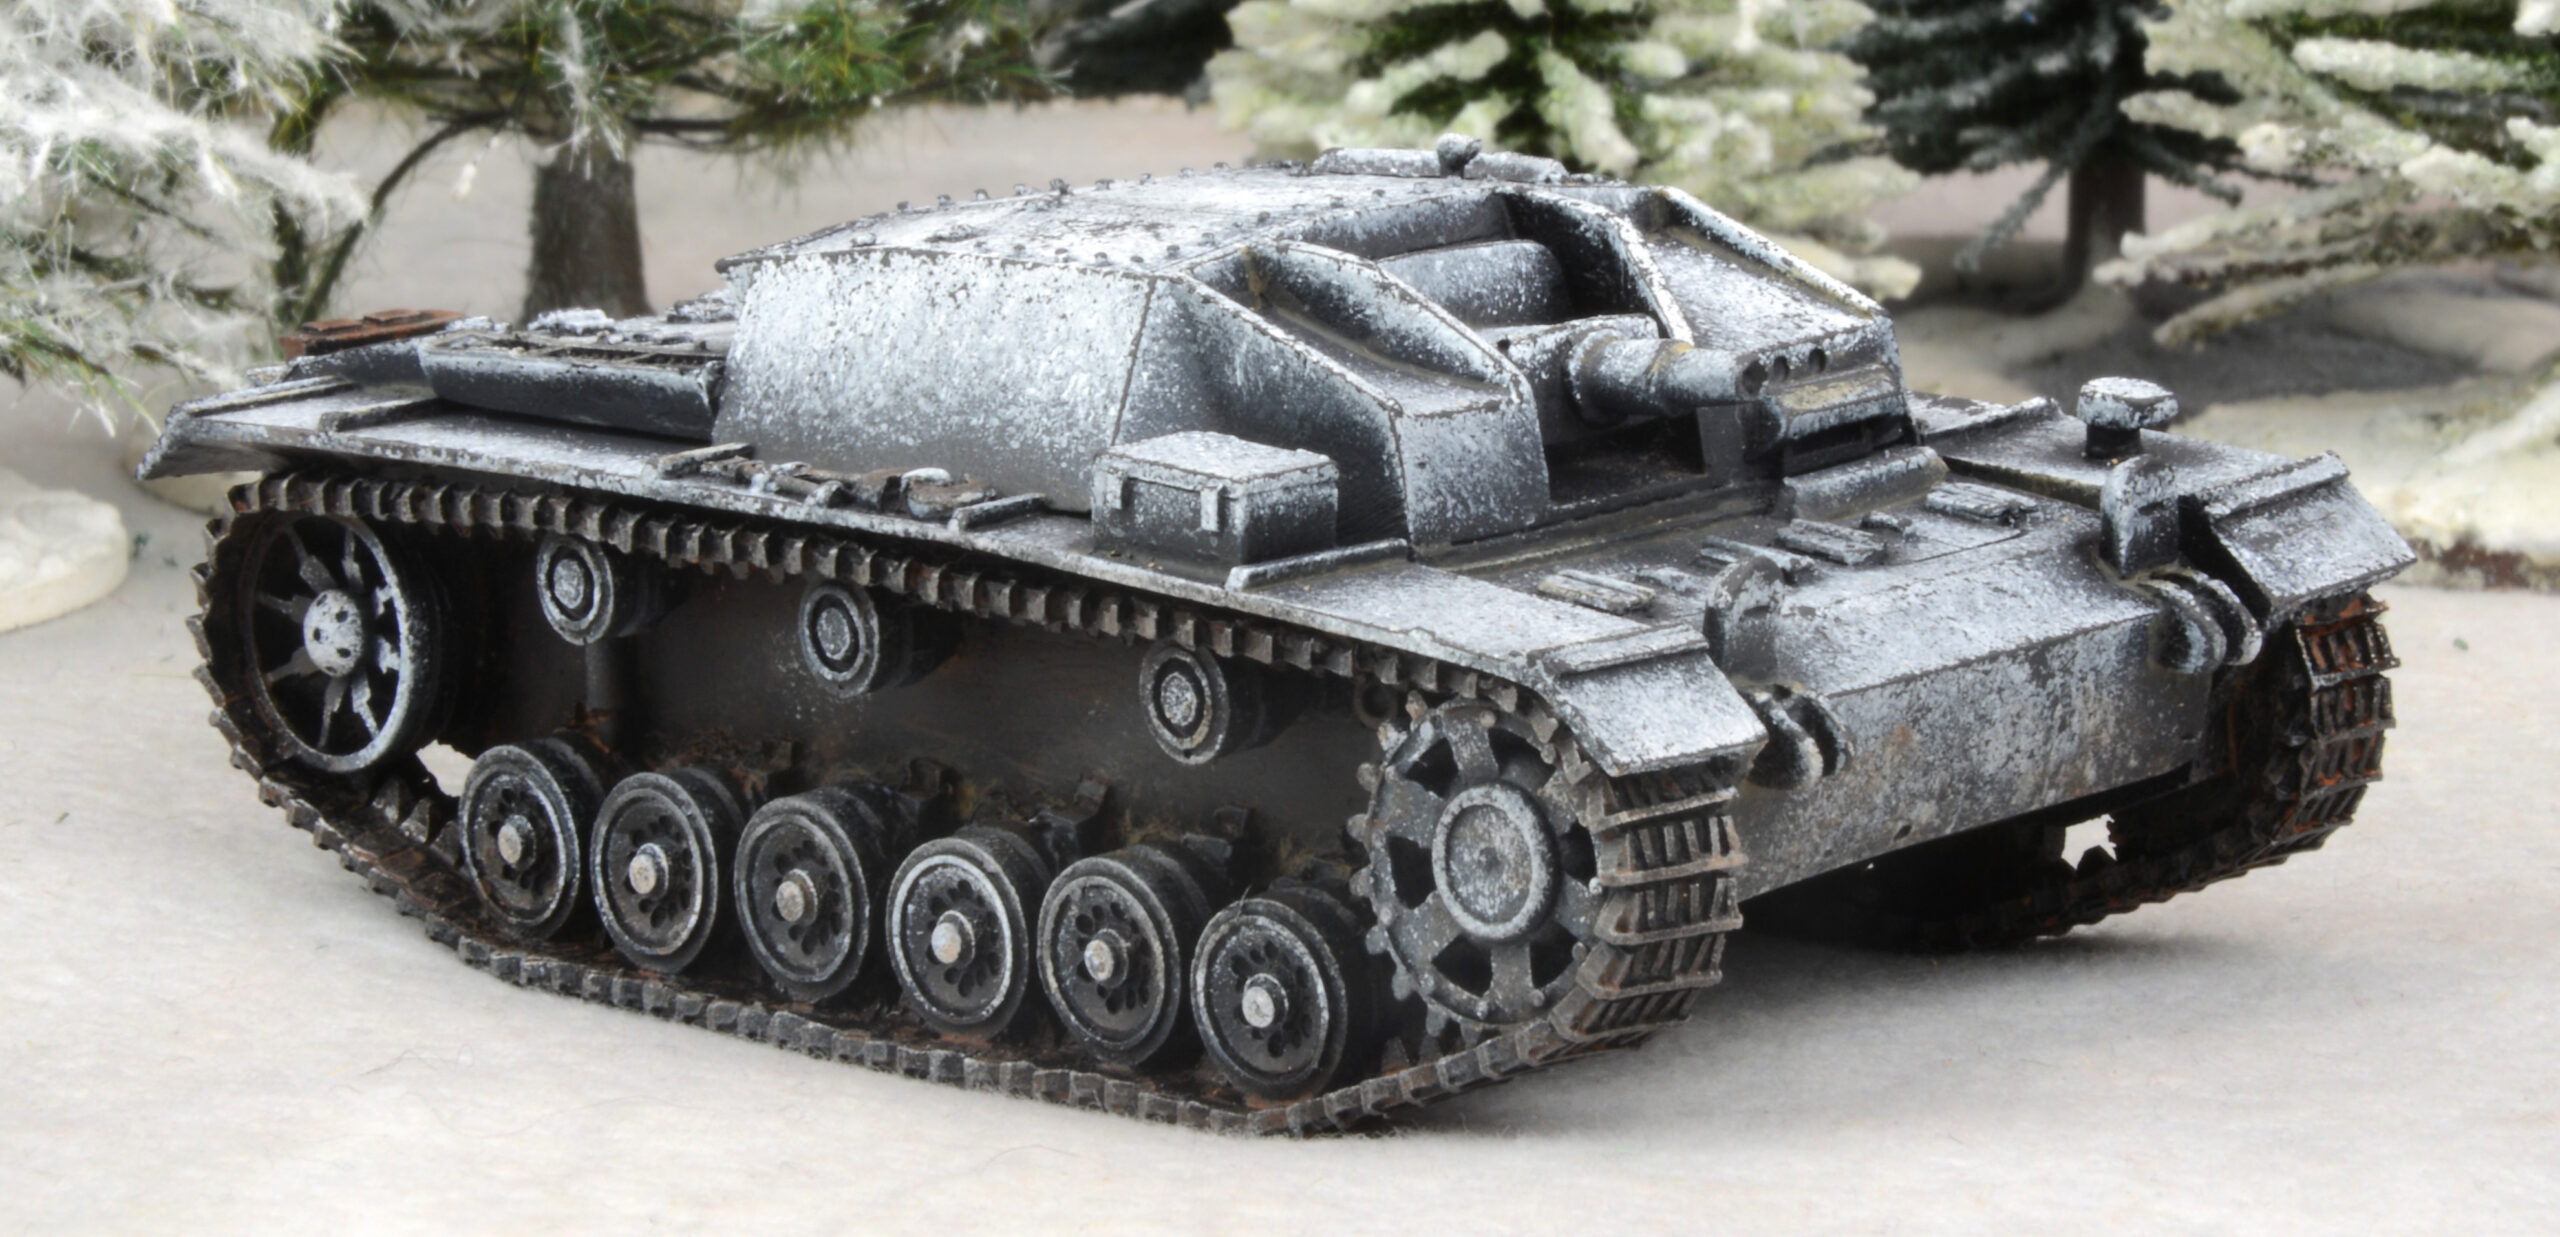
With a bit of research I found that the StuH 42 wouldn’t be appropriate, so it would be StuG III Ausf. Bs and Ds. In Bolt Action terms the guns on the B and D are the same, it would just be minor cosmetic differences on my models. So be it!
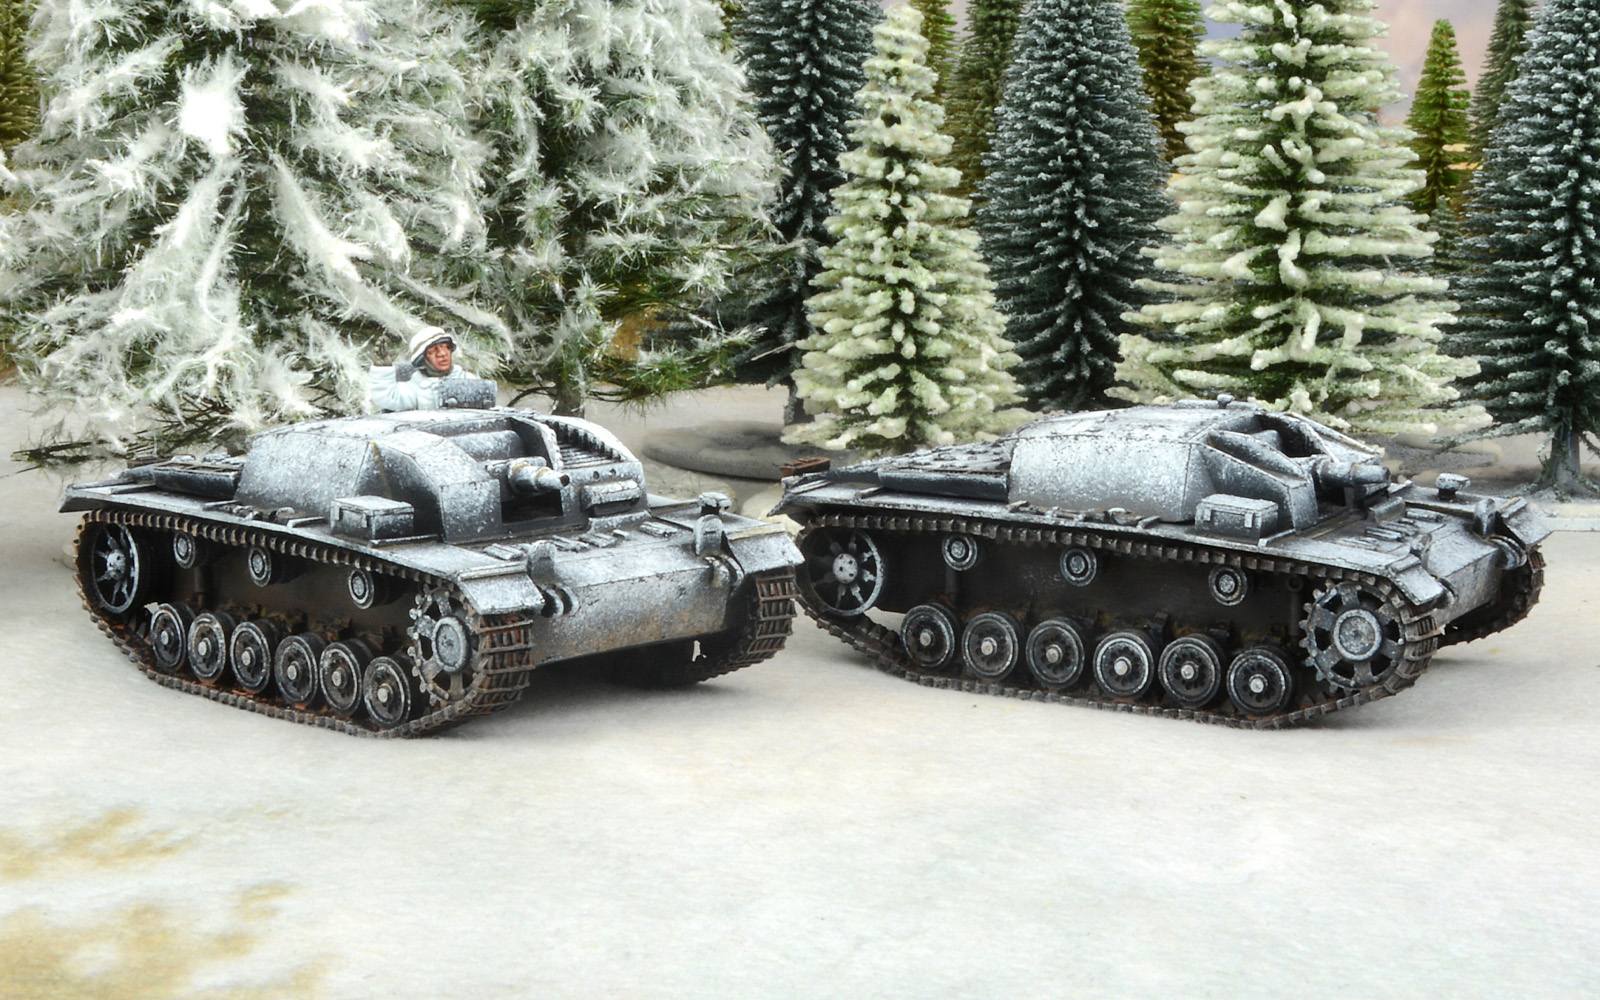
I started by cleaning all the resin and metal components, making sure to remove mould lines and any flash with the help of a scalpel and sandpaper, before soaking all the parts in warm, soapy water. A toothbrush is always handy to rid the model of any lingering demoulding agent or impurities. I repeated this a couple of times to make sure – if any remains, it can cause problems with paint not sticking or flaking once dry – never a welcoming prospect when putting precious time and effort into painting a nice model.
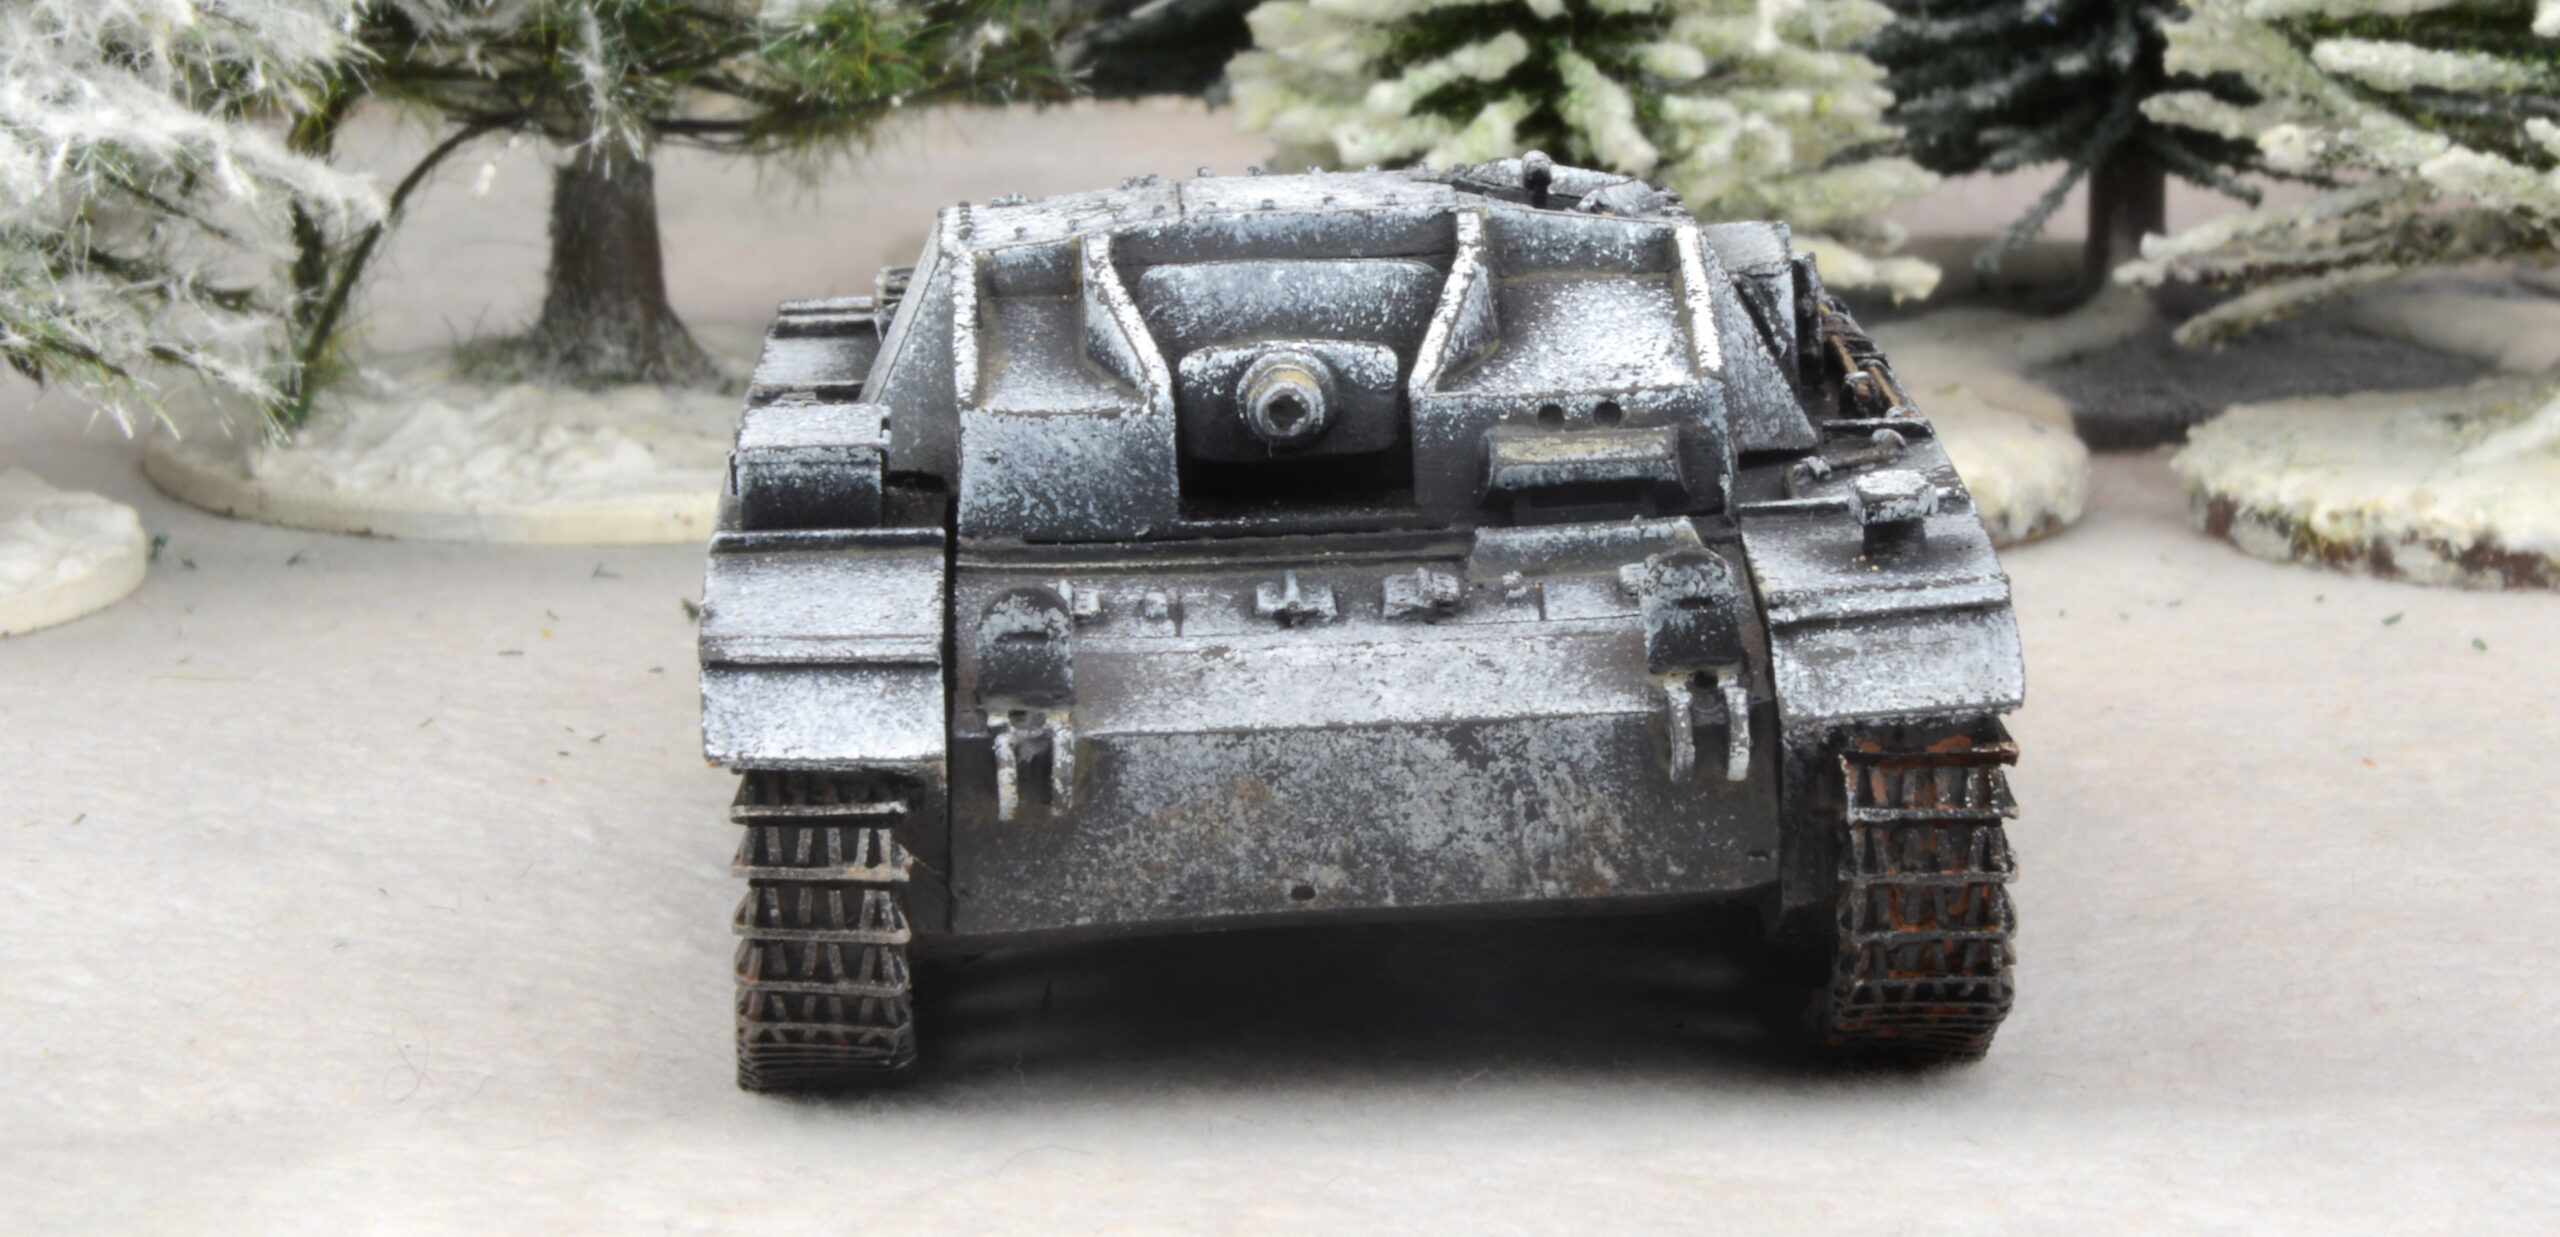
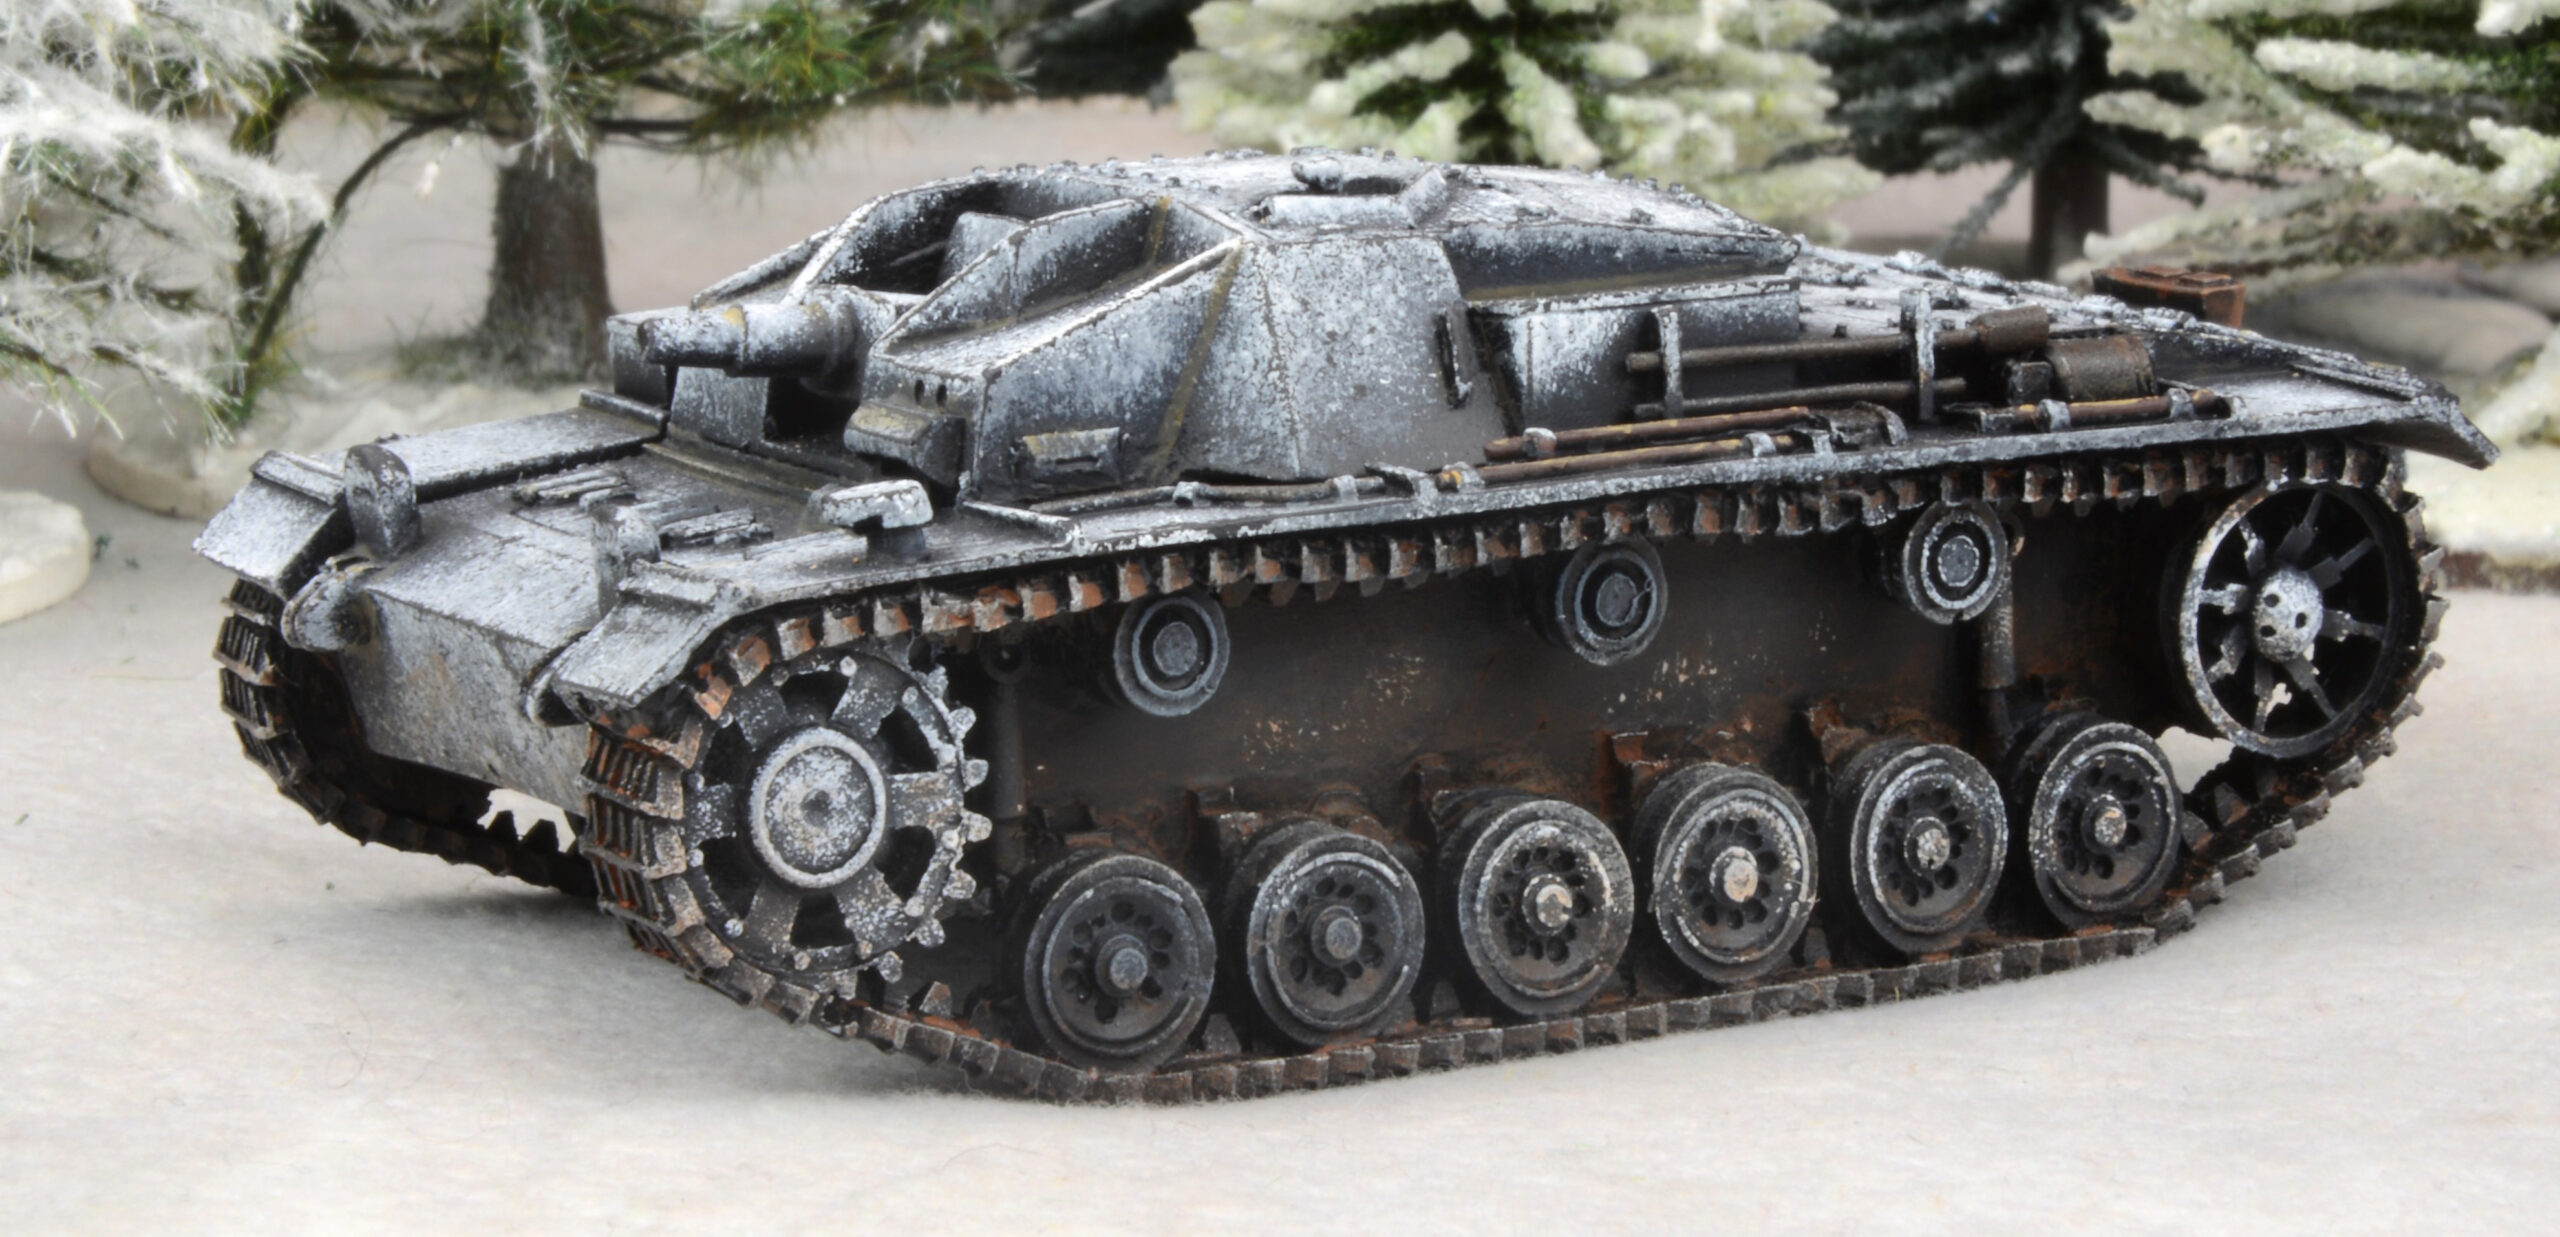
I aimed to paint them in the same way as I had my artillery and weapons teams, so I primed both vehicles with a black spray. I then gave them a base coat of Vallejo Model Colour German Grey 995, followed by a series of drybrushes of VMC Luftwaffe Uniform 816, AP Warpaints Fanatic Wolf Grey, and finally WPF Ash Grey. It was then onto the white-wash effect. I thinned down Army Painter Speedpaints Holy White in a 50/50 mix with SP Medium, and applied it liberally over the models using a sponge. I followed this up with highlights of WPF Brigade Grey and WPF Matt White, but applied them both with a sponge as well, simulating the effect of battered, washed away camouflage. Once day, and once more with the sponge, I took the original basecoat (VMC German Grey 995), and began to create chipping and scratching on some of the more exposed edges, areas that might have been effected by hard wear and tear, or been hit by enemy fire. I did consider using a wash to bring down the overall brightness, but on reflection, I was happy with the effect as it was.
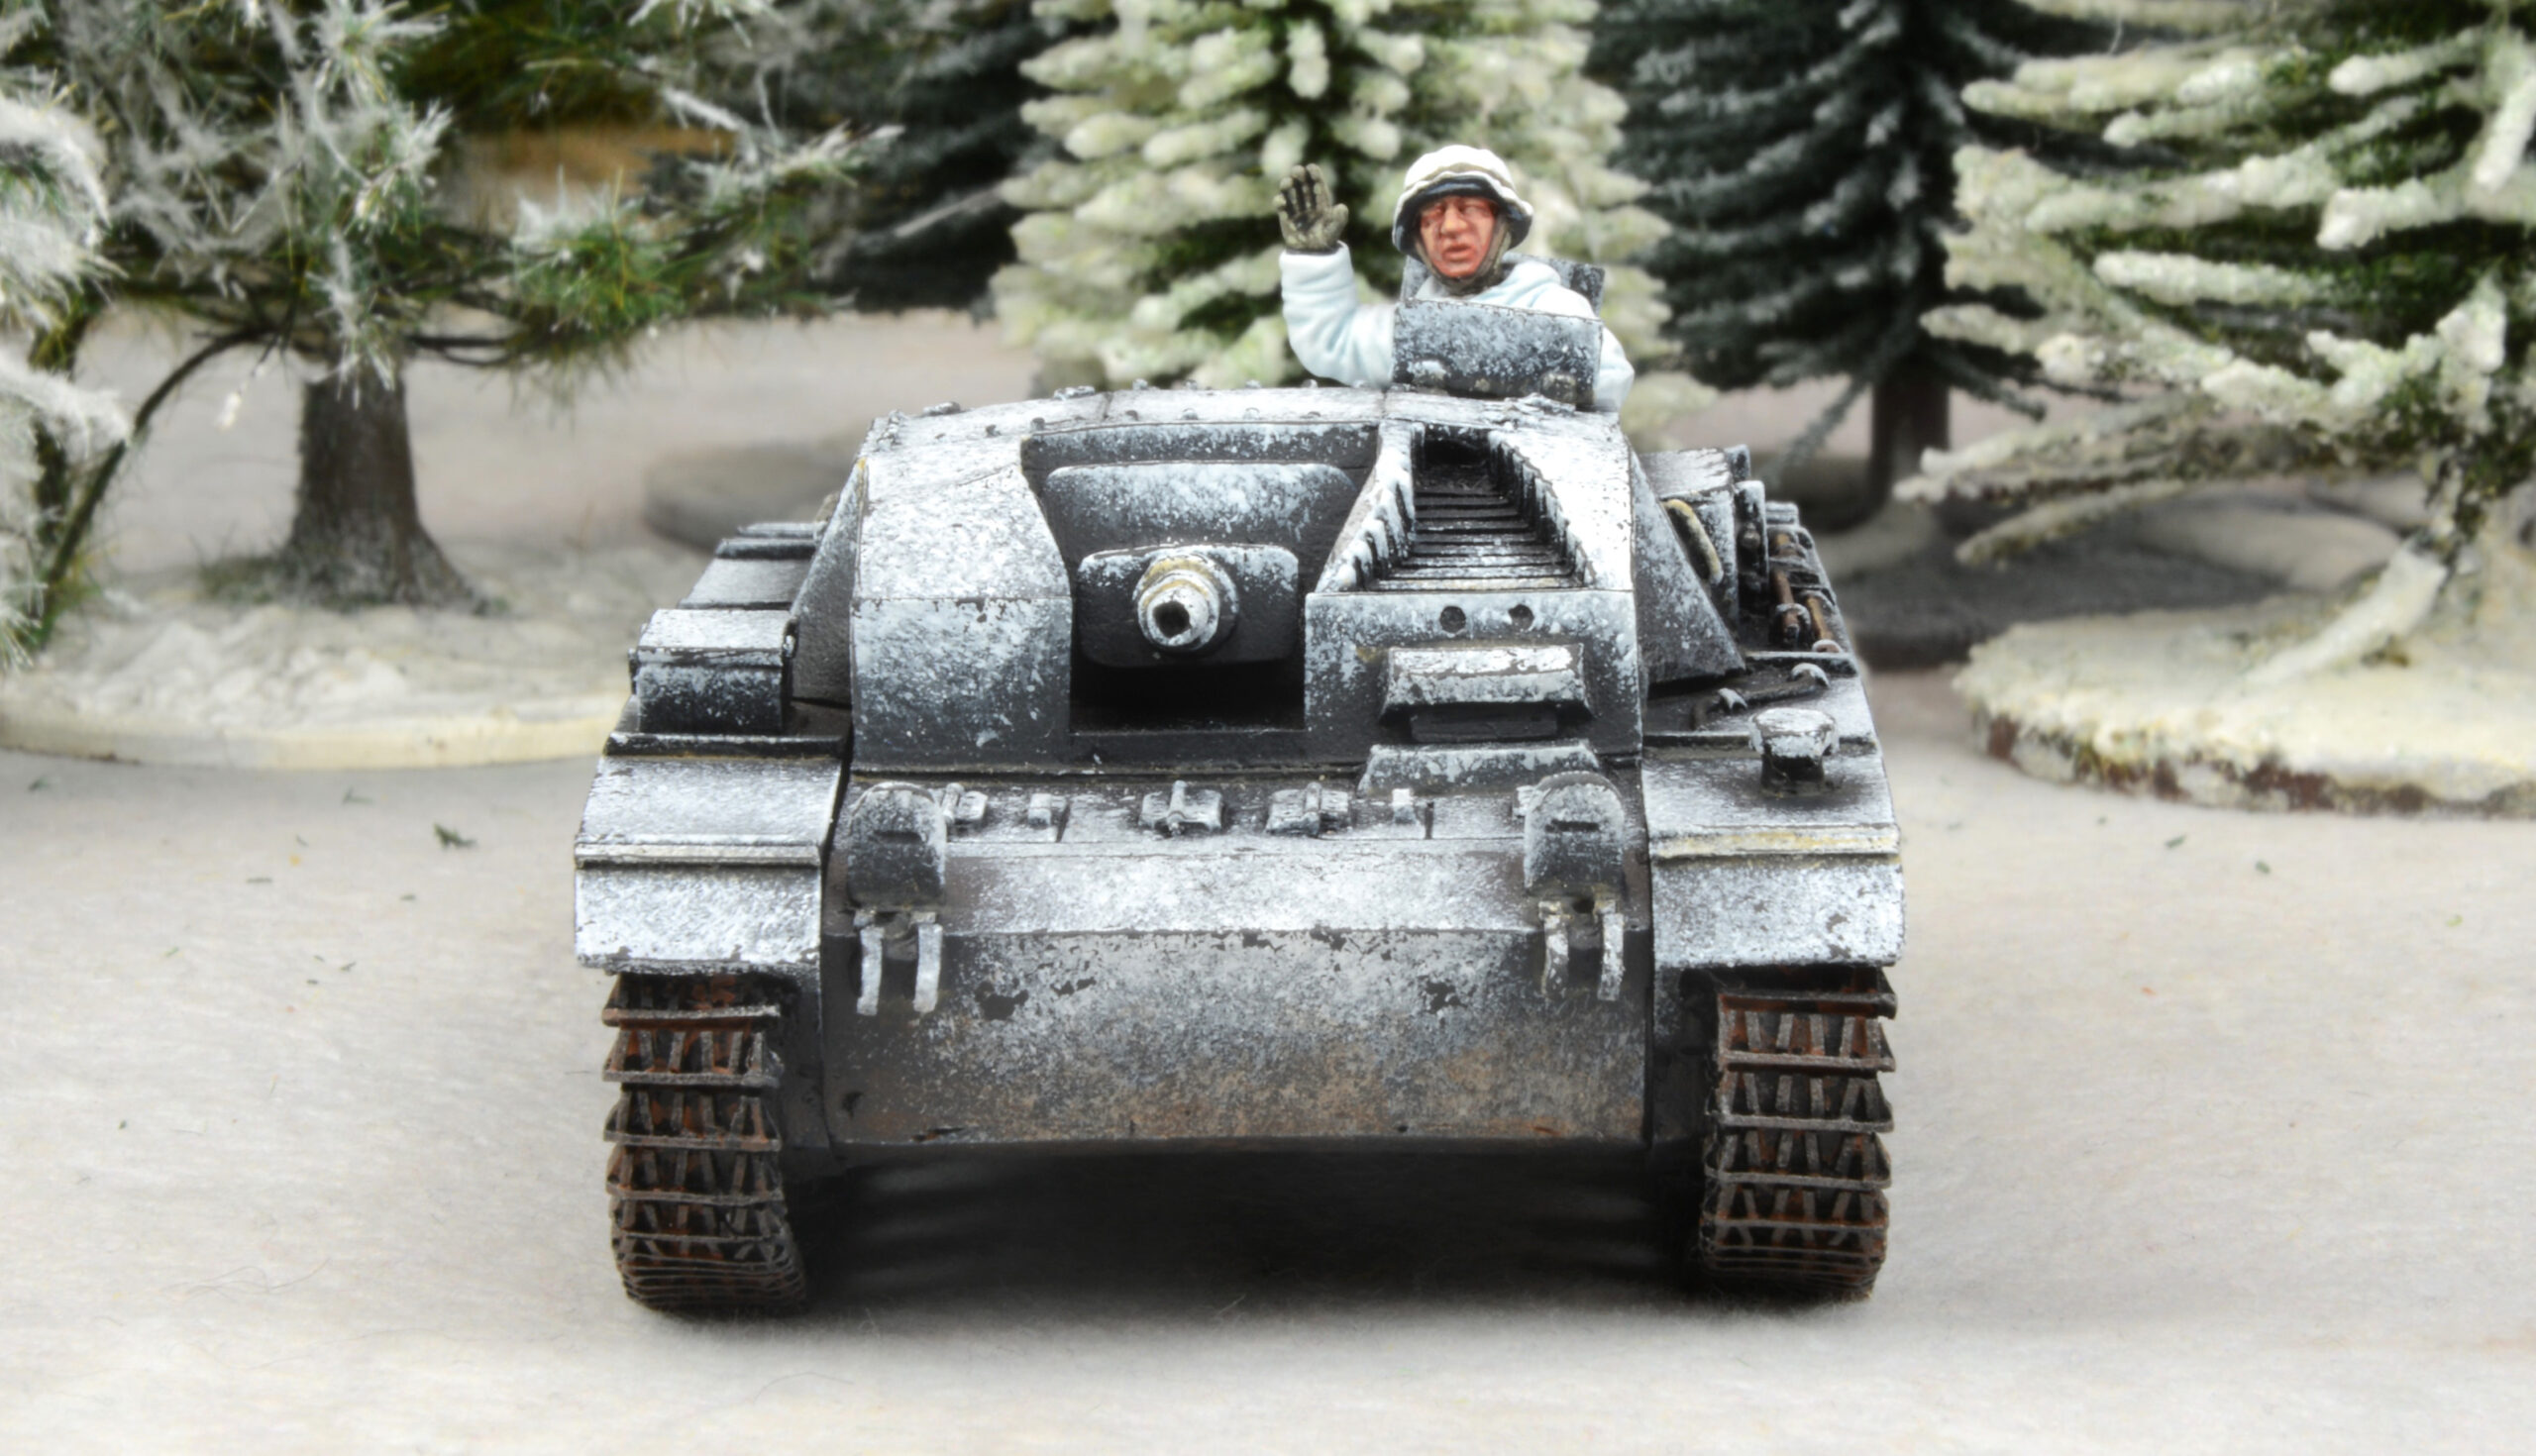
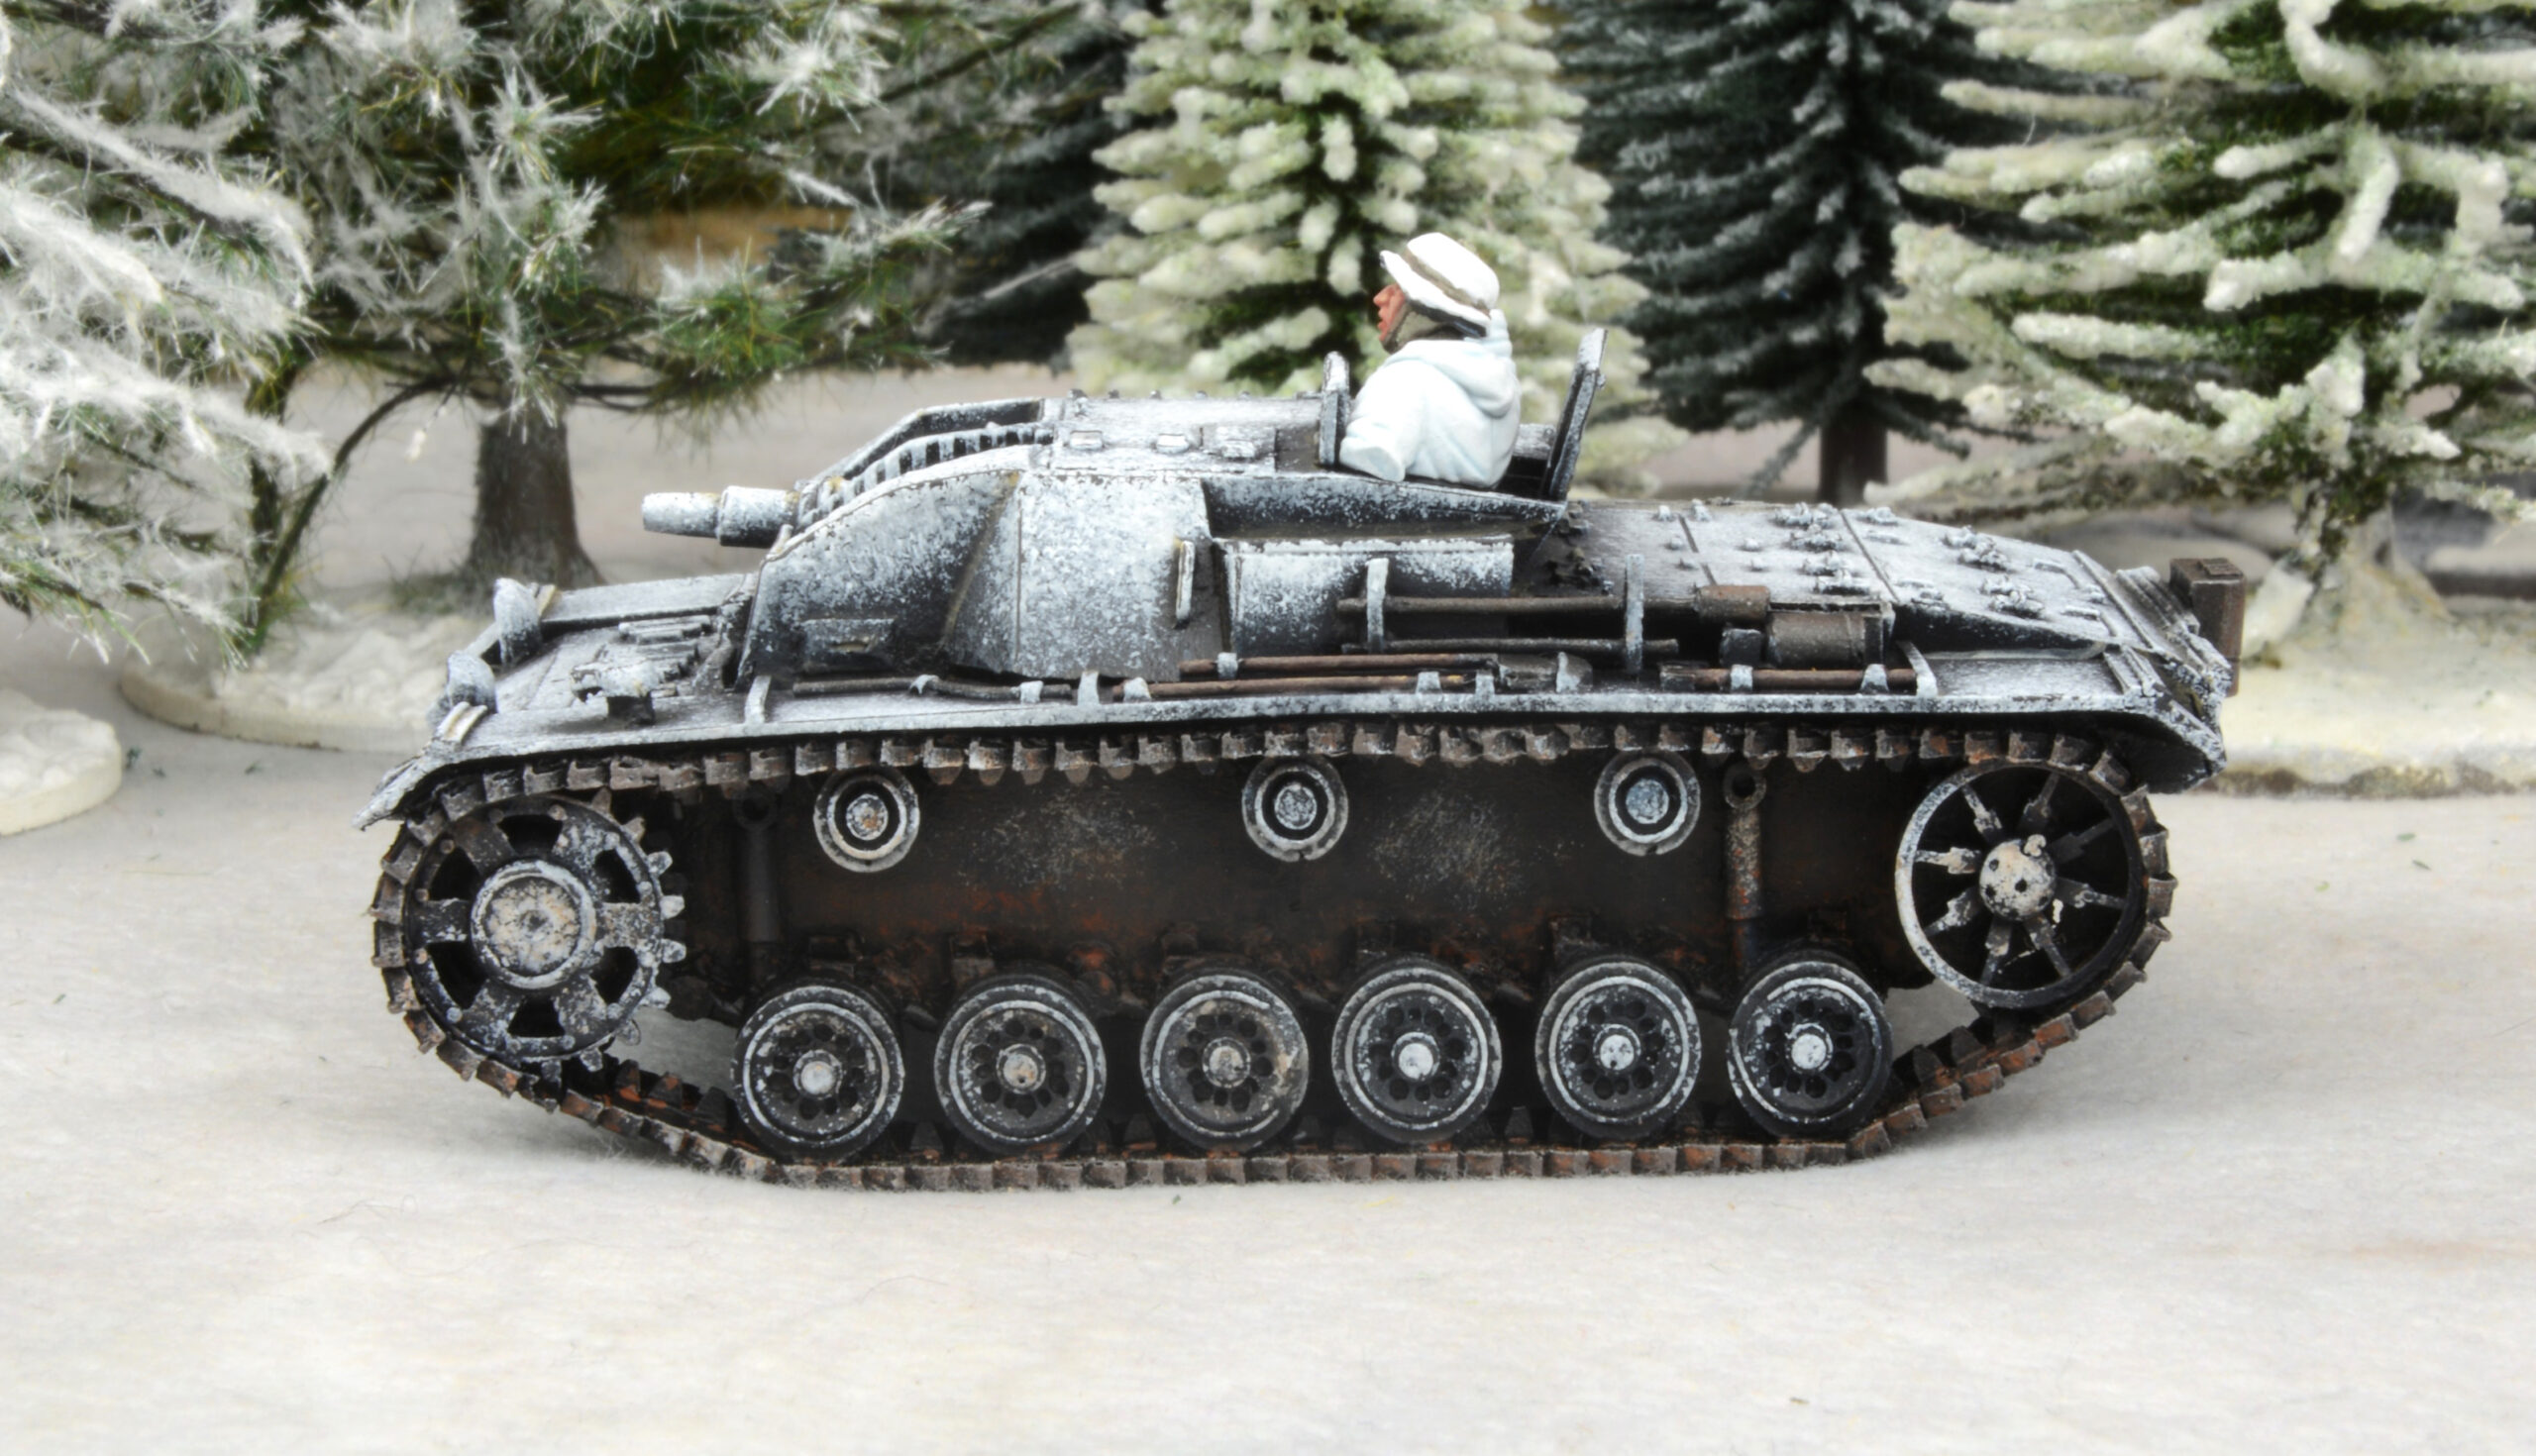
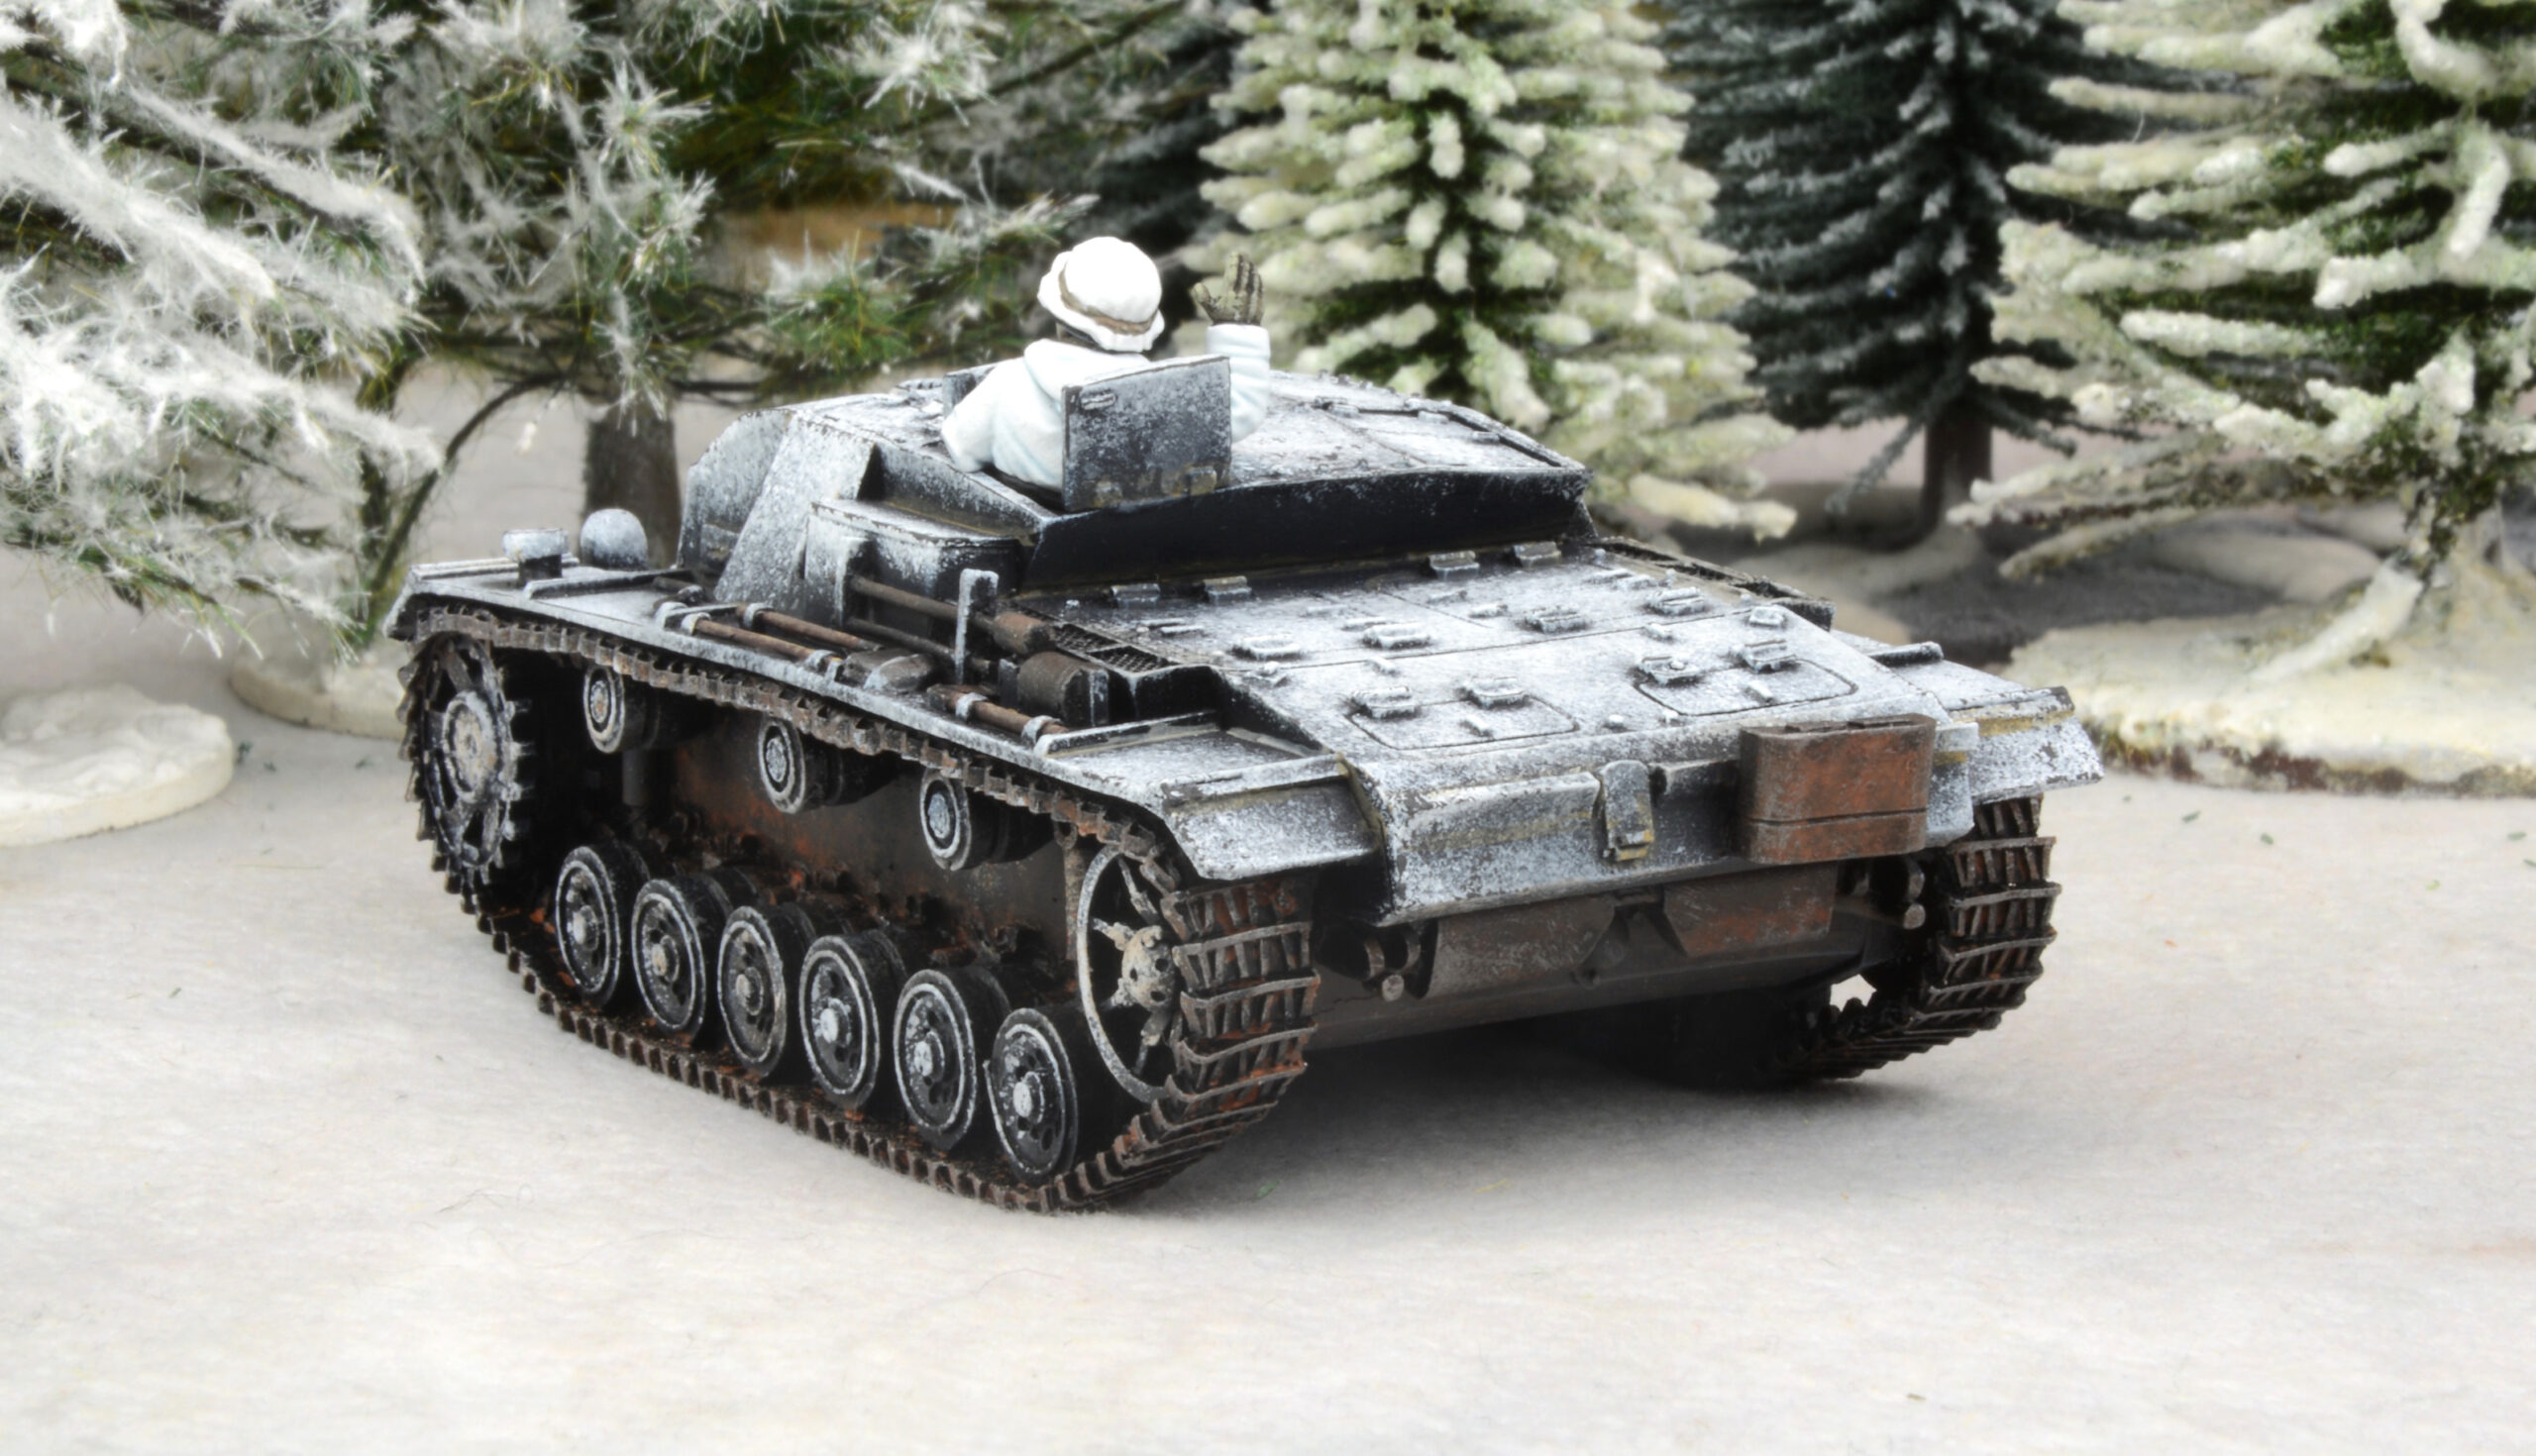
For weathering the tracks, I used WPF Mud and Rust effects diluted with water, applied generously over multiple layers. As each layer dries you can see where you’ll need to apply more of it. I used the mud effect on other areas of the tank as well, such as crevices in the hull. To finish of the tracks, I drybrushed a little metallic paint on the very edges.
To make the tank commander on the Ausf. B, I took one of my spare plastic Winter Fallschirmjäger, cut him at the waist, chose some appropriate arms, and gave him a head from the Winter German frame – just a little personal touch rather than using the metal models that come with the kit – simple and he looks the part. I painted him in the same way as I did my infantry (see part one of this series for more info on that).
And that’s my armoured platoon. I’m currently resisting the allure of adding and early Tiger I model, at least for now.
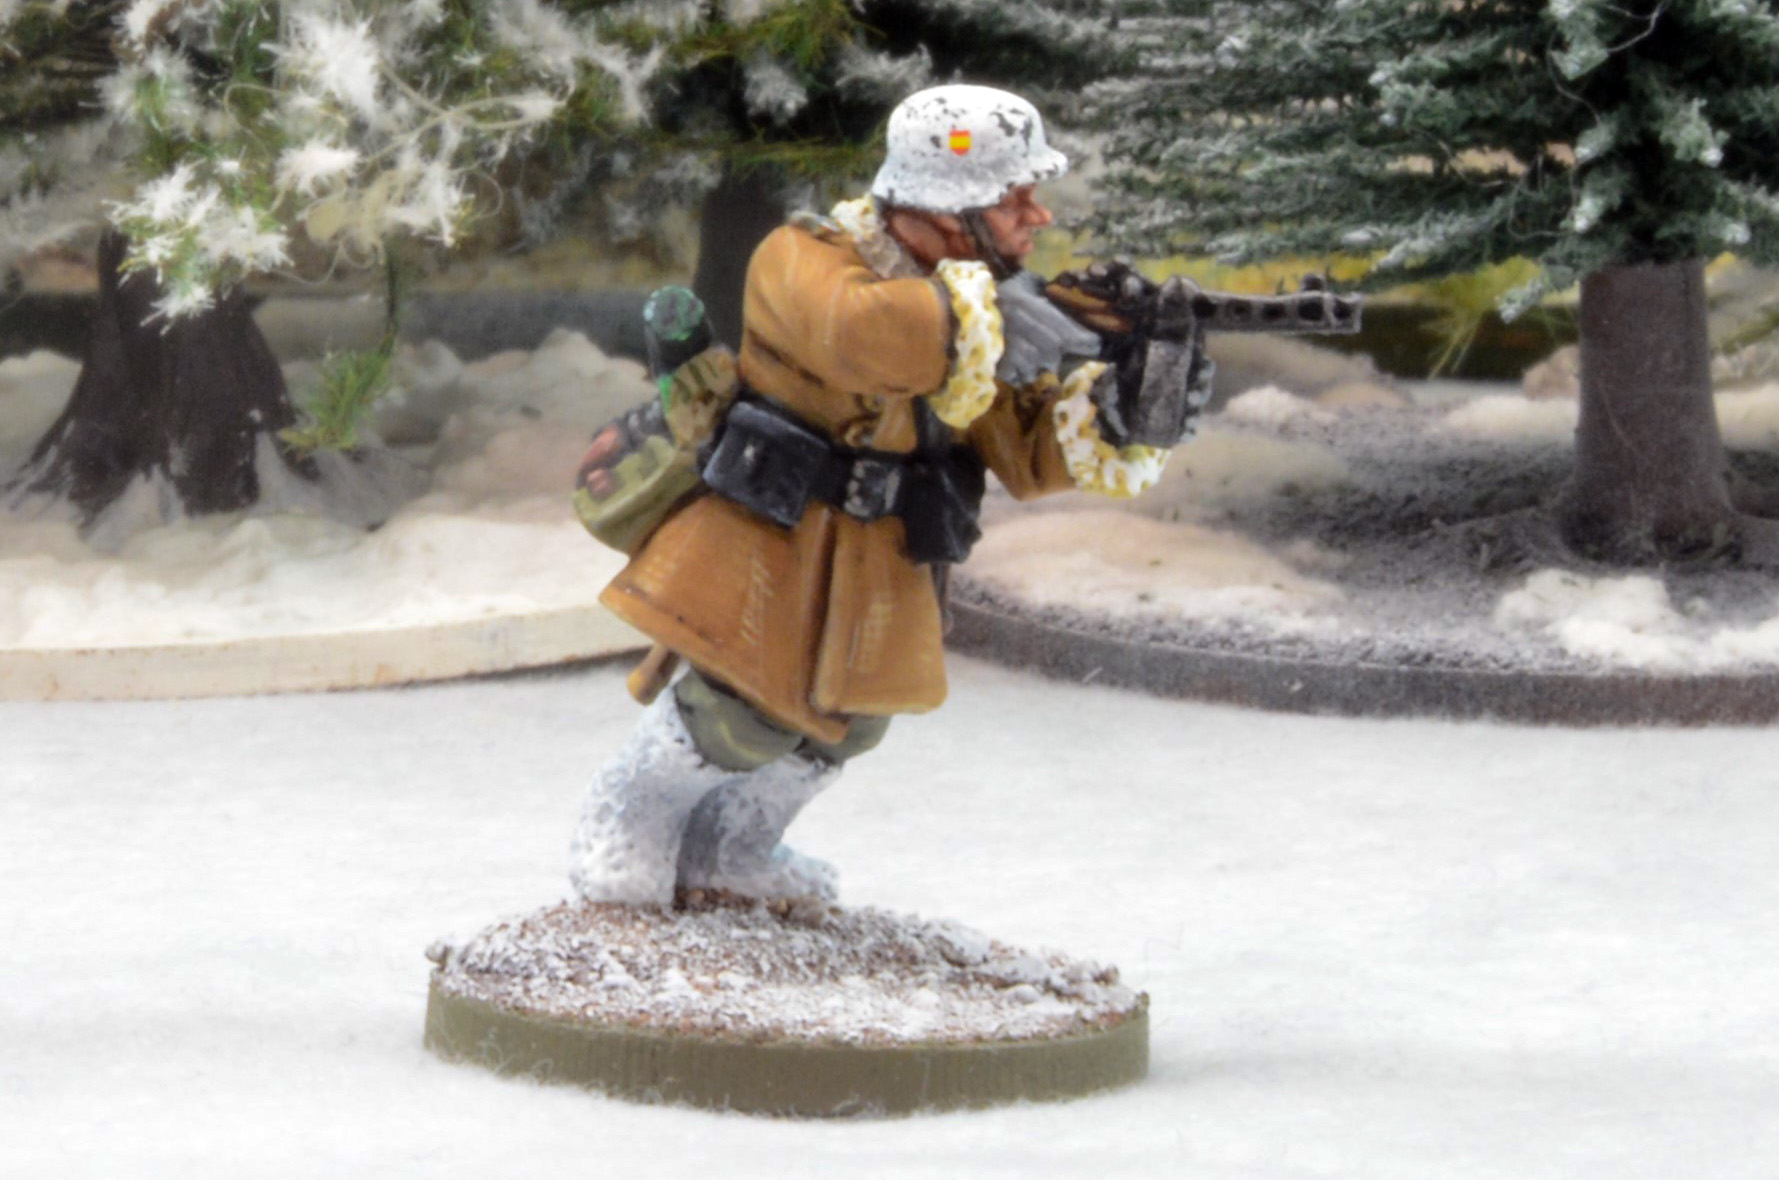
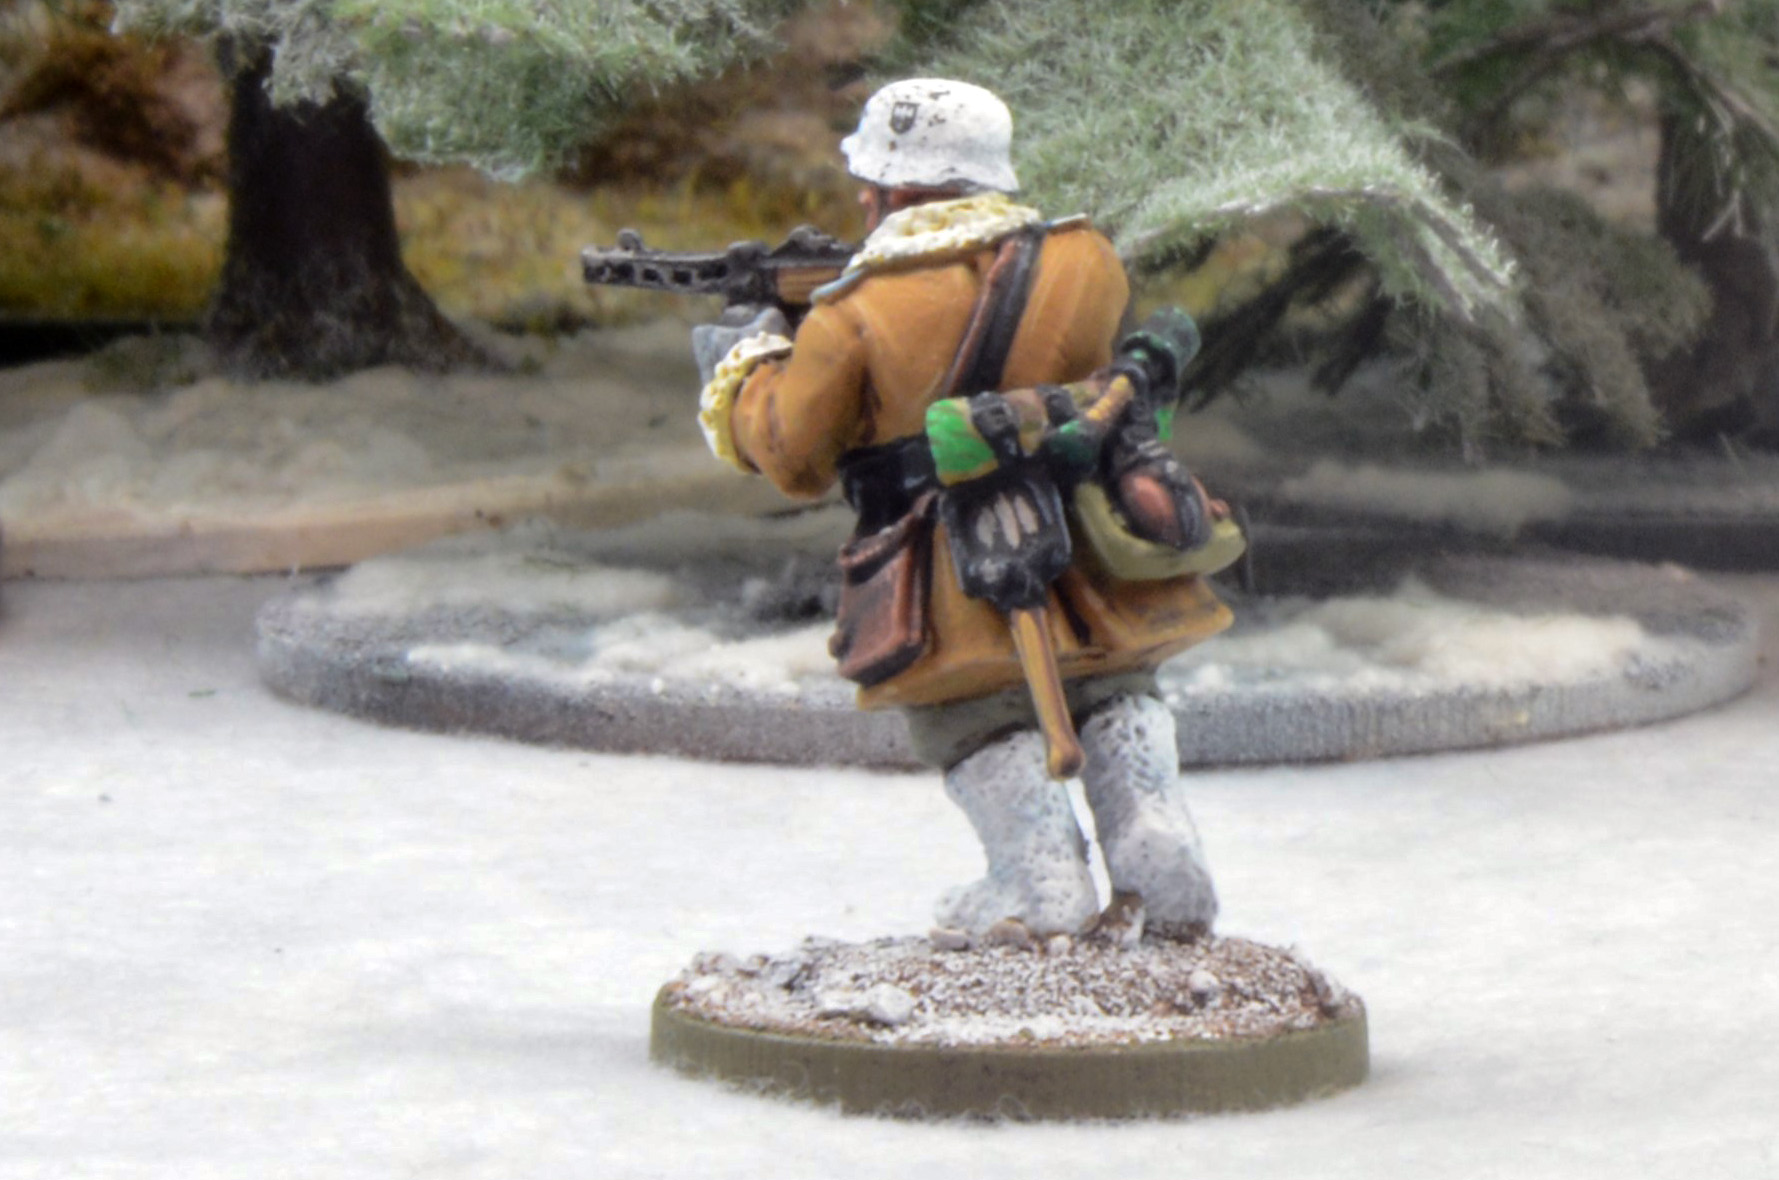
I began this project before the release of Third Edition, and so it turned out that I didn’t have an officer to lead my Heavy Weapons Platoon. After finishing my StuGs I set to rectifying that. For this one I used a Winter Soviet NCO model, swapping his head with a German one, and adding on some German equipment. Another very easy conversion.
With that all my initially planned elements for the project are complete. I may come back and add more elements in the future, but for now it’s time to rest the Feldgrau and white scheme, and actually get the force on the table and playing games. It’s been a hugely satisfying project, and hasn’t taken me an enormous amount of time. “Santiago y Cierra España!!” I probably need pikemen for that particular battlecry; might that be a hint of what I’m going to be working on next?
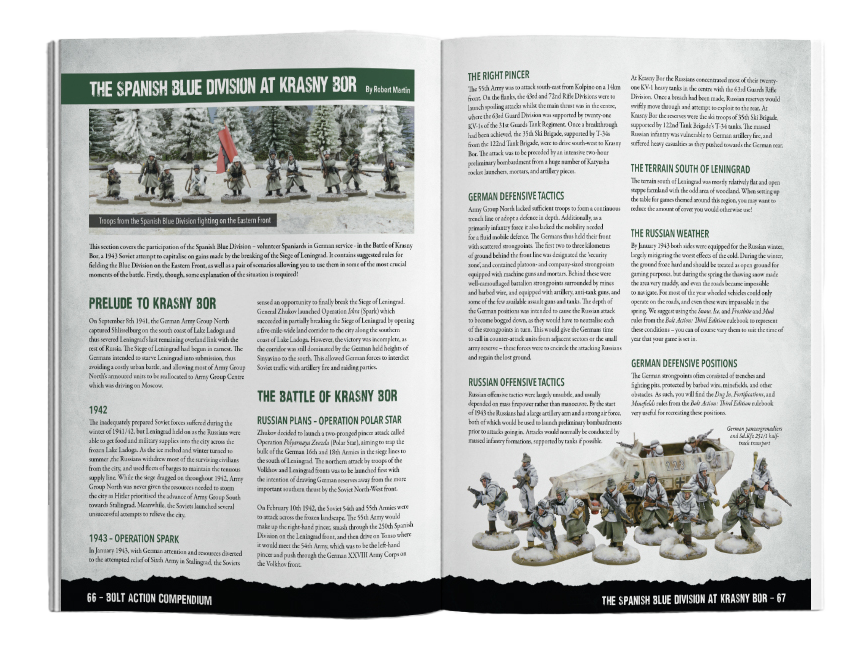
DH – Want to follow Andrés’ example? Handily the new Bolt Action Compendium has a section devoted to the Spanish Blue Division, written by Robert Martin, and their involvement at the Battle of Krasny Bor. Unique special rules and a pair of scenarios bring them to life on the tabletop. You might even spot a few of Andrés models in the book.
To make your own Spanish Blue Division models, you can plumb the depths of our Winter German range of figures, simply combining them with the specially designed Spanish Blue Division decal sheet.