
Recently, we looked at anti-tank tactics in Bolt Action – how you might make that irritating enemy tank go away. In that article, we touched very briefly on the idea that a tank of your own is a great anti-tank option, but in the interests of brevity it was left for another article – and here we are! Today, we’ll be taking a look at the noble art of armoured warfare, and some of the top tips (and sneaky tricks) you can use to get the better of your opponent in a tank-on-tank duel. Strap in – this is gonna get bumpy!
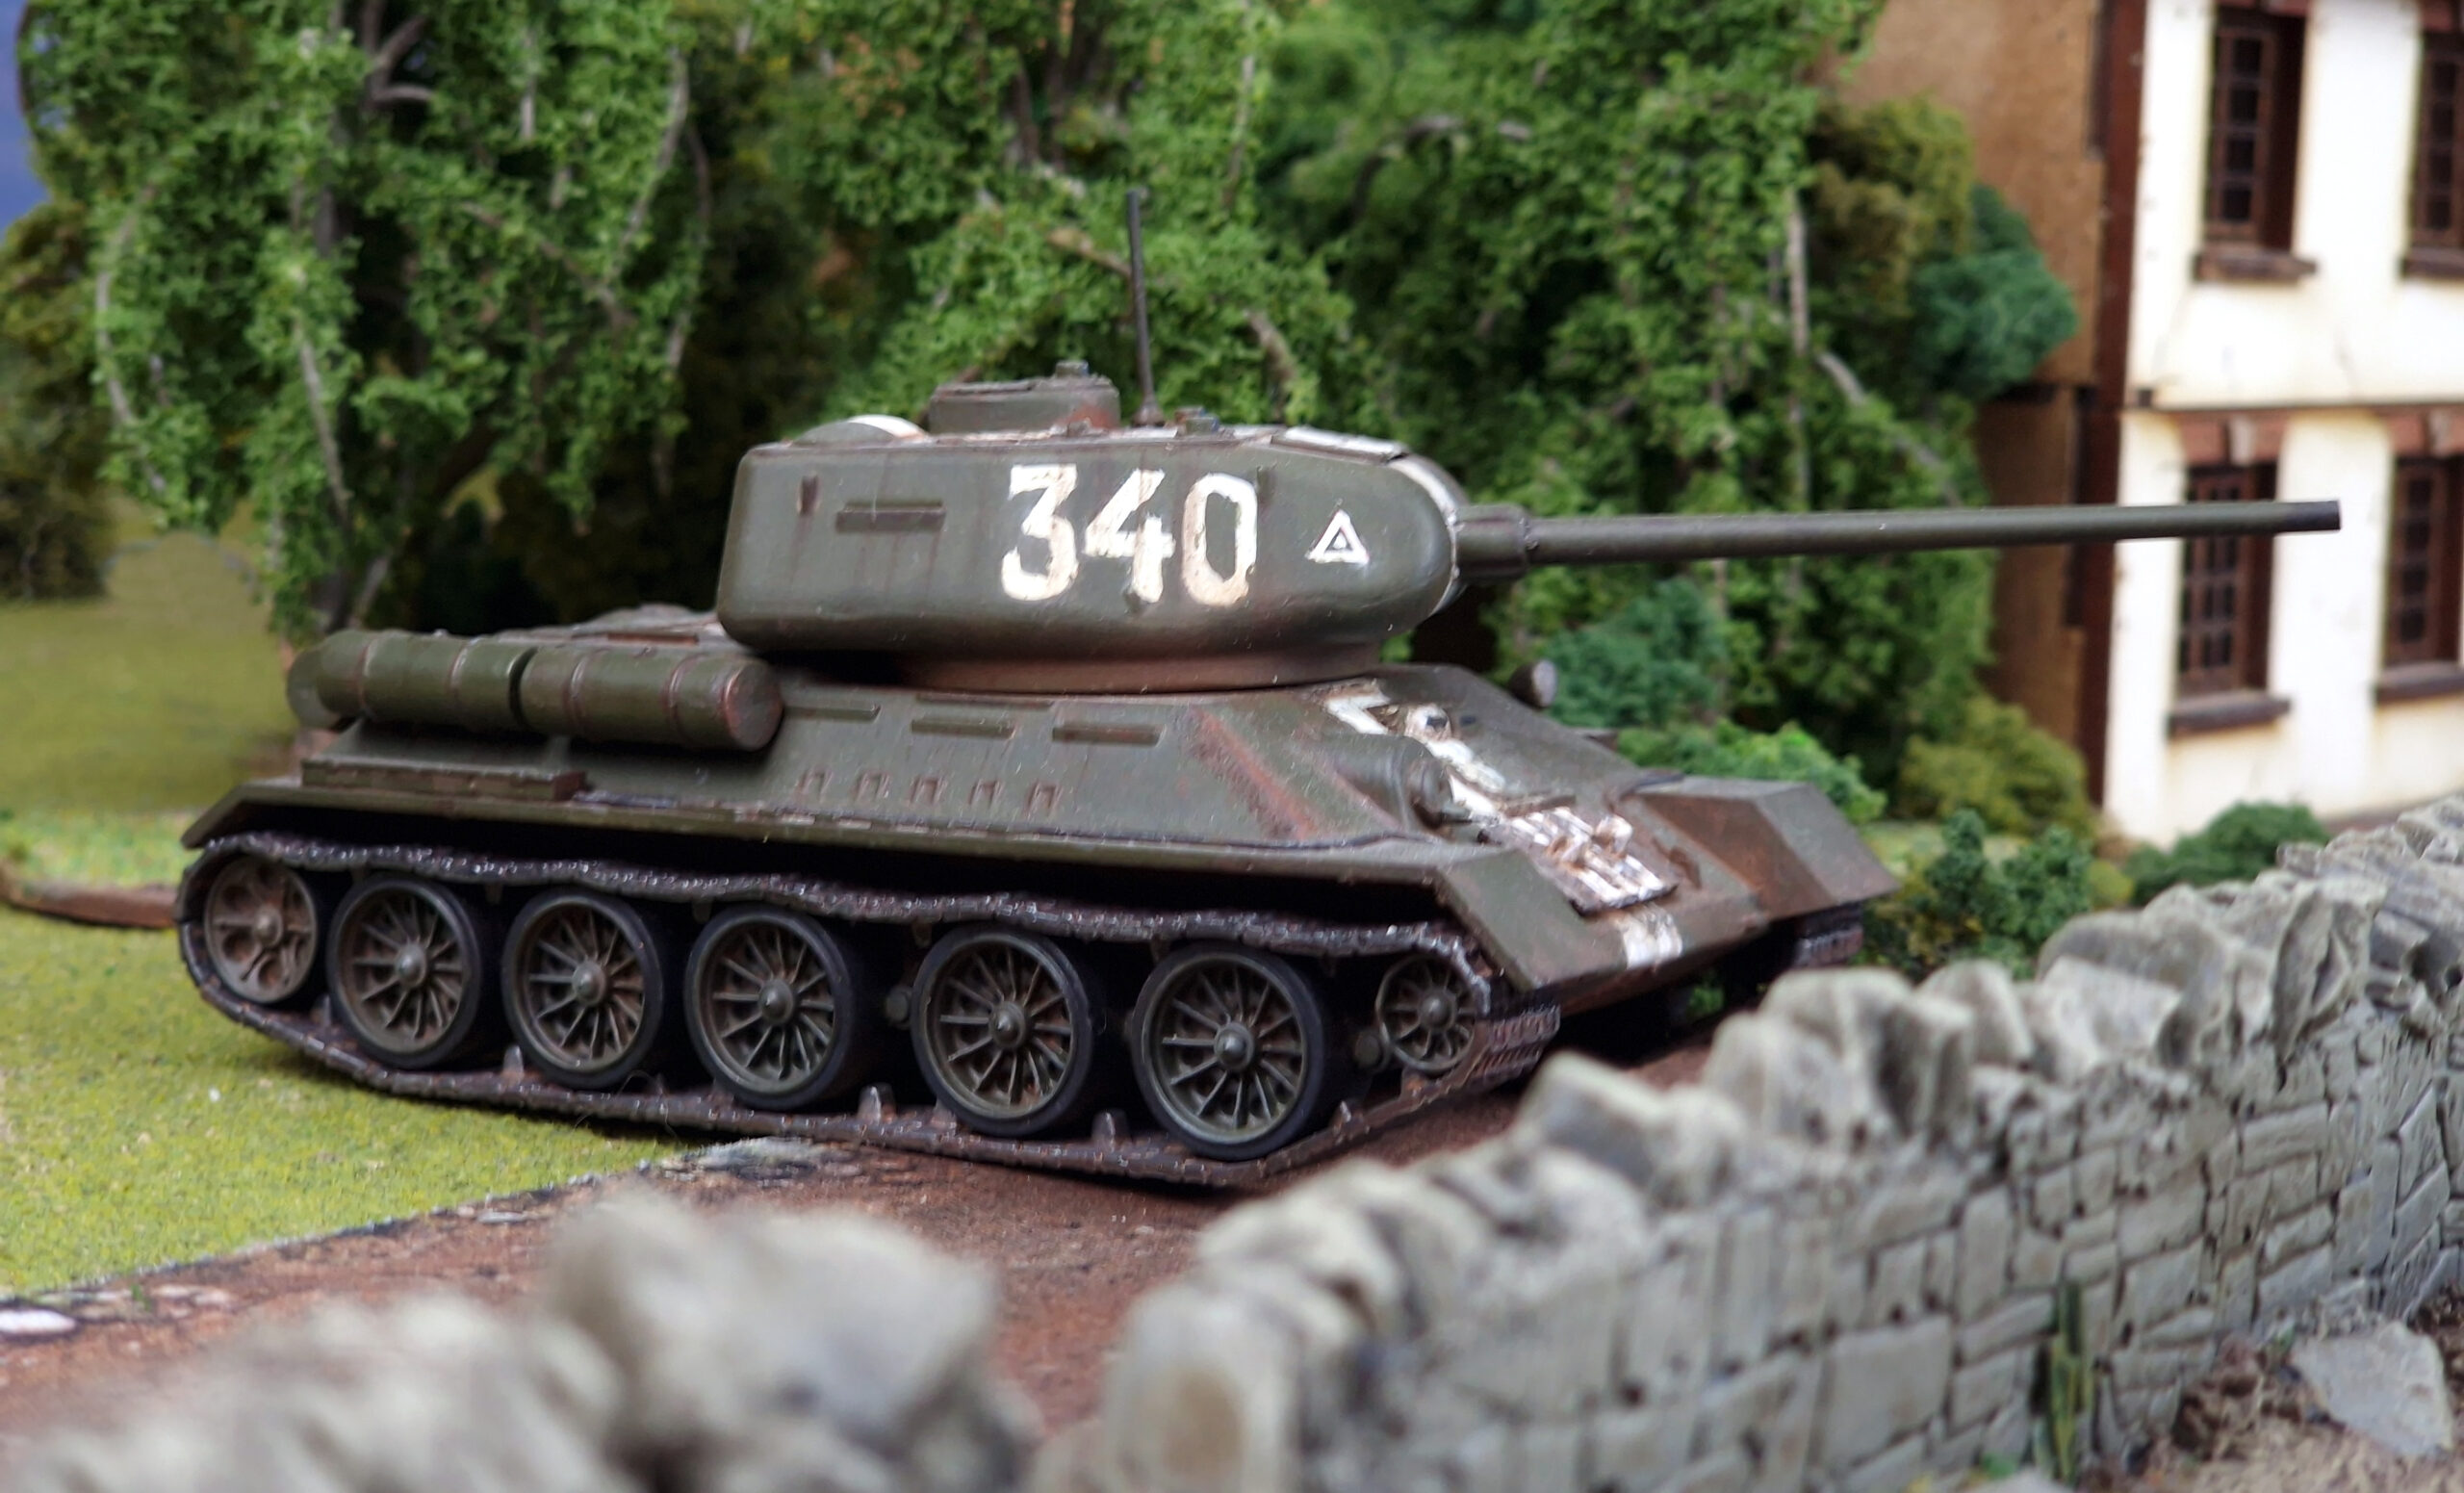
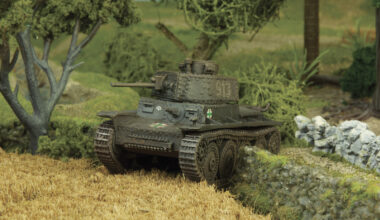
As with the anti-tank article, let’s establish a baseline engagement. We’ll give both ourselves and our opponent a Regular medium tank (Damage Value 9+) with a heavy anti-tank gun and a pair of medium machine guns – at 235 points this profile covers such iconic ‘mediums’ as the Panzer IV G/H and T-34/85, and is a nice simple illustration of the capabilities and vulnerabilities of tanks in general. As we discussed in the previous article, the +6 Penetration on the heavy AT gun requires a 4+ to penetrate a Damage Value 9+ medium, and I hate relying on what is essentially a coin-flip. This is where tactics come in, both to get the kill and keep your own vehicle safe!
Tank combat in Bolt Action really begins at deployment, and tends to be a case of ‘who blinks first’. For games using standard deployment, you really want to deploy your tank last! While this may seem somewhat counter-intuitive, given the amount I talk about seizing the initiative and taking decisive action, there is a good reason for this. Once your opponent has placed their tank, you can situate yours in an optimal firing position – remember, we’re always looking for flank or rear shots where possible. If you find yourself in a situation where you must deploy your own armour first, be mindful of lines of fire across the board, and try and give it at least some cover. Of course, who shoots first in this scenario is still at the mercy of the dice gods – not so when you’re using the First Wave deployment method. With this in play, units can enter the table on an Advance order, meaning of course that they can shoot! The last thing you want to do is bring your tank on with nothing to shoot at, only to have your opponent bring theirs on straight after and drill a round through its turret! Always, always, always try and make sure your tank is the last thing you deploy in these cases!
Once the tanks are on the table, you can get down to the nitty-gritty of armoured action. However, there is one very important thing to remember – the enemy tank is not the only thing in their army! Many incautious tankers have become target-fixated on their opposite numbers, only to fall victim to enemy anti-tank weapons, or see the game lost around them. Our example tank is a potent anti-infantry weapon with its HE shells and machine guns, and the most tactically sound course of action will not always be to chase the enemy tank around the table looking for that one perfect shot – sometimes it’s best to stay put and brass up the footsloggers instead! Similarly, don’t ignore other enemy anti-tank weaponry – make sure they’re dealt with so you can engage the enemy armour at will.
With that (admittedly rather lengthy) preamble aside, let’s look at actually engaging an enemy tank. The first rule of thumb for me is to shoot first, and shoot often. Usually I’m much more a proponent of waiting until it’s just right before taking a shot, but when it comes to tanks, you want to maximise your chances of getting a hit through weight of fire. The great advantage of a tank over an anti-tank gun is that the tank can fire and move (albeit with the commensurate to-hit penalty), and you should make full advantage of that as you move into optimum firing position. That 5+ to hit against the enemy’s frontal armour may not seem like great odds, but remember – a hit means a Pin, and if you do manage to do some damage, you can put yourself in an advantageous position early in the engagement. Pinned enemies are also much more likely to fail a crucial Order Check, handing the initiative firmly to you. Say it with me now – Pins mean Wins! Naturally, your opponent will be trying to do the same to you, so try and make sure you get the first shot off – tanks are a fantastic candidate for activation with the first dice out of the bag.

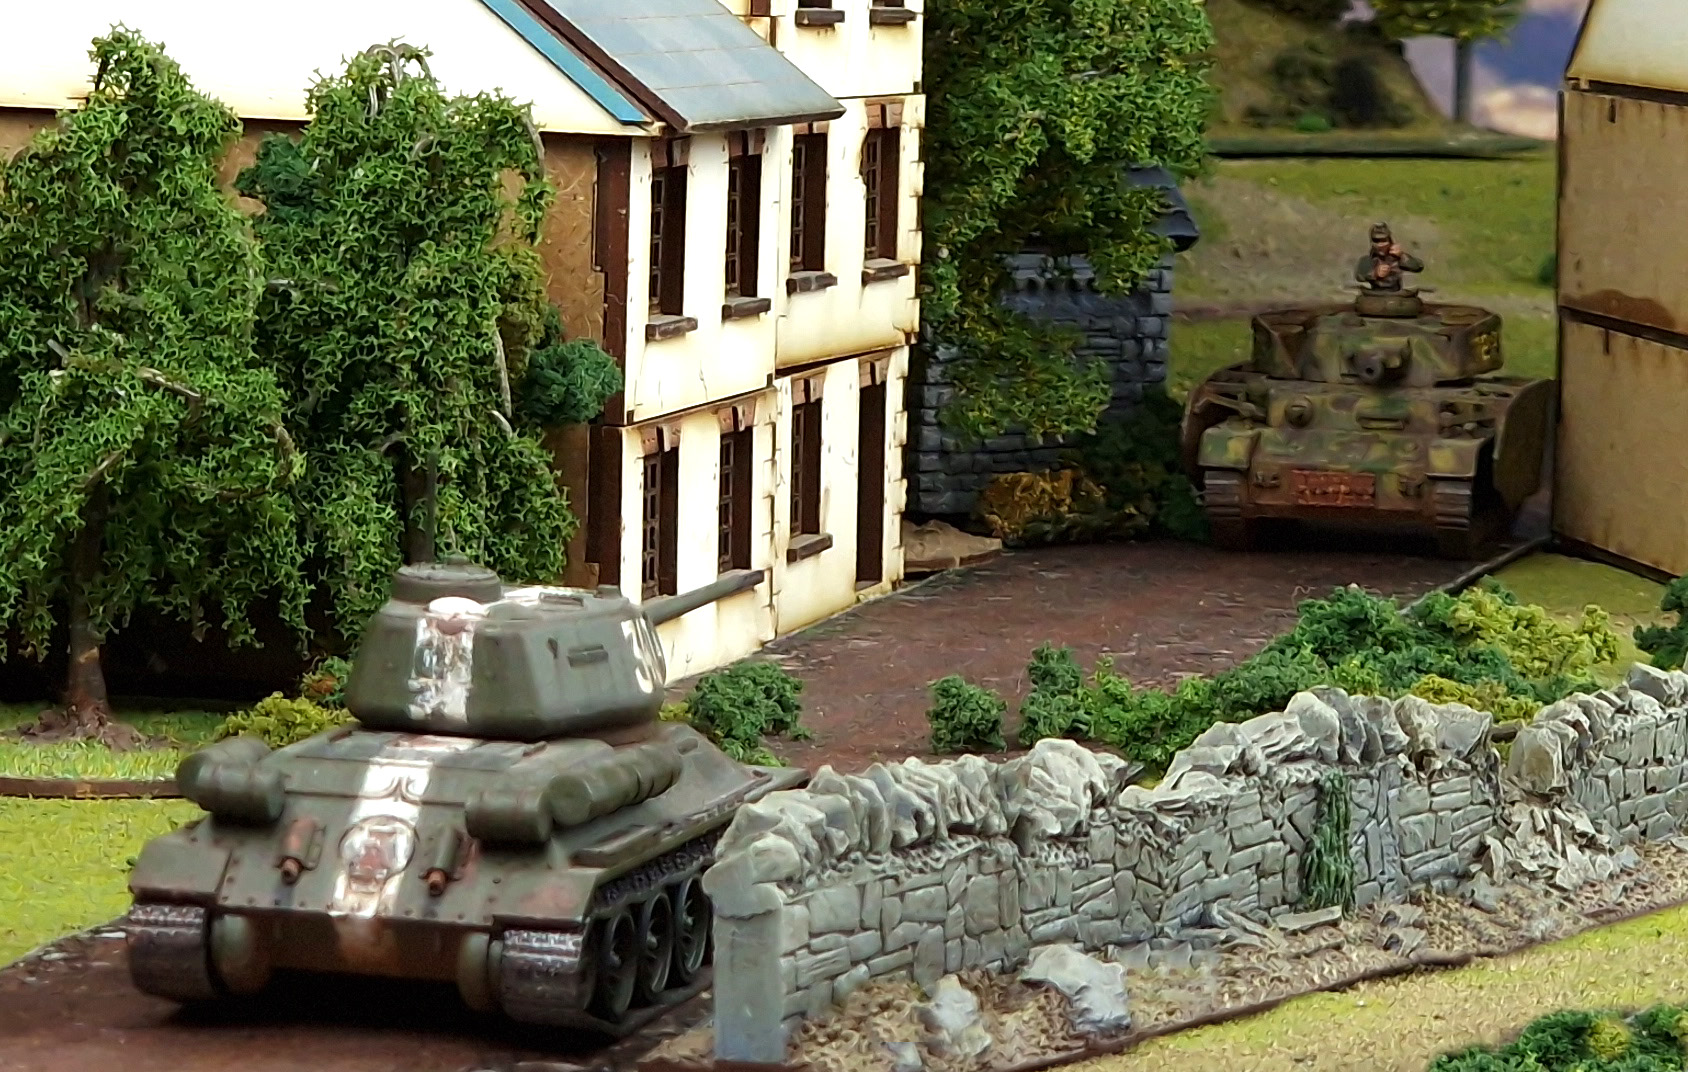
Getting the upper hand positionally can be a very challenging prospect, and it’s rare that you’ll ever achieve full positional superiority. One of the best ways to do it is to use terrain and supporting units to your advantage. There’s nothing quite like a narrow passageway between terrain and the threat of a lurking flamethrower (for example) to control where the enemy tank is likely to go, and if you can anticipate their movement then you can manoeuvre to just the right spot to exploit it. There are also some very nasty tricks you can employ regarding the proximity of enemy forces to their own armour – remember, they can’t take the shot if it would pass within 1” of a friendly unit, while you can fire freely in return, so try and utilise everything you can to block their lines of fire while keeping yours open. What’s more likely to happen, however, is a situation where you have to ‘offer’ the enemy something in order to ‘get’ something from them – essentially making your own vehicle somewhat vulnerable, knowing that to come and get you, they’ll have to do the same. A classic example of this is a bold flanking rush, giving you a clean shot at the enemy tank’s side armour… but leaving them with the same in return if you don’t get the kill. If you’re going to take this risk, make sure you’re maximising your likelihood of a successful shot – get as close as possible, try and negate any cover the enemy may have, and of course… pray to the dice gods!
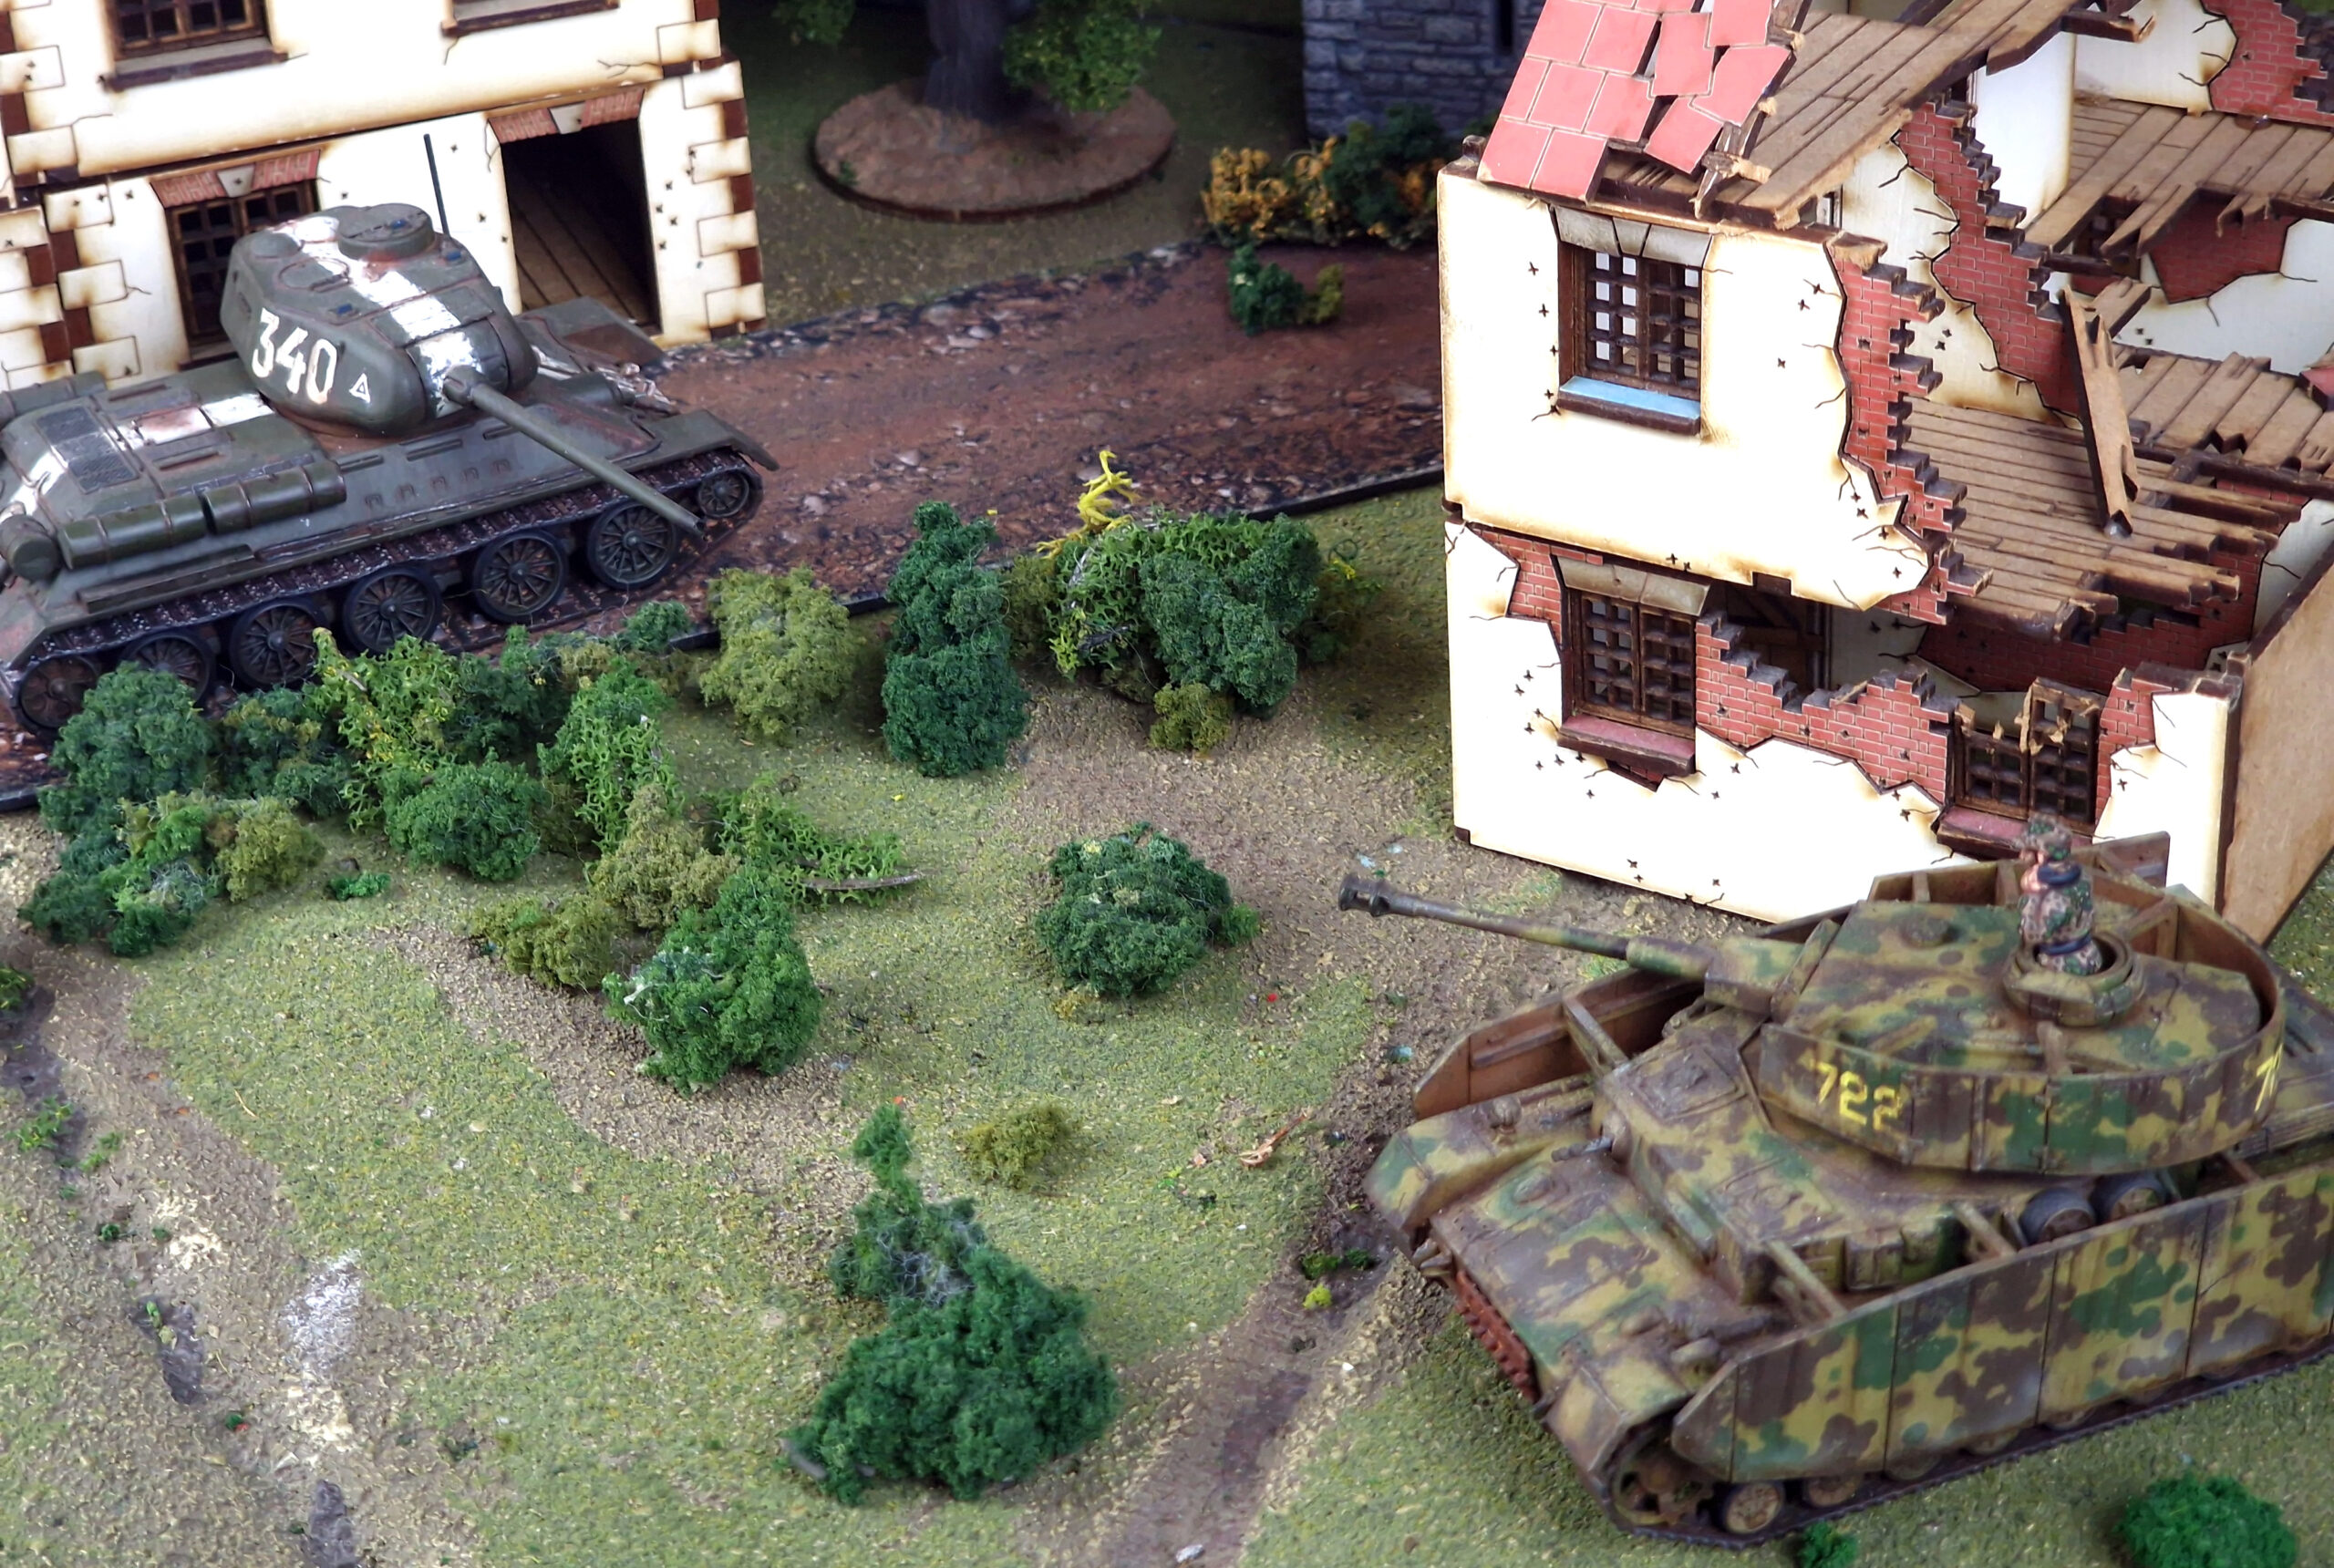
Gunner, target 10 o’clock, tank, 200 yards. One round AP, FIRE!
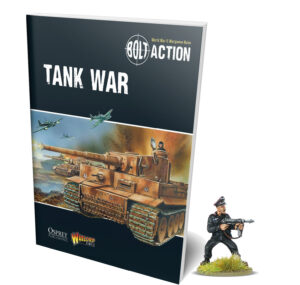
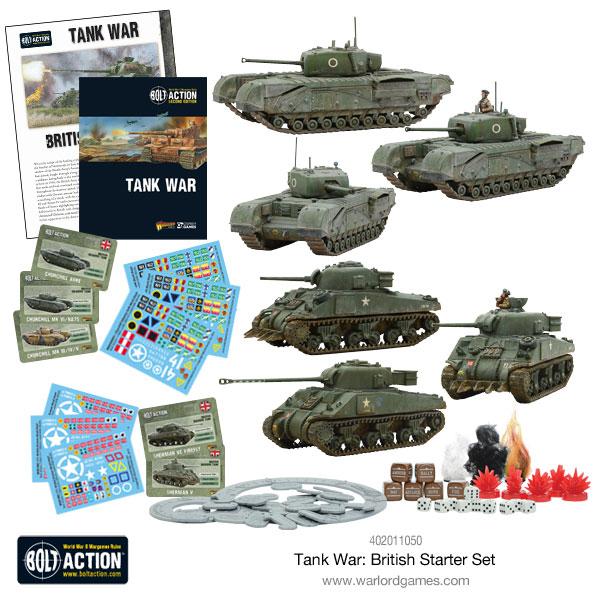
Put these tactics to the test! The Tank War supplement gives players the option to expand their games to a whole new level of armoured warfare. Recreate famous tank engagements of history or come up with your own using the wealth of scenarios, army options and special rules found within. There’s also guidance to develop your tank crews over the course of a series of games – leading to a sense of progression. Whether you want to add more armour to your existing armies or build an entirely armoured force, Tank War has you covered.
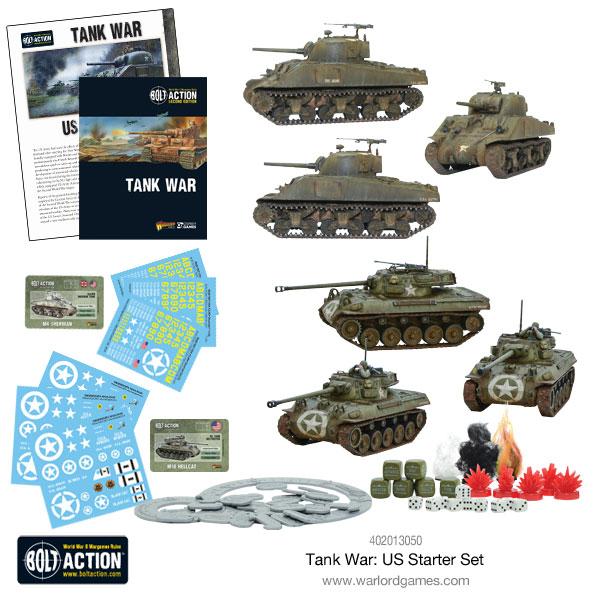
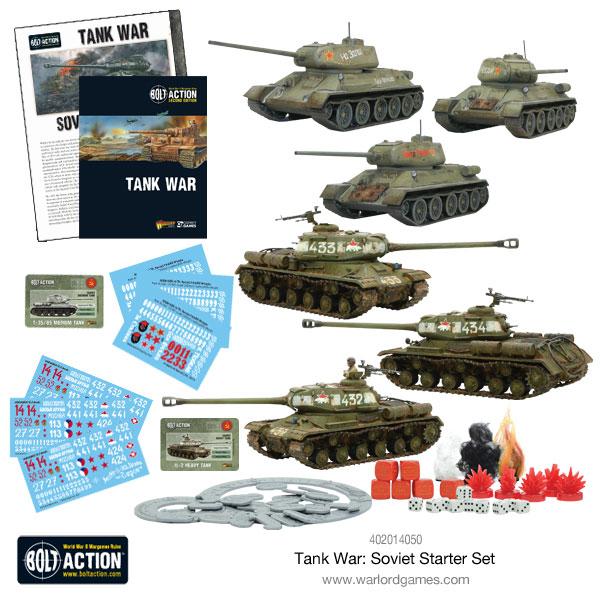
Each of our Tank War starter sets arm you with half a dozen tanks, a compact, convenient version of the Tank War rulebook, as well as dice, and templates – everything required for armour-on-armour action.


2 comments
Hello Marcus! Another great article. A suggestion 4 the US Starter: a change of tanks. One of the 3 Shermans could be one of the new plastic Easy8?
Btw I miss your Twitch Streamings with Max.
Love it! Tanks are really fun to use in this game